Fiber Art Necklace

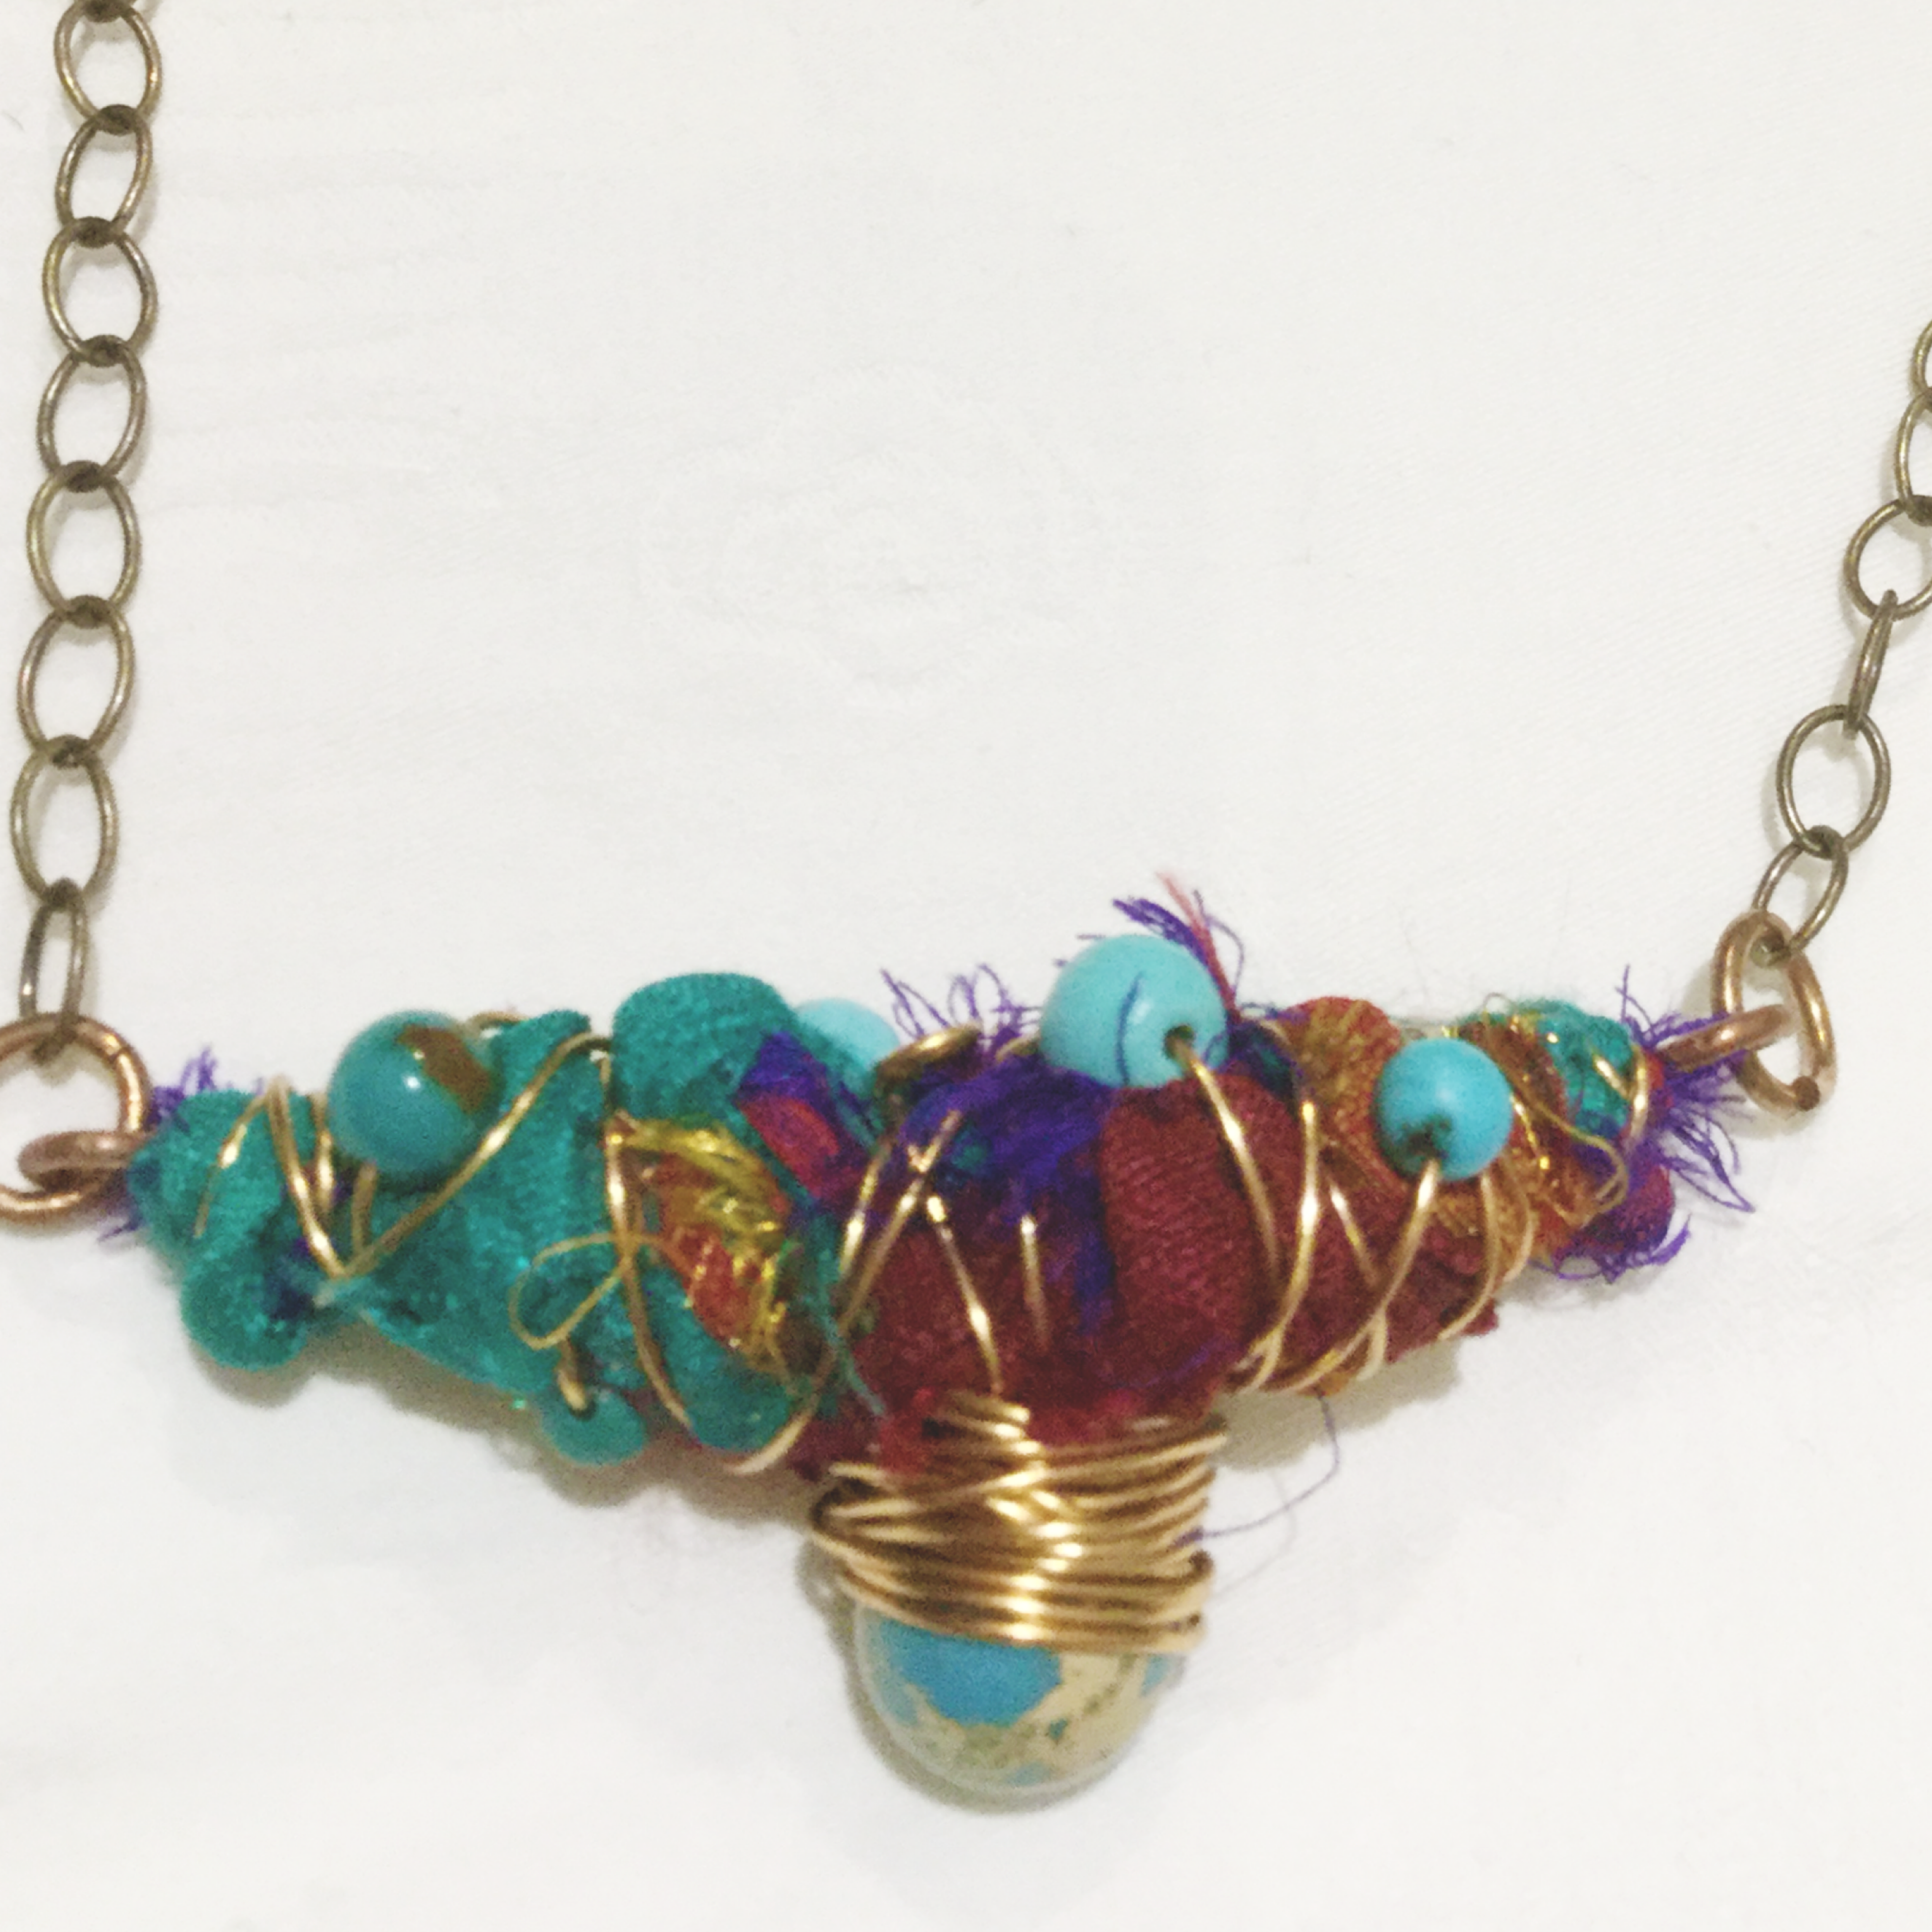
This fiber art necklace is a fun and easy project to make that is only limited by your imagination! Have fun with it as its your creation.
Tools and Supplies

You will need:
TOOLS
Jewellery pliers
Scissors
SUPPLIES
- Antique Bronze Necklace Chain - I like 22 inches, but shorter lengths will need a clasp.
- Jump Rings - 2 Antique Bronze
- 20 gauge copper wire - 2 pieces x 2.5 inches approx
- Copper beading wire - 8 inches approx
- Fiber scraps, wool, ribbon etc. in coordinating or contrasting colours
- Beads to thread onto your wire as you work - your choice of amount and colour. Be creative, as there is no "wrong"
Create the Base


TOOLS
Jewellery Pliers
SUPPLIES
20 gauge Copper wire
PROCESS
- Cut two pieces of 20 Gauge copper wire approximately 2.5 inches or longer.
- Twist them together for strength
- Take copper wire and bend slightly in the middle to give a gentle curve.
- Take jewellery pliers make a small closed circle at each end of the wire so you can attach onto the necklace later. They don't have to be perfect You now have the base on which to layer your fiber.
Fiber Pieces


TOOLS
Scissors
SUPPLIES
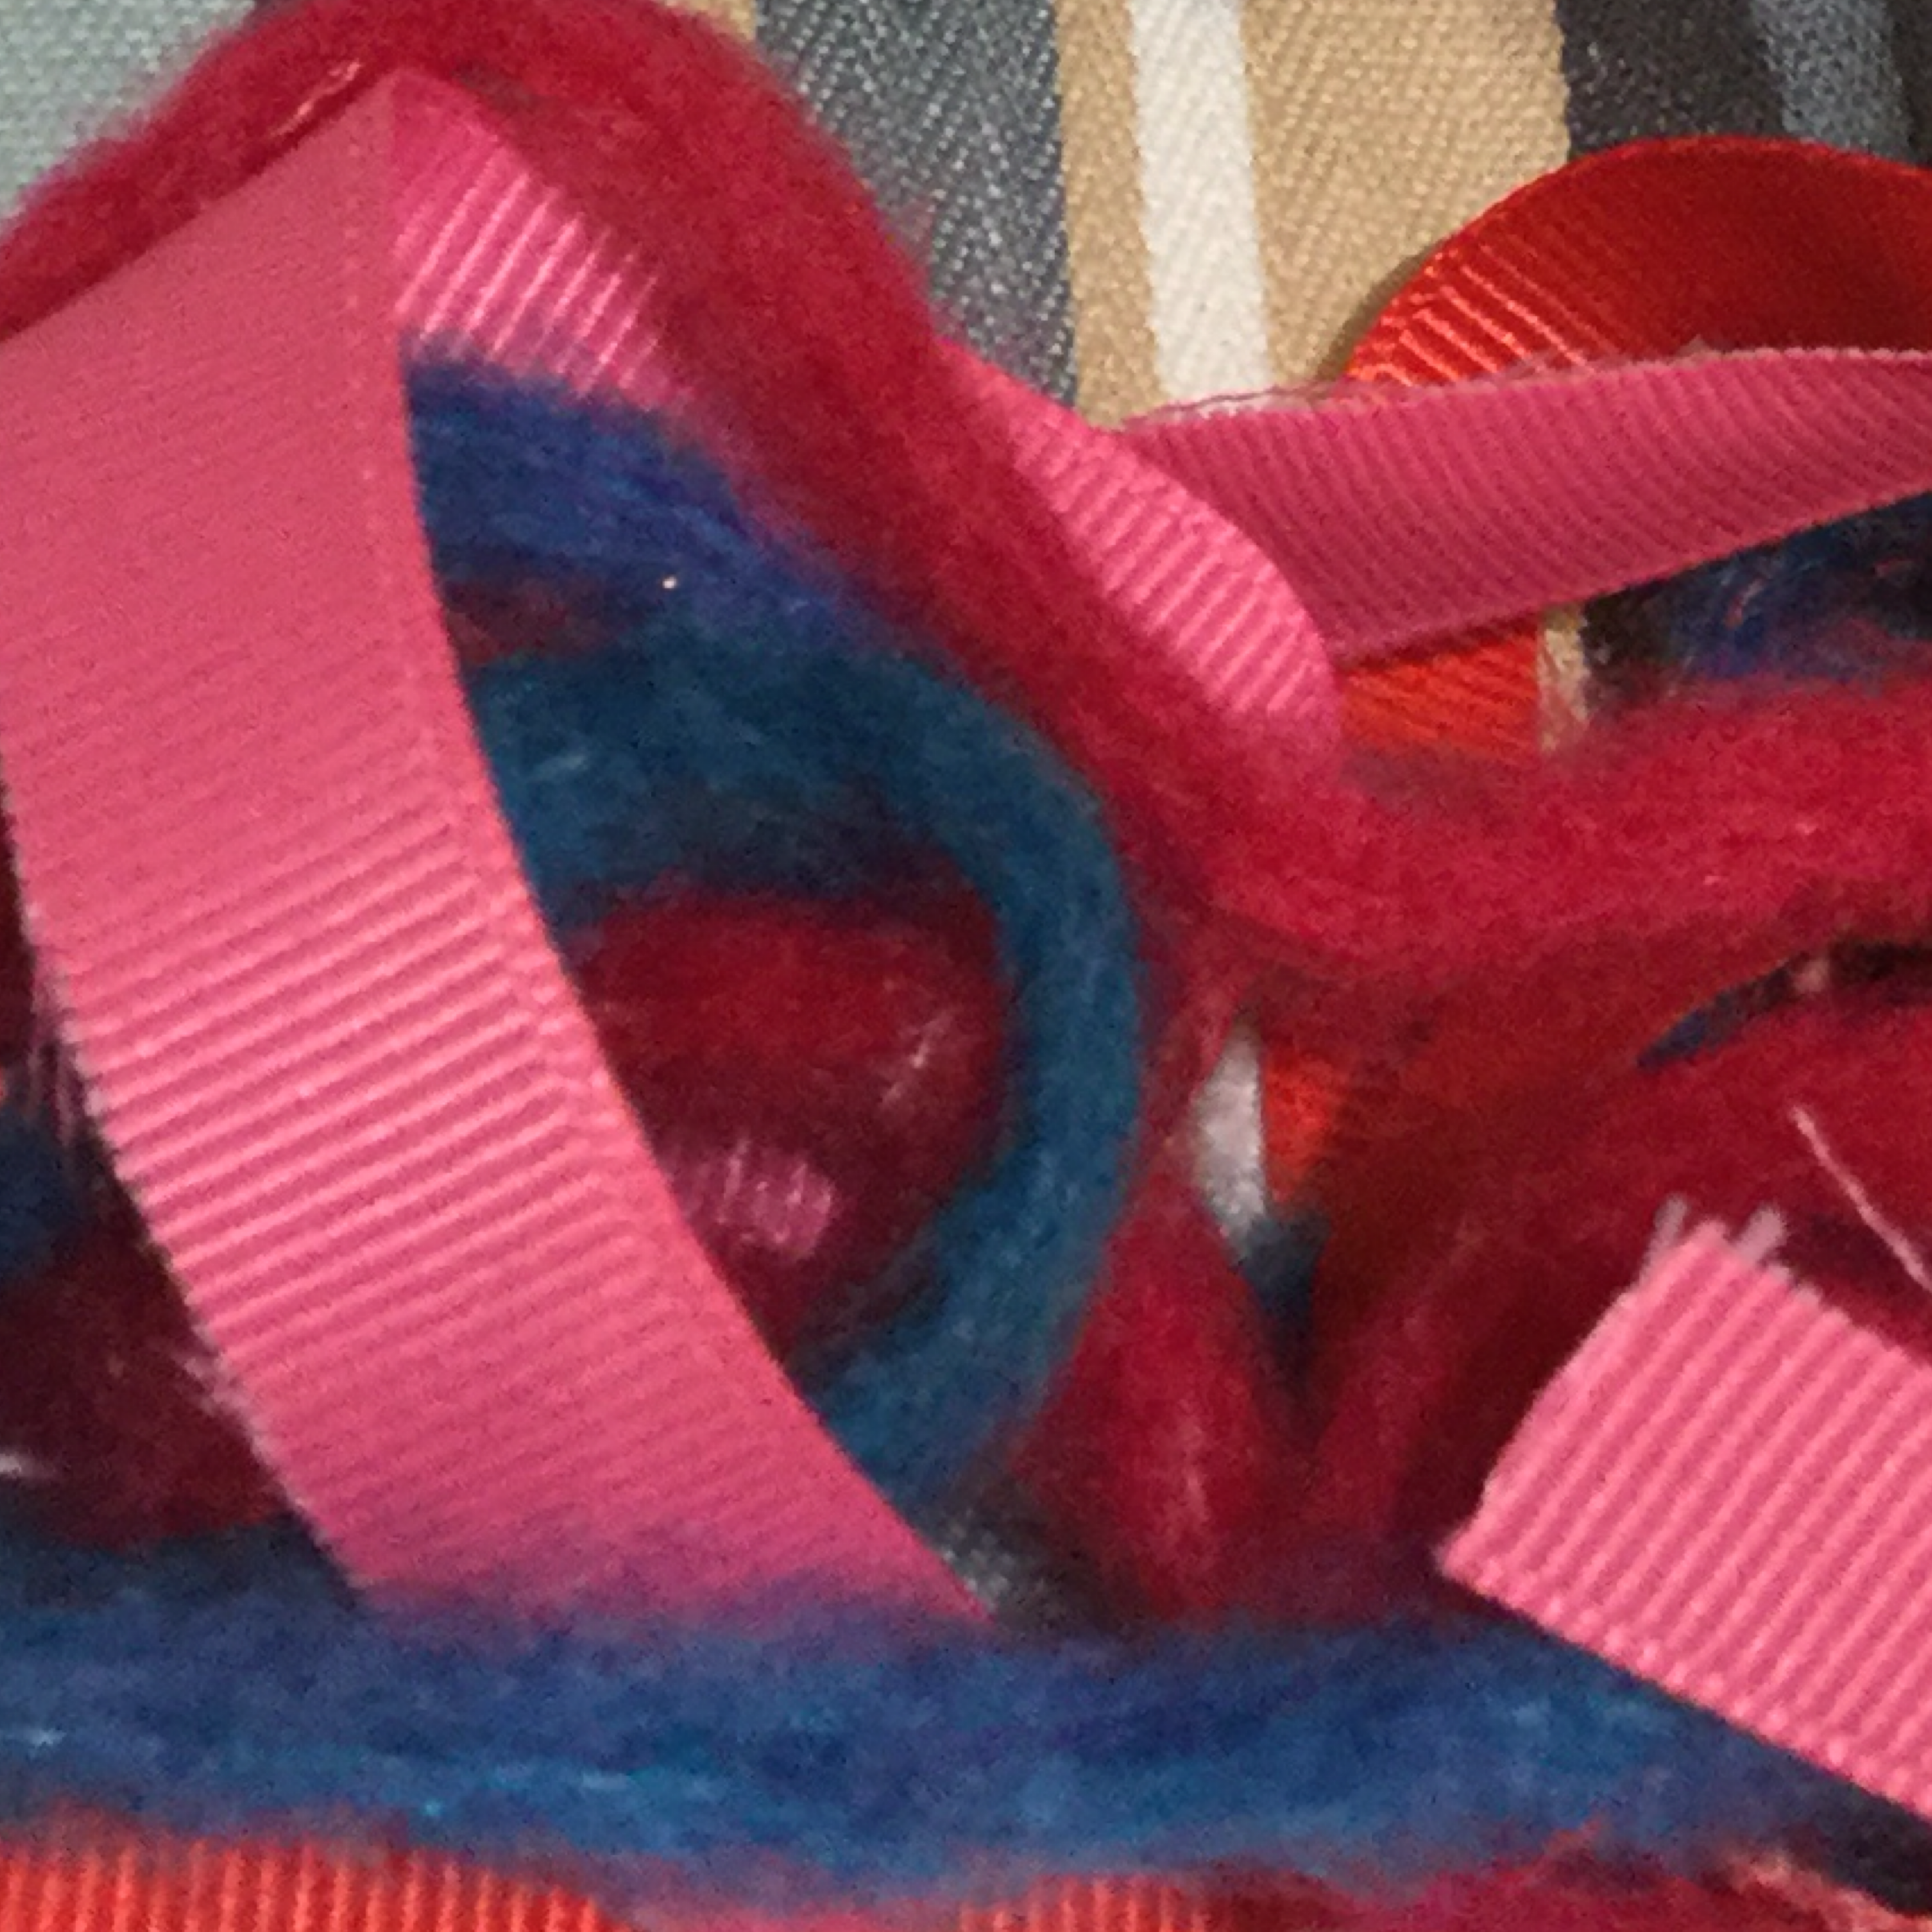
- Have a look in your scrap supply of fiber to choose colours for your piece. You can choose a variety of fabric, wool, ribbon etc.
PROCESS
- Cut the scraps into into 4 to 6inch strips. Dont worry about fraying or neatness as that adds visual interest.
Add Fiber to Your Base


TOOLS
Jewellery pliers
SUPPLIES
Fabric, ribbon, wool or any other colourful scraps
PROCESS
- Wrap the pieces of fabric, ribbon, wool etc around the copper wire use contrasting colours and fabrics as you go.
- Build a fabric base that is thinner at each end and thicker in the middle.
- When you are satisfied with how it looks, you can move onto the next step, decorating the base with beading wire and beads
Winding the Beading Wire and Beads

TOOLS
Jewellery pliers
SUPPLIES
Beading wire, assorted beads of your choice
PROCESS
- Using the beading wire secure the fabric by winding one end of the wire around it a couple of times at one end of the base or make a spiral if you are feeling fancy.
- Wrap the wire around the base randomly, from end to end, adding beads as you go and finishing by securing the wire at the opposite end (or a spiral).
- There is no "wrong" way to do this as you are the artist. Right?
If you want to add a larger central bead, add it at the halfway mark at the bottom of your piece as that is where the weight of the piece will hang, then wind the wire in circles under it for a decorative effect.
Attach to Necklace Chain

TOOLS
Jewellery pliers
SUPPLIES
Chain, 2 jump rings, optional lobster clasp
PROCESS
- Using a length of chain of your choice, in this case antique bronze, and jewellery pliers, add a jump ring to the circle shape on each end of your piece
- Attach to the necklace chain.
- Finish your necklace with a lobster clasp if required.
- Put the finished necklace on and make any adjustments.
Wow! It looks amazing! You have done a fantastic job!
.