Fewer-Legged Futon Table
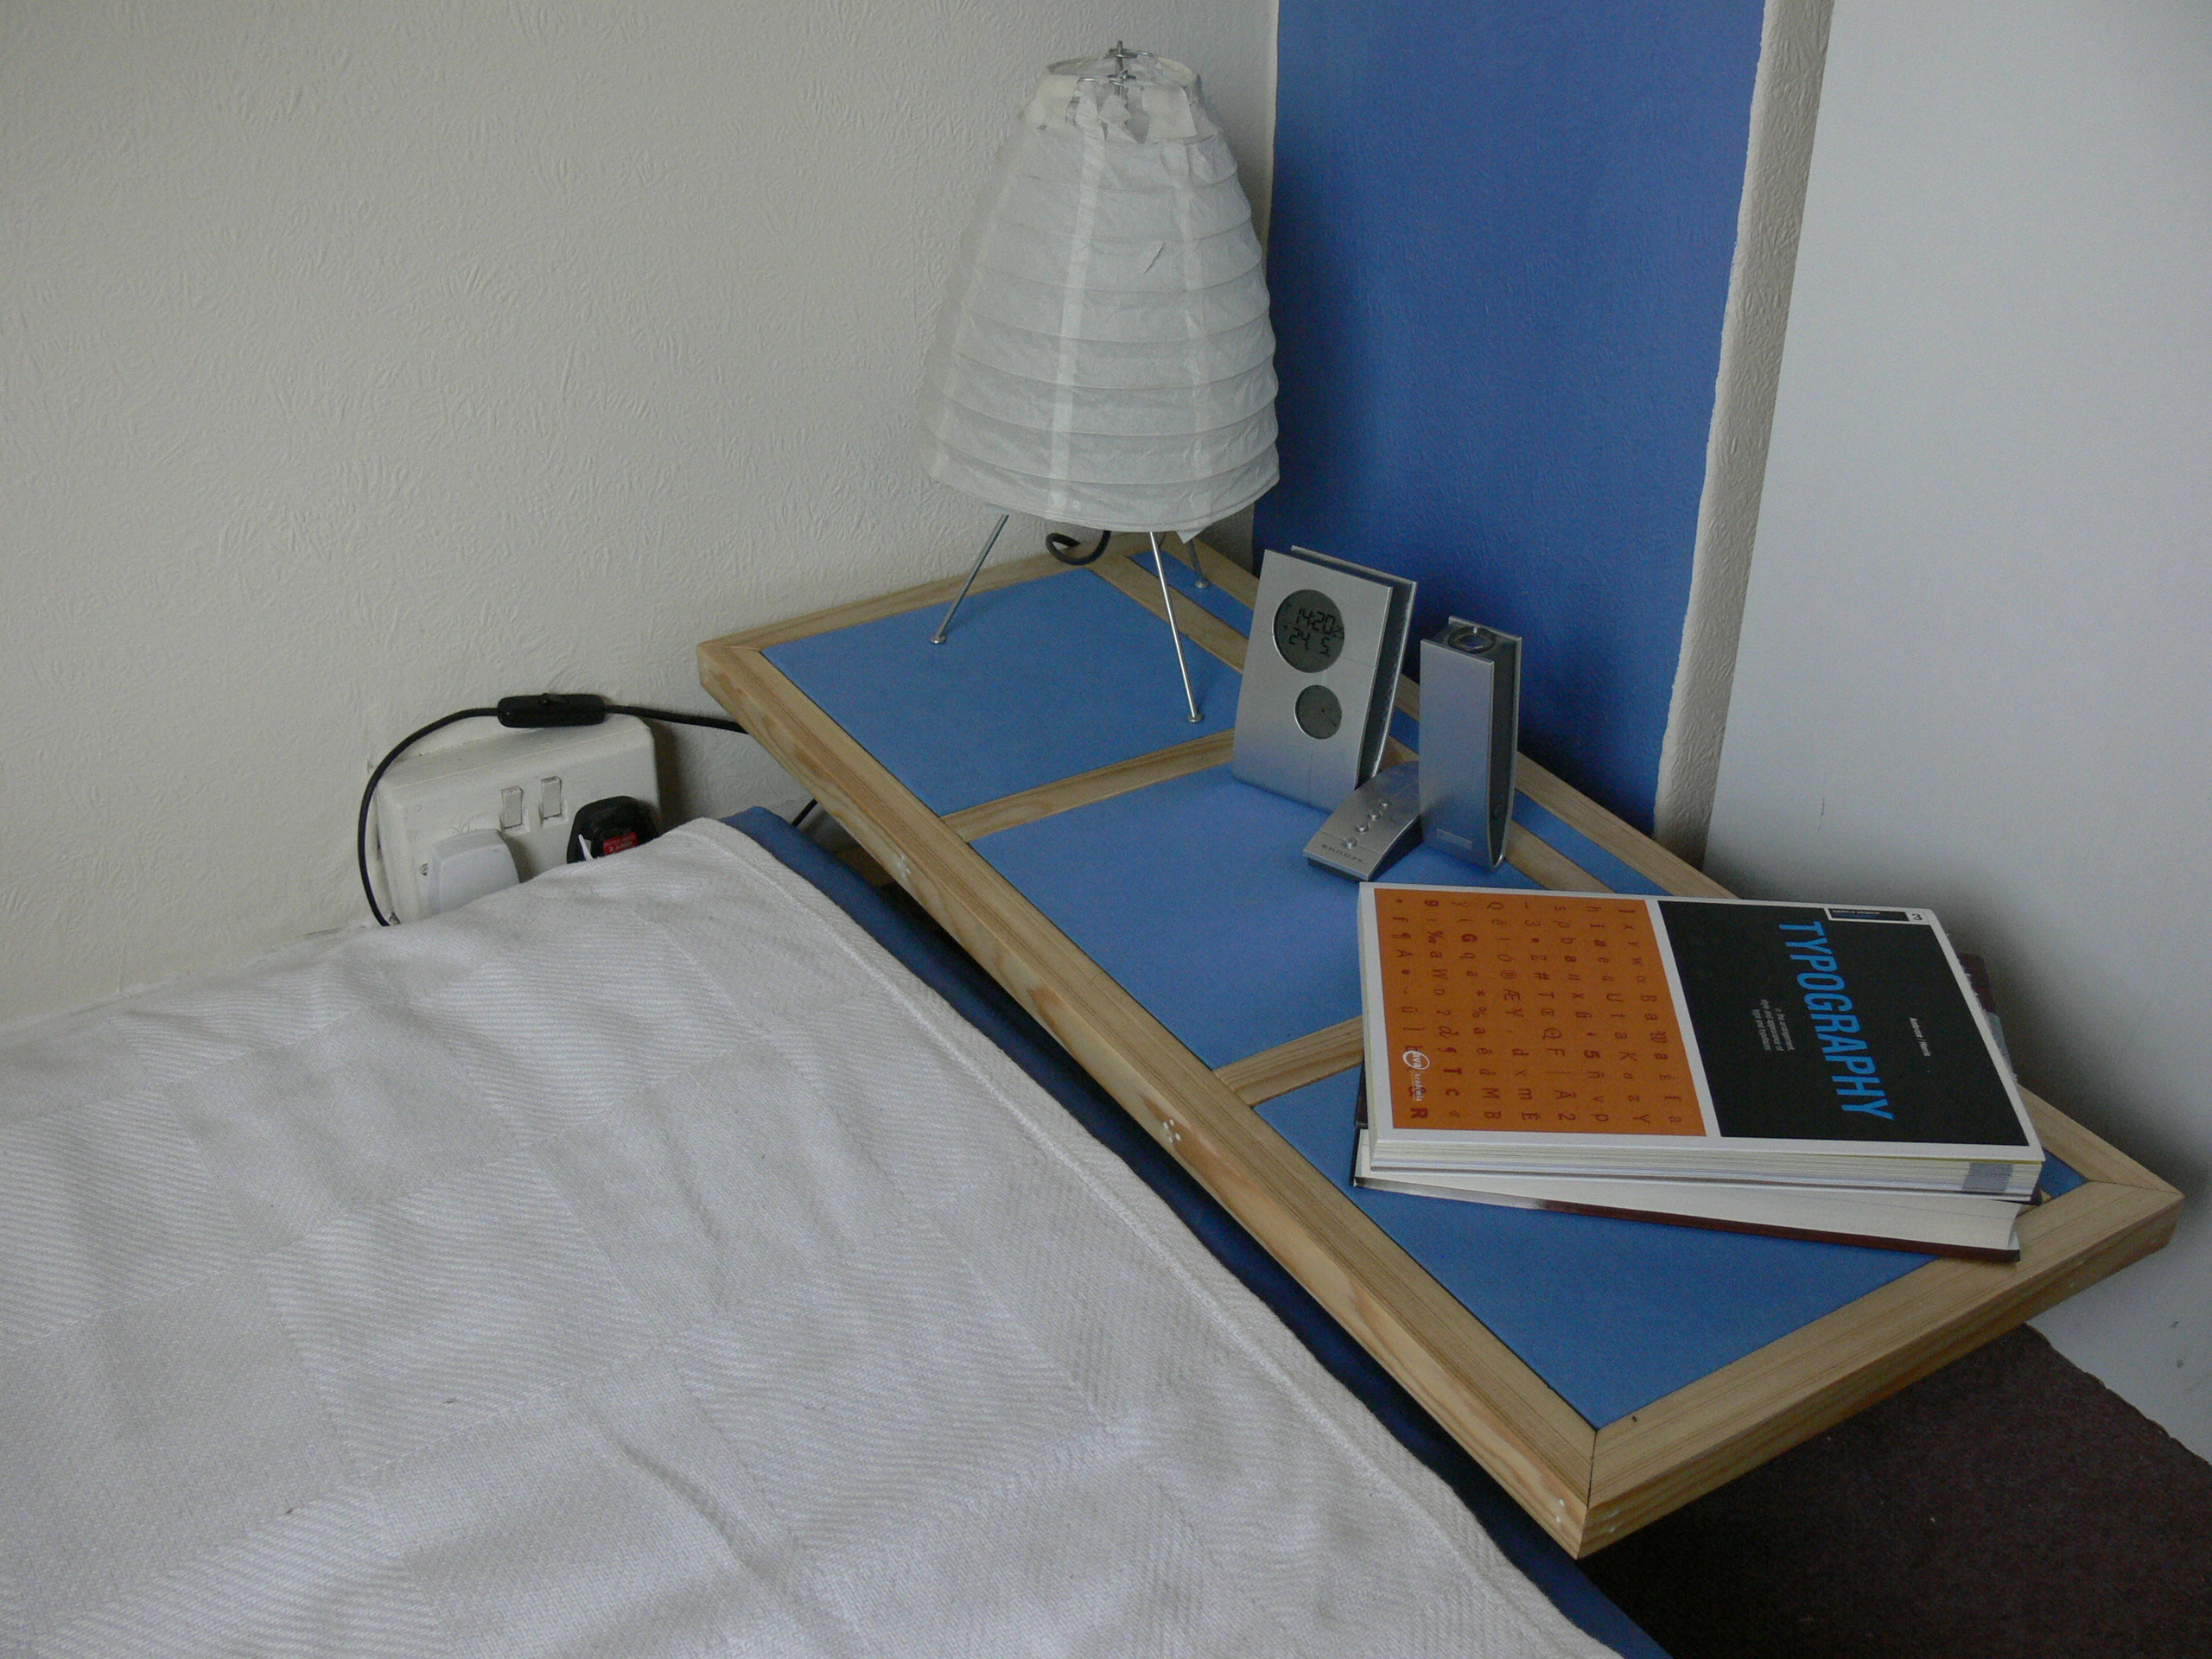
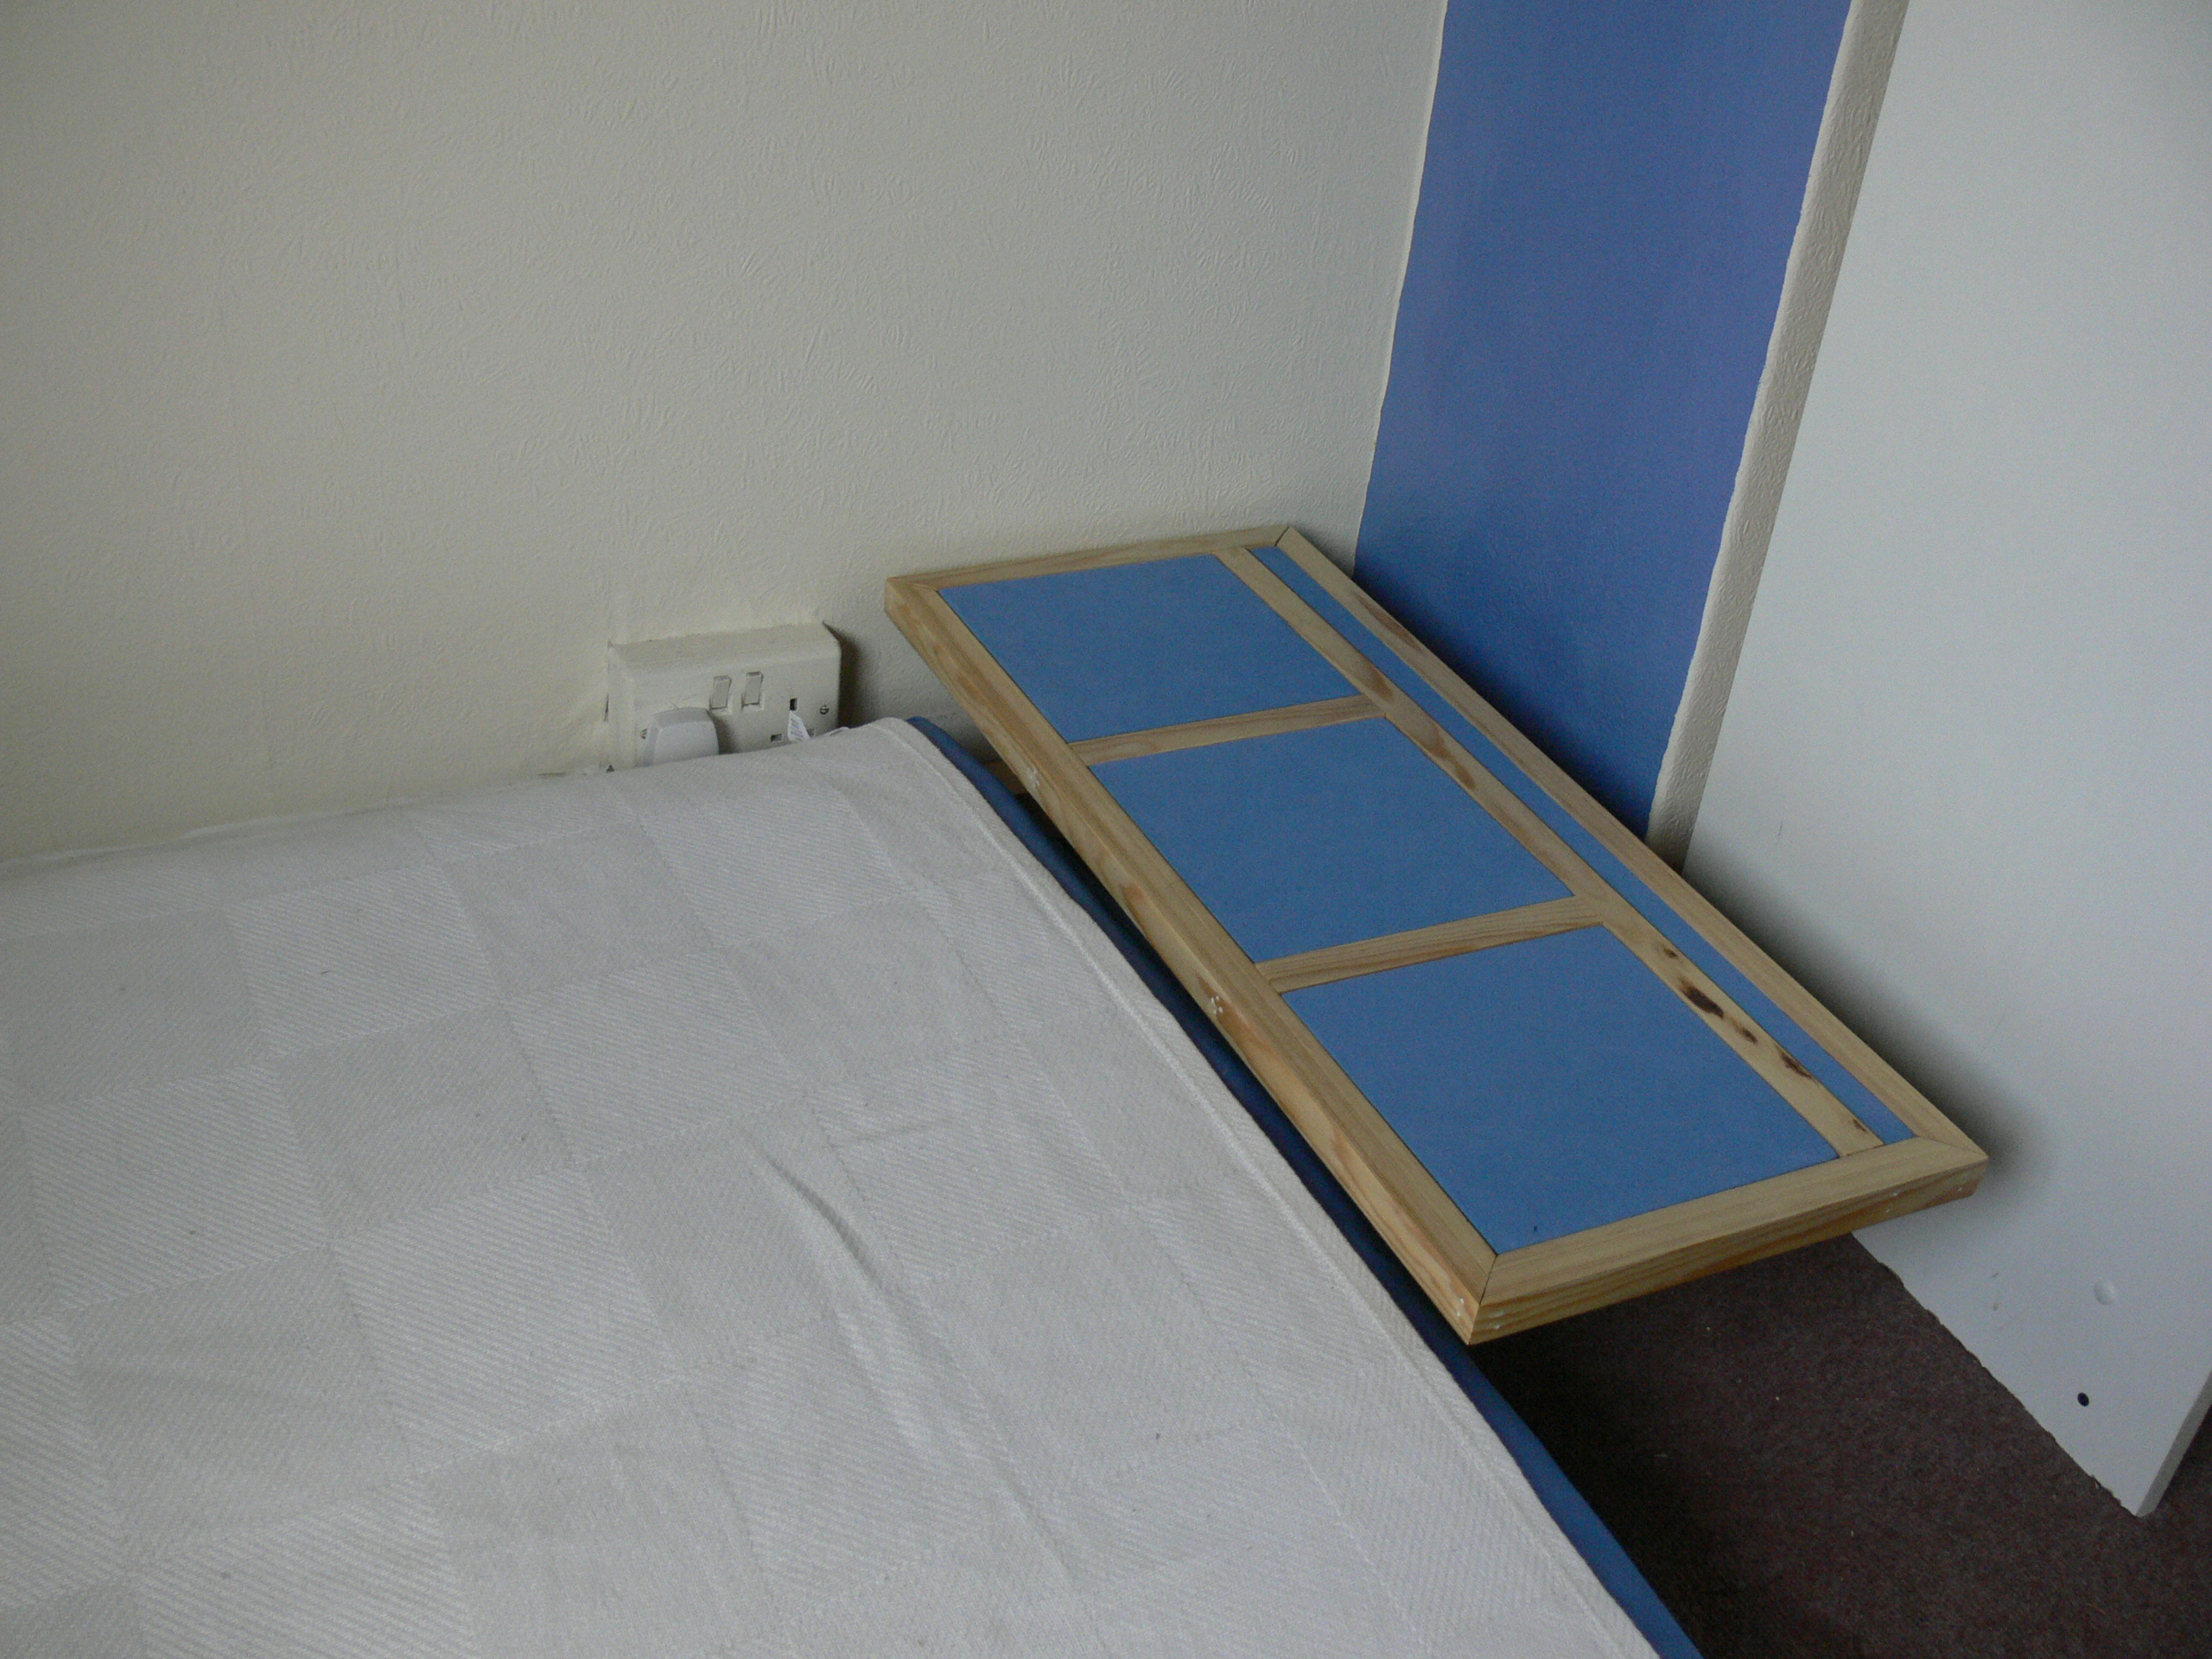
A small bedside table designed to sit beside a futon. Has interchangeable upholstered panels held in place with magnets, hidden storage underneath them, and two central legs with a wall fixing that give it a much lighter looking design than a normal 4 legged table.
Making this does require basic woodworking skills.
Materials:
2 x 2.4m of 25 x 25mm pine
1 x 2.4m of 10mm x 10mm pine
1 x 25cm of 40mm x 40mm pine
Assorted screws, nails and pins
24 x 7mm x 4mm rare earth magnet
Approx. 1 1/2 sq metre of fabric (a couple of t-shirts worth)
6 x small metal L bracket
2 x metal T plate
3 x straight metal mending plate
Filler
Varnish
6 x small wooden kebab skewer
Webbing material (such as non-slip matting)
Tools:
Tenon saw
Pump cramps
Electric drill
Hammer
Nail punch
Staple gun
Scissors
Rubber mallet
Chisels
Sandpaper
Design and Cutting List
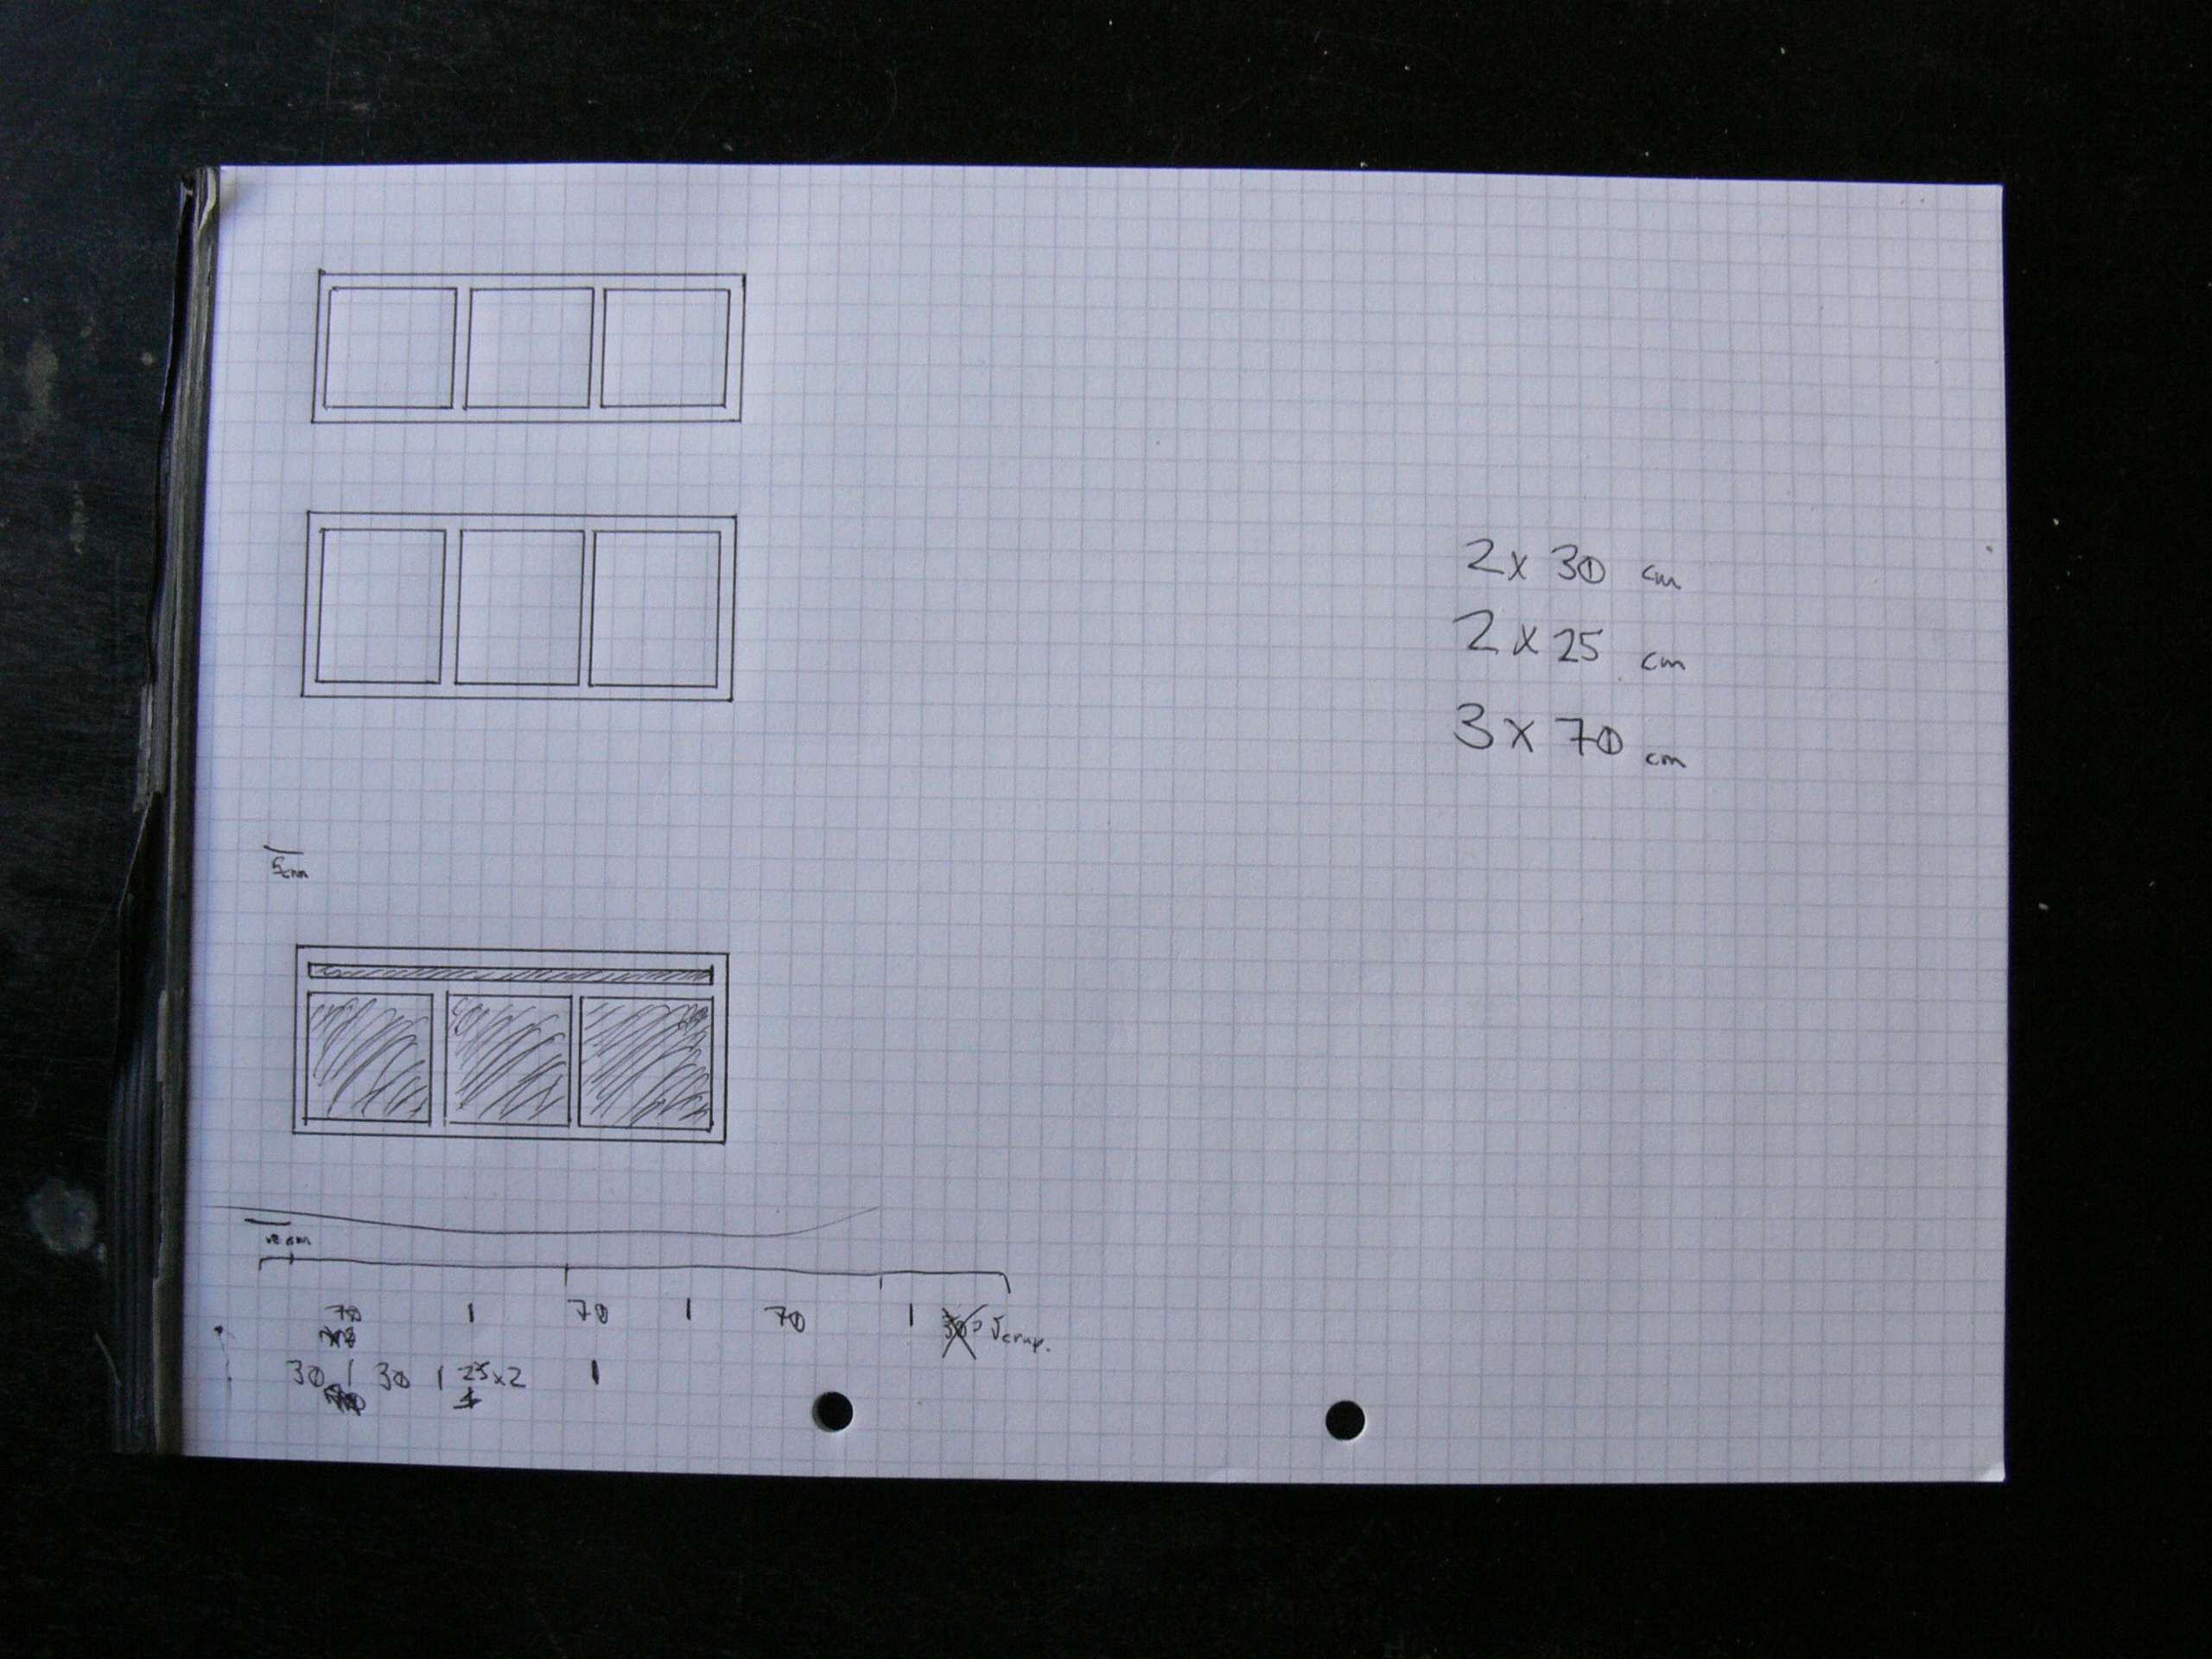
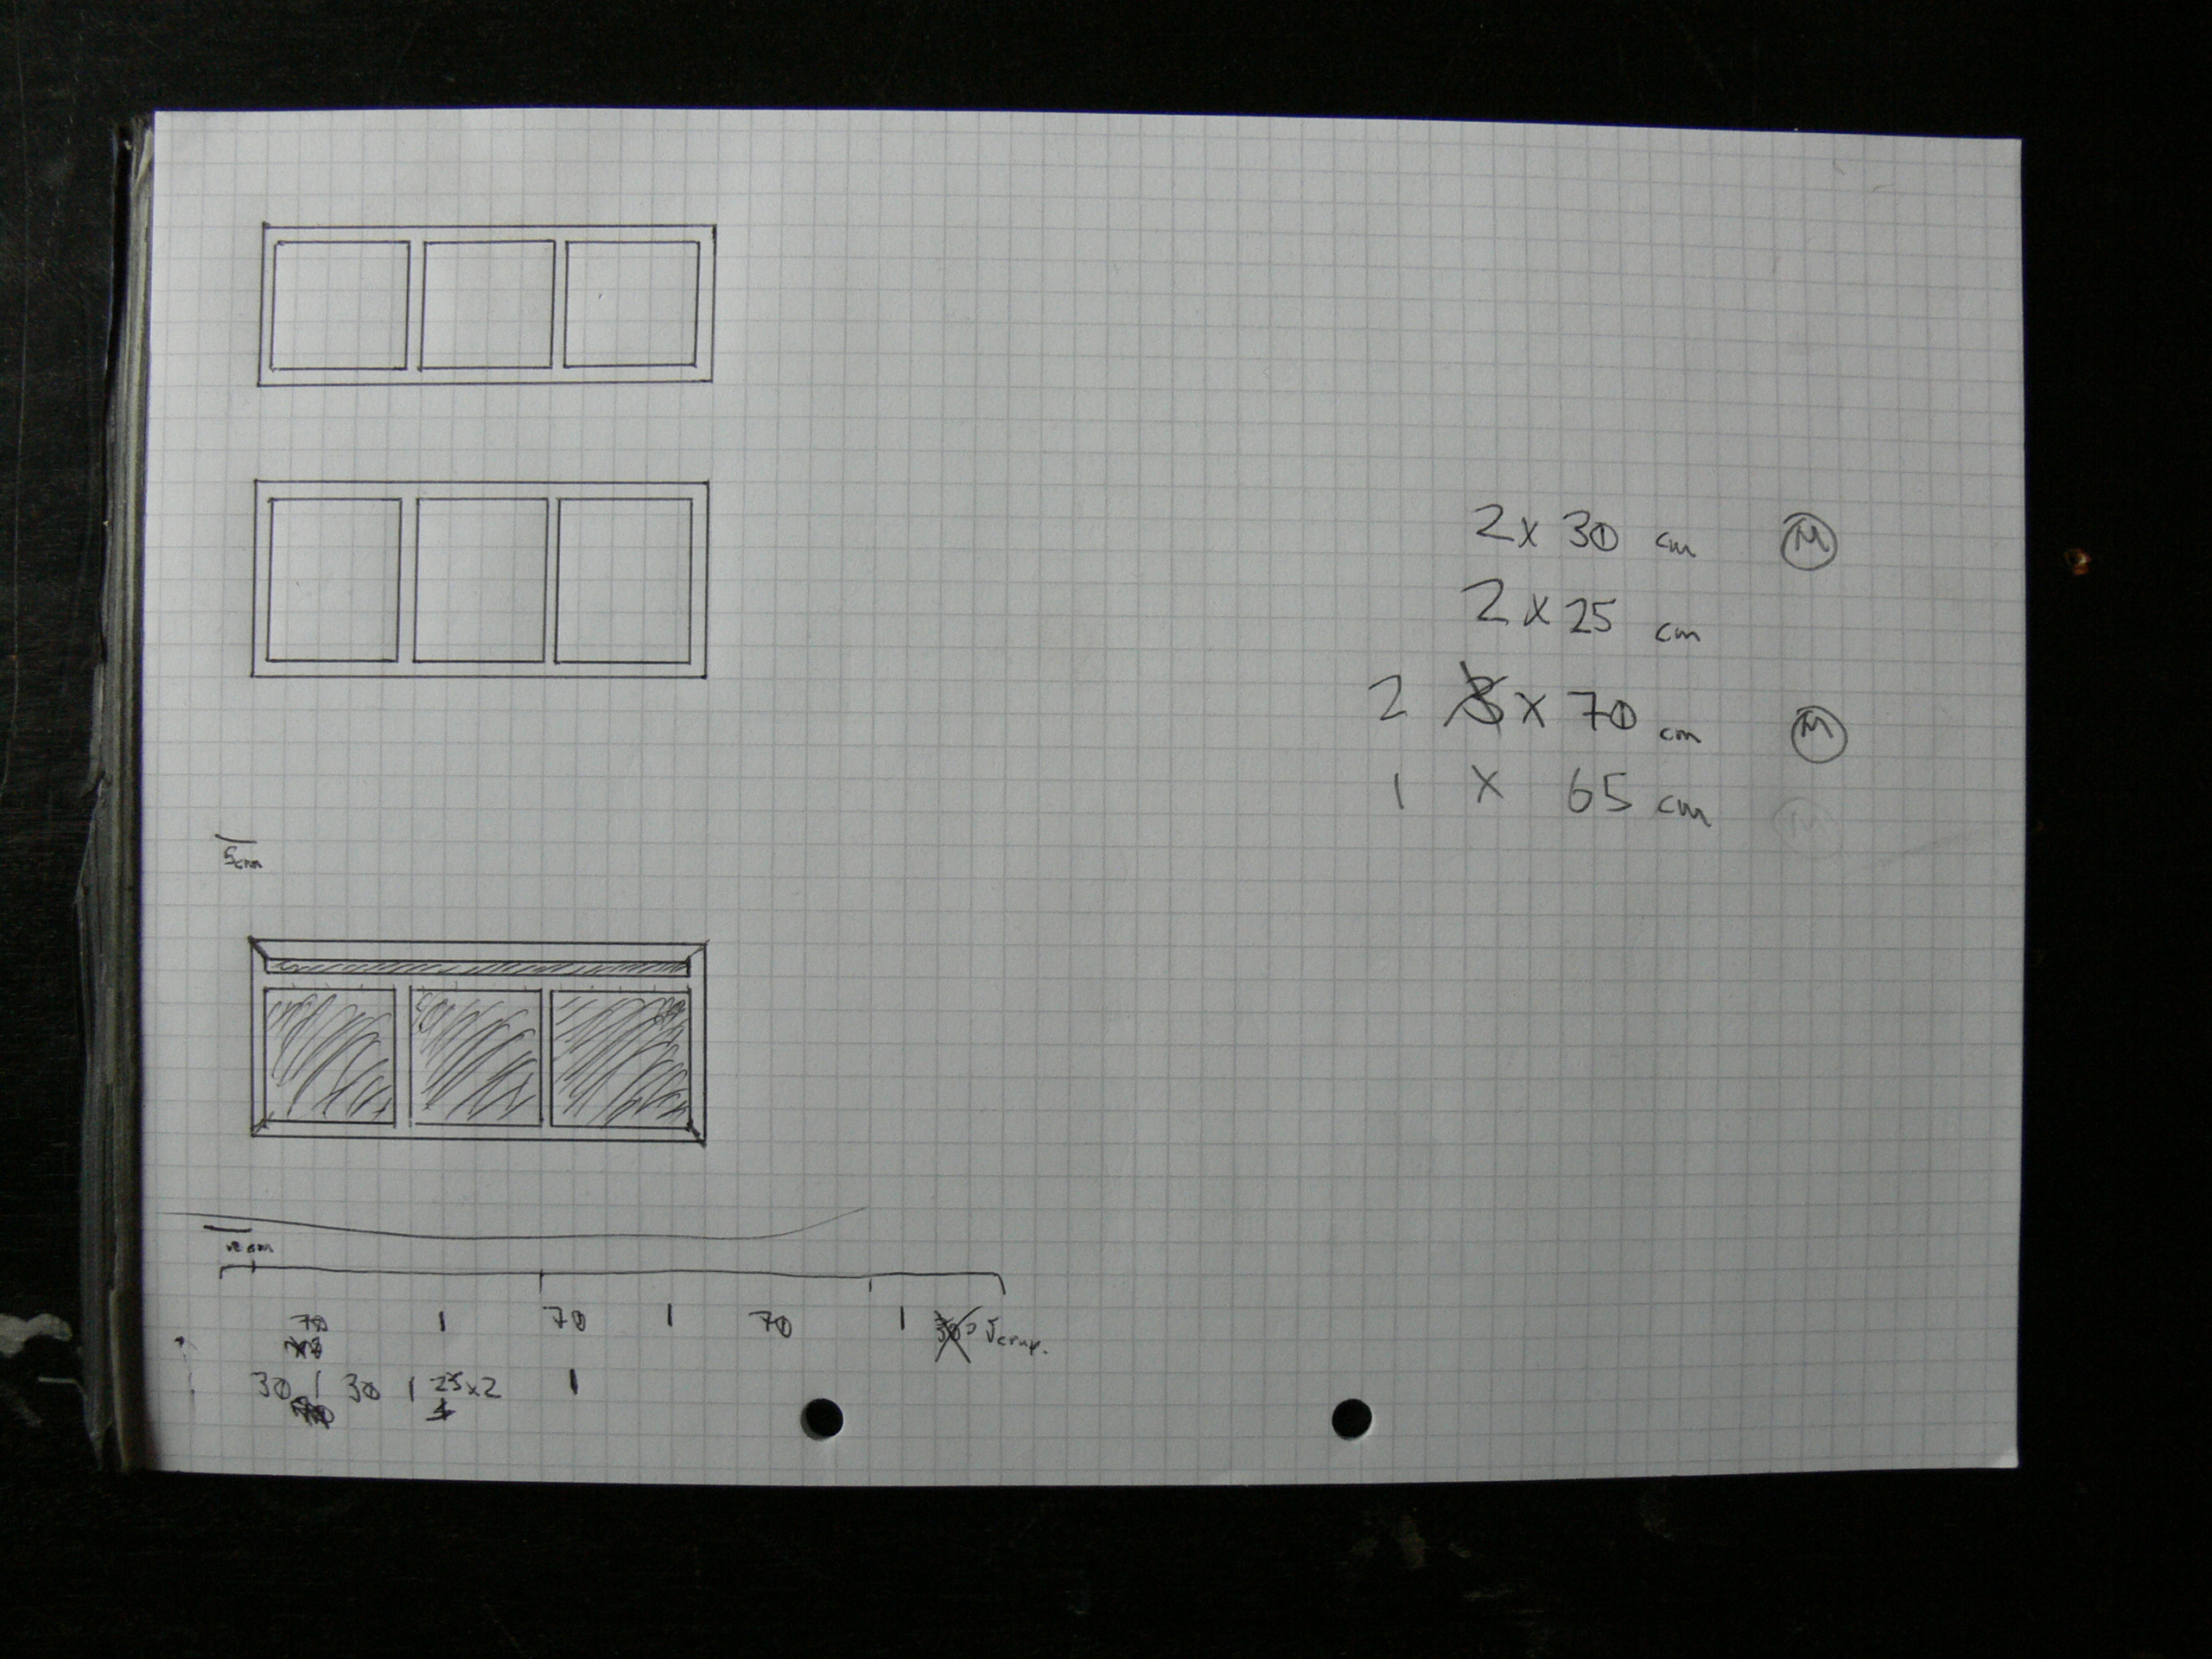
I quickly laid out a few designs to see what I wanted.
I knew I wanted the panels to be square, and for there to be three of them. The squares alone were too lanky, so I decided on a ratio something like a widescreen TV. Rectangular panels didn't work but that proportion did, so I settled on three square panels and a long stripe beside them.
Whatever you design, make a cutting list. Look over the drawing, list every last piece of wood you'll need to cut to make it, then double check it before cutting anything. I made a mistake but caught it before picking up my saw. Image 2 shows the corrected cutting list, also with Ms circled beside the pieces that needed mitres cutting on the ends.
Image 3 shows all of the pieces cut and ready to fix together.
Assembly Jig
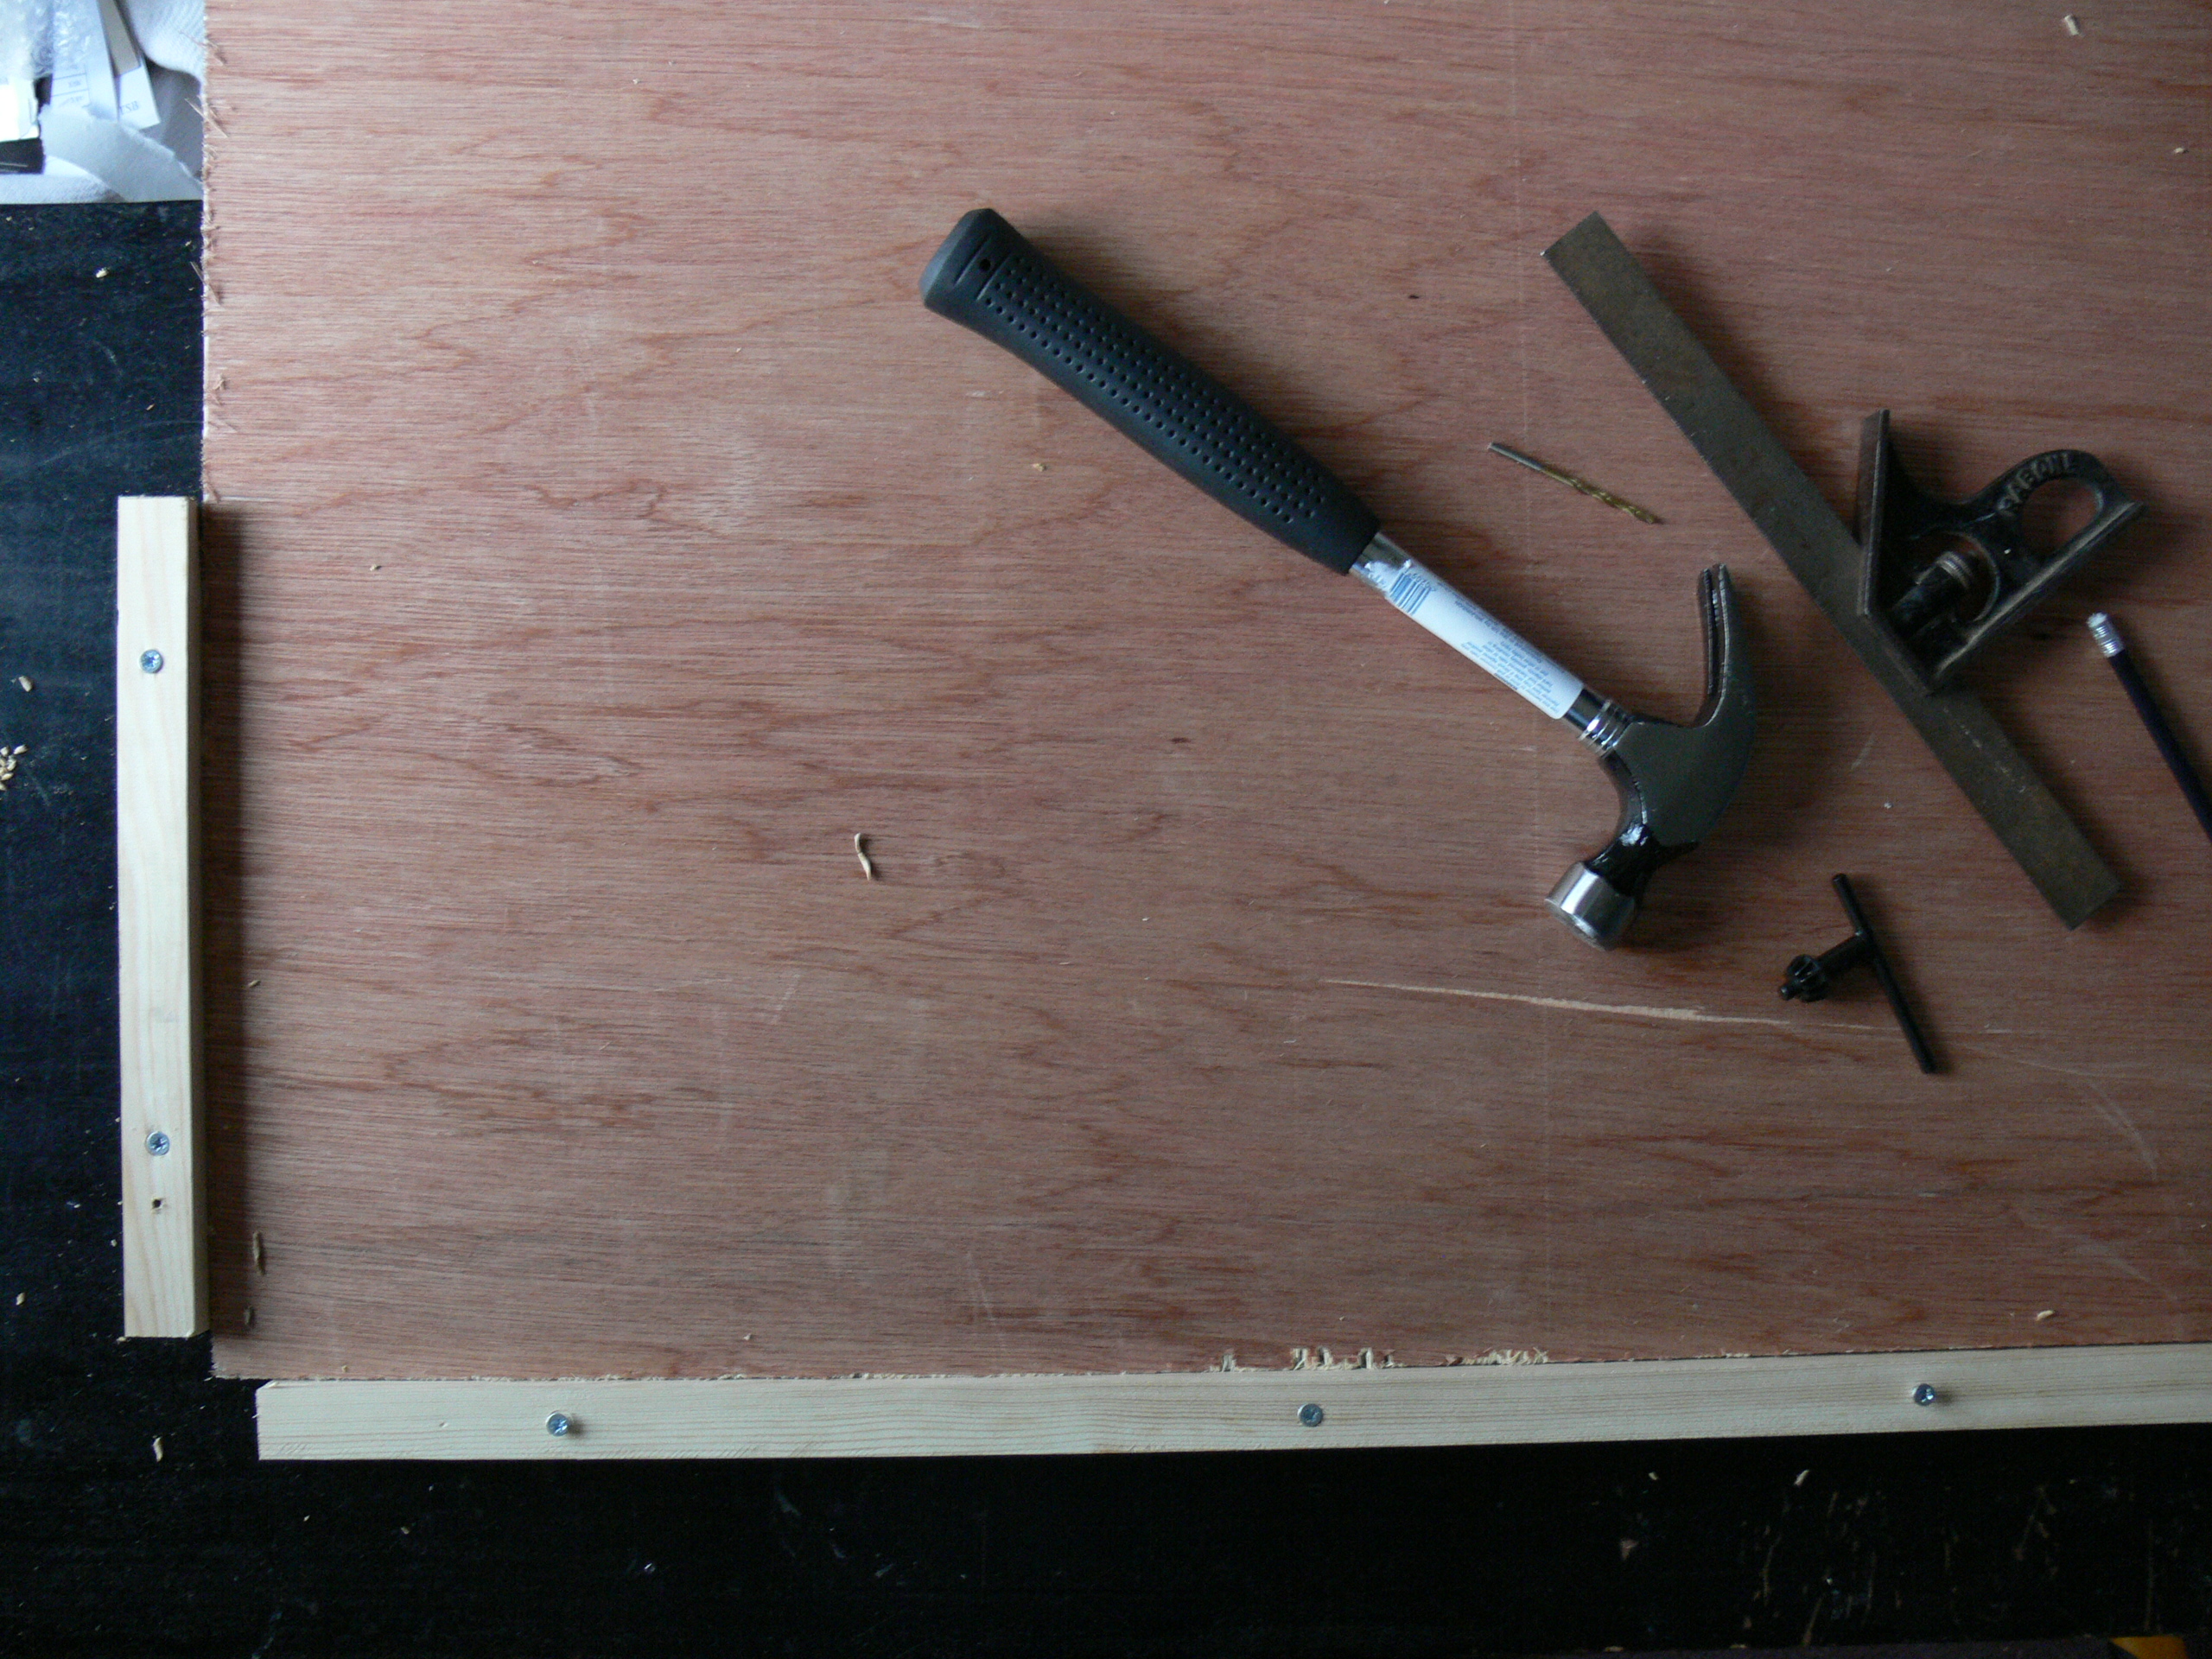
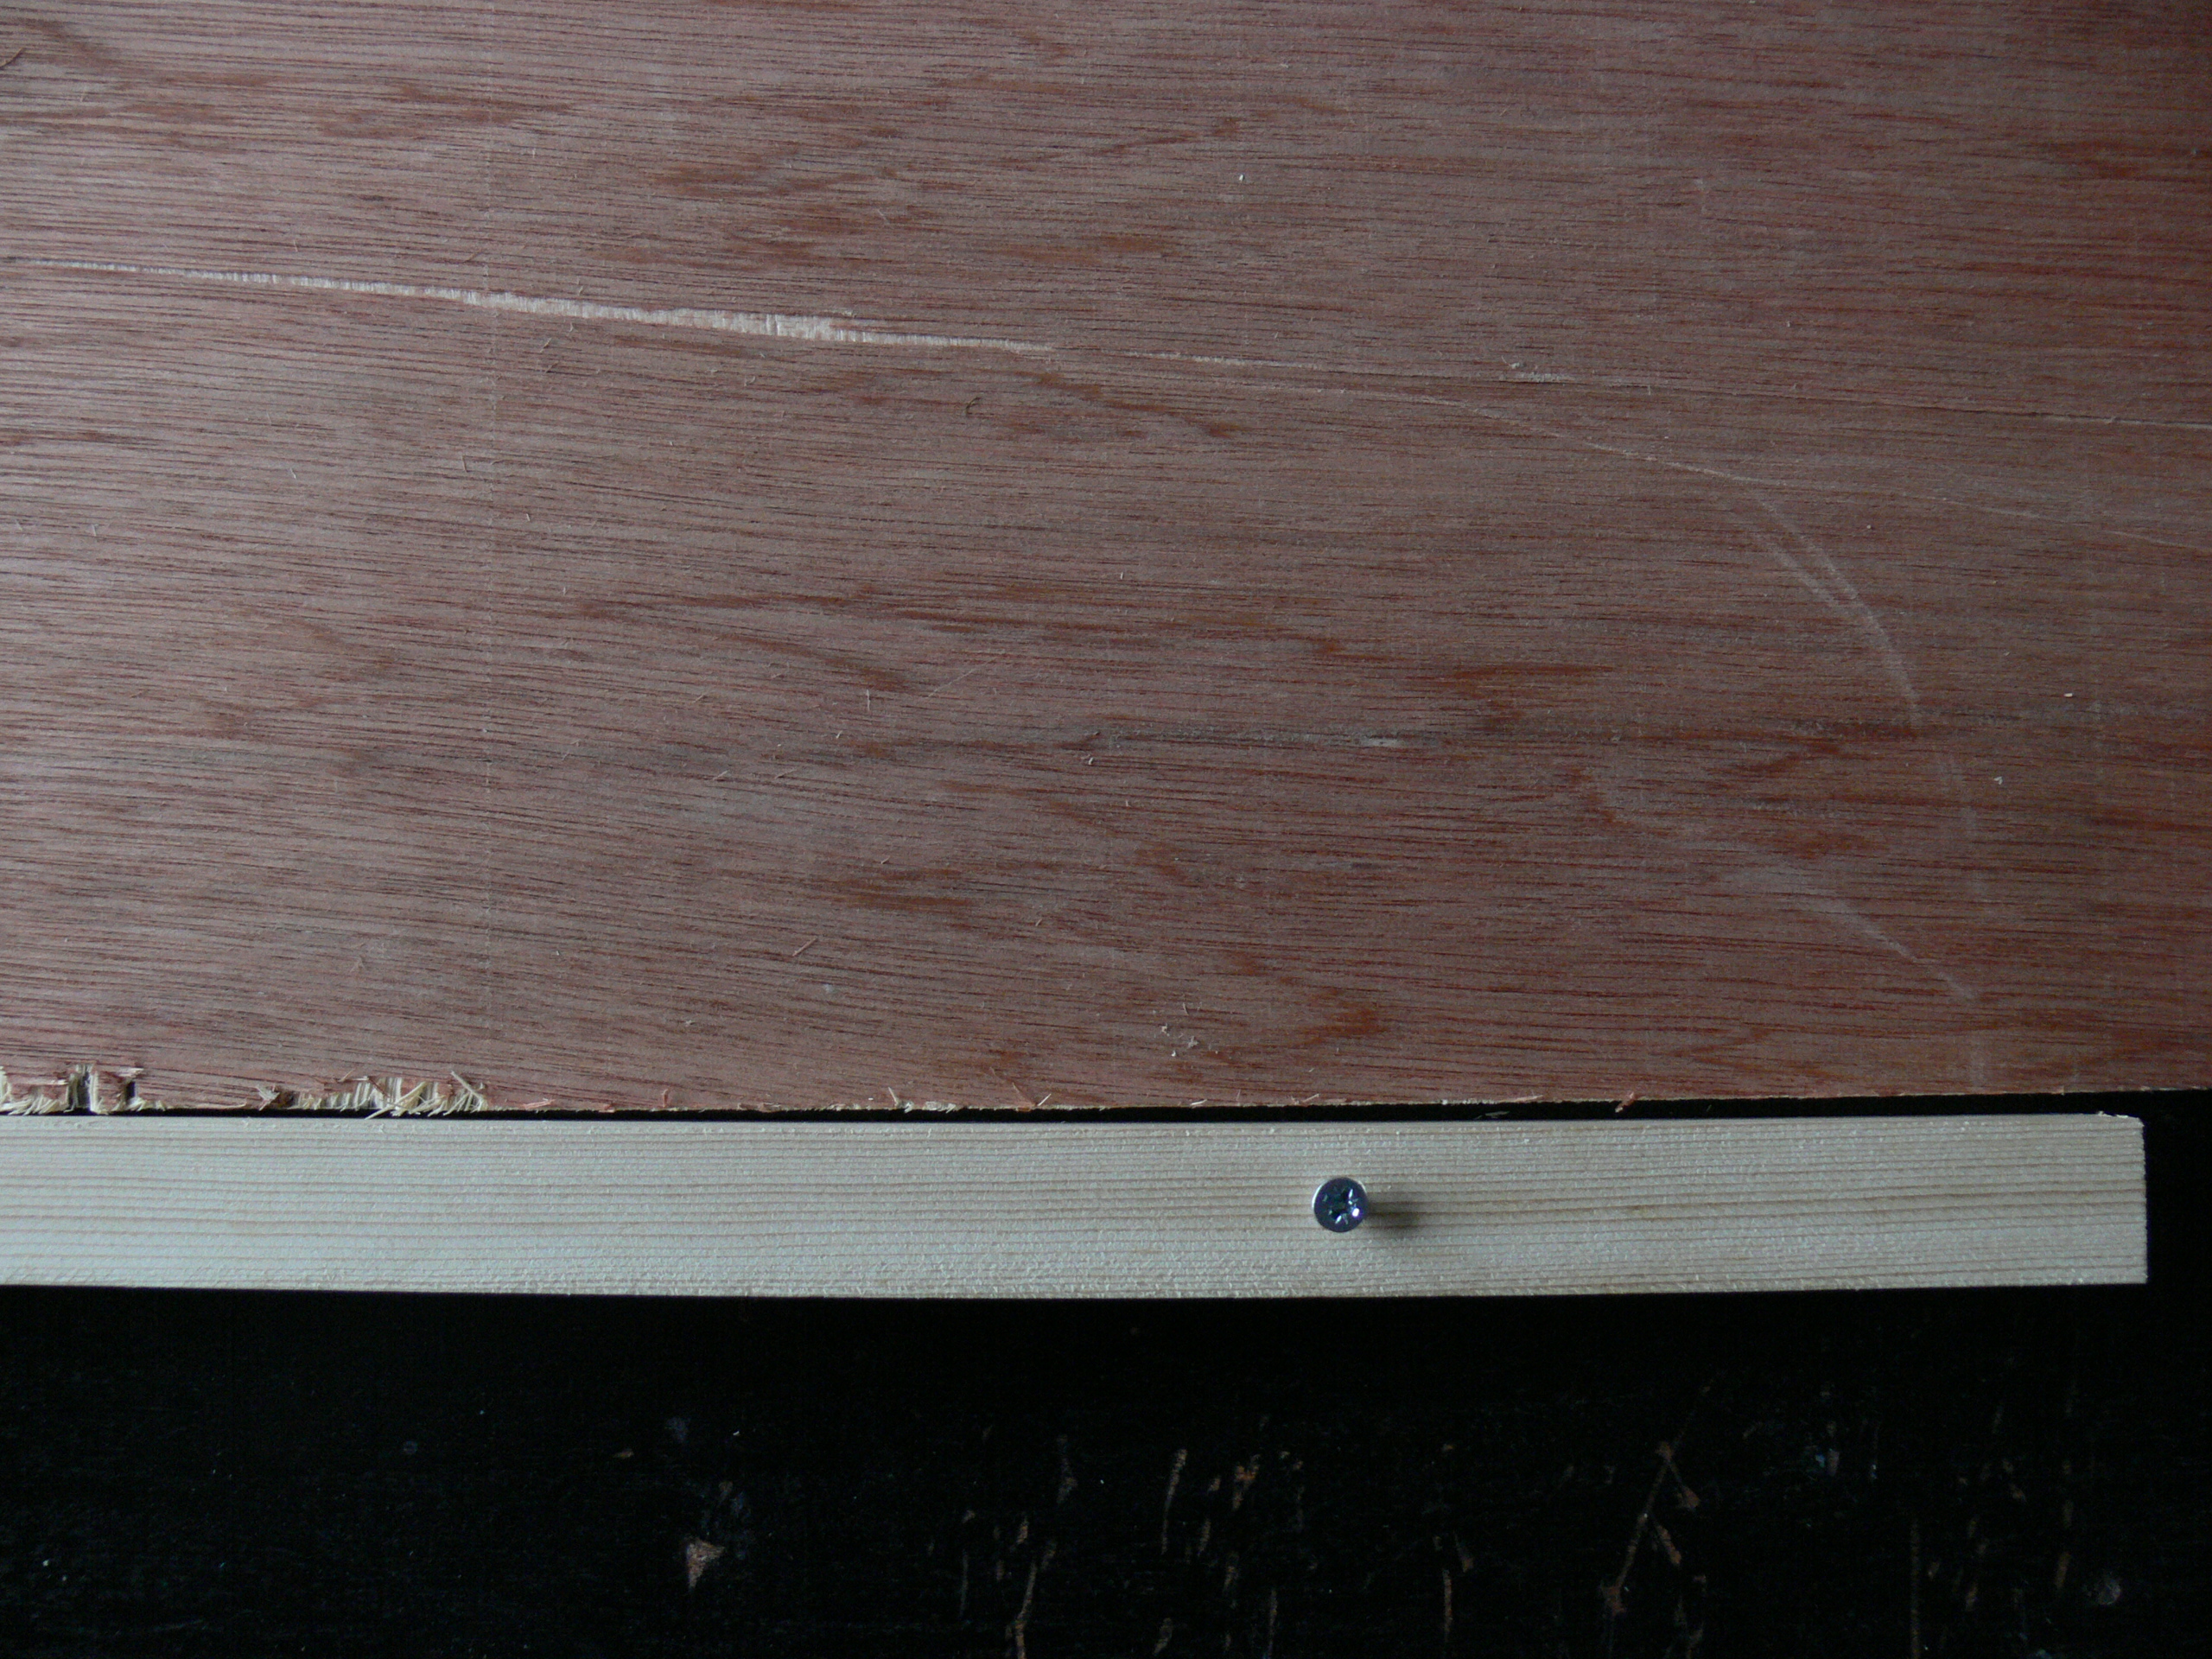
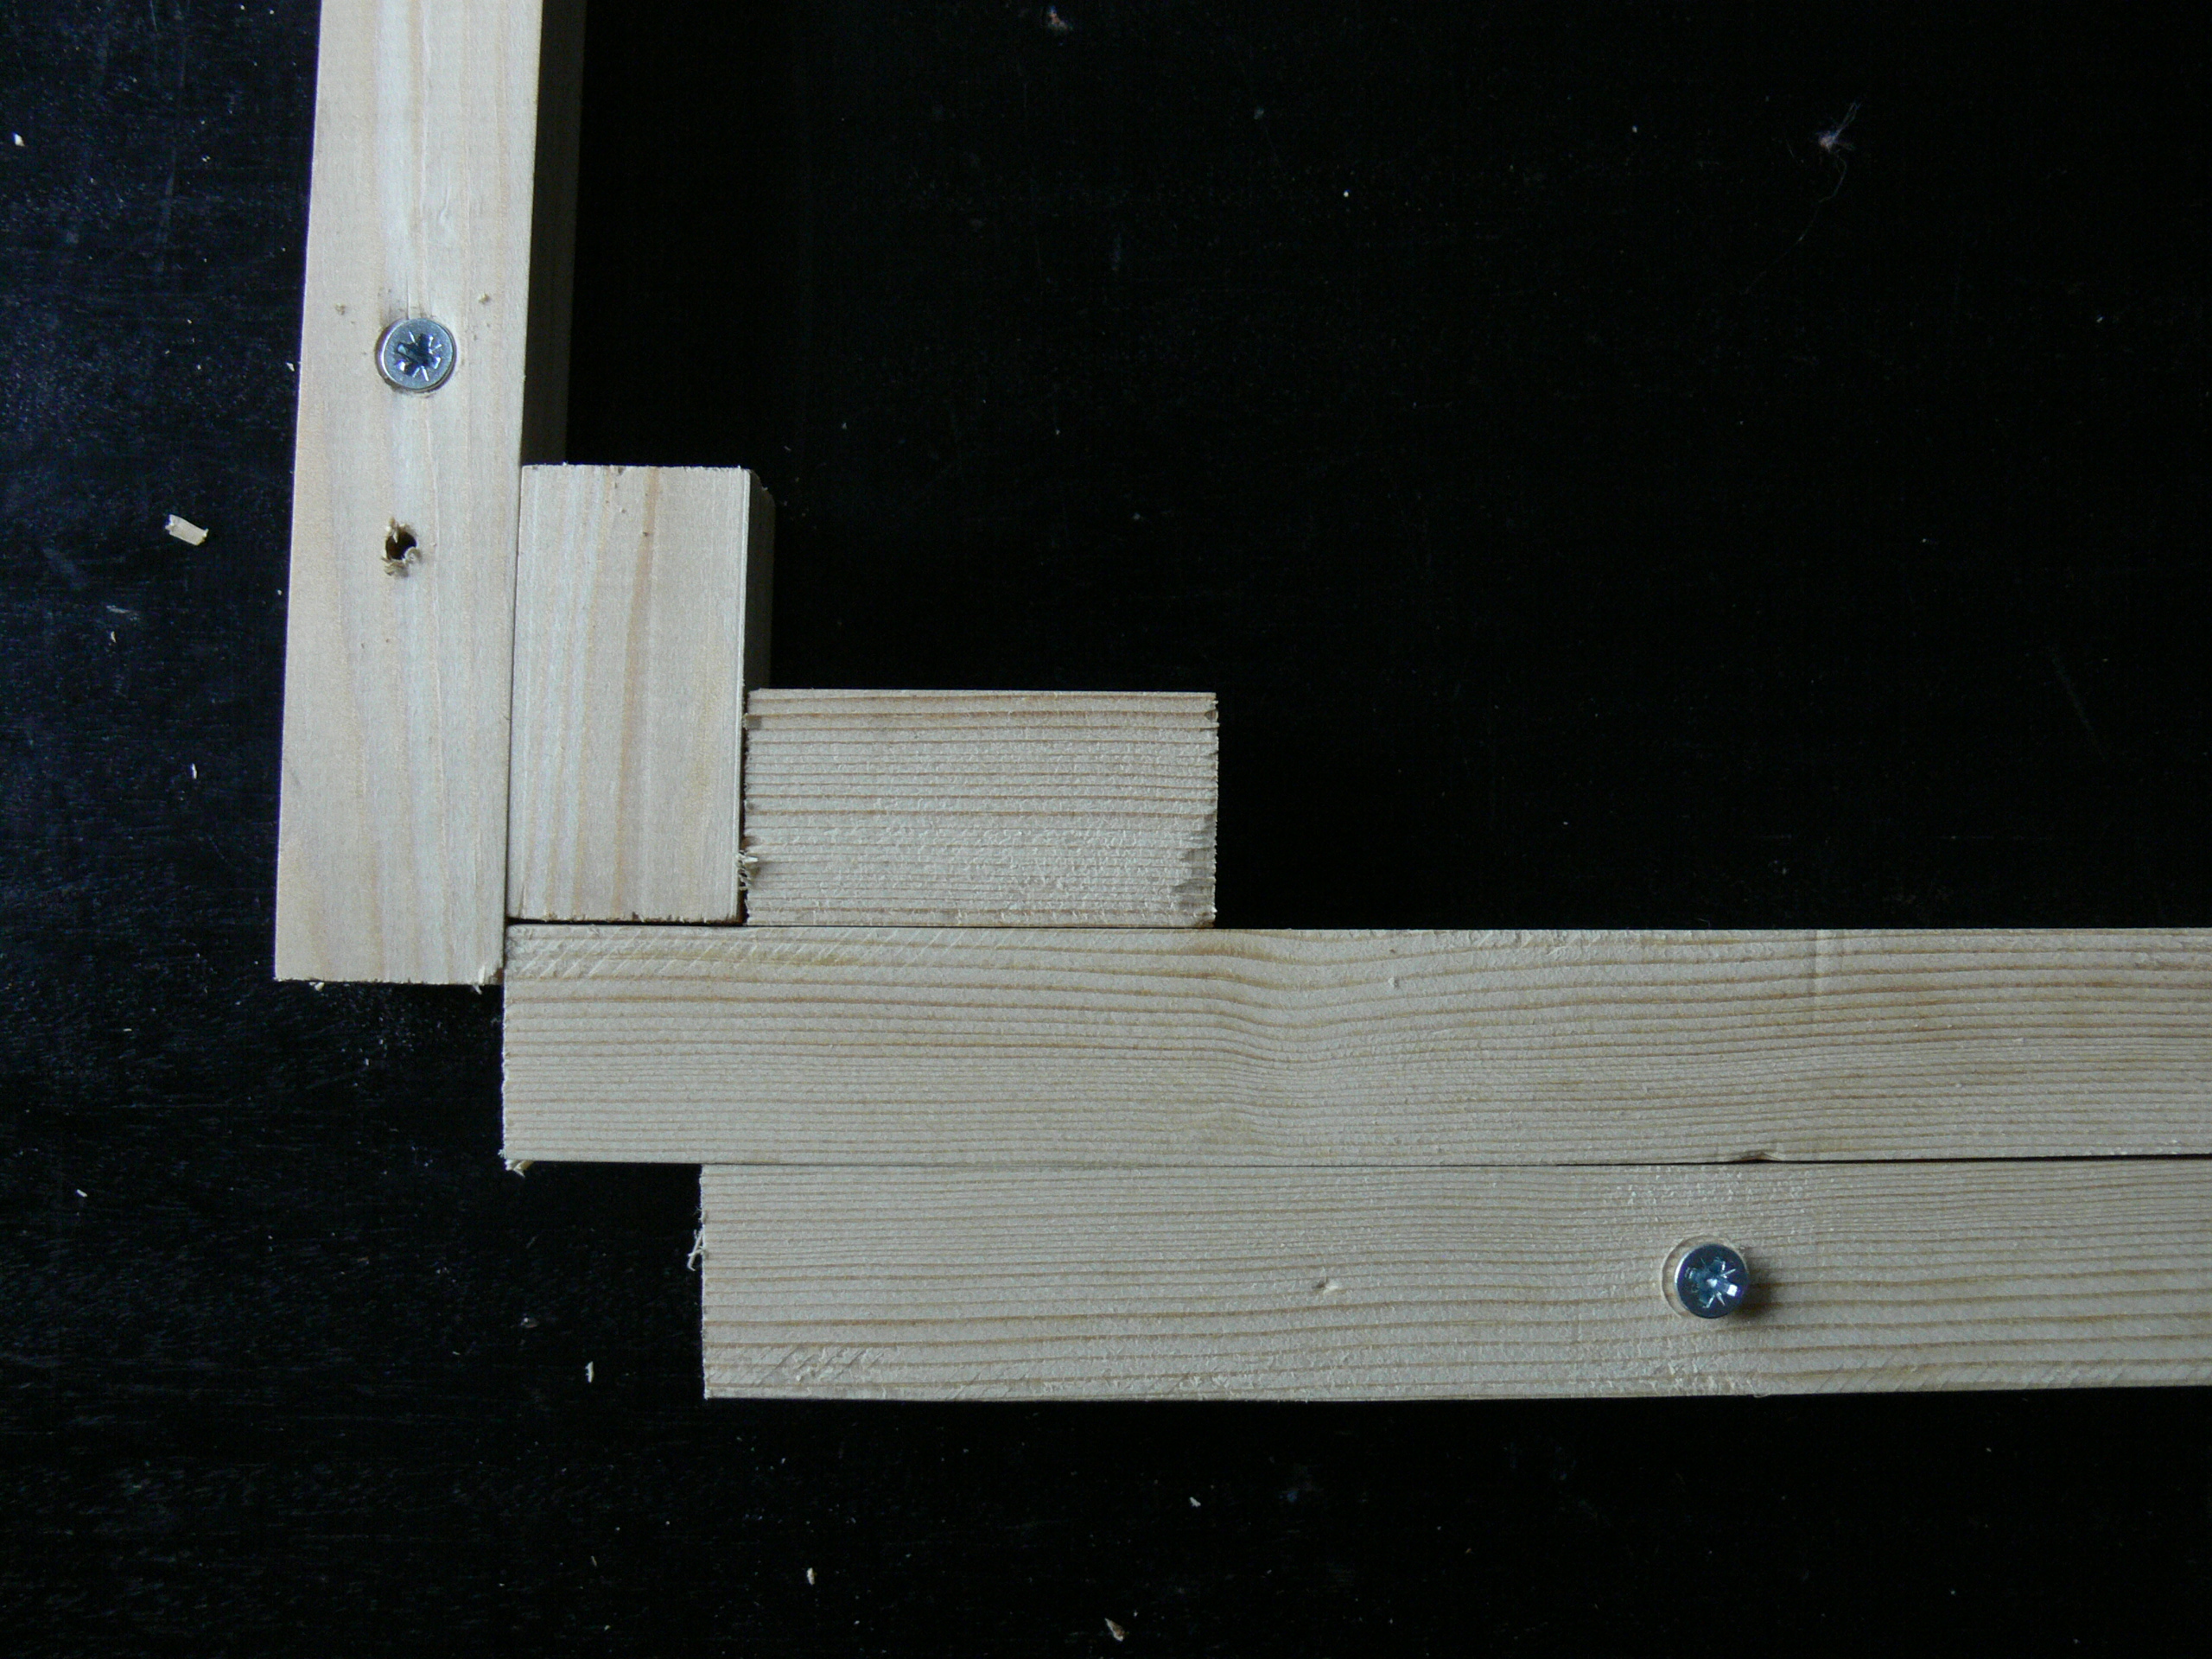
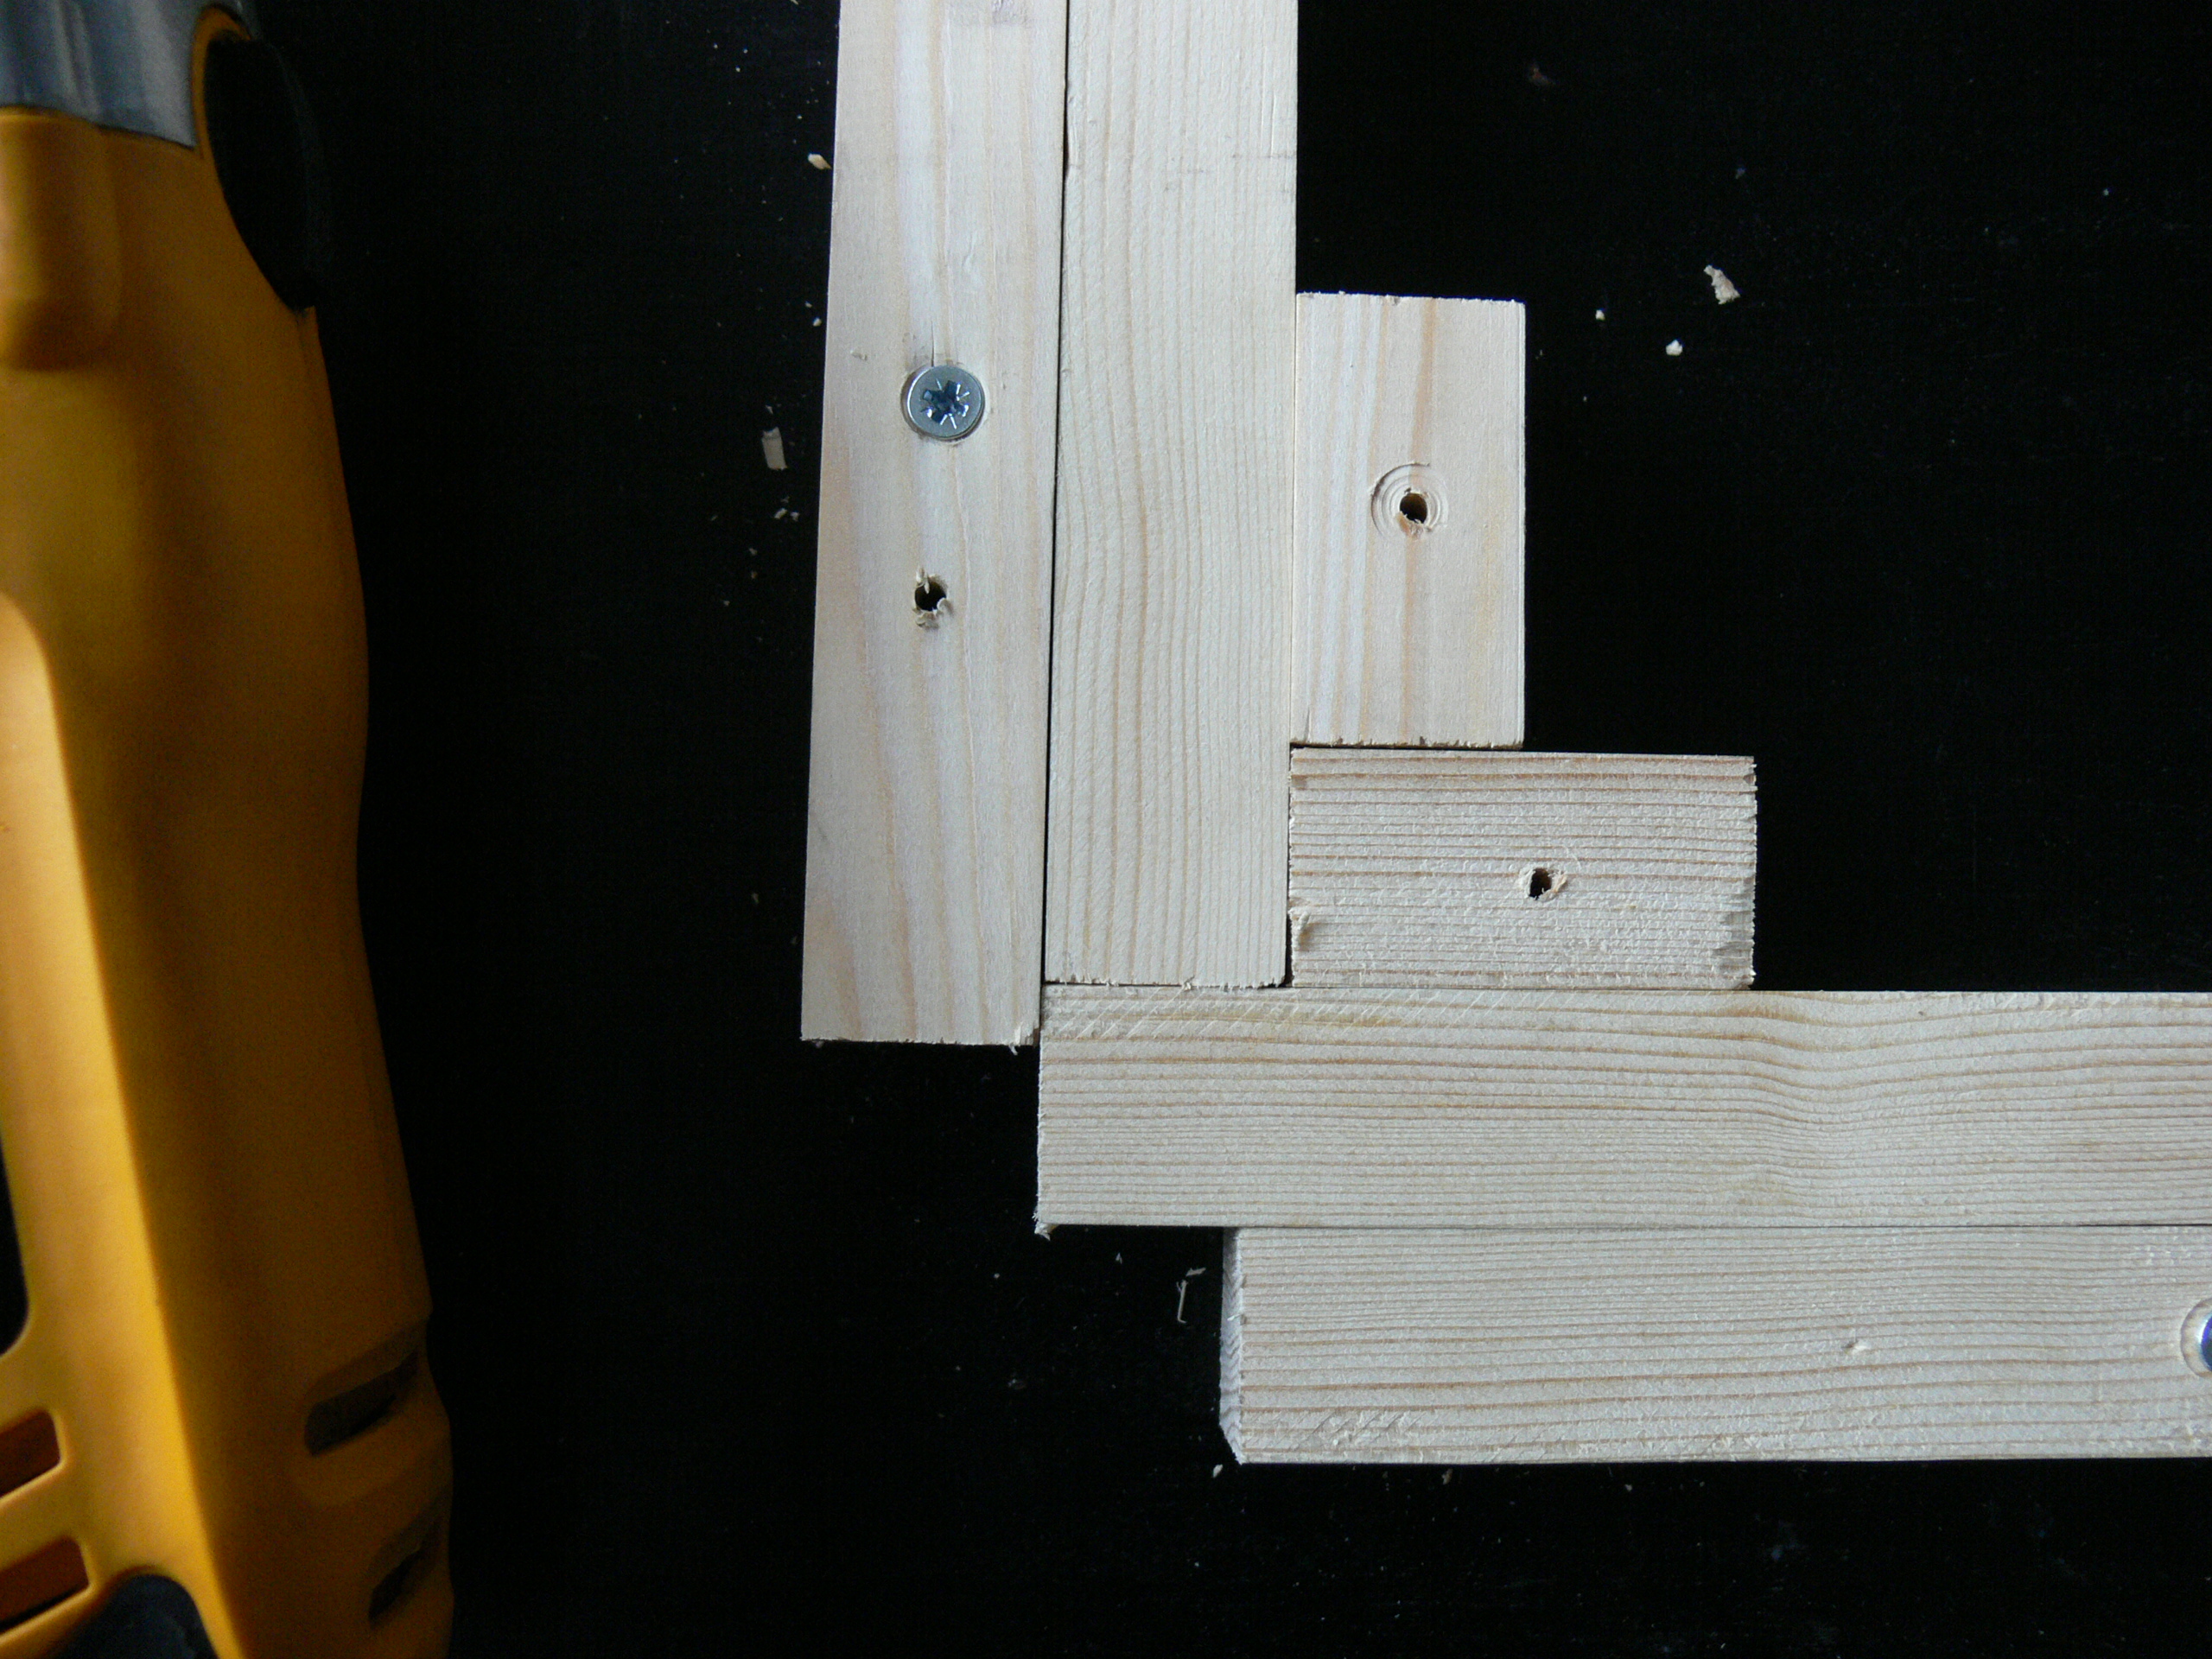
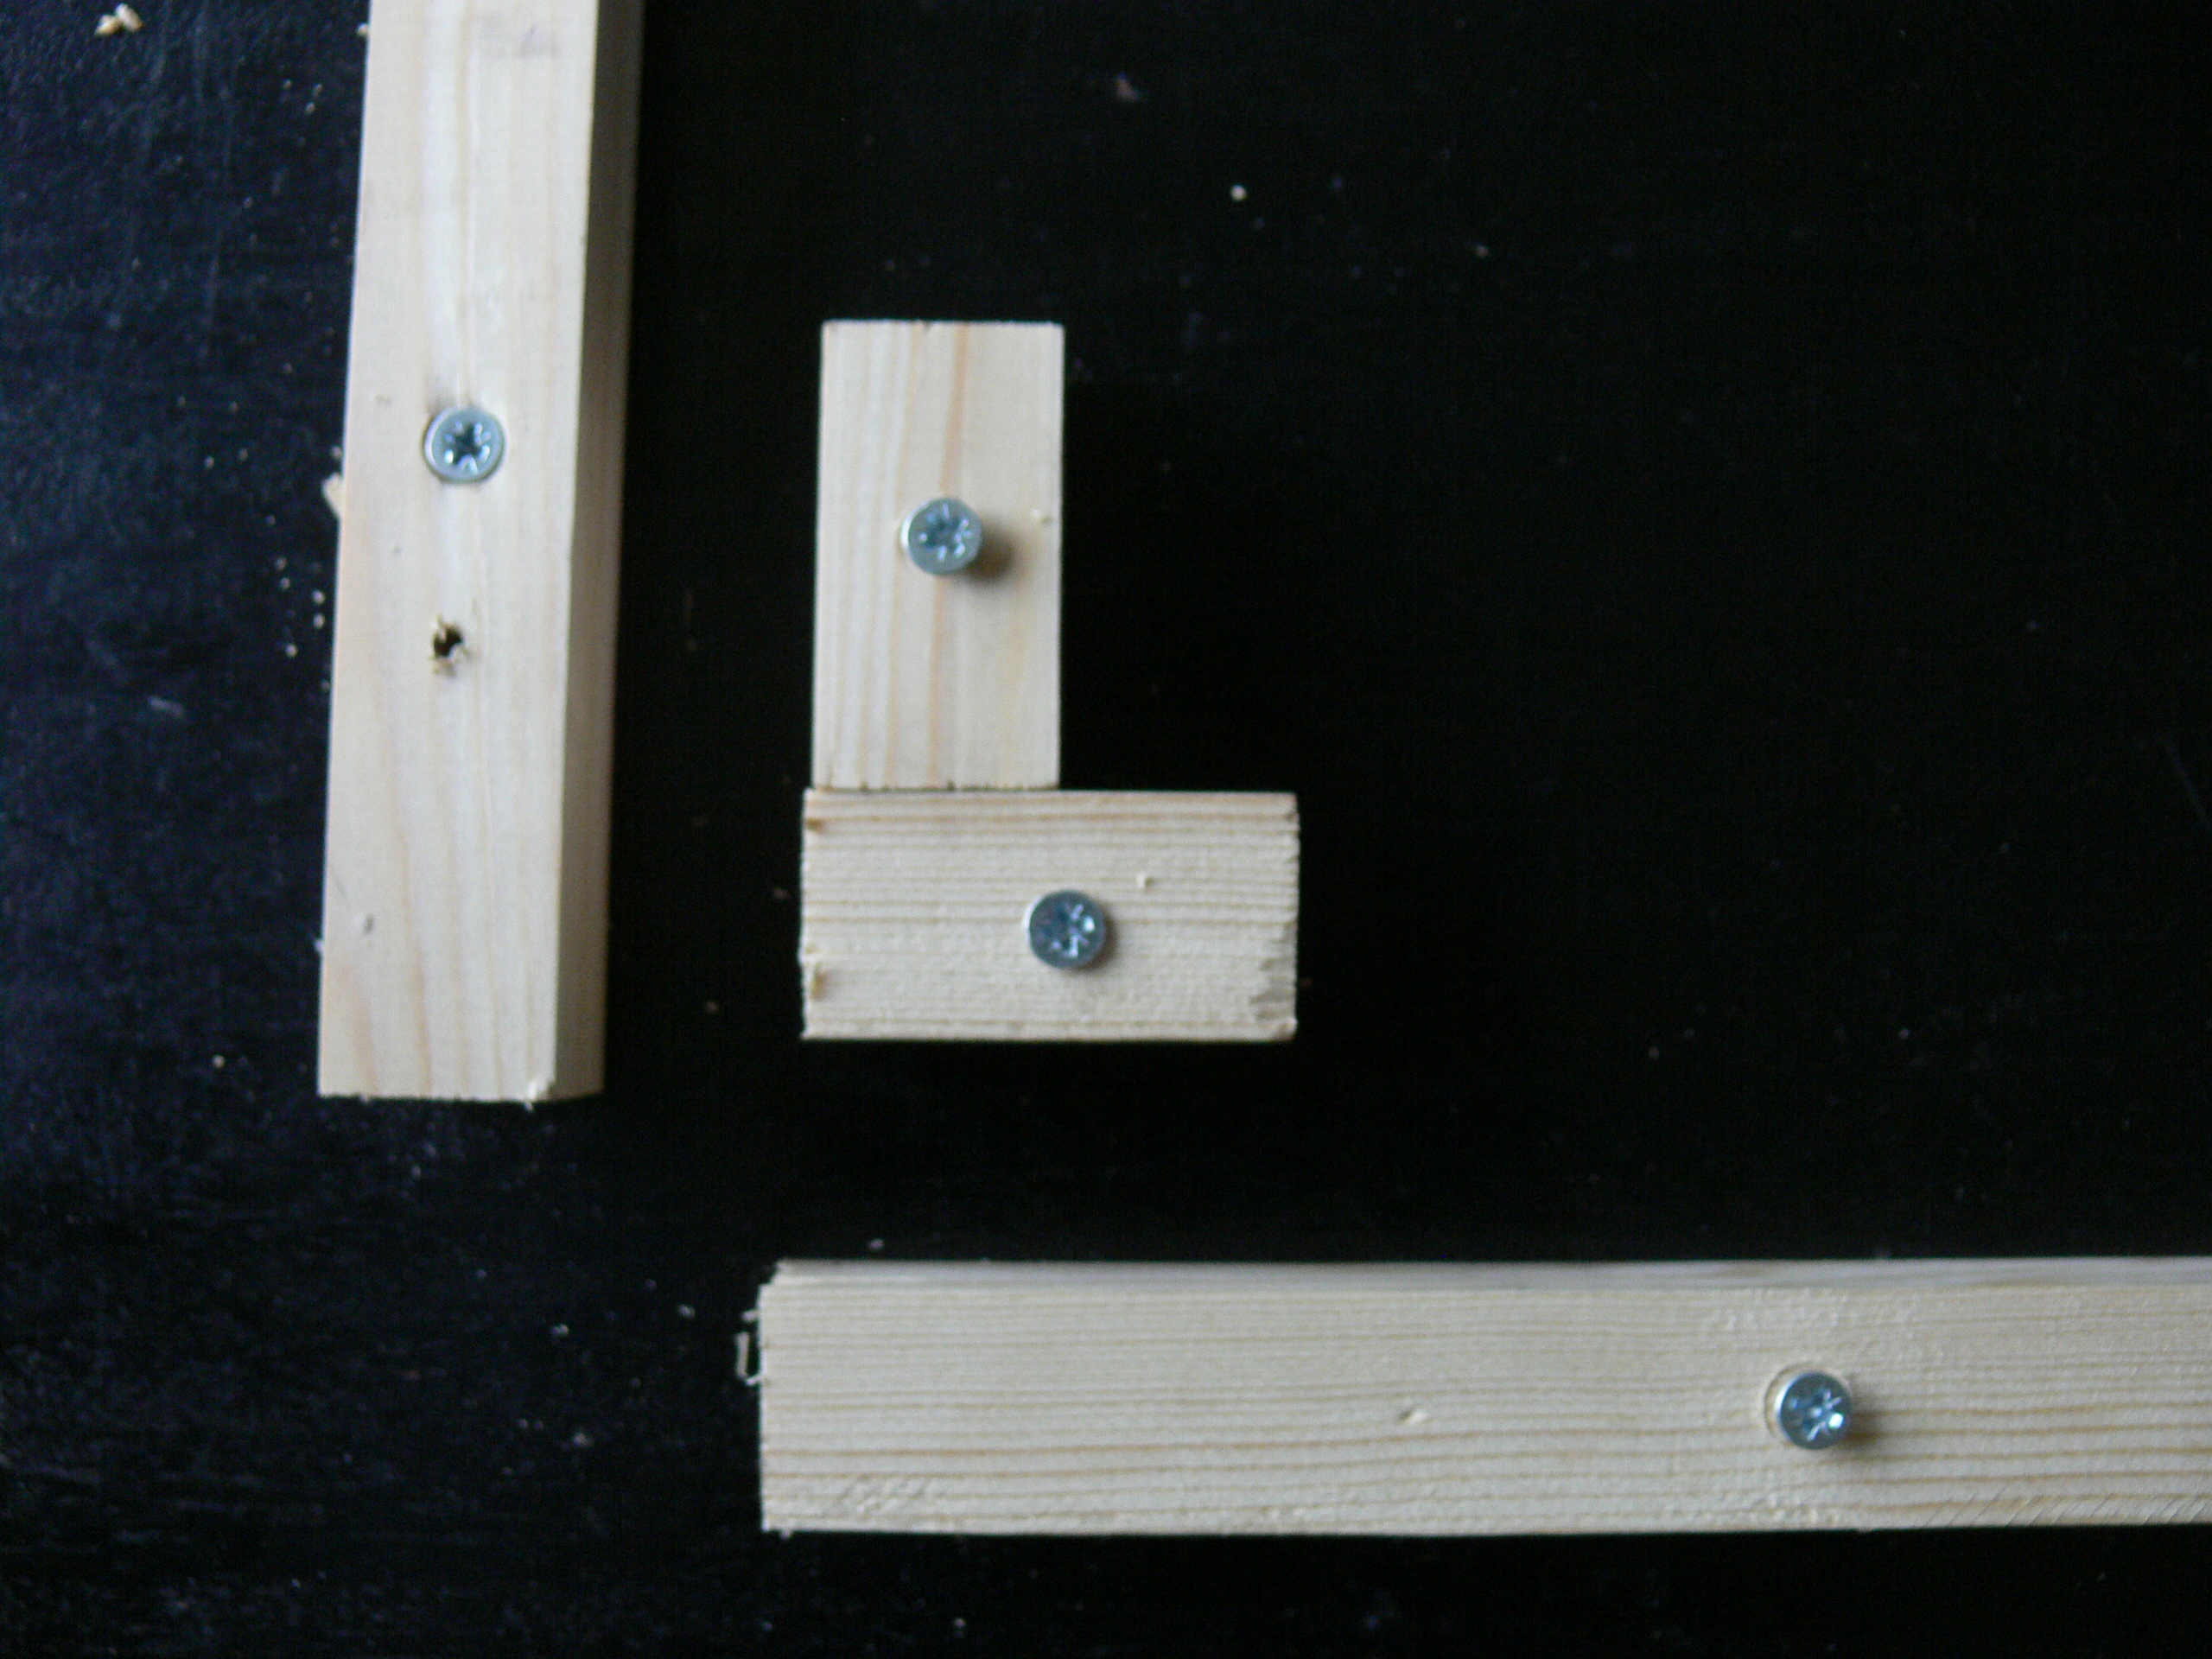
(Not a dance, but feel free to *do* a jig while I make one).
To make sure the frame was square as I assembled it, I made a jig by screwing bits of the same wood I was using to make the frame down to the table at a right angle.
Laying it out with pencil led to one that wasn't perfectly straight, as can be seen in image 2. I corrected it by using a sheet of plywood I knew to be at a right angle, leaving one end of the long part screwed in then aligning the far end (image 1 shows this, it's prefectly straight, just my camera lens distorts it).
I used a couple of pieces of wood as spacers while positioning and screwing down a couple more blocks on the inside of the right angle.
That's it, the jig gives you a perfect right angle tailored to the dimensions of your wood.
Assemble Outer Frame
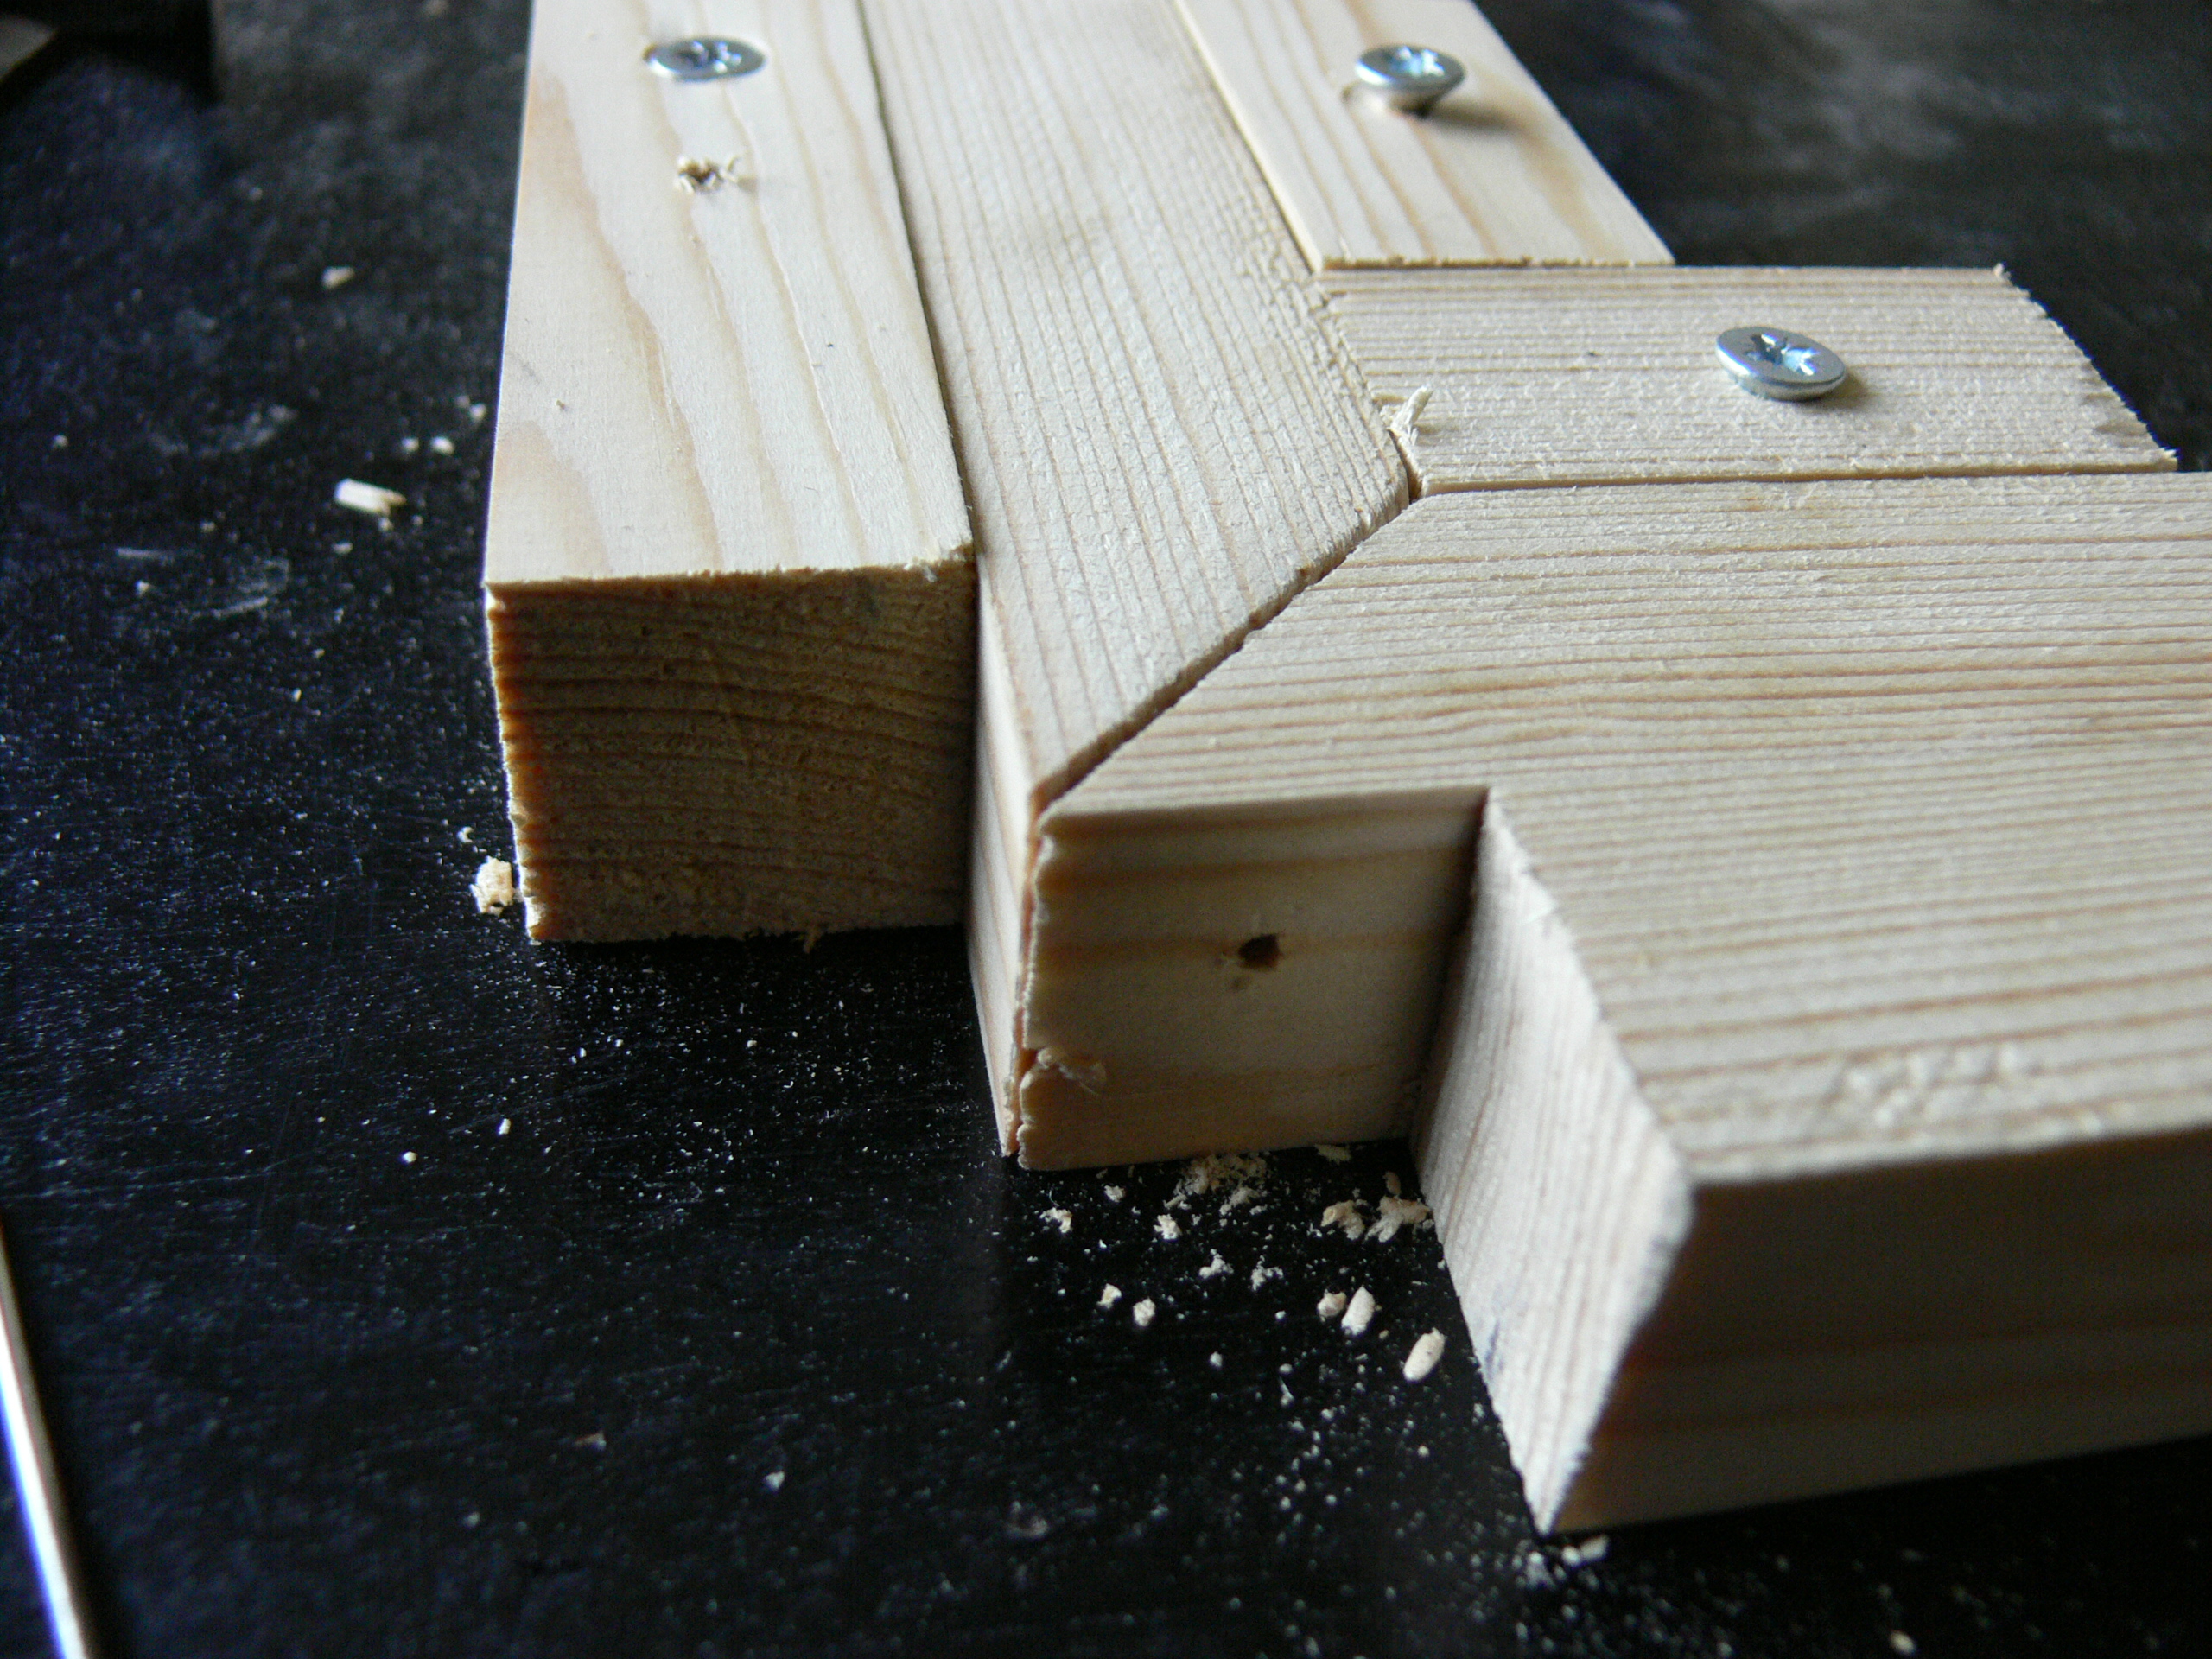
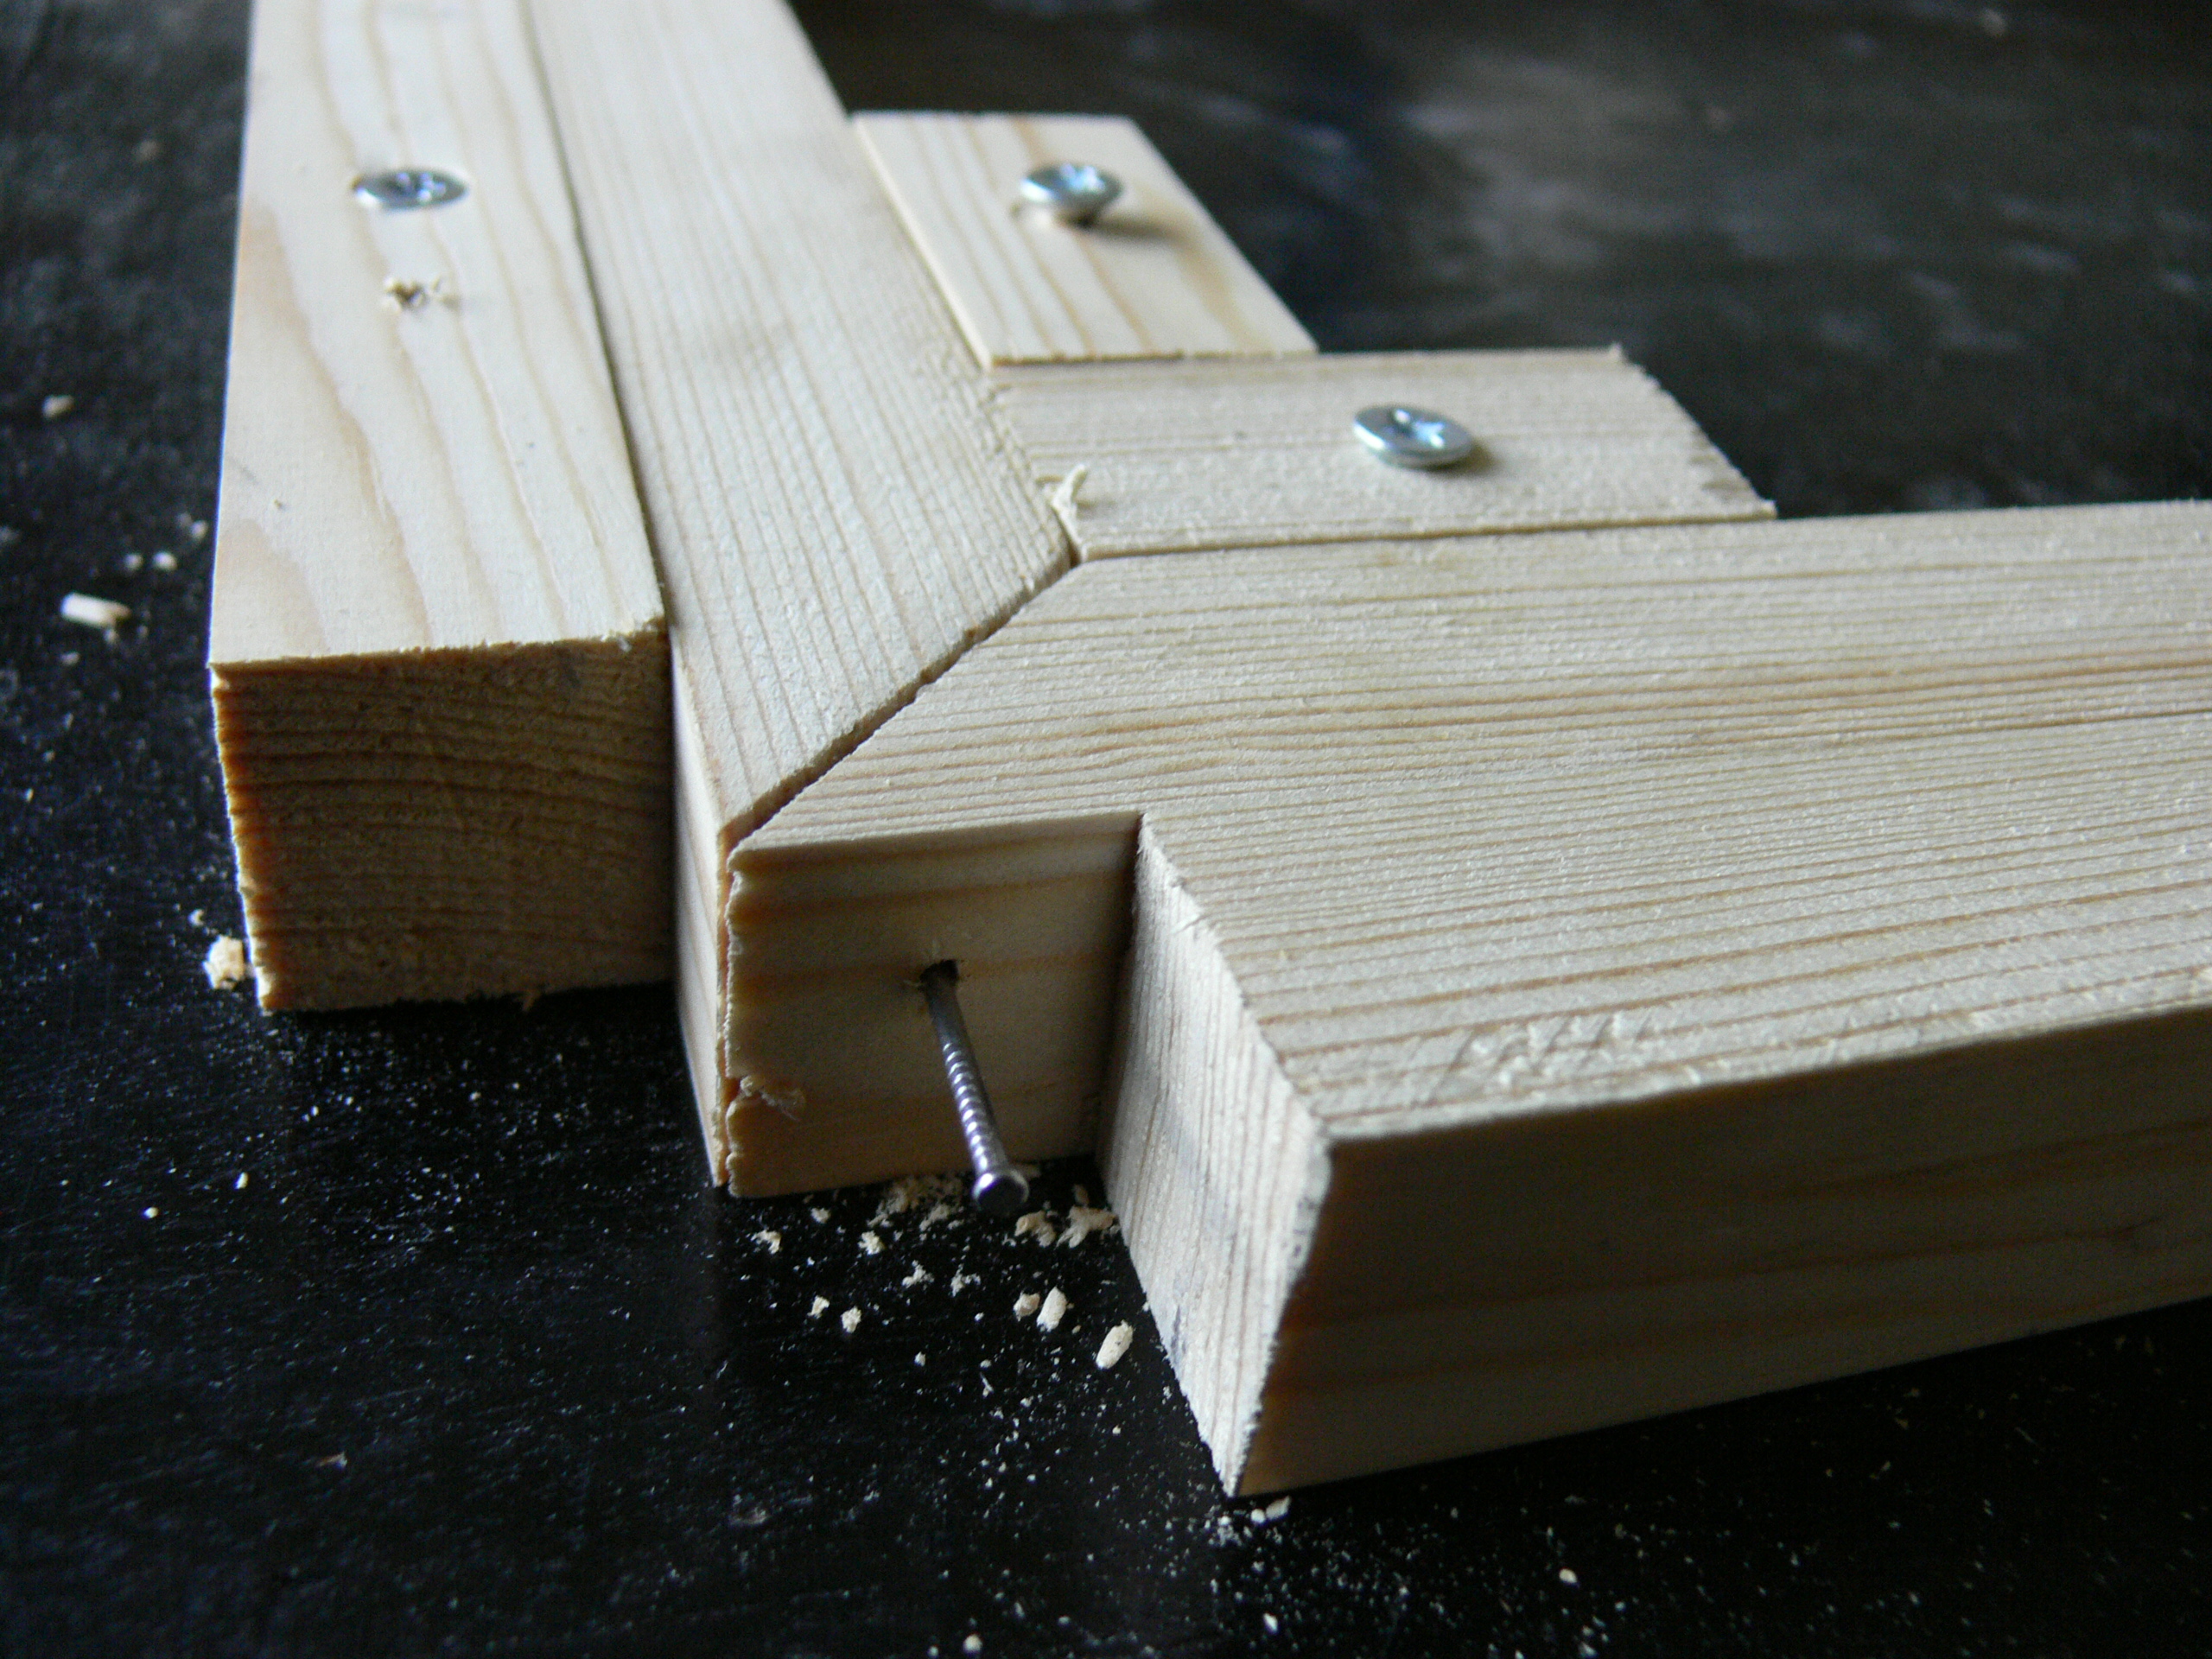
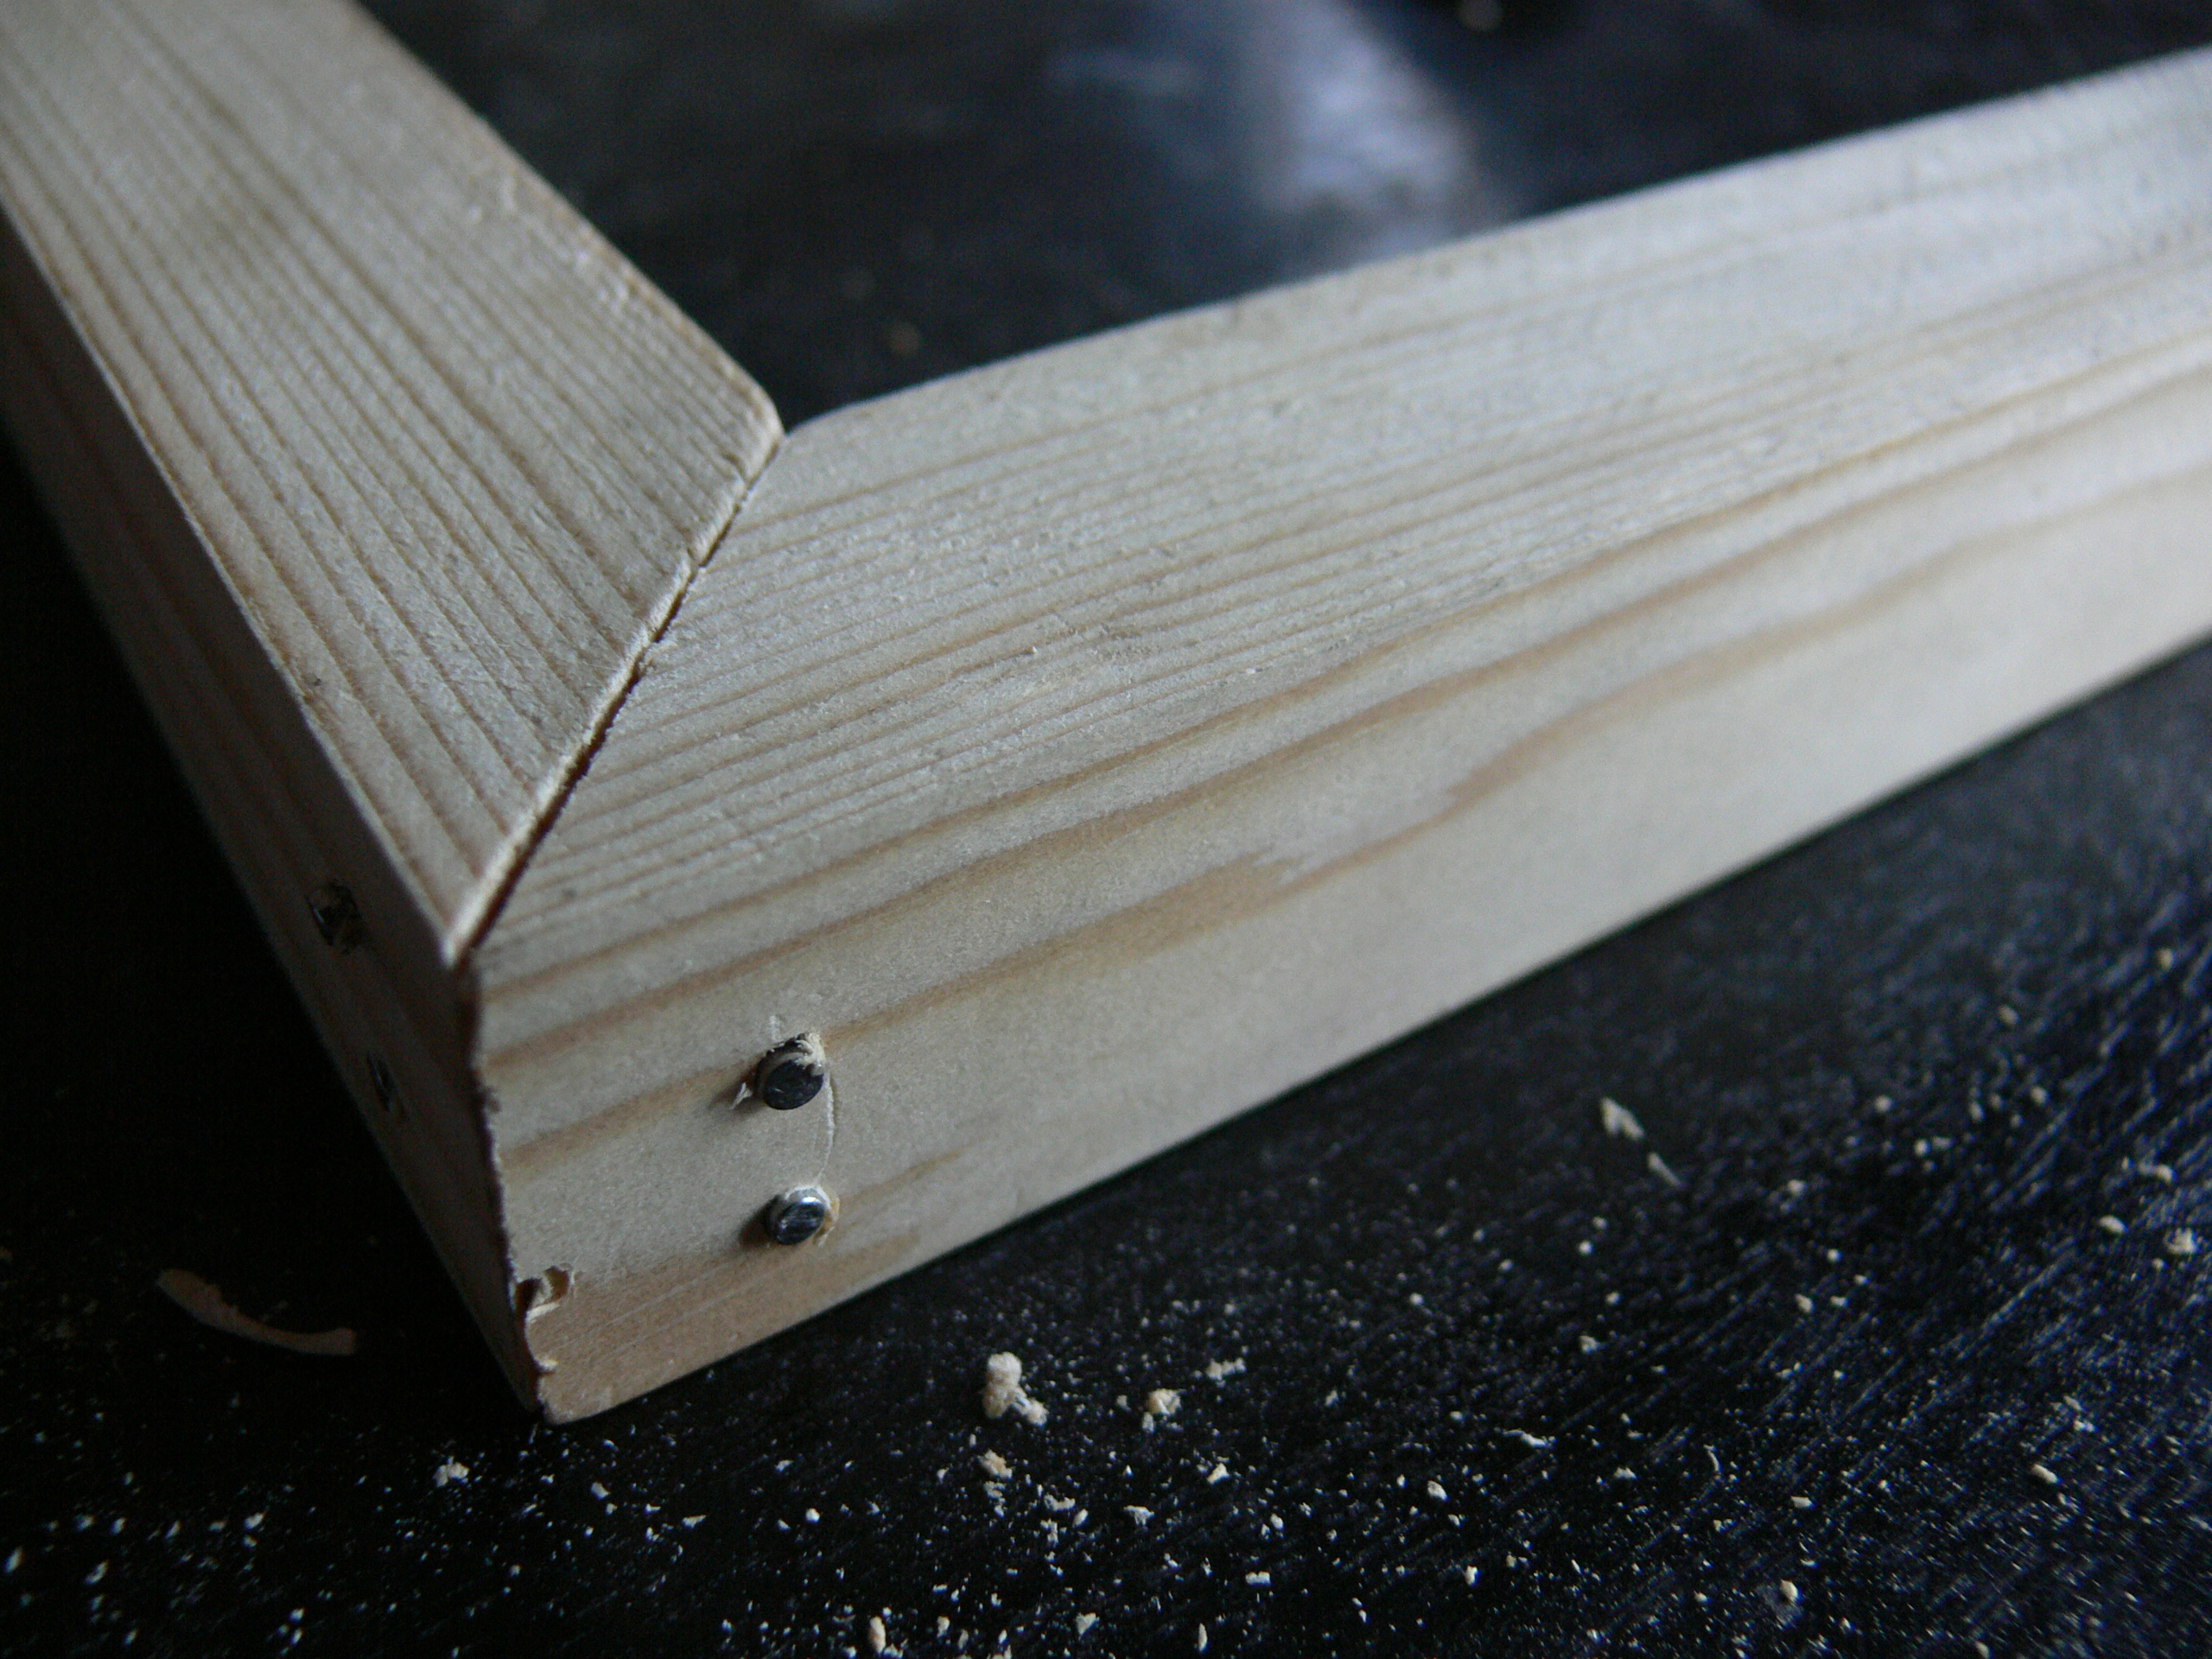
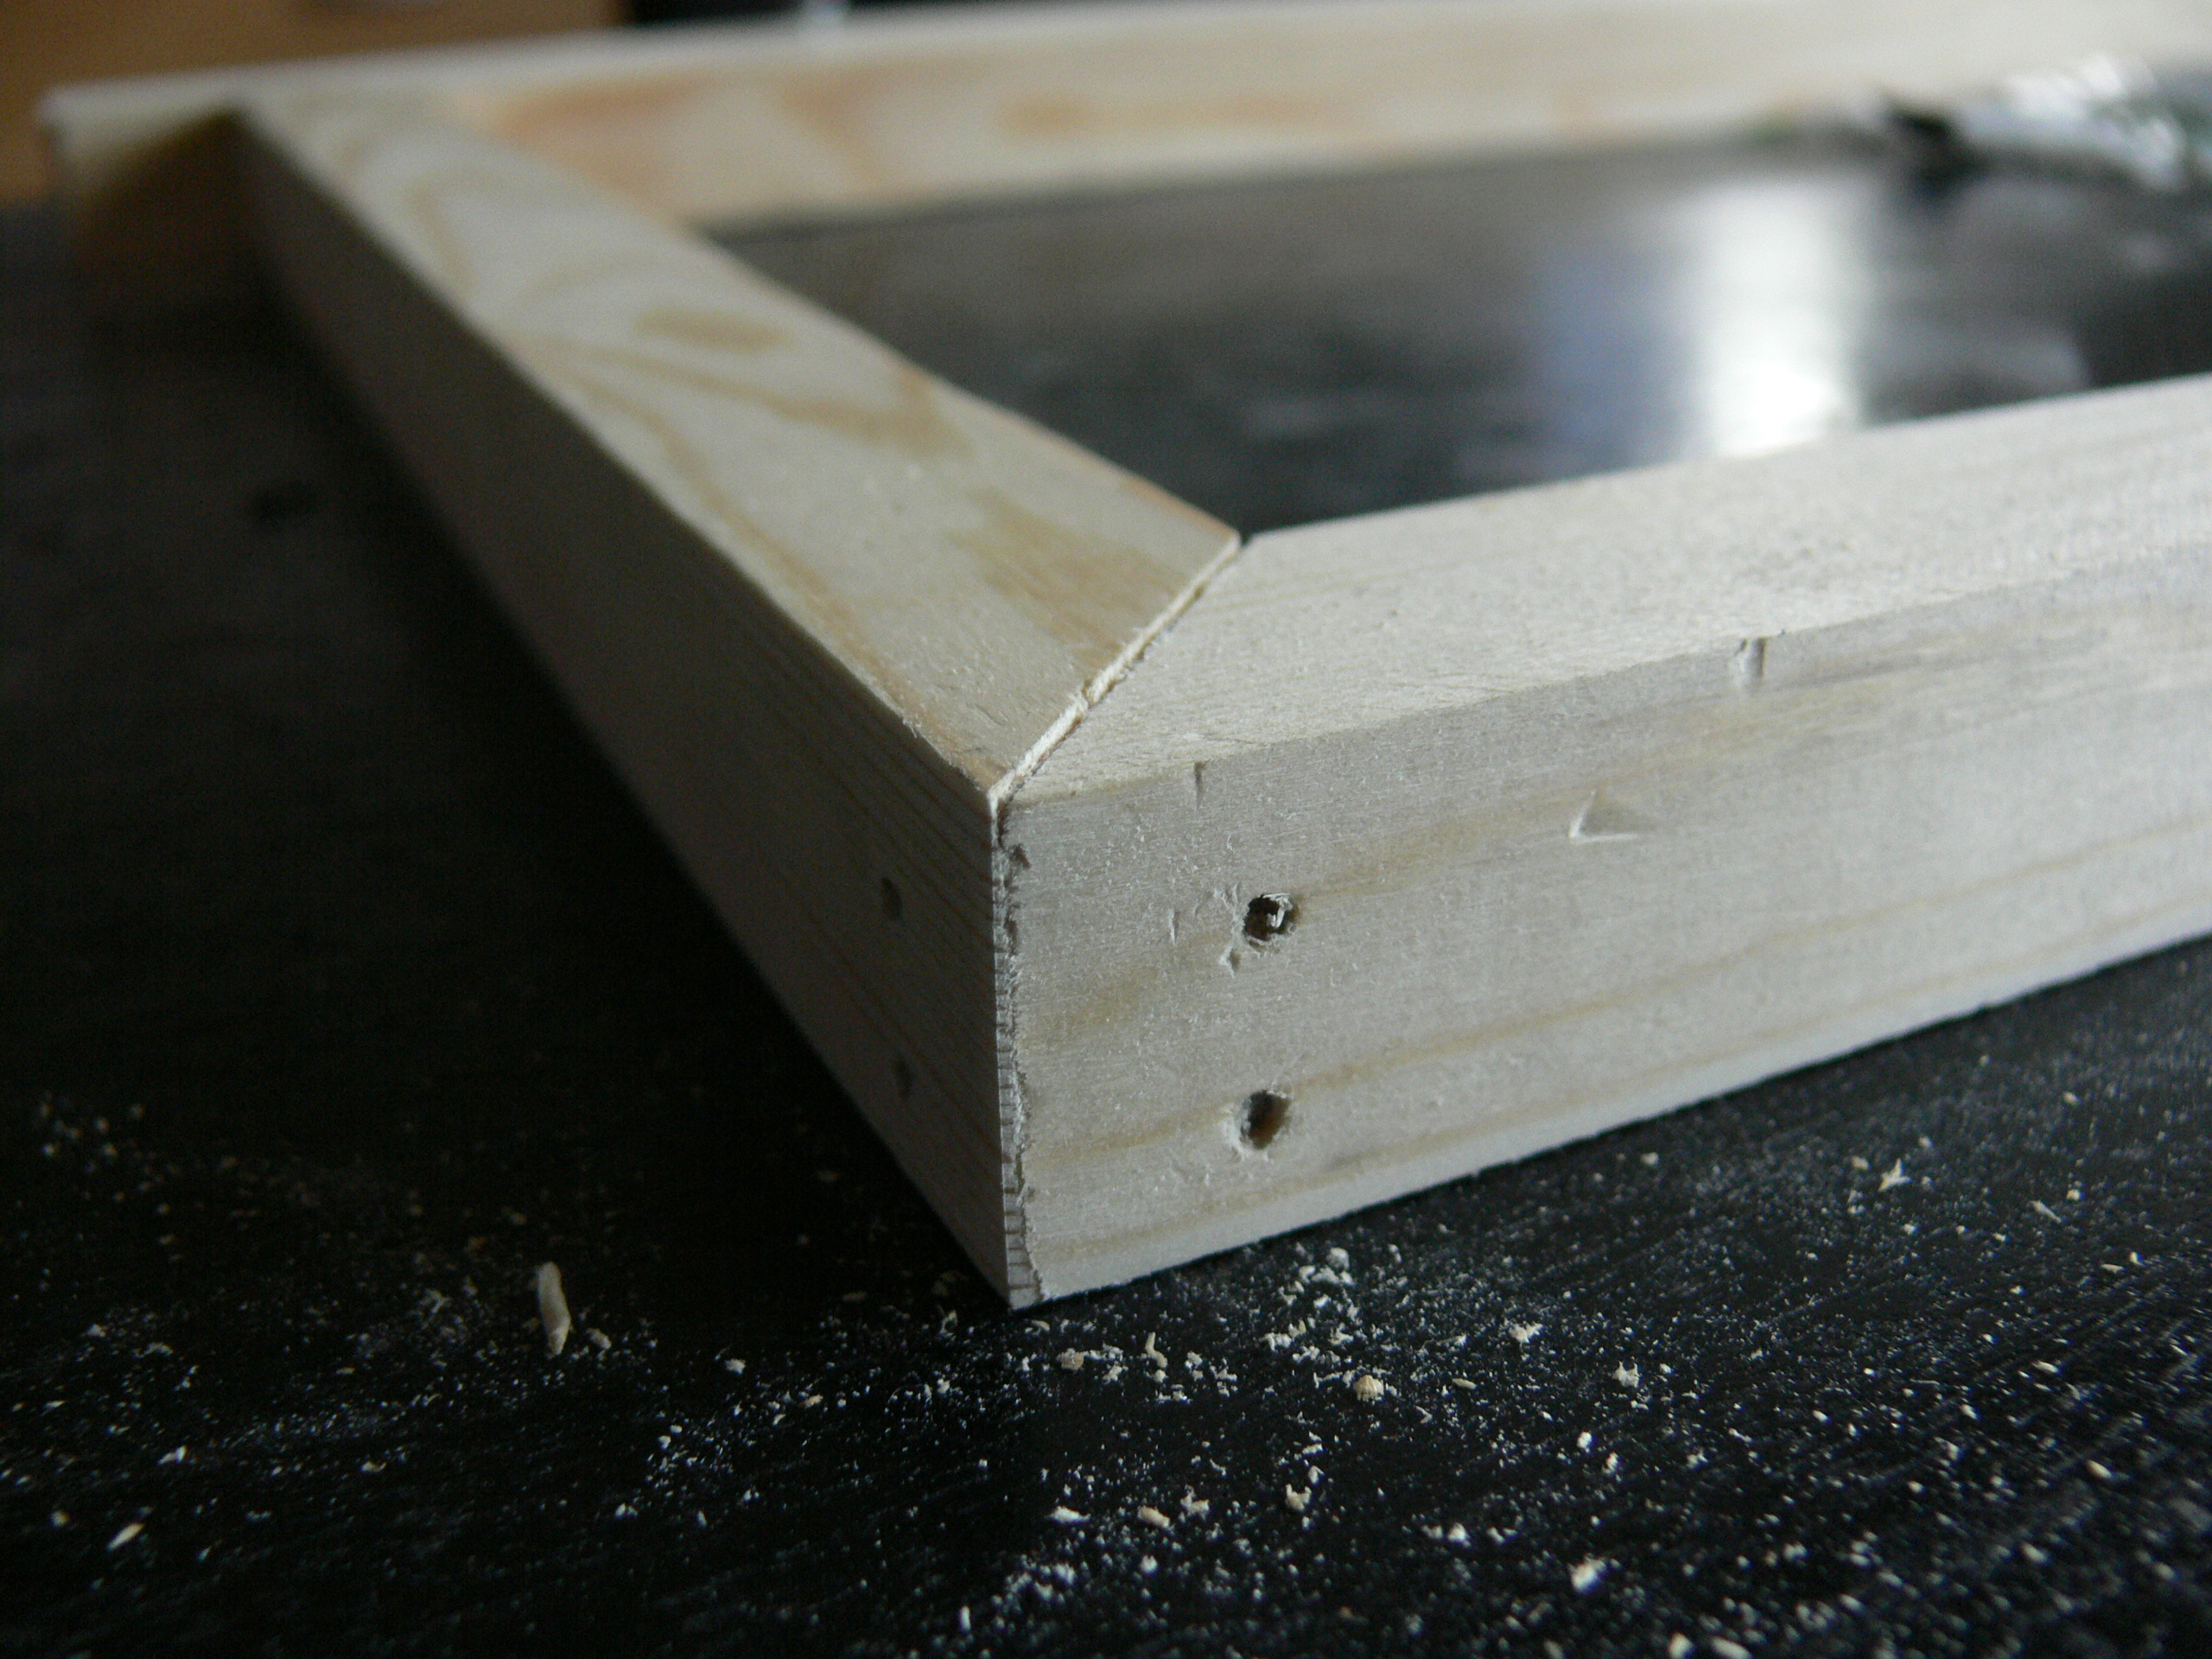
I put two pins through each side of each joint.
Nails alone make for really rickety joints, but this is going to have so many joints, and be reinforced with metal plates underneath, that it should be quite solid even without glue.
The first nail might require a pilot hole, and the mitre will have to be held firmly to stop it from slipping around a little in the jig. Use the jig to work around the corners sequentially, and it will soon firm up with more nails in.
Assemble Inner Frame
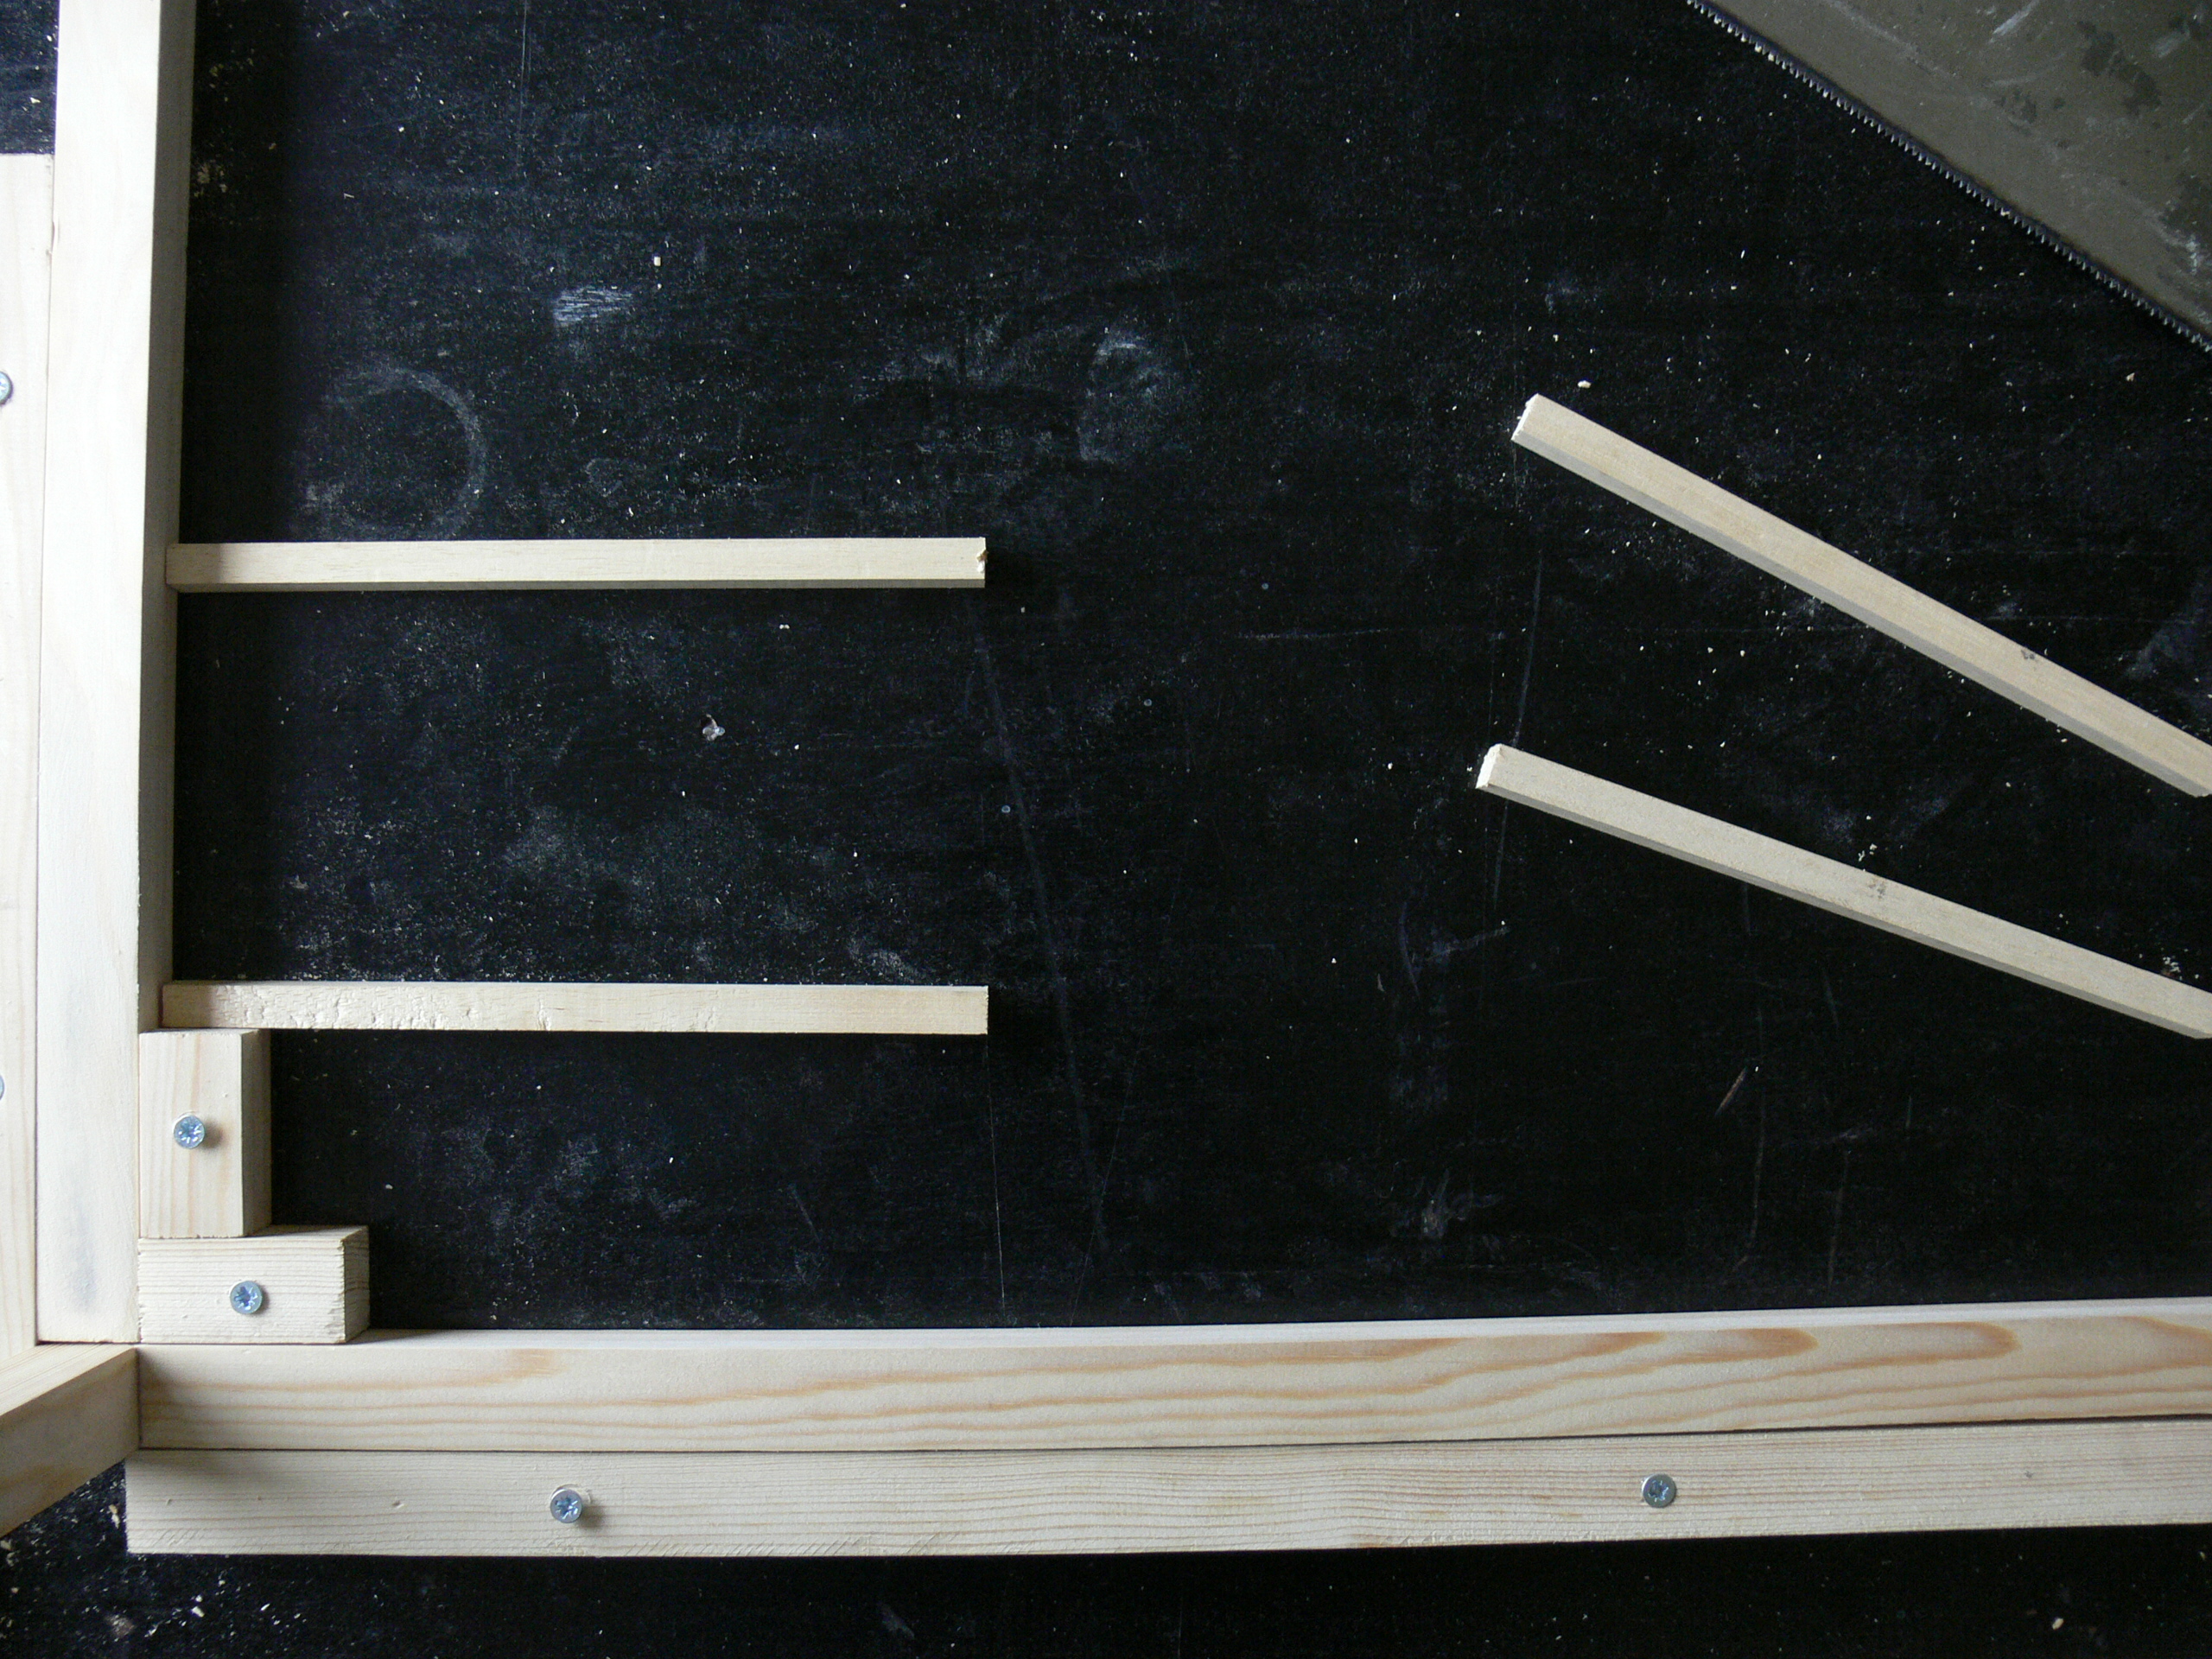
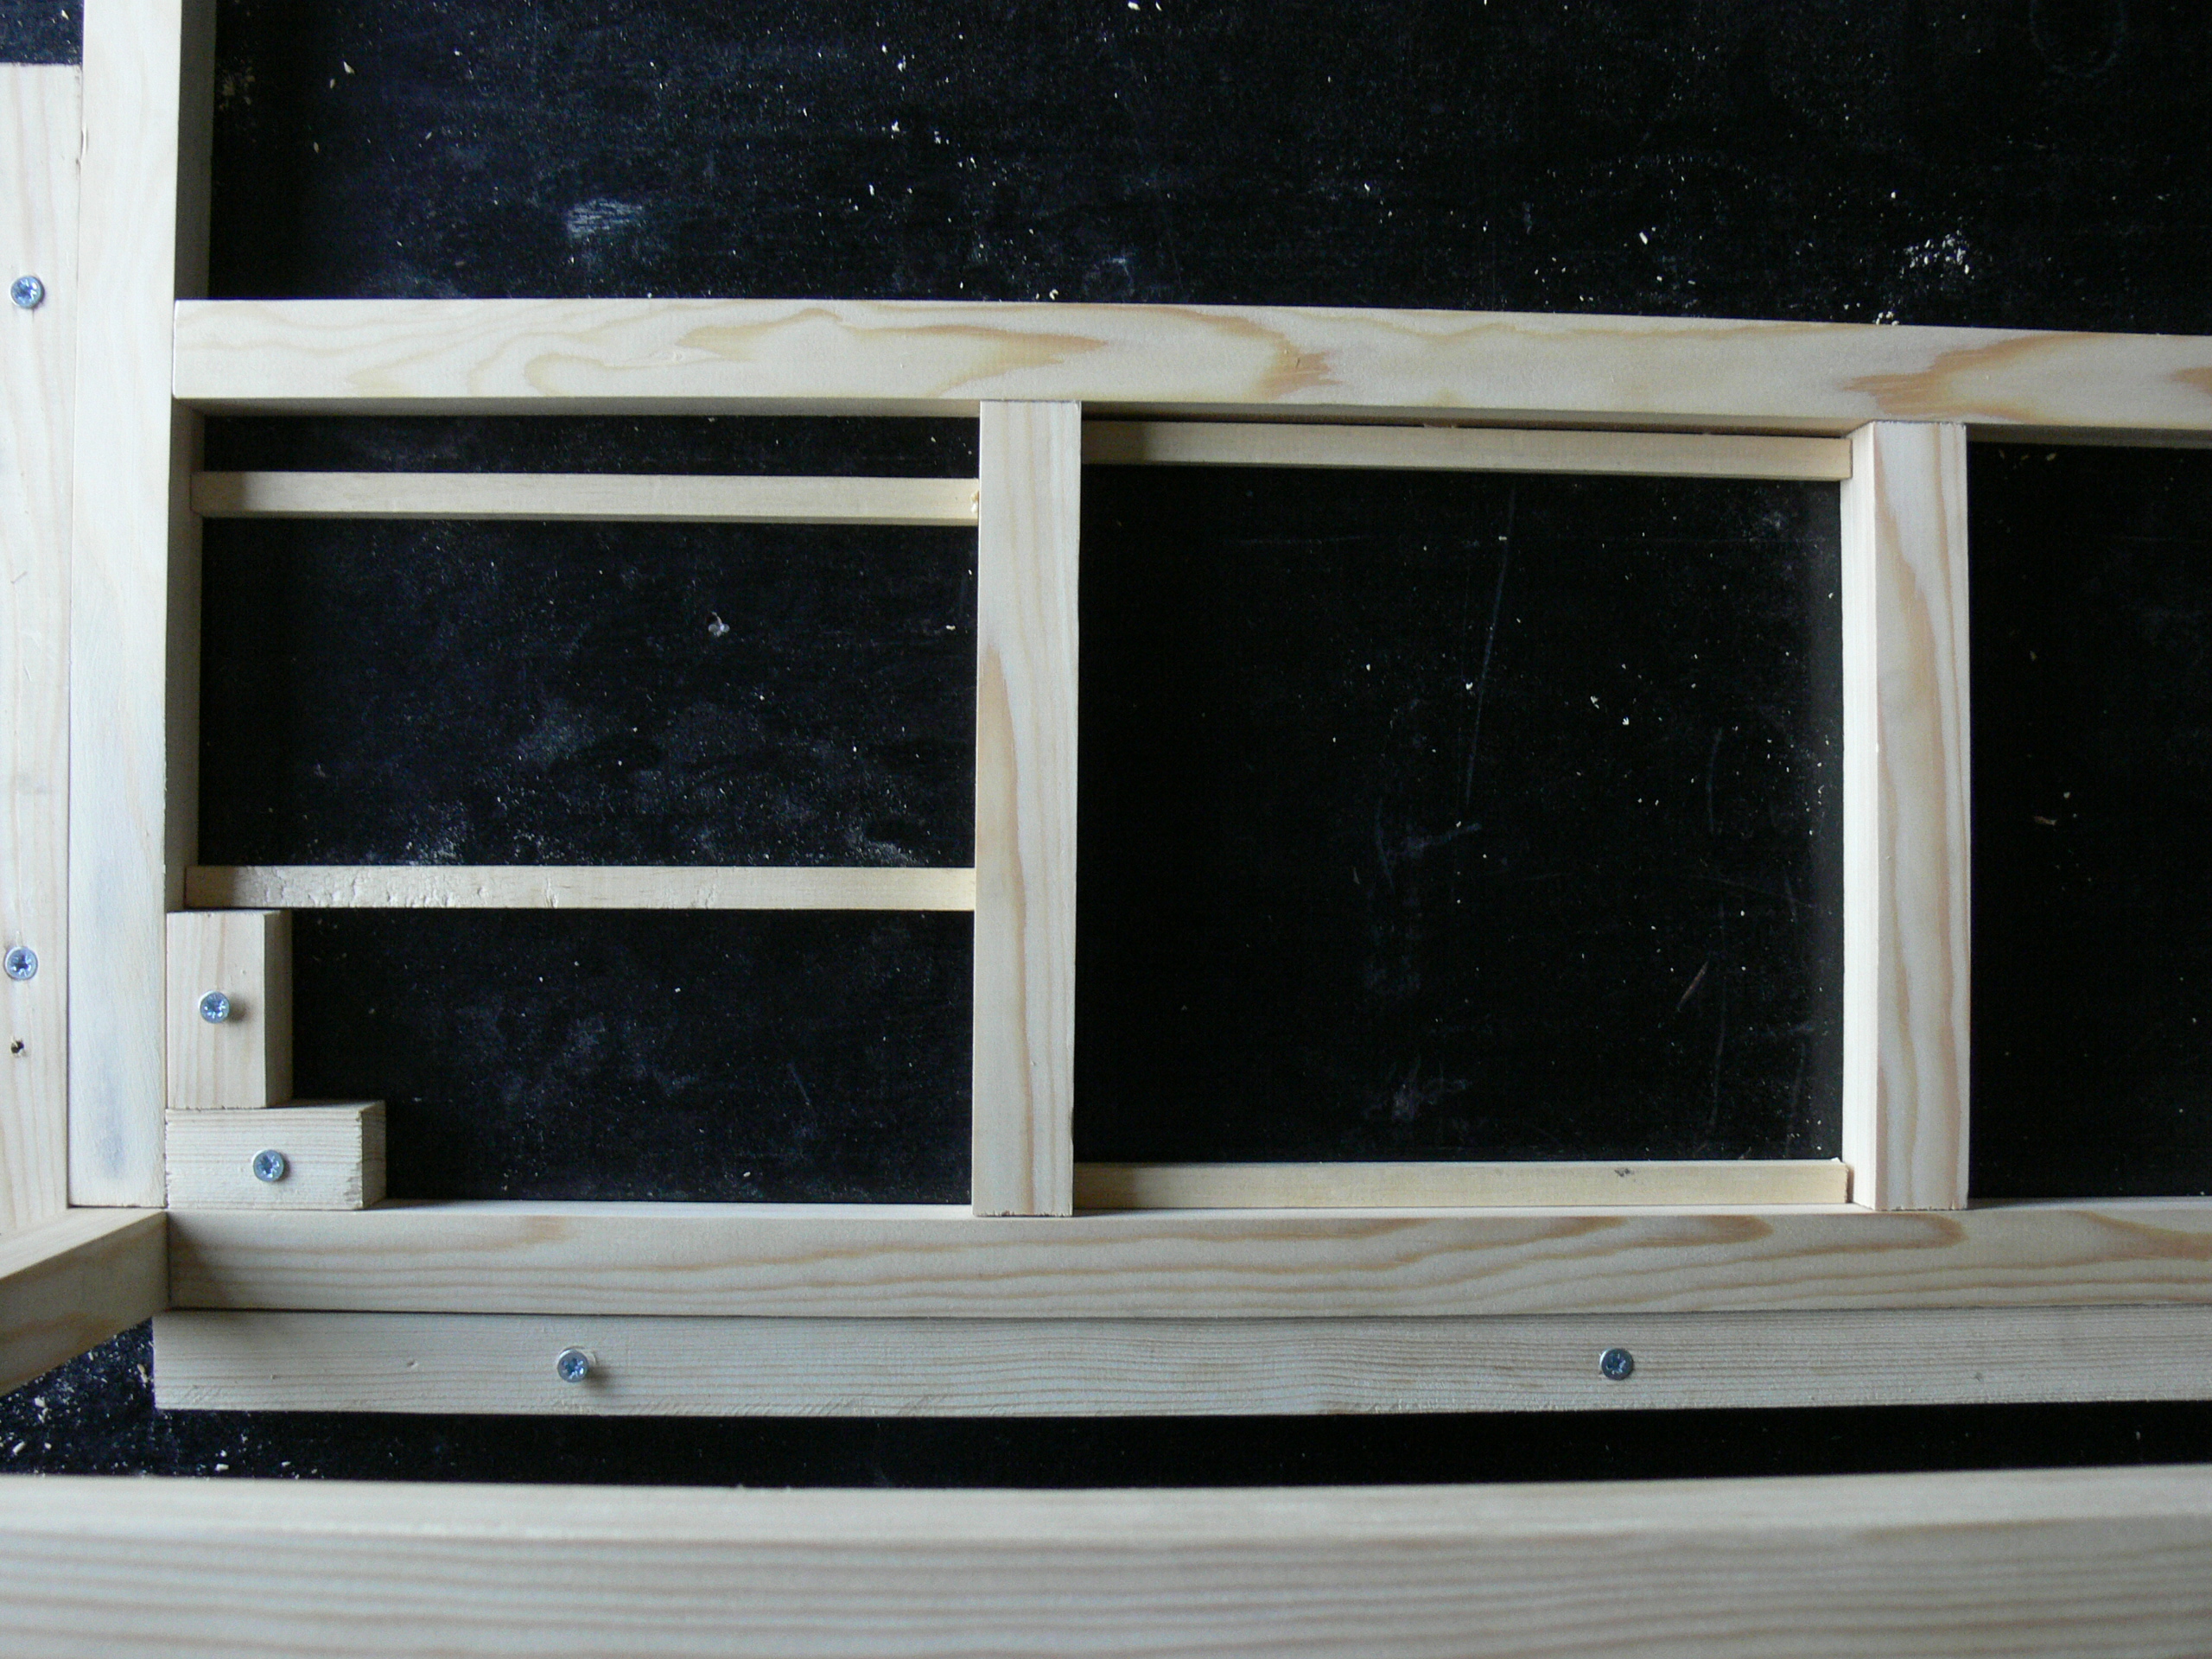
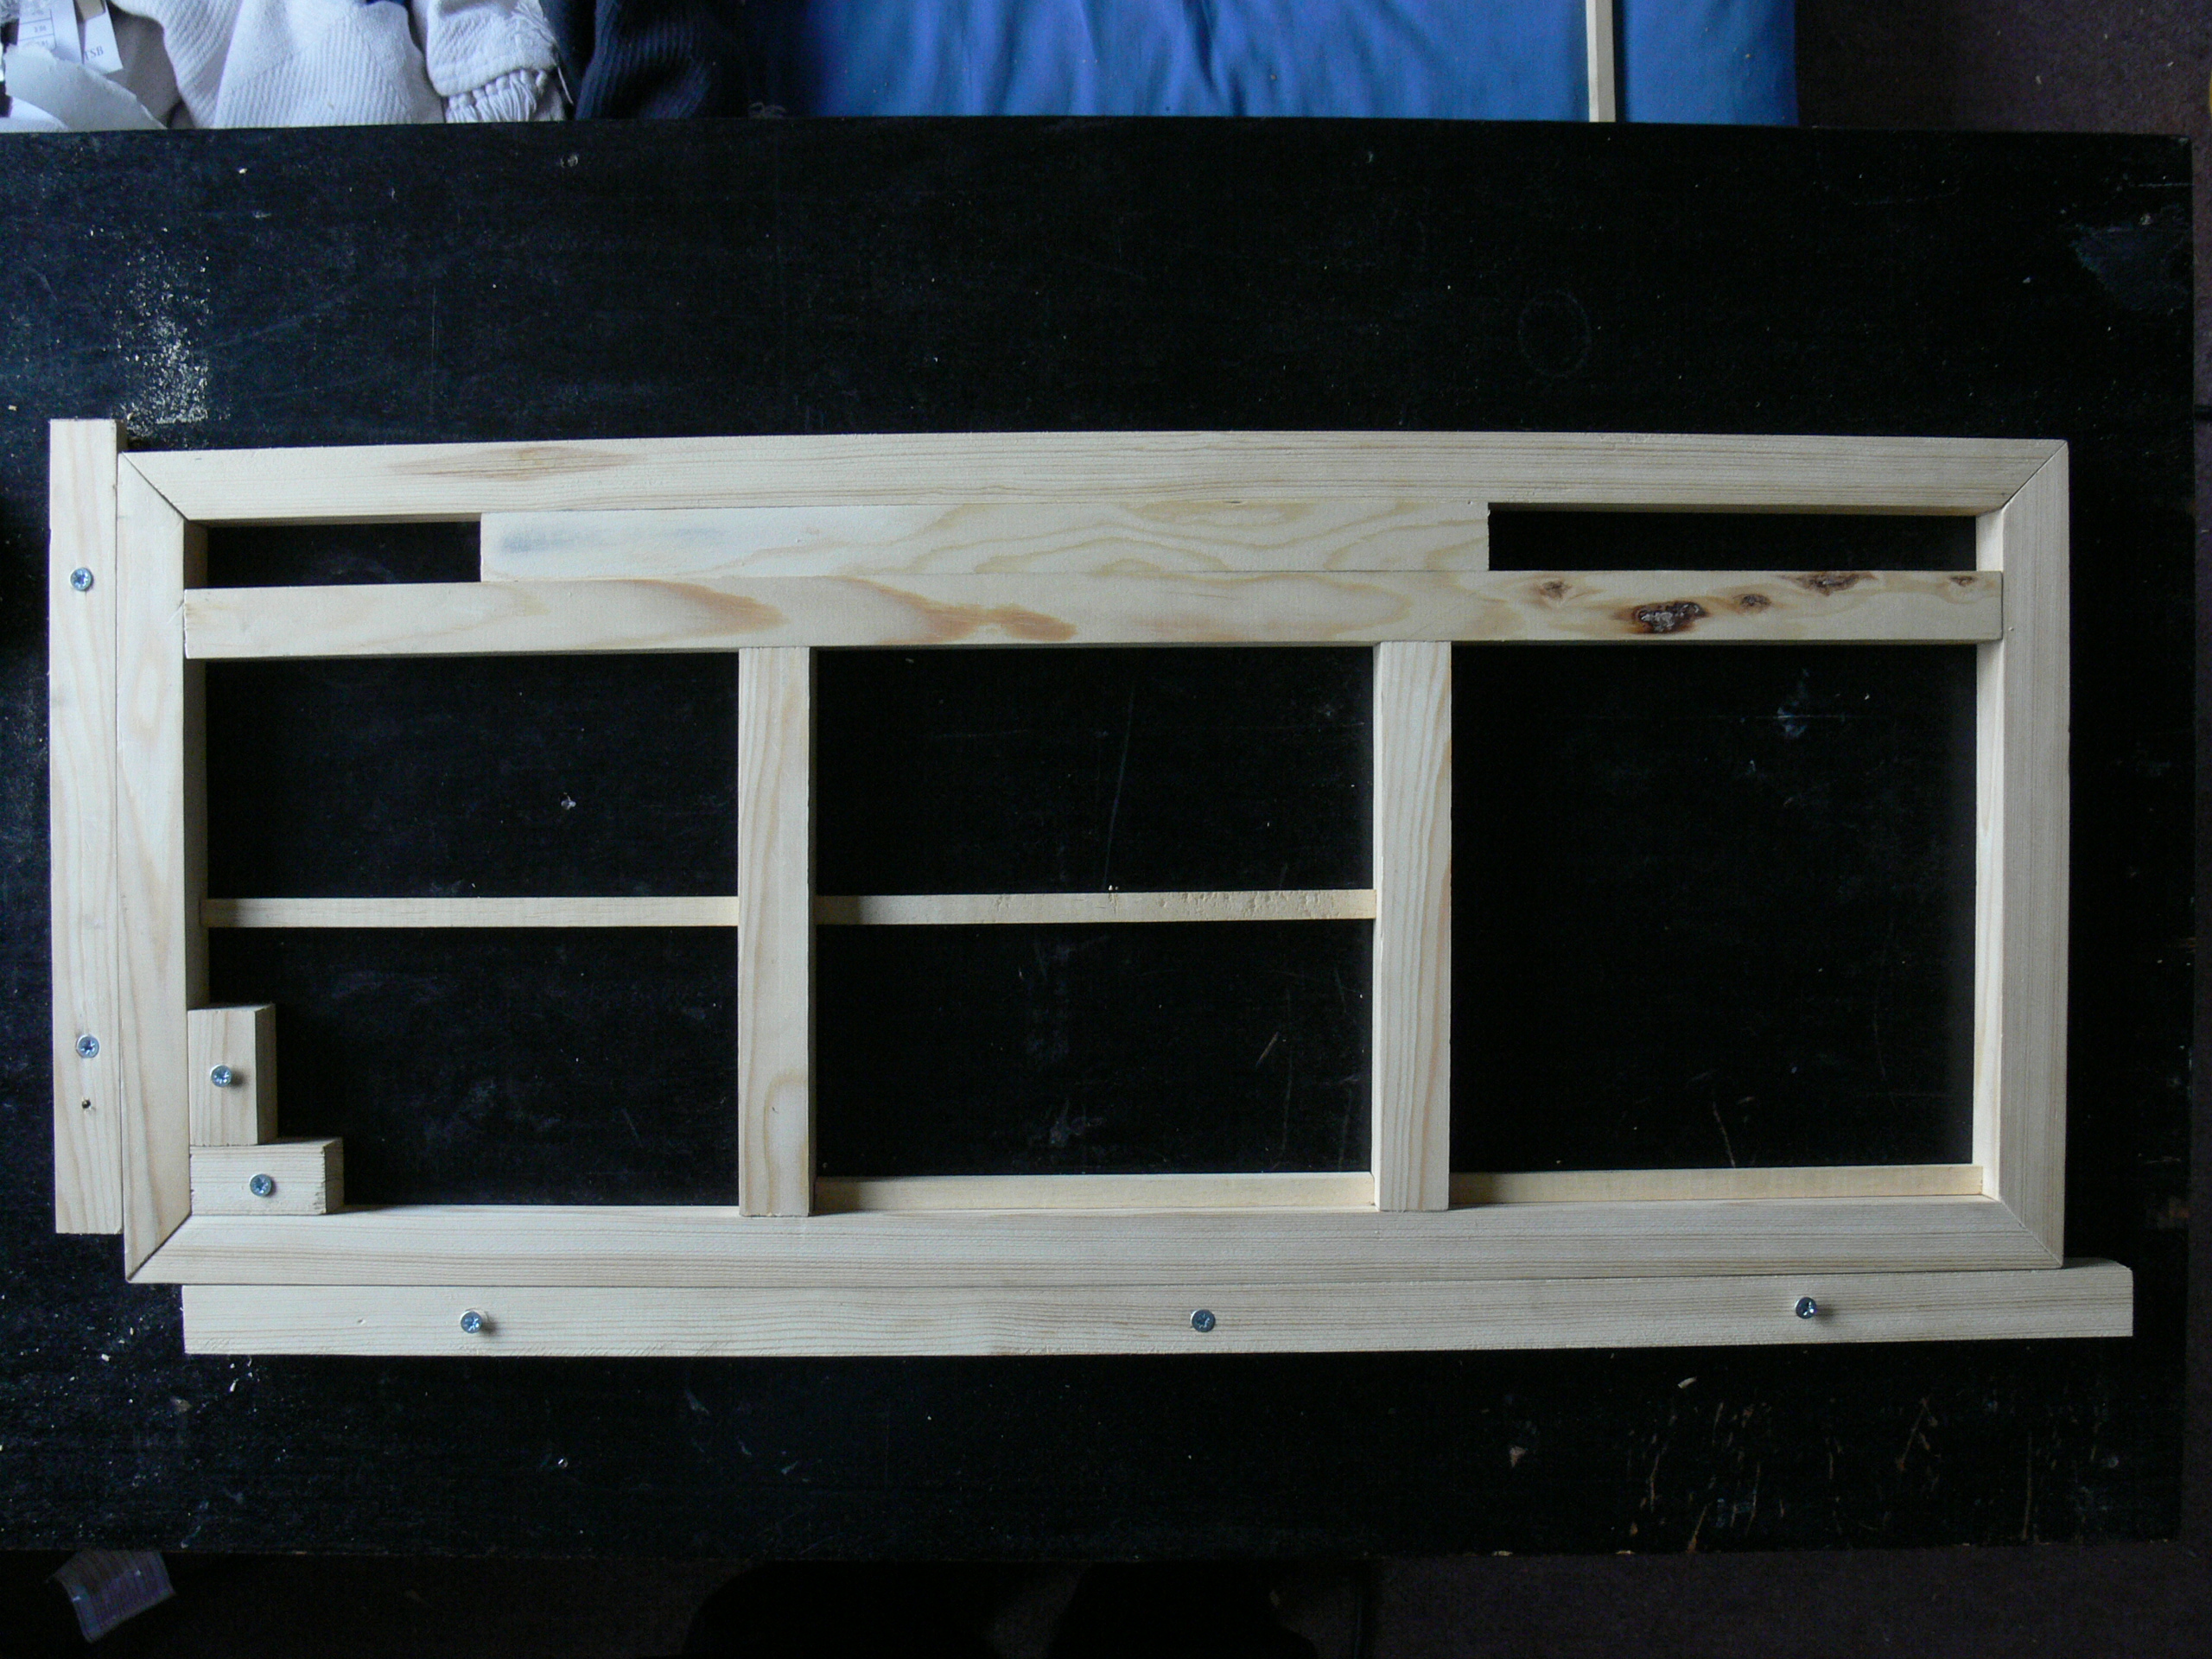
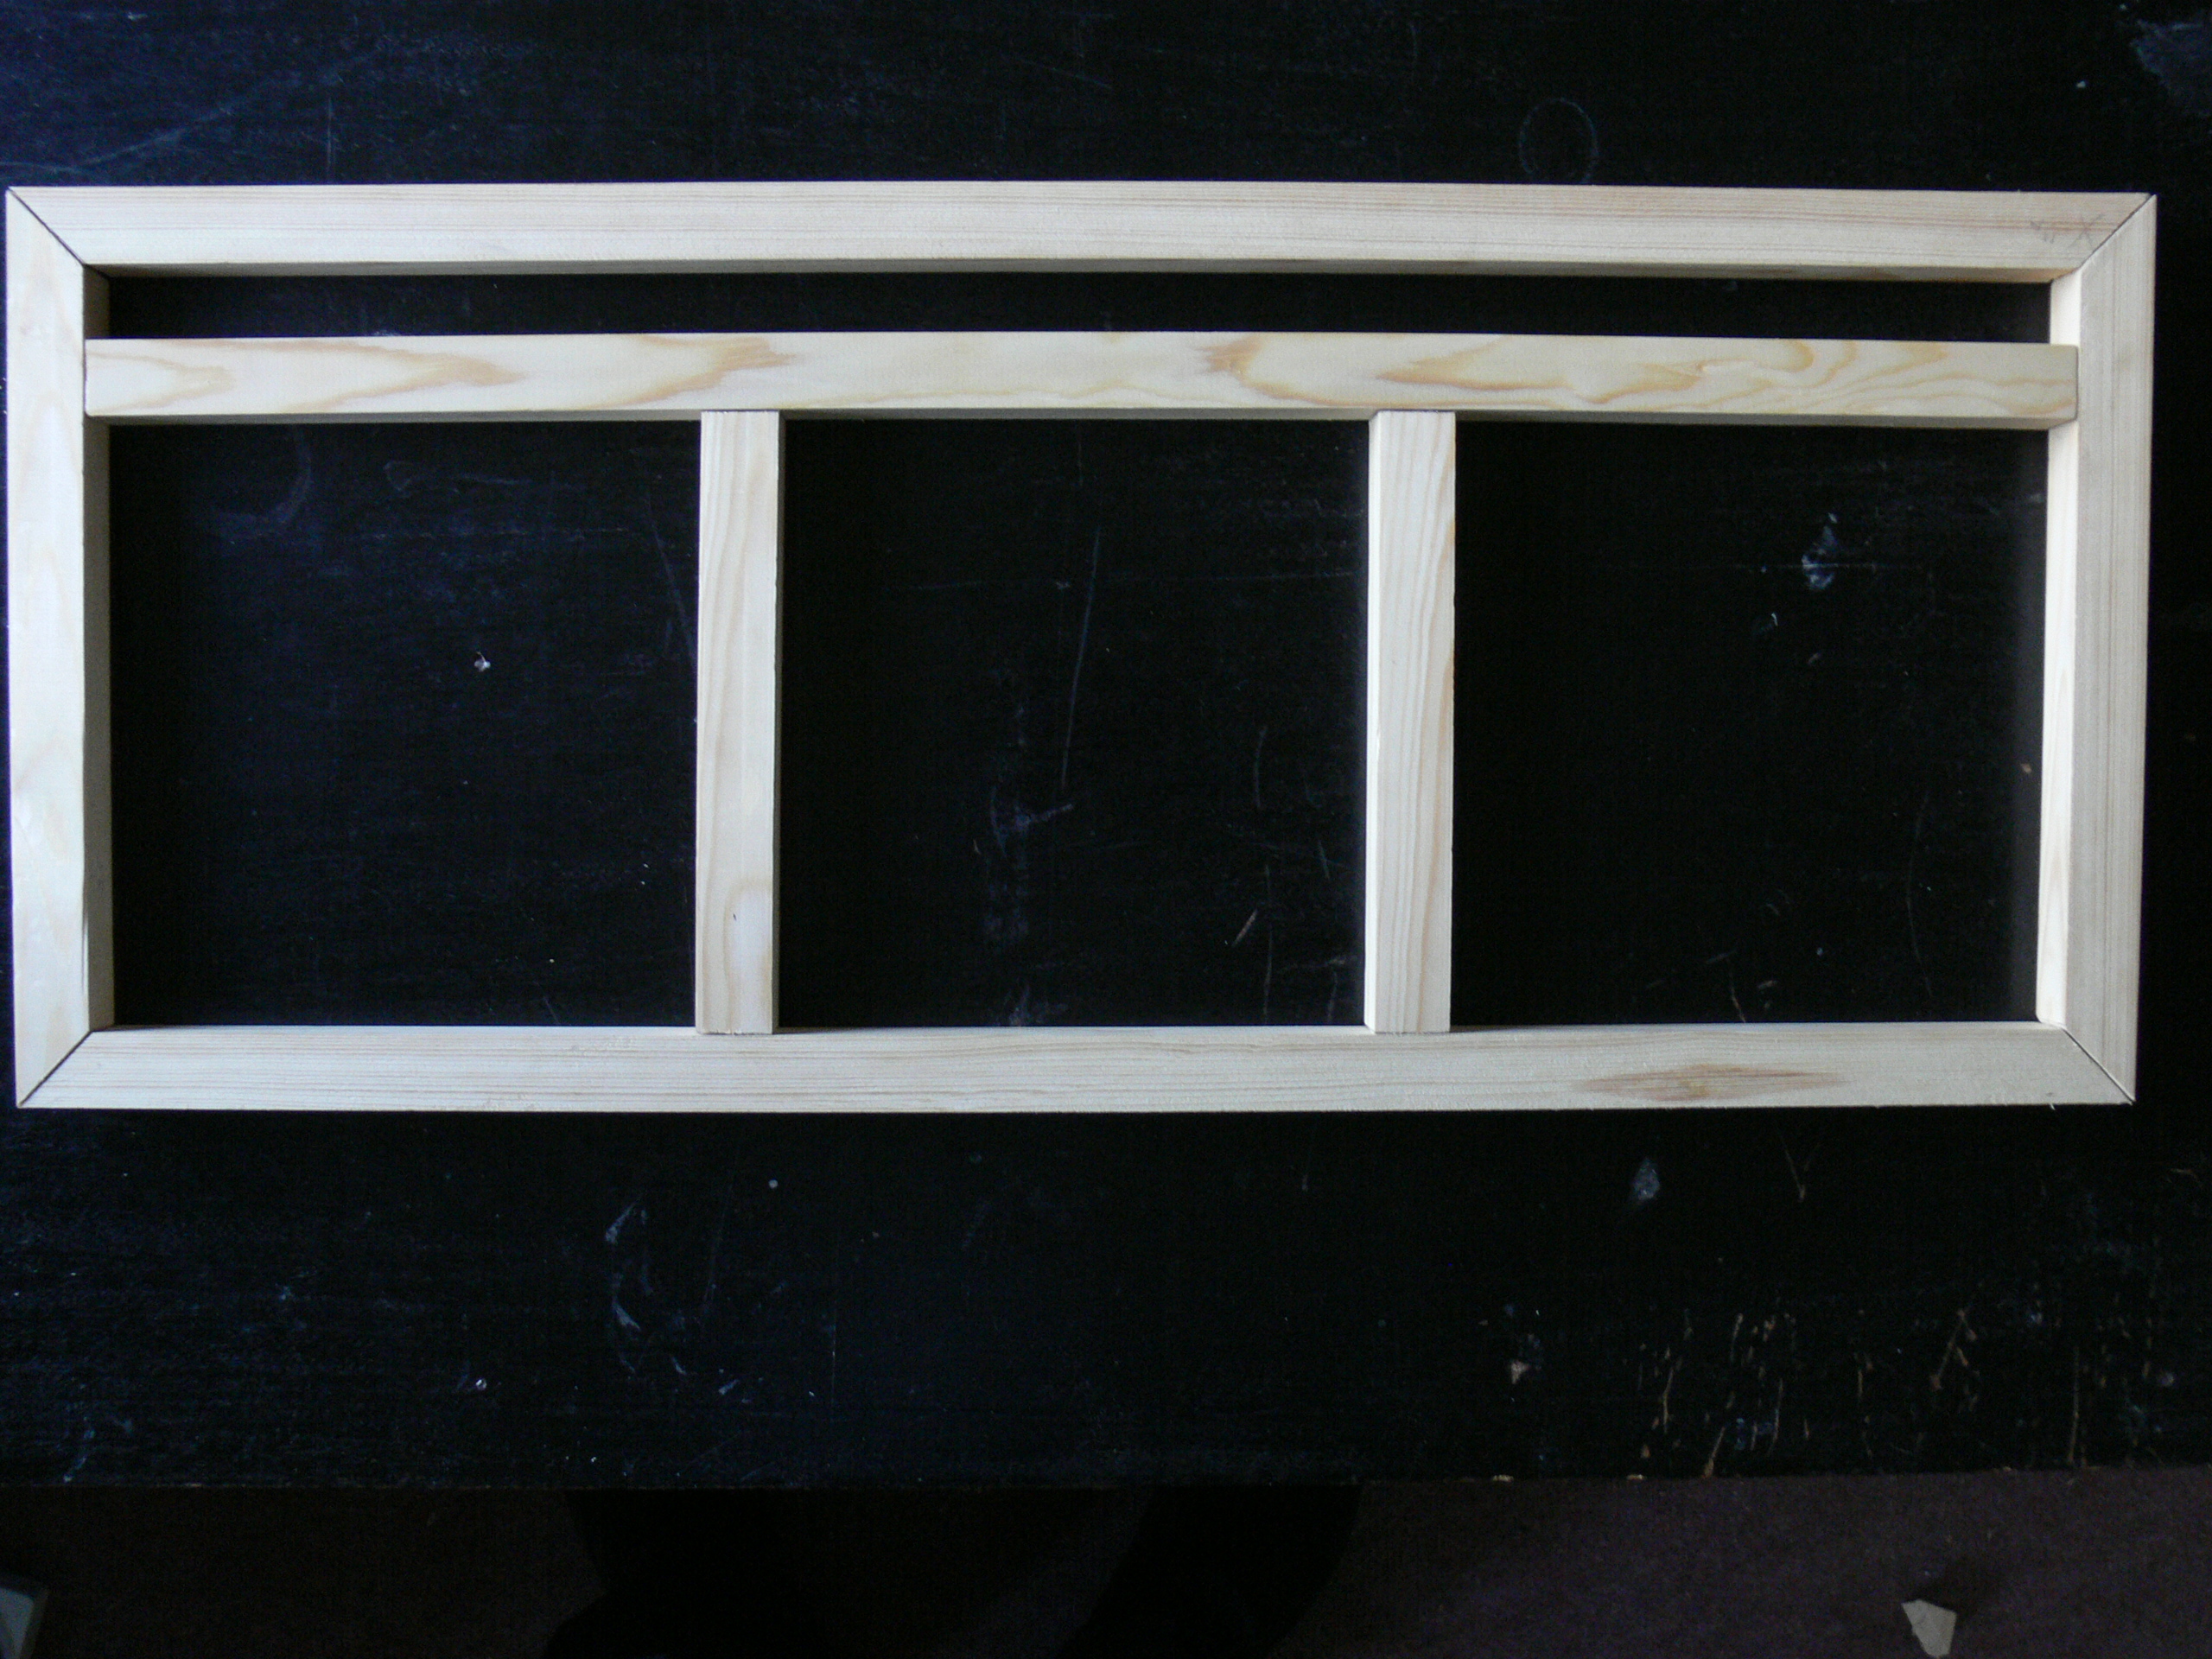
To position the inner bars correctly, I cut some blocks to lay them out with.
In sequence, I fixed the two small inner bars to the long lateral one using spacers up against the jig (image 2), then dropped the assembled bars into the outer frame put together in the last step and fixed into all the points of contact (image 3).
In sequence, I fixed the two small inner bars to the long lateral one using spacers up against the jig (image 2), then dropped the assembled bars into the outer frame put together in the last step and fixed into all the points of contact (image 3).
Beading
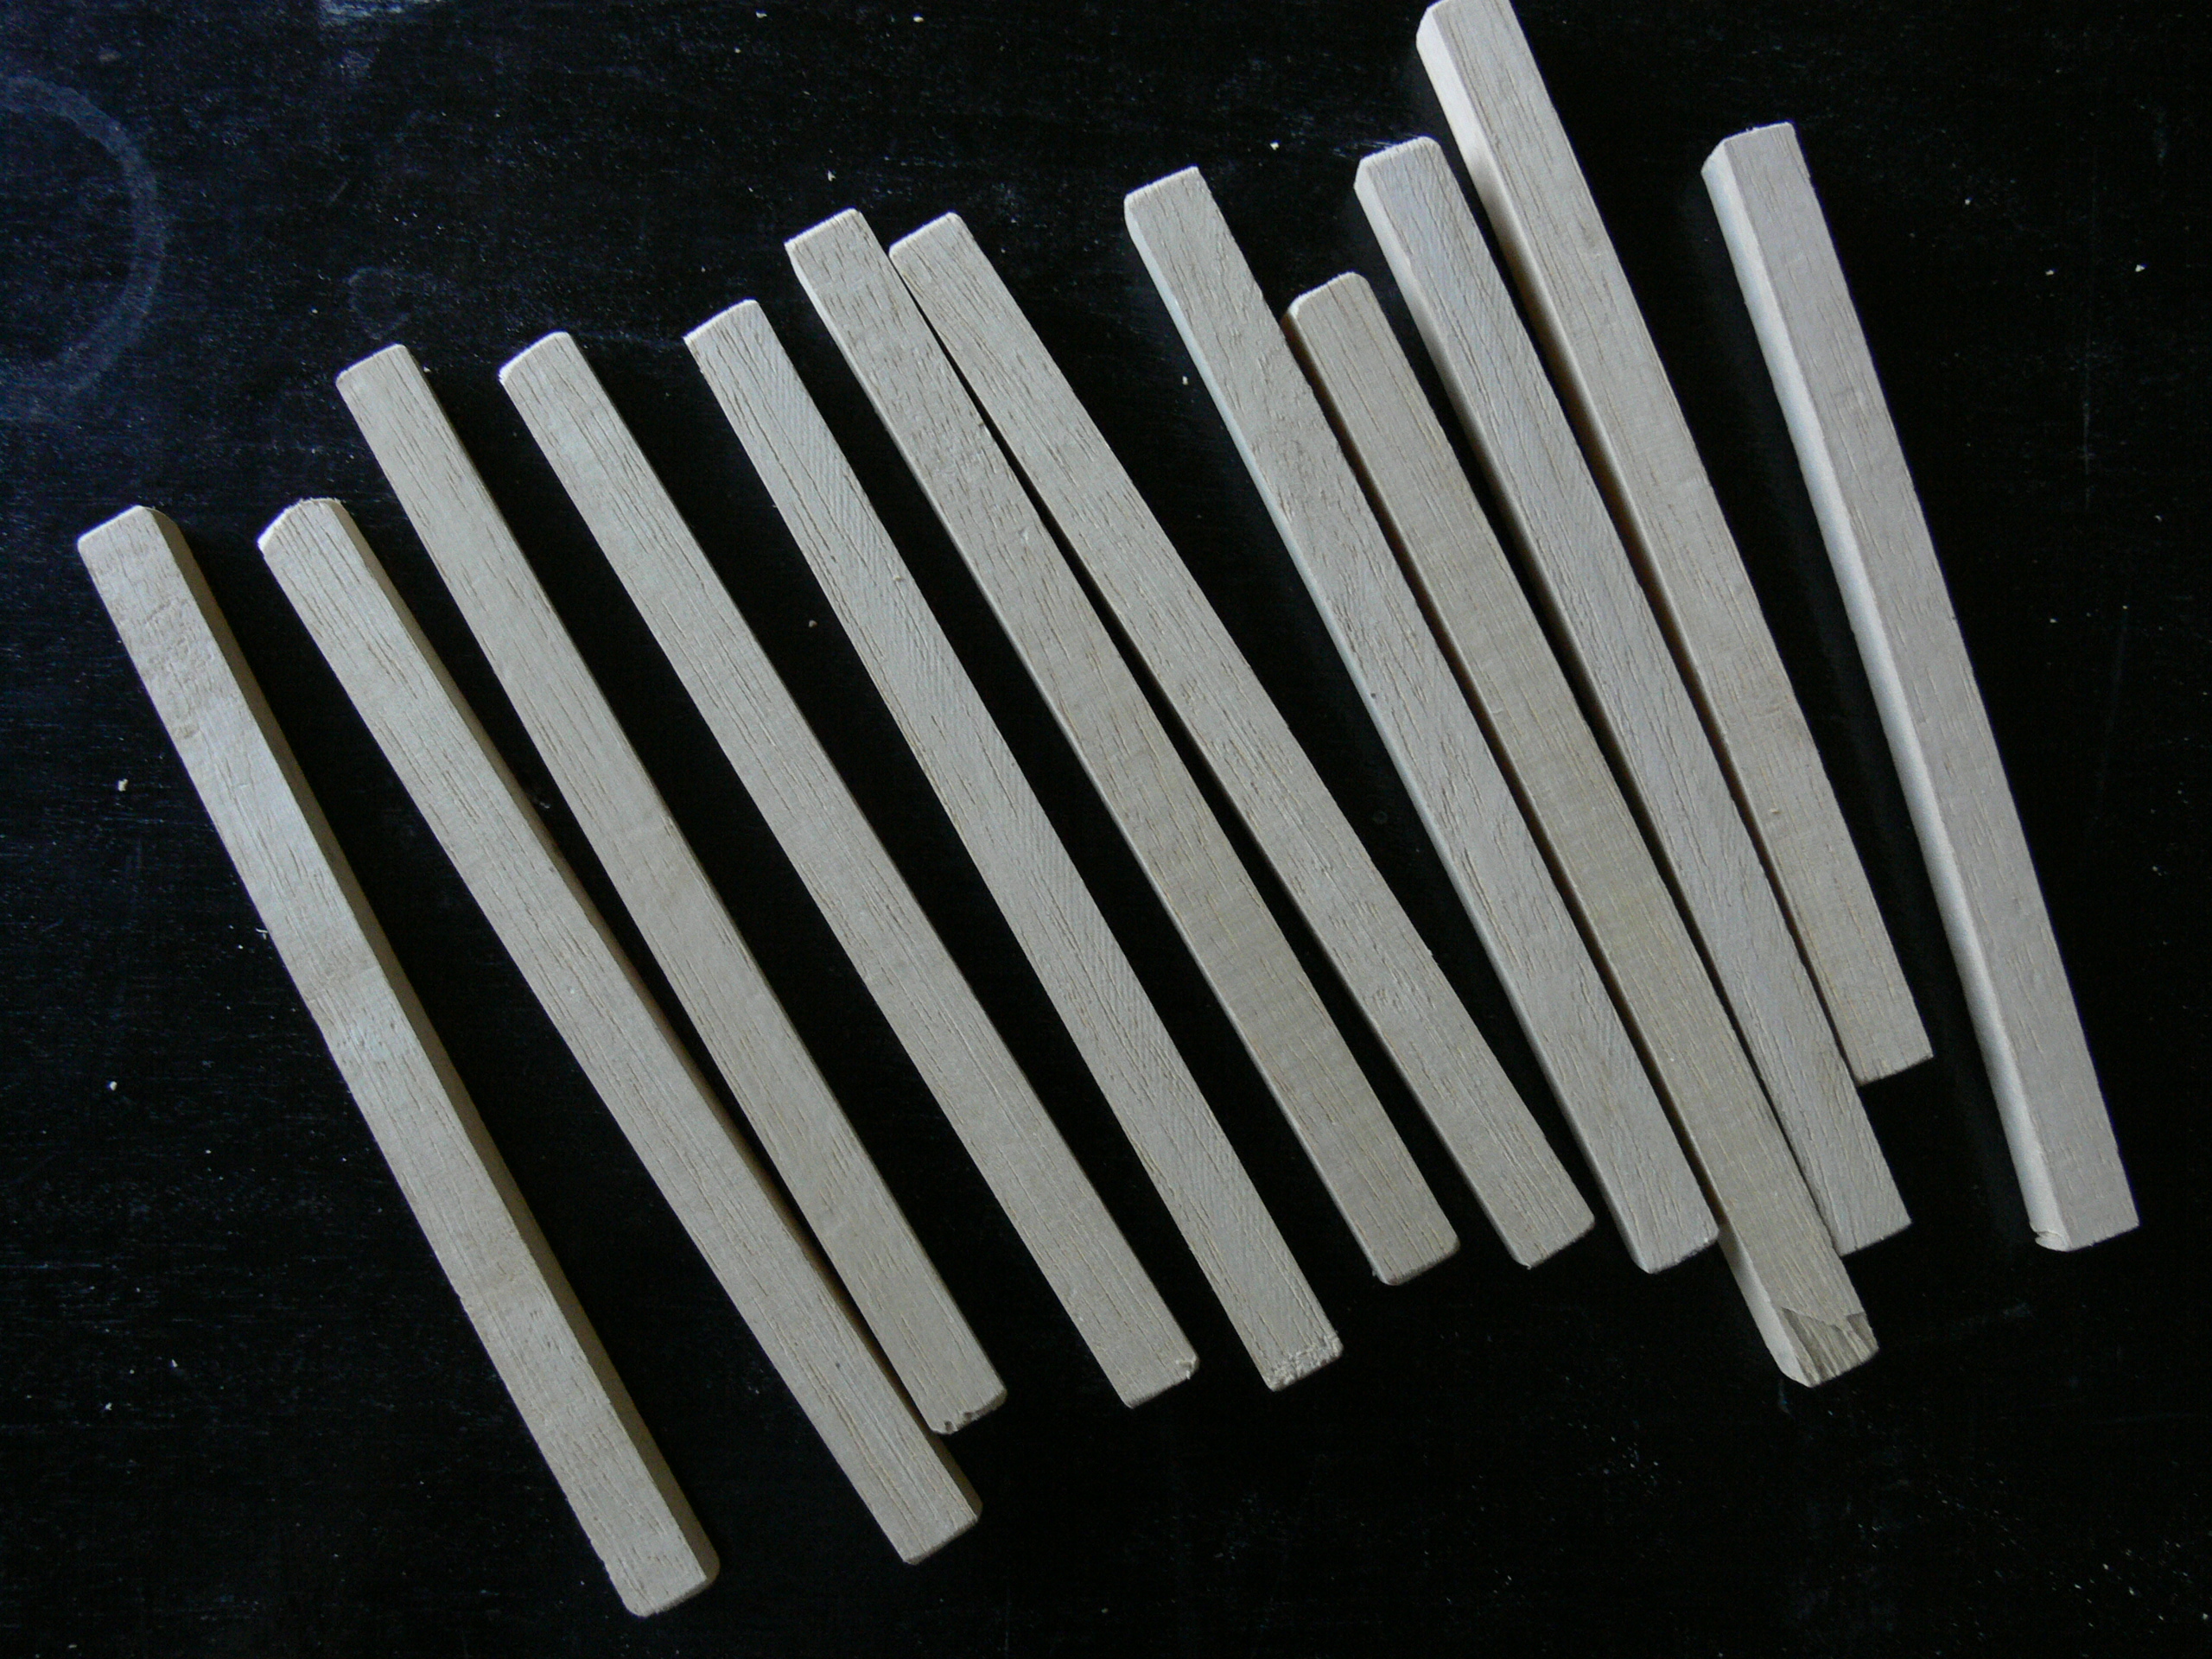
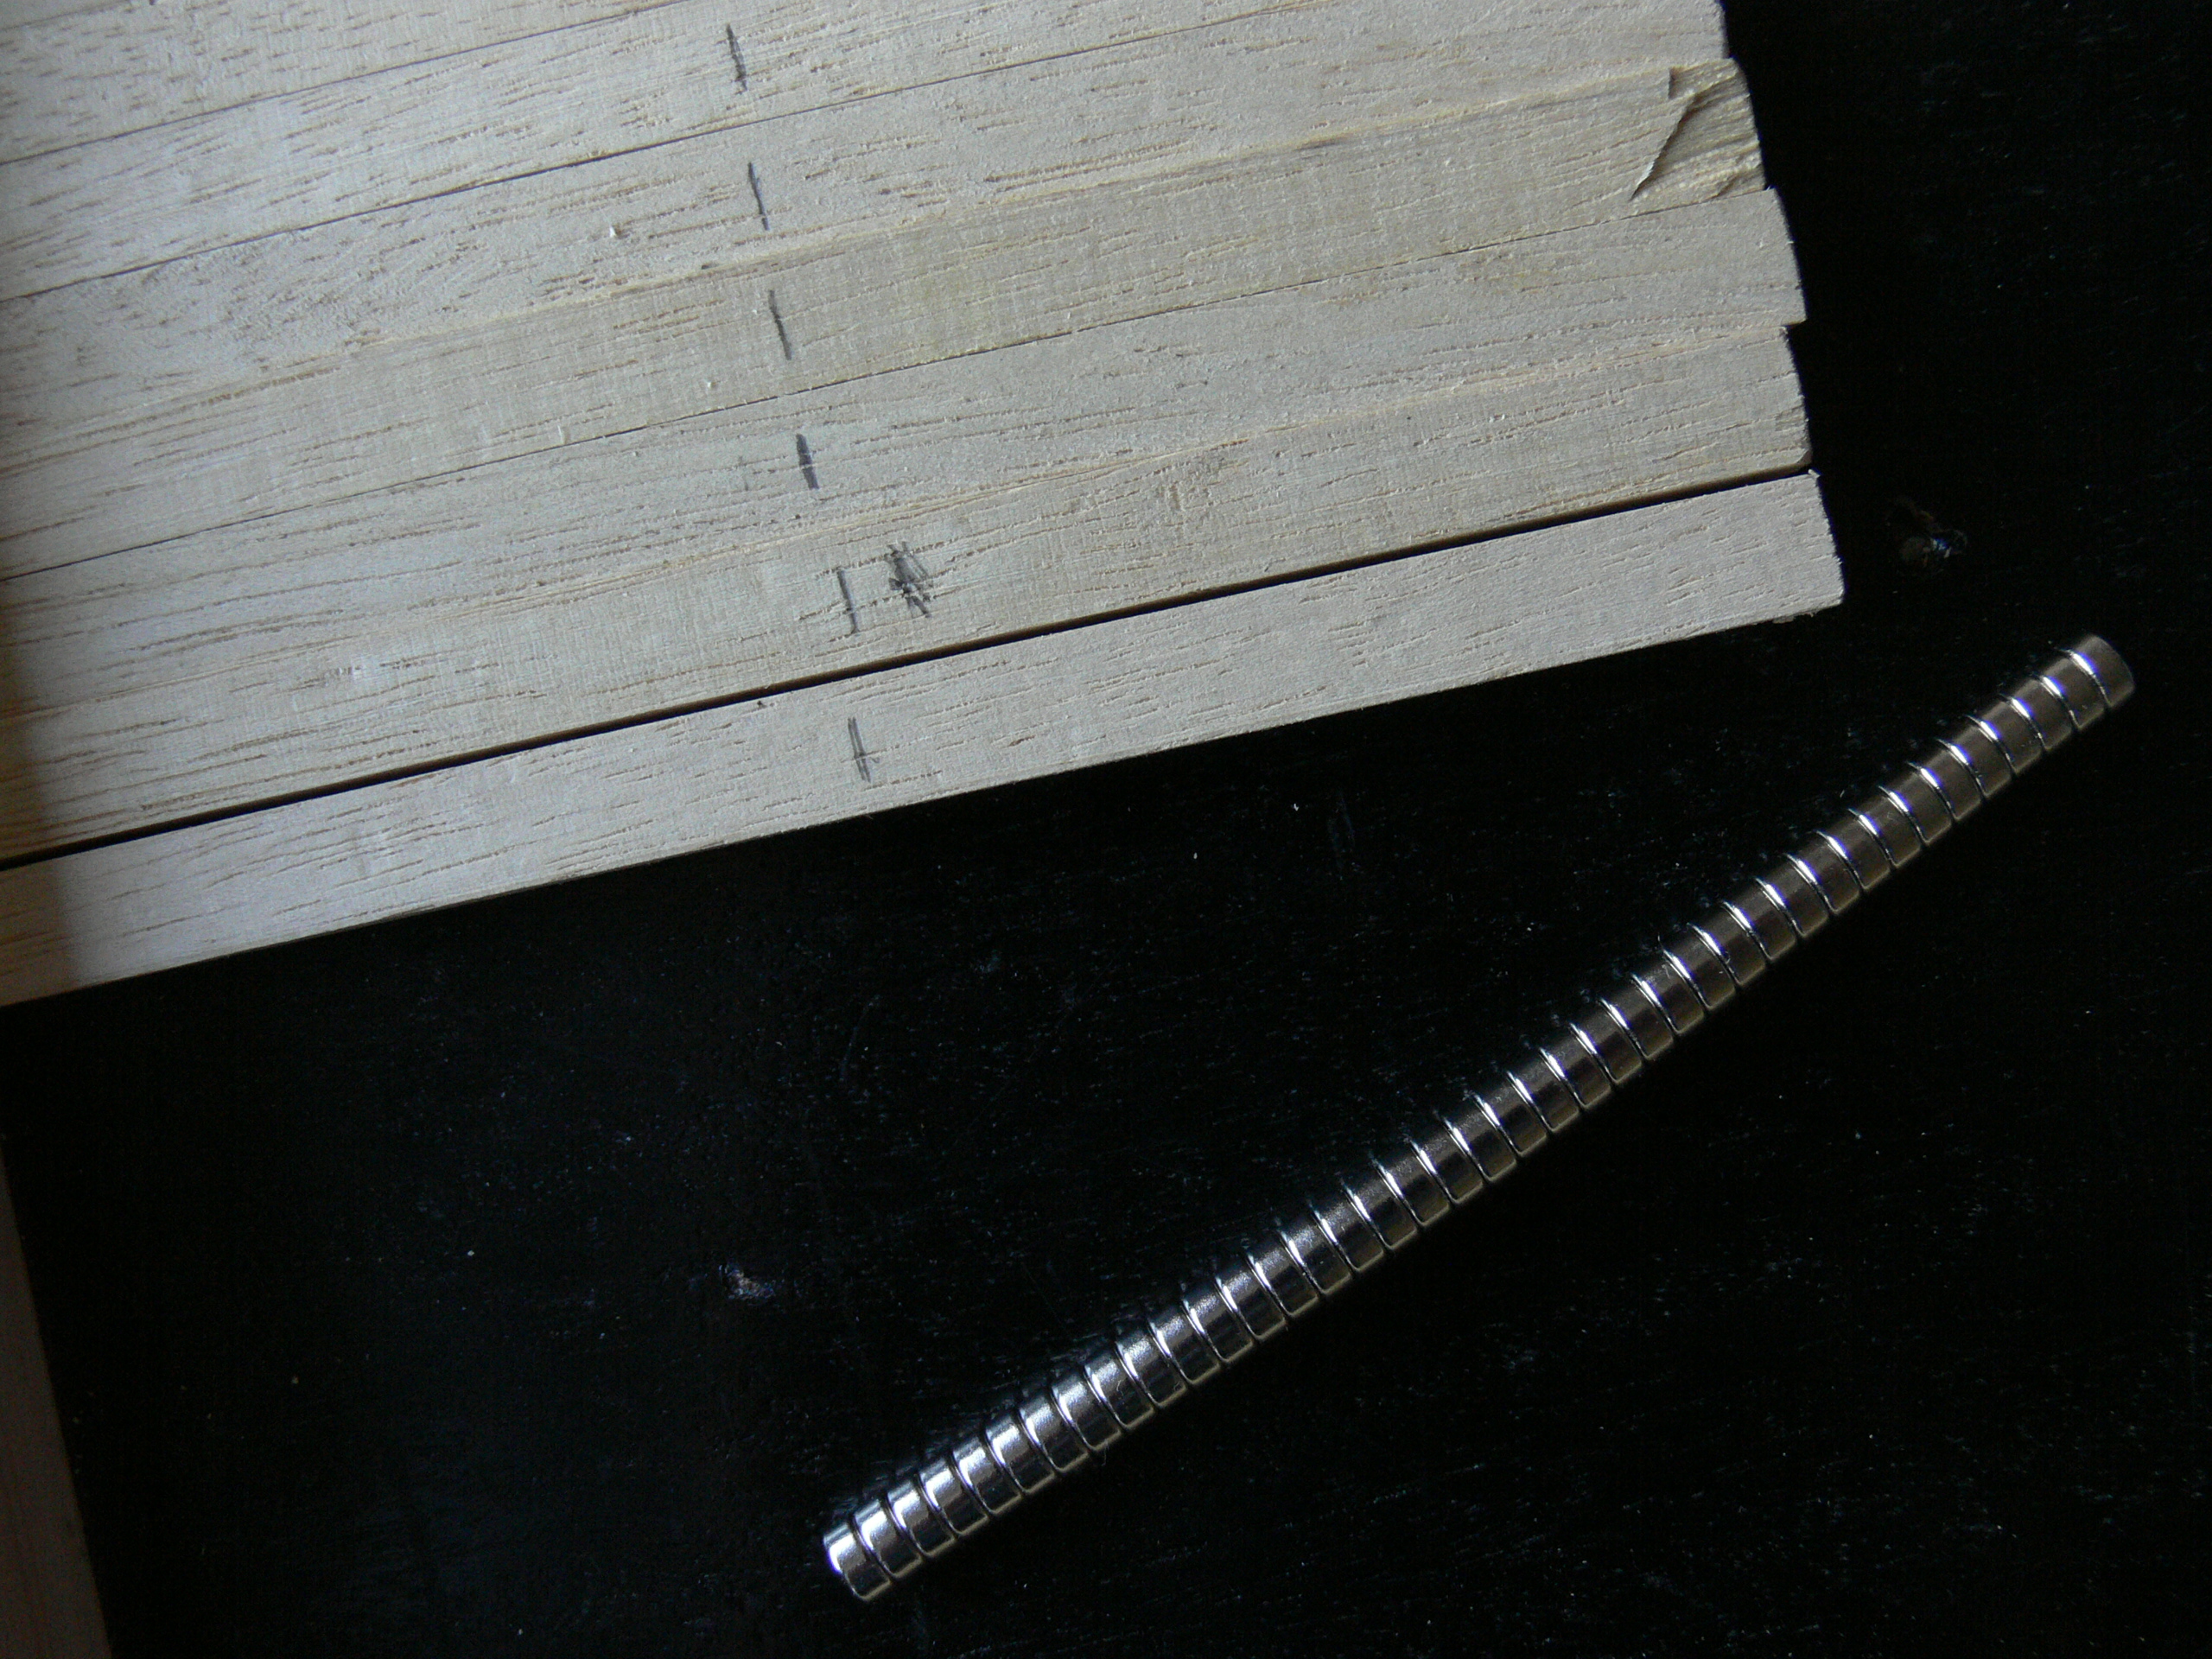
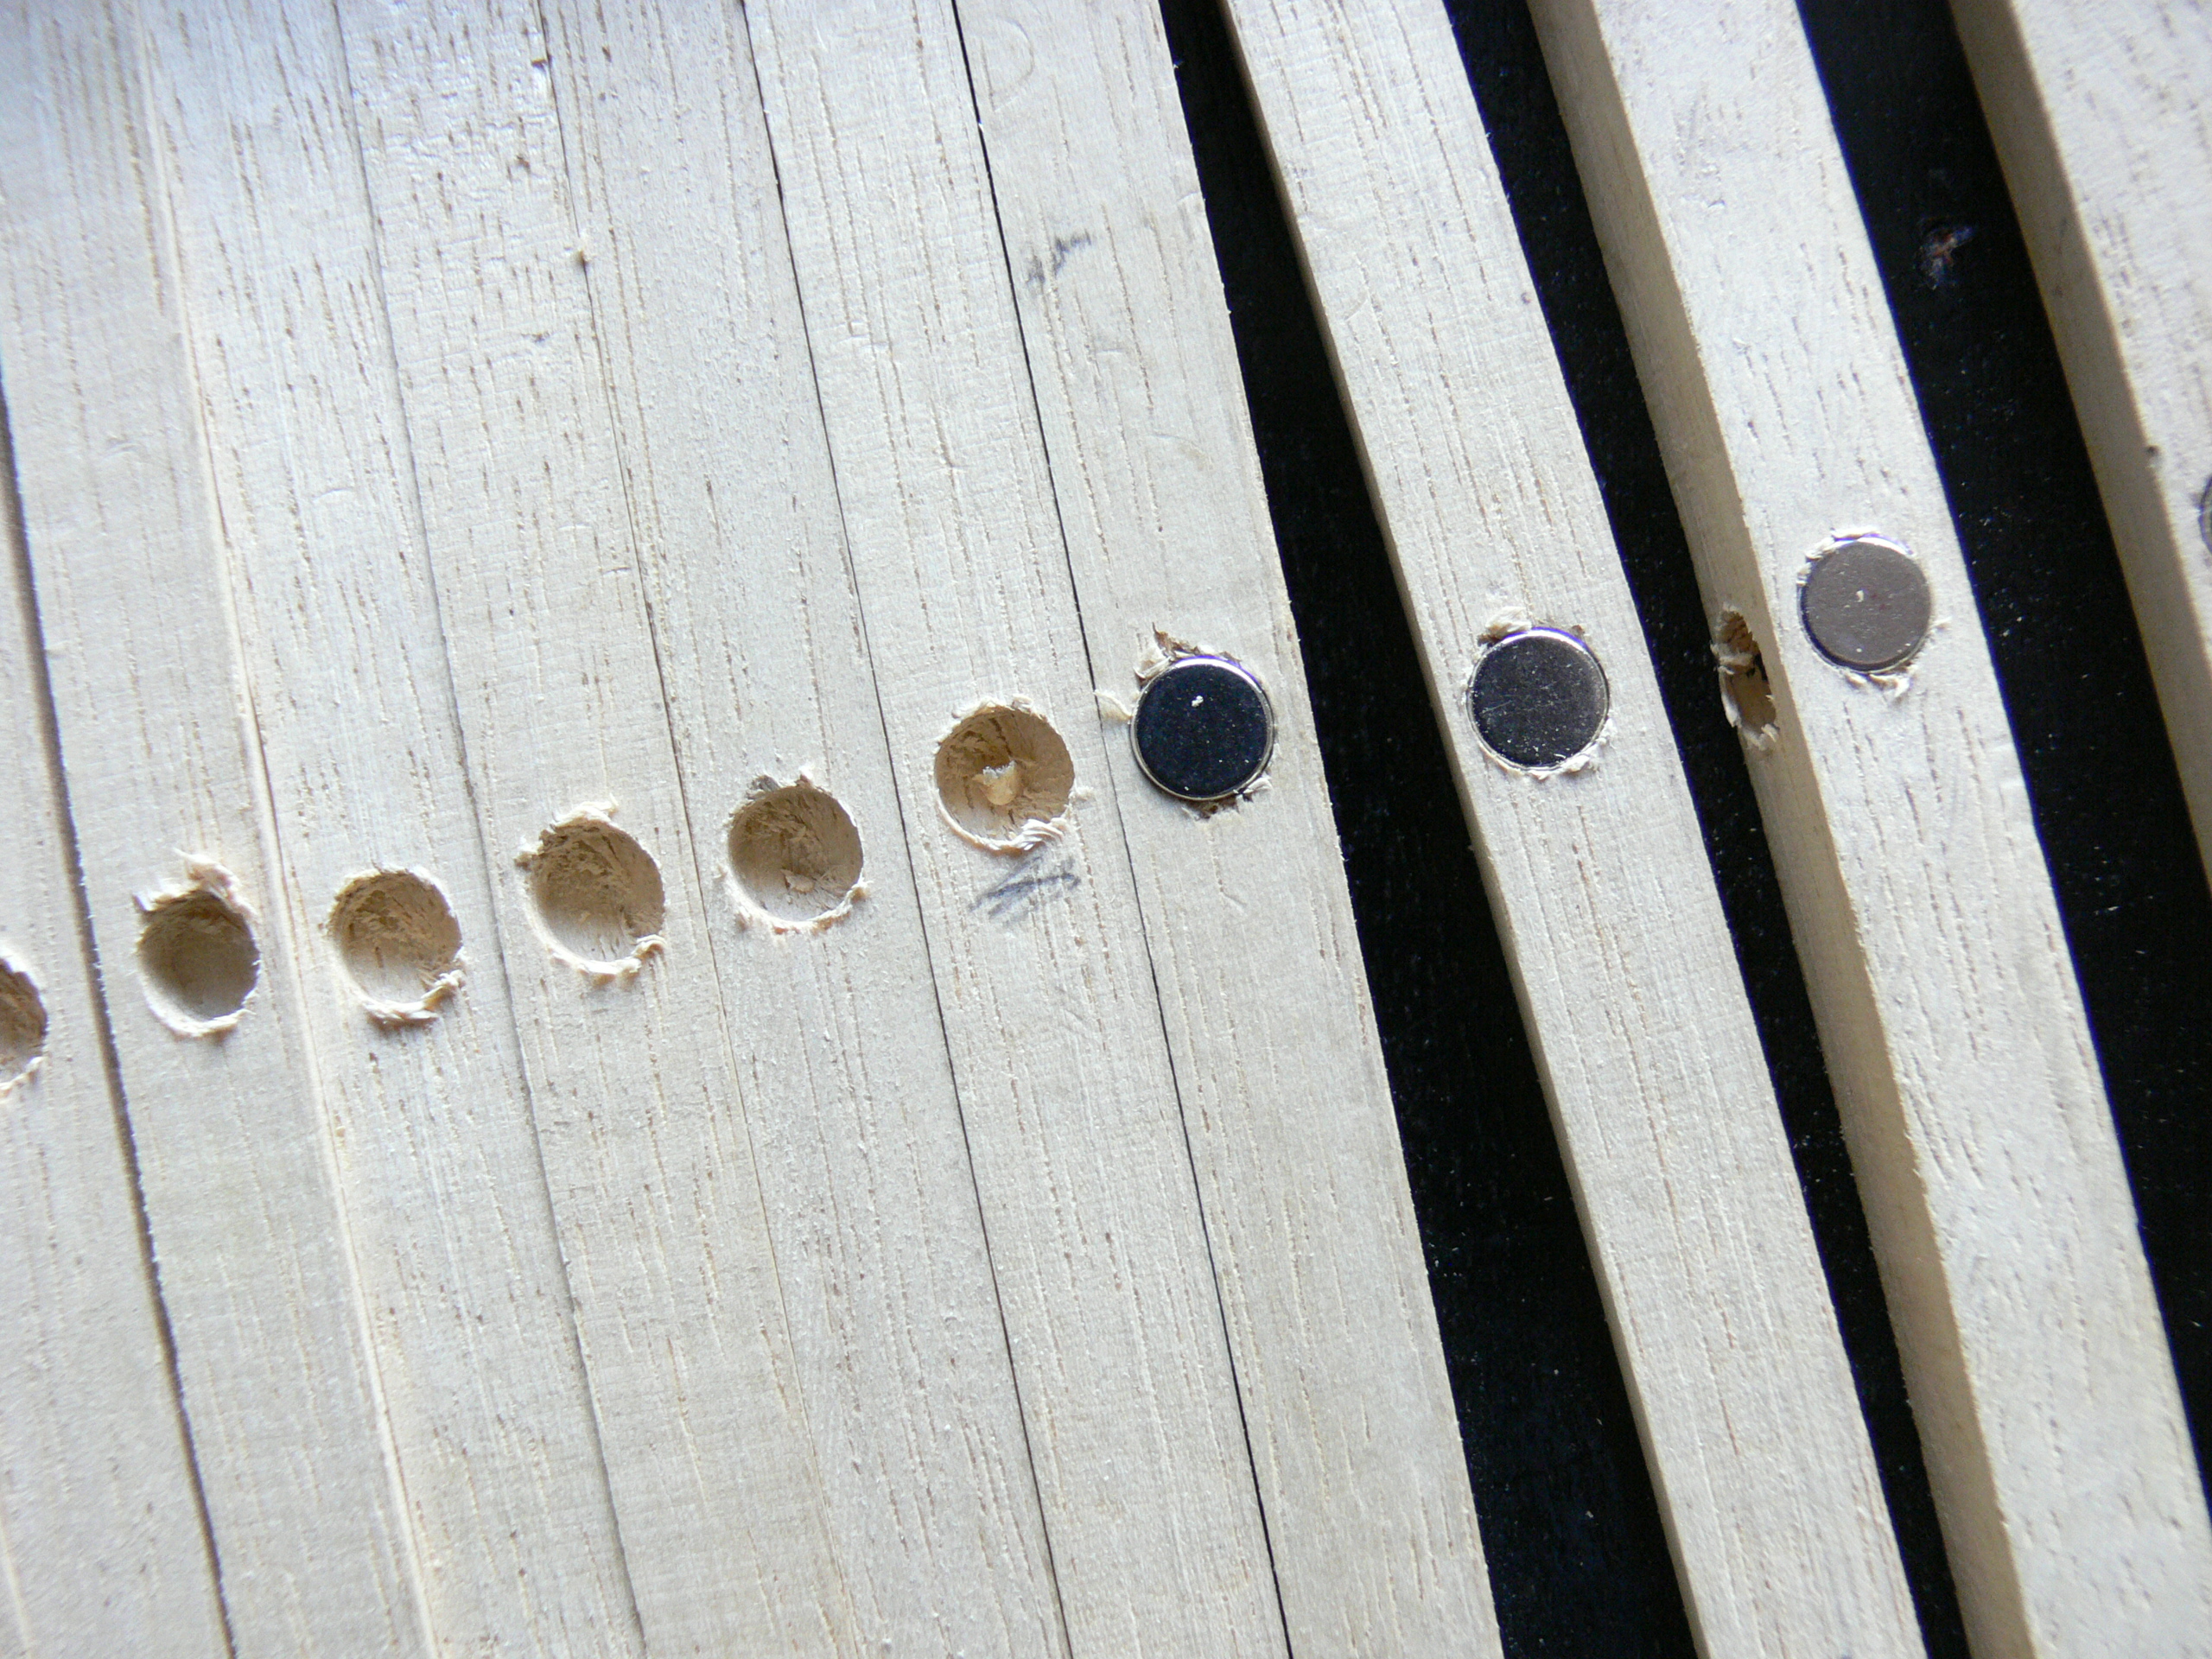
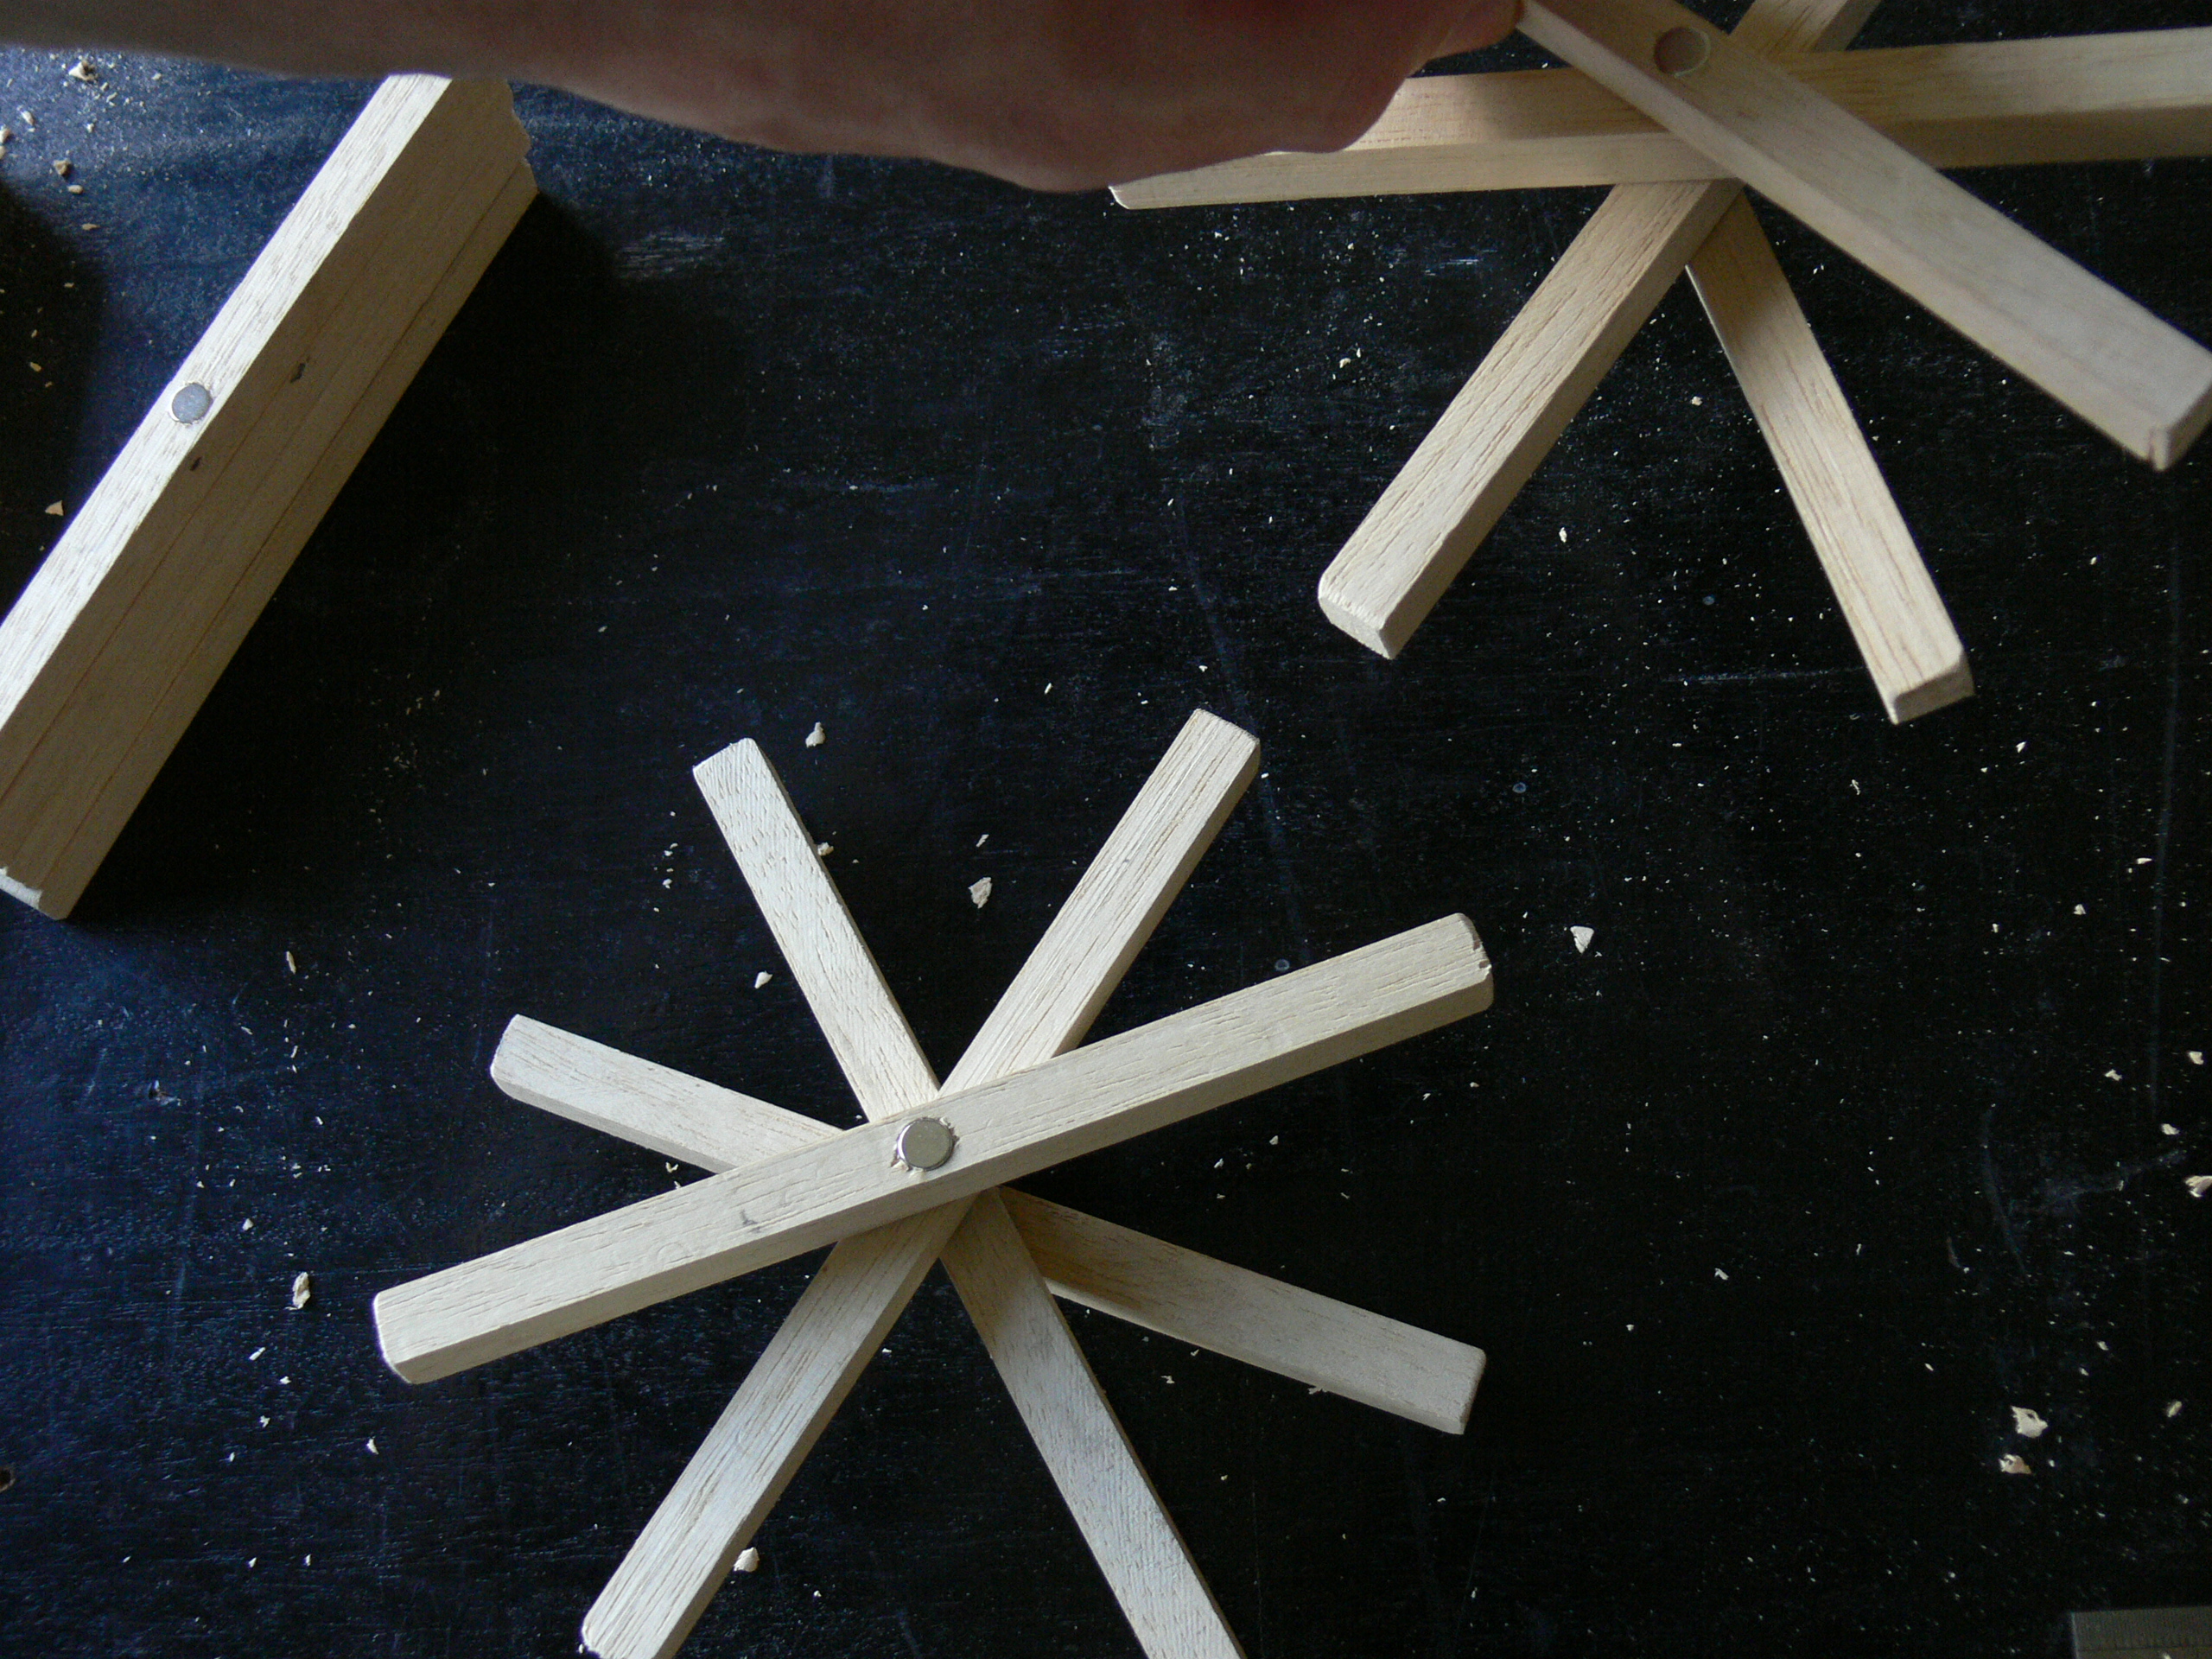
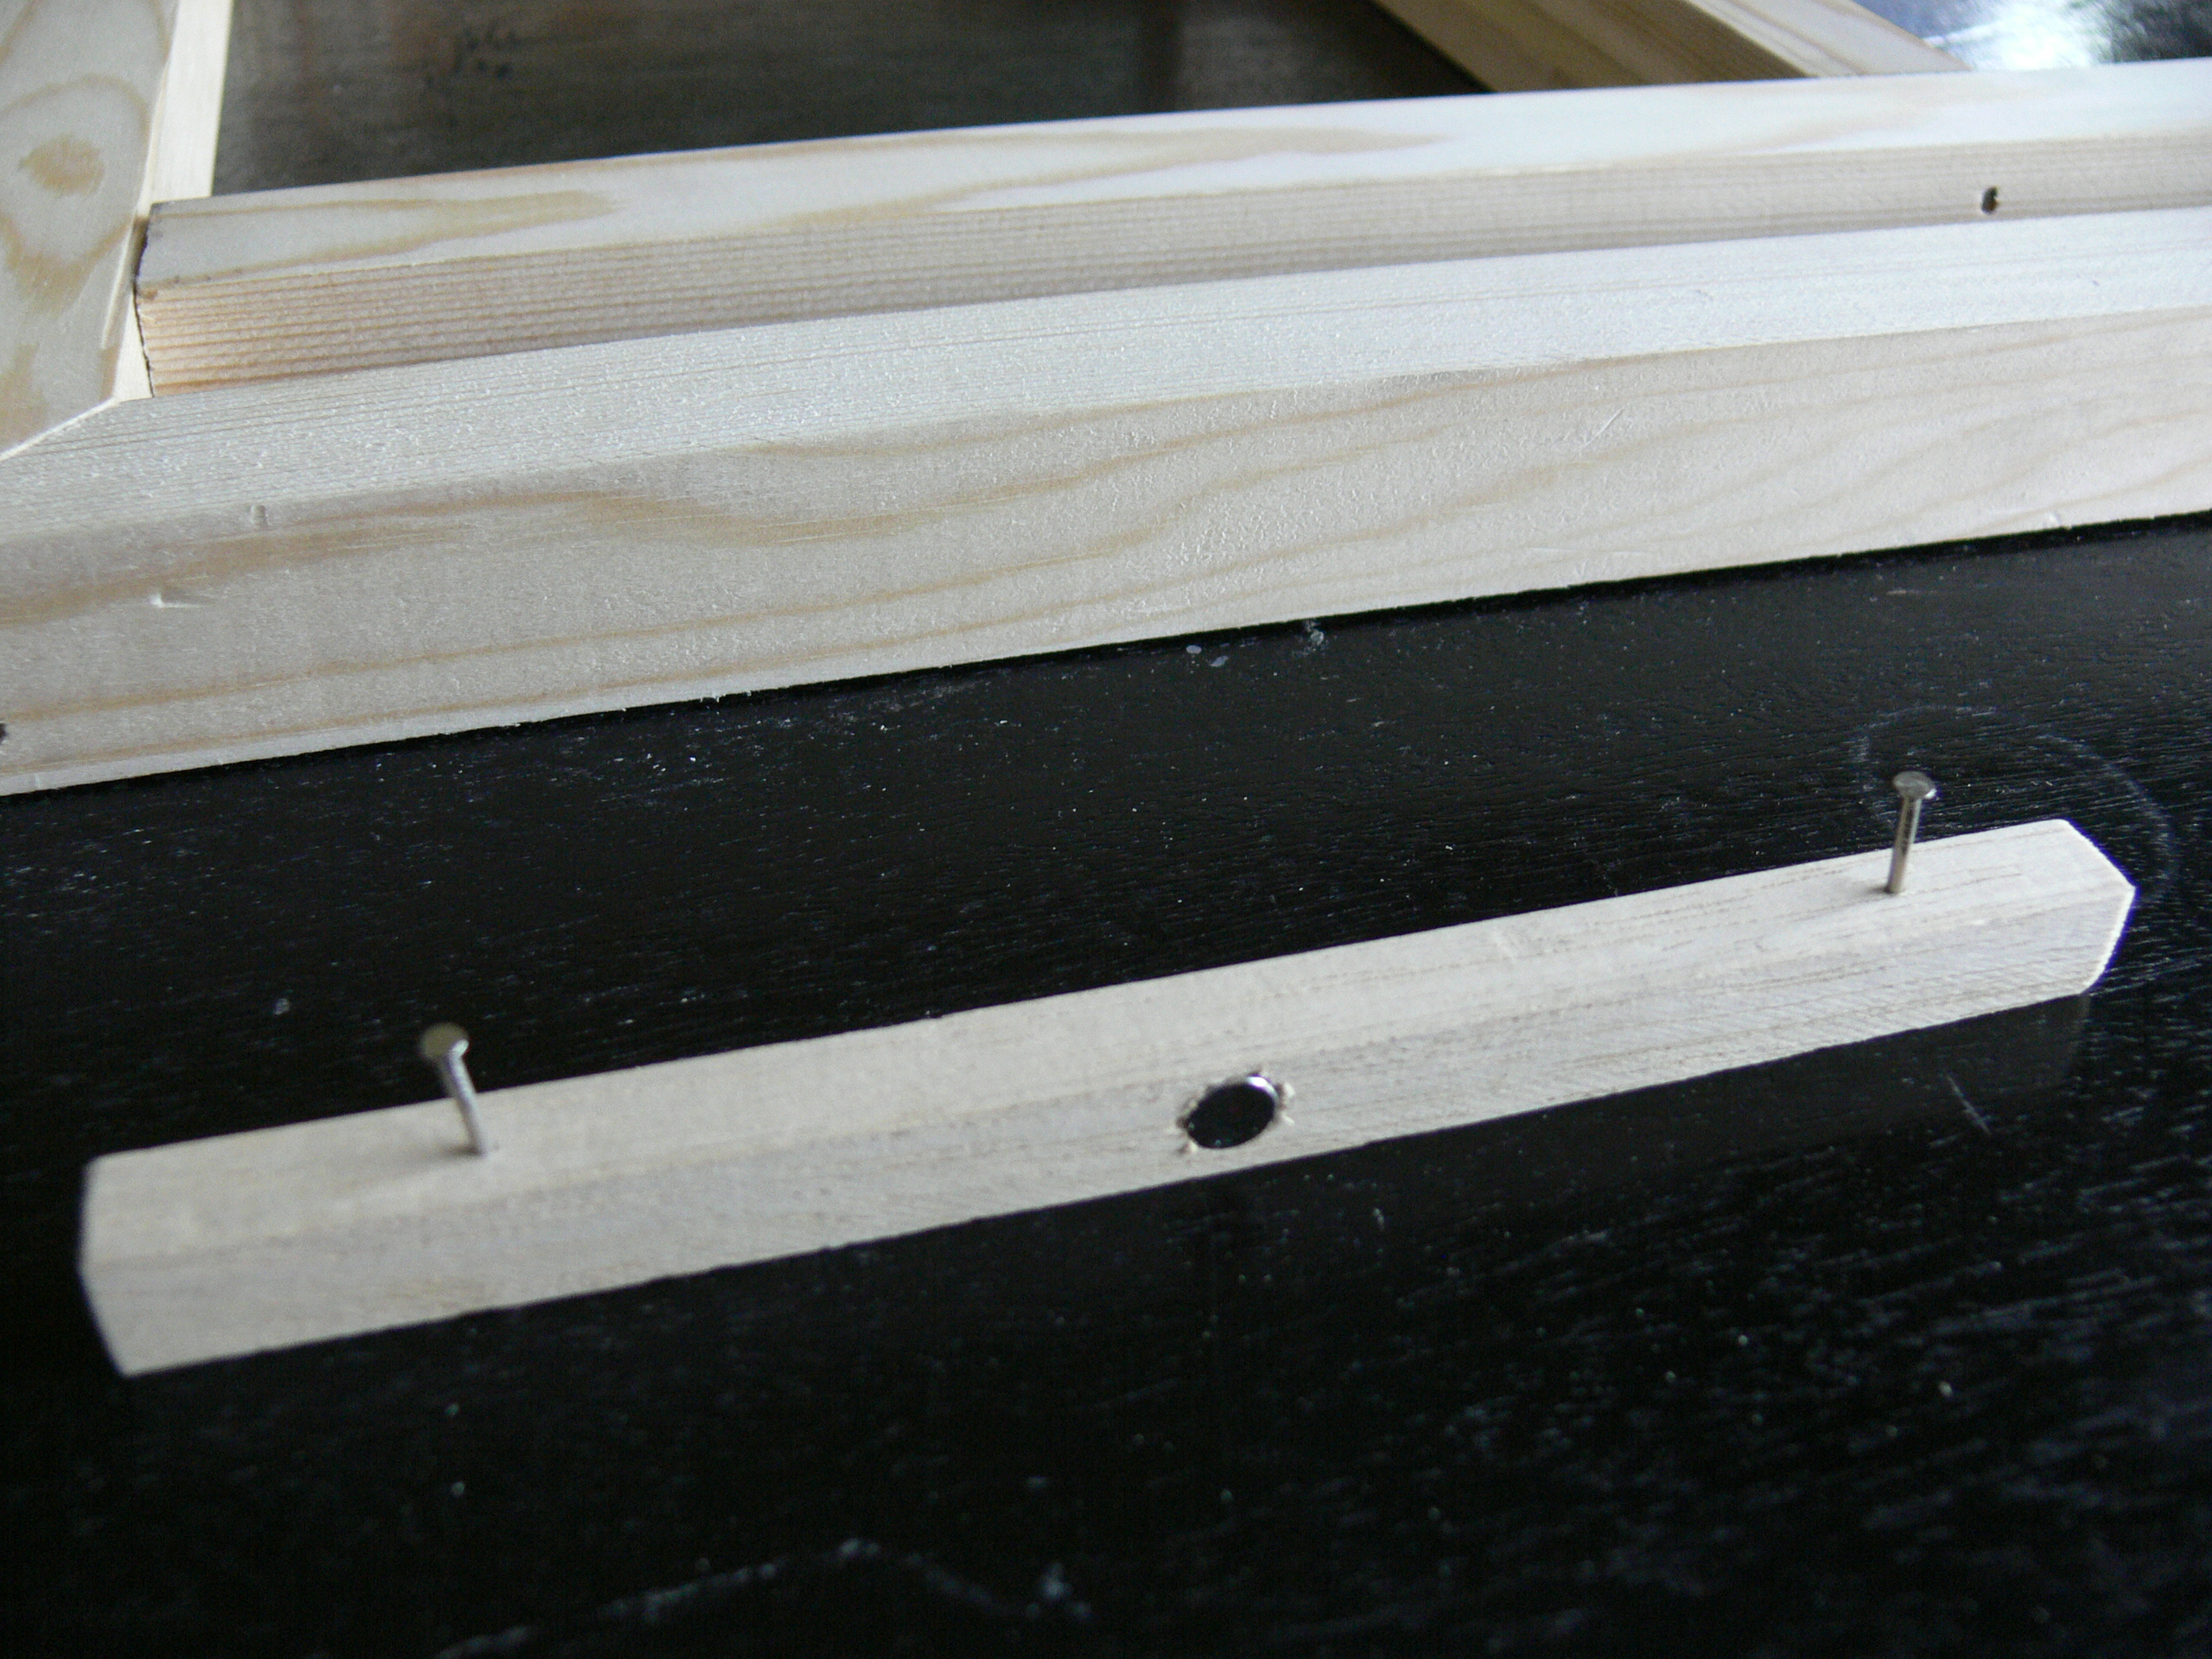
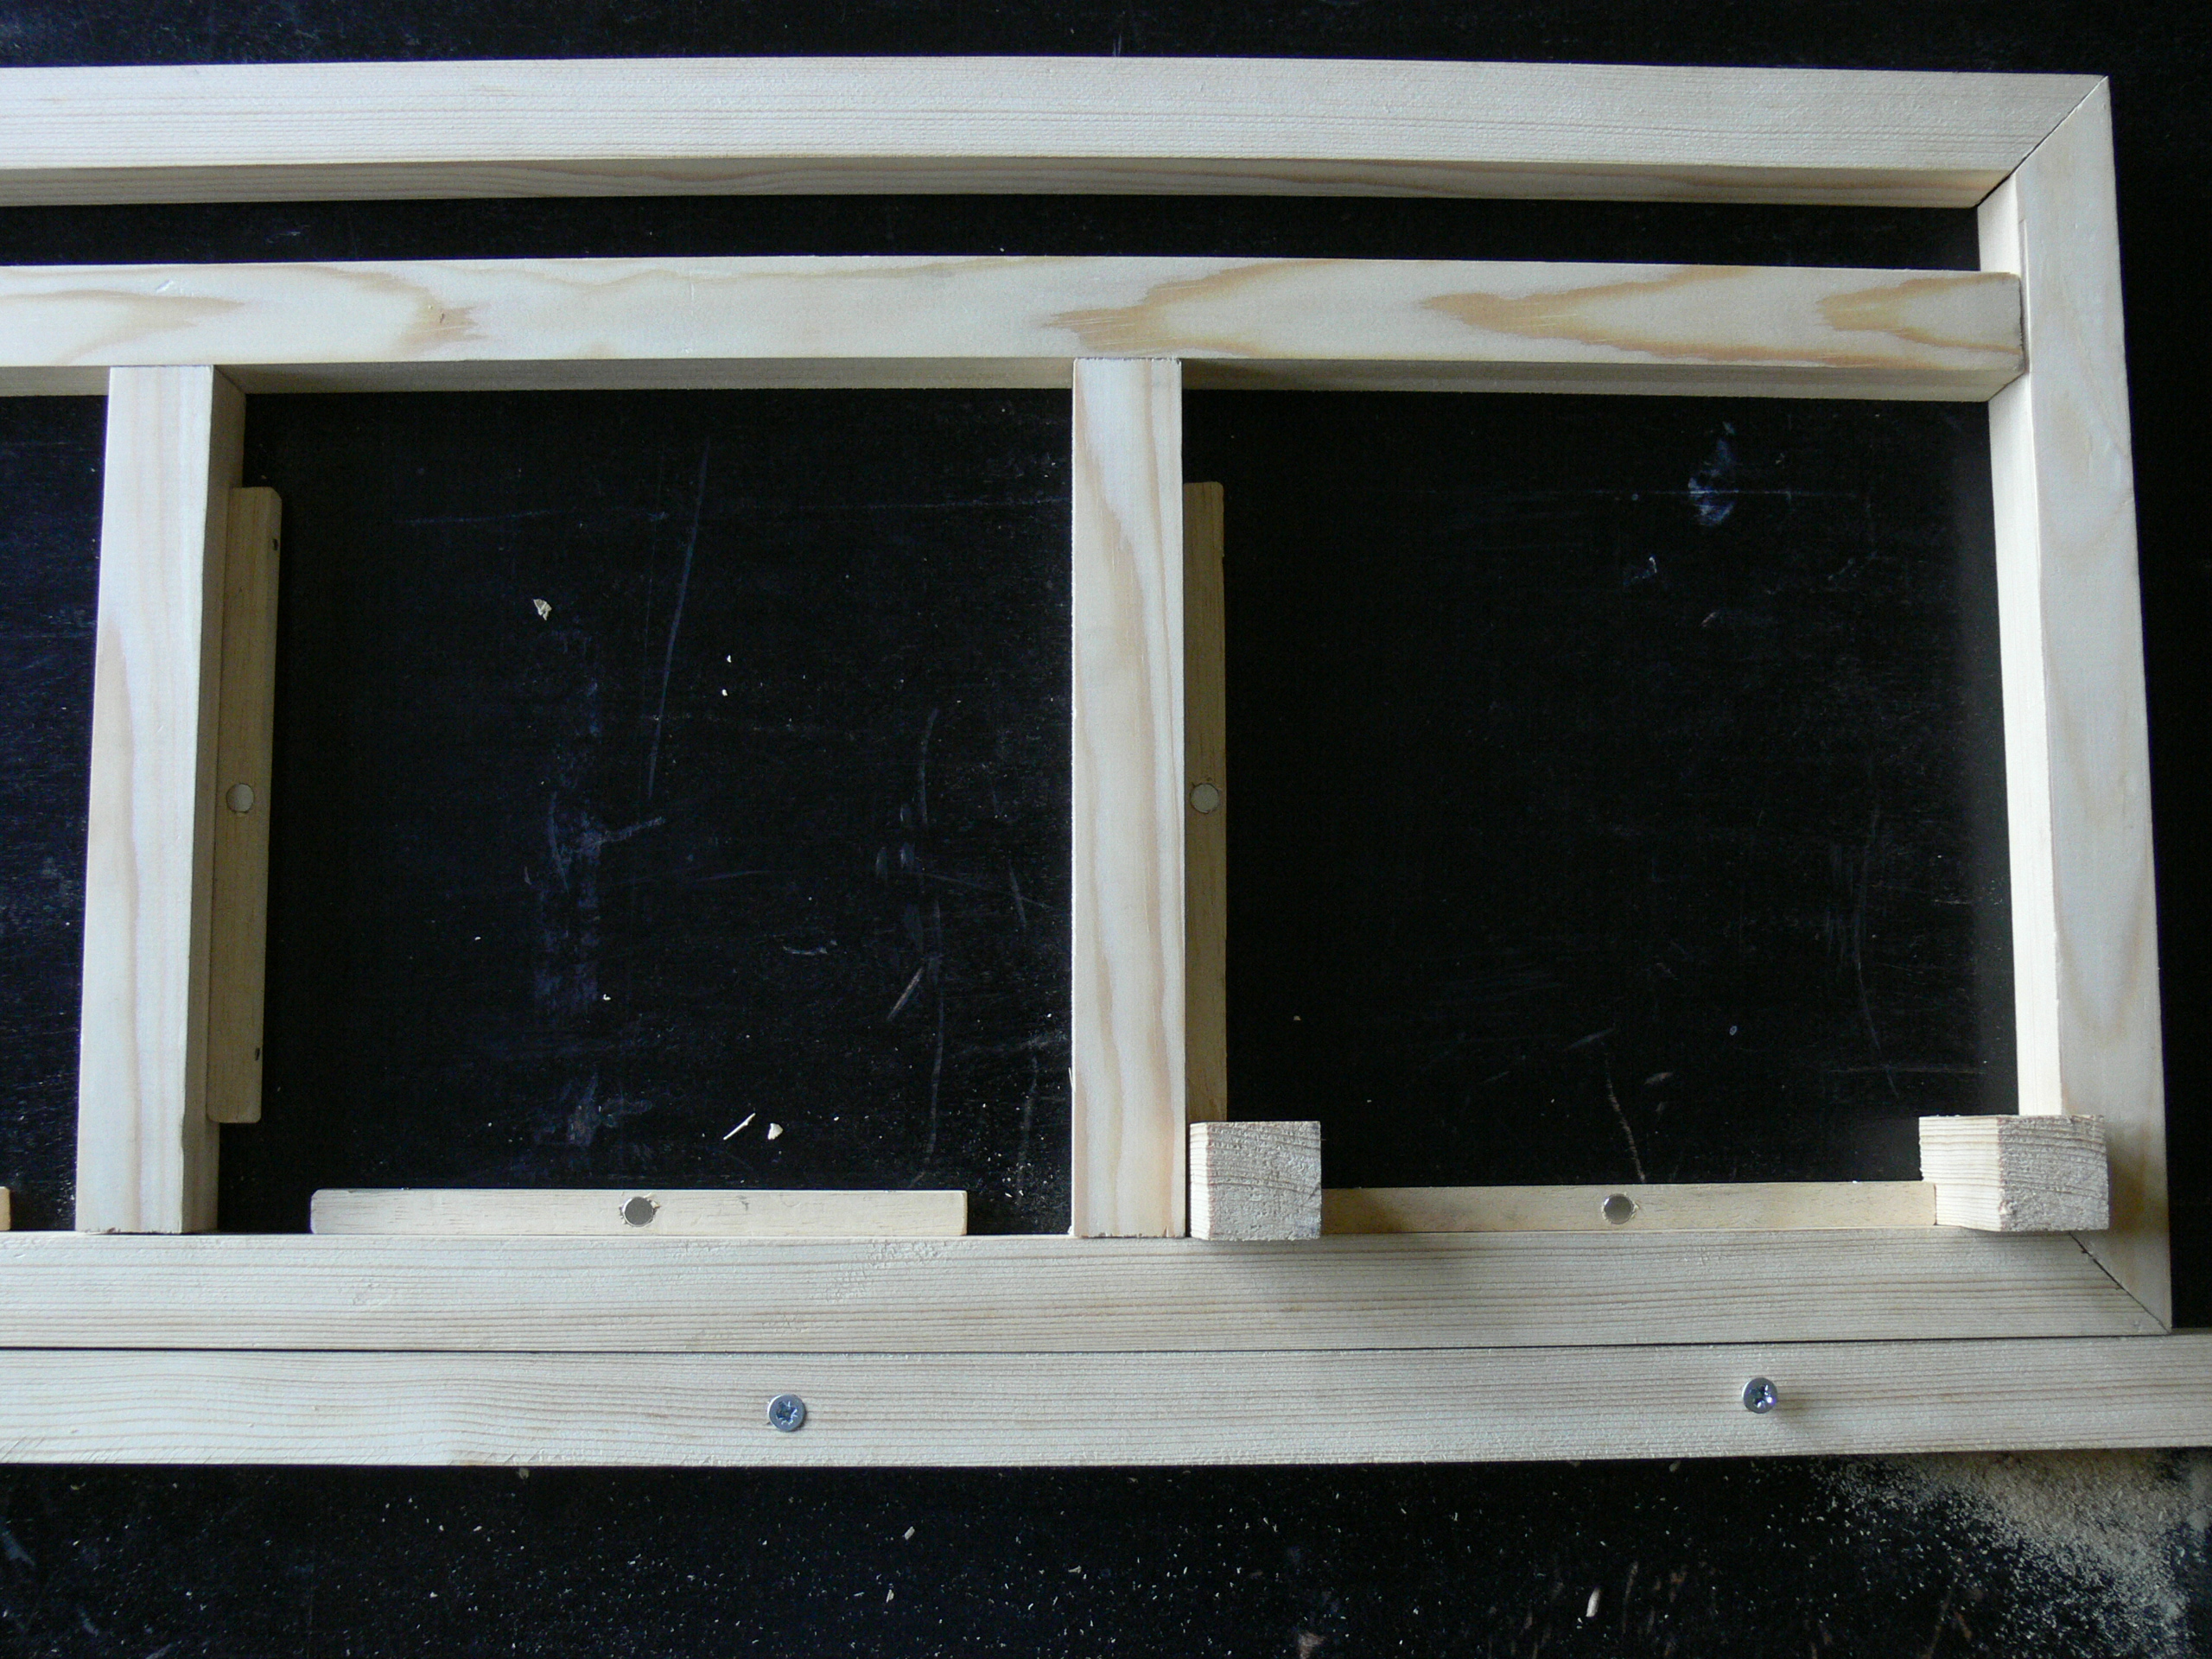
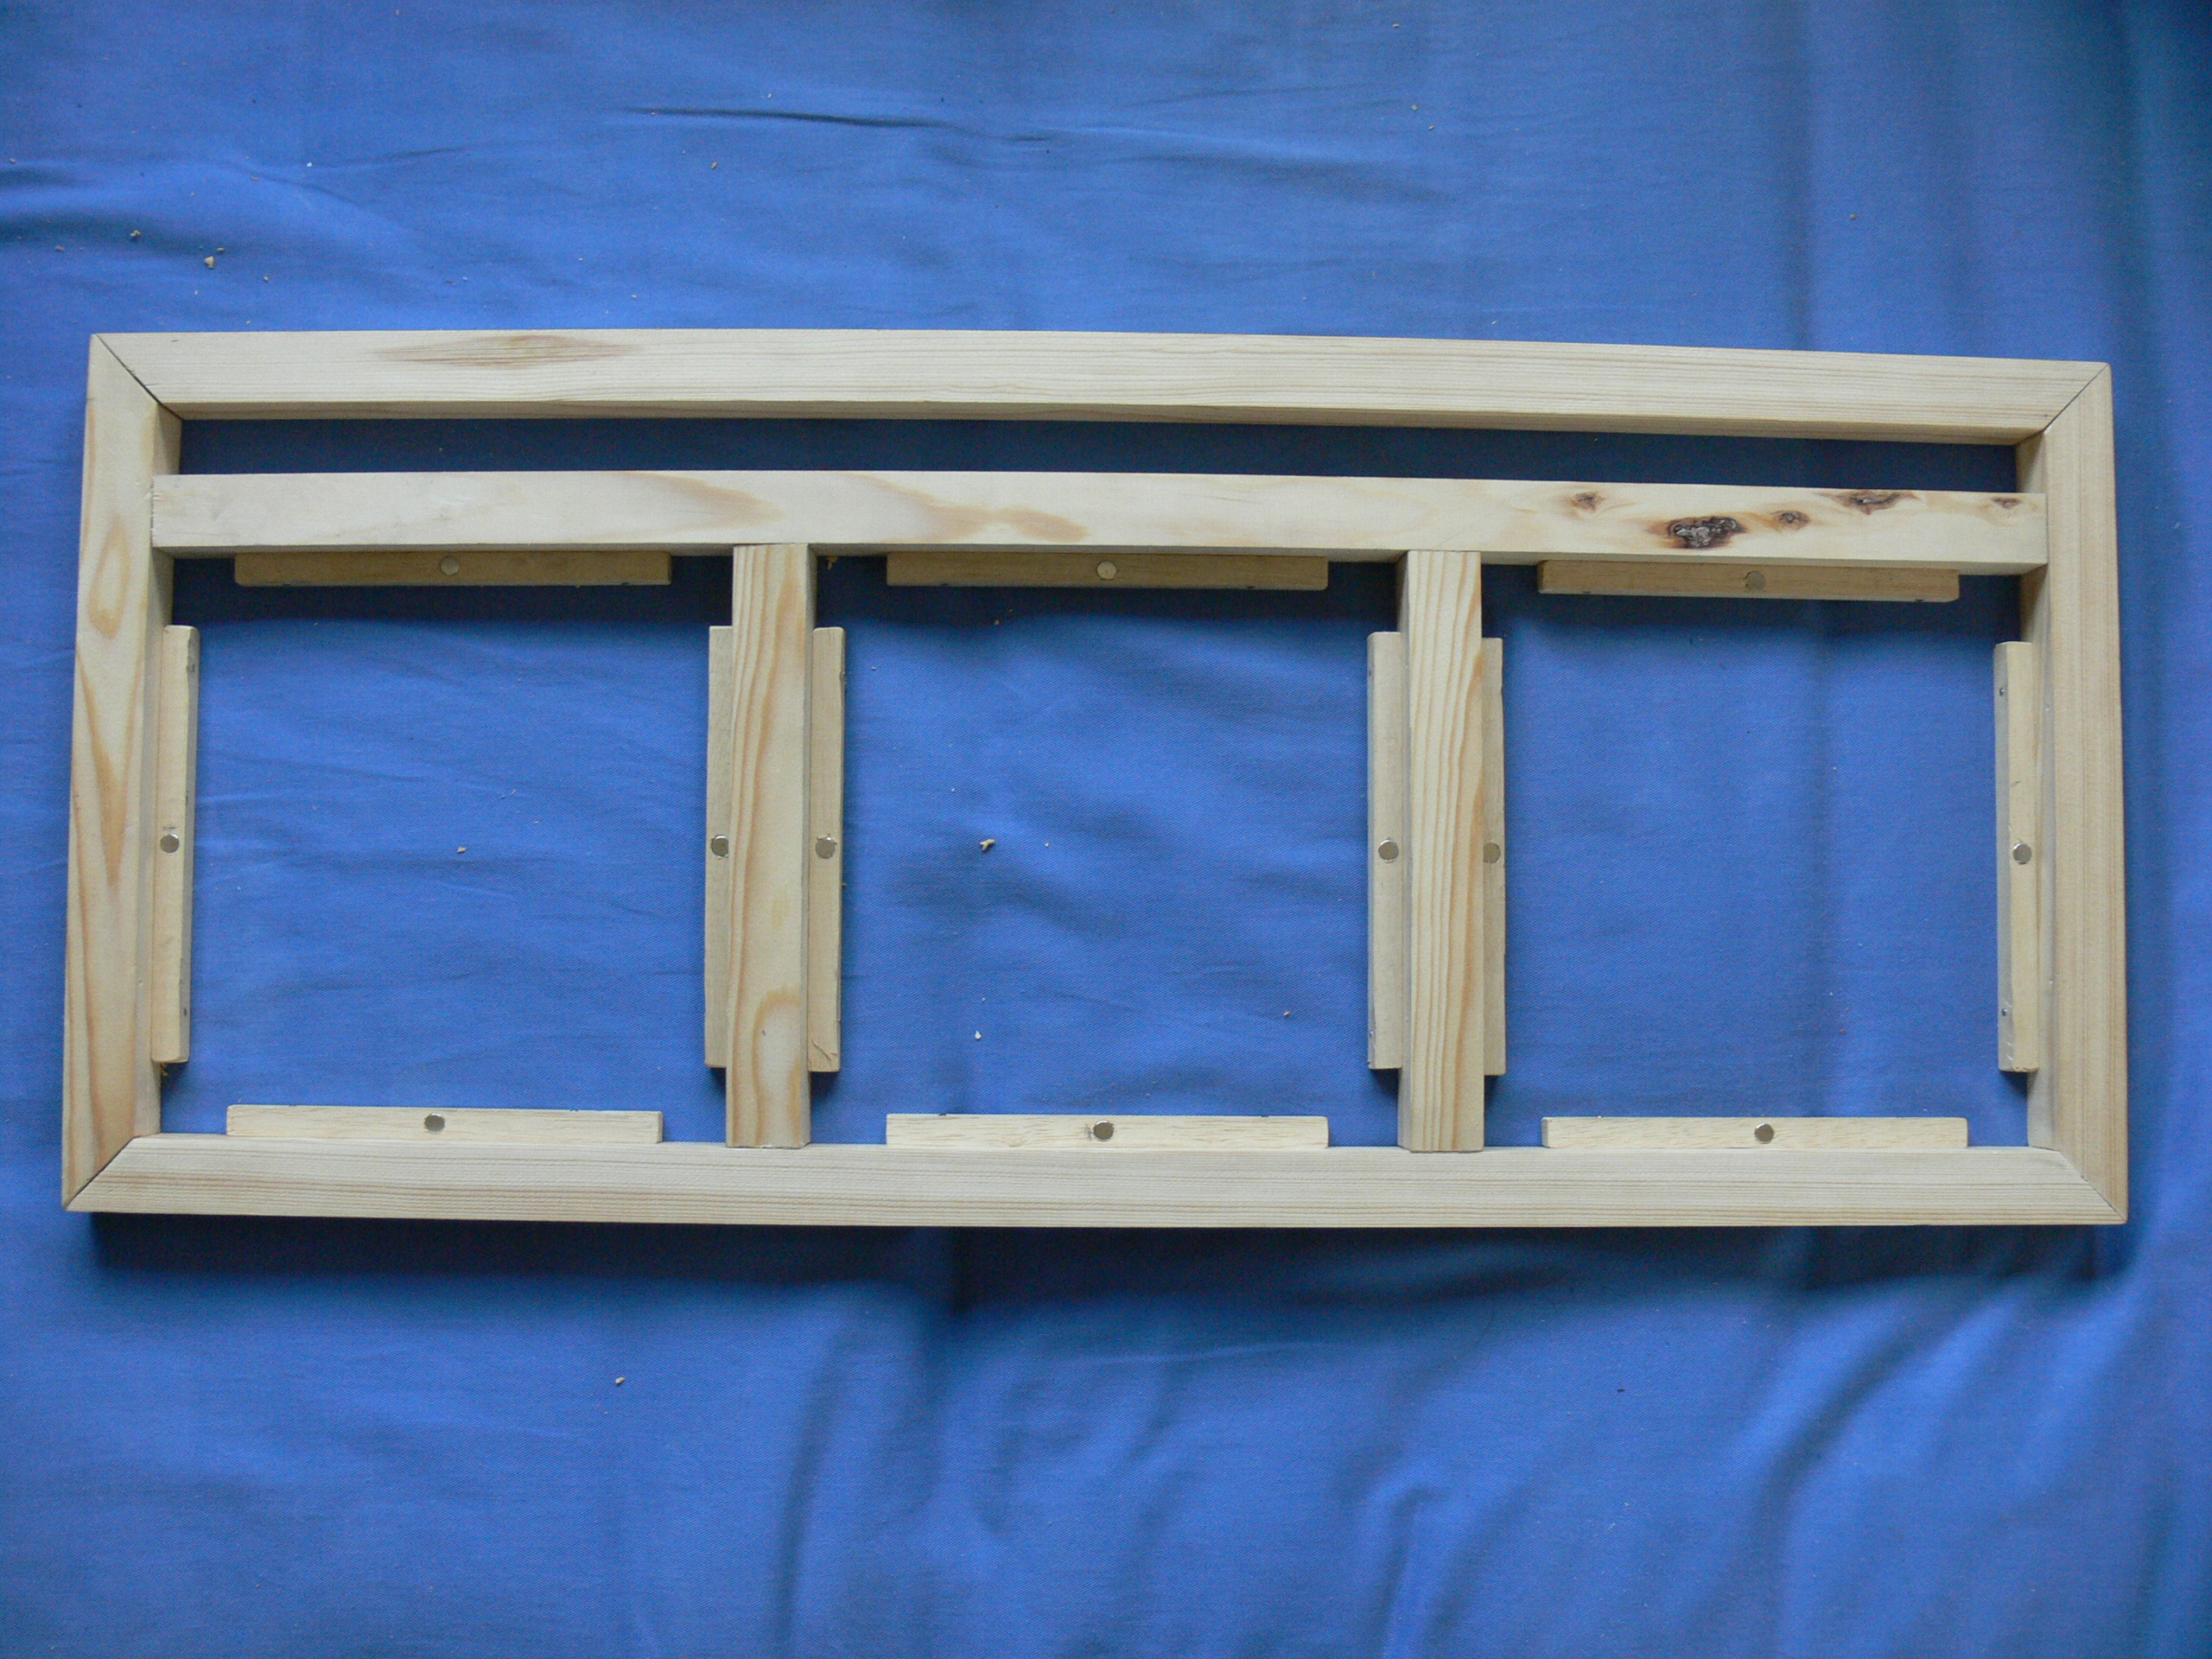
The panels that will fill the squares will need beads to rest on. Cut them short enough that there will be a gap in the corner, this is to make room for the upholstered corners of the panels.
I cut my beads at 150mm, because a square is 200 and I can use two blocks of my 25mm wood to position them perfectly.
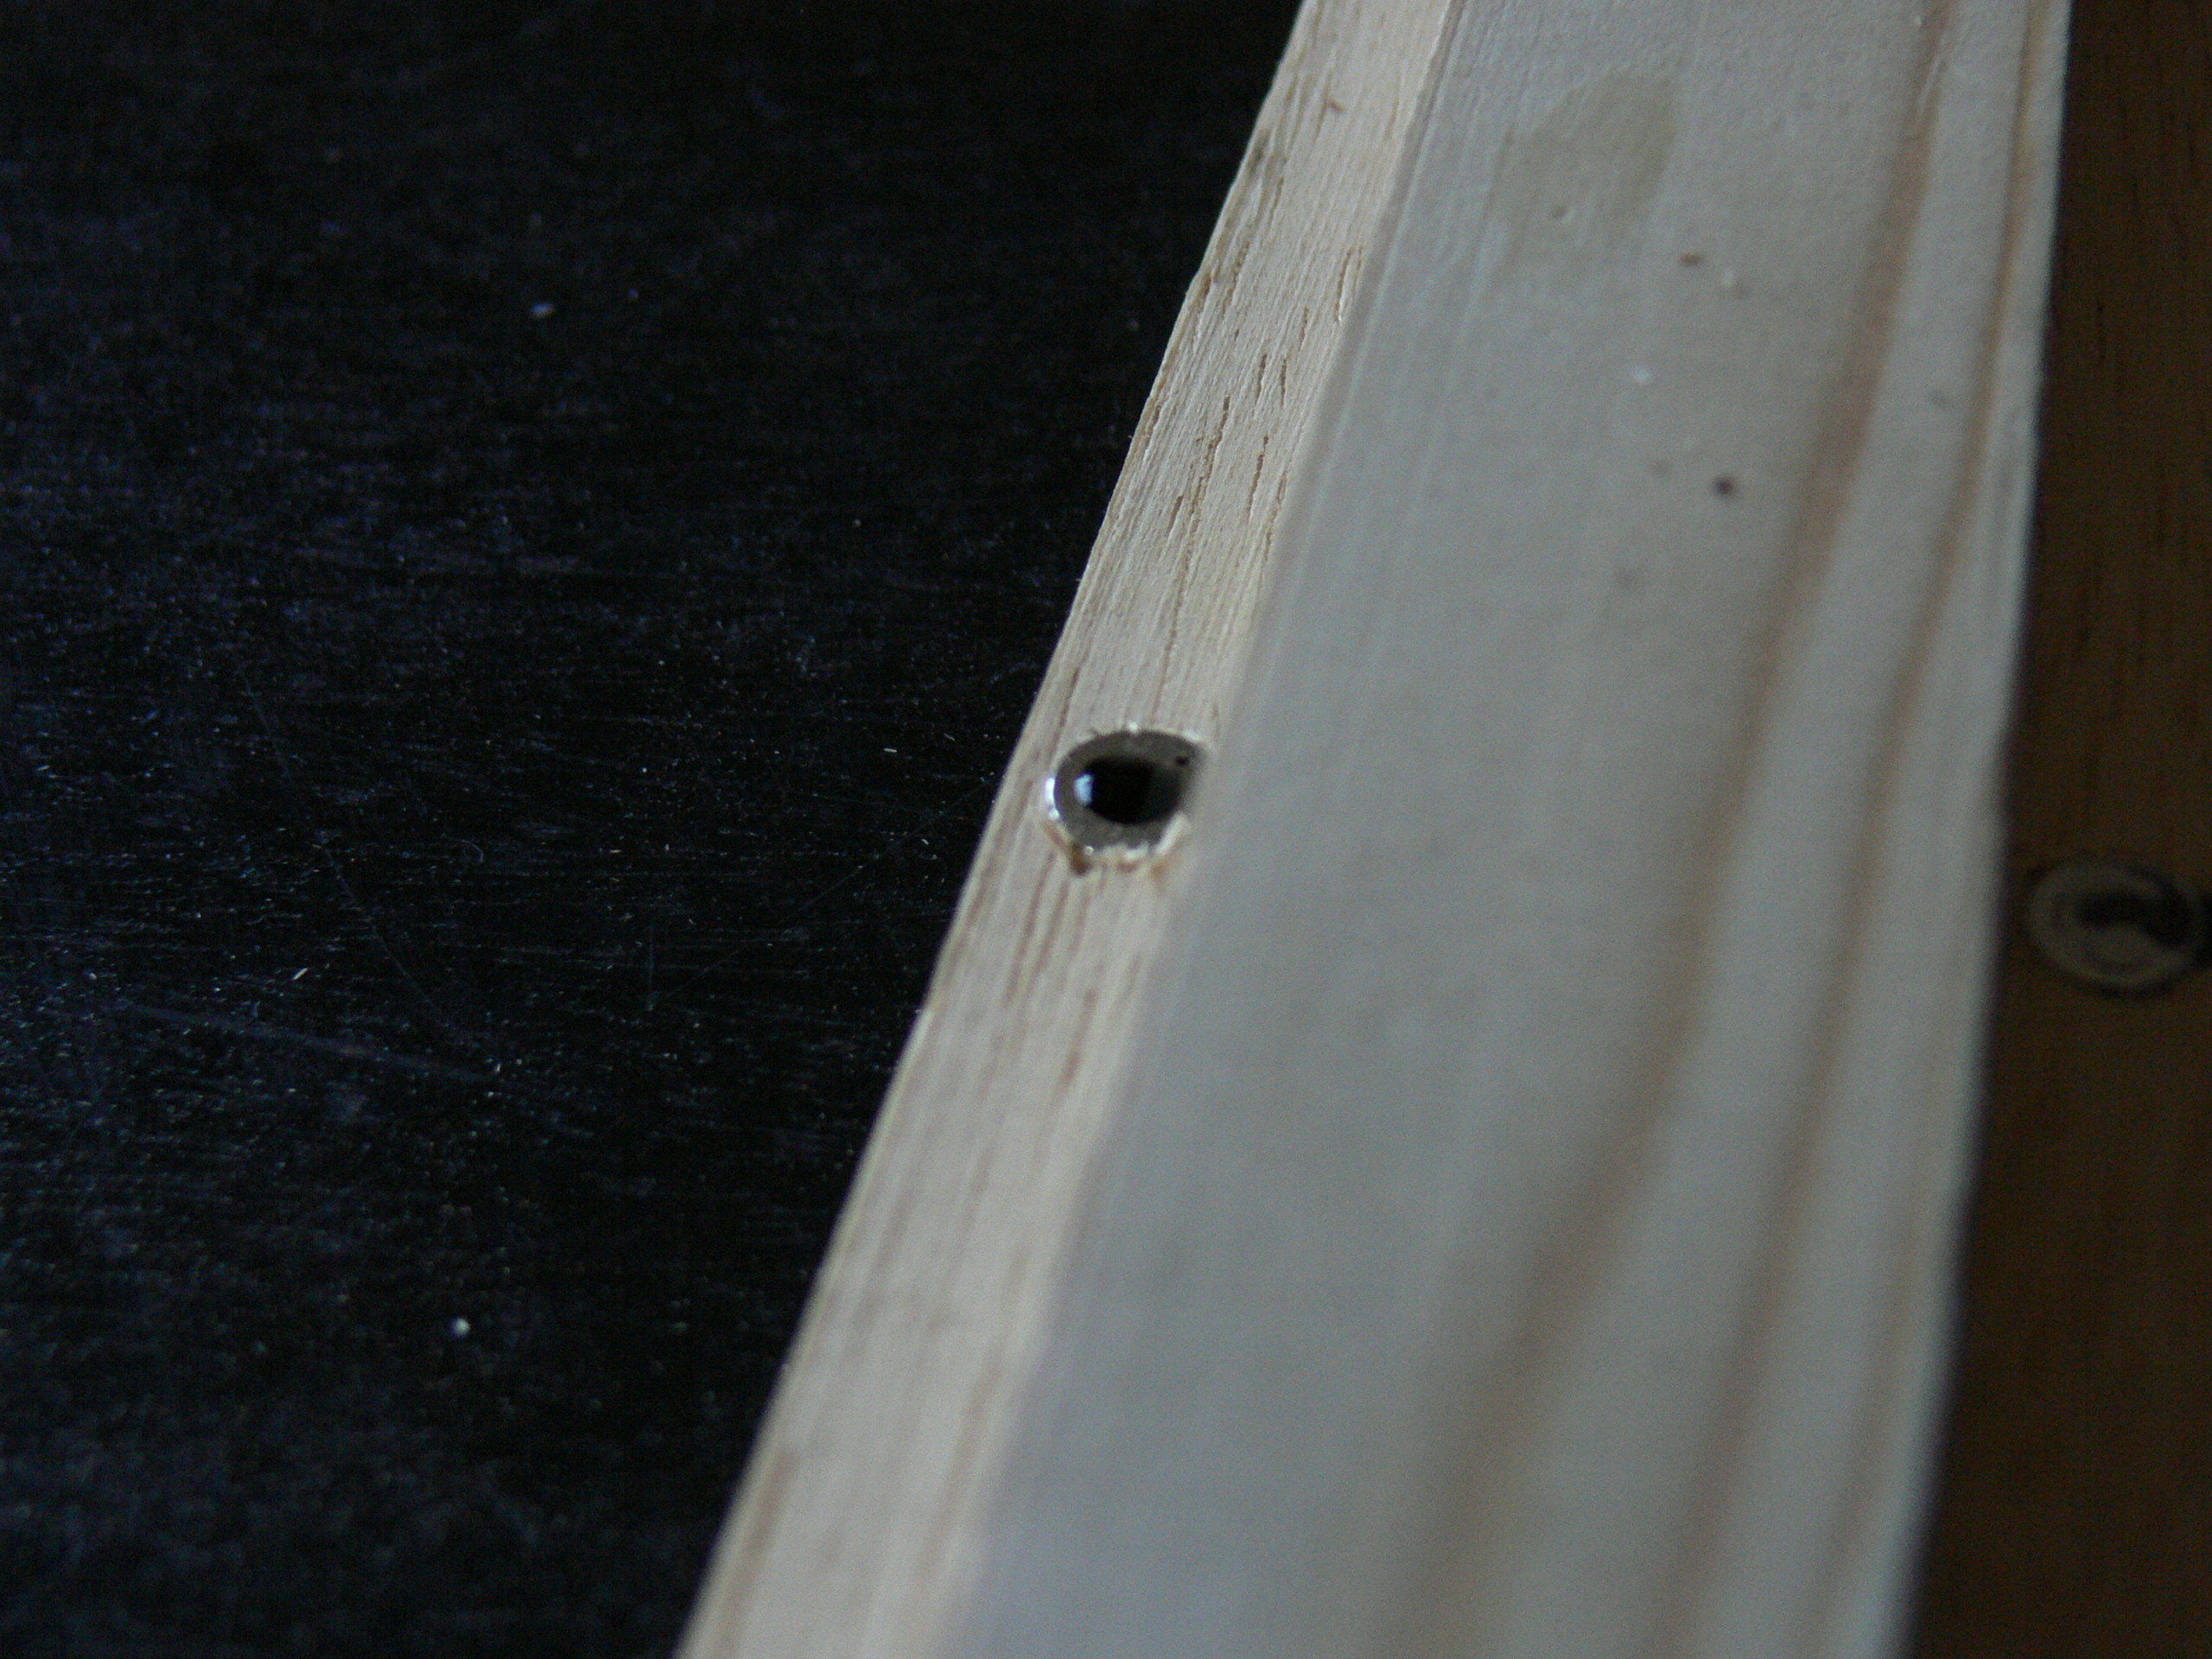
Once cut to length, mark down the middle, then drill shallow holes for the magnets (images 2 and 3). My magnets were 7mm, and I found using a block and hammer to bash them into a 6.5mm hole worked well. Make sure to keep all of the magnets aligned the same way, or the panels won't sit down properly.
Prep the beads for mounting by tapping a small pin into each end (image 5), then use a couple of blocks to position them in your frame and mount all 12 (image 6).
The main framework of the table is now complete.
Panels
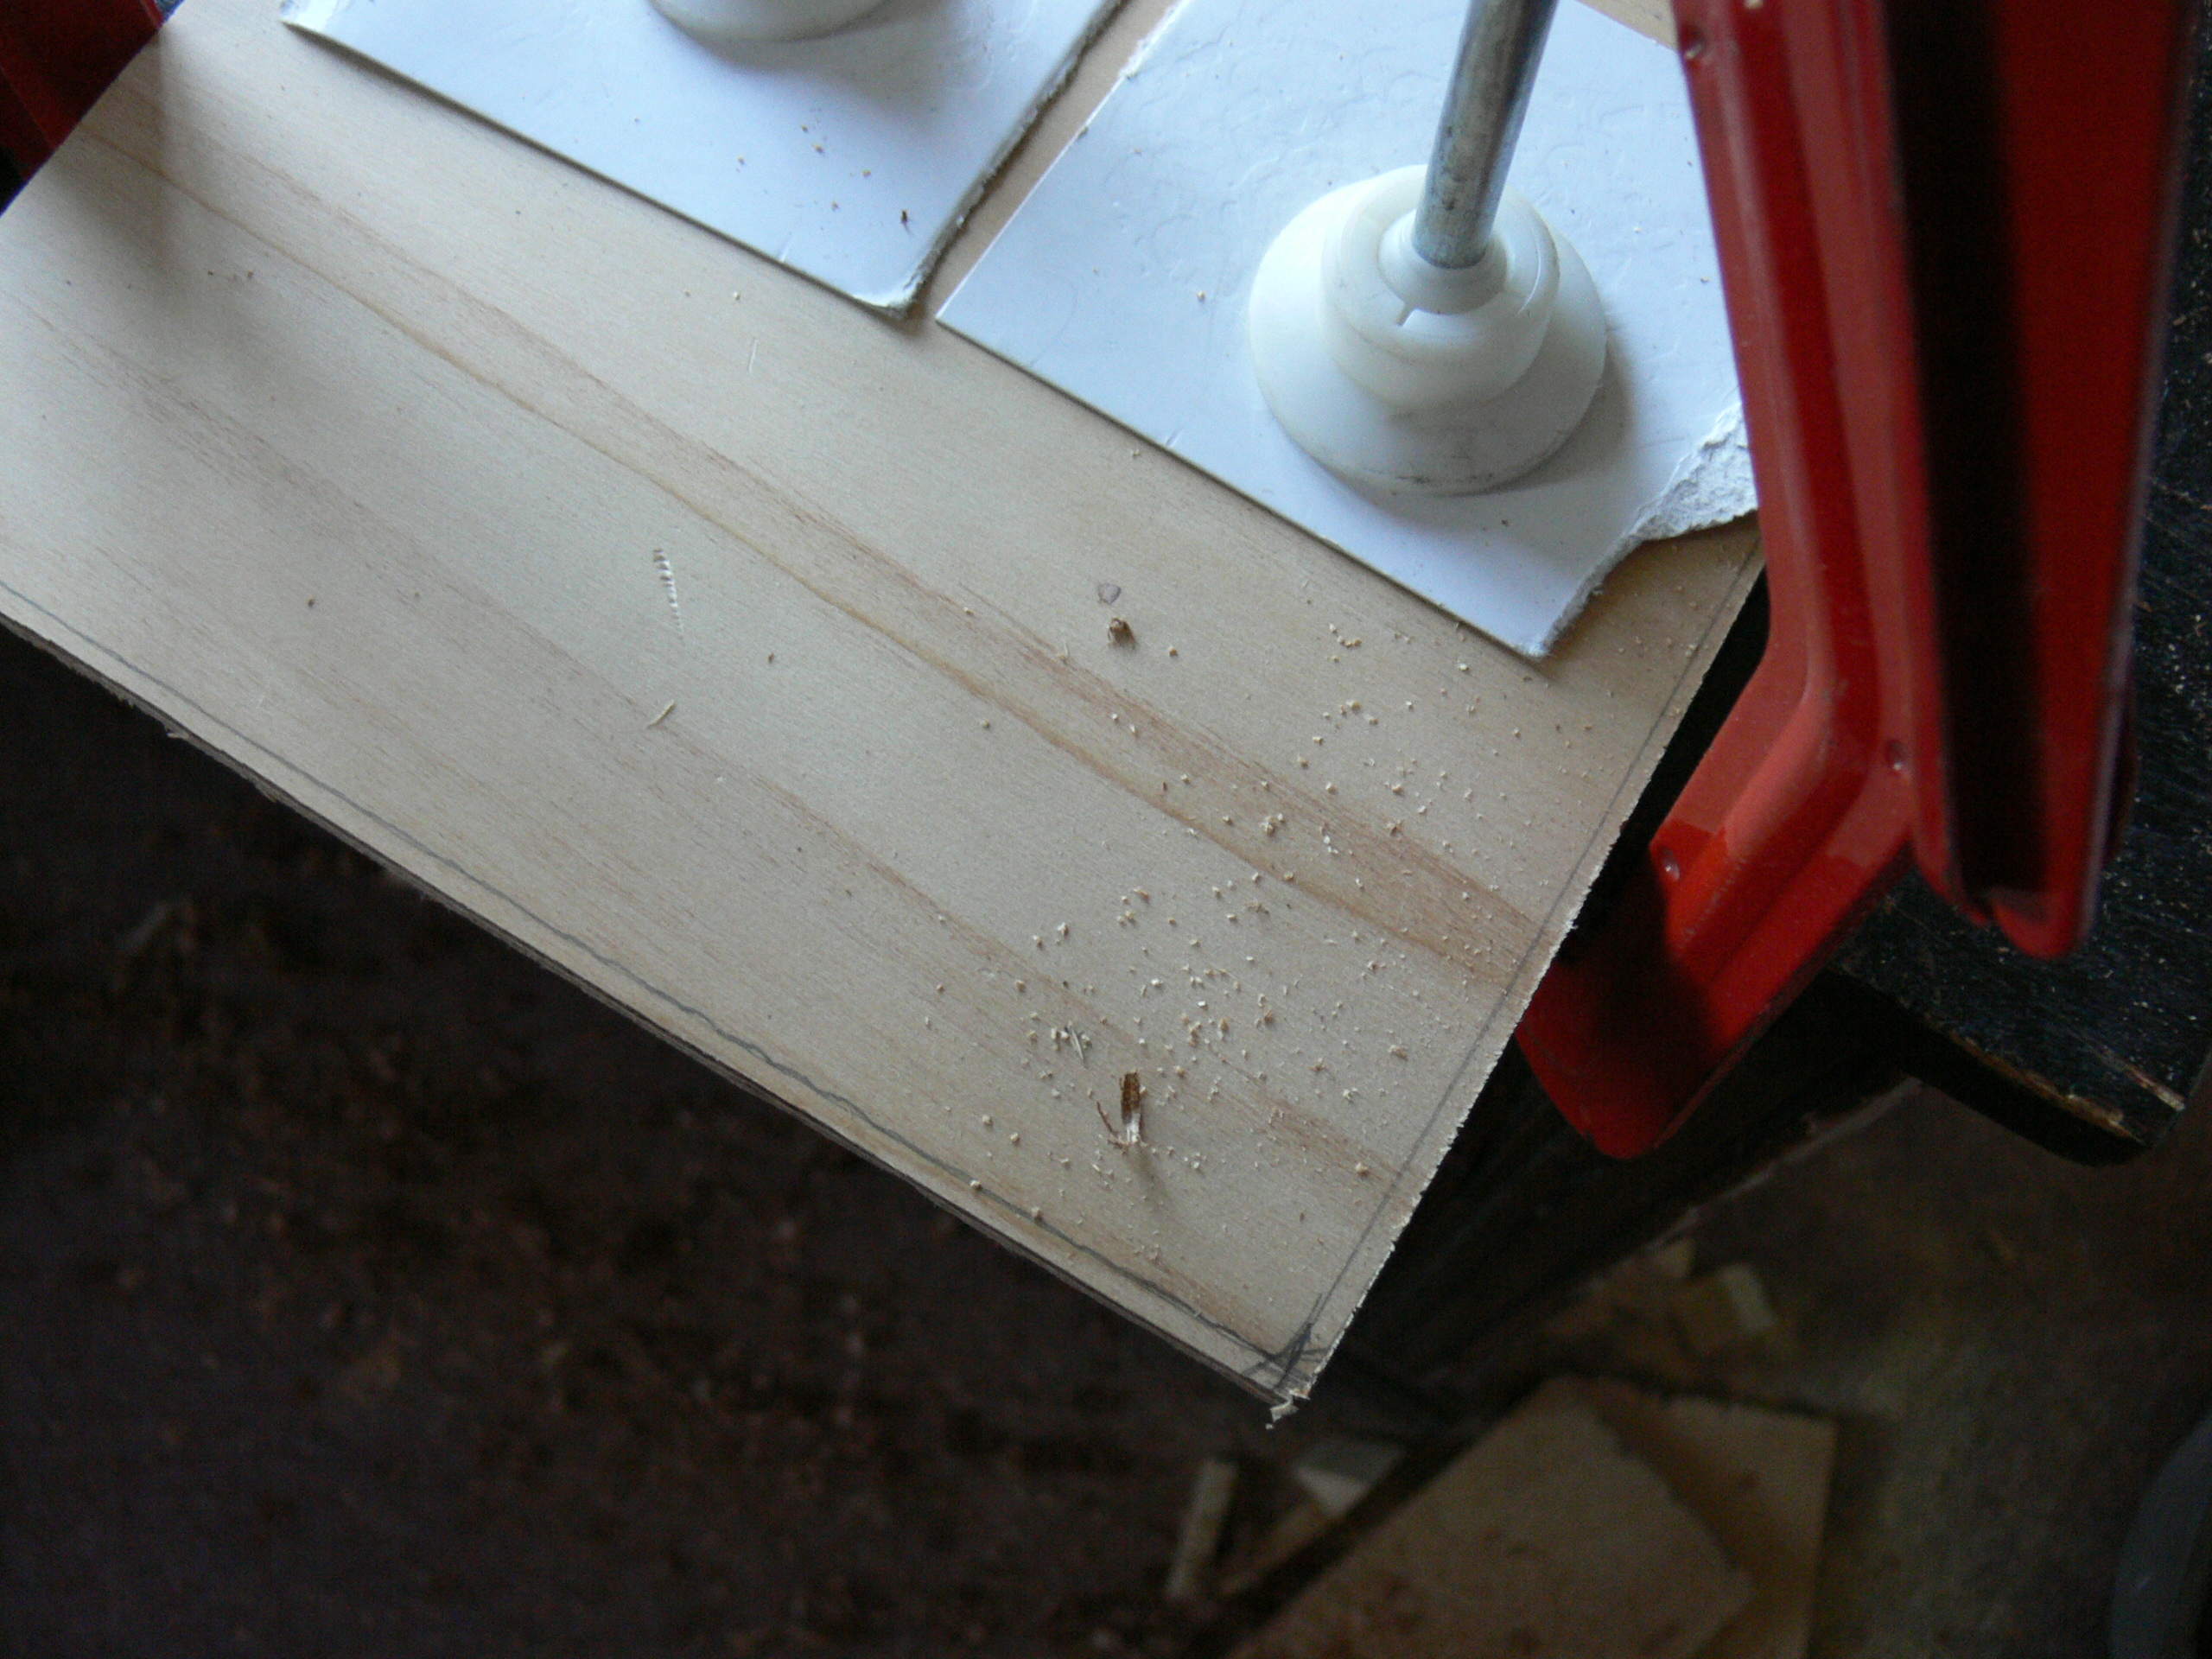
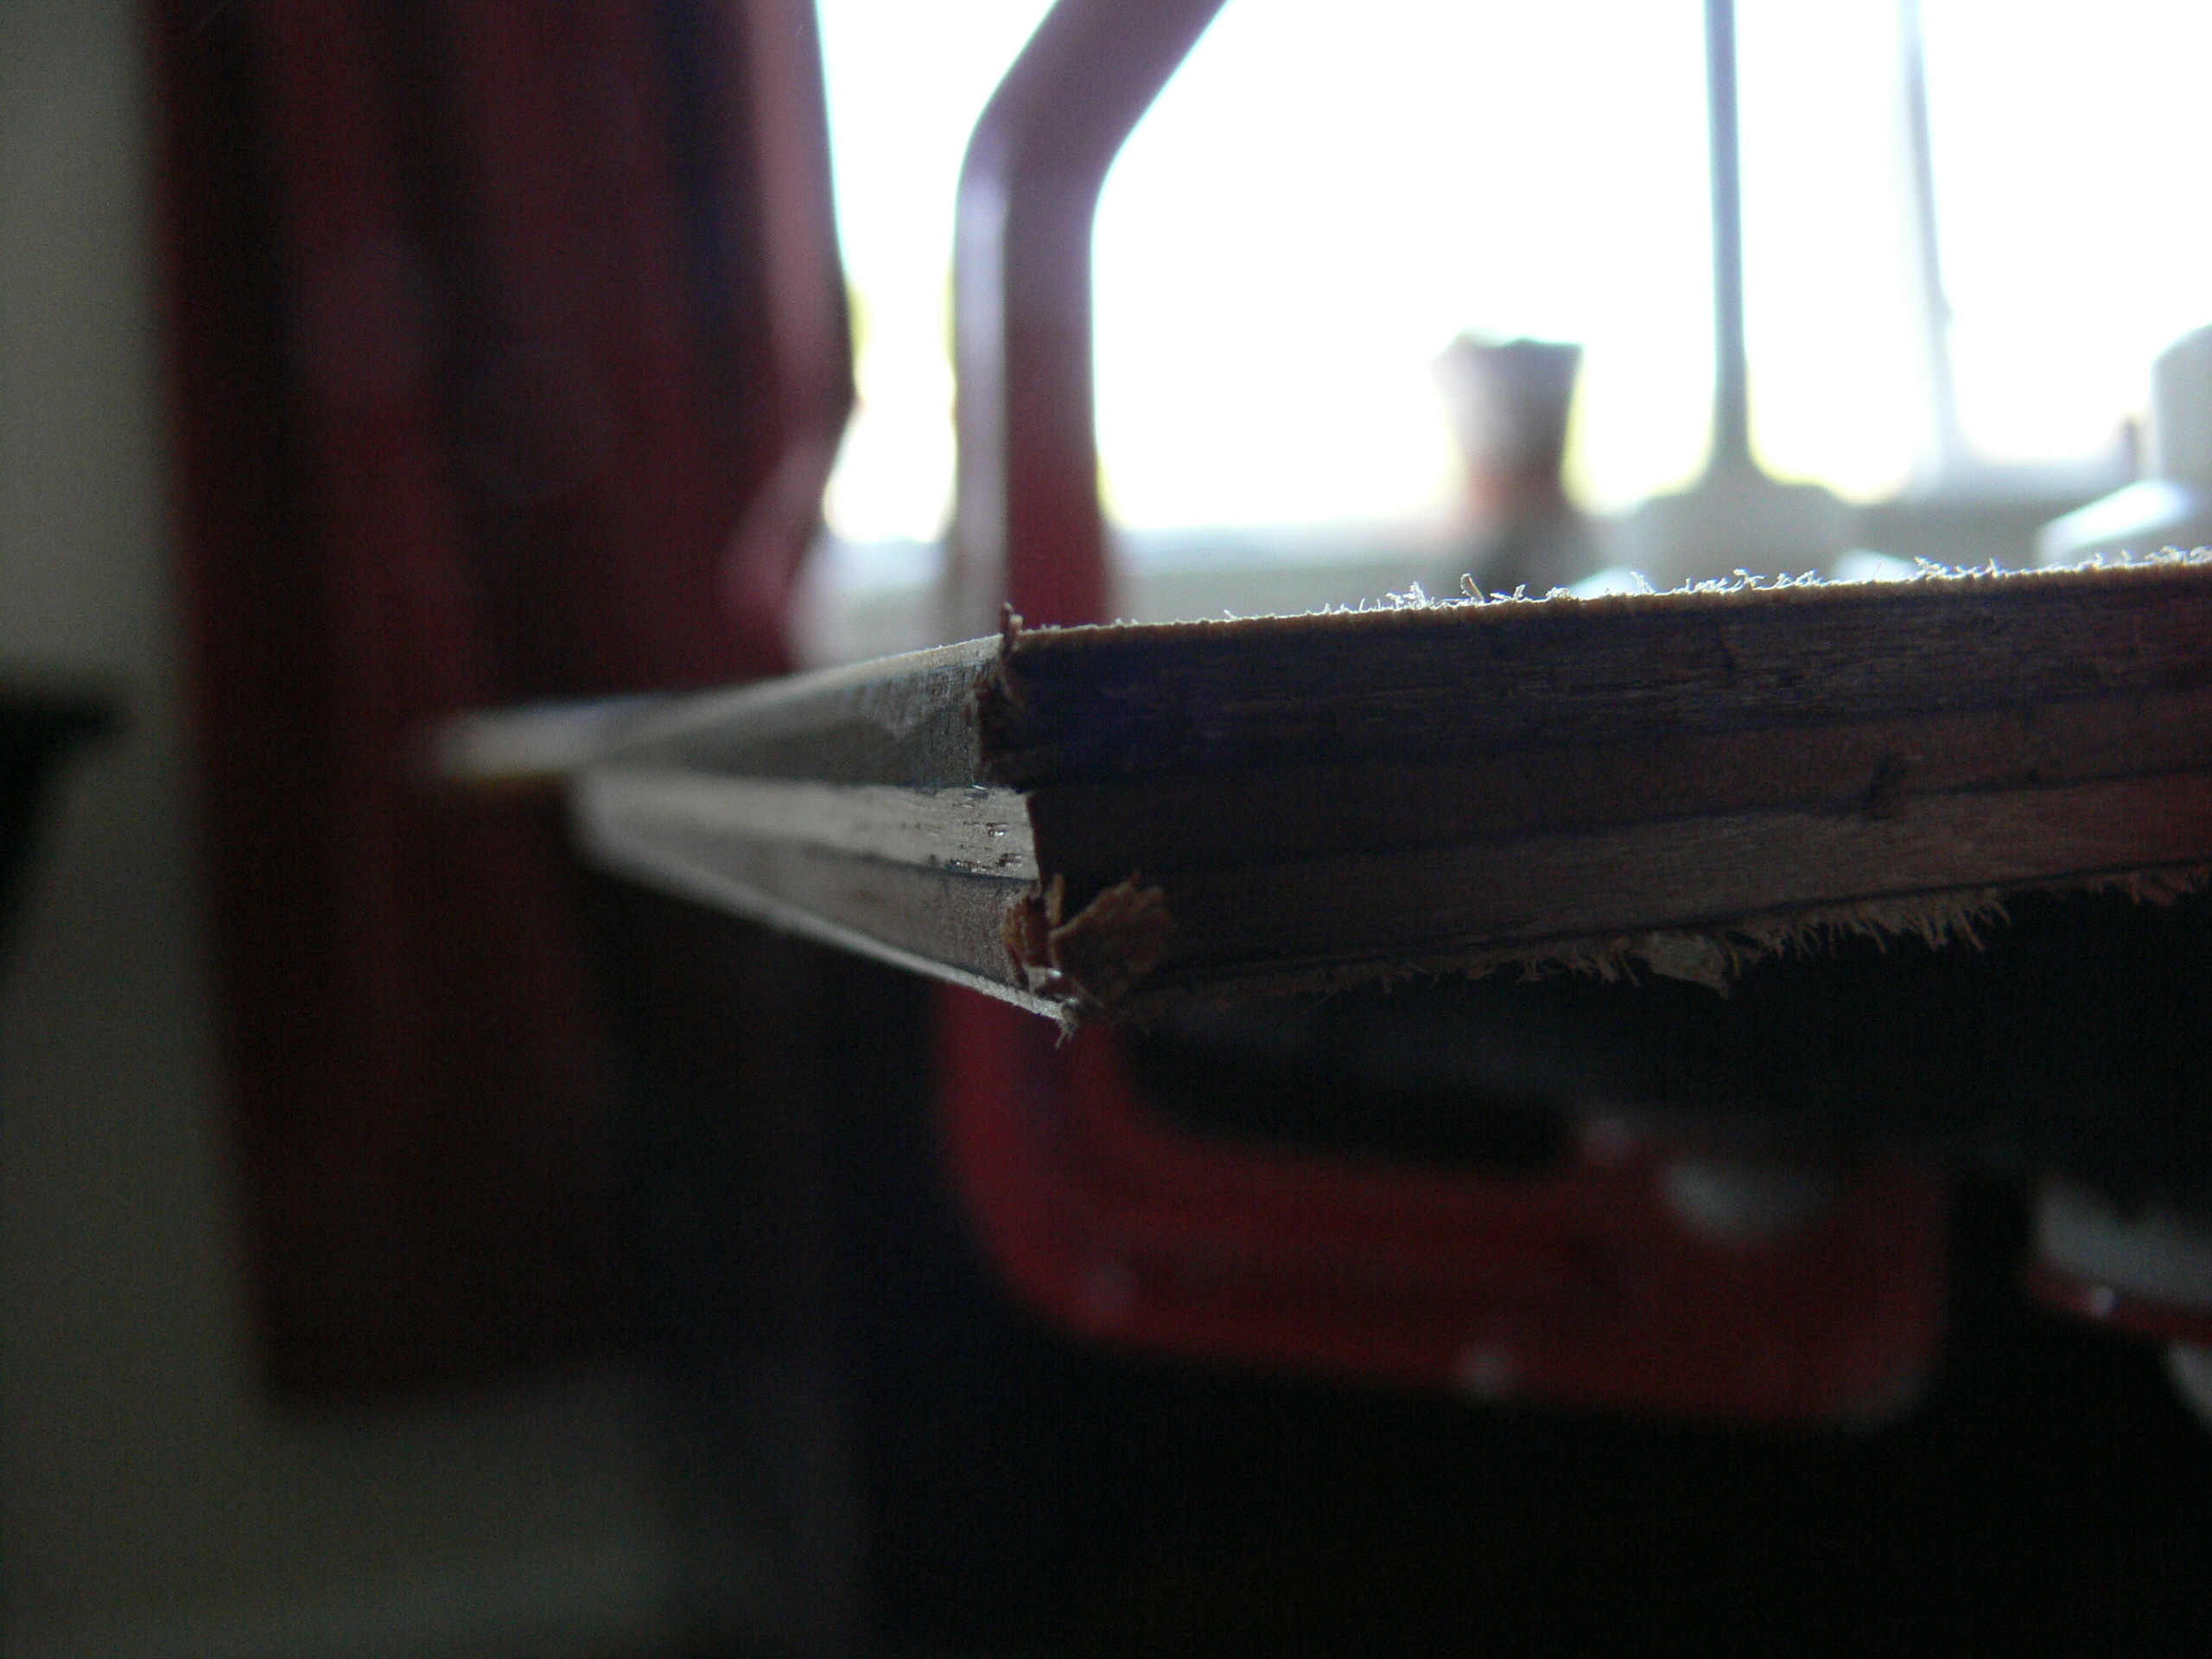
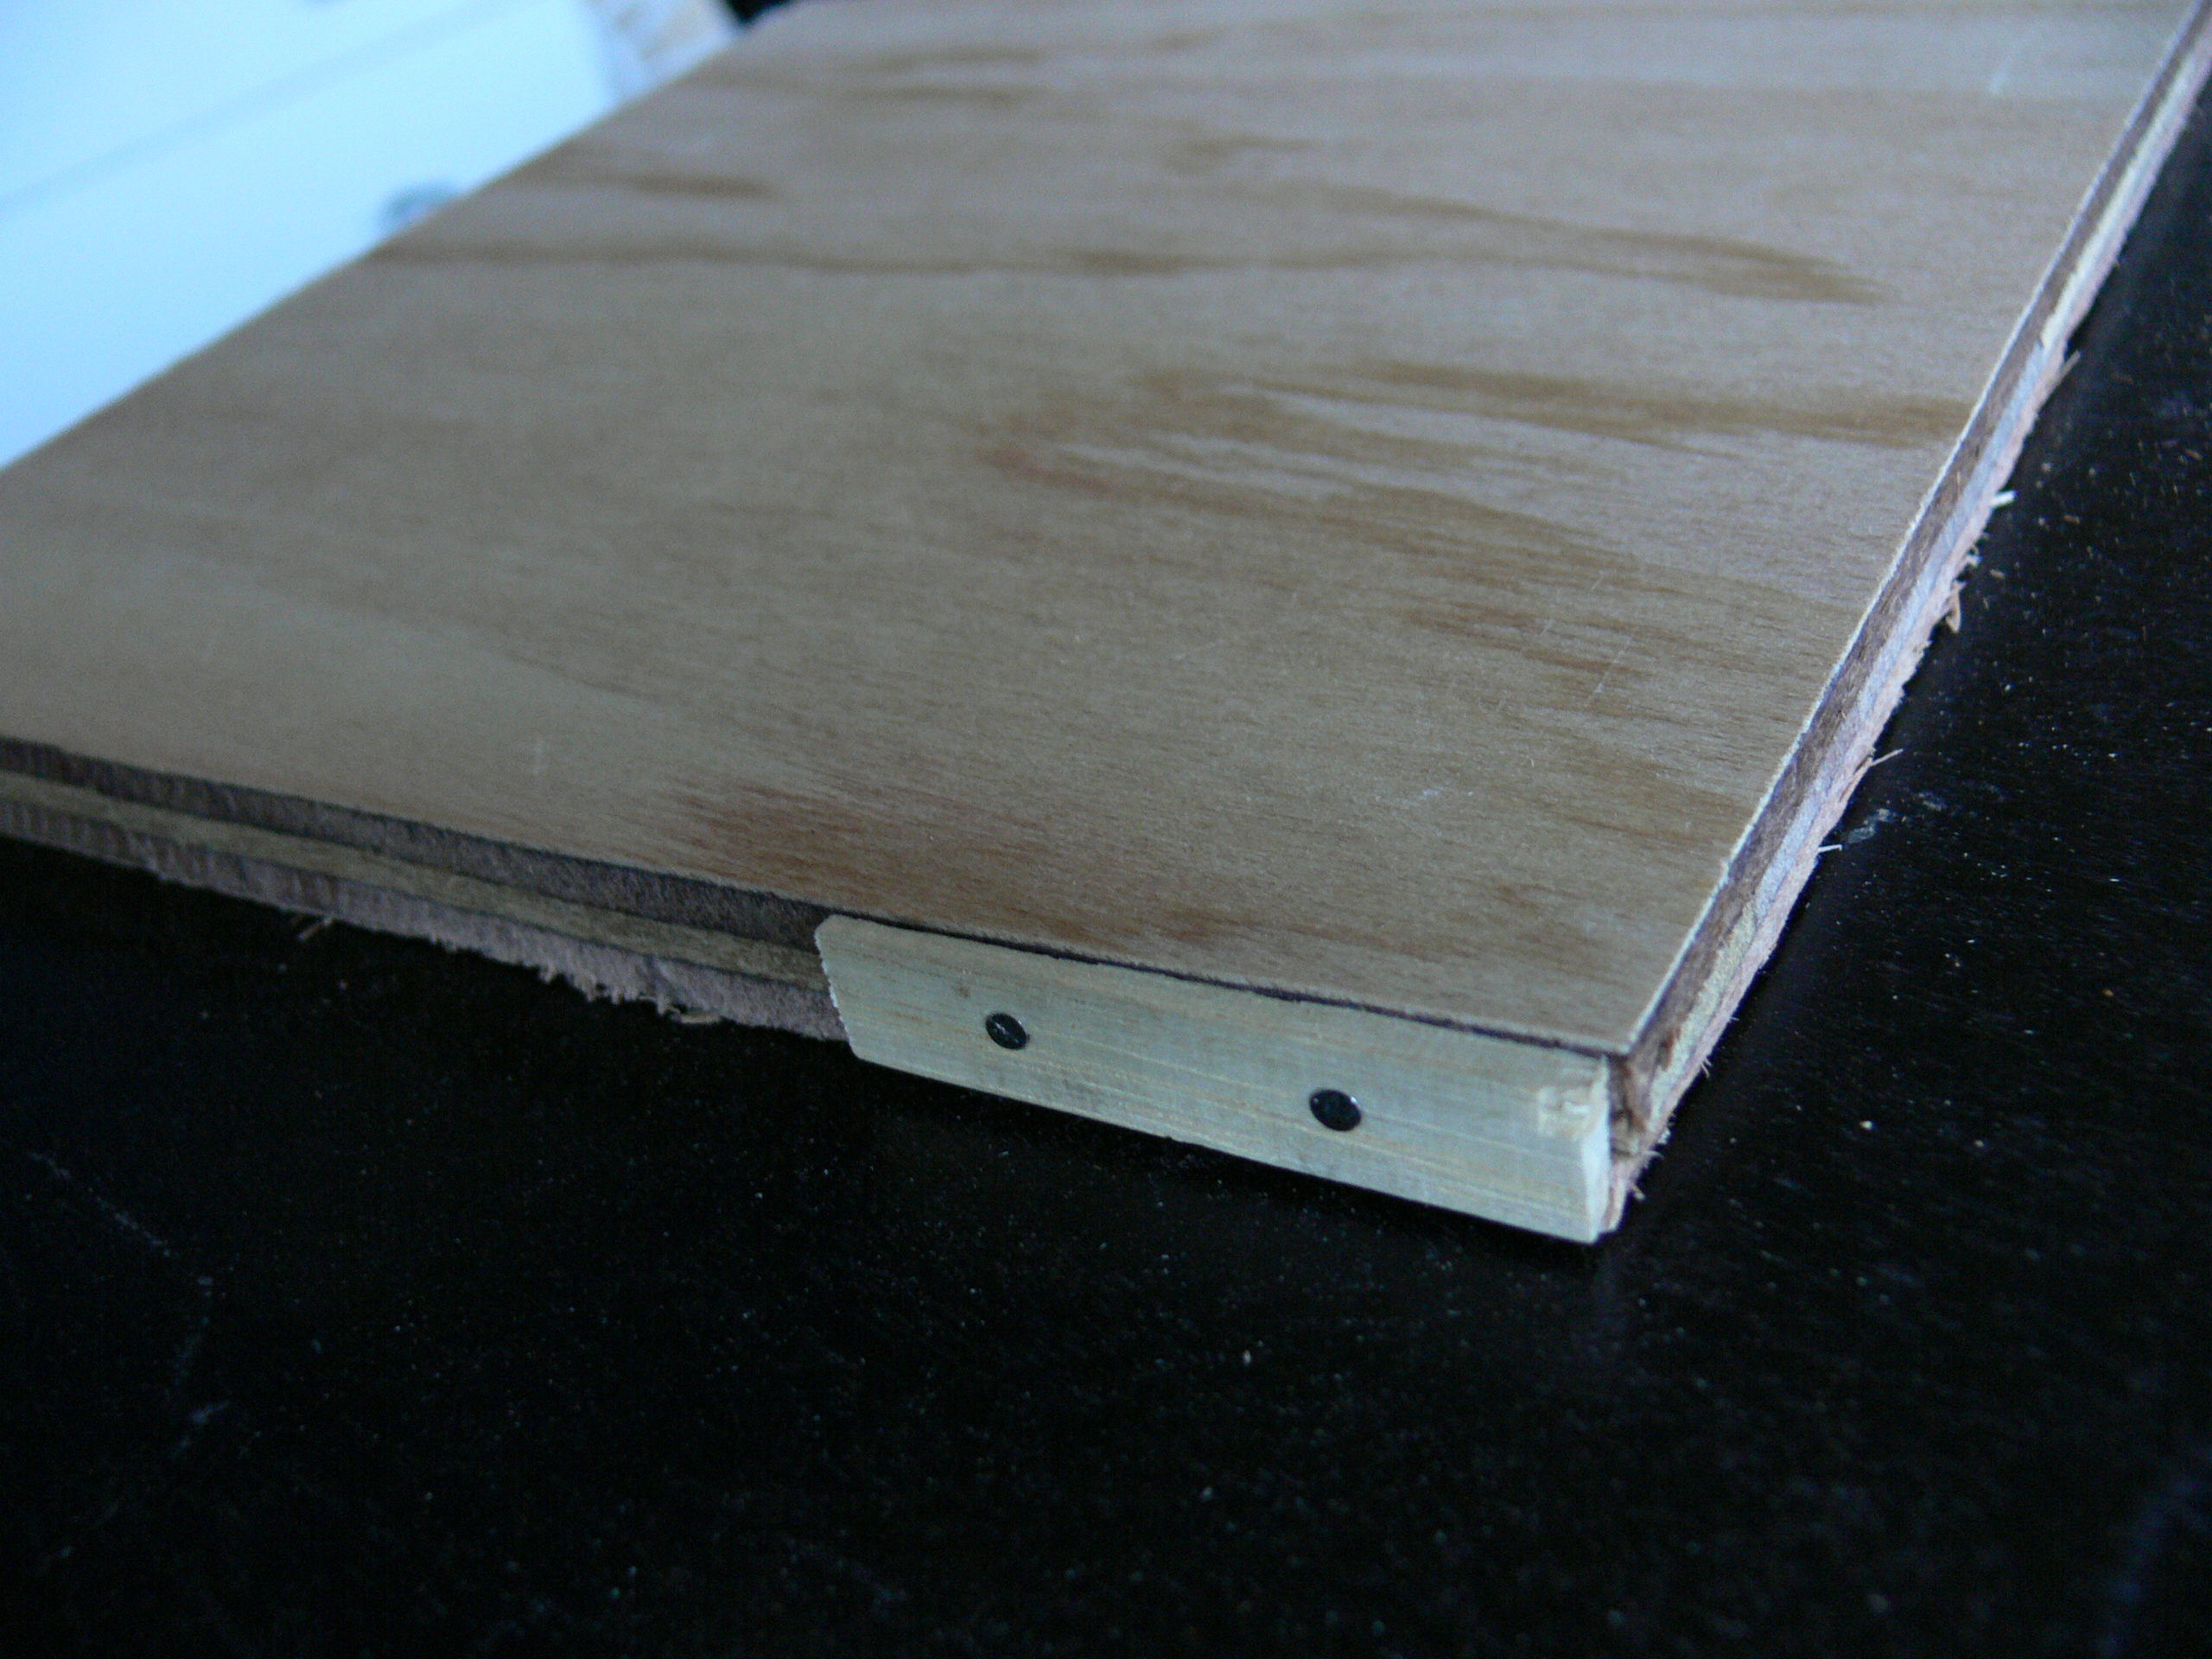
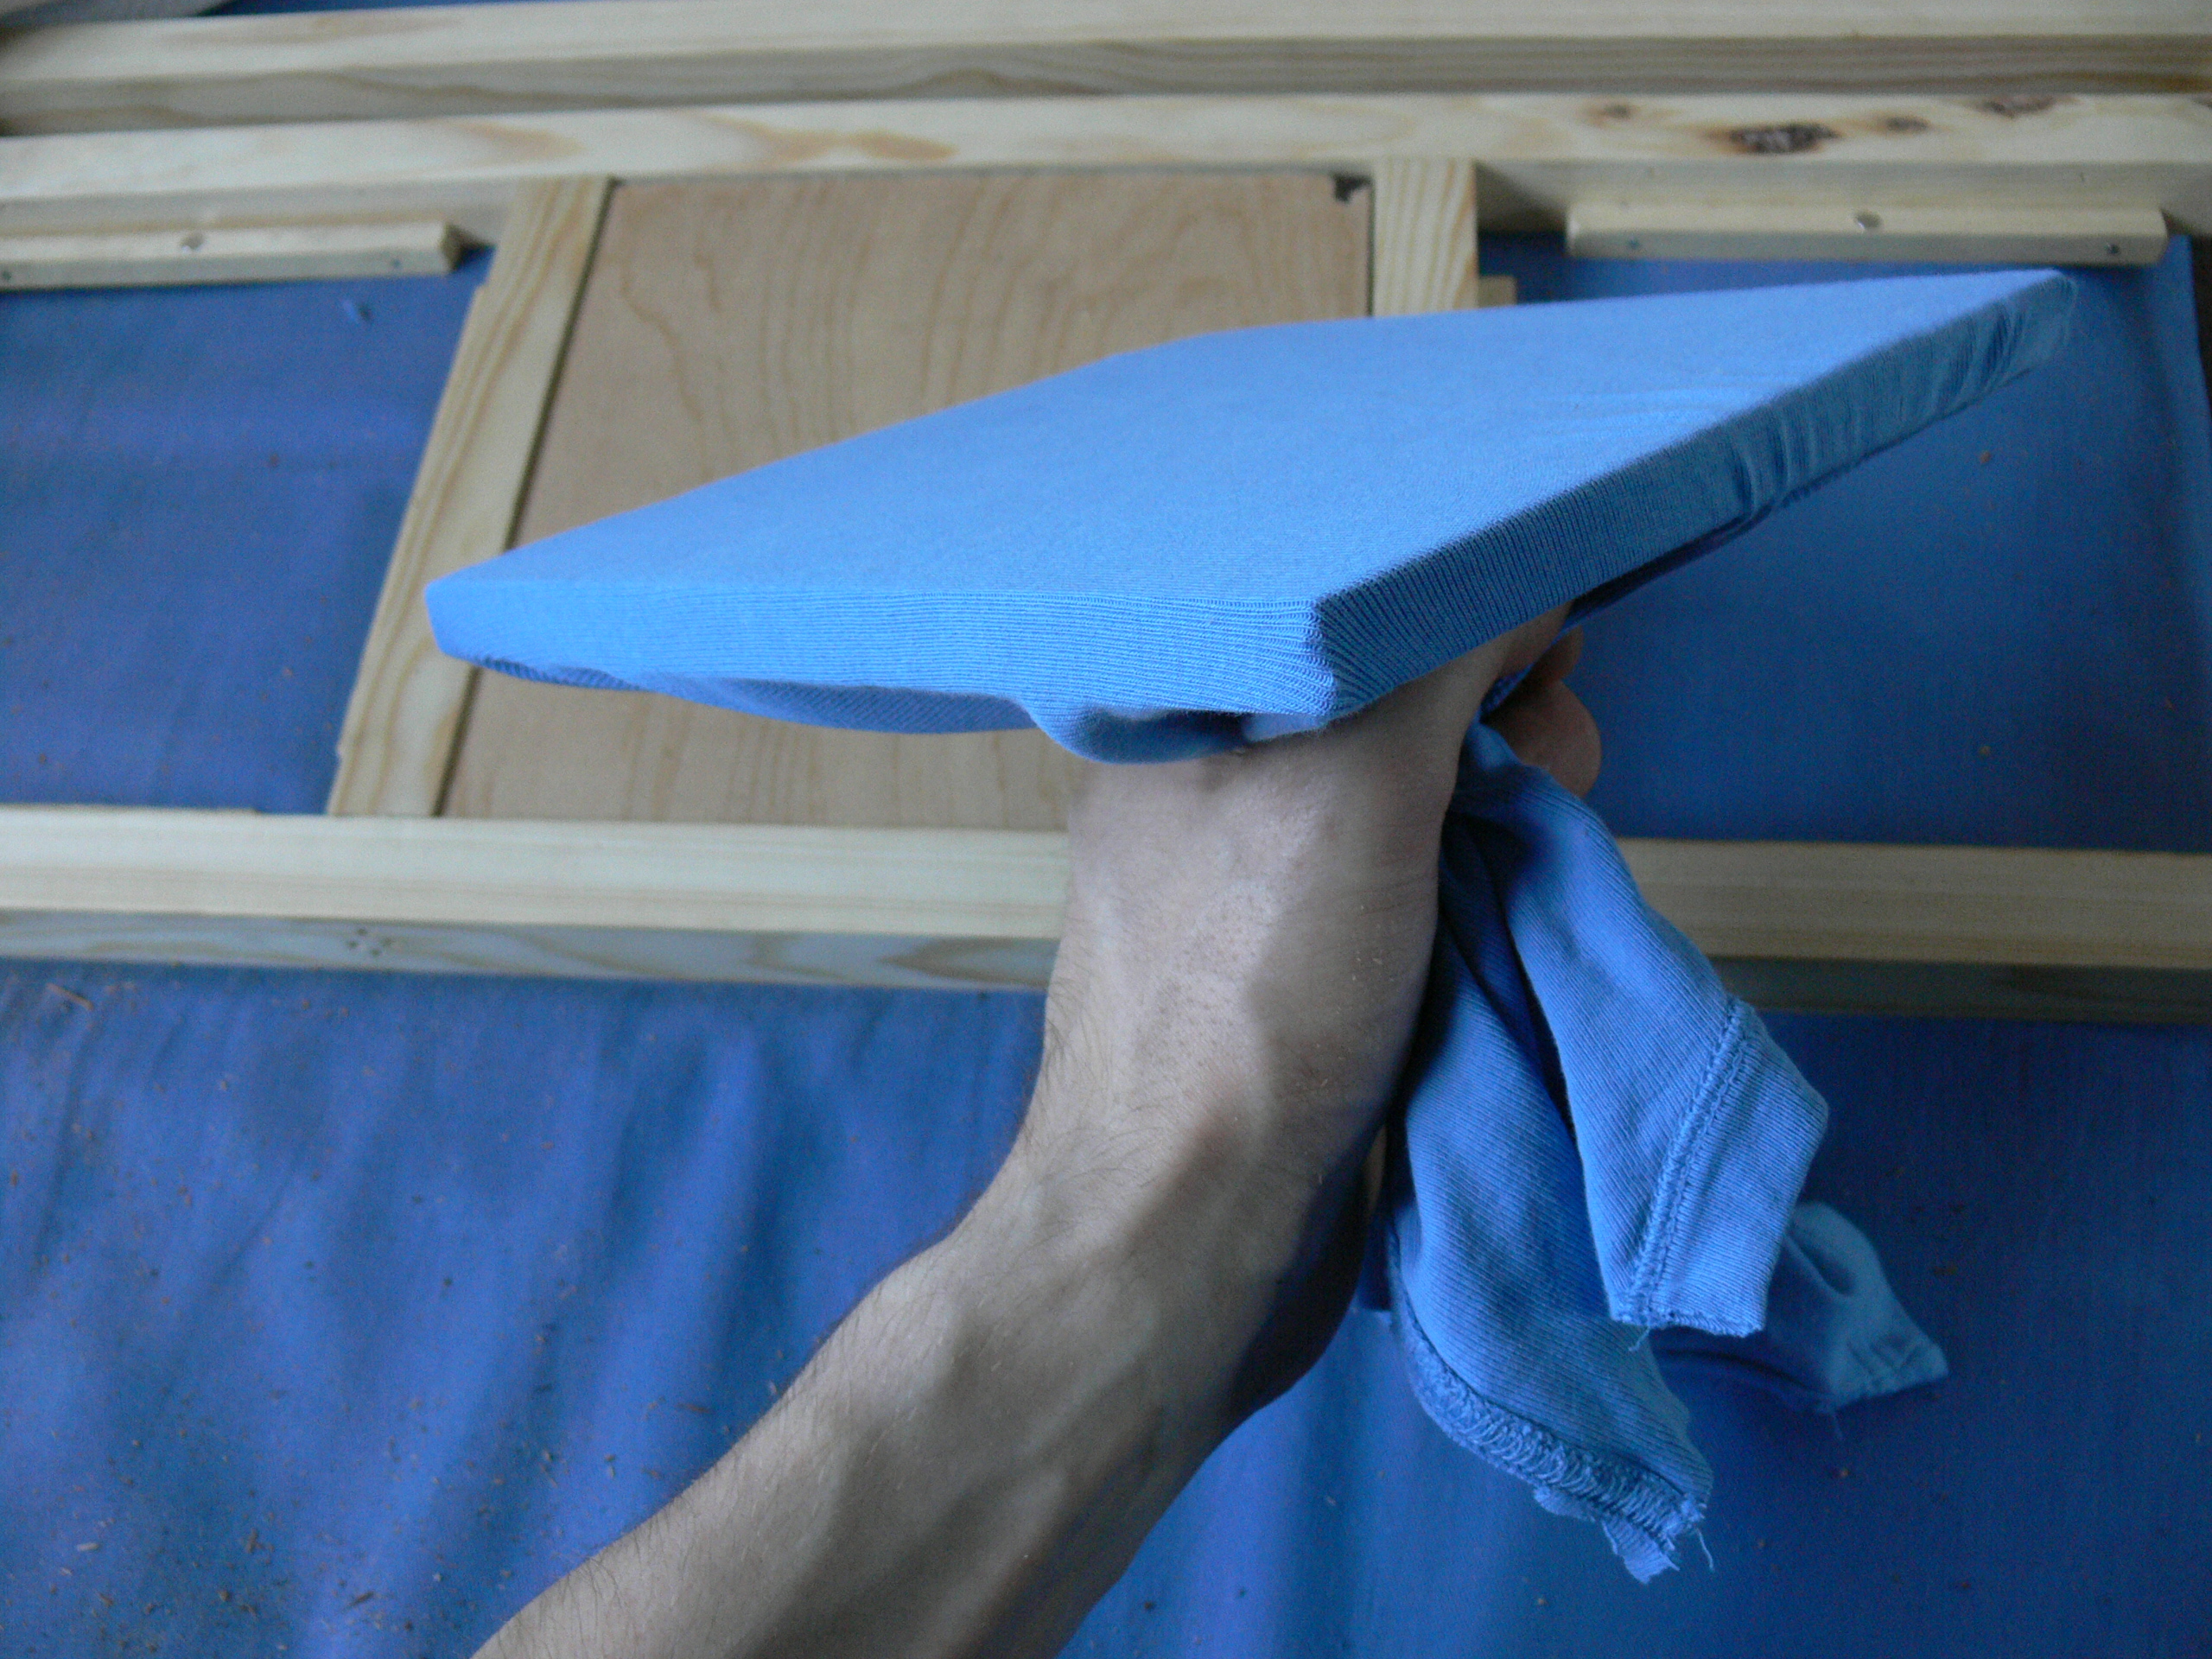
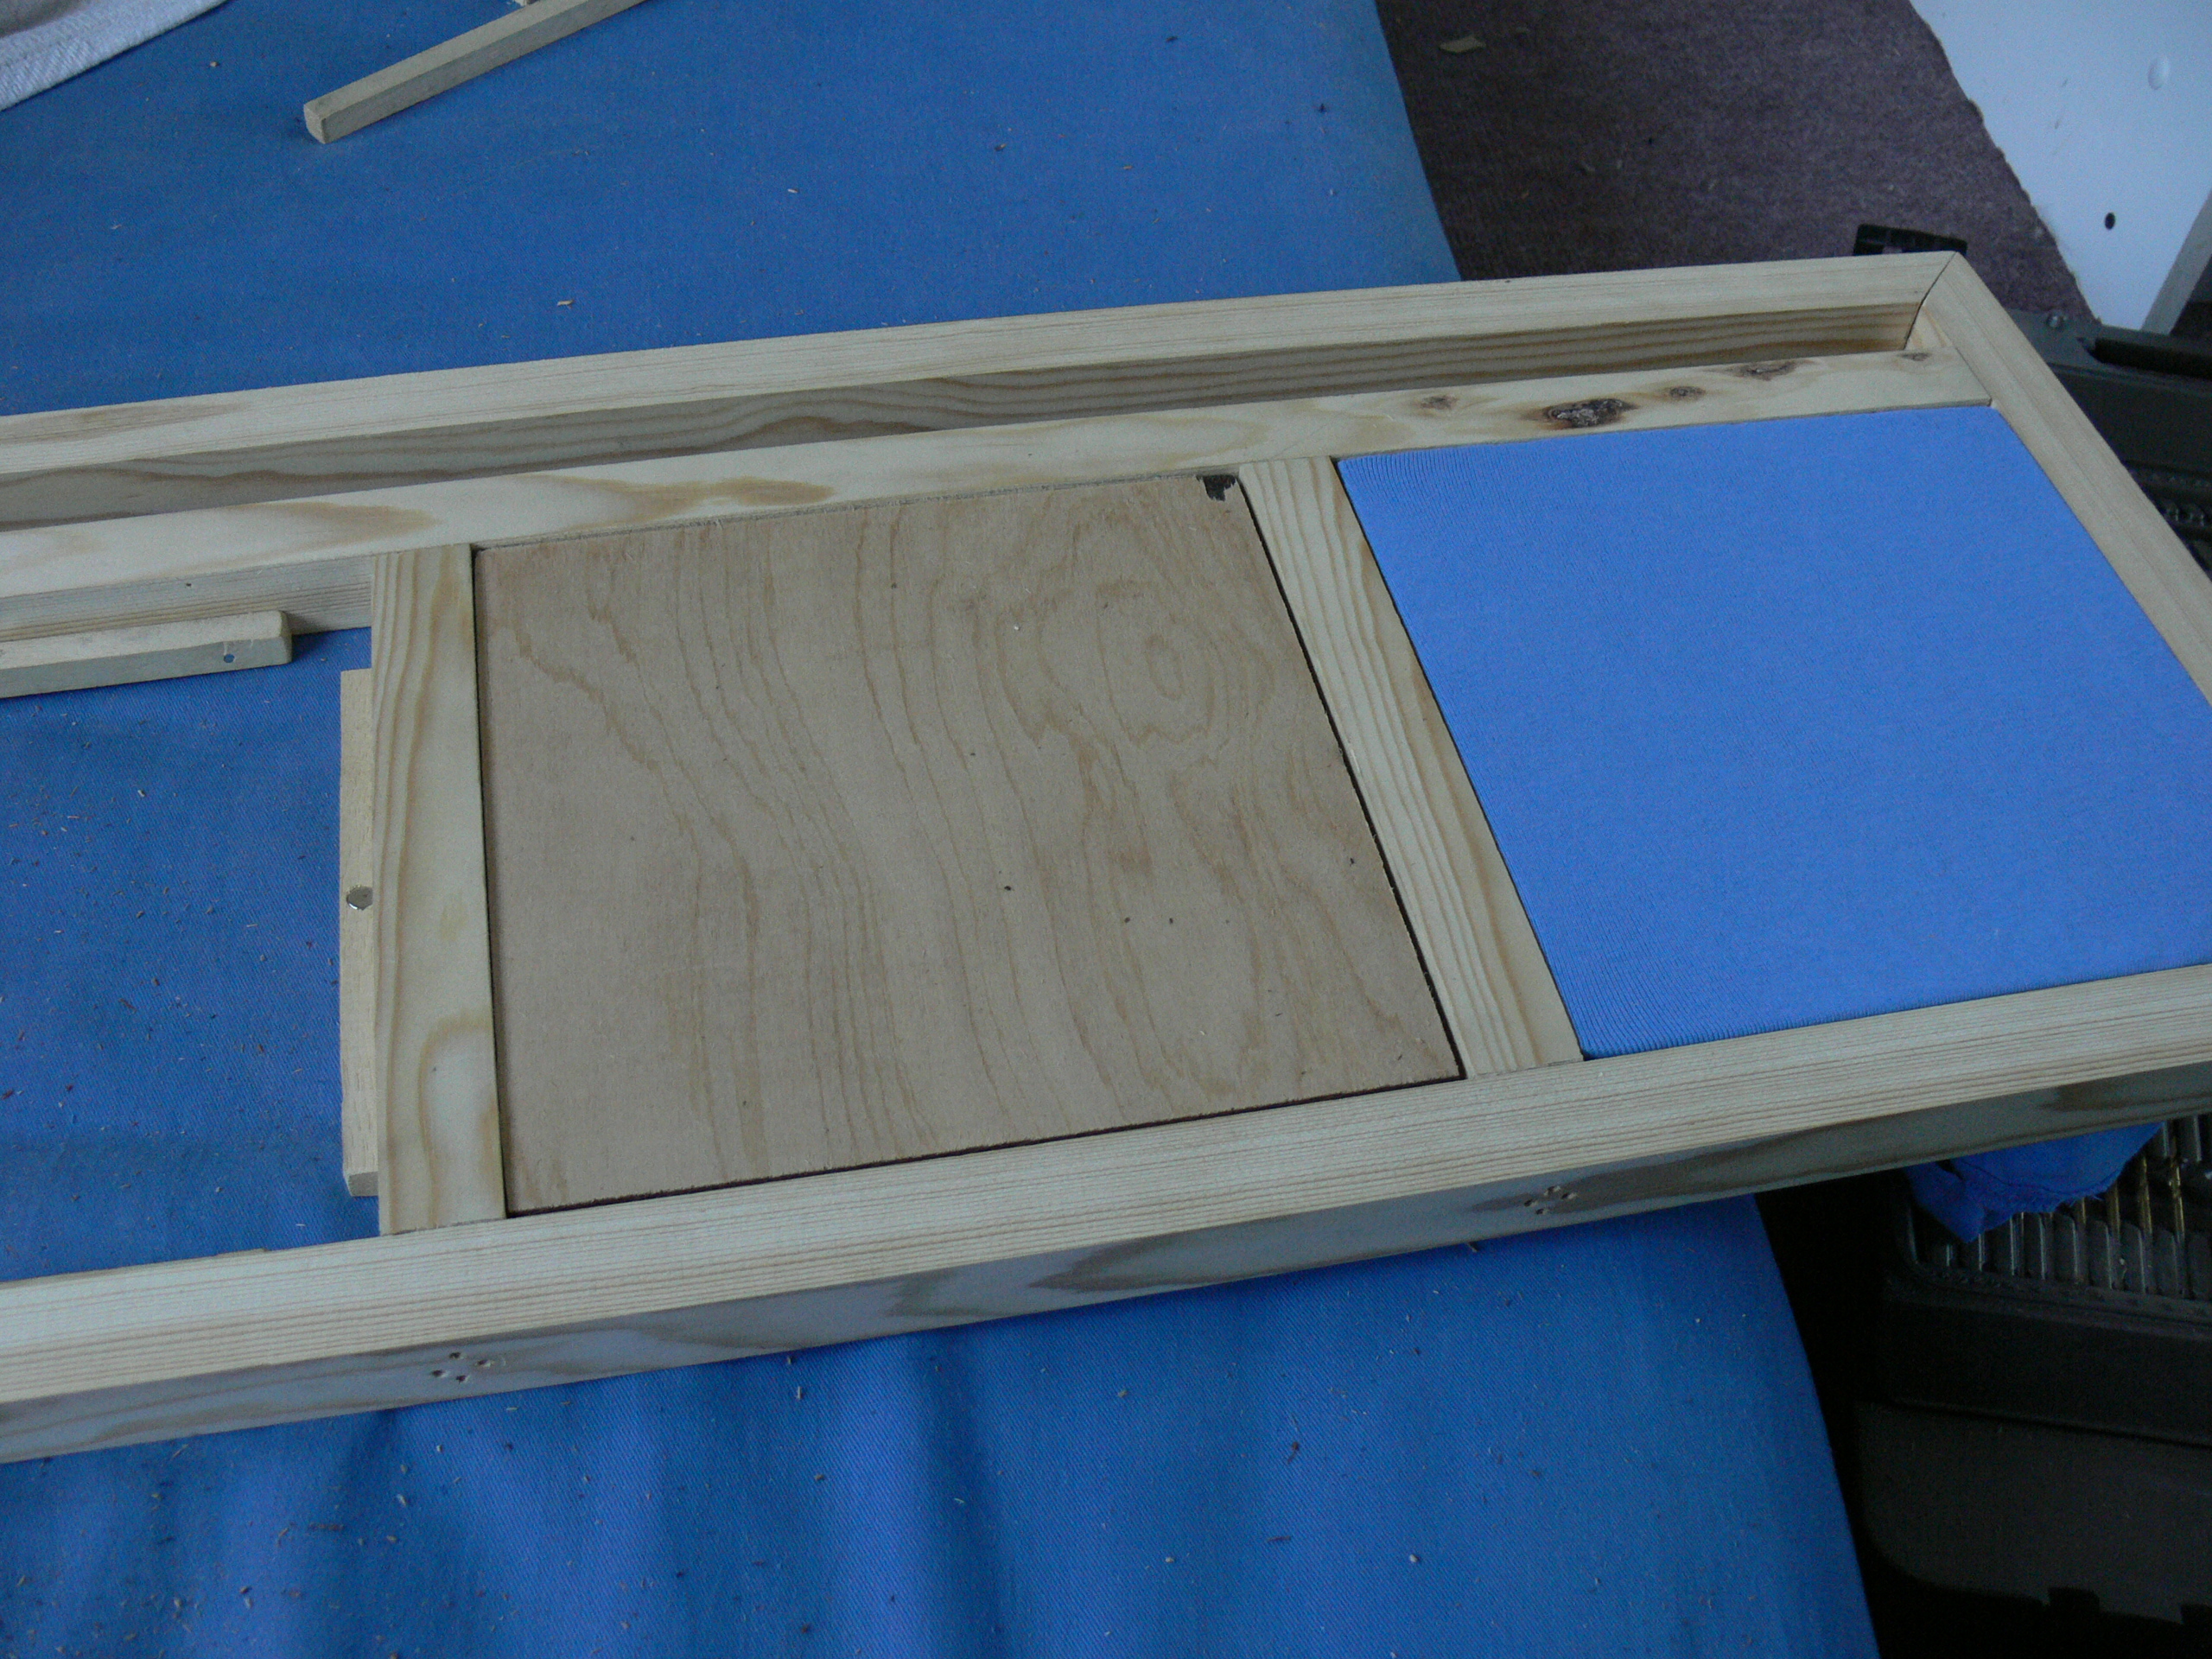
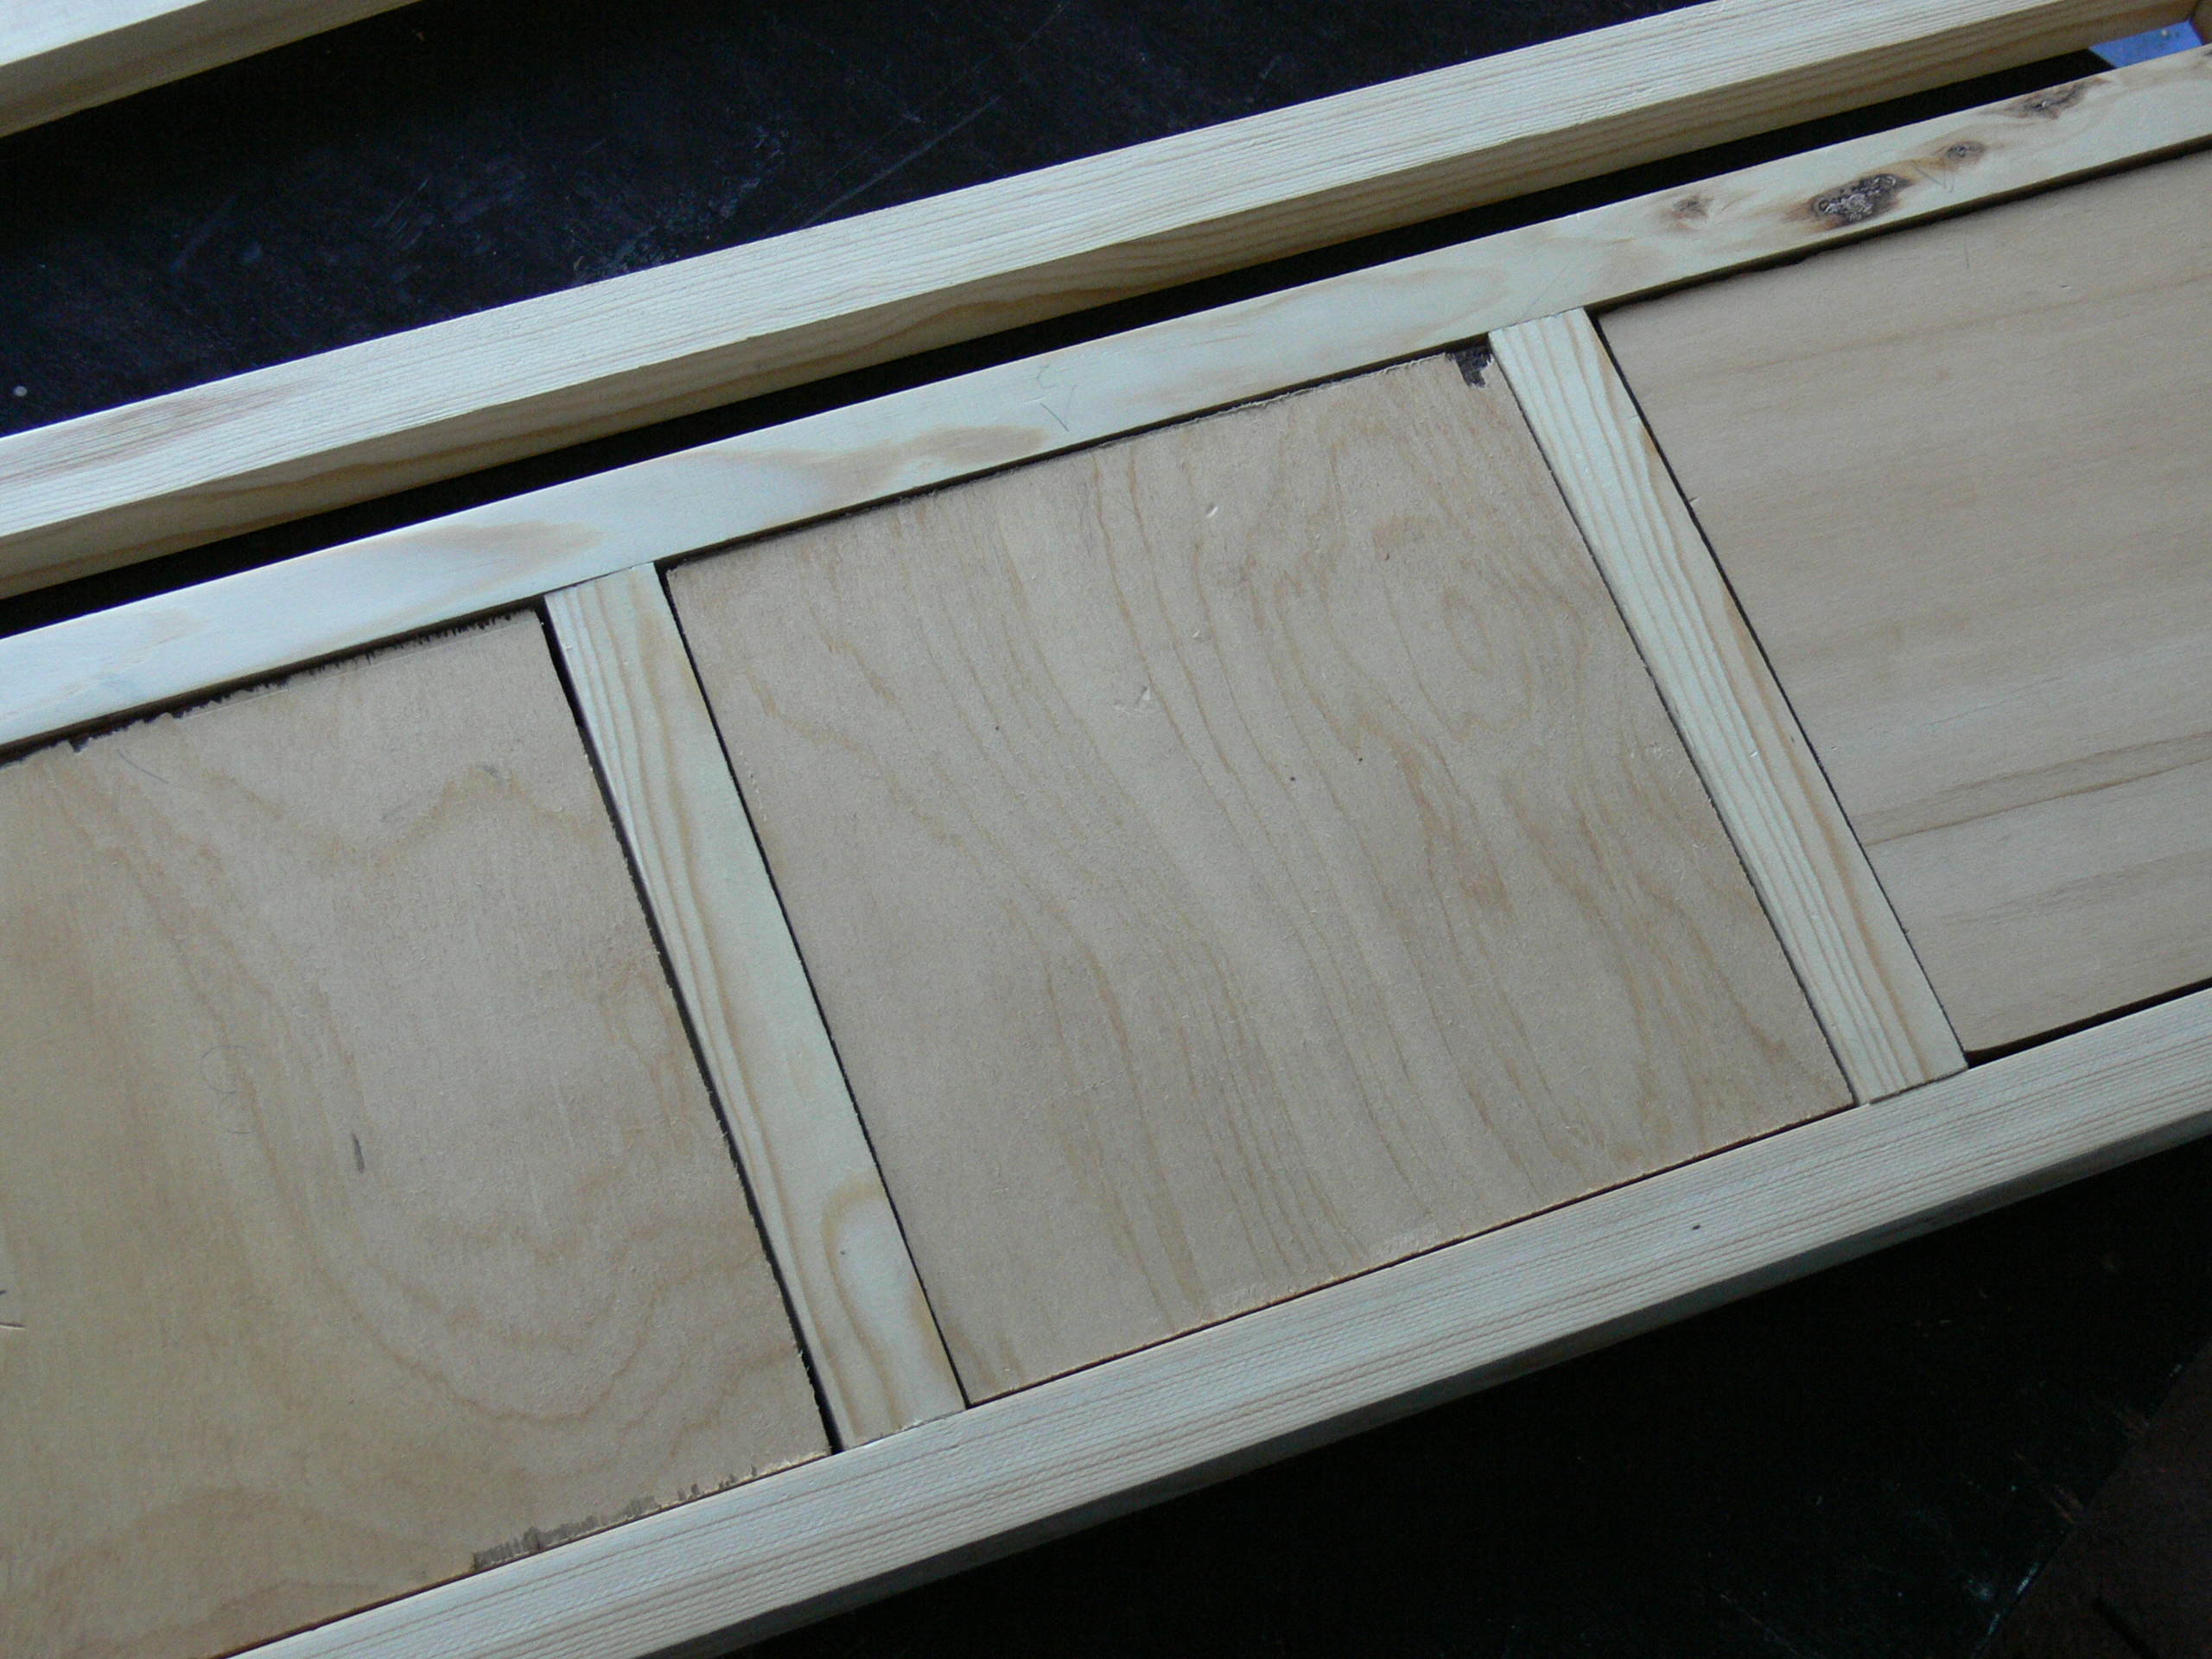
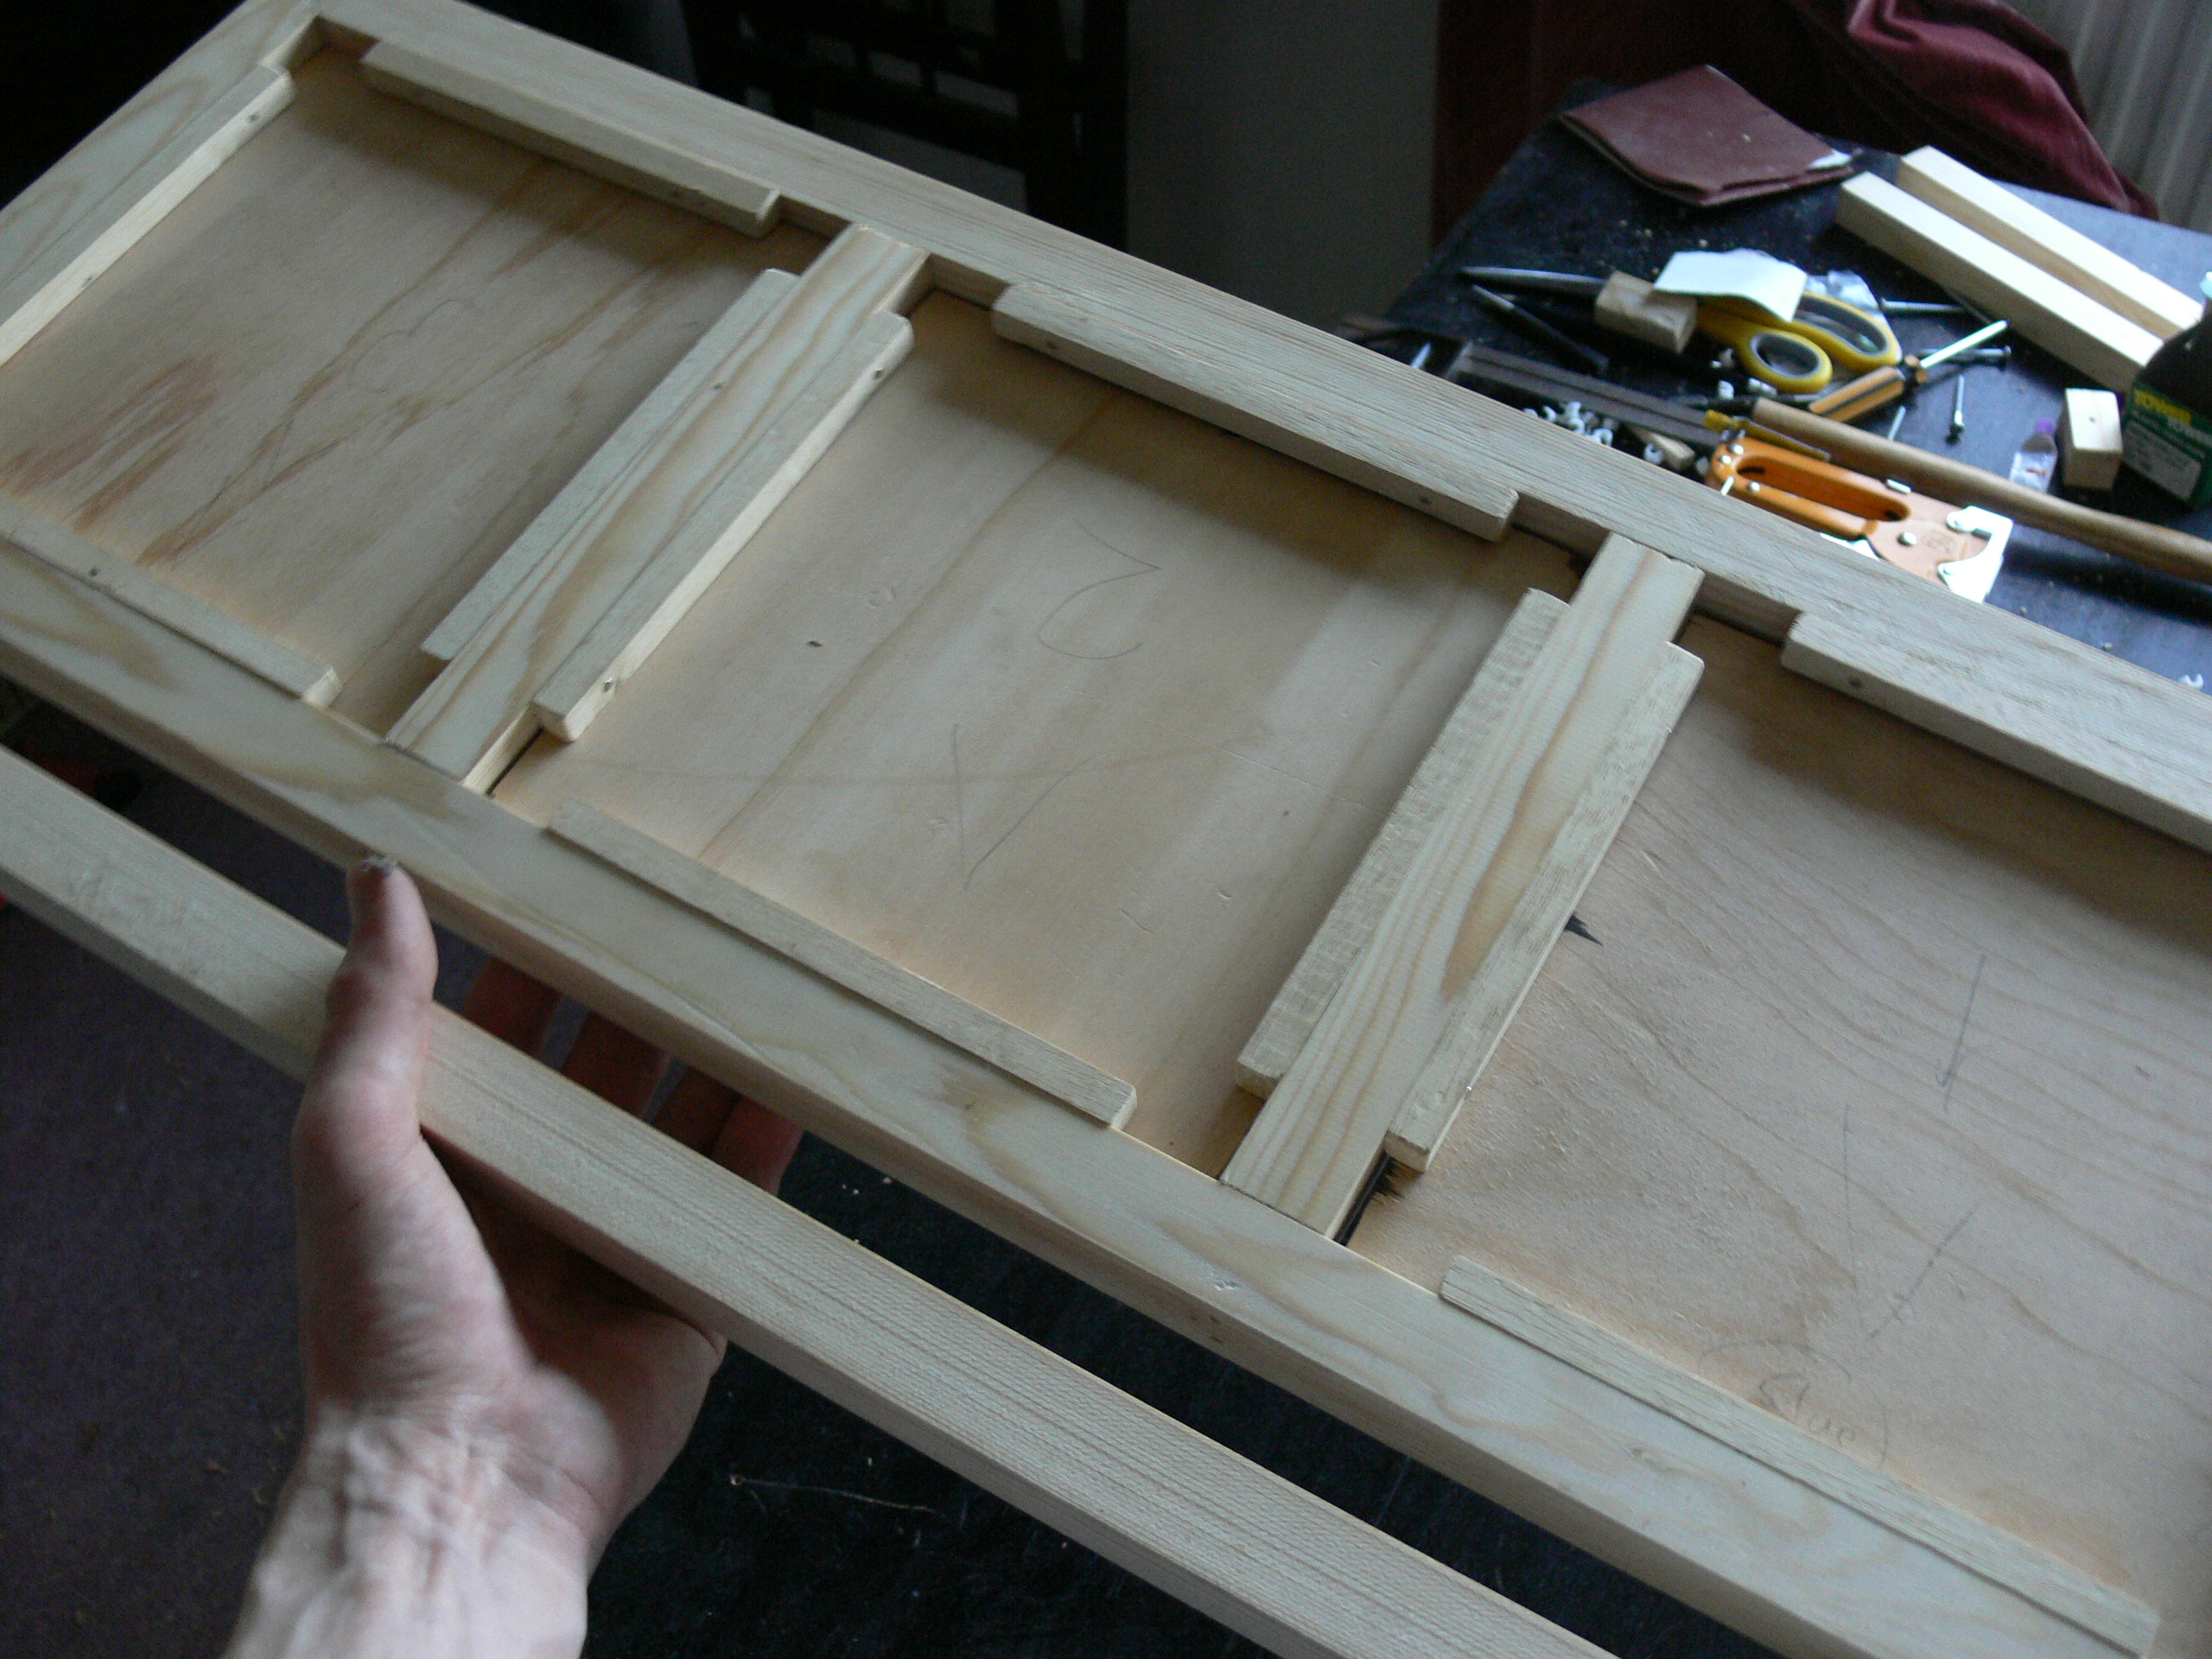
Now mark and cut your panels. They'll need to be somewhat smaller than the holes they fit in to allow for the fabric and easy removal; I didn't cut mine small enough and had to plane a couple of millimetres off two sides to make them fit properly. I also planed a bevel into them to give the undersides even more room.
Test them by bunching up the fabric as shown in image 4 then pulling it through the frame; this will give you a good idea of the fit.
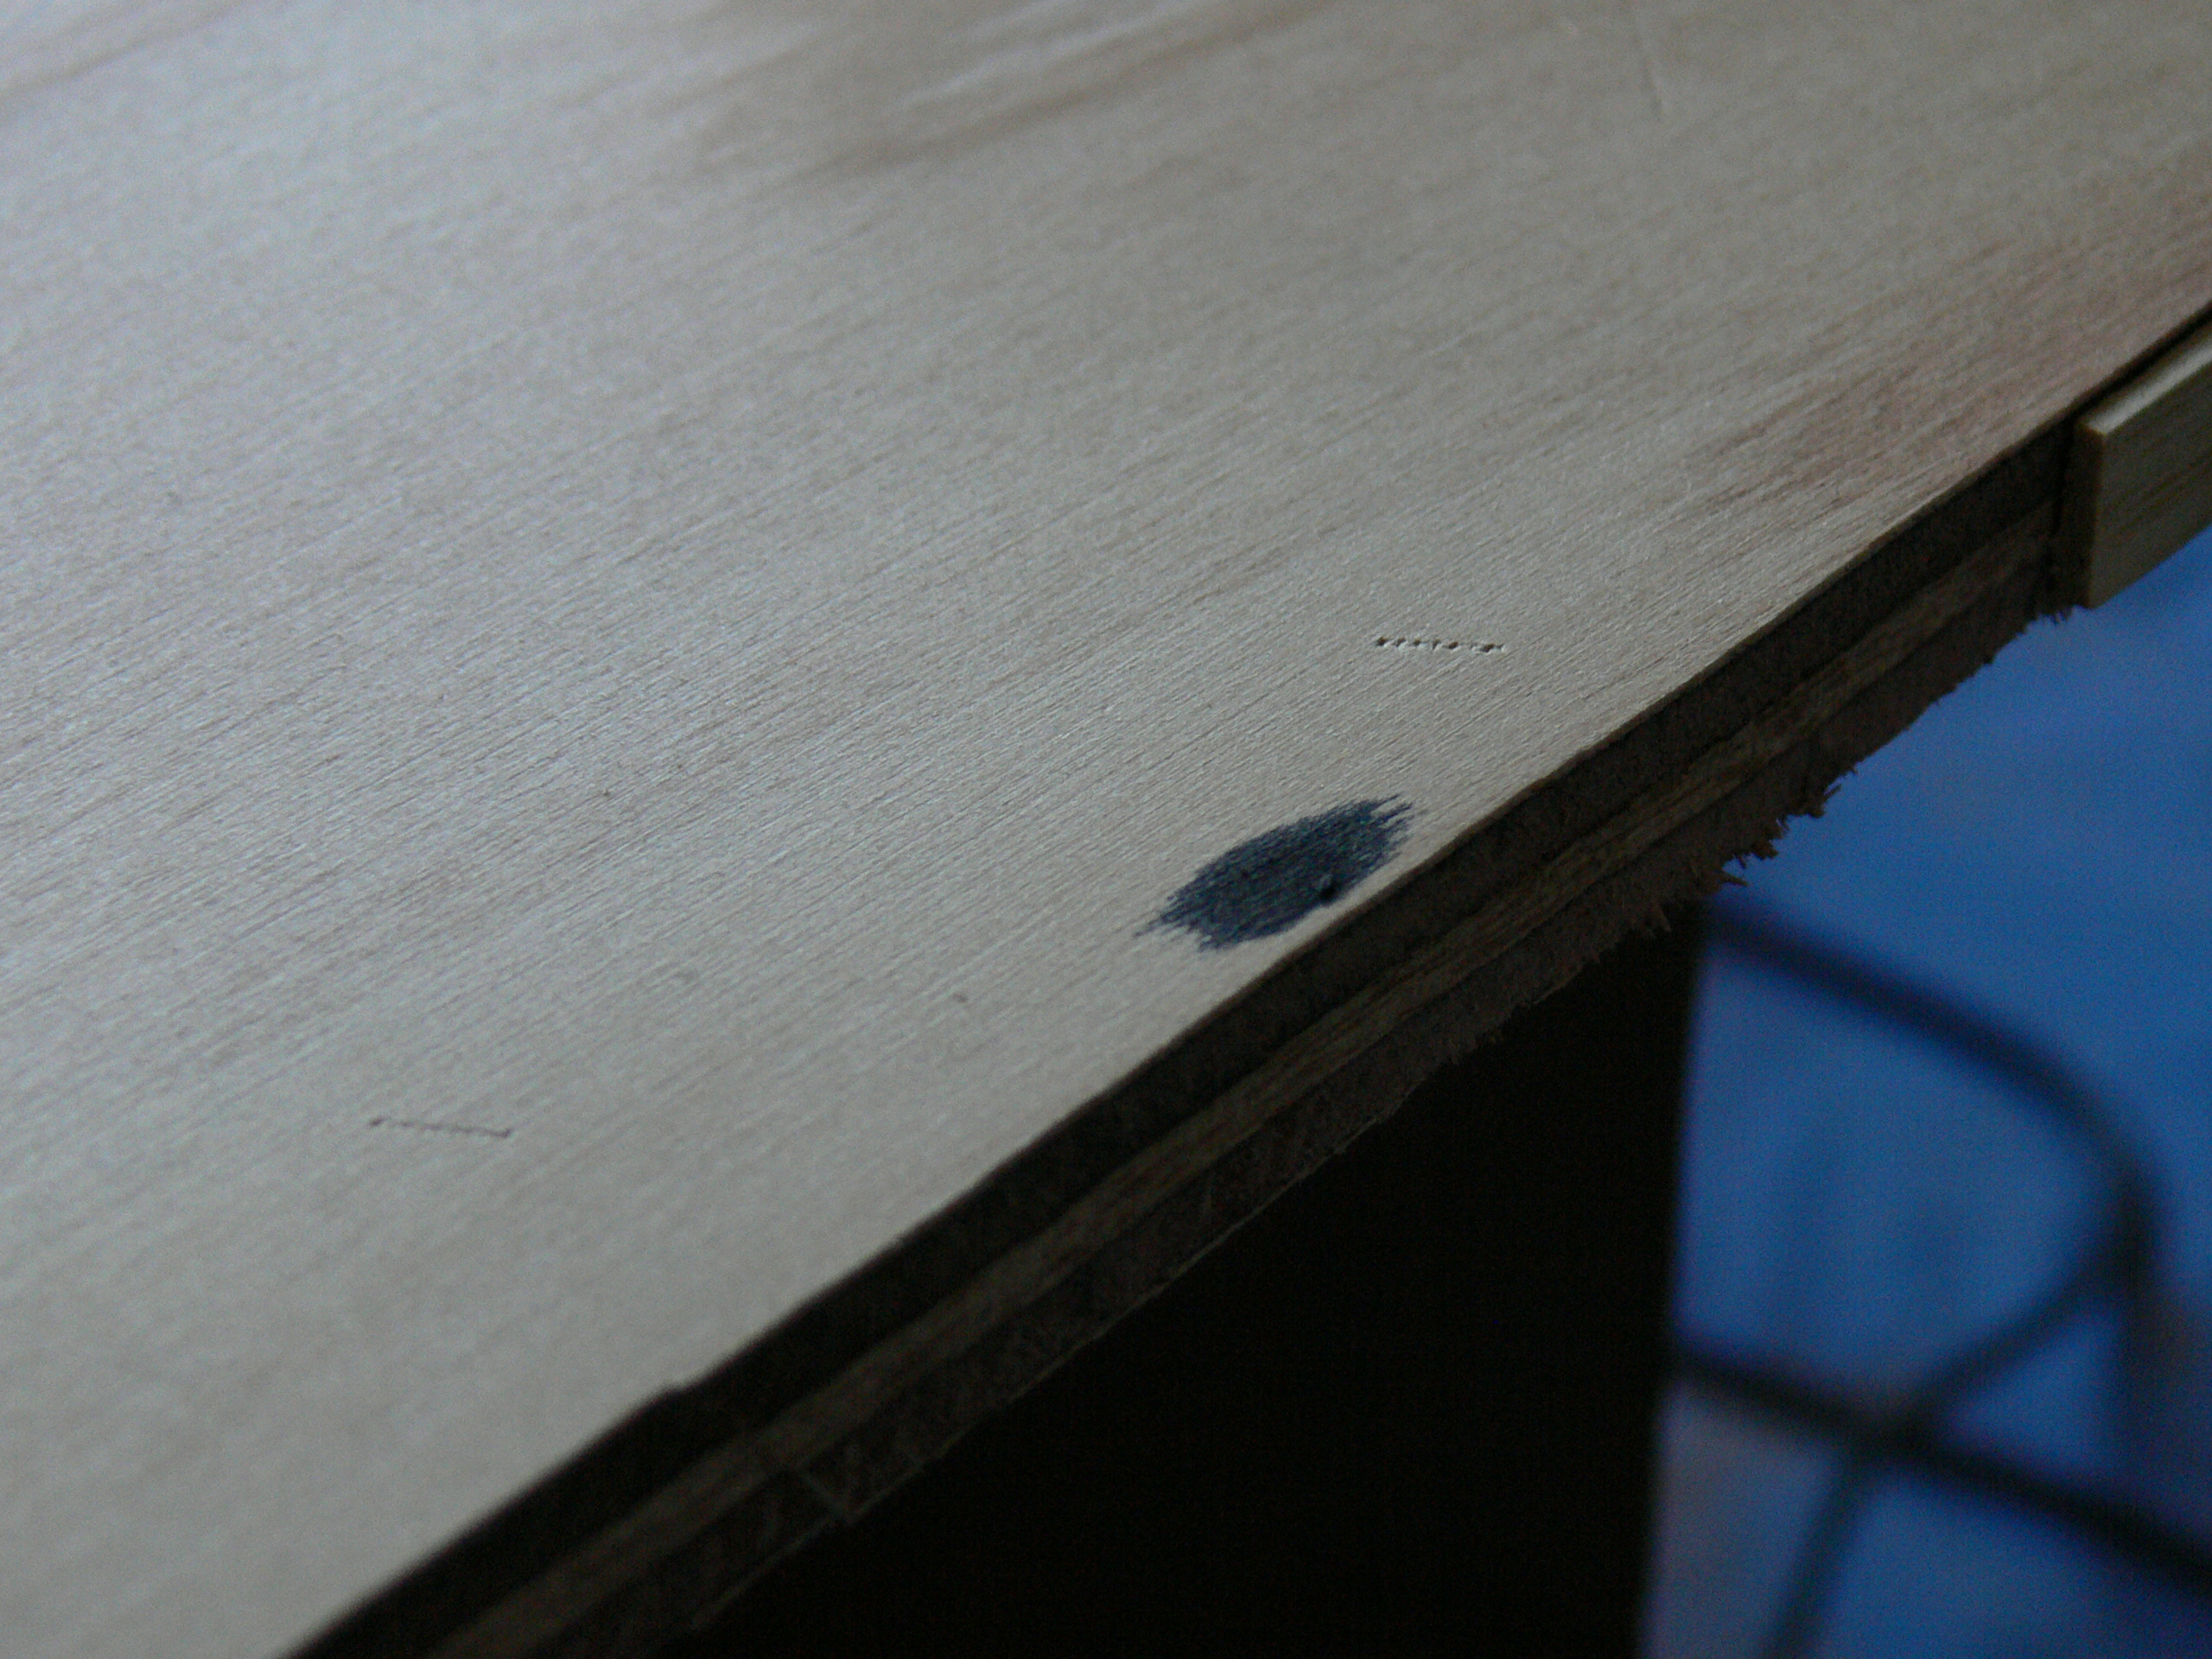
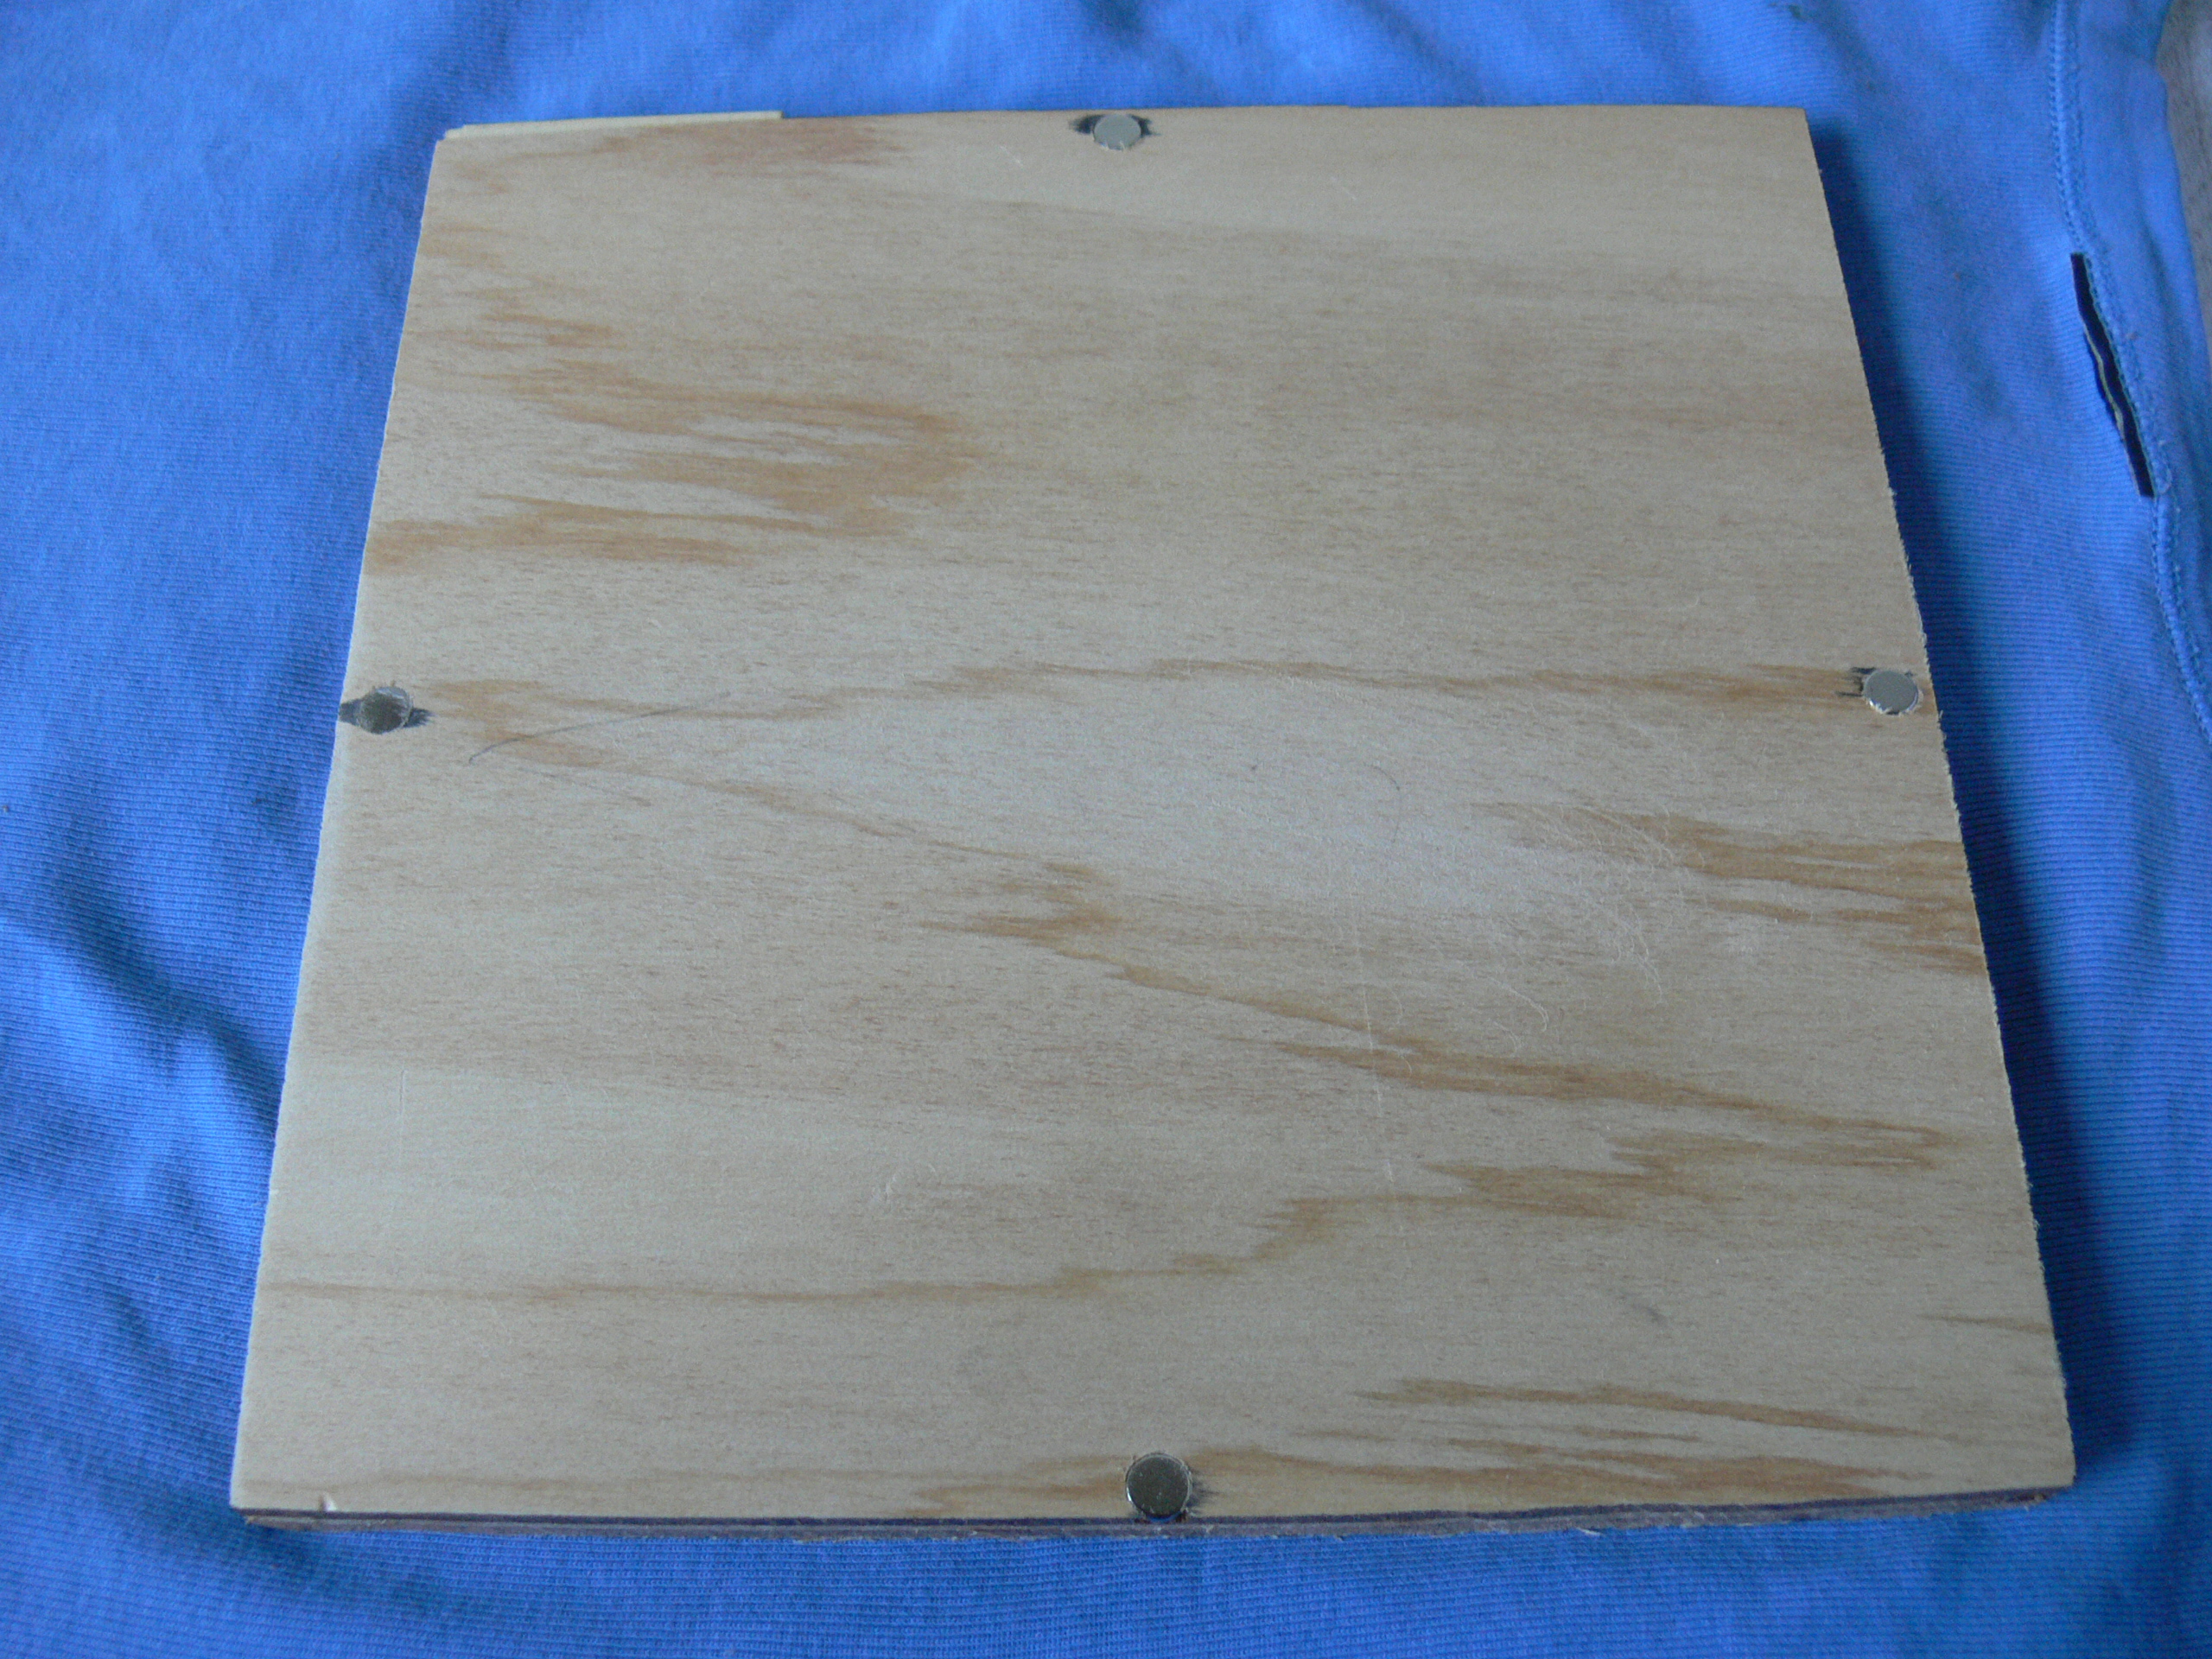
Once they all fit properly, the panels need to be marked for the magnets that will hold them in place. I did this by putting a dab of ink on the magnets already on the beads, then putting the panels down on them (images 6 and 7).
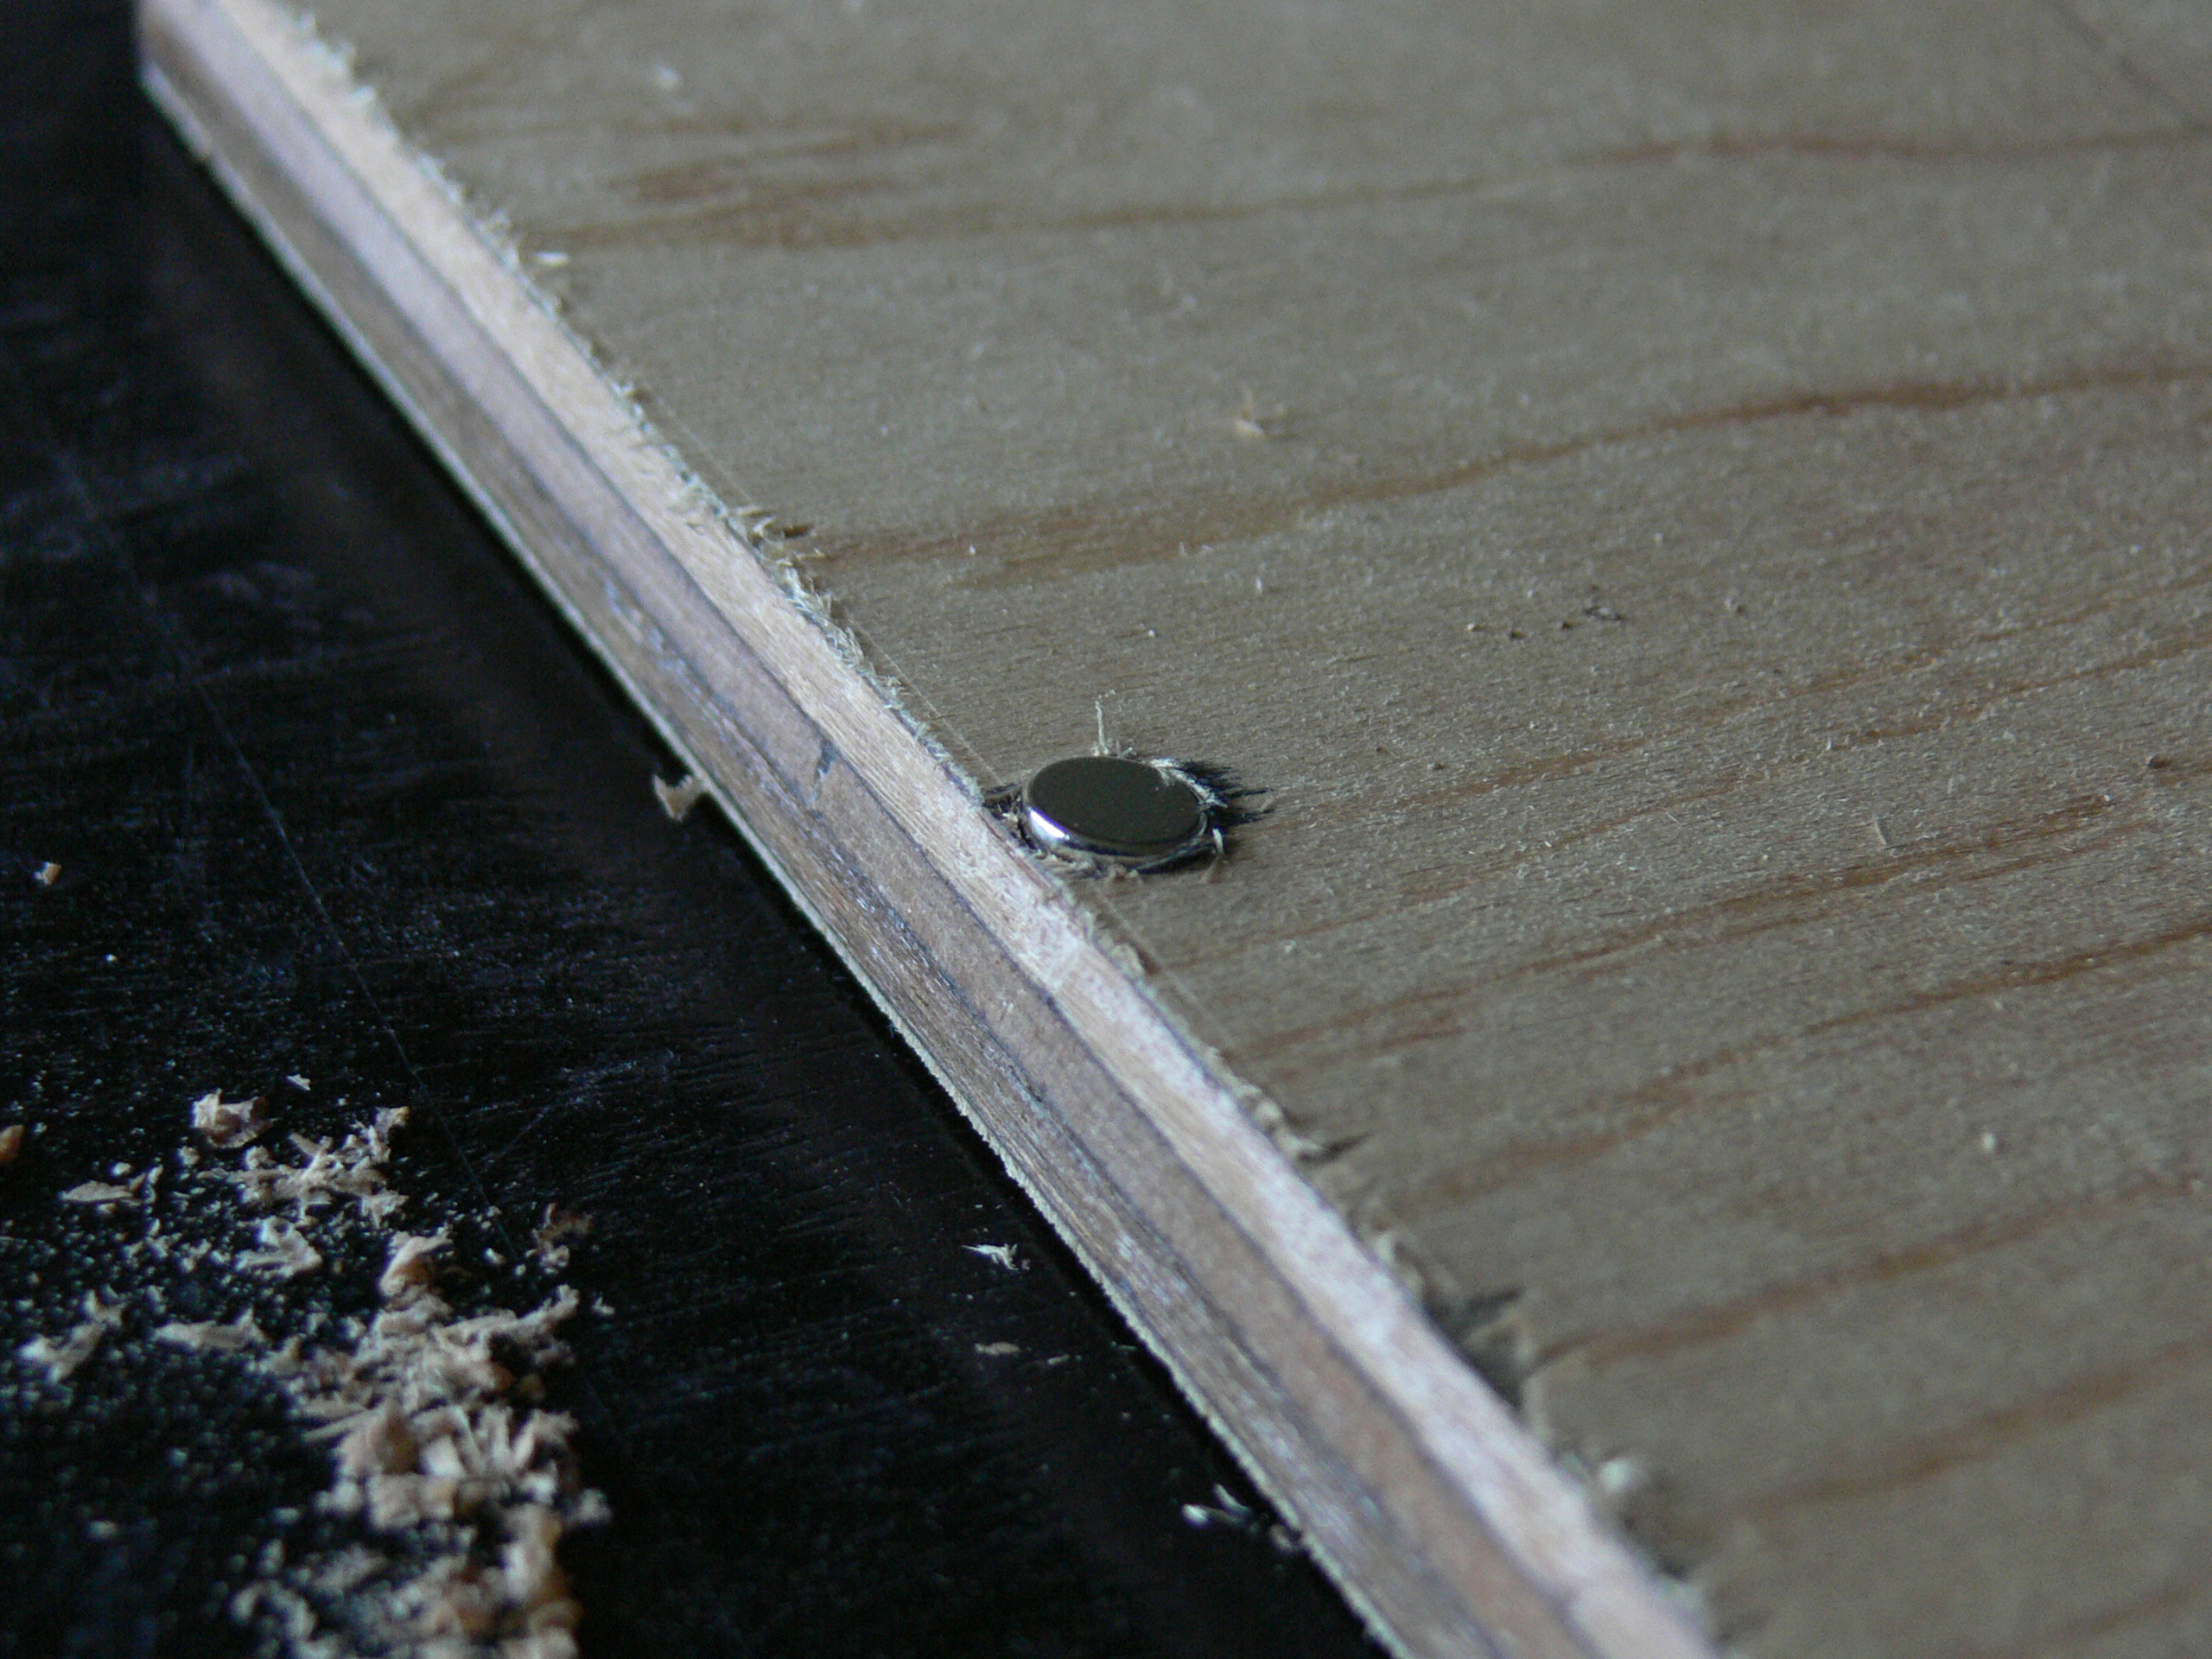
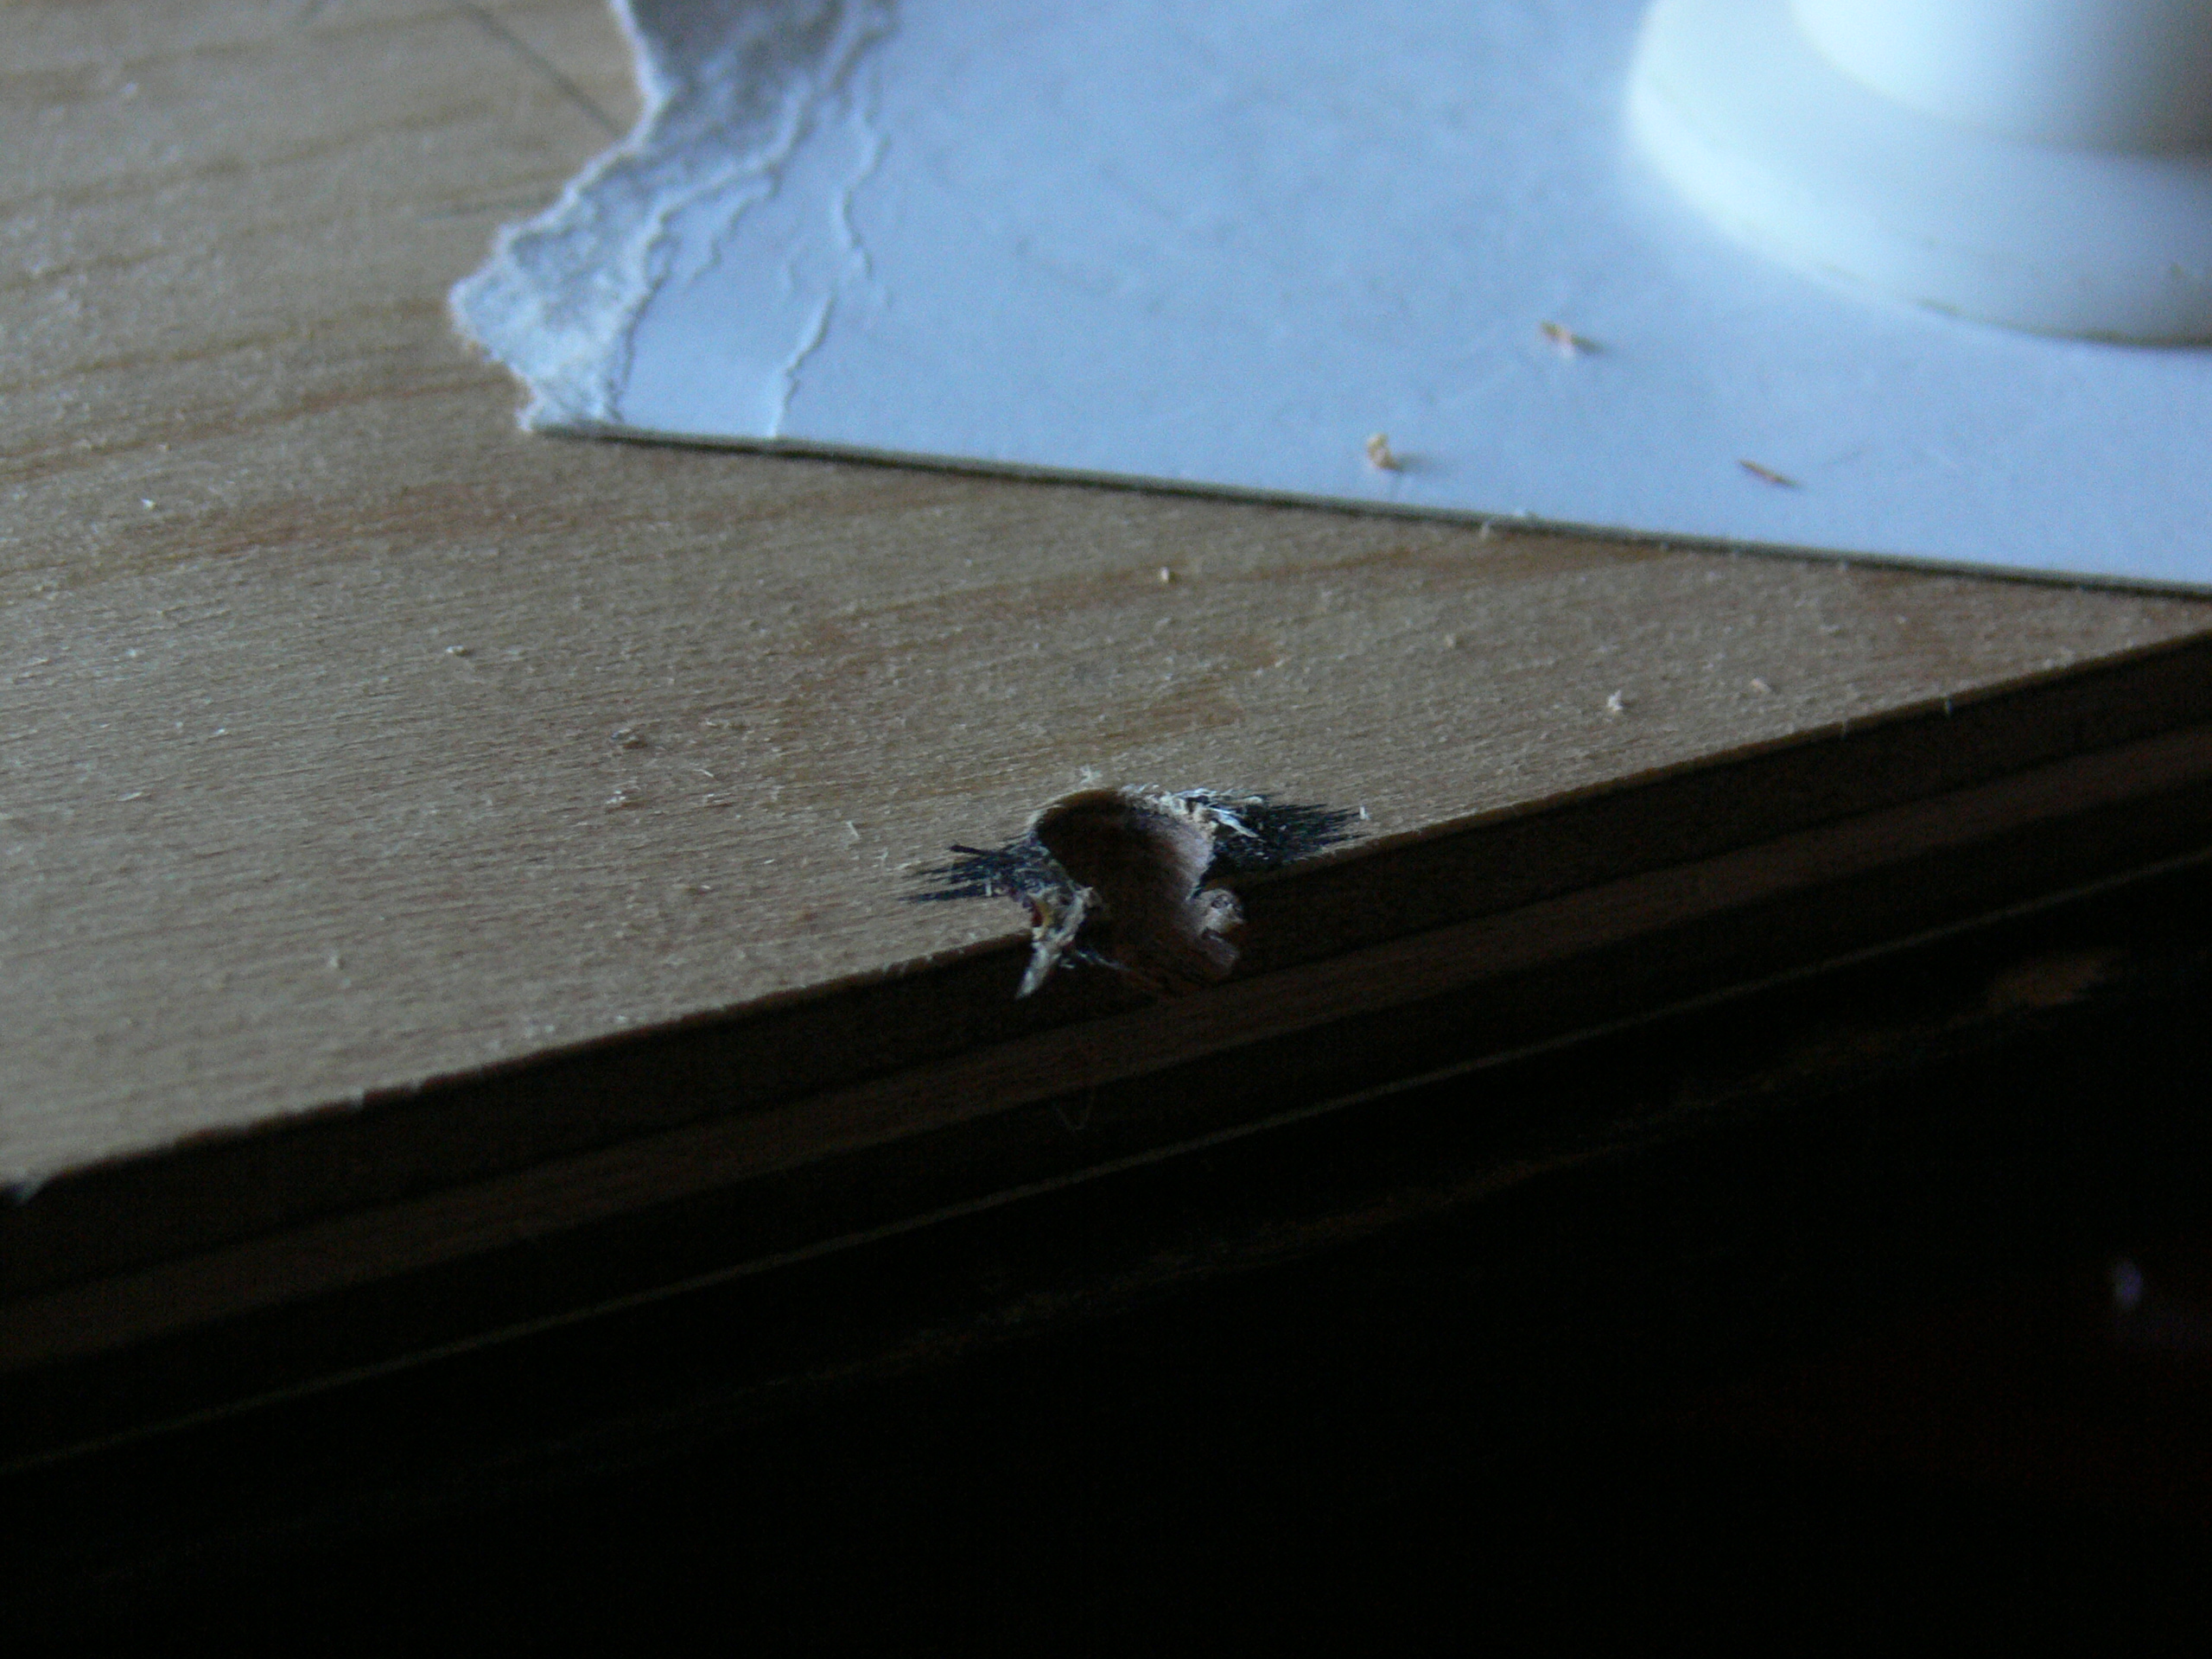
Again, drilling 6.5mm holes and banging the 7mm magnets into them with a hammer and block works well, but if the hole is too close to the edge as in image 9, it will need glue as well. Be careful to get the polarity right; this is easy by checking the magnets against the ones already fixed into the beads.
Once the panels are fitted with magnets, they're ready to be upholstered.
Upholstery
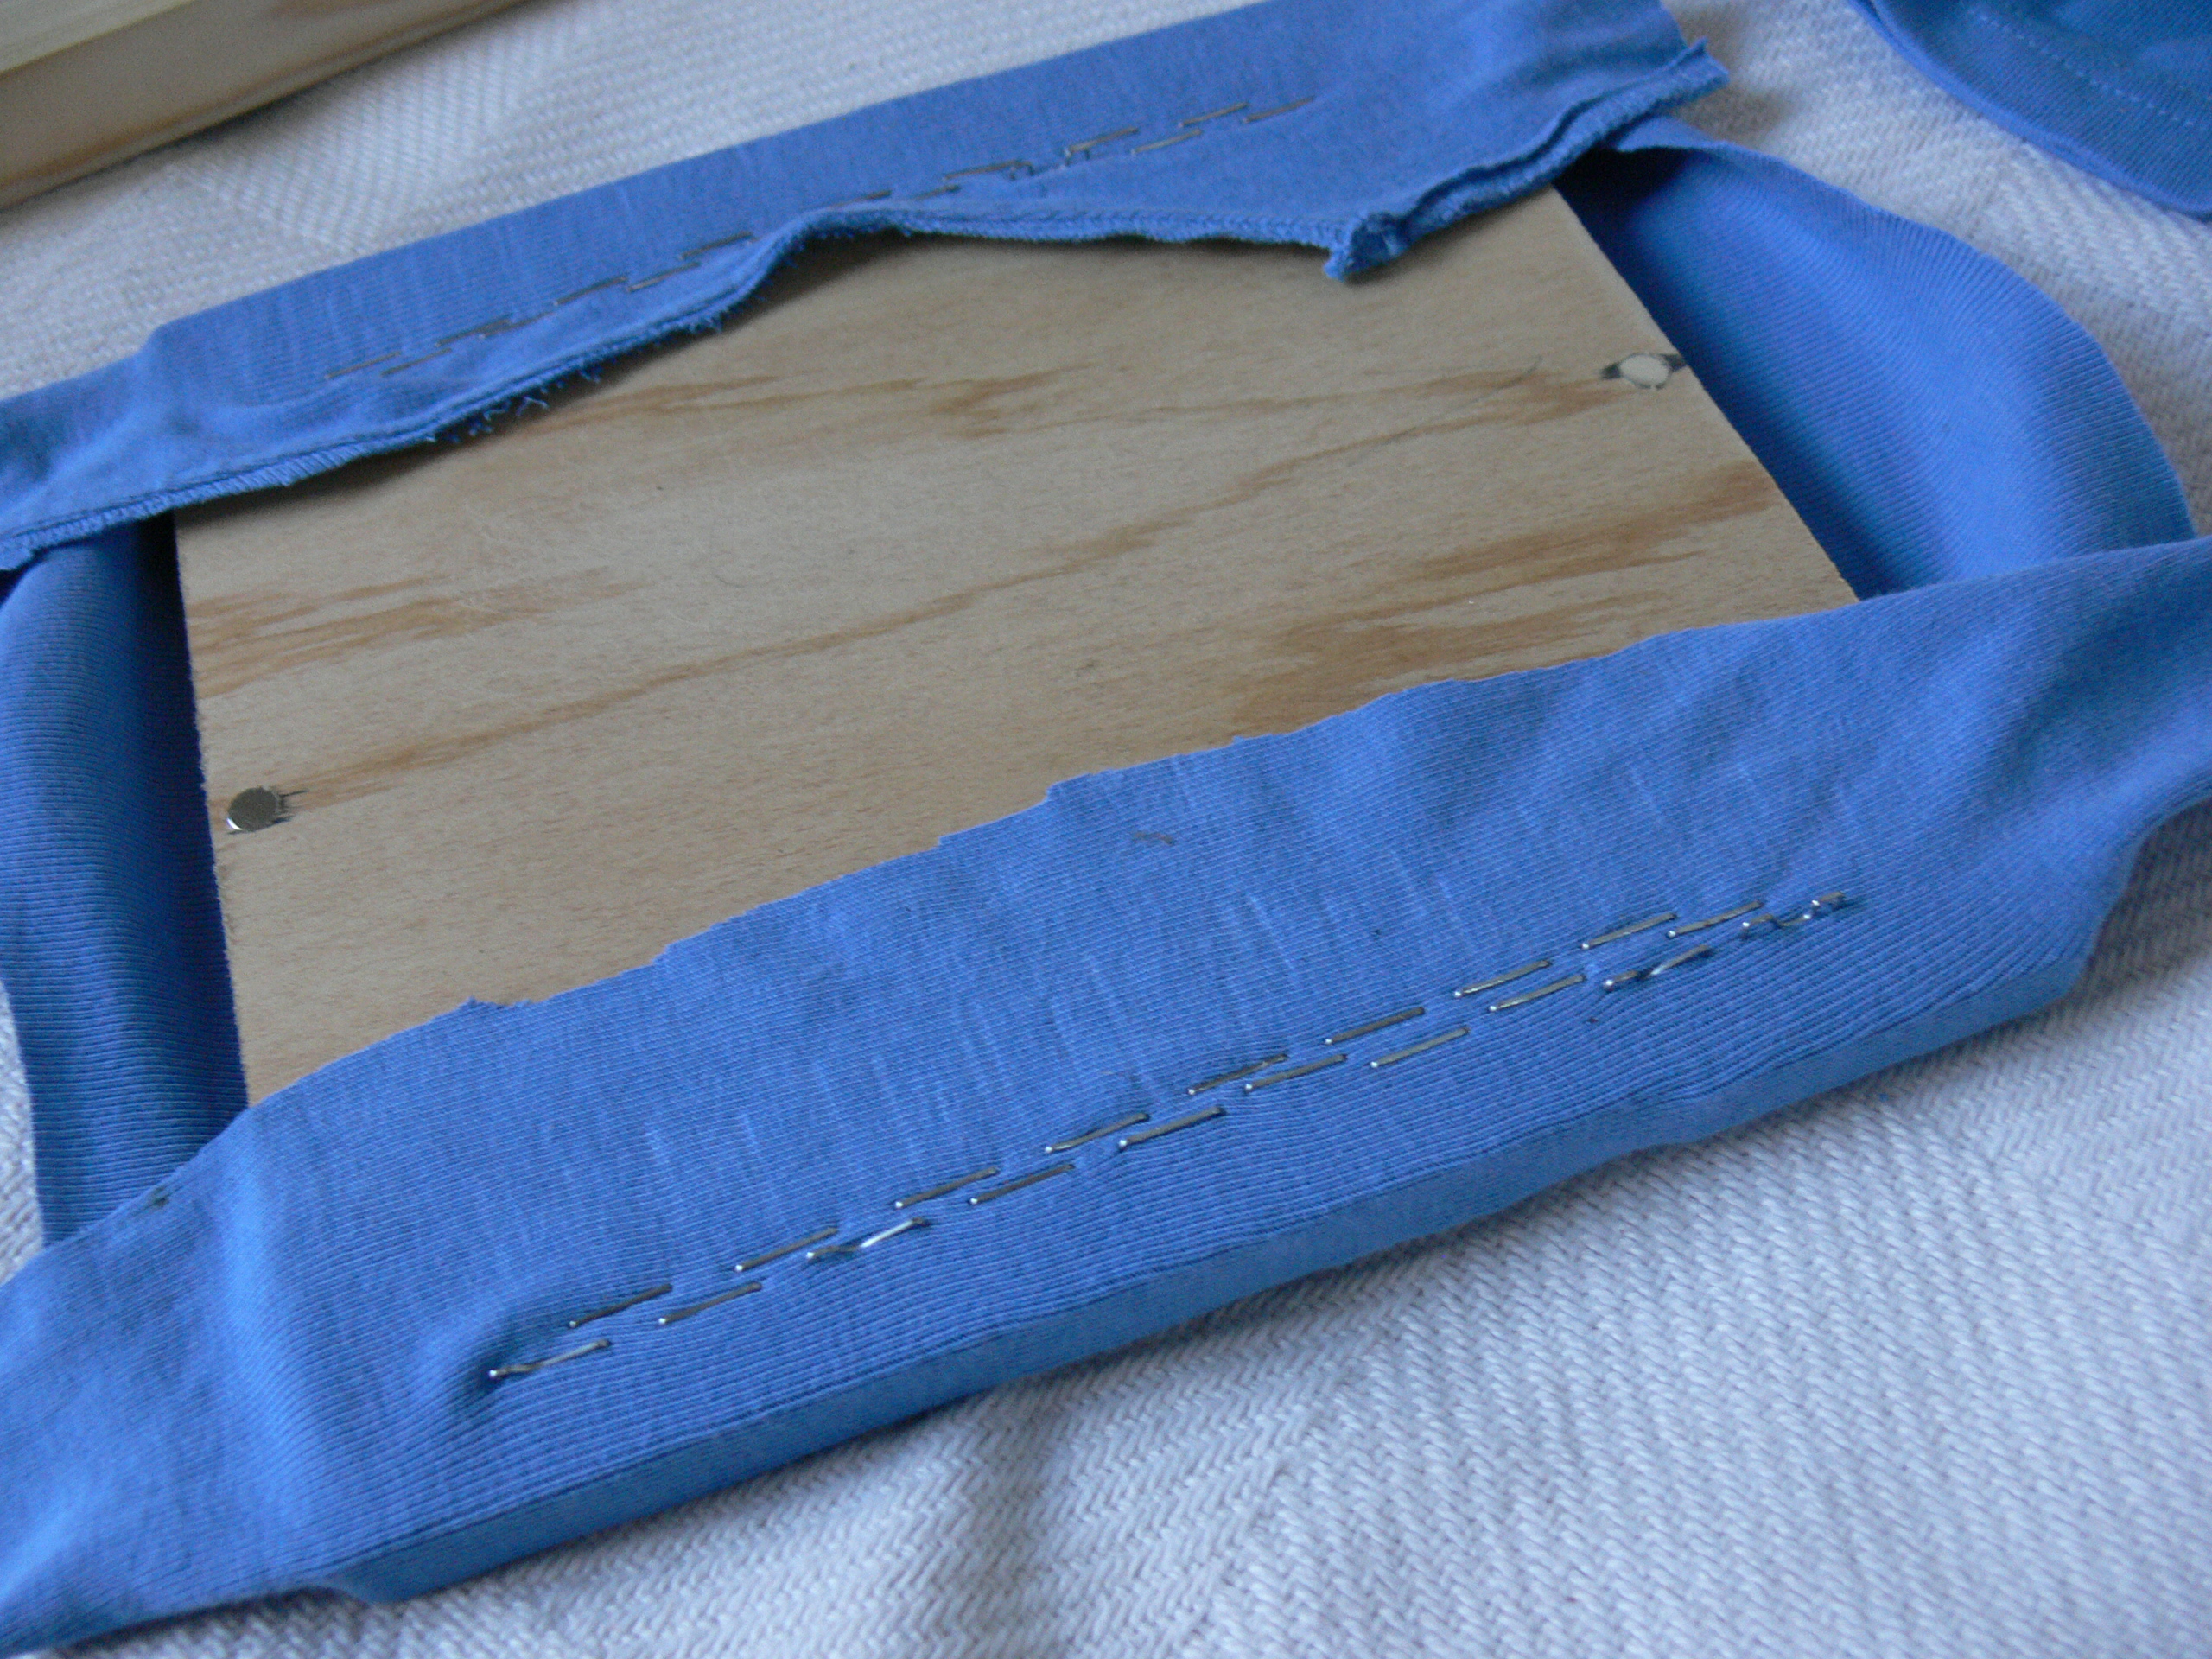
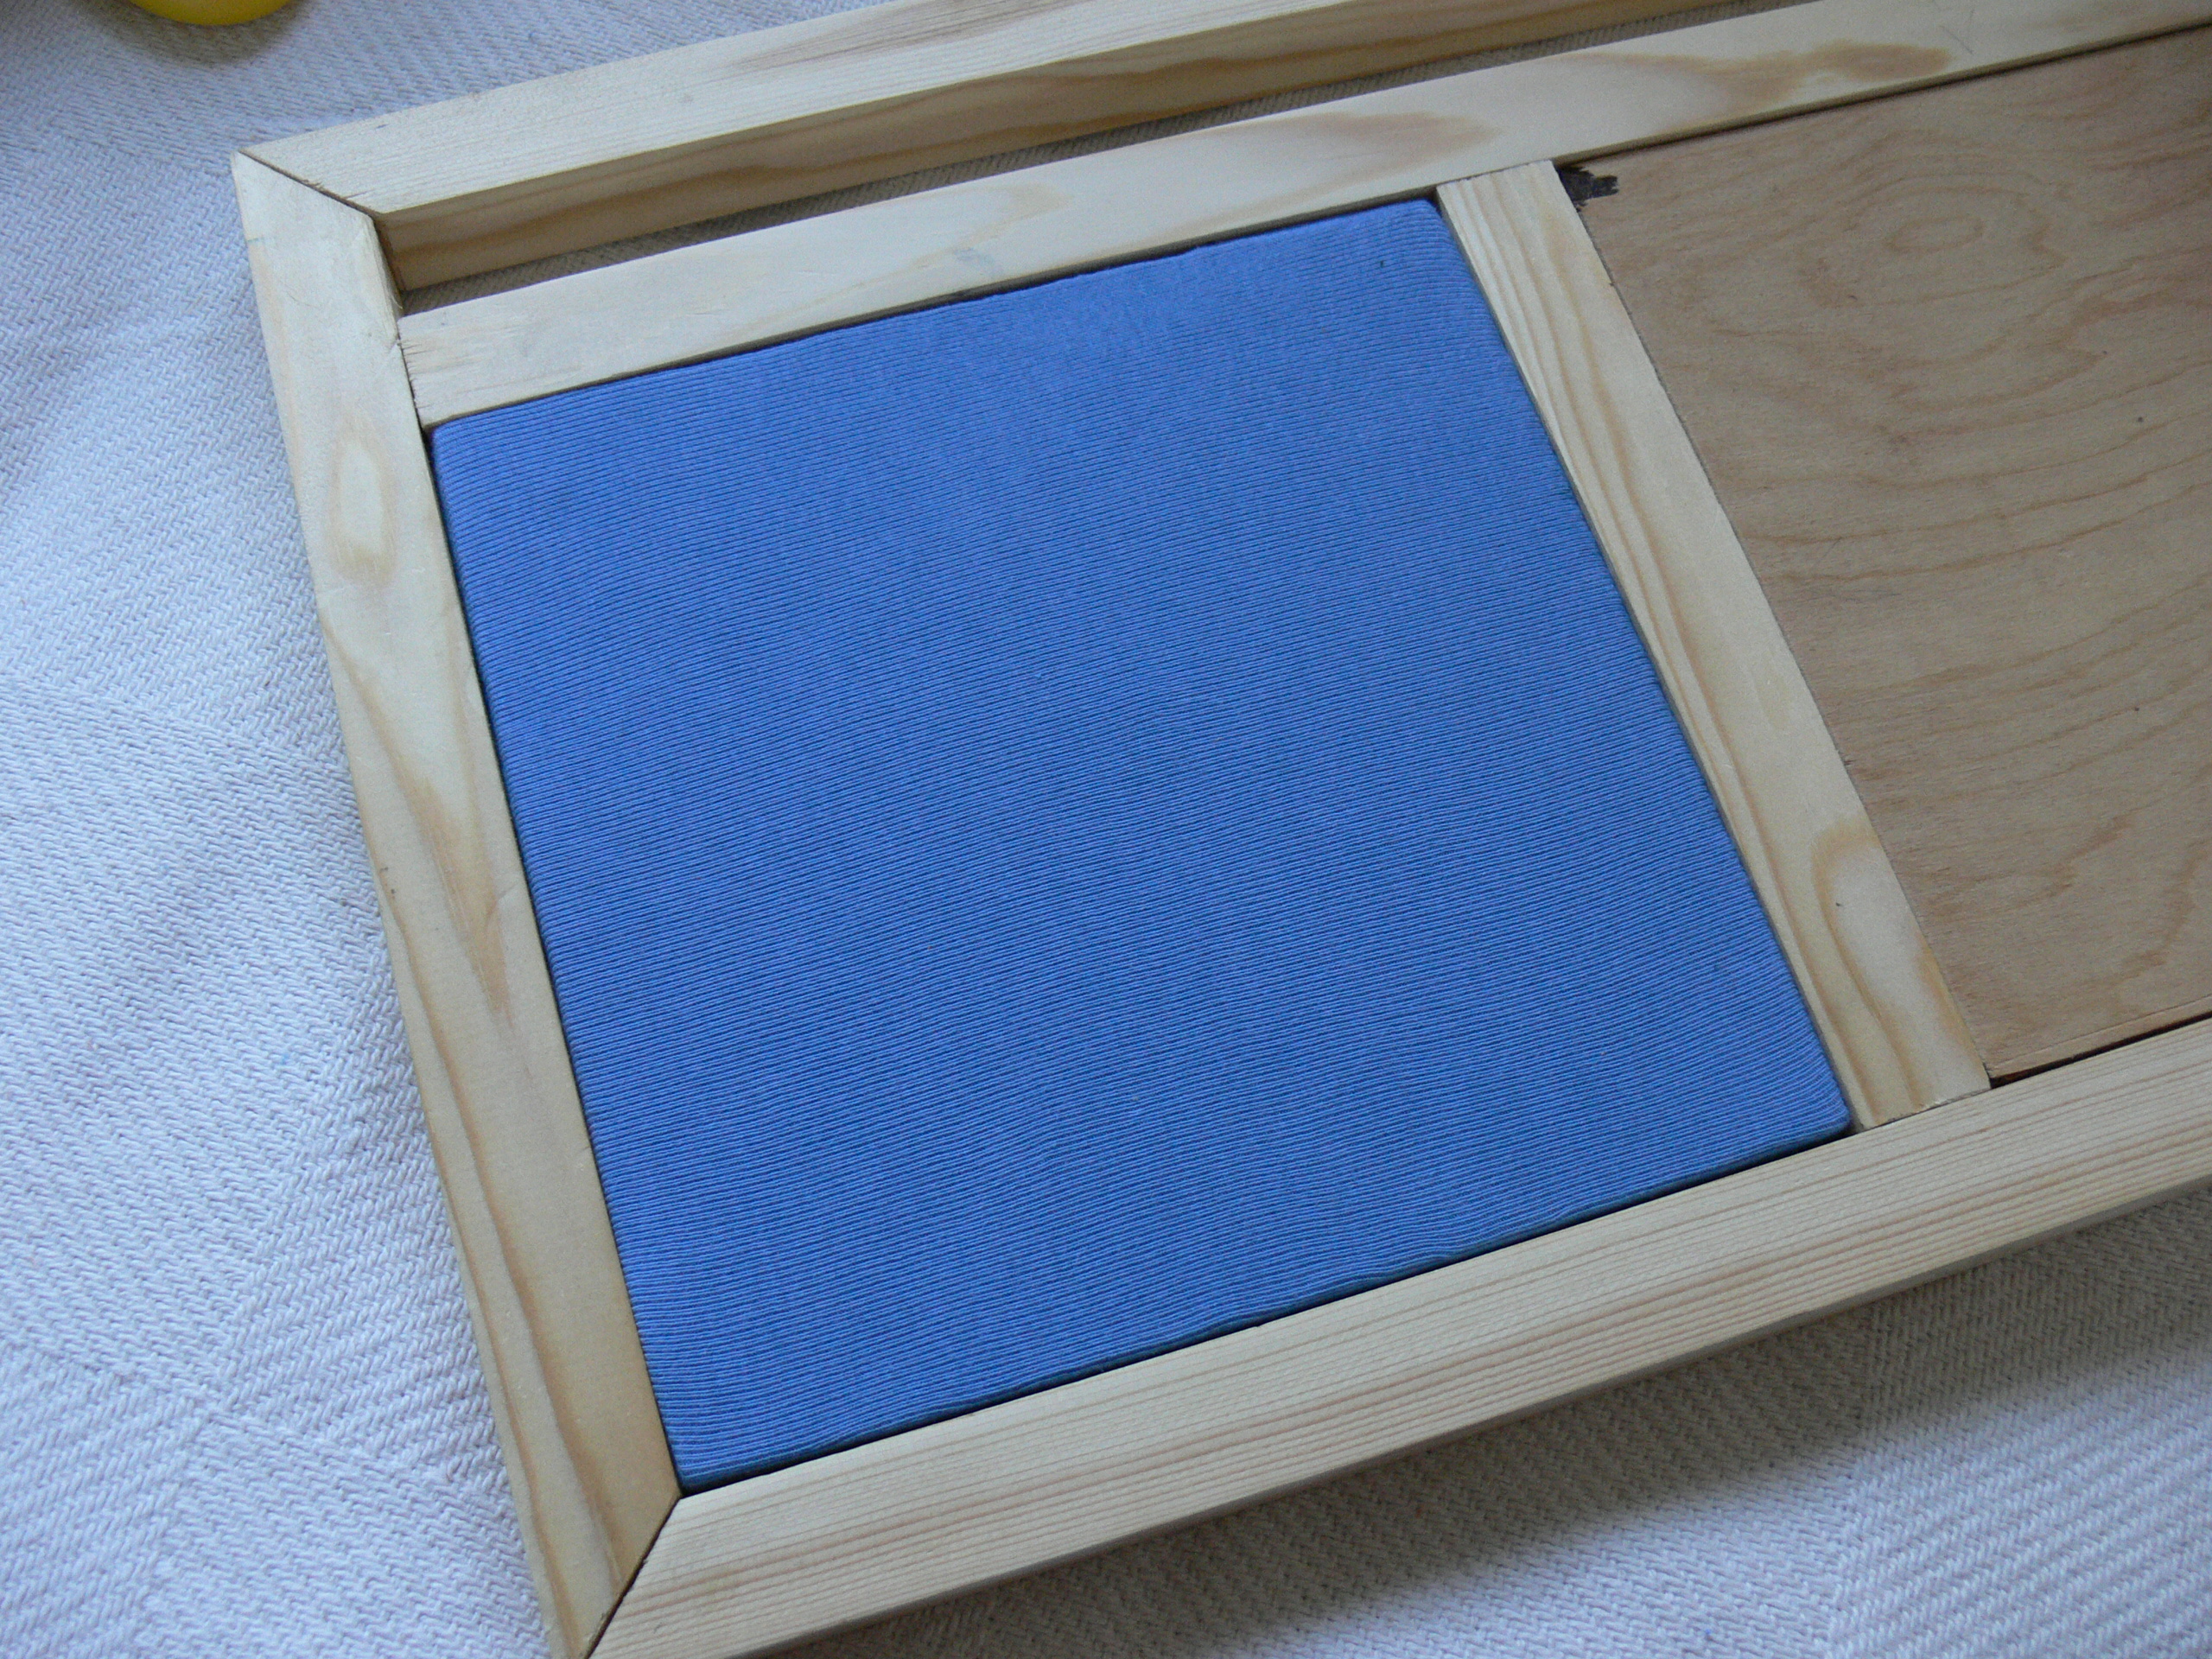
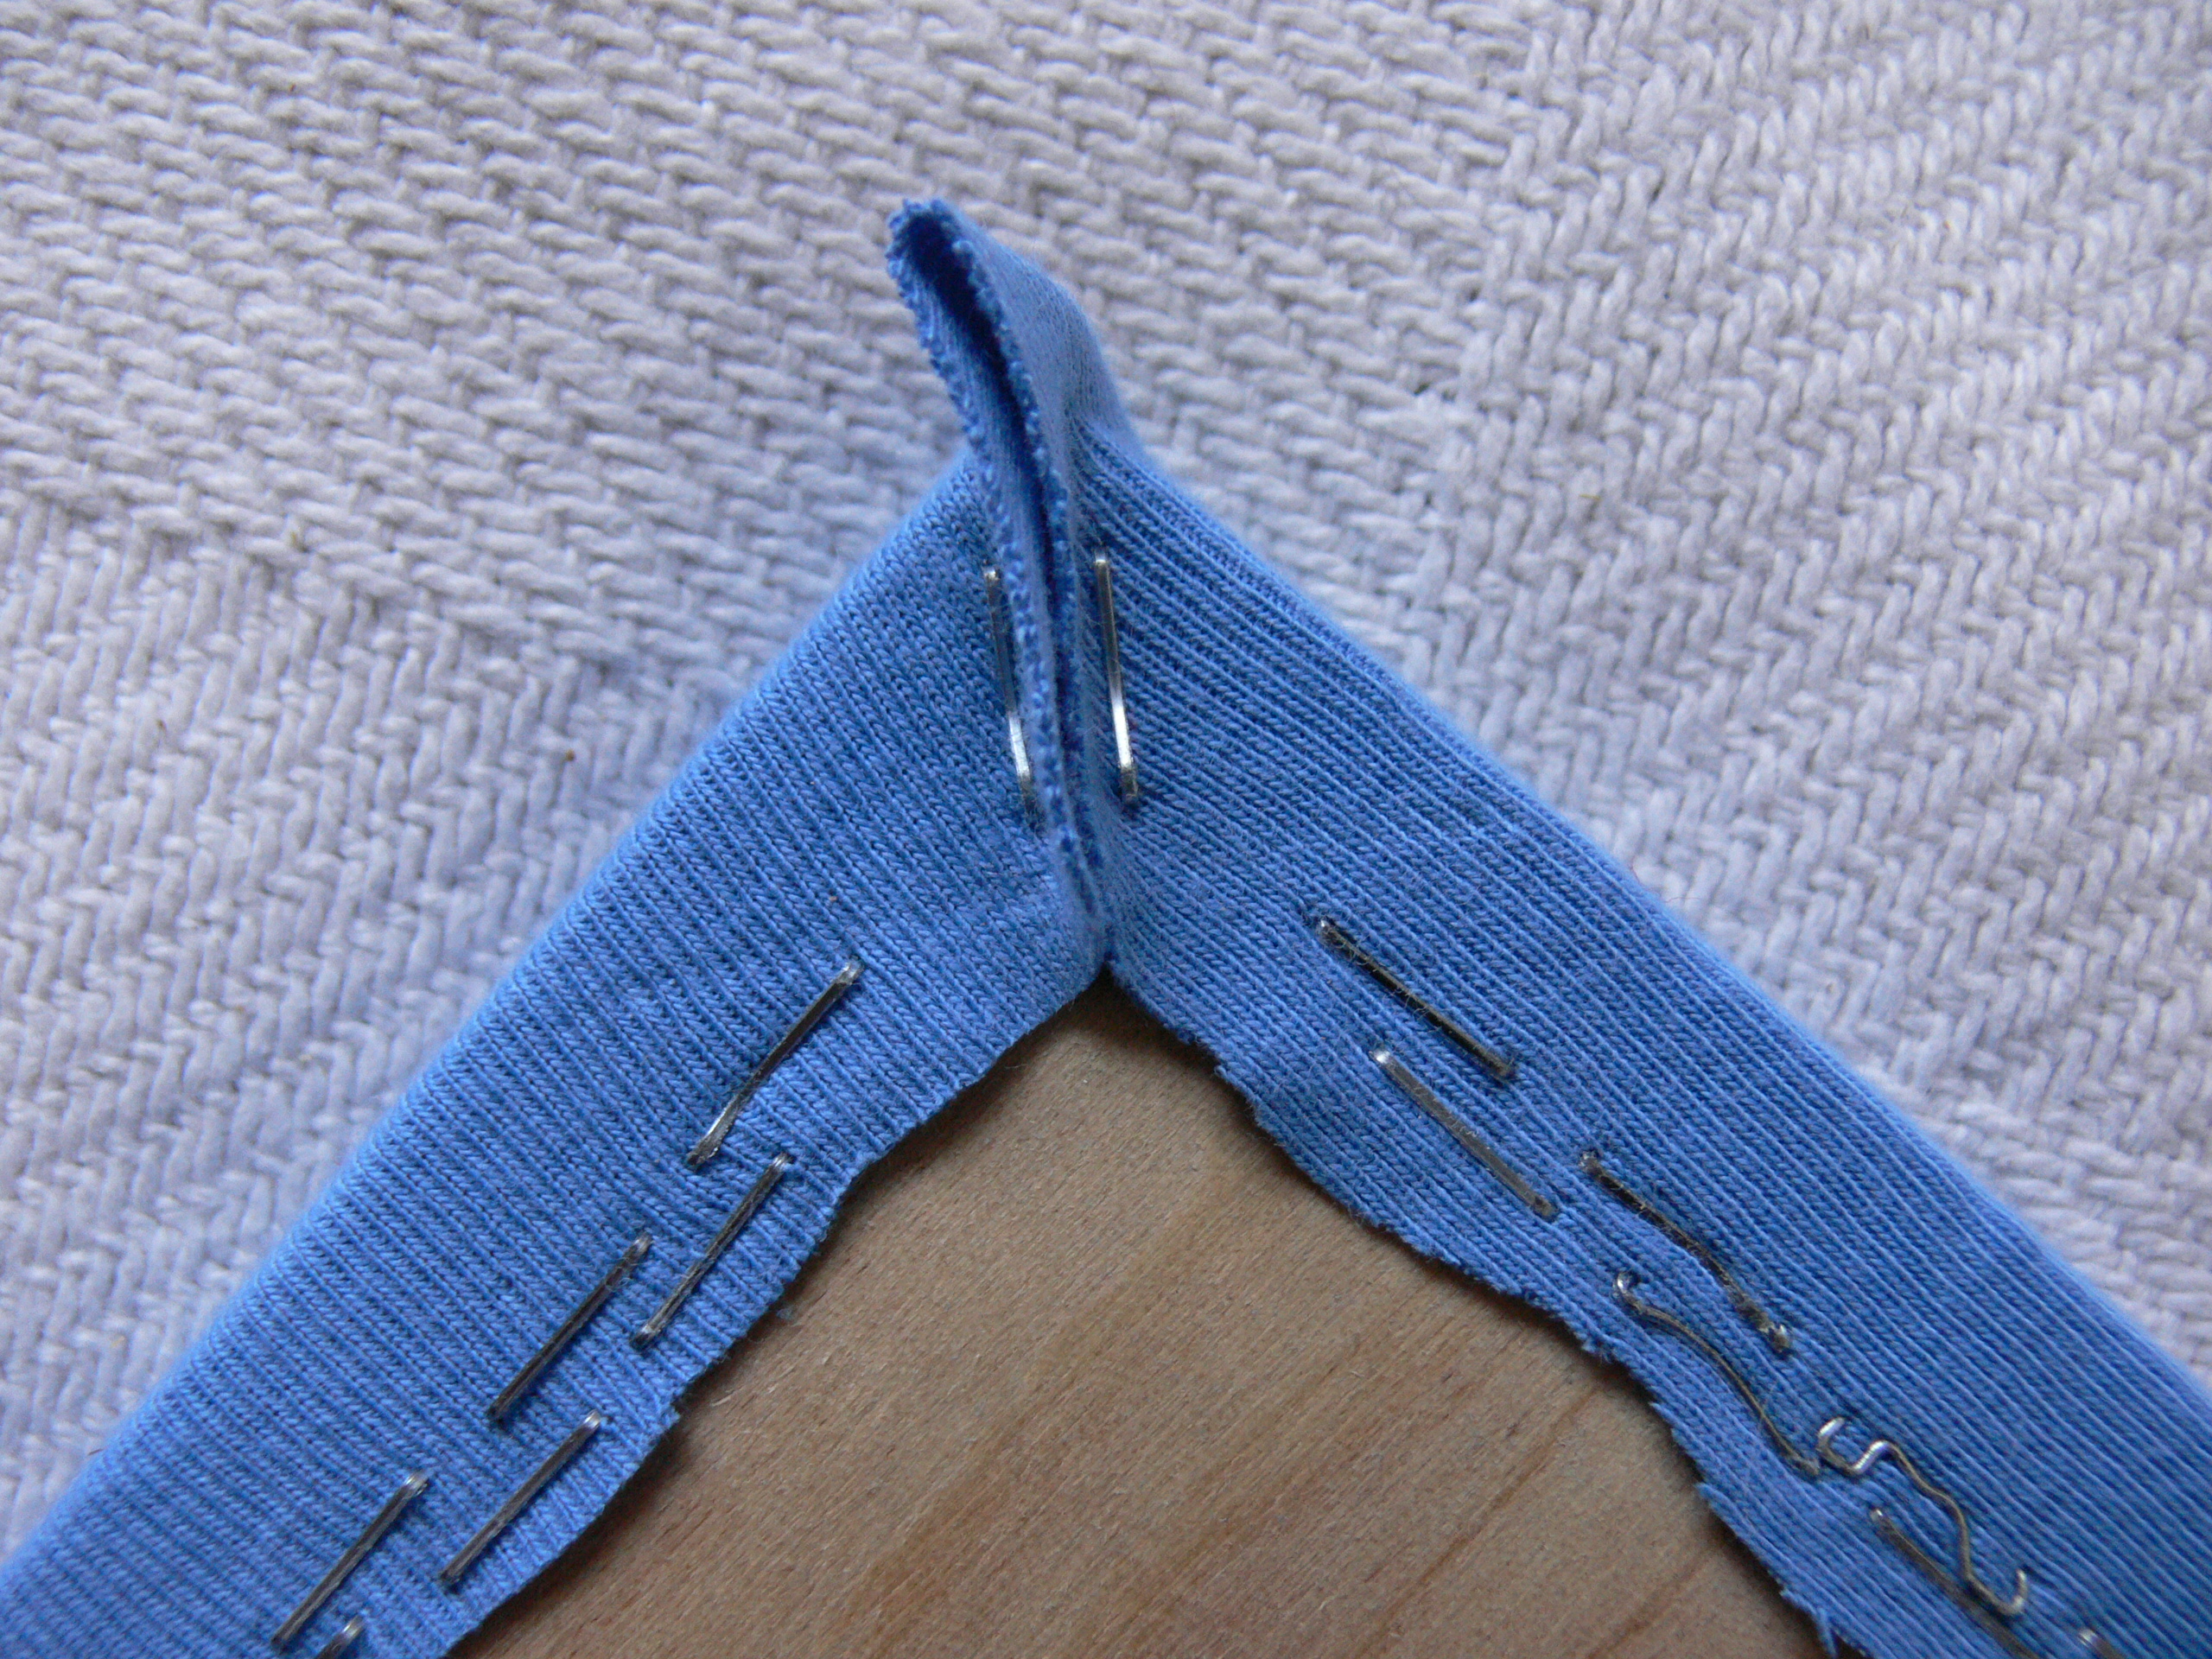
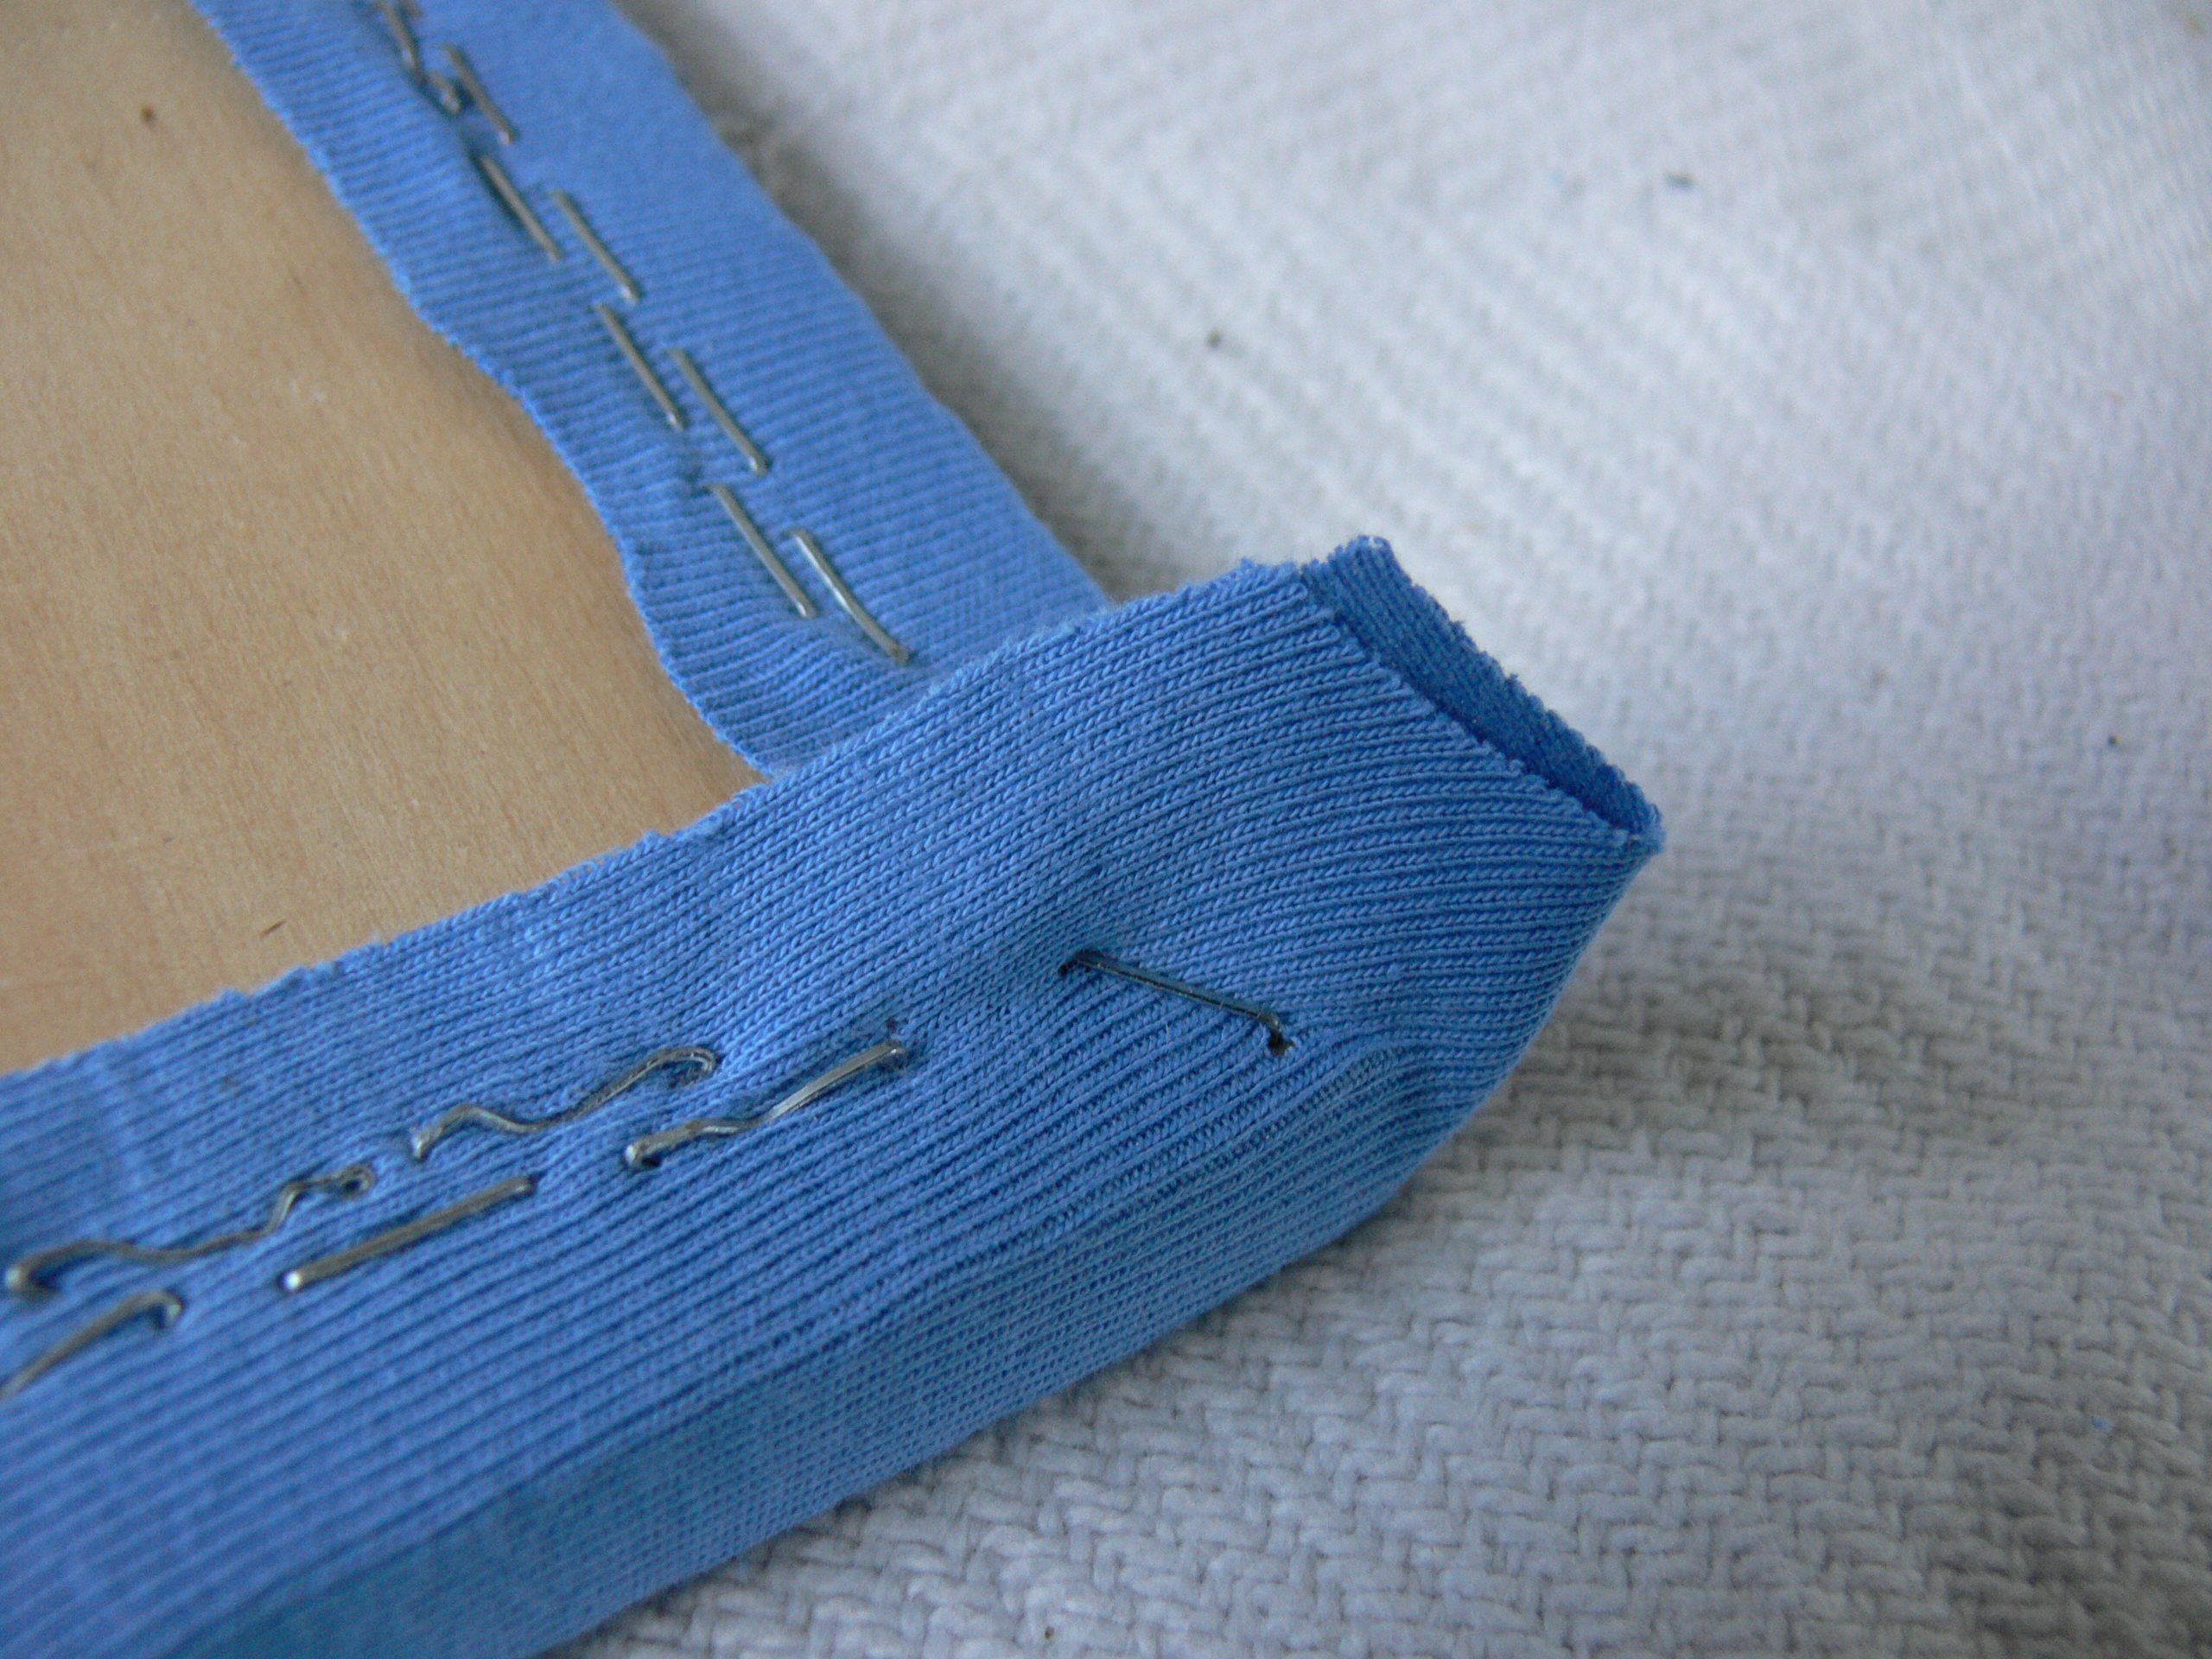
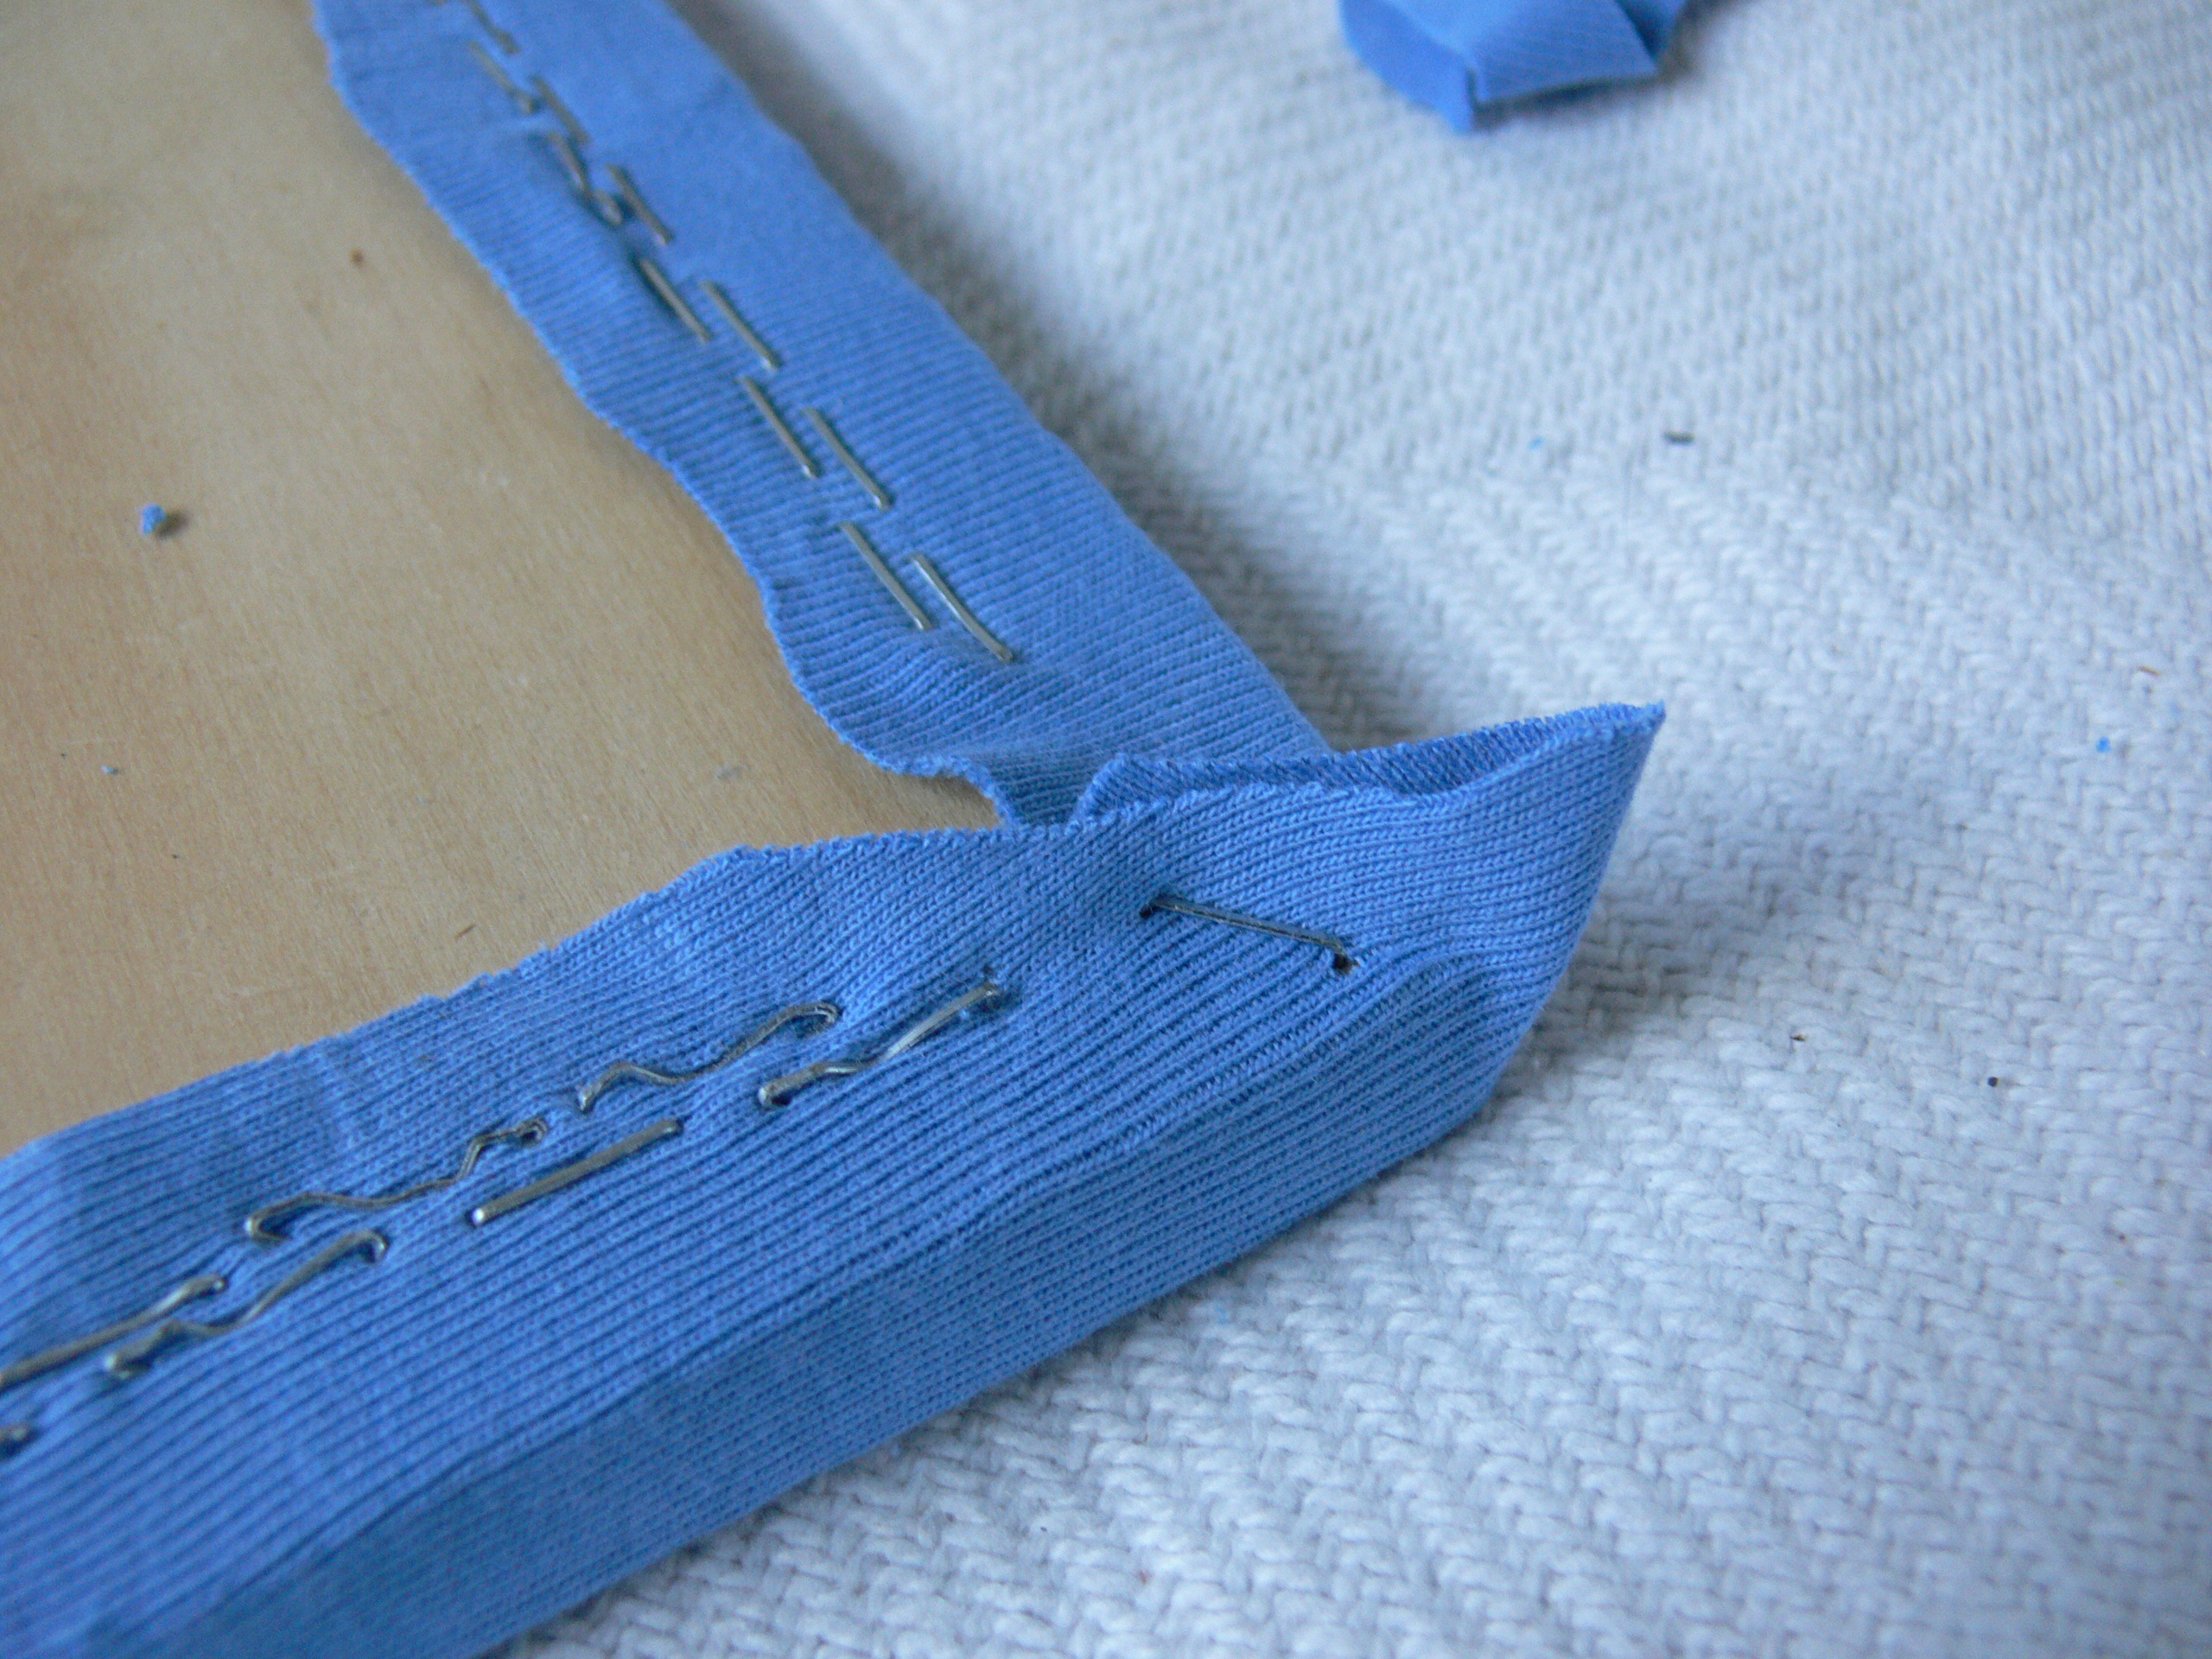
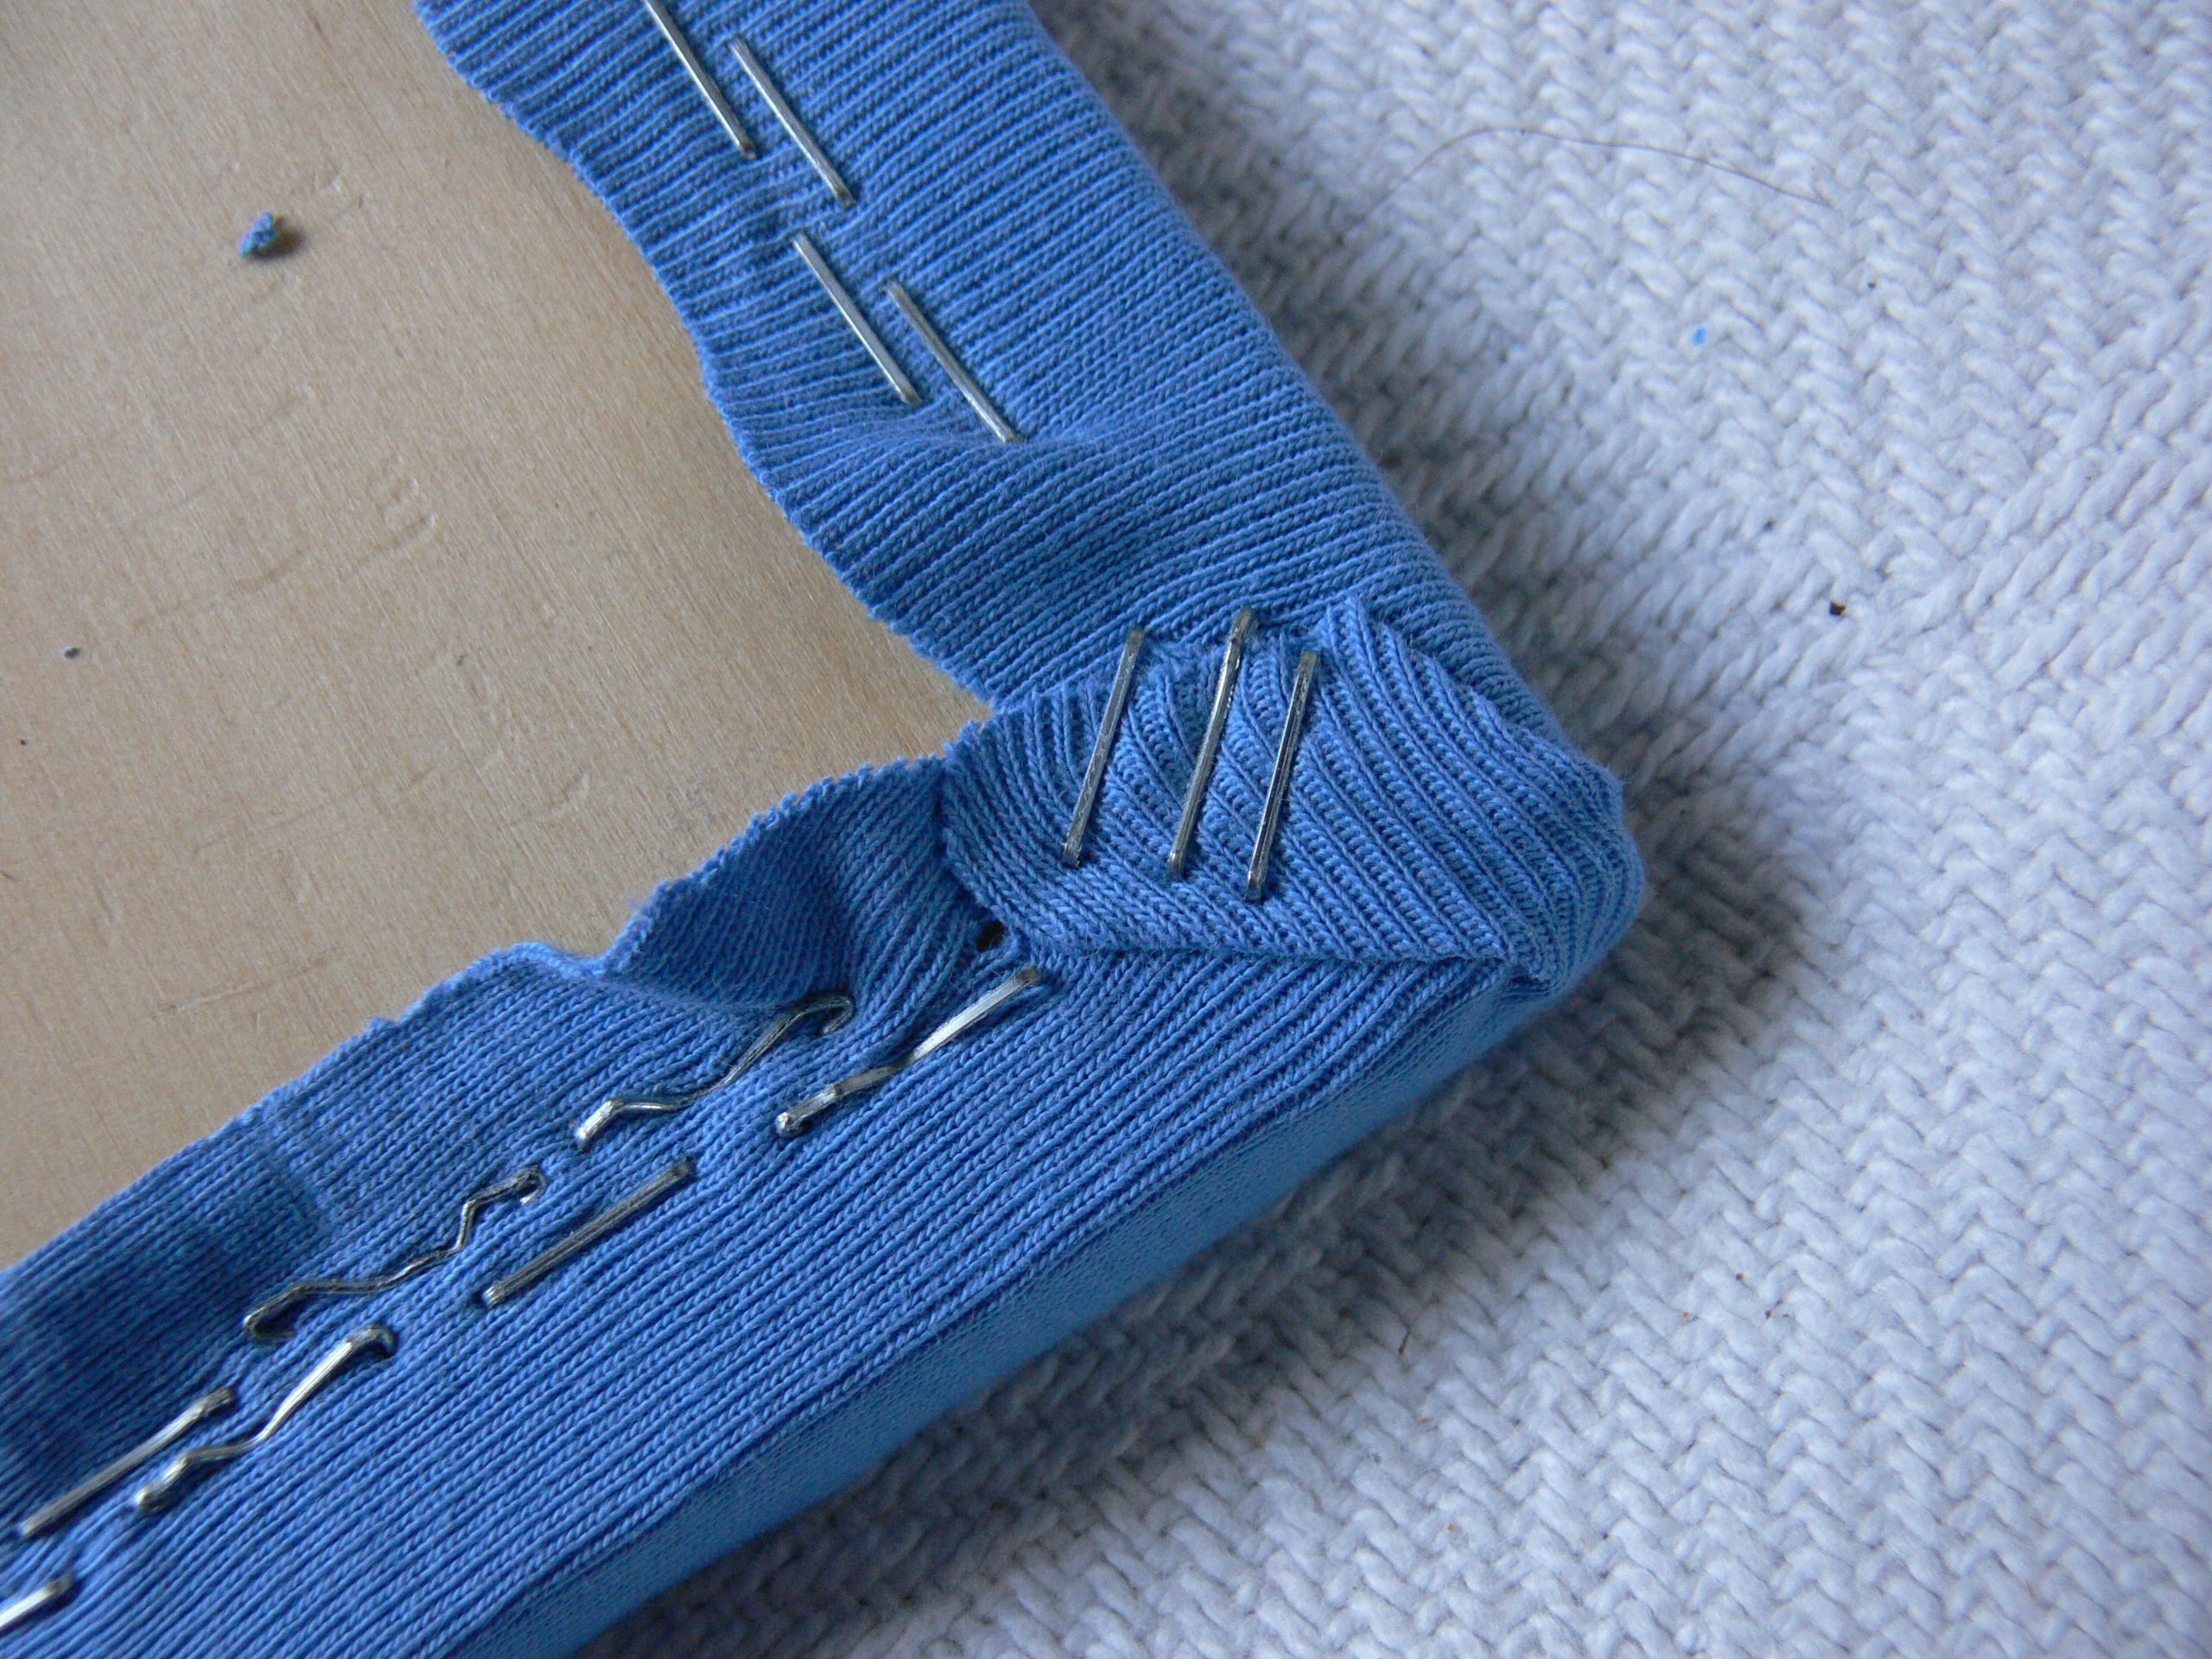
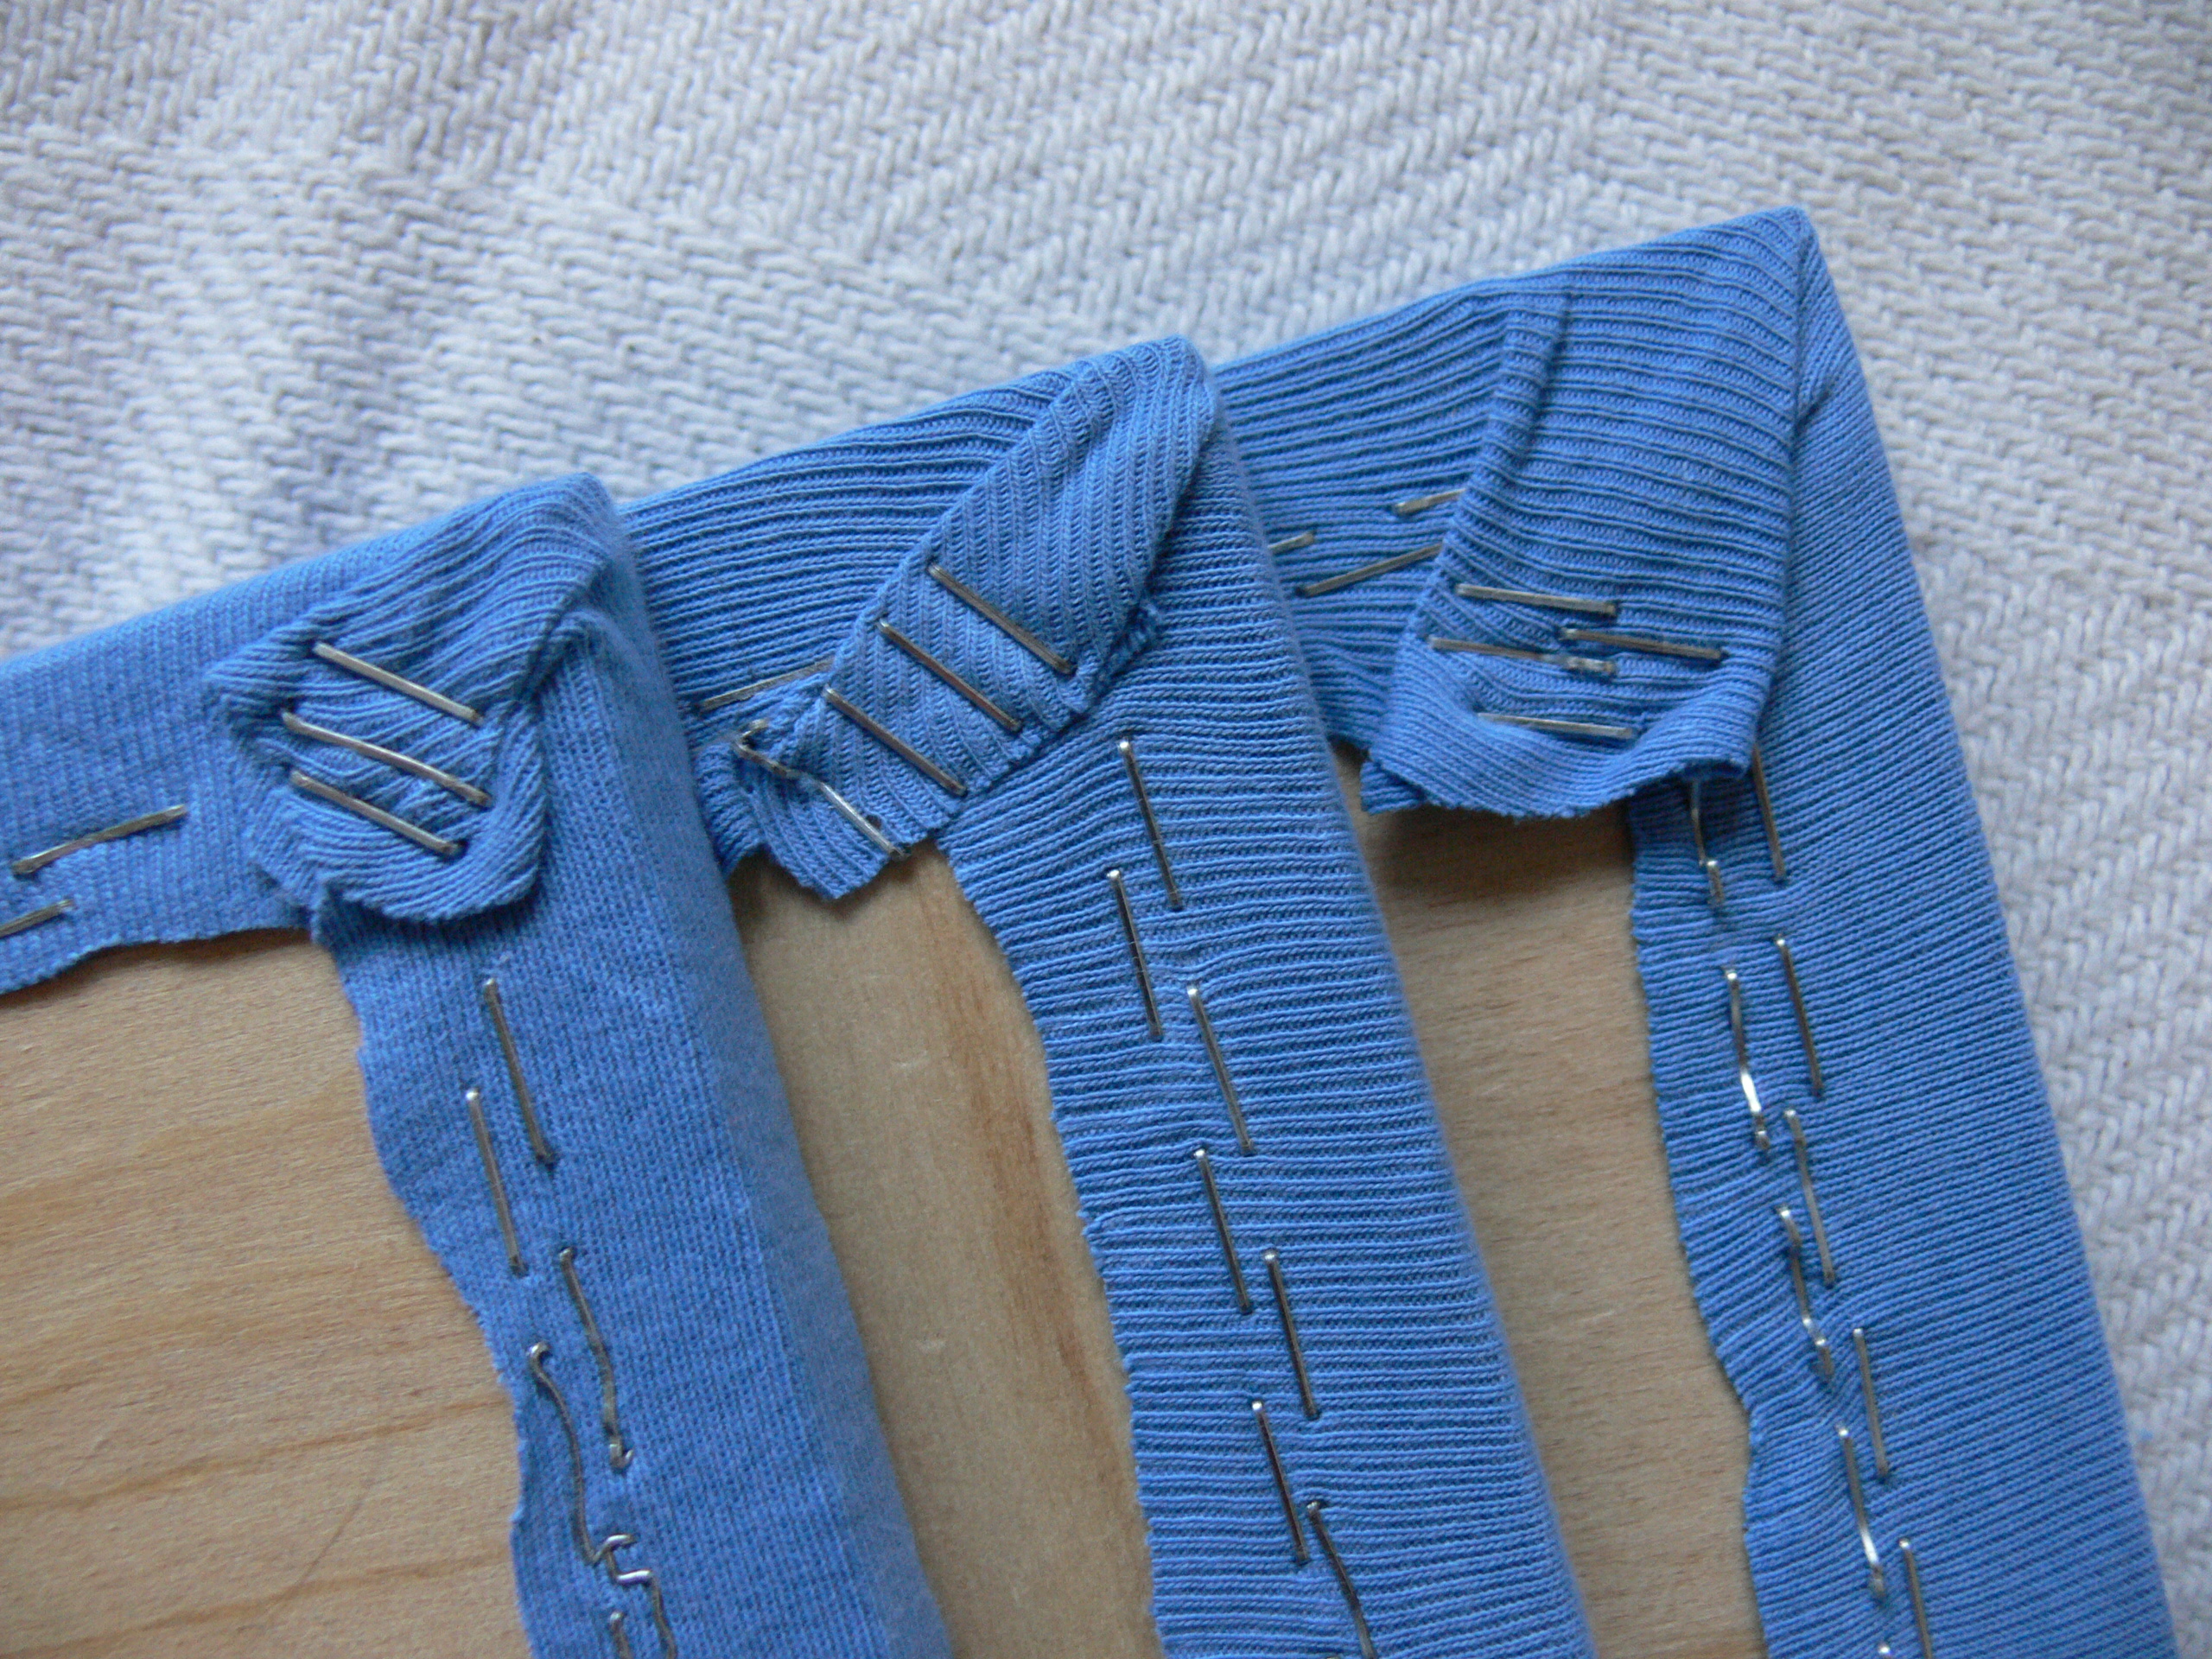
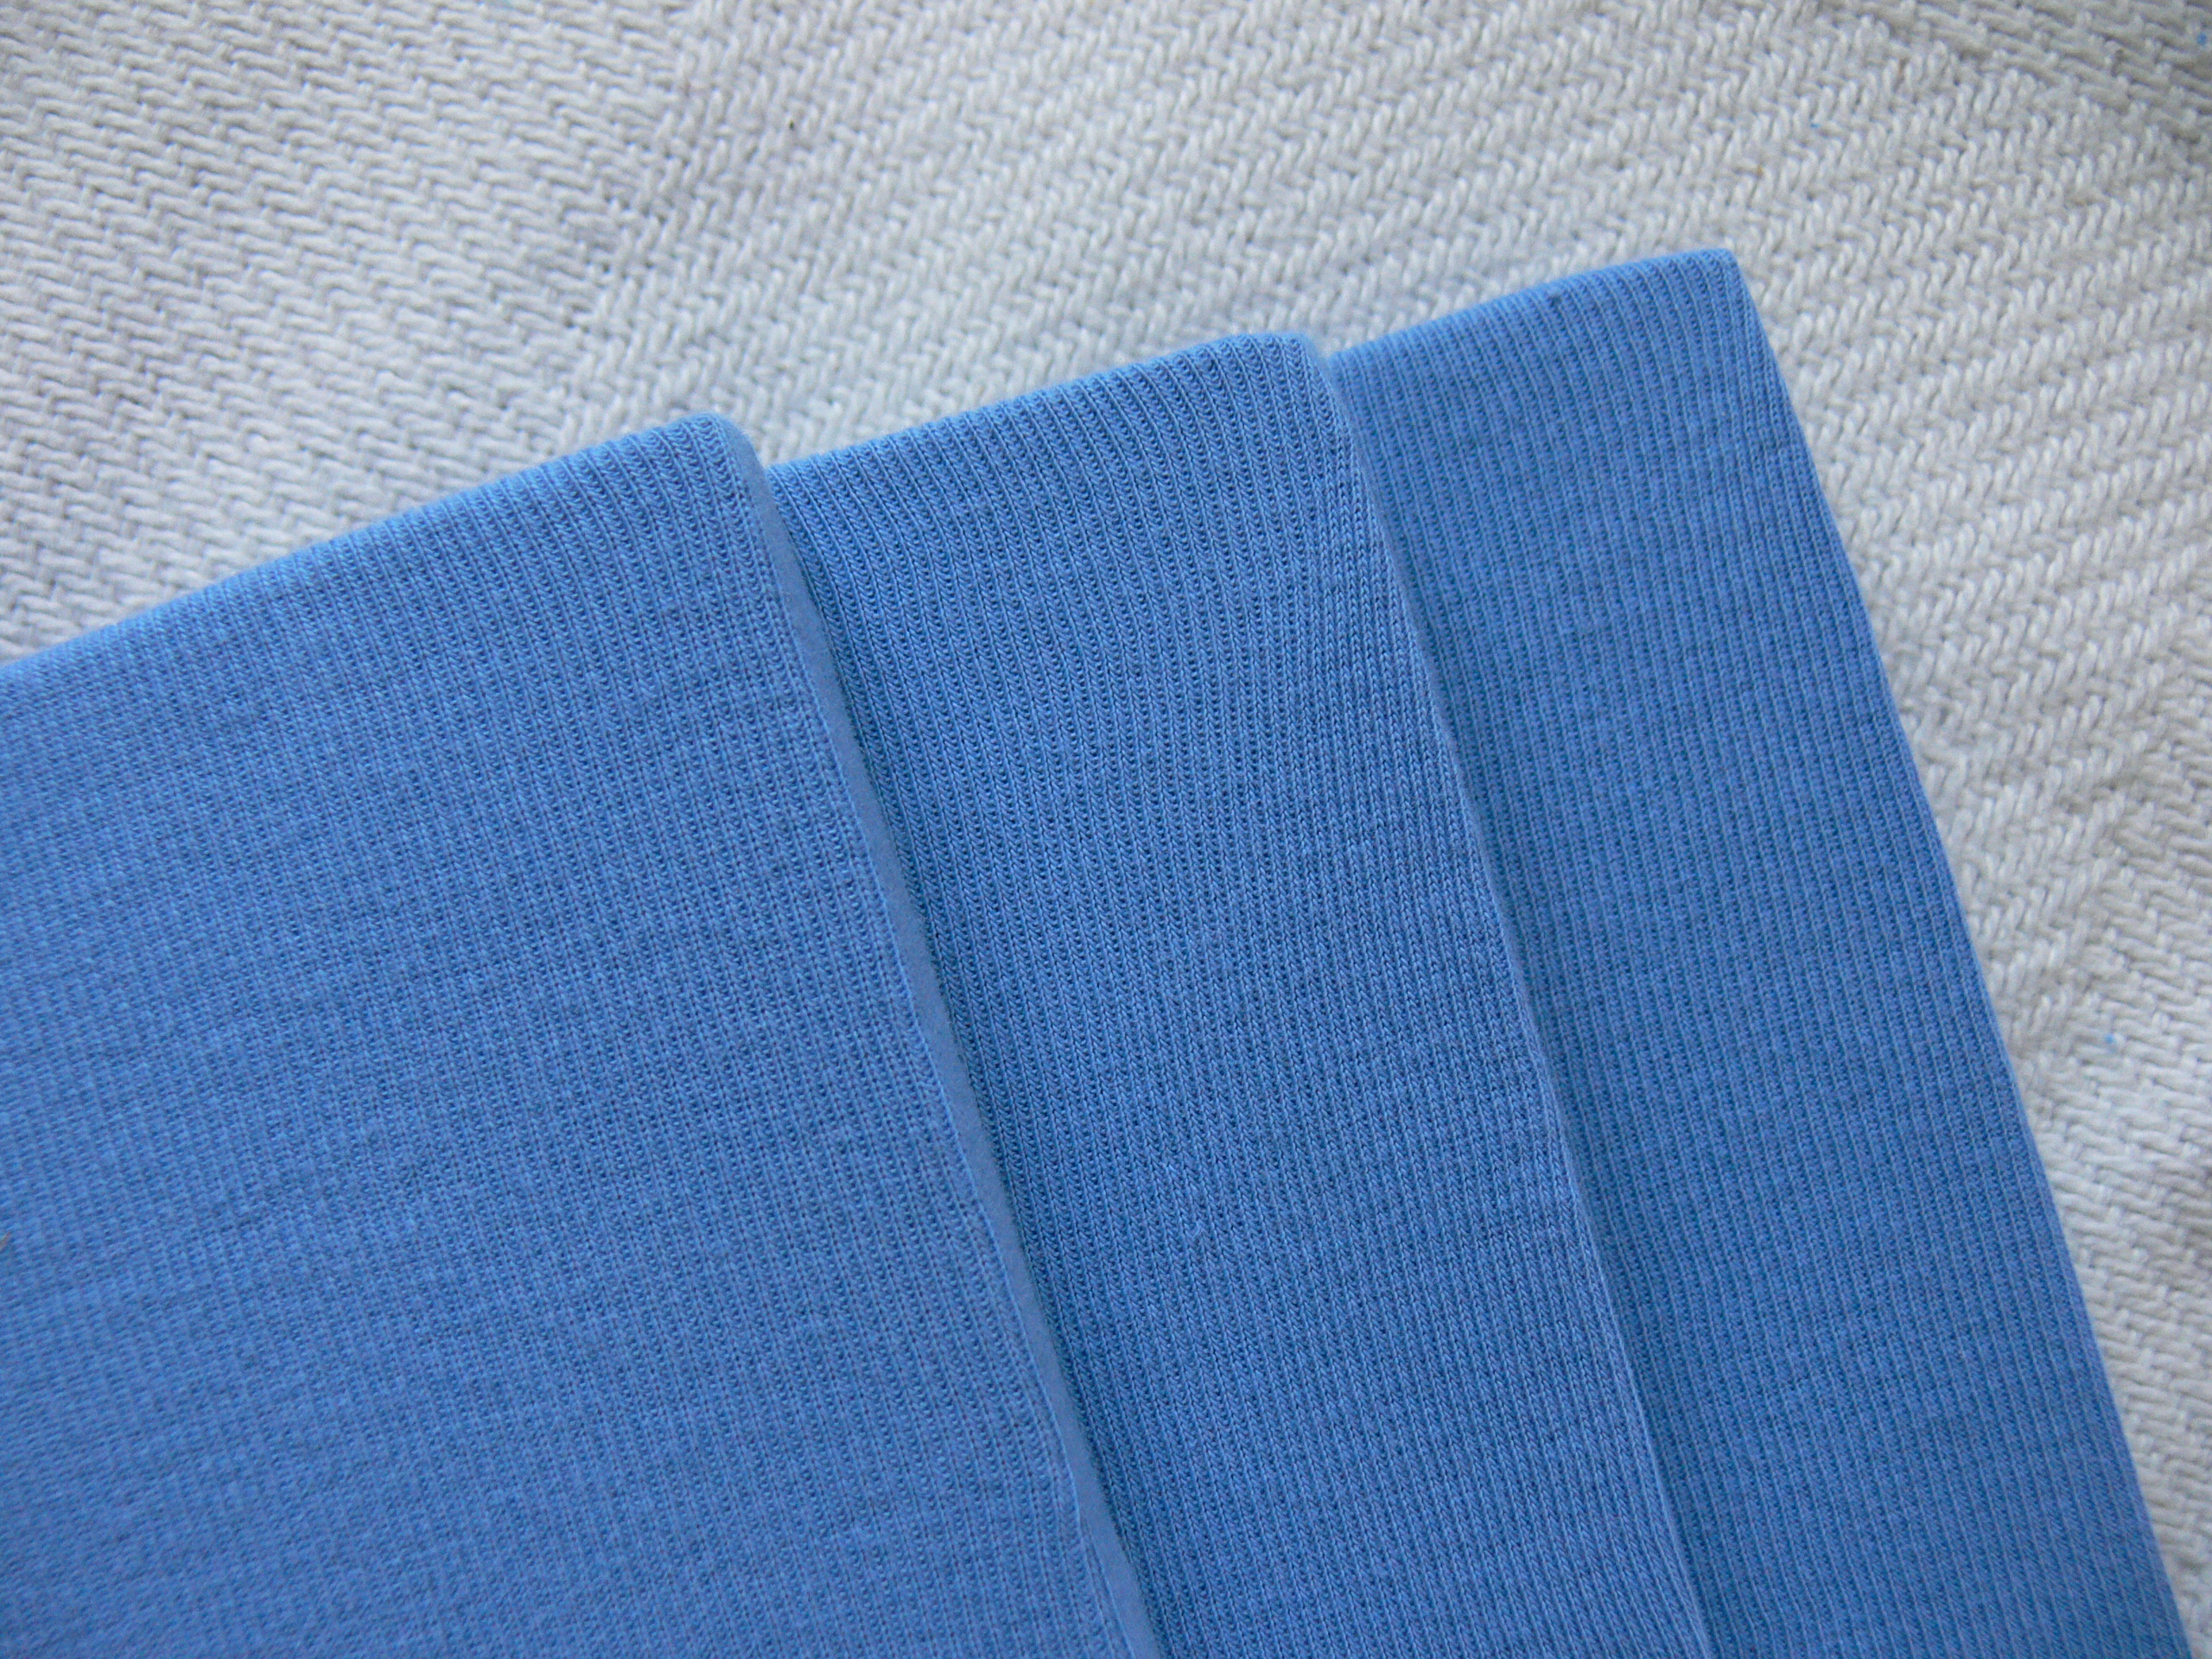
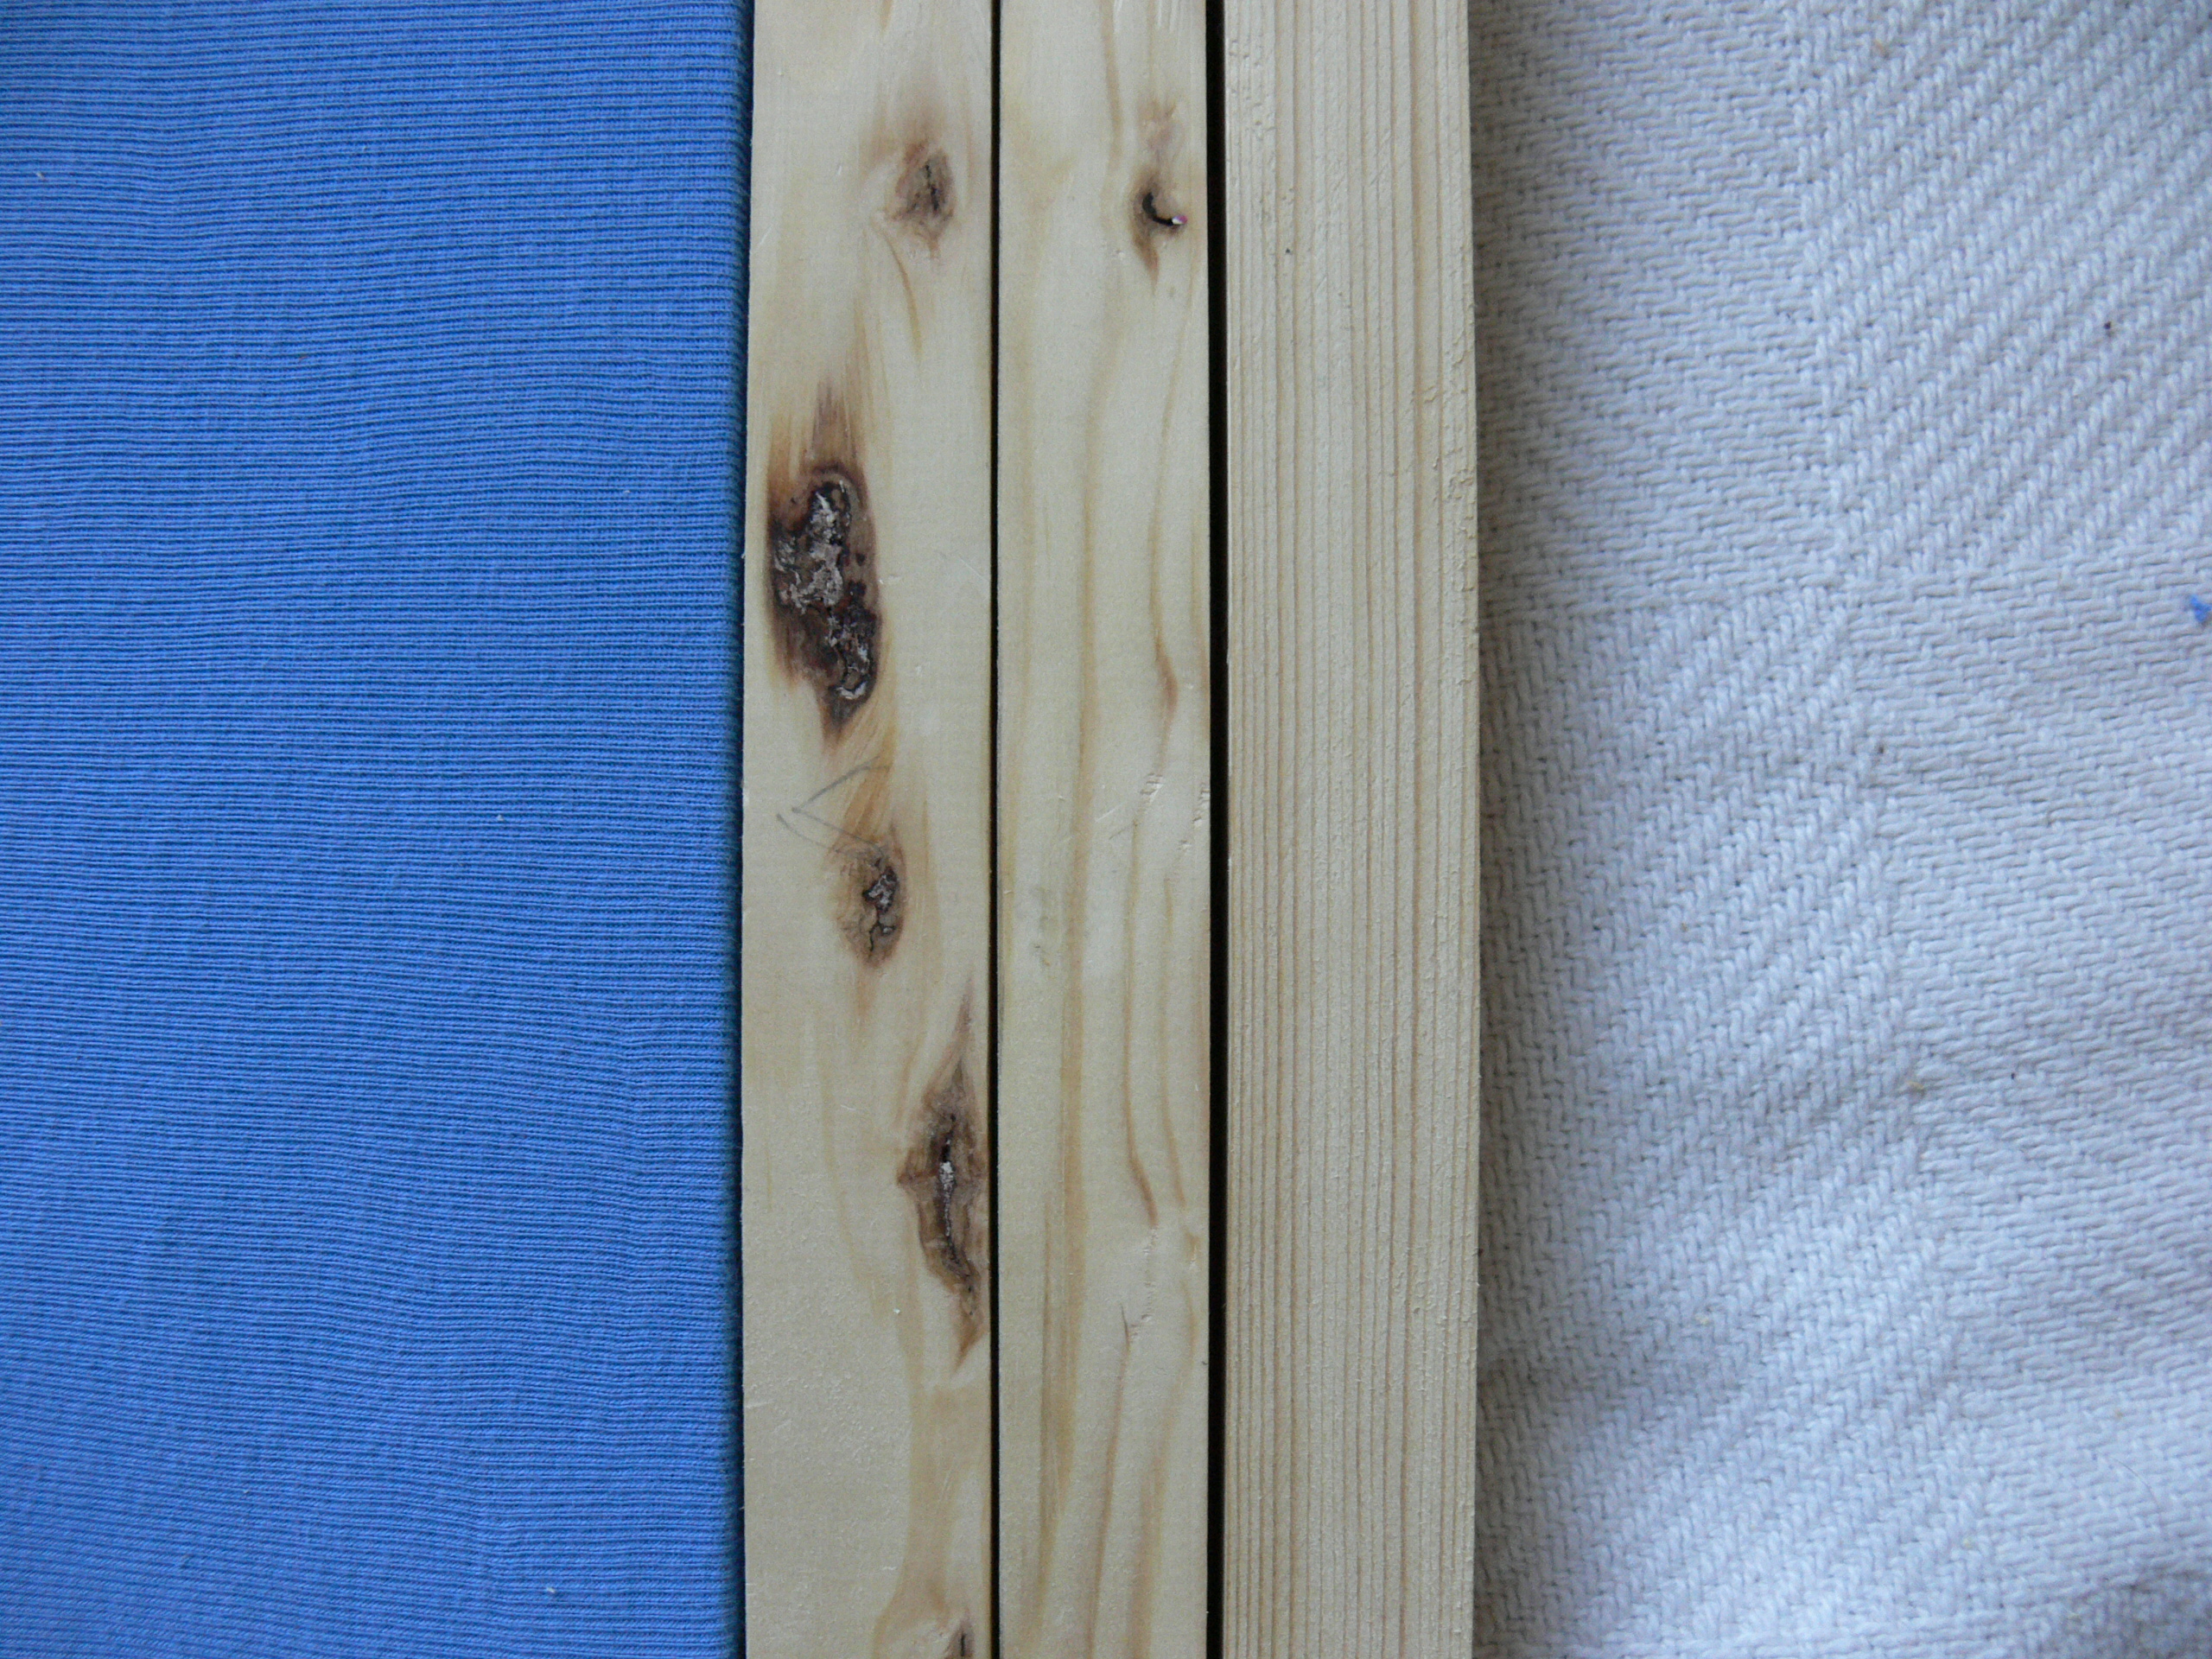
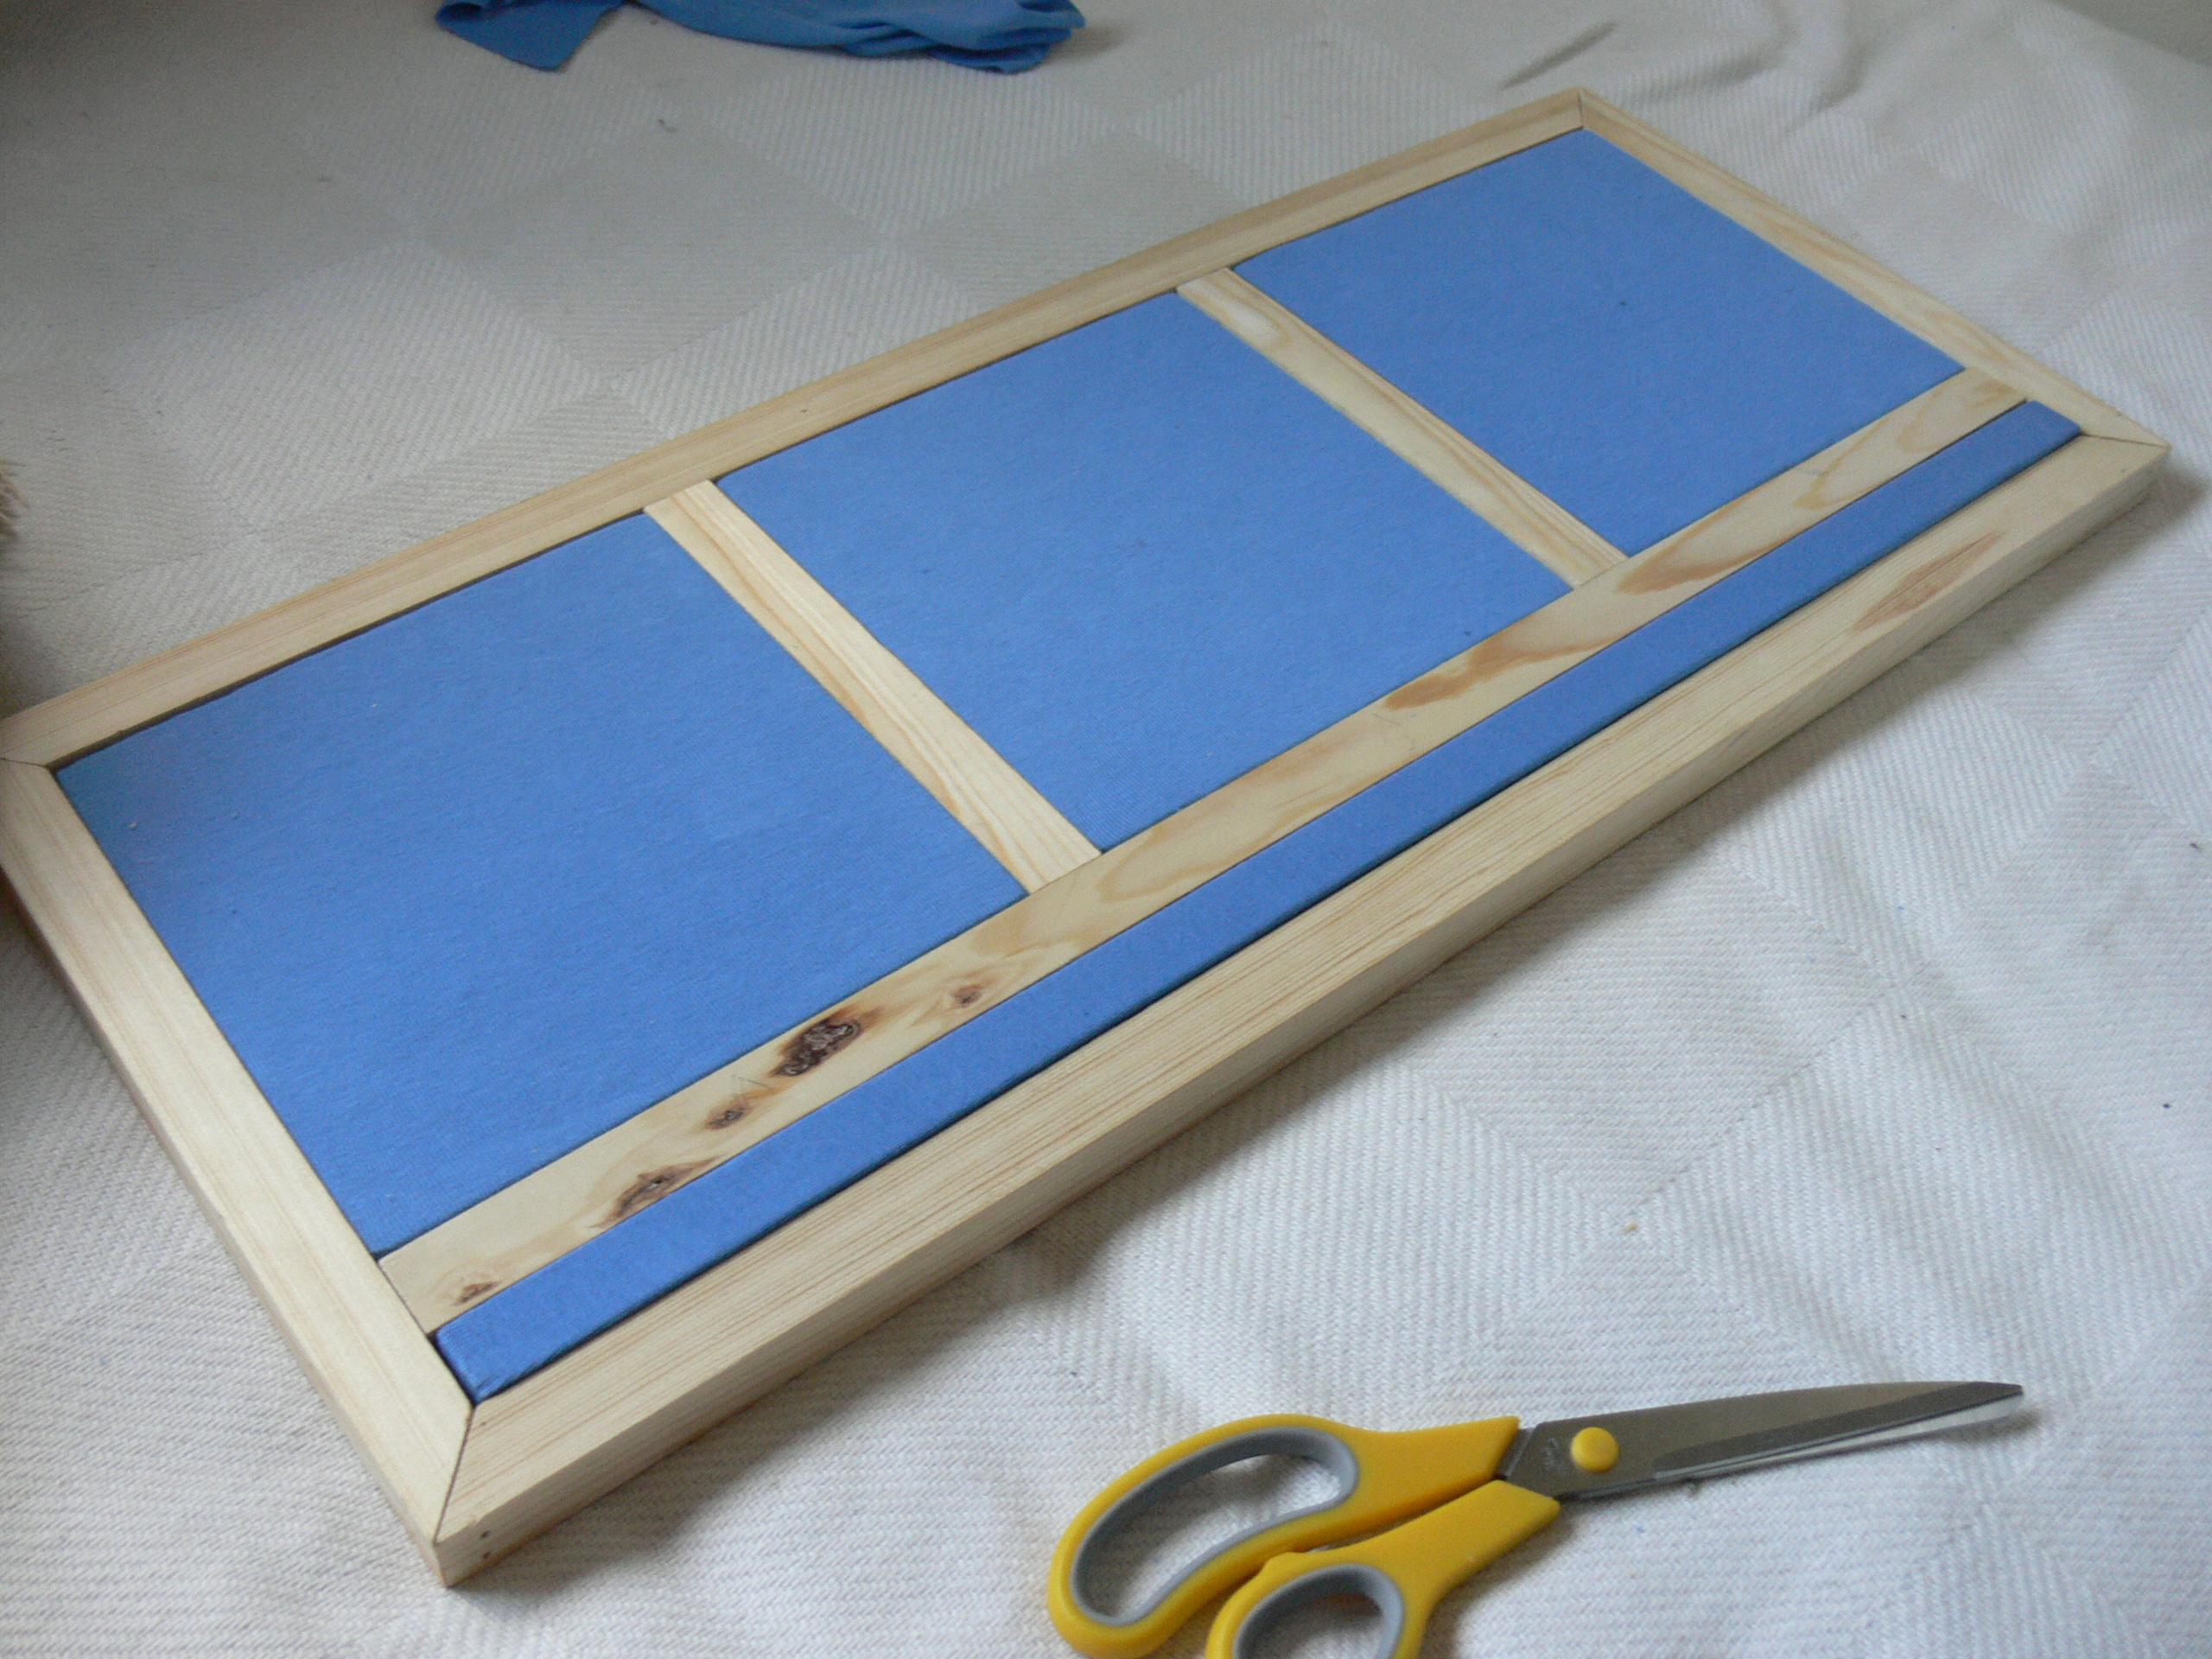
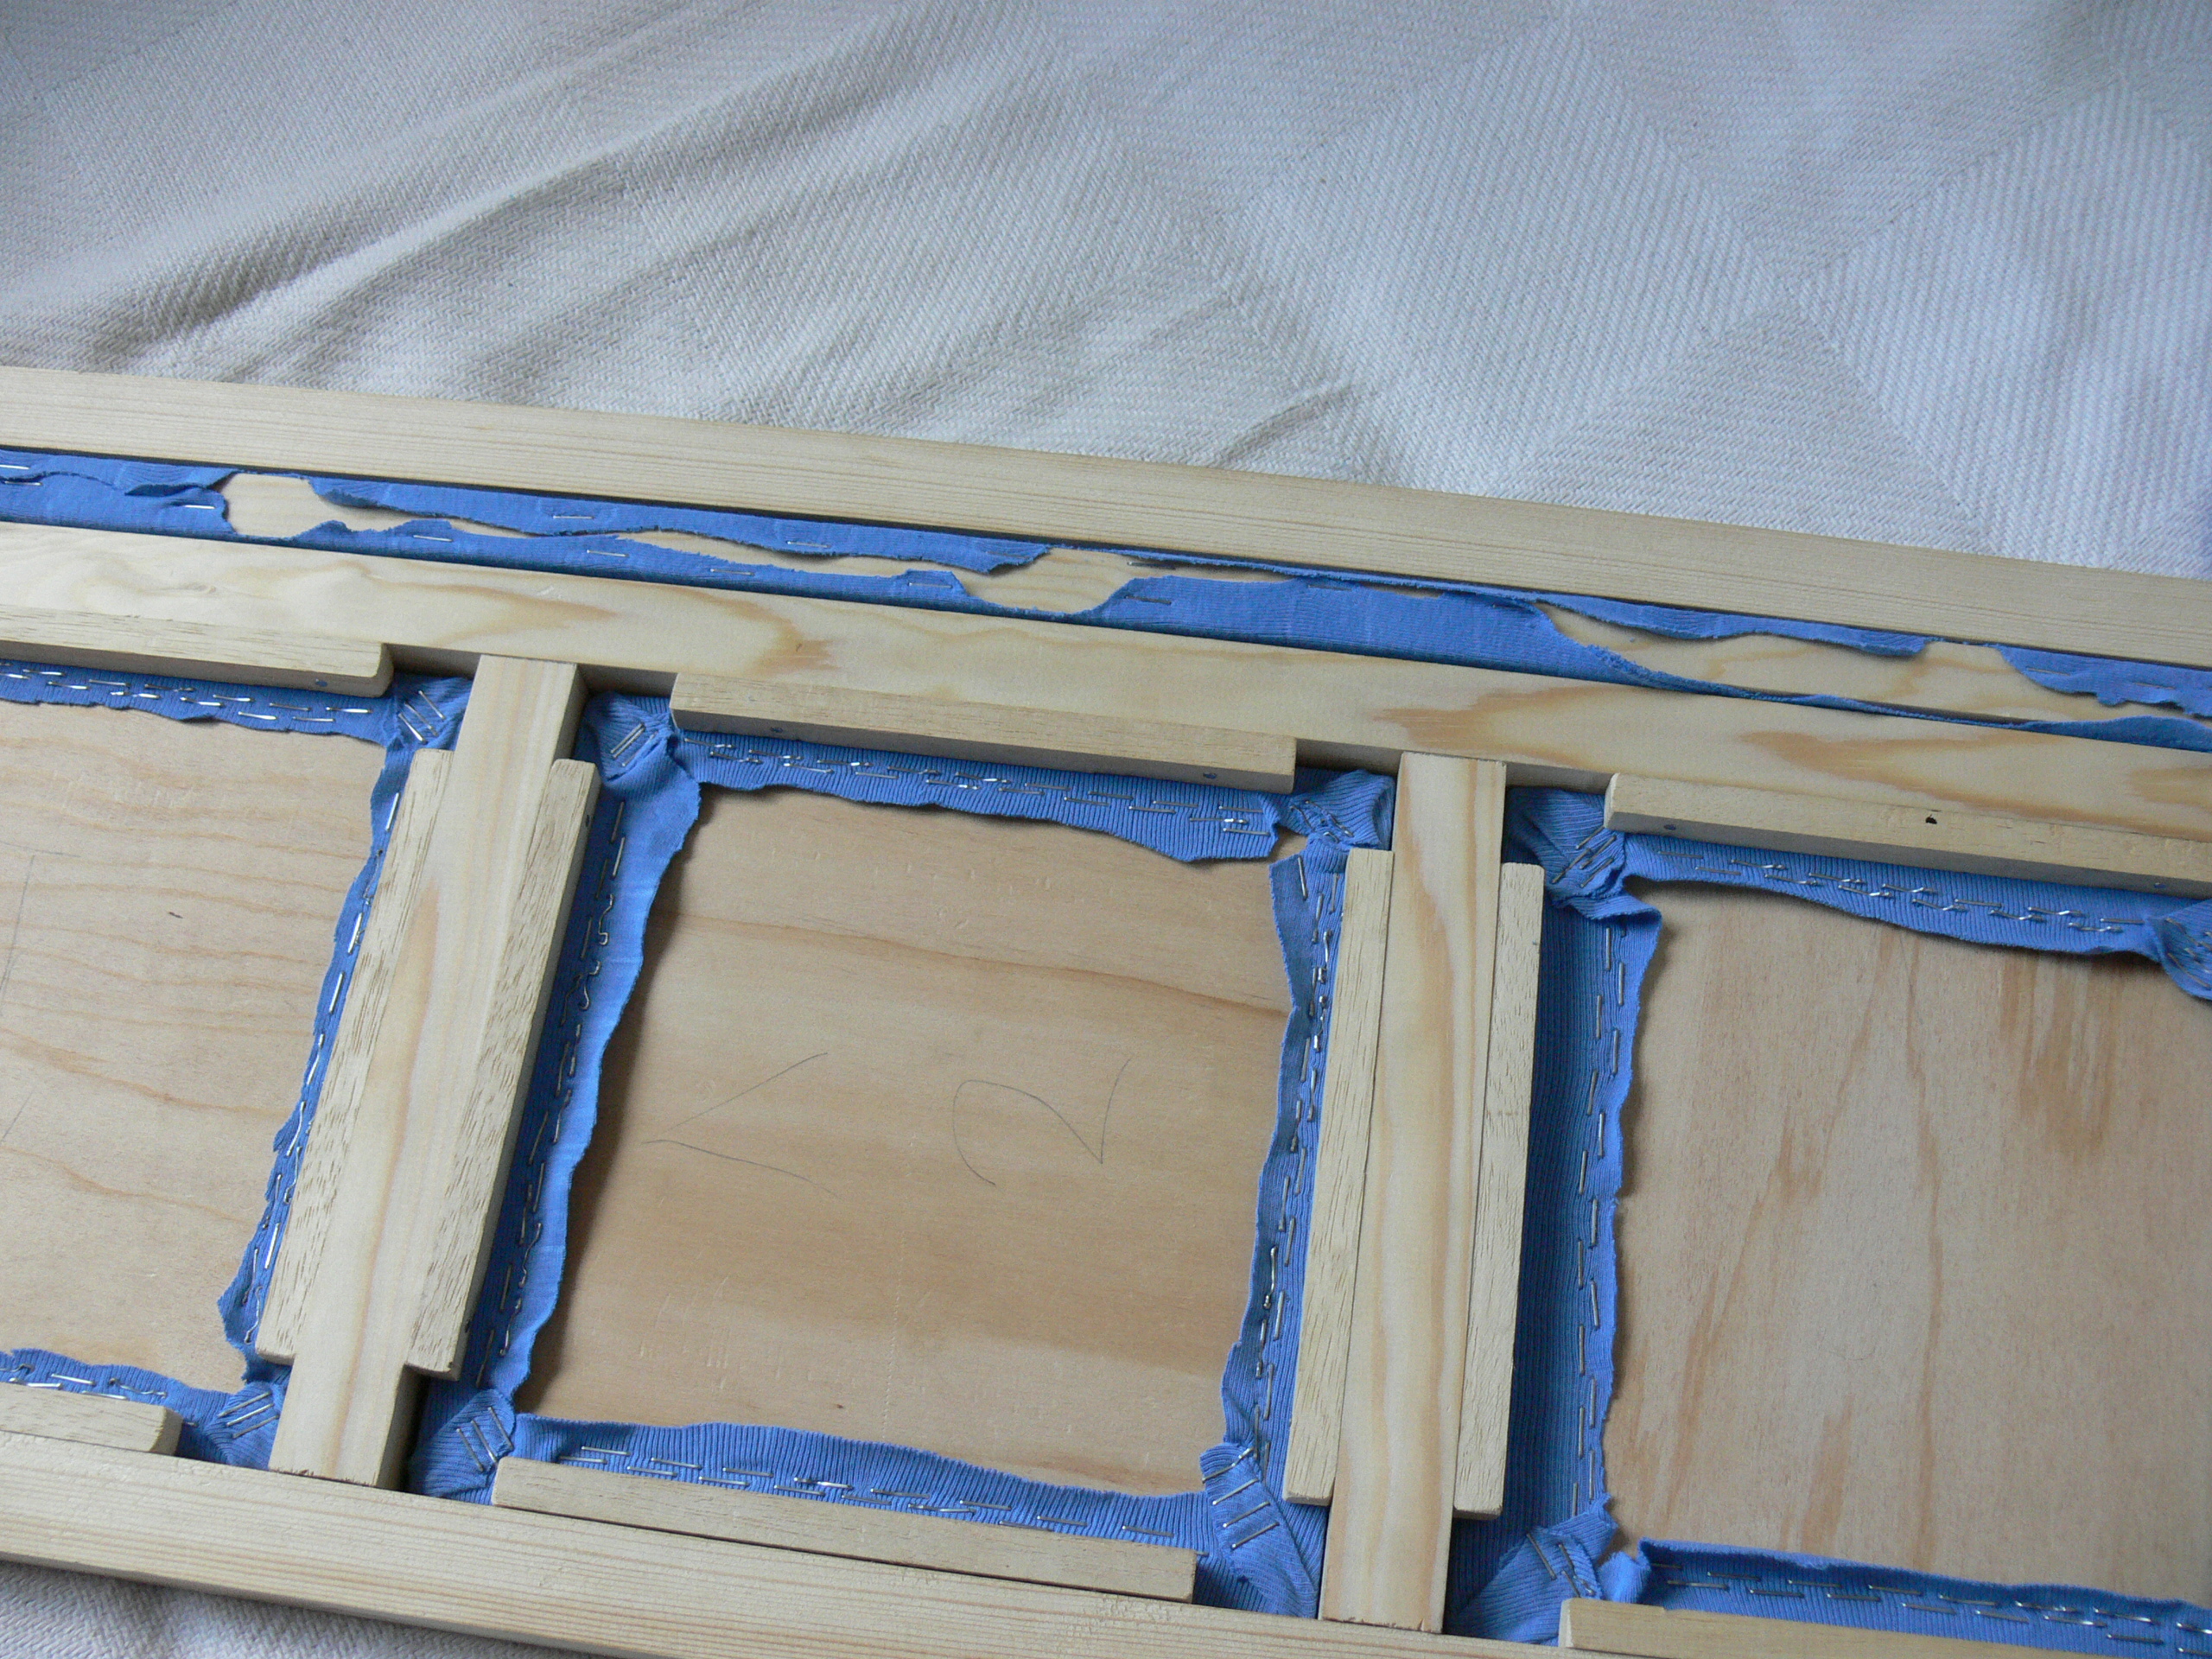
The fabric I used was from a couple of blue t-shirts I didn't wear anymore, because people remarked all the time on just how super-camp that particular shade of blue is :)
Start by placing the panel face down on the fabric, and trim a section to size. Draw over one side and staple (Some of the staples you'll see n the images below are wobbly, this is because parts of the plywood were too dense and my staple gun to small). Then draw the opposite side over, pull tight and staple. Keep the fabric aligned.
Next, gently pull one of the two remaining sides over and staple it, then the final side. If your fabric is at all stretchy, check the upper side at each stage, because if you pull the fabric too tight it will distort the weave on top.
There will be excess at the corners, leave this hanging and check the fit before going on.
How to secure the corners is shown in images 4 - 7. First staple either side of the excess to make it easier to work with. Again, be careful not to pull too much if your fabric can stretch. Now trim the excess down a little, leaving just enough to pull in from the corner and staple. The extra bulk on the corners is why the beads are short enough to leave gaps at the corners.
To finish it off, I cut a baton of 25 x 25 wood to fit the long gap beside the panels, then planed it to allow for the fabric.The baton was upholstered in much the same way as the panels.
Legs and Metalwork.
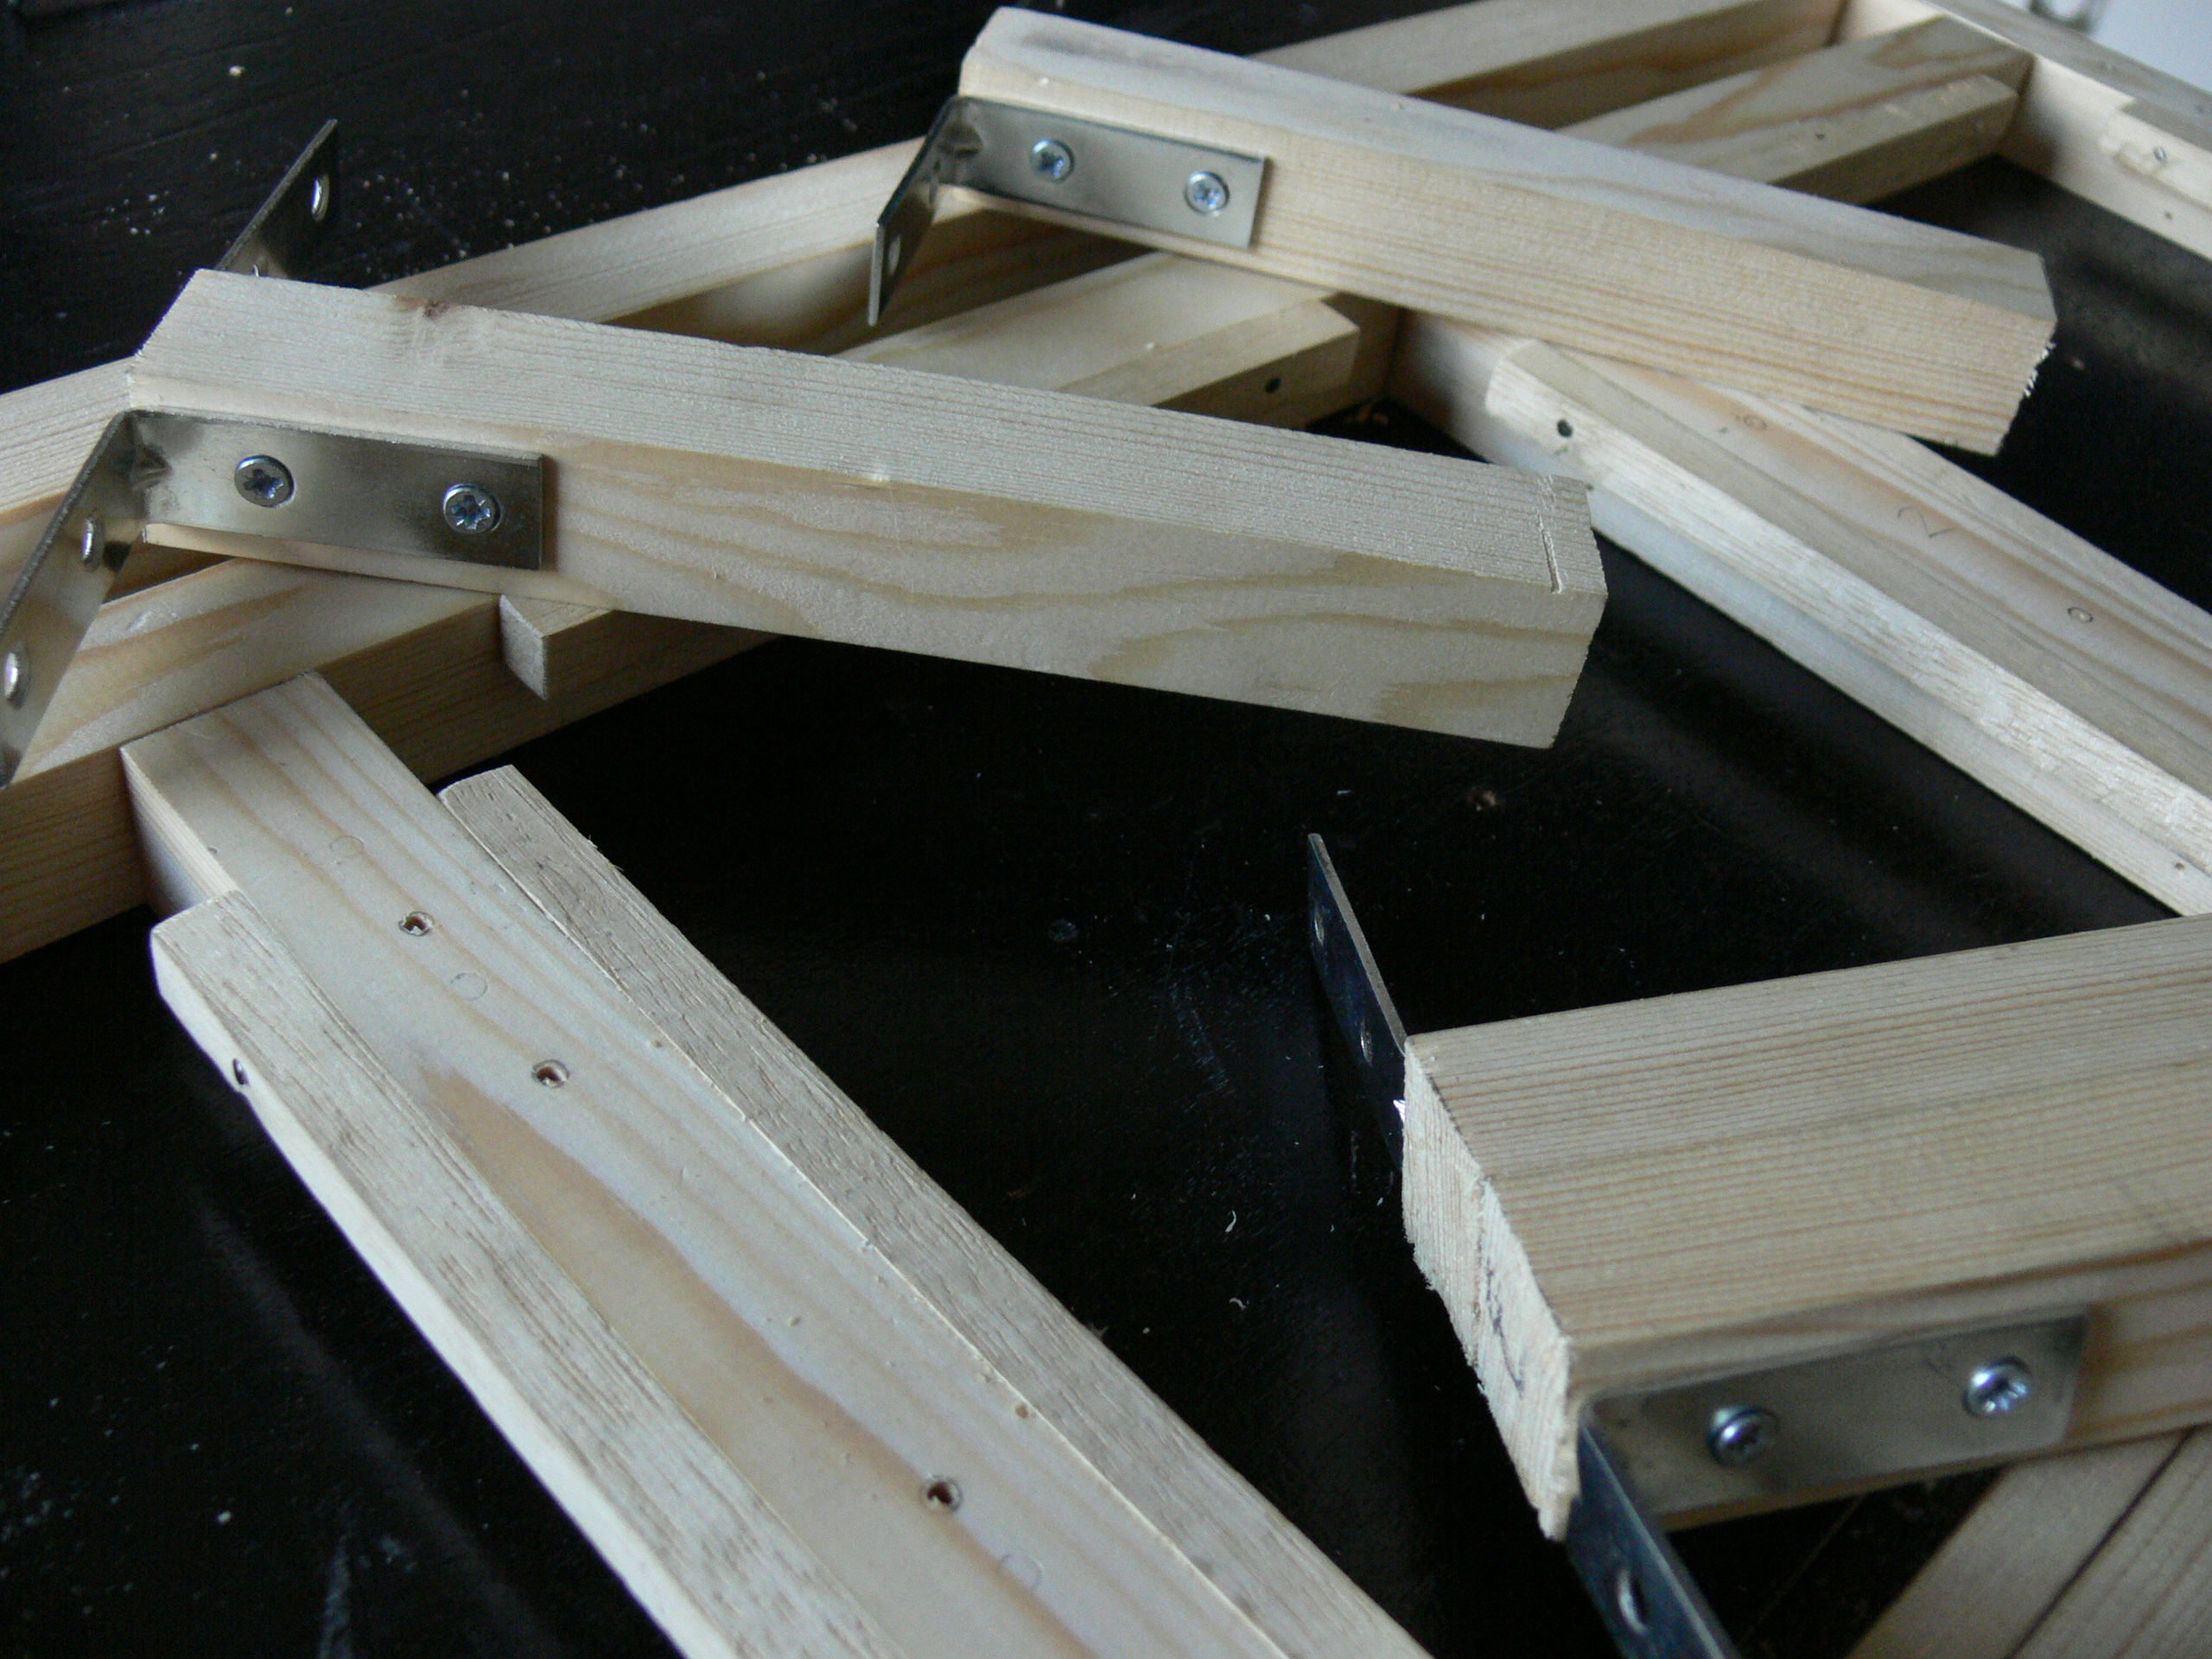
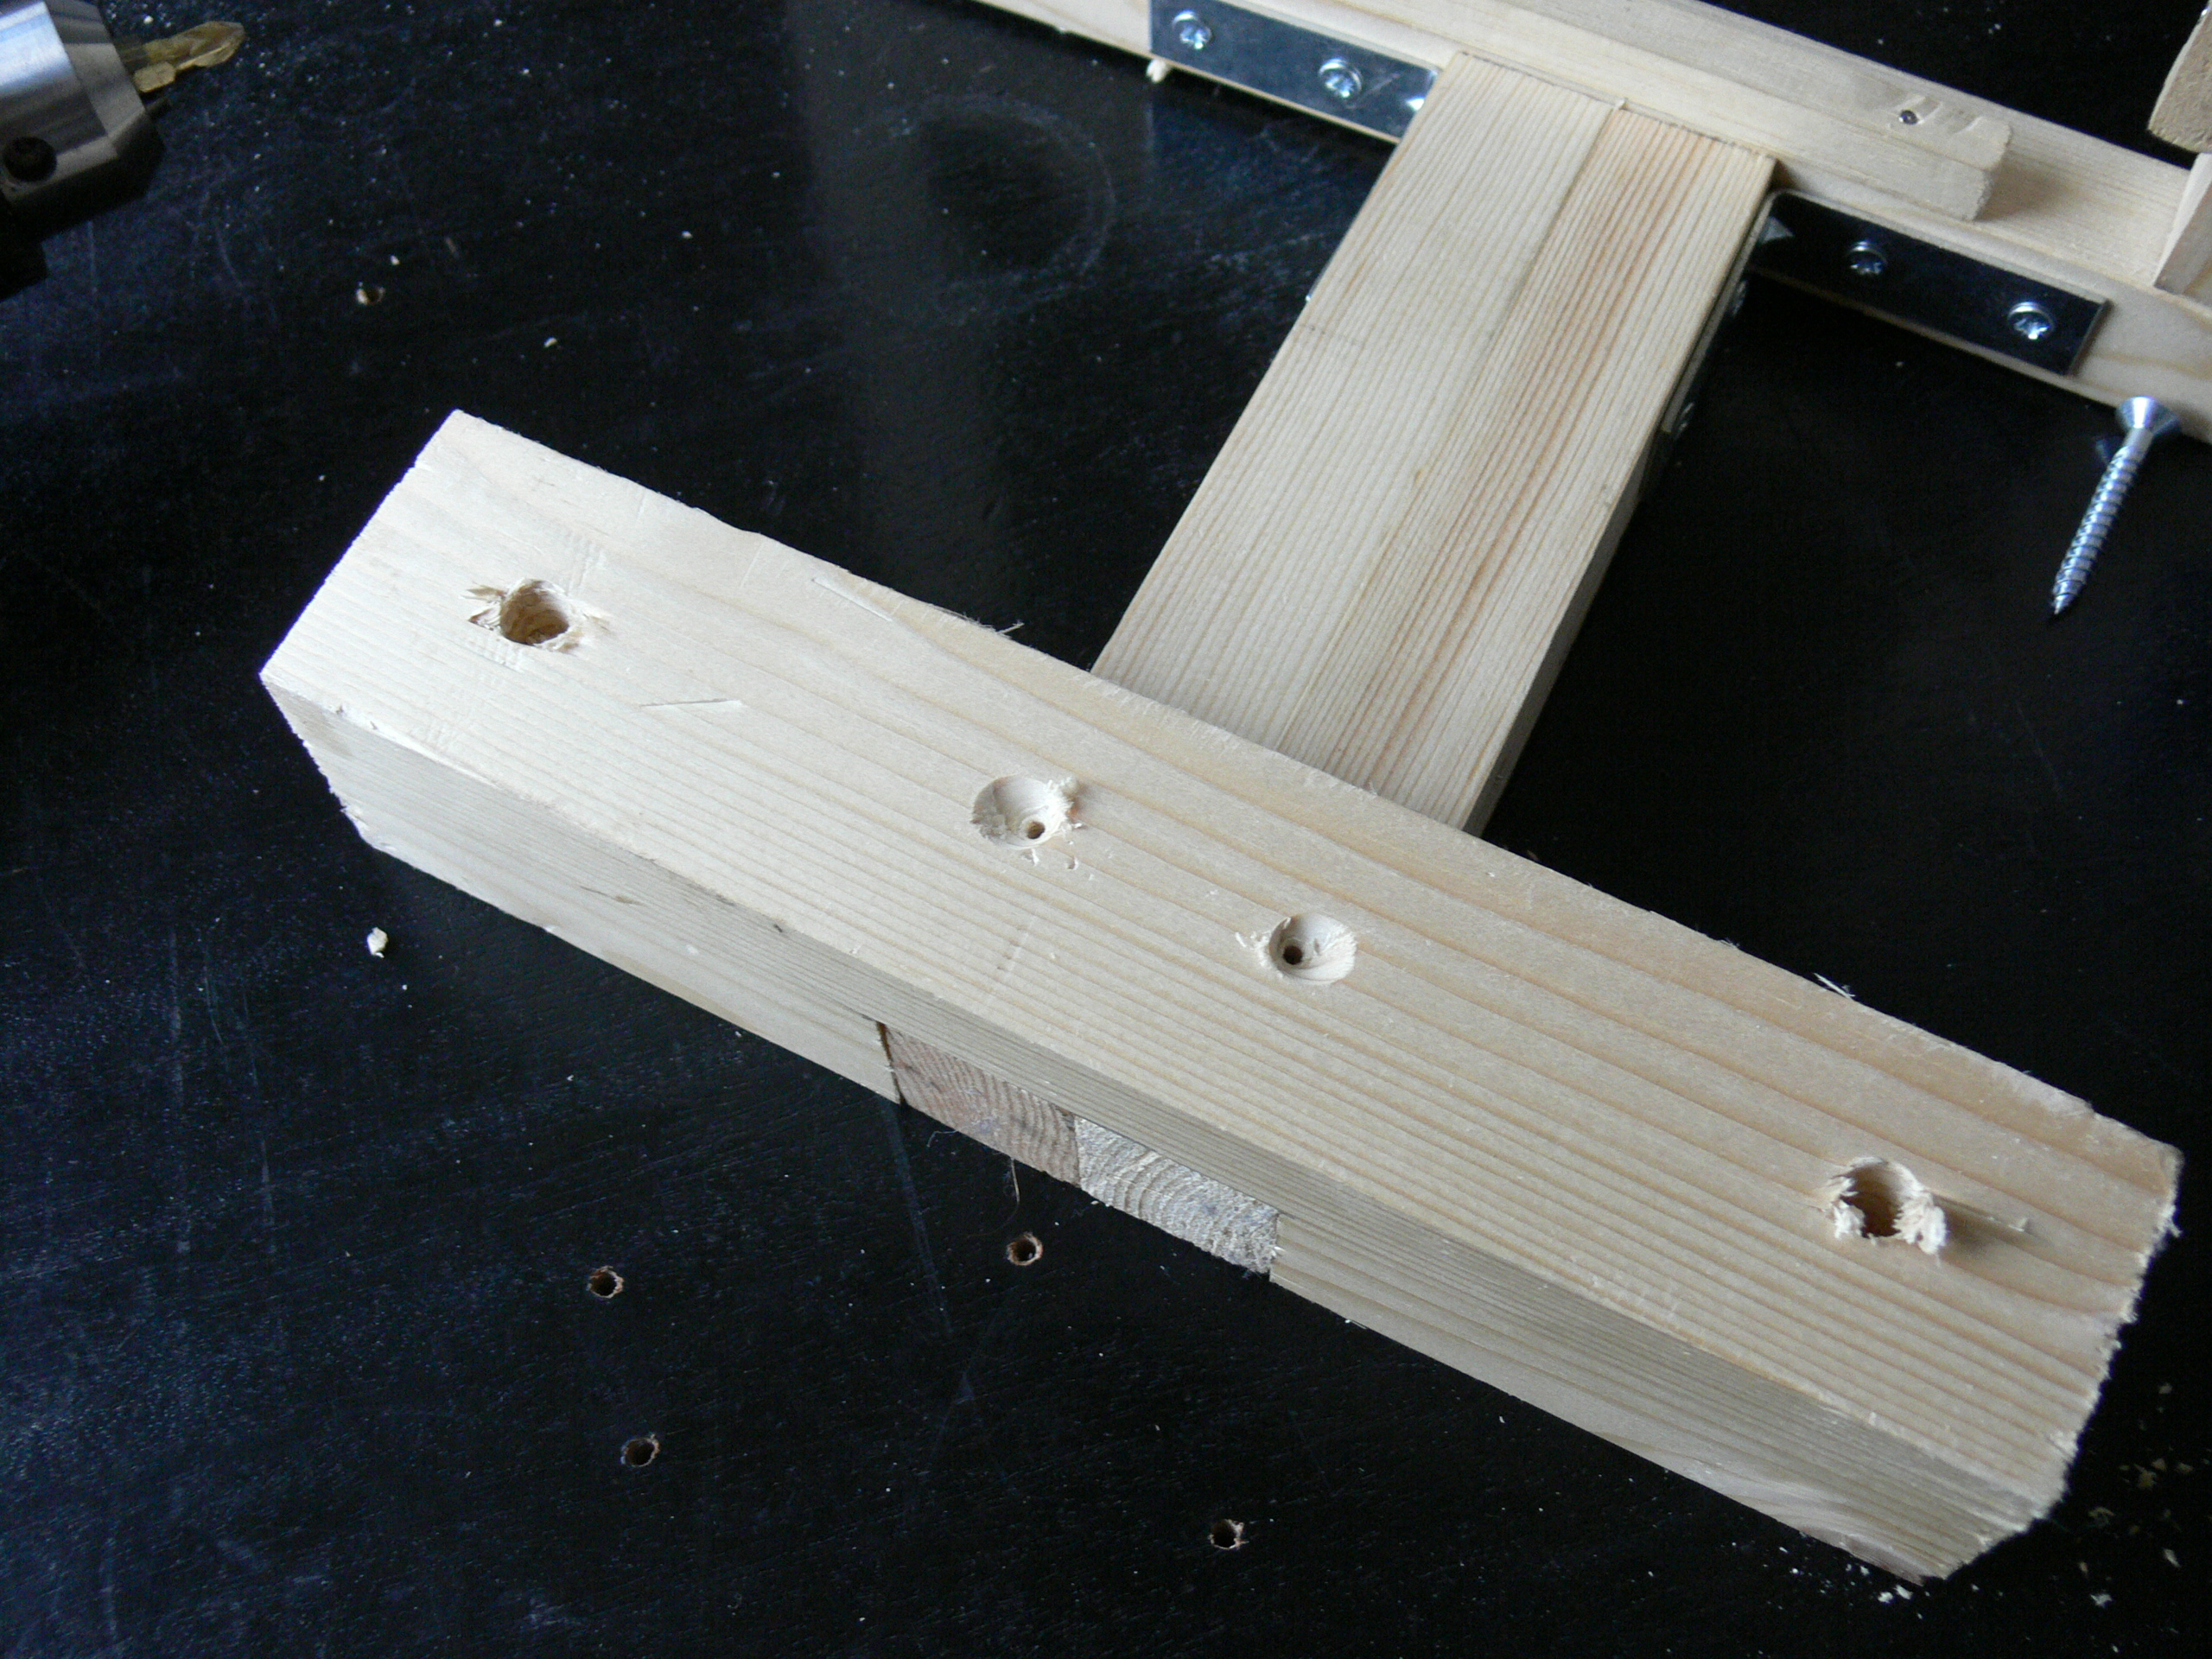
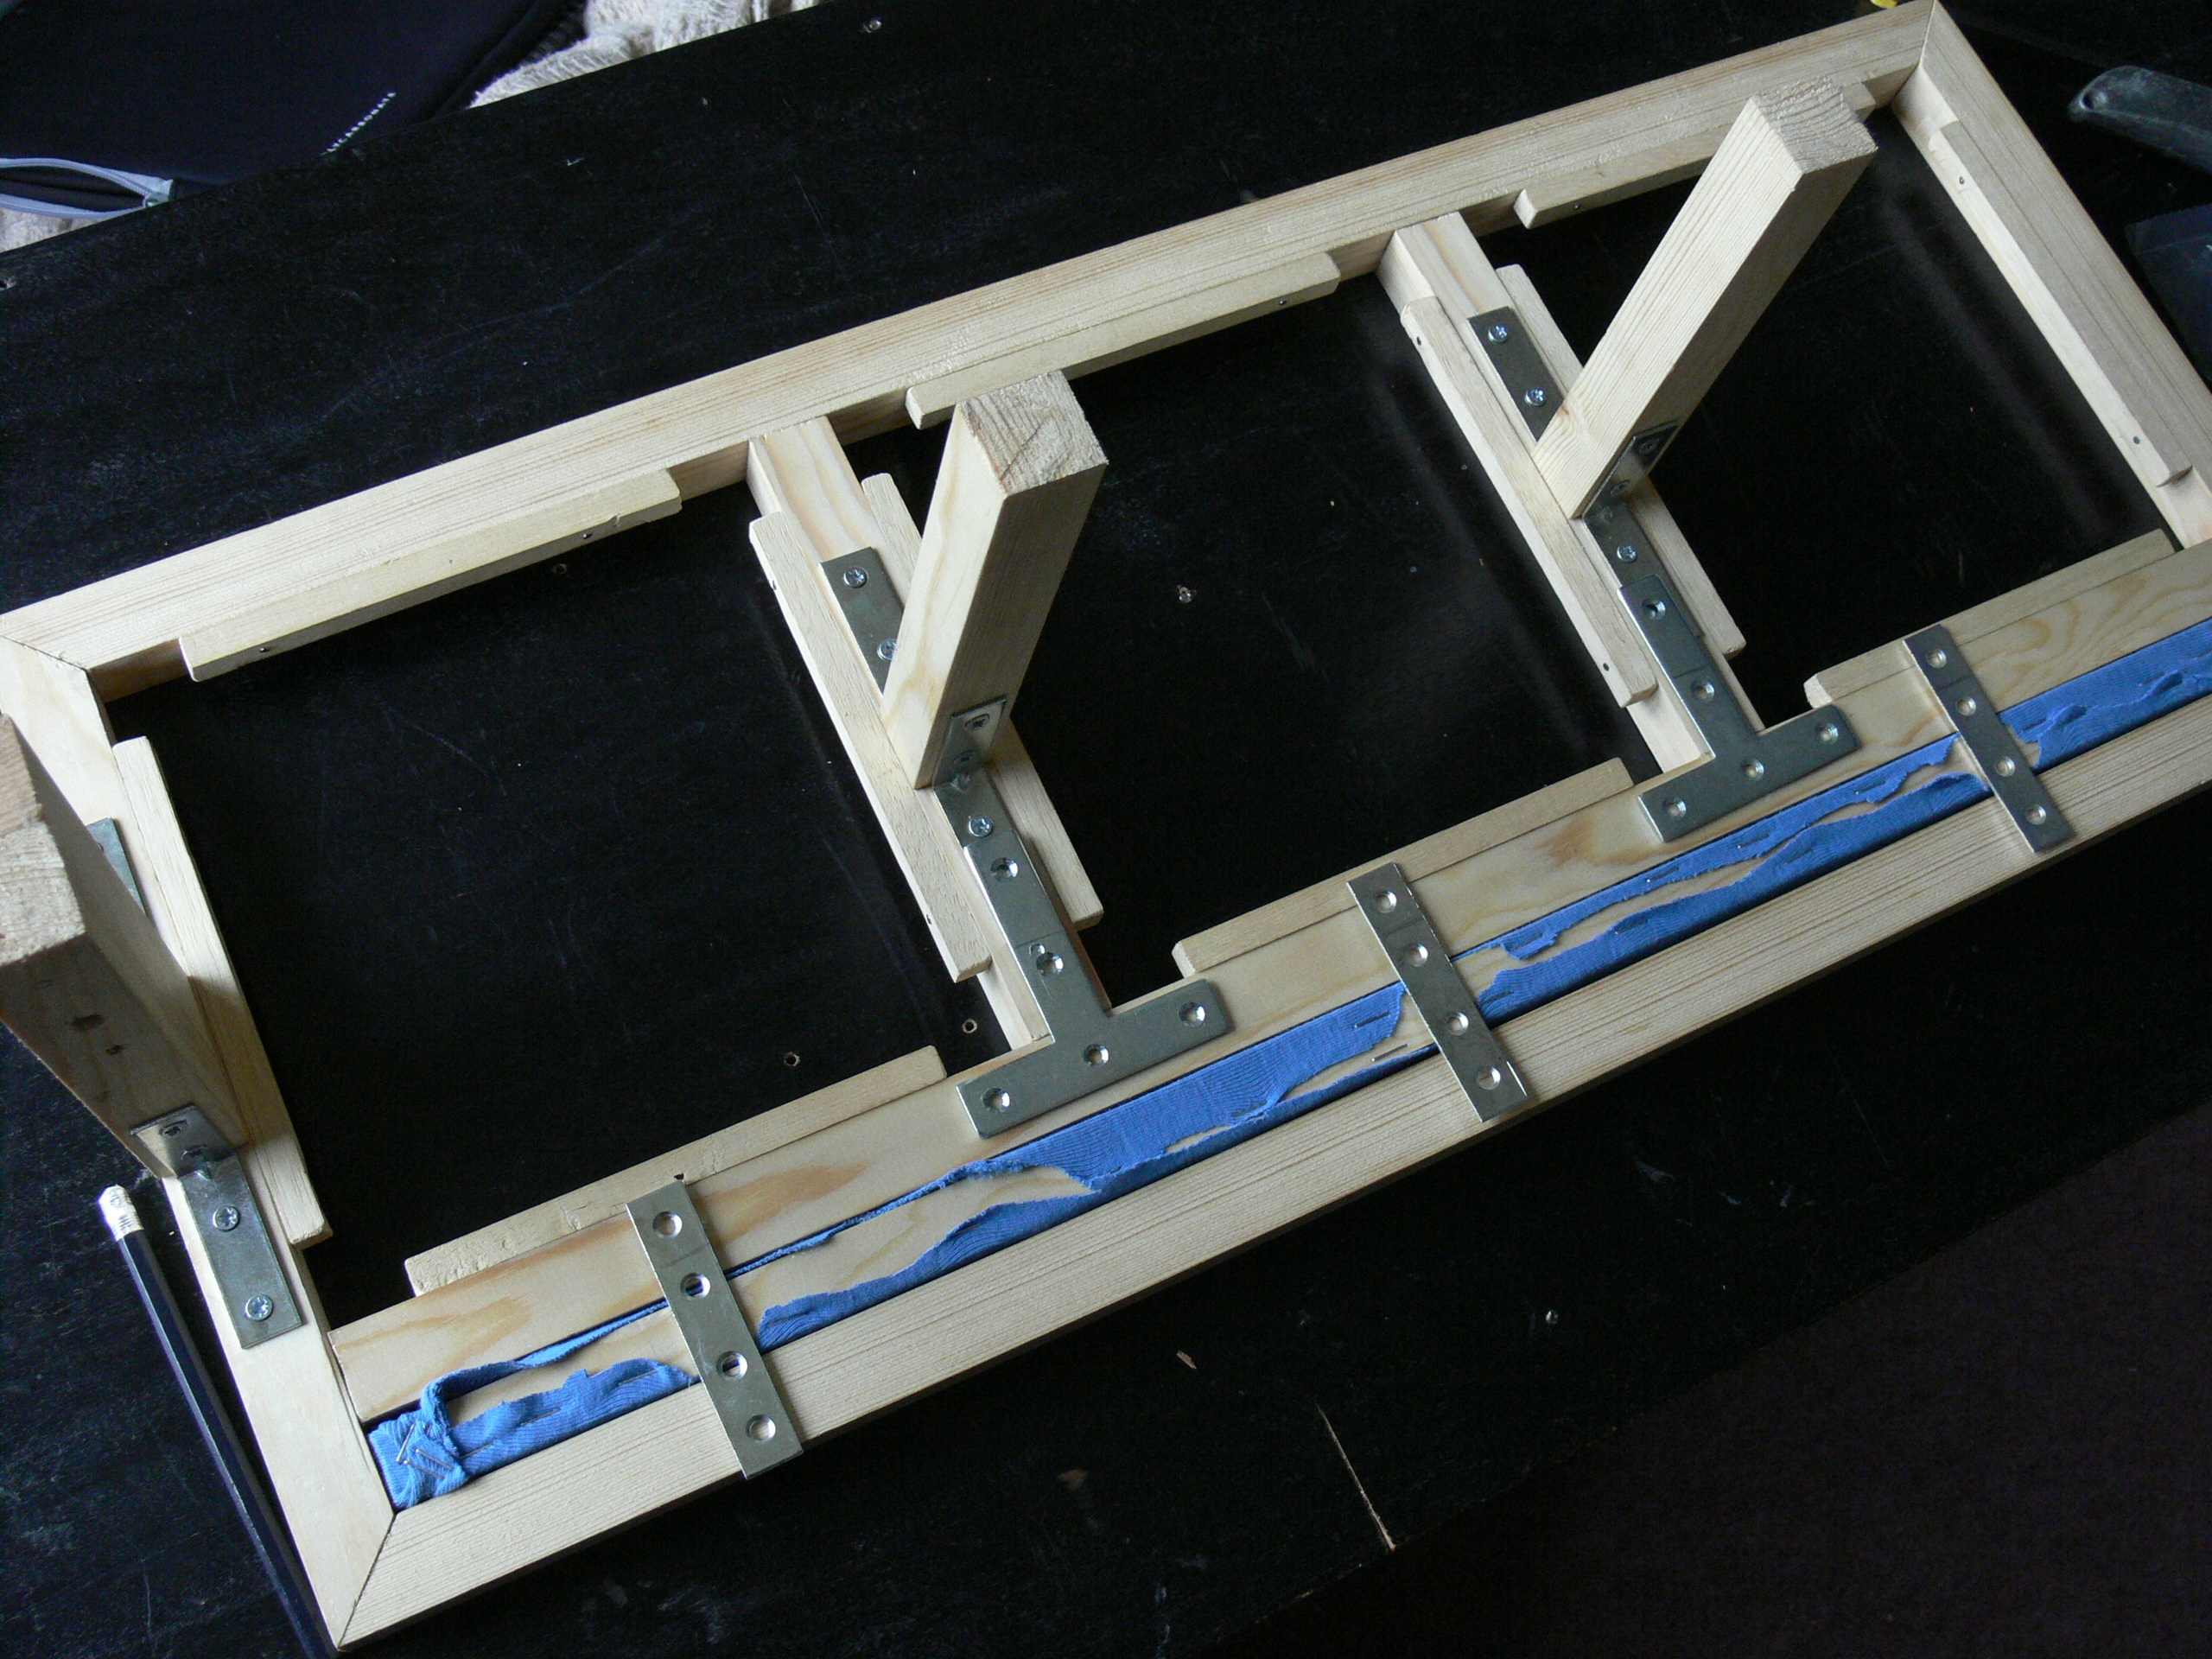
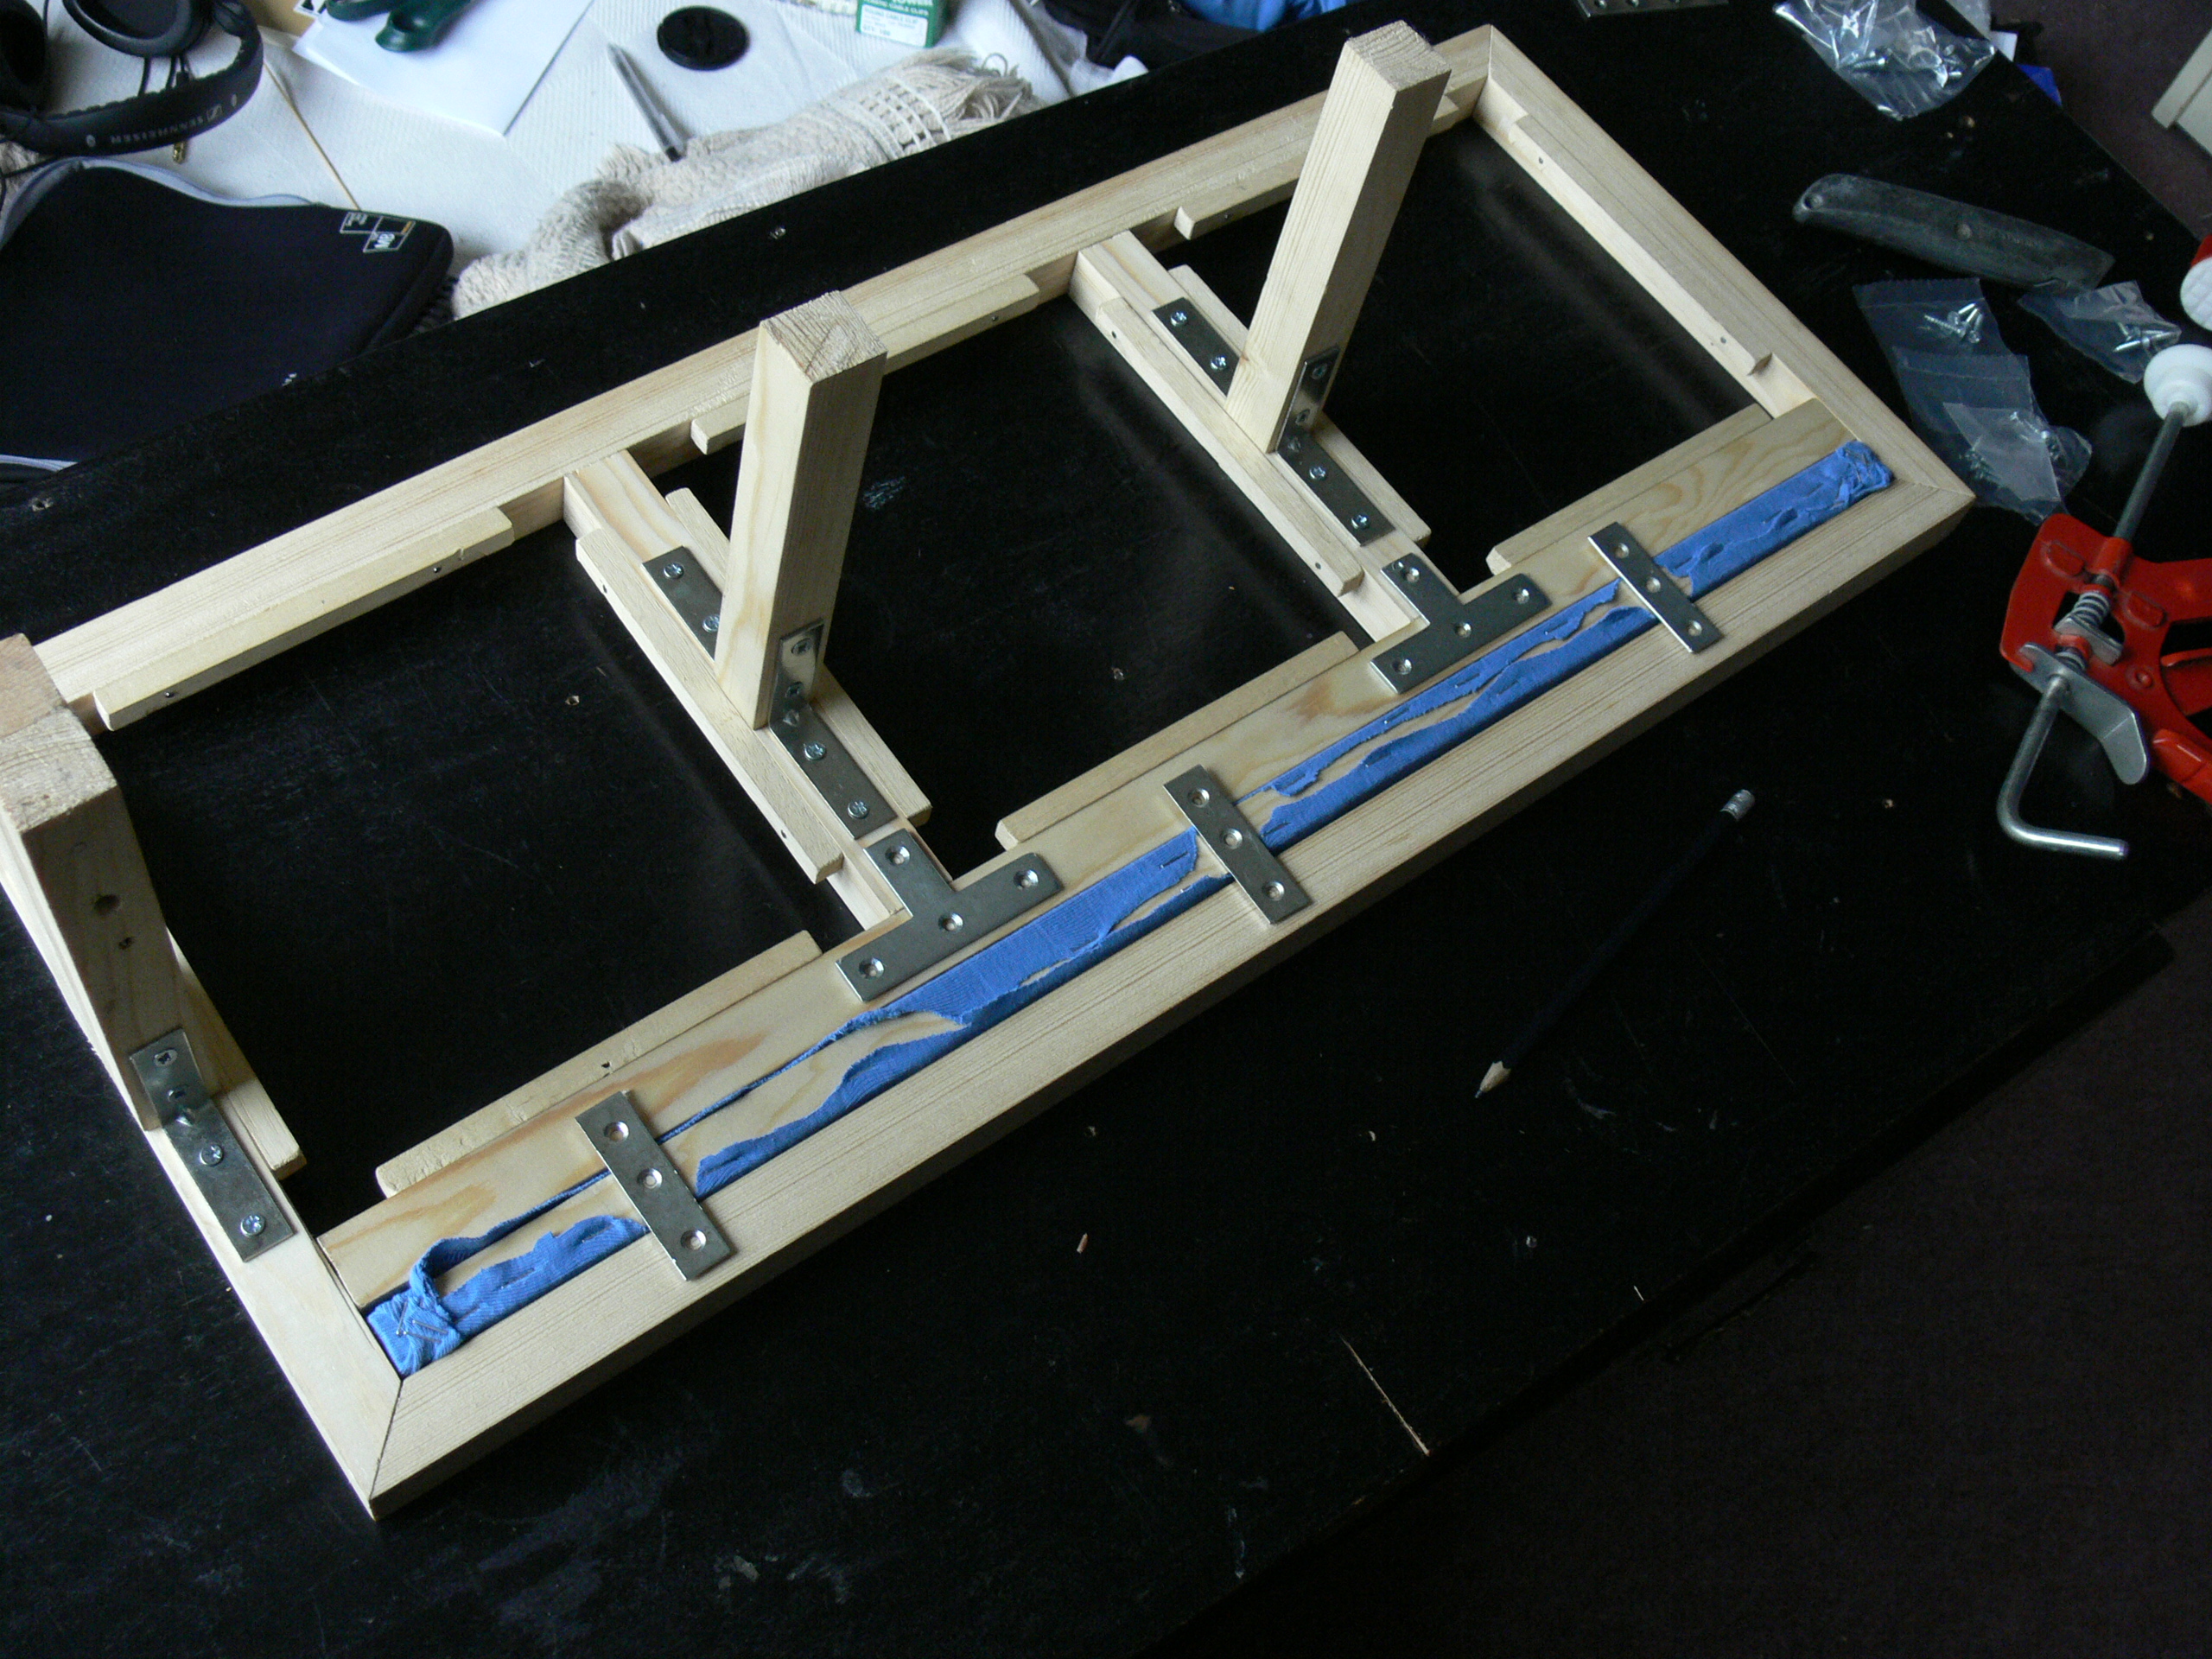
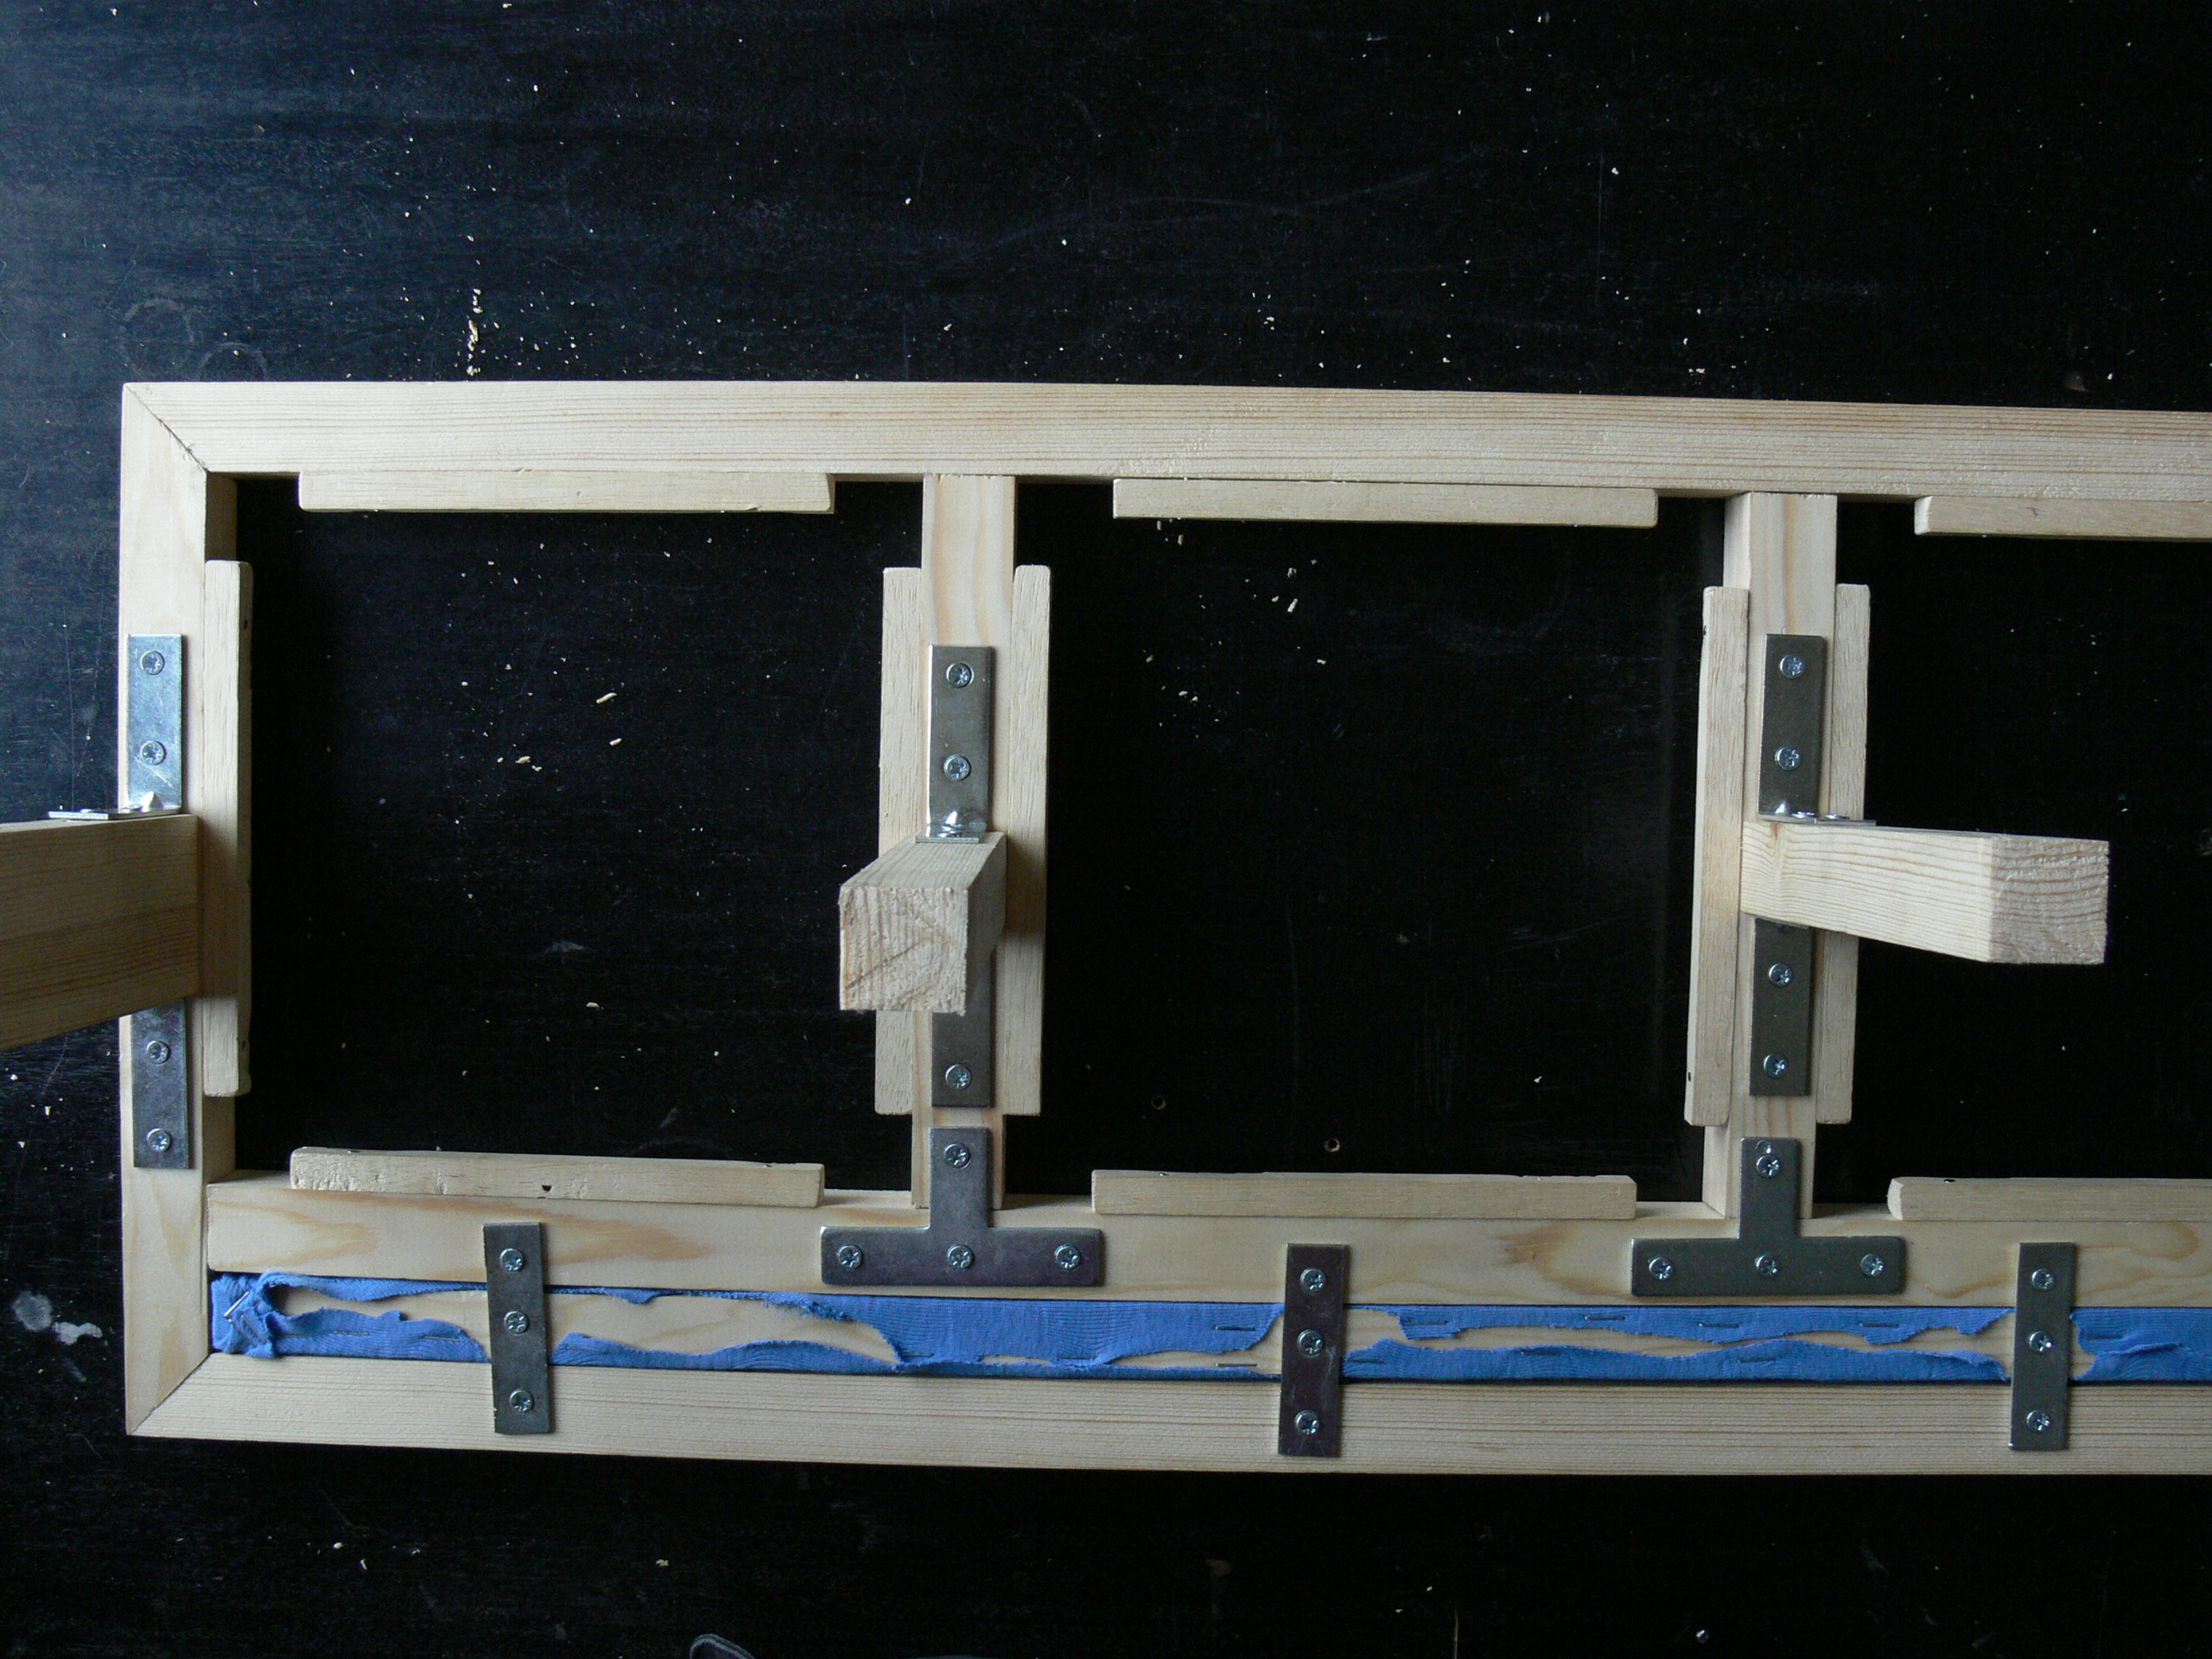
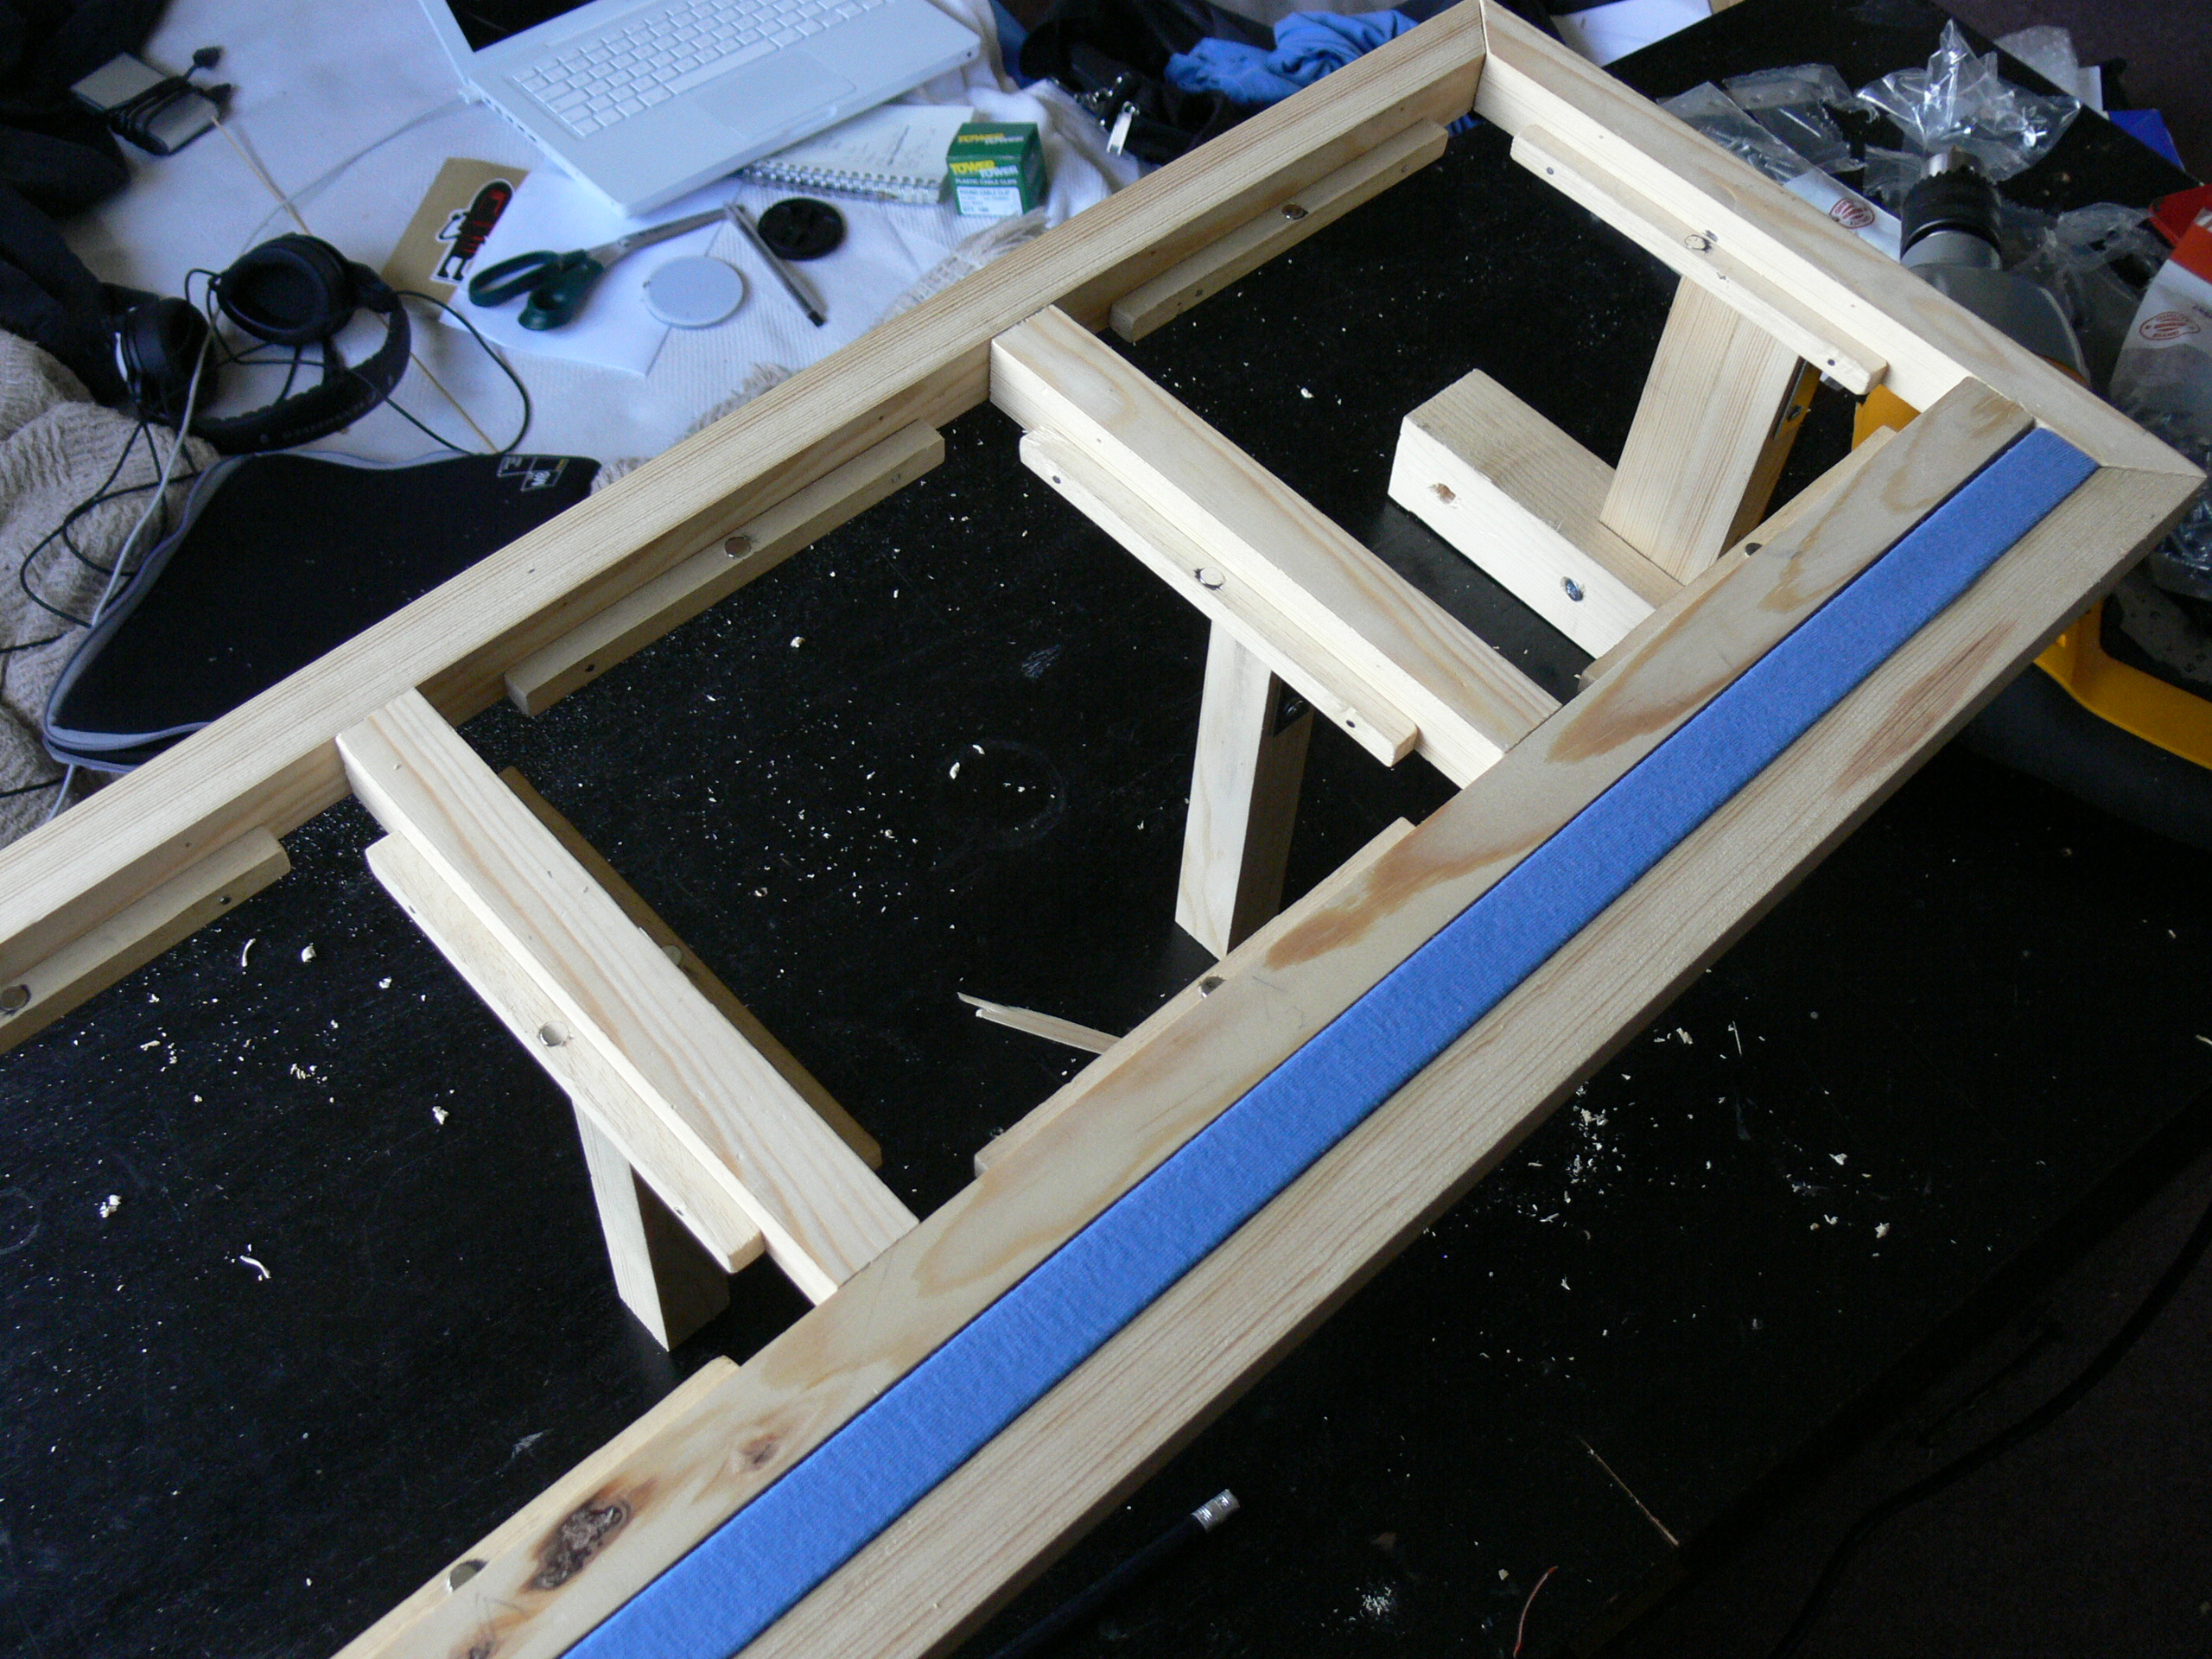
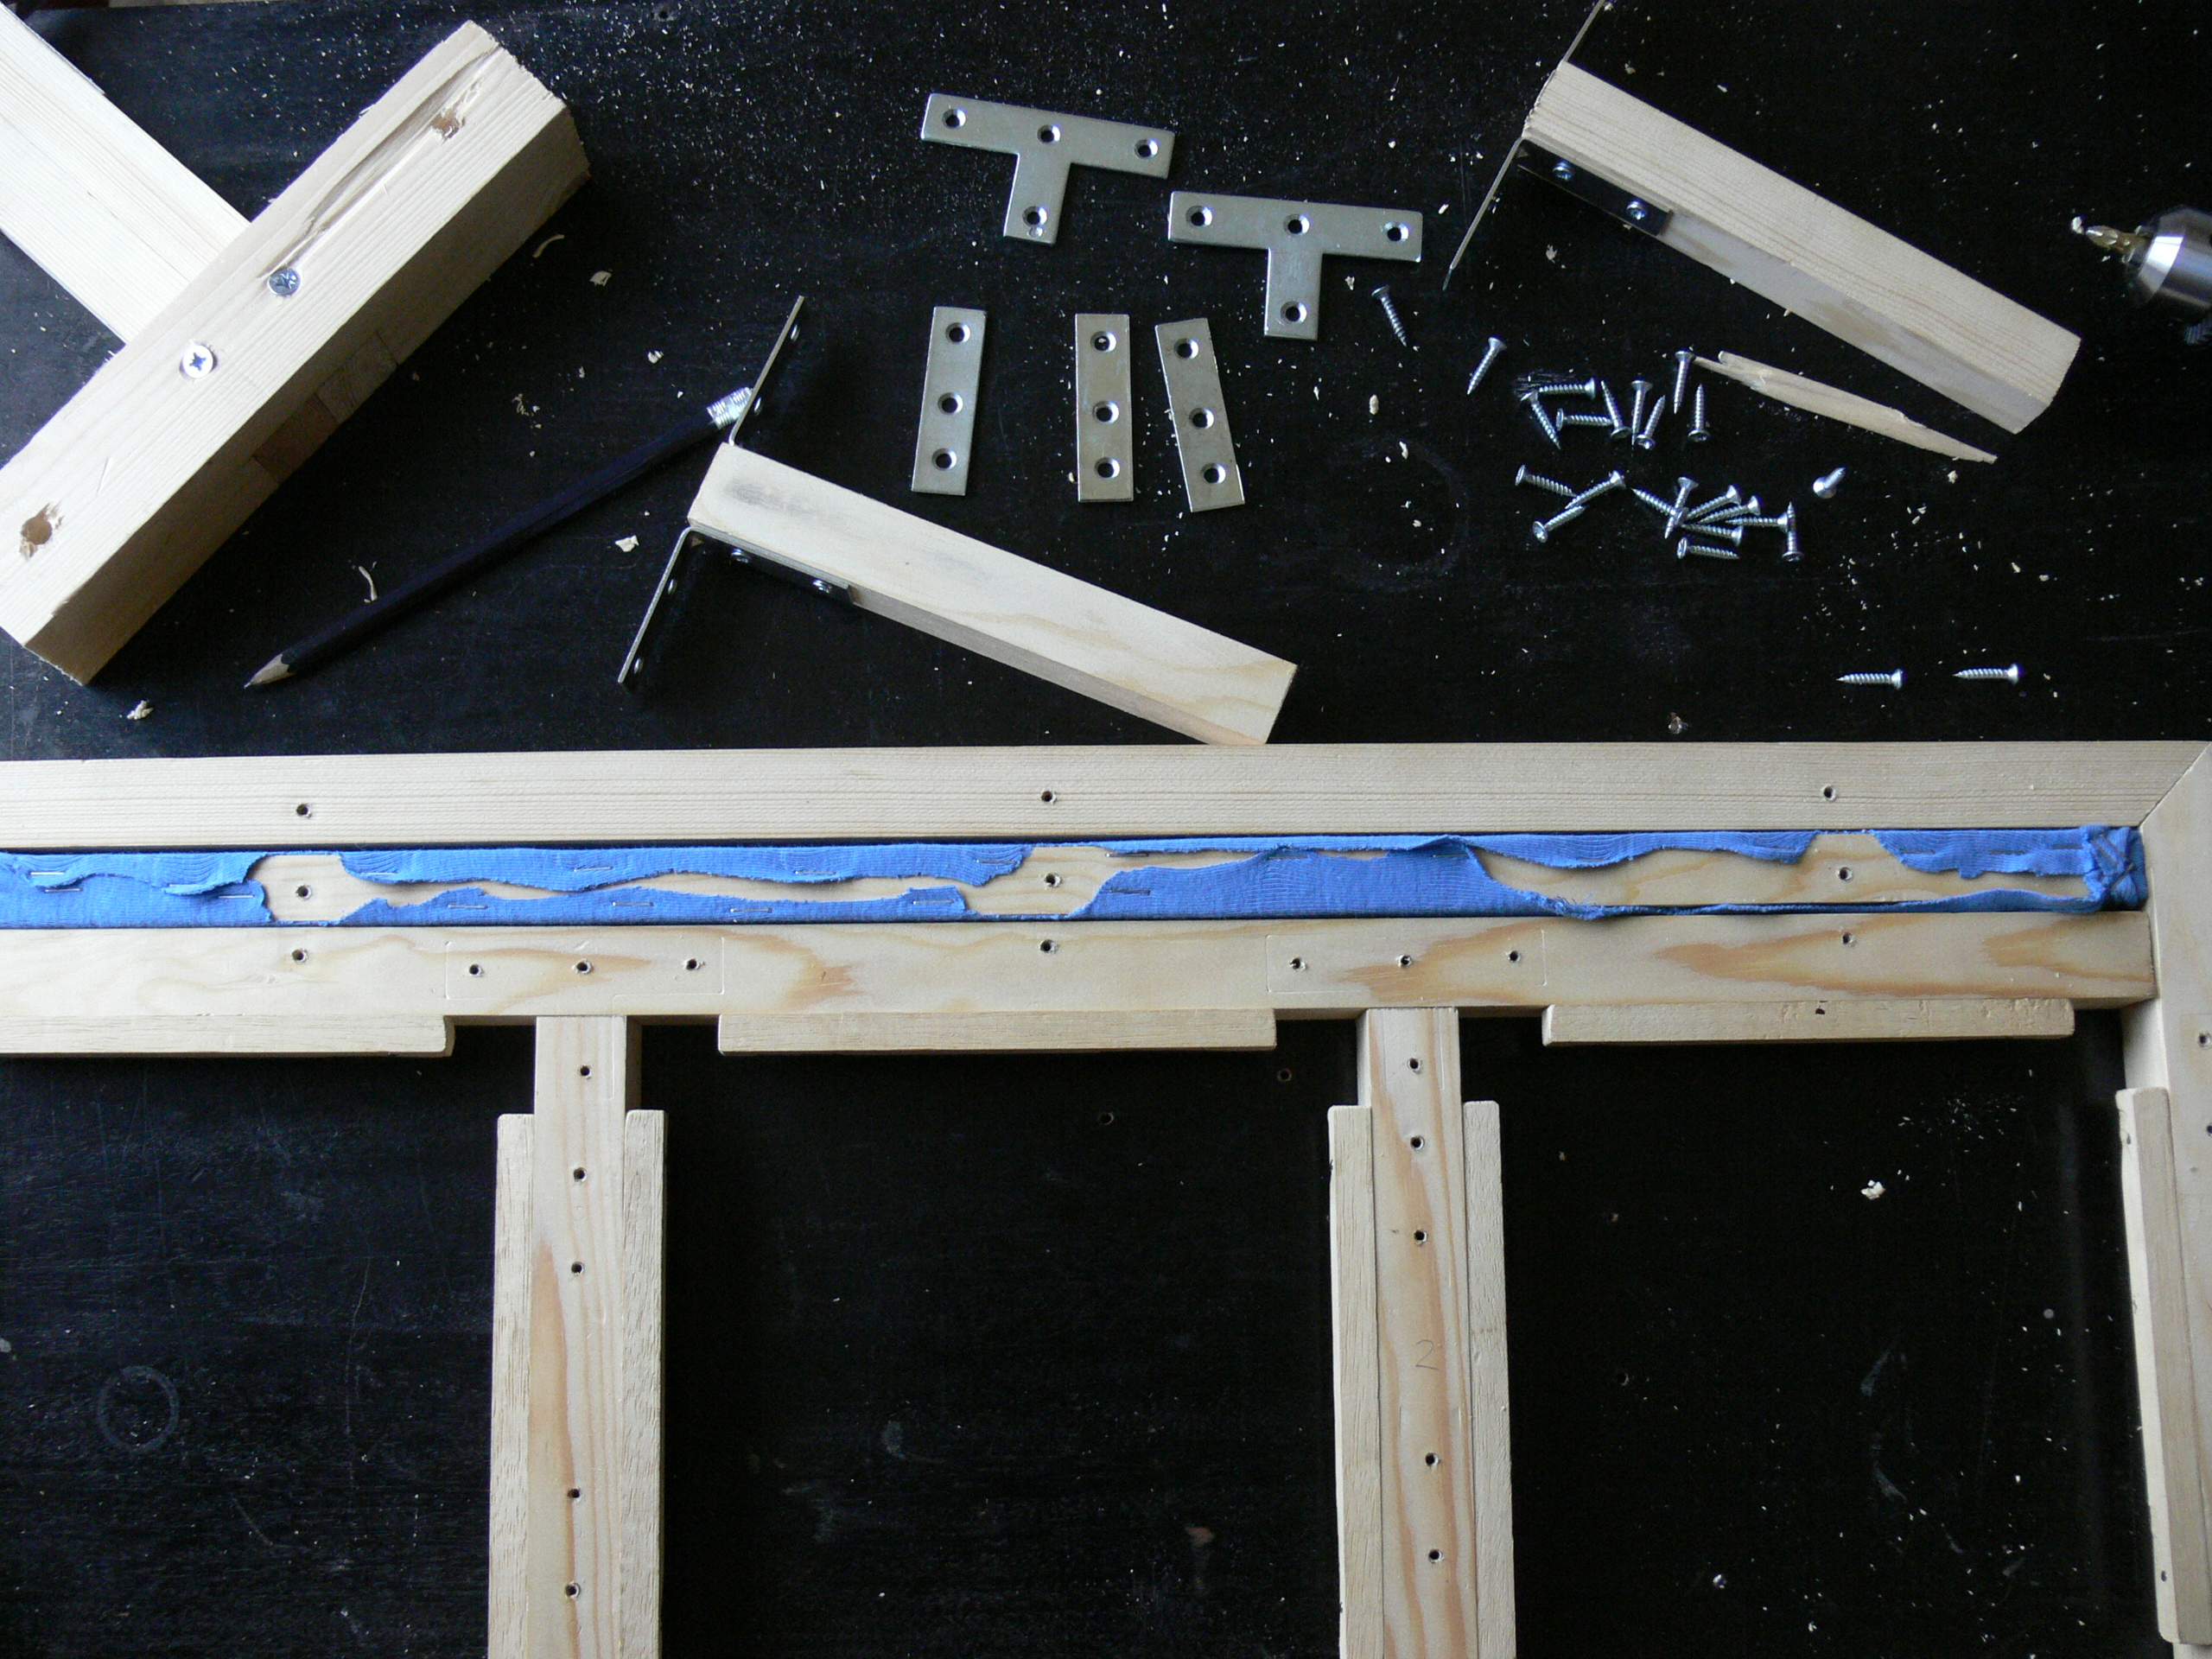
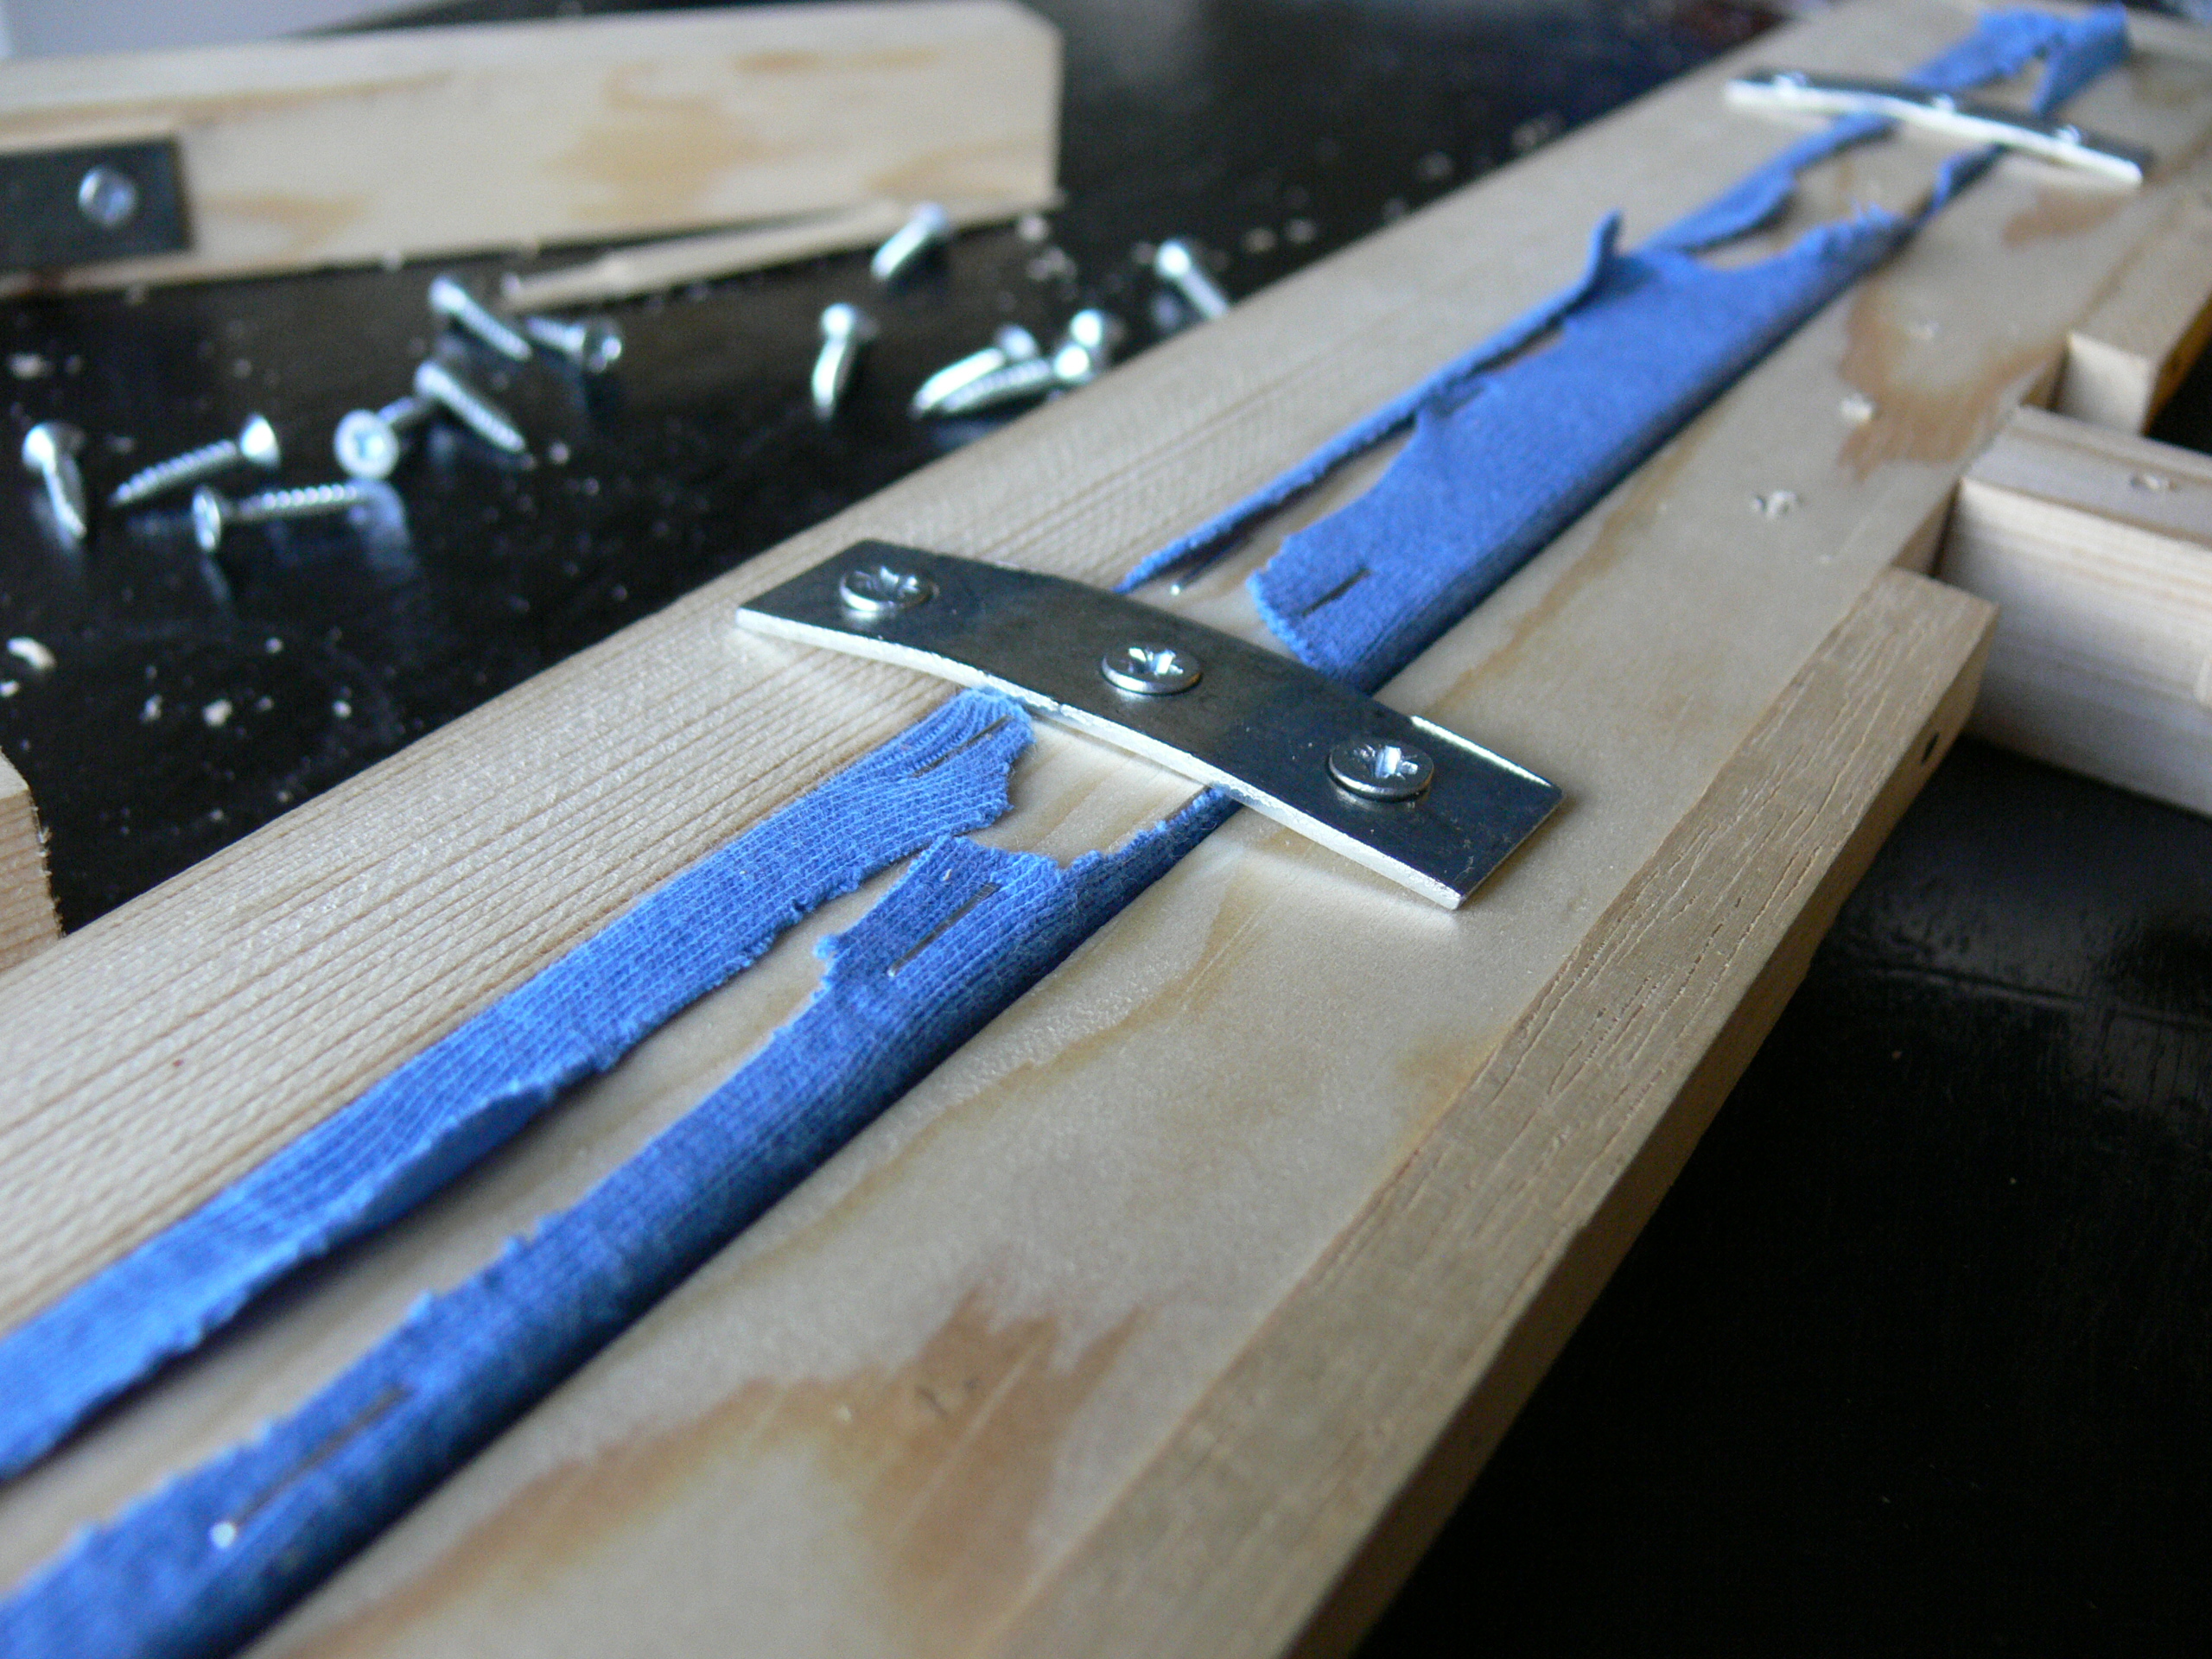
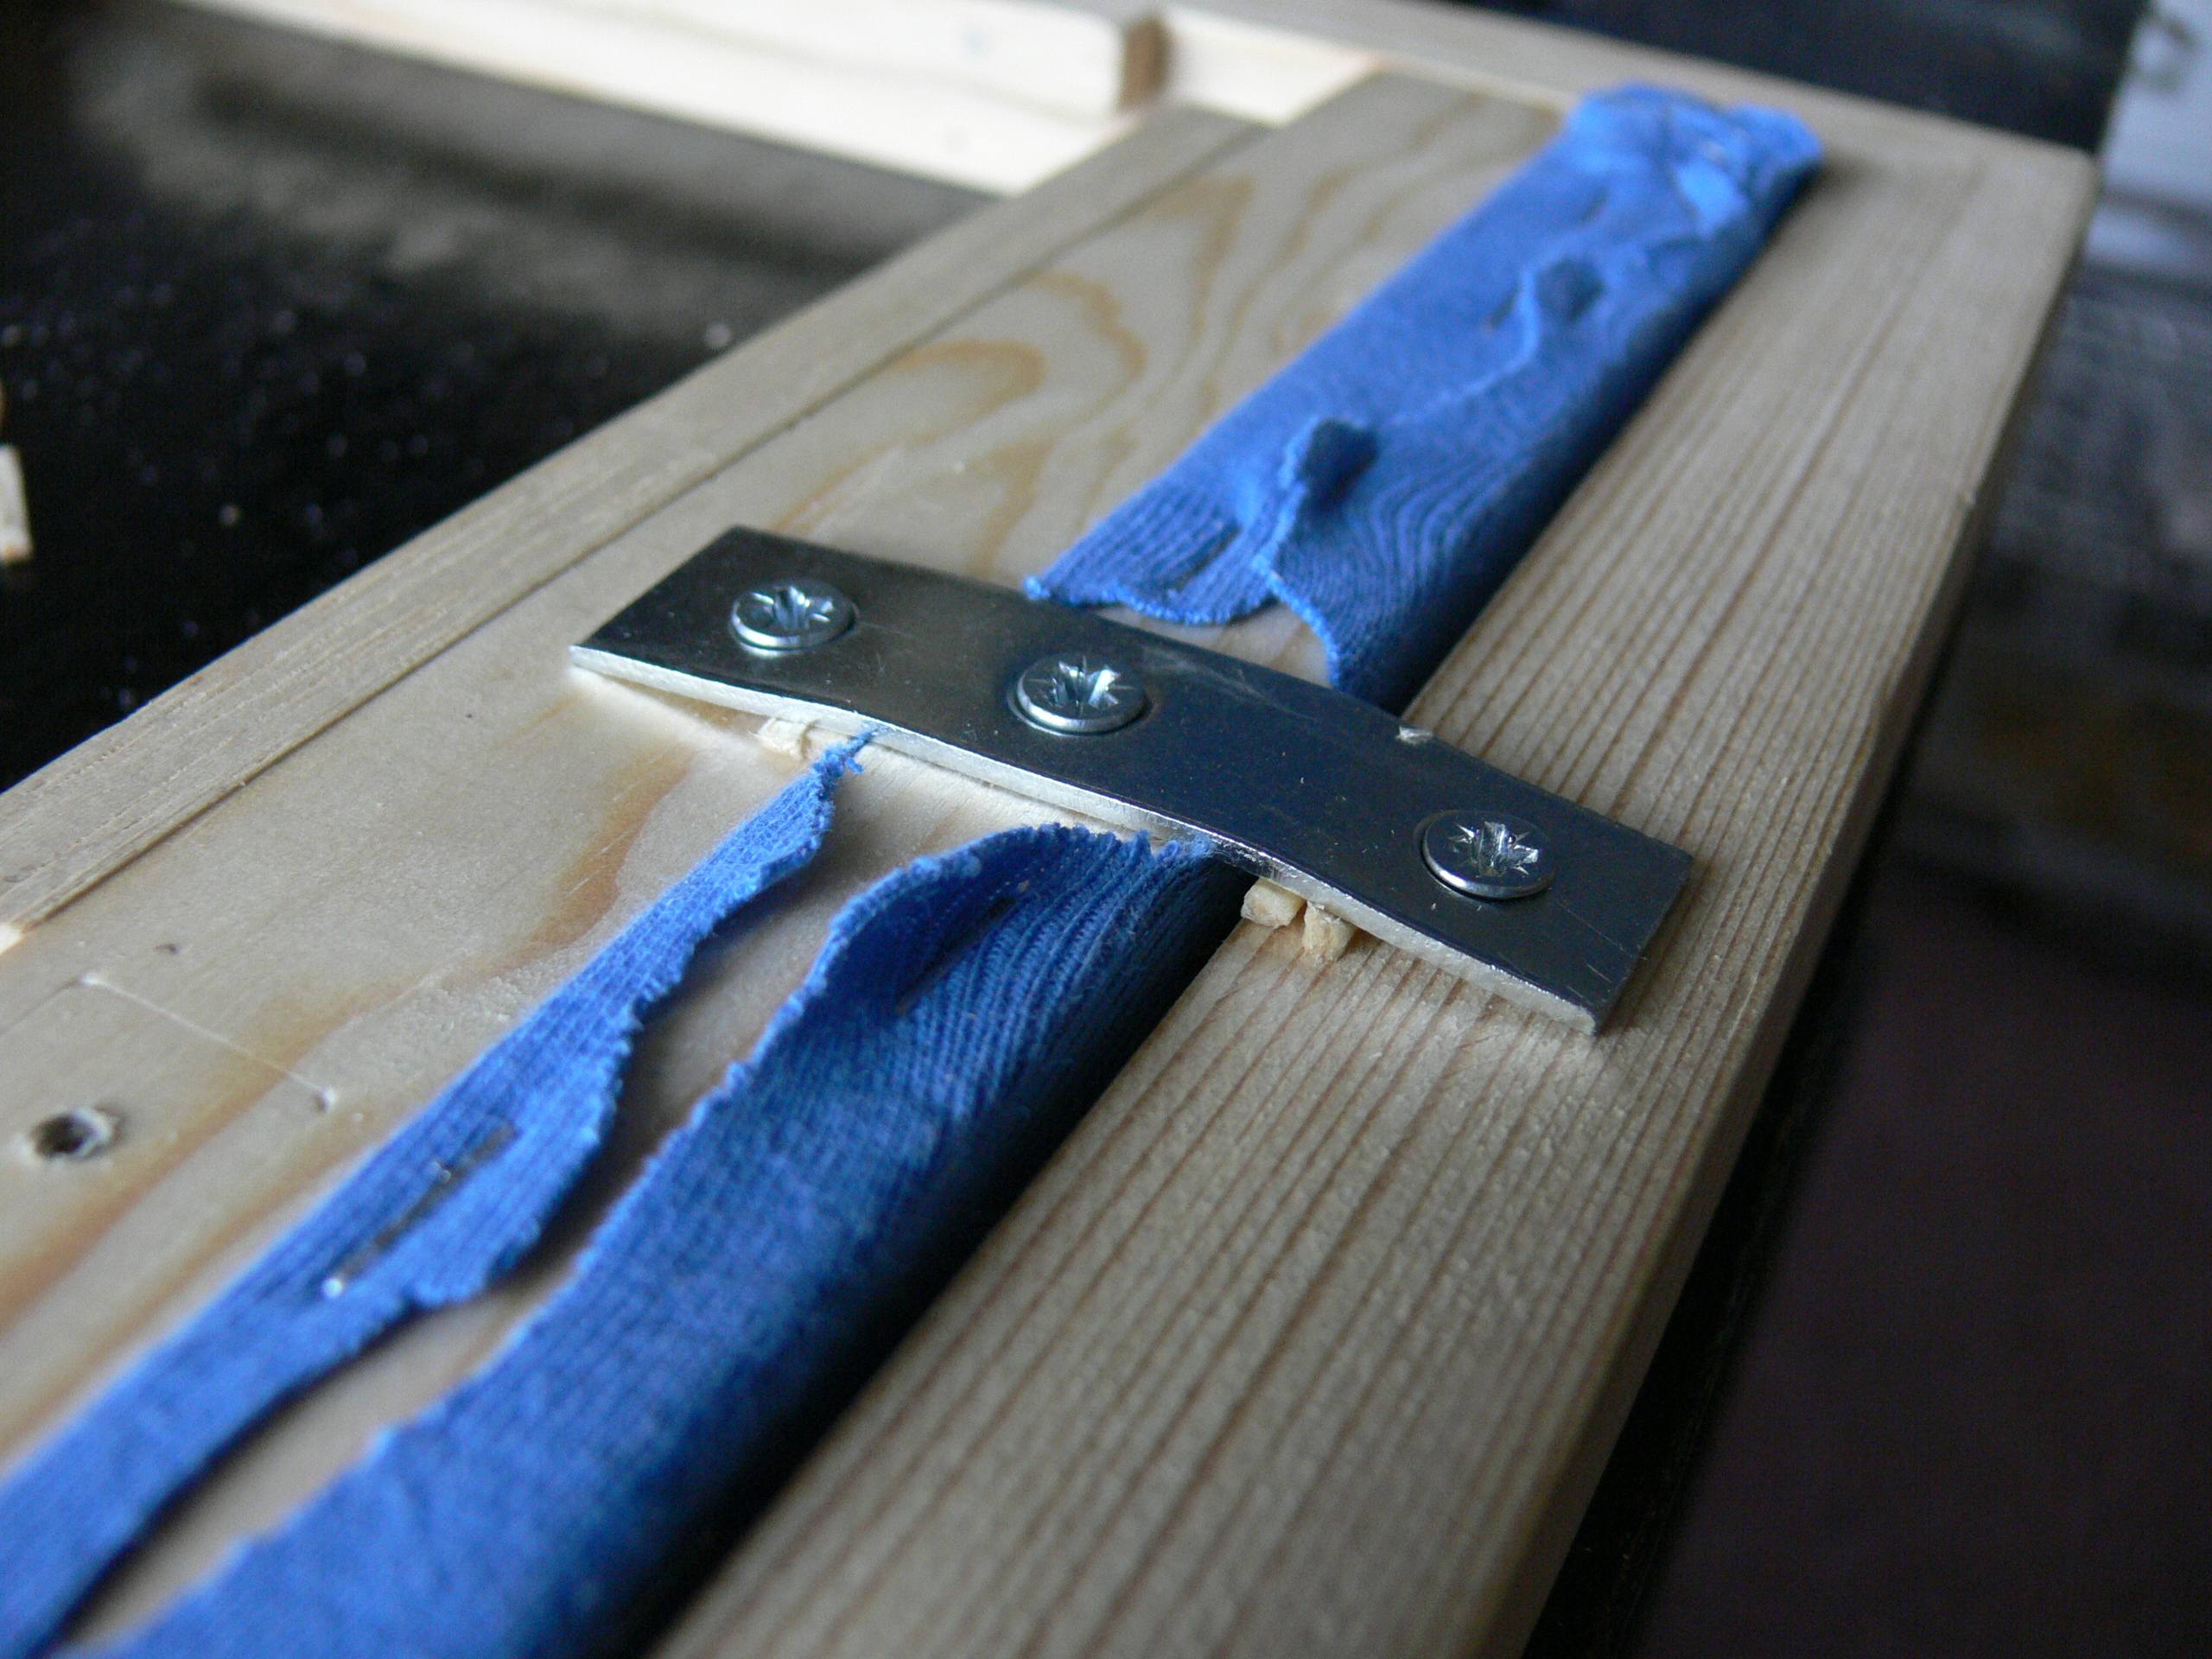
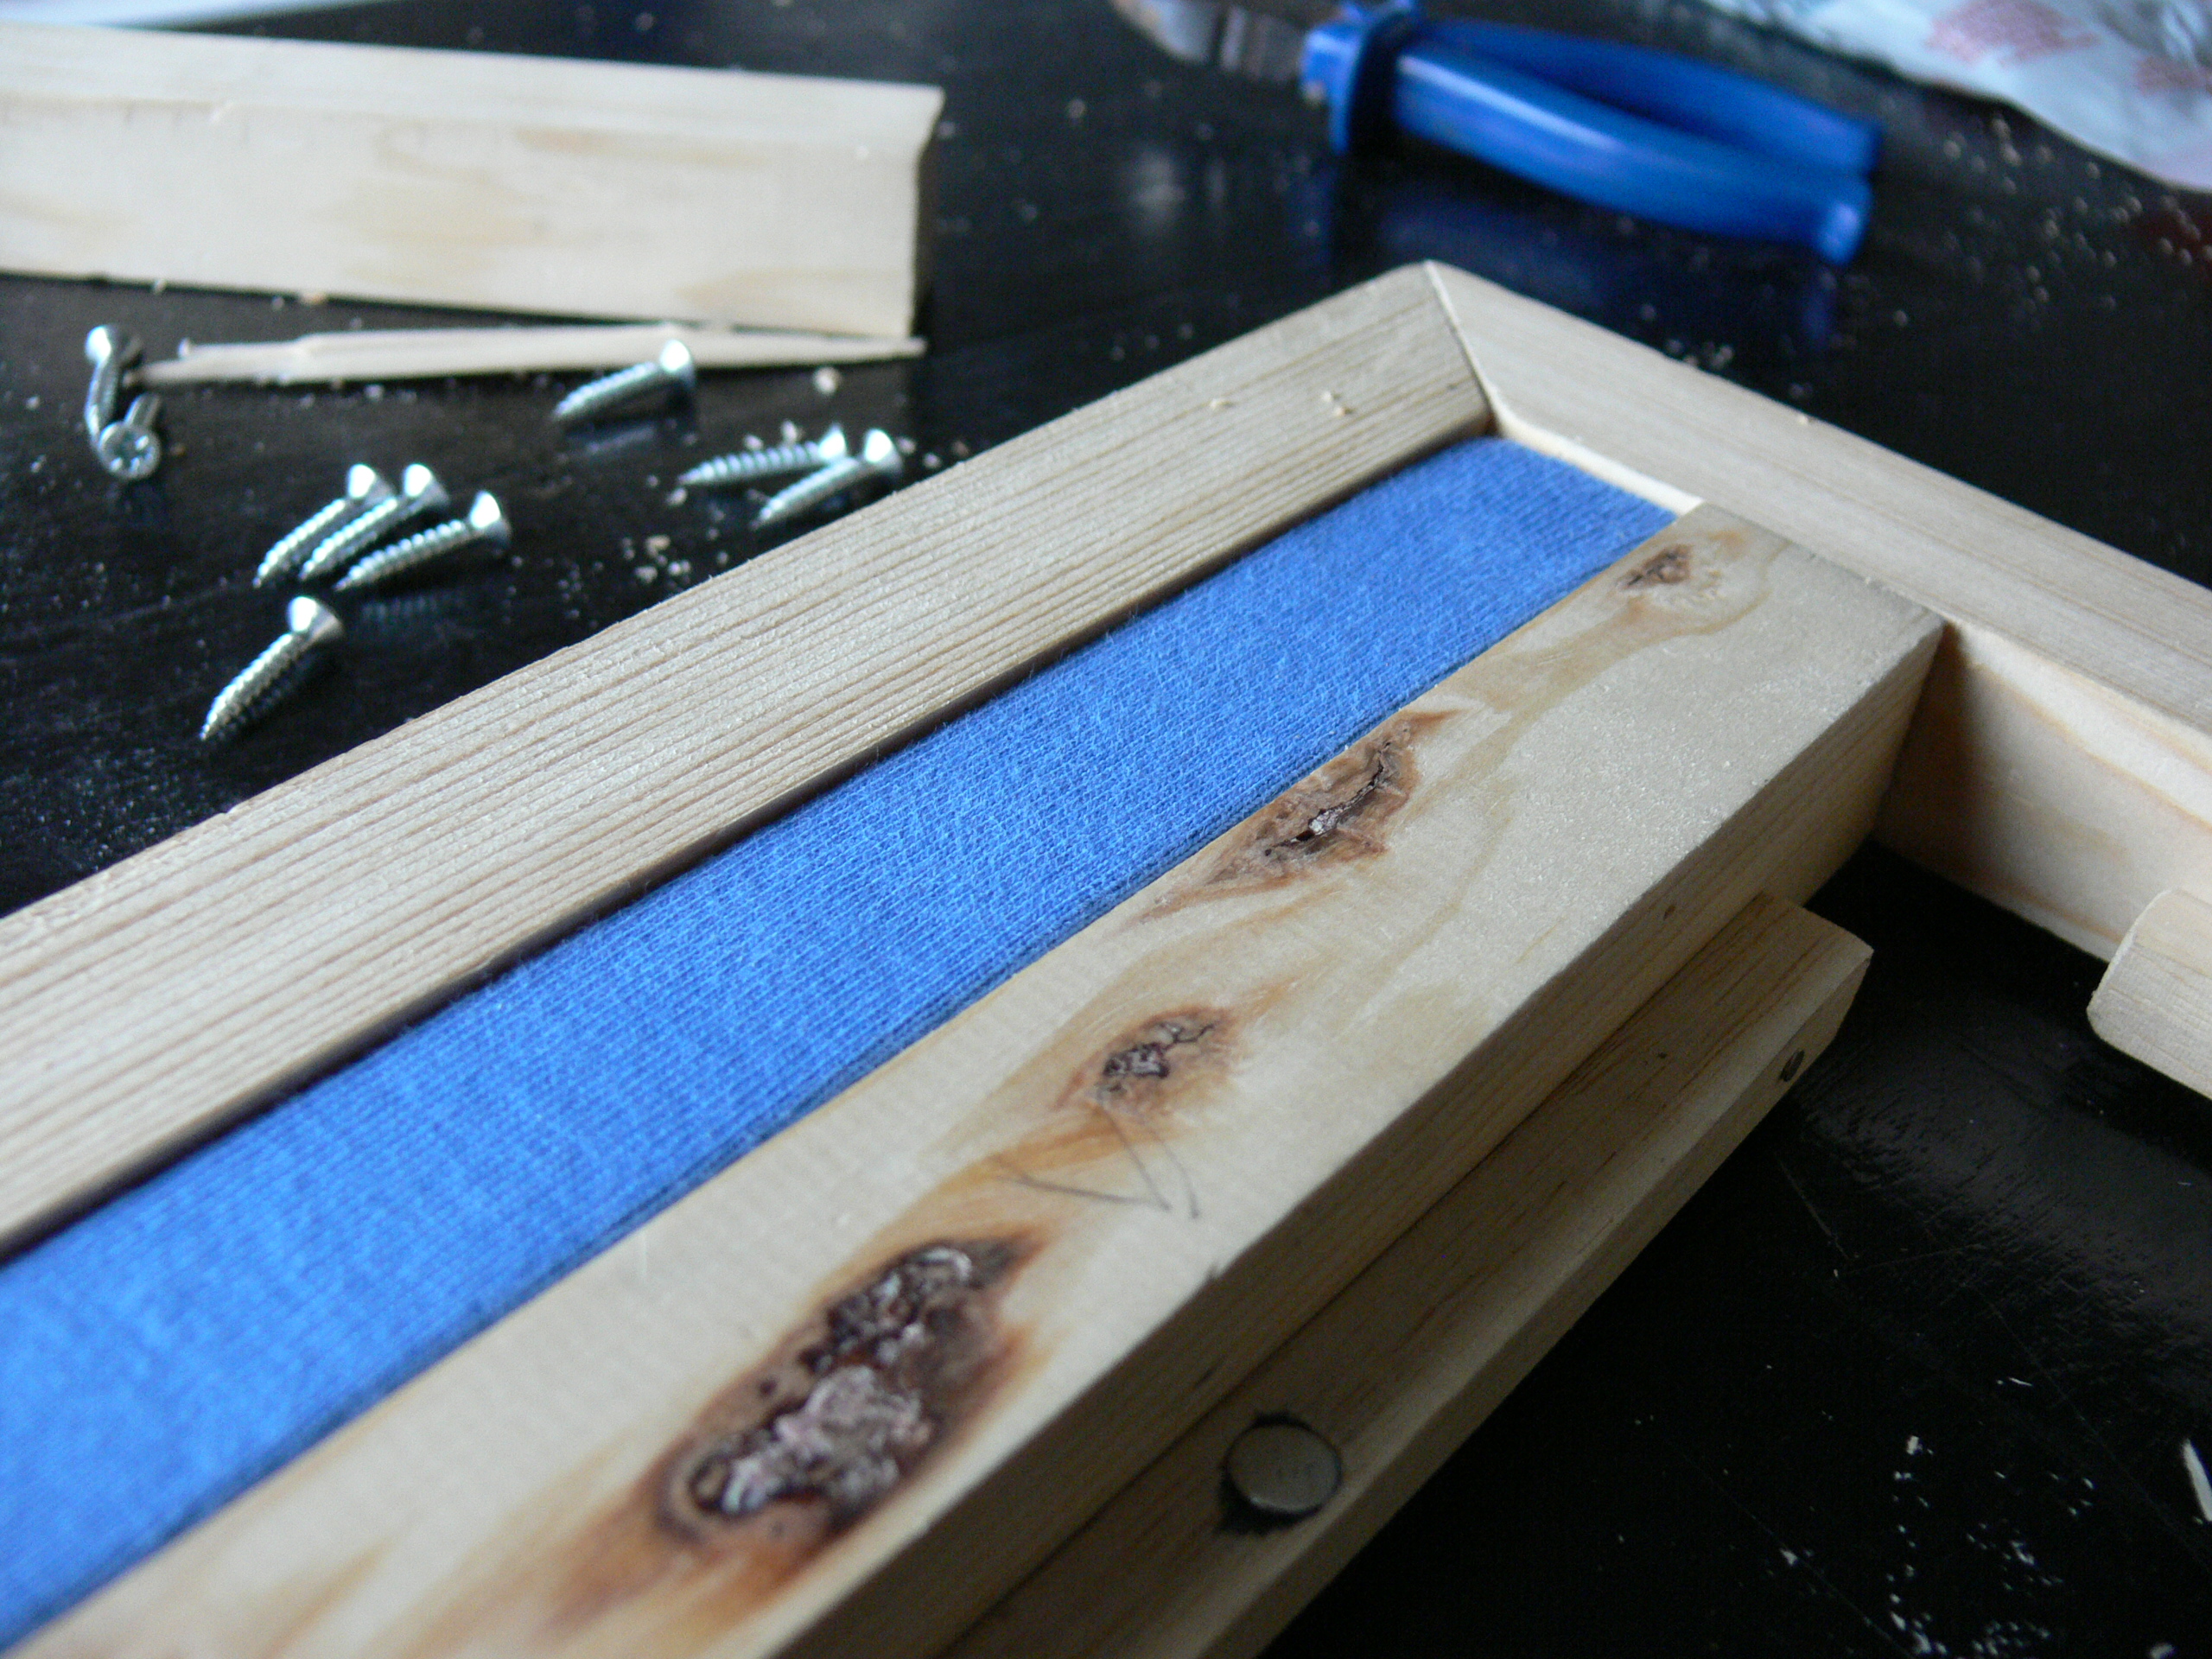
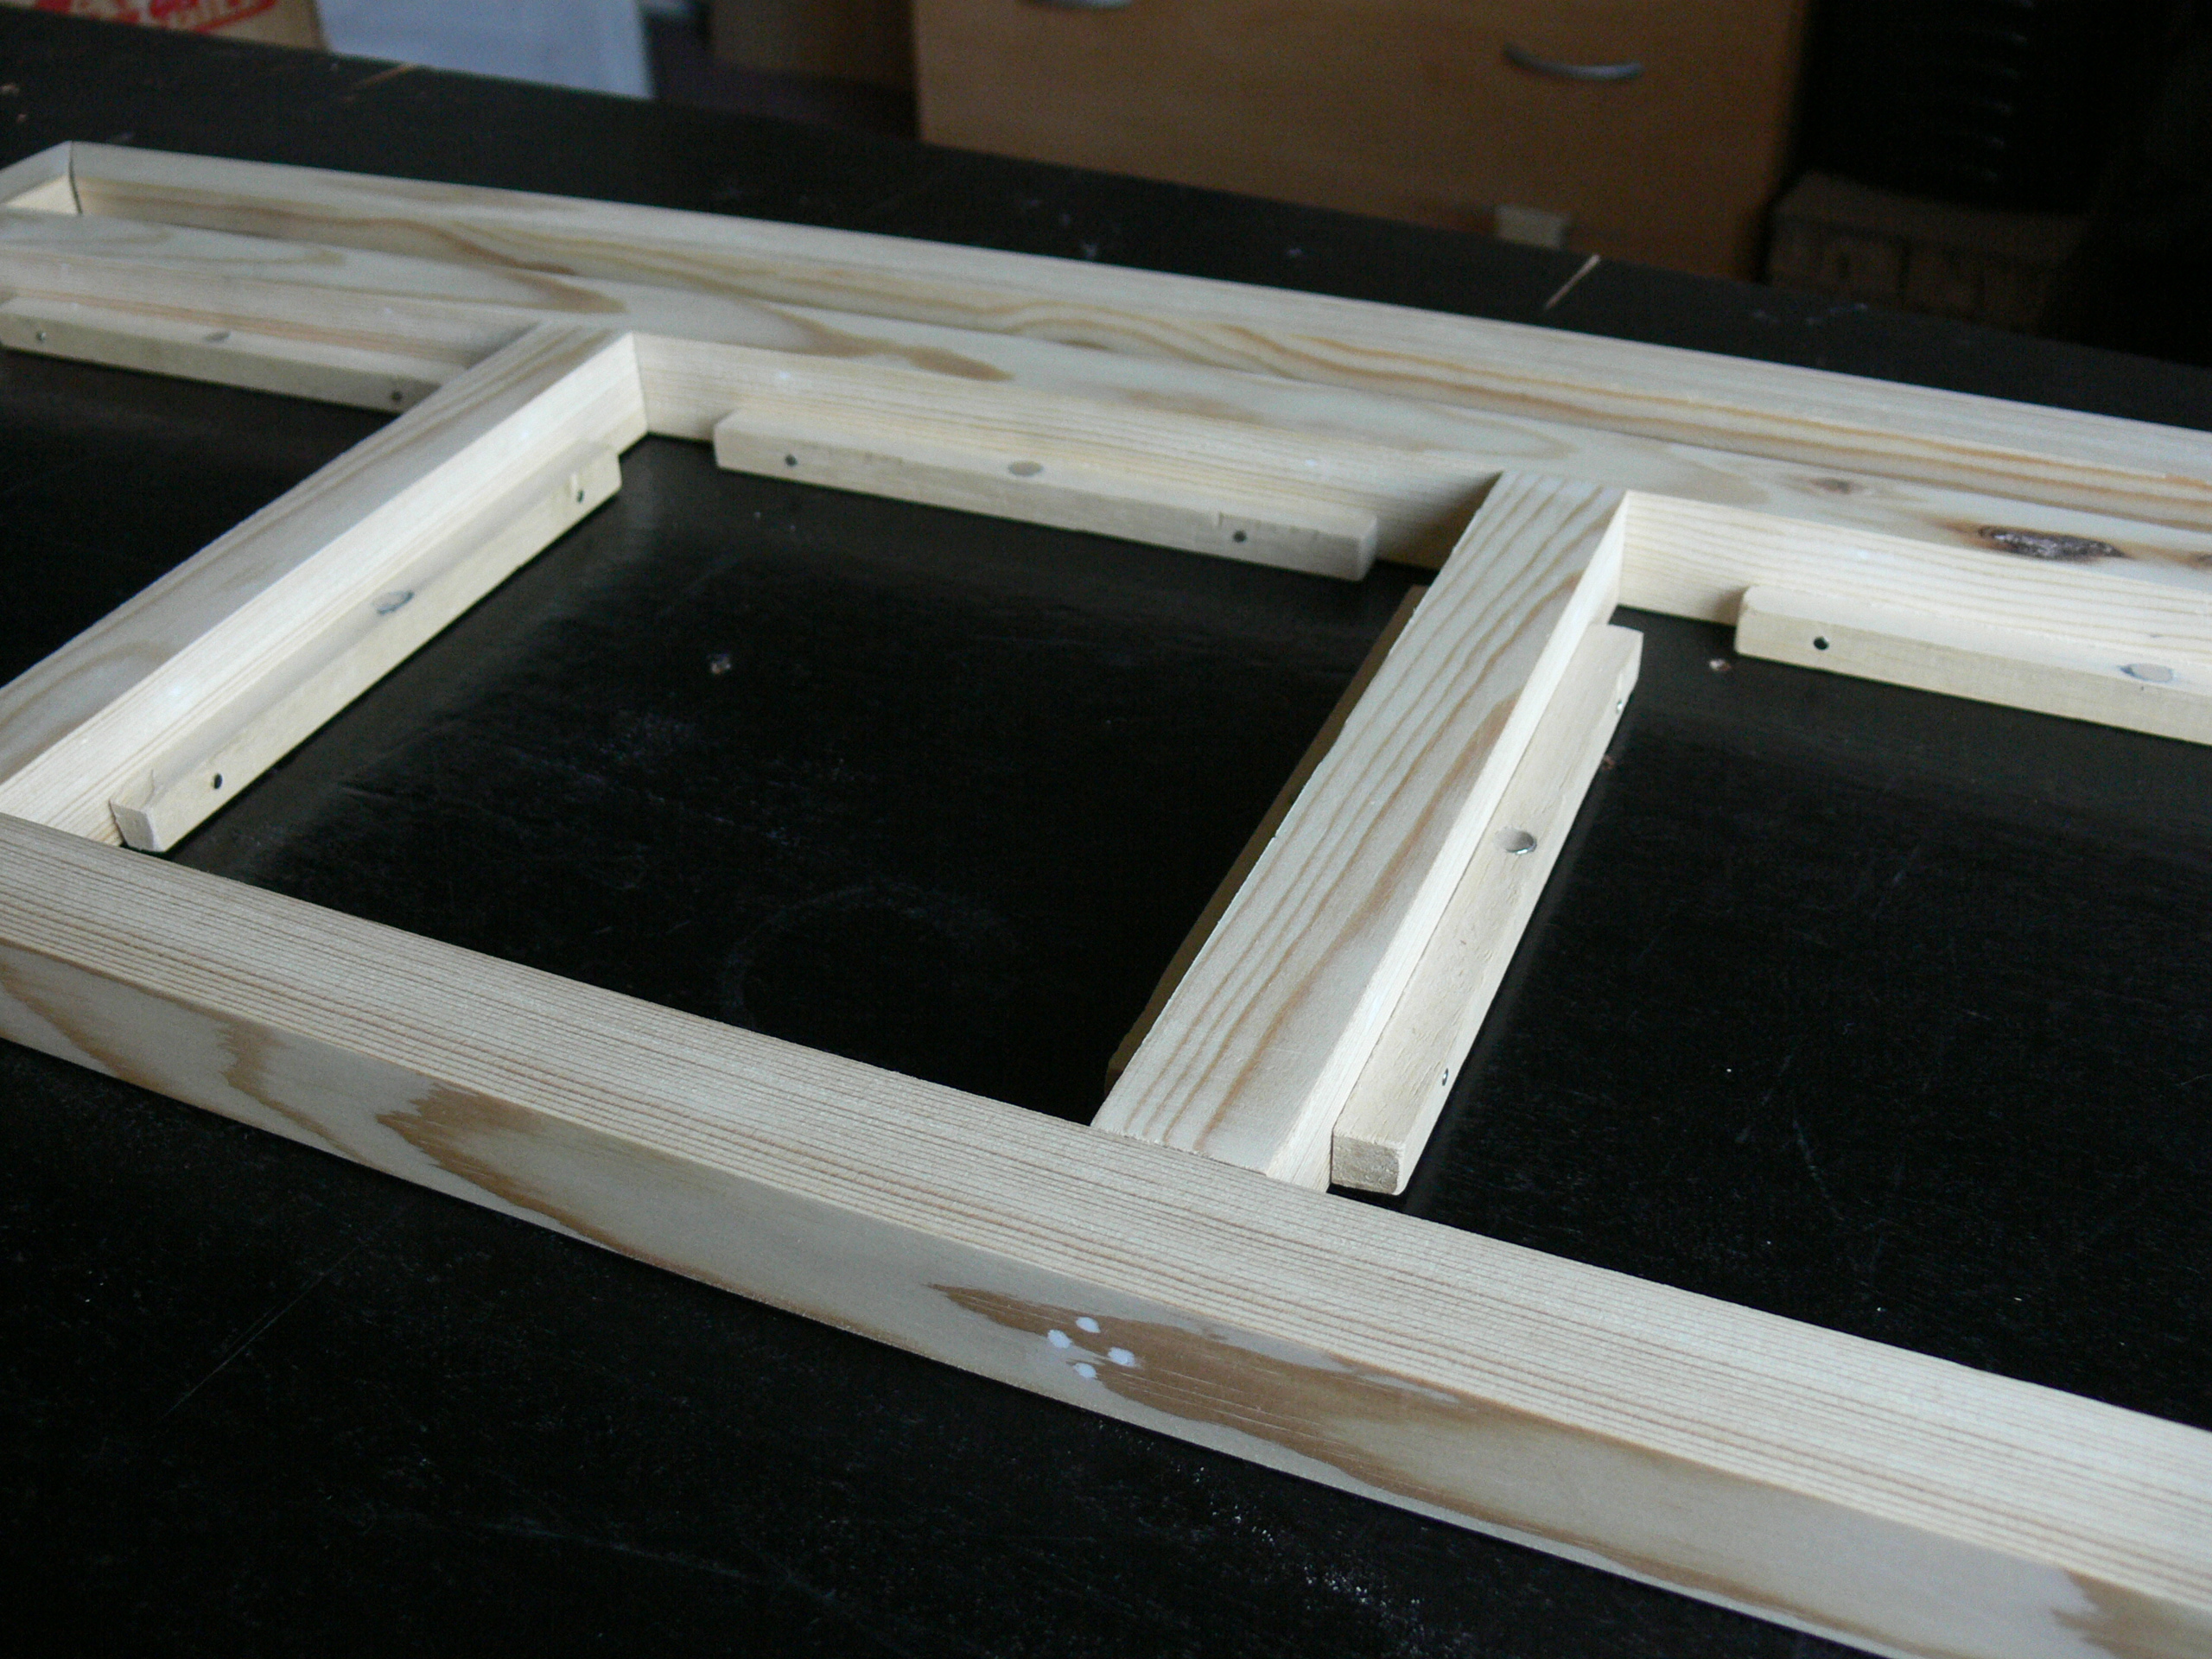
Rather than put a leg on each corner, I'm chose to use as few legs as I thought I could and put them as far out of sight as possible. This made the table somewhat flimsy, I chose to reinforce the underside with metal plates. Angle brackets were also an easy way to mount the legs.
I made three legs, the last one doubled up and with a large foot to act as a wall mounting.
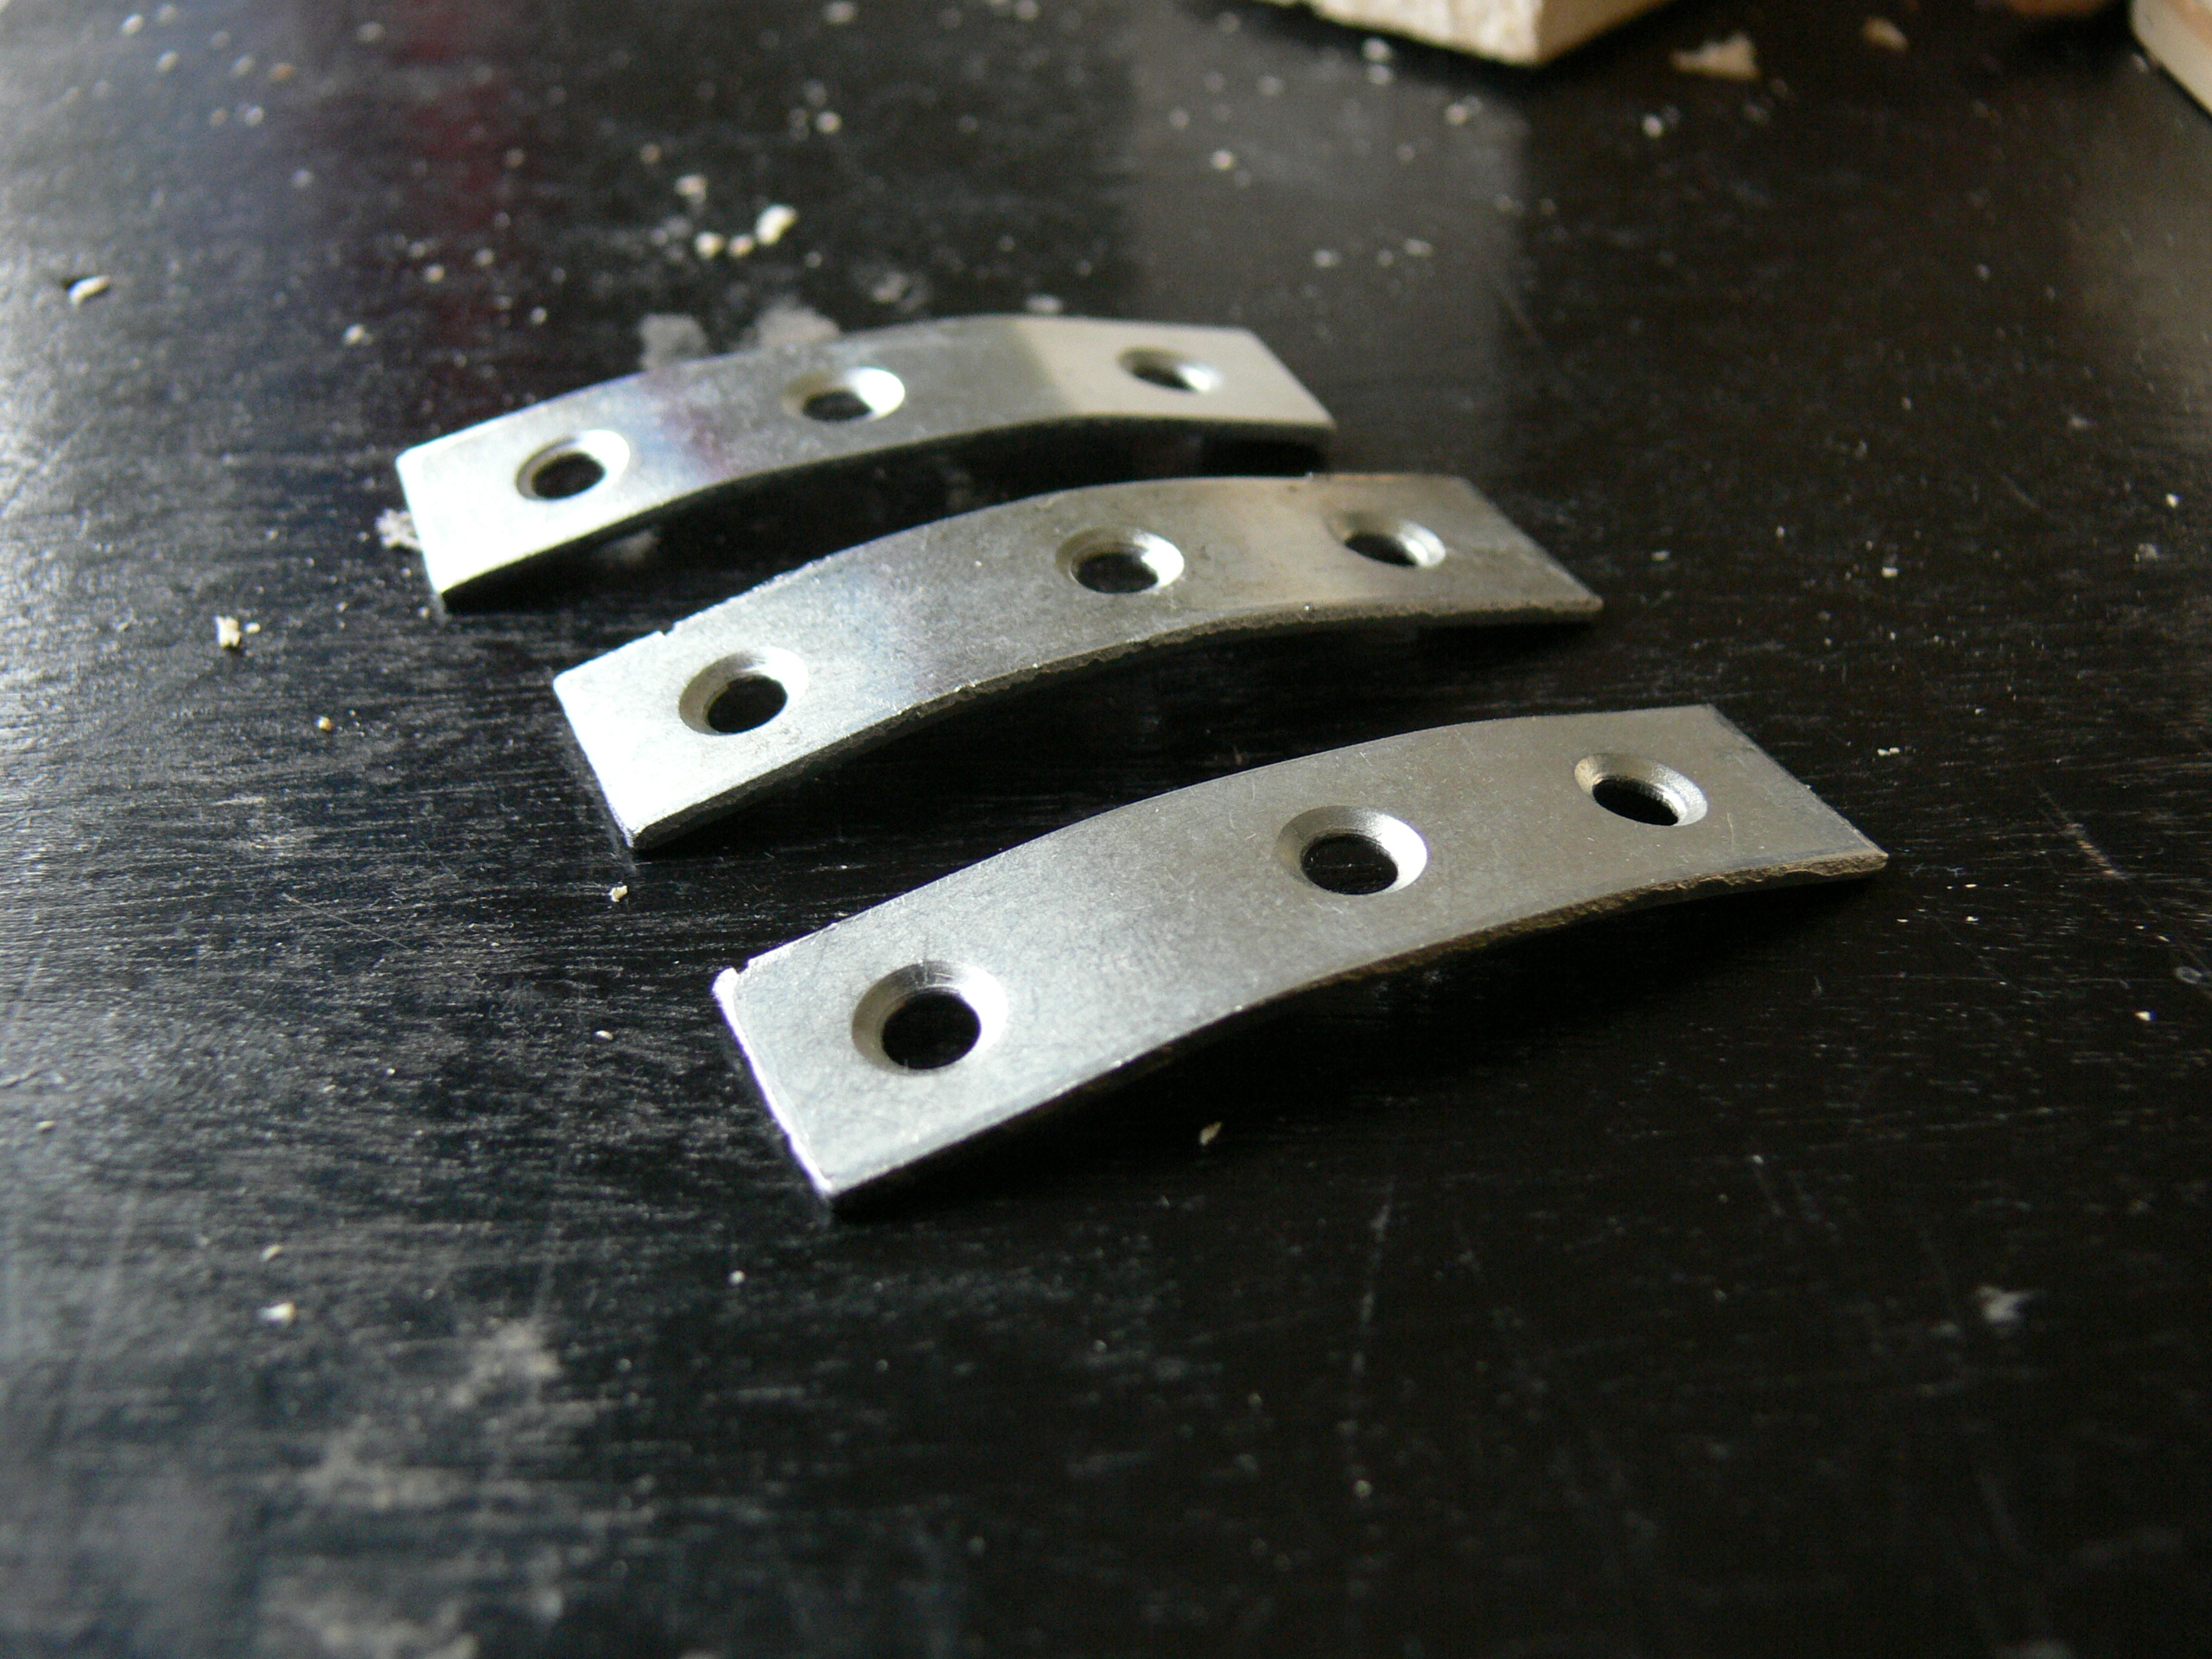
Mending plates will secure the upholstered baton and T plates reinforce the joints, though I had to trim them down to make them fit. I also trimmed the fabric so none would be under the mending plates.
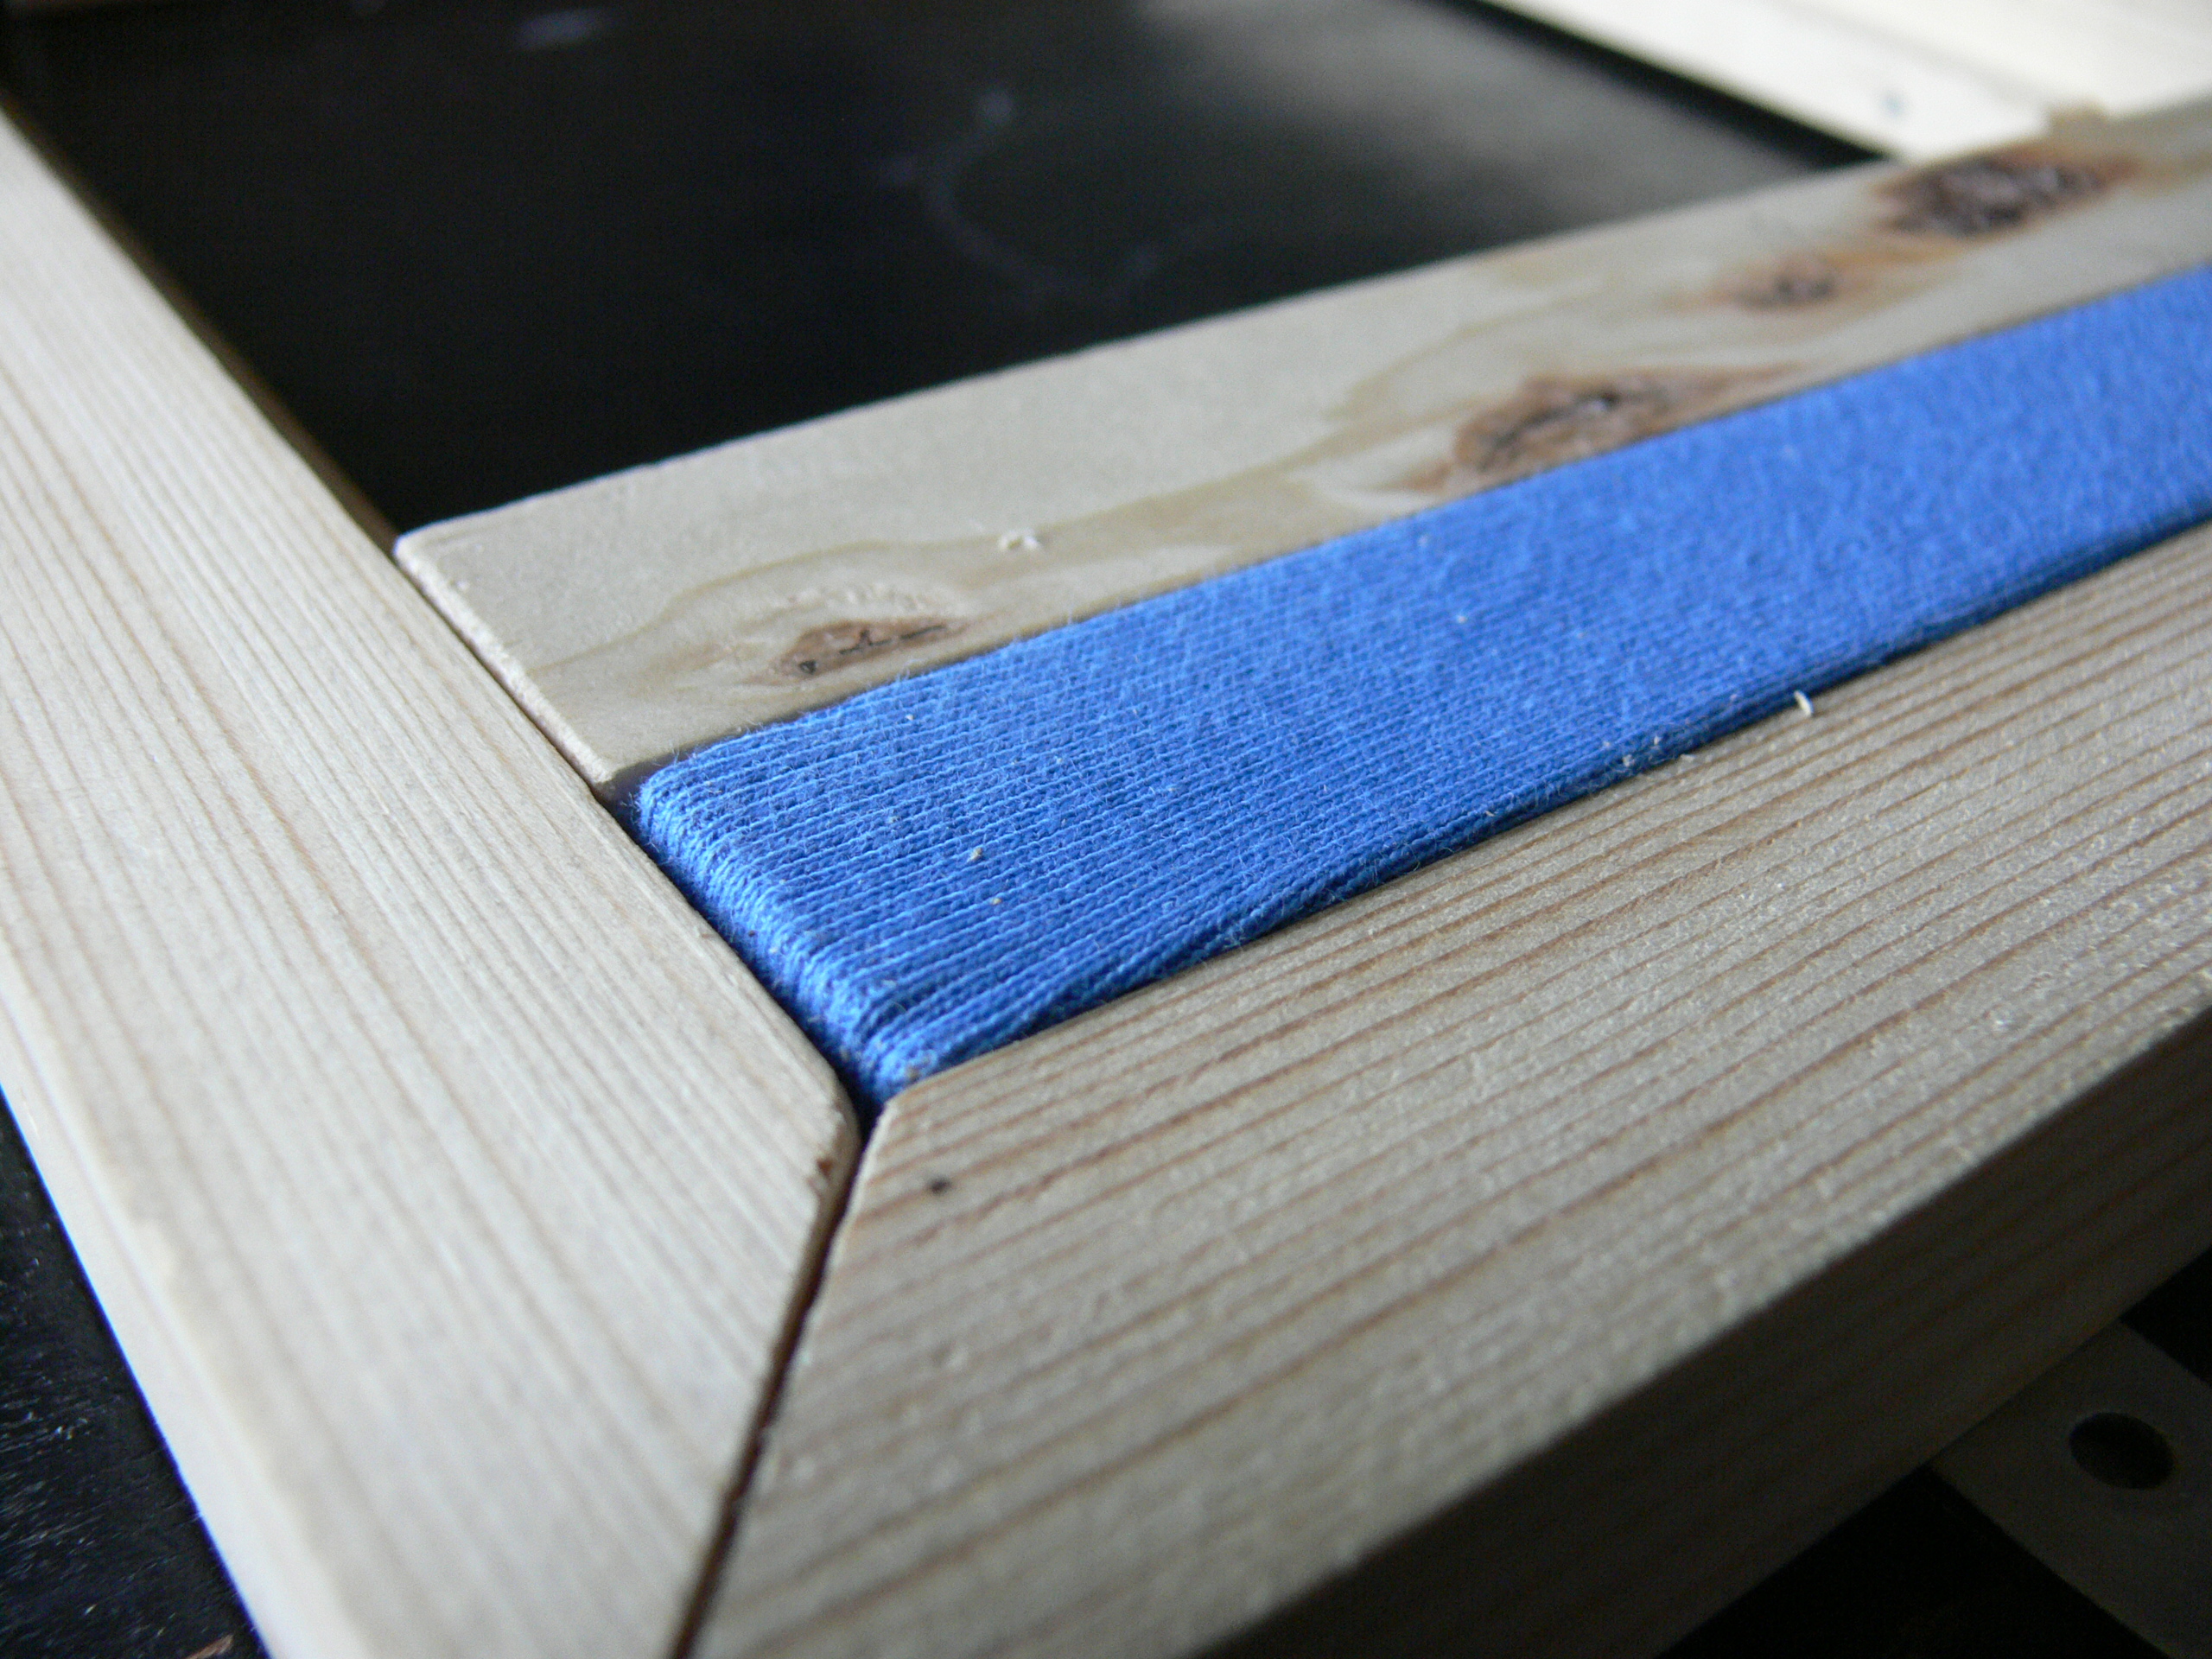
Still, the fabric sat too high when everything was put together, standing a millimetre or two above the surface of the table. I wanted a recess, so first used a hammer to bend the plates into a gentle U shape. Tht helped, though when screwed back down they pulled slightly straight again and the baton still sat too high. Trimming matchsticks to make some shims fixed it, creating a slight recess (images 11 and 12).
Now if you remove te baton and legs, it's ready to fill, sand and paint.
Dry Fit
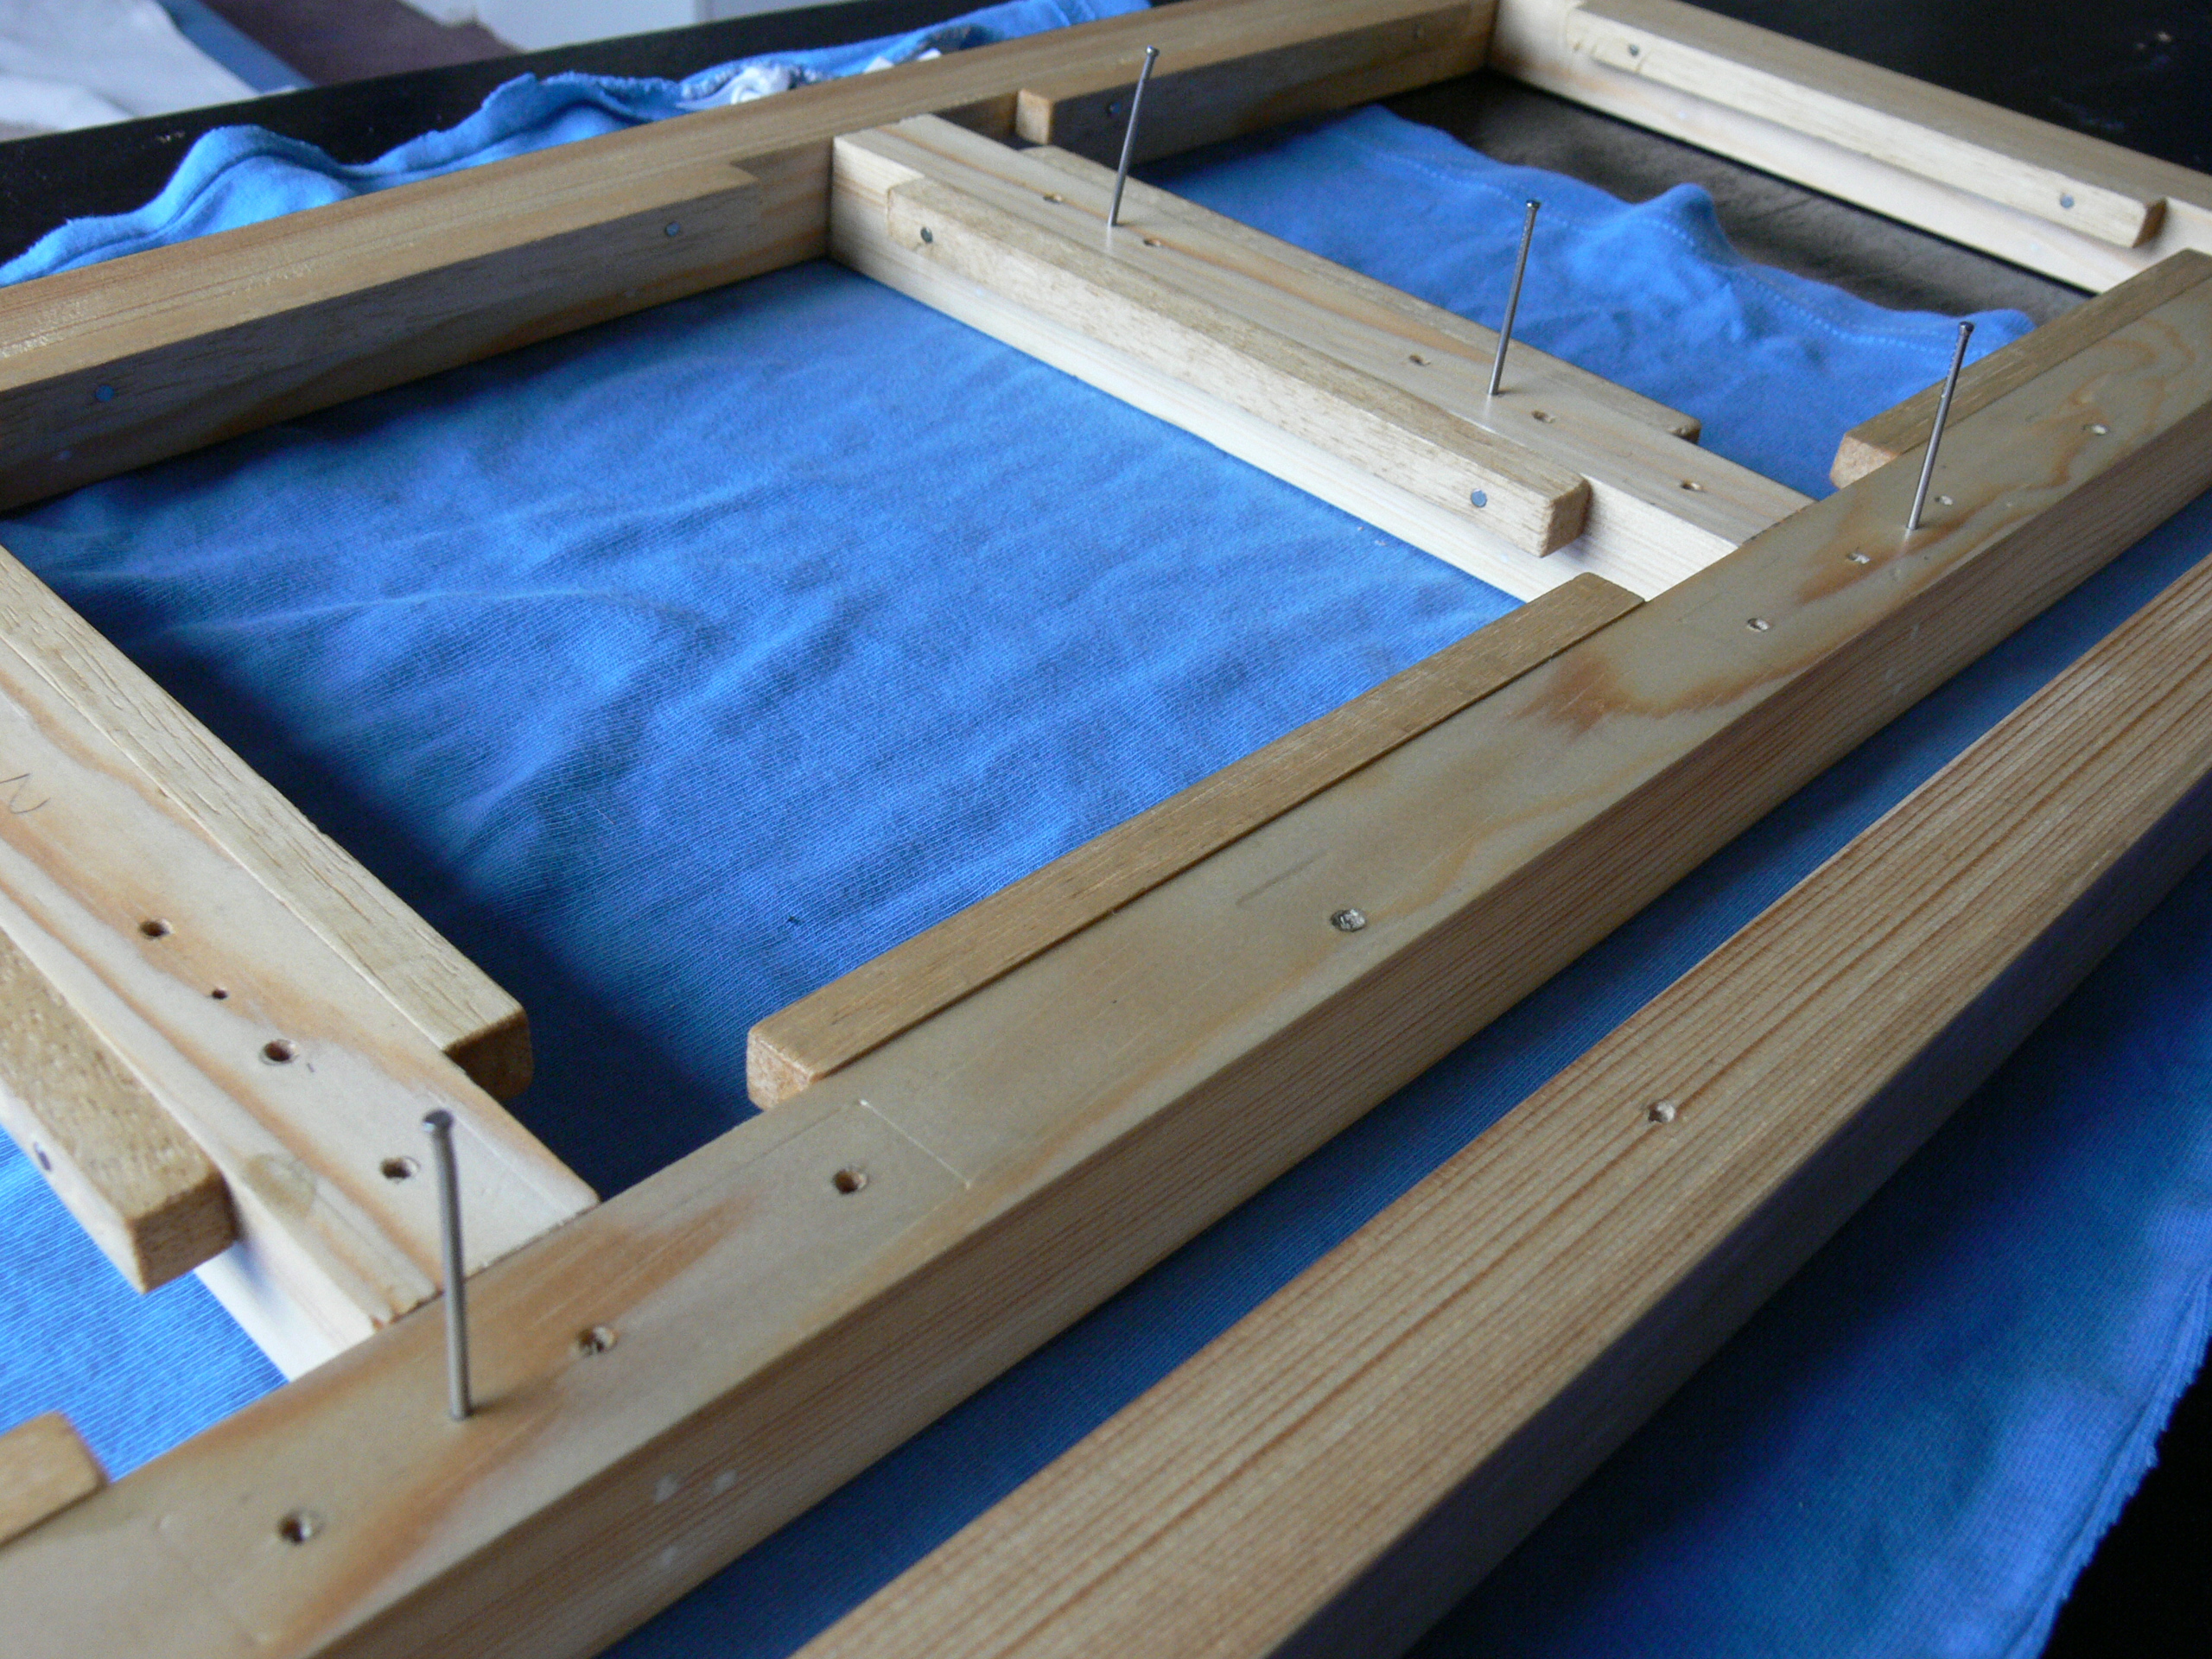
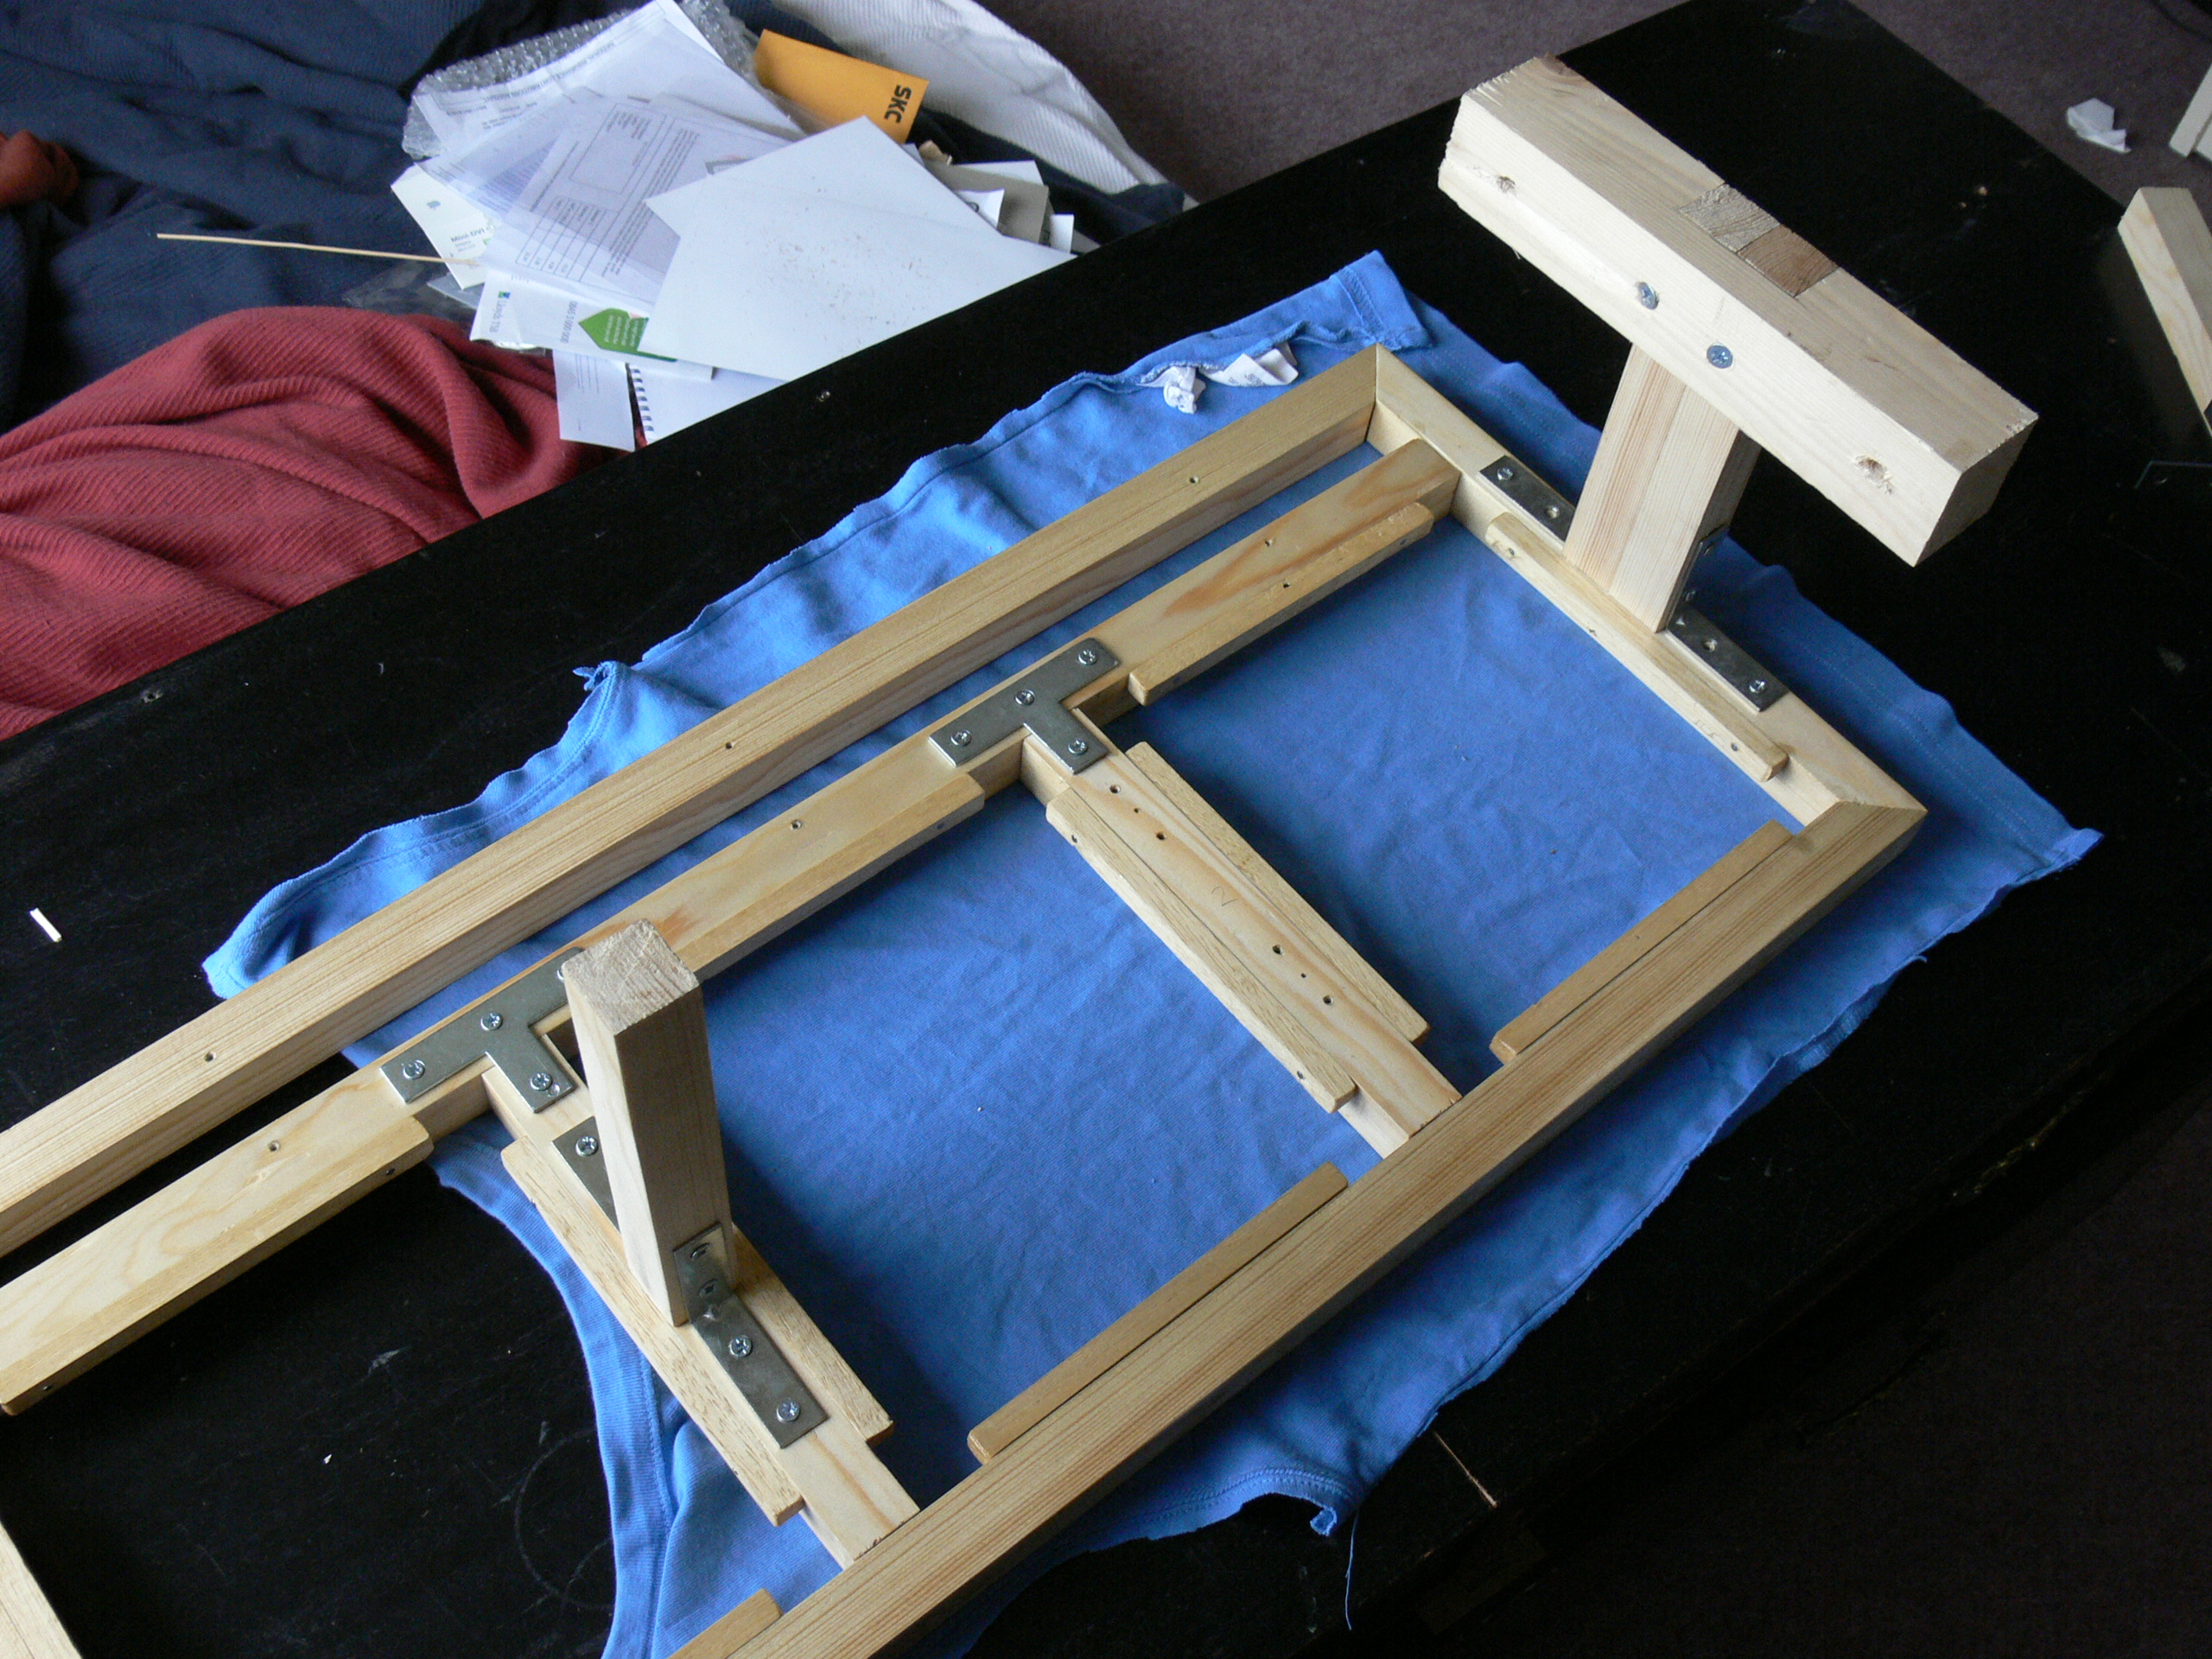
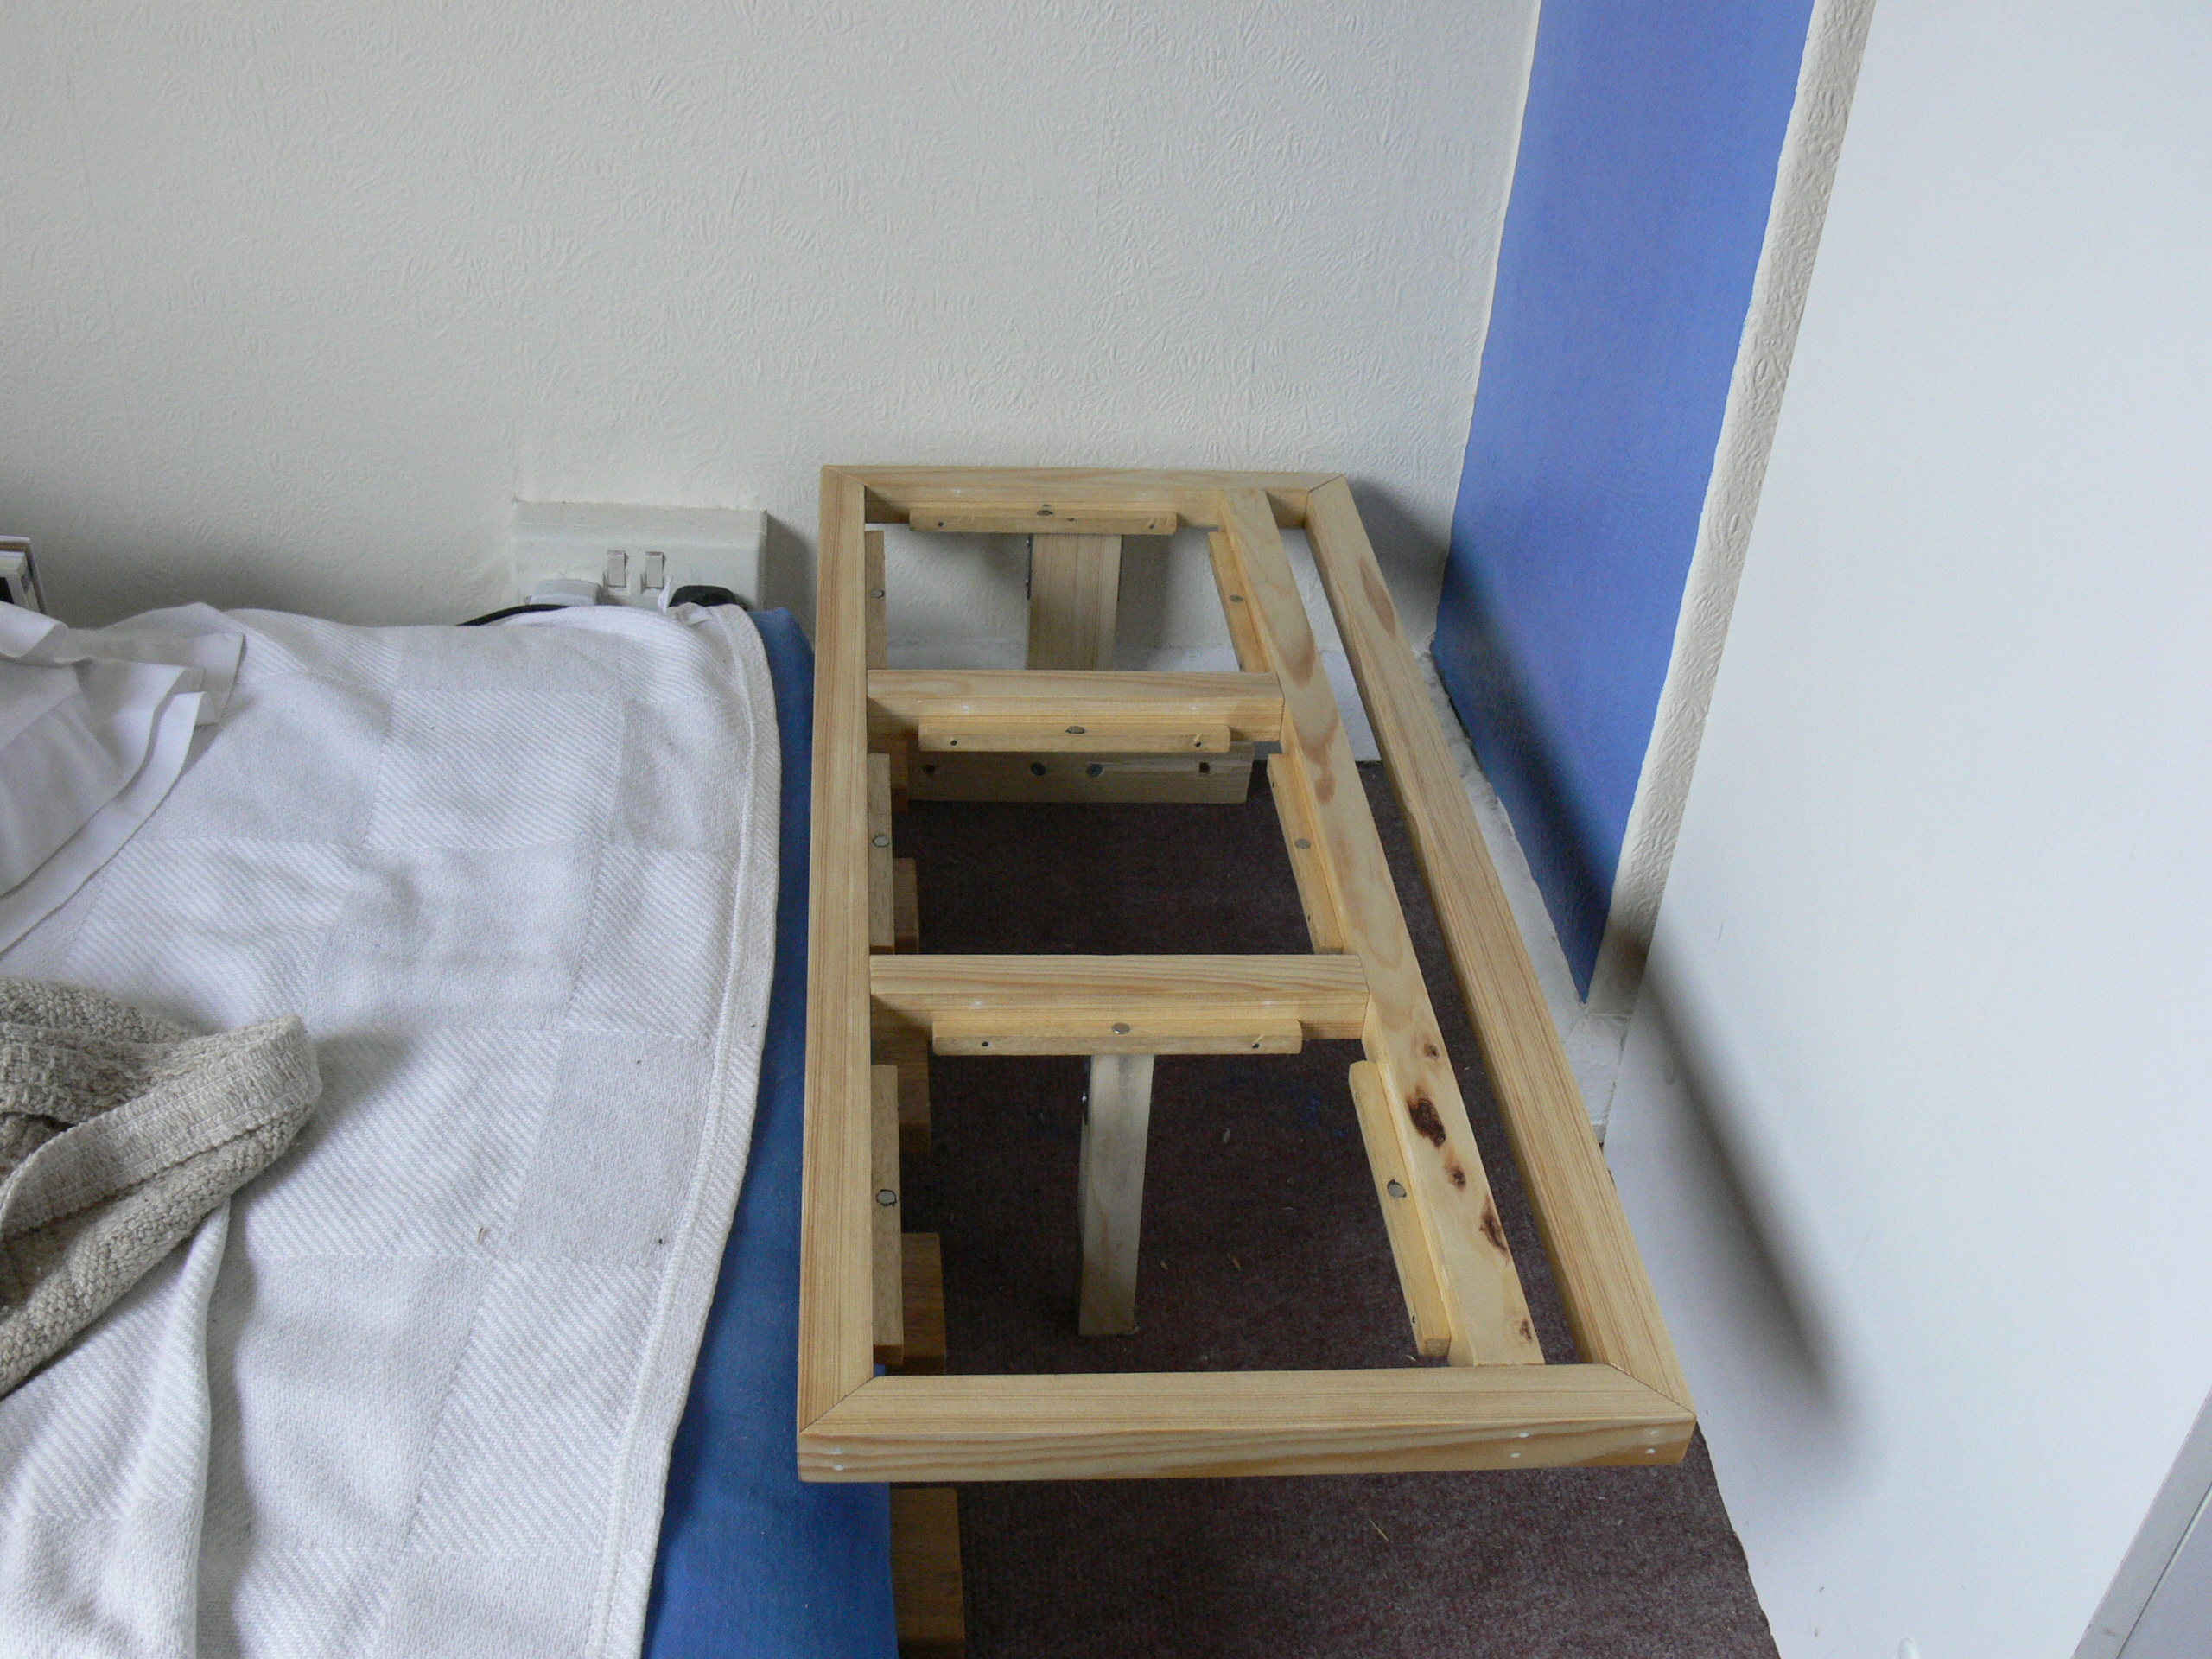
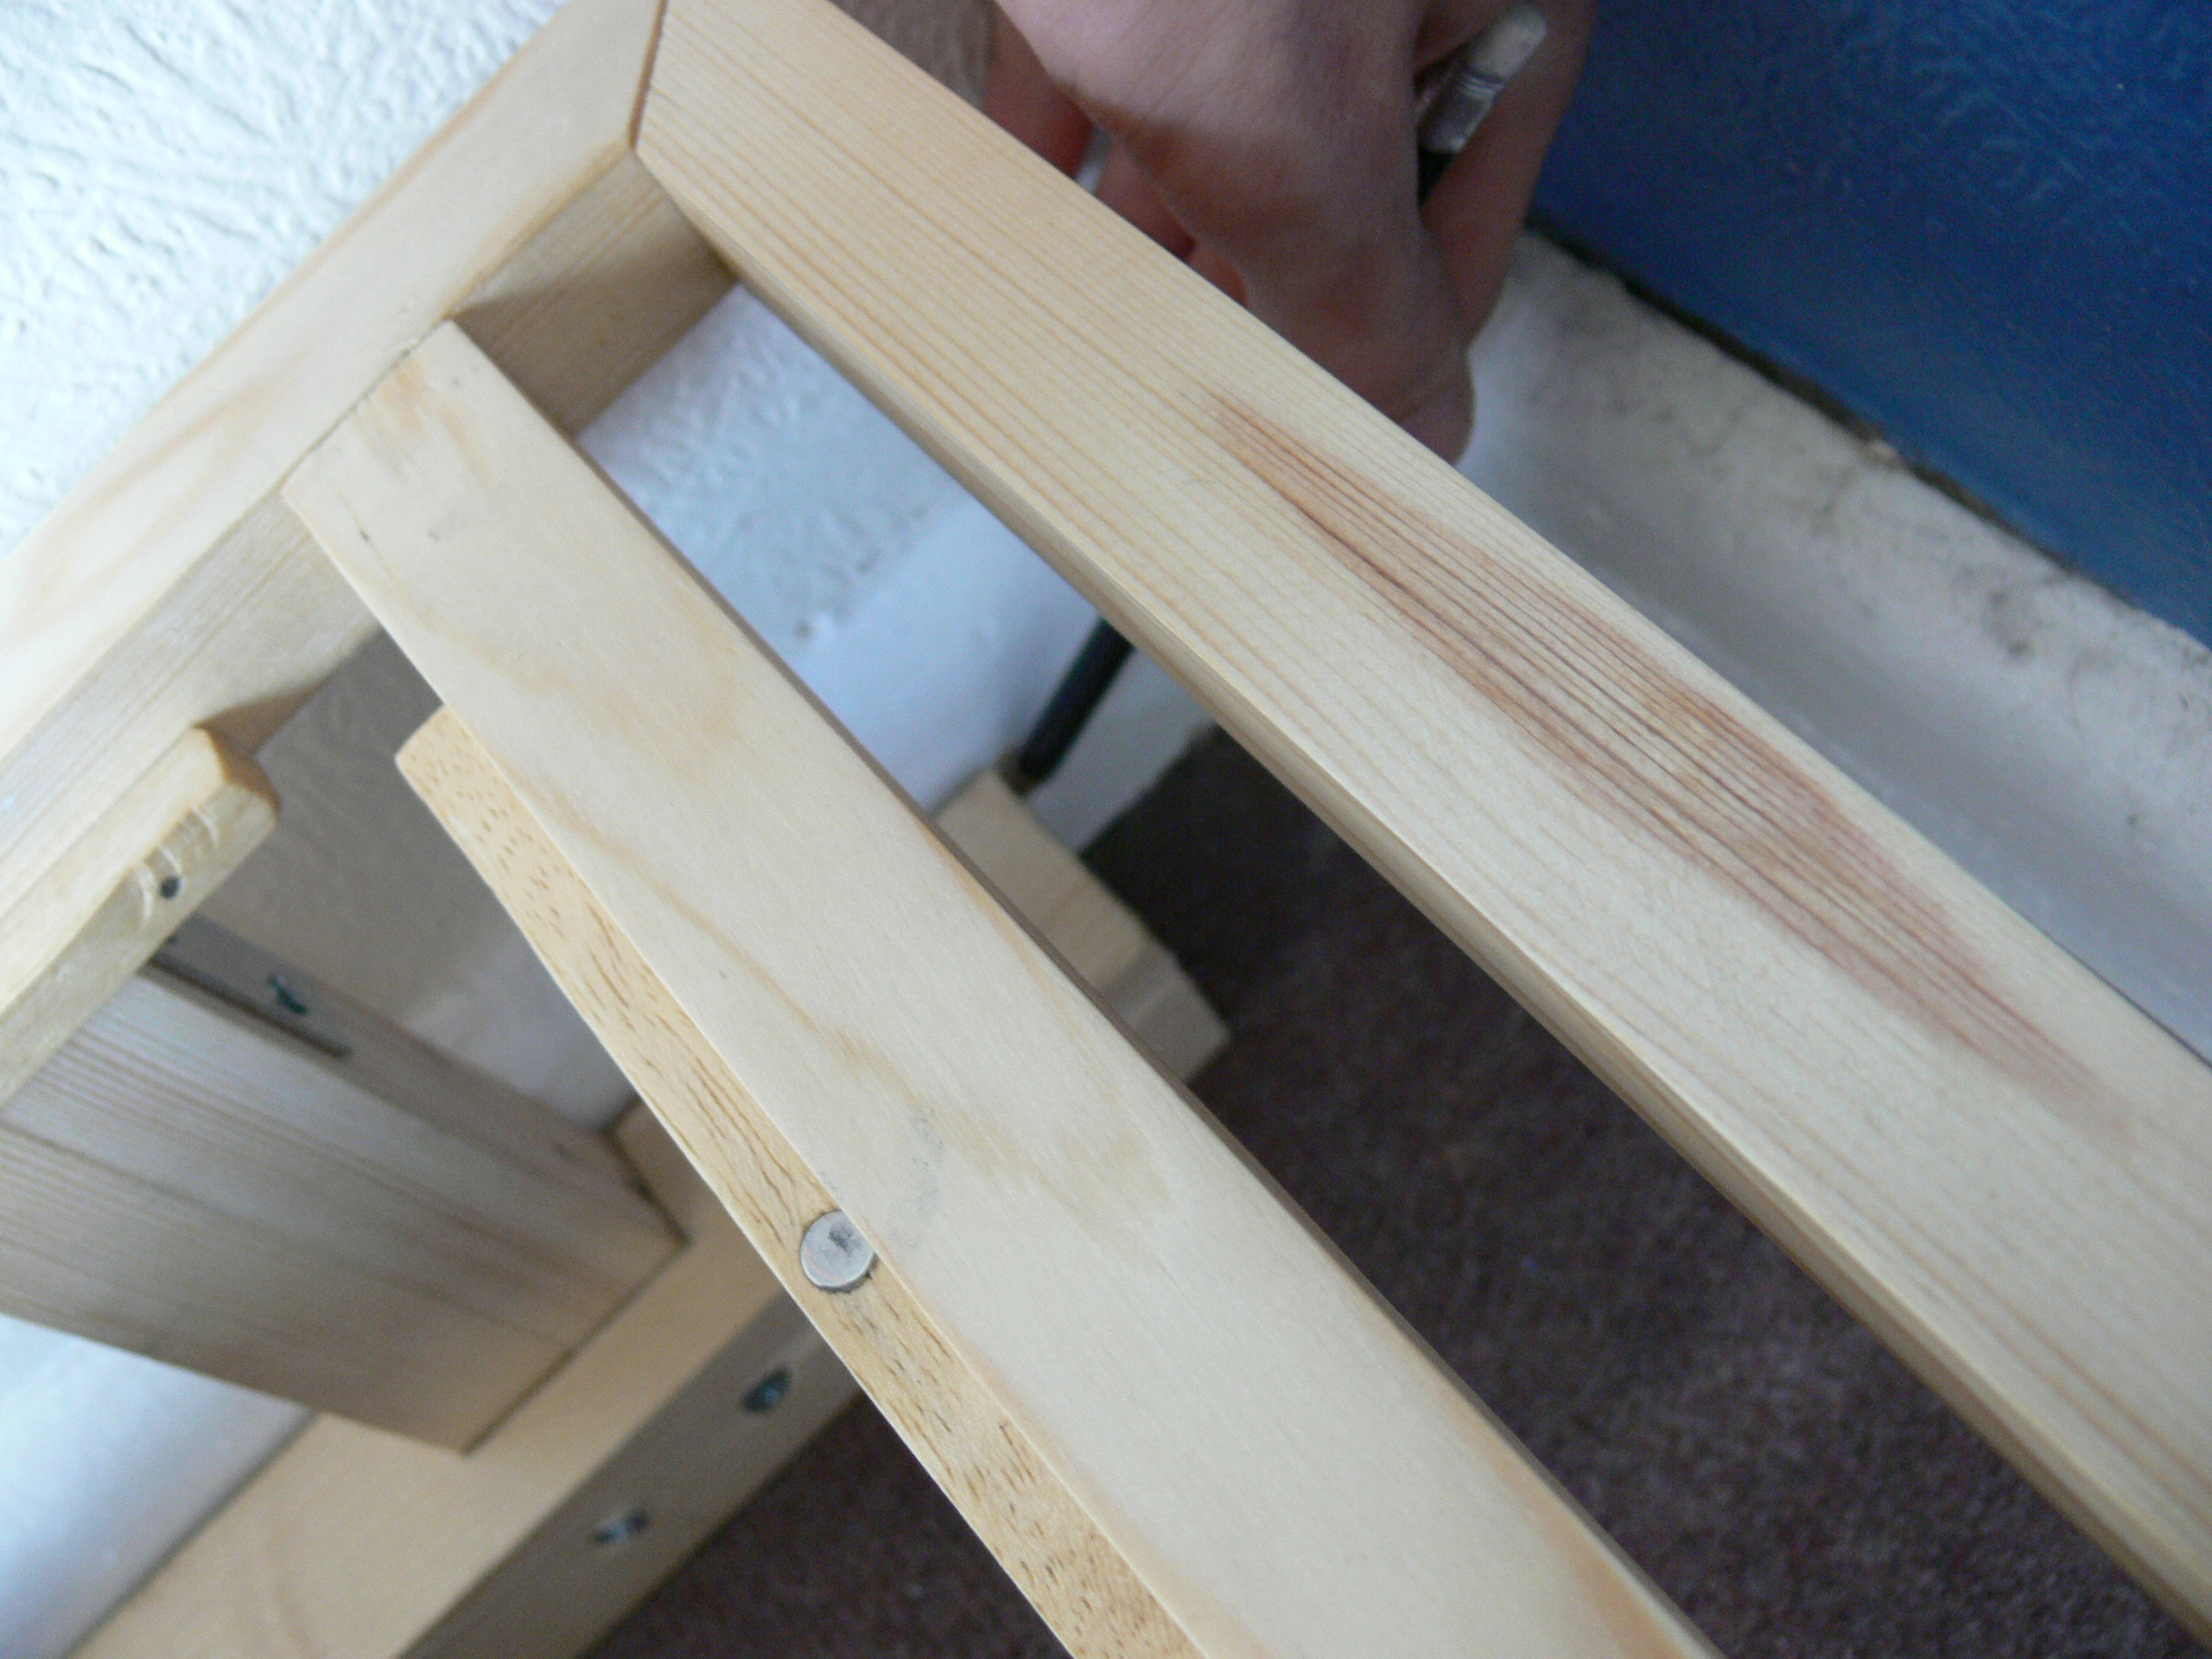
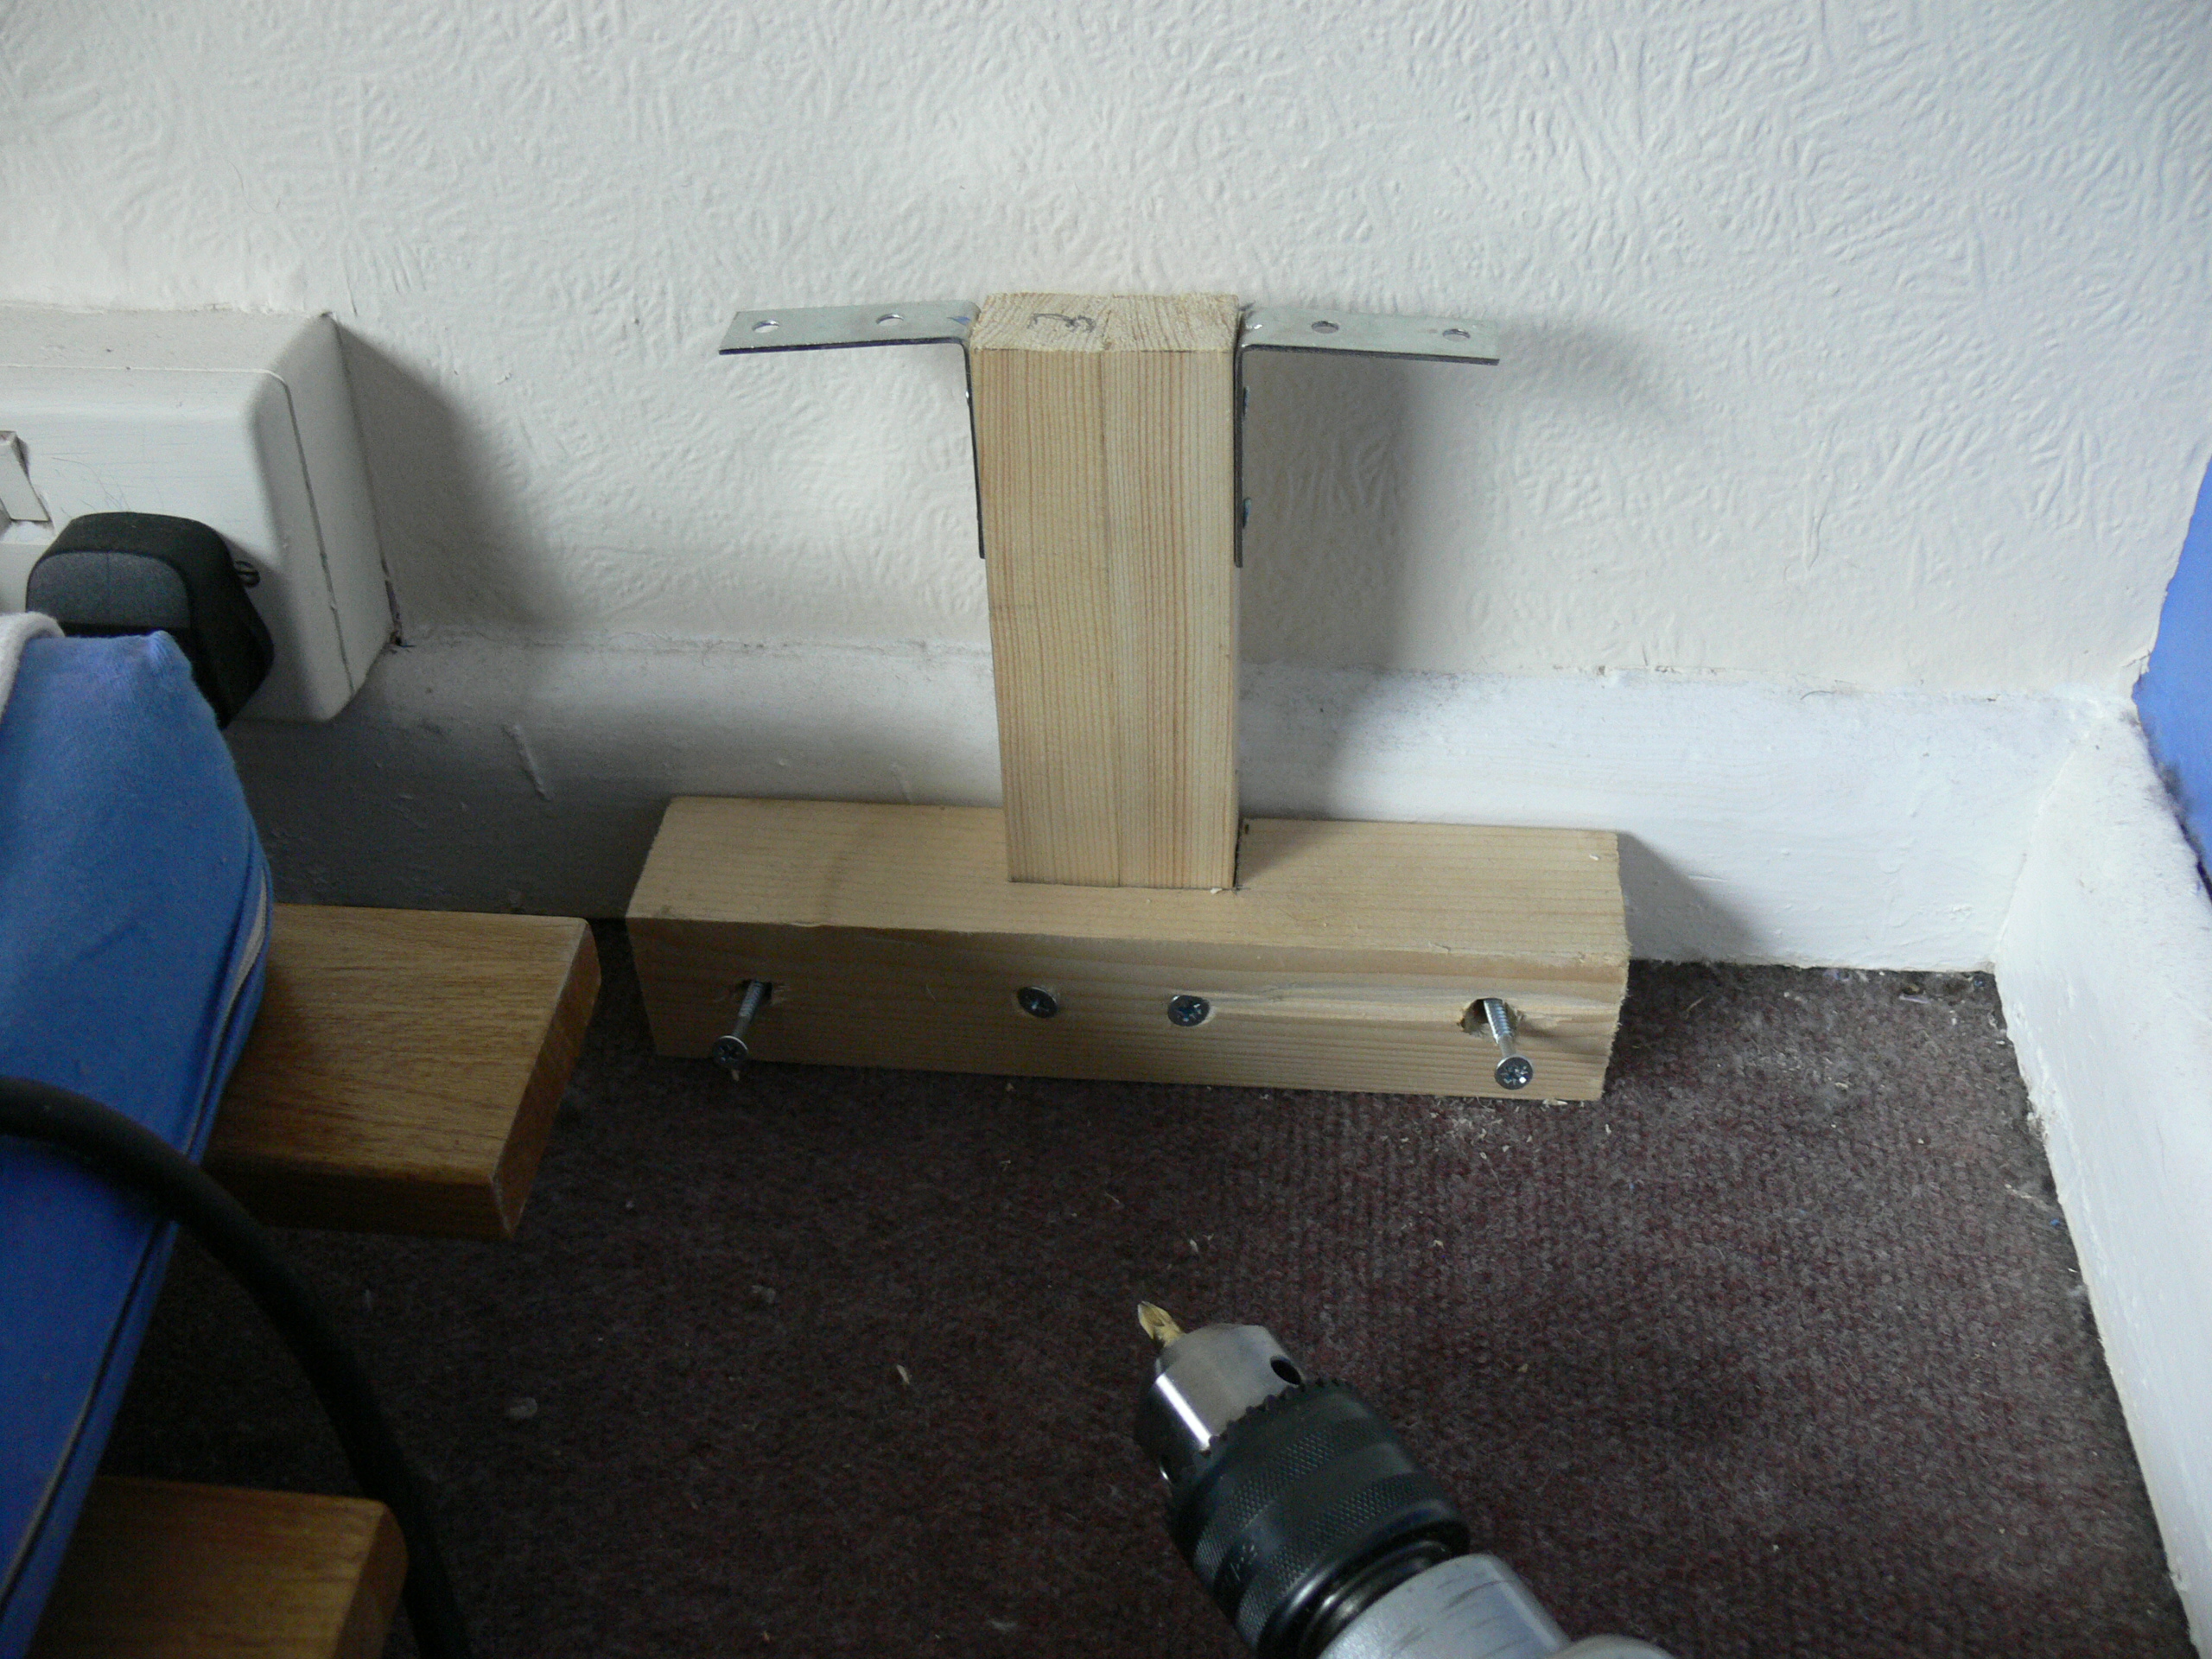
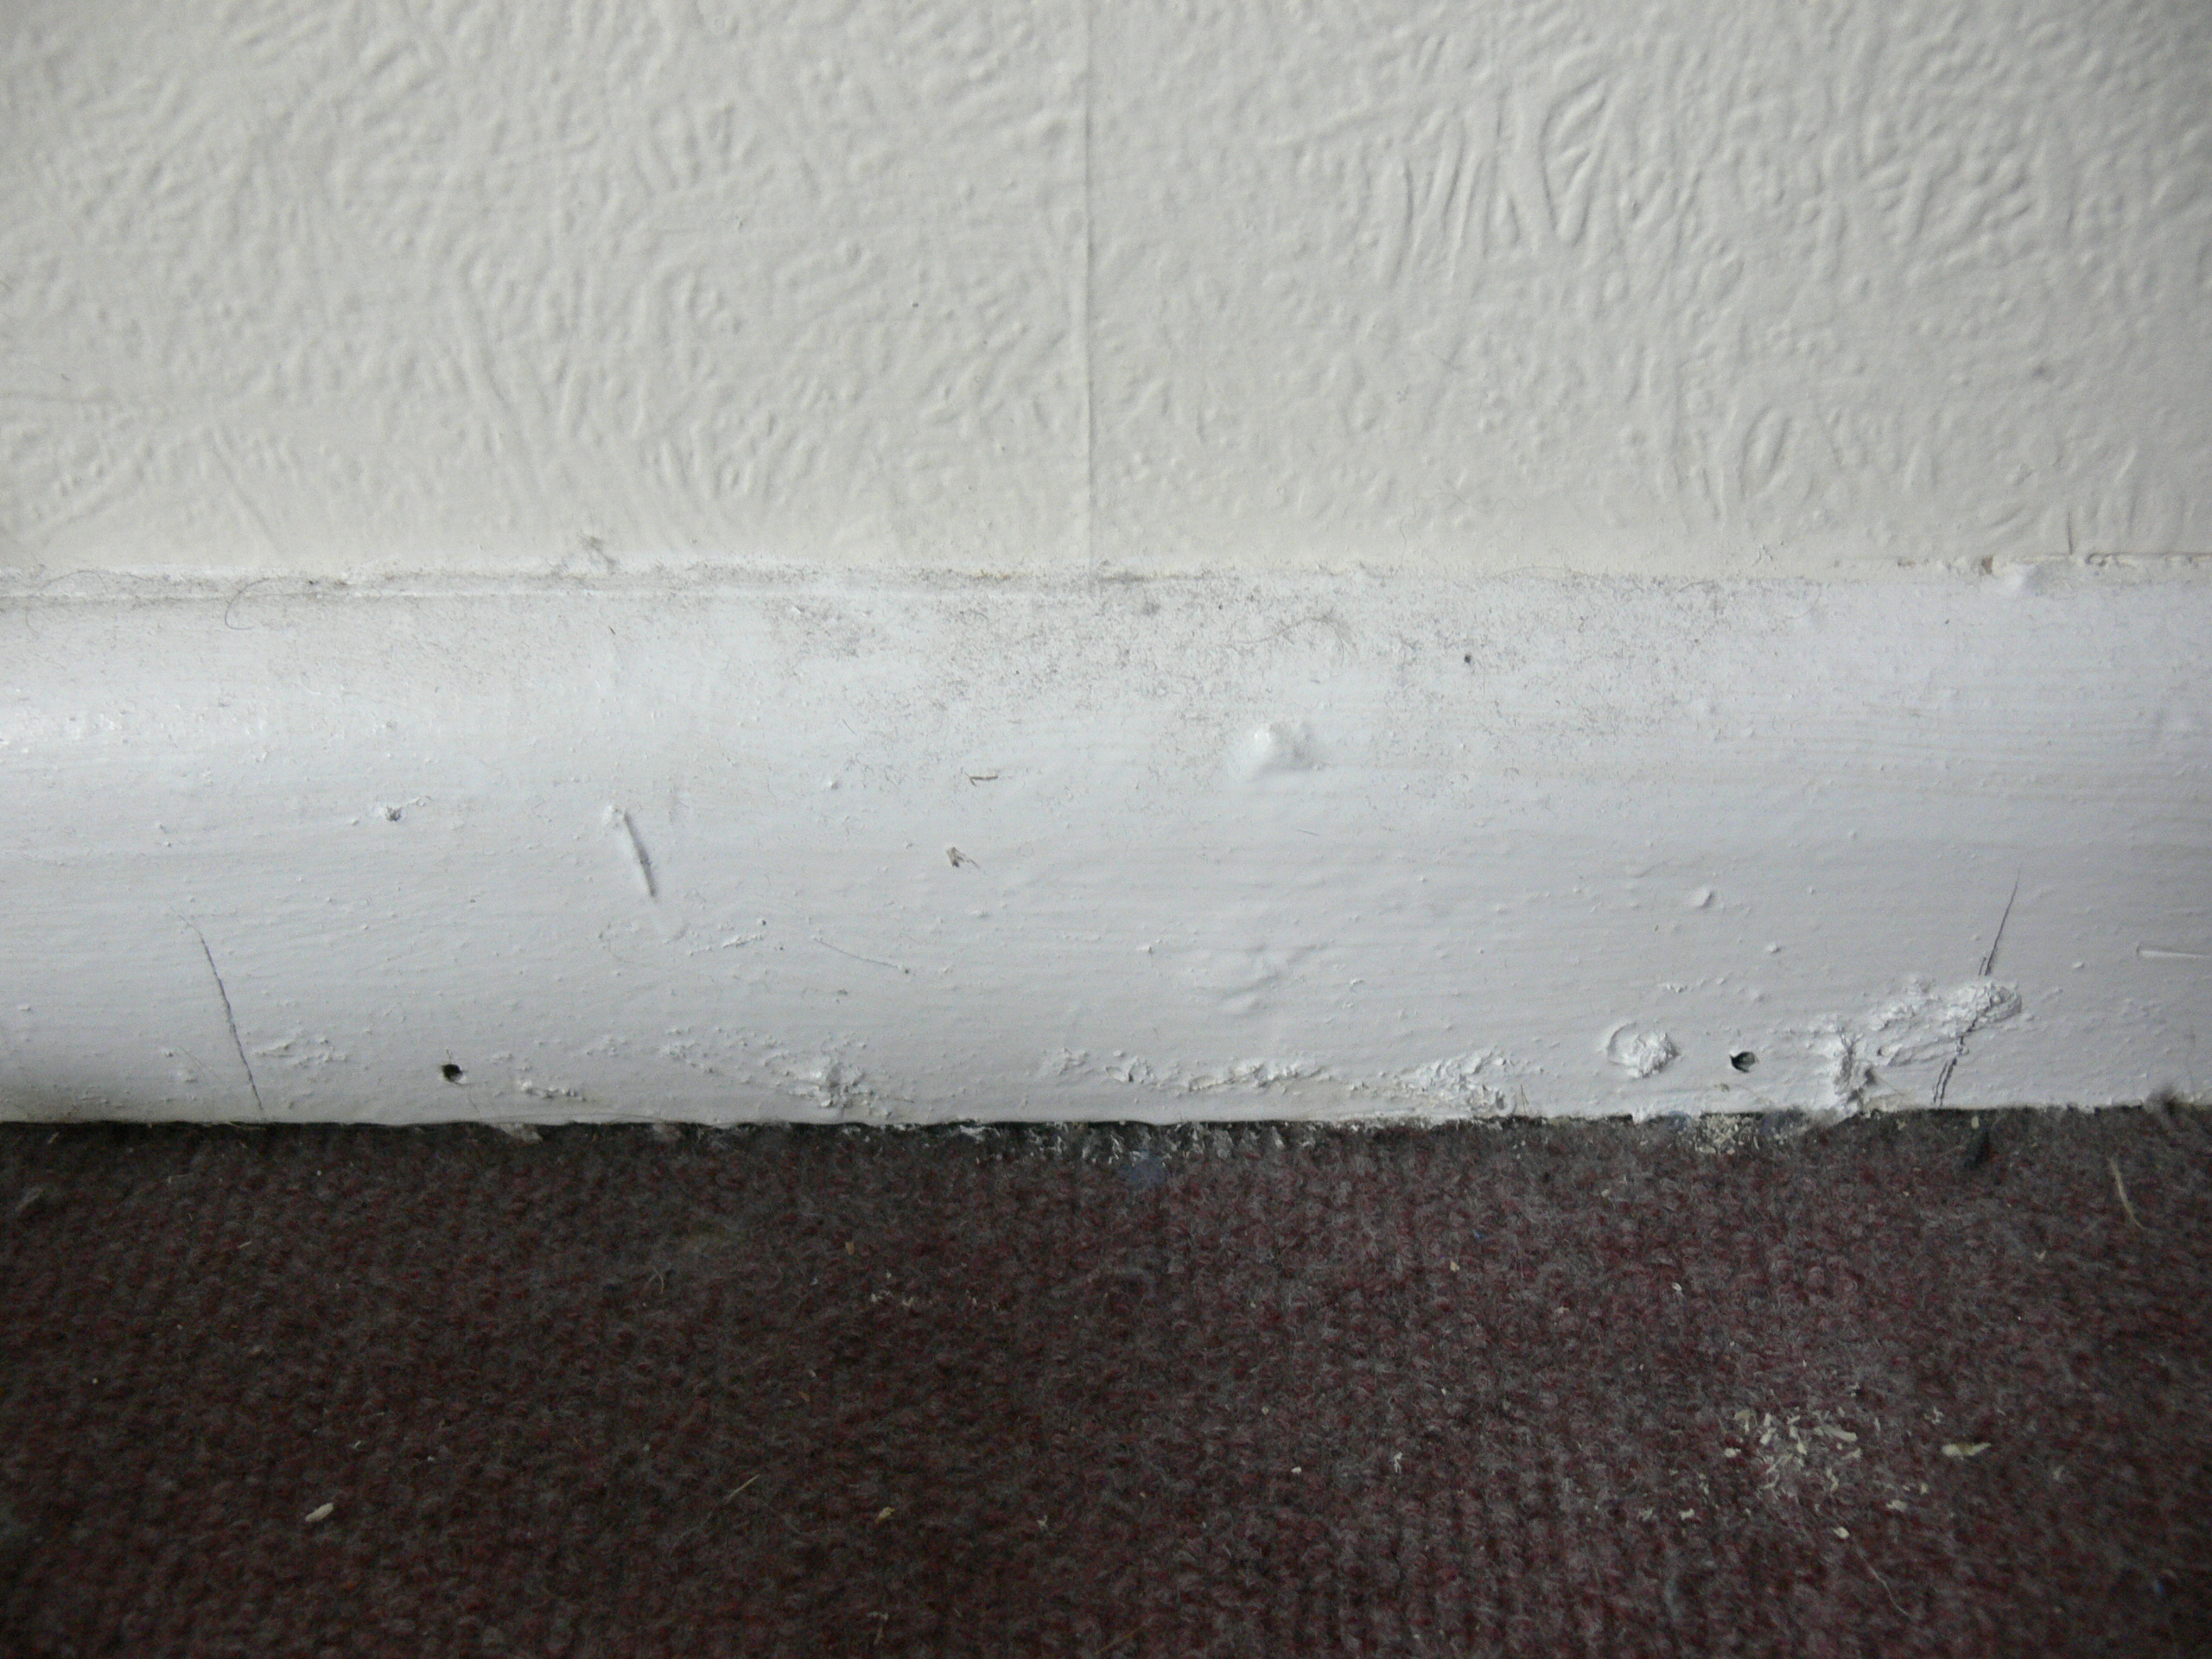
After varnishing it, a dry run at fitting it near the futon makes it much easier to fit it later. Mounting holes can be made in the wall/skirting board with minimal clutter to get in the way of the drill.
Access is a bit awkward where I chose to install it, so I assembled it with just the front and back legs, as they're all that's needed to get it into position. A couple of pencil marks showing the edges of the foot then allow just the foot to be mounted to the skirting board, creating a couple of holes that make it much easier to mount the whole table later.
Access is a bit awkward where I chose to install it, so I assembled it with just the front and back legs, as they're all that's needed to get it into position. A couple of pencil marks showing the edges of the foot then allow just the foot to be mounted to the skirting board, creating a couple of holes that make it much easier to mount the whole table later.
Pockets
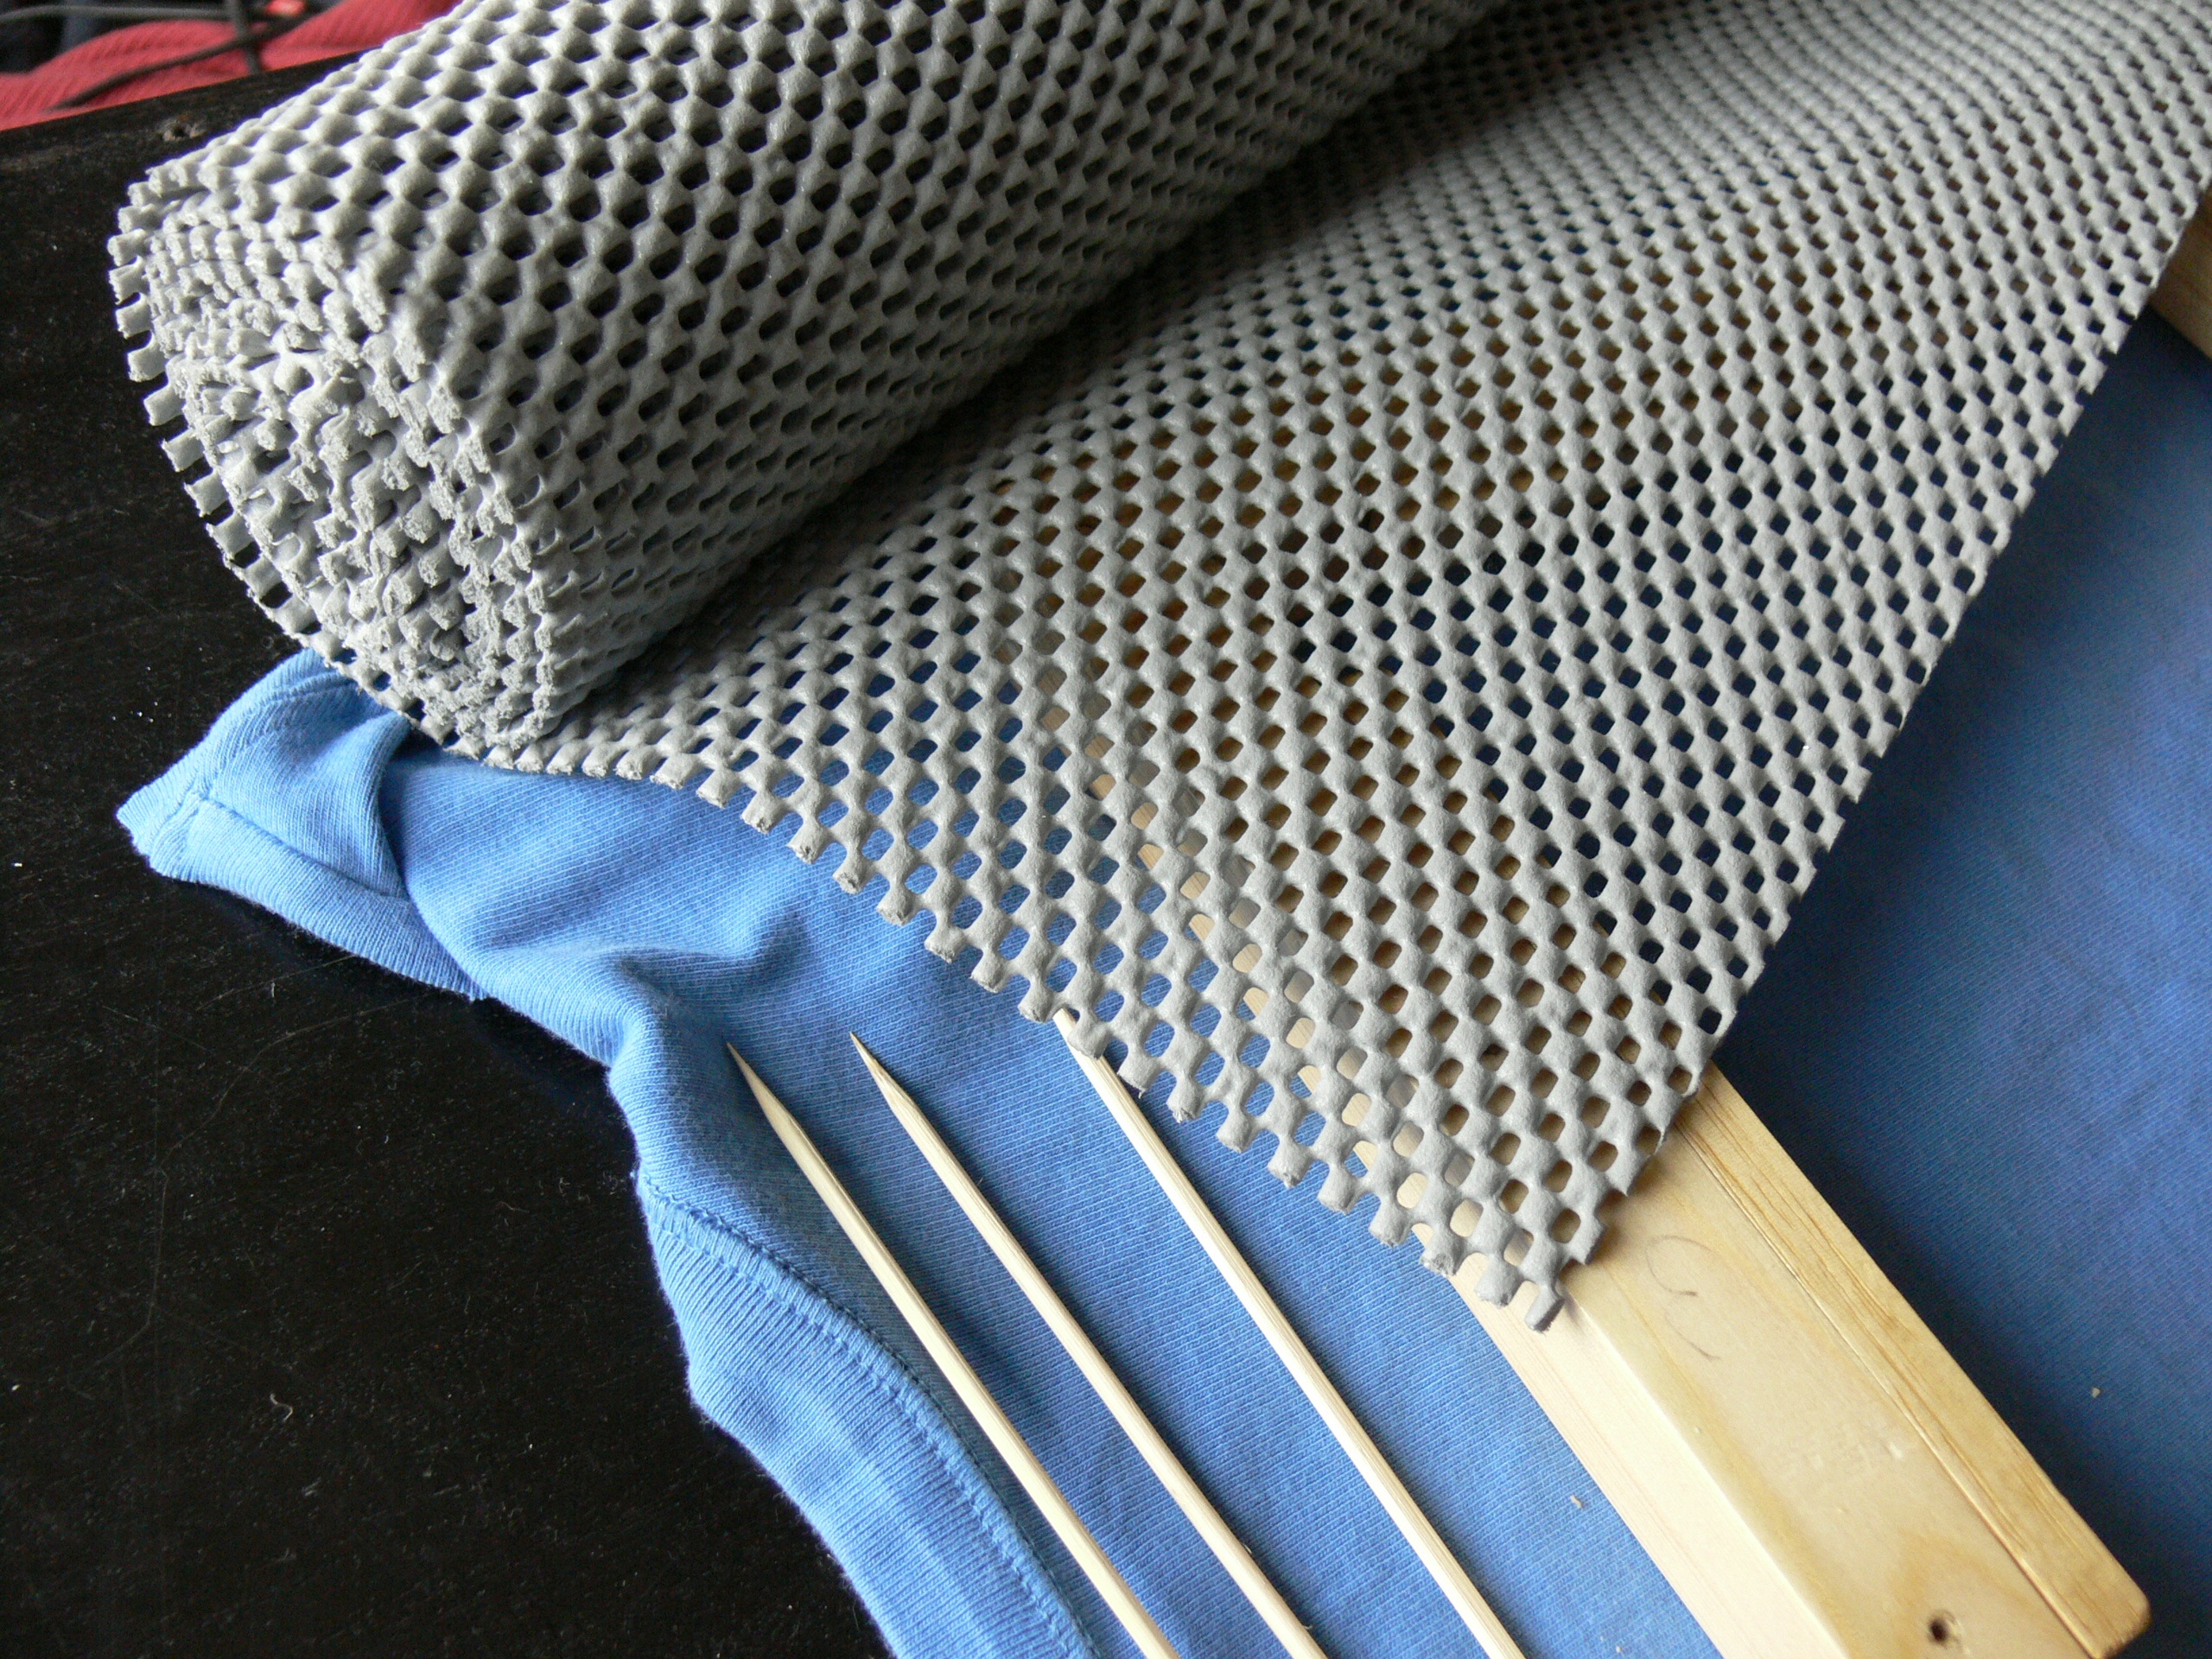
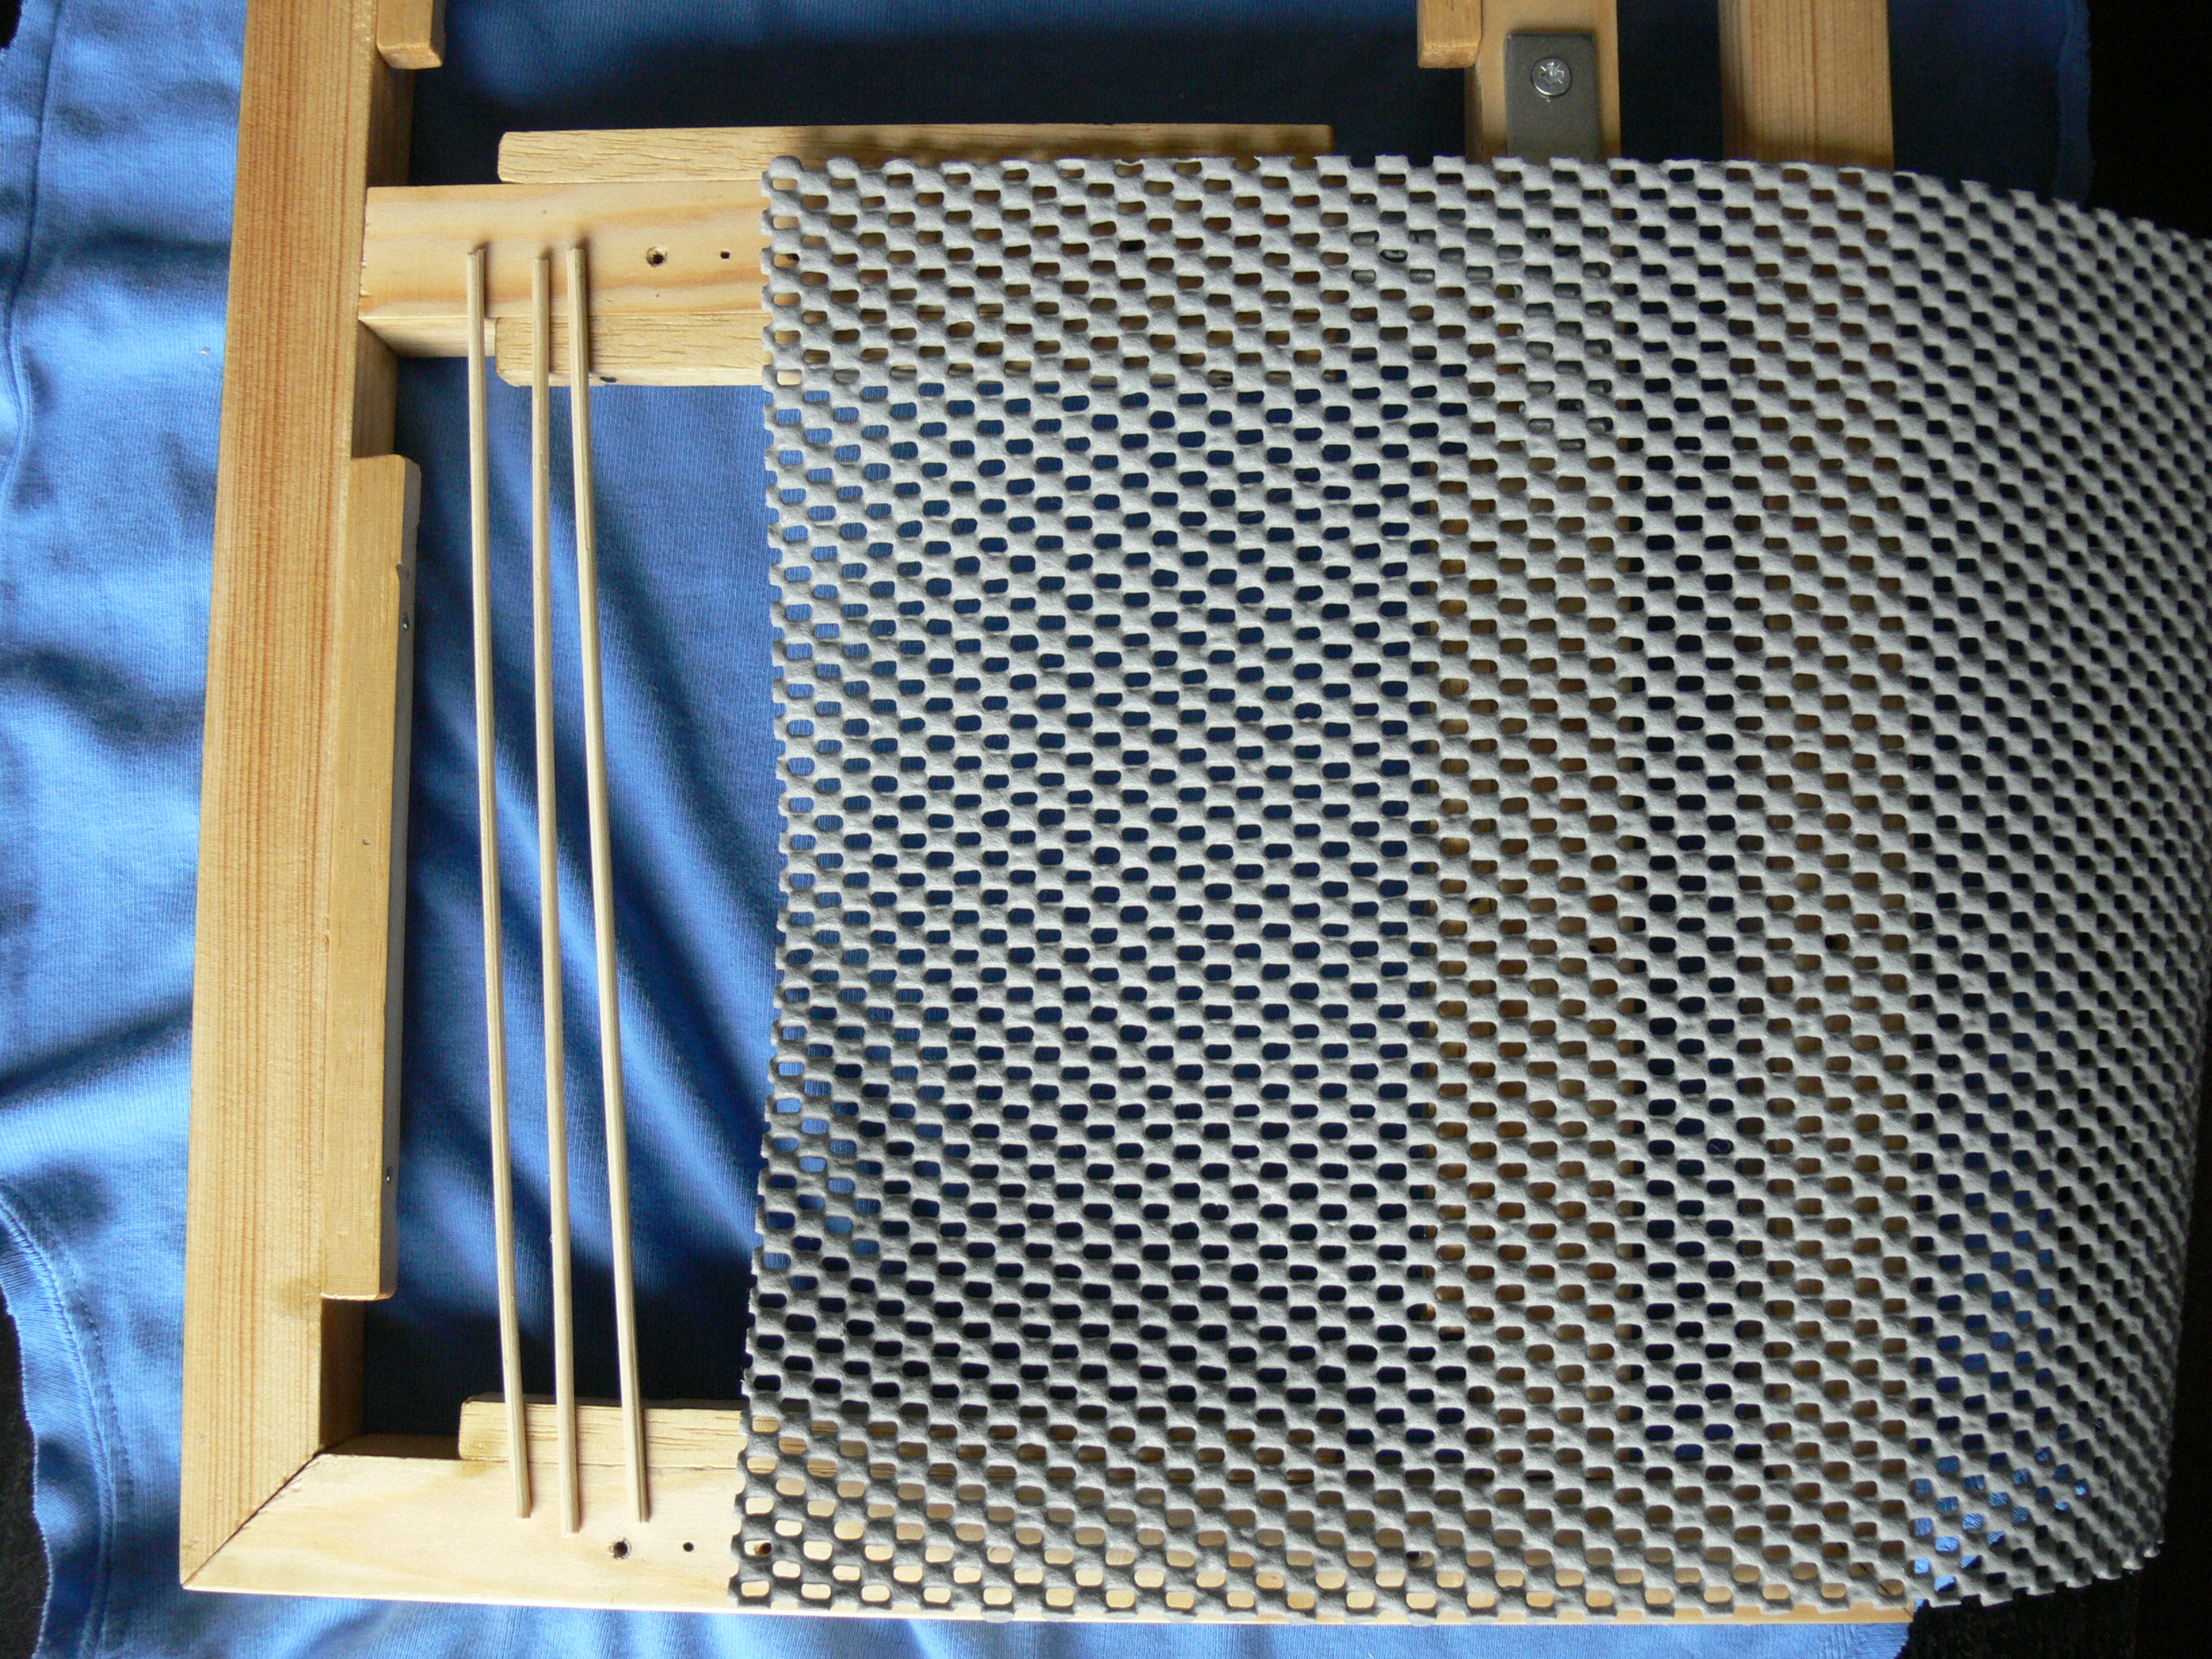
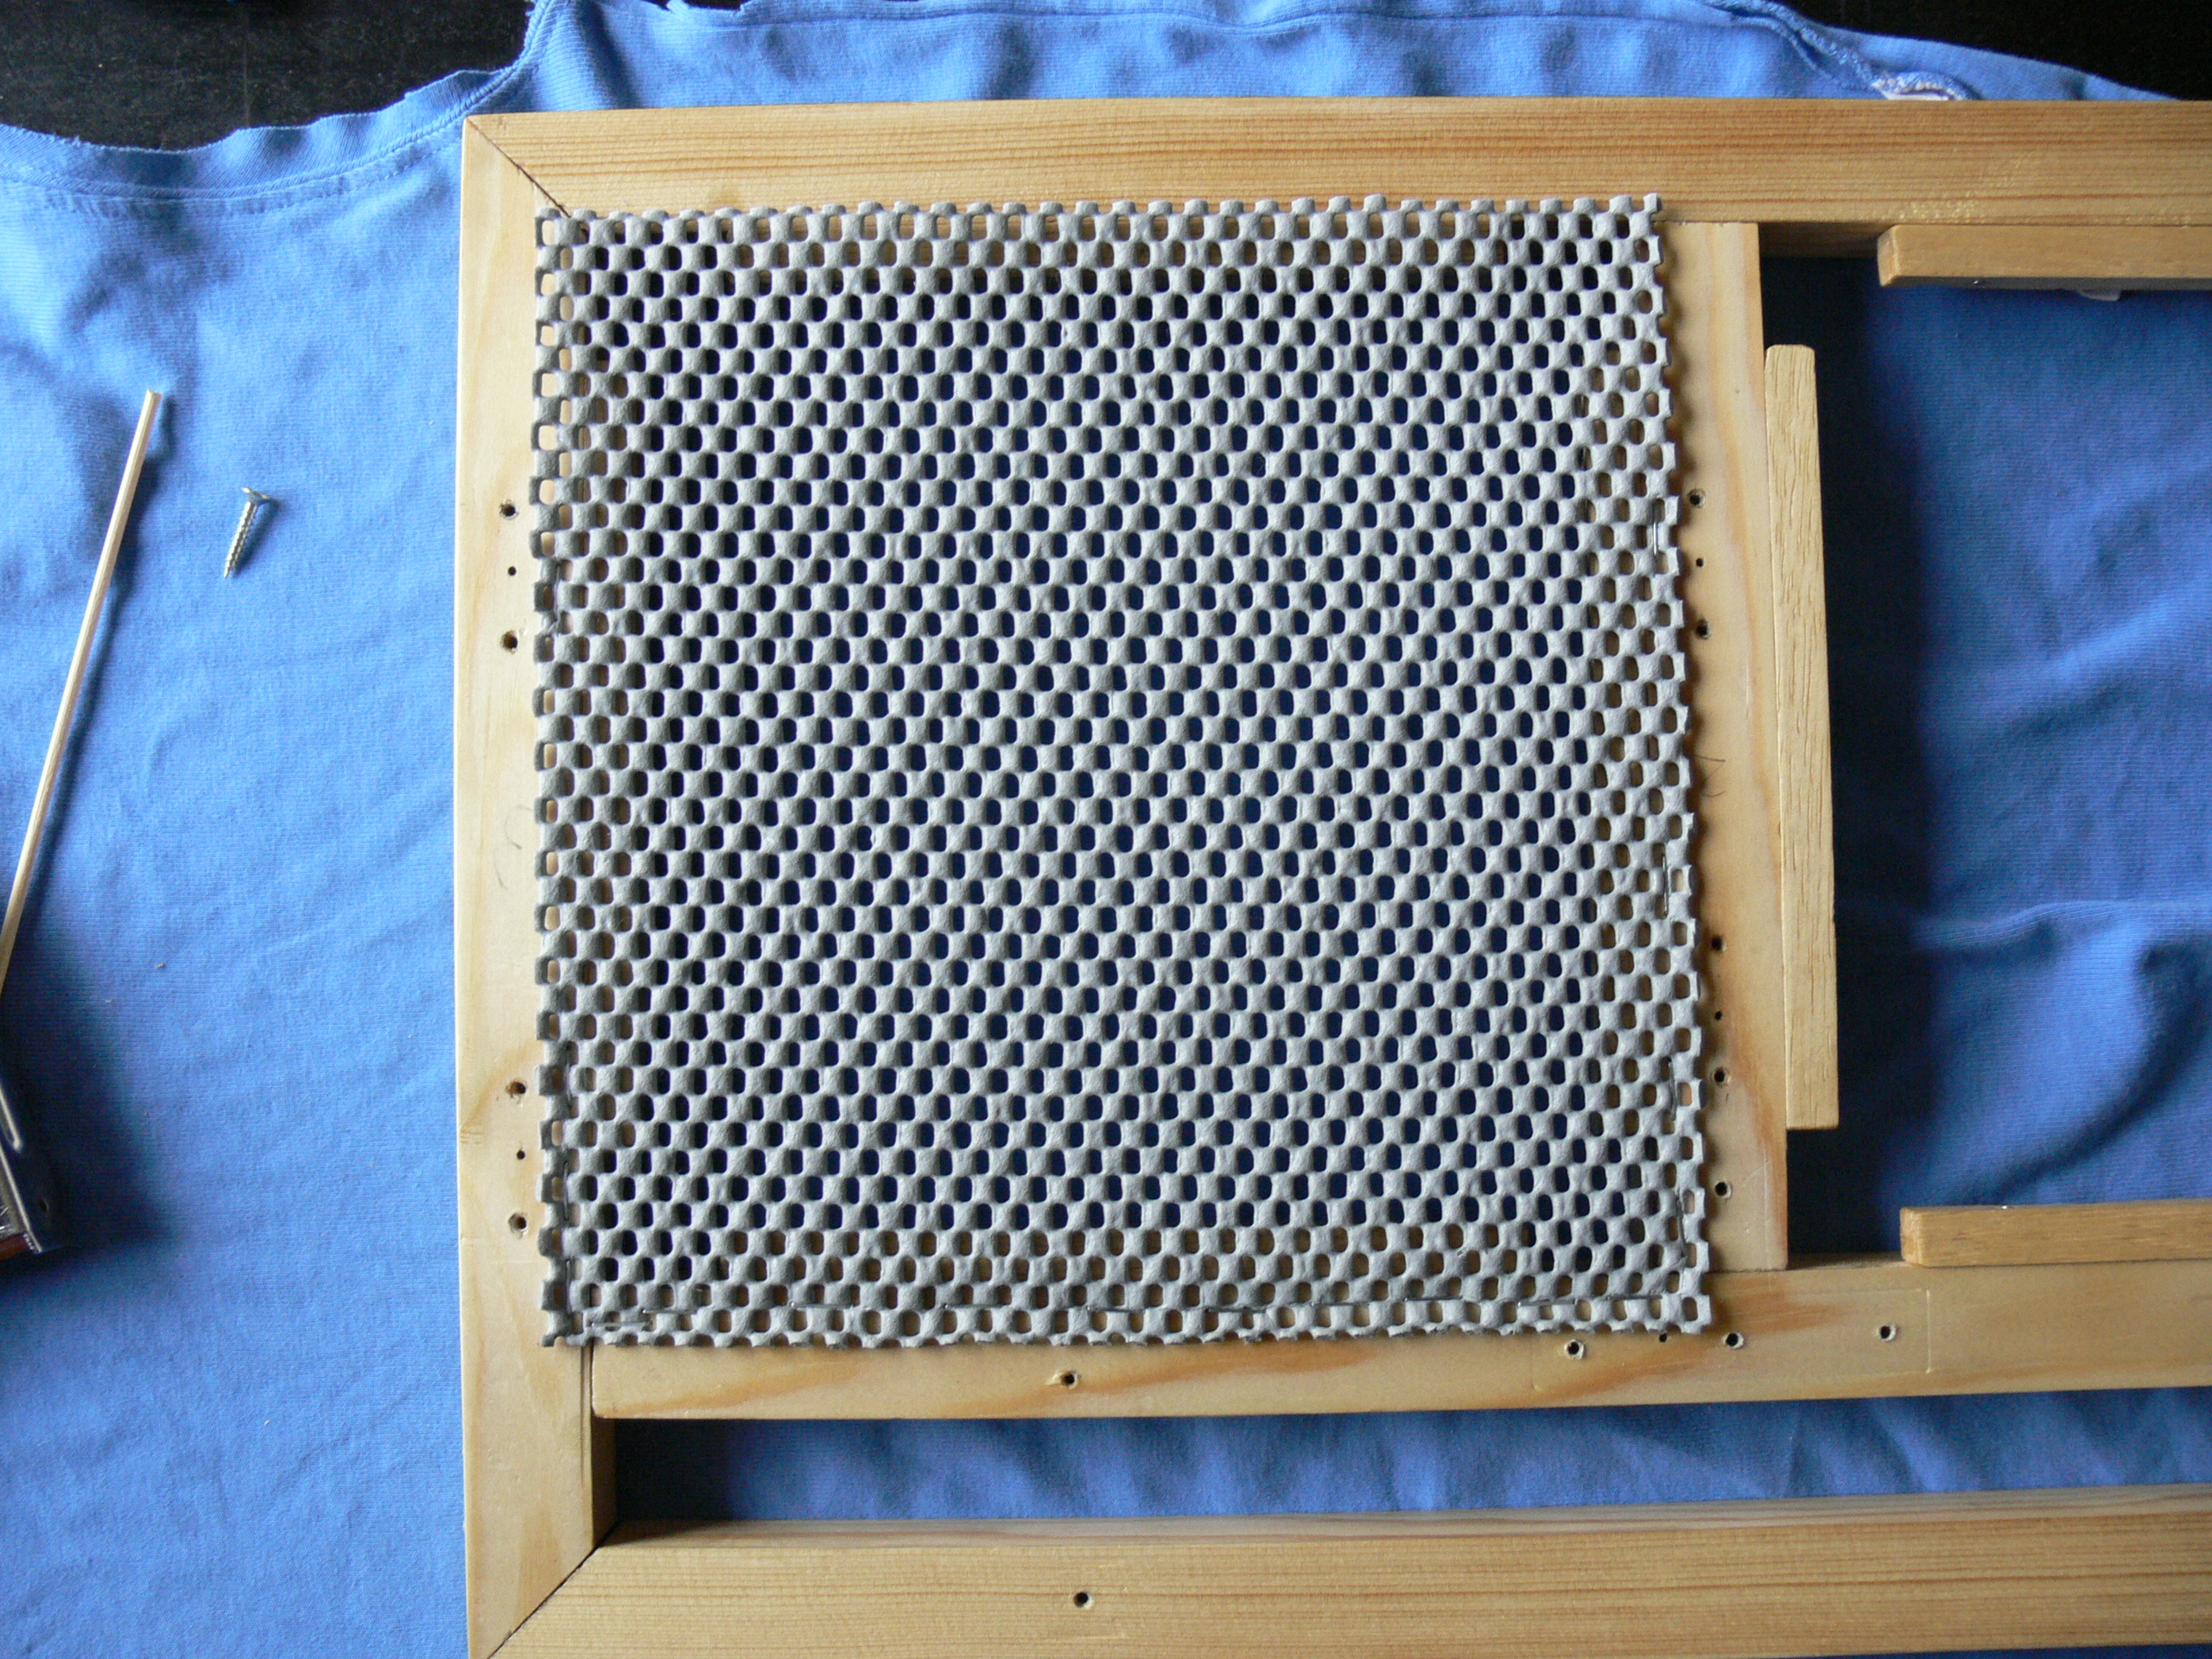
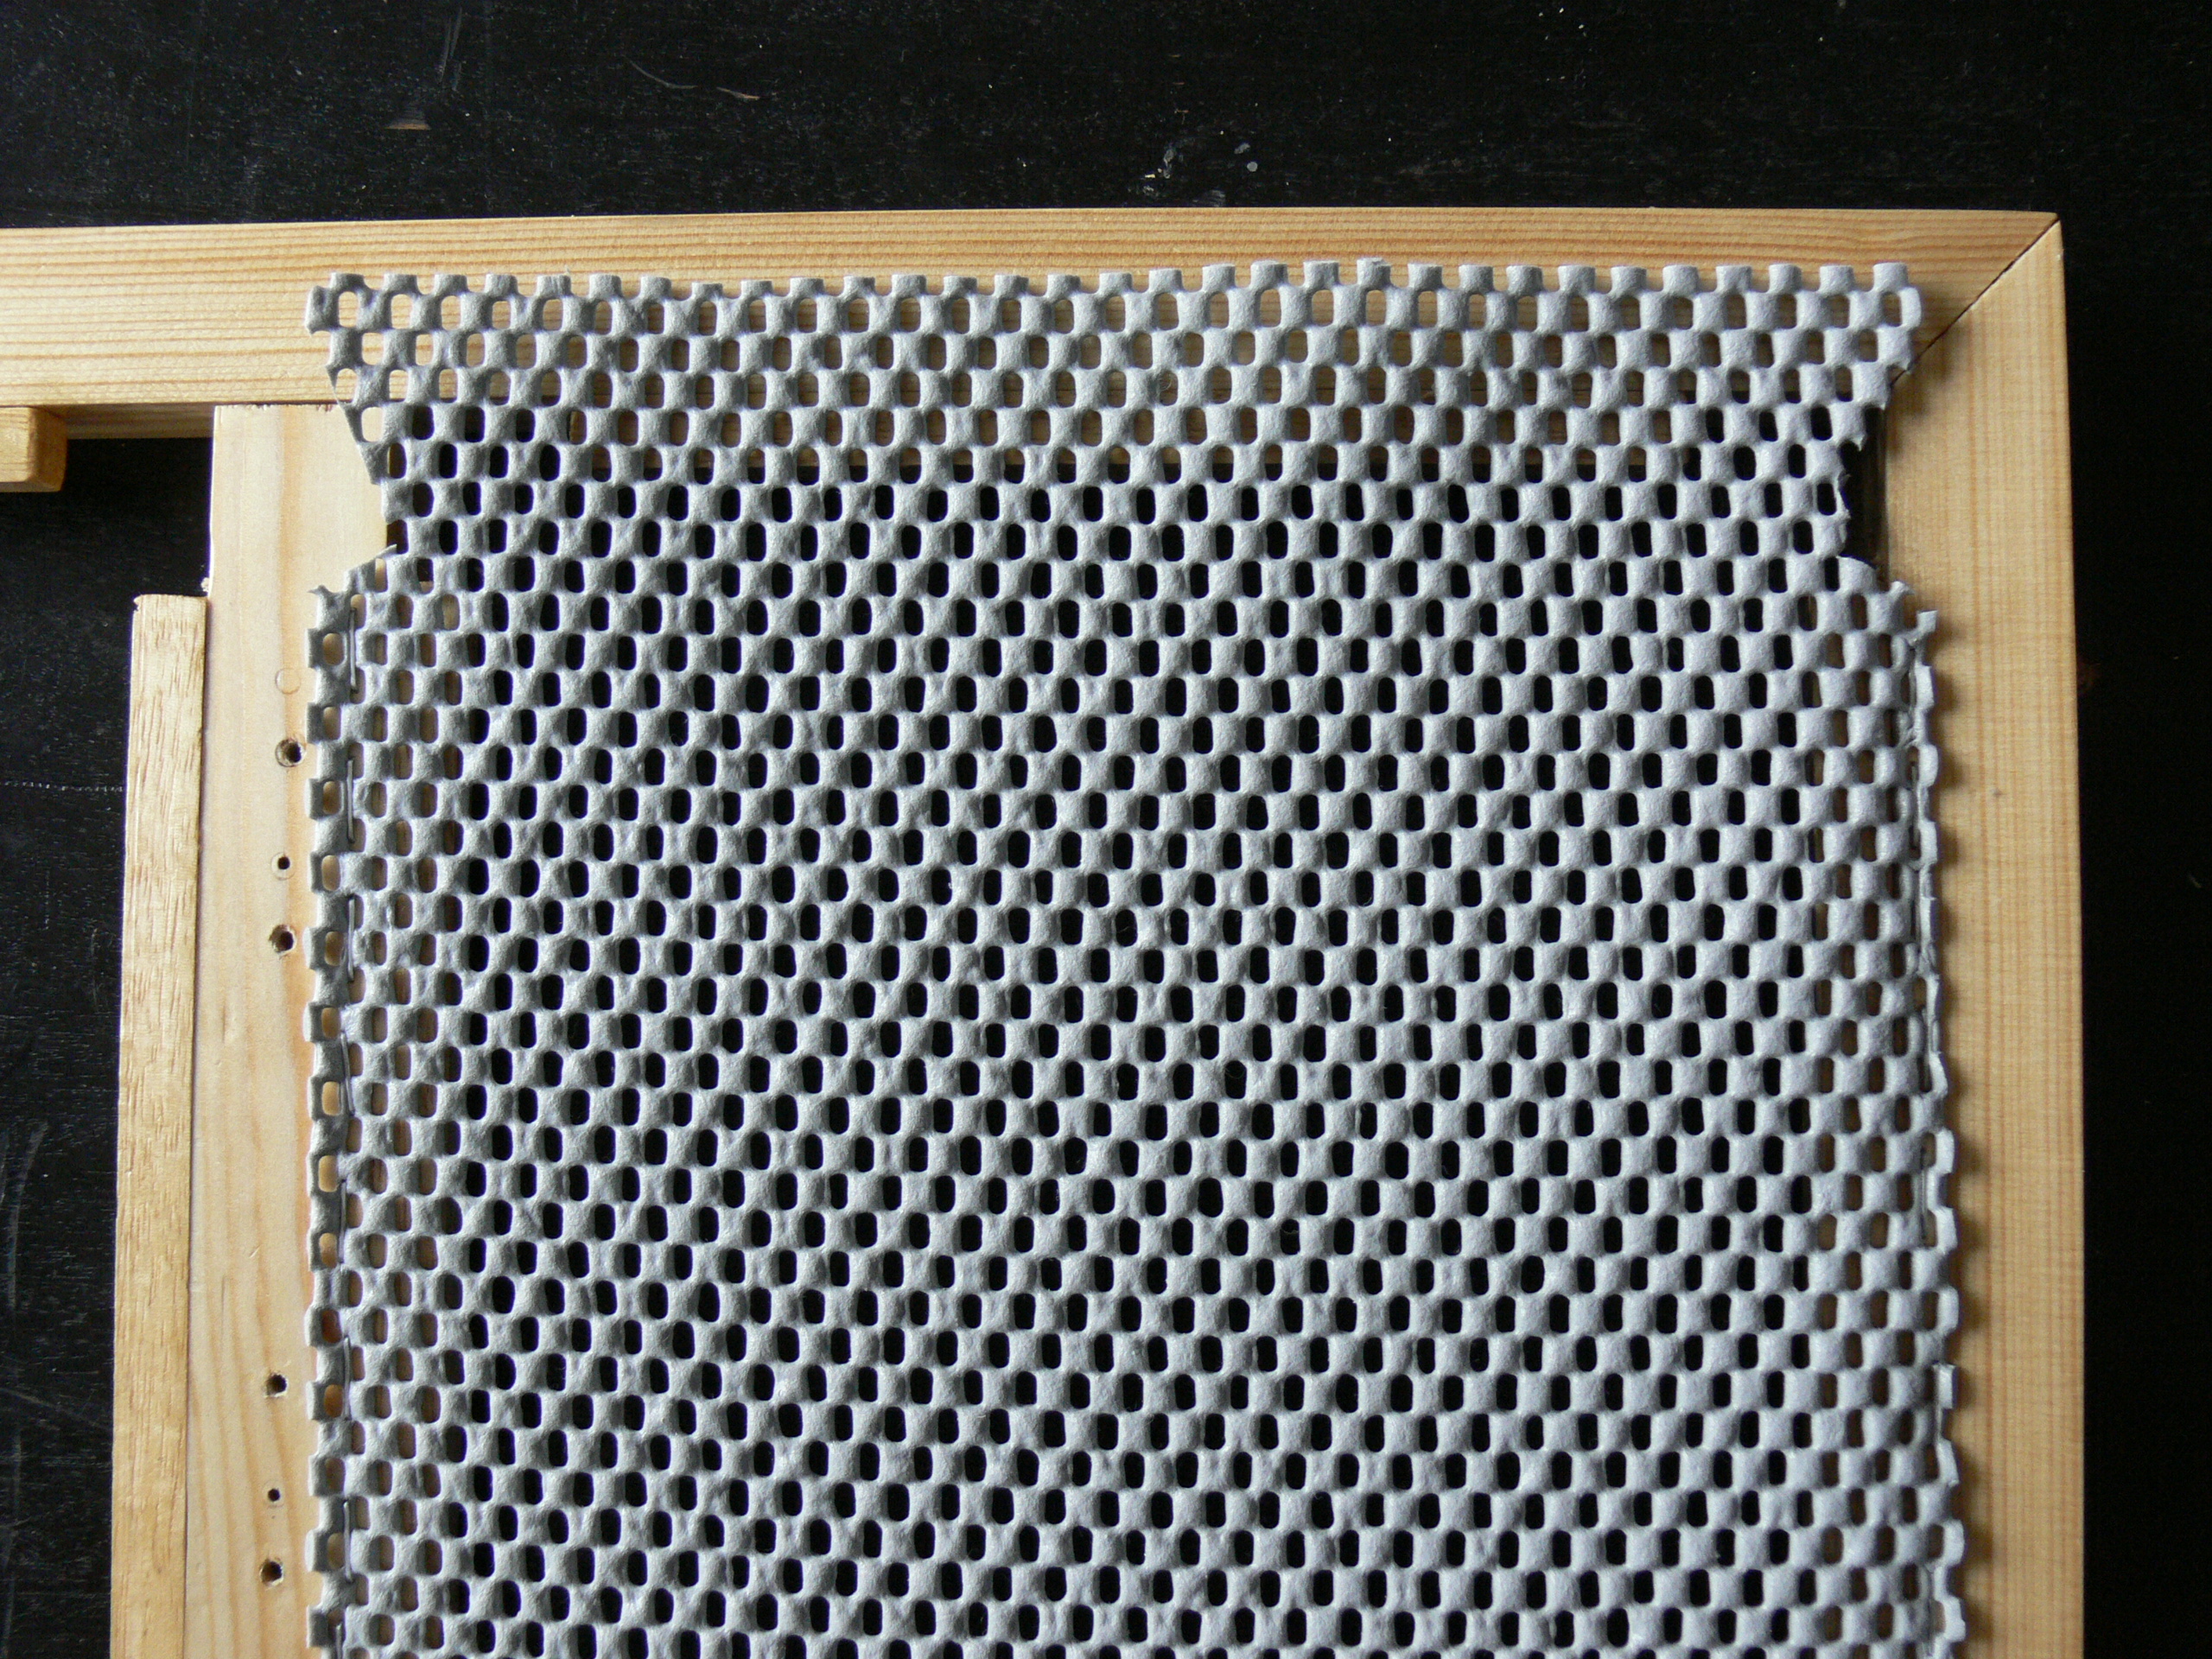
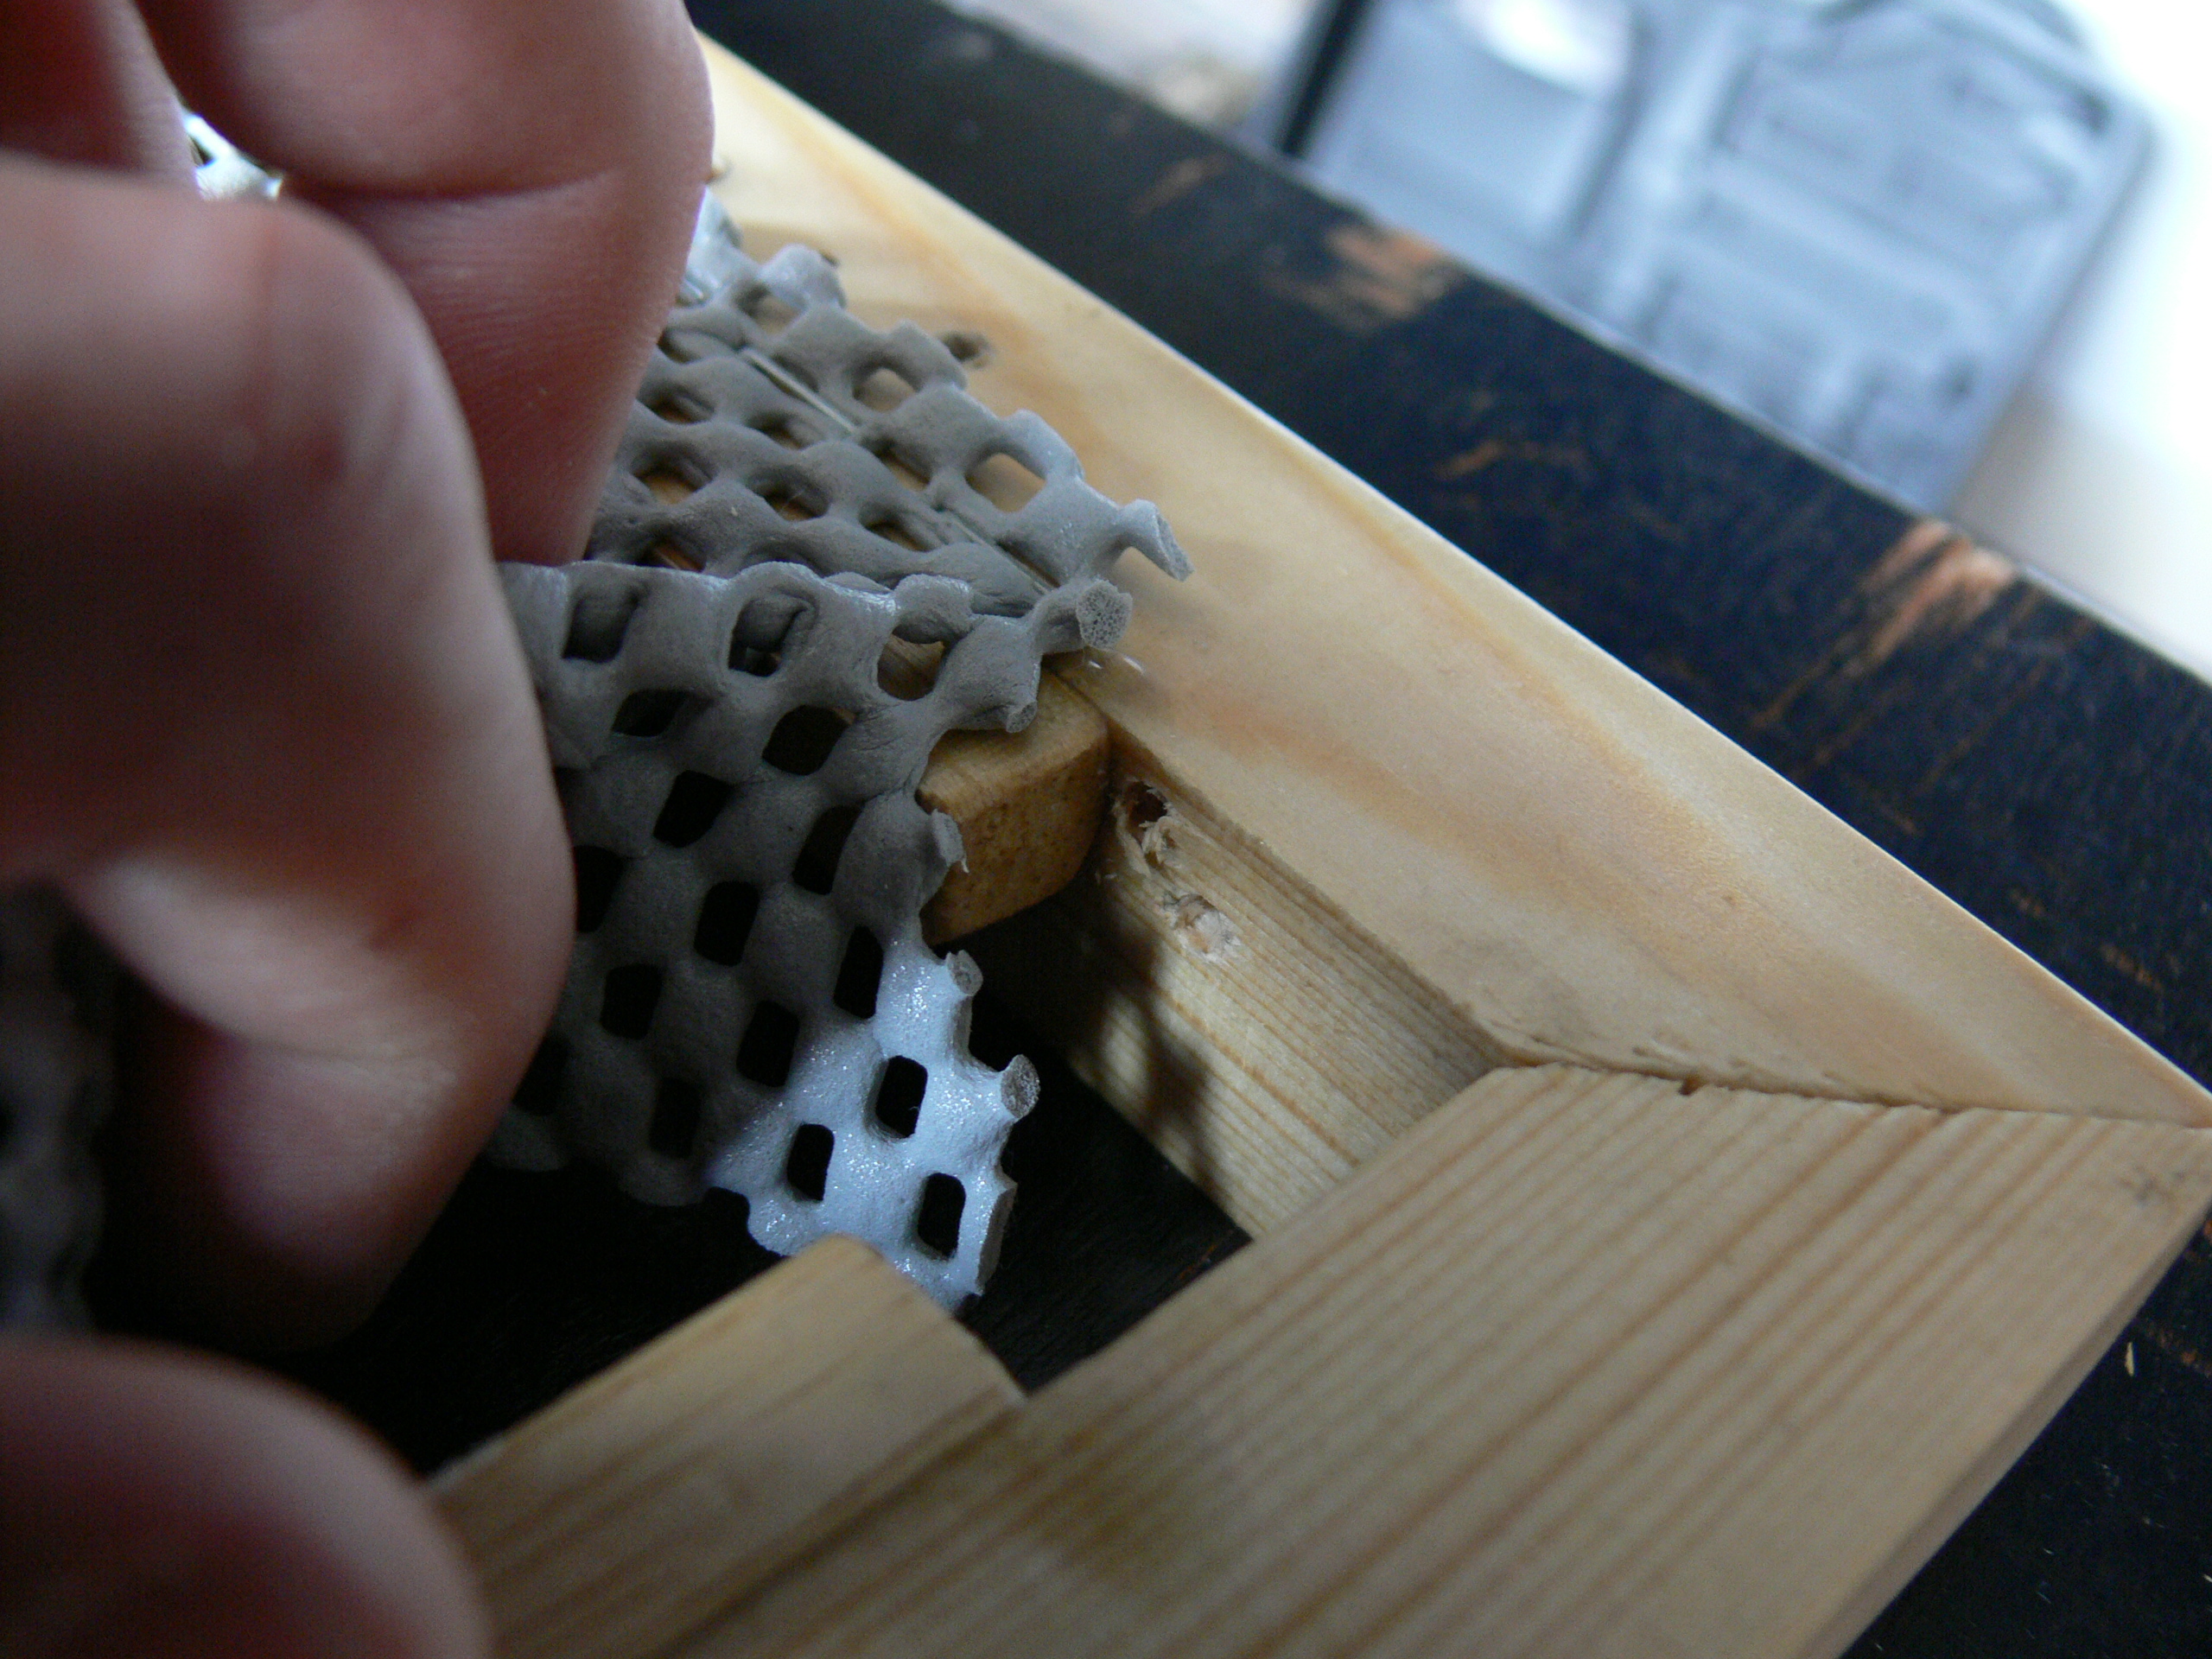
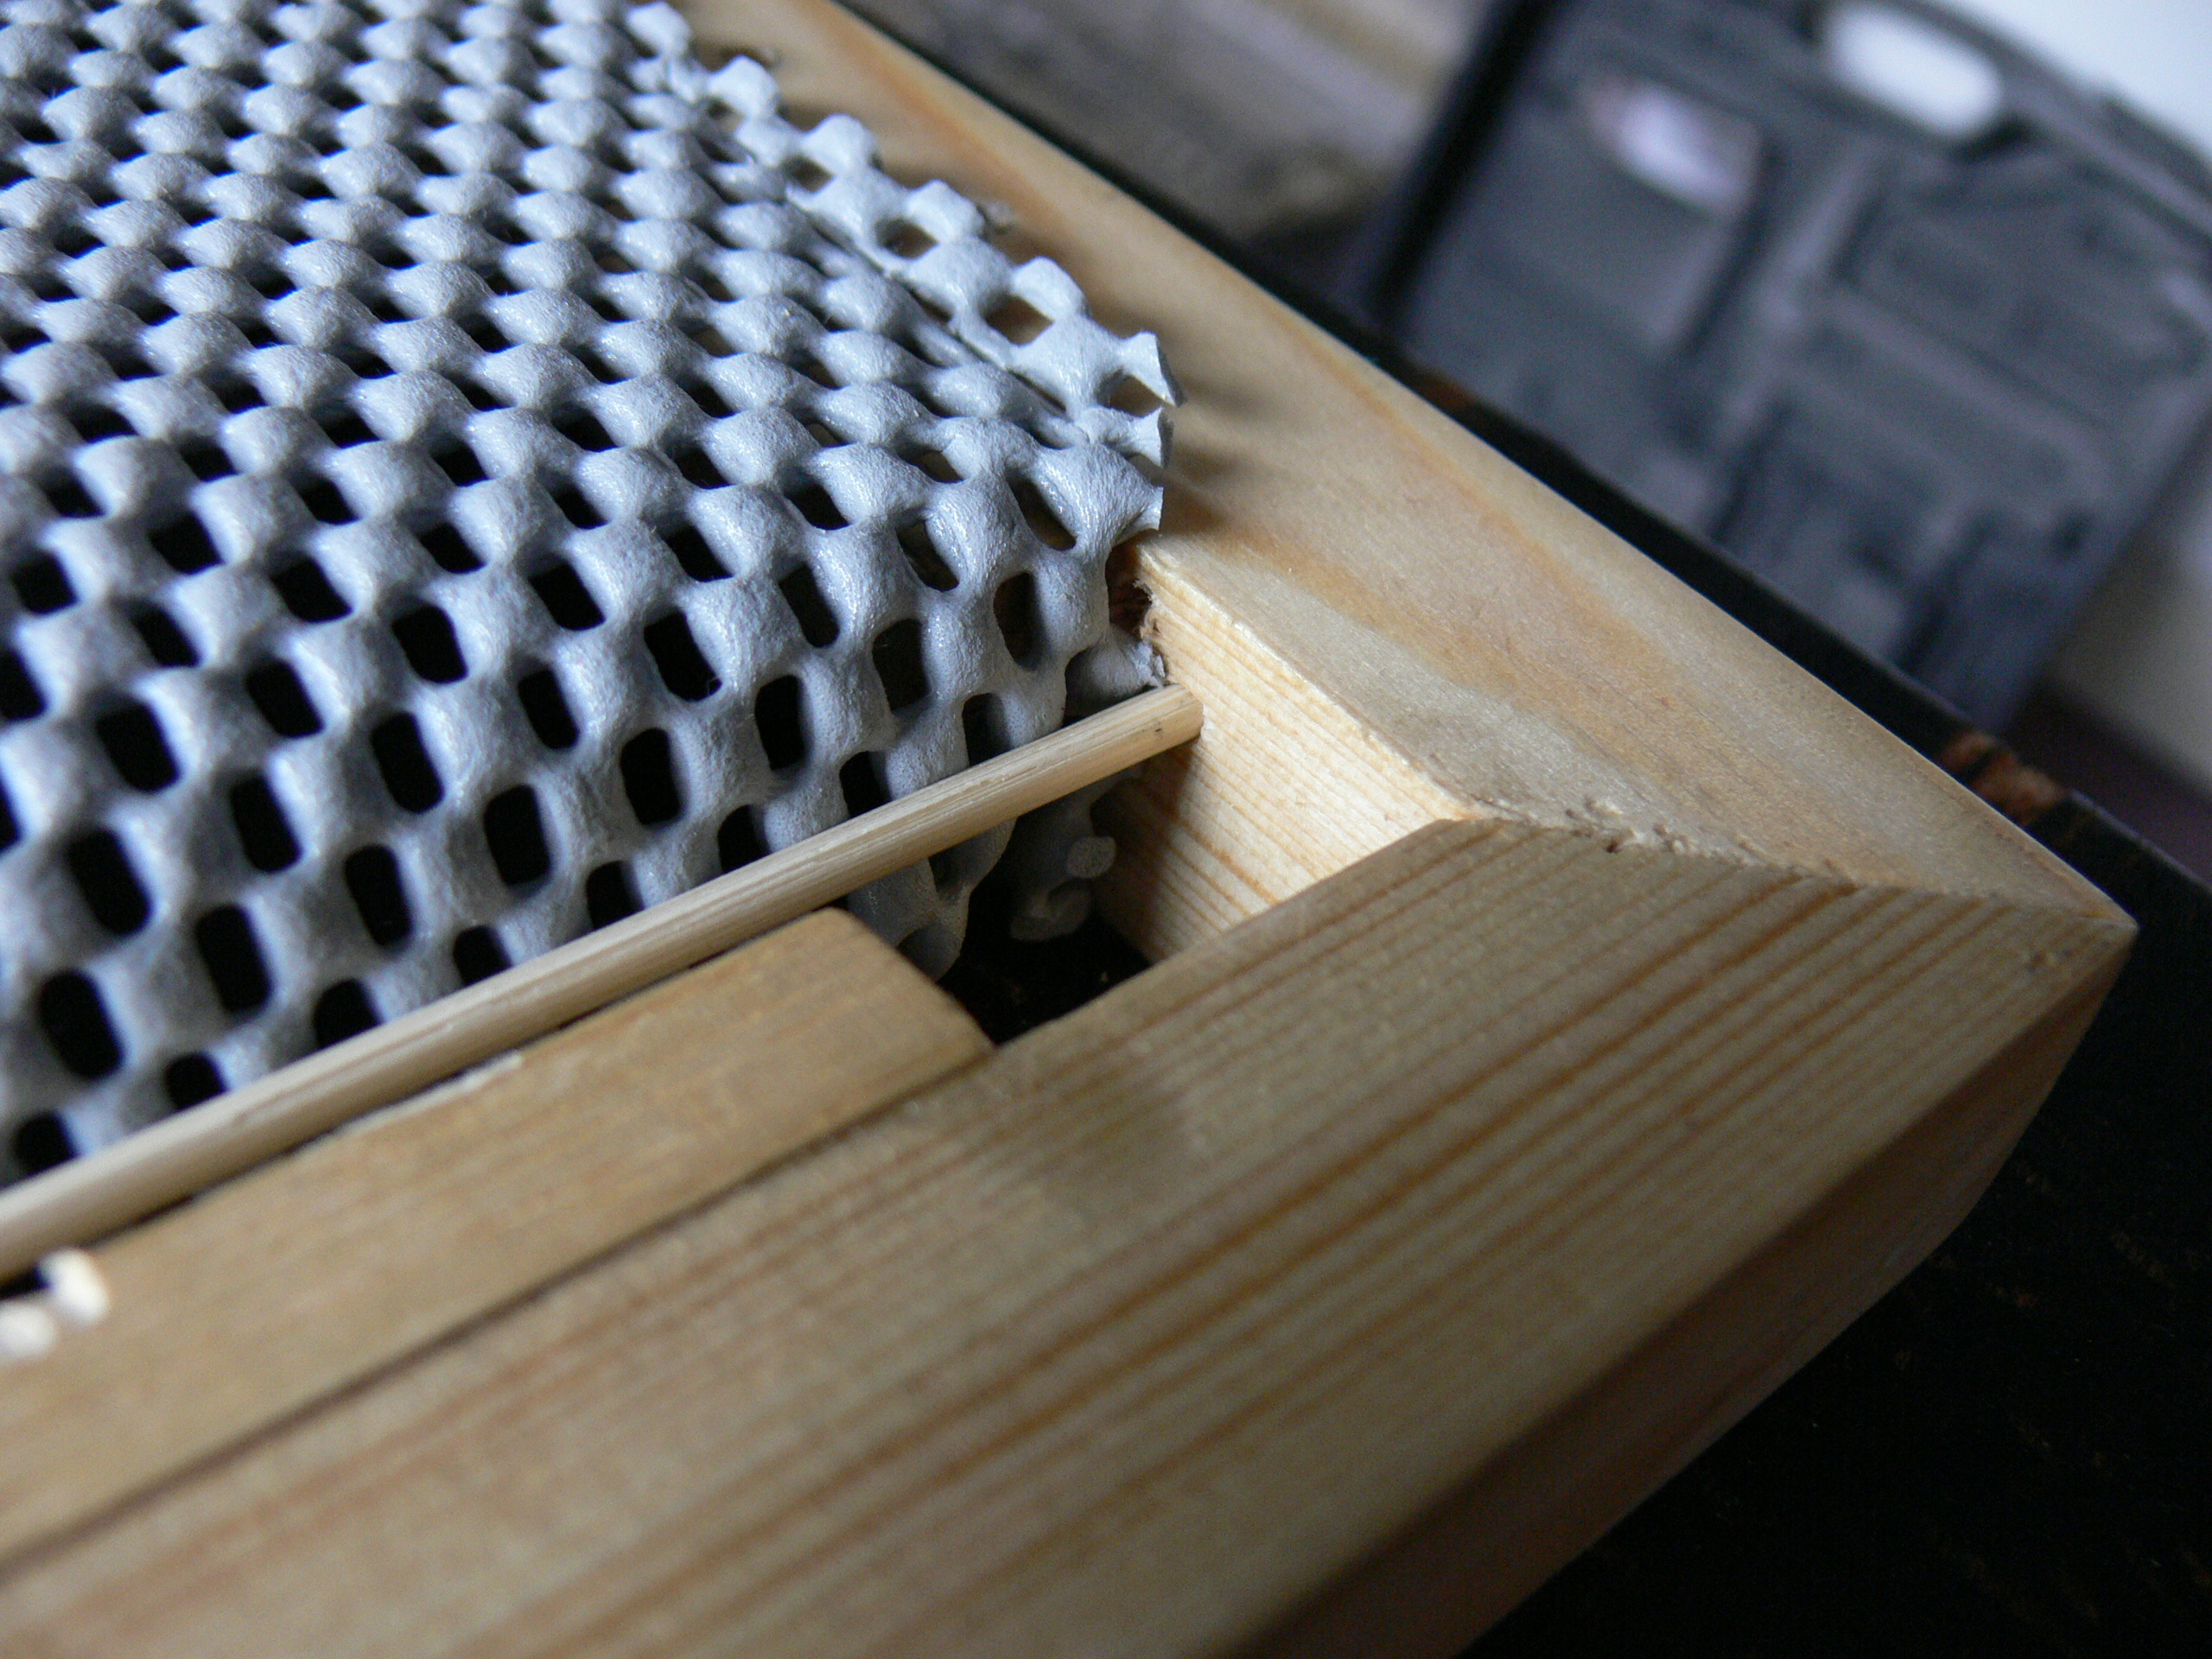
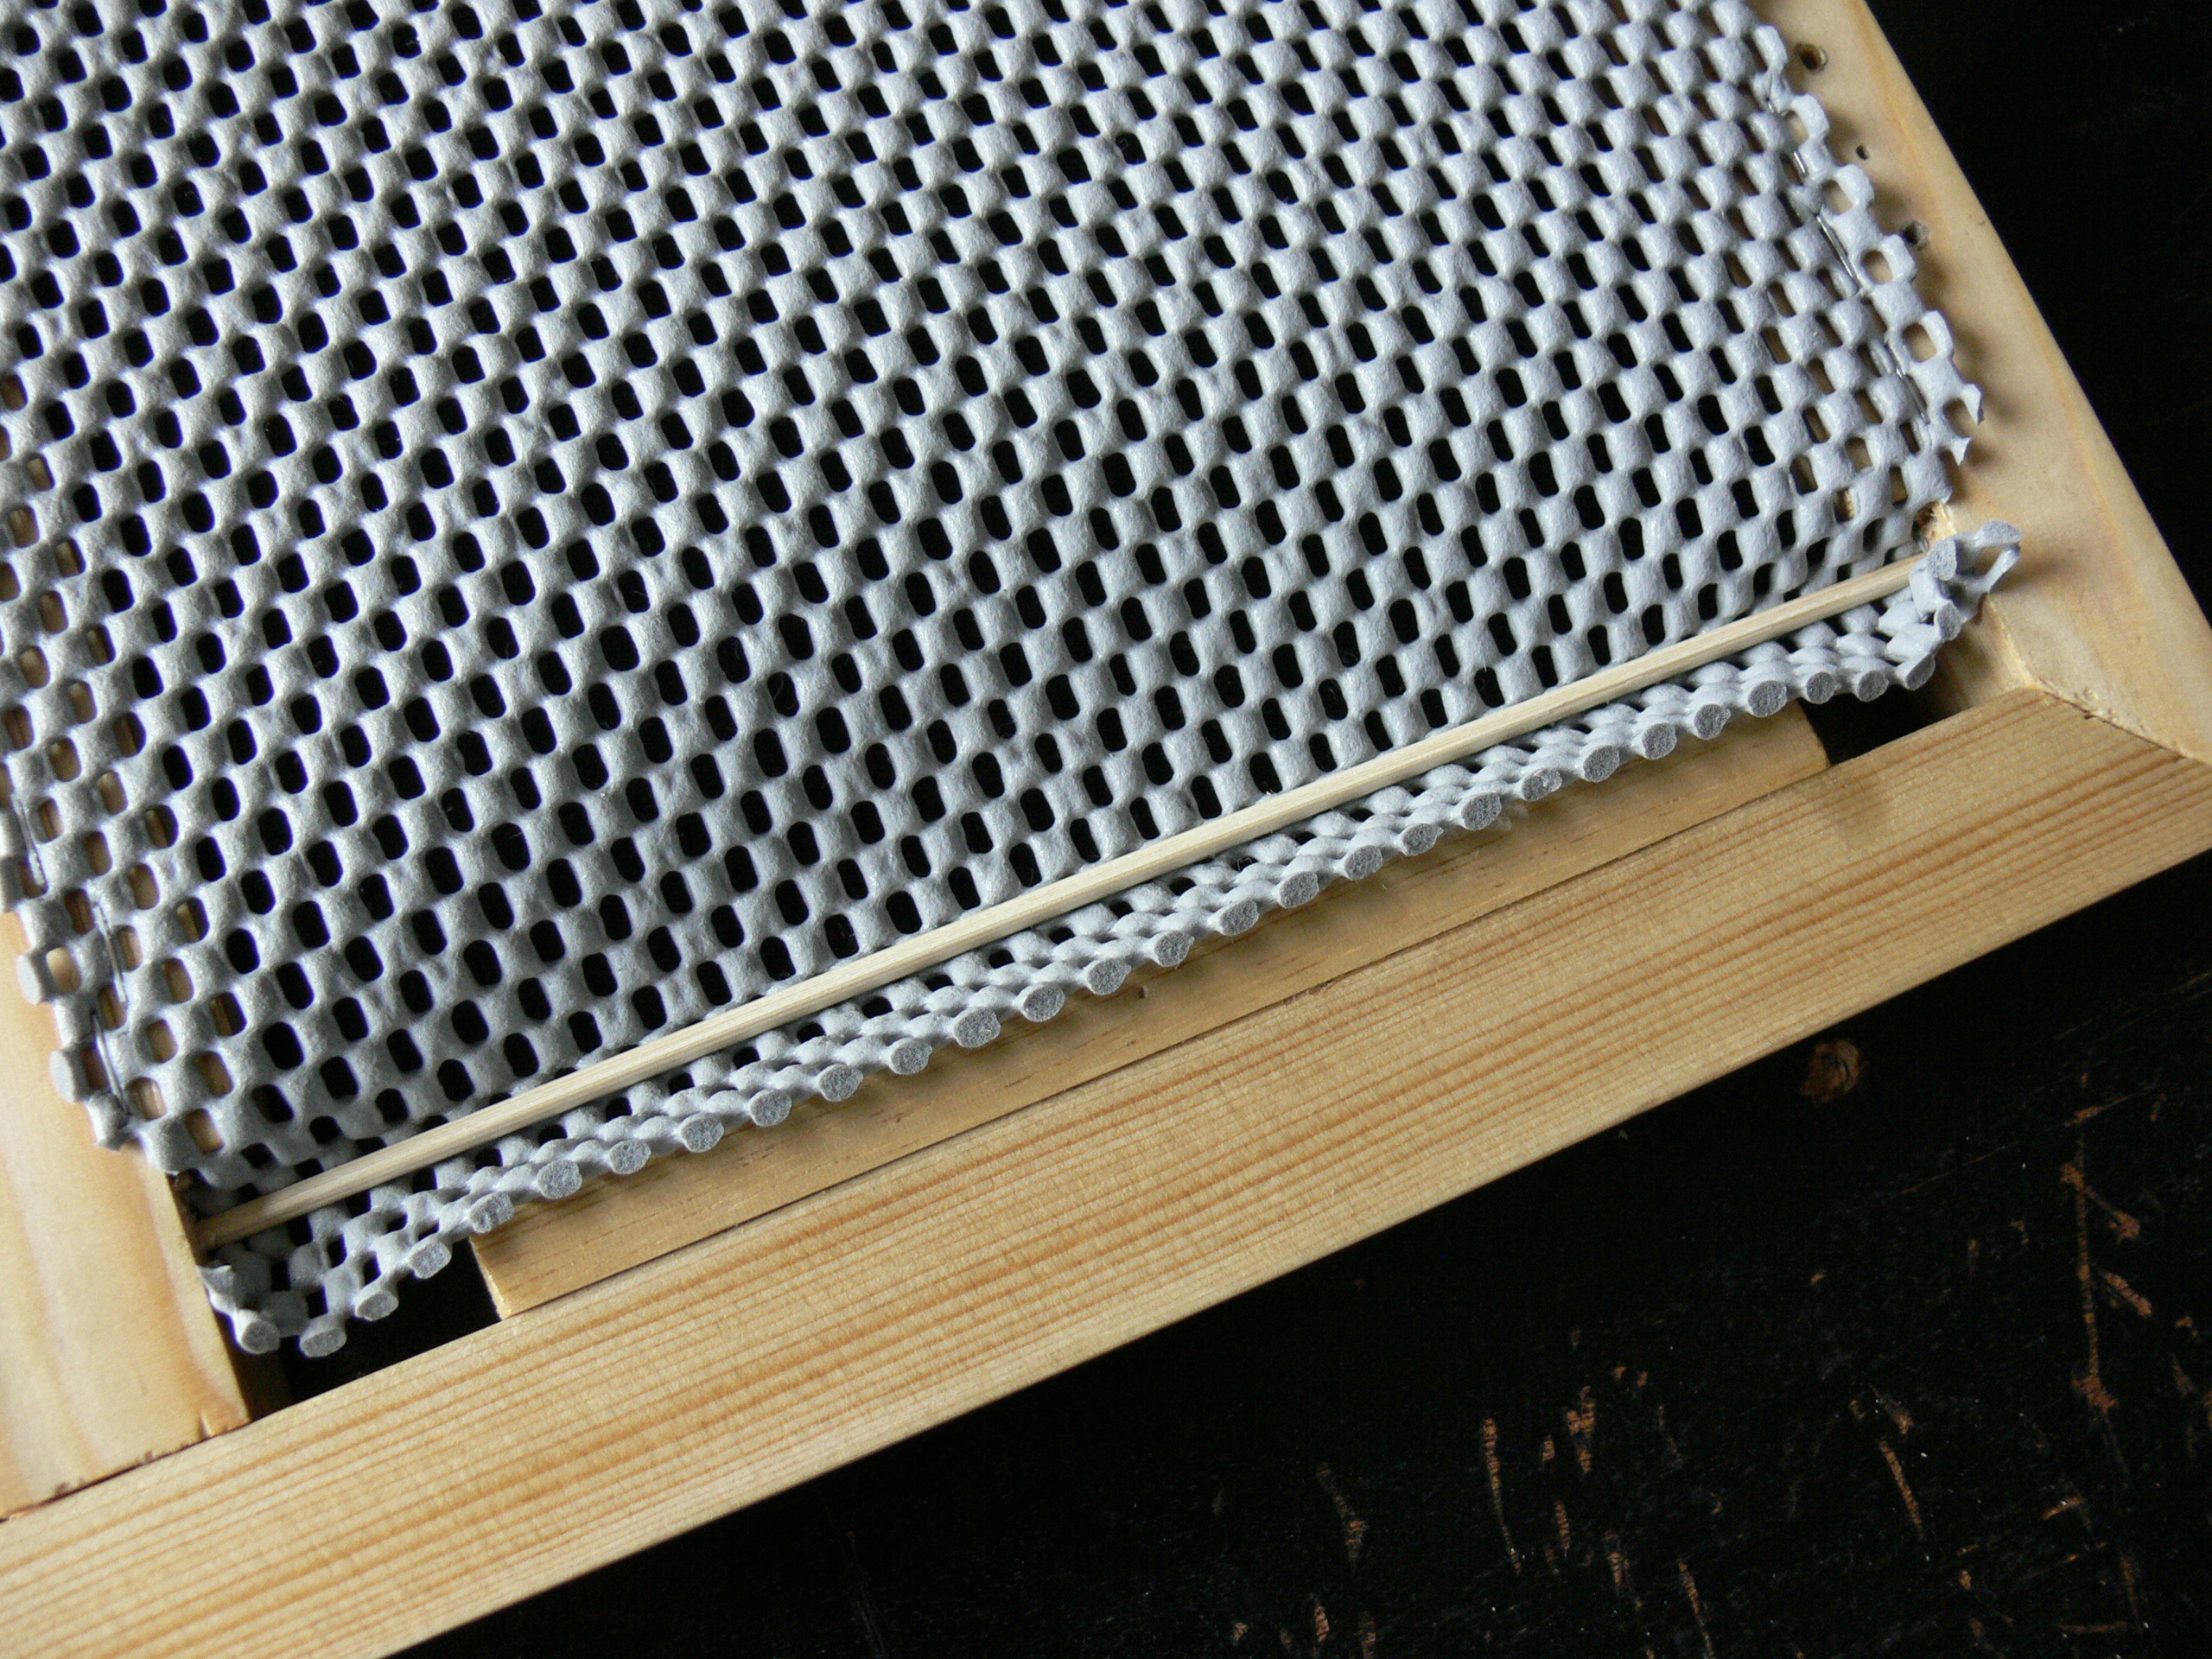
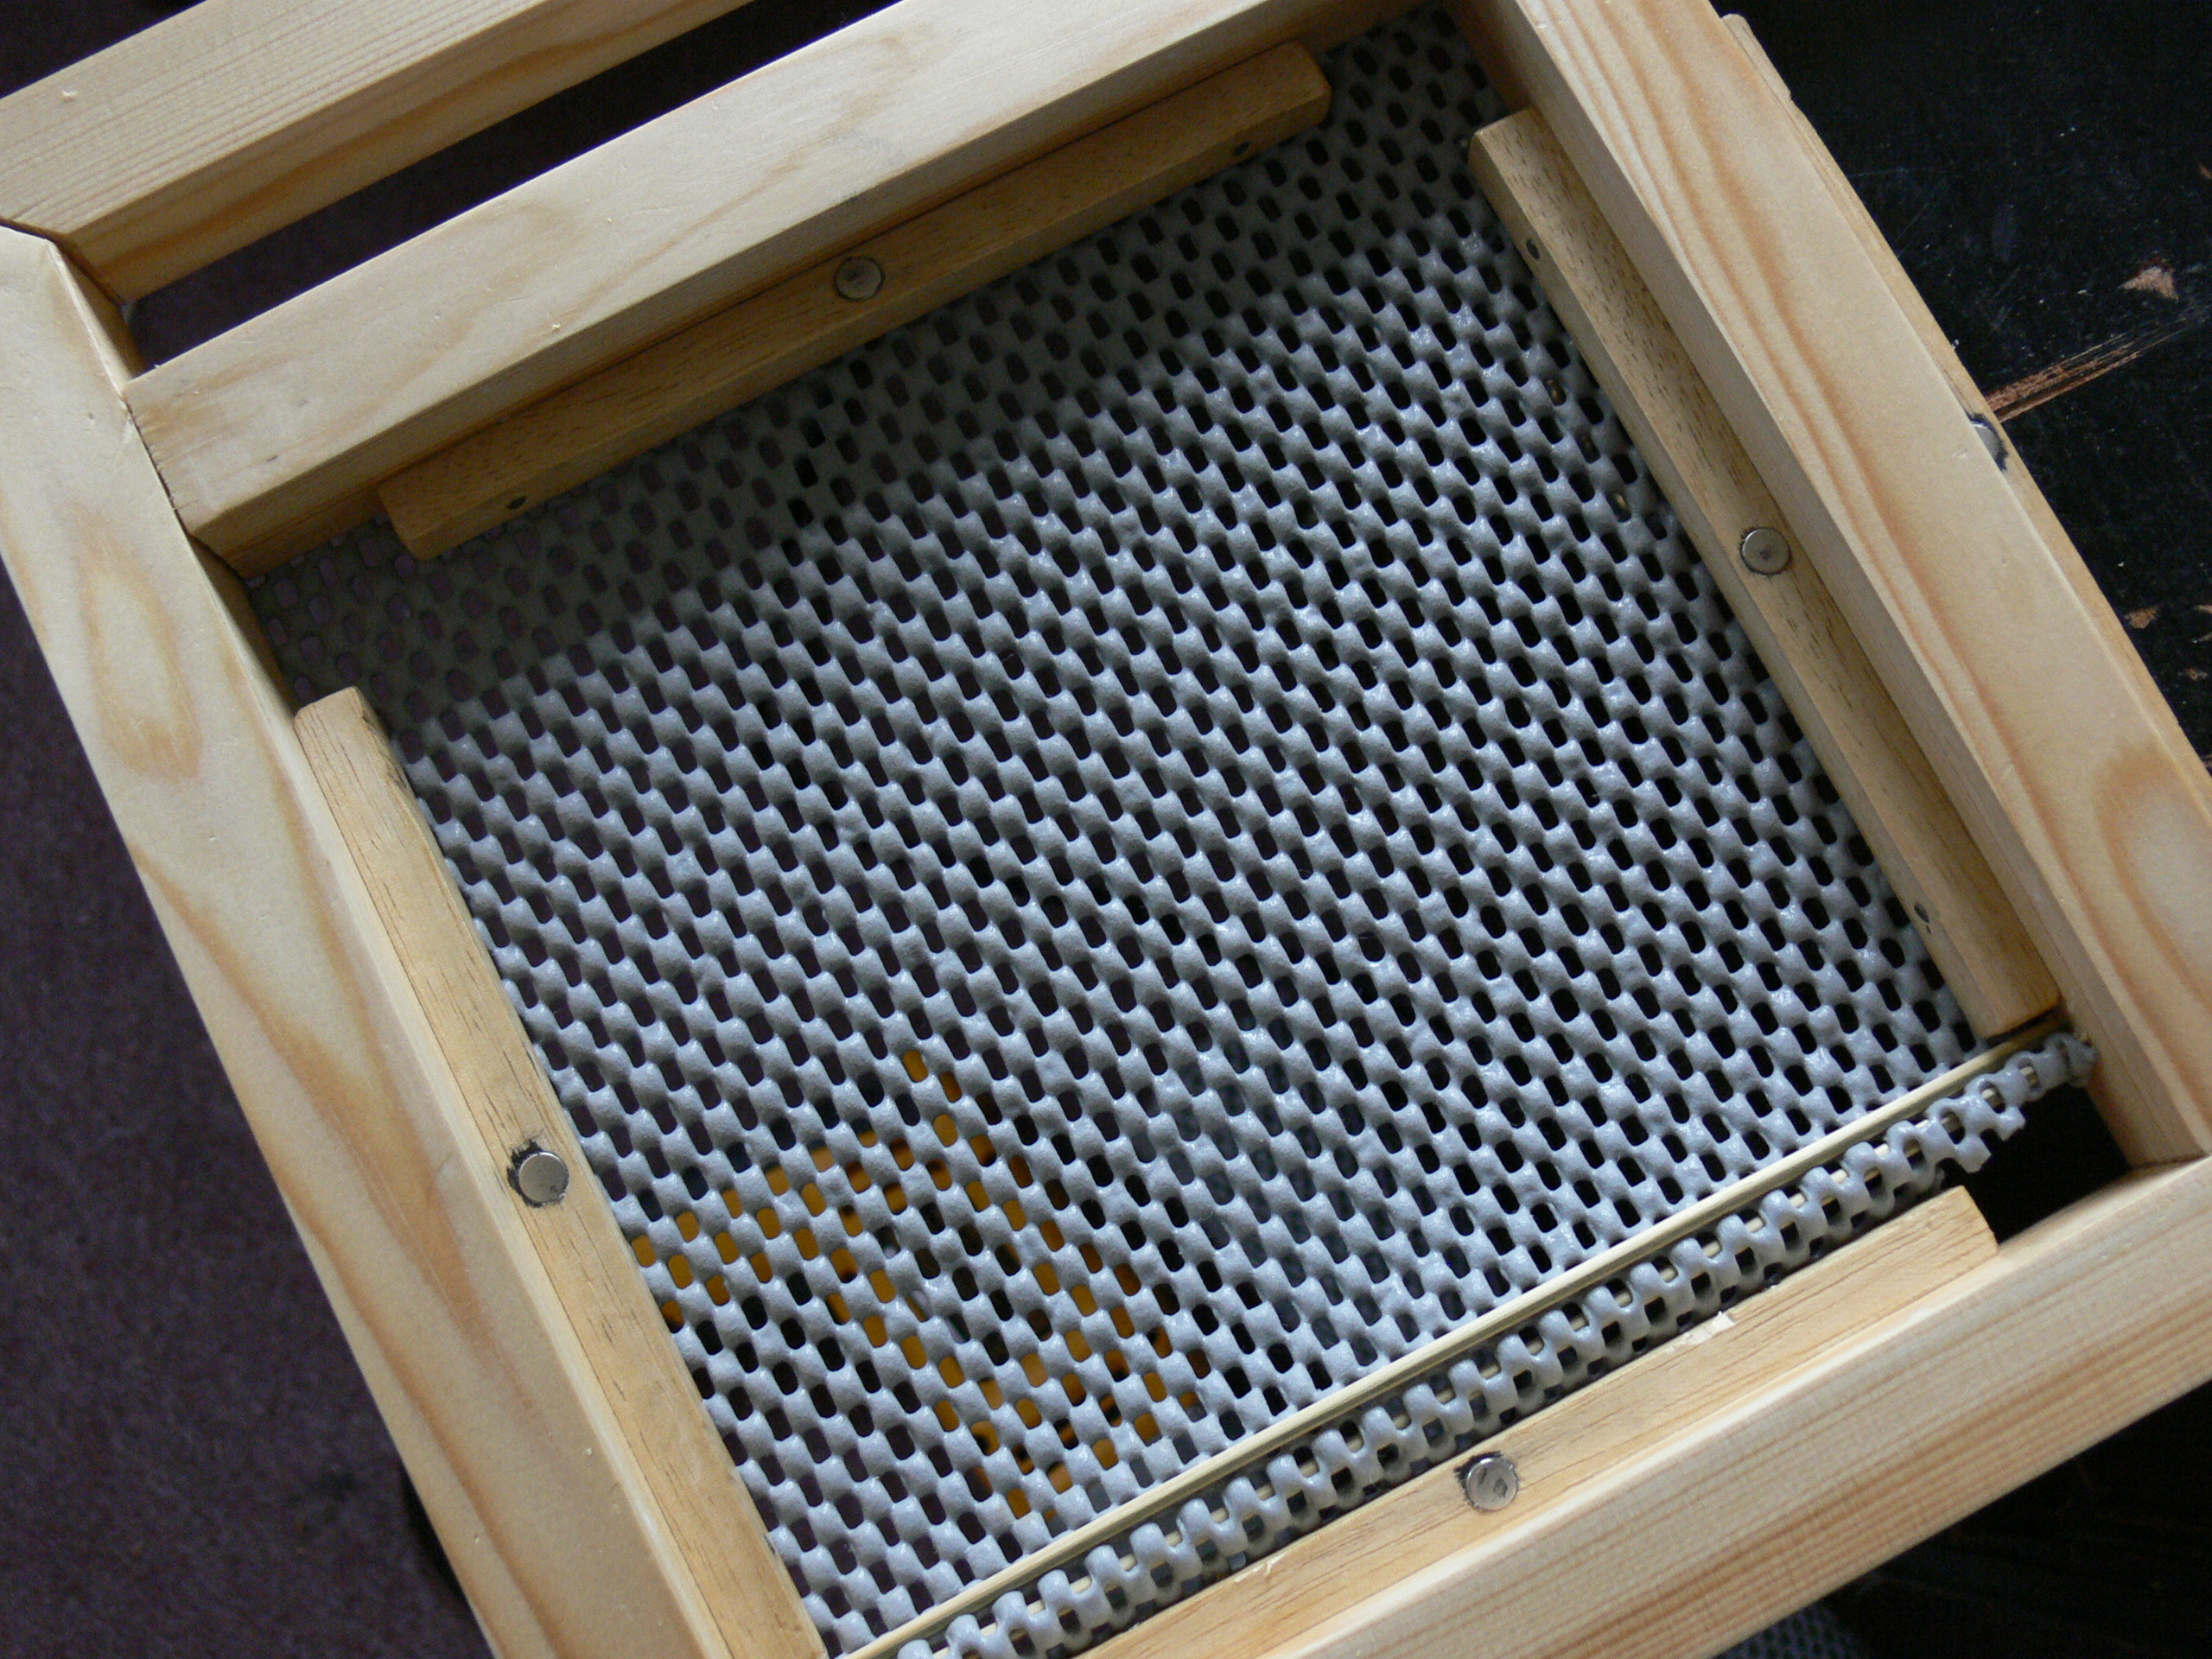
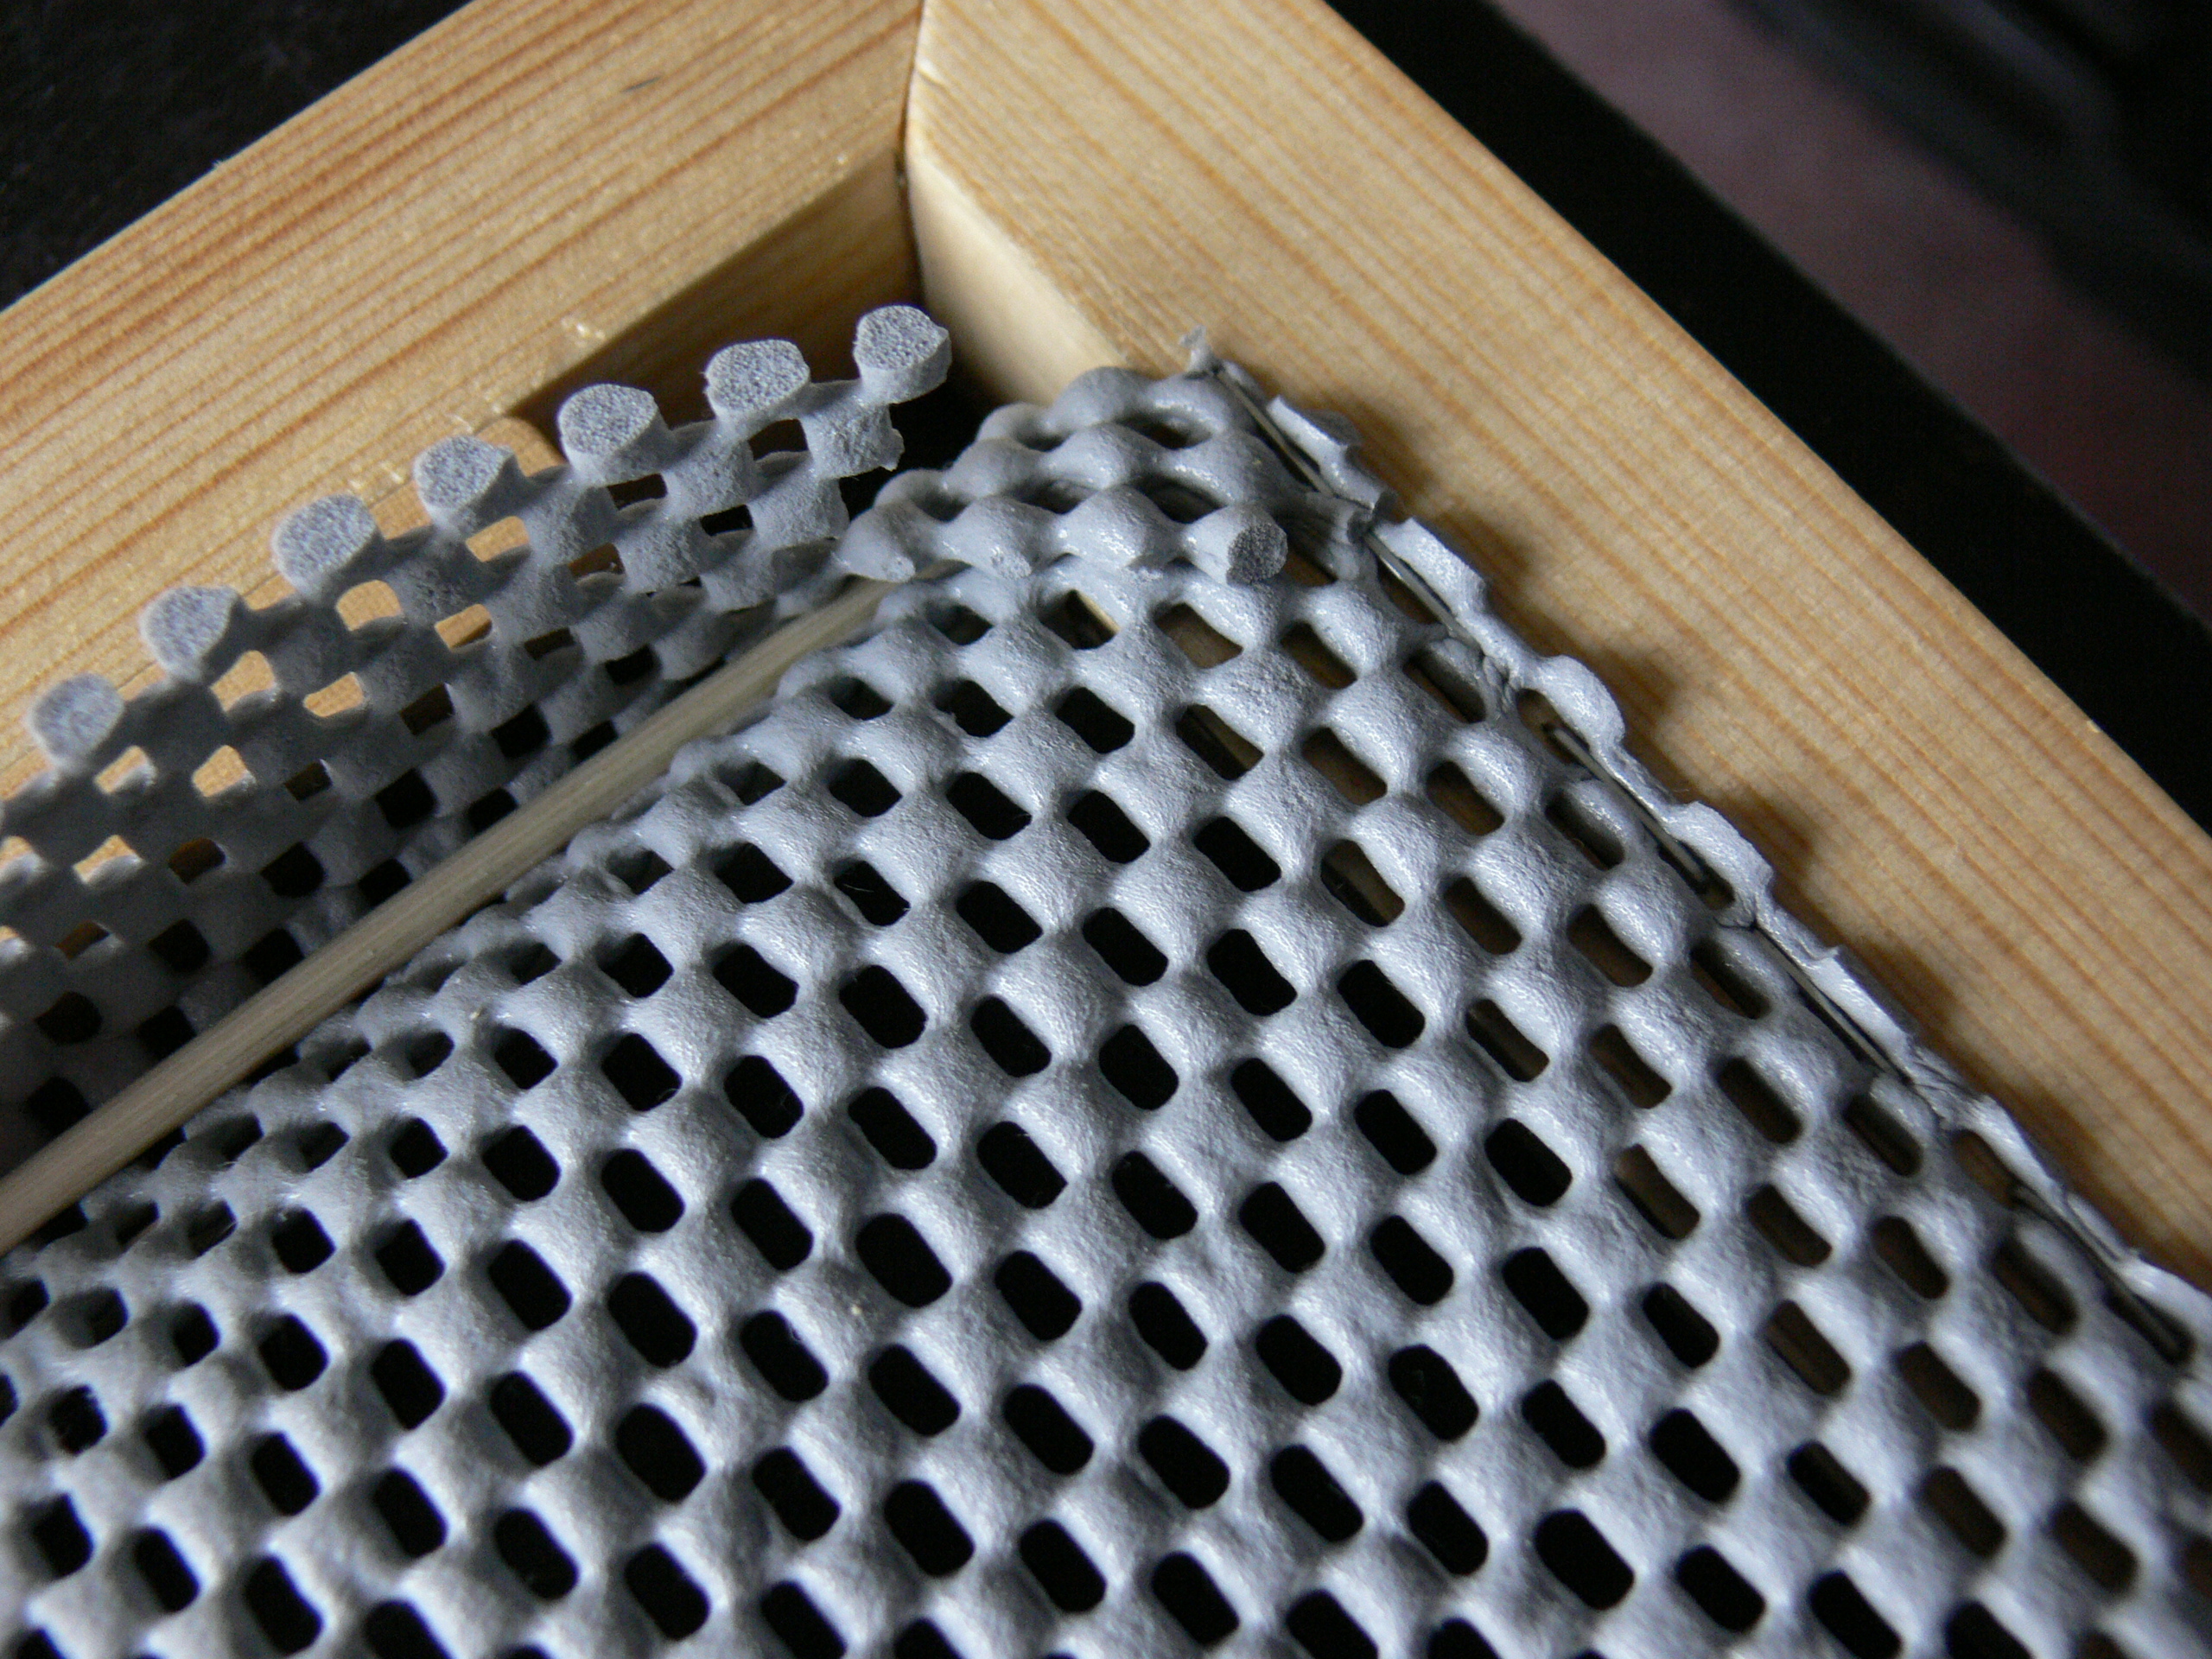
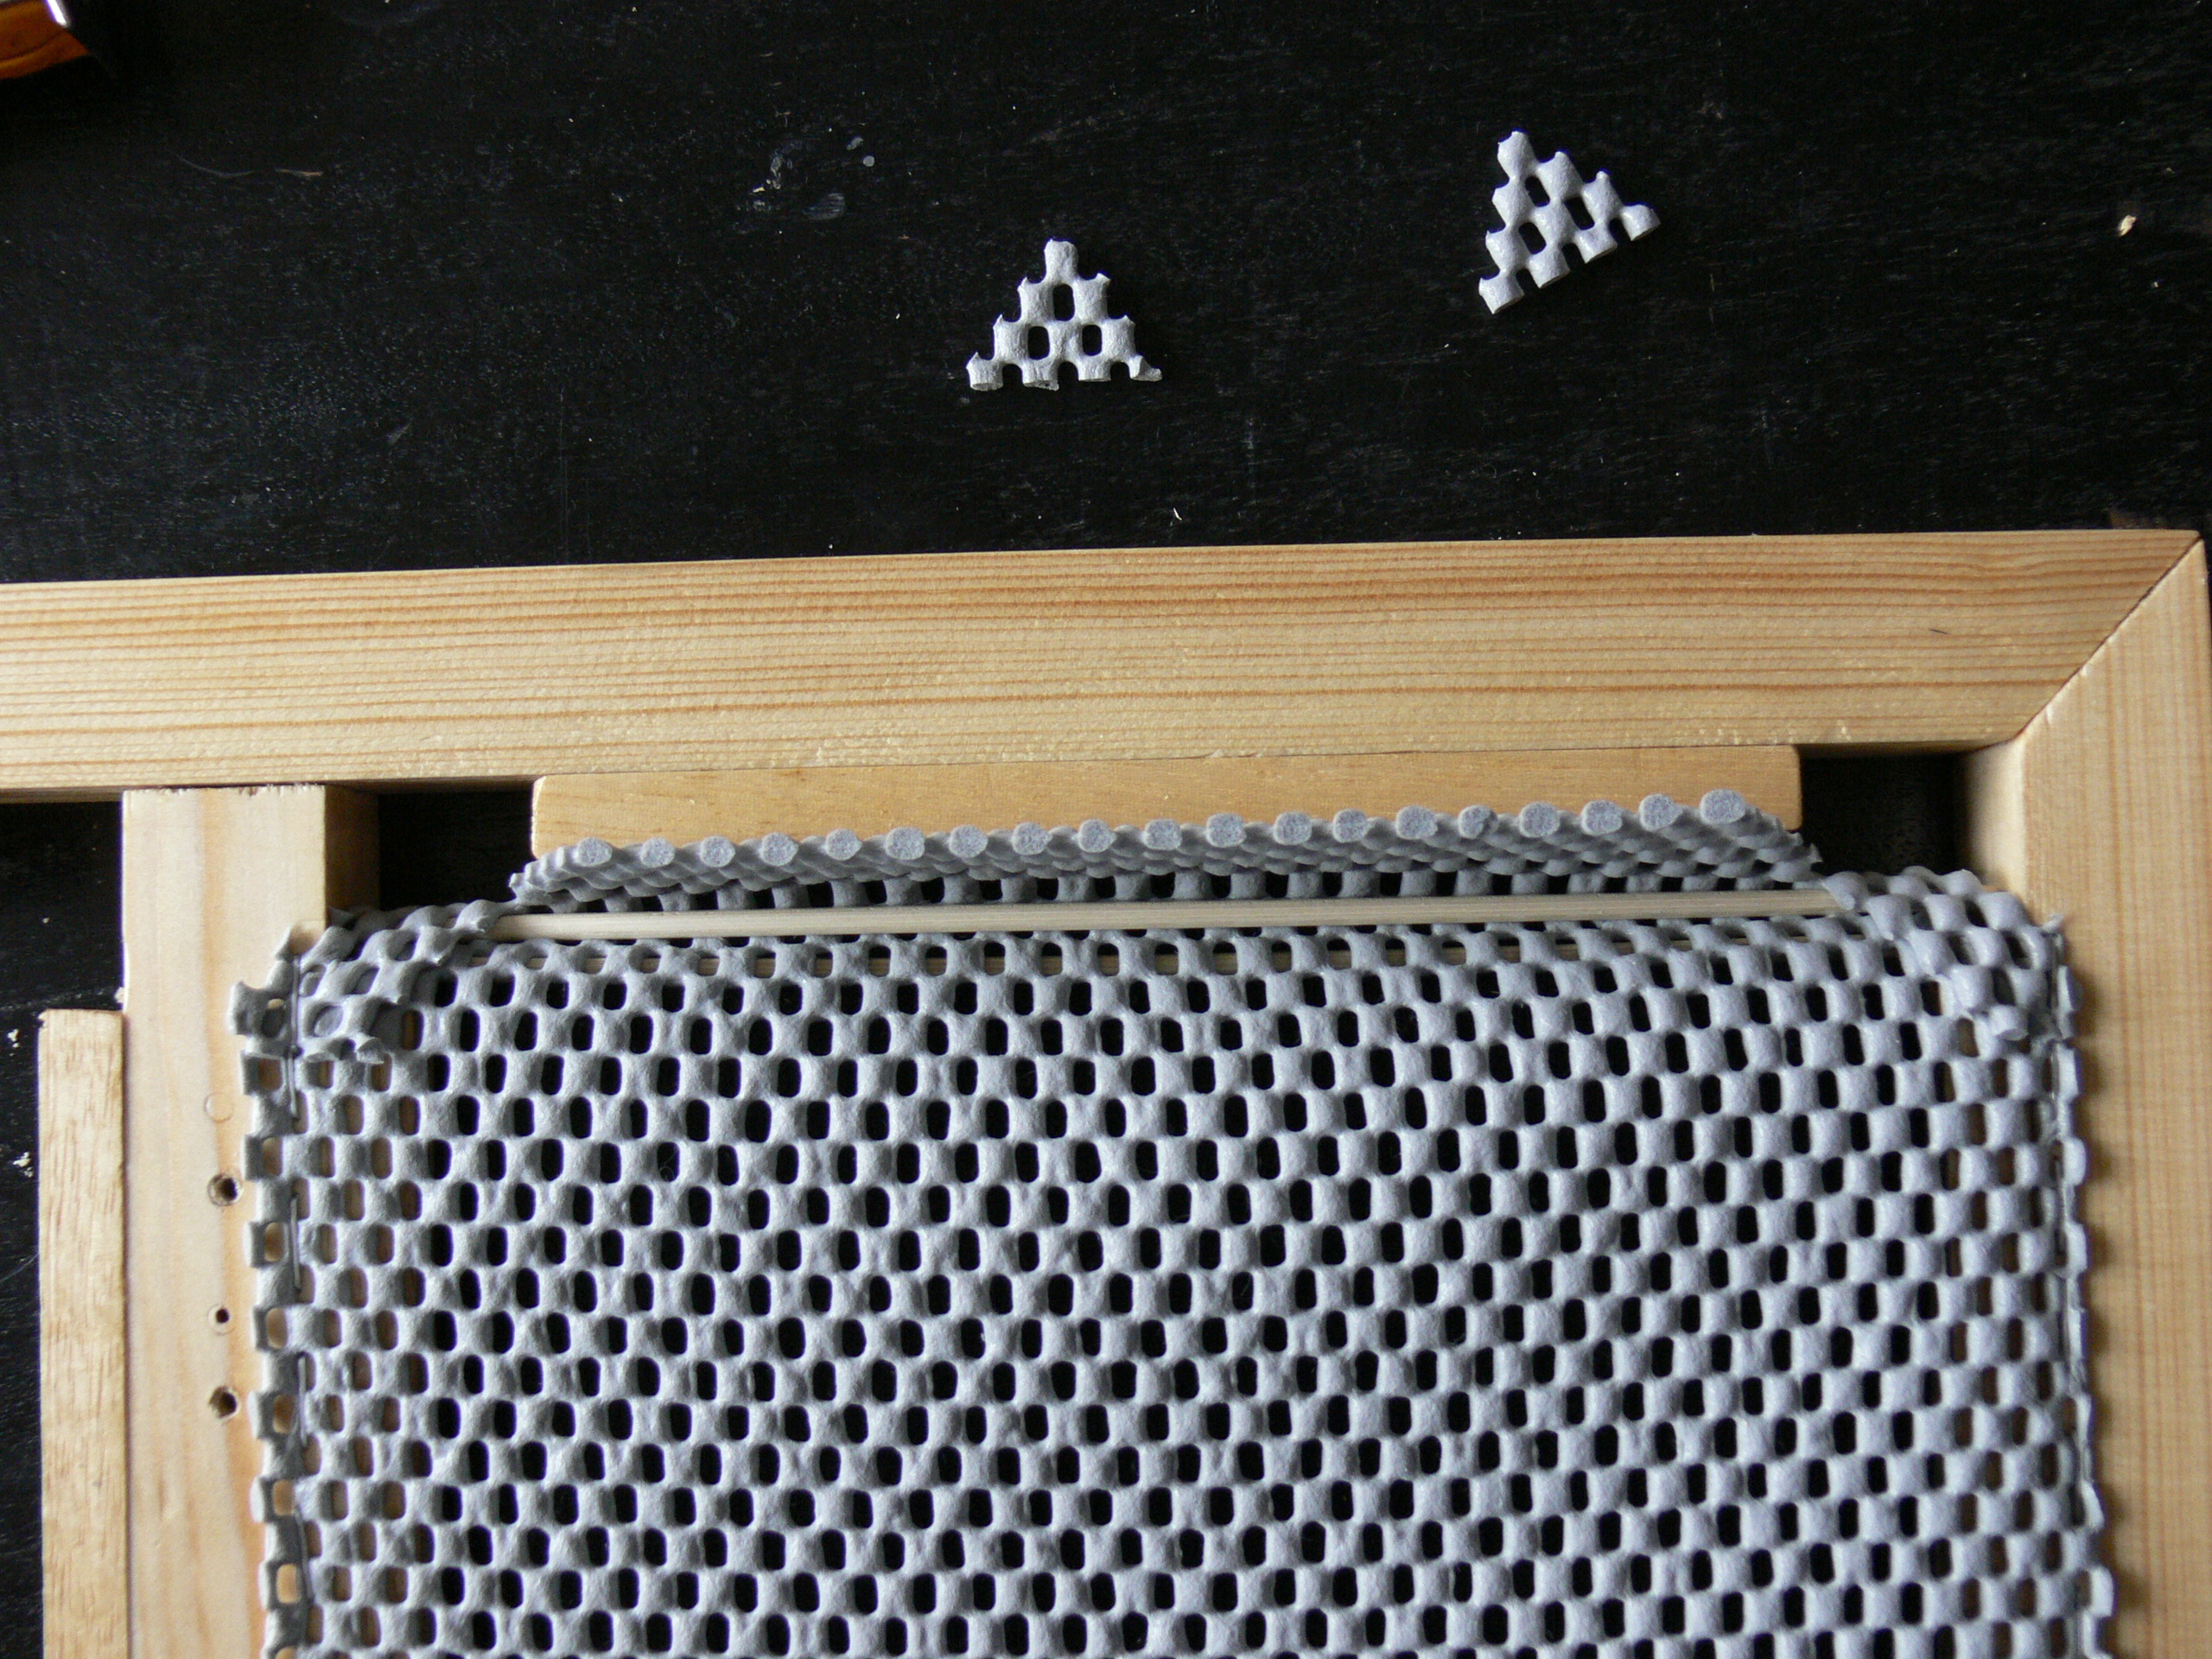
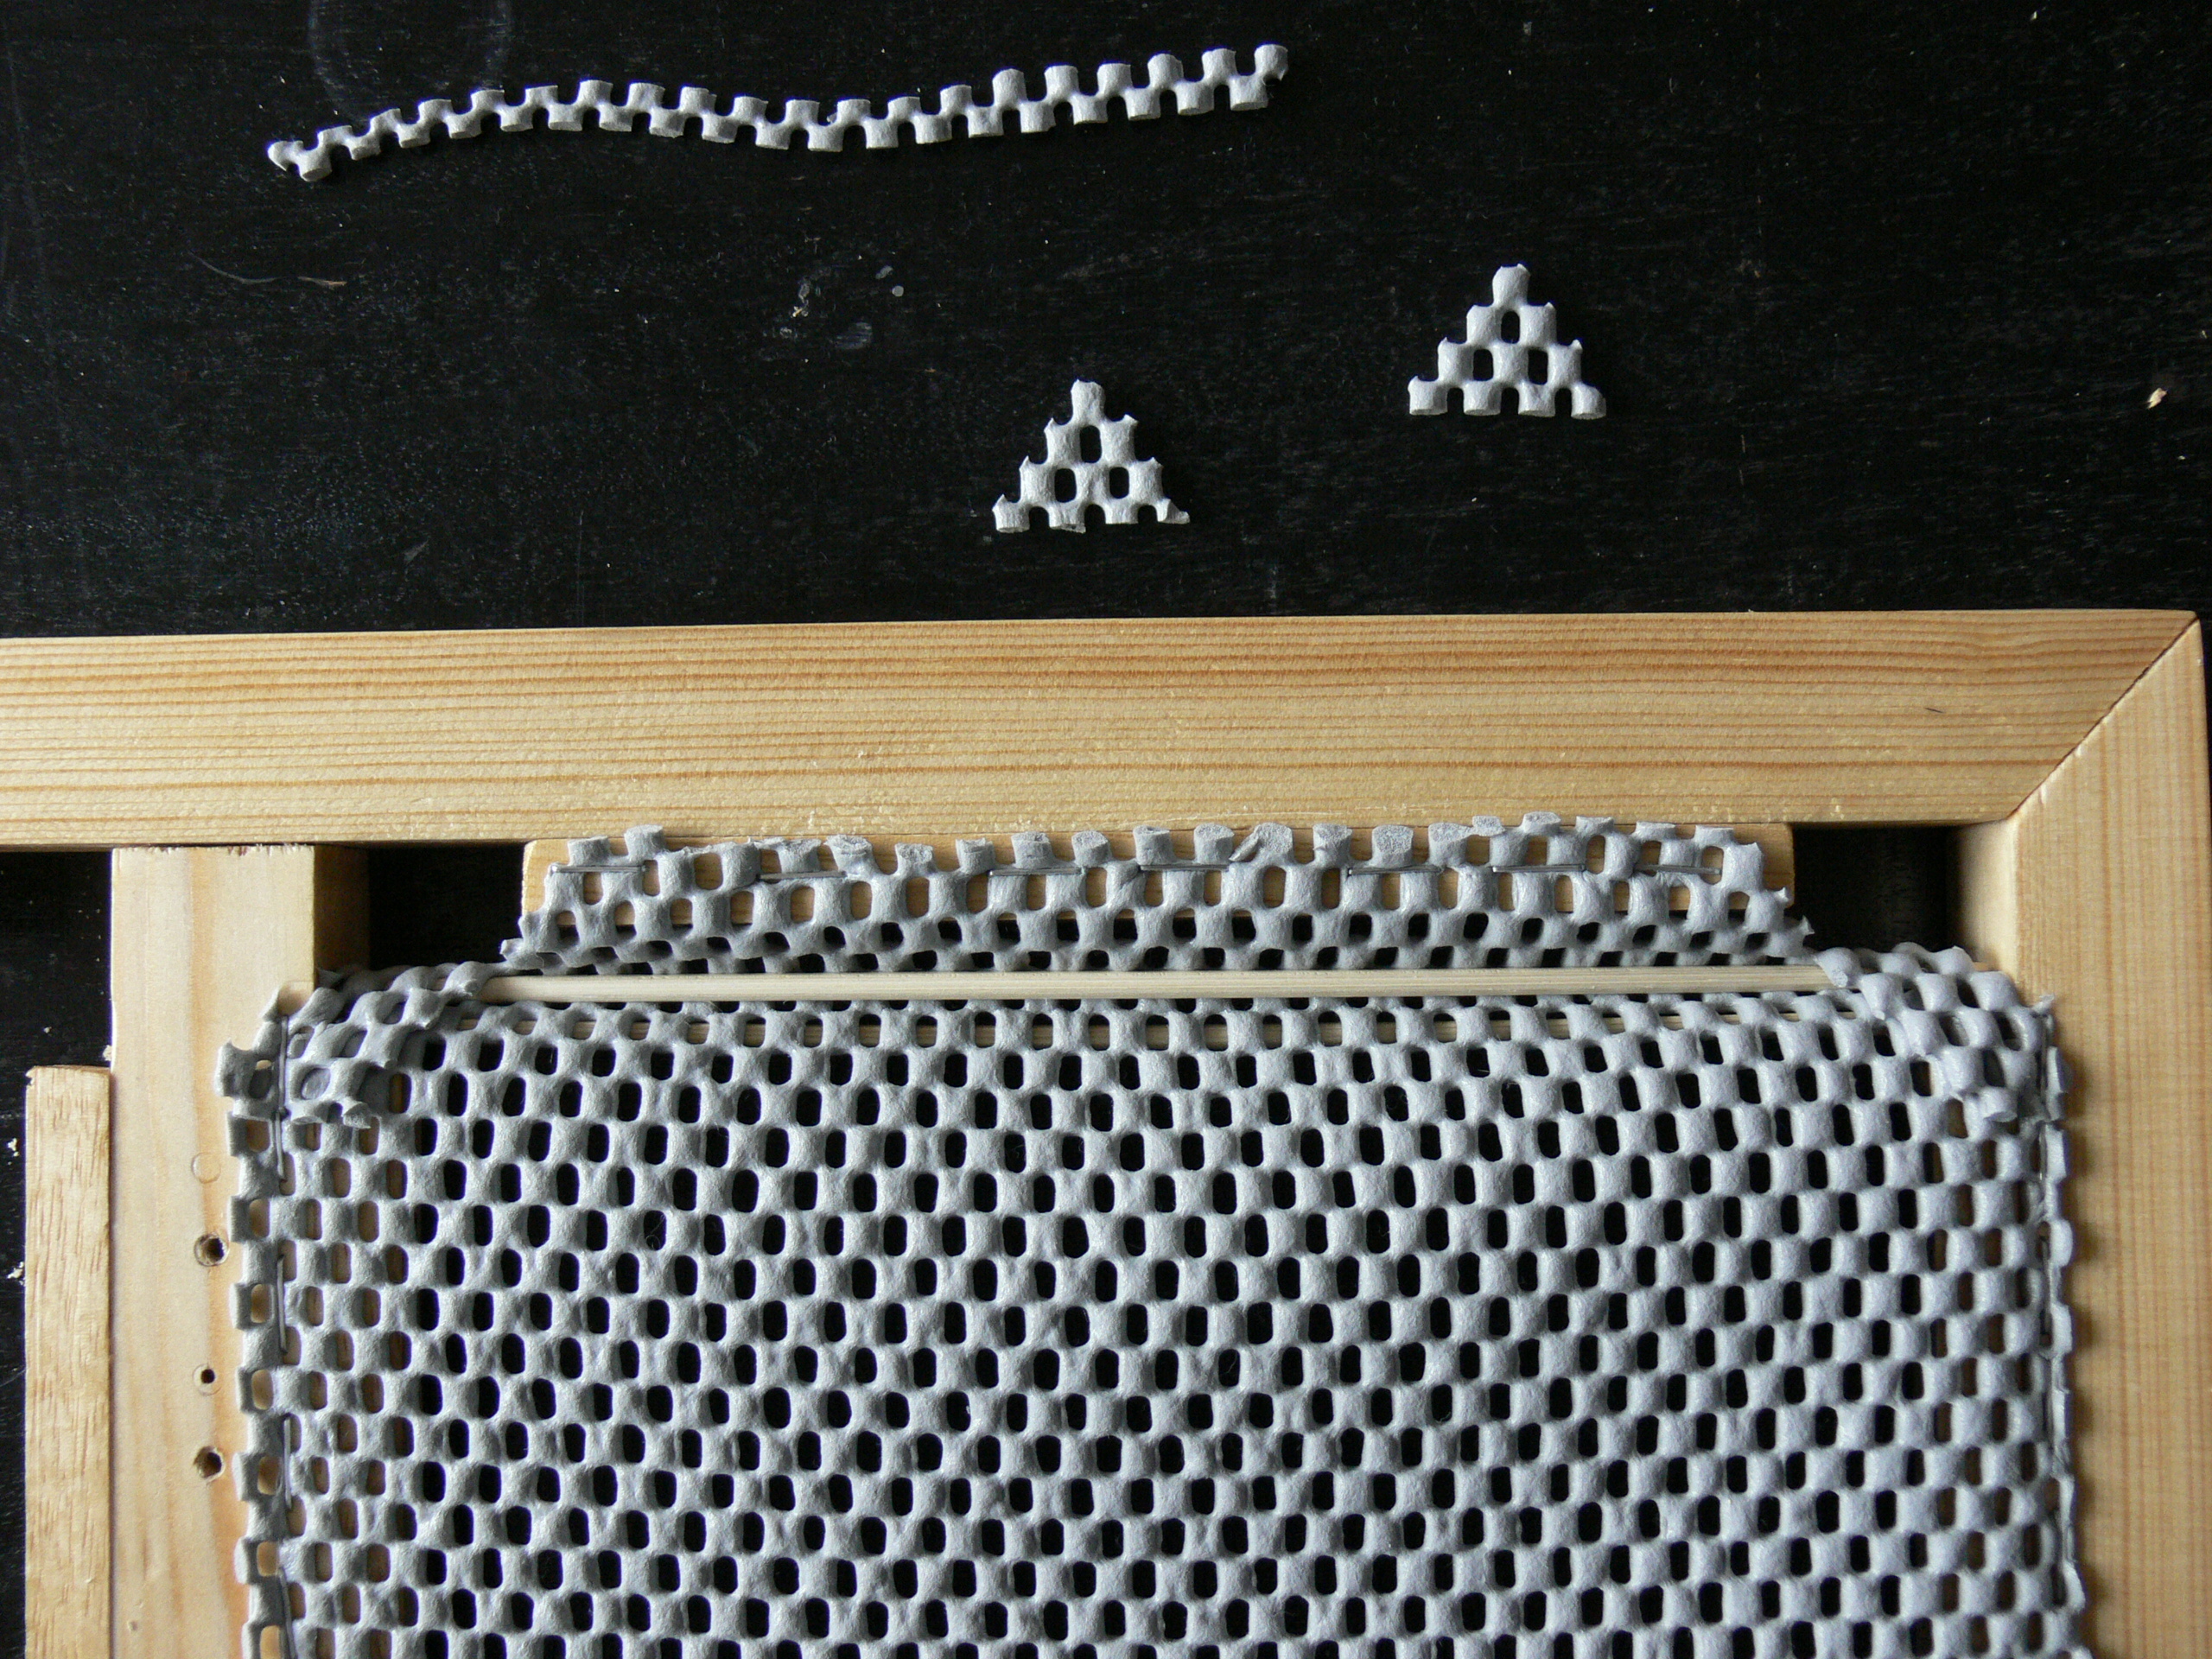
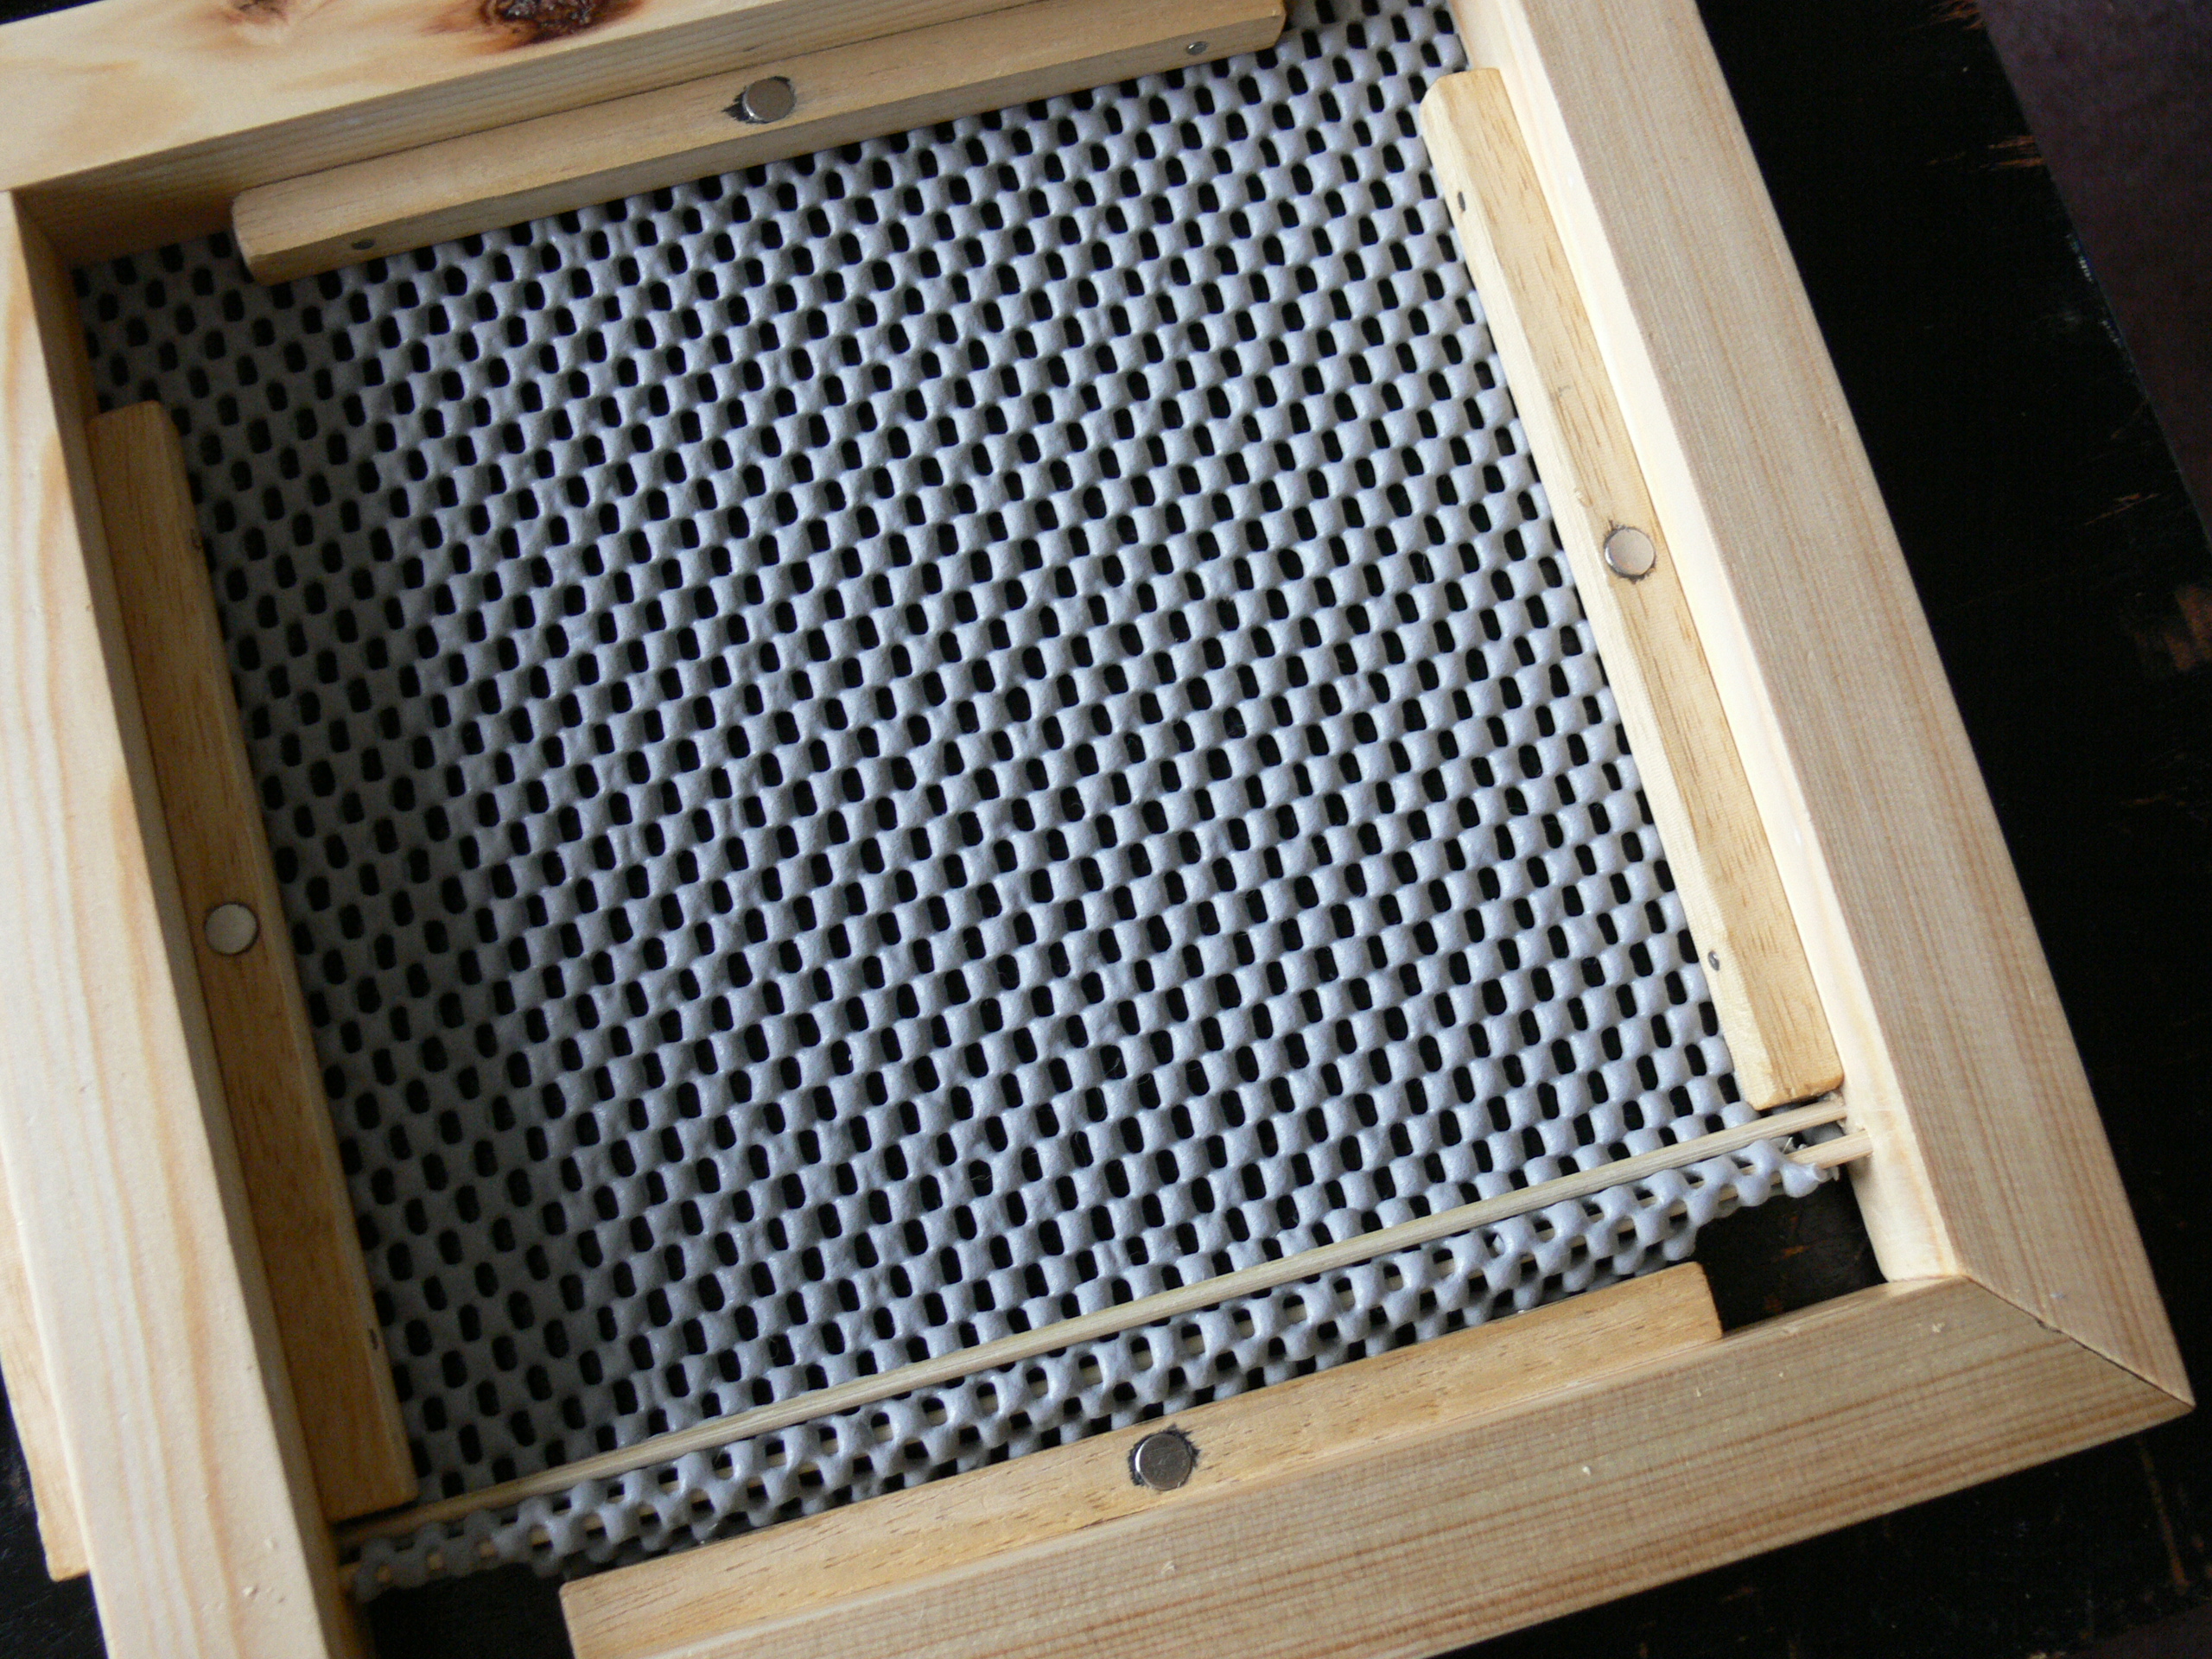
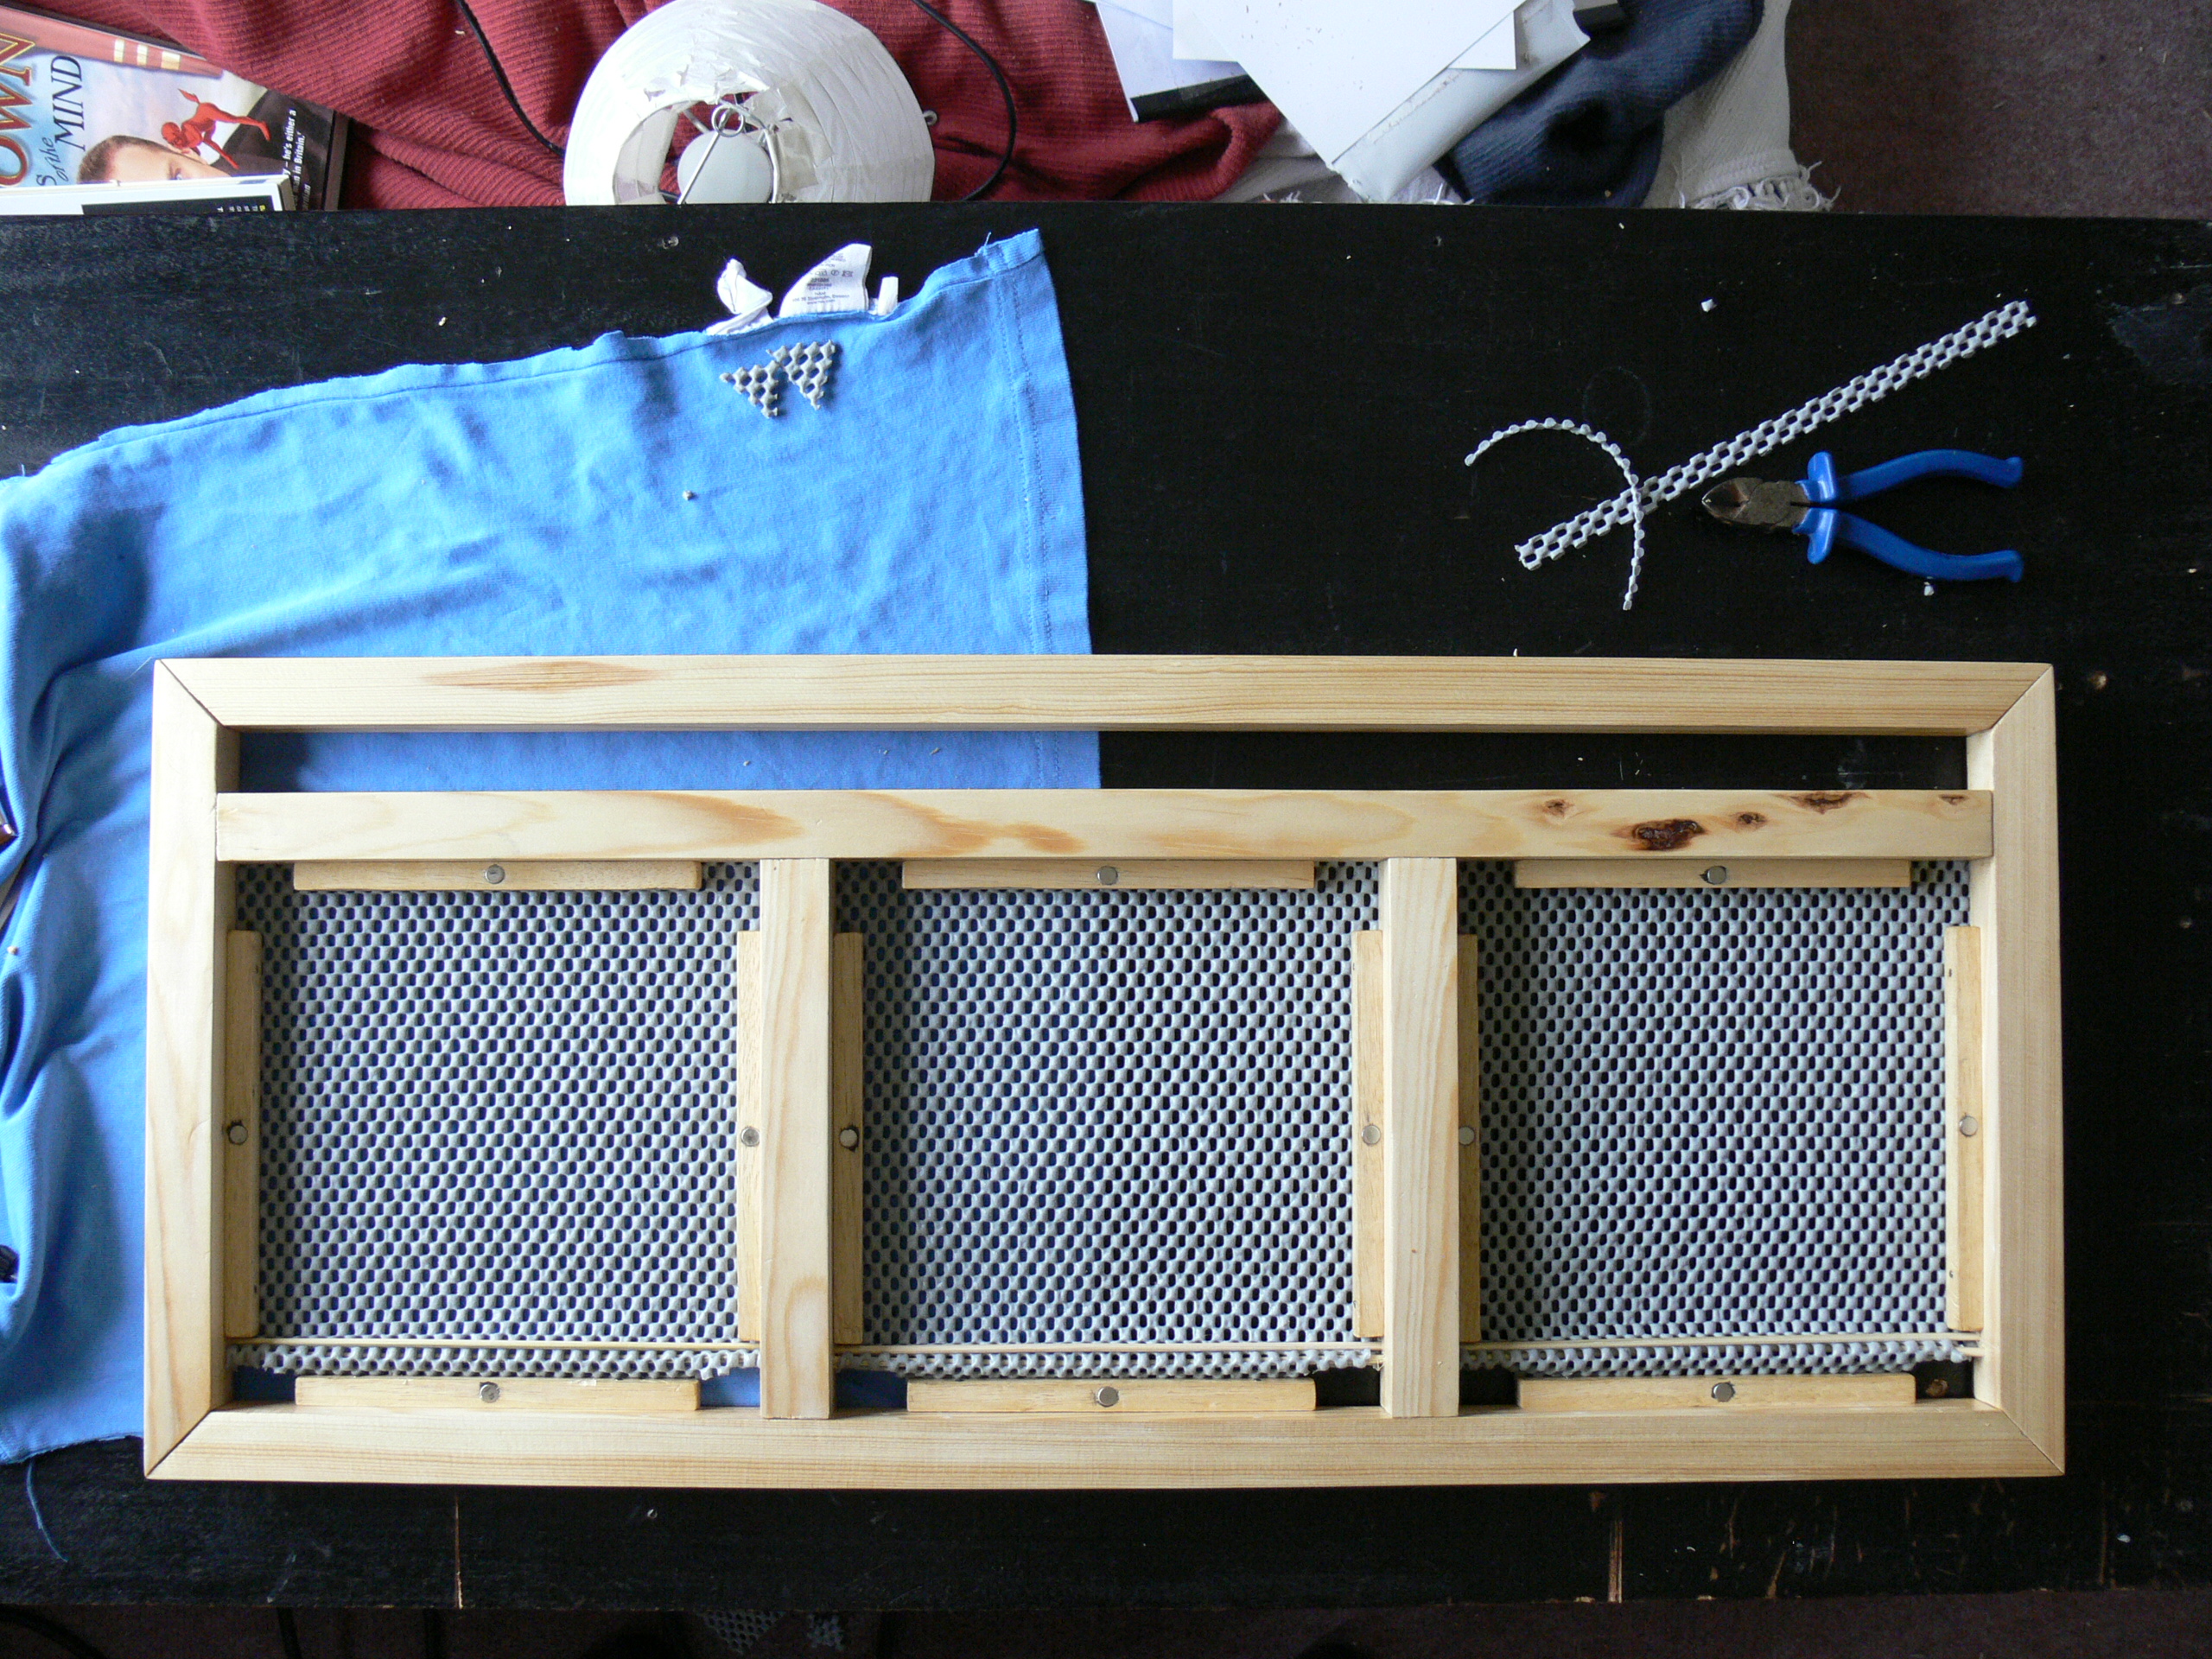
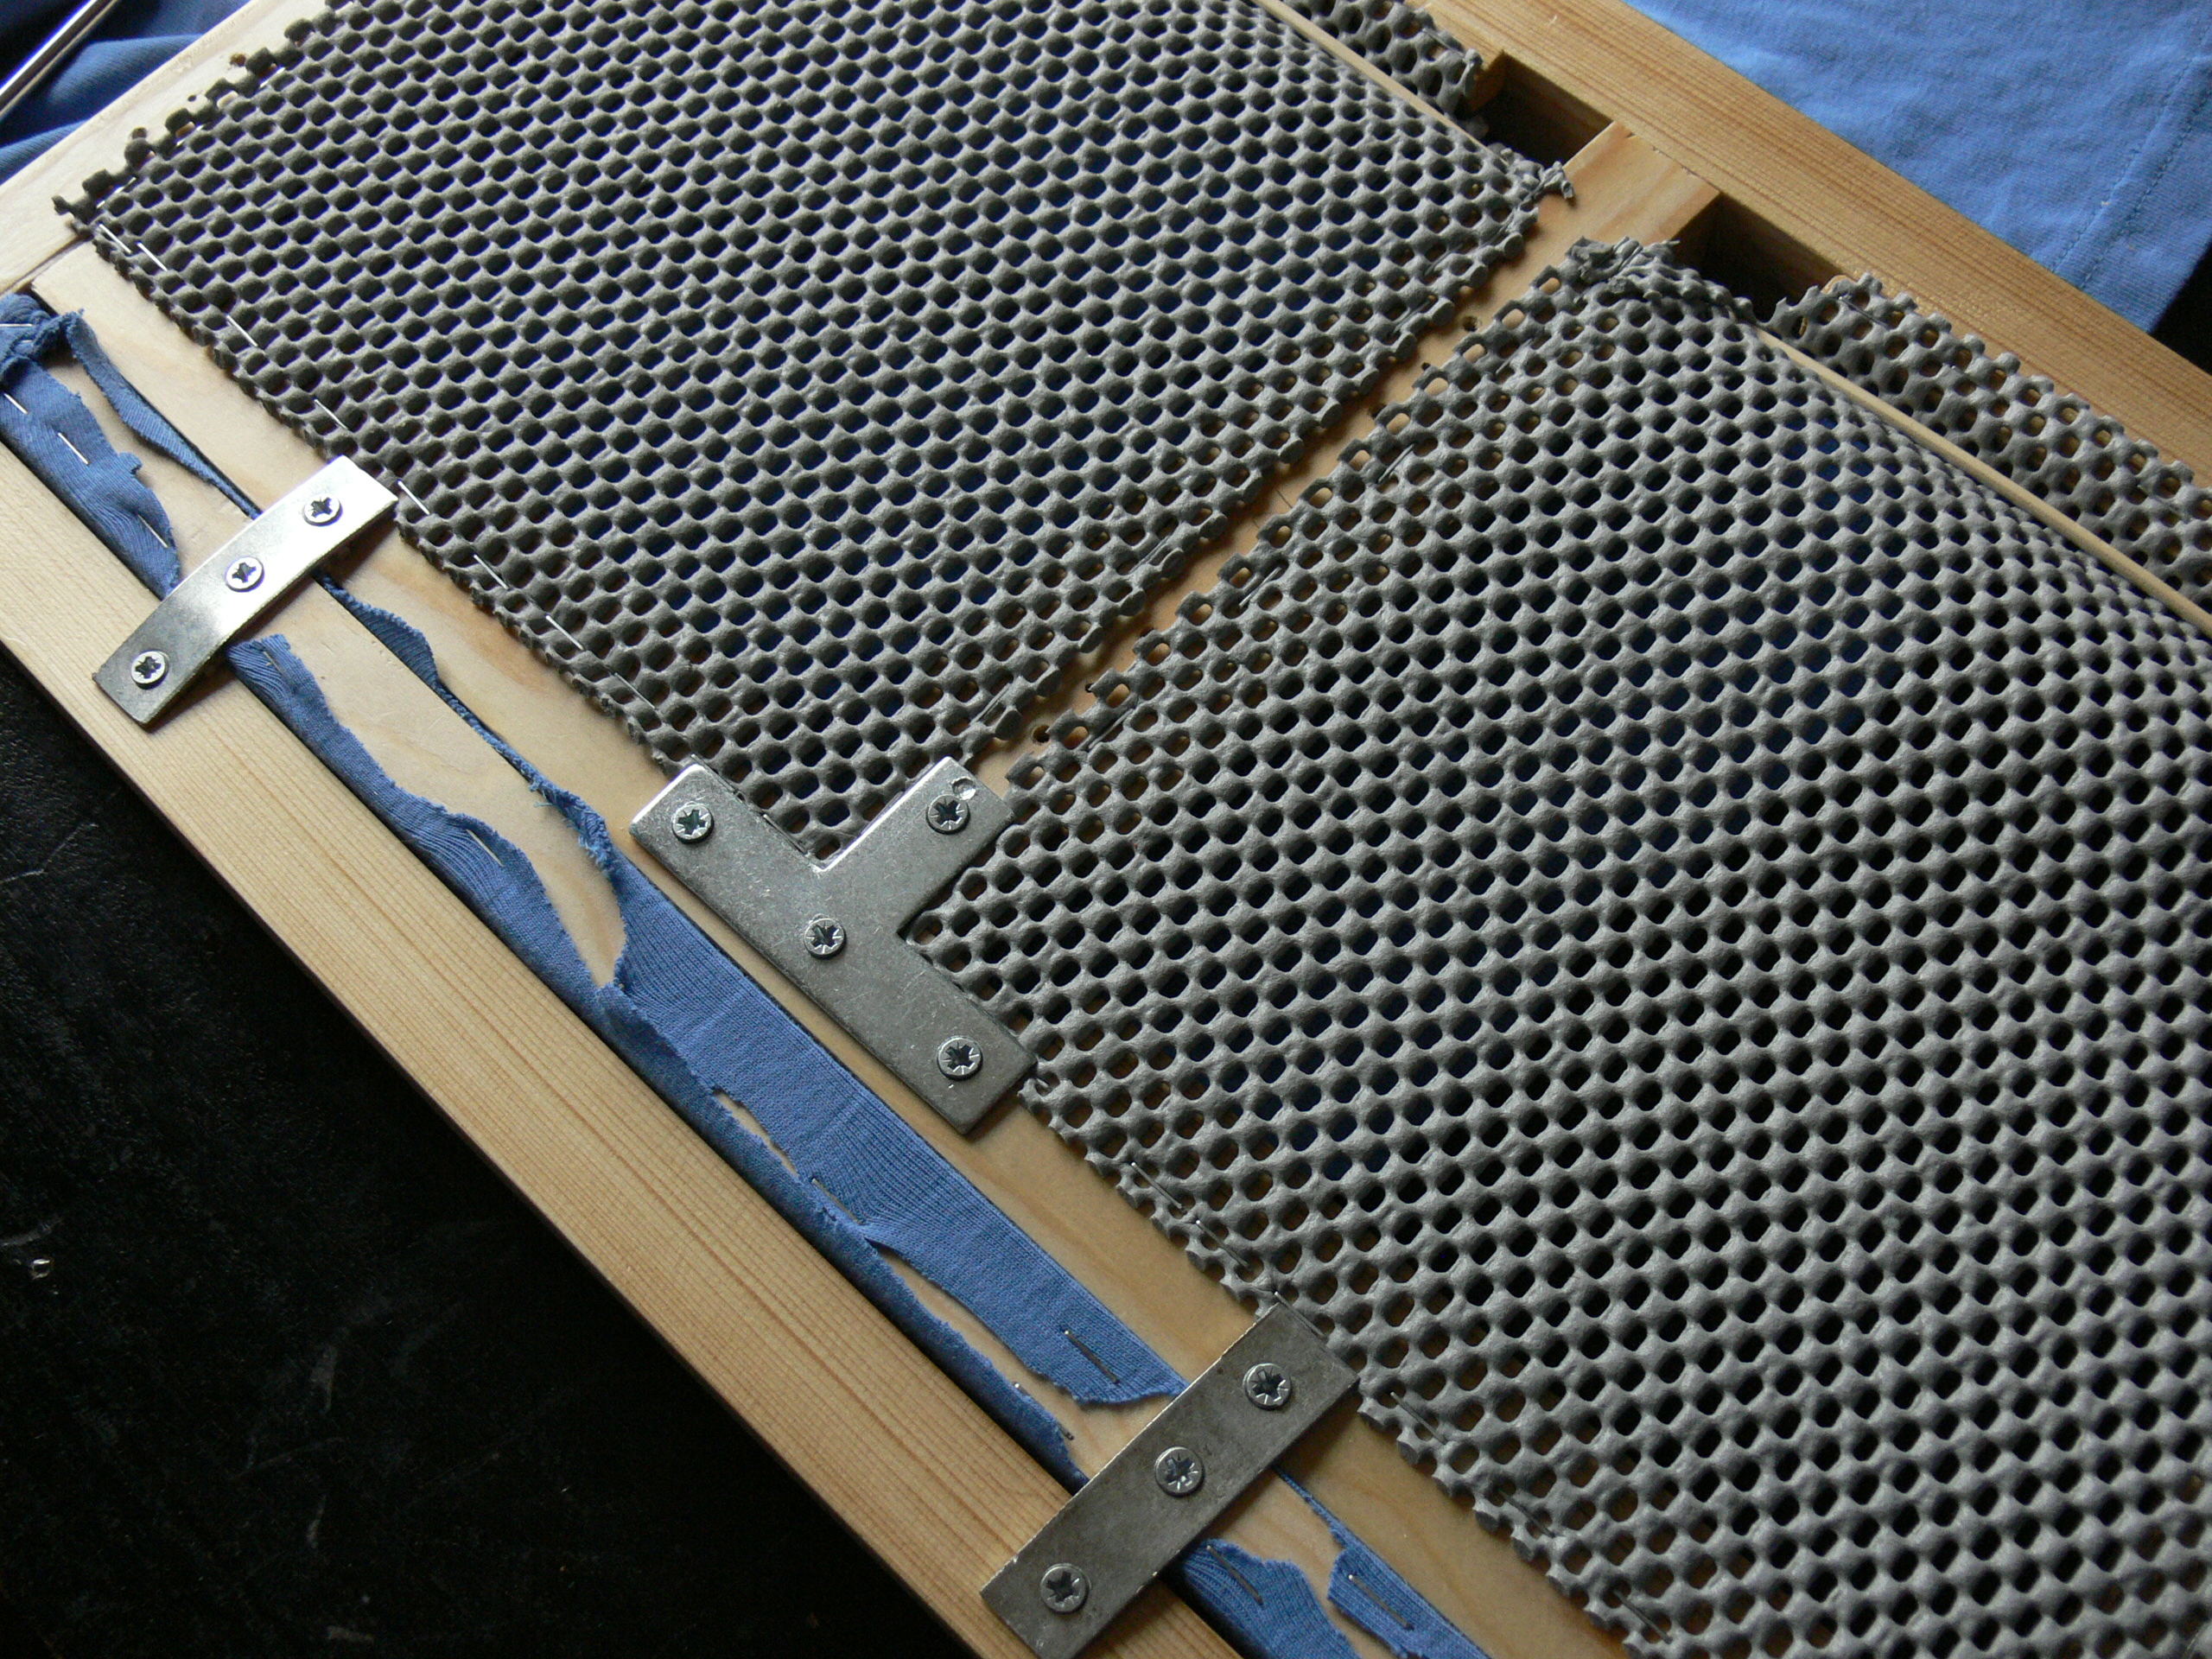
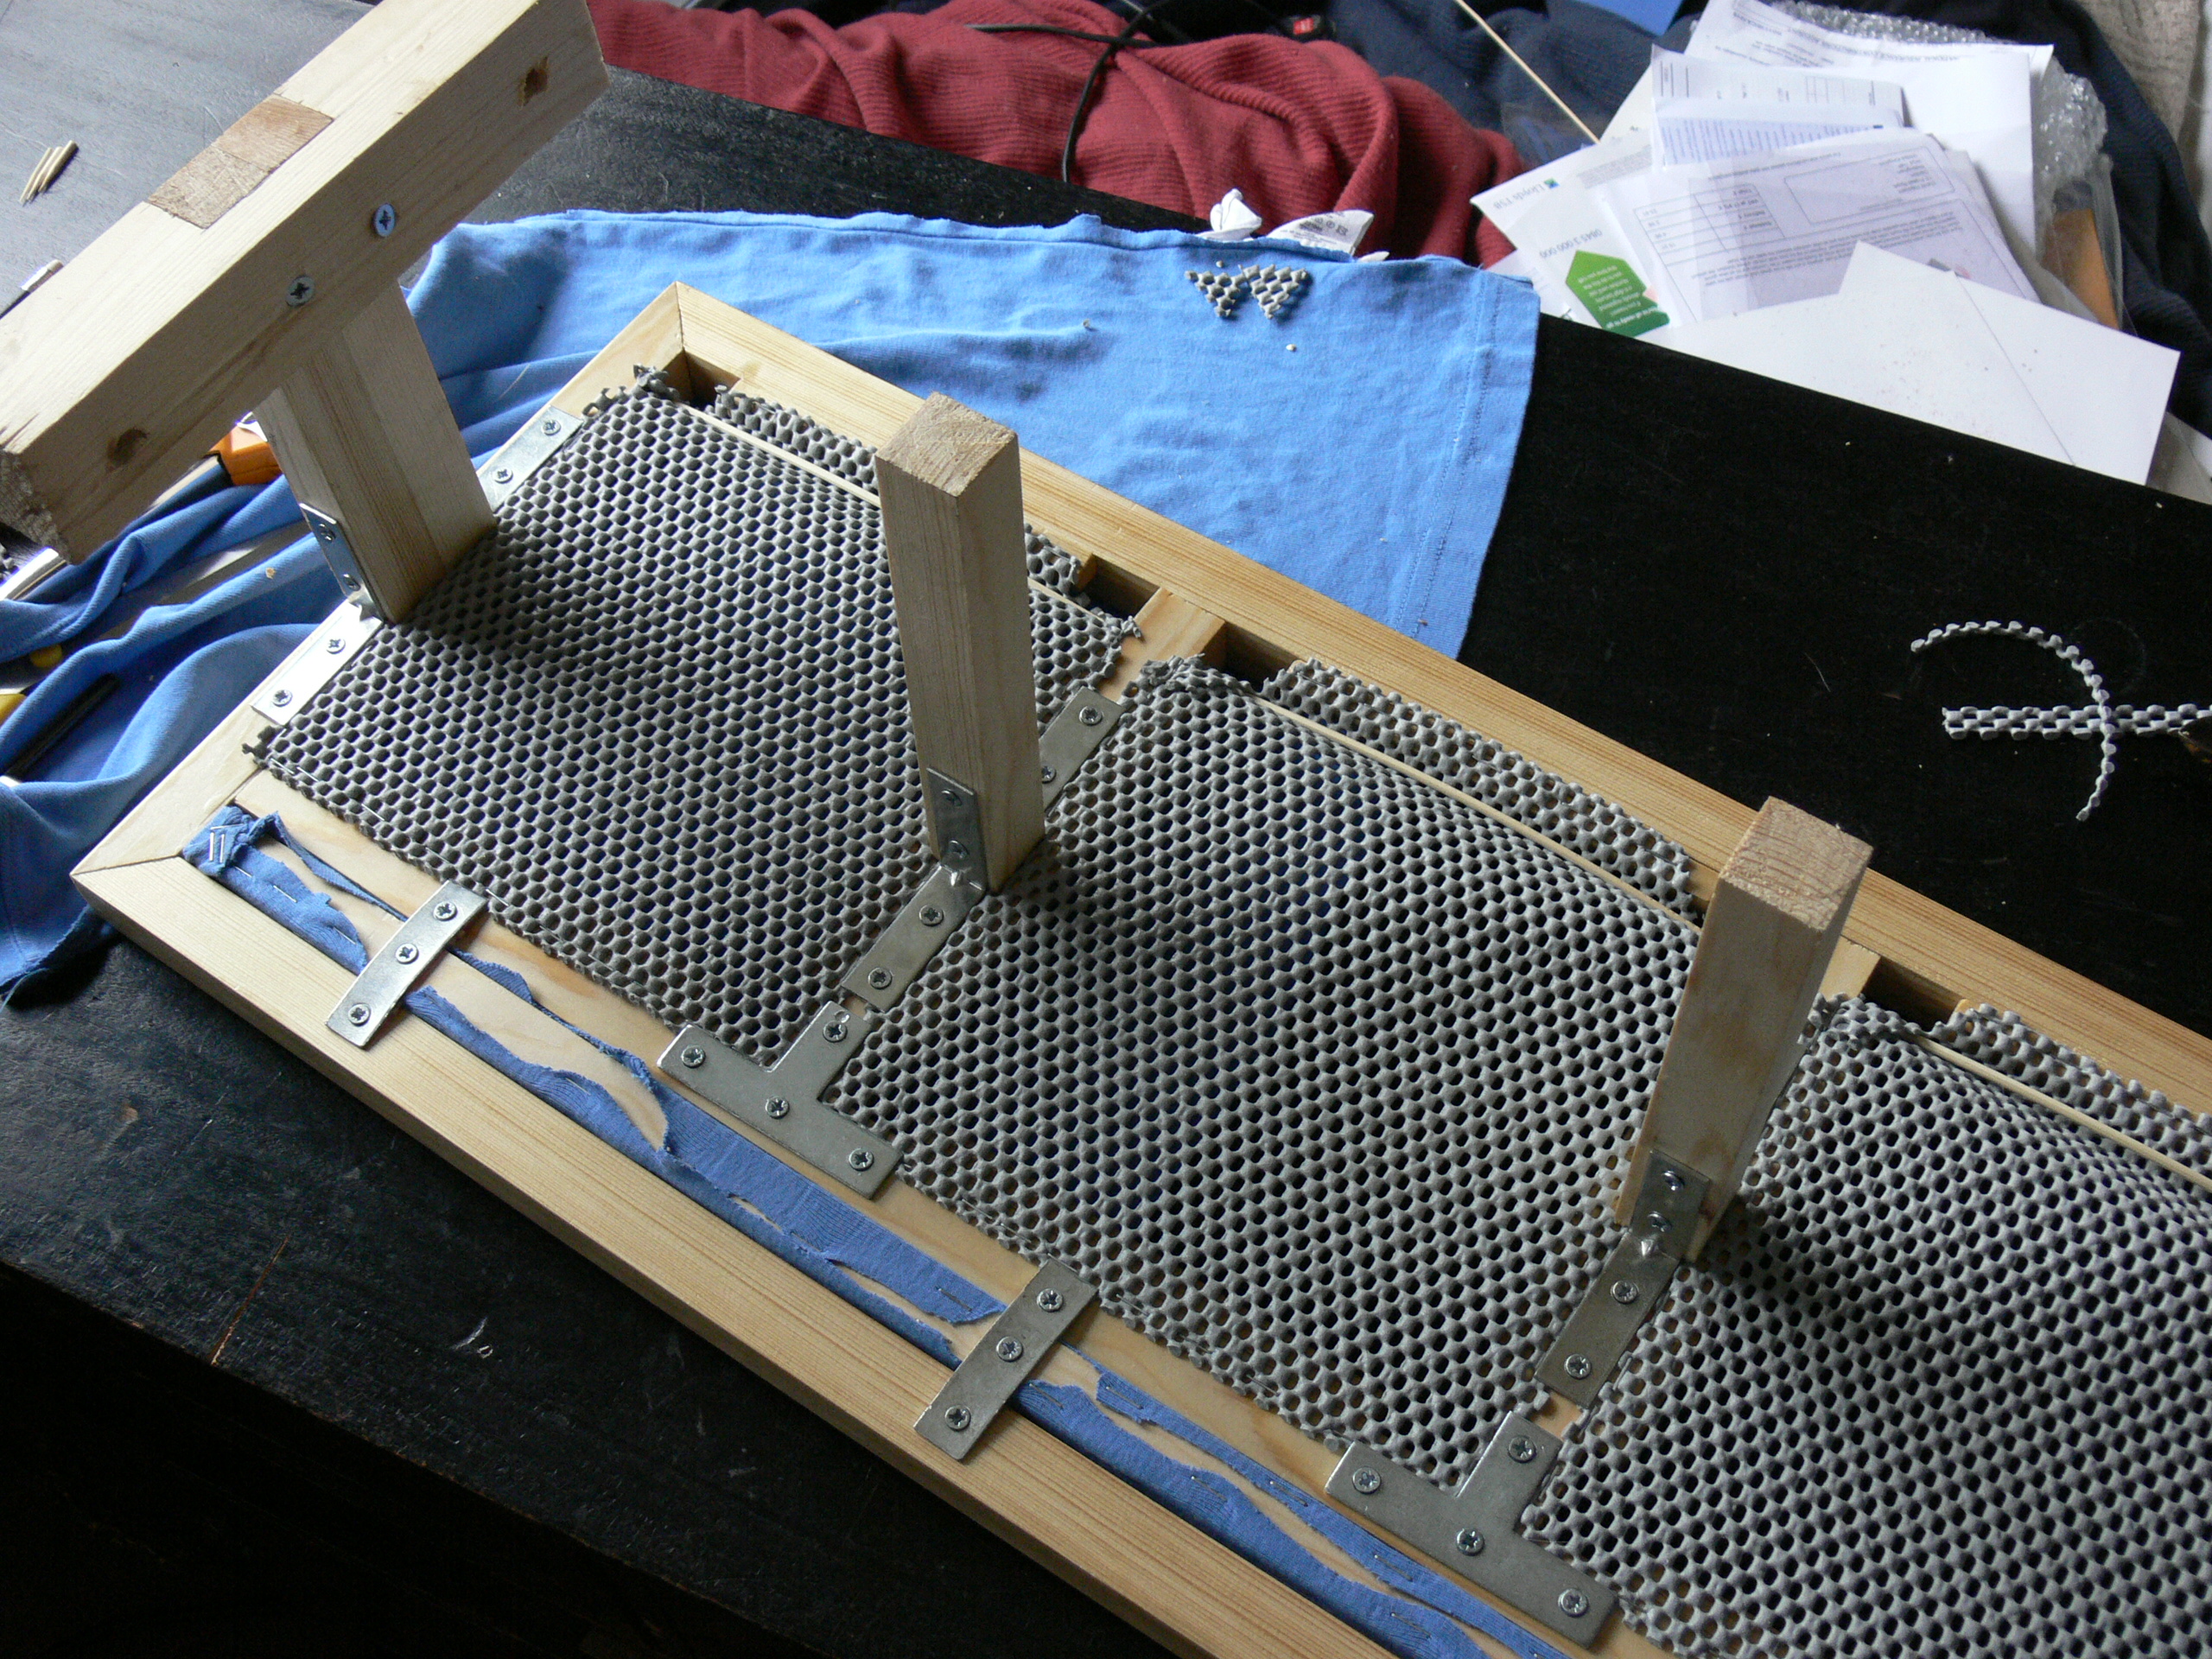
I decided I wanted storage underneath the panels for, um, small stuff.
I took a particularly elaborate approach explained in the notes on the pictures below. This was entirely because I wanted finger holes to push up through; if you're not bothered about that, a quickly stapled square of stretchy webbing allows you to just as quickly pop the panel out from beneath by simply pushing up in the centre.
I took a particularly elaborate approach explained in the notes on the pictures below. This was entirely because I wanted finger holes to push up through; if you're not bothered about that, a quickly stapled square of stretchy webbing allows you to just as quickly pop the panel out from beneath by simply pushing up in the centre.
Finished


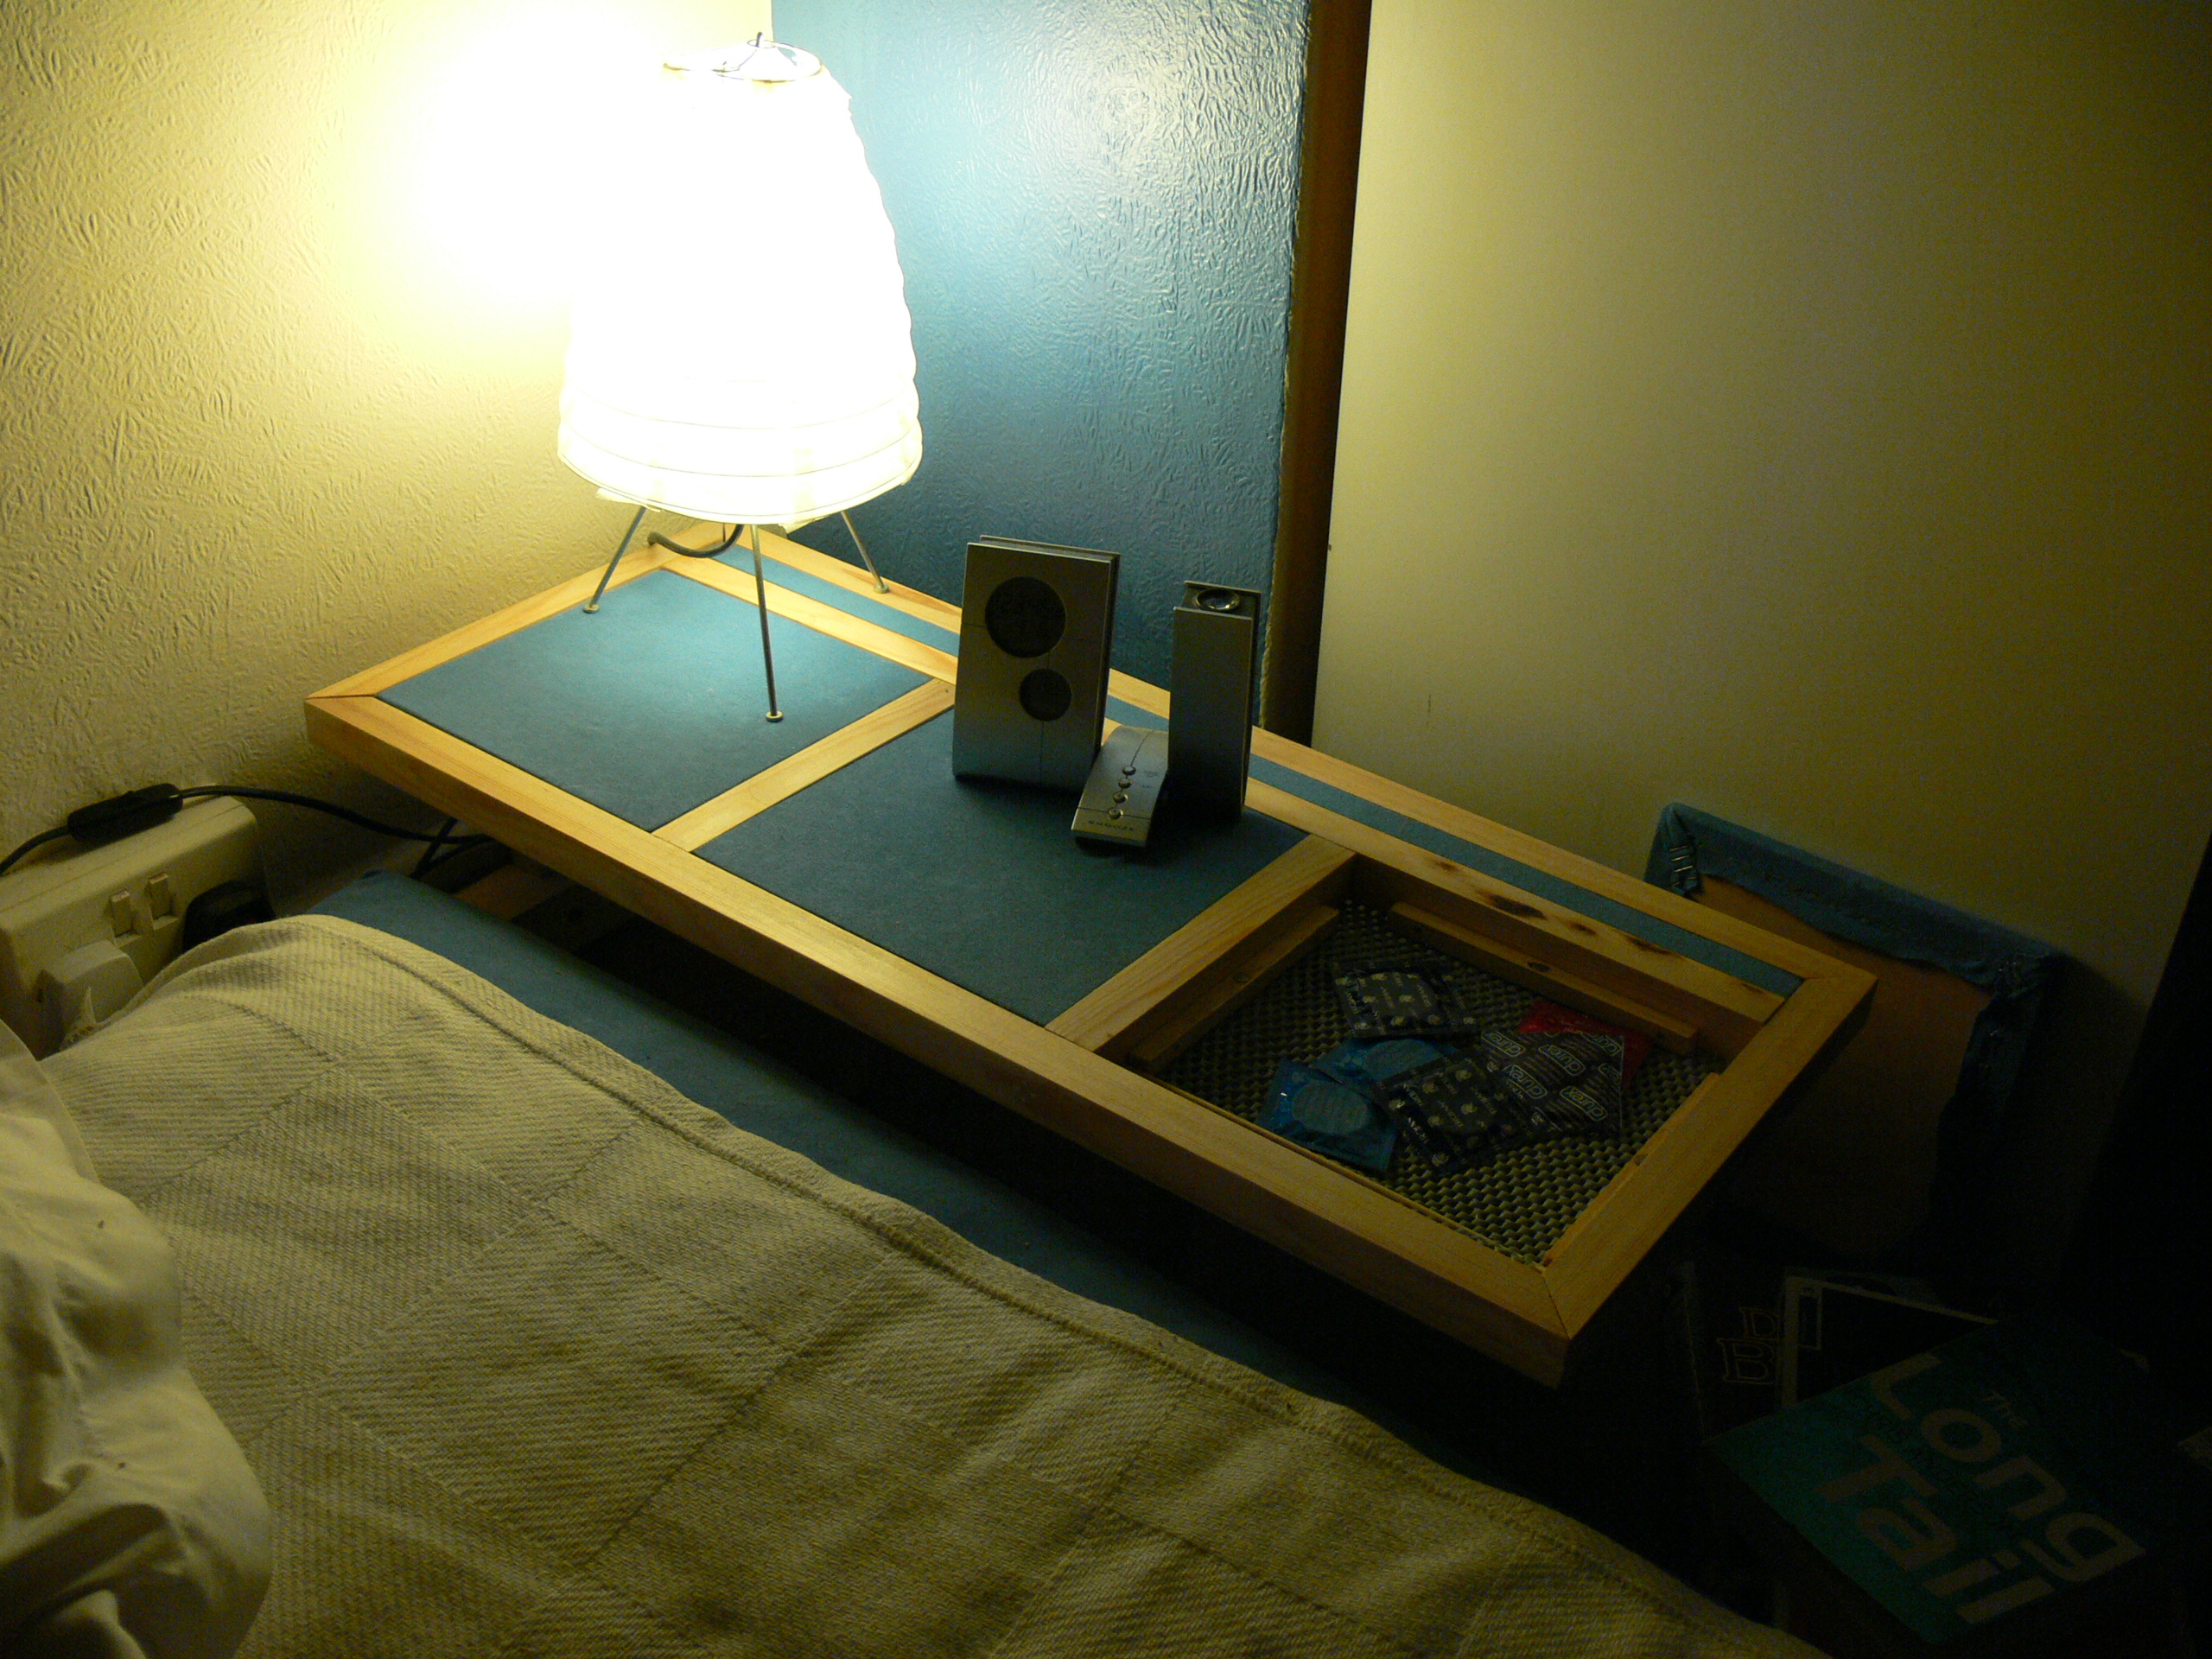
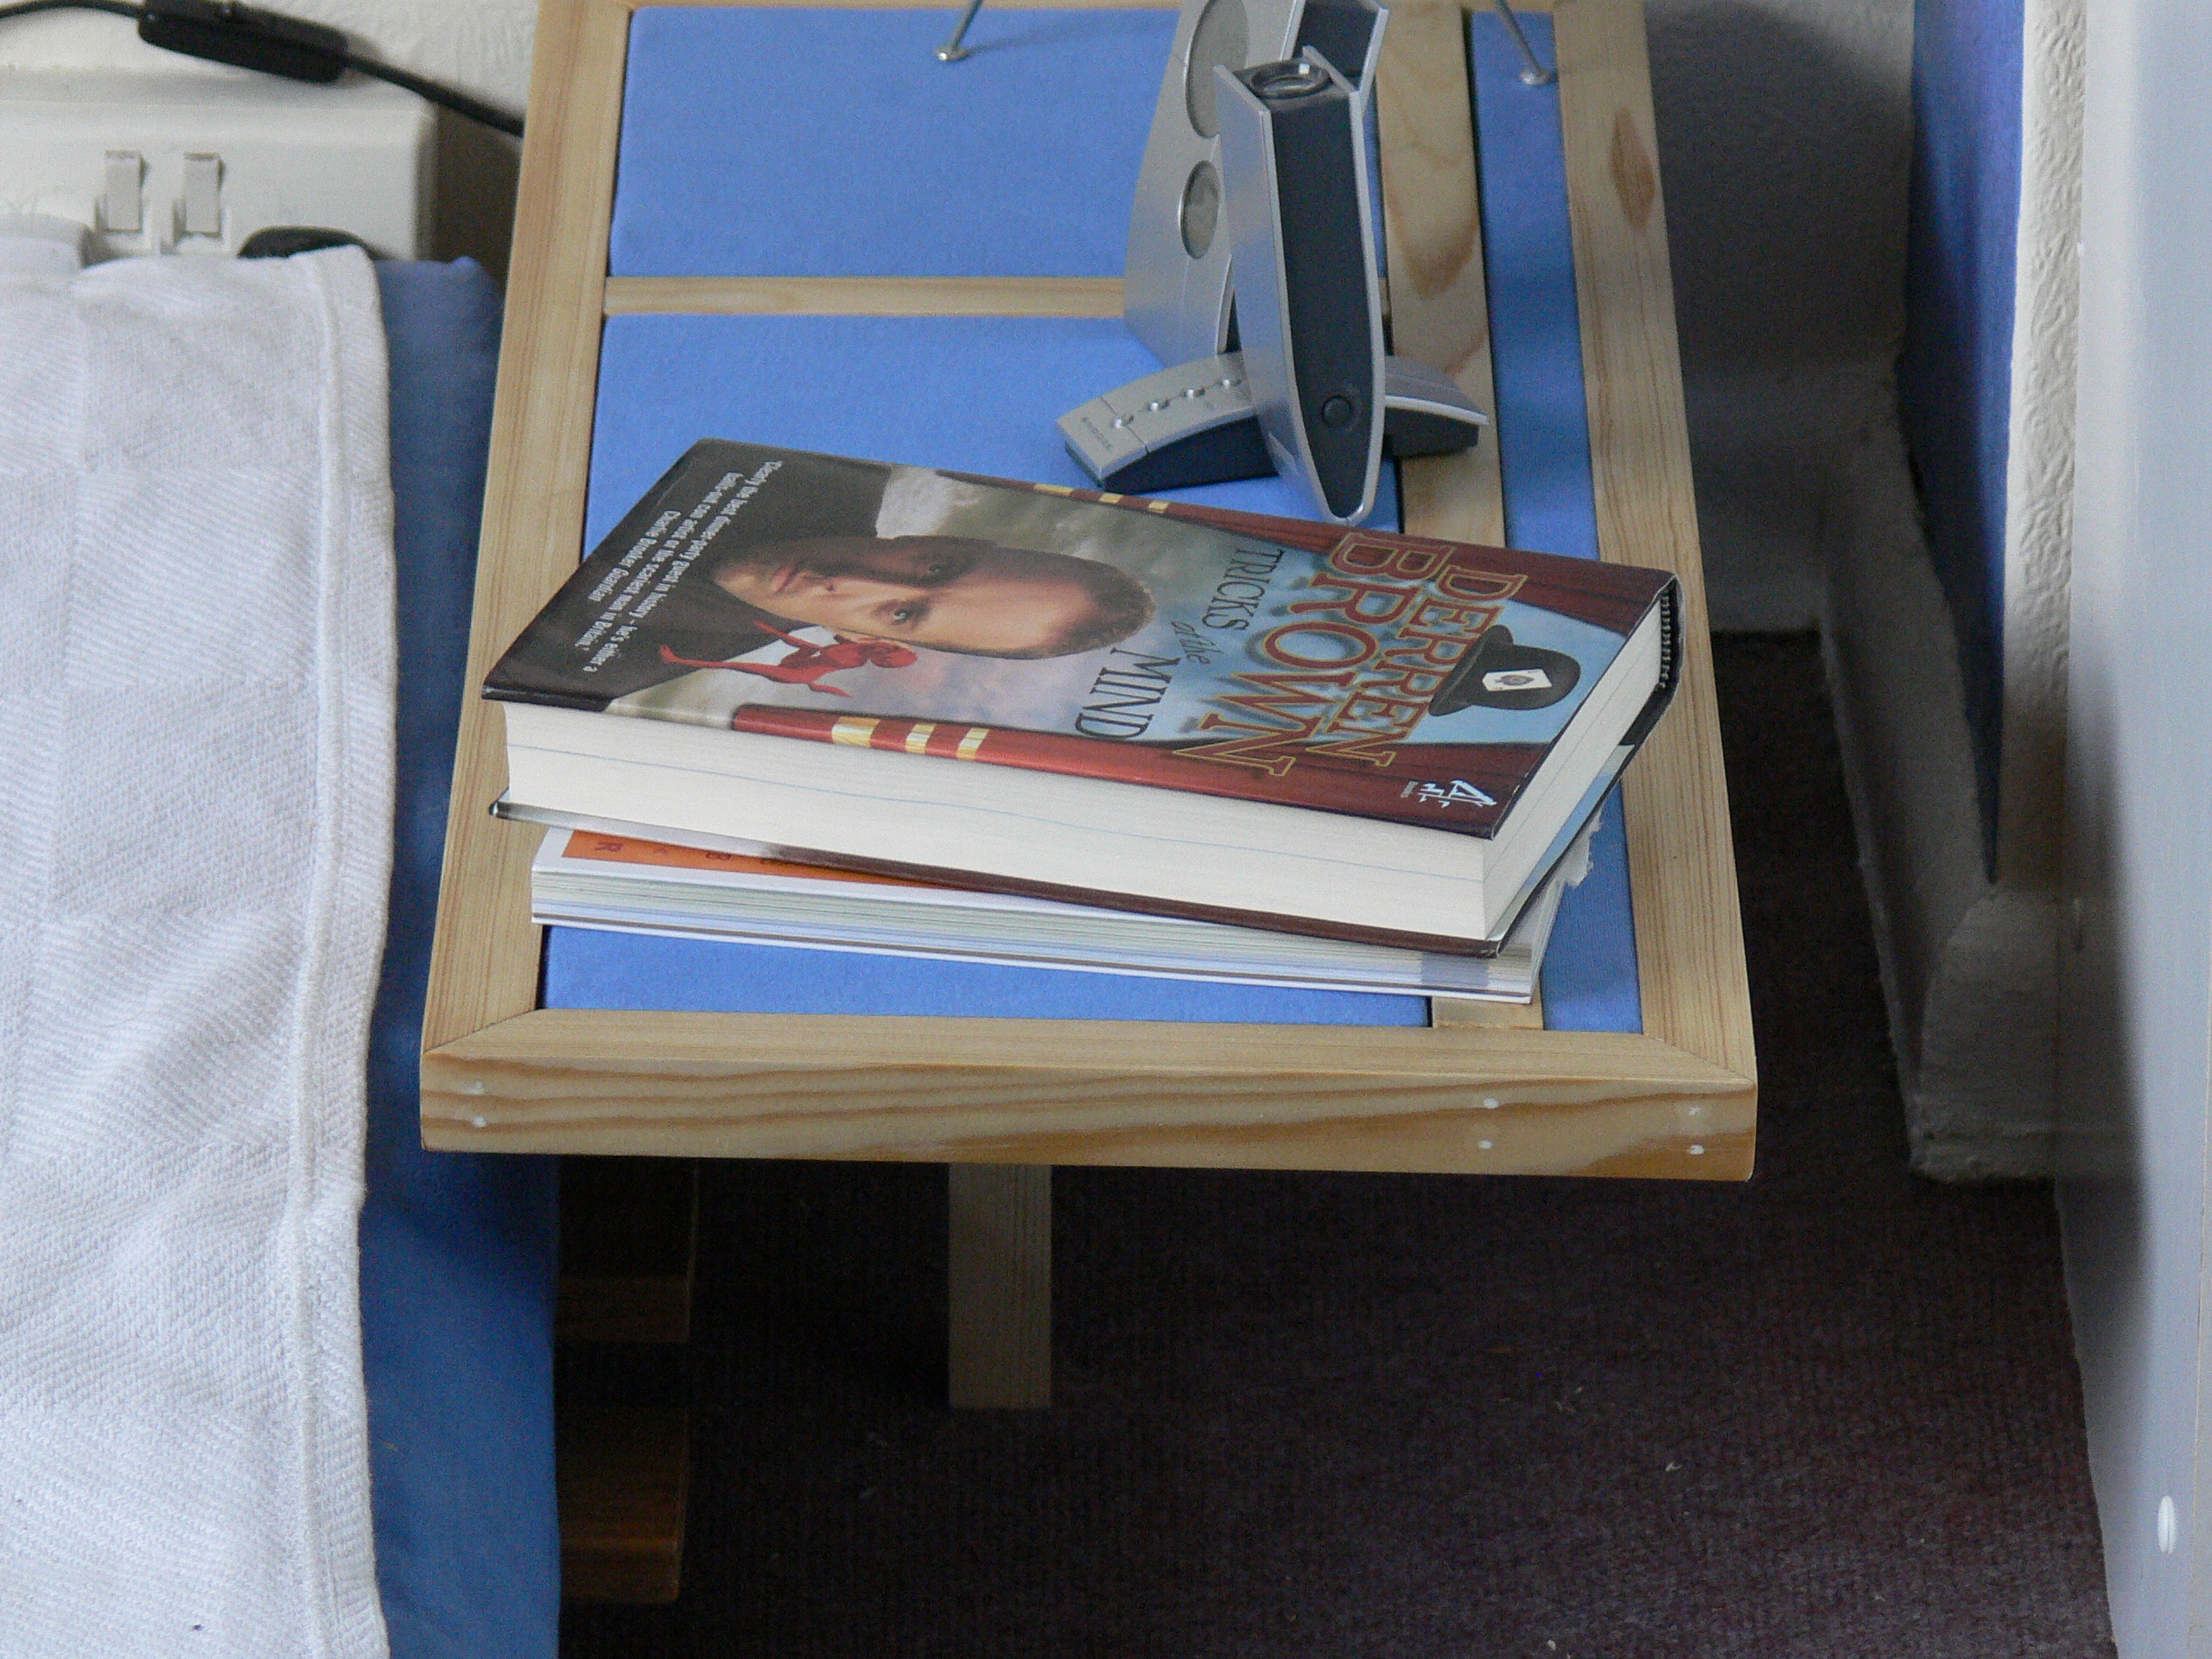
Just fix to the wall and it's finished.
I designed mine to fix to the skirting board because an electrical spur runs right behind that corner of the alcove.
It's solid enough to lean on a bit, but it is a little rickety. Not the kind of thing a Yorkshirman would loudly slap his palm down upon while exclaiming "Ye could give birth on that!".
I'm happy with the legs. The front one only shows a little even from across the room, giving it a very light look.
This table was inspired by a pair of designer beds. I've lost the link and can't find them again, but they were designed to wall fix on one side, then in conjunction with that a single leg in the centre supported a very rigid frame. The leg was invisible from most angles, making the beds appear to hover. One was circular, the other was rectangular. Gorgeous, but expensive.
Wouldn't be so difficult to scale up and DIY if you had the right skills and workshop facilities though ;)