Faux-Stained Glass
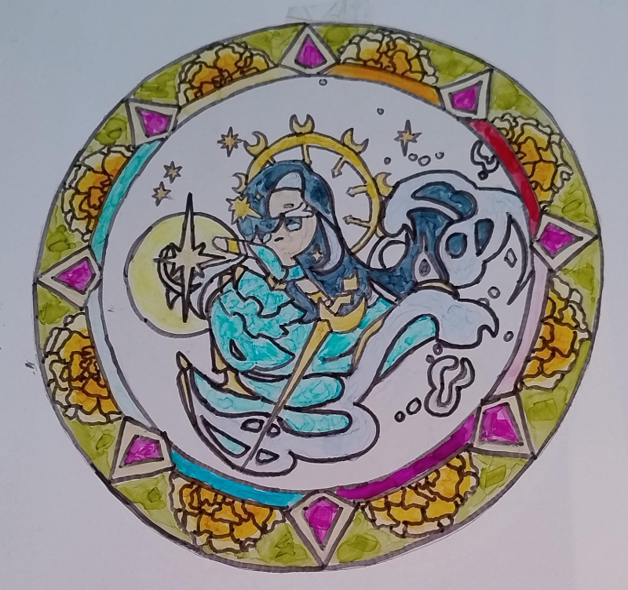
Ever since I was a child, I was fascinated by stained glass. Stained glass - an art-form most regularly seen in churches - have an ethereal quality, and the way the sun shines through the different colors of glass has always fascinated me, and I'm sure I'm not the only one who felt this way. And like most people, I can't break my windows just to replace them with stained glass - not to mention the skills required to create the piece. That's why I've thought up this craft - to bring the art of stained glass into more homes, making it easy to access and change, and with it, an array of colors to brighten up your day!
Supplies
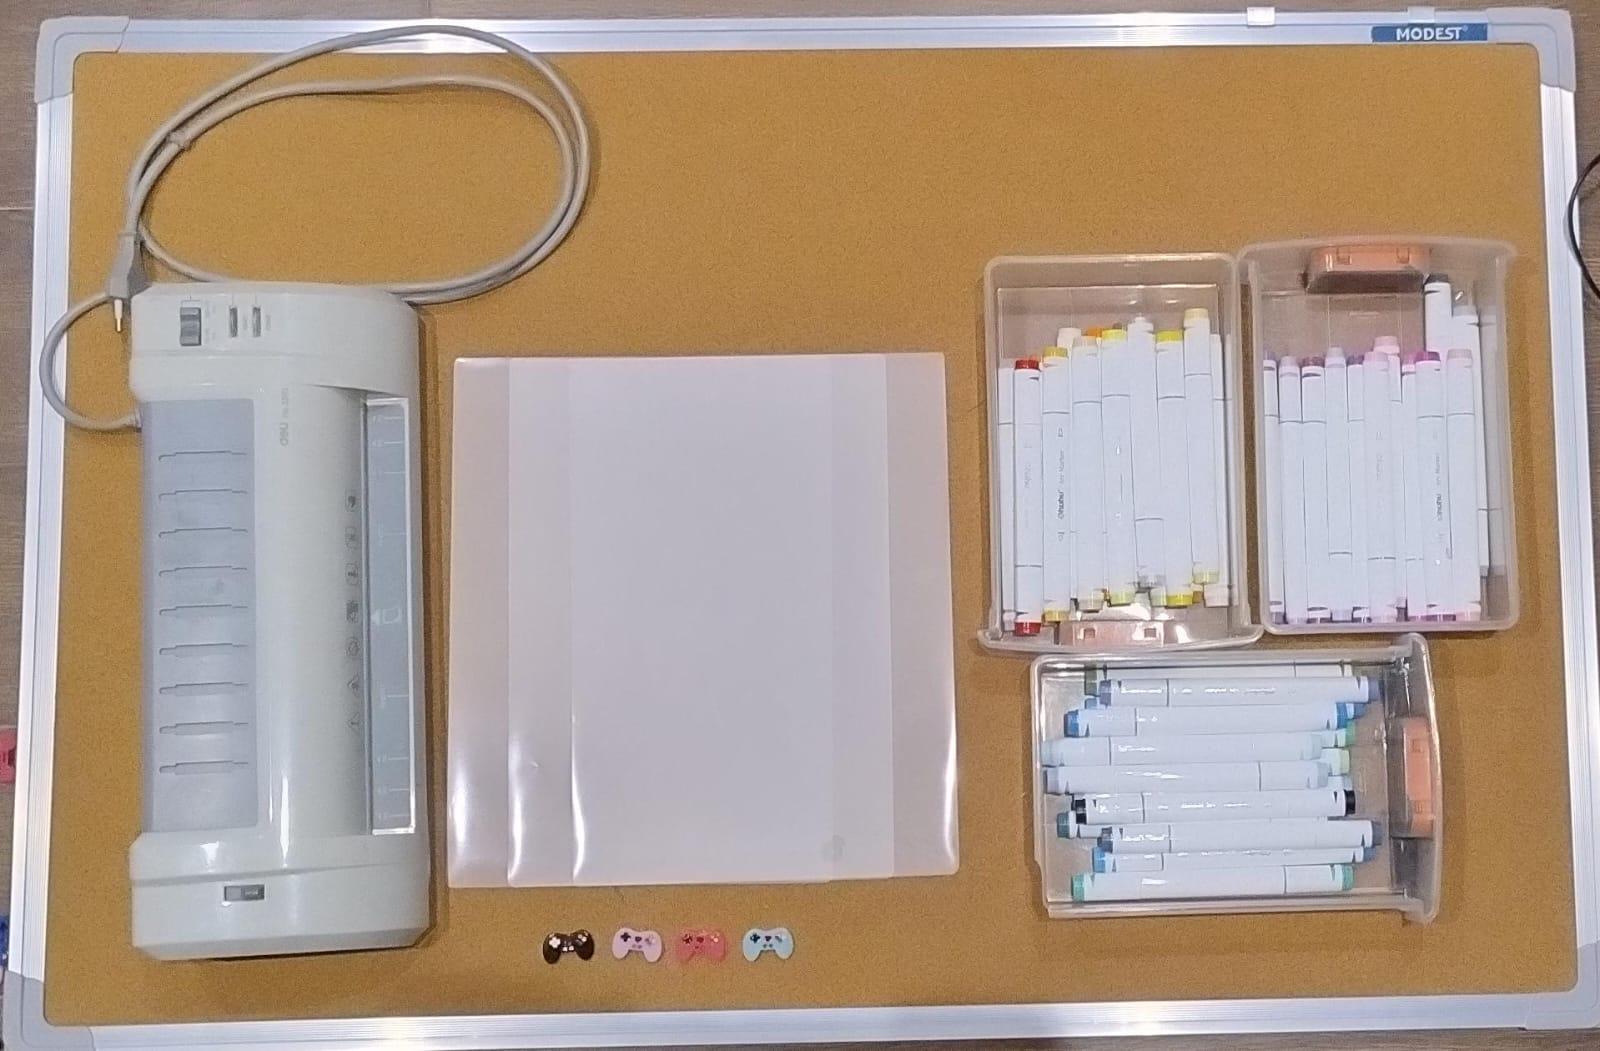
For this project, you'd need a few key things. First, a laminator is required, along with laminated sheets. This will allow us to create different pieces with the glass effect. If you don't have access to a laminator, use a clothing iron and a pillowcase to achieve the effect the laminator would have. Make sure to use parental supervision with these devices. Stationary, such as sketch pens and scissors are also required to draw, color in, and cut out the designs. You could also use a piece of white paper if necessary during the design process to help understand your sketch and coloring.
Additional resources, which are necessary depending on the type of project you'd like to make and your skill level, include access to a printer and image editing software to create designs which can be traced onto the laminating sheet. When tracing, it's important that both the design and the laminating sheet stay steady, so feel free to use tape or thumbtacks depending on your project.
Find Your Inspiration!
This may seem like an unnecessary step, but it's important as you continue with your project! There are tons of images and fanarts online that can serve as the basis for your stained glass design, not to mention actual stained glass designs you'd like to mimic. Pick out a favorite character of yours and search up designs that are not overly complex and can easily be translated into a stained glass design. One of the main characteristics of stained glass is the thick black lines that run in-between the pieces of glass, so an overly detailed design might be difficult to pull off, especially on a first try.
This particular craft can be adapted to a wide variety or circumstances, so don't limit yourself. Pick out pieces you can use bright colors and contrast in, while fitting into your own personal aesthetic. For this Instructable, I'm using a character from a game I enjoy - Cookie Run Kingdom. This version of Sea Fairy Cookie has a beautiful dress, along with accessories and embellishments that would transfer well into a stained glass design.
Create Your Design

If you're a talented enough artist, you can design straight onto your piece of laminating paper, but if you're a beginner, it'd be better to print out your design and trace over it, especially if your design uses geometric shapes in a manner that requires accuracy. You can print out your inspiration by itself, creating a design featuring just your character or item, but to have a more 'stained glass' feel, I highly recommend modifying the artwork to include a frame and other stained glass elements.
For this, you can make use of image modification and arrangement tools, such as photoshop, Canva, or in my case, PowerPoint. Taking all the different aspects of your design, arrange them in a way that appeals to you. In my case, I wanted to incorporate marigolds into the design, so I took a simple drawing of daffodils from online and added them to the frame around my picture. Make sure you change the size of the canvas you're working on to be the same size of the paper you're printing the design on, so you can see the size of the craft.
With more complicated inspiration pictures, like the one I used for this project, don't be afraid to omit certain details. Stick to the main details of your idea, and if your idea is not particularly complex, create more details. In stained glass art pieces, larger details are made up of smaller pieces of glass, and you can use this effect to your benefit in your design.
This art piece is for you, so make sure you like it before you move on!
Sketch Your Design
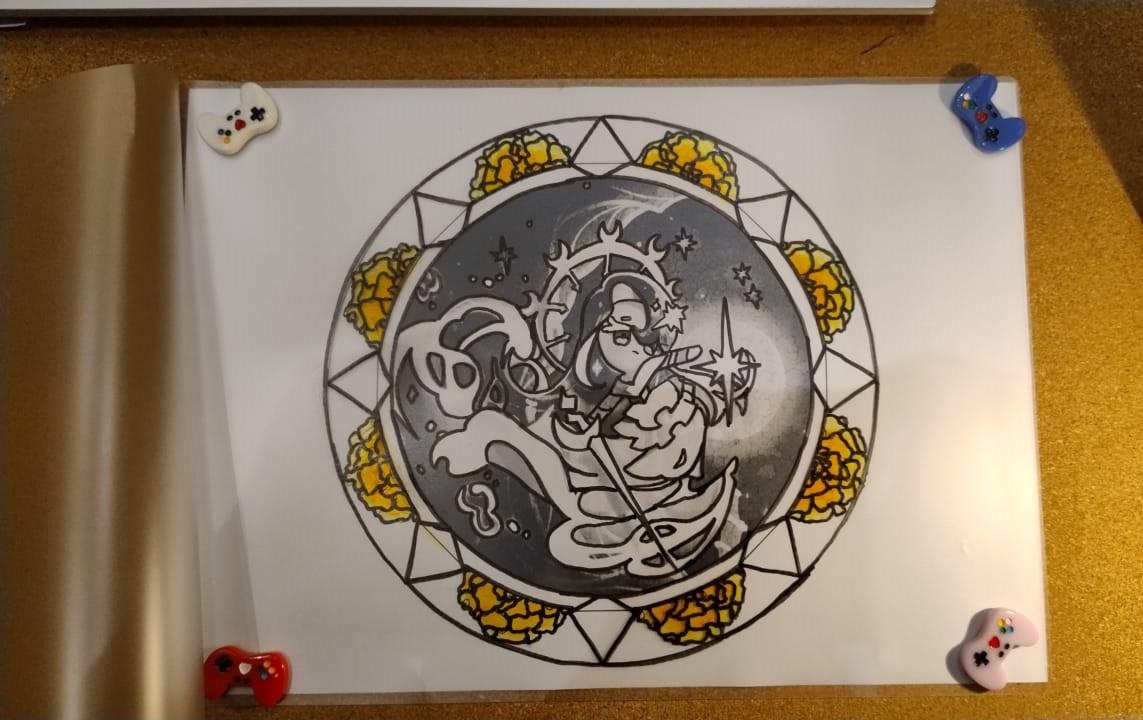
This is where the fun starts! Open the laminating sheet, so that you're able to draw on the inside with the rougher surface. Start by creating a main outline for your entire piece, and then doing the outlines of your design components, making sure there is enough space between the lines to color in. If you've gotten your design printed out, remember to hold it down with pins or tape, making sure both the laminating sheet and printed page are in place to prevent inconsistencies in the design. We'll be going over these lines again, so don't worry about how dark the lines are right now - you are creating a blueprint for your design, and it will be perfected as time goes on. If you want to see the design more clearly, especially if free-handing this step, place a piece of white paper behind the laminating sheet.
Before you get too detailed, add some colors to places that would be hard to color in after the design is complete. For the marigolds, I added the coloring in before I added the outline. This is because flowers are organic - the shapes aren't symmetrical nor do they have the necessity of precision. Filling in the small details would be too difficult, so the coloring was done before the lines were added here, but the lines were completed for the rest of the details before the coloring. This also allows for a more natural gradient of colors, so feel free to use it as you wish!
Color Your Design
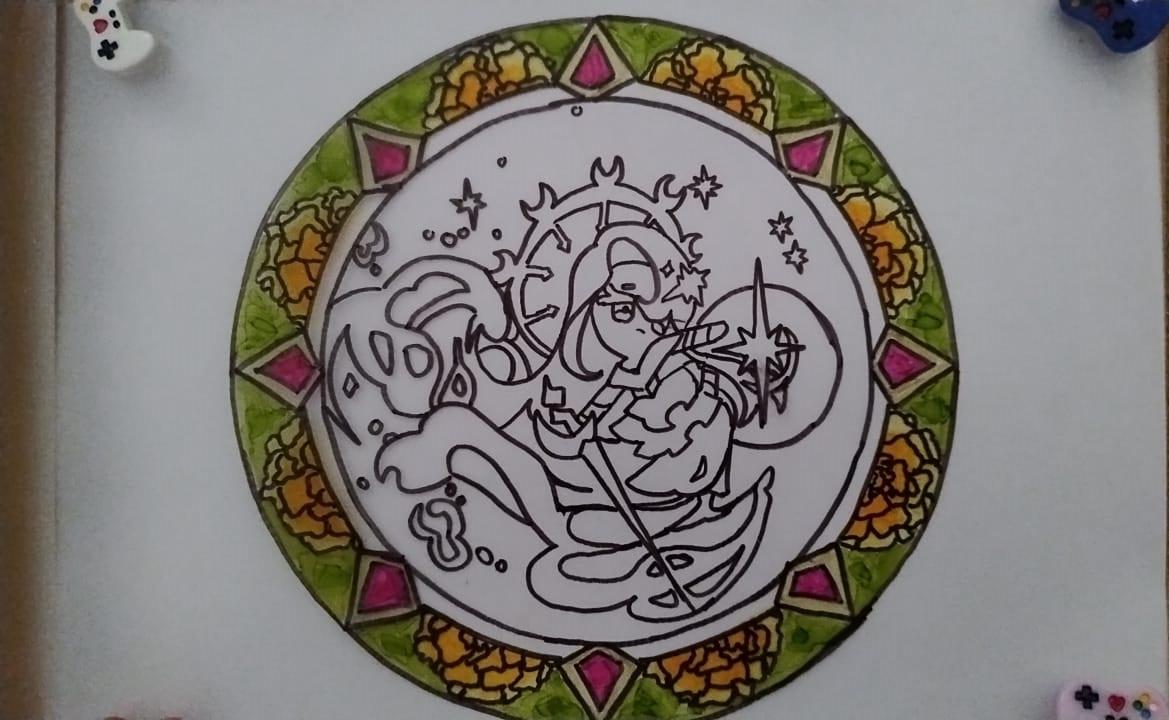
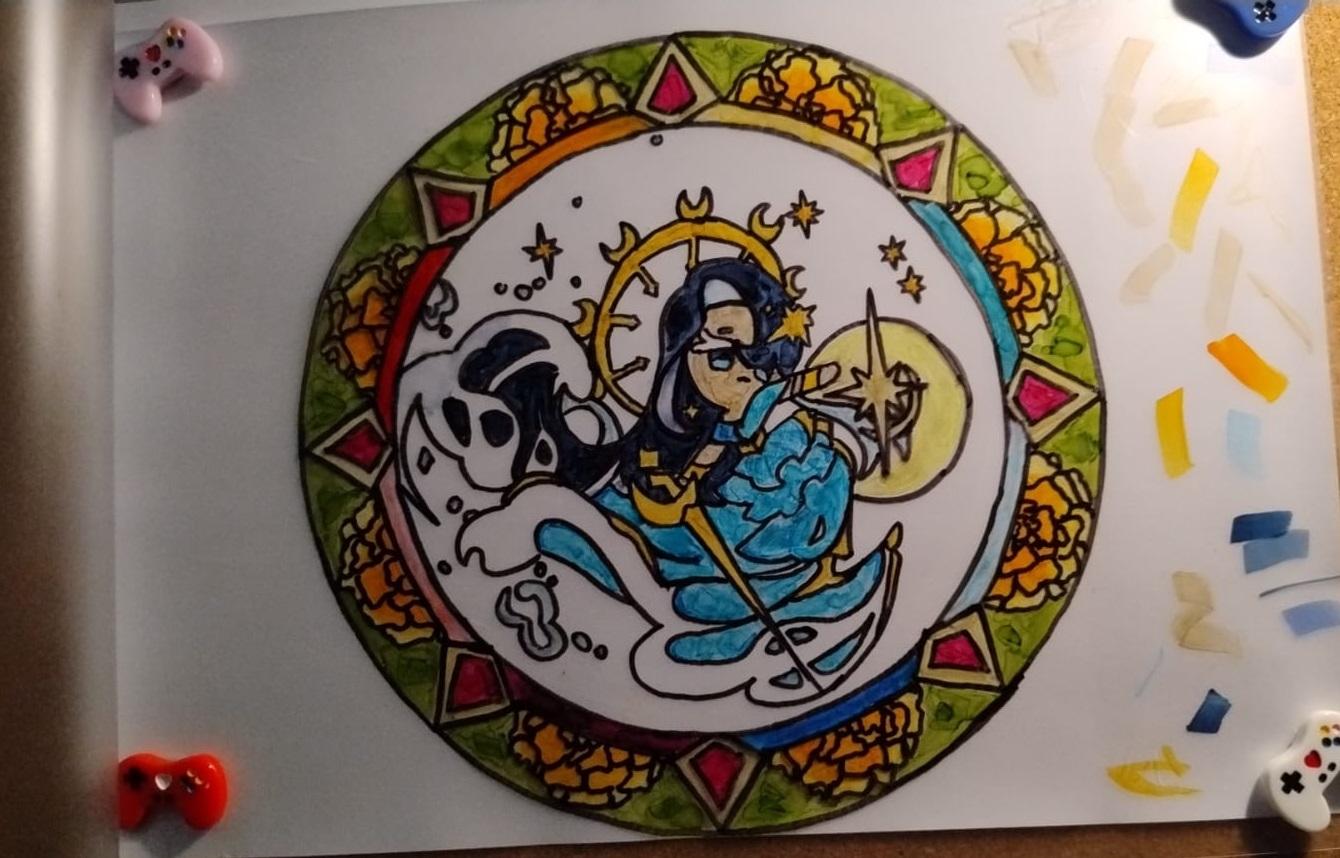
After you're done sketching, start coloring in your design! At this point, you don't have to keep your design pinned down, and you can help understand the way your final design would look by placing your sheet in front of a light source - whether under a lamp or in a window. Utilize empty space on your laminating sheet to understand how the colors would look on your design, and choose the right ones for you. These don't have to be exactly the same as the reference image, so feel free to customize!
If using a printed image, change to a white piece of paper at this stage so you can see everything clearly. Color it in based on how you prefer to color in designs - you can start with the smaller details first or do the larger sections of a given color. Coloring in the entire piece might use too much time and resources, so see if there are areas you would like to keep clear. If so, don't color these in. Don't feel pressured into completely filling your design with color, and take your time to ensure you get the result you desire.
If you've accidently colored in the wrong area or don't like your color choice, you can use sanitizer to remove the coloring. Take a tissue and use a small amount of sanitizer on it, and carefully wipe the area you've colored in, remembering to color it in again or leave it blank as appropriate. After you've finished coloring your art piece in, go over areas with black marker again. This will help create bold lines which help to separate the different components of your design.
Seal Your Design
This is where you require adult supervision, and the laminator. Being careful, send the closed sheet with your design through the machine, allowing it to seal the design inside. This will make it durable, not to mention waterproof, allowing you to move it and exchange it with other designs with ease. When using an iron, place the design in a pillowcase and carefully move the iron on its lowest setting along the sheet. This would also seal the design, but it requires more time. Make sure the sheet is checked by a responsible figure to see if it's properly sealed and not too heated that it melts.
Cut Out and Display Your Design!
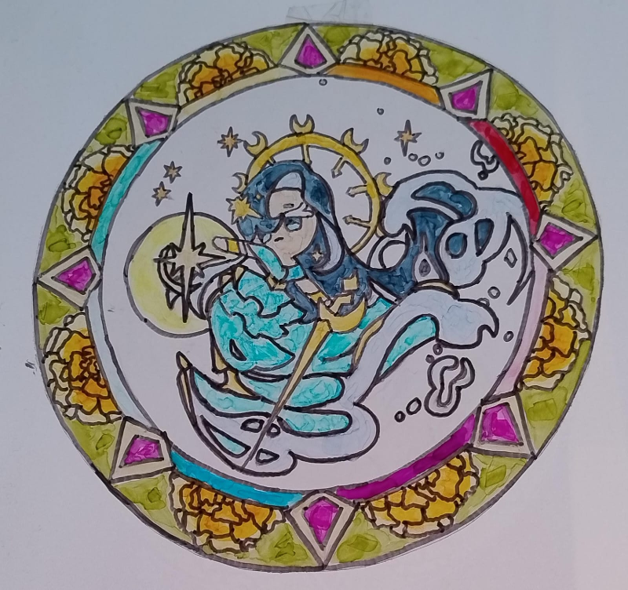
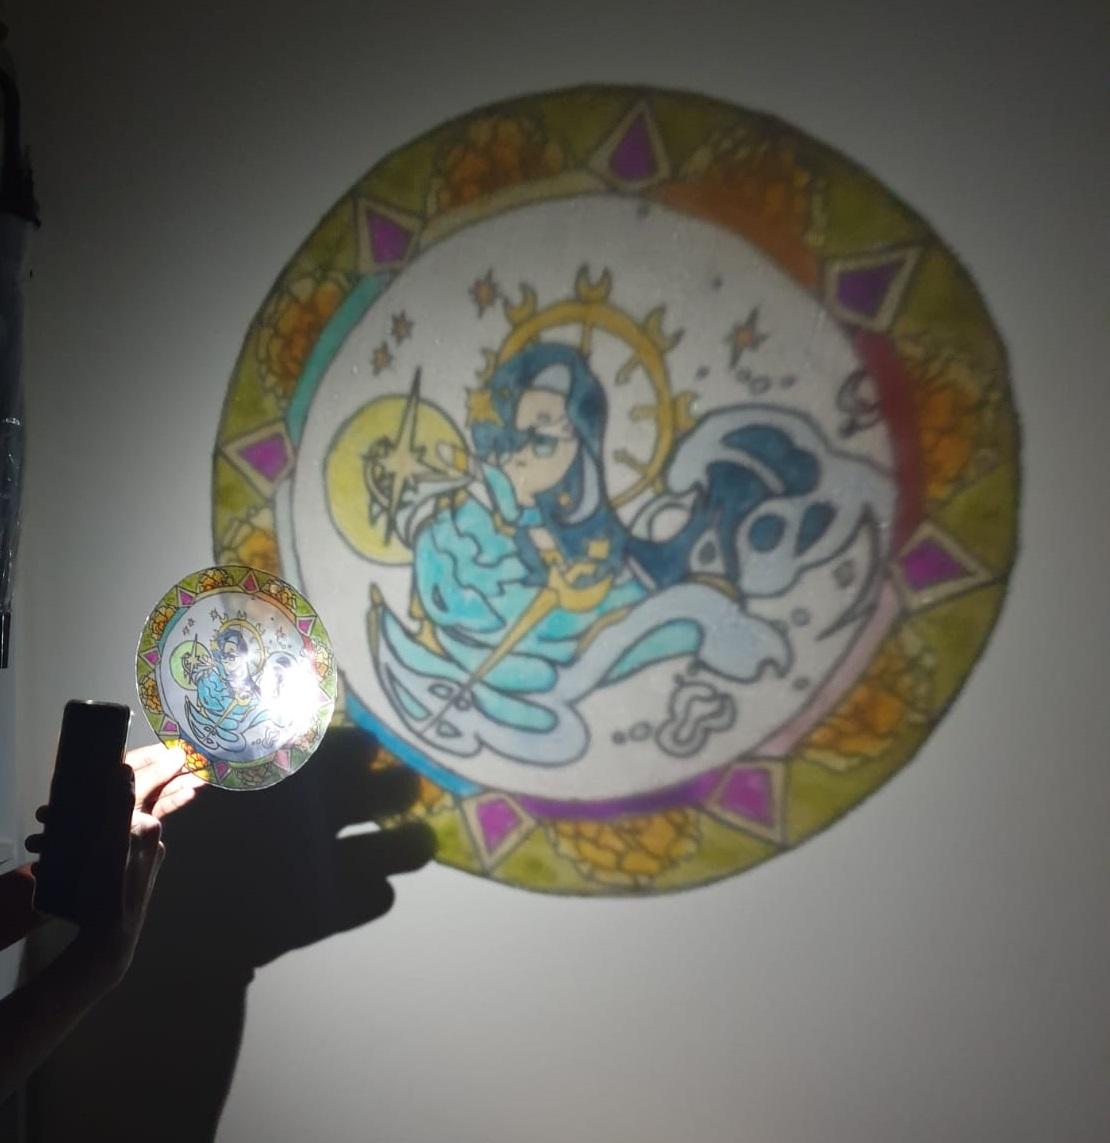
Using scissors, carefully cut out your design from the larger laminated sheet, and use parental supervision here as required. Go around the perimeter of your design slowly, especially when the shape is more complex to cut out, such as a circle. Cut as close to the black edge as possible, but since the laminating sheet is clear, you can cut a small distance away from the edge, leaving a small amount of sheet which isn't very noticeable. After you're done, do whatever you want with it! This craft can be used to make fun bookmarks, display pieces and light projections, which can be done by shining a flashlight through the design!