Faux Instant Photo
Instant camera is back in fashion, however, the film is REALLY expensive. I’m not going to pay for that, so I decided to make my own:
The one I’m imitating is the Fujifilm Instax Mini 8, but I’m pretty sure you can go for Polaroid or other instant camera – just change the frame size.
Things you’ll need:
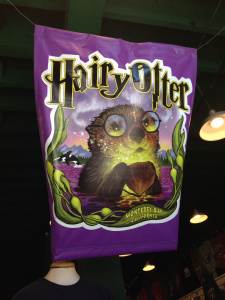
Prepare Your Photo
Go on Rookie (or Whatever Software You Like)
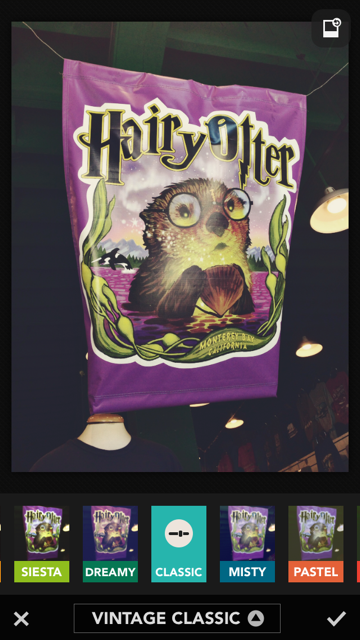

The goal is to make your digital photo looks like one from an instant camera, so it doesn’t matter what software you use as long as you achieve the effect. But for this tutorial, I’m going to use Rookie:
Go to Filters -> Vintage Classic -> Classic
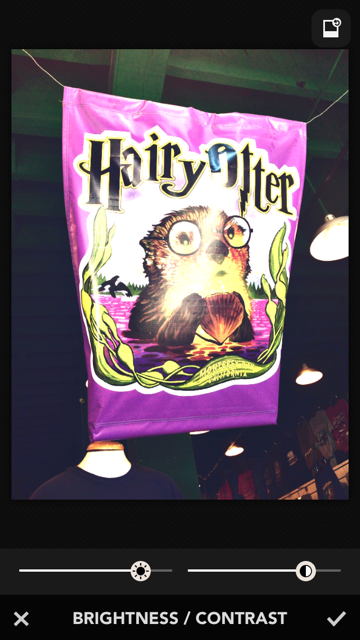
Go to Adjustments -> Brightness / Contrasts -> Increase both options
Go to Texture -> 04 Texture -> Screen
Save the image and send it to your computer
Download the Template
Open the Template and Your Photo on PS / Paint.net
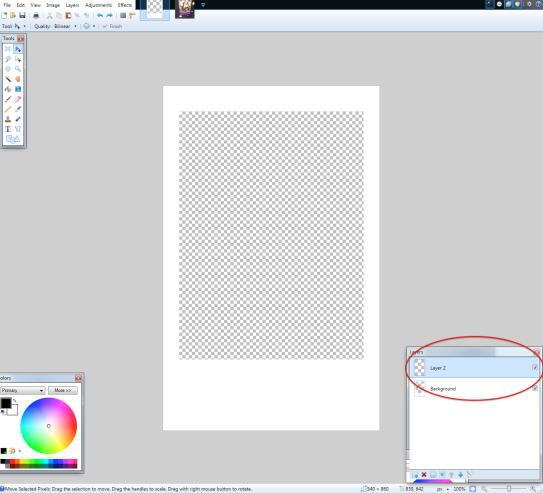
Make sure the template is opened as .png
Click “Add Layer” on the template
Copy and Paste Your Photo Onto the New Layer
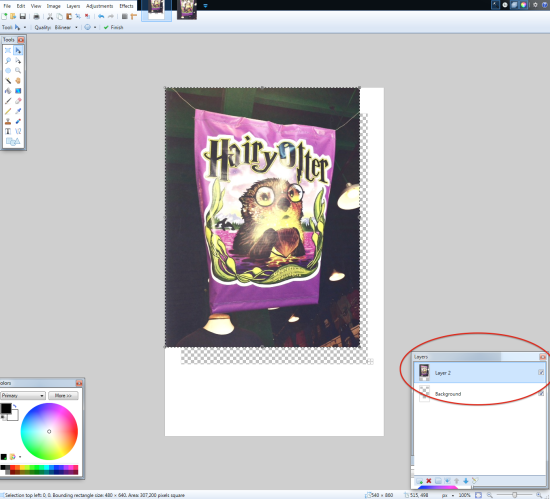
Click “Move Layer Down”

Adjust
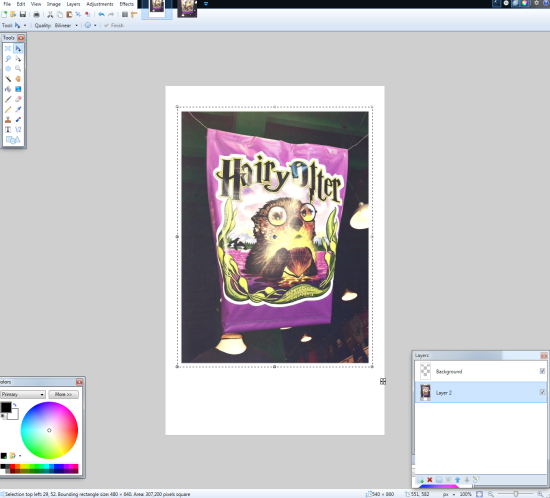
Flatten and save your photo as .jpeg
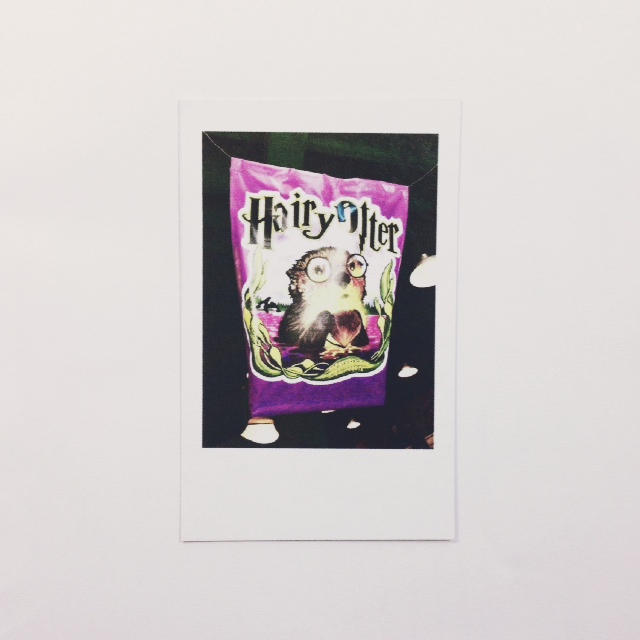
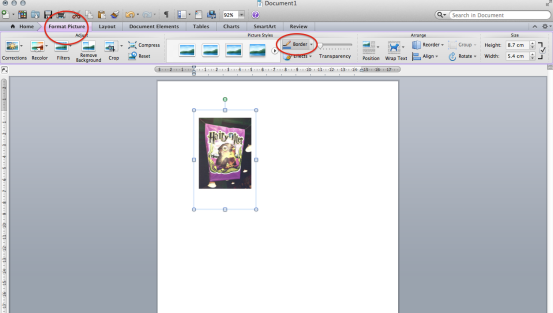
Drag It on Word and Click “Border”
Print It Out
Cut and Glue It to the Cardboard
Cut it with scissors – remember to leave some space outside the border
Trim It With a Paper Cutter
You can use a pair of scissors, but it’d be really difficult to cut a perfect edge.
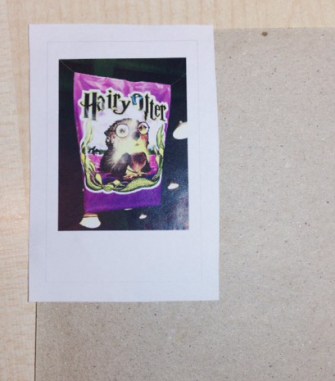
And you're done! I hope you'll like it :)