Faux Amber Resin Key Ring
by Rhonda Chase Design in Craft > Jewelry
11882 Views, 109 Favorites, 0 Comments
Faux Amber Resin Key Ring


Real amber is too soft to use on a key chain, but amber made from polyester resin is incredibly strong. Your amber "stone" will have the characteristic honey color and glass-like surface, but will be highly scratch resistant. And, since natural amber has bubbles and bits of nature mixed in the resin, you don't have to stress about working outside or being perfectly precise.


What You Need


Resin mold - 25mm half-round
Polyester casting resin - (any kind of casting resin works fine - if you want to use something else, it's mostly just a matter of drying time)
Alcohol dyes - yellow, orange
Flake glitter - copper
Bits of dried plant, bug, or other natural debris
Tweezer
Toothpicks
Wax paper
Gloves
Mixing cups (Dixie cups work well)
1 25mm bezel or bezel tray - should be at least 1mm deep
******************************
1 25mm split ring (key ring)
1 16 gauge jump ring (5mm +)
Glue (e-6000, epoxy, etc)
Jewelry pliers optional

Get out all of your resin supplies.
Pour 1-2T of resin to a mixing cup.
When using polyester resin, don't add the hardener until just before you're ready to pour.
Yellow


Add enough yellow alcohol dye to make a bright lemon yellow. About 3 drops. Stir well.
Orange


Add 1 drop of orange alcohol dye at a time until you have a beautiful amber color.
Inclusions


Add a few flakes of copper glitter. Stir well.
Look at the mix to see if you need more glitter. If you add to much the amber will look fake.
Additional Inclusions


You can add bits or plant or insects if you want.
Stir well & let them "soak" a few minutes.
Add a drop or two of hardener.
Stir well.
Then pour the resin into your cabochon molds.
Stir with a toothpick so everything doesn't settle into the middle.
Add More If You Want


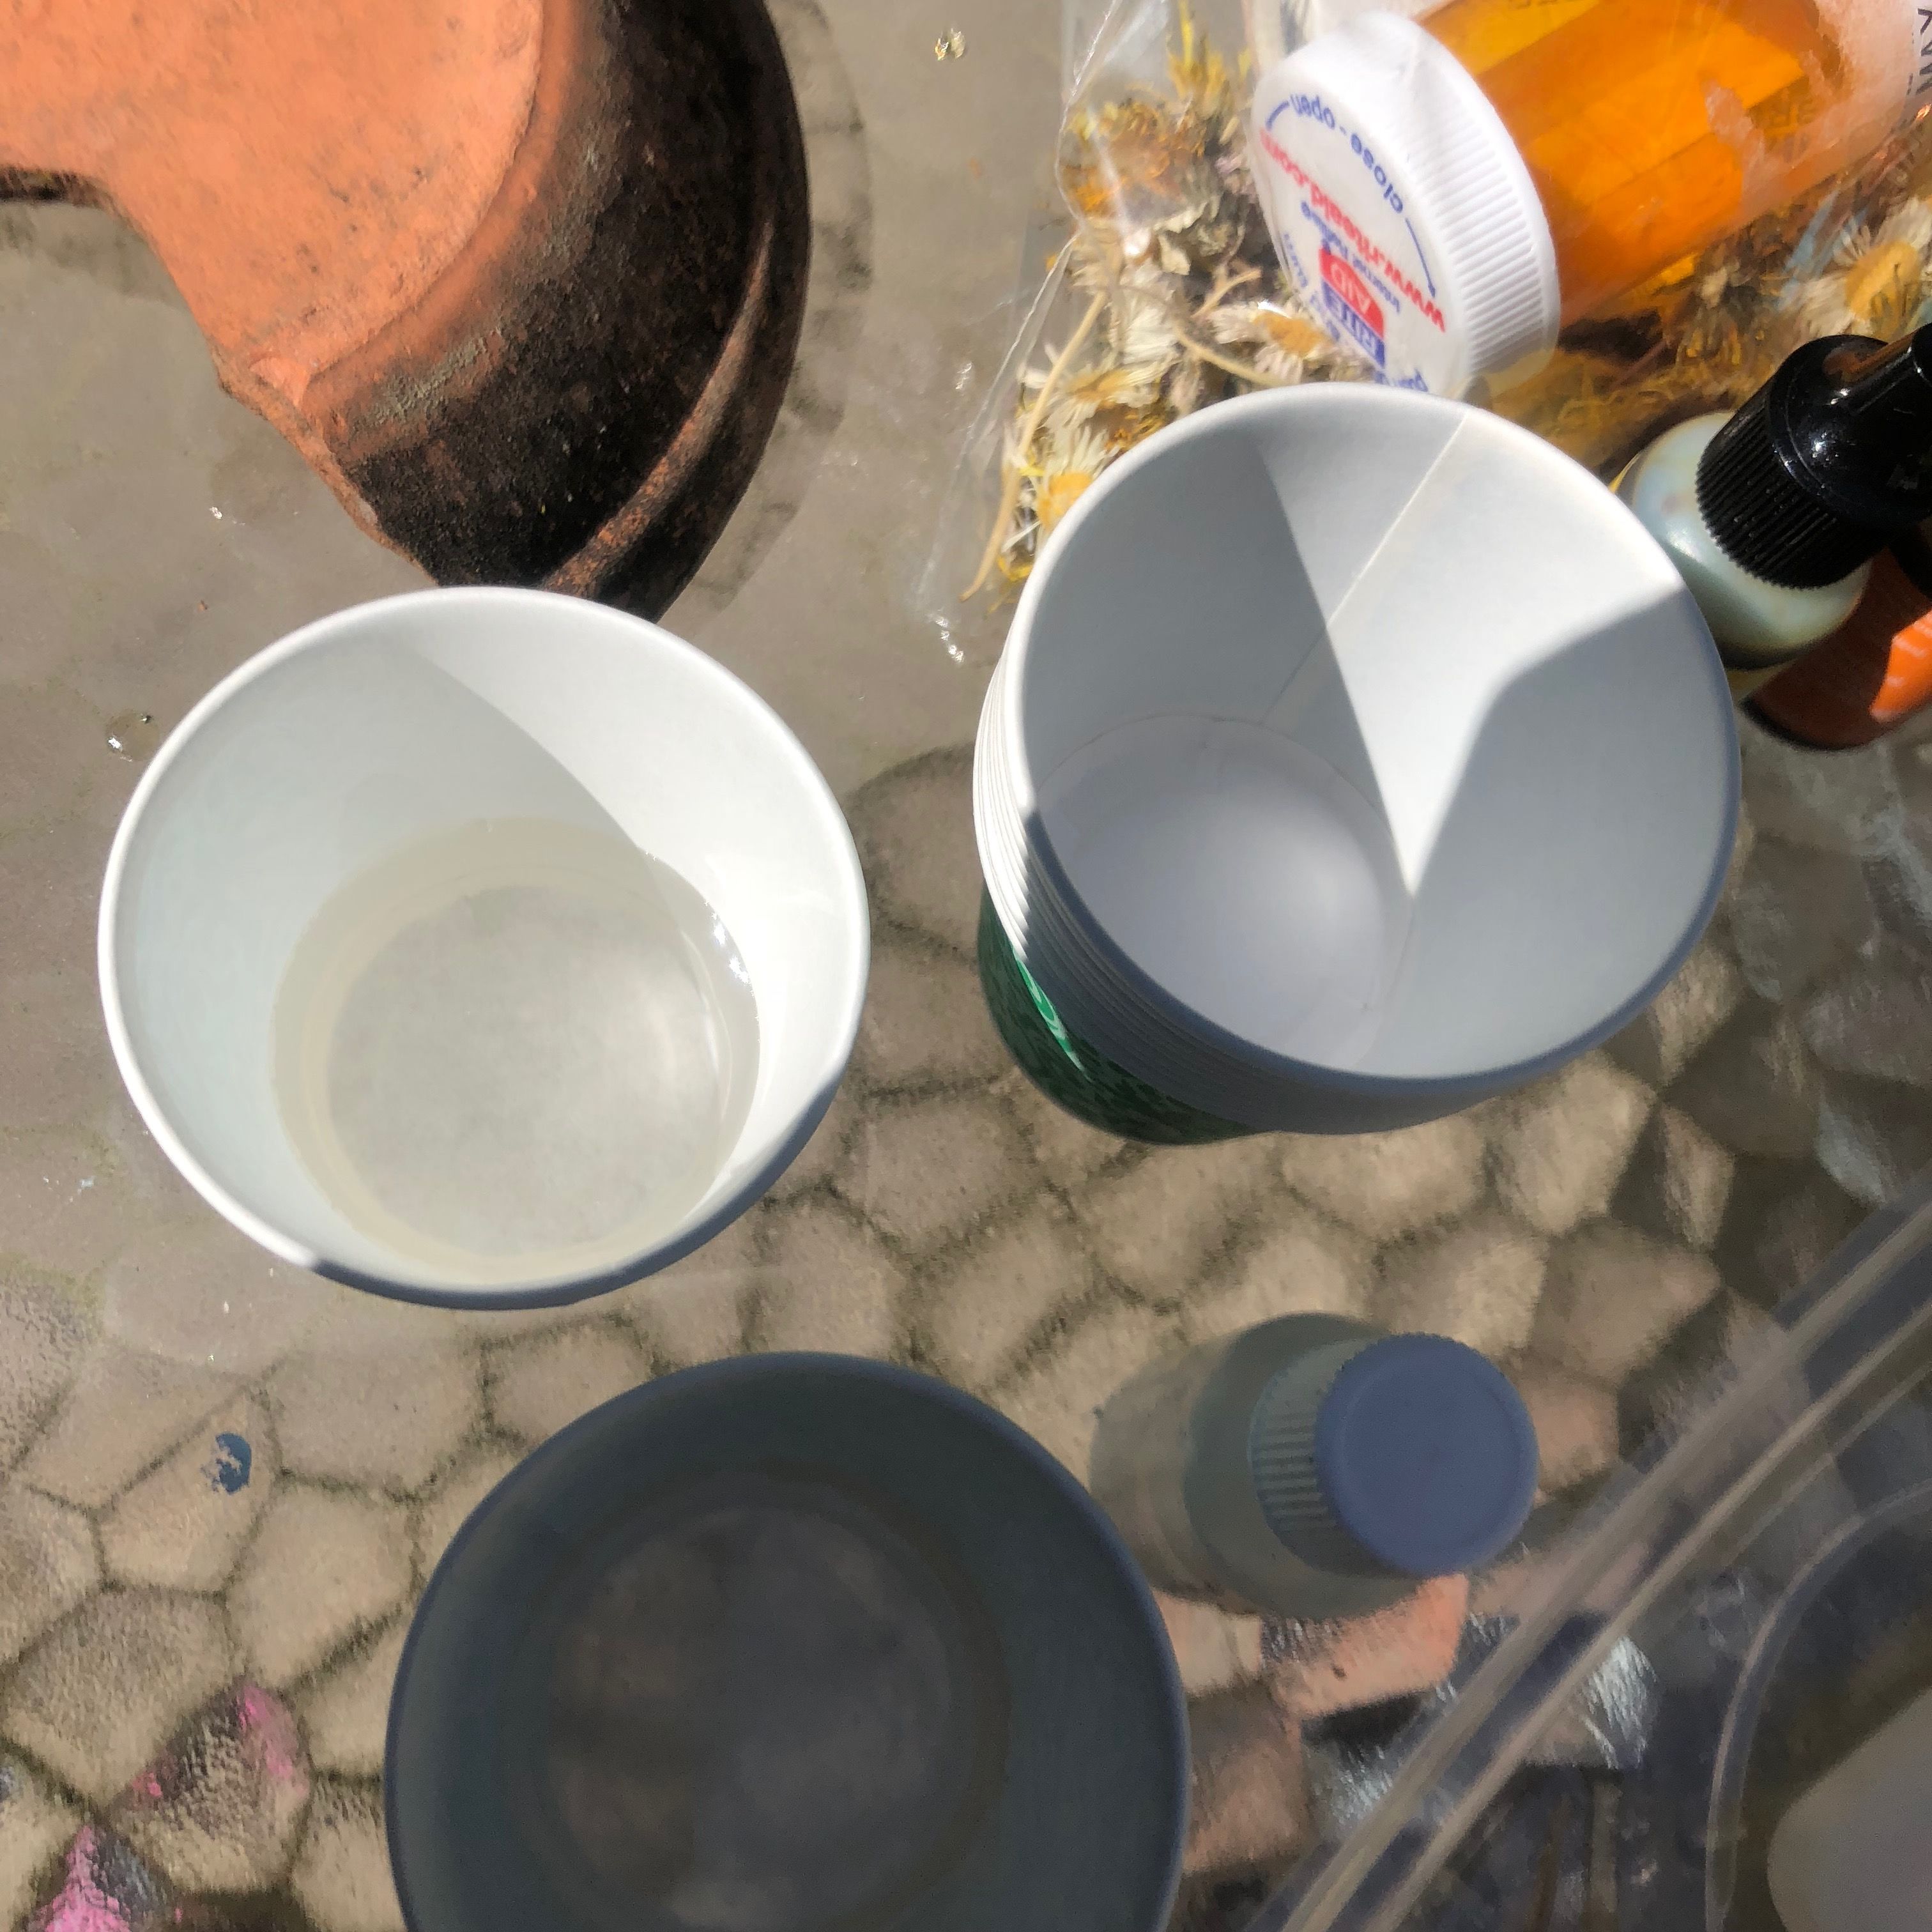
As the resin thickens you can see if you have a good amount of inclusions in the cabochons. If you want to add more, a great way to do this is to take the resin-sticky toothpick and dab it into some "dirt". I had an outdoor table where little bits of debris had blown. It was easy to pull up a tiny amount at a time and add the debris into my molds. Stir very well.
More Bits


You can be very precise at this point about what you add.
Stir


You will need to gently stir each mold to keep the inclusions evenly distributed.
Also, poke down pieces that float up if they break the surface. It will be easier later if the surface is flat.
Set

Once the resin is a jelly consistency, you can stop stirring and just let the resin harden fully. Even though polyester resin hardens quickly, I like to wait until the next day to remove them.
Unmold


When the cabochons are fully cured pop them out of the mold by pressing your thumbs on the backs of the cavities. If they don't pop out easily, or seem tacky, stop and wait longer to remove the cabs.
Air Dry


Even the cabs seem perfectly dry, try not to handle them much or you might get fingerprints. Set them outside (if possible) and work with them the next day.
This will give you a beautiful glassy finish.
Set the Stone


Get out your bezel tray.
See how your amber cabochon fits in the bezel tray. You'll probably have to trim them down a bit. If so, use sand paper to trim the outside edge of the cab base. SAND ONLY THE EDGE.
DO NOT BREATH IN RESIN DUST. Use a mask or sand under water.
Try it in the tray again for size. Sand until it fits. As soon as it goes in, stop sanding. It should be a very snug fit.
Glue the Amber


Make a thick (1-2mm) layer of e-6000 glue and use a toothpick to get the glue into the edges.
Set!


Set the cabochon into the bezel. Allow glue to dry overnight.
Assemble


Add a jump ring to the loop on the bezel. Use two pliers to twist open and twist closed the ring.
Split Ring


Add Keys!


Your keychain is ready for keys! Open the large split ring and thread your keys on.
Show Off Your Key Ring


Your faux amber key ring is very strong and durable. It will easily withstand lots of keys, pockets, and purses.
I hope you enjoyed this instructable. Please post your projects if you try it. Thanks!