Fastest Lithophane Christmas Ornament 3D Printing
by gubutek in Workshop > 3D Printing
1577 Views, 1 Favorites, 0 Comments
Fastest Lithophane Christmas Ornament 3D Printing
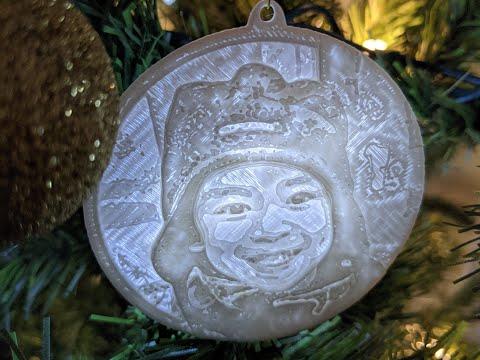
Hi, it's Loan from Gubutek and today I will show you the fastest way to make this lithophane ornament for your Christmas tree . Let's get to it.
Upload and Edit Your Photo
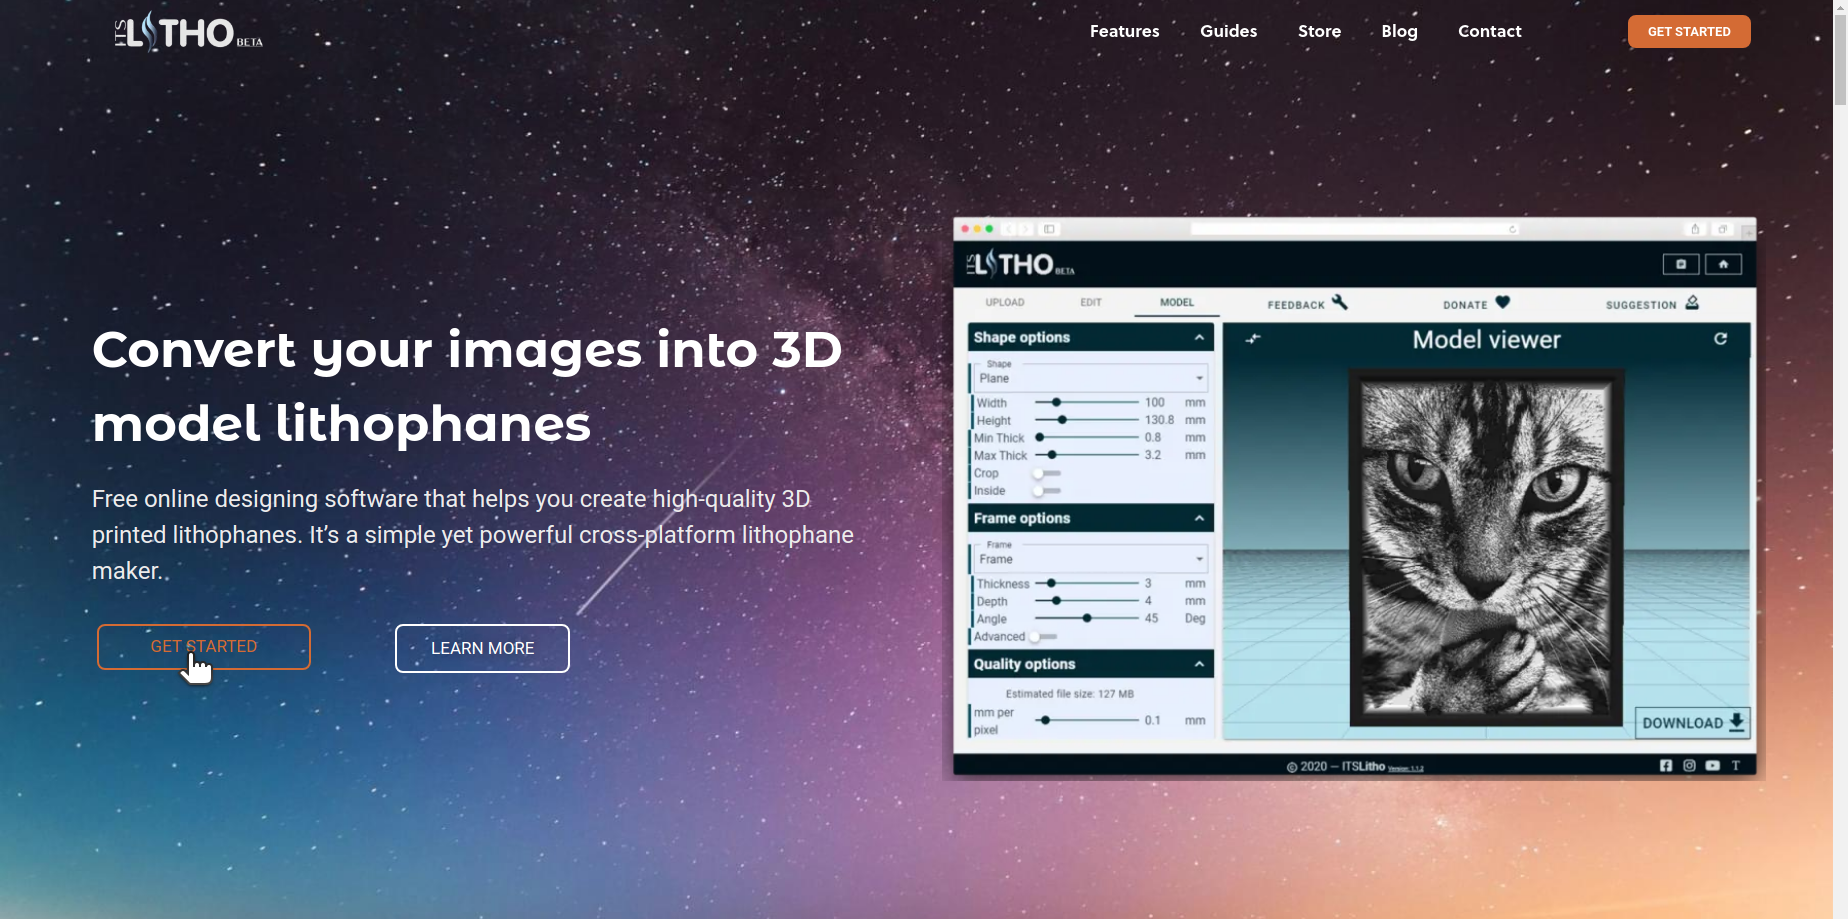
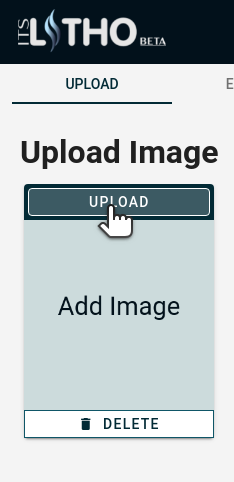
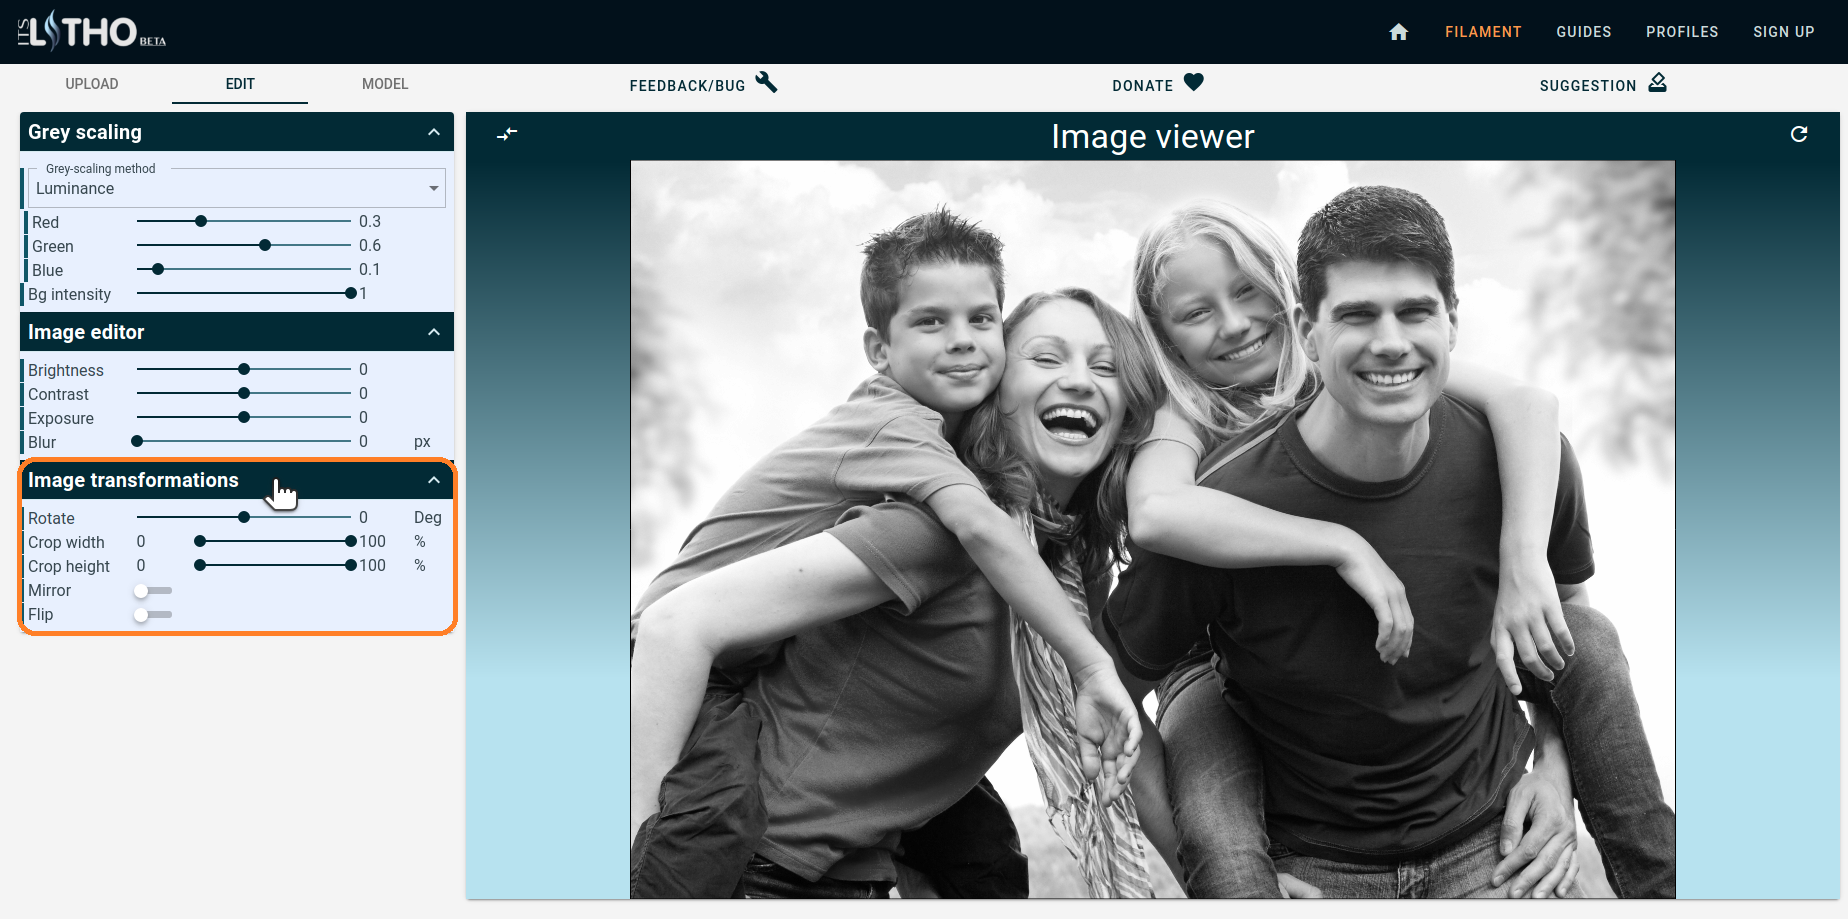
The quickest way to do it with the itslitho website. You can go to itslitho website and choose GET STARTED.
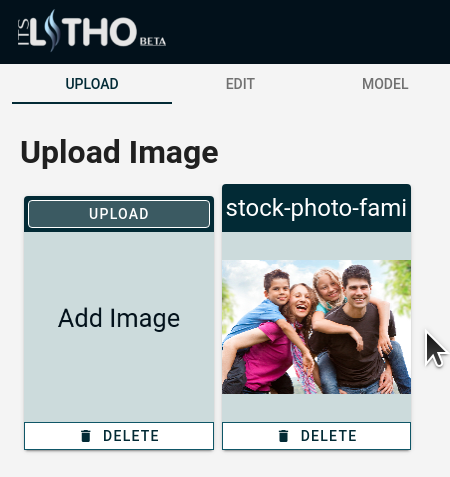
First thing is to upload your photo. Go to the UPLOAD tab and upload your photo. Check if the photo is correct.
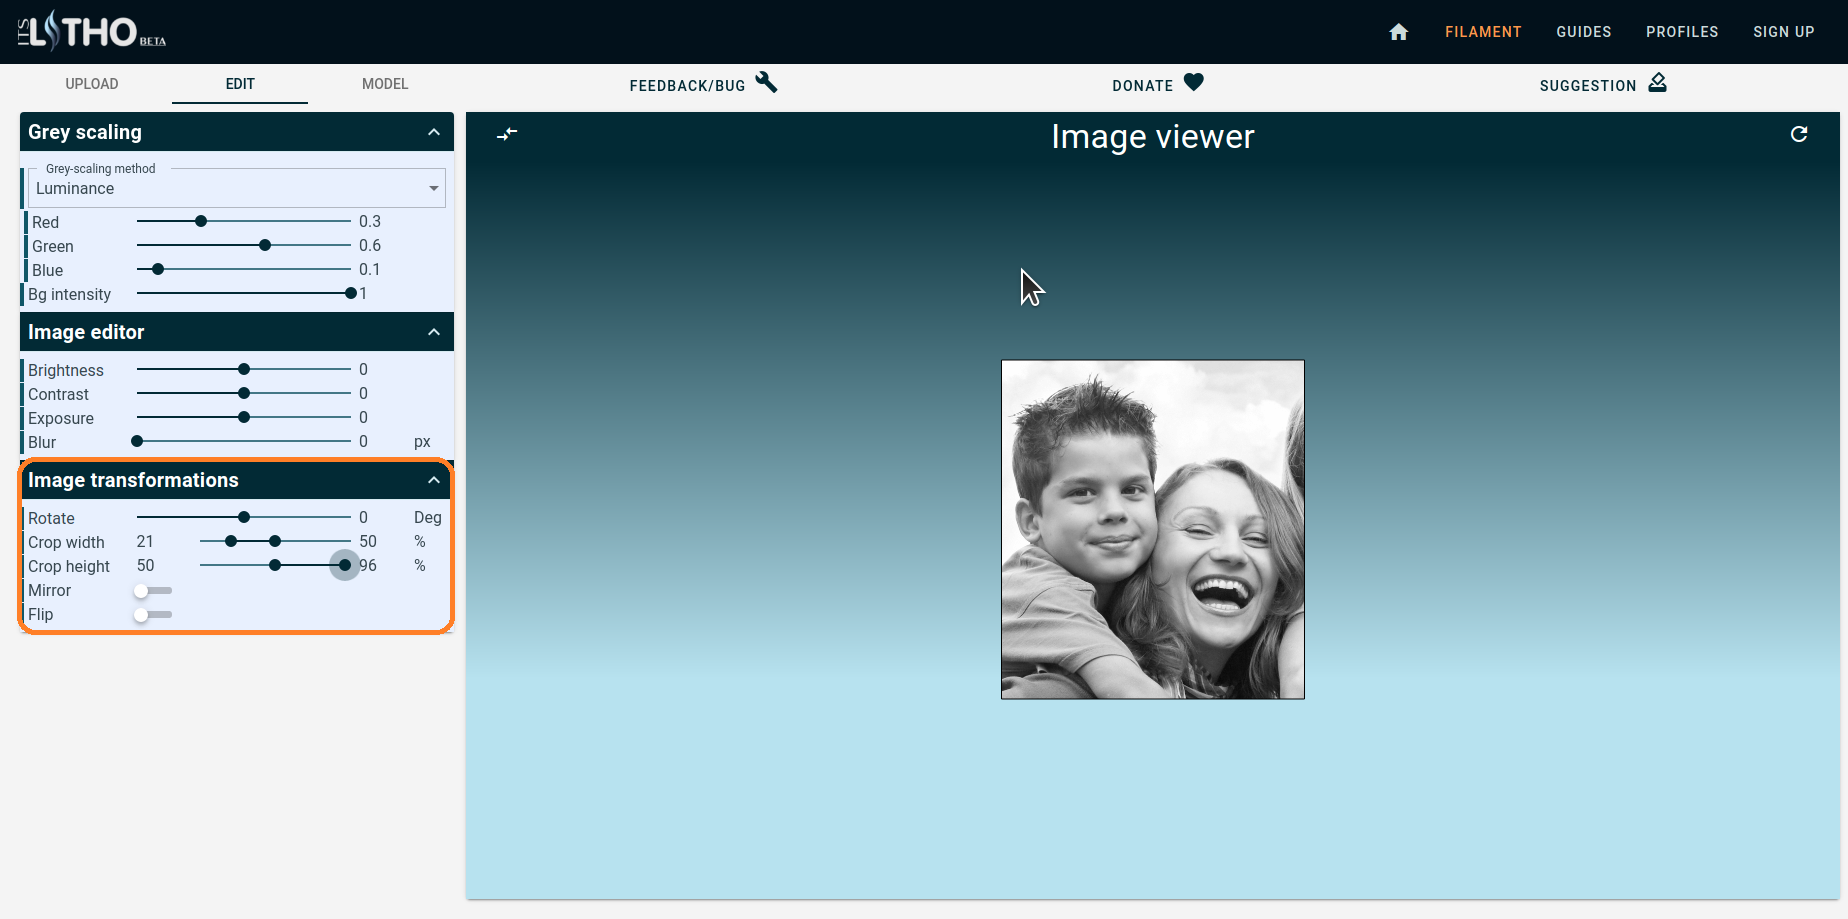
After uploading your photo, you're going to choose which part of it you want to become the lithophane photo. You can choose the whole photo but sometimes you just want a part of it especially for this kind of ornament. You can actually directly edit it on the website (EDIT tab). For example I cropped the photo to the mother and the boy.
Select the Shape and Dimensions
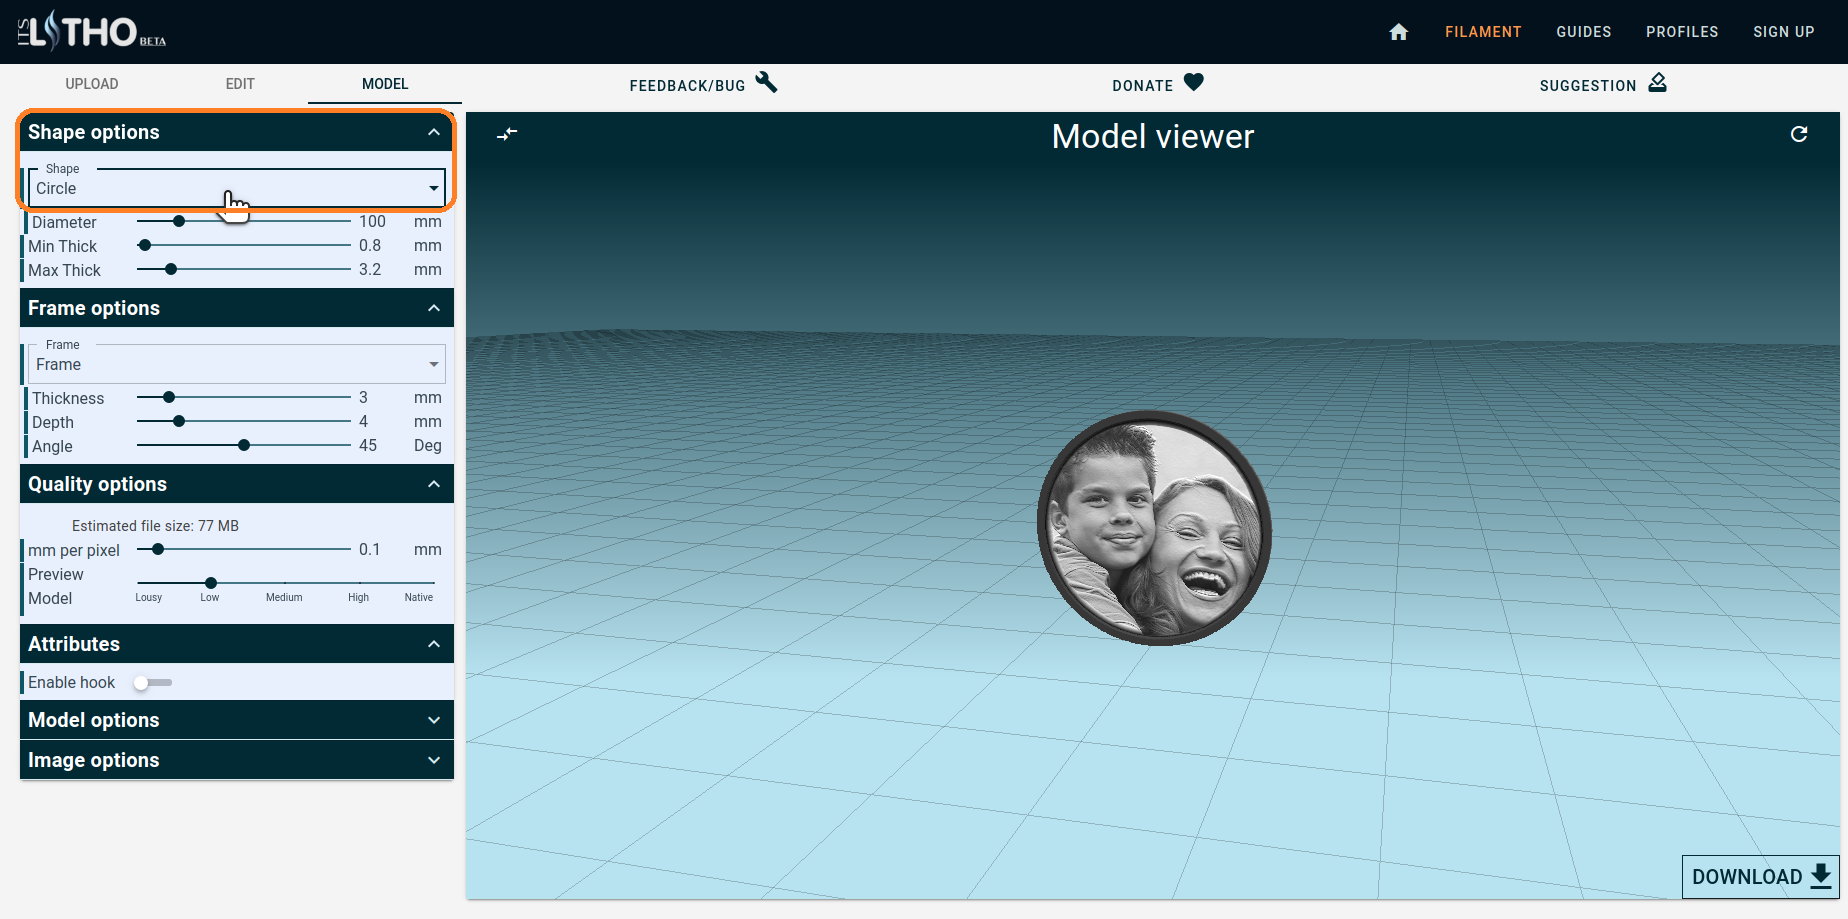
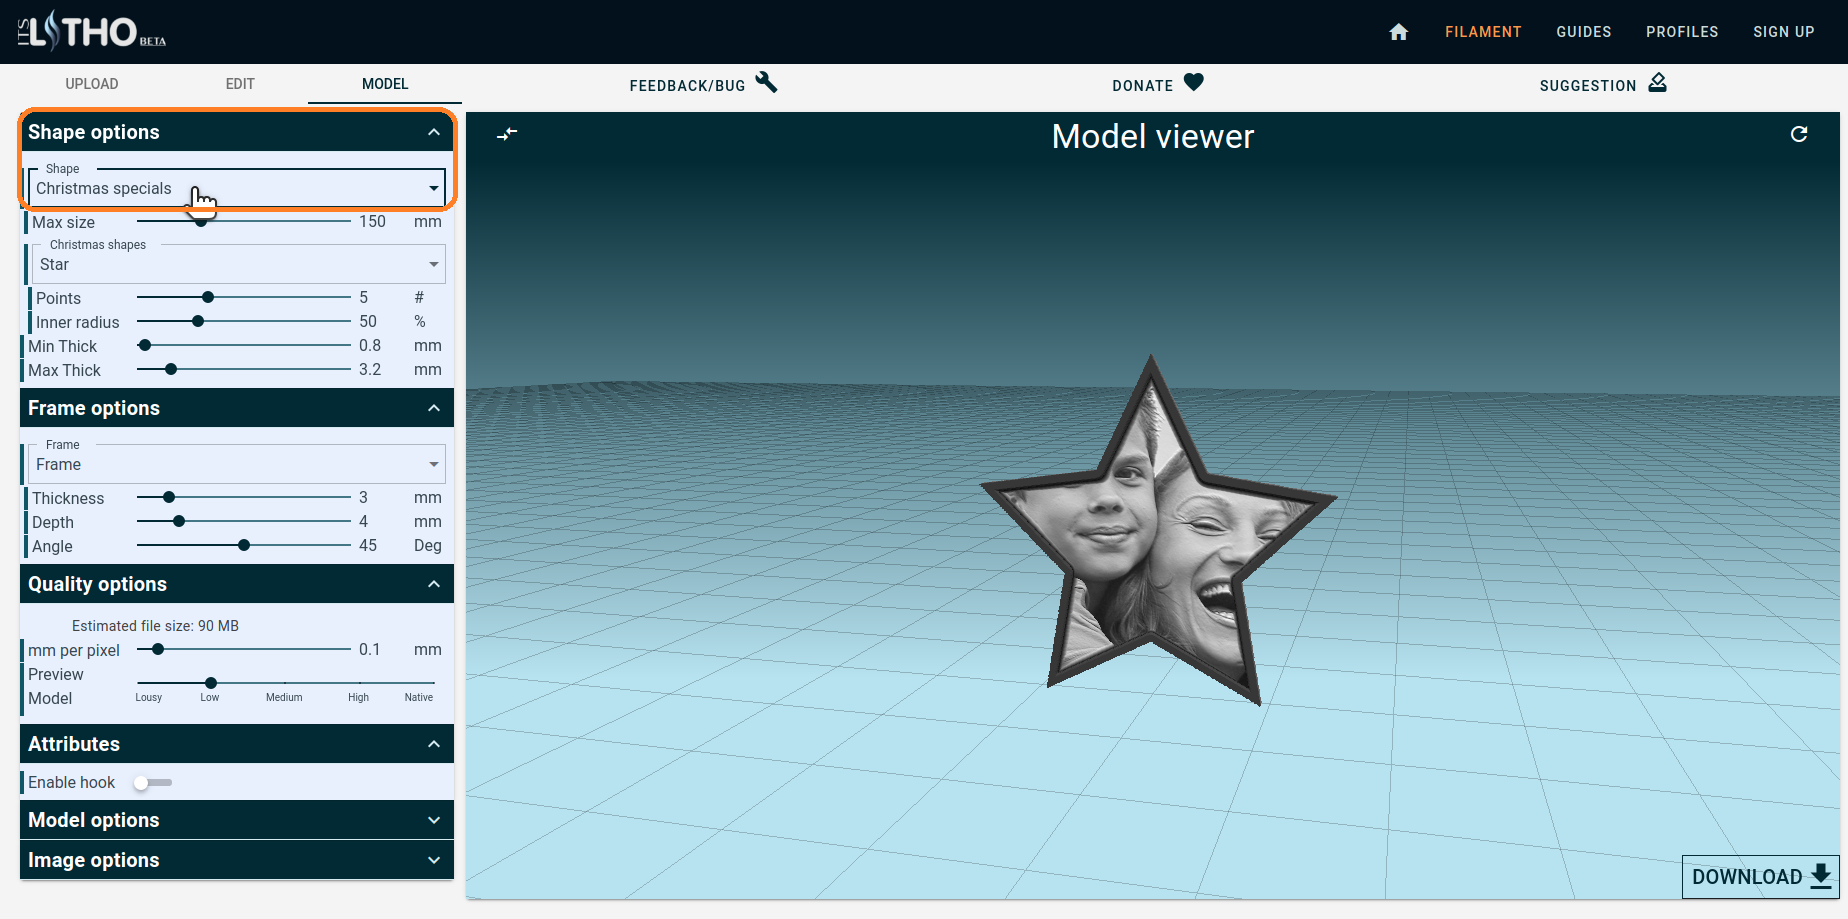
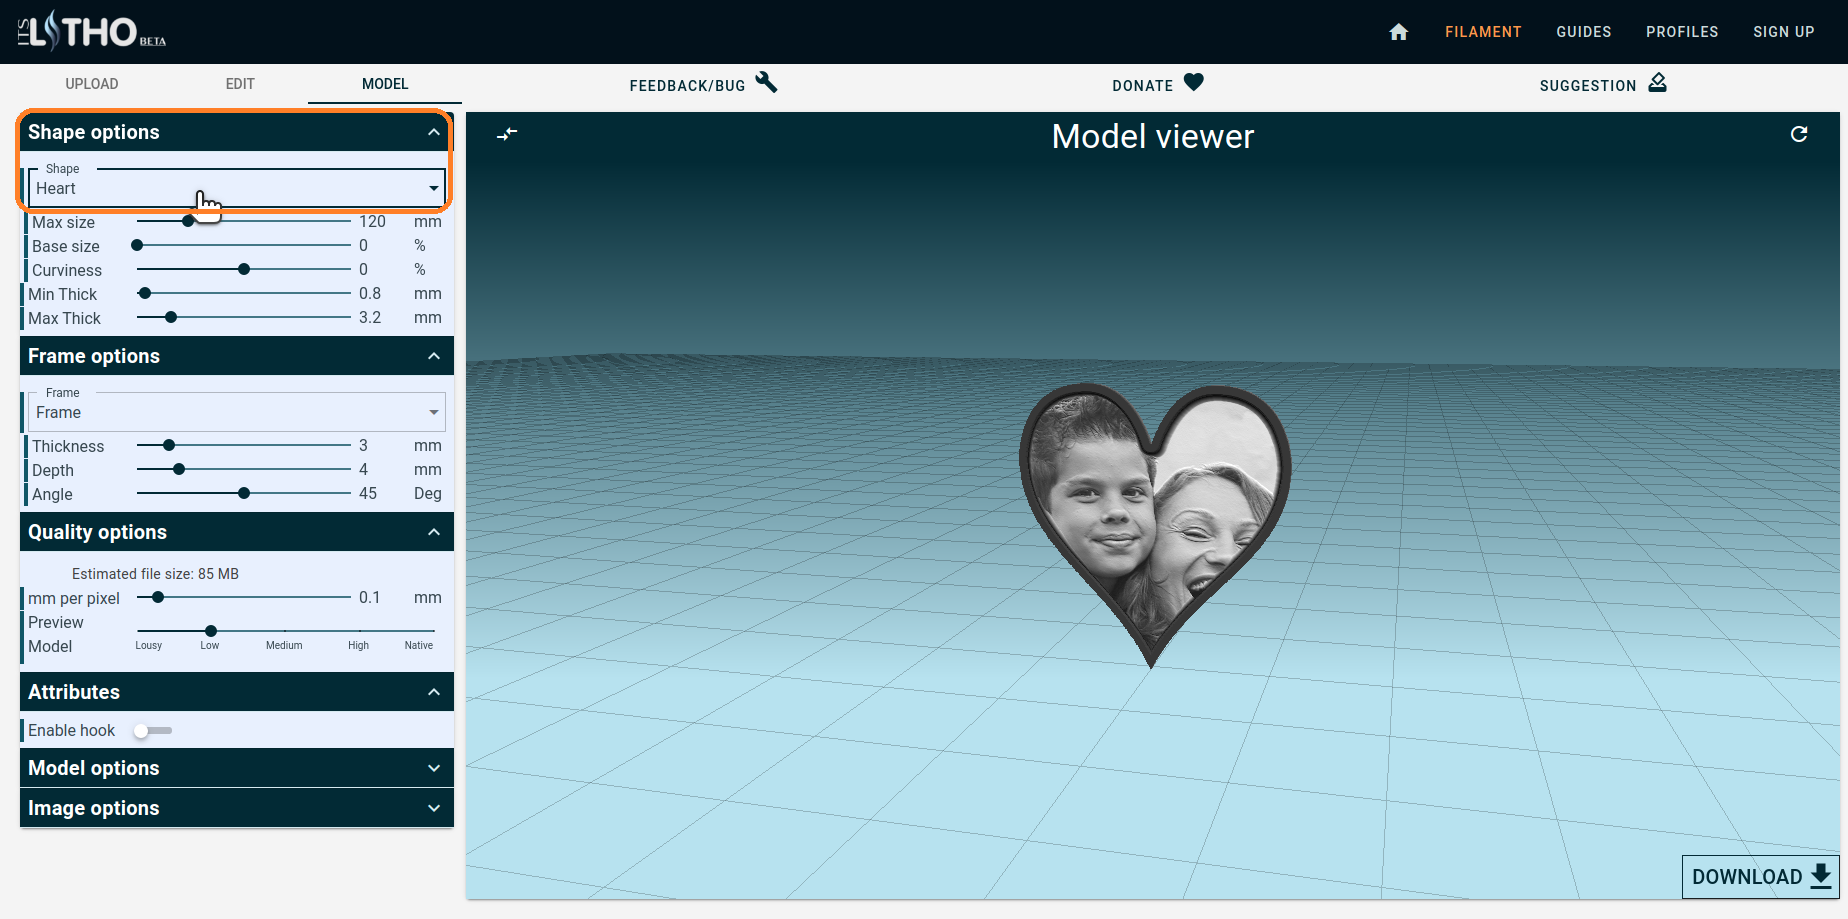
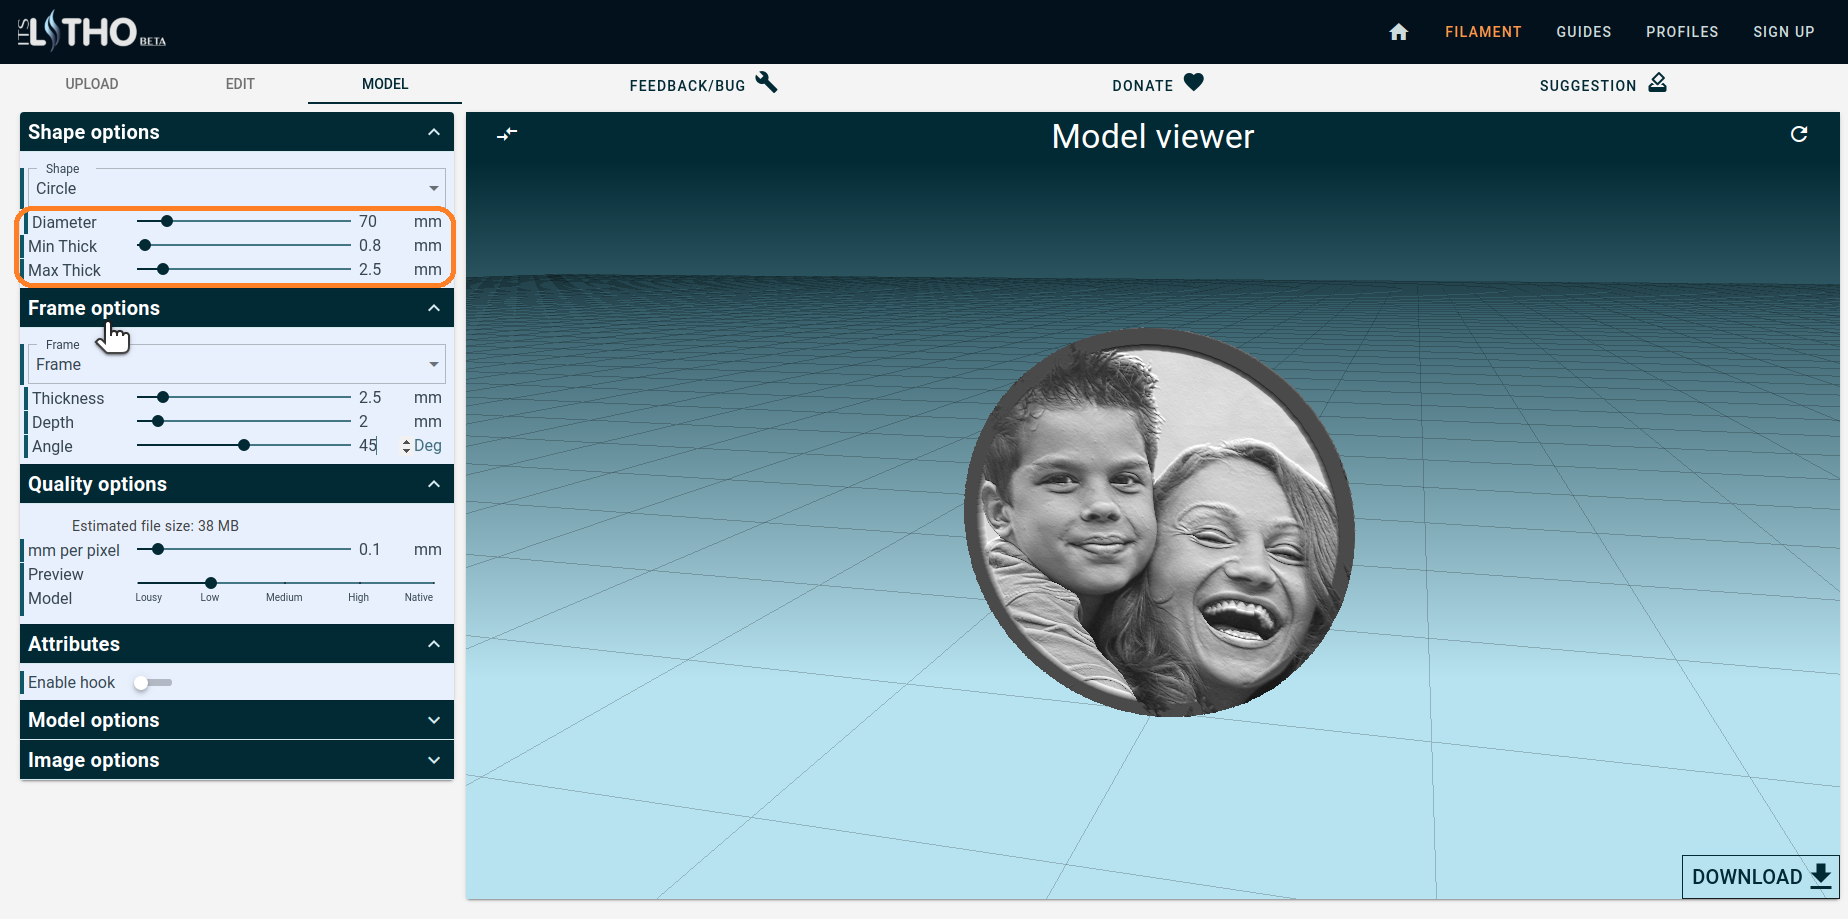
Then go to the MODEL tab and choose the shape. For the 2D ornament, there are 3 suitable shapes: Circle, Christmas special and Heart.
Then you can set the dimensions of the ornament. For example, I made the circle with a diameter of 70mm. For the minimum and maximum thickness, I usually choose 0.8 for the minimum. The maximum thickness can vary from 2.5 to 3 because that shows the resolution better and you're going to see more details in the photo. Here and I put it 2.5 because 3 may be too thick and the light couldn't pass through that easily especially you use the Christmas light for it not the normal light.
Frame Options
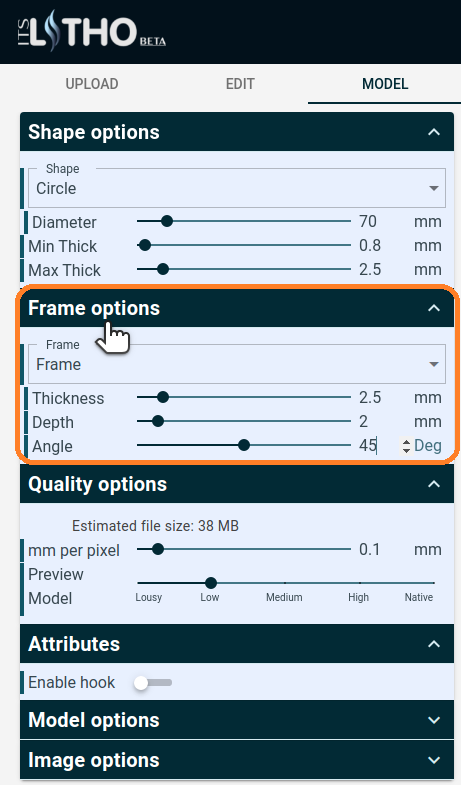
There are parameters for the frame also
Quality Options
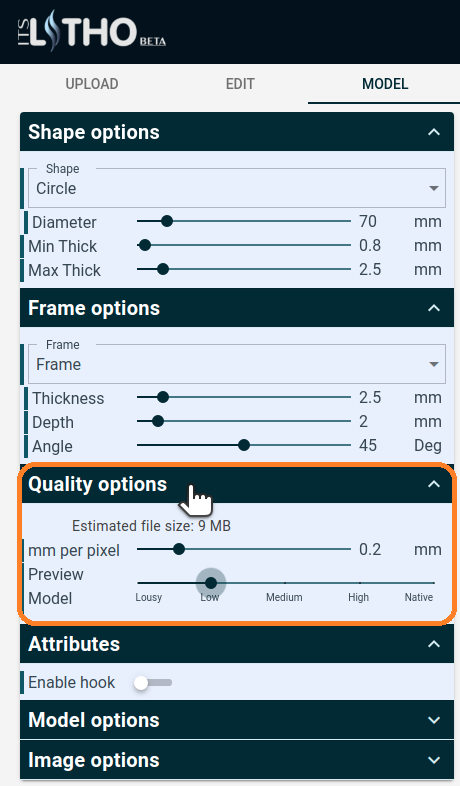
The size of the STL file depends on the quality of the lithophane photo. I usually choose 0.2 for small size.
Add a Hook
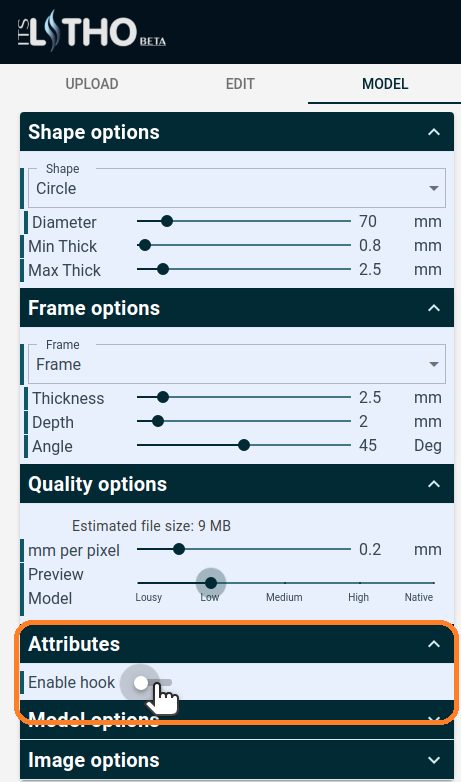
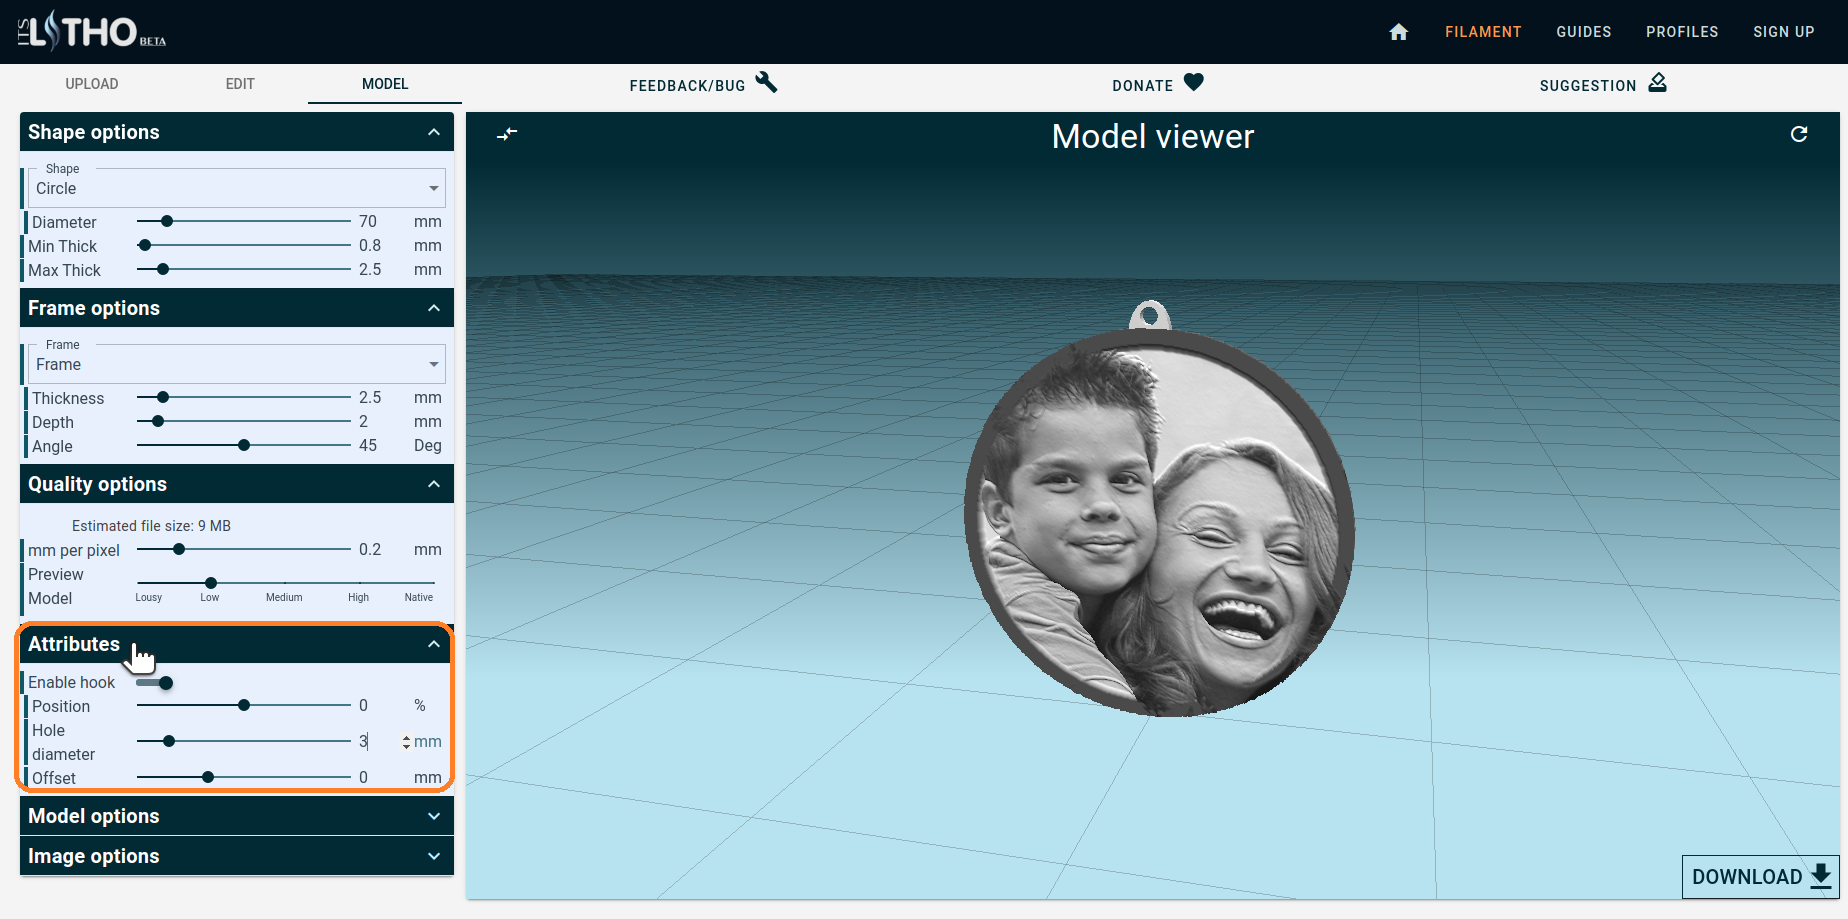
To add a hook, you should enable the Hook Attributes and set the dimensions for the hook itself.
Image Options
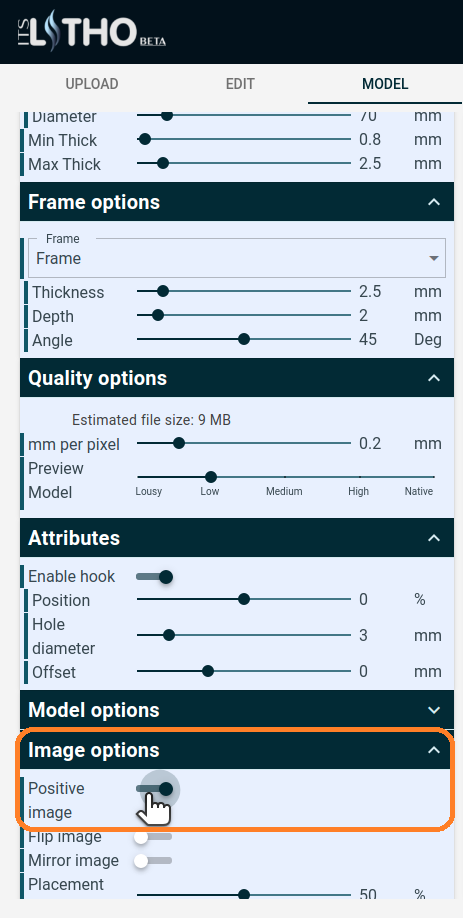
Make sure that the photo is Positive
Download the STL File
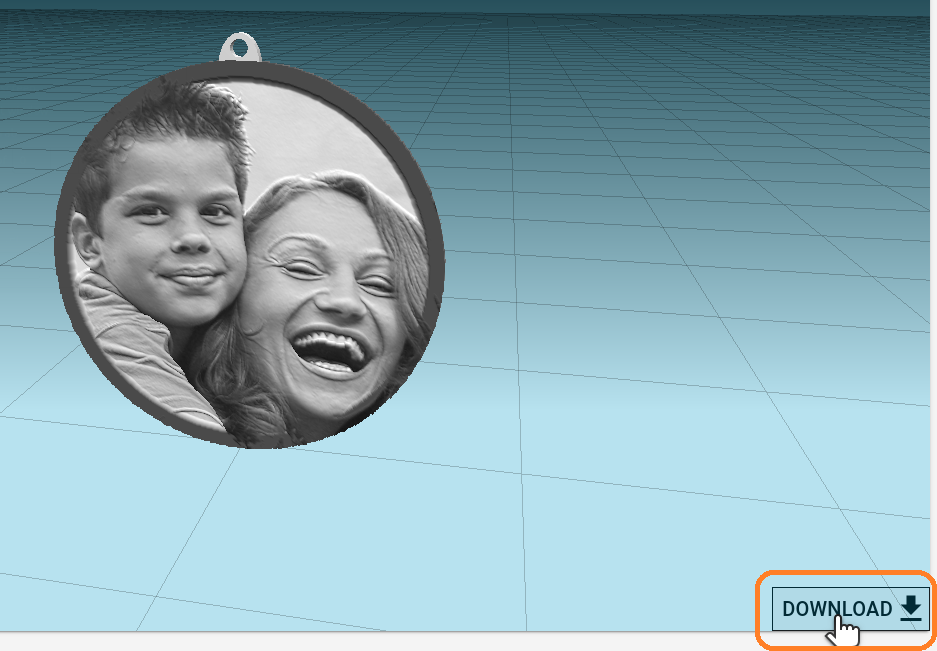
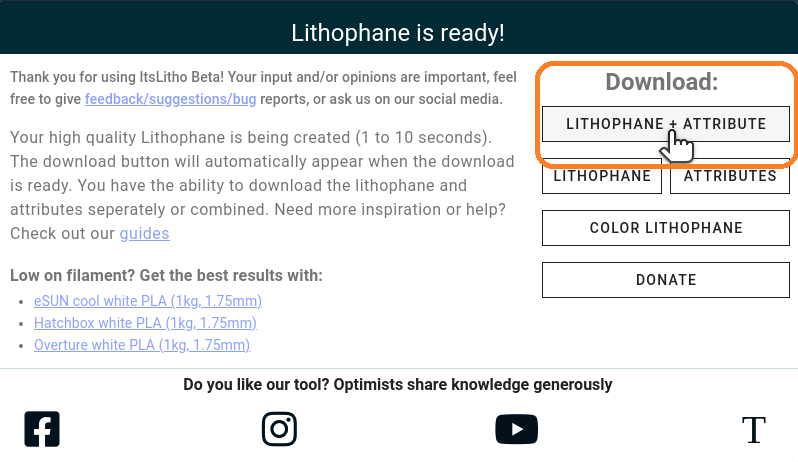
That's all the settings you need to know. When you download the file, remember to choose the Lithophane + Attributes to get the photo and the hook together.
Enjoy
So this is the fastest way for you to create a lithophane ornament for your Christmas tree. The quality is not the best but it is super convenient and save you a lot of time. If you have any questions or you wonder how to do it better with Blender just leave in the comments and I will try my best to help.
Happy making.