Fantasy Map (Even If You Can't Draw)
by Travis Daniel Bow in Design > Digital Graphics
18832 Views, 283 Favorites, 0 Comments
Fantasy Map (Even If You Can't Draw)
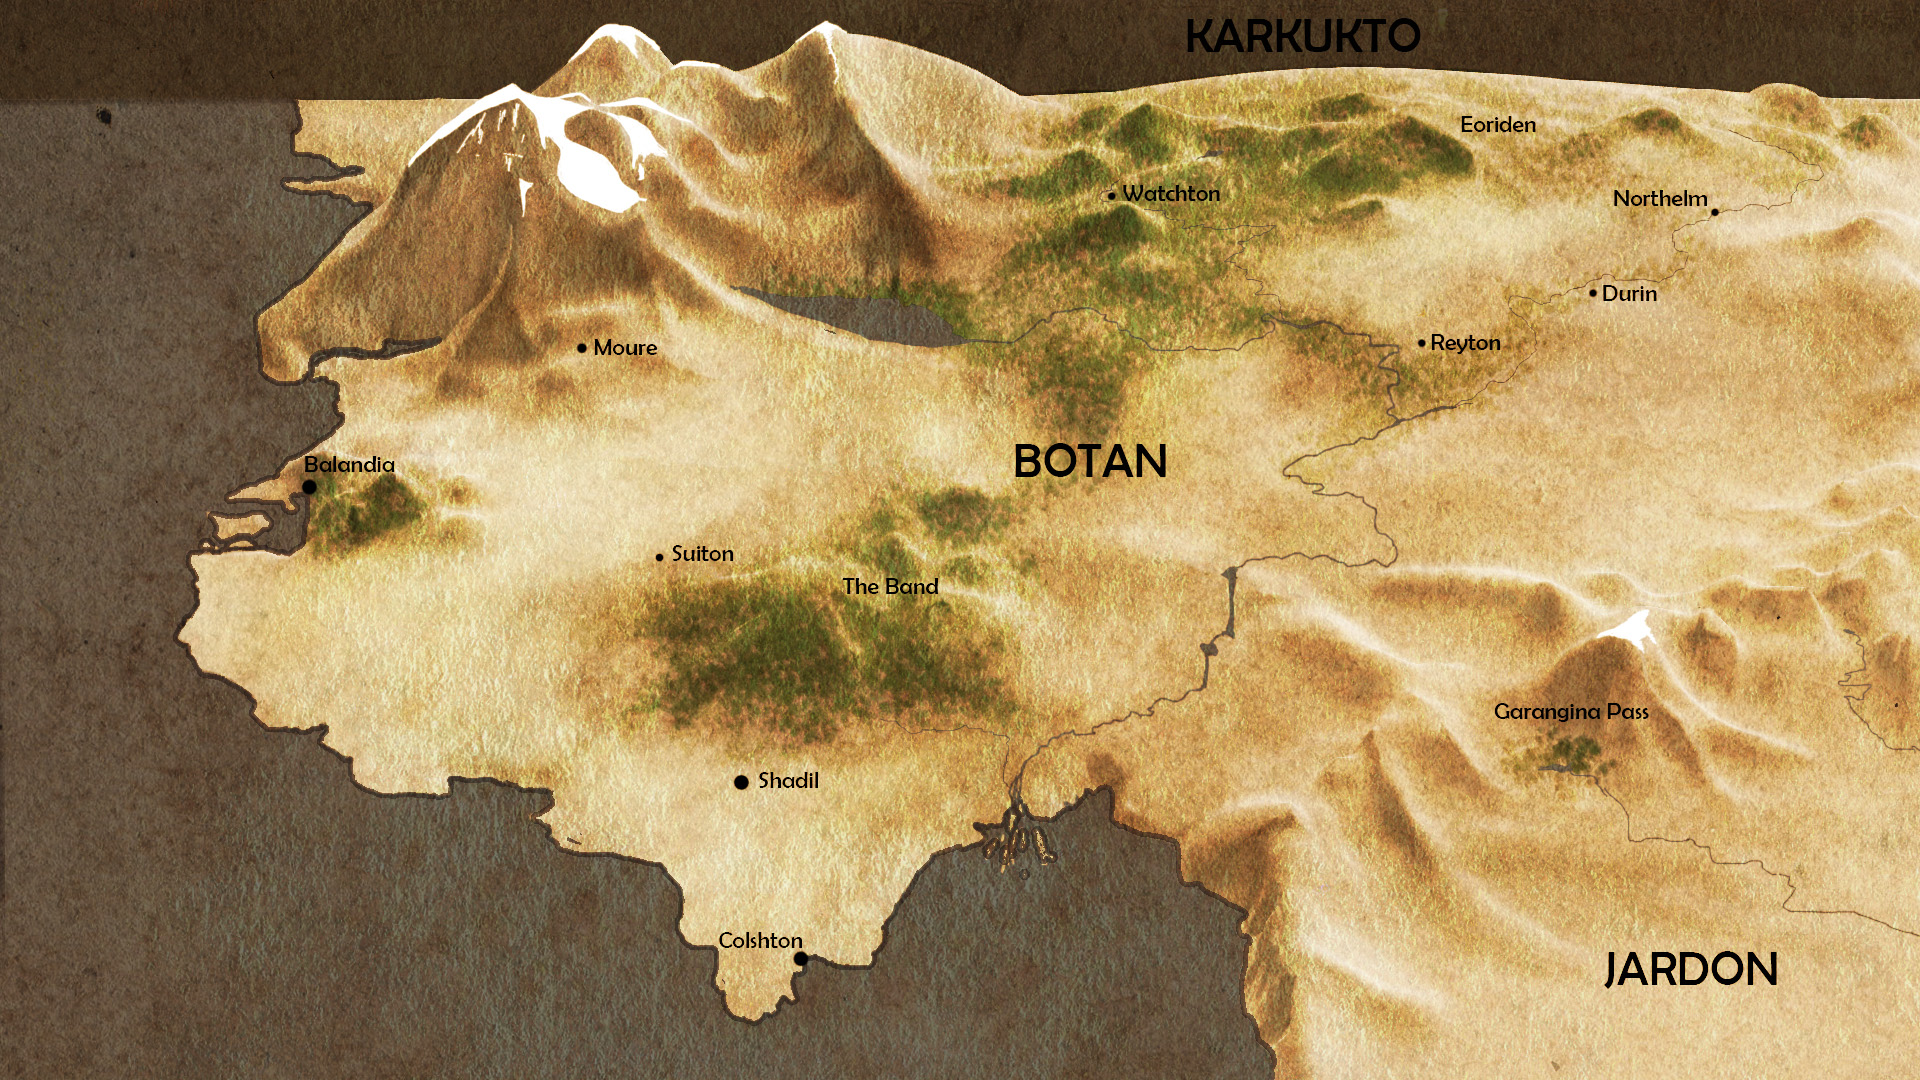
I'm no artist, but I like maps, and my book needs one, so I figured out a way to make a decent looking fantasy map with minimal artistic talent.
The method involves "scultping" the map using a free, browser-based software that lets you mold digital clay with your mouse. After you mold the basic shape of your map, you turn it into an image and dress it up in Photoshop (or Gimp, the free version of Photoshop).
Start a SculptGL Project.
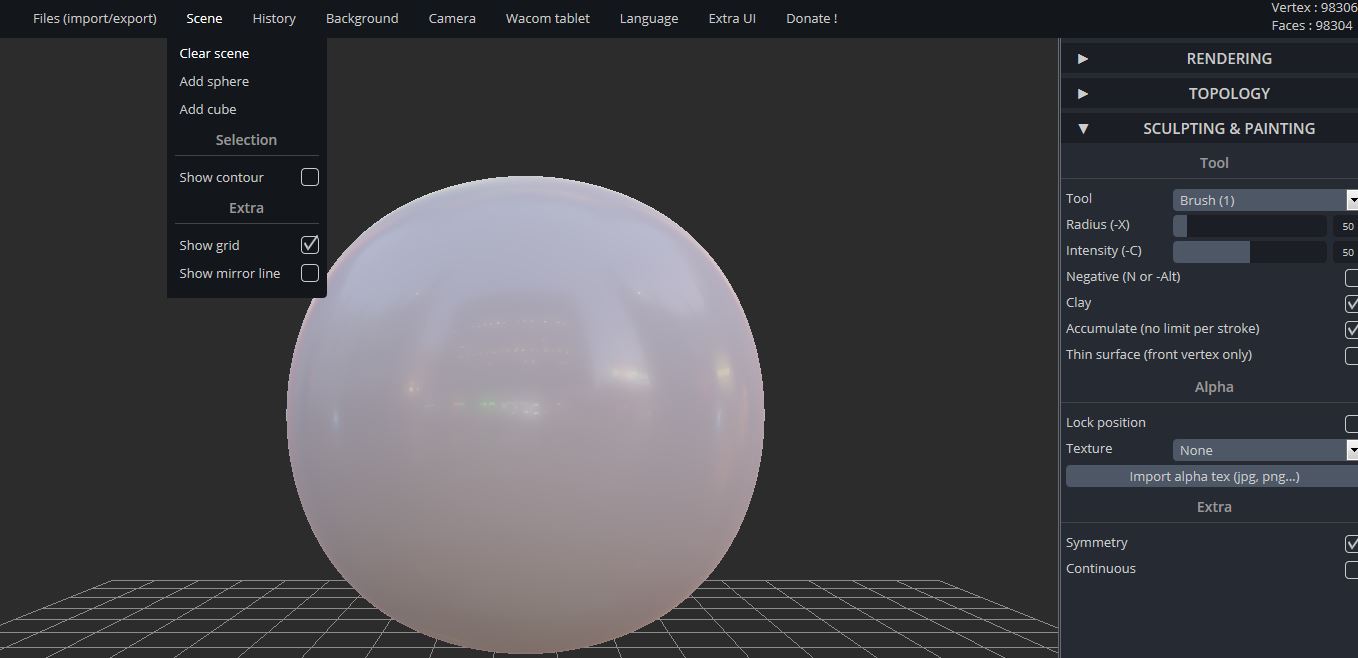
Go to SculptGL. A new project will automatically open in your browser.
Go to Scene > Clear Scene (this clears the sphere (default starting point) from your workspace).
Scene > Add Cube
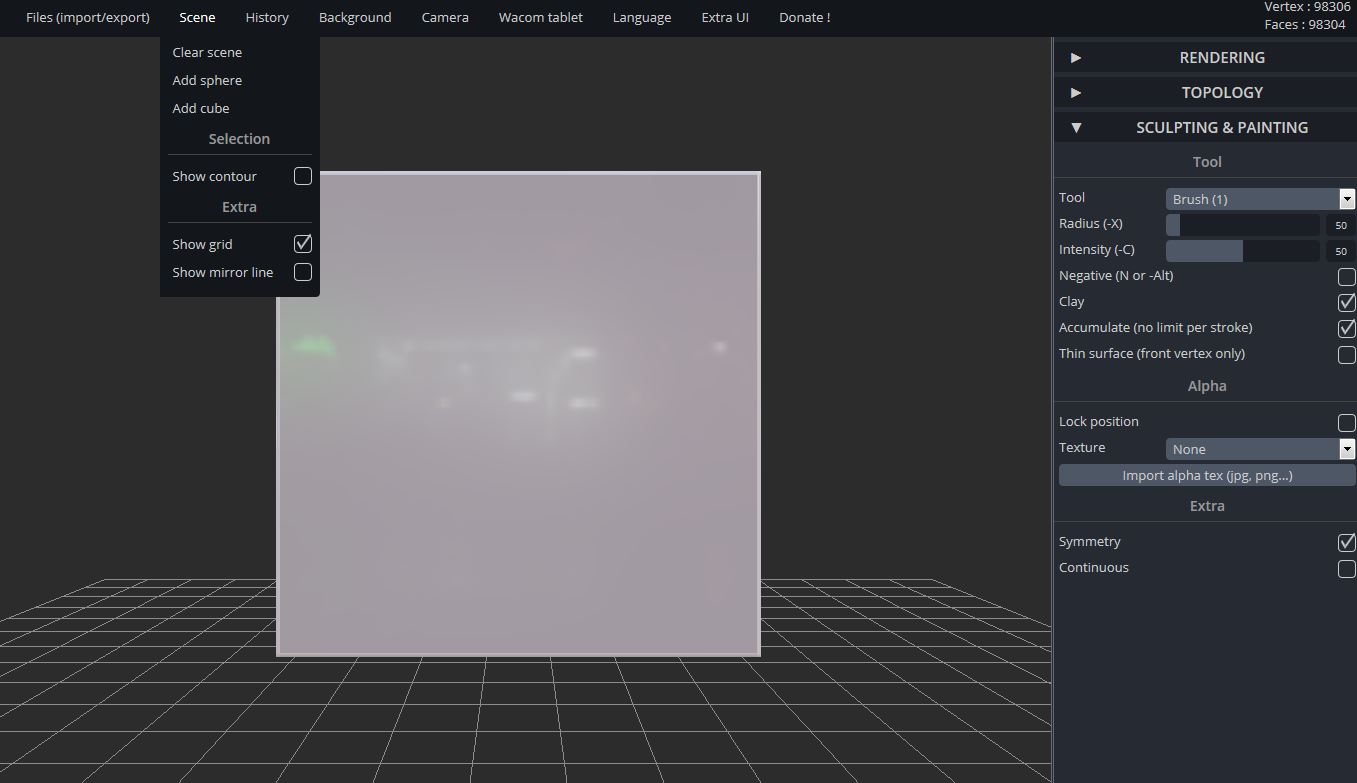
Adds a cube (which you will create your map on).
Uncheck "Symmetry"
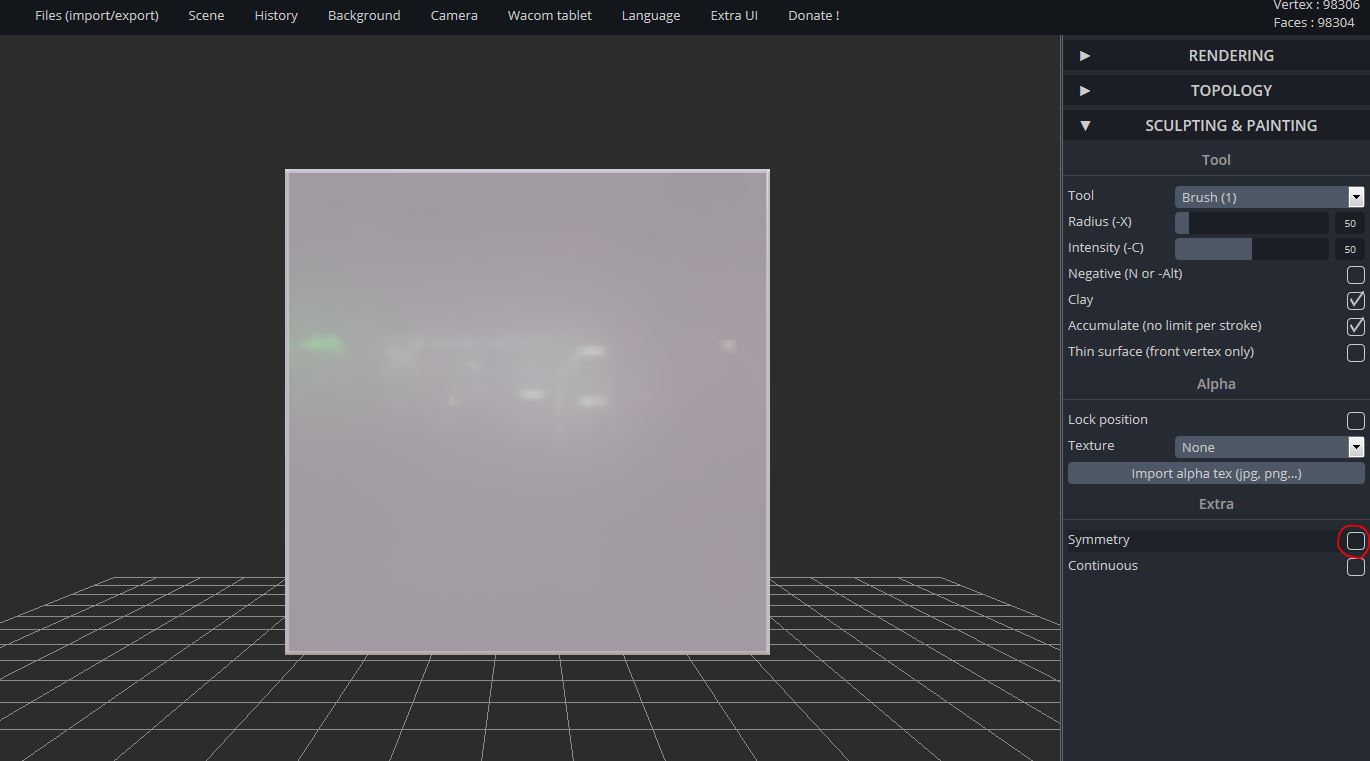
Turns off a feature that makes everything symmetric (useful for faces, but not for maps).
(Optional): Import a Picture to Use for Tracing
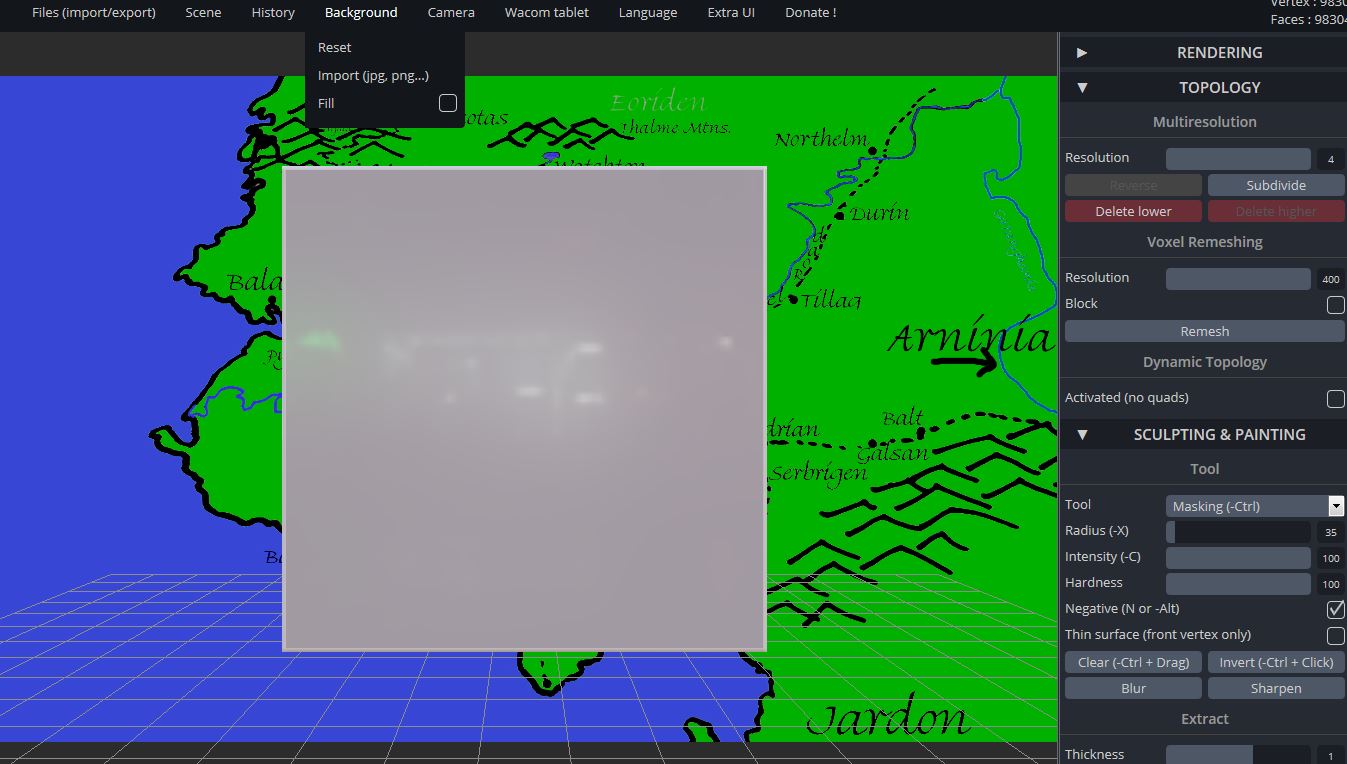
Background > Import (jpg, png...)
Sometimes you have to do this twice before the background shows up.
Uncheck "fill" to keep the picture at its native aspect ratio.
Rendering > Transparency (~50%)
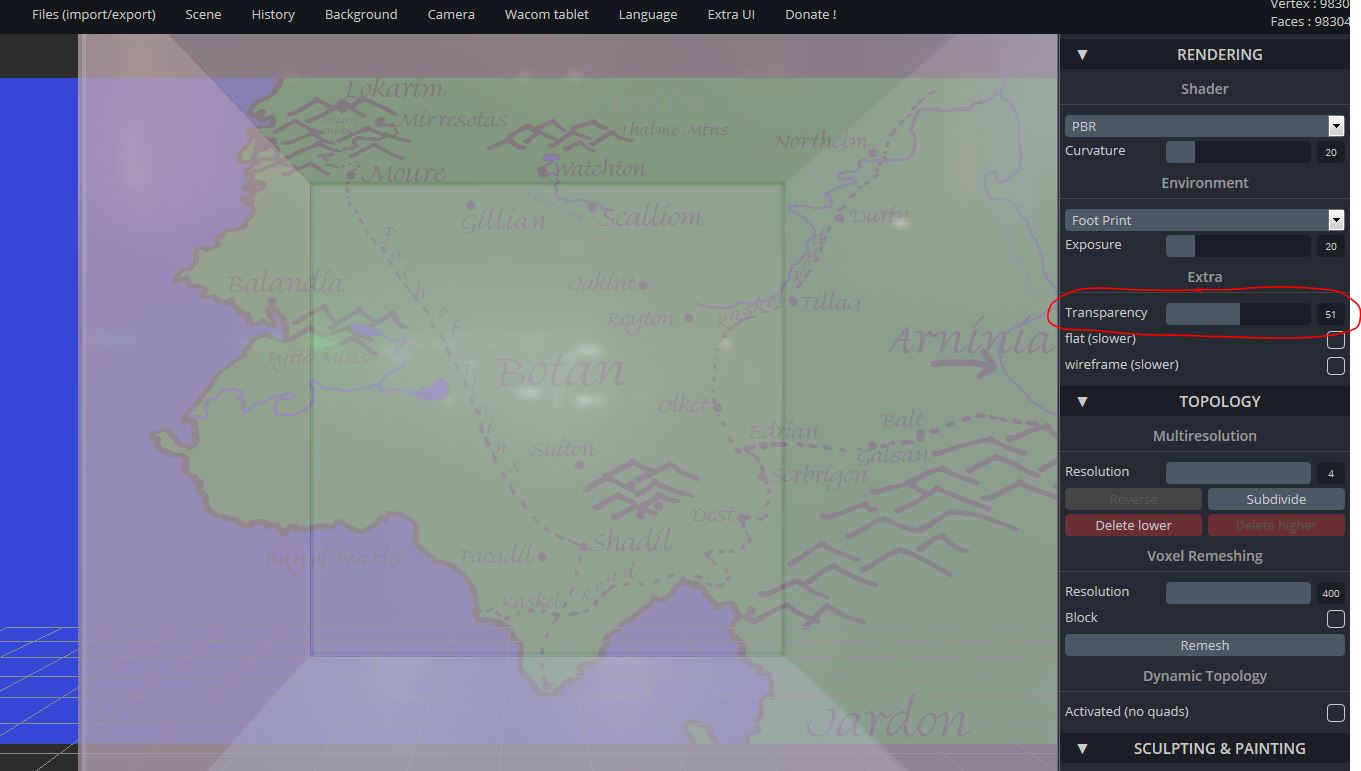
Make the cube transparent to allow tracing.
Zoom in as needed (scroll wheel on your mouse).
Drag as needed (middle button on your mouse).
If you accidentally rotate the cube, use Camera > Front (keyboard shortcut F) to reset.
Use the "Masking" Tool to Protect Your Ocean.
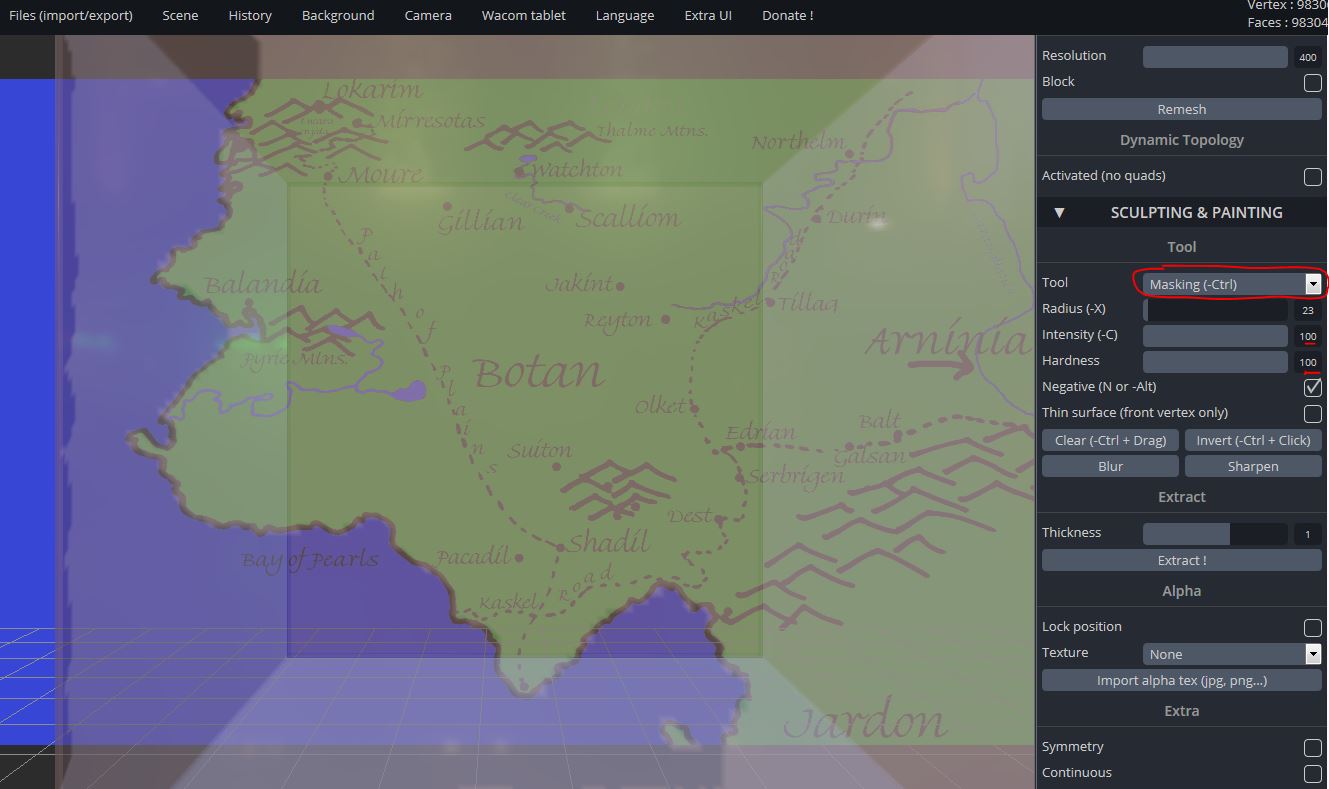
Change the tool from "Brush" to "Masking". This tool will "freeze" your oceans so that they stay flat when you're sculpting the land later on.
Set "hardness" and "intensity" to 100% to get a good clean line.
Don't worry about ultra-precision... you can add all those tiny little coves and peninsulas later.
Remove Transparency and Prepare to Sculpt
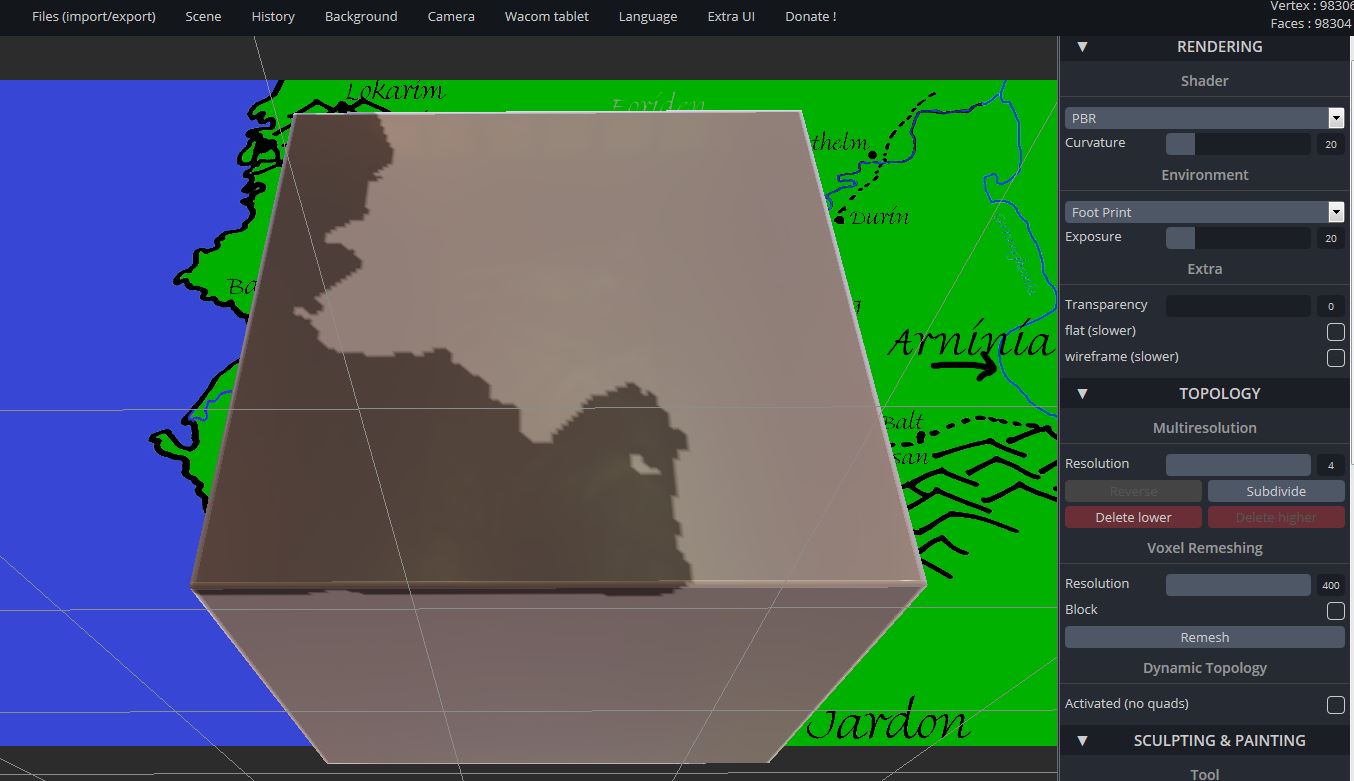
Get ready for the fun part.
Create the General Slope With the "Drag" Tool
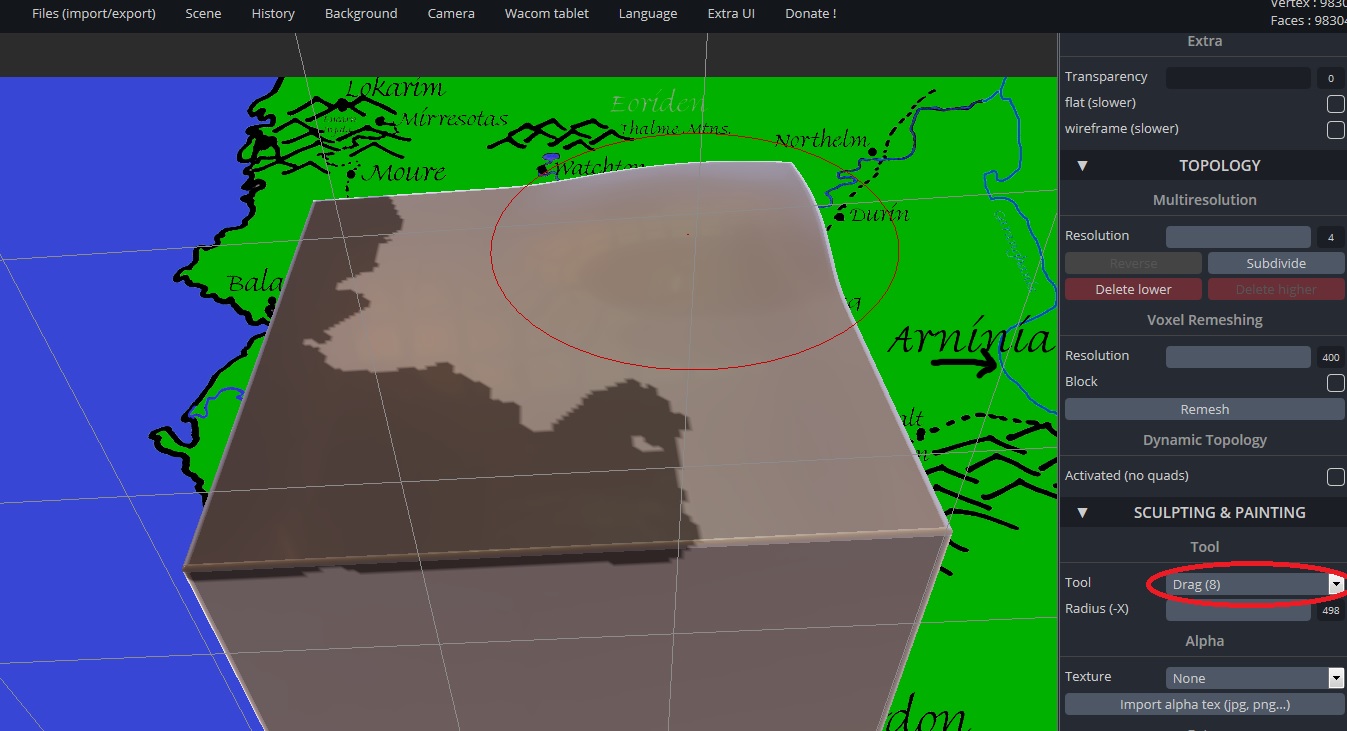
Use the "Drag" tool with a big radius to drag upwards and create the general underlying slope of your map (if any).
If you mess up, just "undo" using ctrl-z and try again.
Make Some Mountains
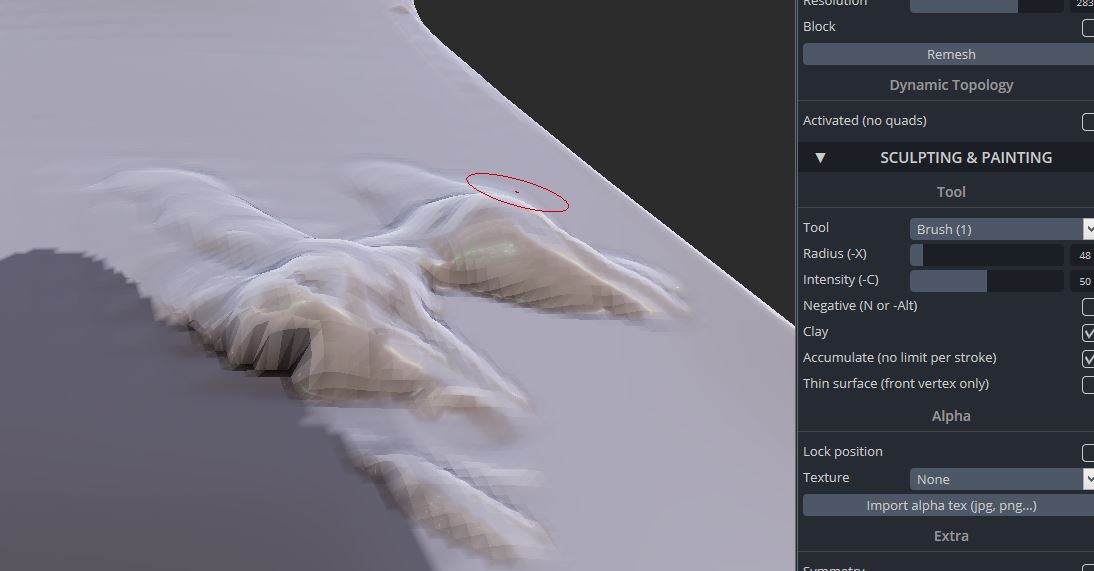
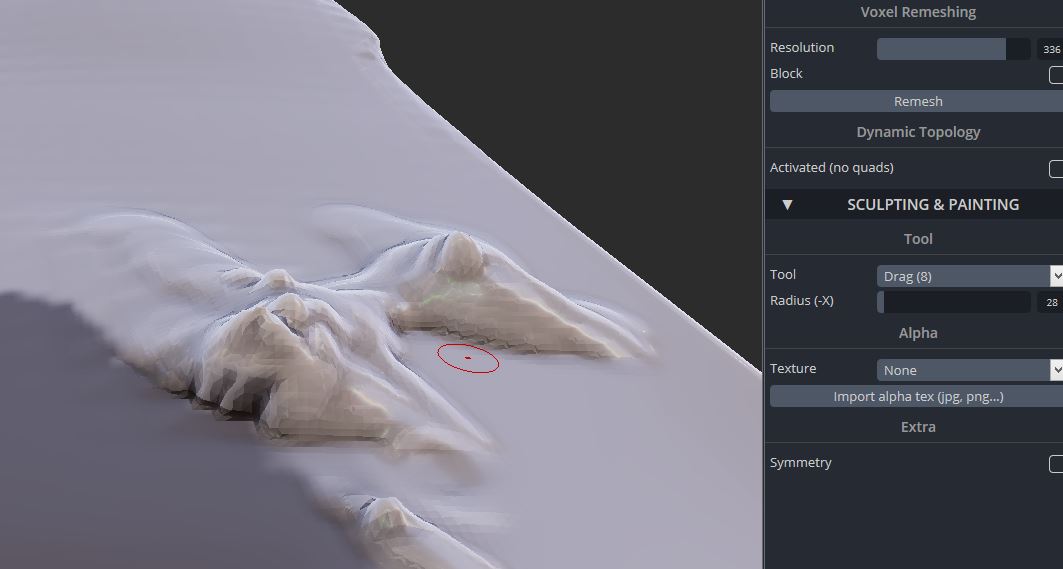
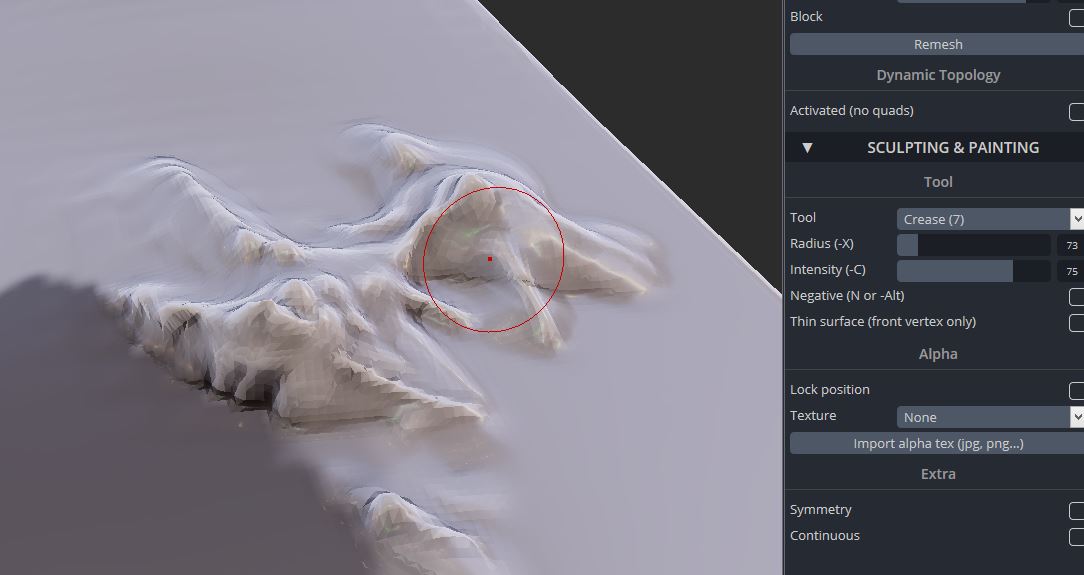
There's no "right" way to do this, but this method works pretty well:
Start laying down rough foundations with the "brush" tool.
Use the "drag" tool to create some nice sharp peaks and adjust things.
Use the "crease" tool to create some ridge lines.
If needed, adjust the "resolution" slider under topology and click "remesh" to make things less blocky.
Go Crazy
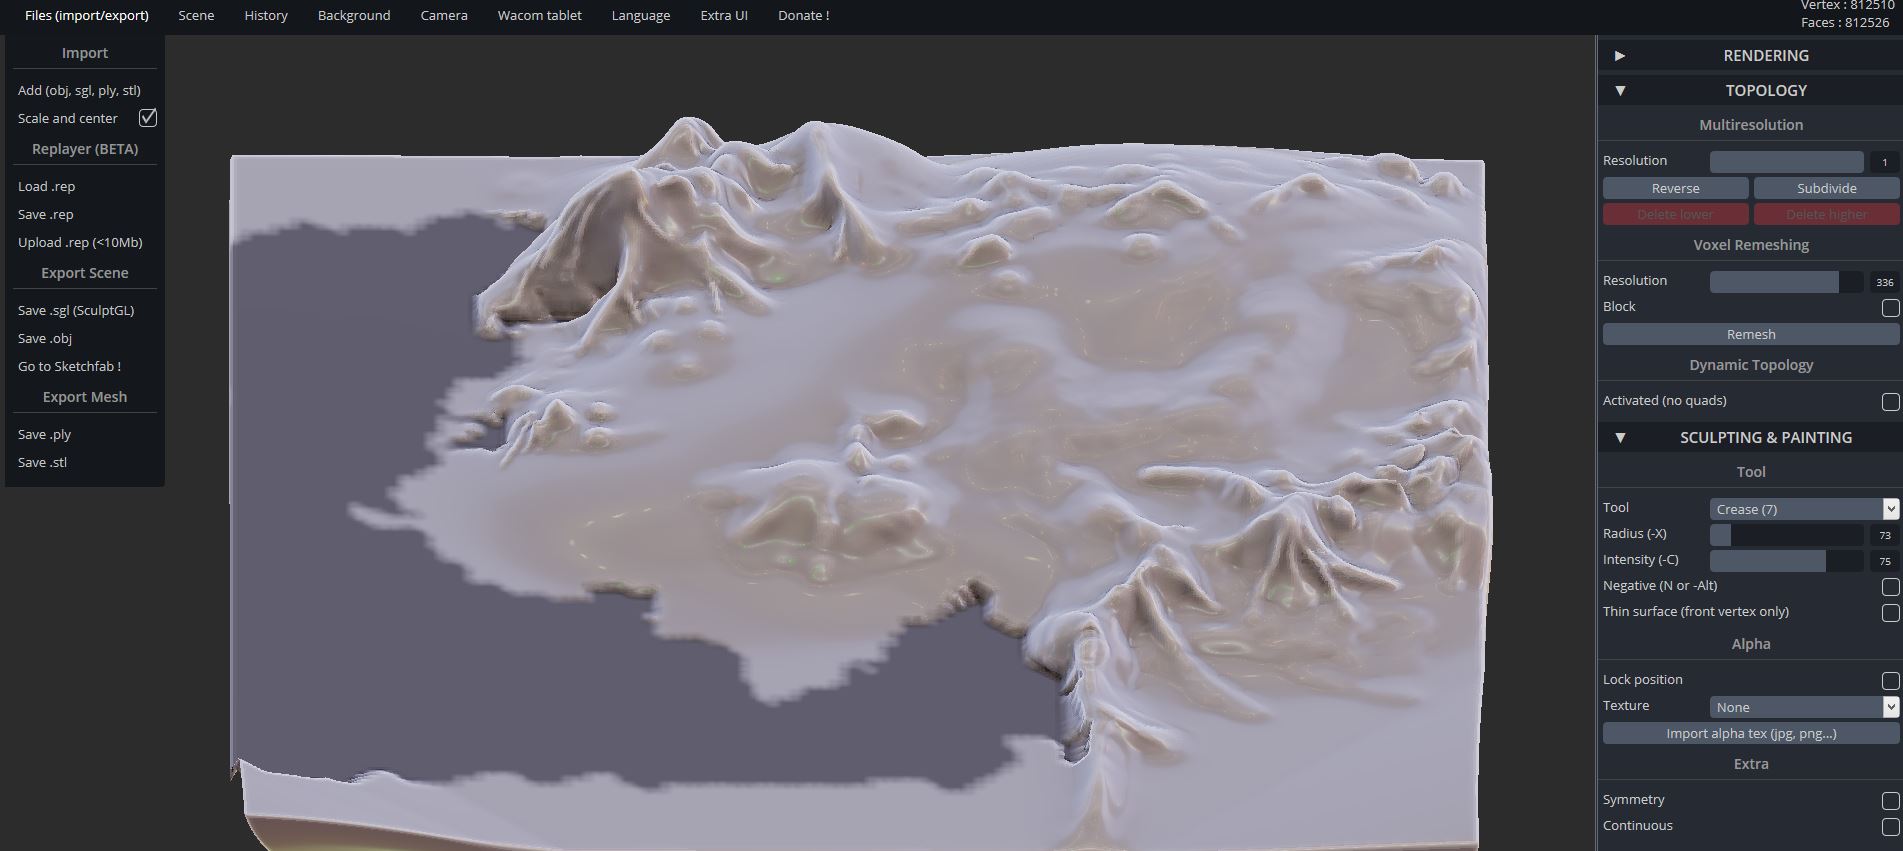
Make some more mountains, valleys, hills, canyons... whatever suits your fancy.
Remember that you're not making things to scale... if you made mountains to scale, most places would look boring. Exaggerate the heights of mountains and depths of canyons. And don't worry if it's not absolutely perfect... there's still time to do some adjusting in Photoshop later on.
When you're done, go to Files (import/export) > Save .sgl (SculptGL). This will let you re-open the file later on if you want to edit things.
Render
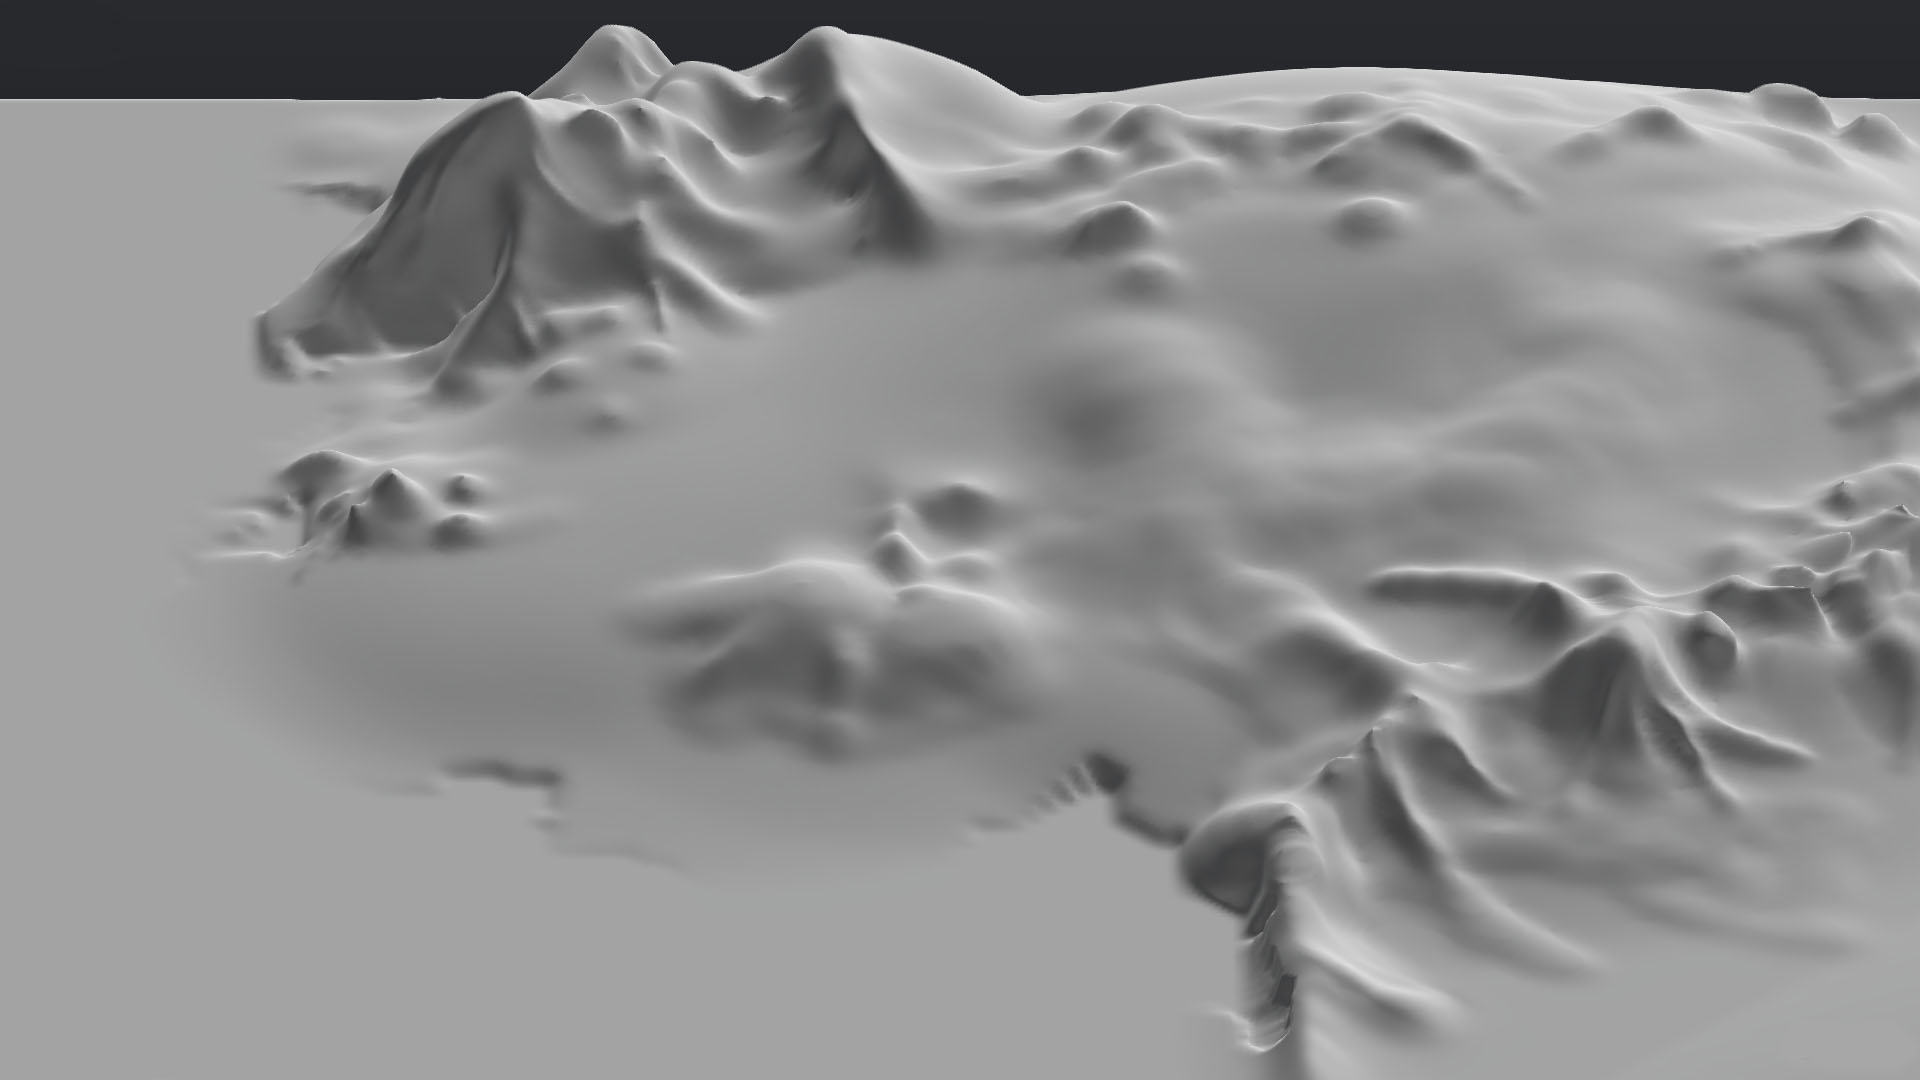
Now you've got a 3D model of your world... what do you do with it?
You want a nice, high-resolution picture of your 3D model so that you can dress it up to look more like a map. Play with the "Render" tab and rotate/scale the model to get it in the orientation you want. I sent the 3D file to Sketchfab (File (import/export) > Go to SketchFab!), which is a free 3D-model storing site that has some nice rendering options.
When you've got the picture the way you want it (hopefully on a high resolution screen), take a screenshot. This will the basis for your map.
From here on out, the tool of choice is Photoshop, or Photoshop Elements, or Gimp (the free version of Photoshop that will be perfectly adequate for this project). All you need are layers, paint brushes, and a few blending modes.
(Optional): Adjust Your Mountains by Painting
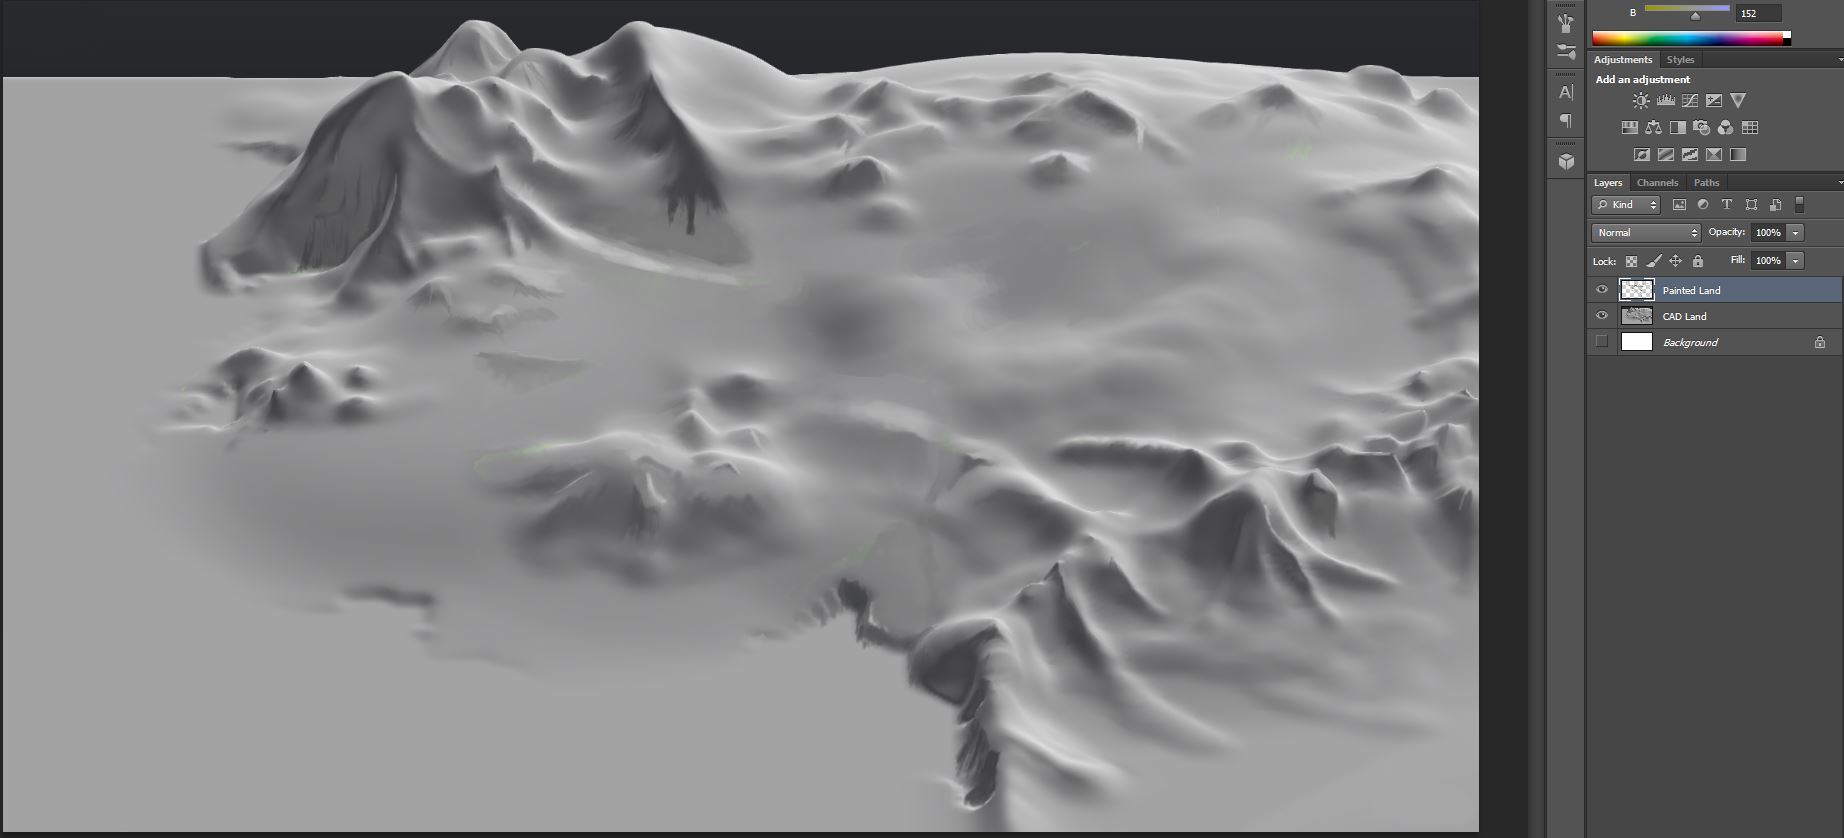
This step requires some drawing, but it's optional. If you want to adjust your mountains a little bit, this is the time to do it. Start a new layer and add some extra shadows, sharpen your ridge lines, and adjust things as you like.
Ctrlpaint is a great resource for learning to do this type of thing, especially this video.
Add Water
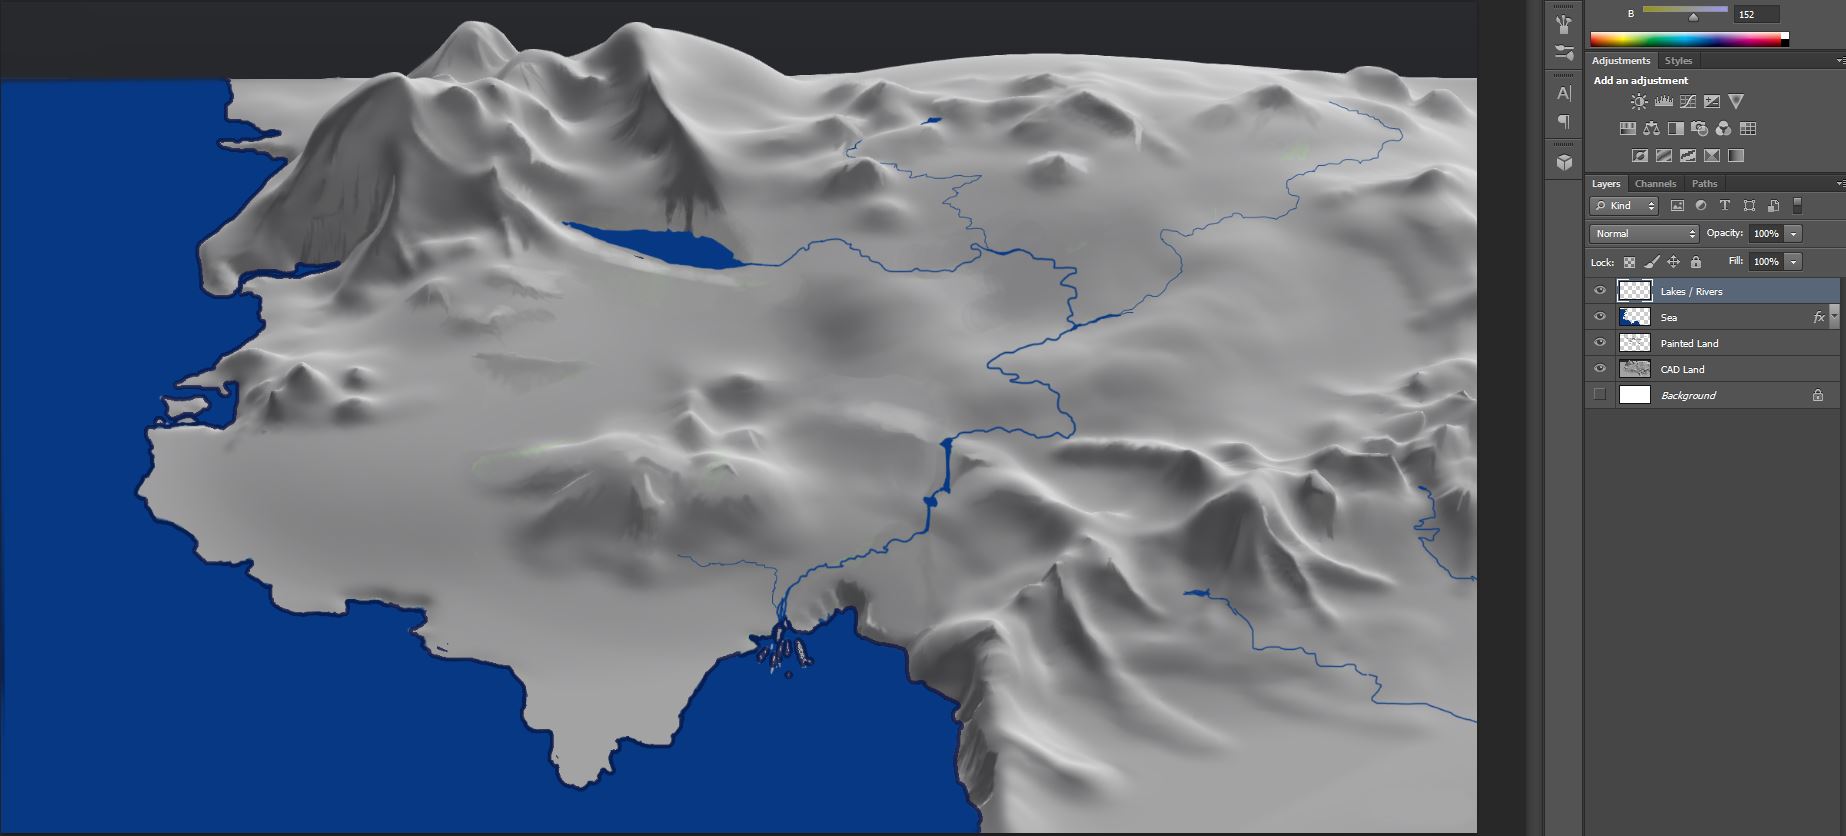
Create a new layer for the ocean. Use a small brush to outline your coastline, then fill in the rest of the ocean with blue.
Do the same for any lakes/rivers you want on your map.
Add Some Snow
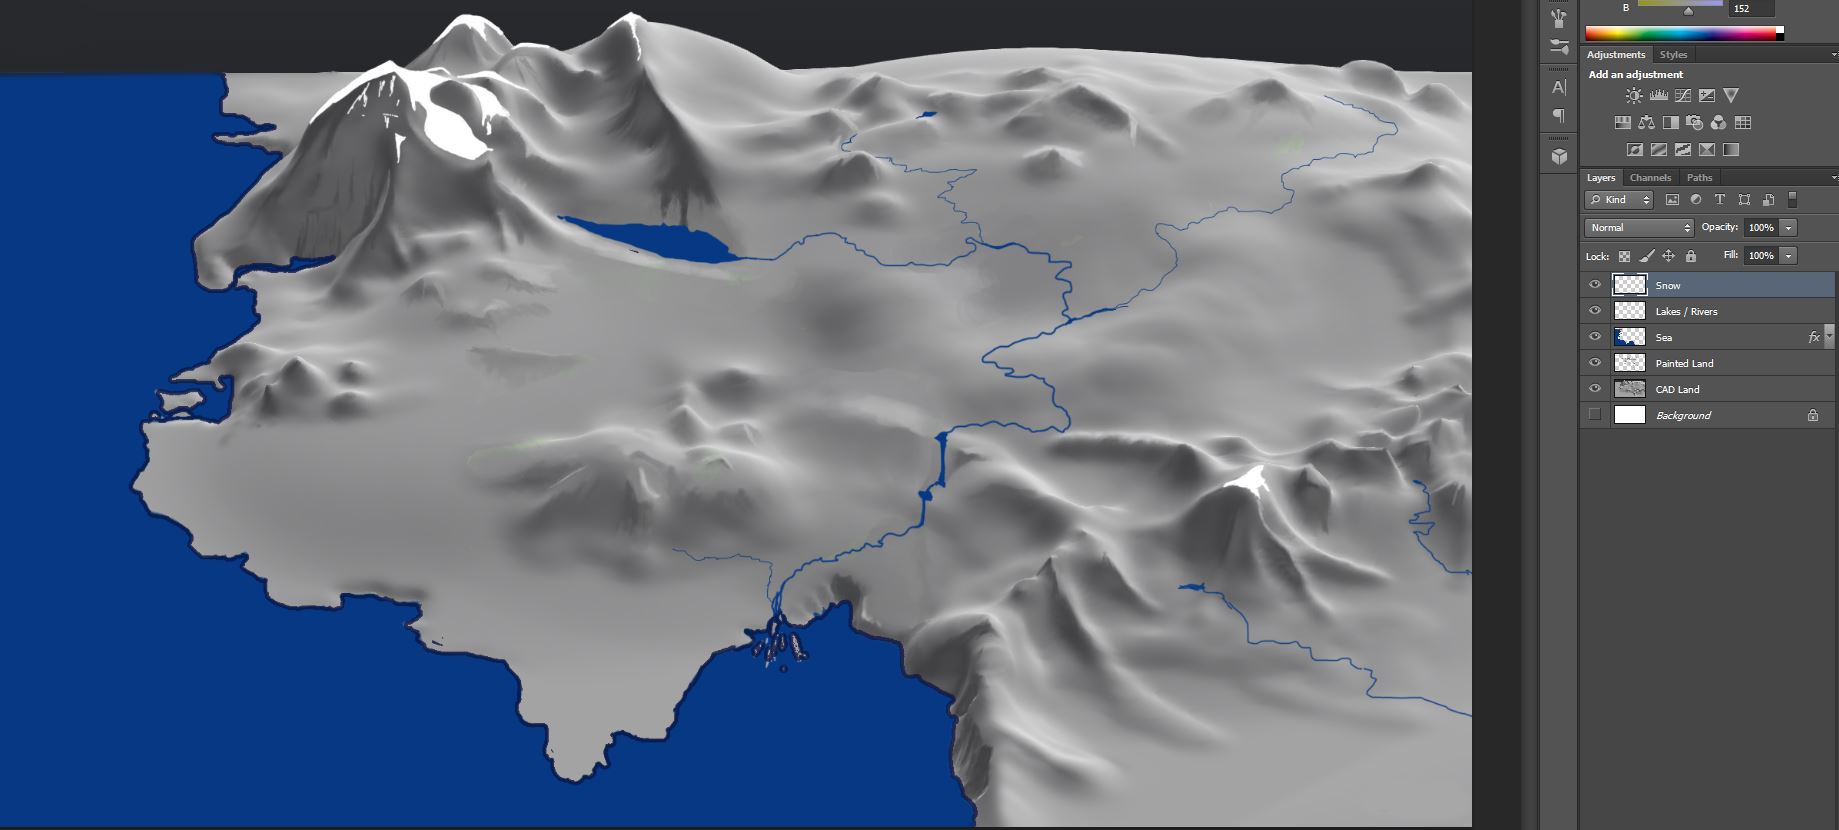
Add Greenery
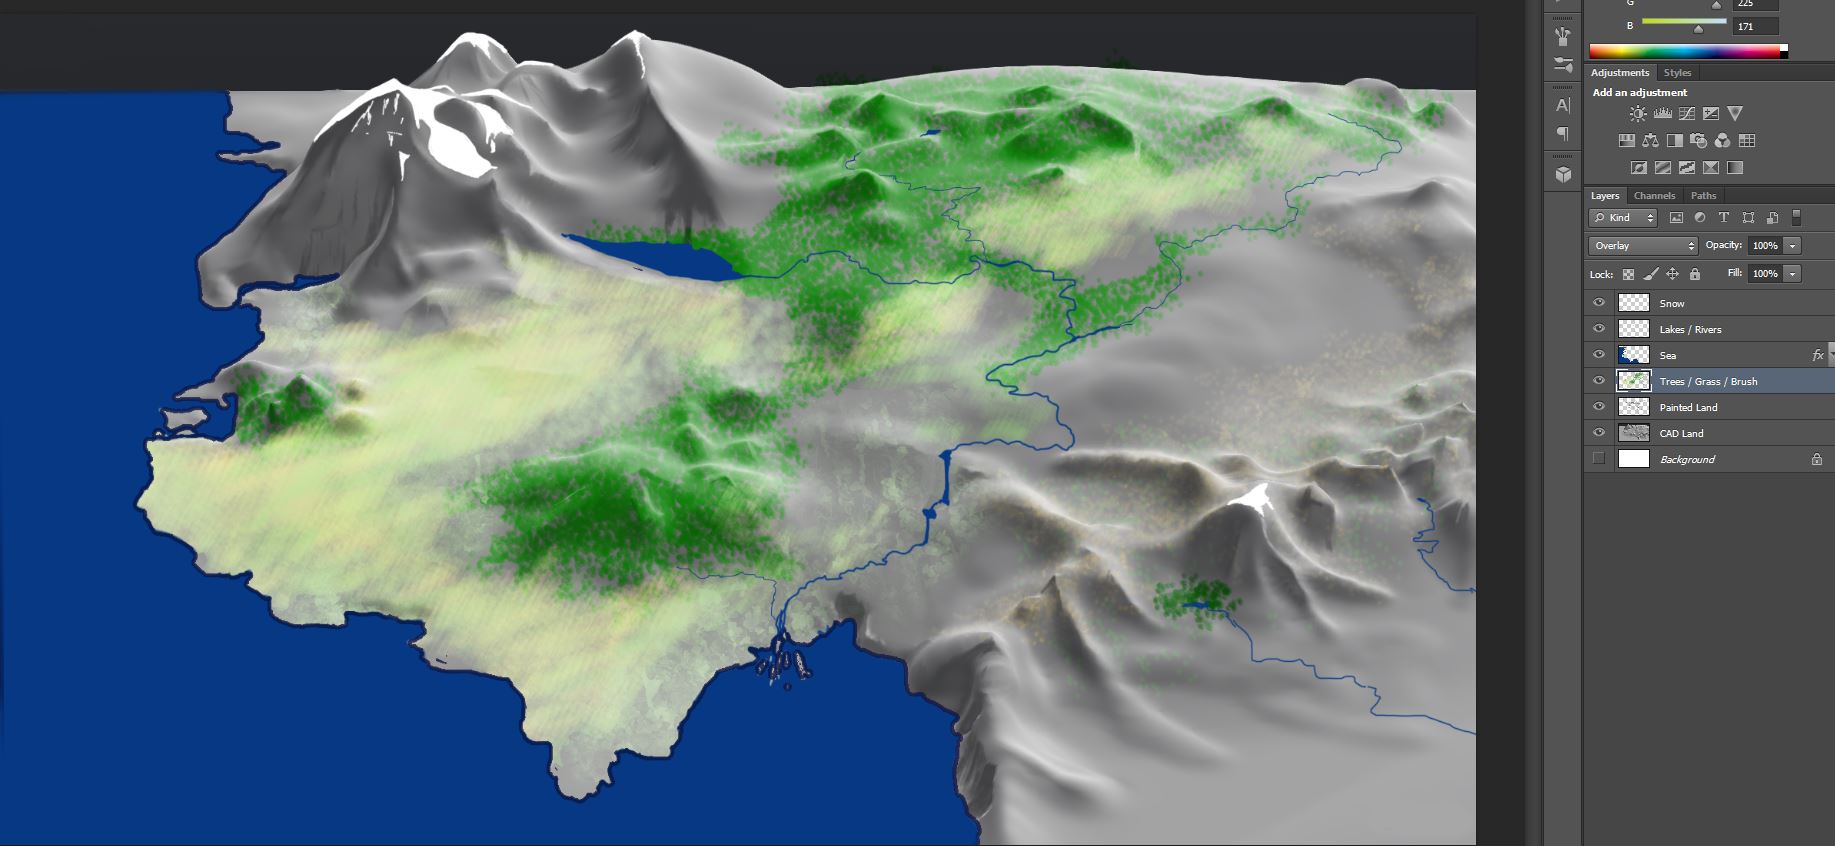
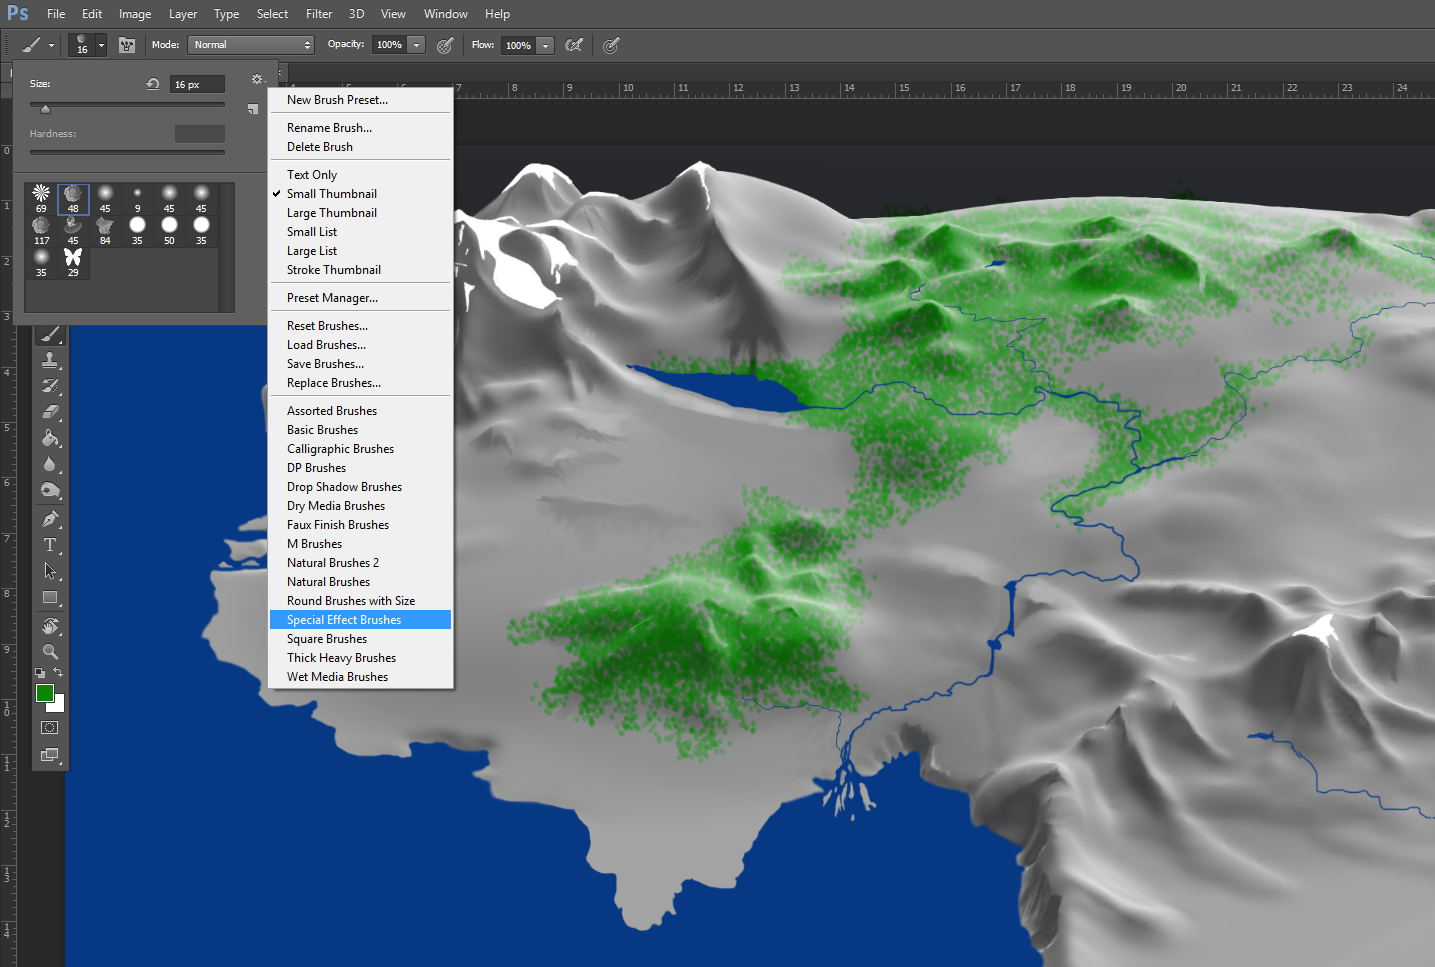
Add a layer under all your water (so you don't have to worry about painting trees on top of it) and make some greenery. I went to the "special effects brushes" to get some jittery, randomized splatter. Various spray-paint tools and brushes would do fine as well.
Notice that I set the layer blending mode to "overlay". This allows you to see the mountains and other land features beneath the trees.
Color the Ground
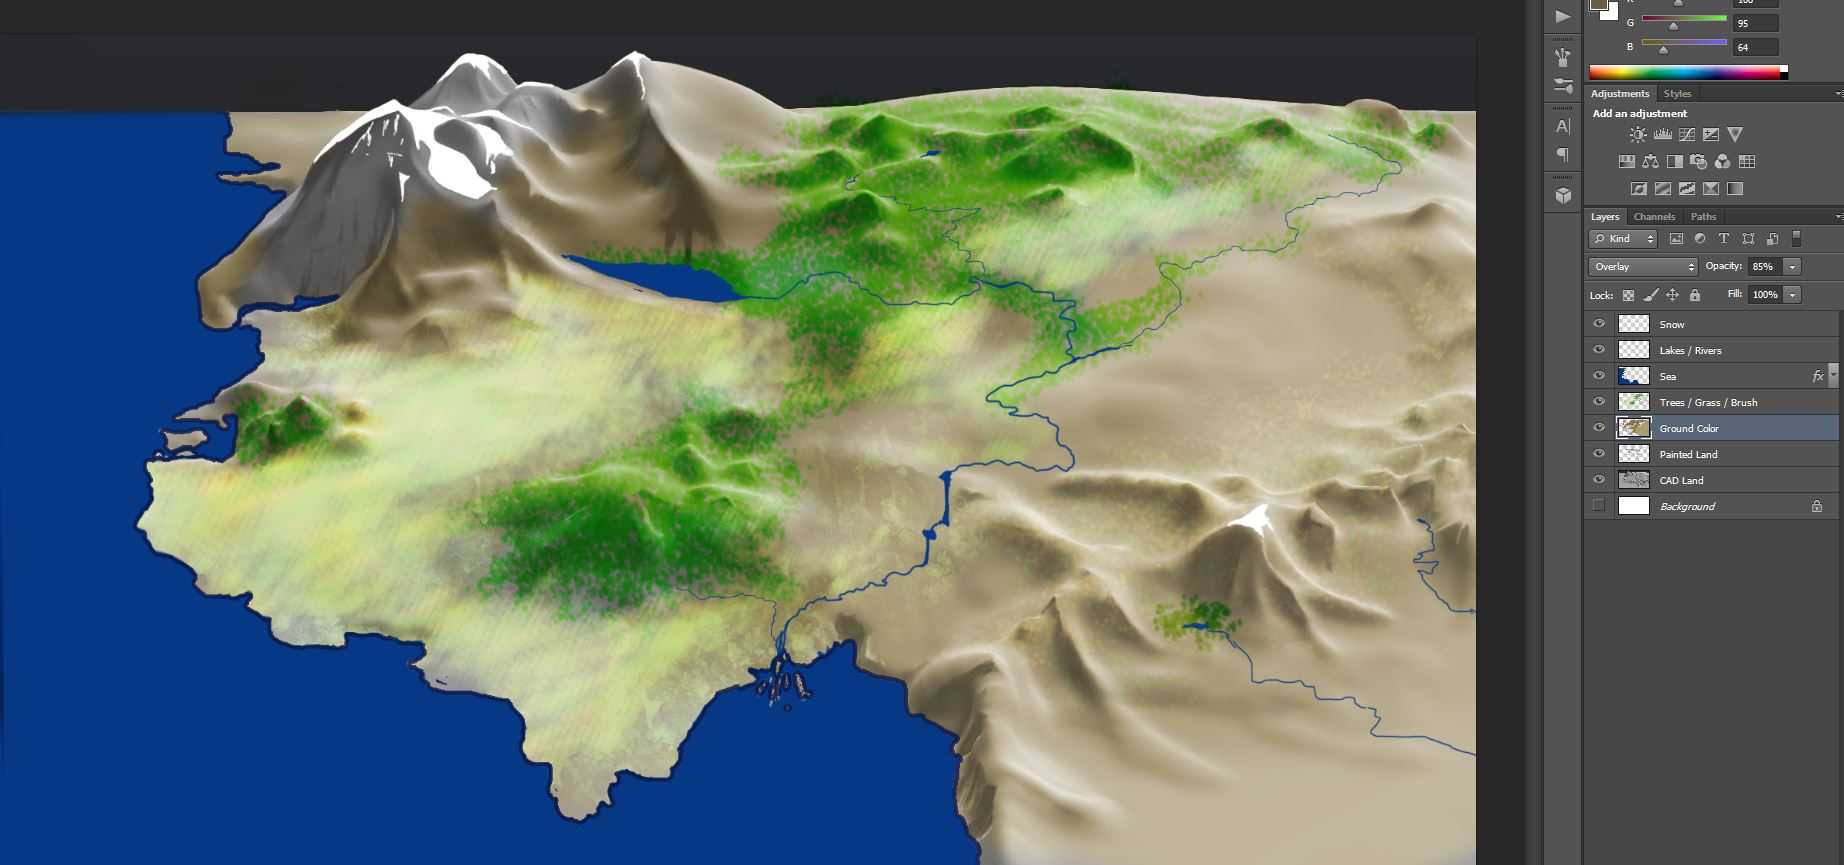
Add a layer under your water and trees. Make the blending mode "overlay" and choose a big, soft, brown brush. Paint the ground. Adjust opacity / color as necessary to get the ground color you want.
Name Some Cities
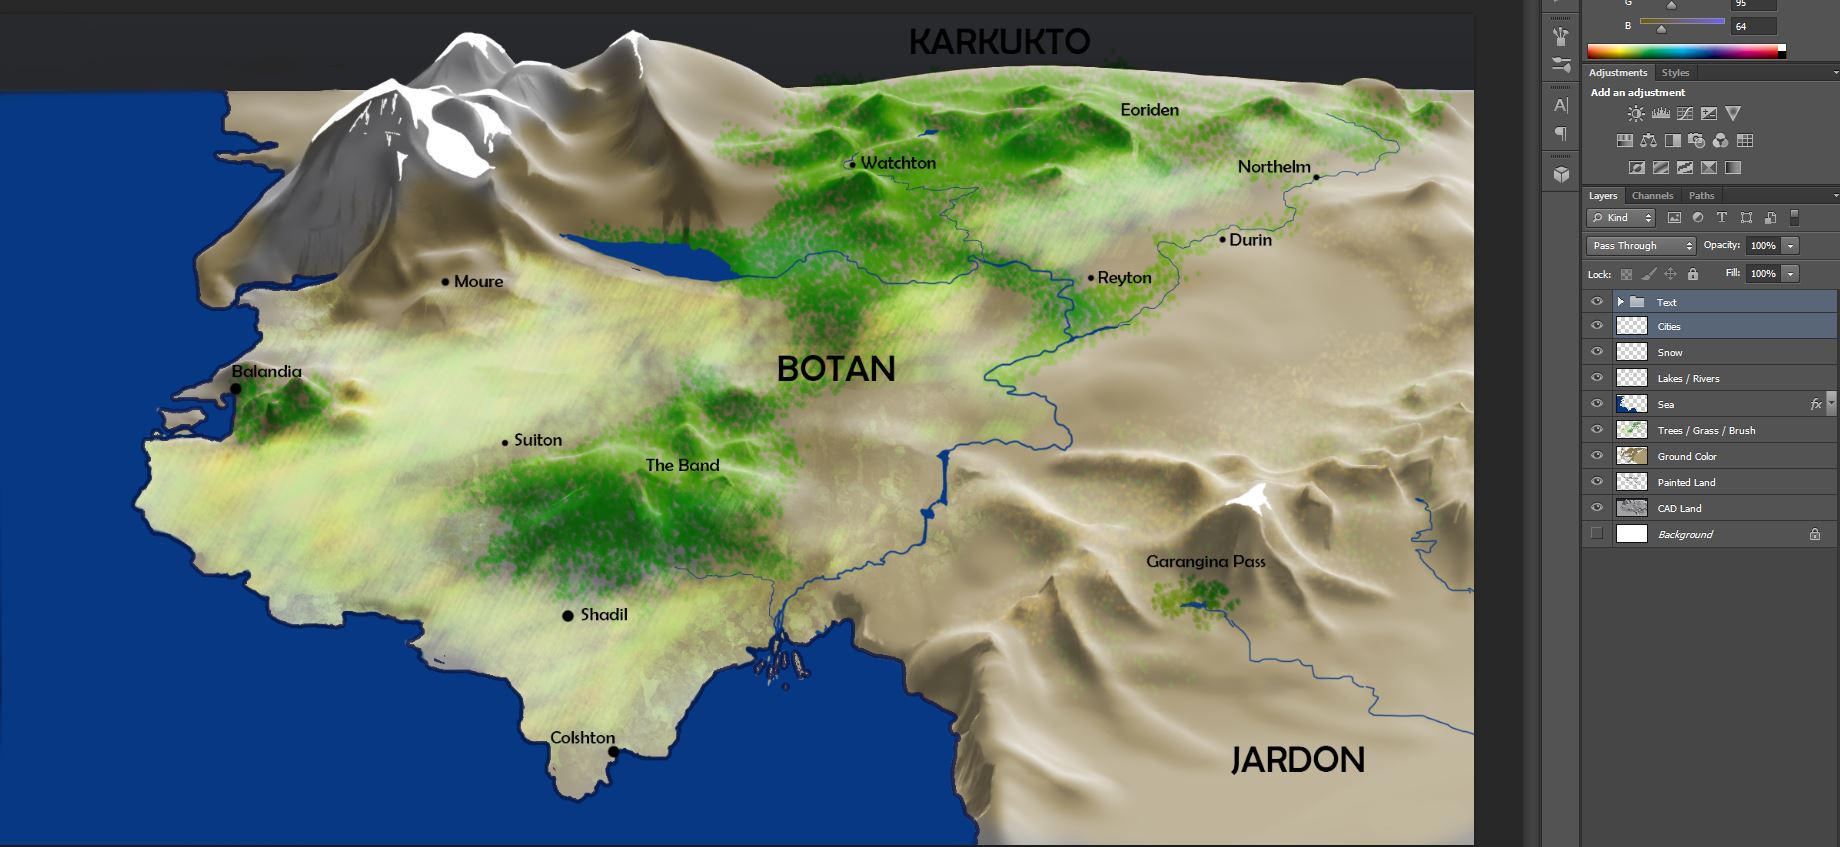
Use the text tool and a round brush to label and make some cities, roads, passes, rivers, mountains, or hillocks.
Make It Sepia
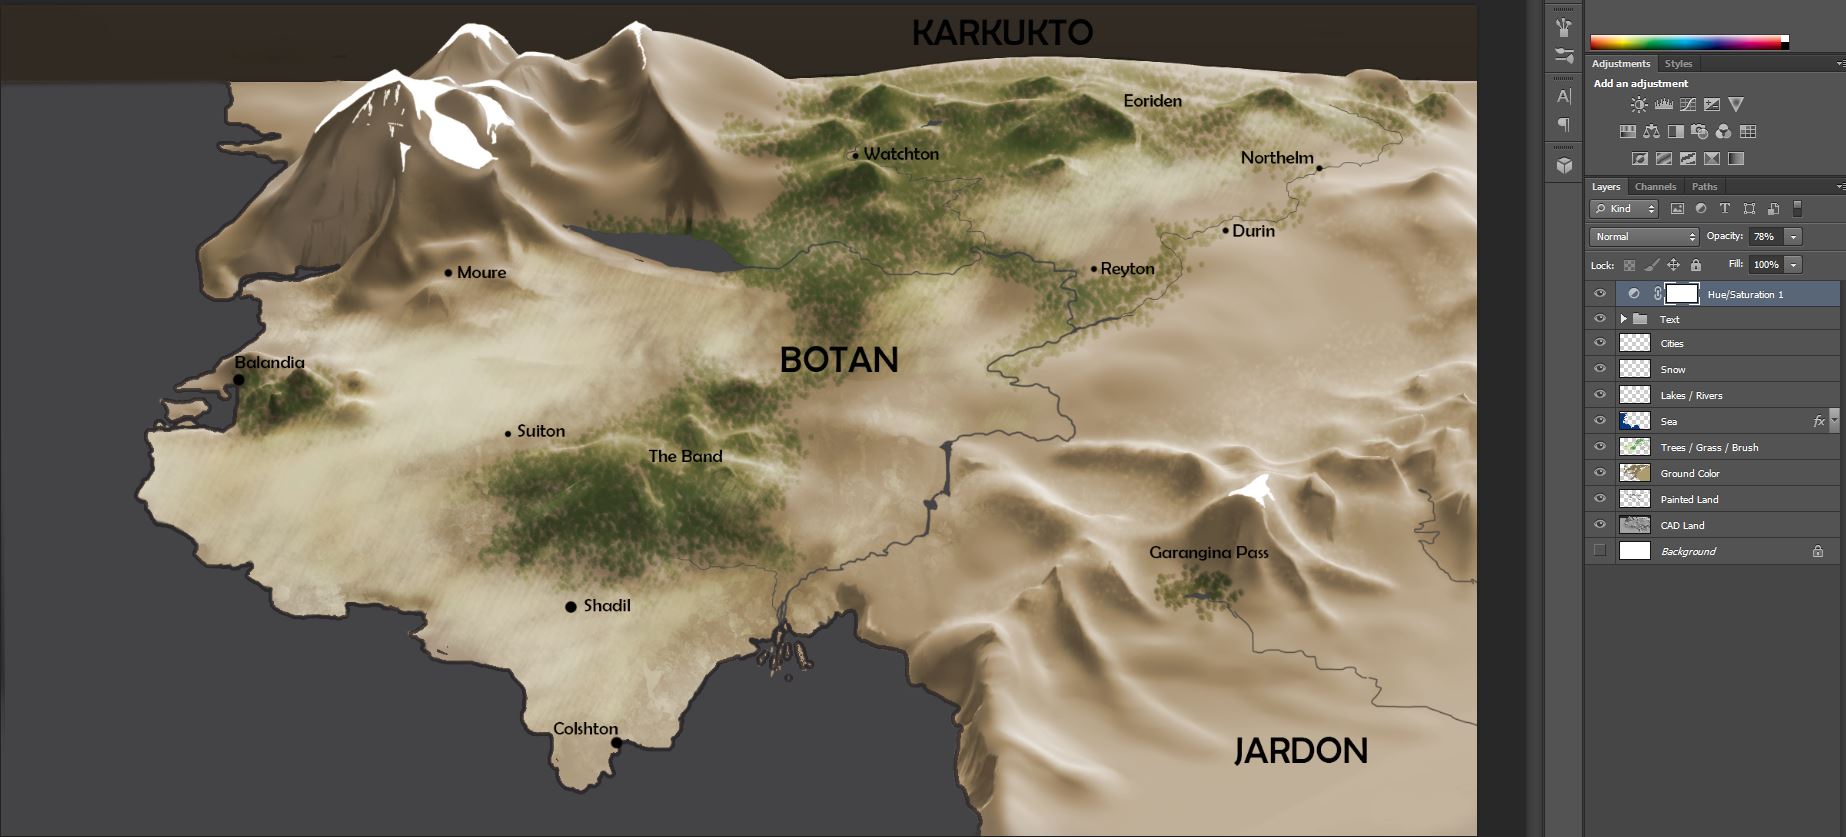
You might like your map as is, but if you want to make it look old and noble, start by adding hue-saturation layer, choosing the "sepia" option, and adjusting the opacity so that you can just a bit of color.
Add Texture
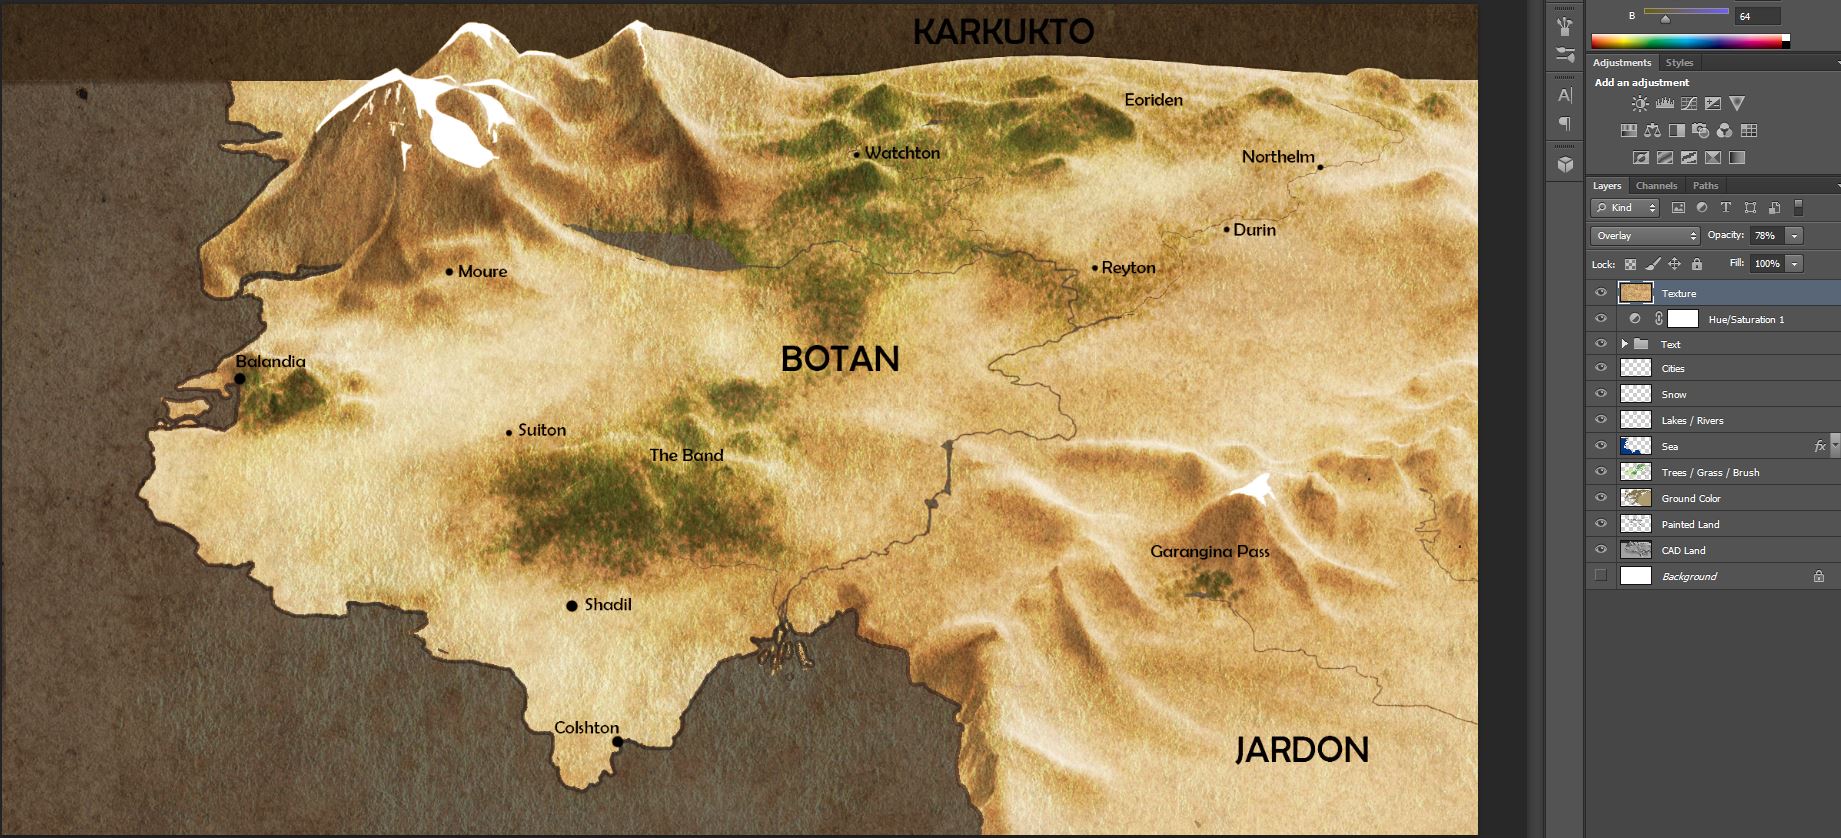
Google "paper texture" or "parchment texture" or something of the sort and copy an image of some crinkly or old paper as the top layer. Change the blending mode to "overlay" and adjust the opacity as desired.
Voila. You have a map!
Thanks for reading.
(Note: This map is for the country featured in my 2-book series about teenaged medieval secret agents, The Everknot Duet. You should check it out. It's awesome.)