Fall in Love With I2C L.C.D. Displays.
by MissionCritical in Design > Digital Graphics
17464 Views, 13 Favorites, 0 Comments
Fall in Love With I2C L.C.D. Displays.
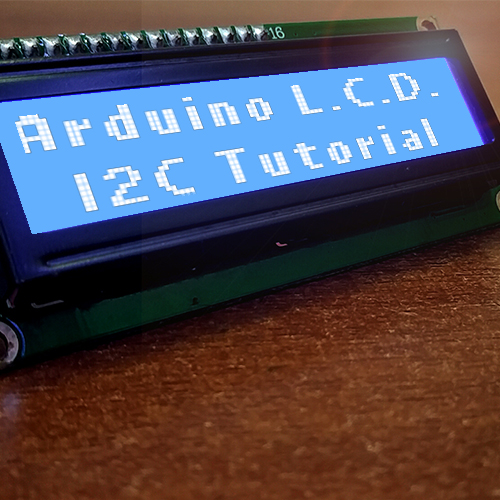
Hello there! Fellow electronics enthusiasts, I am quite sure we all make some or the other projects, as a part of our learning experience or academics. We sure would want to display some data present on our micro controllers, from sensors or simply create a USER INTERFACE, so here is a quick tutorial about LCD displays, in which we will learn how to wire and program a I²C LCD Display
Watch the VIDEO
Understand Whatis I²C Communication?

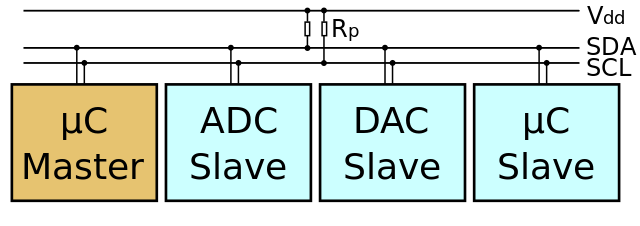

I²C (Inter-Integrated Circuit) is a synchronous, multi-master, multi-slave, packet switched, single-ended, serial computer bus invented in 1982 by Philips Semiconductor.
It is widely used for attaching lower-speed peripheral IC's to processors and micro-controllers in short-distance, intra-board communication.
I²C uses only two bidirectional open collector or open drain lines, Serial Data Line (SDA) and Serial Clock Line (SCL), pulled up with resistors.Typical voltages used are +5 V or +3.3 V. The I²C reference design has a 7-bit address space, with a rarely-used 10-bit extension. Common I²C bus speeds are the 100 kbit/sstandard mode and the 400 kbit/s Fast mode.
Gather the Requirements
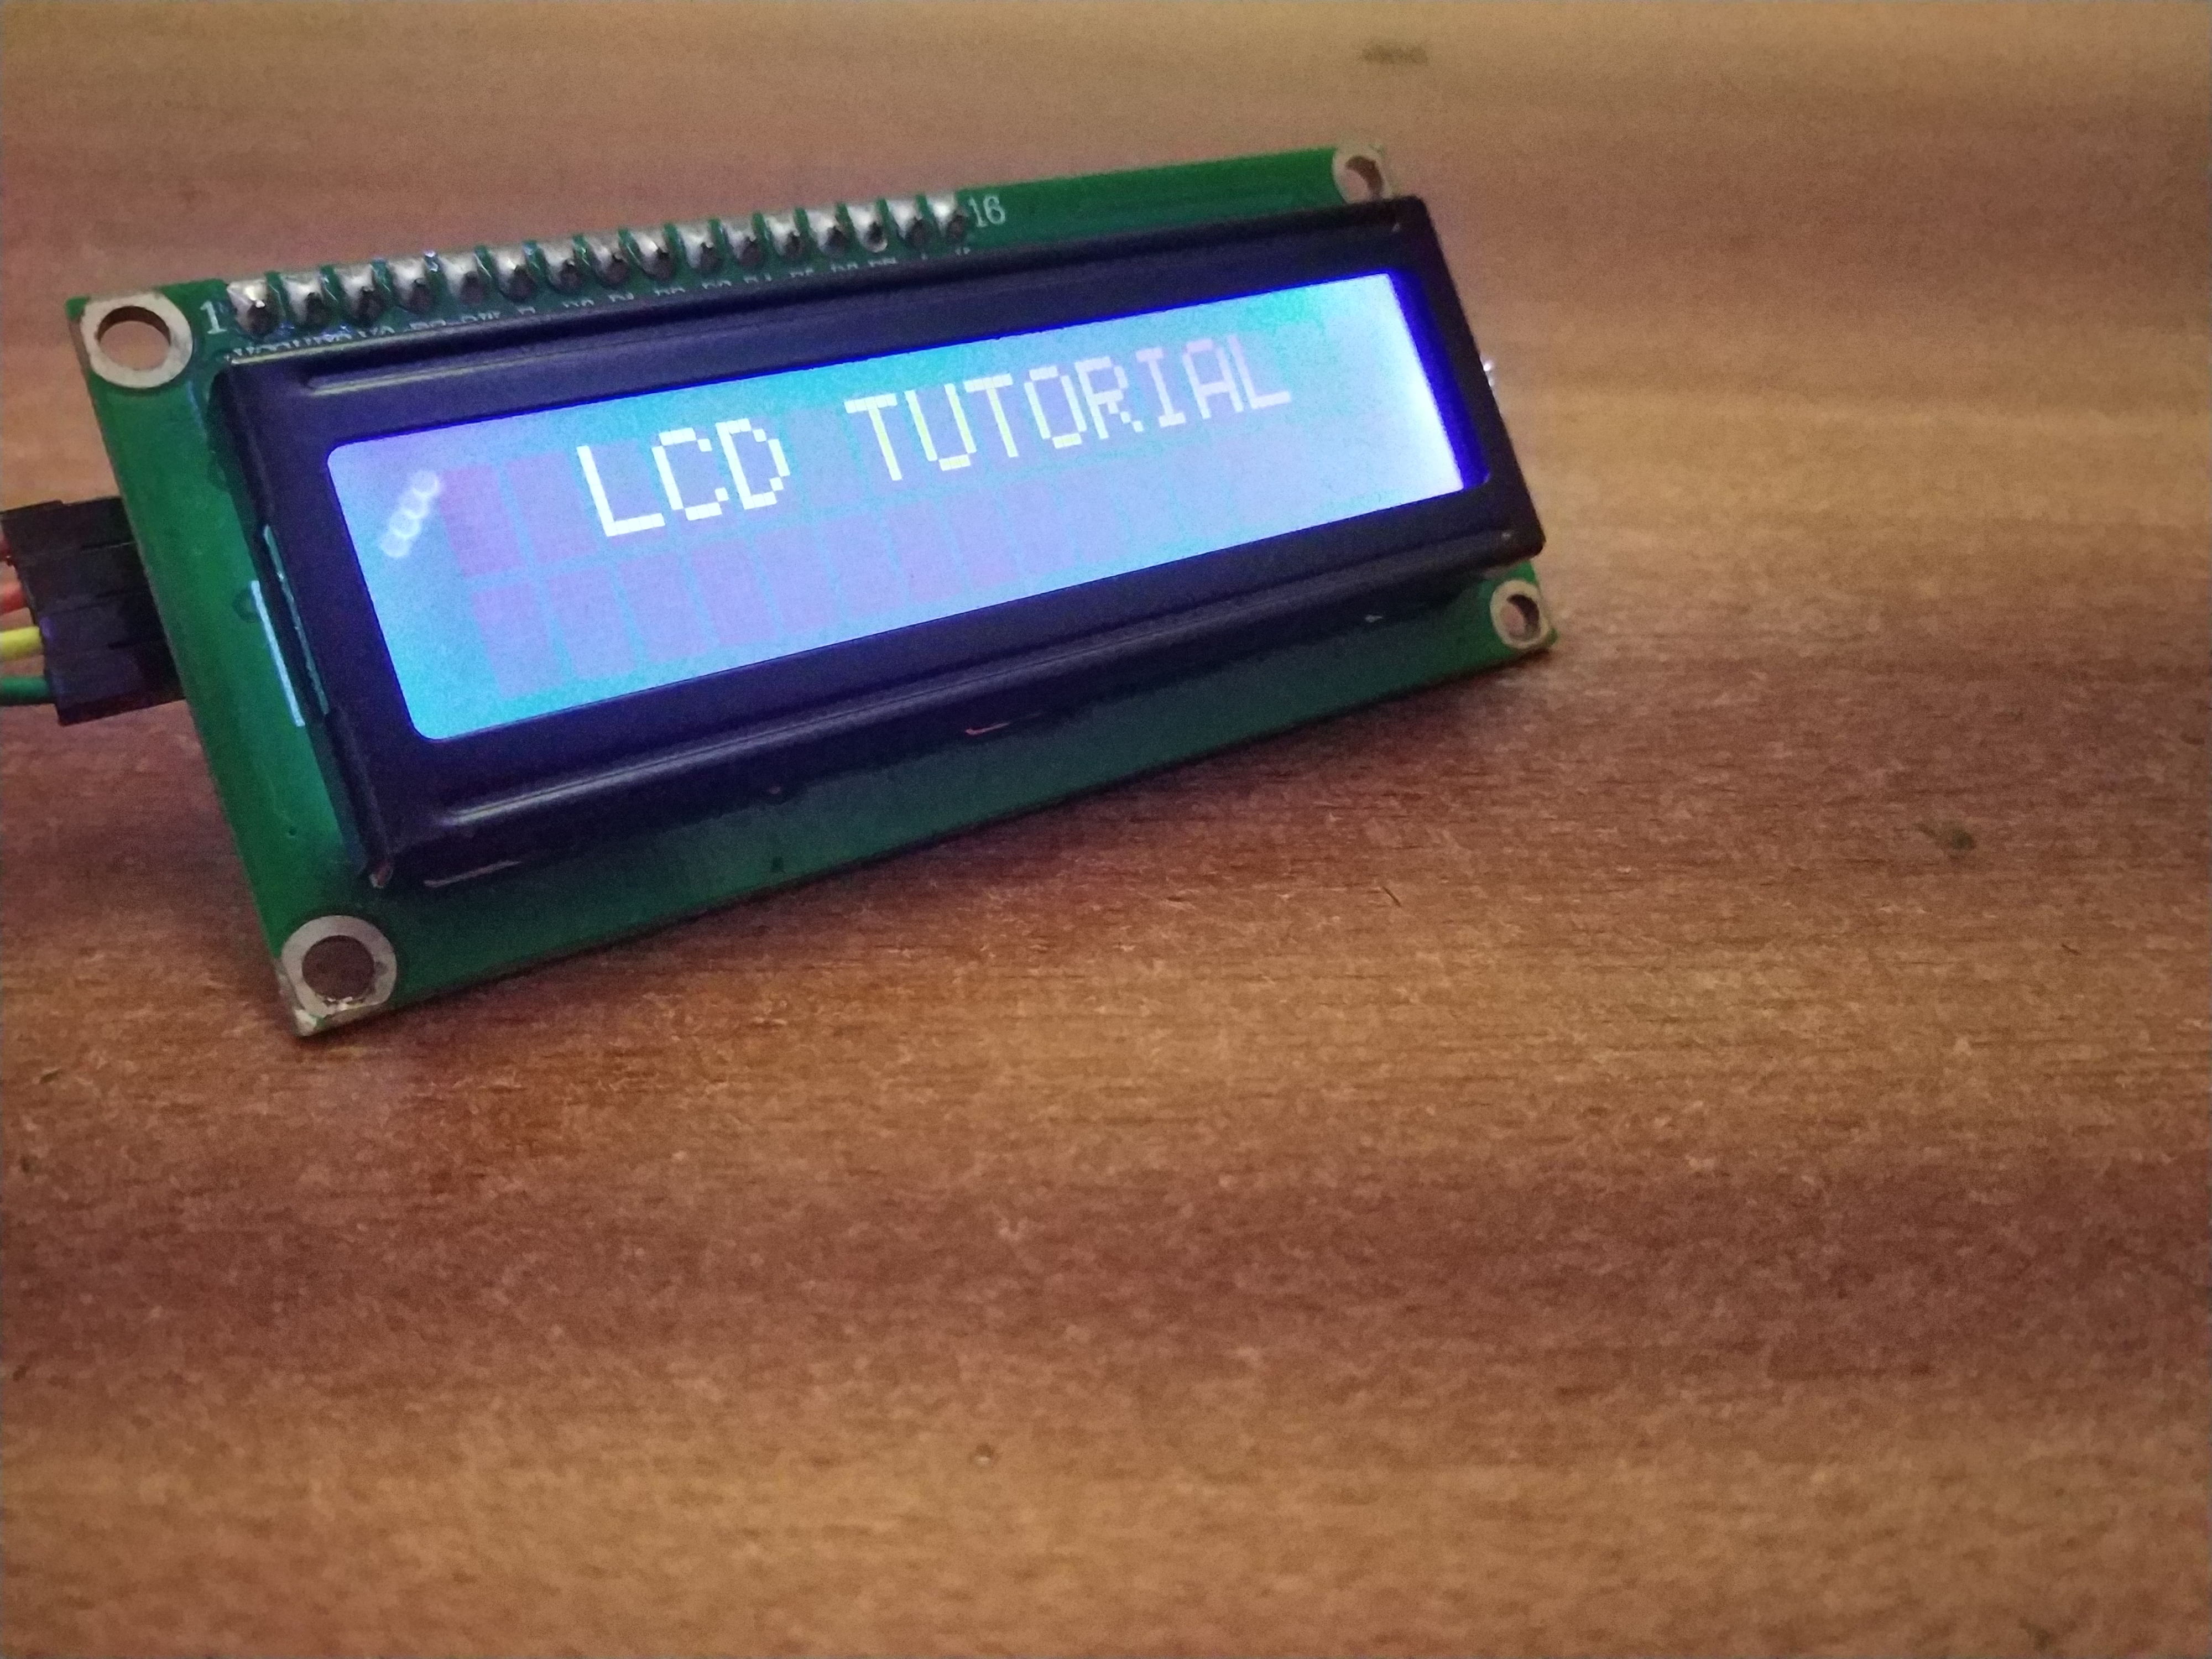
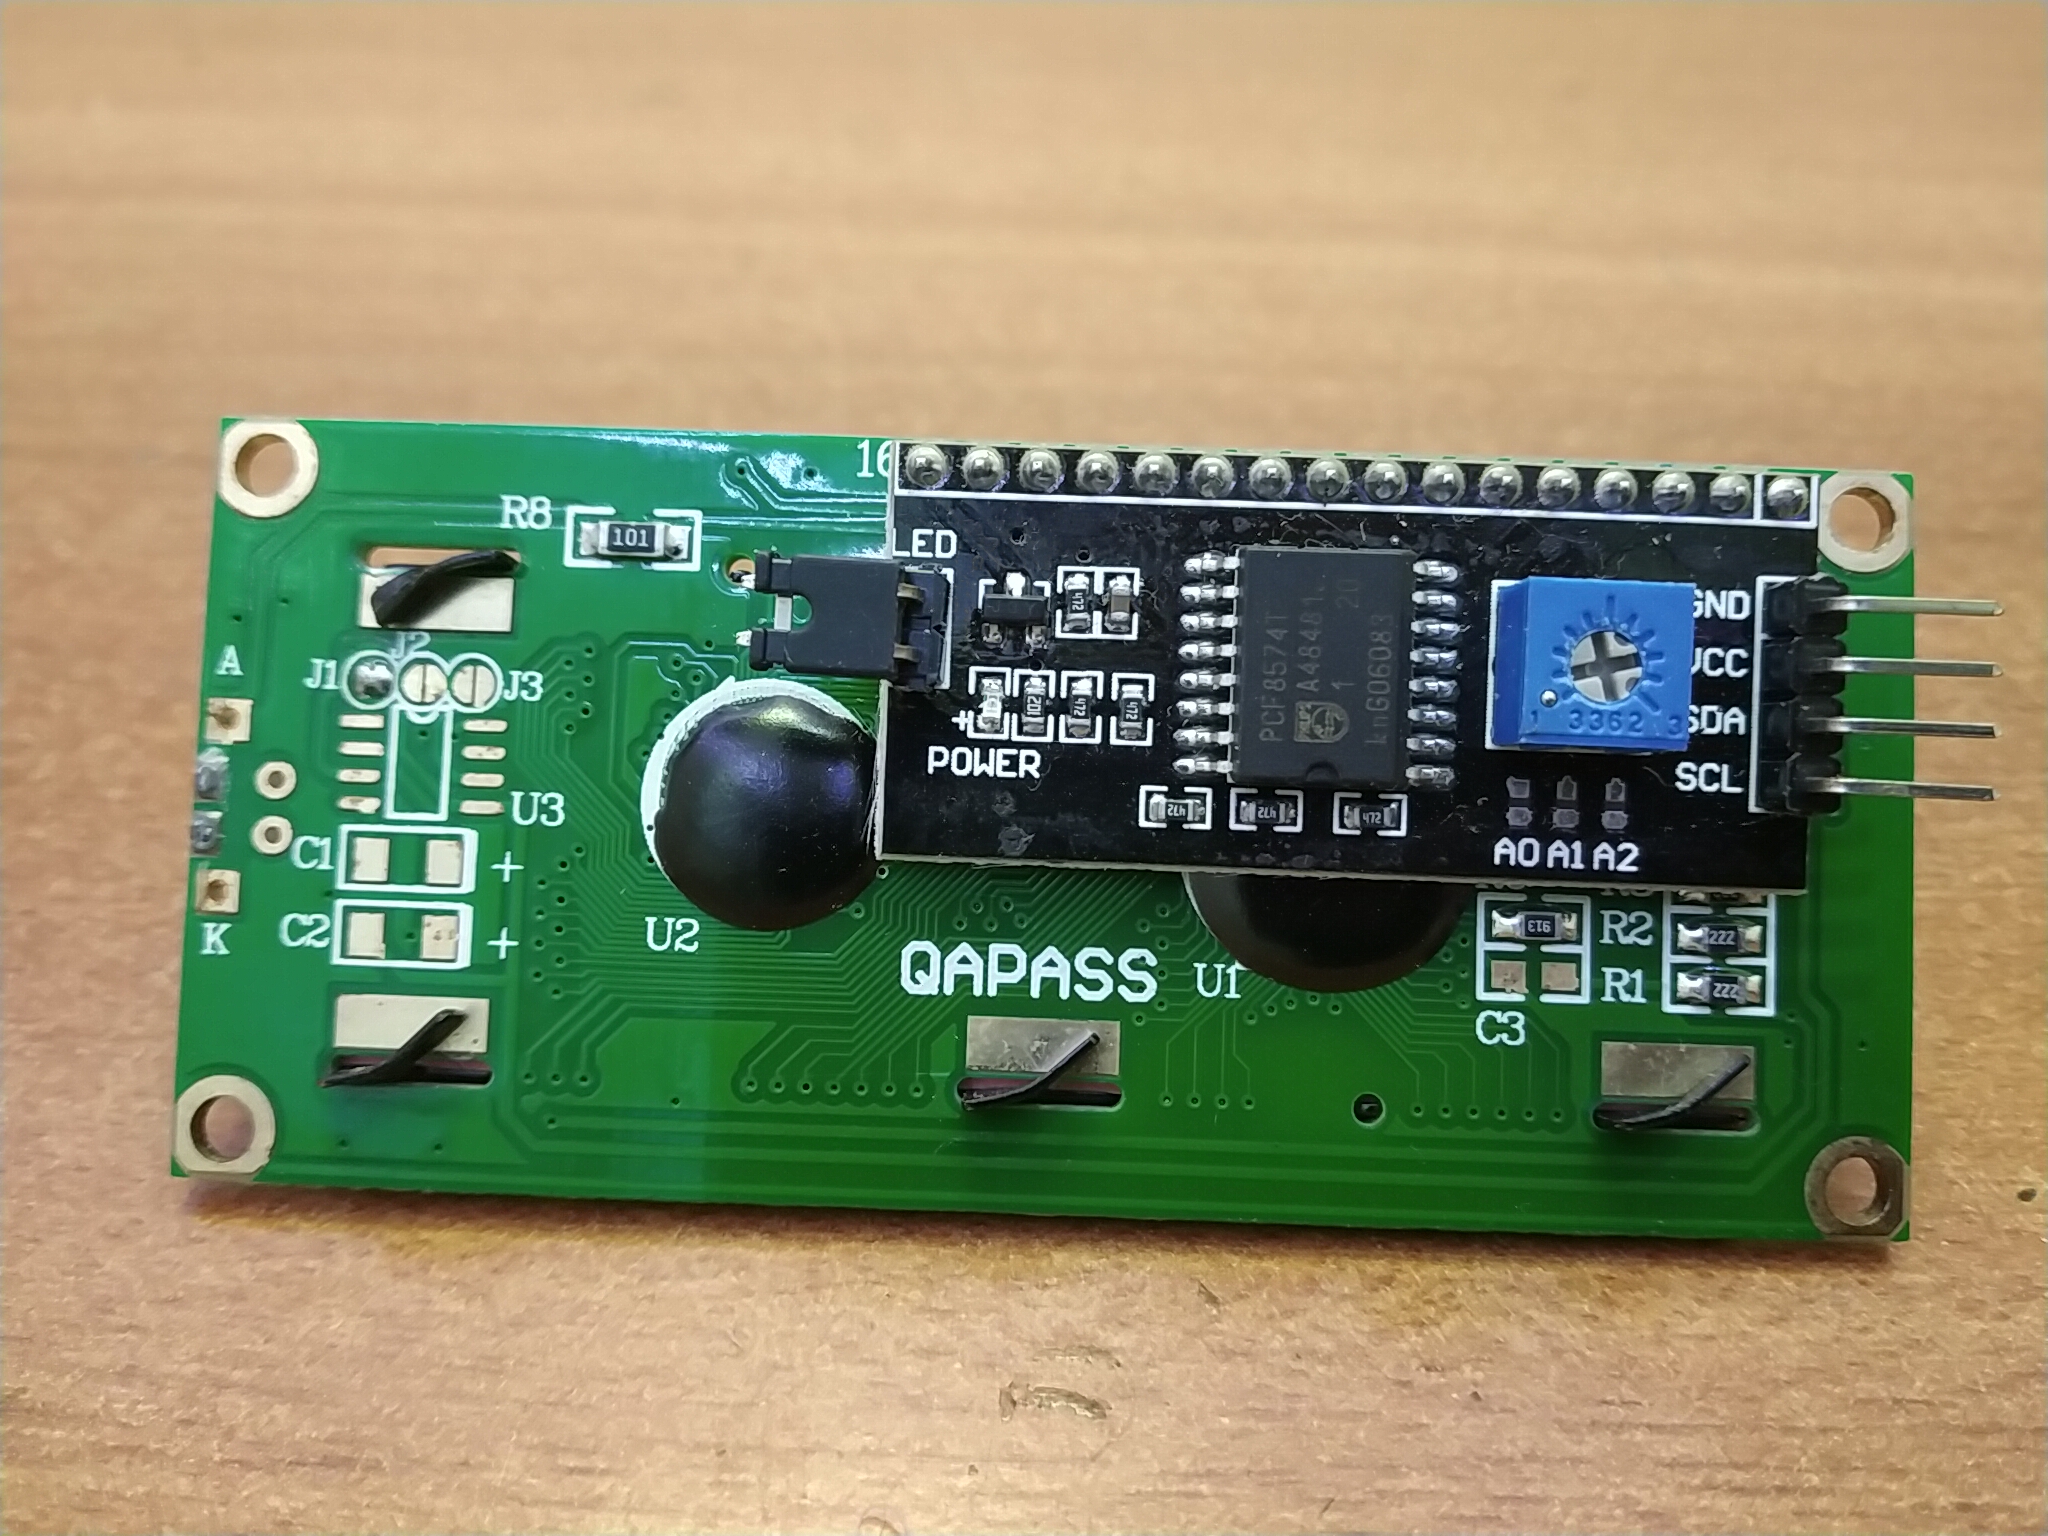
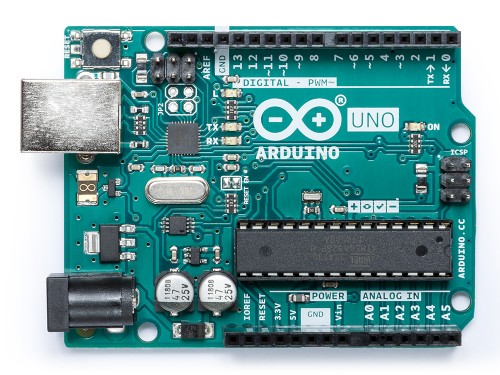

for this demonstration, we will require
1. I²C L.C.D. Display
https://www.amazon.in/Generic-Serial-Character-Dis...
https://www.amazon.com/LGDehome-Interface-Adapter-...
https://www.banggood.com/IIC-I2C-1602-Blue-Backlig...
2. Arduino UNO microcontroller
https://store.arduino.cc/arduino-uno-rev3
3. Male to Female Jumper Wire
https://www.amazon.com/Foxnovo-Breadboard-Jumper-W...
Connecting the L.C.D. Display to Microcontroller
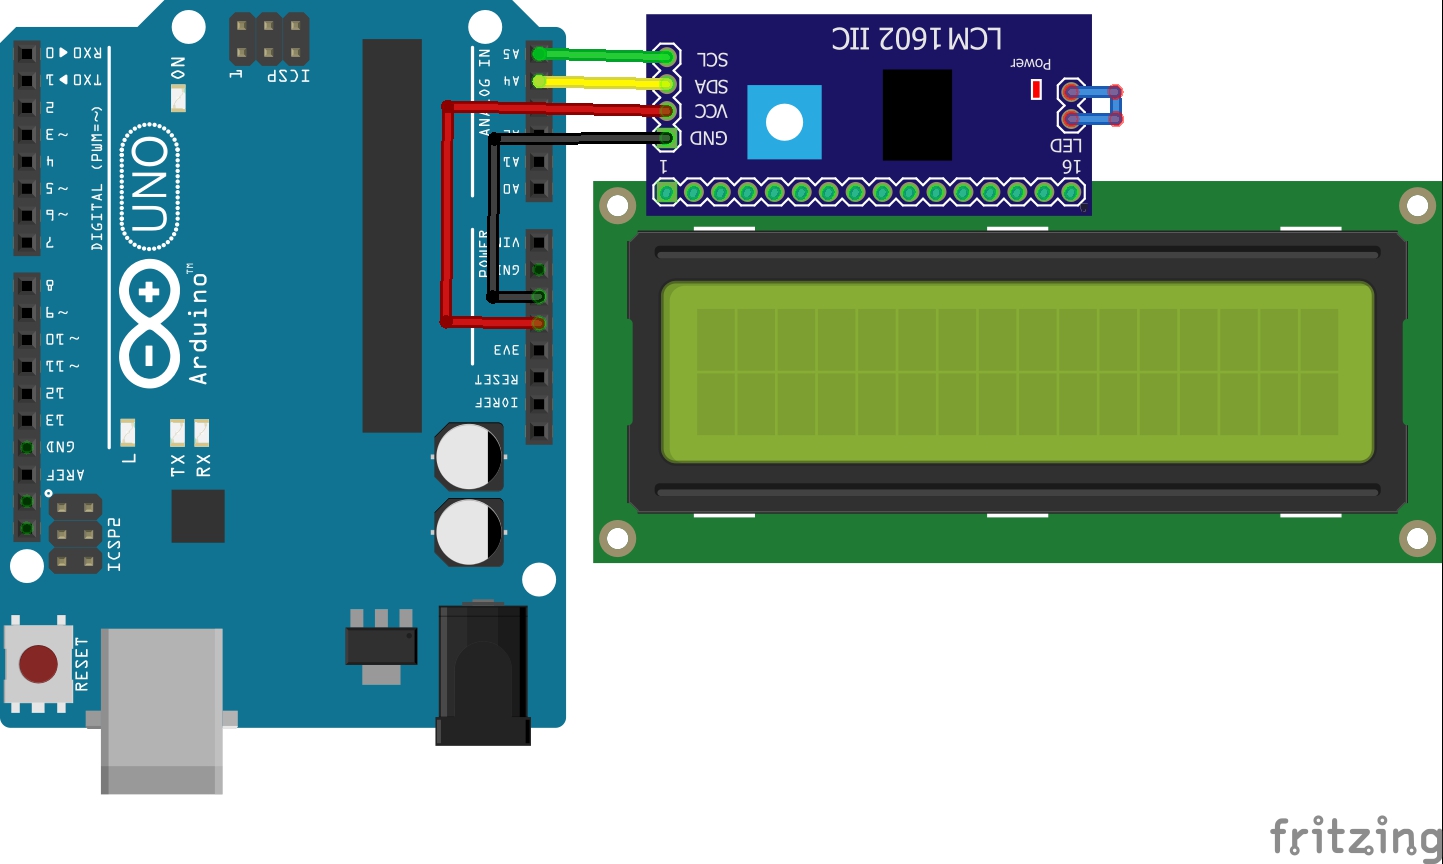
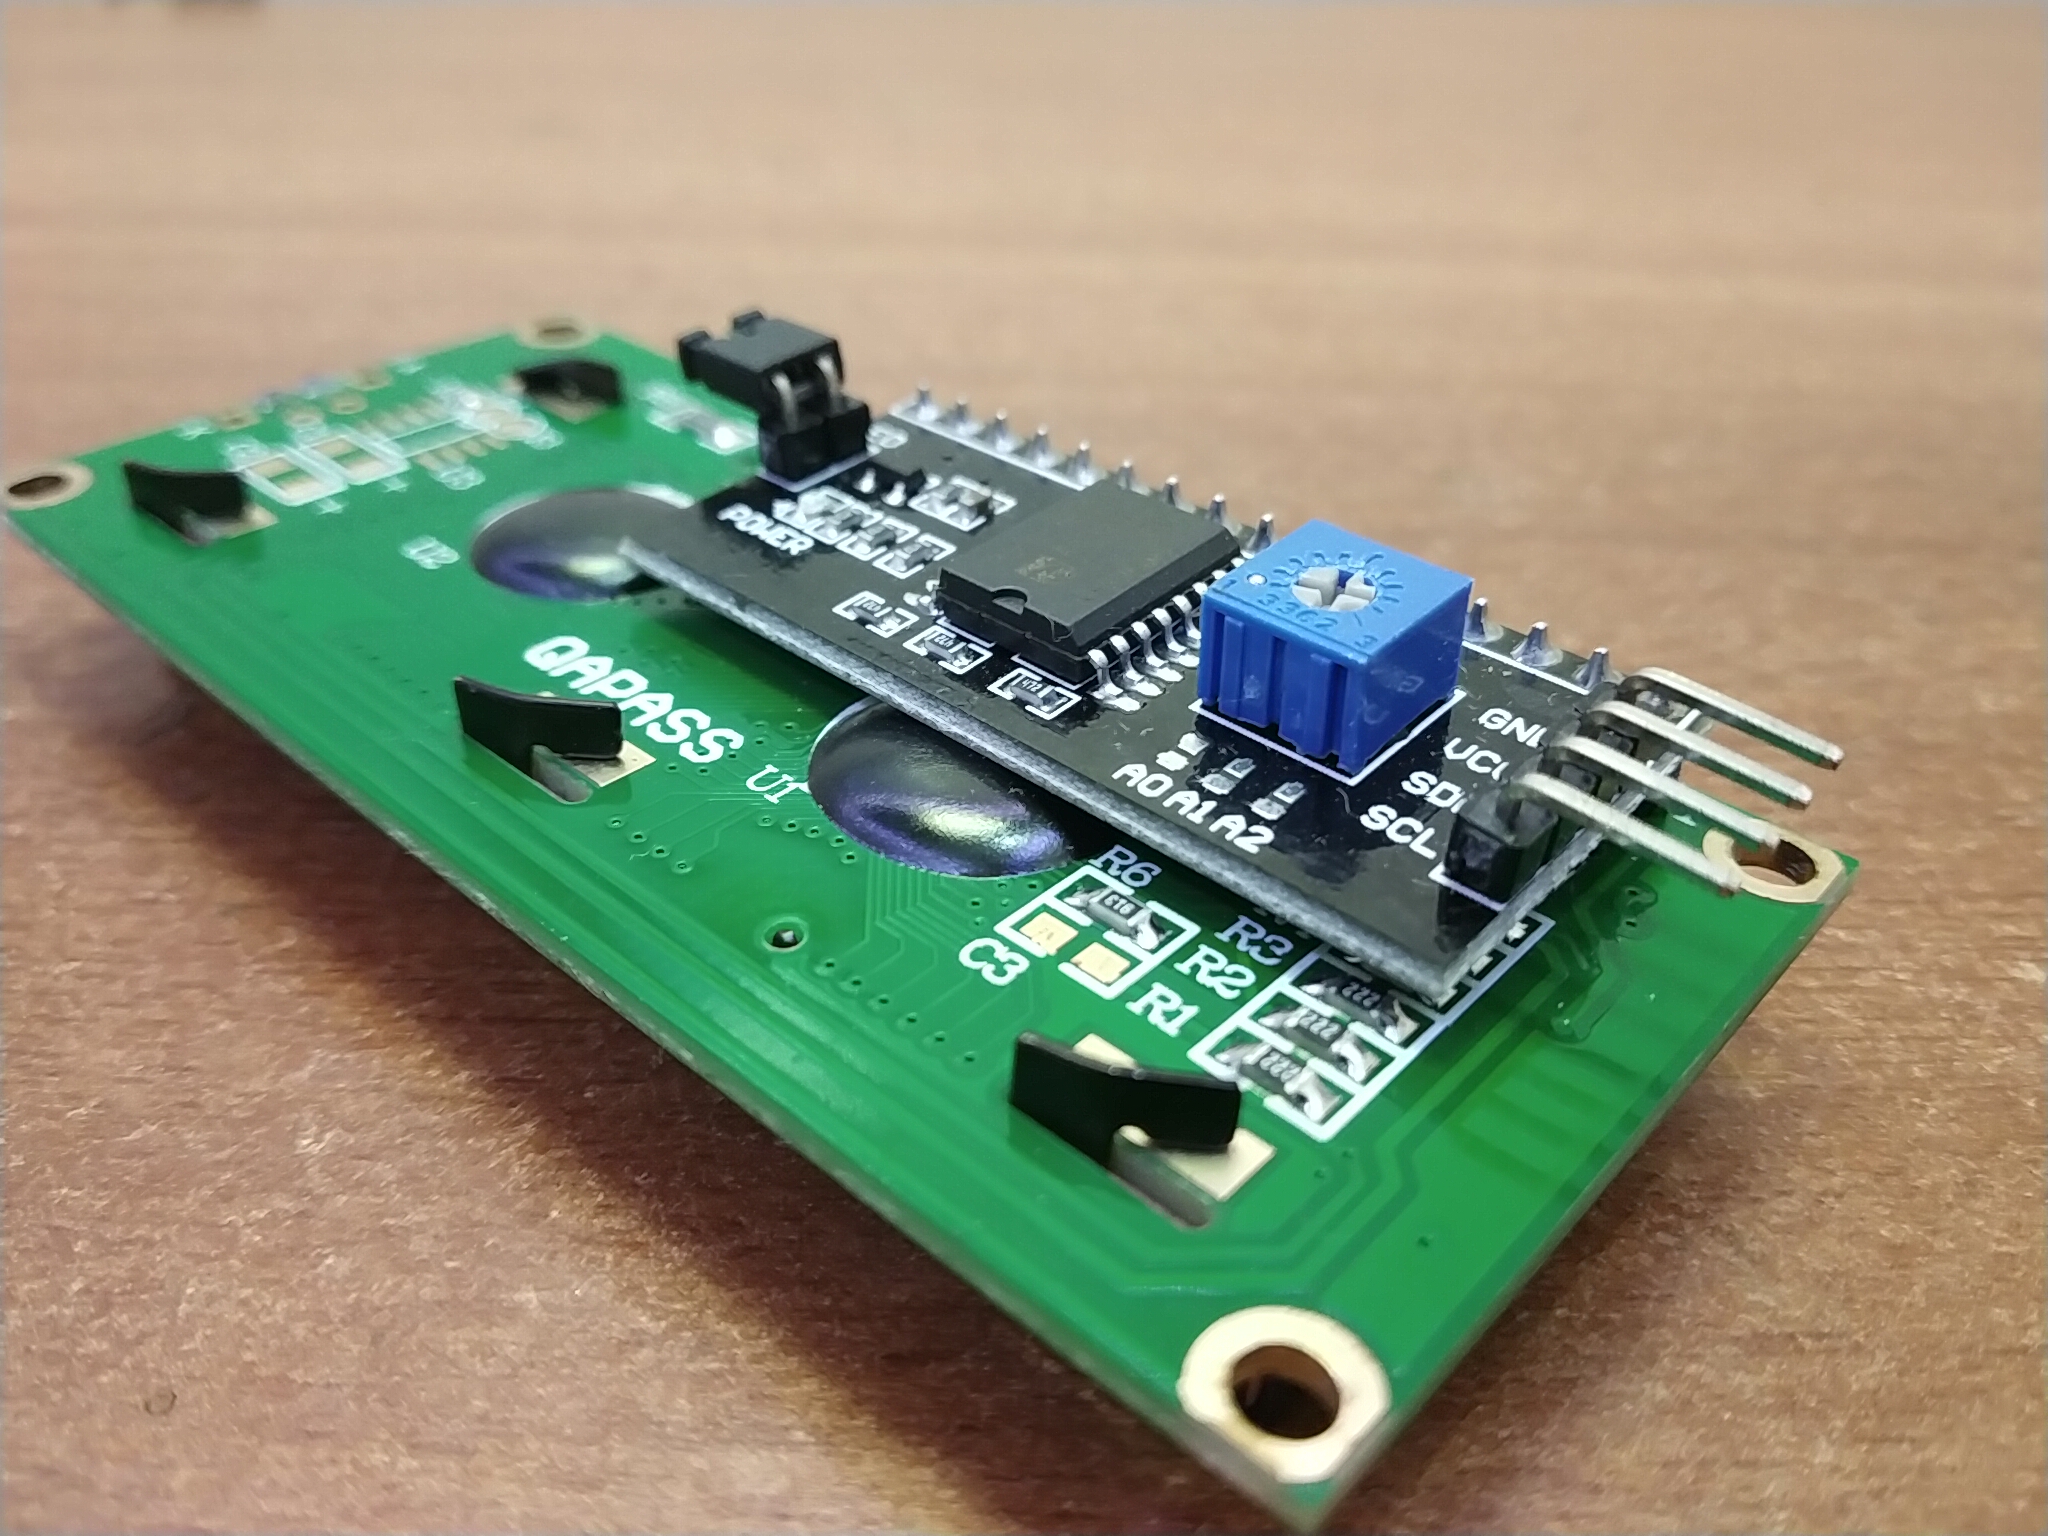
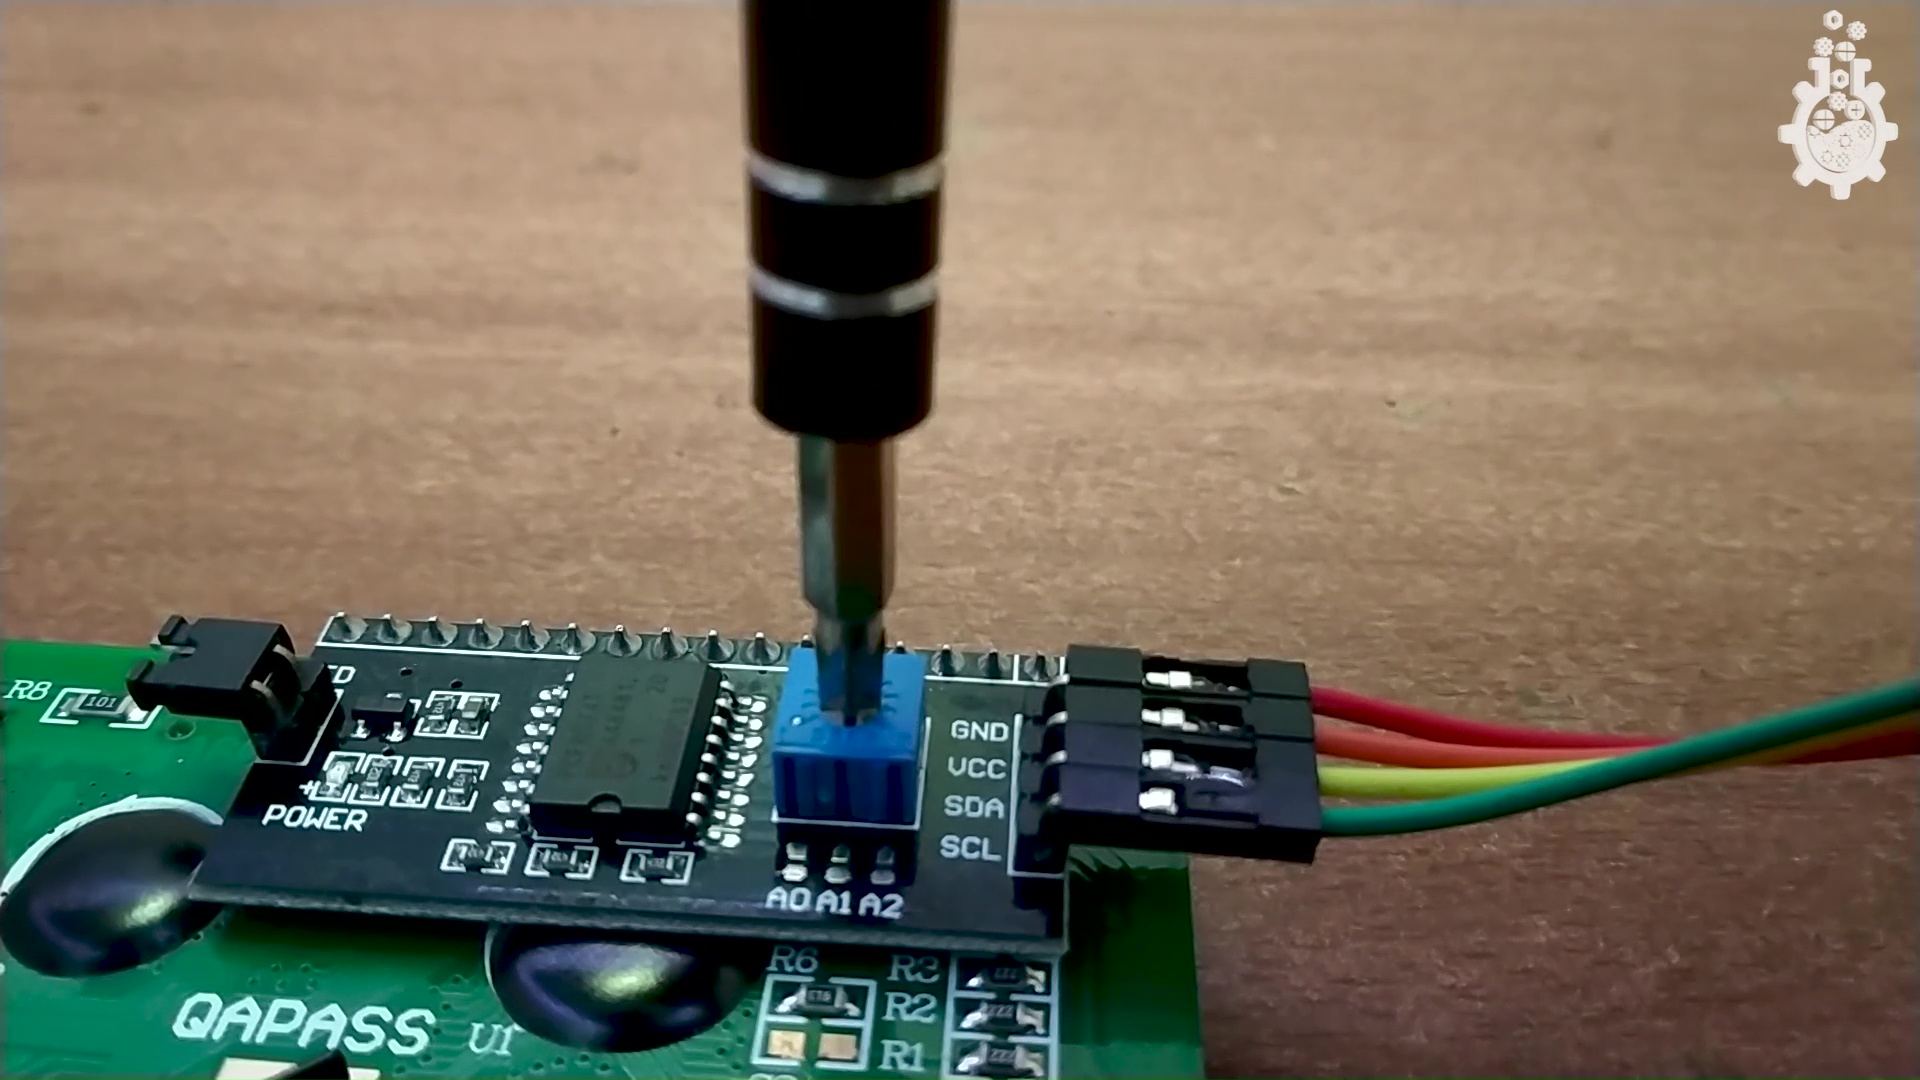
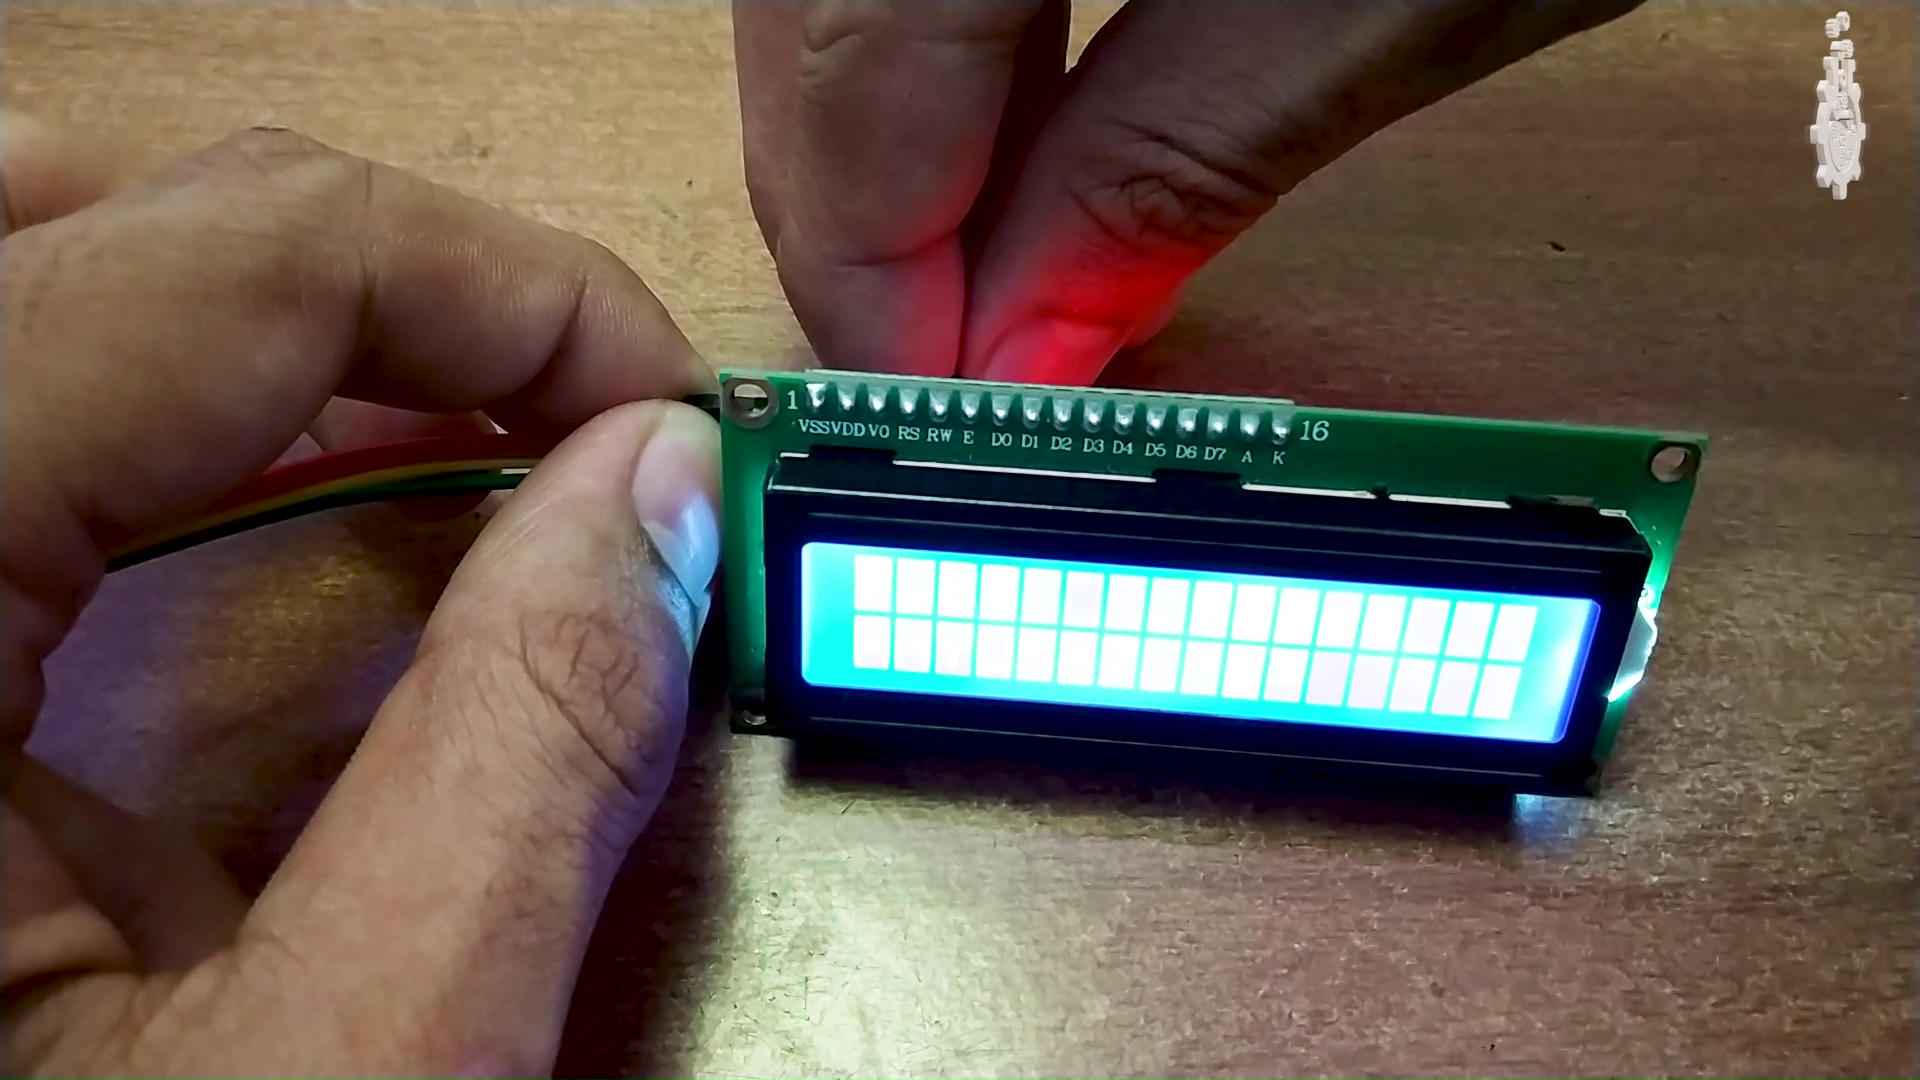
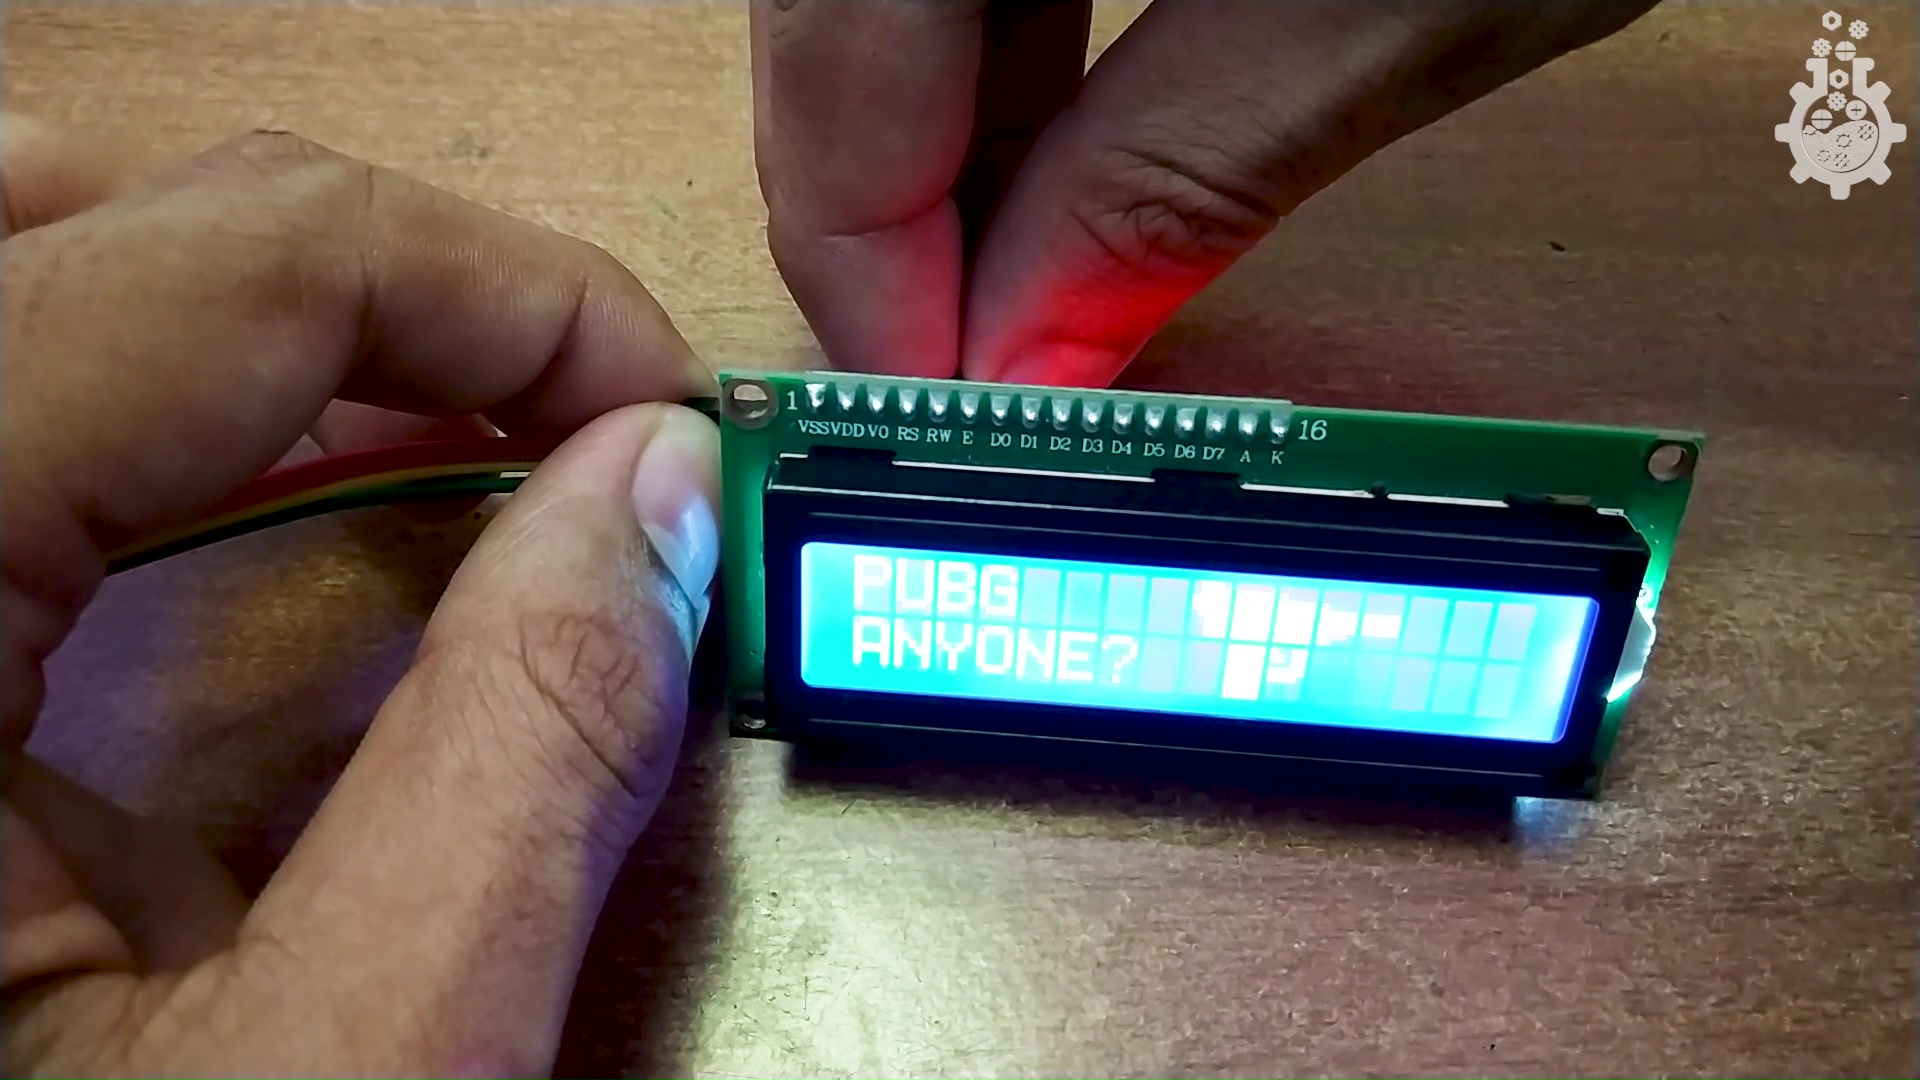
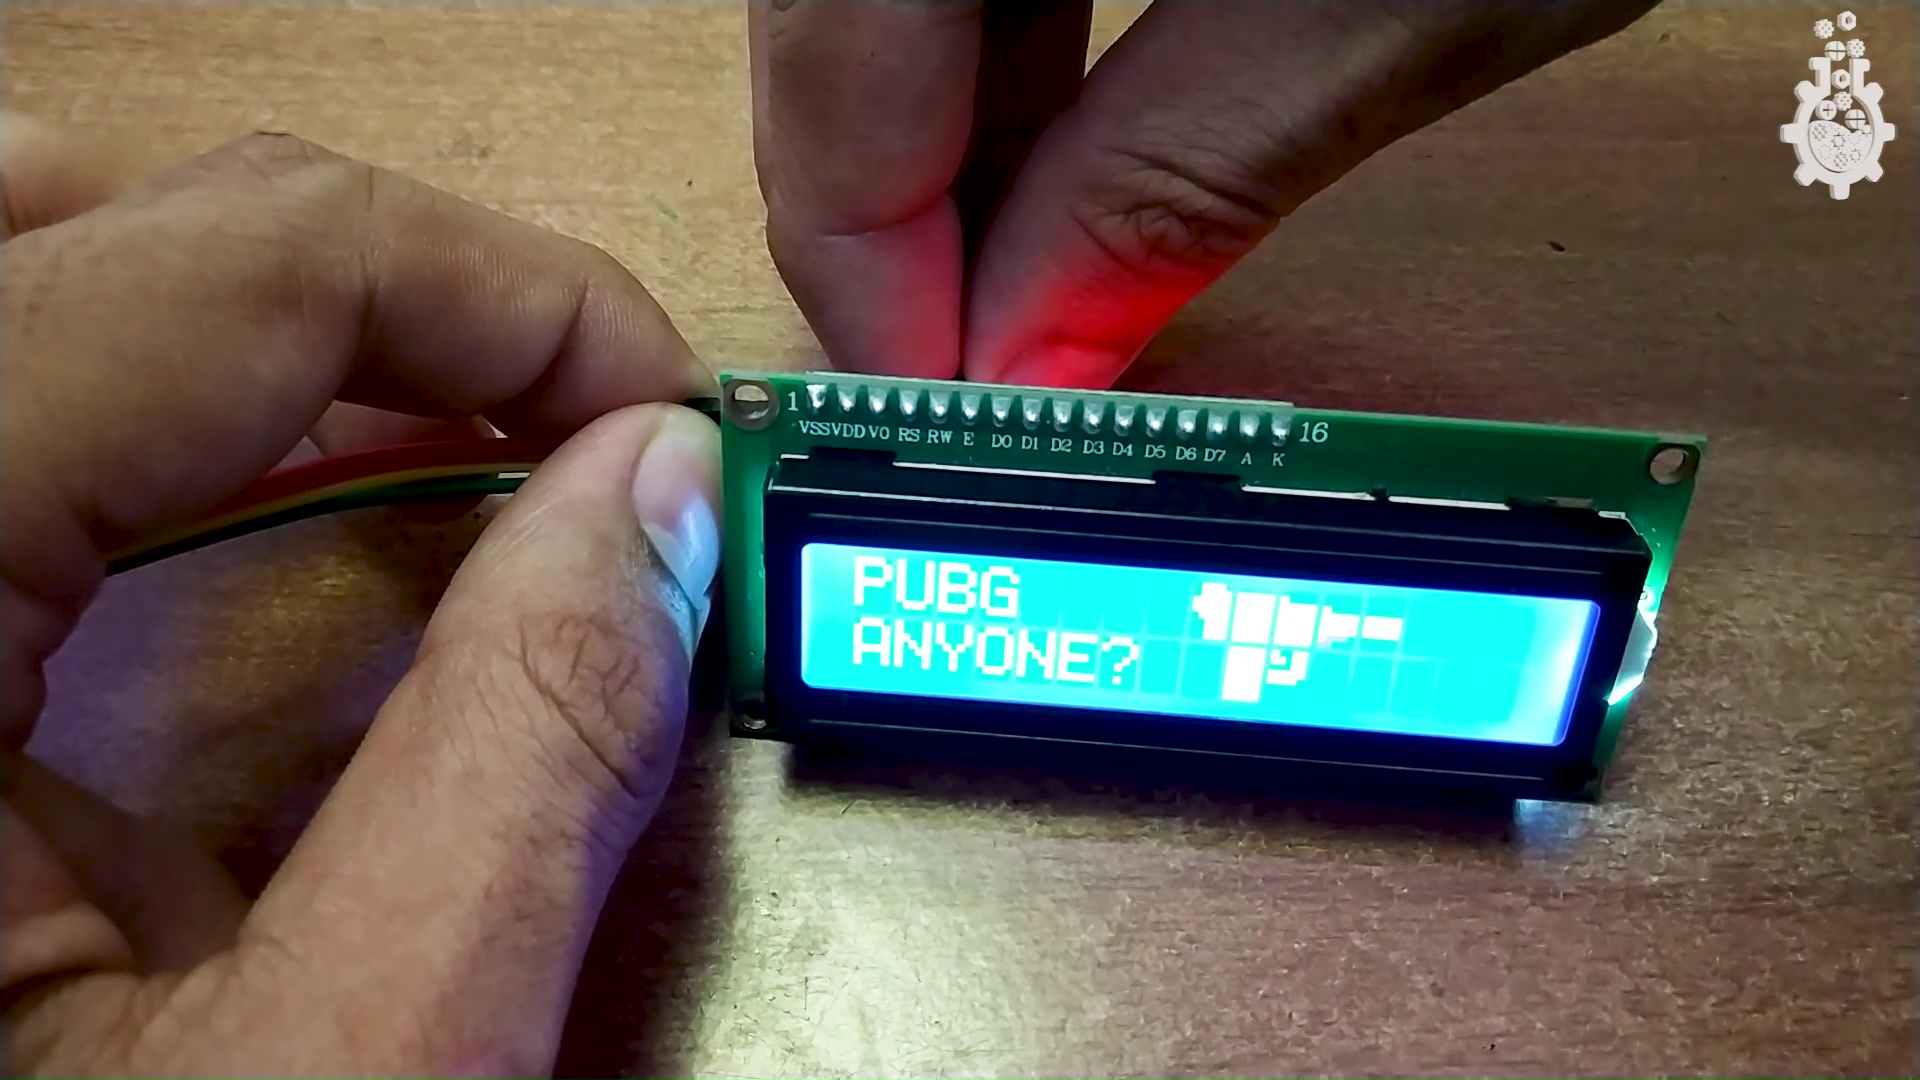
By using this I2C technique, we can operate our LCD Display to display data from our sensors or any text from Microcontroller by using only 2 pins, i.e. SCL (which is clock pin) and SDA (which is data pin),also we would need to use 2 more pins for power. i.e. Vcc and Gnd.
steps
1.connect the SCL data and SDA data pin to SCL and SDA pins in your microcontroller,
(if you don’t know which pin is SCL and which is SDA, check the data sheet for pin-out)
so for this tutorial, we will use an ARDUINO UNO microcontroller, which has SCL as pin A5, SDA pin as A4.)
2. connect 5V to 5V, and Gnd to ground pin of arduino.
3. Adjust the Contrast of L.C.D using Pot on the back side of LCD module.
Downloads
Finding the HexaDecimal Address of I²C LCD
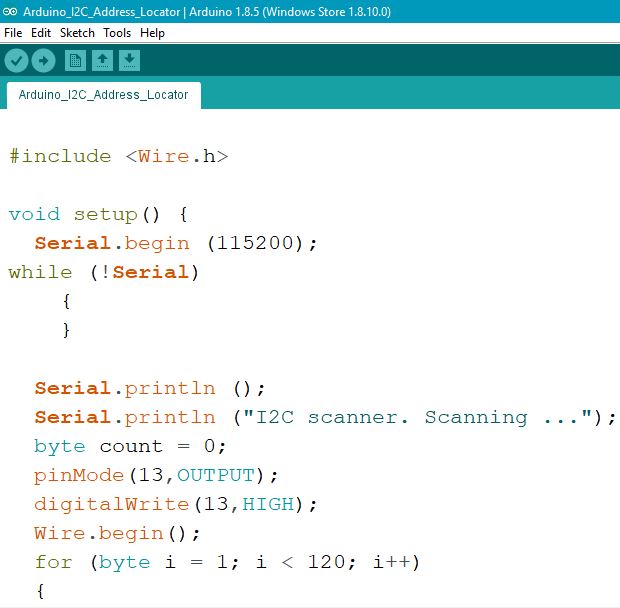
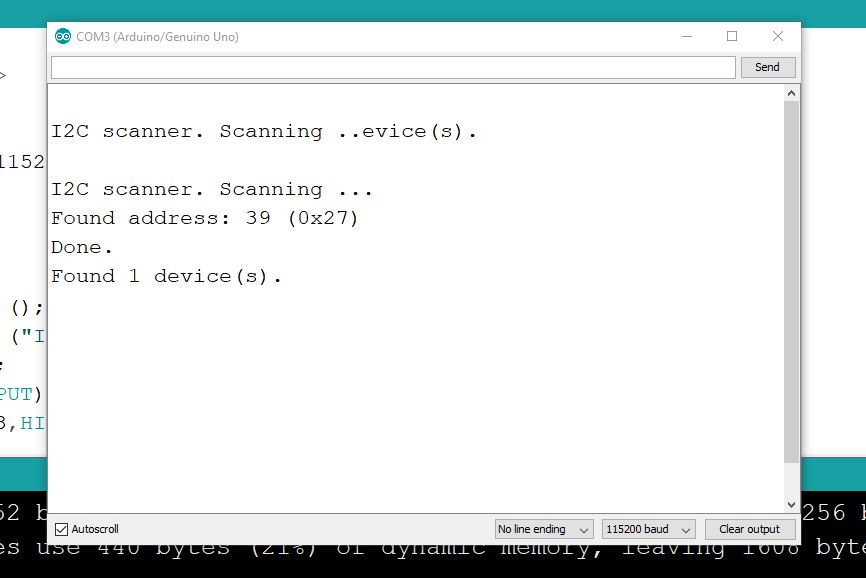
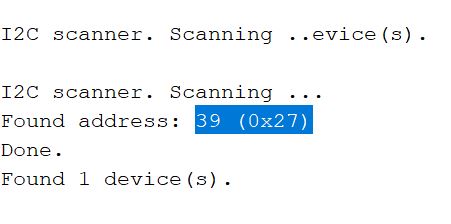
We can connect multiple I²C devices at a same time, but to distinguish between devices, a Hexadecimal address is allotted to each I²C device, which we need to know before proceeding any further.
To know this address,
1. Connect your I²C device to Arduino Uno, (Follow Previous Step).
2. Download the Attached Code and Upload it to your IDE.
3. open Serial Moniter, which will return you the Hex Address of the Connected I²C Device.
Downloads
Add Required LIBRARIES
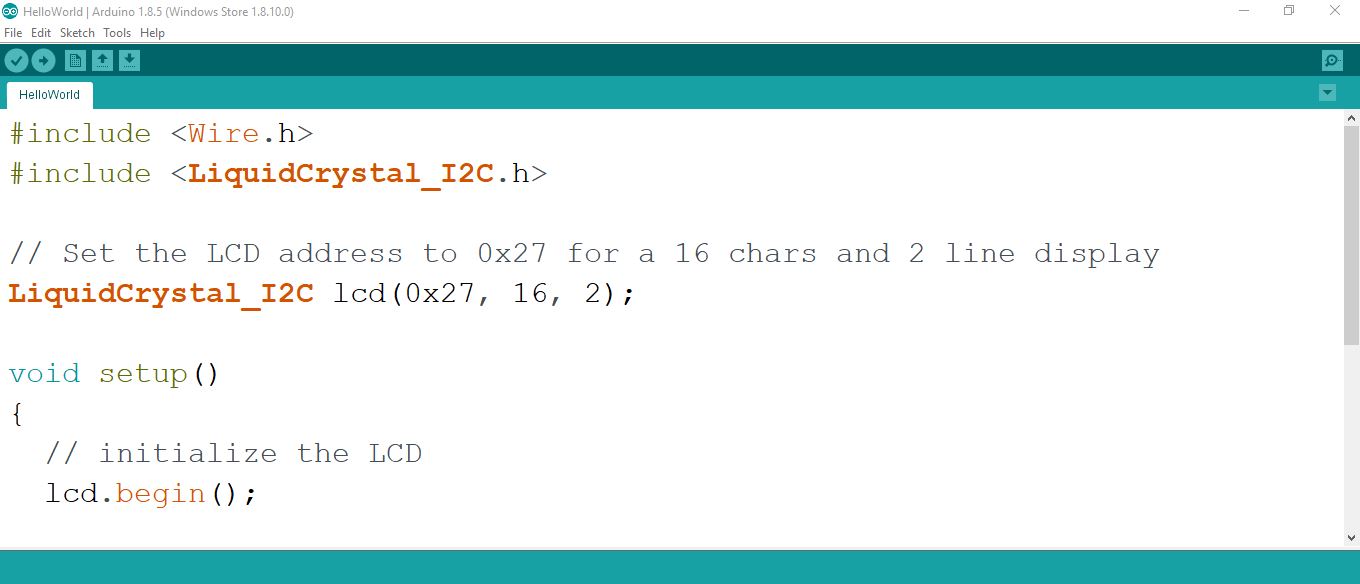
Before proceeding any further, lets download and install custom library for our “I²C LCD” on IDE,
For which, We will use LiquidCrystal_I2C library by frank.
steps.
1.download the zip file.
2. open ide, under sketch menu, include library tab, select “add .zip library“ option, and select the downloaded file.
link
Coding


steps
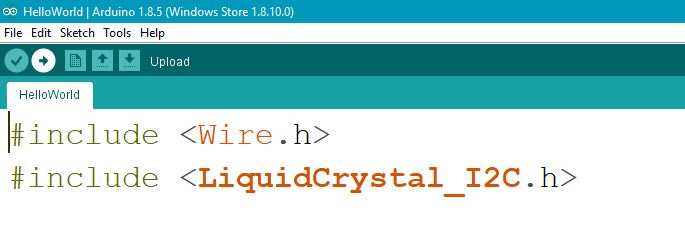
1. Include the two libraries. (i.e. wire.h and LiquidCrystal_I2C.h)
2. Define the address and set up the lcd
by LiquidCrystal_I2C lcd(0x27,16,2);
where, "0X27" is hexadecimal address obtained from previous step and "16,2" is columns, rows.
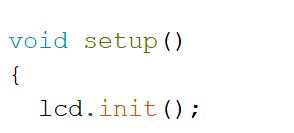
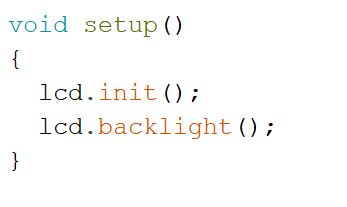
3.In void setup, initialize the lcd by lcd.init();
4. Turn on the backlight by using lcd.backlight();
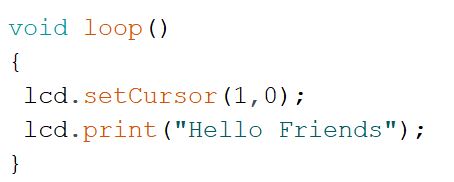
5. Set cursor, which can be done using the syntax lcd.setCursor( rows, columns)
(here we are using 16X2 LCD, which means we have 16 rows and 2 colums)
6. type Required Message inside the syntax lcd.print( “hello friends”);