Fairy House Lamp Recycling Trash
by Creative Mother in Design > Art
18365 Views, 257 Favorites, 0 Comments
Fairy House Lamp Recycling Trash


Hi, in this instructable I show you how I made a fairy house lamp recycling some cardboard from an old box, egg cartons, pizza boxes, toilet paper tubes and two plastic bottles. The only bought materials I used are the colors, the hot glue and the P.V.A. glue. It took me about ten days to finish, including the drying time
Making the Basic Shape
.bmp)
.bmp)
.bmp)
.bmp)
.bmp)
.bmp)
.bmp)
.bmp)
.bmp)
.bmp)
.bmp)
.bmp)
.bmp)
.bmp)
.bmp)
.bmp)
.bmp)
.bmp)
.bmp)
.bmp)
This is the weirdest step because I had a vague idea of what I want to create, I brought all the materials I thought I'll need and just went freestyle with them.
I started by cutting the bottom of one of the bottles. I then made a hole in some piece of cardboard and got the bottle through it. I glued them together and starting from that unusual shape I added pieces of cardboard piece by piece until I had a little house. For the bottom of the house I used some old newspaper to make a big volume that I later covered with pieces of egg cartons. Those are great for rock textures. I added the other plastic bottle on one side of the house as a little tower or balcony.
Making Windows
.bmp)
.bmp)
.bmp)
.bmp)
.bmp)
After I had my shape ready I draw some windows and cut them using a cutter. I glued some pieces of plastic in place using the rest of the plastic bottles. On top of those I glued some window frames made out of some toilet paper tubes. I also glued frames on the plastic bottle balcony.
Making the Paper Clay
.bmp)
.bmp)
.bmp)
.bmp)
.bmp)
.bmp)
.bmp)
.bmp)
.bmp)
.bmp)
.bmp)
.bmp)
.bmp)
.bmp)
.bmp)
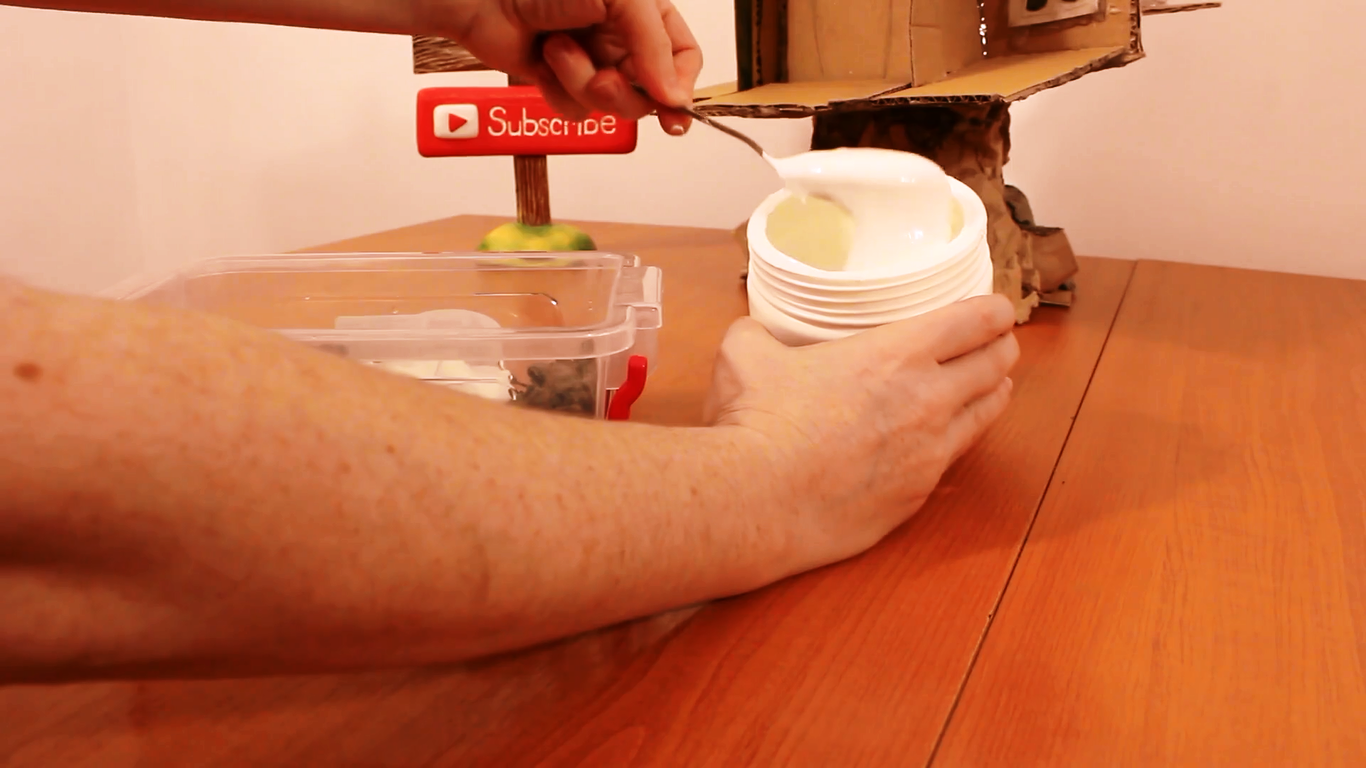
I don't know an easier paper clay recipe. Take two 30 eggs cartons and tear them apart in a plastic container. Pour hot water over the broken pieces and using a spoon make sure they are completely under water. Wait for the water to cool down and start tearing the cartons in even smaller pieces. Wait for another half hour or so and break it even more. When you have a homogeneous paste, using a sieve separate the carton from the water and squeeze the water out as much as you can(is better to have less water at this point, you can always add more if needed). Place the material in a different container and add four spoons of P.V.A. glue. Mix it well and after this step you should have a paste that is smooth enough to apply on your projects. I use my knife for that but you can use any modelling tools you have available. As a tip, don't make more than you need so you don't have storage and mold problems later.
Apply the Paper Clay
.bmp)
.bmp)
.bmp)
.bmp)
I applied the paper clay using a knife and a spoon. I can say that it's not the most user friendly clay but it is super strong once it's dry. I was able to cover the whole shape and even made some wooden textures for the door and the porch. It has fibrous texture to it but I really am ok with that as it will help me later with the coloring and the patina. I never want a smooth surface.
Some Details
.bmp)
.bmp)
.bmp)
.bmp)
.bmp)
I made staircases and a handrail for the porch. I also wanted some cool roof texture so I covered the whole roof with tiles made out of the cardboard from the pizza boxes. Those were just the right thickness.
Painting and Done
.bmp)
.bmp)
.bmp)
.bmp)
.bmp)
.bmp)
.bmp)
.bmp)
.bmp)
.bmp)
.bmp)
.bmp)
.bmp)
.bmp)
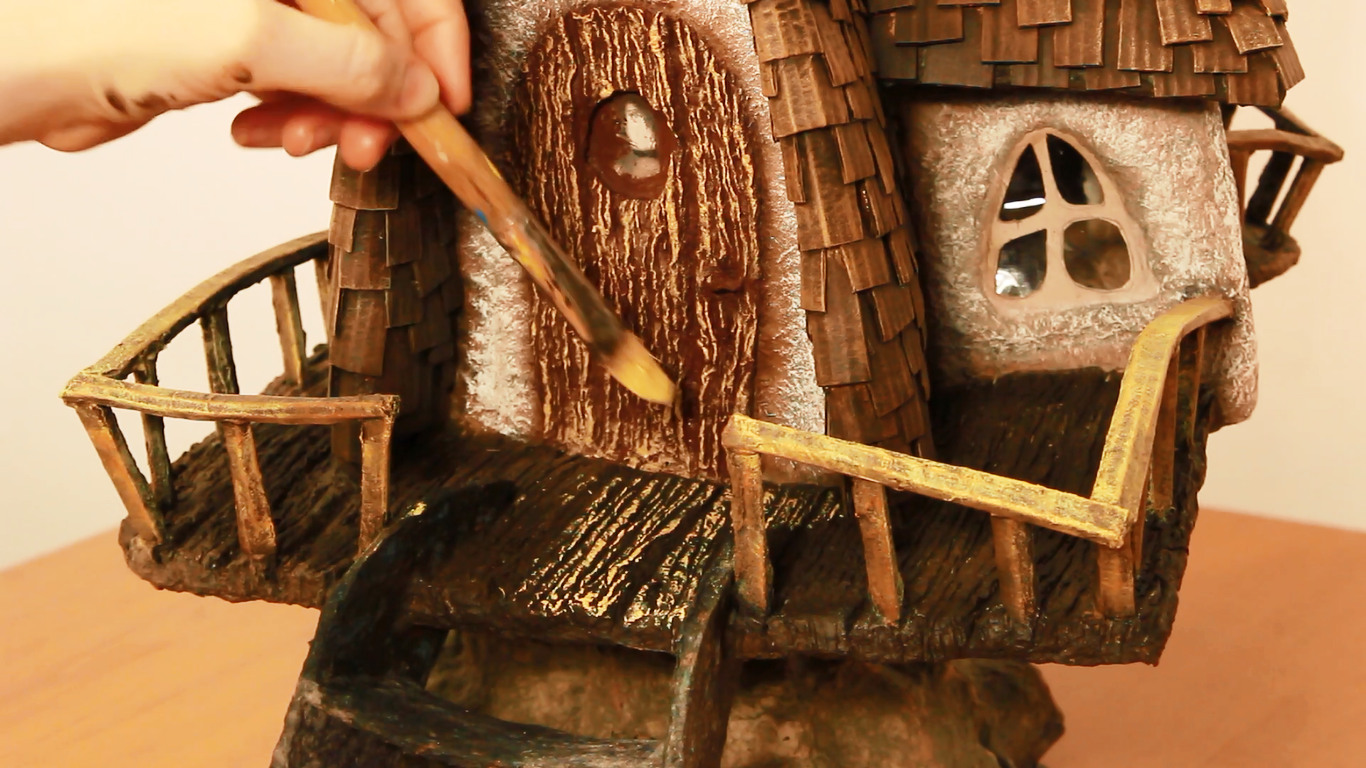
Remember I told you about the texture? Here's how it works. I cover the house in a dark color first. Then I add a very bright color or even white but only to the surface of the texture. So I get a nice contrast. On top of that bright color you can add other colors. Stones for example have different colors all around.
I placed an LED flashlight under the house to get a cool effect in the dark.