Fairy Garden Pot in Tinkercad
by QuikGoogle in Outside > Backyard
1223 Views, 7 Favorites, 0 Comments
Fairy Garden Pot in Tinkercad
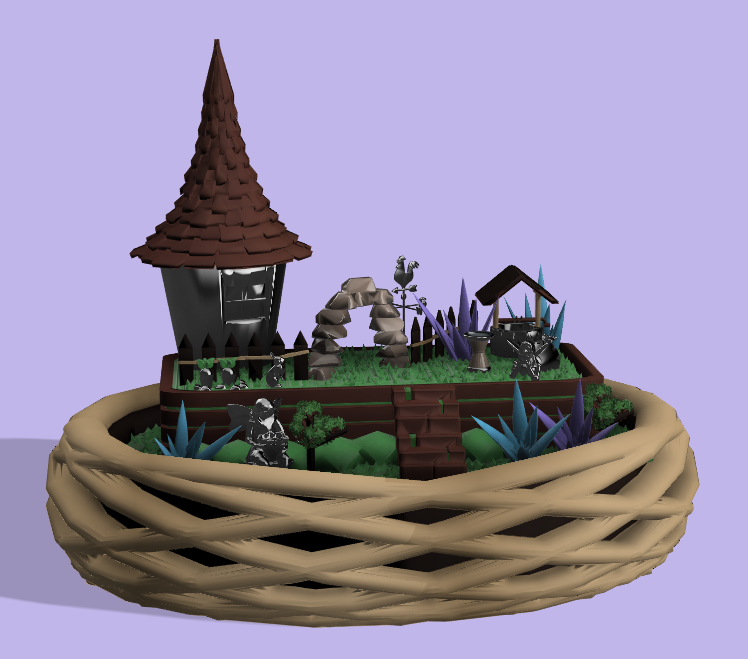
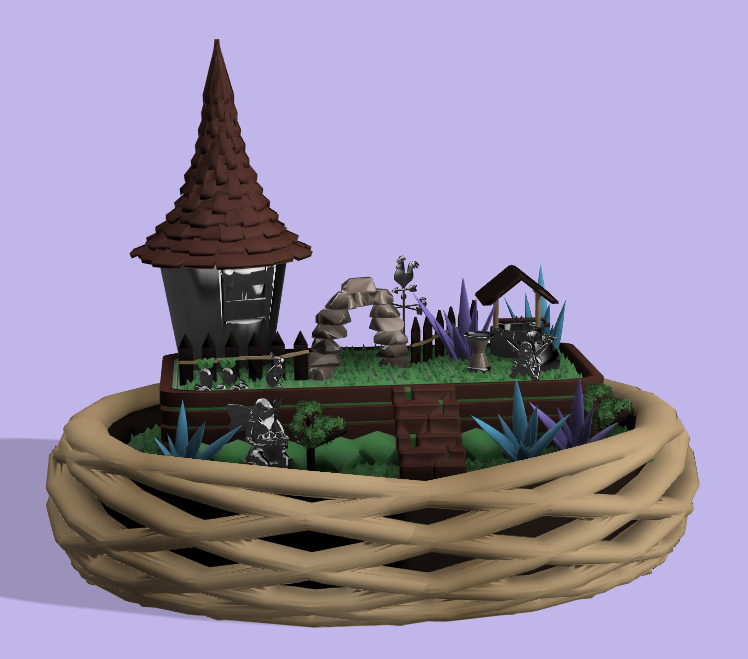
Hello everyone! In this tutorial you will be learning to make your very own fairy garden pot. This type of pot is fully customizable, so you can create whatever shape pots, characters, and props you like. Below you will see that I’ve linked a page where you can see all the keyboard shortcuts in Tinkercad. Below that are the files, available for download, I used to make my fairy garden pot. I hope you all enjoy!
Tinkercad Shortcuts:https://blogdottinkercaddotcom.files.wordpress.com...
Below are all the files you will need to print your very own fairy garden!
Bottom Basket
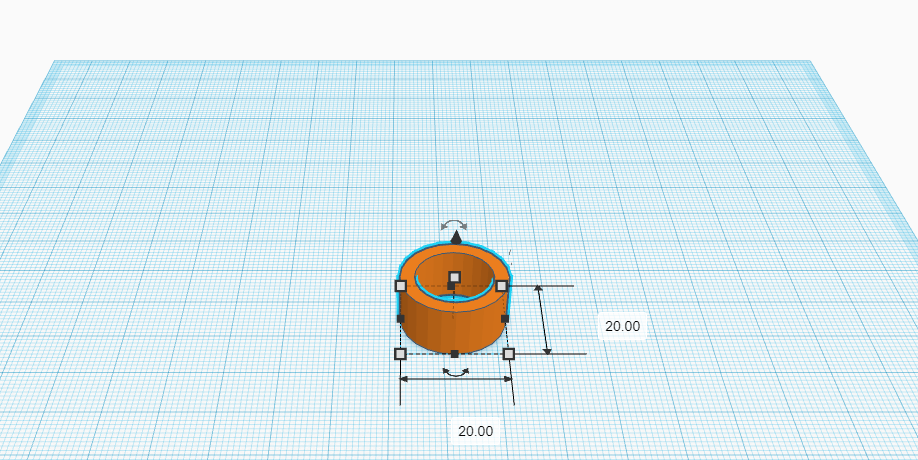
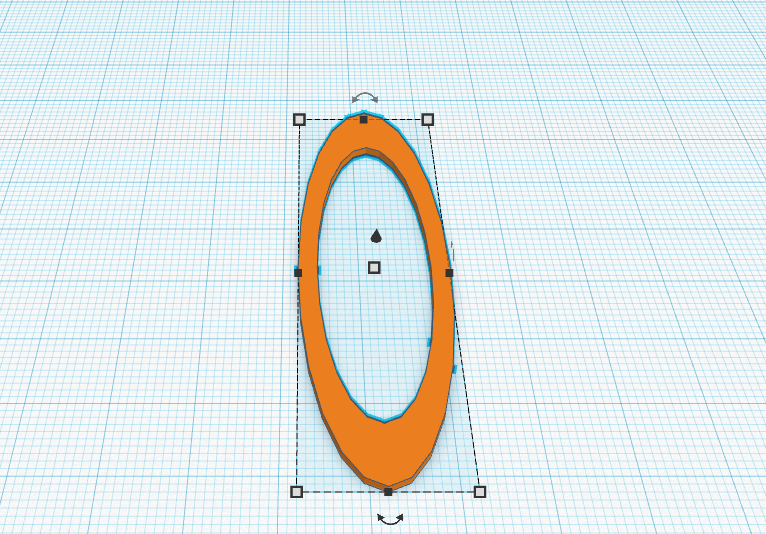
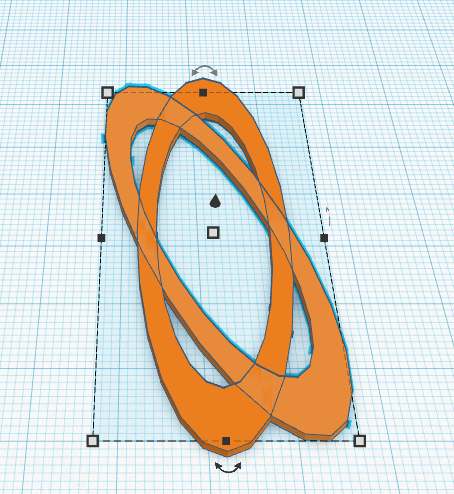
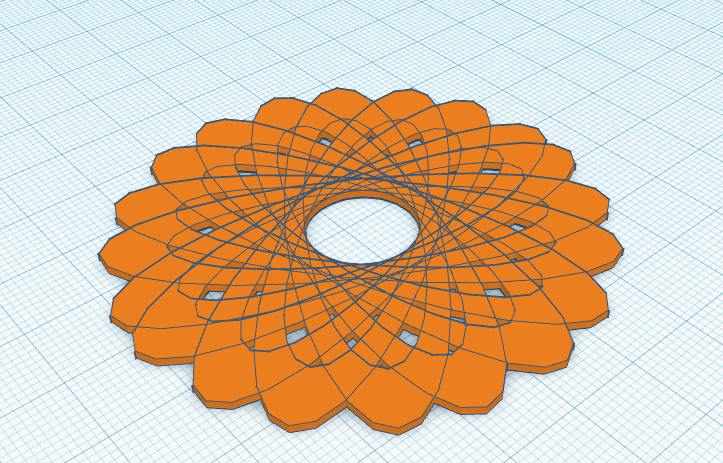
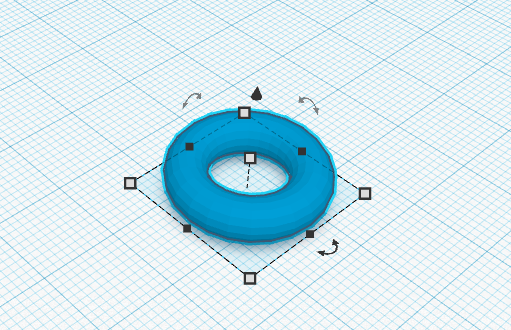
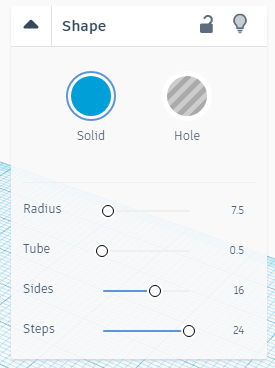
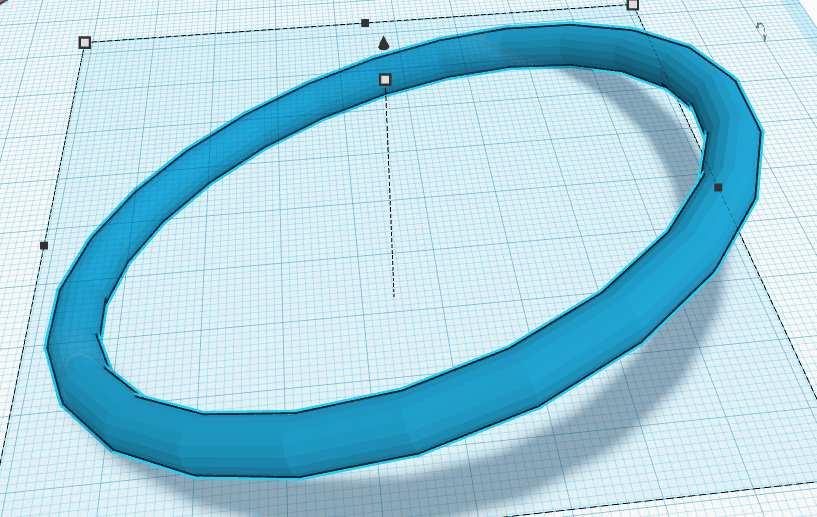
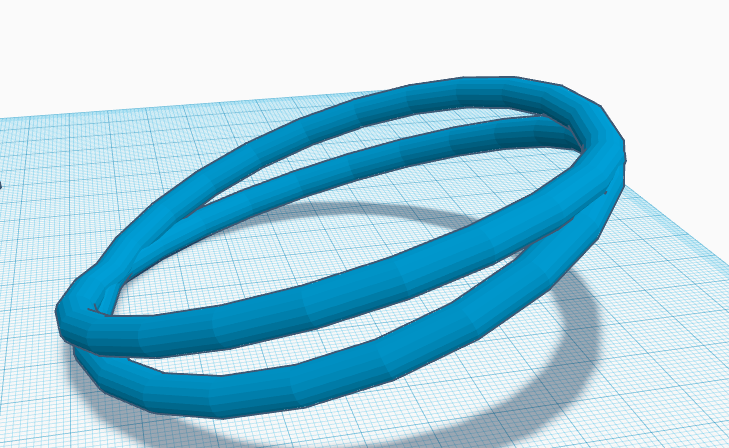
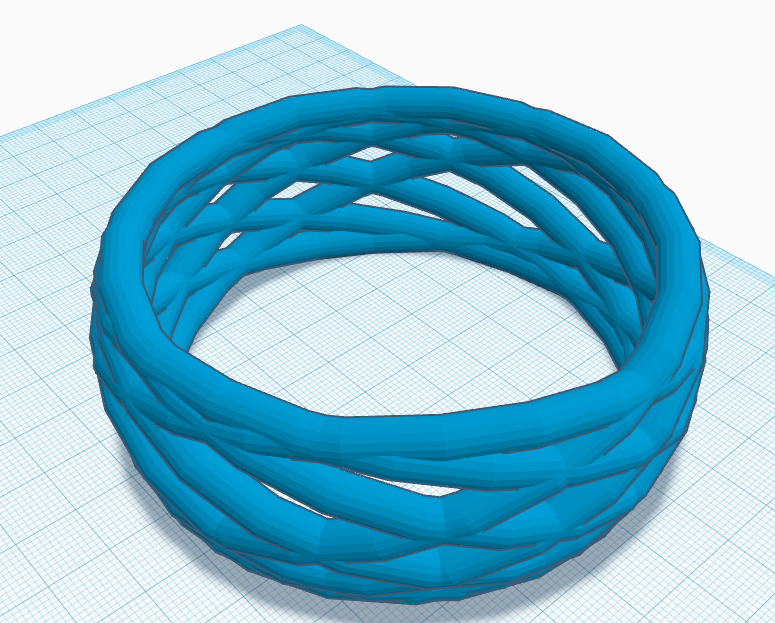
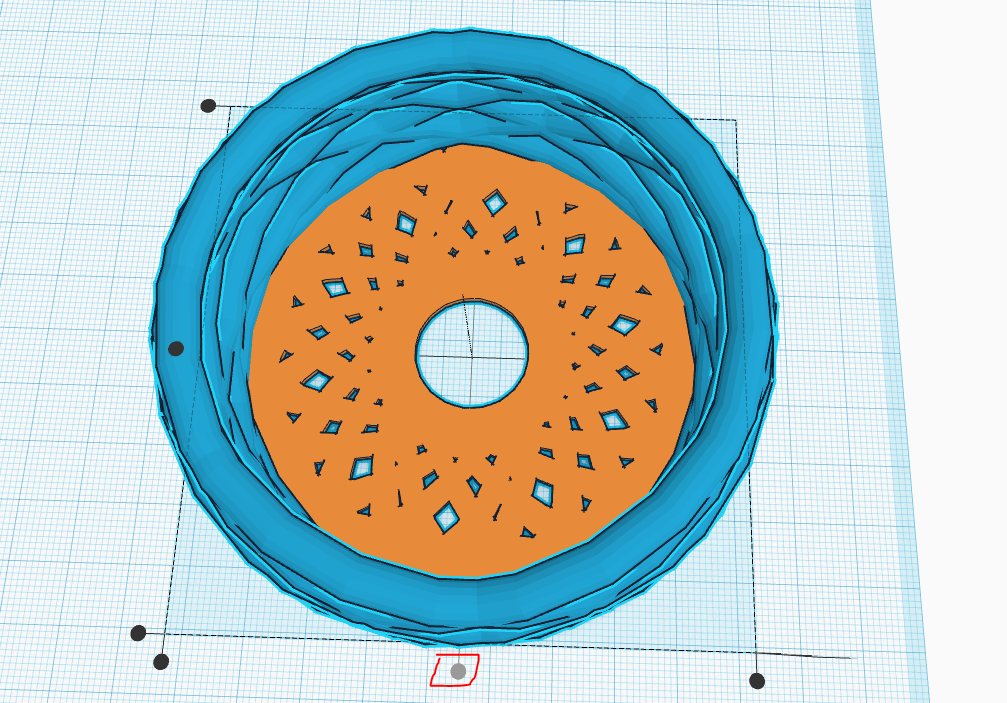

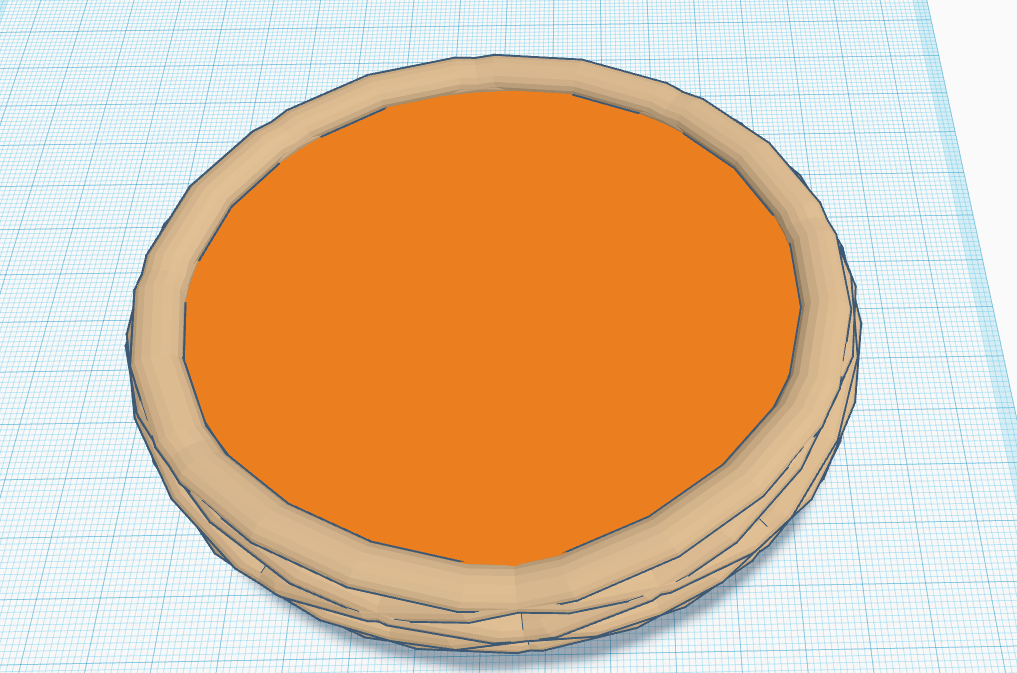
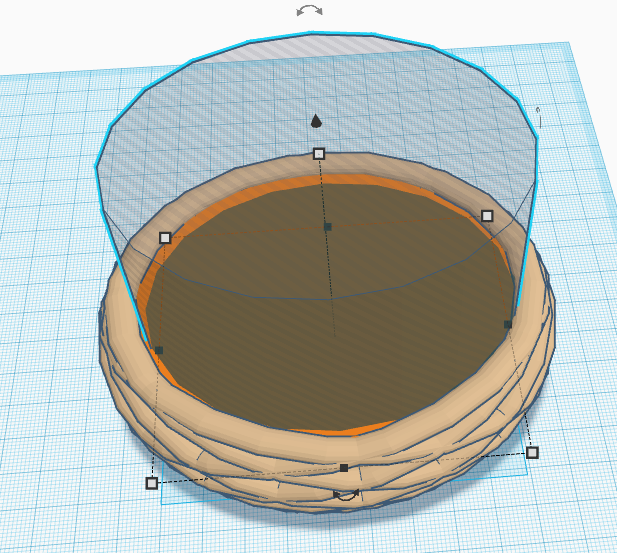
The bottom basket is the largest object you will make and print for the fairy garden. First, get a ring from the toolbox on the right. Follow the pictures to see how much you need to stretch the ring. After, go ahead and duplicate the part and rotate one of the parts. If you duplicate the part continuously, it will automatically rotate the next part to the same angle. Once you are done with the bottom portion of the basket, add a torus to your workspace from the toolbox. There is a photo attached to see the settings of the torus. Proportionally transform the torus, until the size is desired. Rotate the torus, in the same way, that is depicted in the picture, then duplicate and rotate the second part. Continue to duplicate the parts until you form a basket. Go ahead and attach your bottom part of your basket to the main part by using the align tool on the top right of your screen. Then, insert a cylinder inside your basket to hold your soil. Duplicate the cylinder, stretch the part vertically, and proportionally scale the part to create the bowl that will hold your soil.
Top Basket
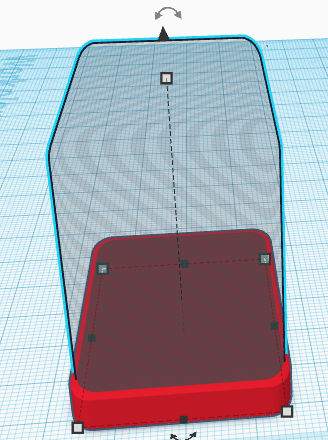
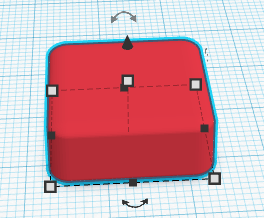
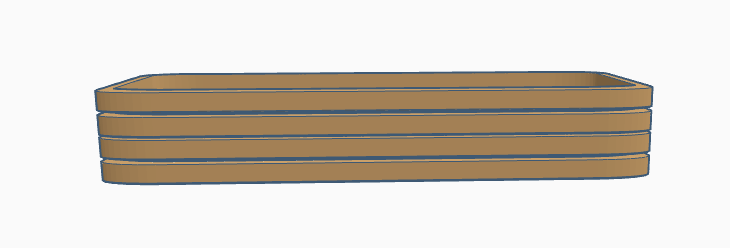
This basket is a pretty simple part to make in this project. Just take a box and increase the radius to round off the edges. Duplicate the boxes and layer them on top of each other. If you include space in between the layers, make sure you add supports every once.
Staircase
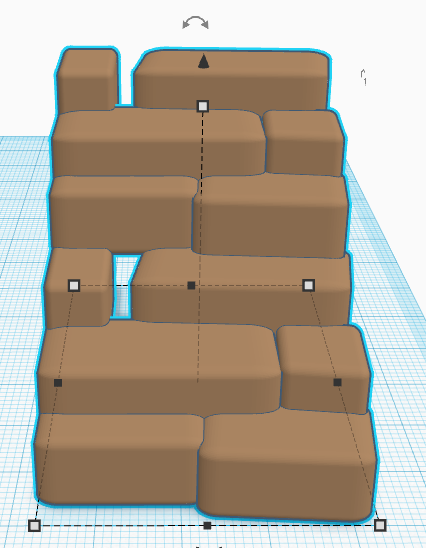
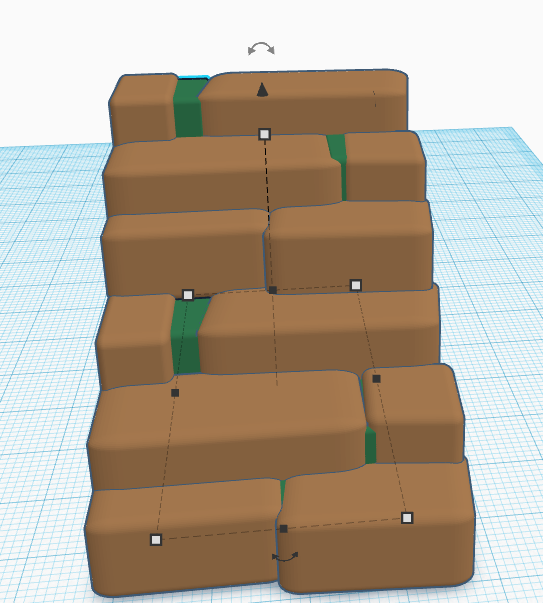
The staircase is placed in a brick-like pattern going up. Bring some boxes out of your toolbox and round the edges by slightly increasing the radius of the block. You may want to leave some cracks for your moss blocks to fill them in.
Rock Arc
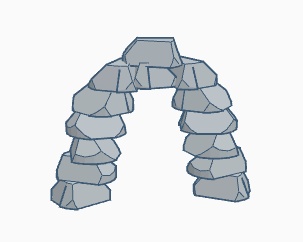
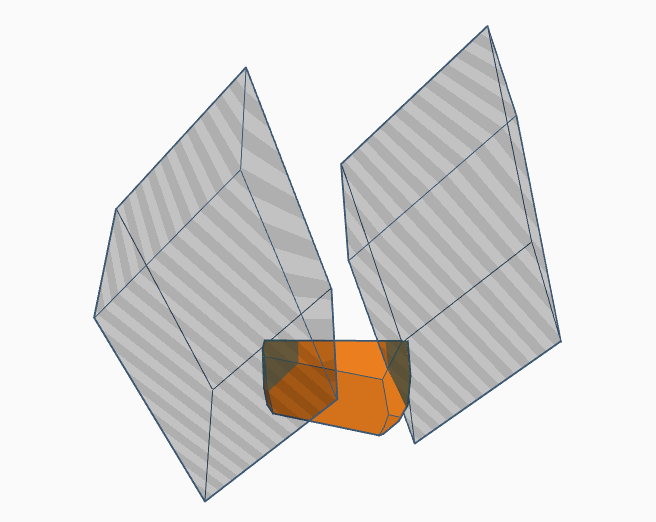
The rock arc is made up of a series of rocks. Grab a cylinder and transform and rotate boxes to take away material from your cylinder.
Fence
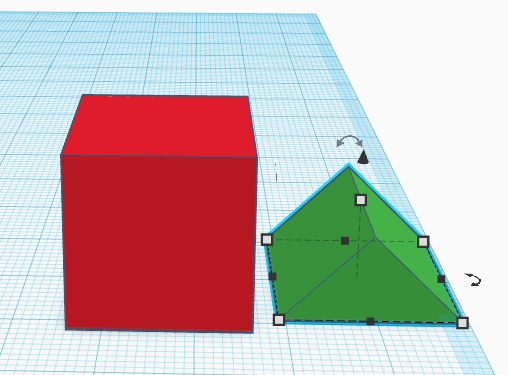
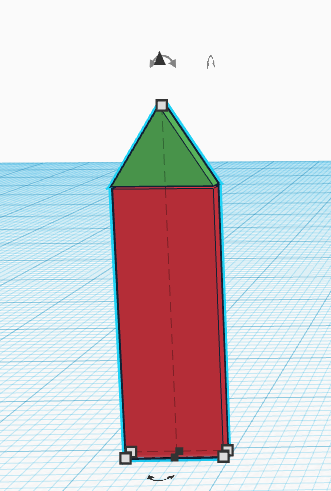
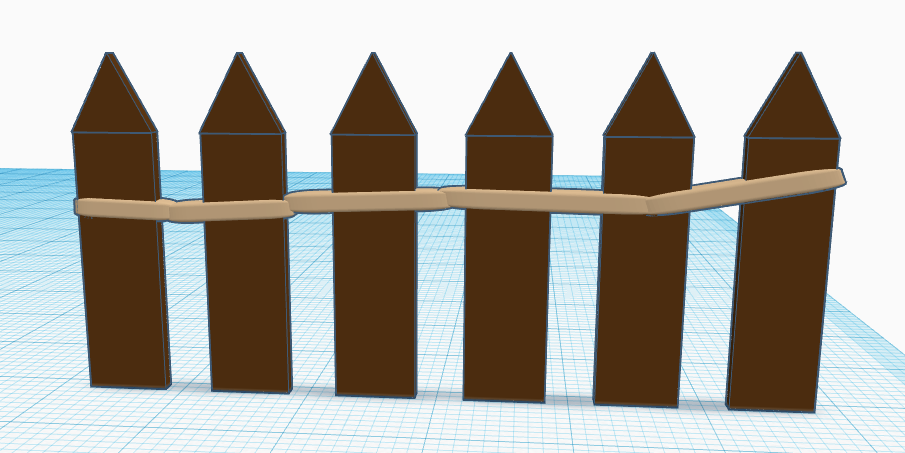
Grab a couple boxes and a roof to make your fence. Stretch out your box to the desired length and width. Once you have done that, place the roof block above it. Make sure you don't make your blocks too thick. Grab your other box and increase the radius just a tad bit to make it rounded. Connect each block like in the image above.
Well
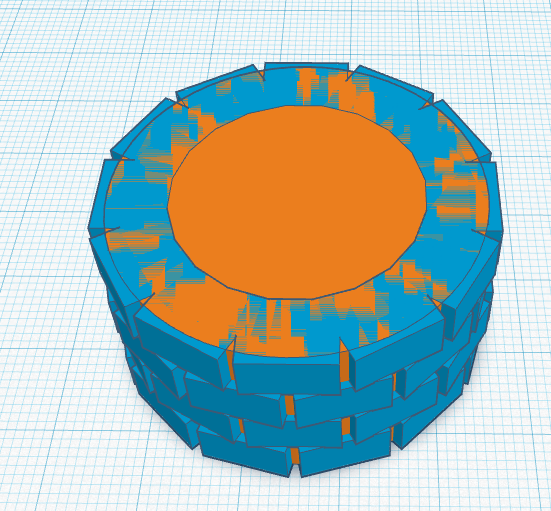
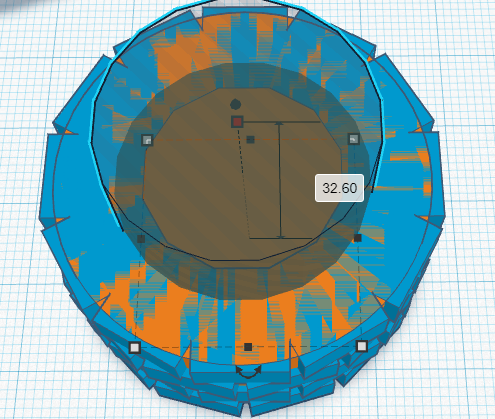
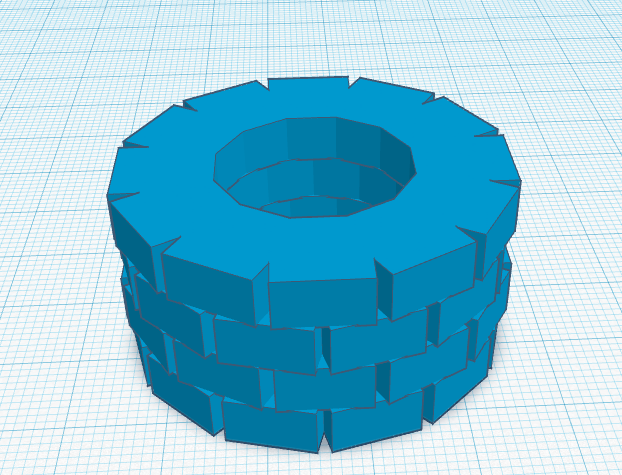
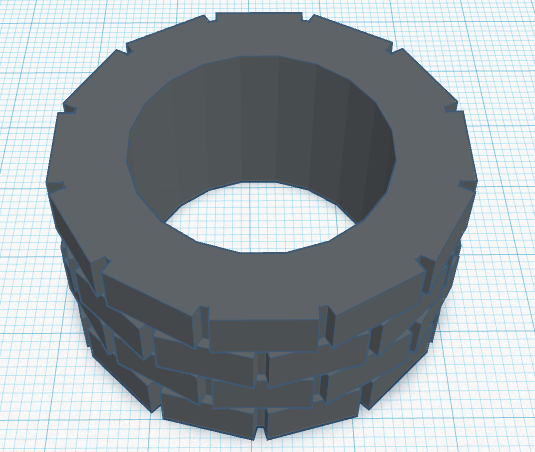
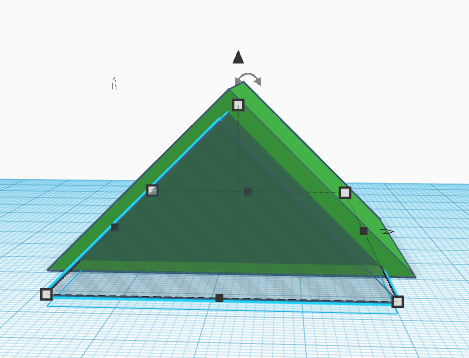
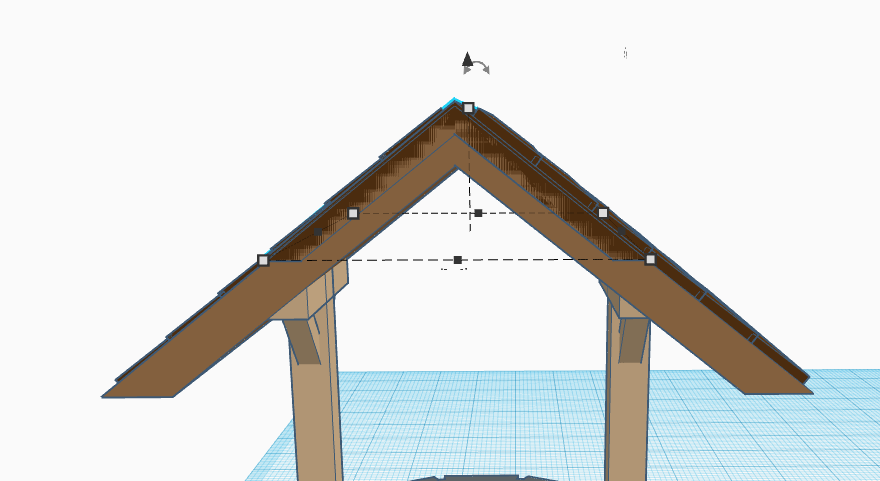
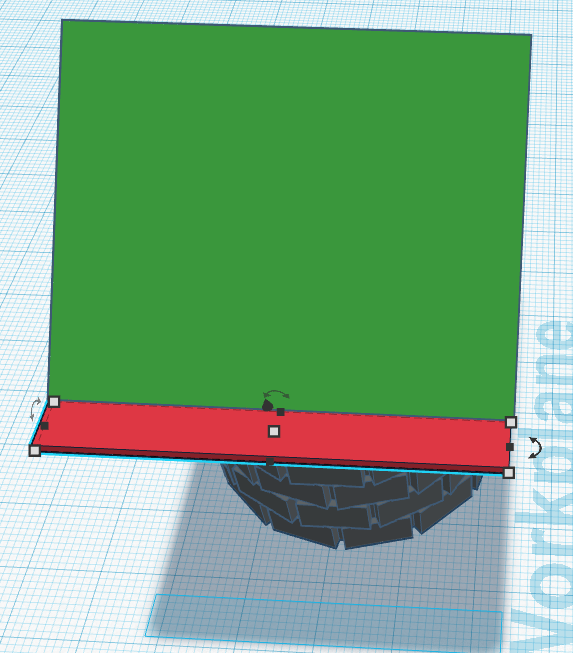
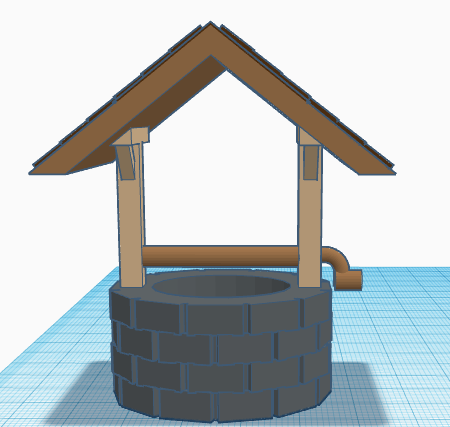
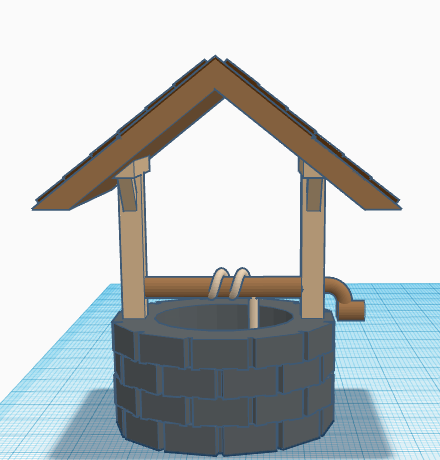
To make a well, use cubes and make a circular pattern. Duplicate that layer, rotate it, and move it up. Put a cylinder and make a hole in your well to make everything smooth. Make sure the hole goes through the entire well to make use of the self-watering baskets you will be making later. To make your roof of your well, take a roof from your toolbox and duplicate that roof to make a triangular roof. Use a box to use as your roof shingles. Once you are done with your roof, make your spool. Use a couple of cylinders to create your spool, then use a spring and another cylinder to create your rope.
Water Fountain
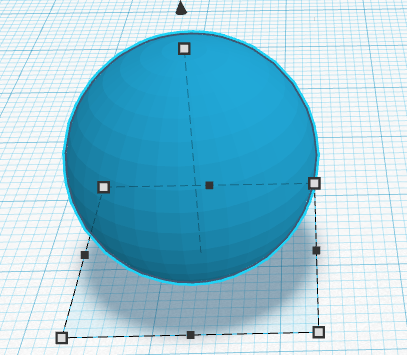
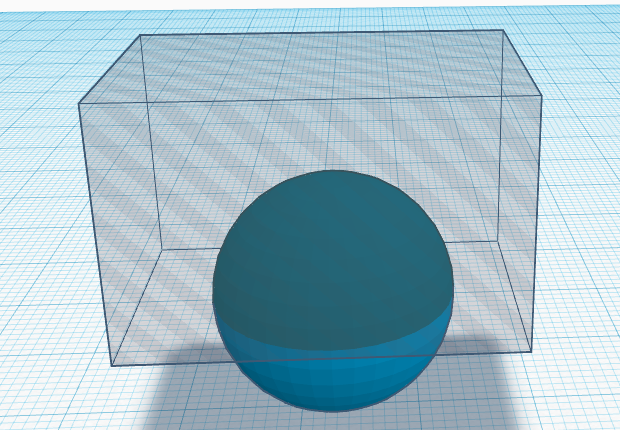
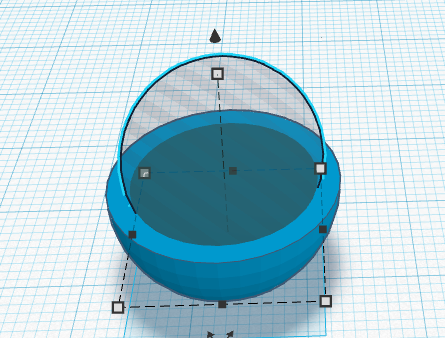
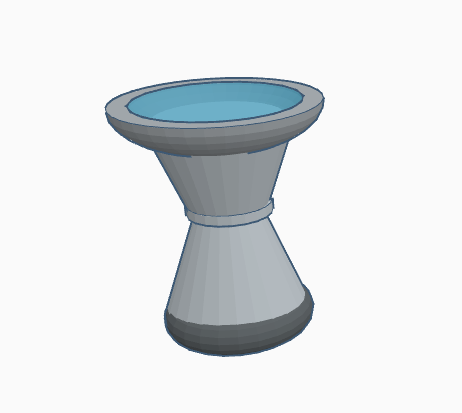
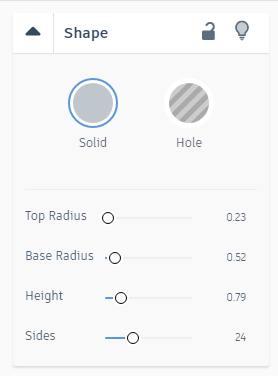
To make the bowl of your fountain, take out a sphere block and make a bowl shape by cutting off half of the sphere, then making the actual bowl by using a scaled-down sphere. Take a cone and use the settings as shown in the photo above. Make sure you make a hole going through your fountain to make use of our self-watering baskets. Feel free to use inspiration from the example above to be creative and make something incredible and special!
Weather Vane
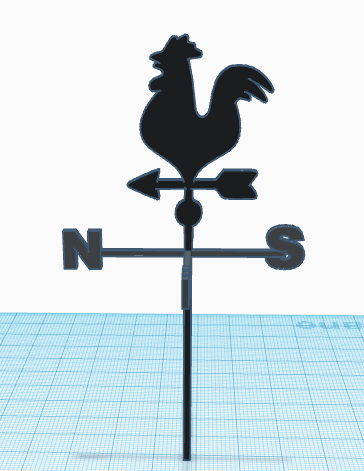
Using a .svg file of a rooster, I was able to import the photo as a part in tinkercad. Add your North, East, South, and West poles to your weather vane as well.
Hut
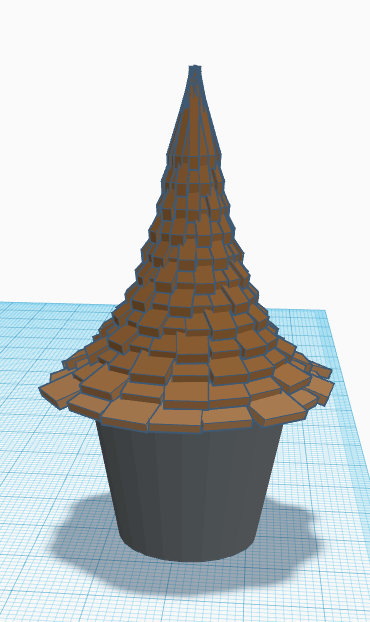
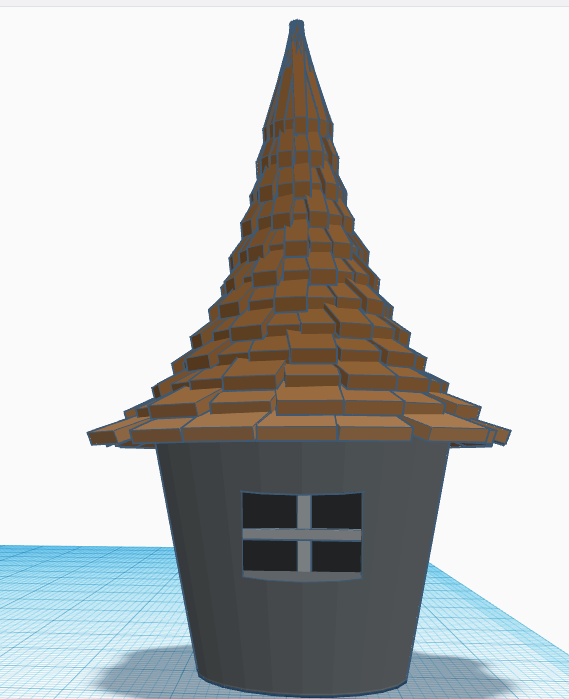
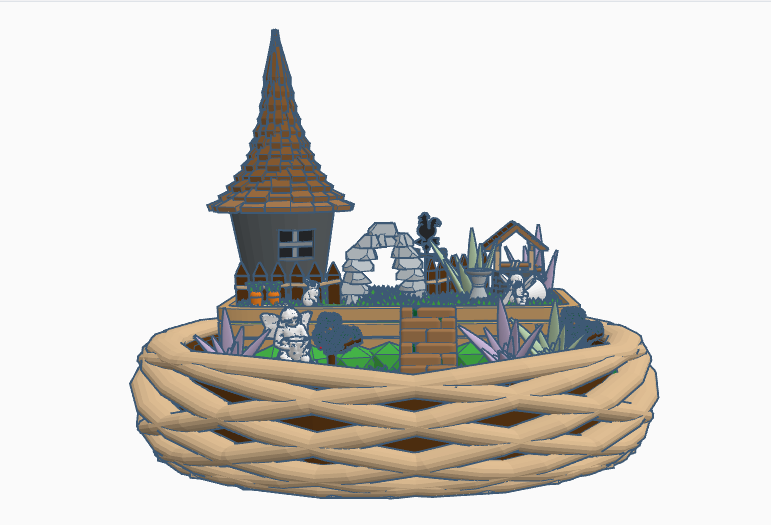
The hut can be broken into 2 main parts: a cone and box. Increase the top radius of your cone to make the sloped shape as shown in the pictures. Scale and transform your boxes around the cone. and duplicate the parts to make a circular pattern. Scale different parts by fluctuating the lengths of each part. Duplicate the roof layers and scale it down to make a tower.
Carrots
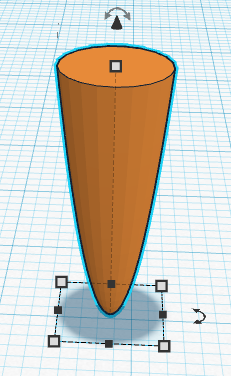
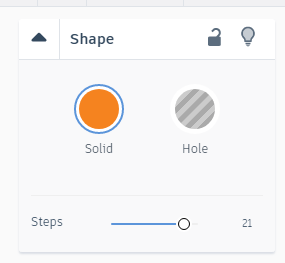
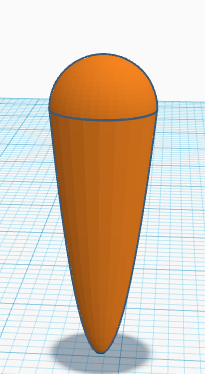
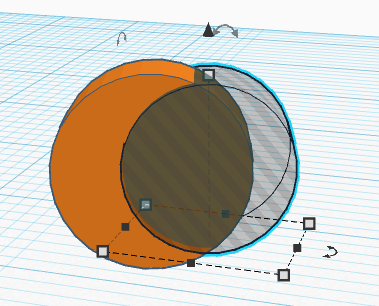
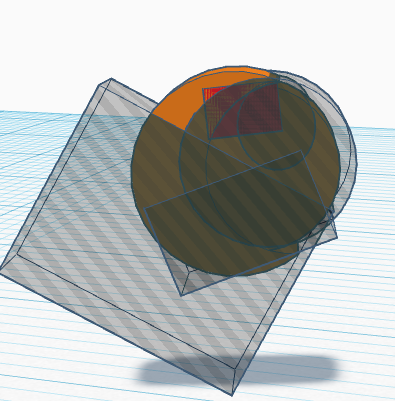
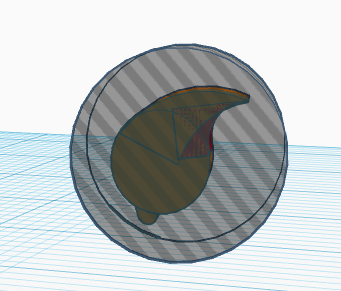
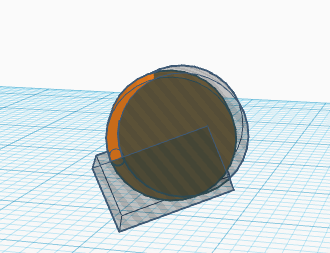
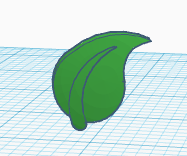
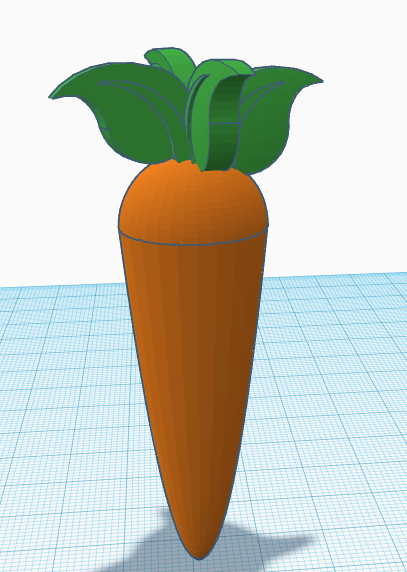
Take a paraboloid and a sphere out of your toolbox. The settings of the paraboloid are shown in picture form. Take away half of the sphere and place it on top of your paraboloid to make the main body of your carrot. For the stem of the carrot, it may be very helpful to reference the photos. To make the stem of your carrot, take out a cylinder and take away part of it, shown in the picture. Add another cylinder and a box to your part and follow the pictures to know what parts to take away. Add another cylinder to your grouped parts to make the shape of the stem. Once you are done, take a couple more cylinders out of your toolbox and take away some material to create the inner portion of your stem. Place your stems in a way you think is best.
Water Pipes
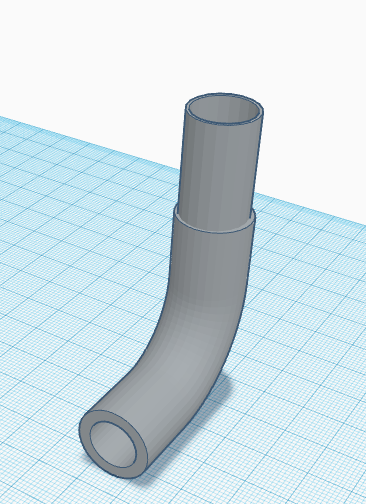
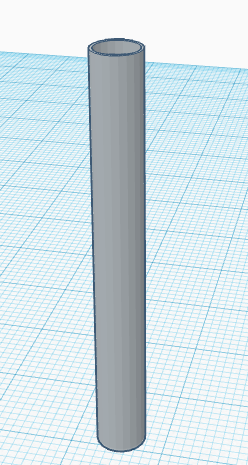
The water pipes are important to transport your water to your self-watering baskets made in the next step. For the pipe connecting to the water fountain, it is just a single part, an extrusion part found under the featured shapes of the toolbox. The pipe connecting to the well adds just one more part. It is a bent pipe, also found under the featured shapes of the toolbox. You may need to adjust the length of your pipes depending on the size of your baskets.
Self-watering Baskets
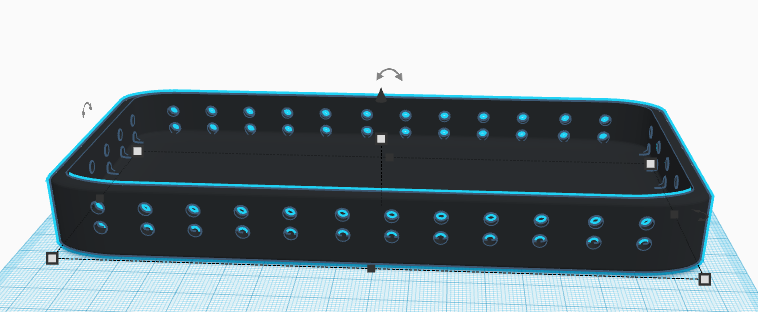
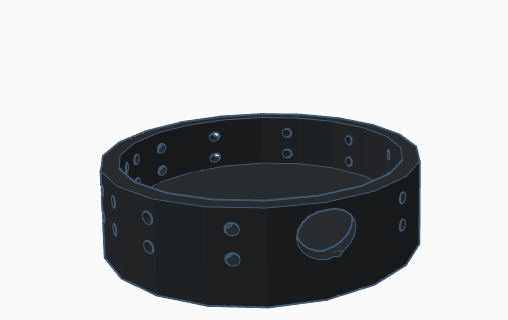
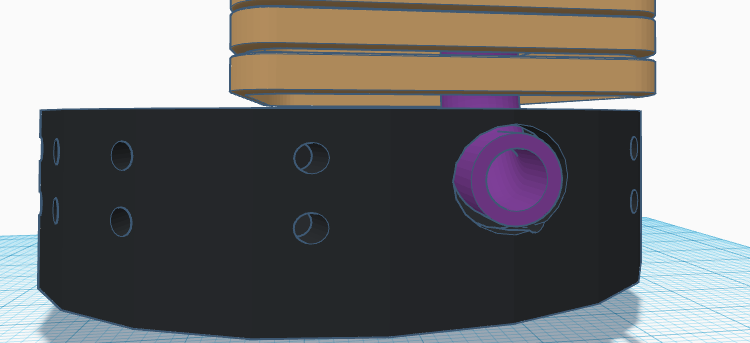
For the main basket, all you need to do is duplicate your inner container and scale it to be a little smaller than the basket. This way, your self-watering basket will move freely. For the upper basket, it is a little more tricky, but not too difficult at all. Go ahead and take a box out of your toolbox and increase the radius. Again, make sure your self-watering basket is just a little smaller than your original basket to make it move freely. Once you have created your shapes, use cylinders to cut holes out of your objects. For the upper basket, make sure you make a larger hole for your water pipe to go through.
Decorate and Plant
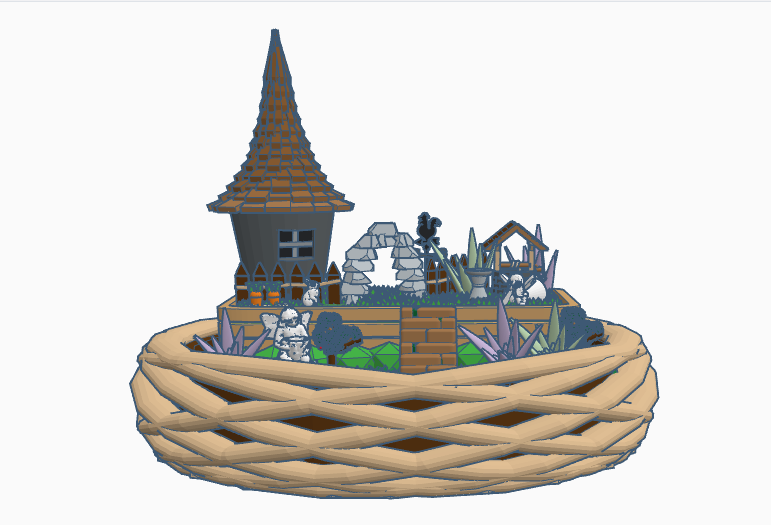
This is where you can be as creative as you want. Duplicate different props and start printing your project. Once you print your props and baskets, paint them and start planting! Use any plants you want. I used succulents, miniature trees, and bushes.
Done!
You are done! I hope you enjoyed this project. Thank you for reading until the end!