Face Tracking Device! Python & Arduino
by Techovator0819 in Circuits > Arduino
6565 Views, 12 Favorites, 0 Comments
Face Tracking Device! Python & Arduino


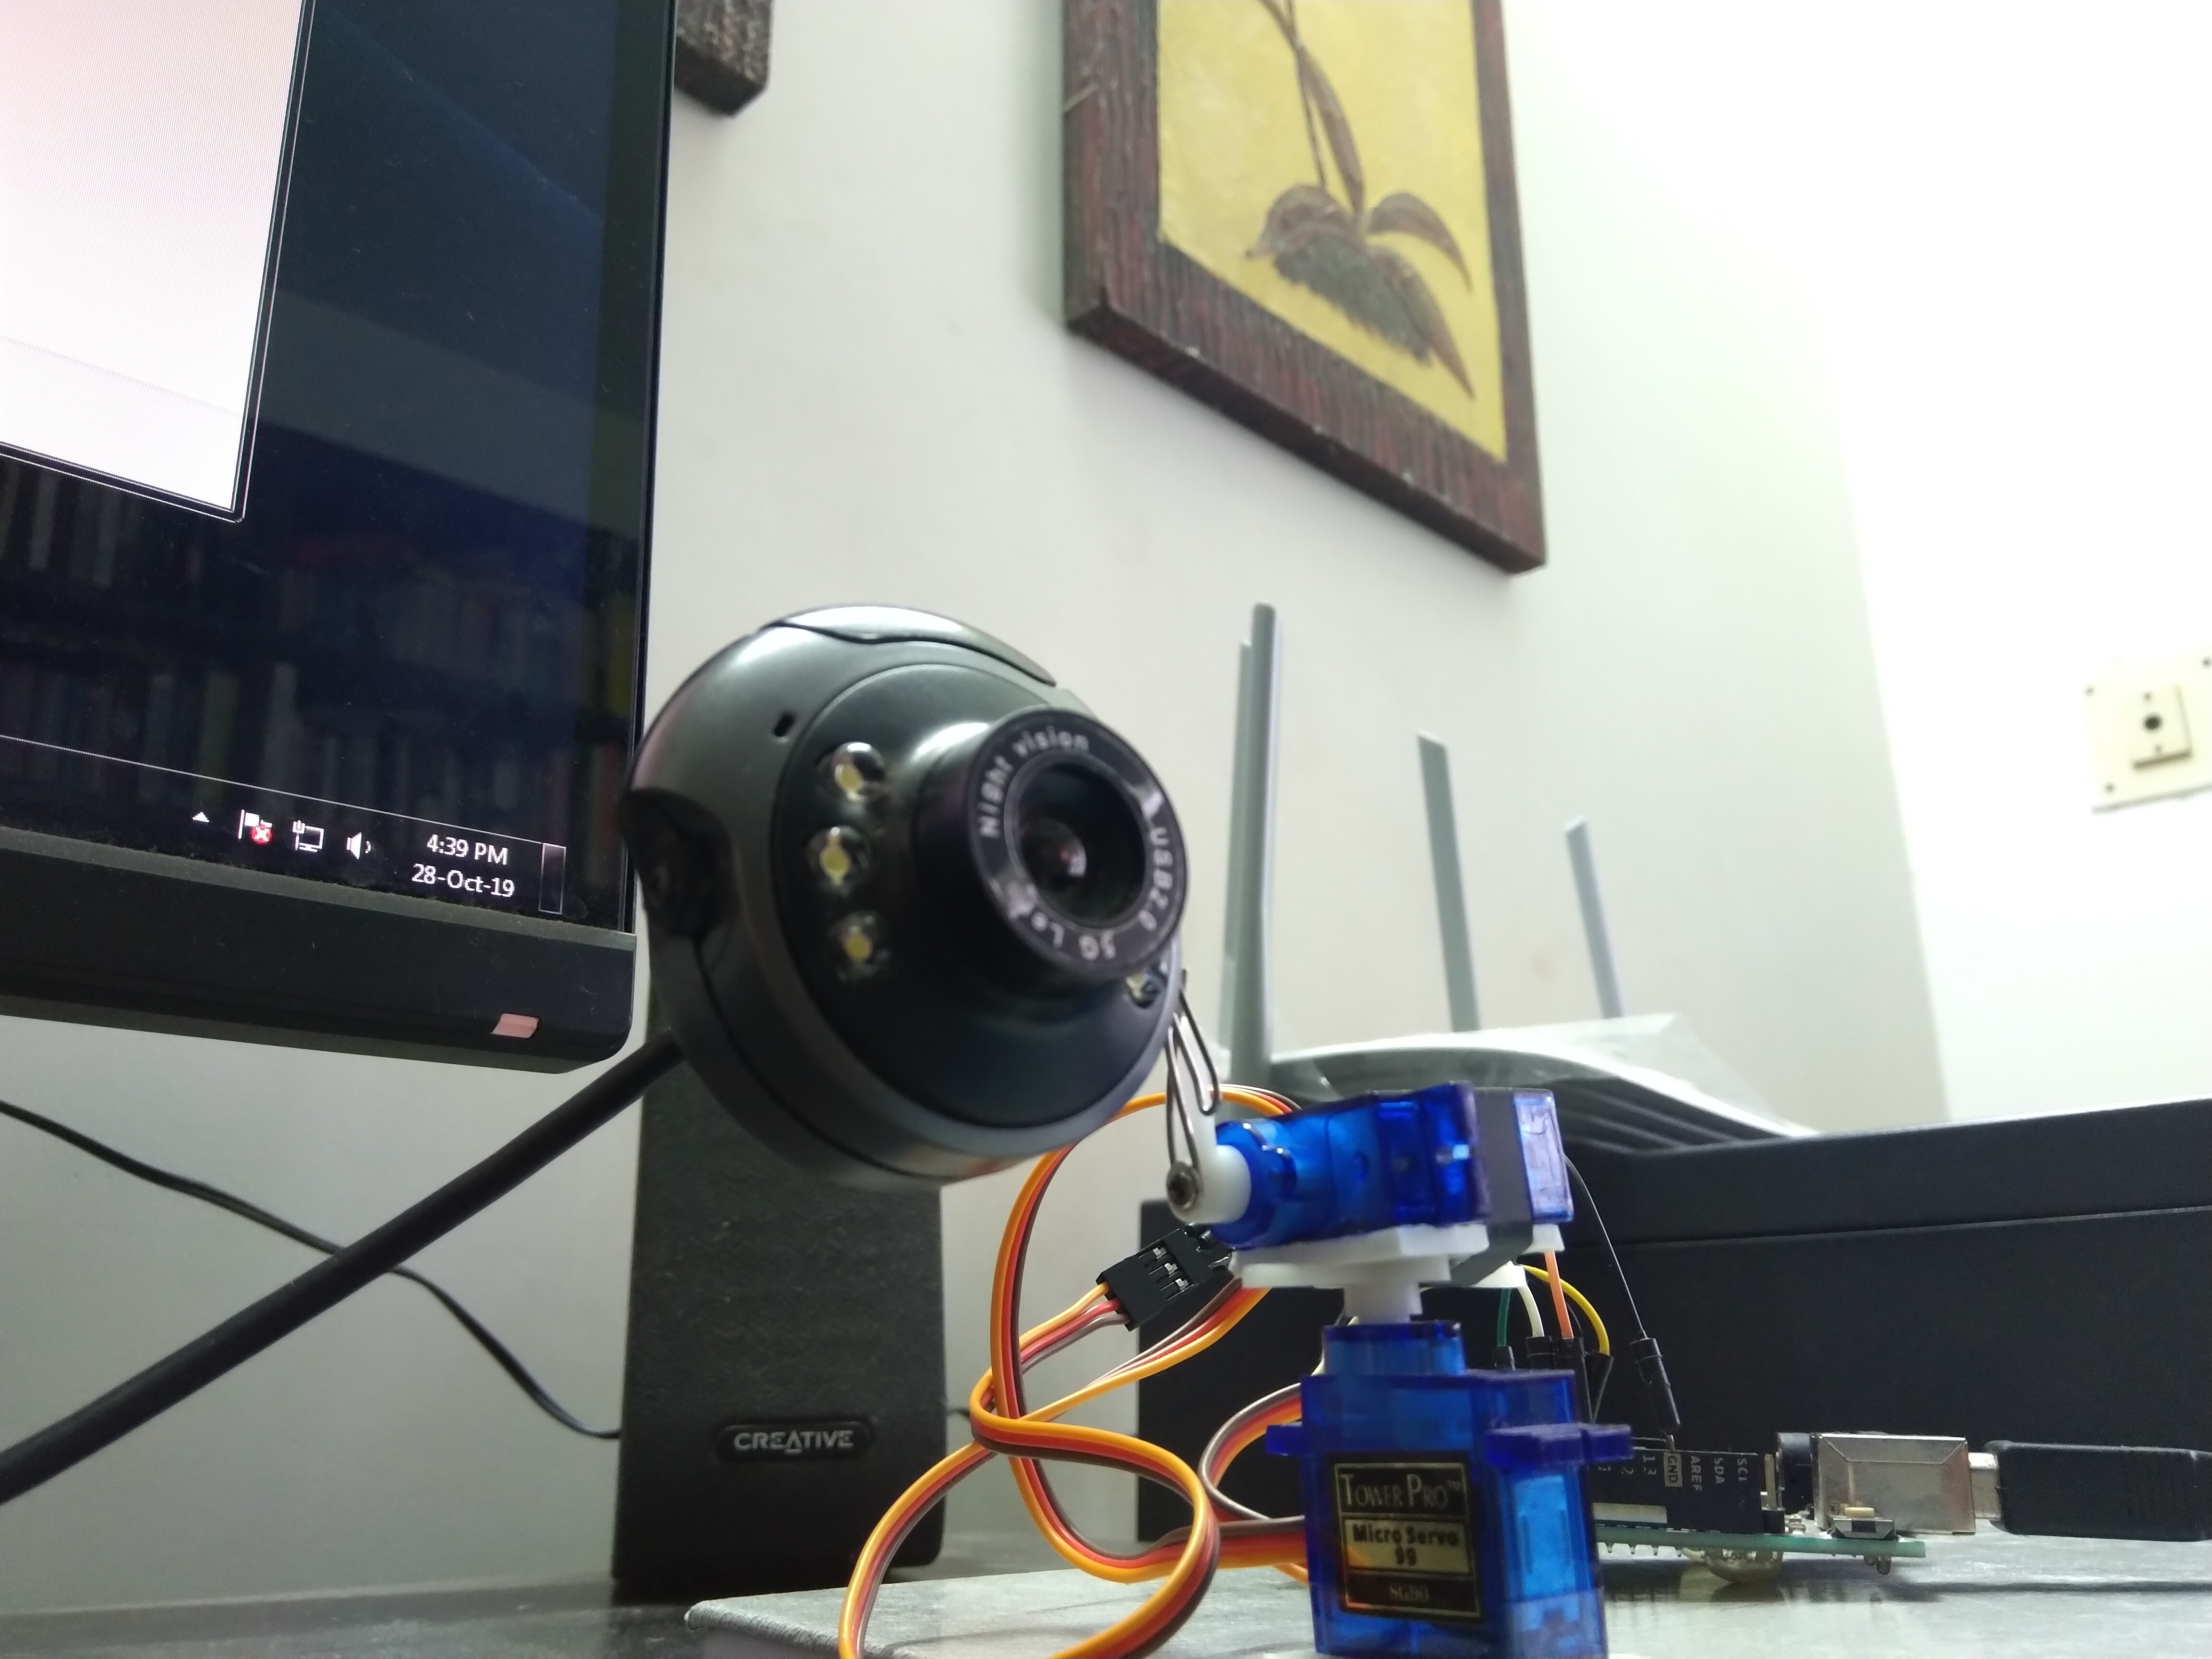
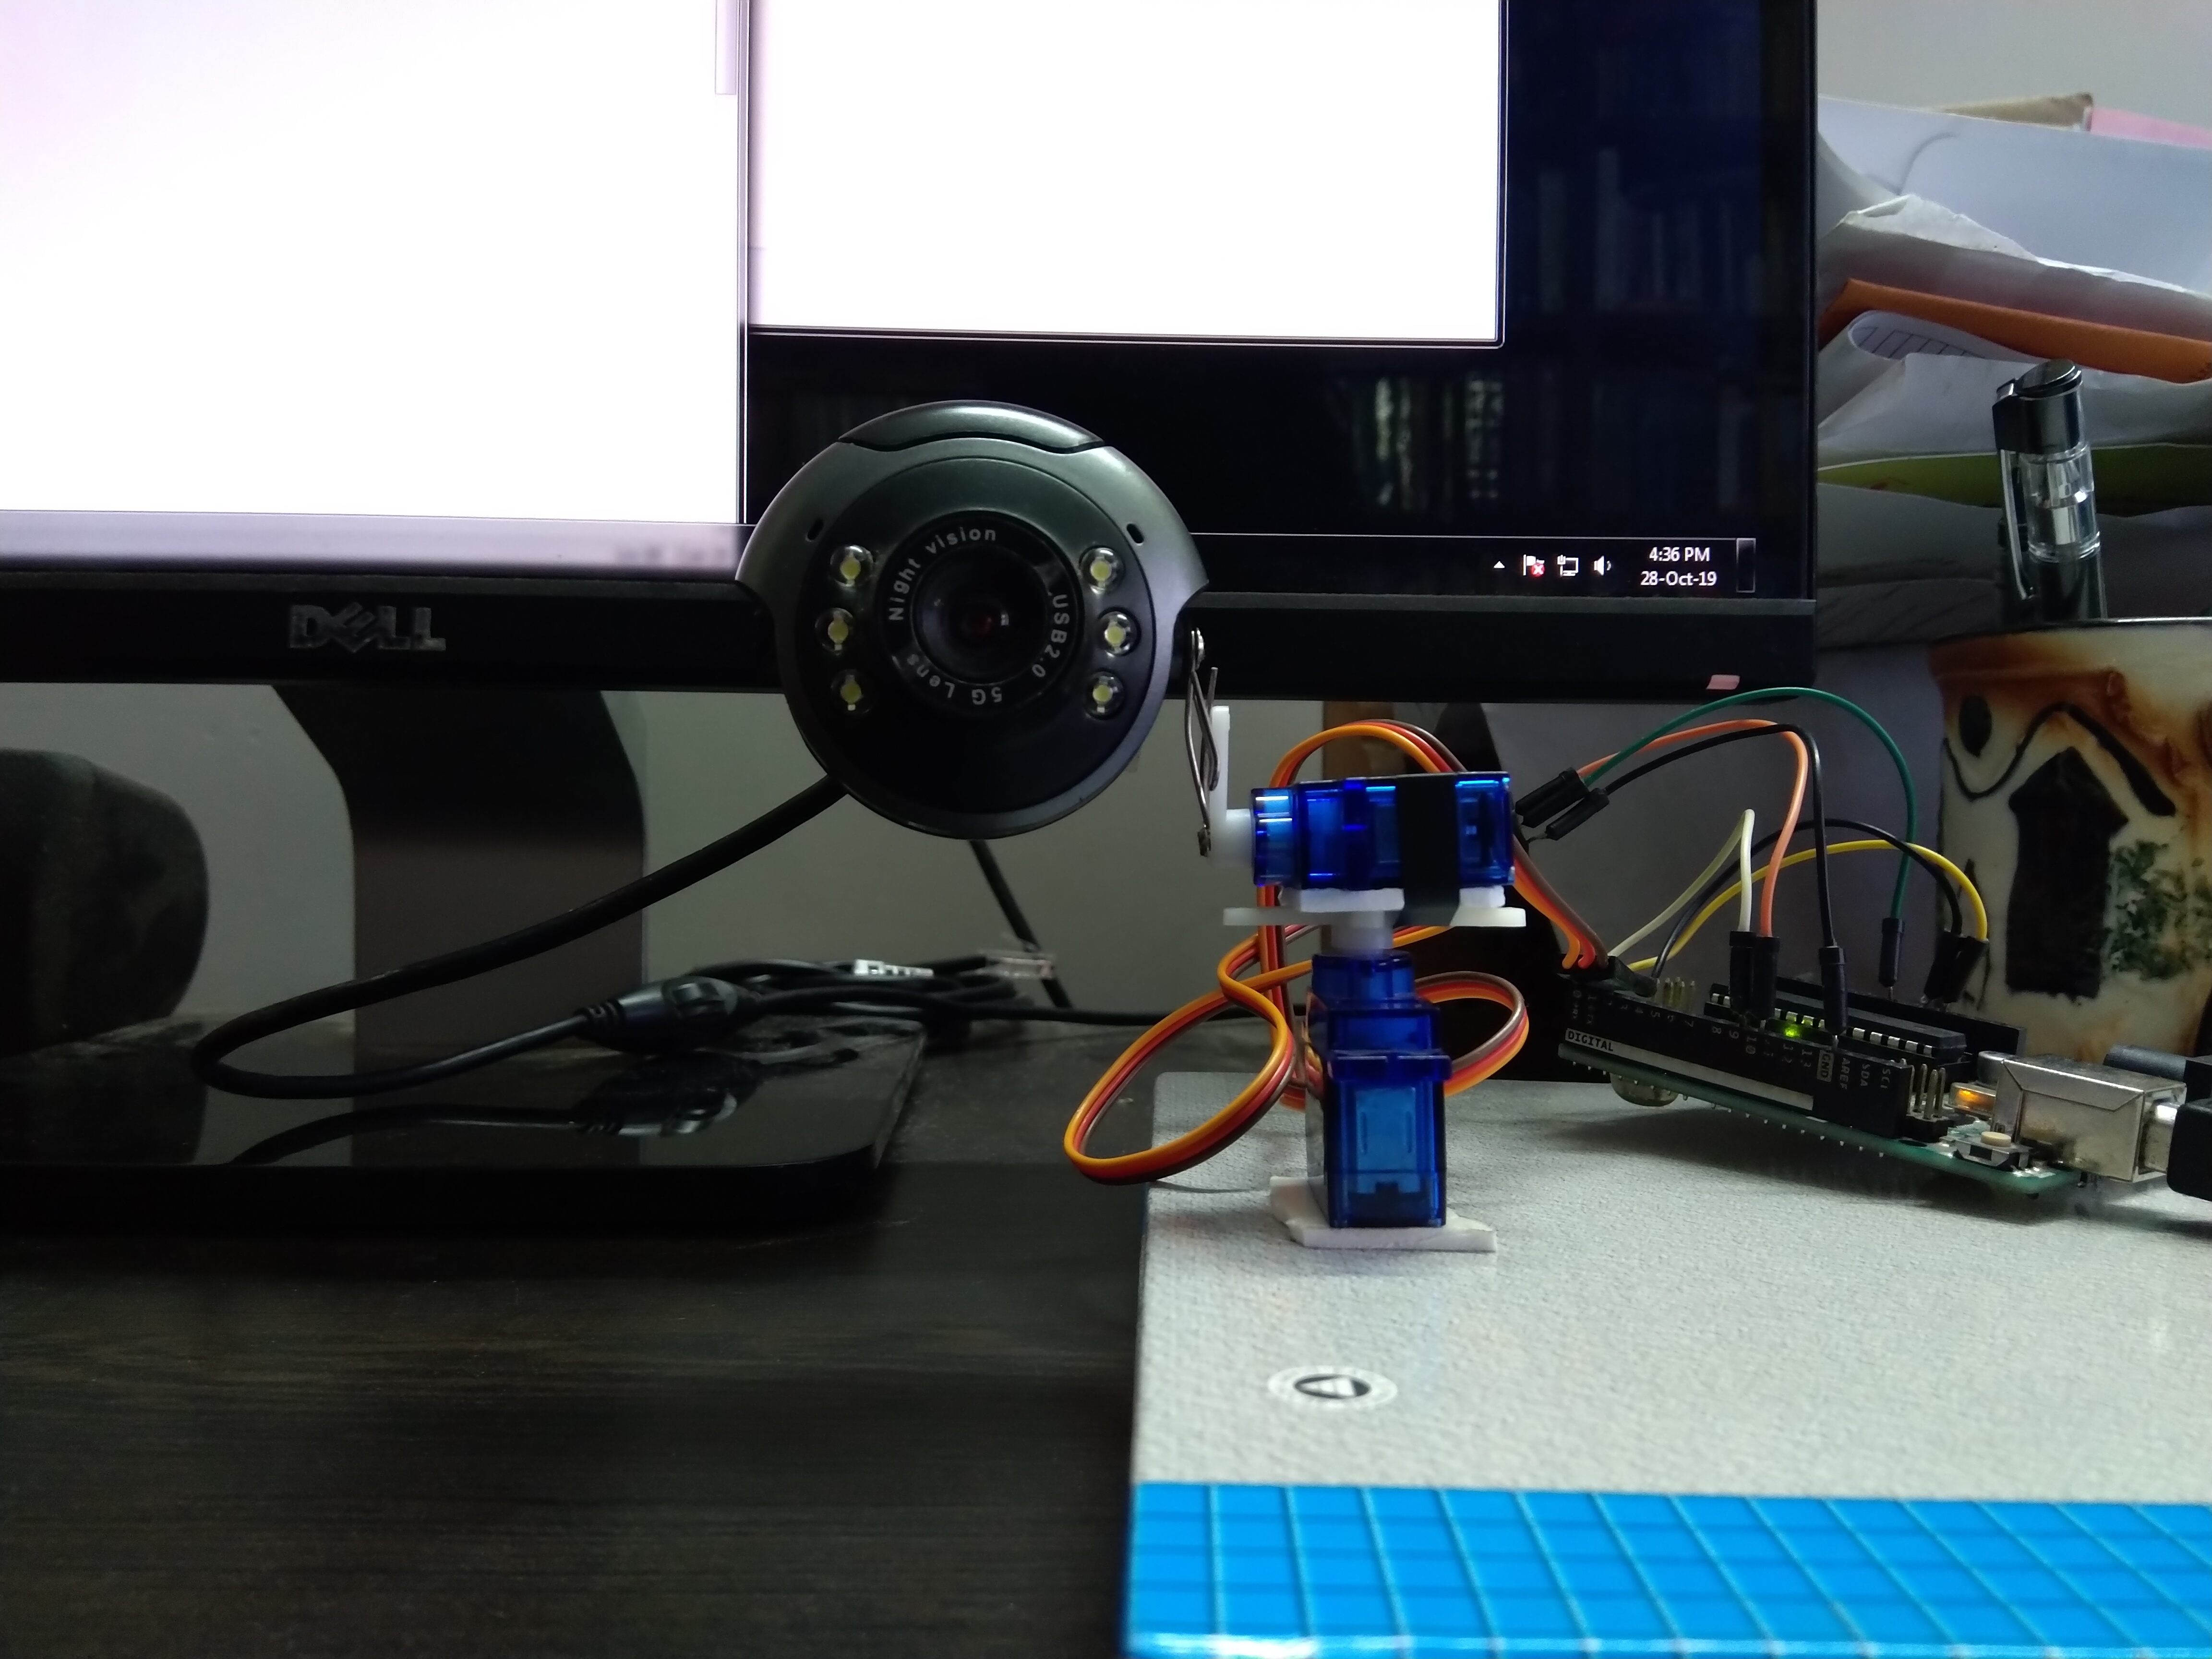
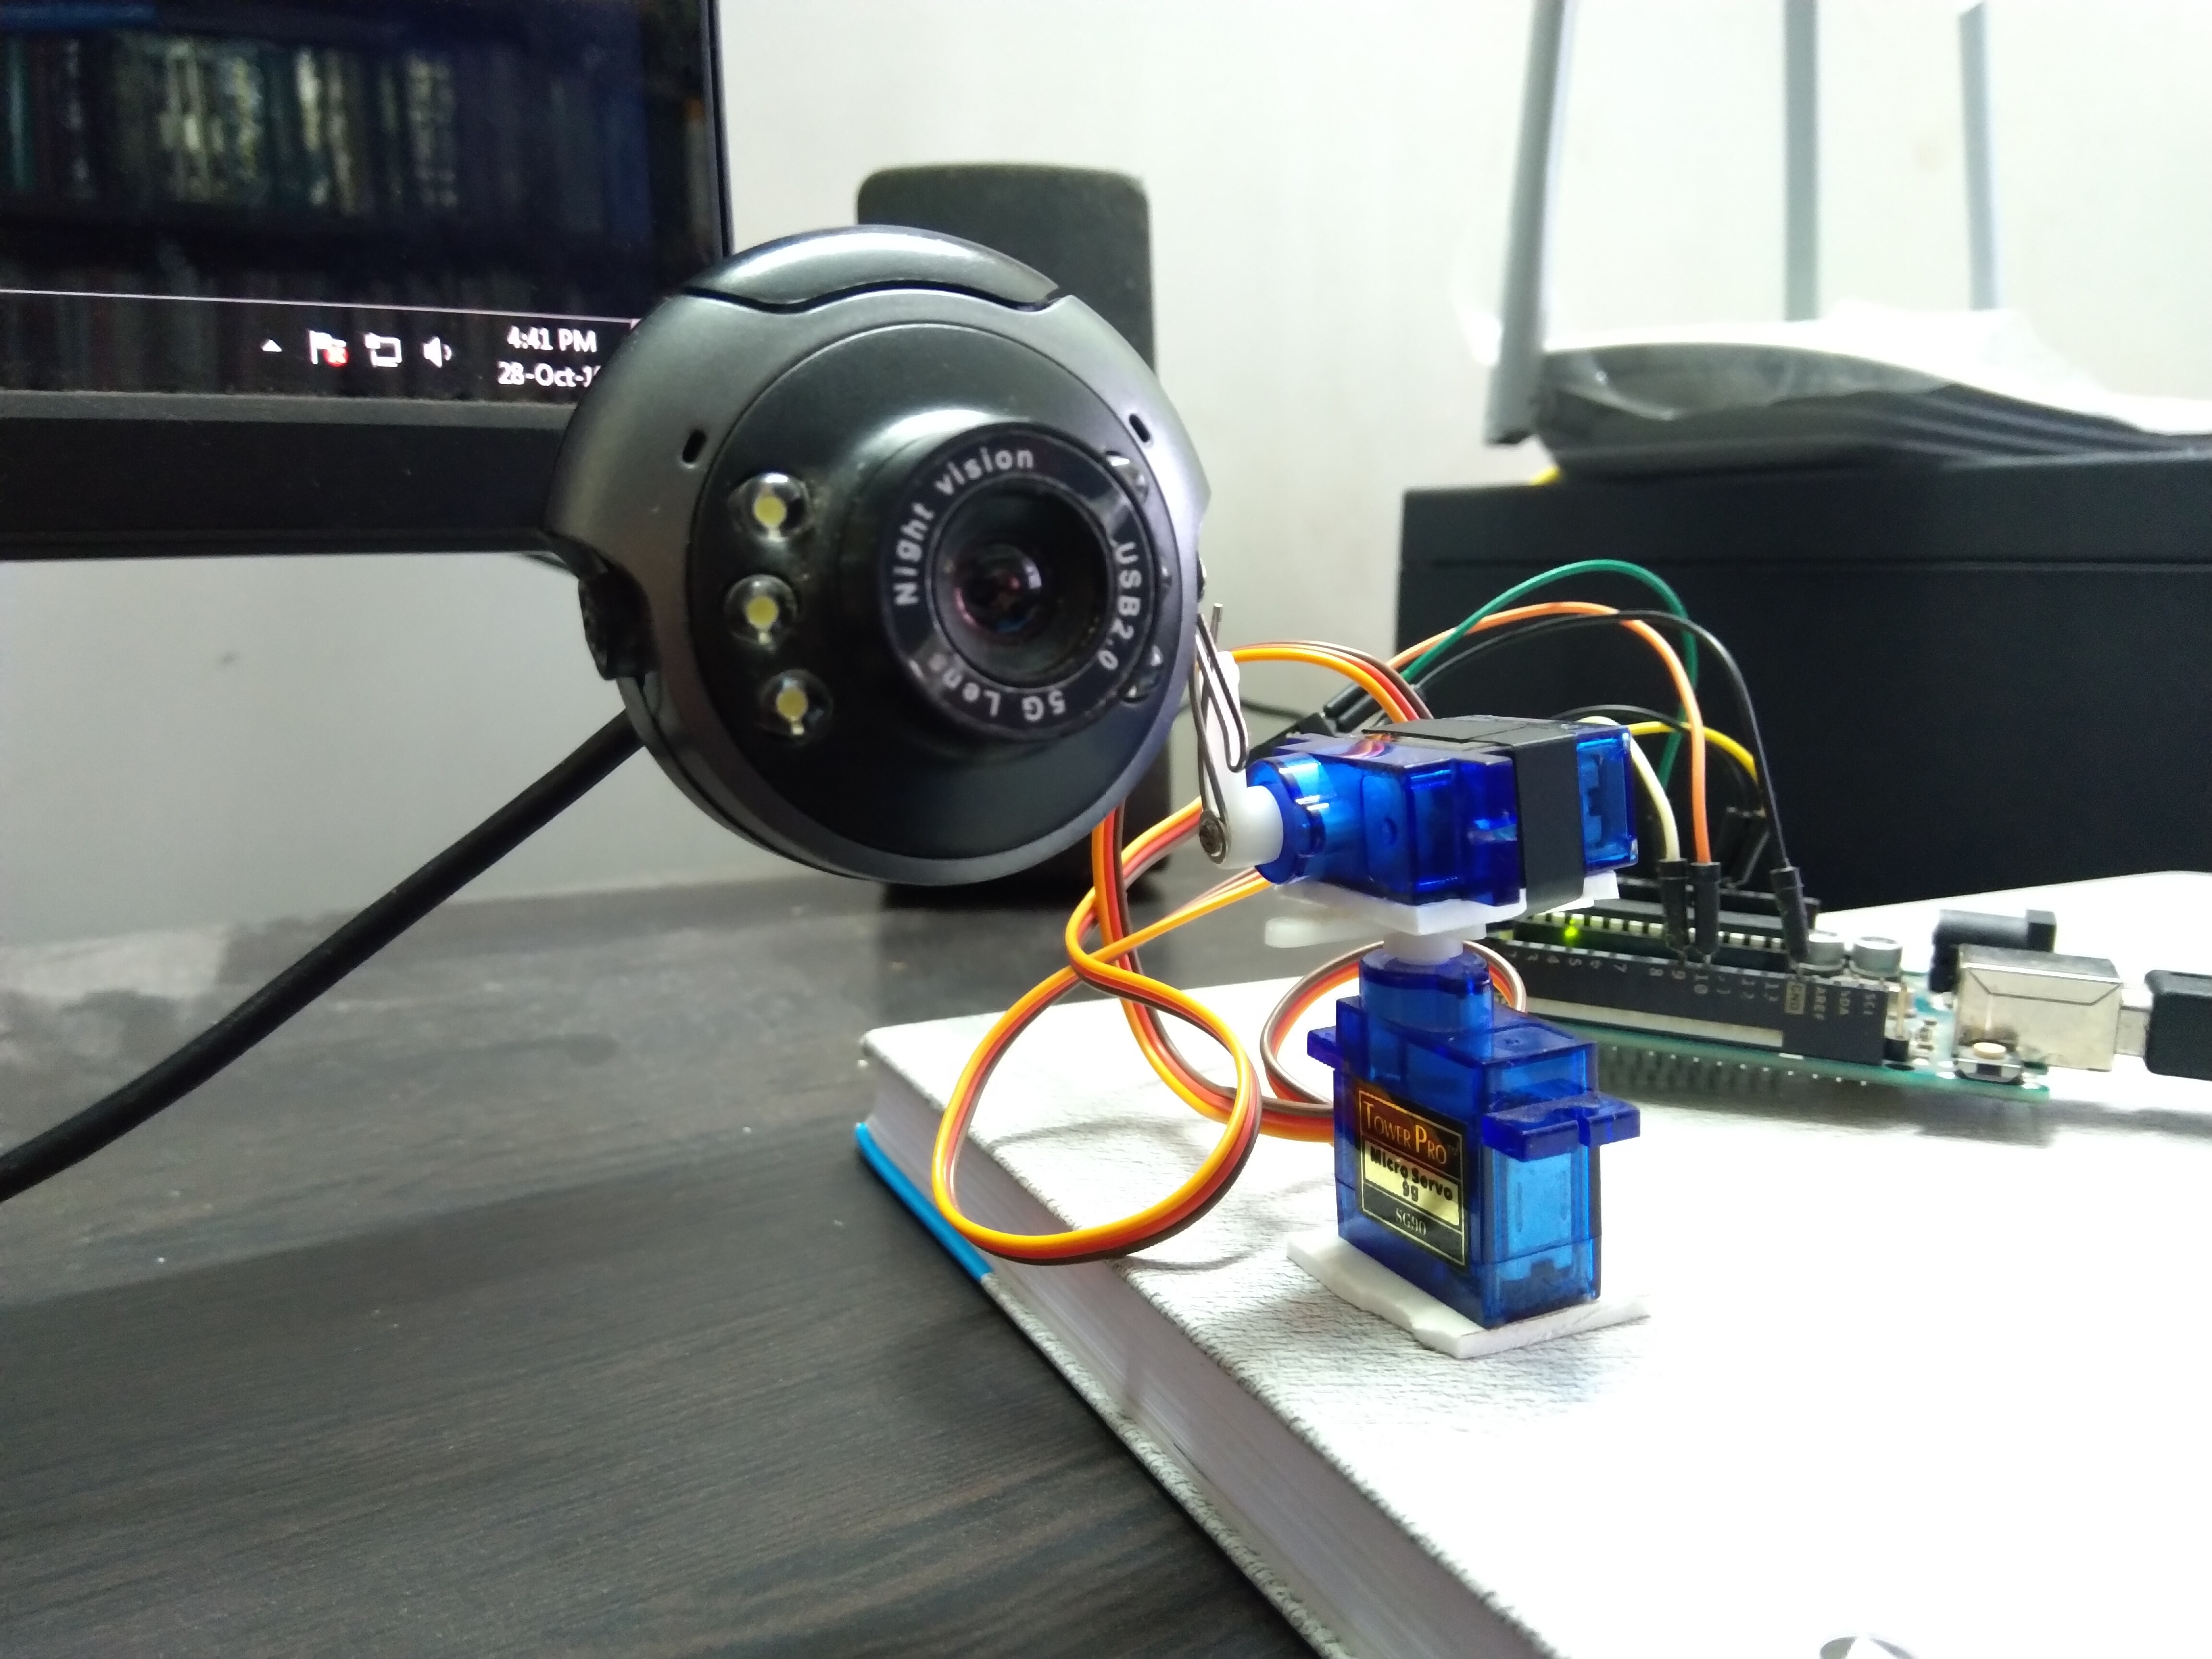
Hello everyone out there reading this instructable. This is a face tracking device which works on a python library called OpenCV. CV stands for 'Computer Vision'. Then I set up a serial interface between my PC and my Arduino UNO. So that means this doesn't solely work on Python.
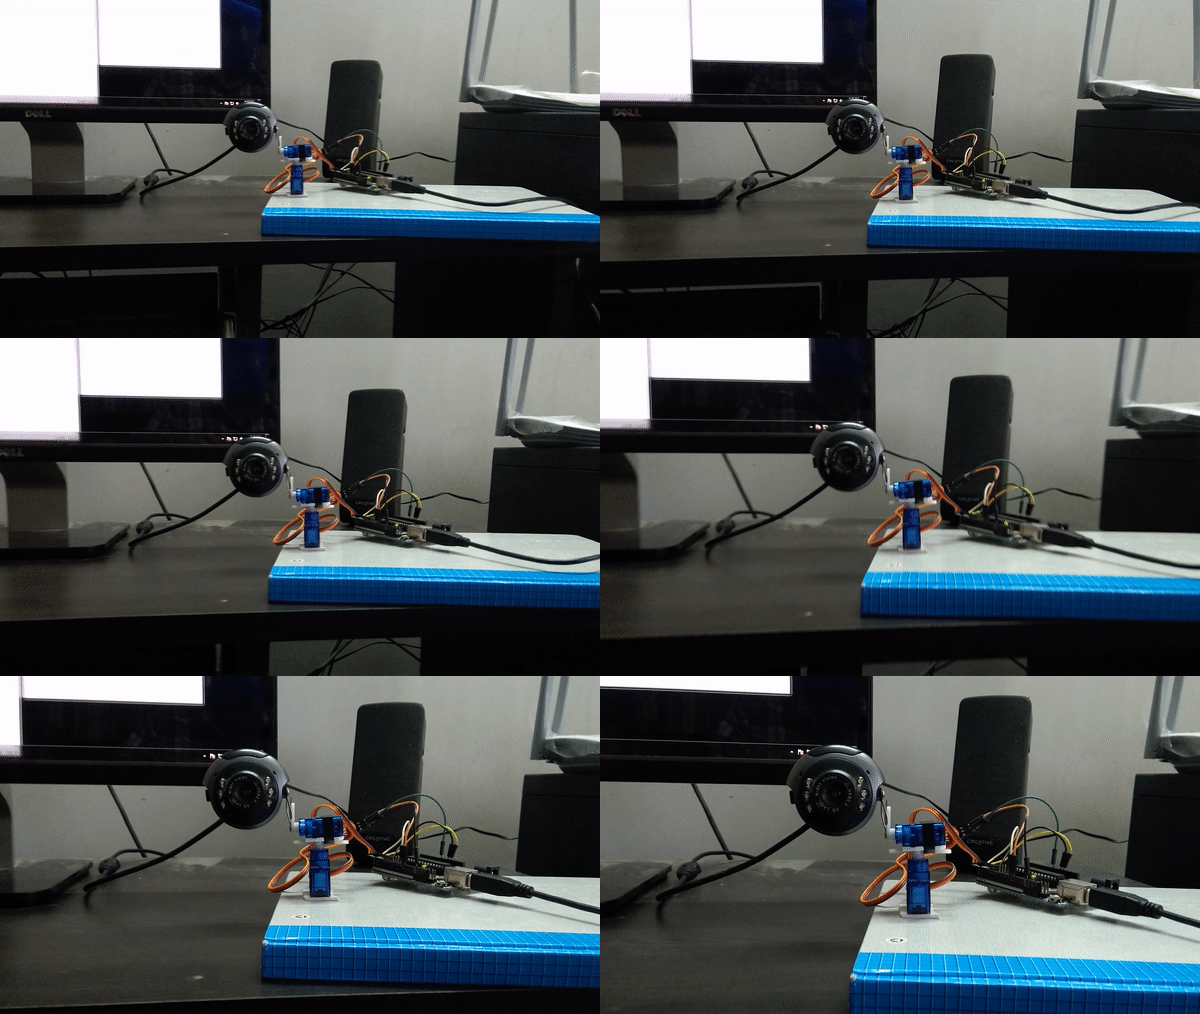
This device recognizes your face in the frame, then it sends certain commands to the Arduino to position the camera in such a way that it stays inside the frame! Sounds cool? Let's hop right into it then.
Supplies
1. Arduino UNO
2. 2 x Servo Motors (Any servo motors will be fine but i used Tower Pro SG90)
3. Installing Python
4. Installing OpenCV
5. Web-Camera
Installing Python and OpenCV
Installing Python is pretty straight forward!
https://www.python.org/downloads/
You can follow the above link to download the python version (Mac, windows or Linux) which suits you best (64 bit or 32 bit). The rest of the installation process is simple and you'll be guided through by the interface.
Once you're done the installation, open up your command prompt and type the following:
pip install opencv-python
That should install the openCV library. In case of trouble shooting, you can check out THIS page.
After having set up the Environment and all prerequisites, let's see how we can actually build this!
What Are Haar-like Features?
Haar-like features are features of a digital image. The name comes from Haar wavelets. These are family of square shaped waves which are used identify features in a digital image. Haar cascades is basically a classifier which helps us detect objects (in our case faces) using the haar-like features.
In our case, for the simplicity, we'll use pre-trained Haar Cascades to identify faces.You can follow THIS link of a github page and download the xml file for the Haar Cascade.
1. Click on 'haarcascade_frontalface_alt.xml'
2. Click on the 'Raw' button on the top right portion the code window.
3. It will direct you to another page with only text.
4. Right click and hit 'Save as..'
5. Save it in the same directory or folder as that of the python code which you are about write.
Coding in Python
import cv2
import numpy as np
import serial
import time
We import all of the libraries that we need.
ard = serial.Serial("COM3", 9600)We create a serial object called 'ard'. We also specify the Port Name and the BaudRate as parameters.
face_cascade = cv2.CascadeClassifier('haarcascade_frontalface_default.xml') We create another object for our Haar Cascade. Make sure the HaarCascade file remains in the same folder as this python program.
vid = cv2.VideoCapture(0)
We create an object to that captures video from the webcam. 0 as the parameter means the first web cam connected to my PC.
https://docs.opencv.org/2.4/modules/objdetect/doc/cascade_classification.html
while True:
	_, frame = vid.read()#reads the current frame to the variable frame
	gray = cv2.cvtColor(frame, cv2.COLOR_BGR2GRAY)#converts frame -> grayscaled image

        #the following line detects faces.
        #First parameter is the image on which you want to detect on
        #minSize=() specifies the minimum size of the face in terms of pixels
        #Click the above link to know more about the Cascade Classification
	faces = face_cascade.detectMultiScale(gray, minSize=(80, 80), minNeighbors=3)

        #A for loop to detect the faces.
	for (x, y, w, h) in faces:
		cv2.rectangle(frame, (x, y), (x+w, y+h), (255, 0, 0), 2)#draws a rectangle around the face
		Xpos = x+(w/2)#calculates the X co-ordinate of the center of the face.
		Ypos = y+(h/2)#calcualtes the Y co-ordinate of the center of the face
		if Xpos > 280:                  #The following code blocks check if the face is
			ard.write('L'.encode()) #on the left, right, top or bottom with respect to the
			time.sleep(0.01)        #center of the frame.
		elif Xpos < 360:                #If any of the conditions are true, it send a command to
			ard.write('R'.encode()) #the arduino through the serial bus.
			time.sleep(0.01)
		else:
			ard.write('S'.encode())
			time.sleep(0.01)
		if Ypos > 280:
			ard.write('D'.encode())
			time.sleep(0.01)
		elif Ypos < 200:
			ard.write('U'.encode())
			time.sleep(0.01)
		else:
			ard.write('S'.encode())
			time.sleep(0.01)
		break

	cv2.imshow('frame', frame)#displays the frame in a seperate window.
	k = cv2.waitKey(1)&0xFF
	if(k == ord('q')): #if 'q' is pressed on the keyboard, it exits the while loop.
		break
cv2.destroyAllWindows() #closes all windows
ard.close() #closes the serial communication
vid.release() #stops receiving video from the web cam.
Programming the Arduino
Feel free to modify the program as per your hardware setup suiting your needs.
<pre>#include <Servo.h><servo.h><br></servo.h>
Servo servoX;
Servo servoY;
int x = 90;
int y = 90;
void setup() {
  // put your setup code here, to run once:
  Serial.begin(9600);

  servoX.attach(9);
  servoY.attach(10);
  servoX.write(x);
  servoY.write(y);
  delay(1000);
}
char input = ""; //serial input is stored in this variable
void loop() {
  // put your main code here, to run repeatedly:
 if(Serial.available()){ //checks if any data is in the serial buffer
  input = Serial.read(); //reads the data into a variable
  if(input == 'U'){
   servoY.write(y+1);    //adjusts the servo angle according to the input
   y += 1;               //updates the value of the angle
  }
  else if(input == 'D'){
   servoY.write(y-1);
   y -= 1;
  }
  else{
   servoY.write(y);
  }
  if(input == 'L'){
  servoX.write(x-1);
  x -= 1;
  } else if(input == 'R'){
  servoX.write(x+1);
  x += 1;
  }
  else{
  servoX.write(x);
  }
  input = "";           //clears the variable
 }
 //process keeps repeating!! :)
}
Conclusion
This is one nice and an interactive way through which you can design incorporate Computer Vision in your Arduino projects. Computer Vision is actually quite fun. And i really hope that you guys have liked it. If yes, let me know in the comments. And please subscribe to my youtube channel. Thanks in advance <3<3