Face Mask + Eye Guard With Tie Back Option
by ProperFit Clothing in Craft > Sewing
1752 Views, 12 Favorites, 0 Comments
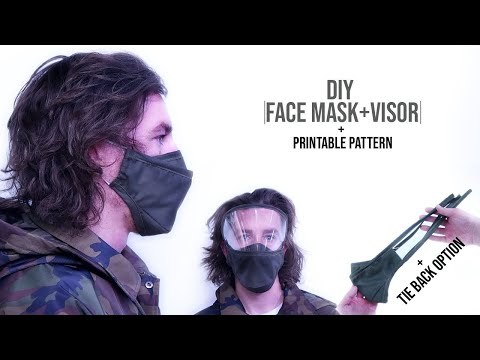
Face Mask + Eye Guard With Tie Back Option
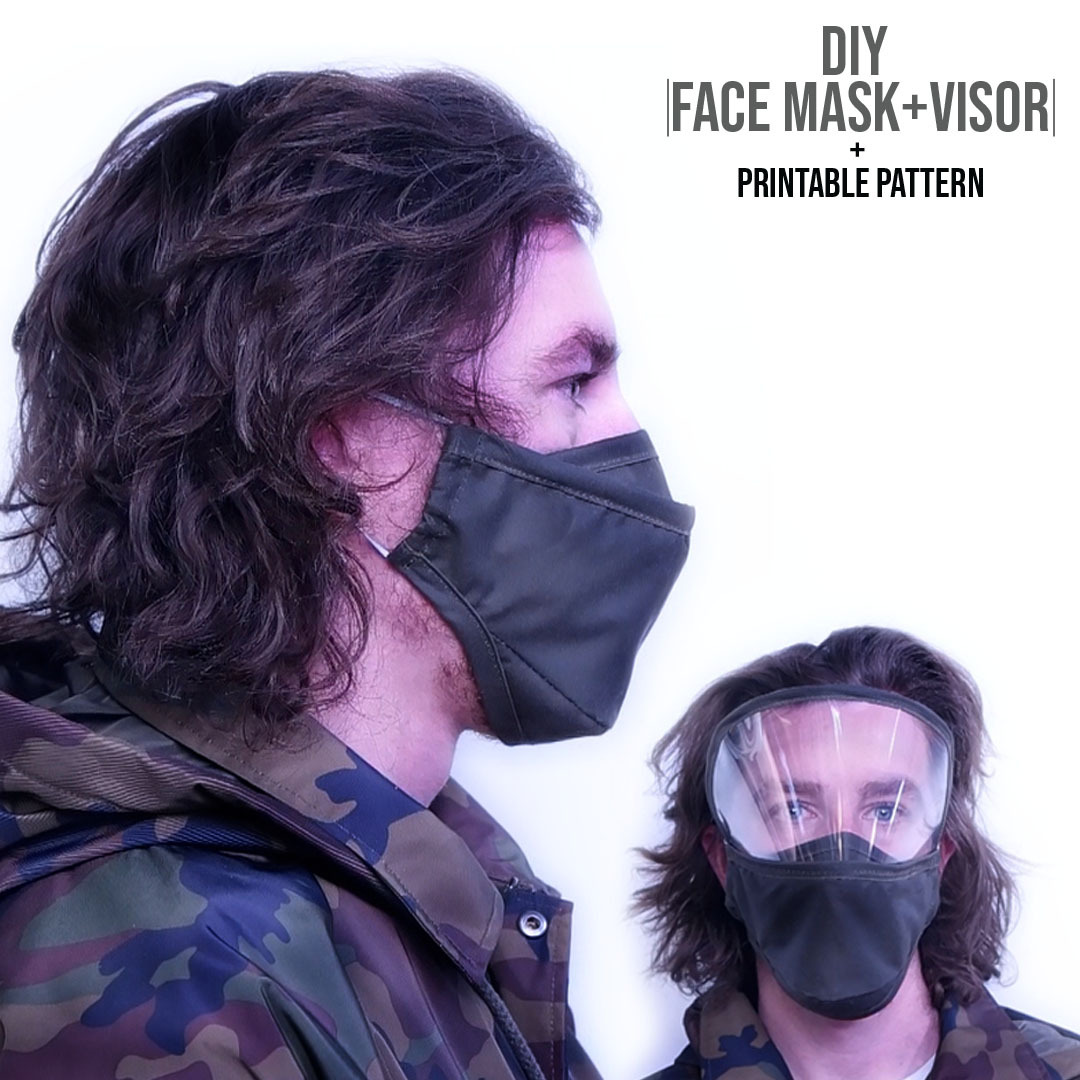
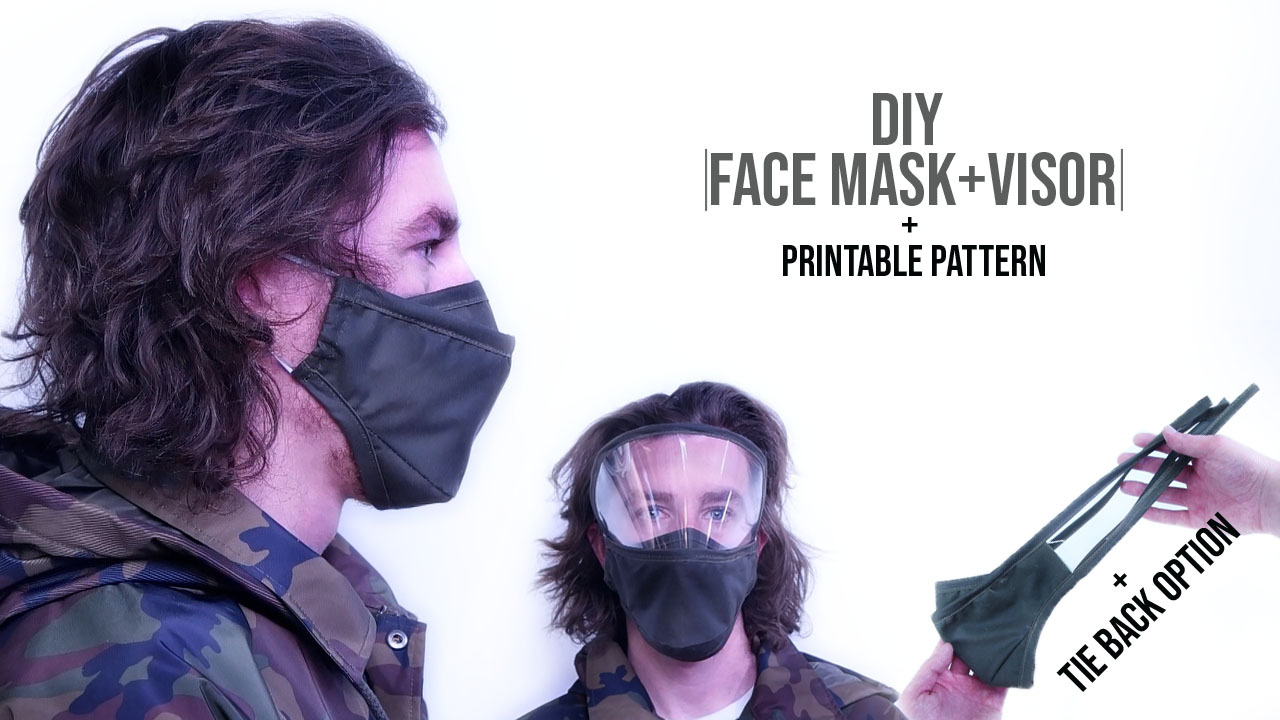
This is a face mask with PM2.5 filter pocket and eye guard. This pattern also includes multiple tie back options if you are having troubles finding elastic.
Supplies
-LINK to Pattern: https://www.properfitclothing.com/product-page/fa...
-LINK to Fabric: https://amzn.to/2lNrnly
-LINK to Lining: https://amzn.to/2QkCcb8
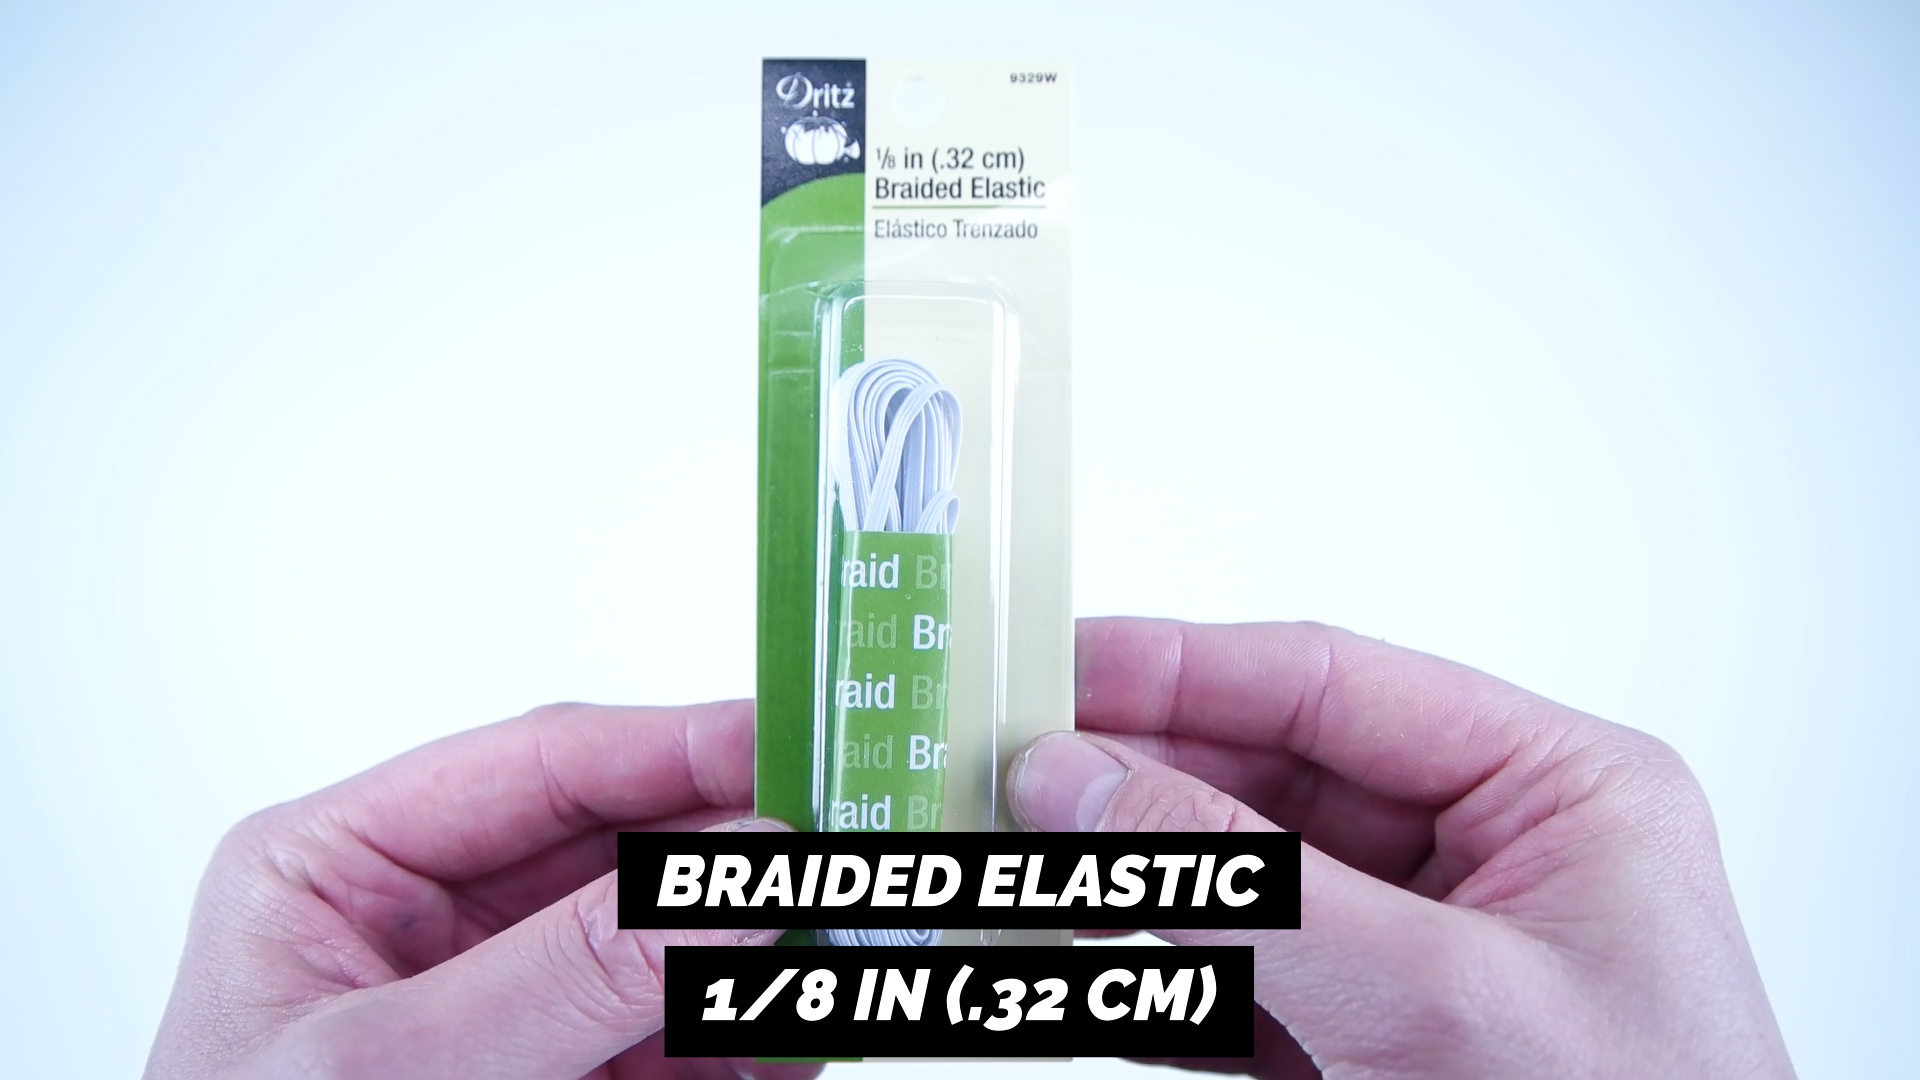
-LINK to Braided Elastic: https://amzn.to/3aVfkX9
-LINK to Elastic Cord Stopper: https://amzn.to/35qFhwQ
-LINK to Ear Elastic(soft on ears): https://amzn.to/3bZuw6X
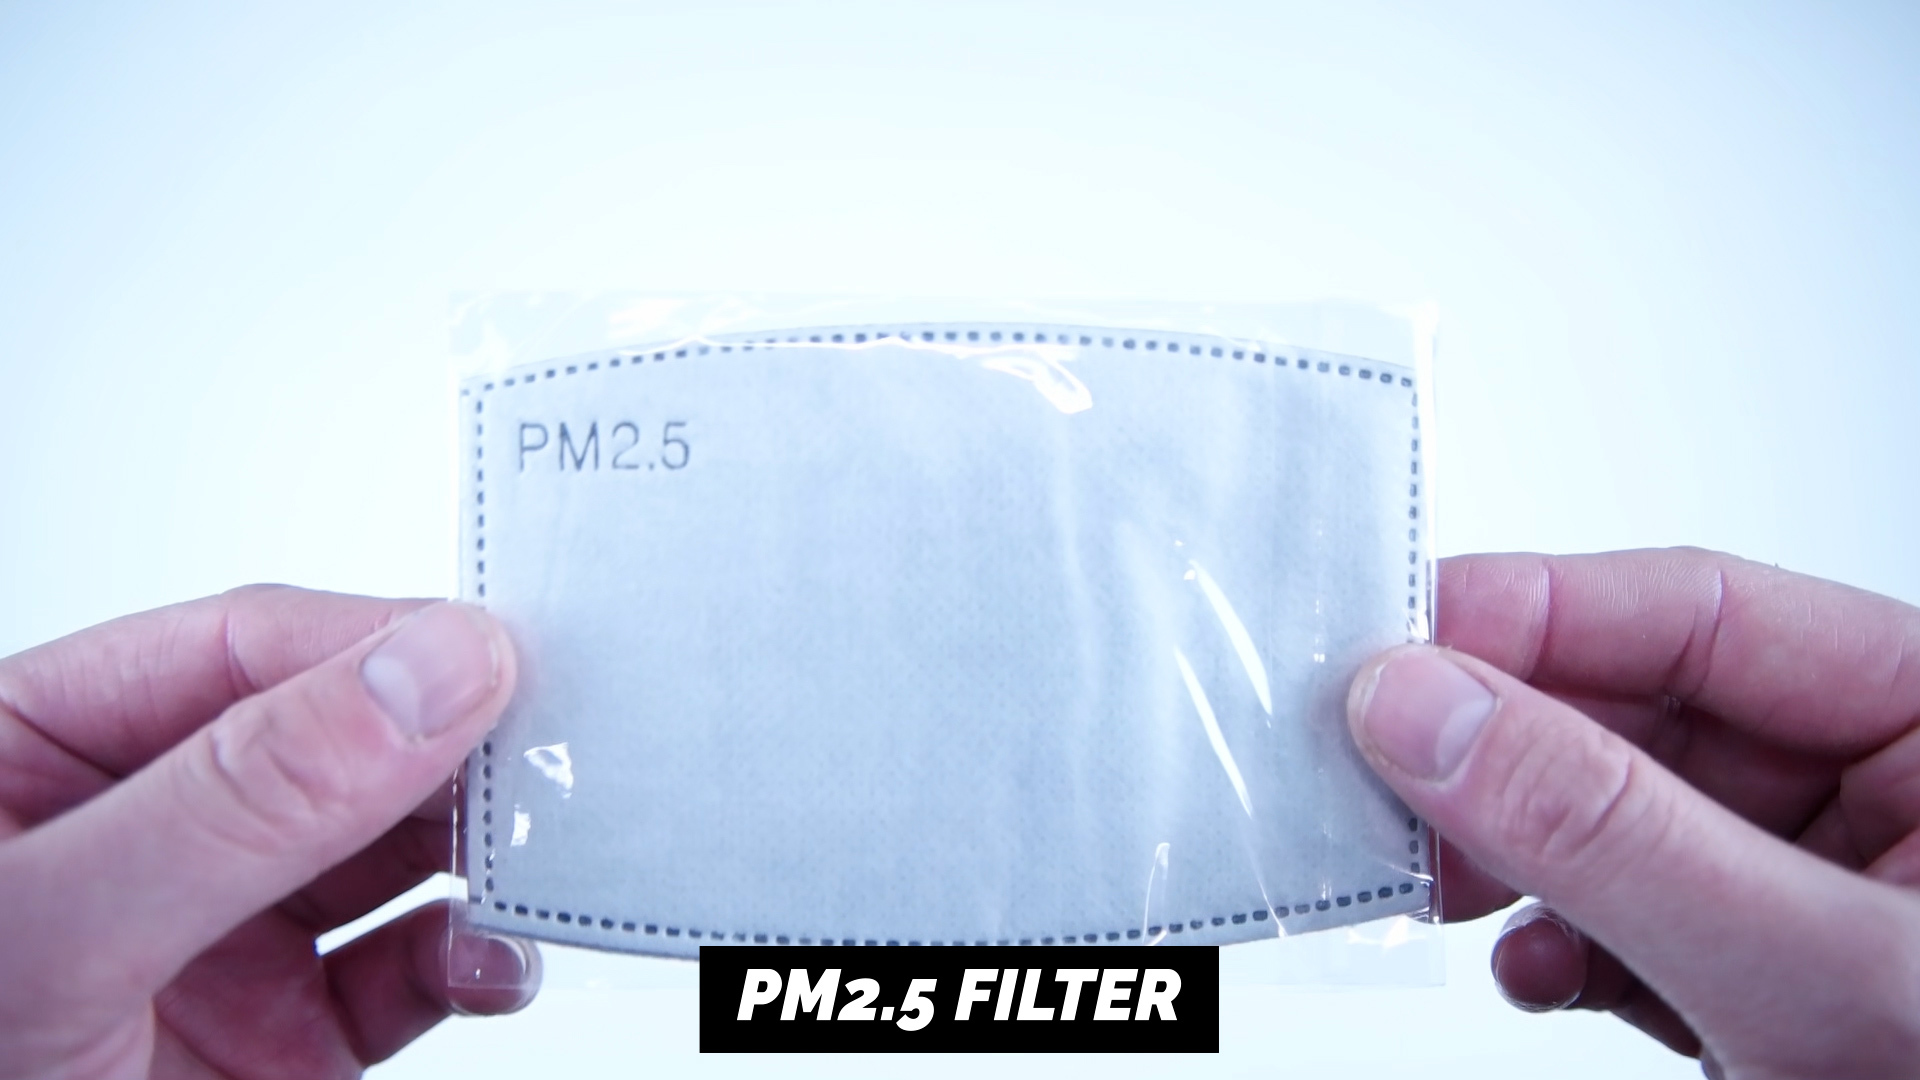
-LINK to PM2.5 Filter: https://amzn.to/2Sp5FSg
-LINK to Coated Wire Tie: https://amzn.to/2wfnmvA
Supplies
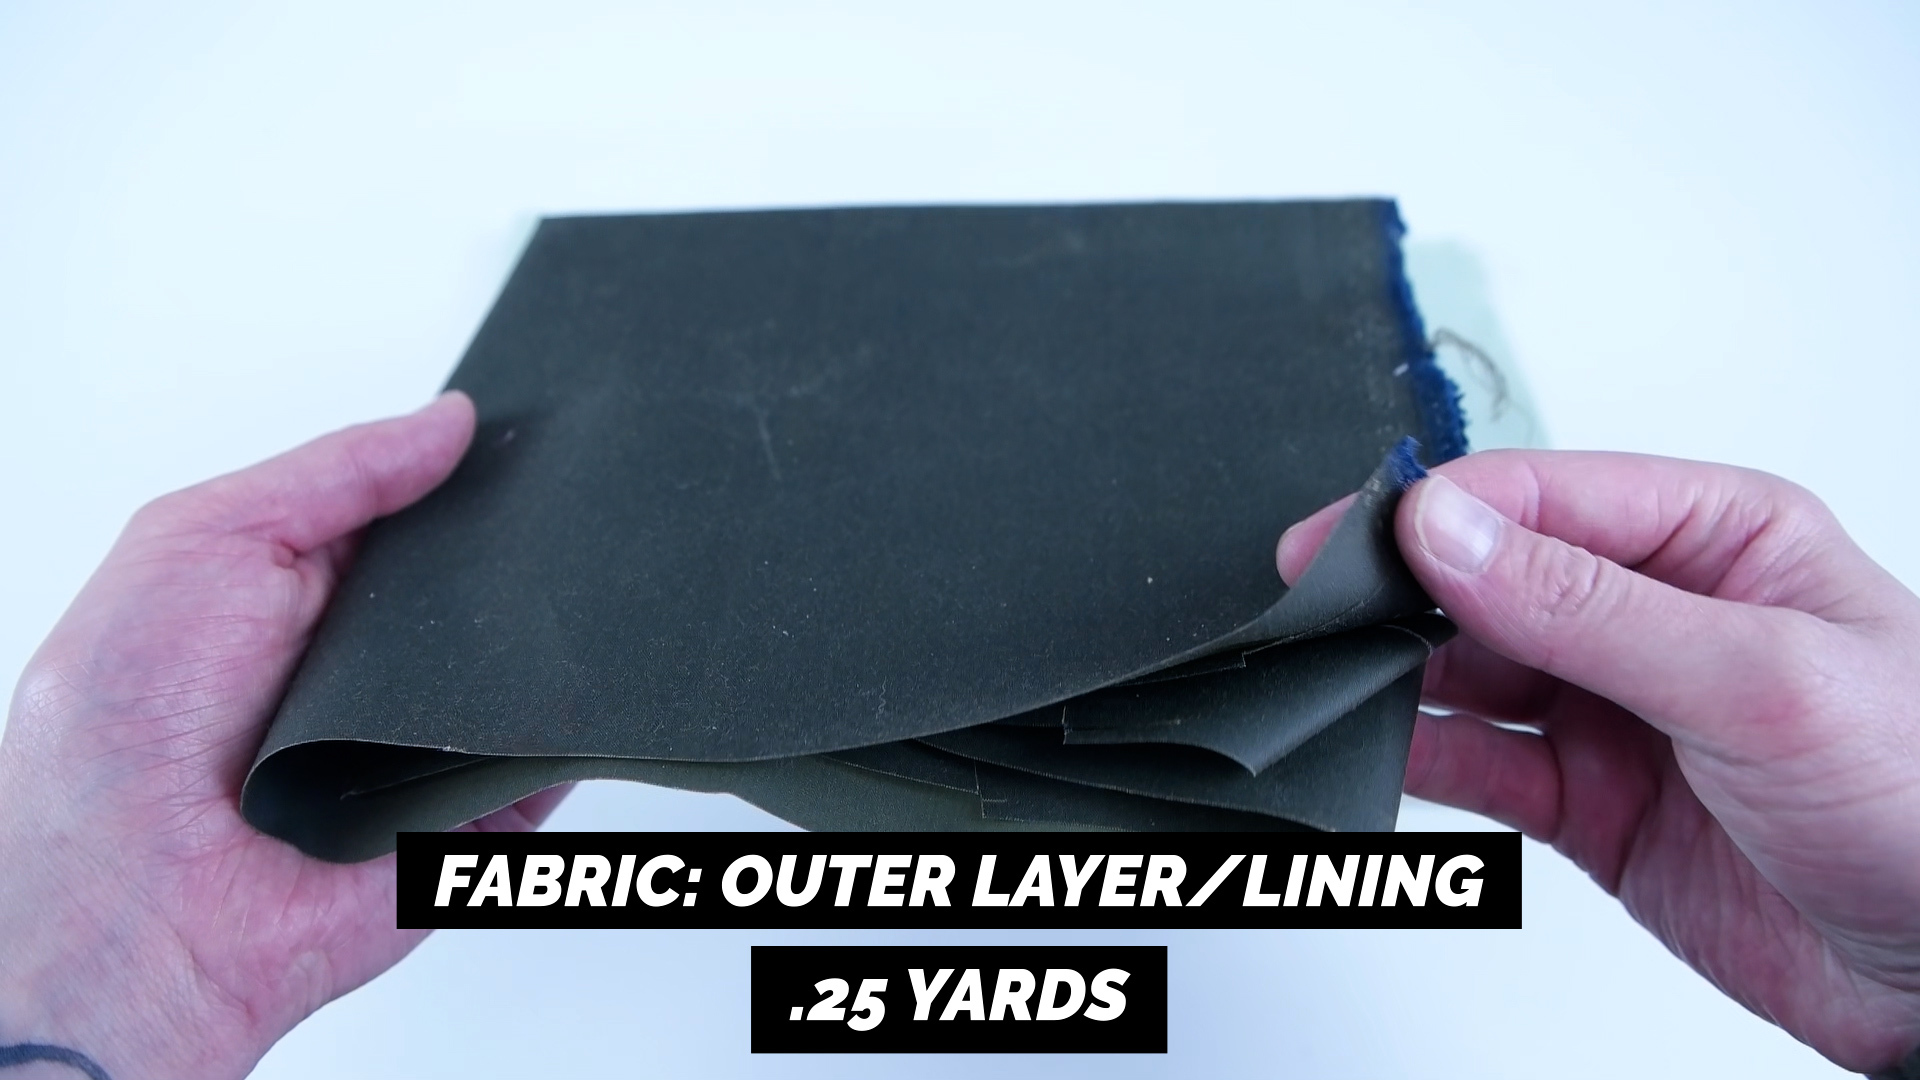
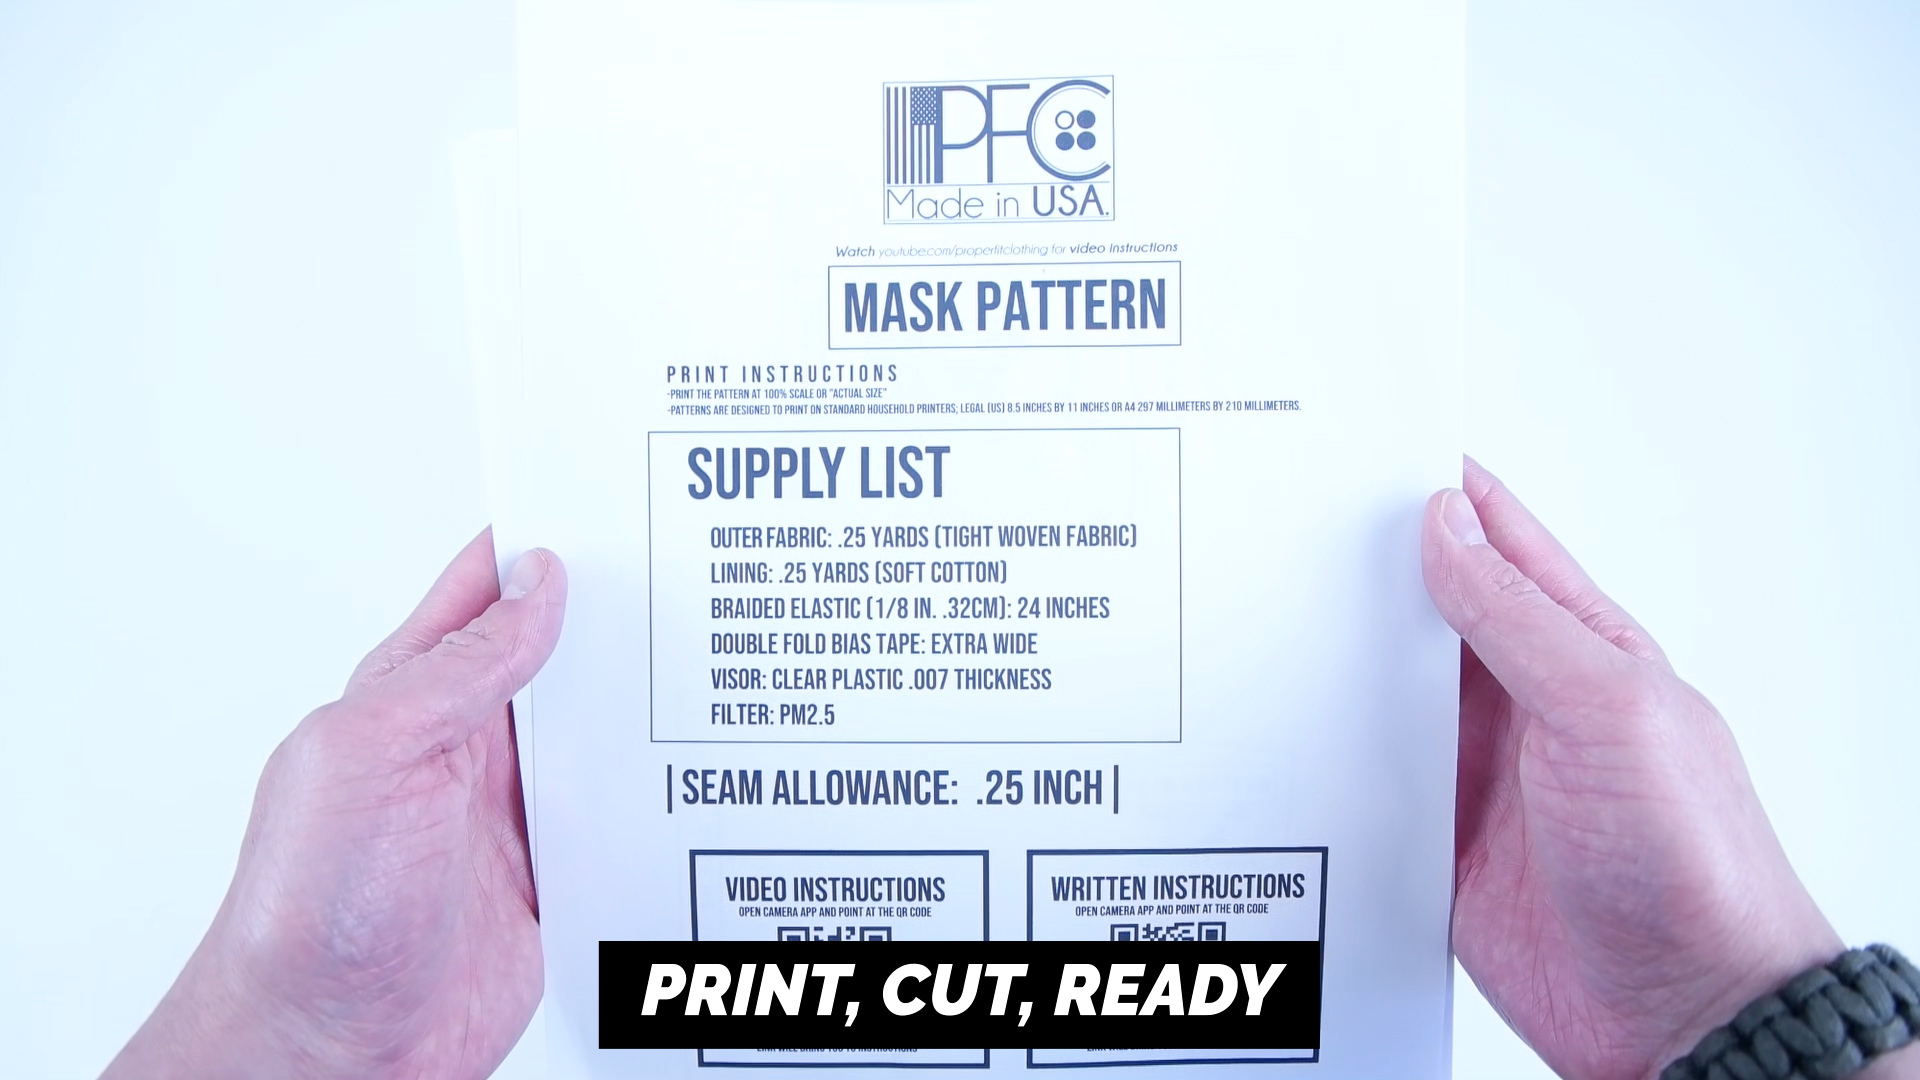
-Fabric outer layer: .25 yards (canvas, twill, cotton, or any fabric that is tightly woven)
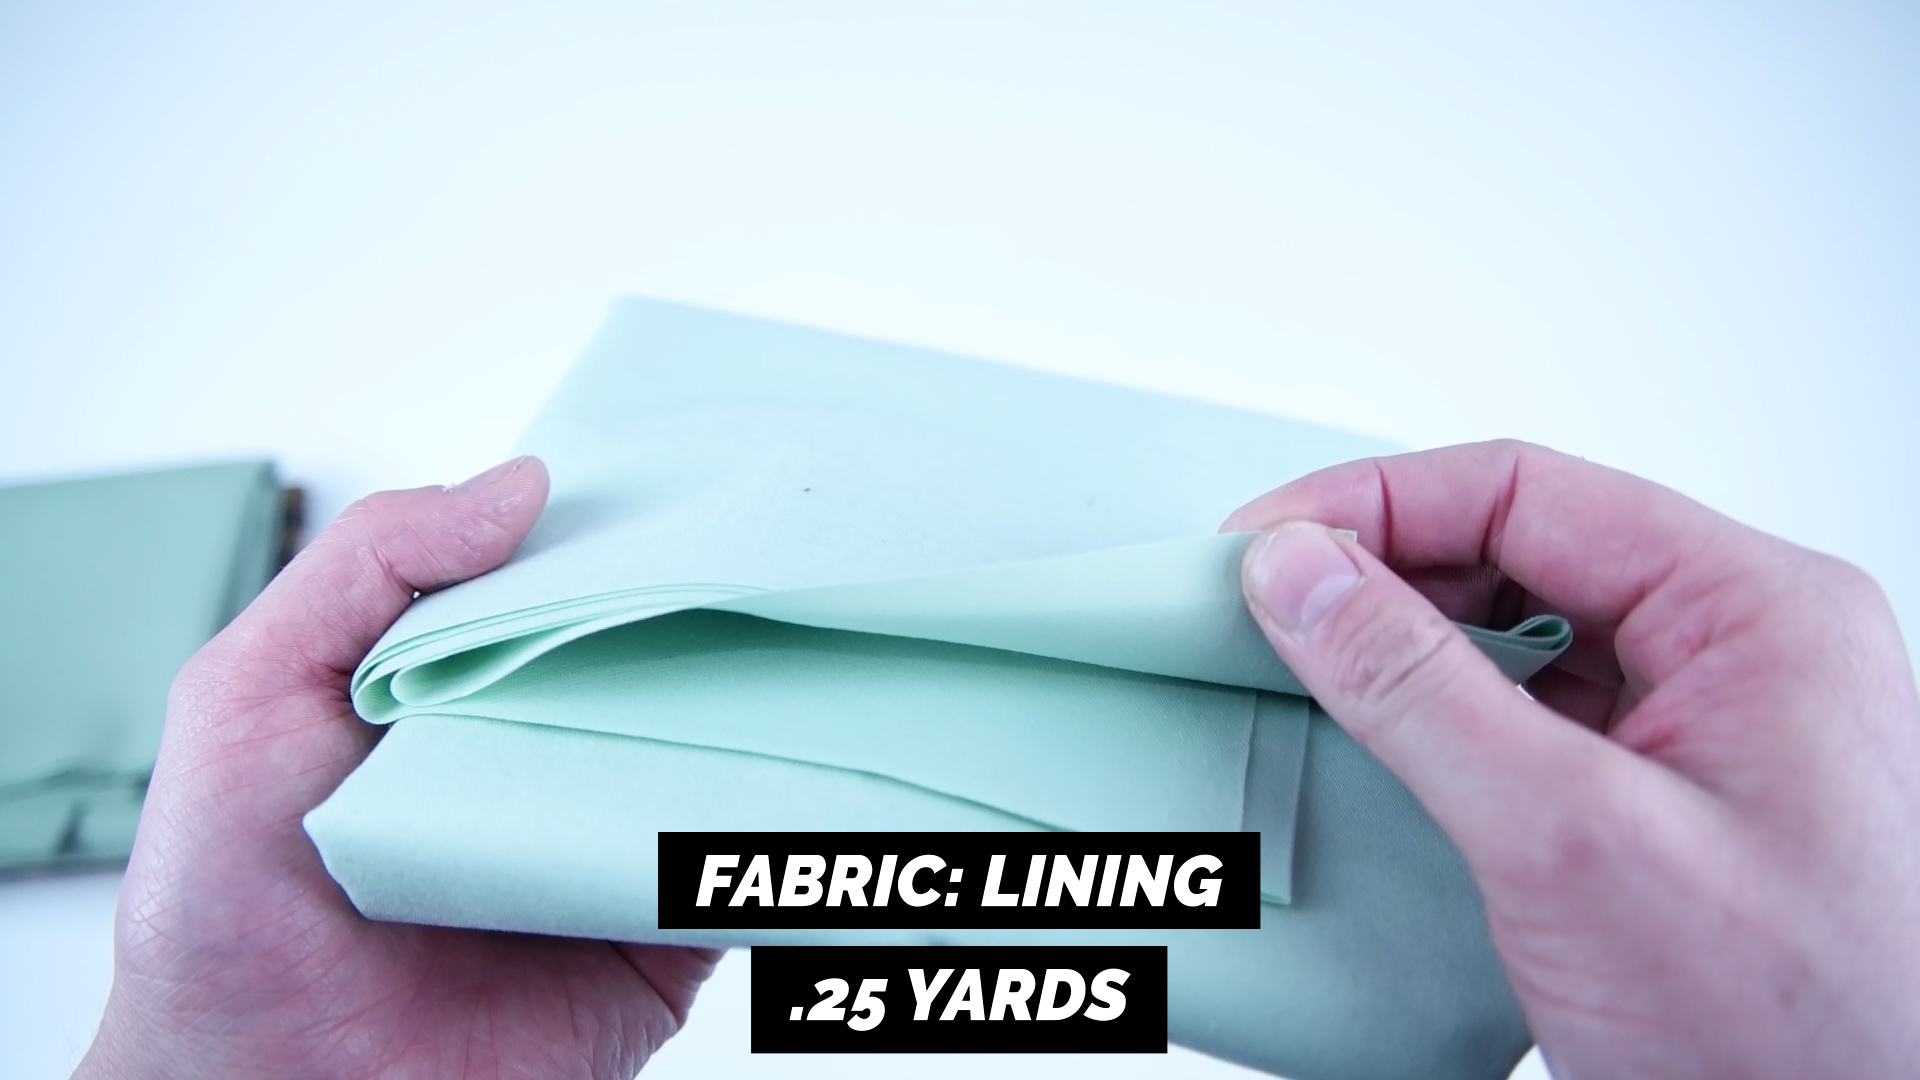
-Fabric lining: .25 yards (non stretch soft cotton)
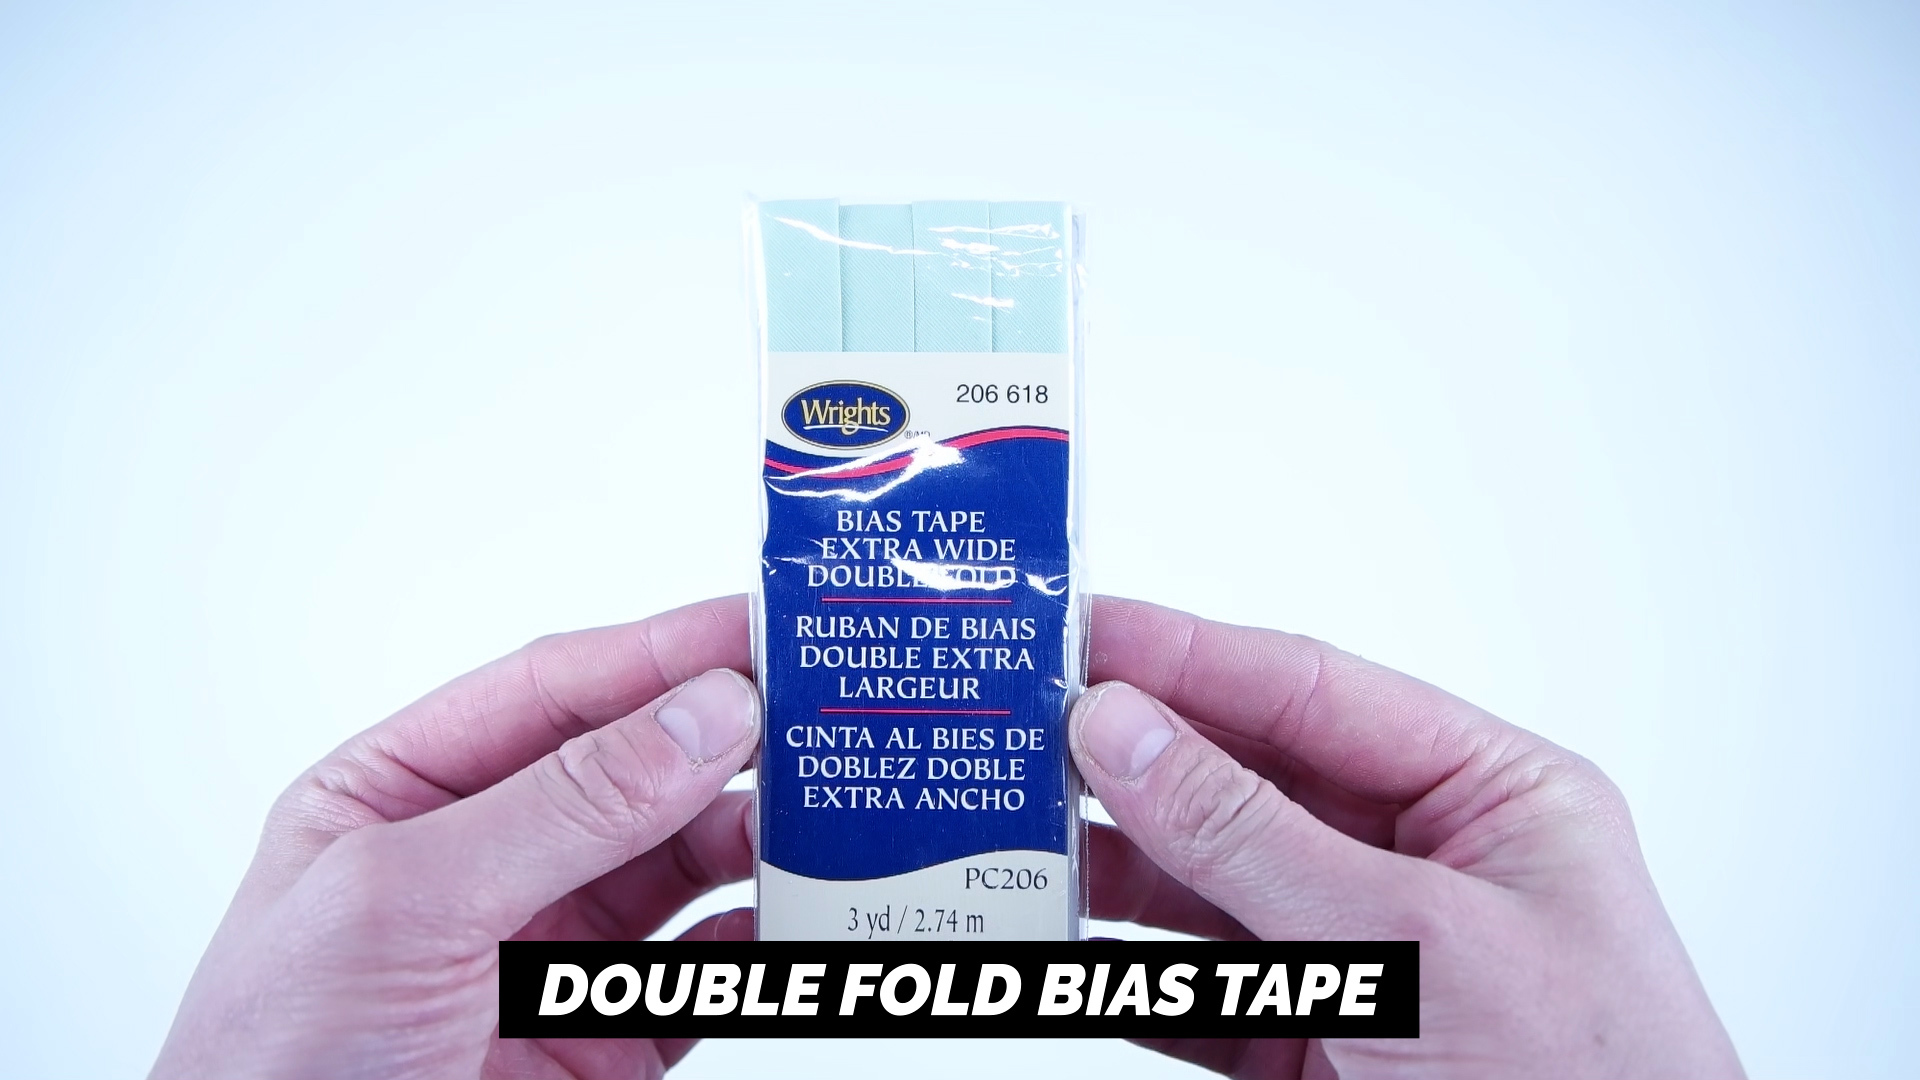
-Bias tape: Extra wide
-Braided Elastic 1/8in(.32cm): 24 inches -PM2.5 filter
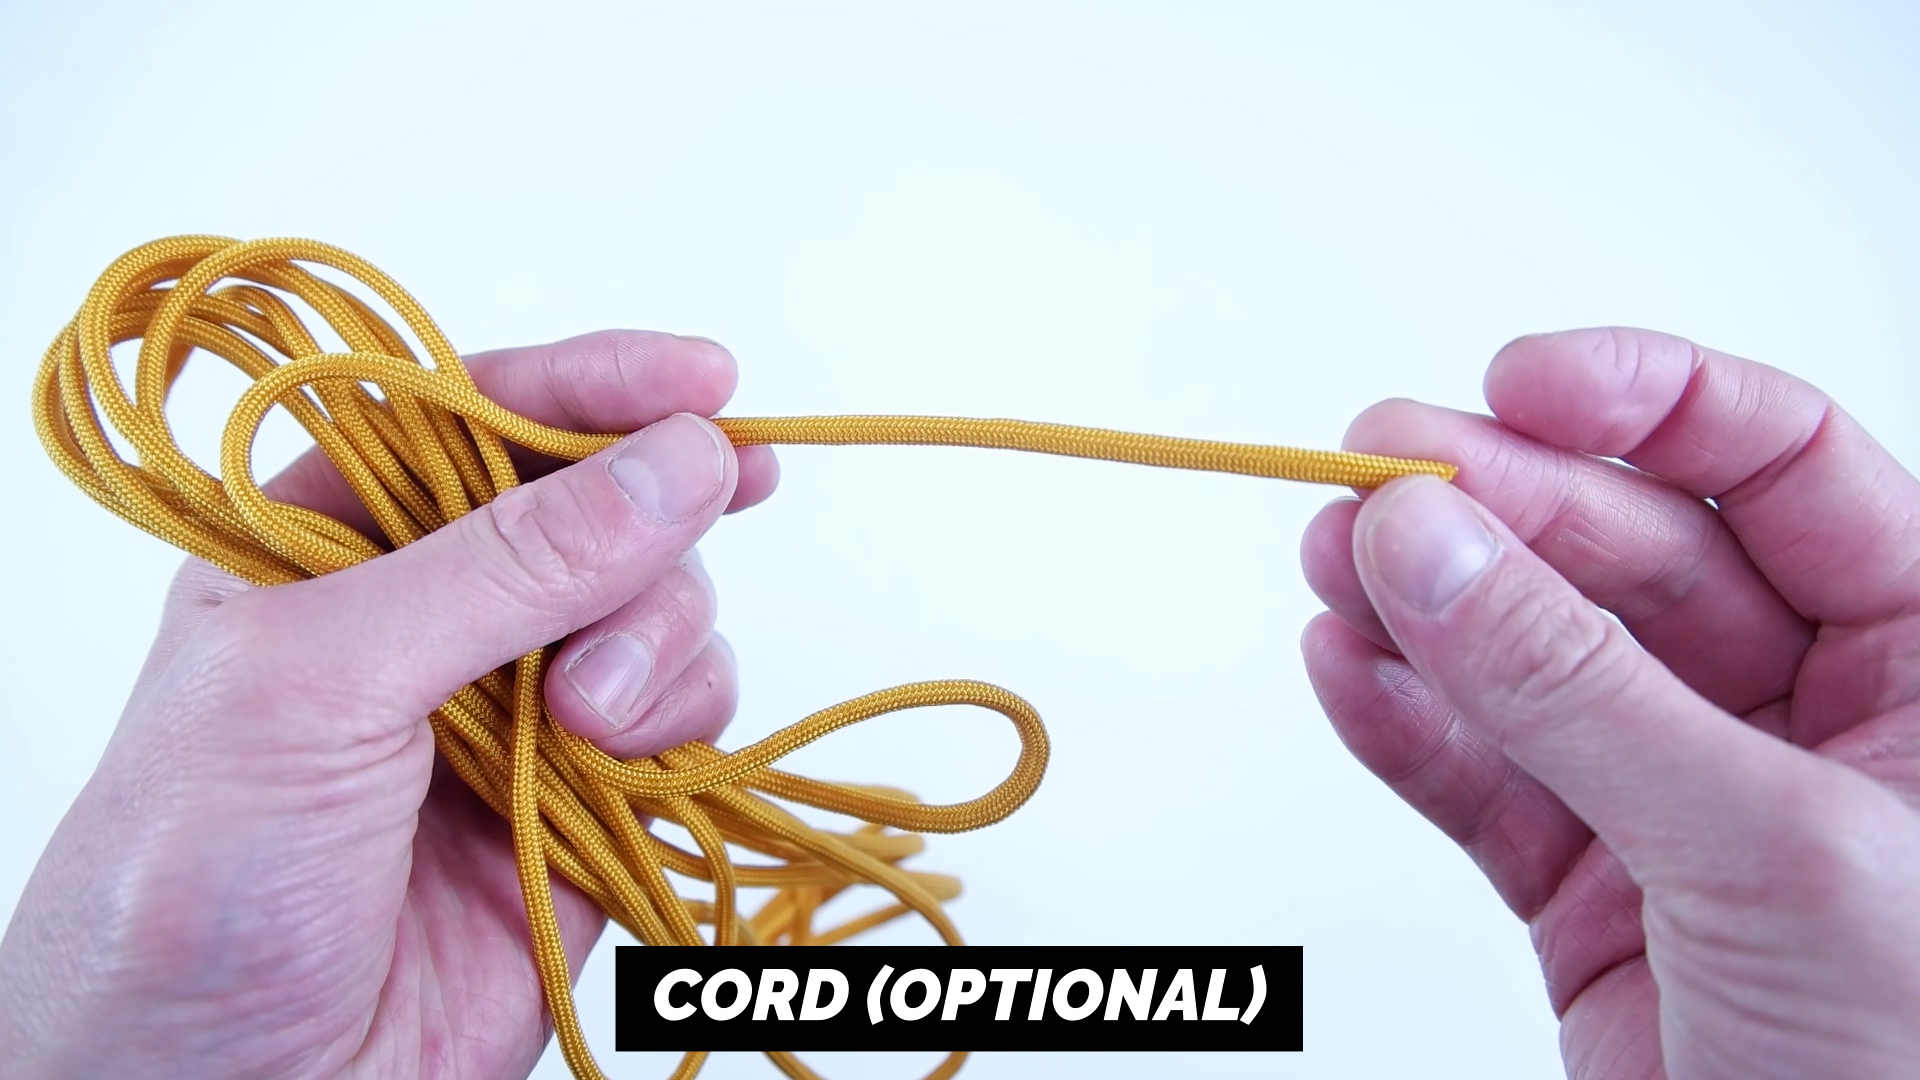
-Cord (optional): 1 yard
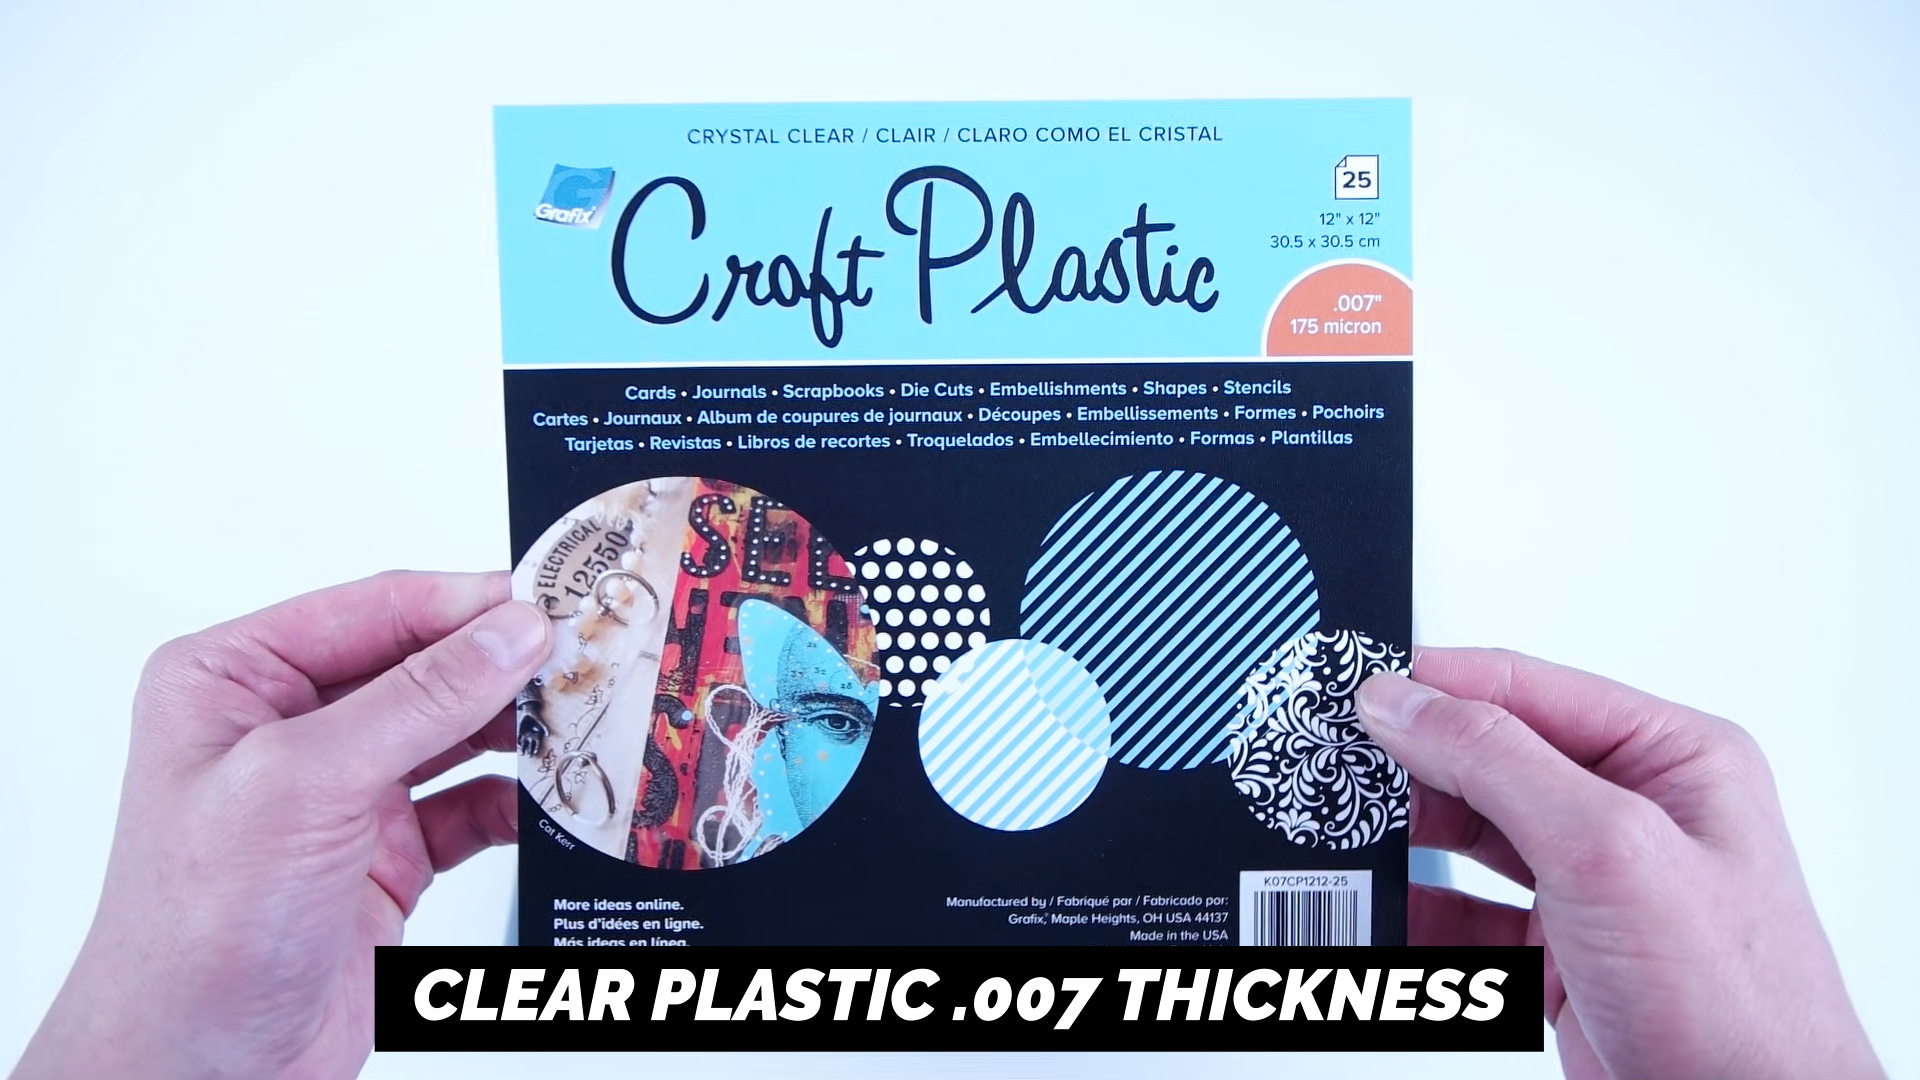
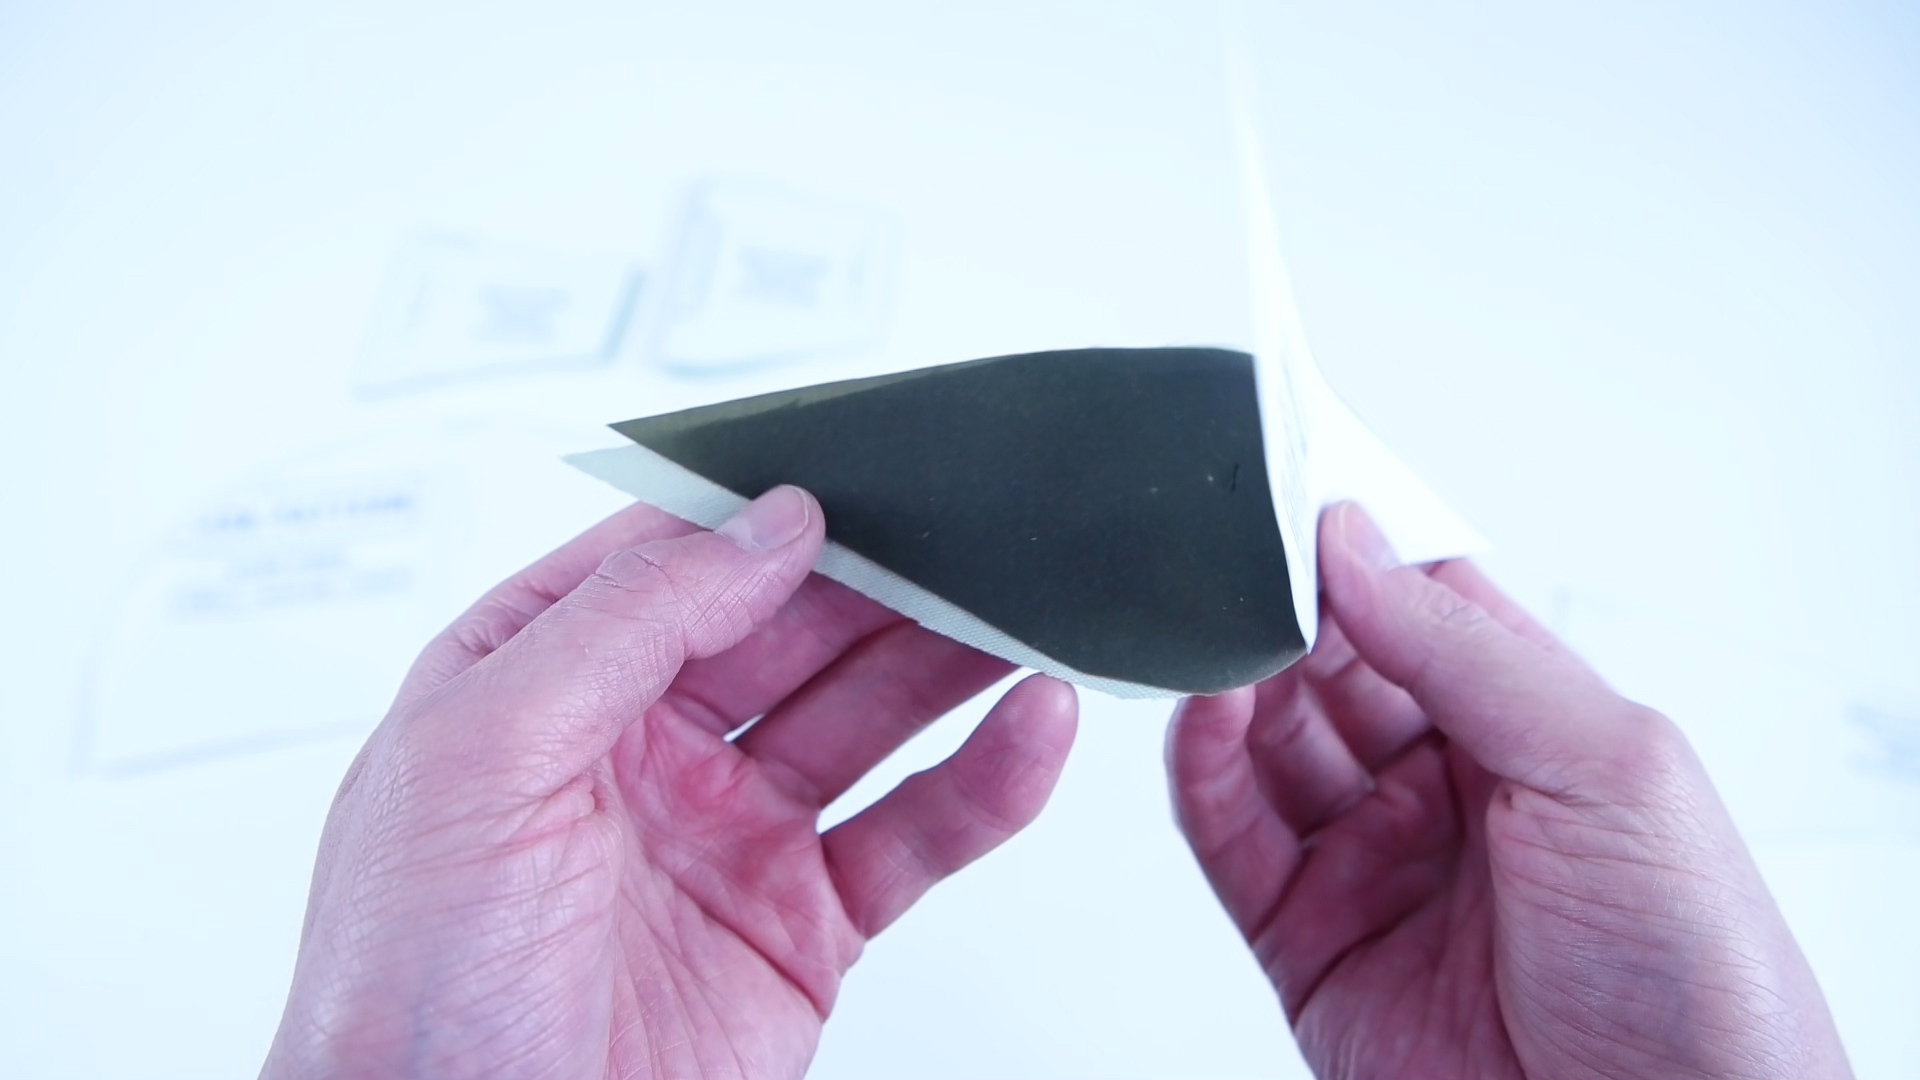
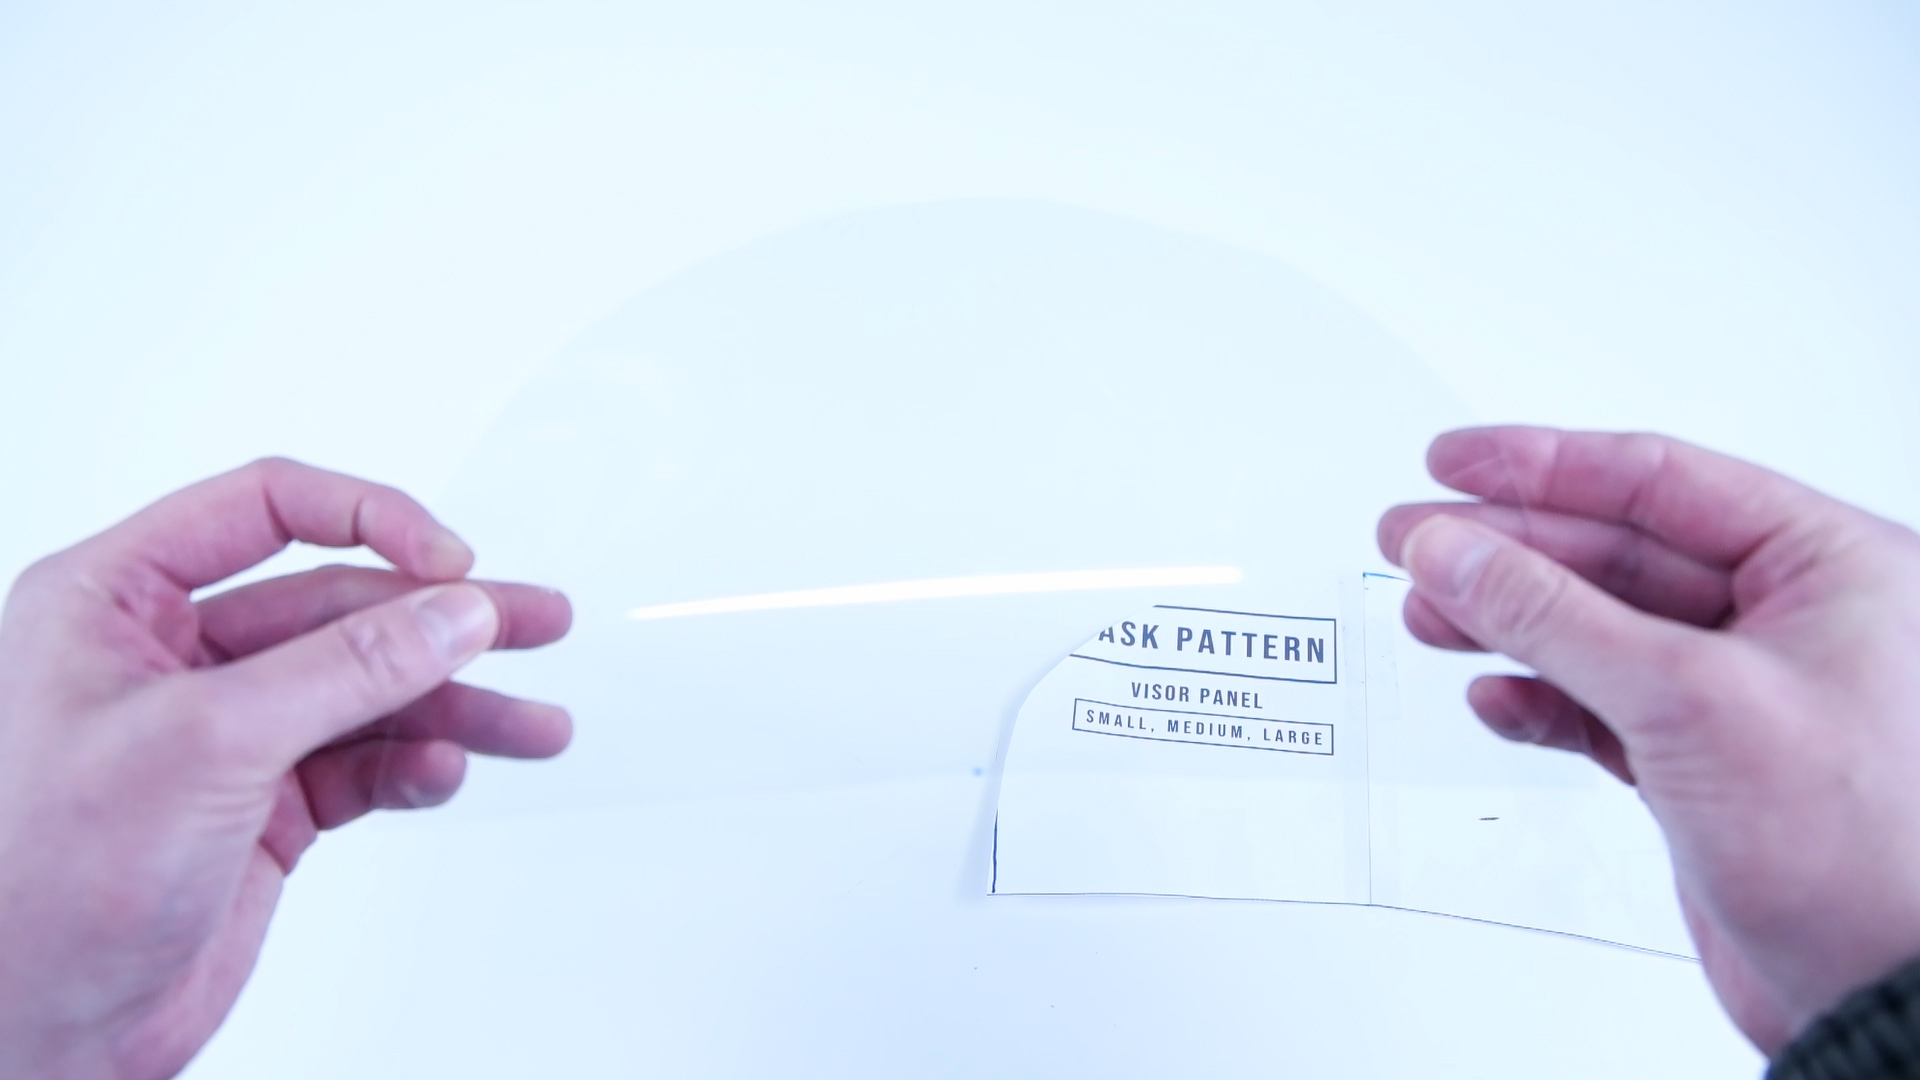
-Clear plastic .007 thickness (optional): 1 sheet. Typically sold in packs of 20-25 sheets.
-PM2.5 Filter: 1
-Pattern: Available at properfitclothing.com :)
Cut Pattern
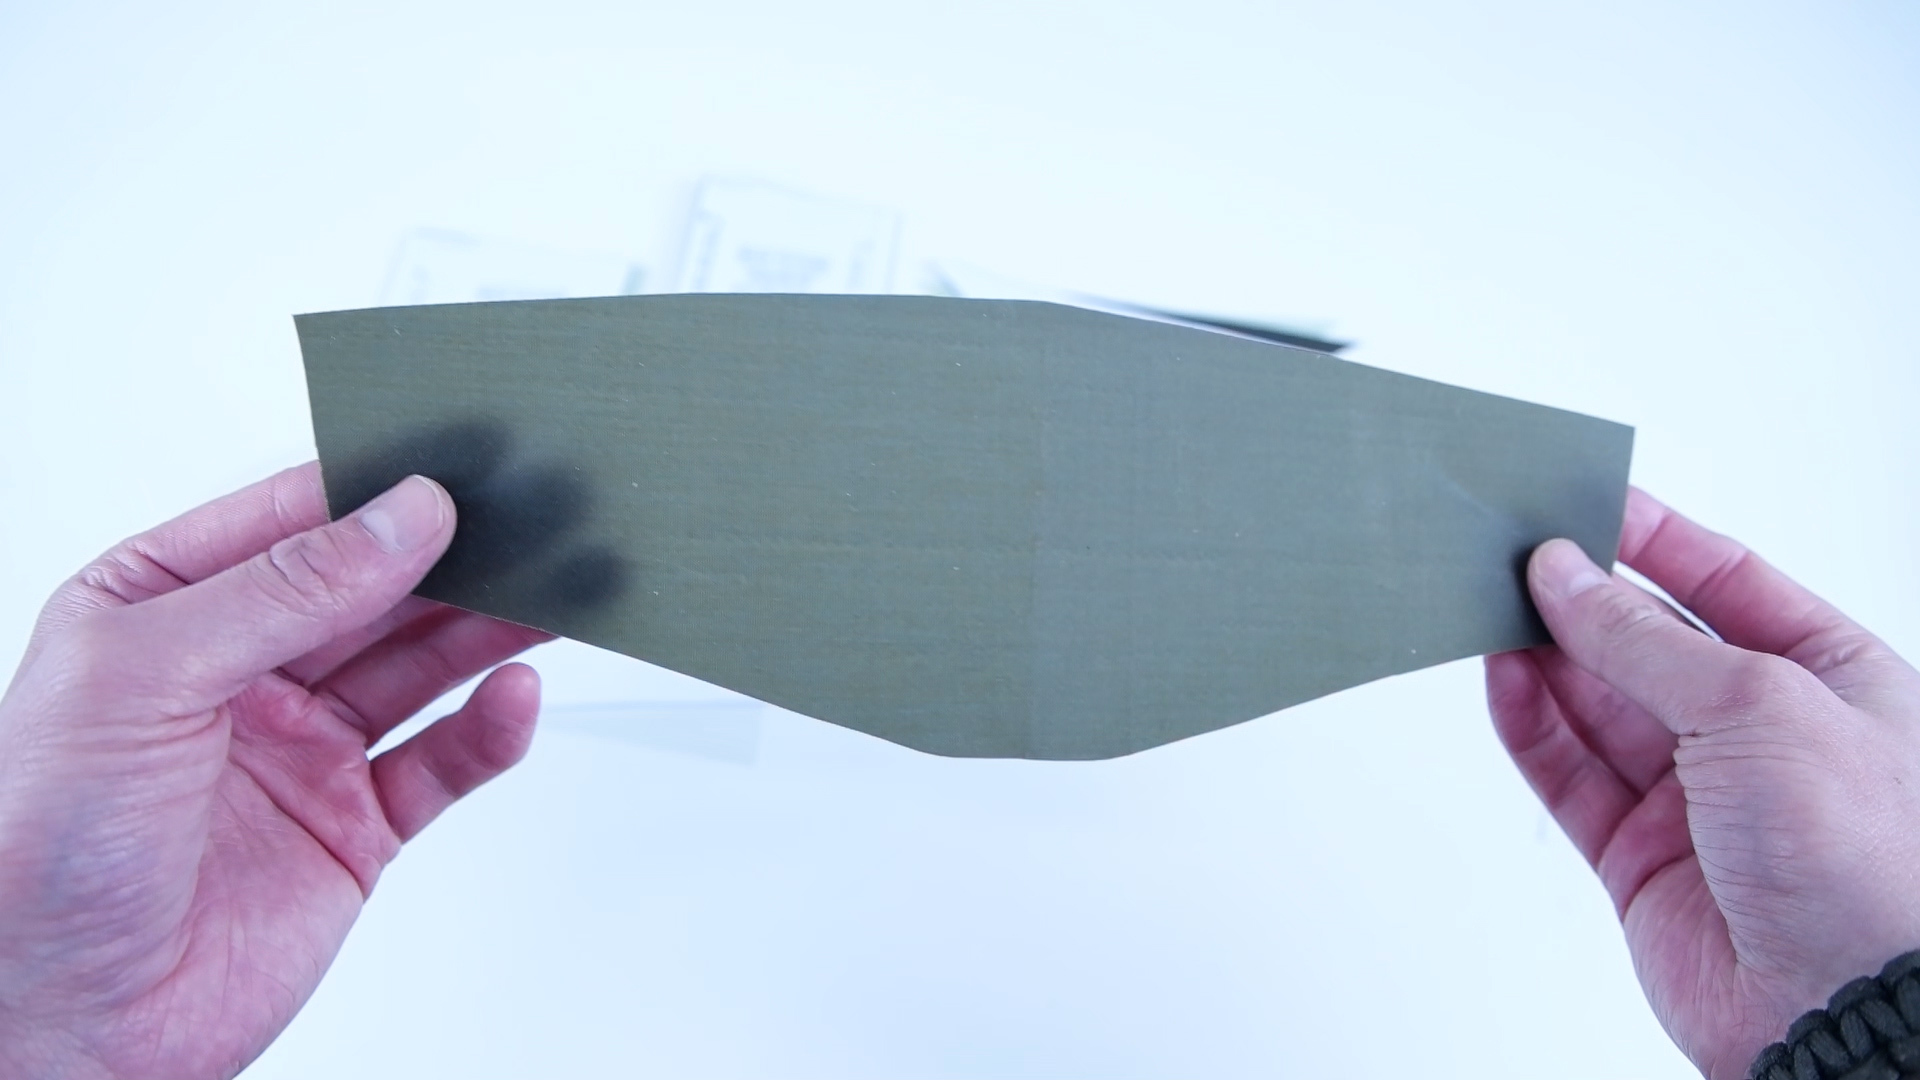
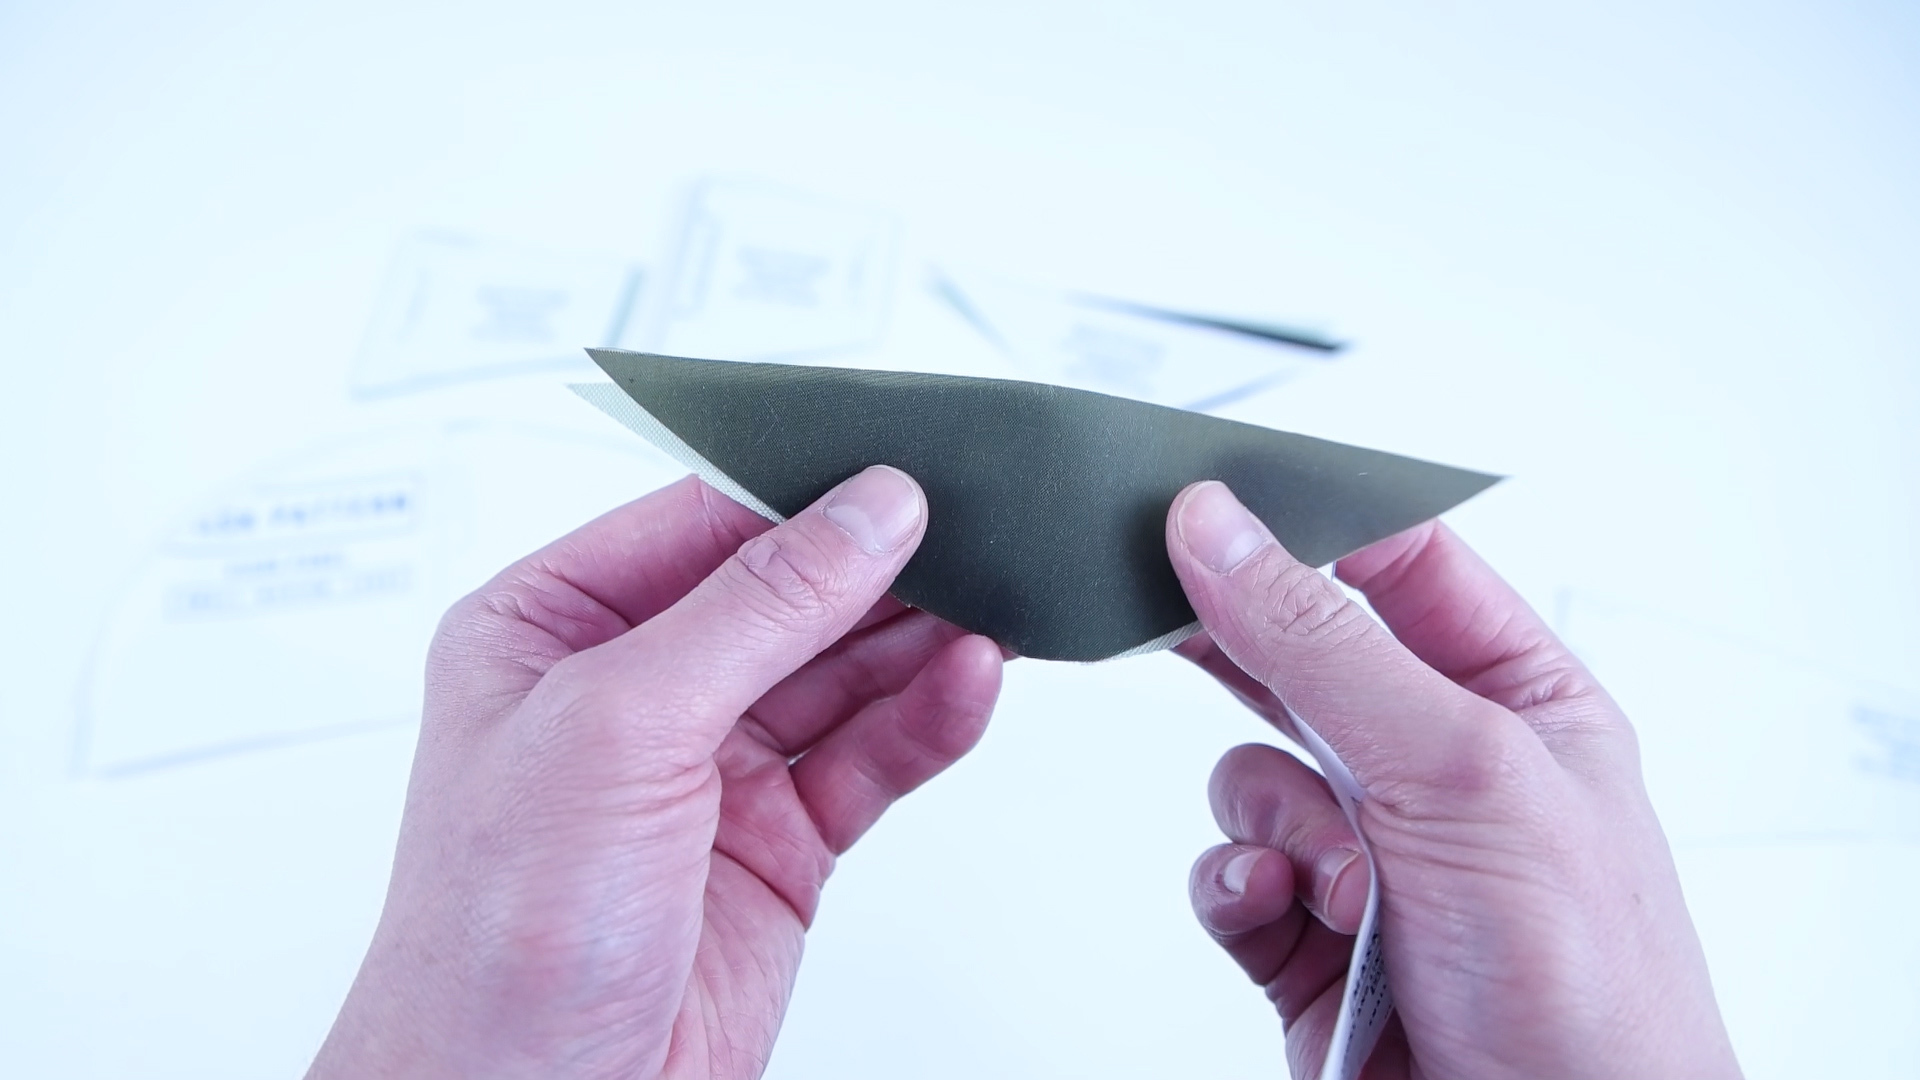

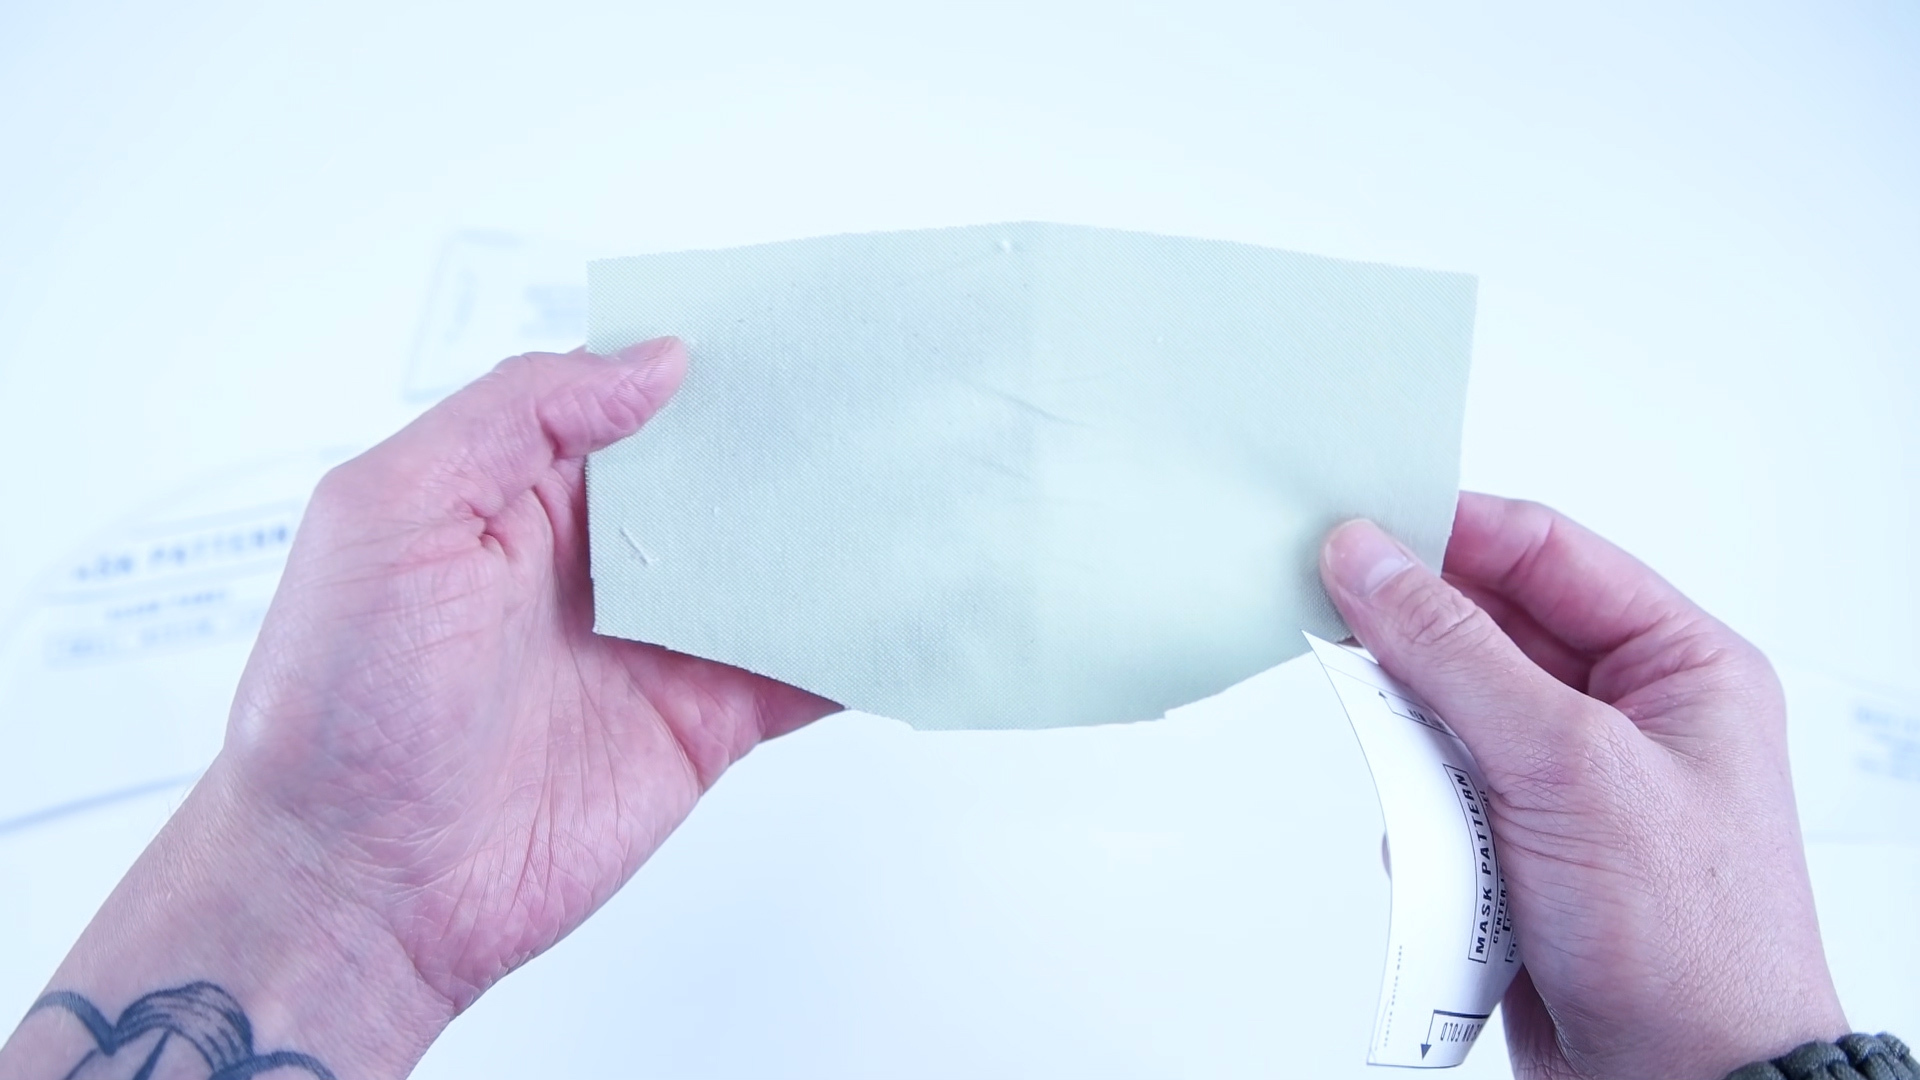
-Front main panel: Cut 1 on the fold.
-Front and lining chin panel: Cut 1 outer layer fabric. Cut 1 lining fabric.
-Front and lining nose panel: Cut 1 outer layer fabric. Cut 1 lining fabric.
-Lining side panel: Cut 2 lining fabric.
-Center lining panel: Cut 1 lining fabric.
-Visor panel: Cut 1 (optional)
Hem Lining Panels
-Mark the hem lines onto the lining panels.
-Both sides of center lining panel and only the inside edges of the lining side panels.
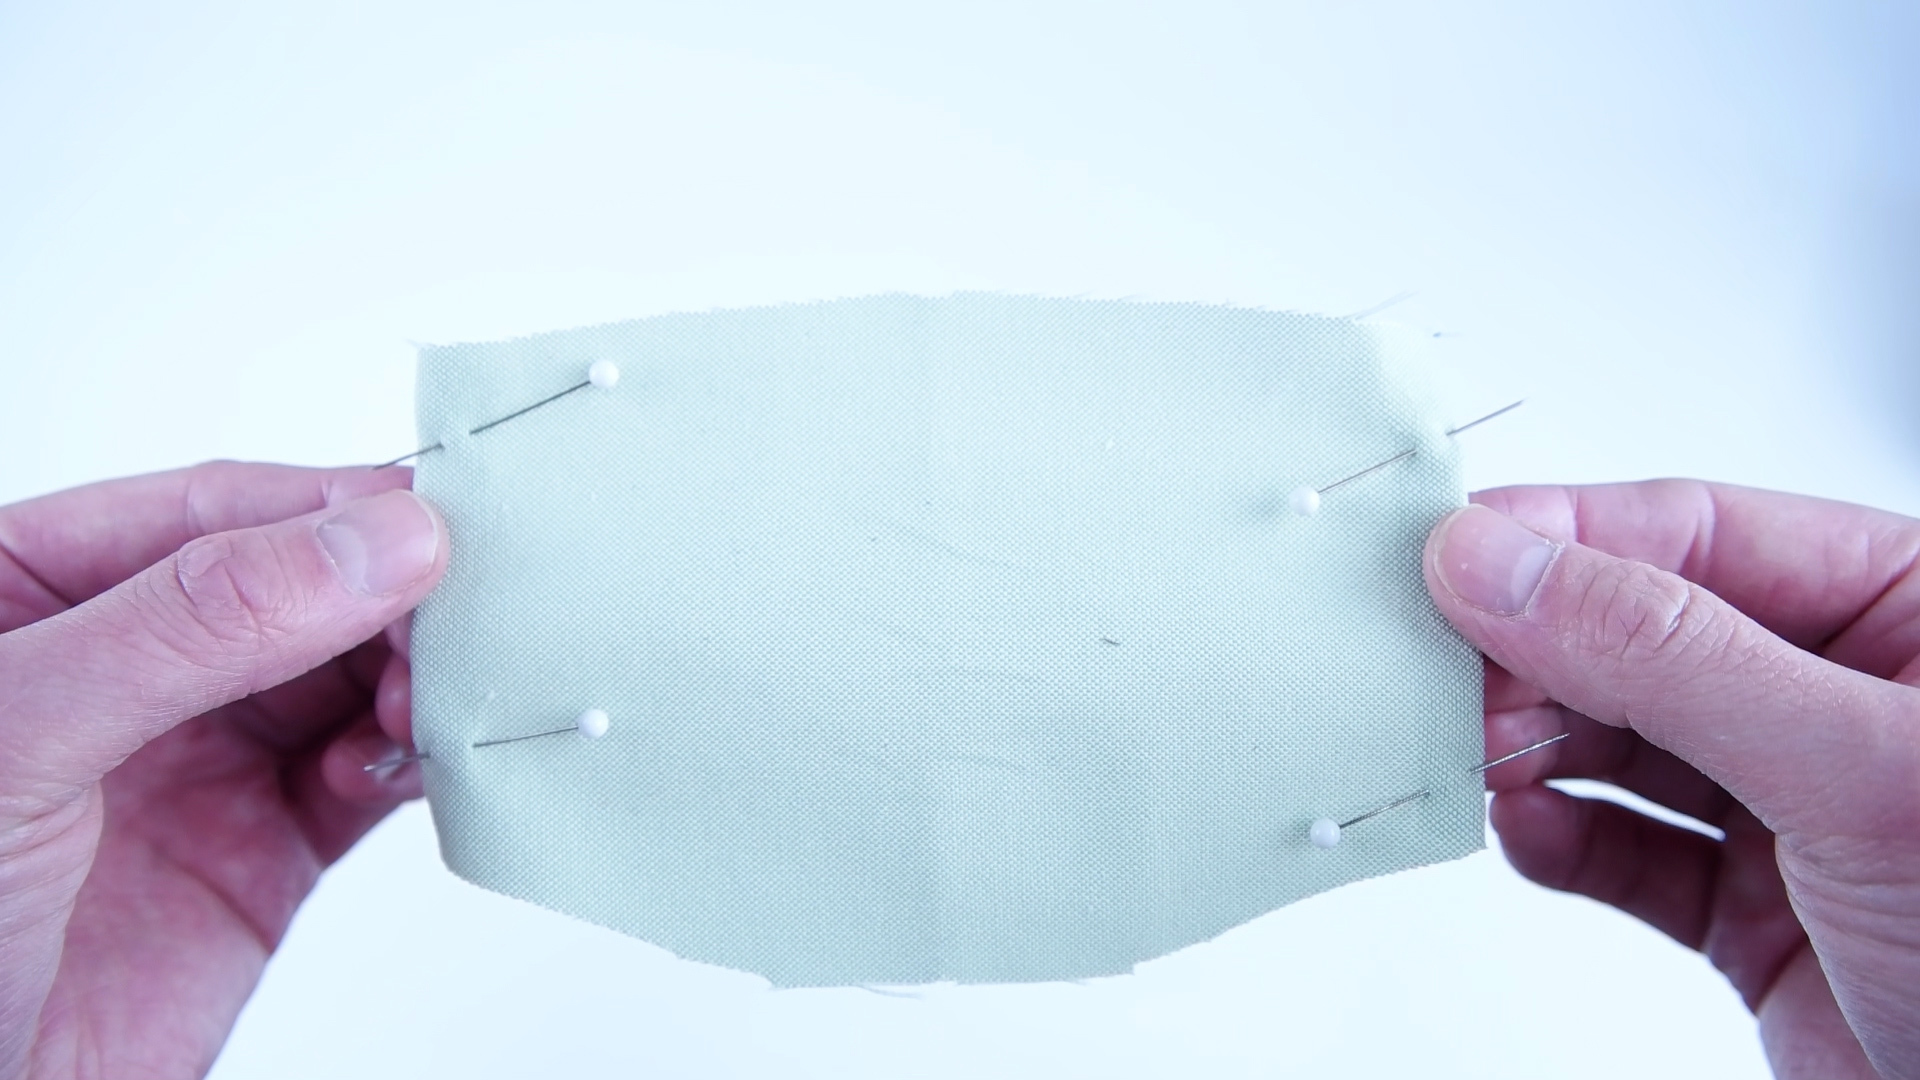
-Roll over and pin edge.
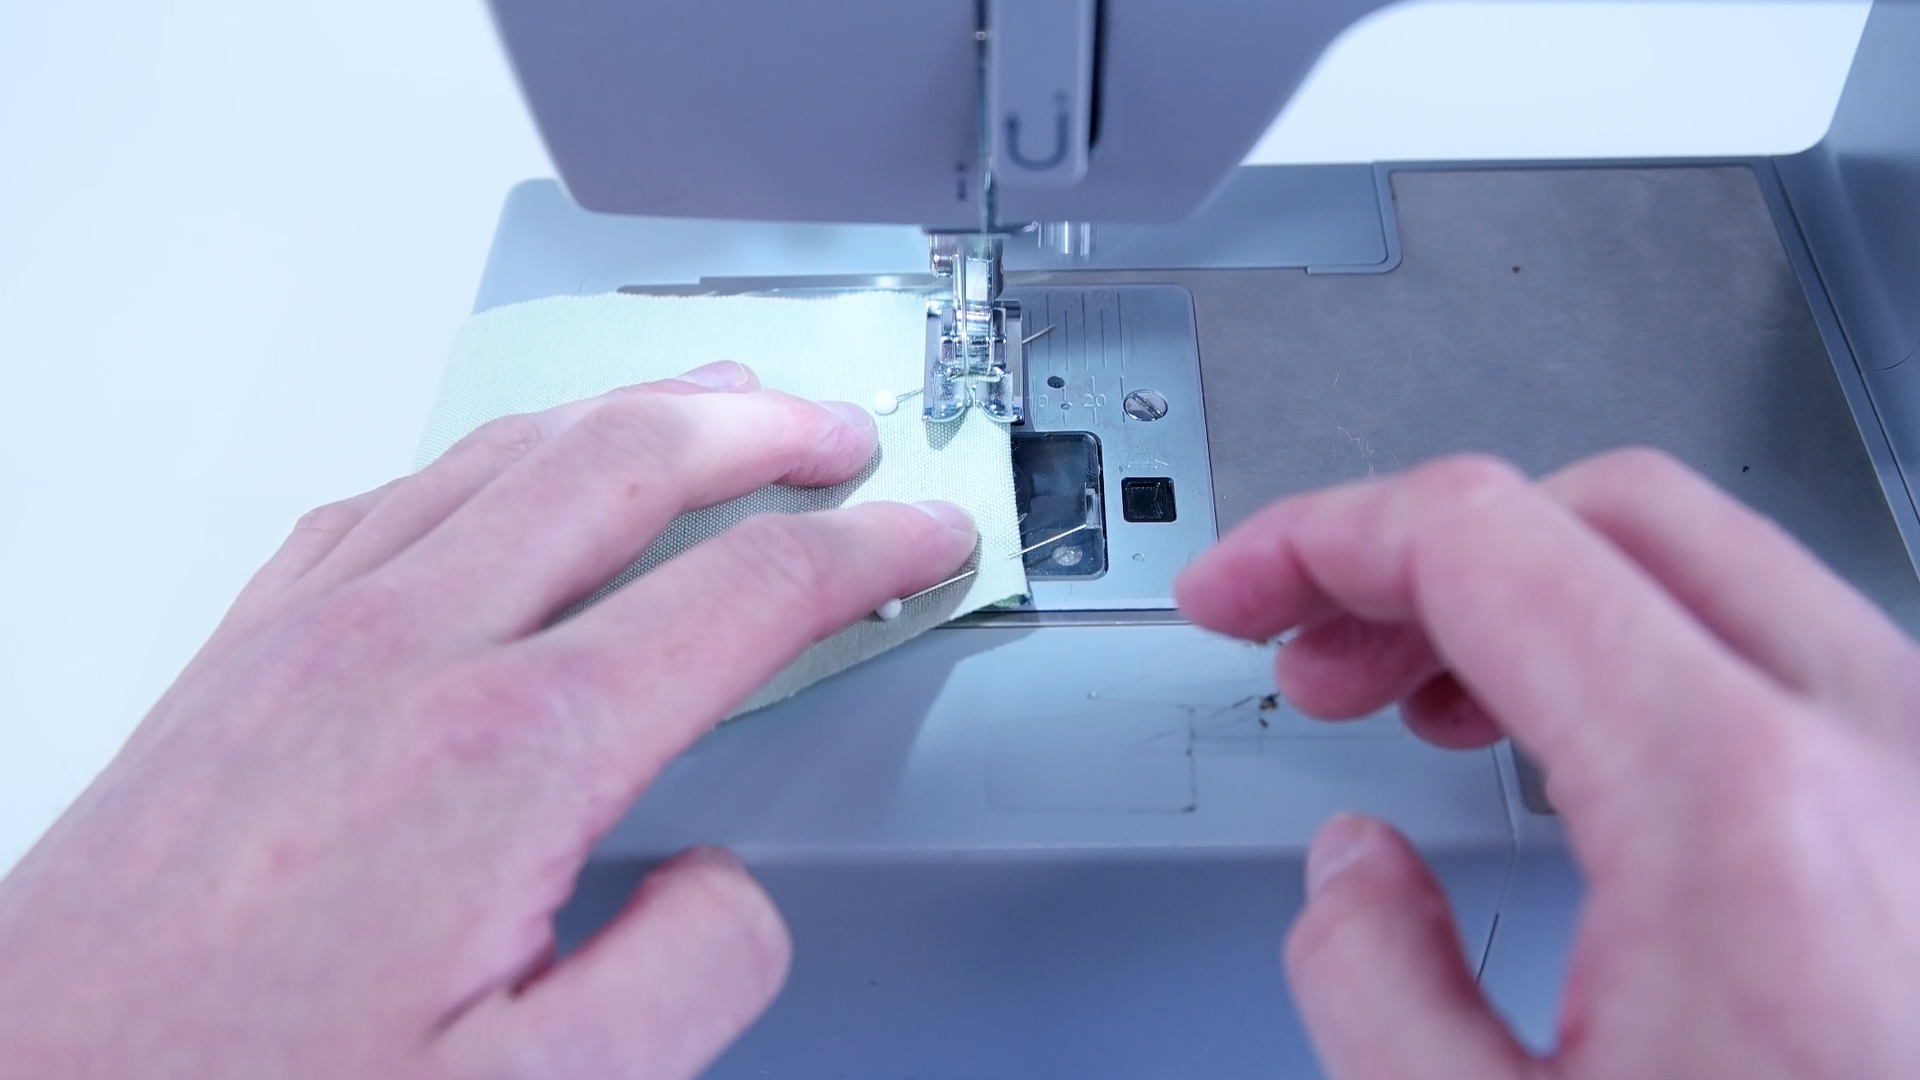
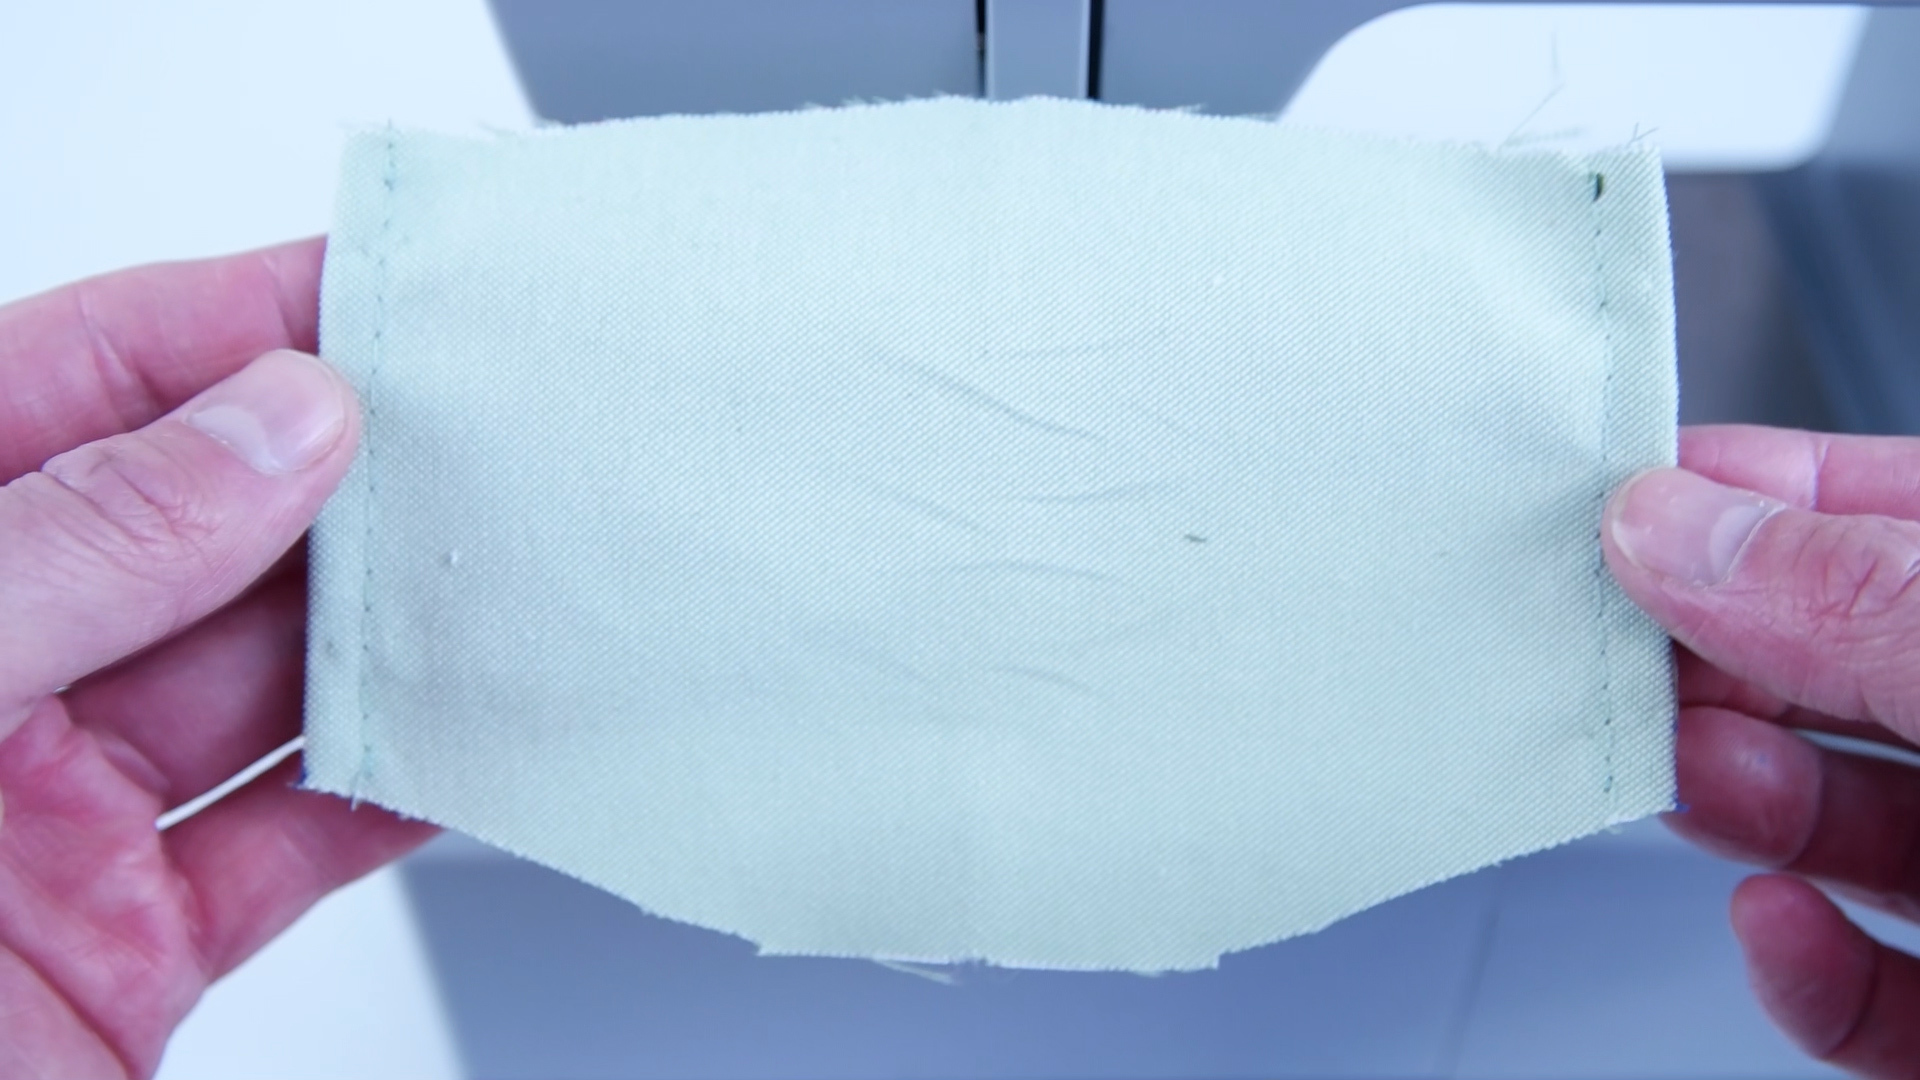
-Sew at .25 inch seam allowance.
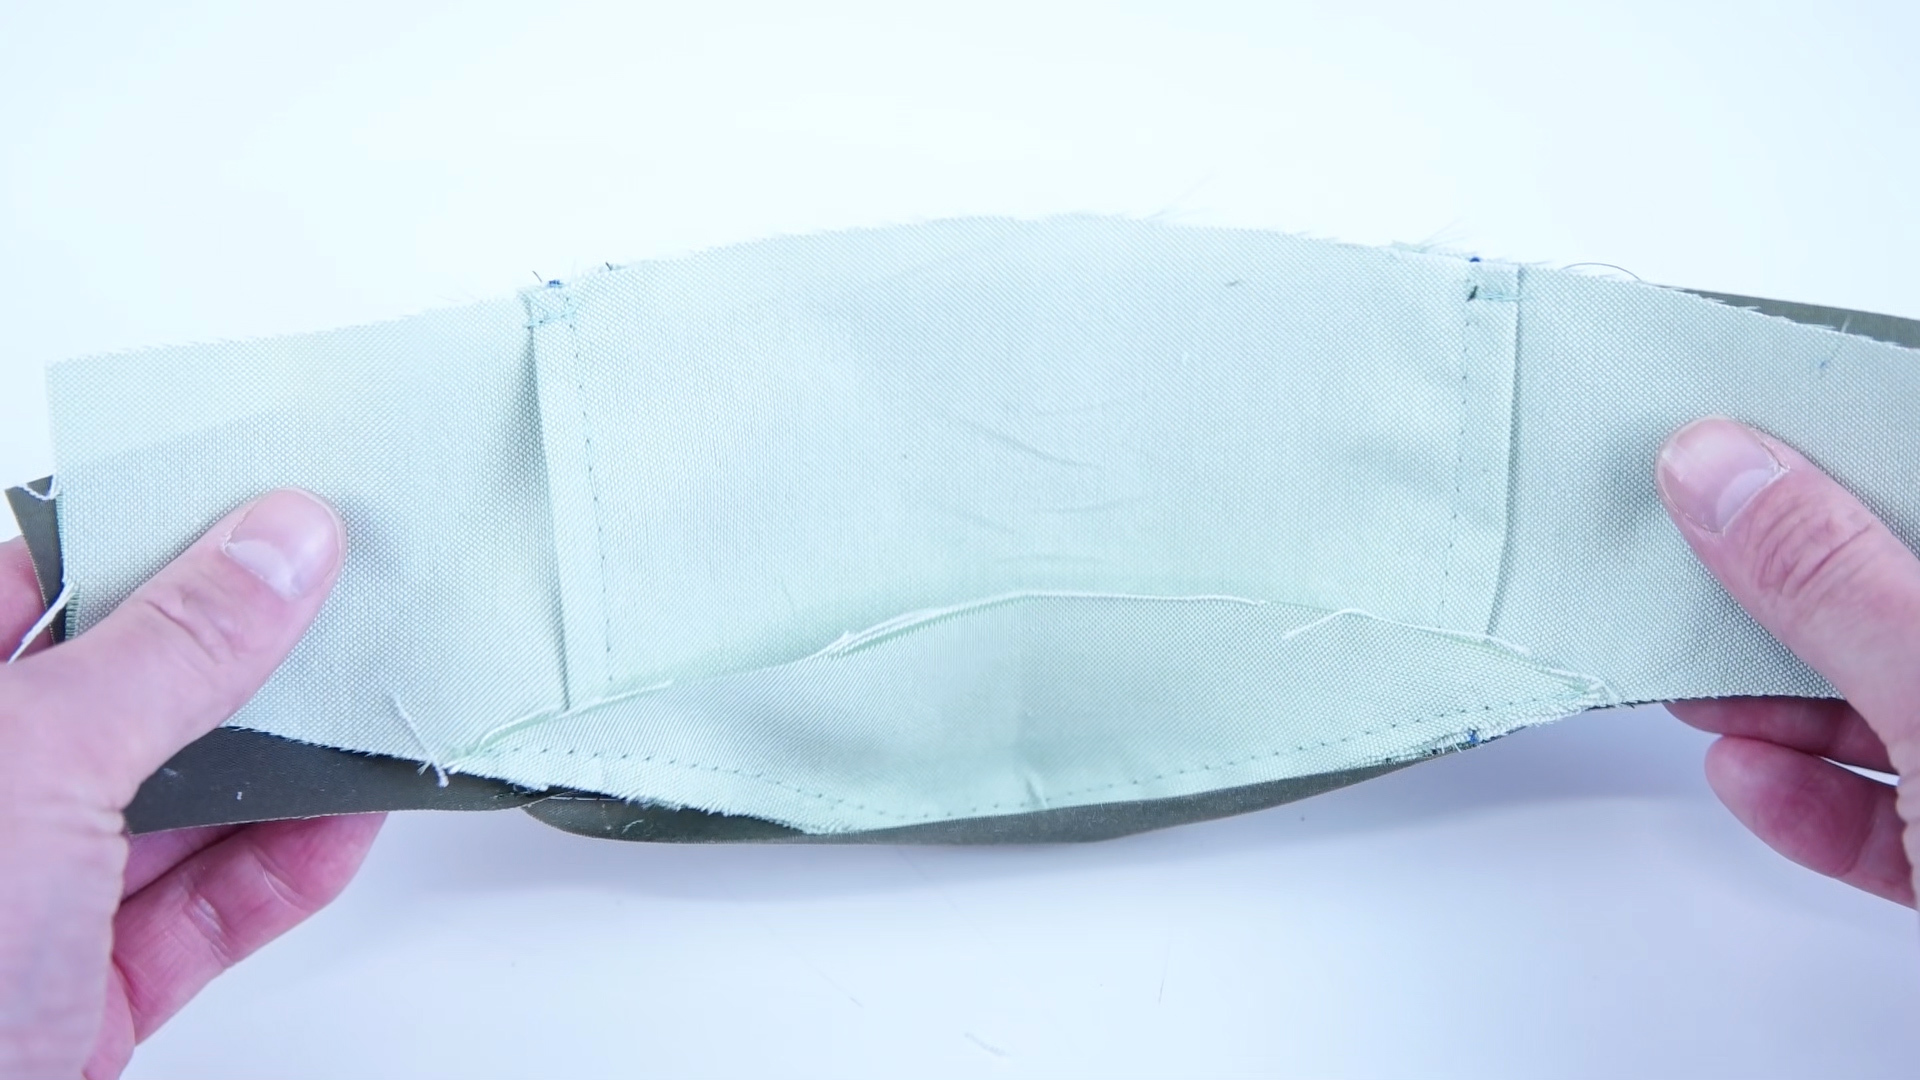
Attach Lining Panels
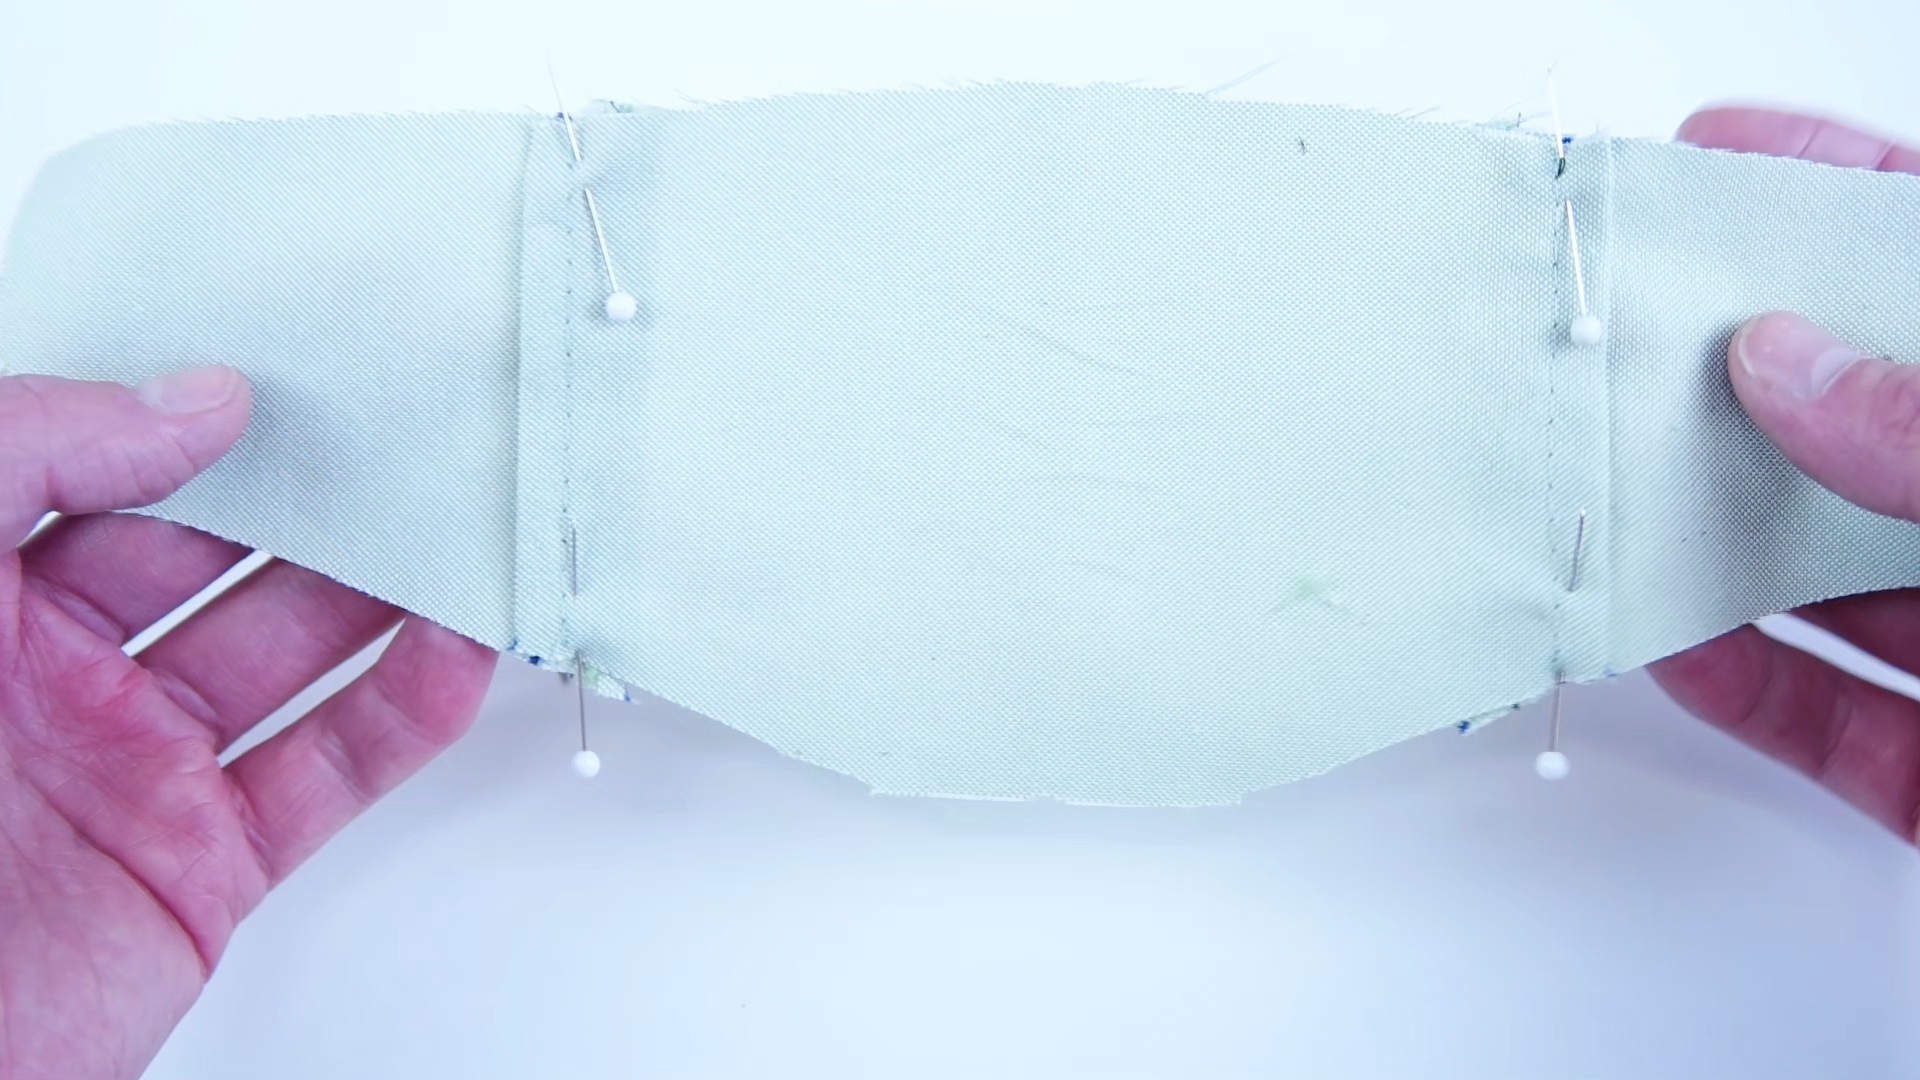
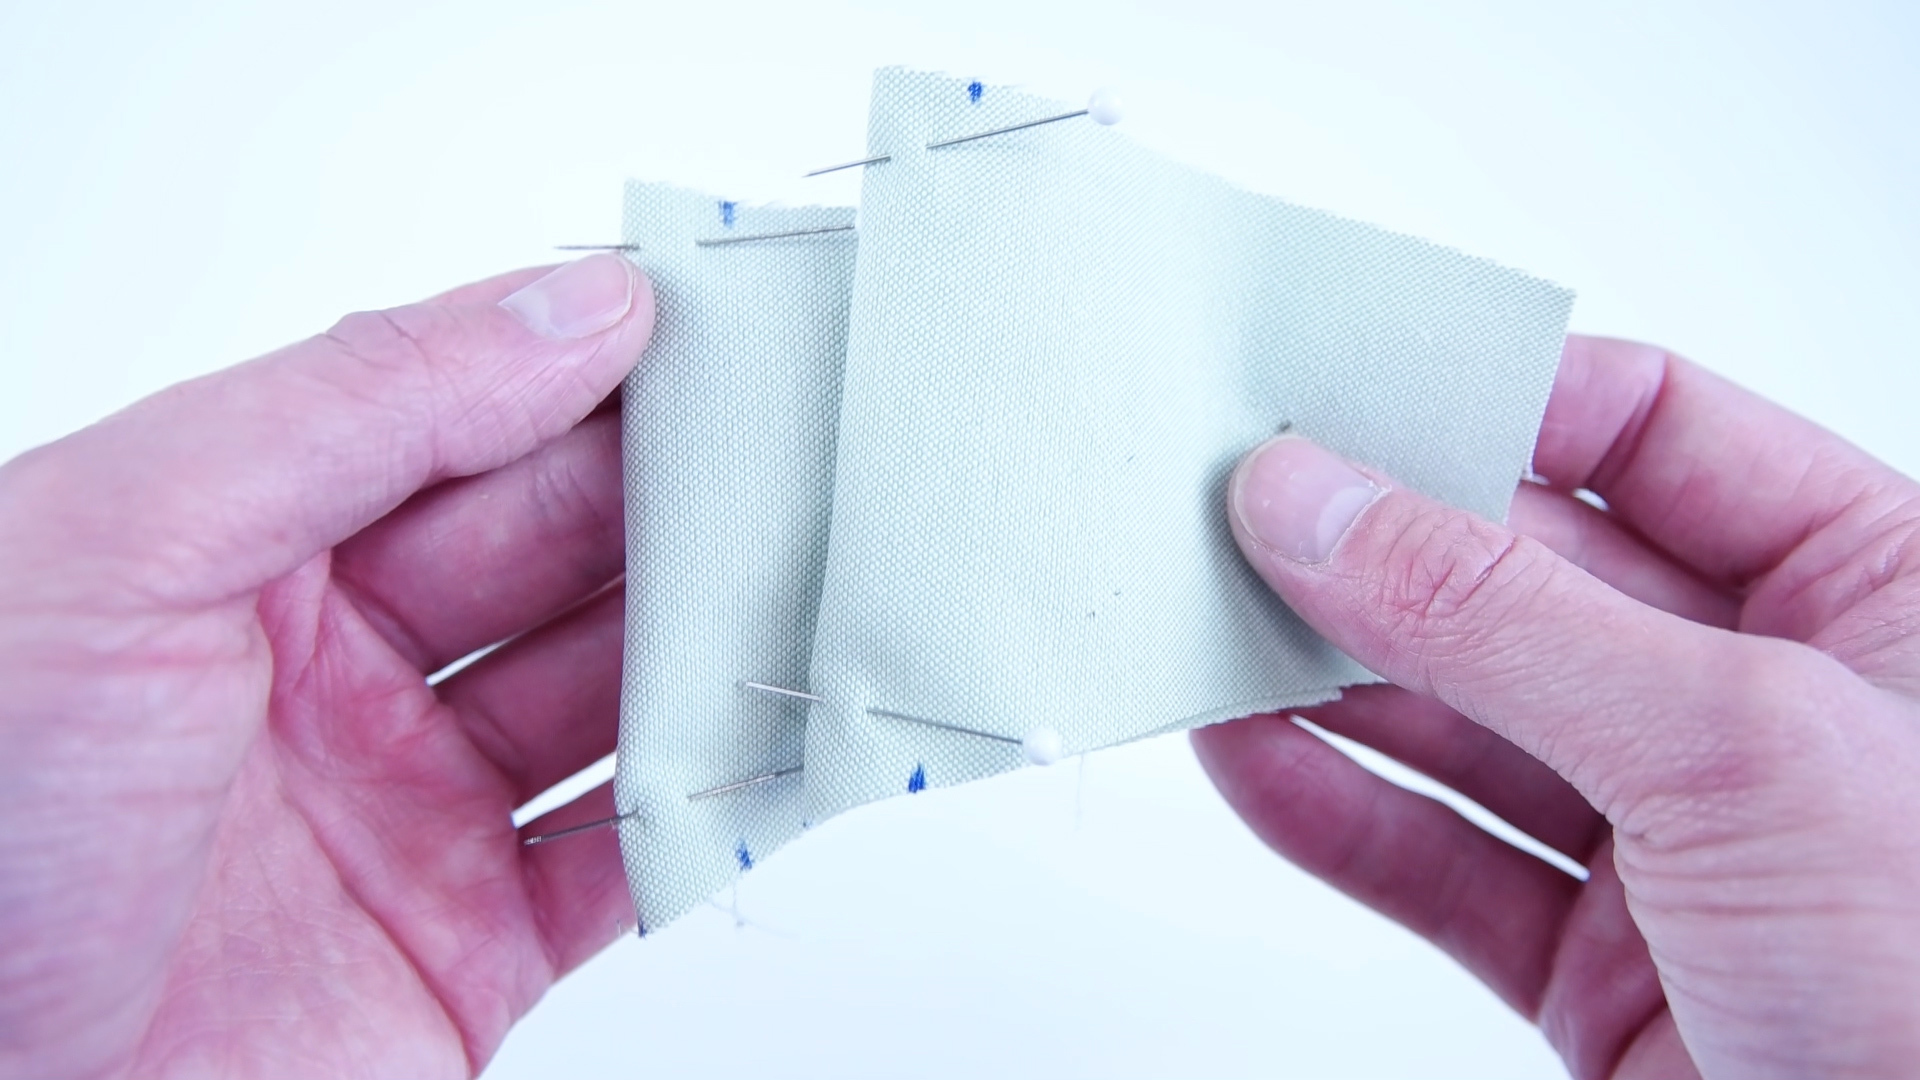
-Overlap the center lining panel with the side lining panels.
-Tack stitch just the bottoms.
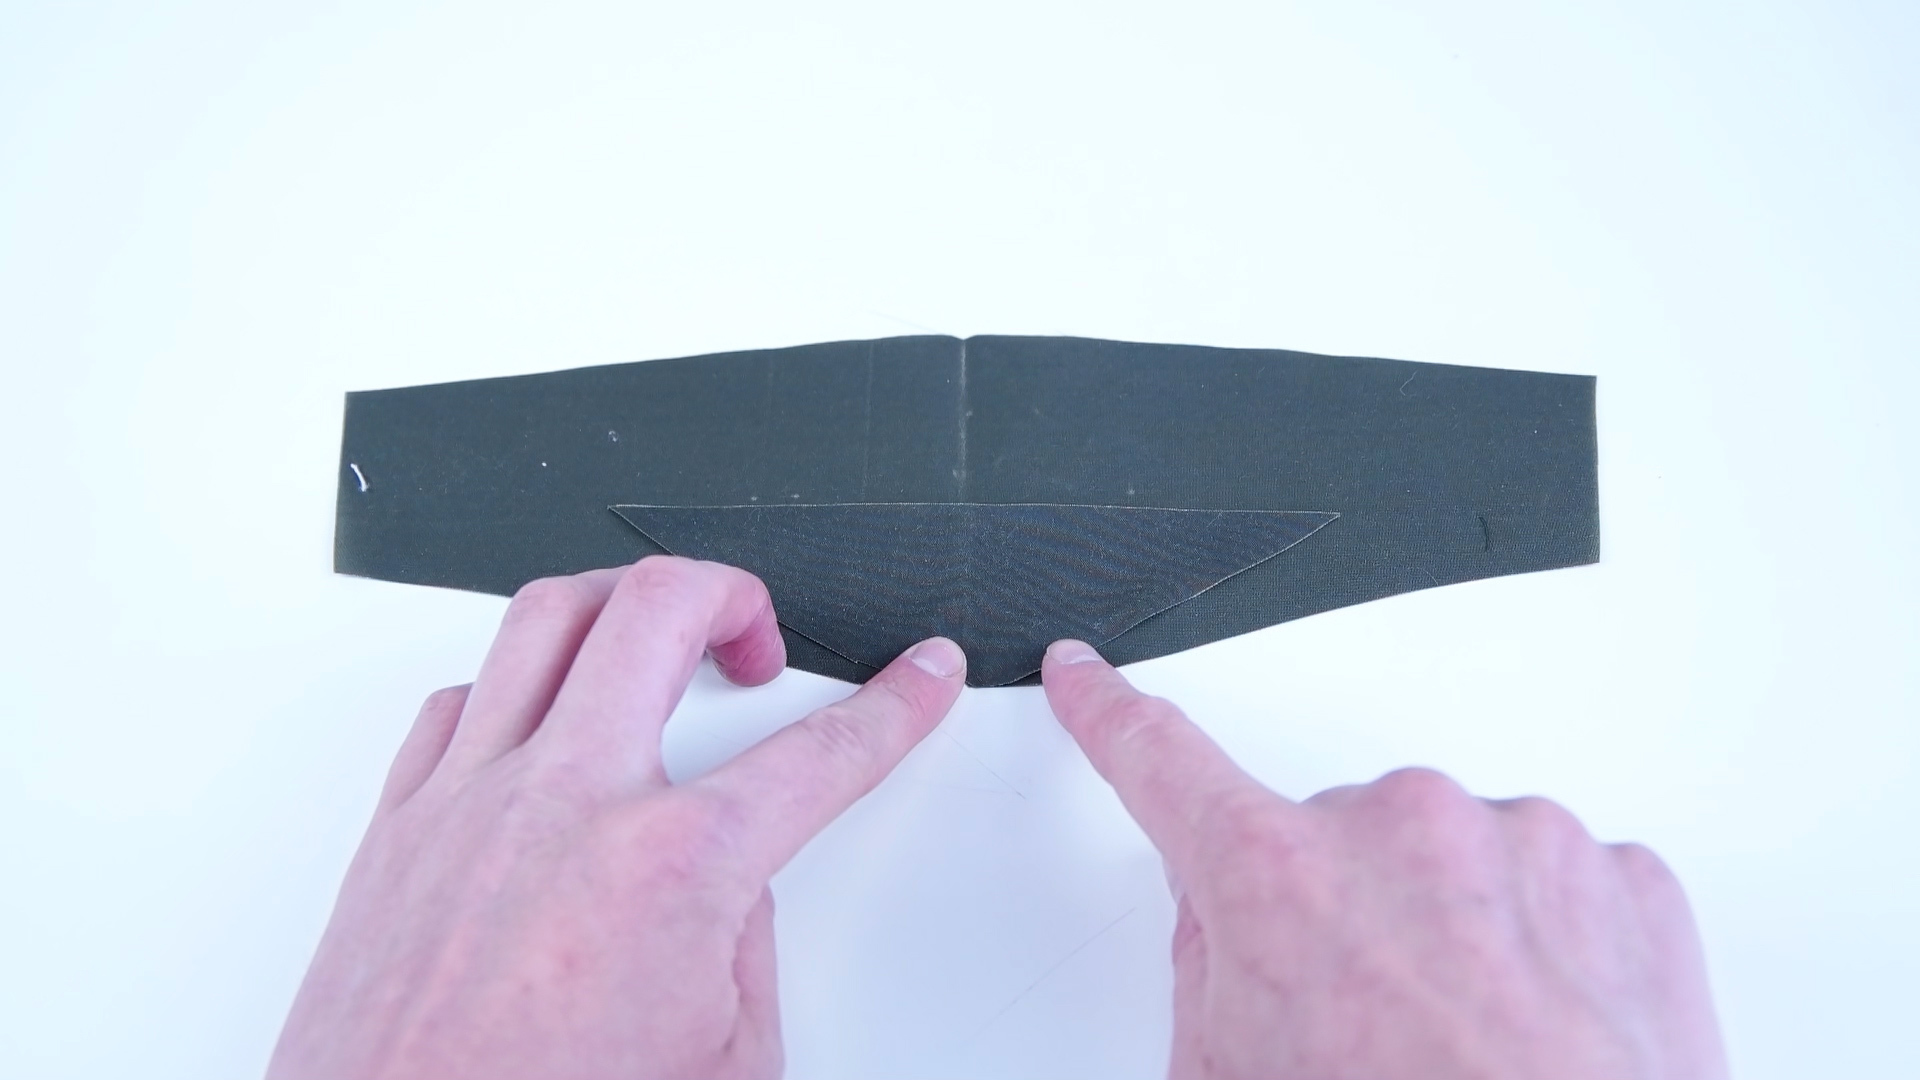
Attach Lining Chin Panel

-Line up notch points on bottom lining and center lining panels.
-Pin bottom in to position.
-Sew at .25 inch seam allowance.
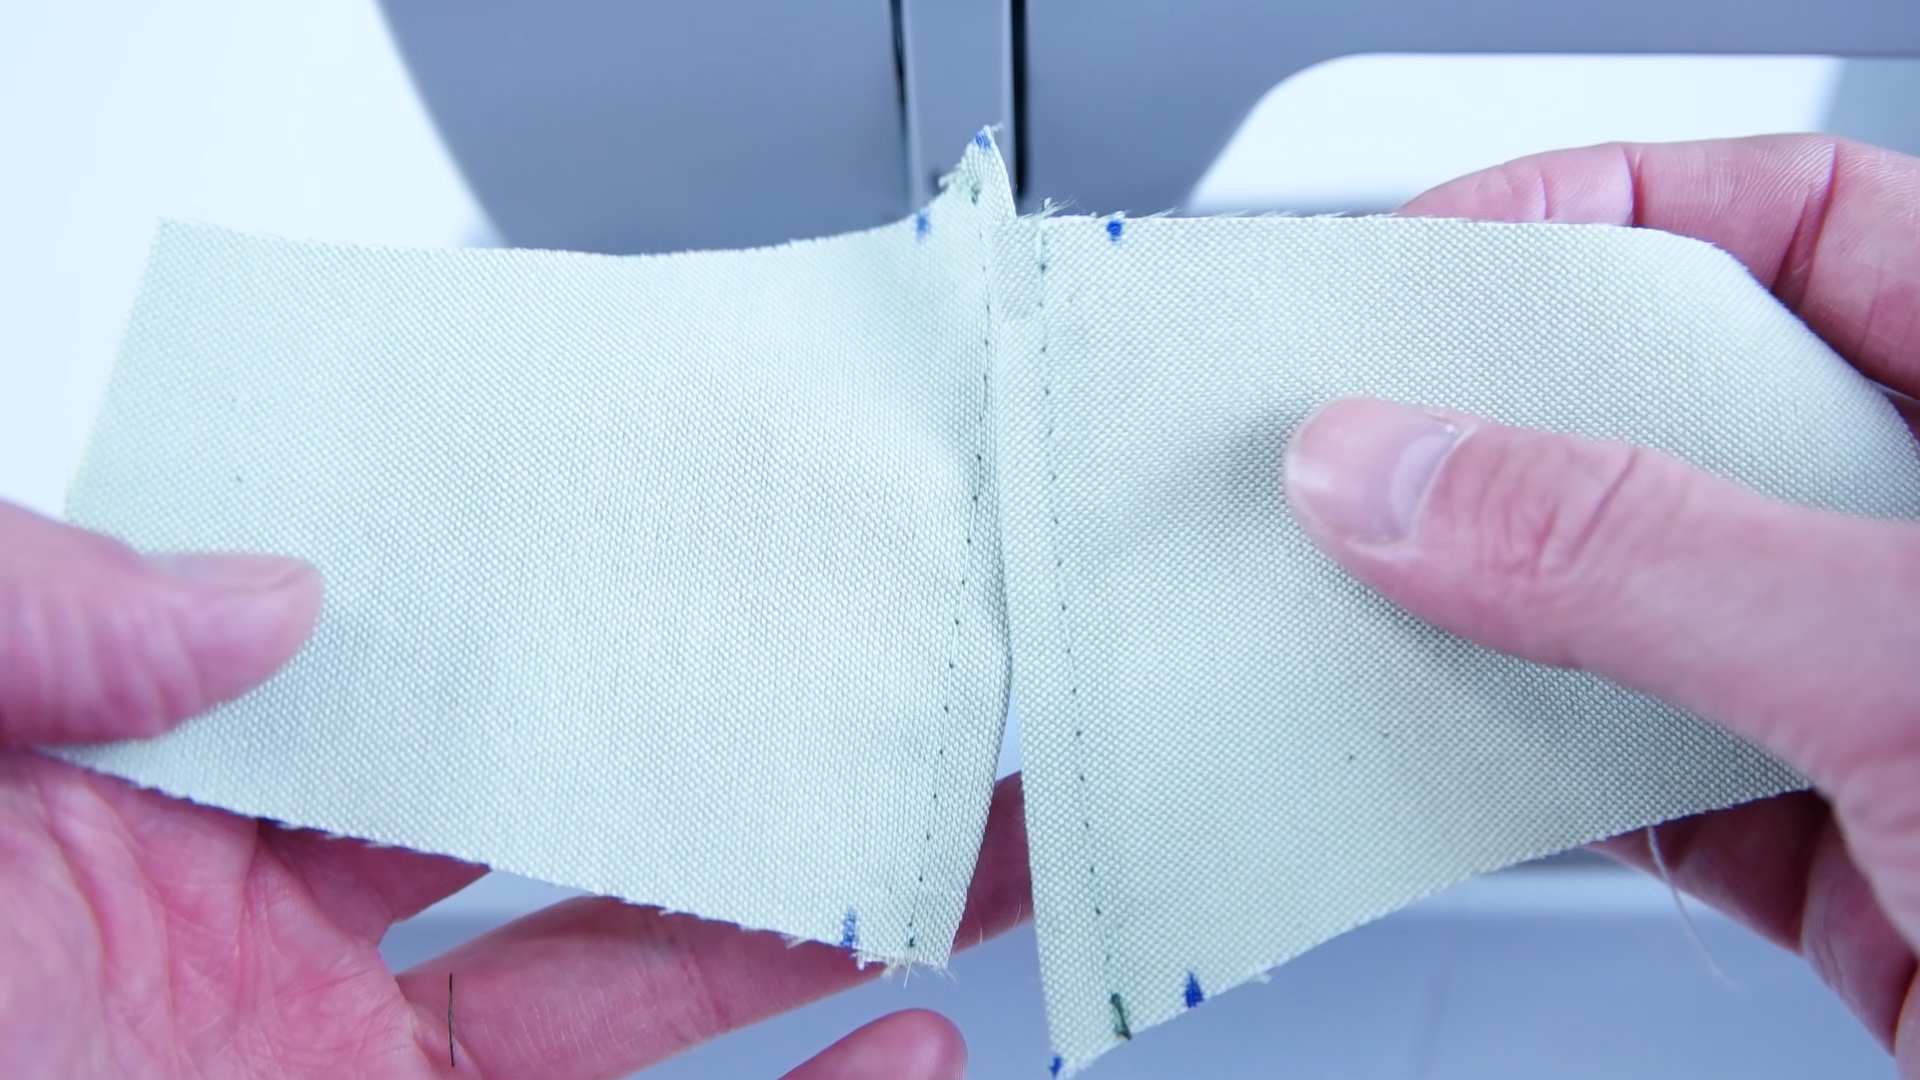
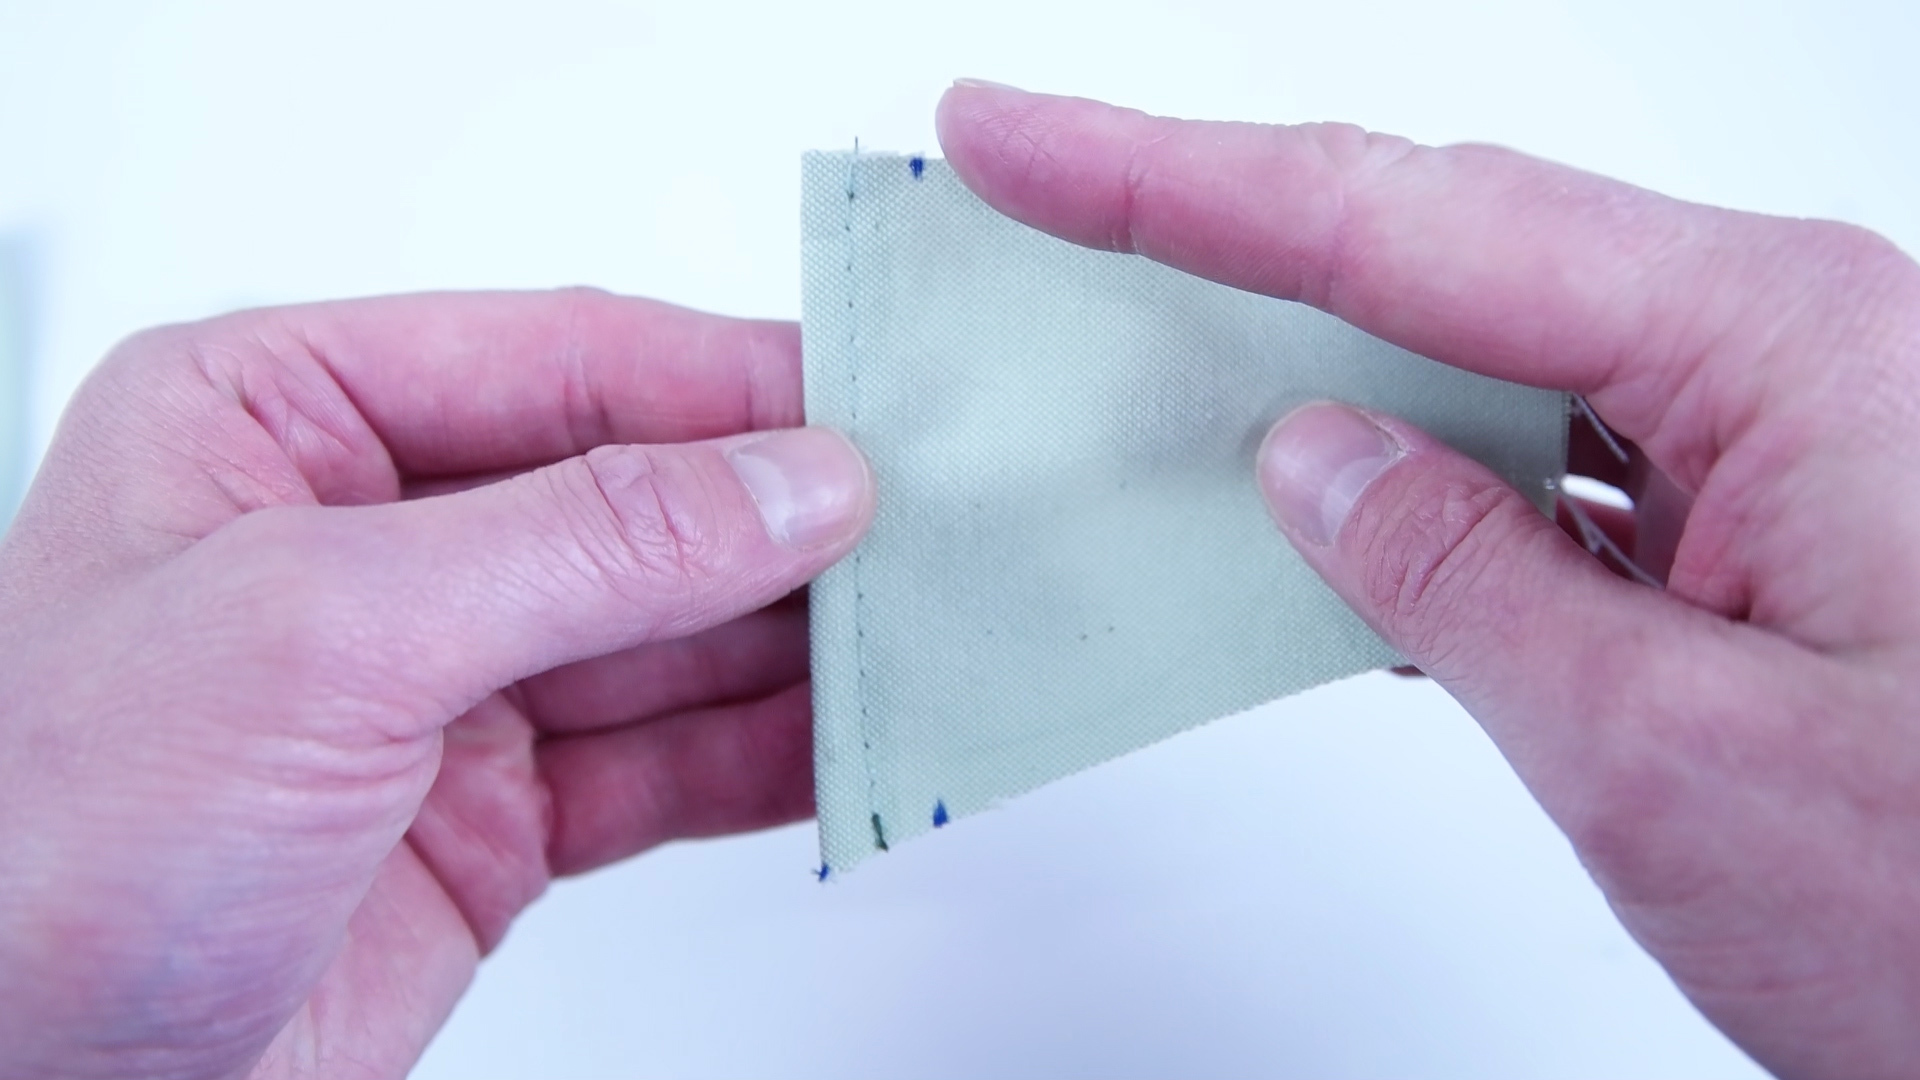
Attach Chin Panel (outer Layer)
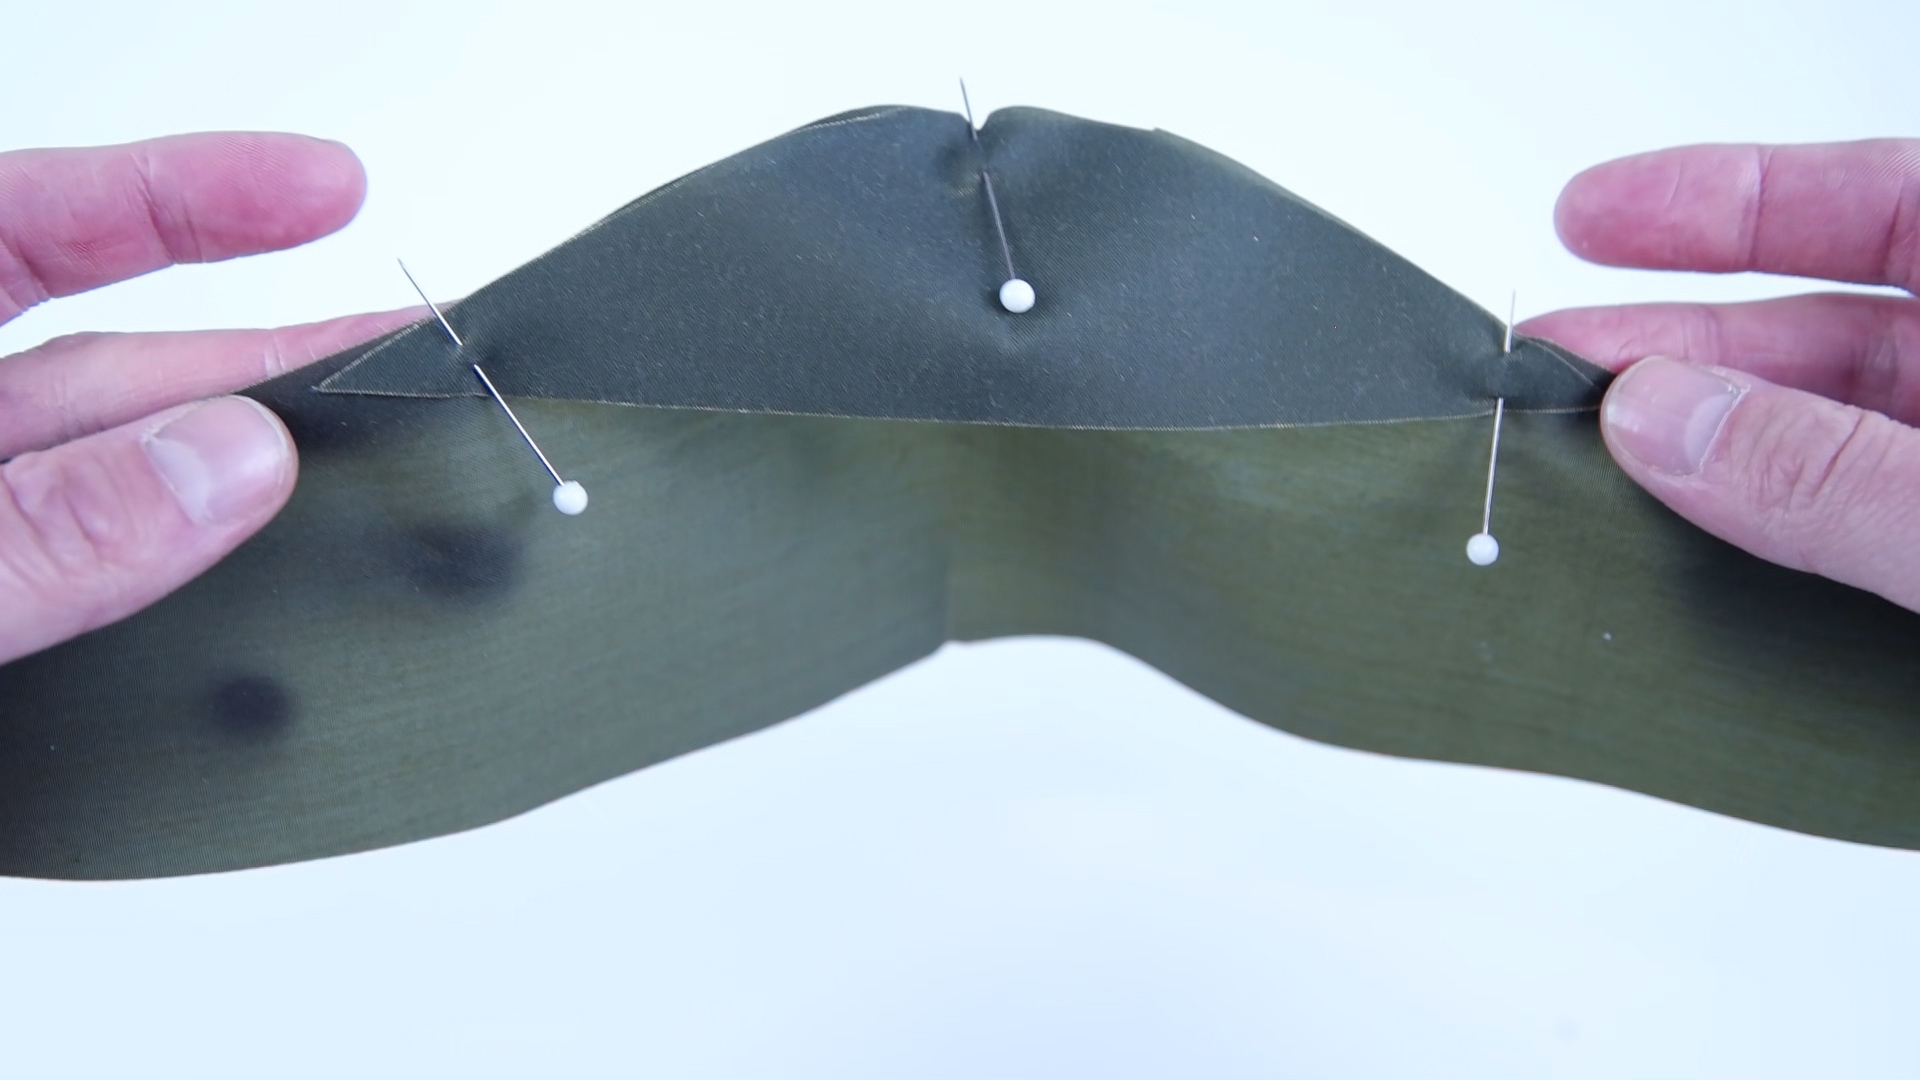
-Line up notches.
-Pin.
-Sew with .25 inch seam allowance.
-This step is done the same way as lining.
Add Bias Tape to Nose Panel
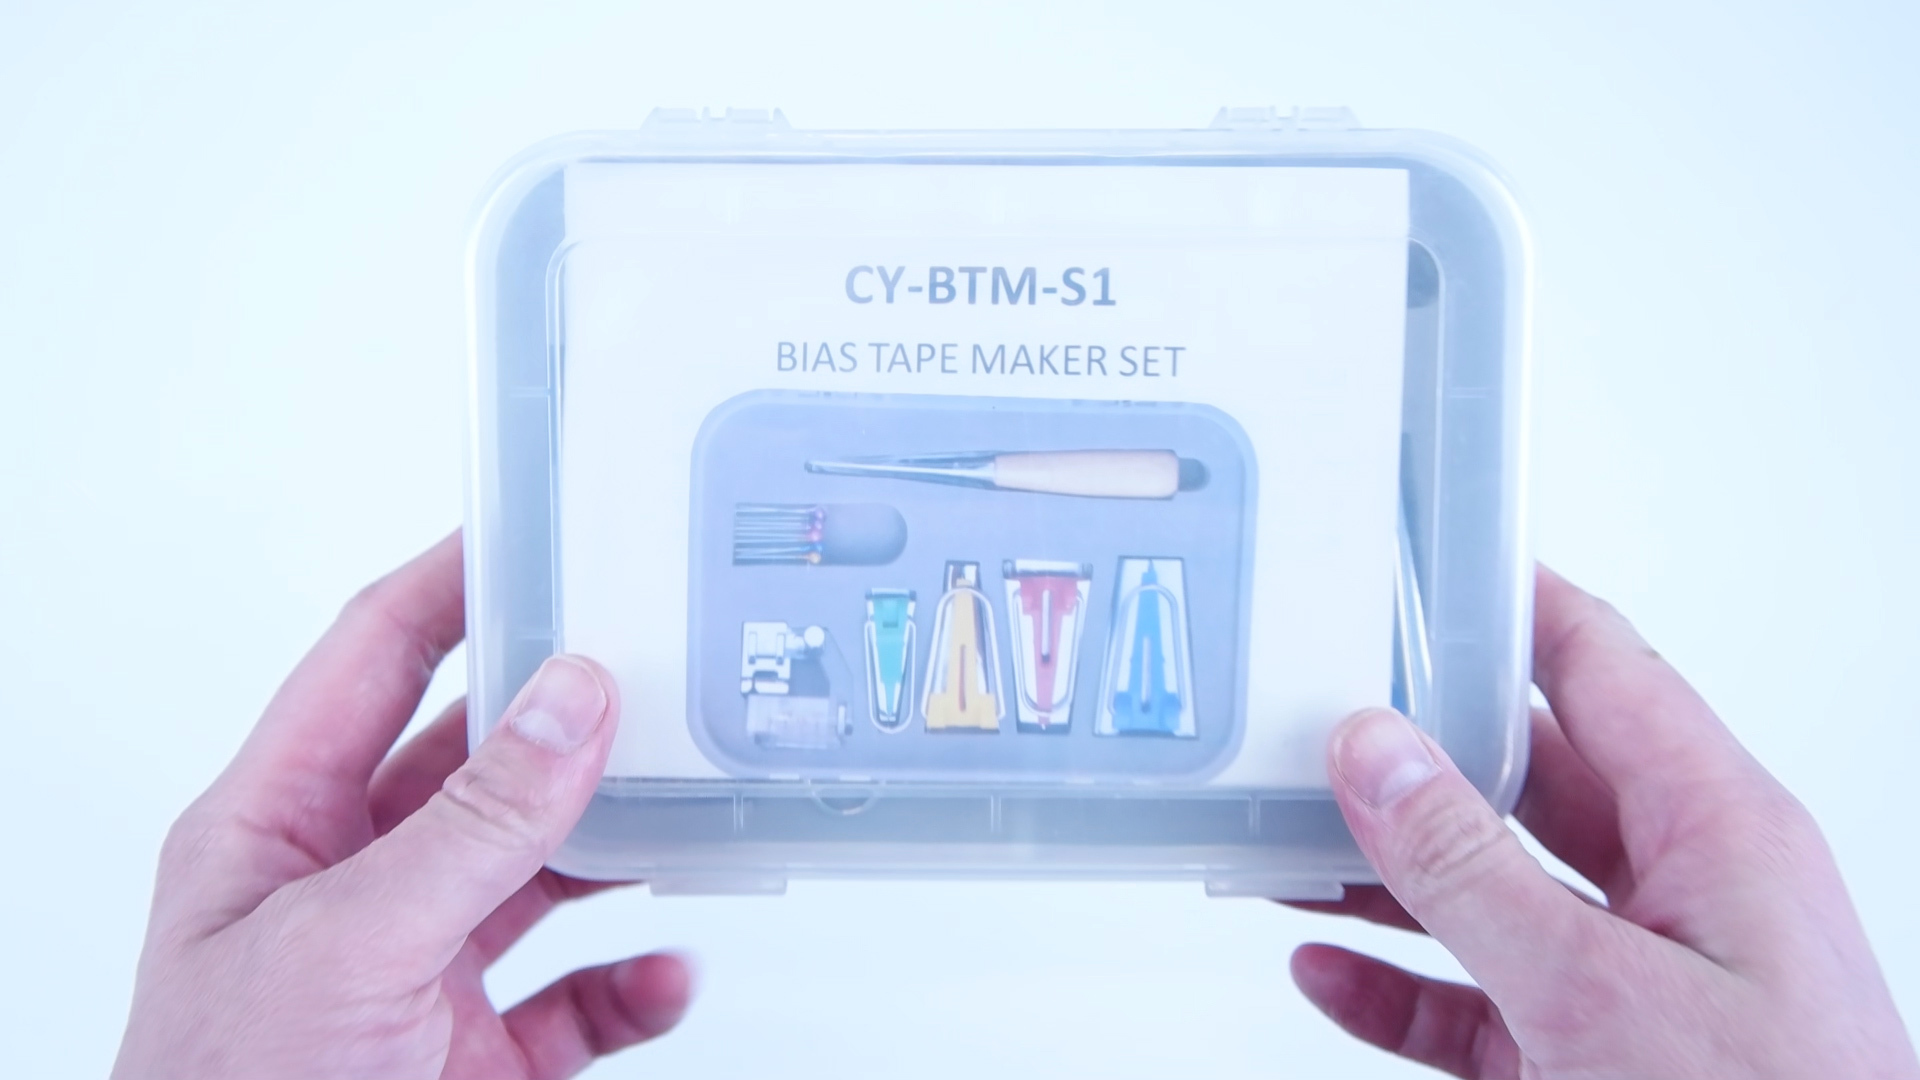
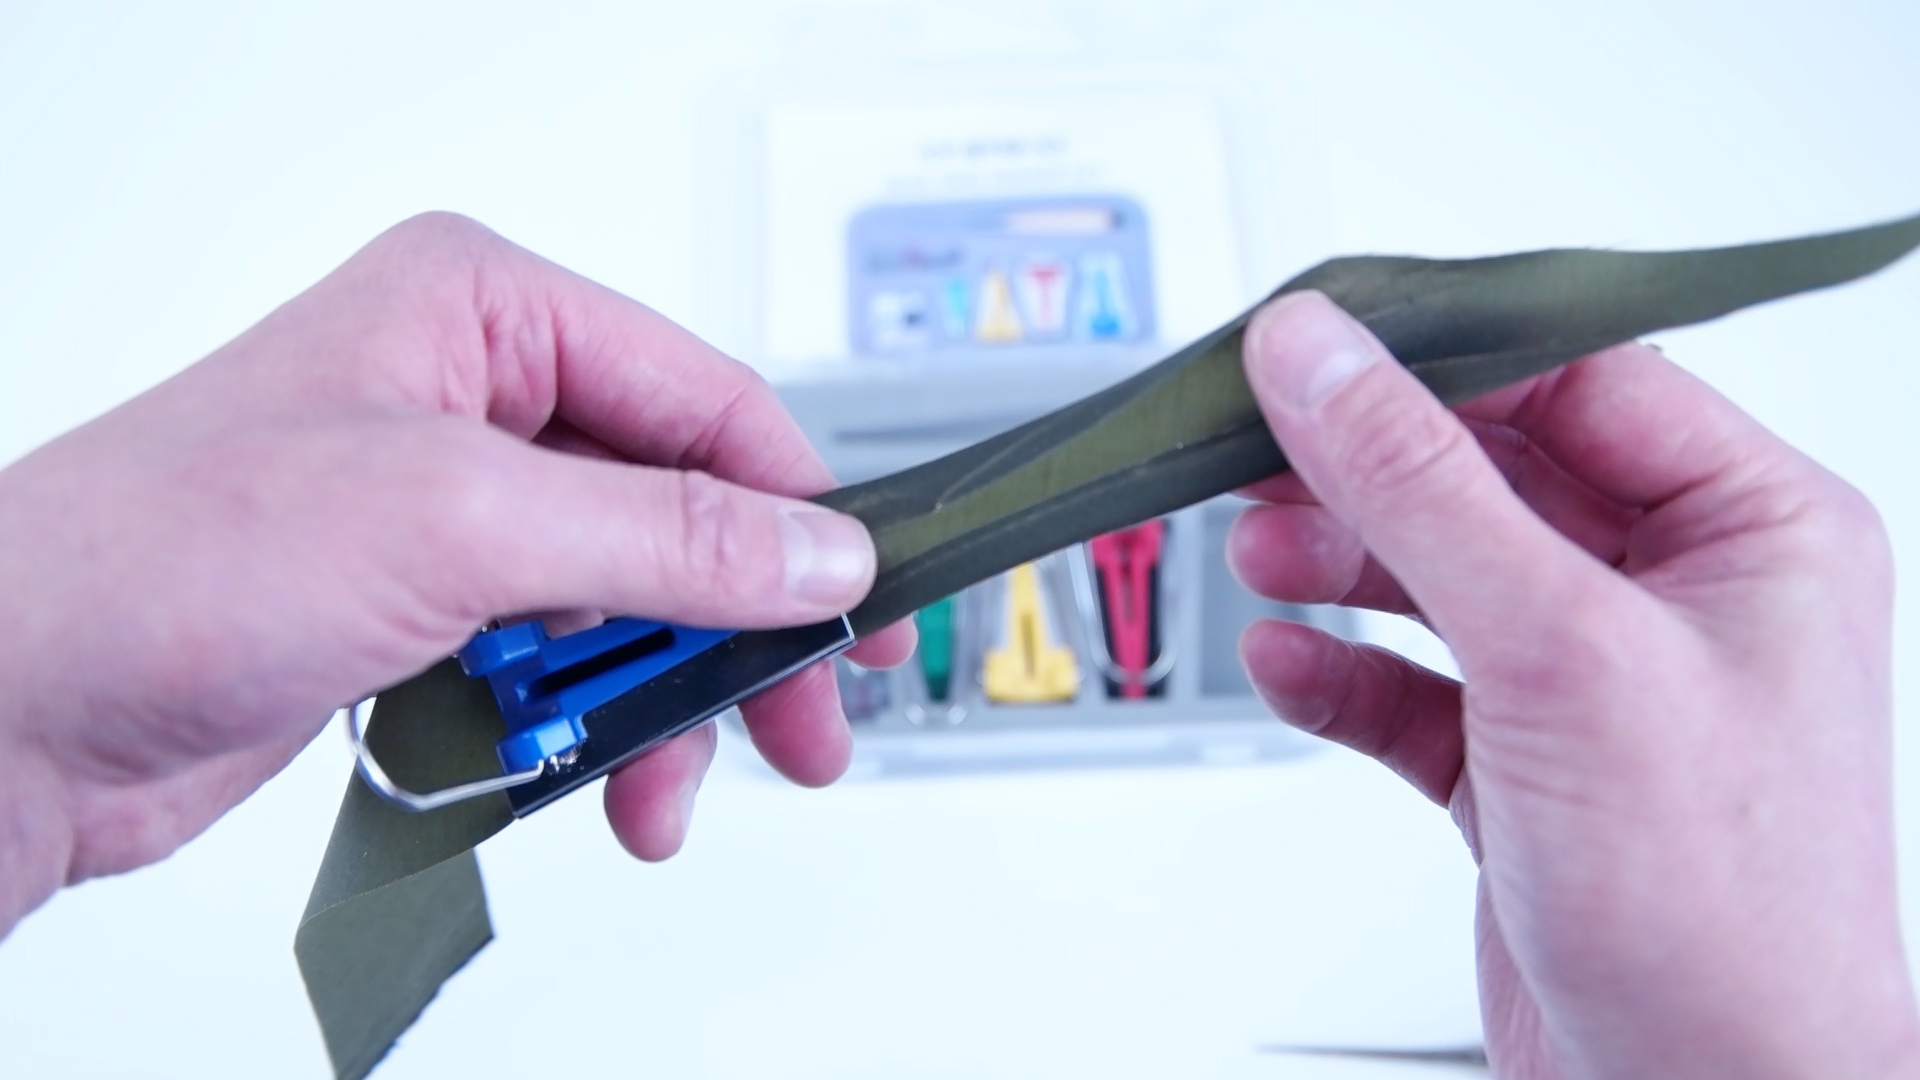
-You can use made bias tape, make your own bias tape, or bias tape attachment. All methods work.
-Place the wrong sides of the outer layer and lining together.
-Add bias tape to the top straight edge of the bottom main panel.
Add Twist Tie
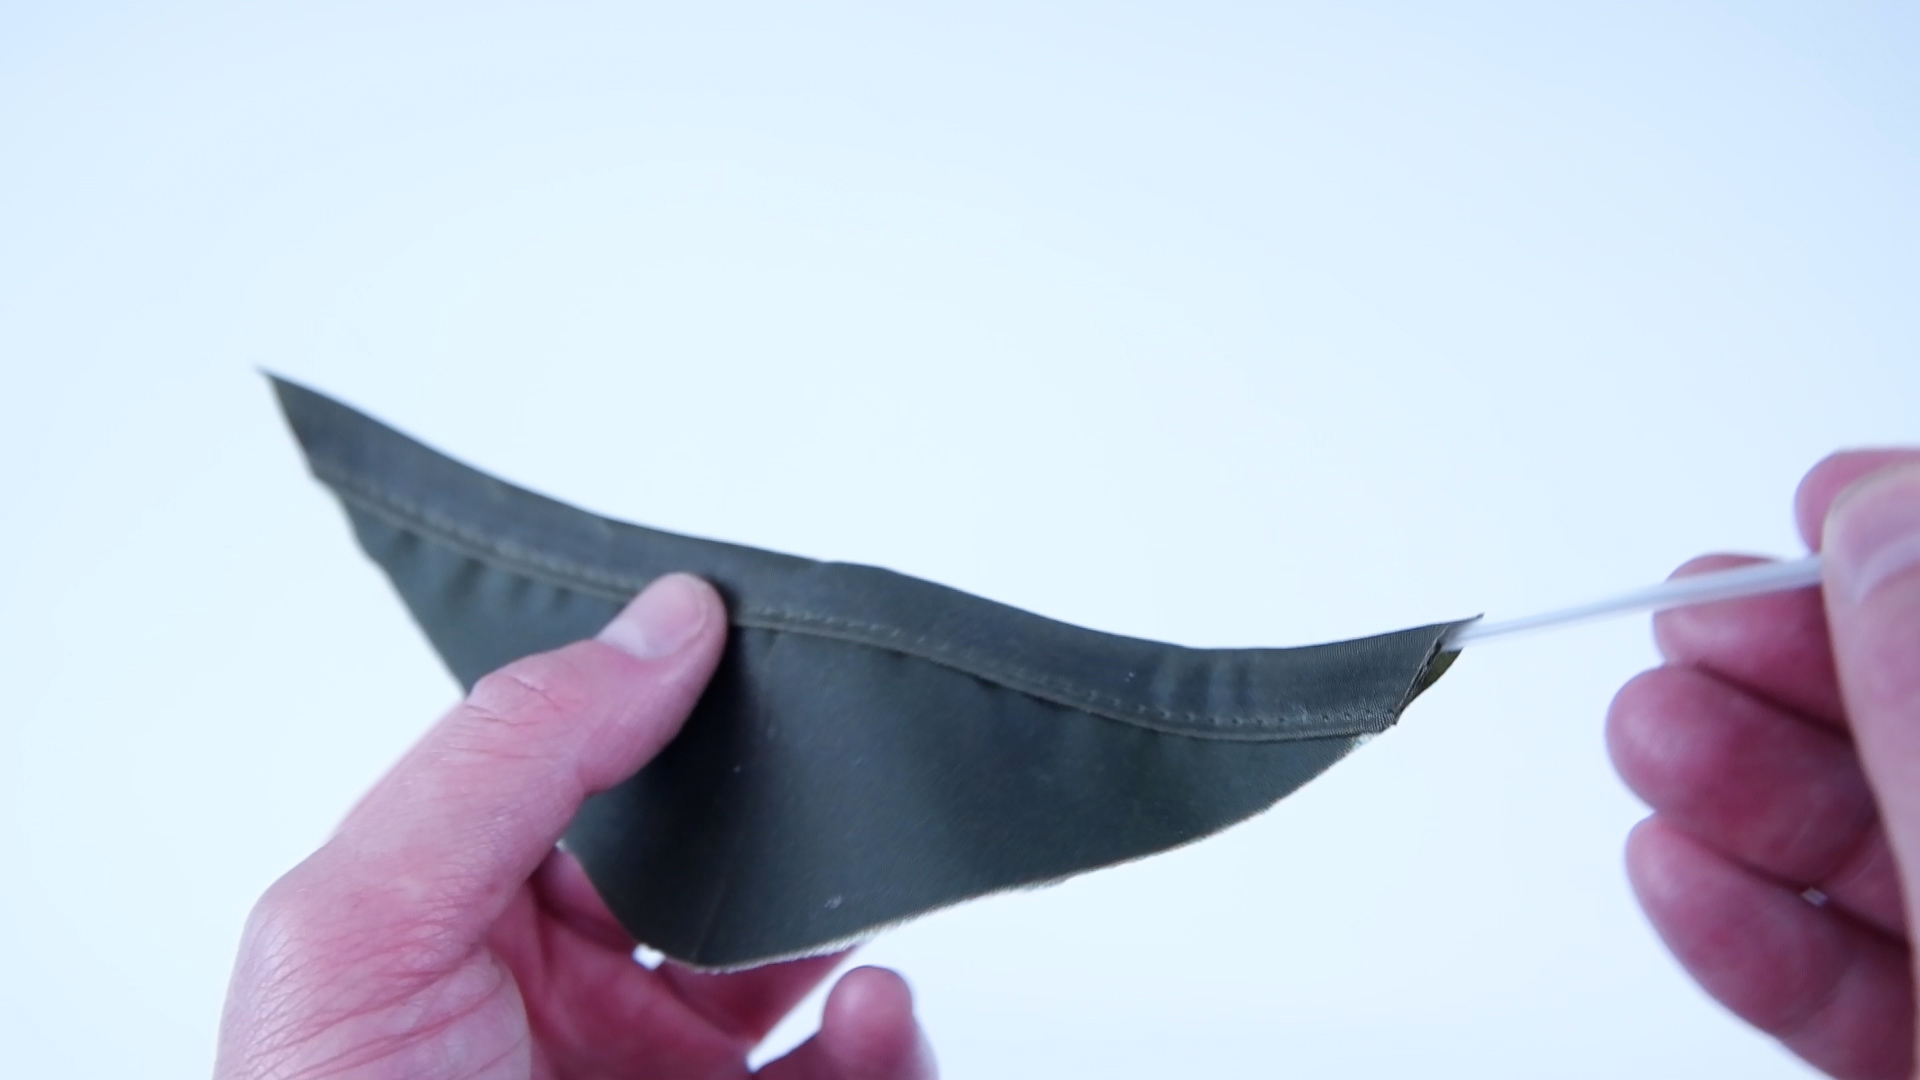
-Slide the twist tie or other bendy metal object into the bias tape.
-Make sure the twist tie is centered in the bias tape.
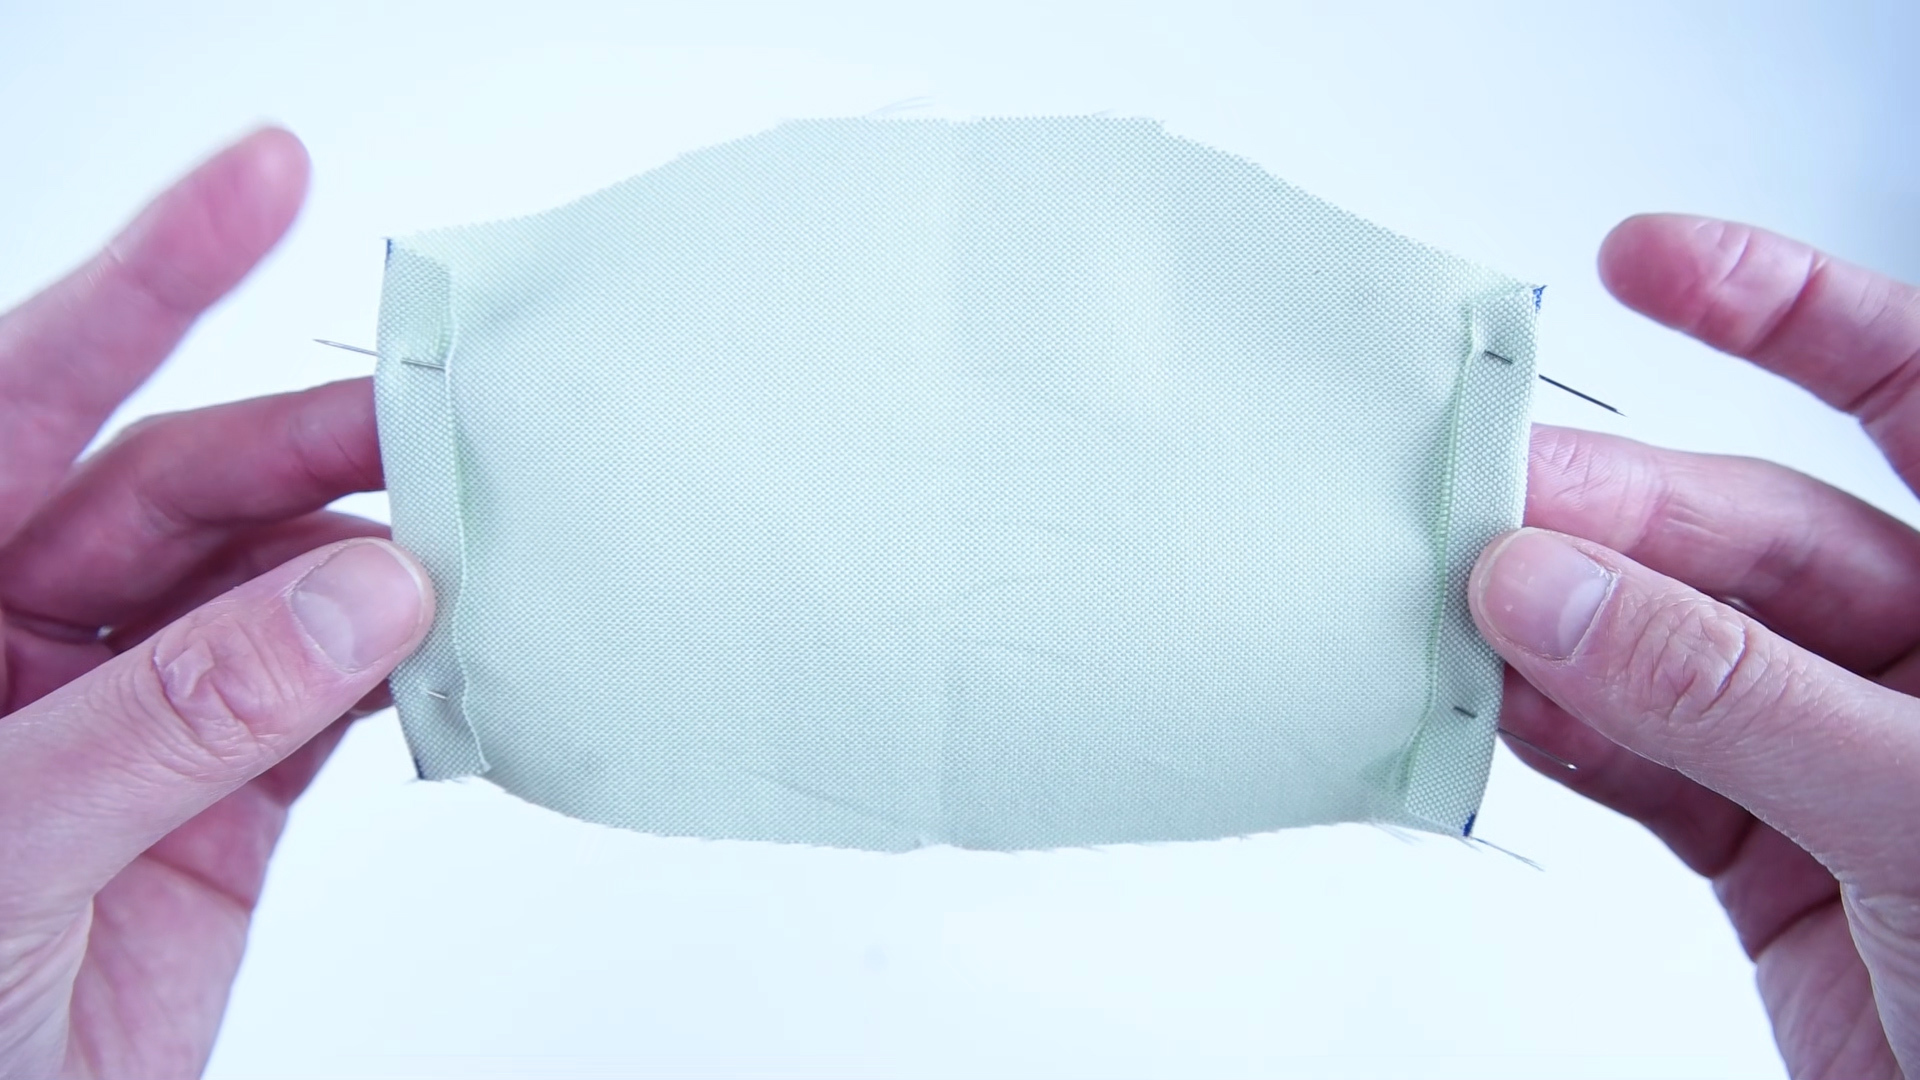
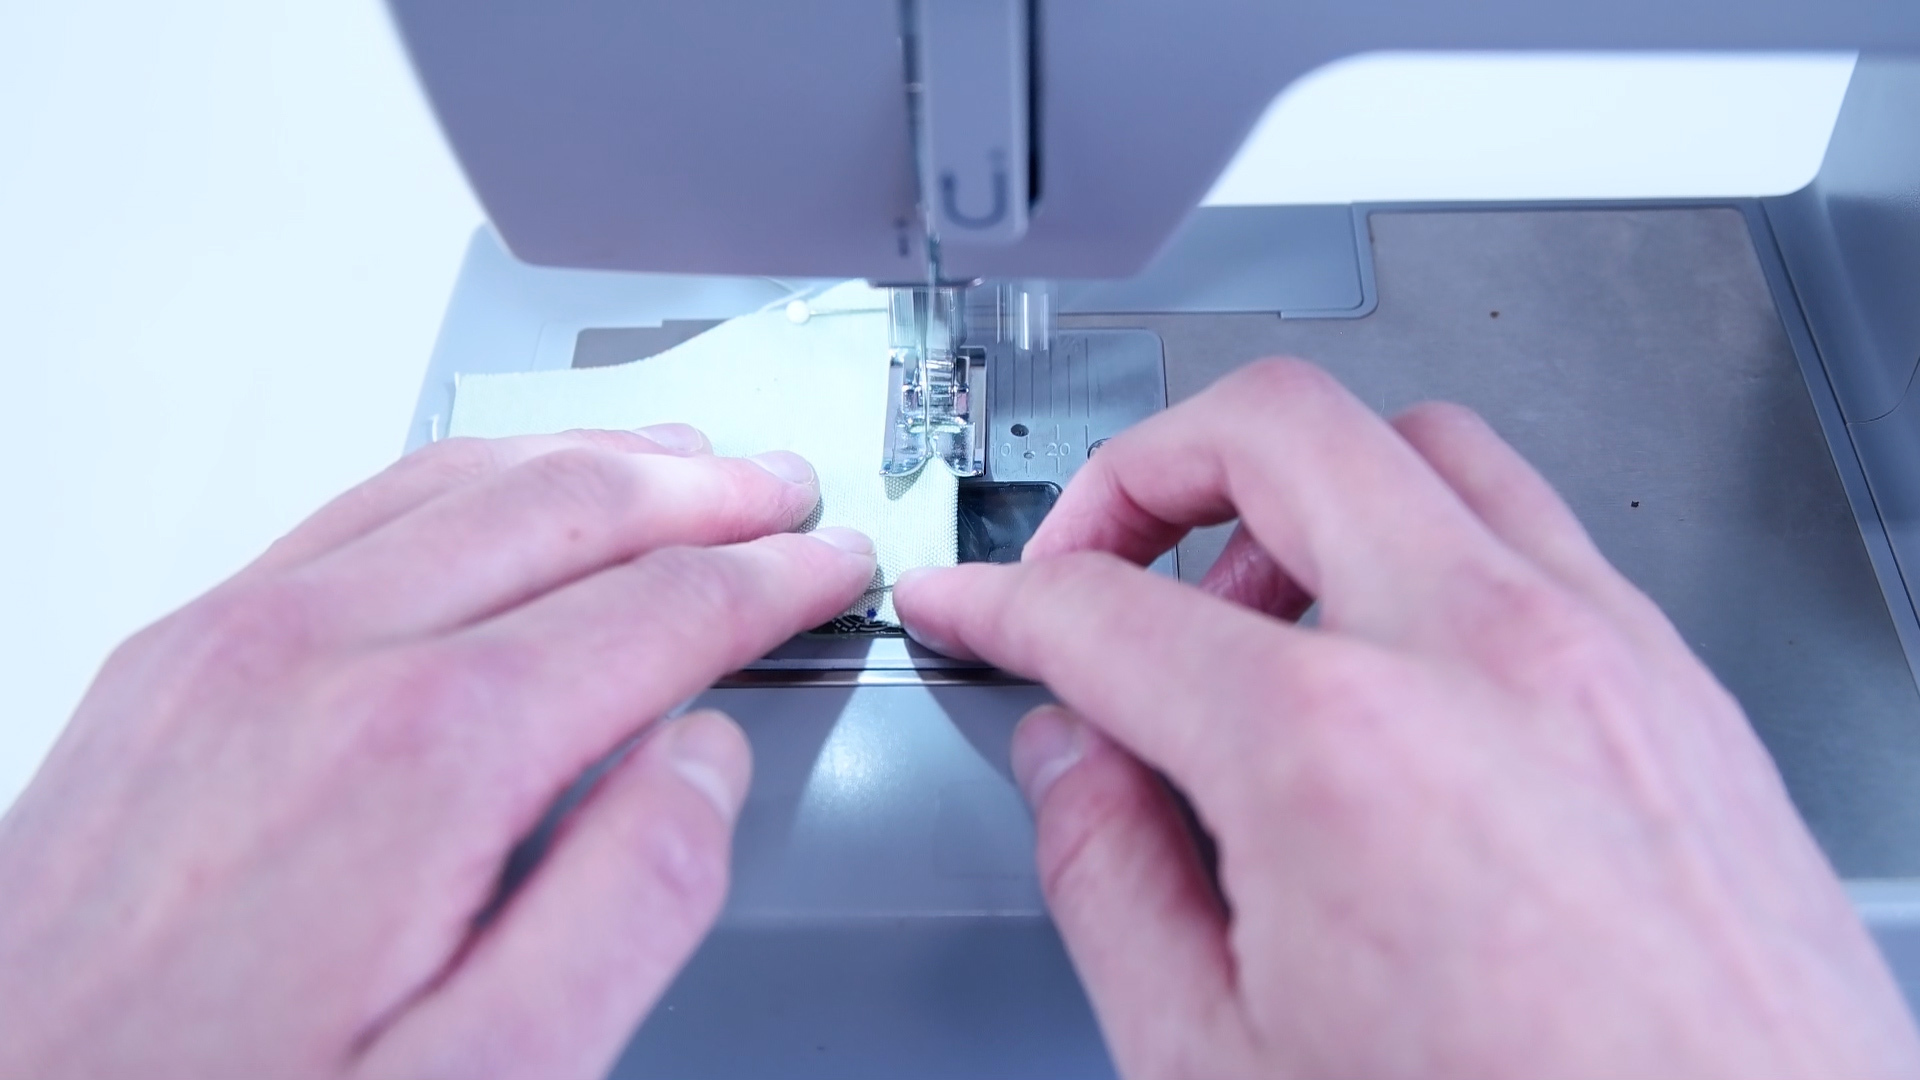
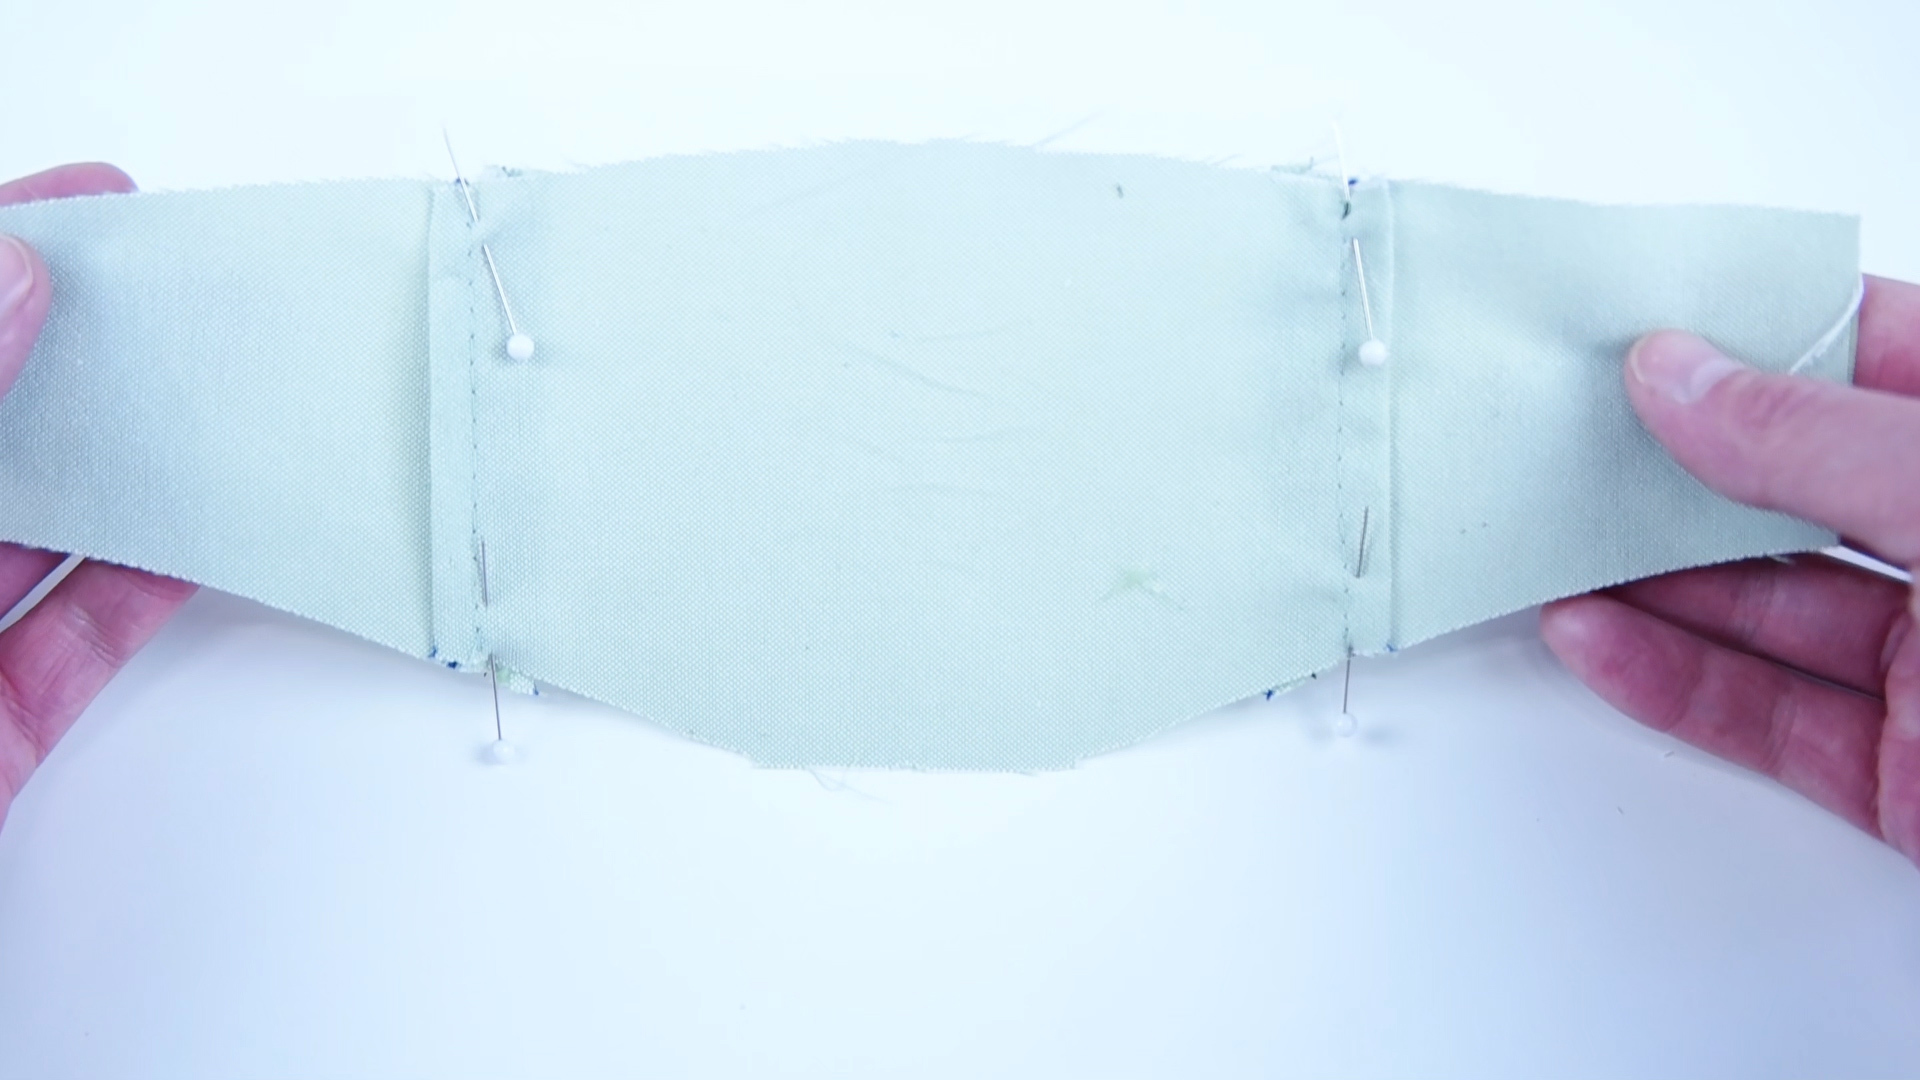
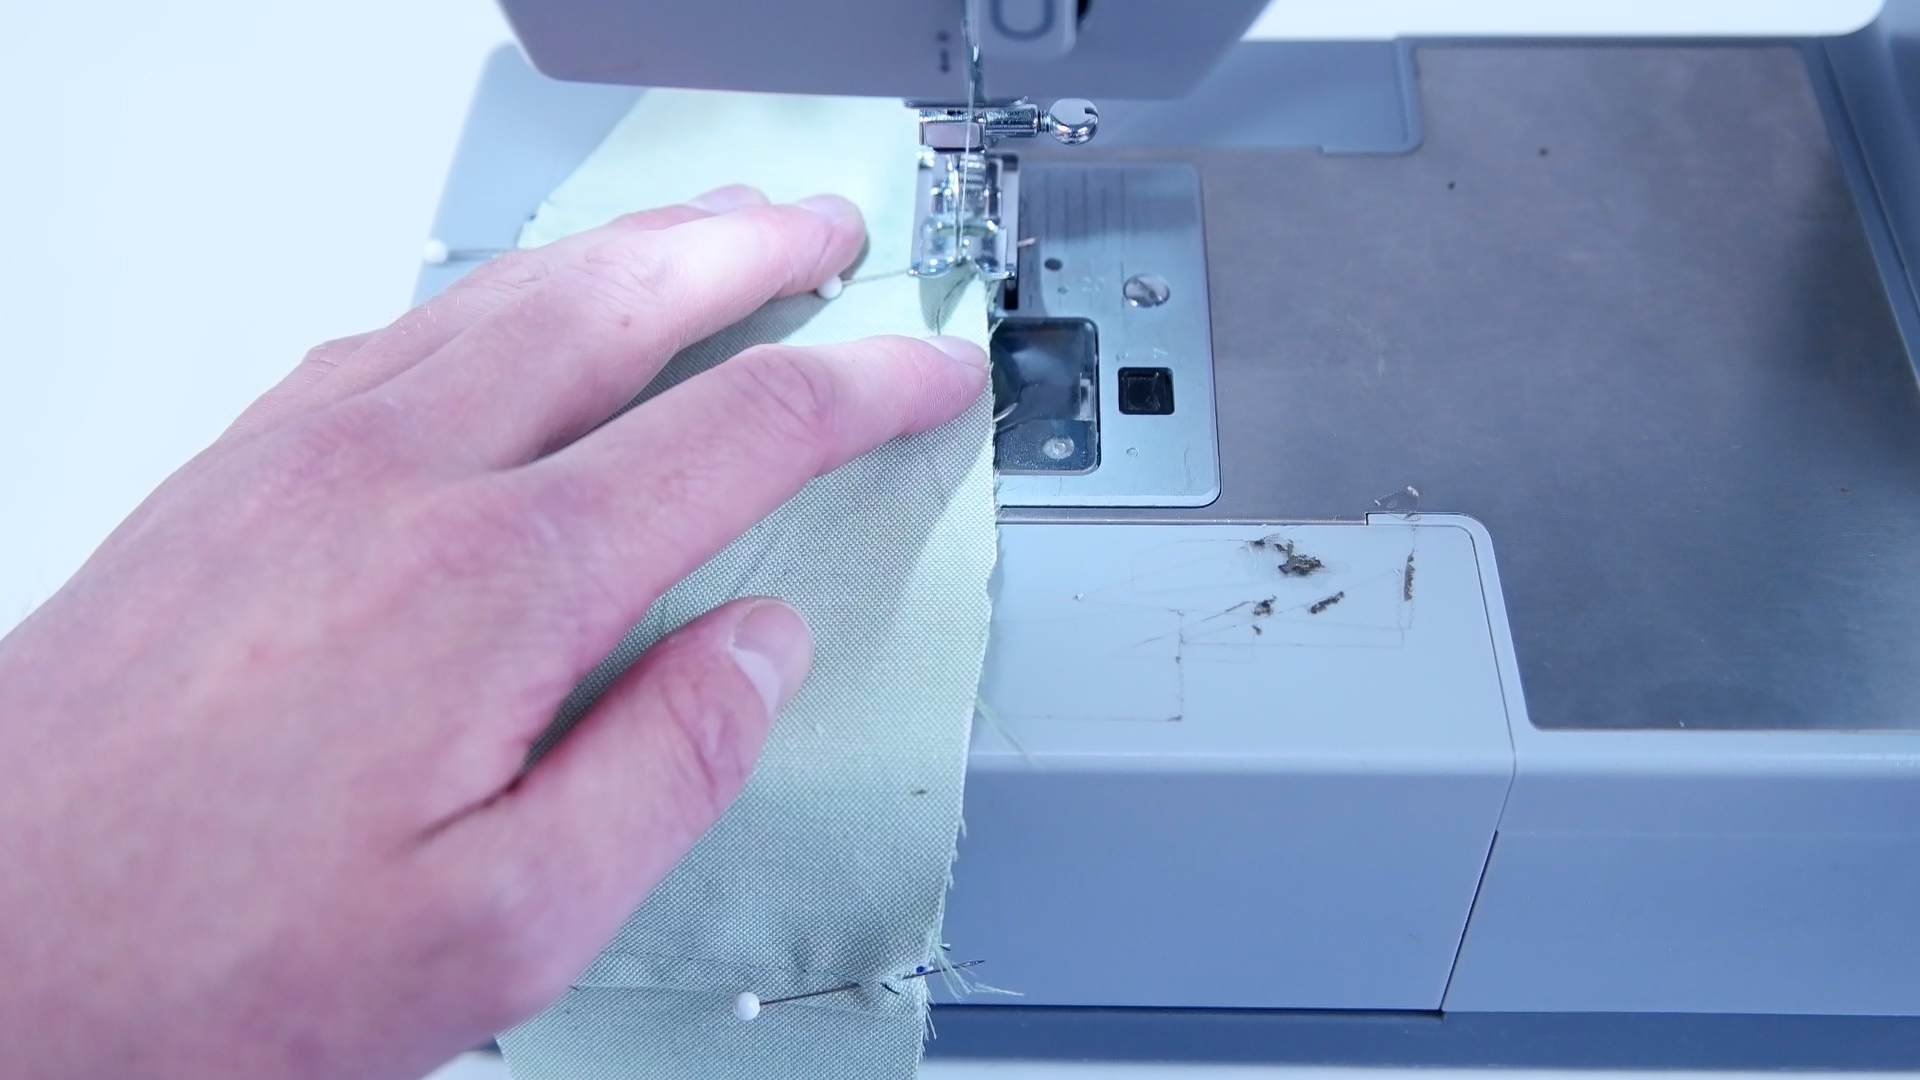
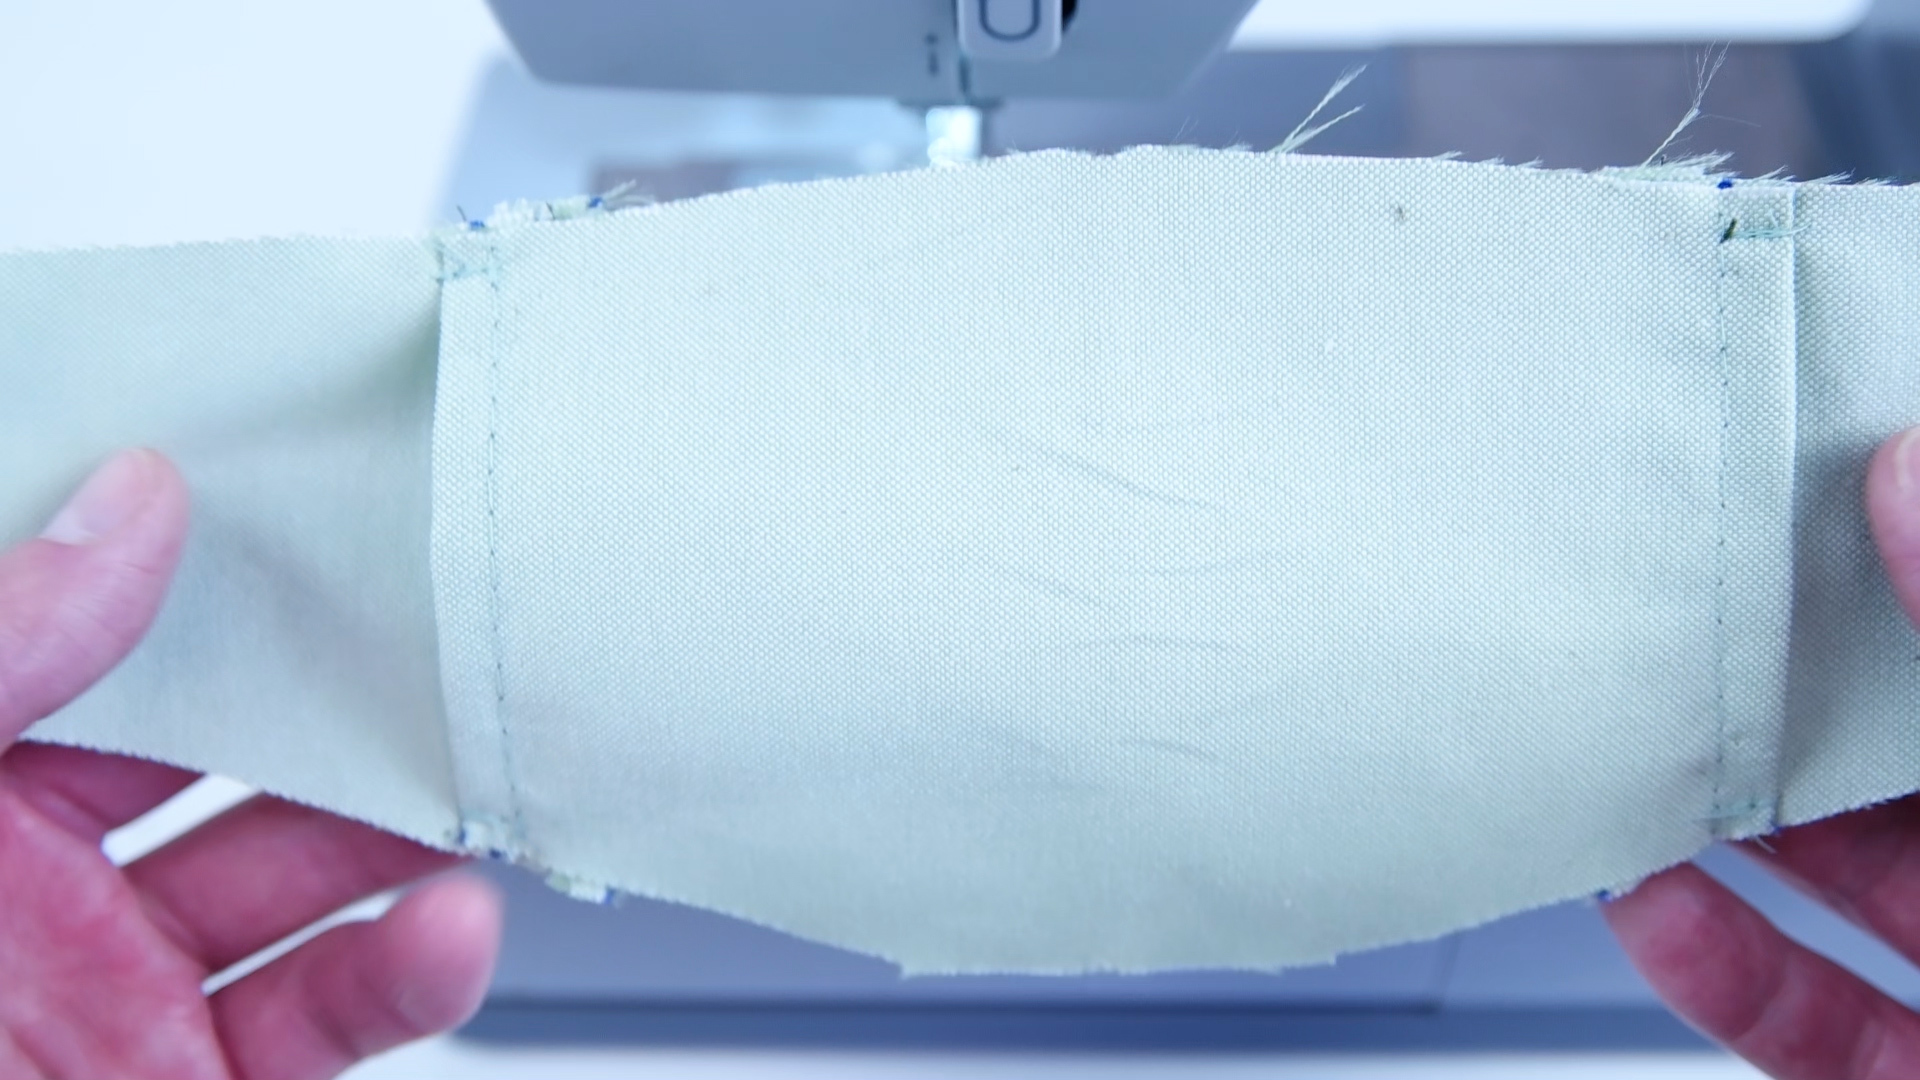
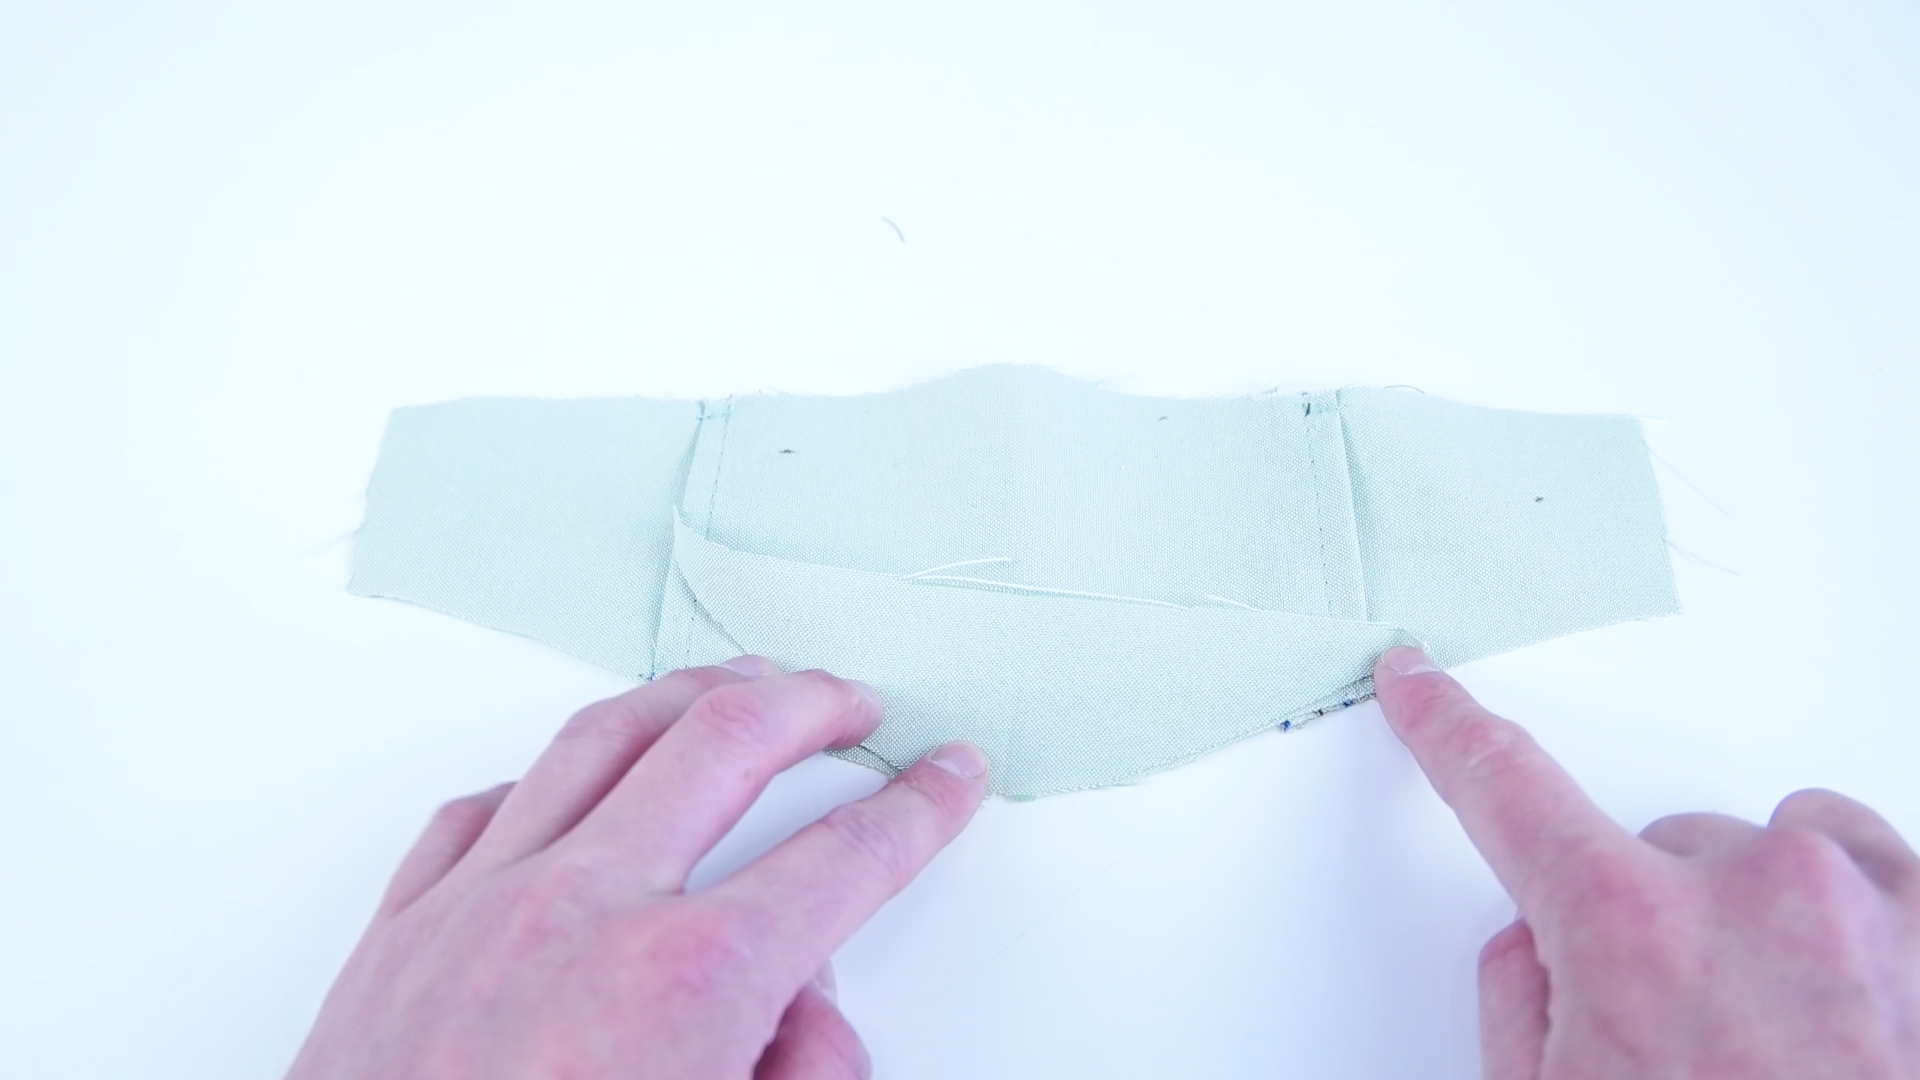
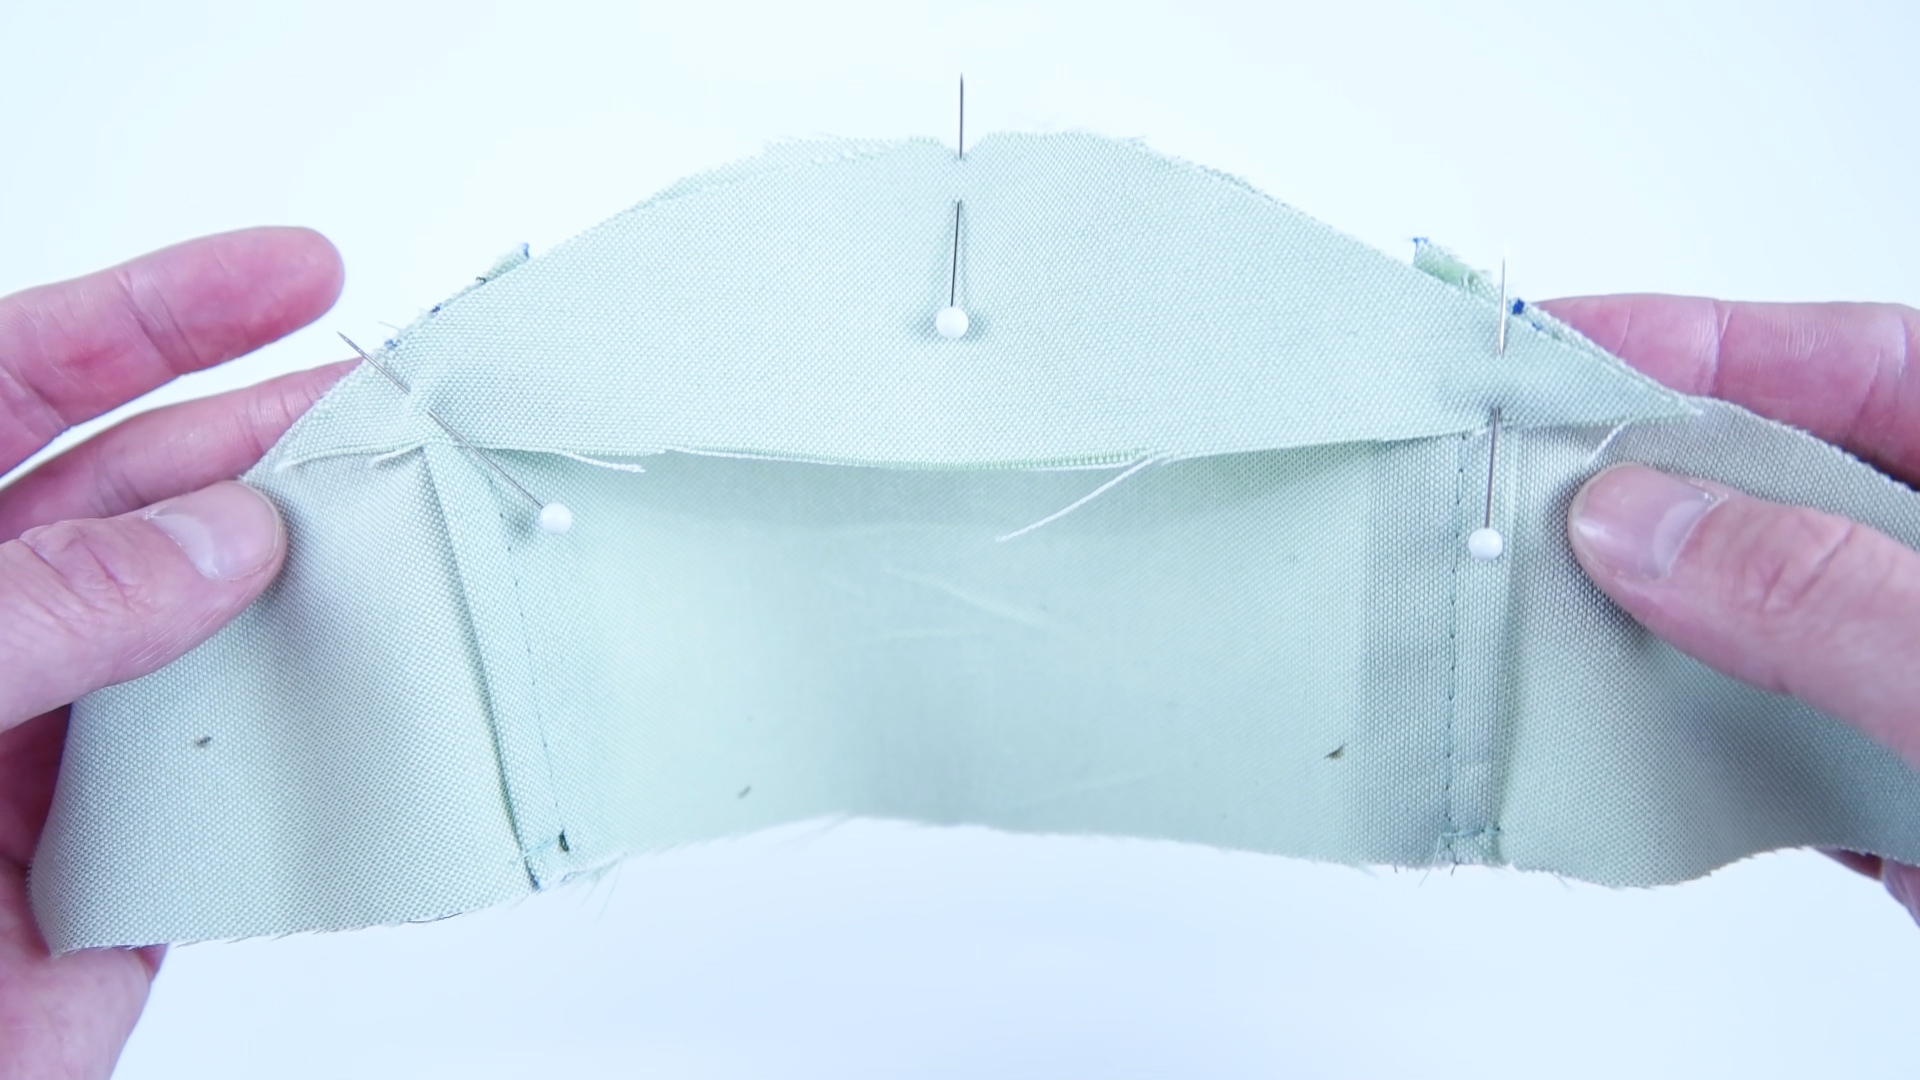
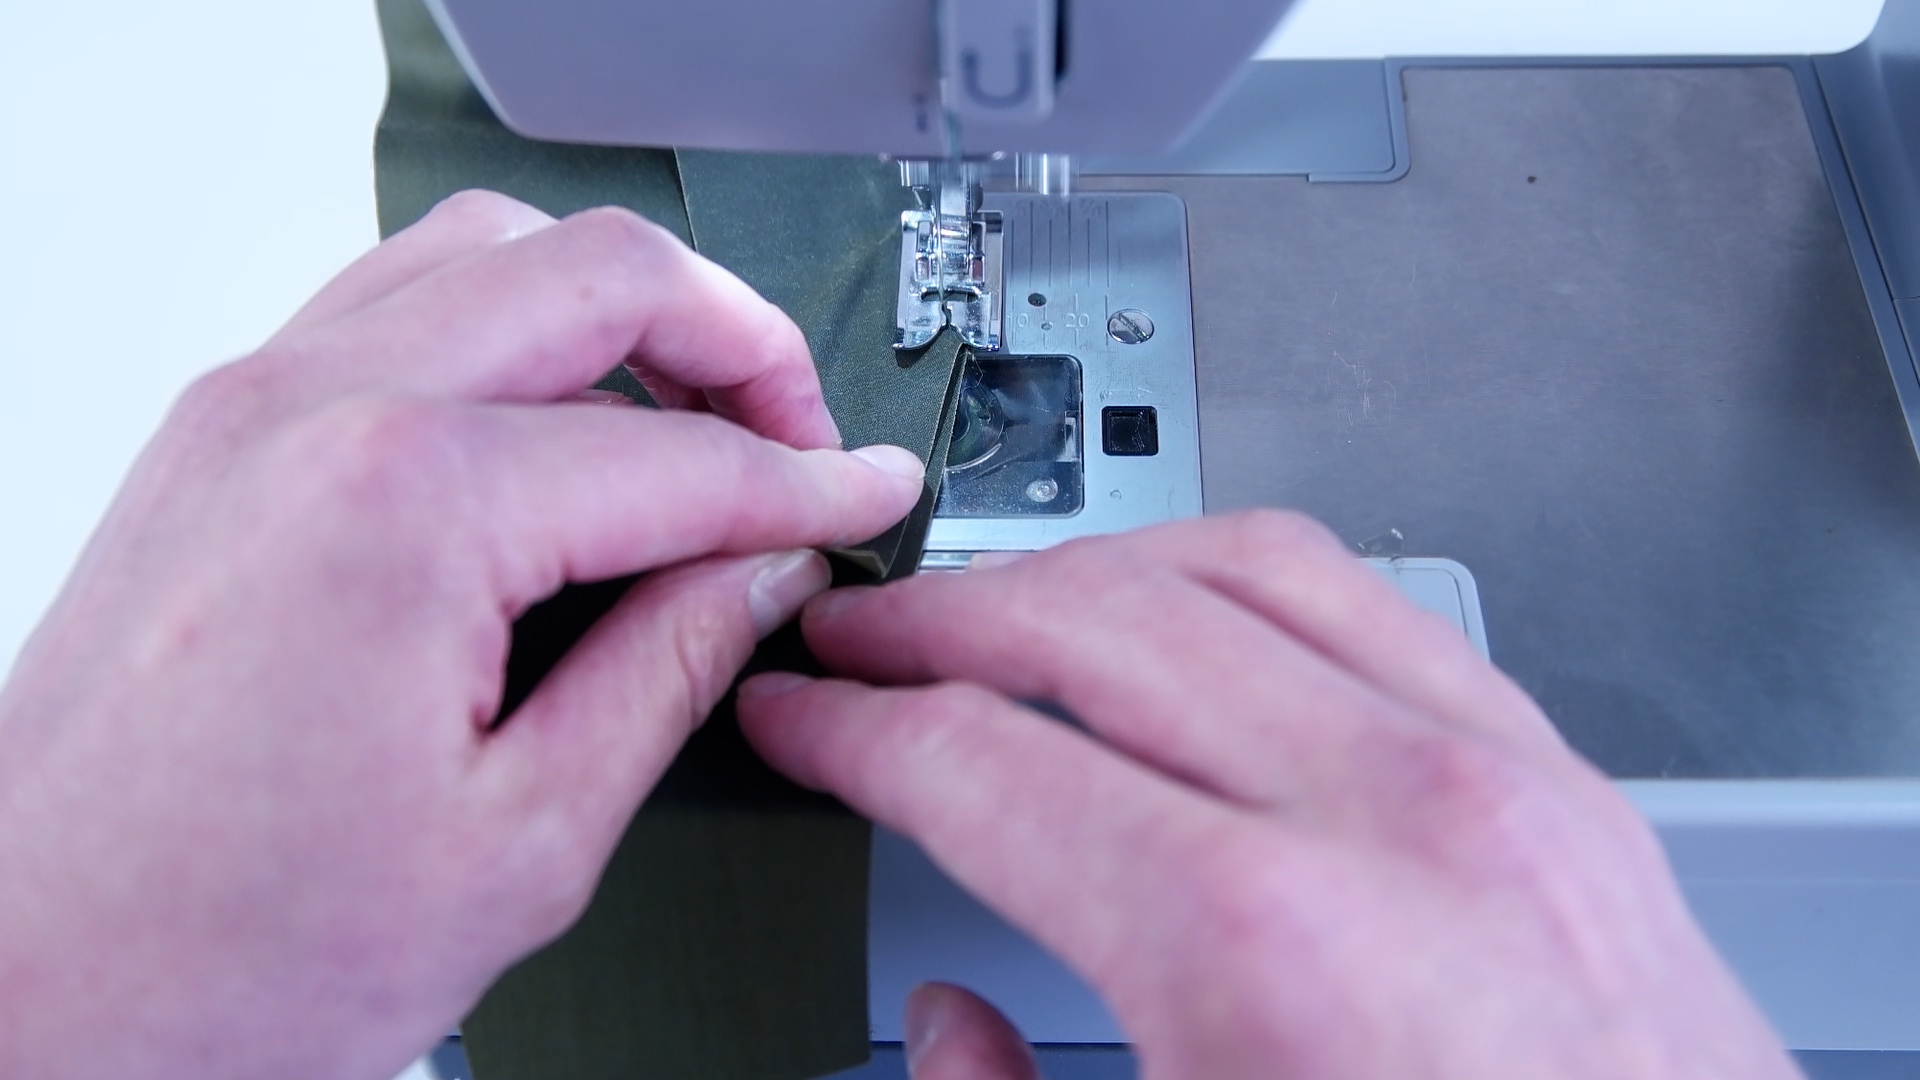
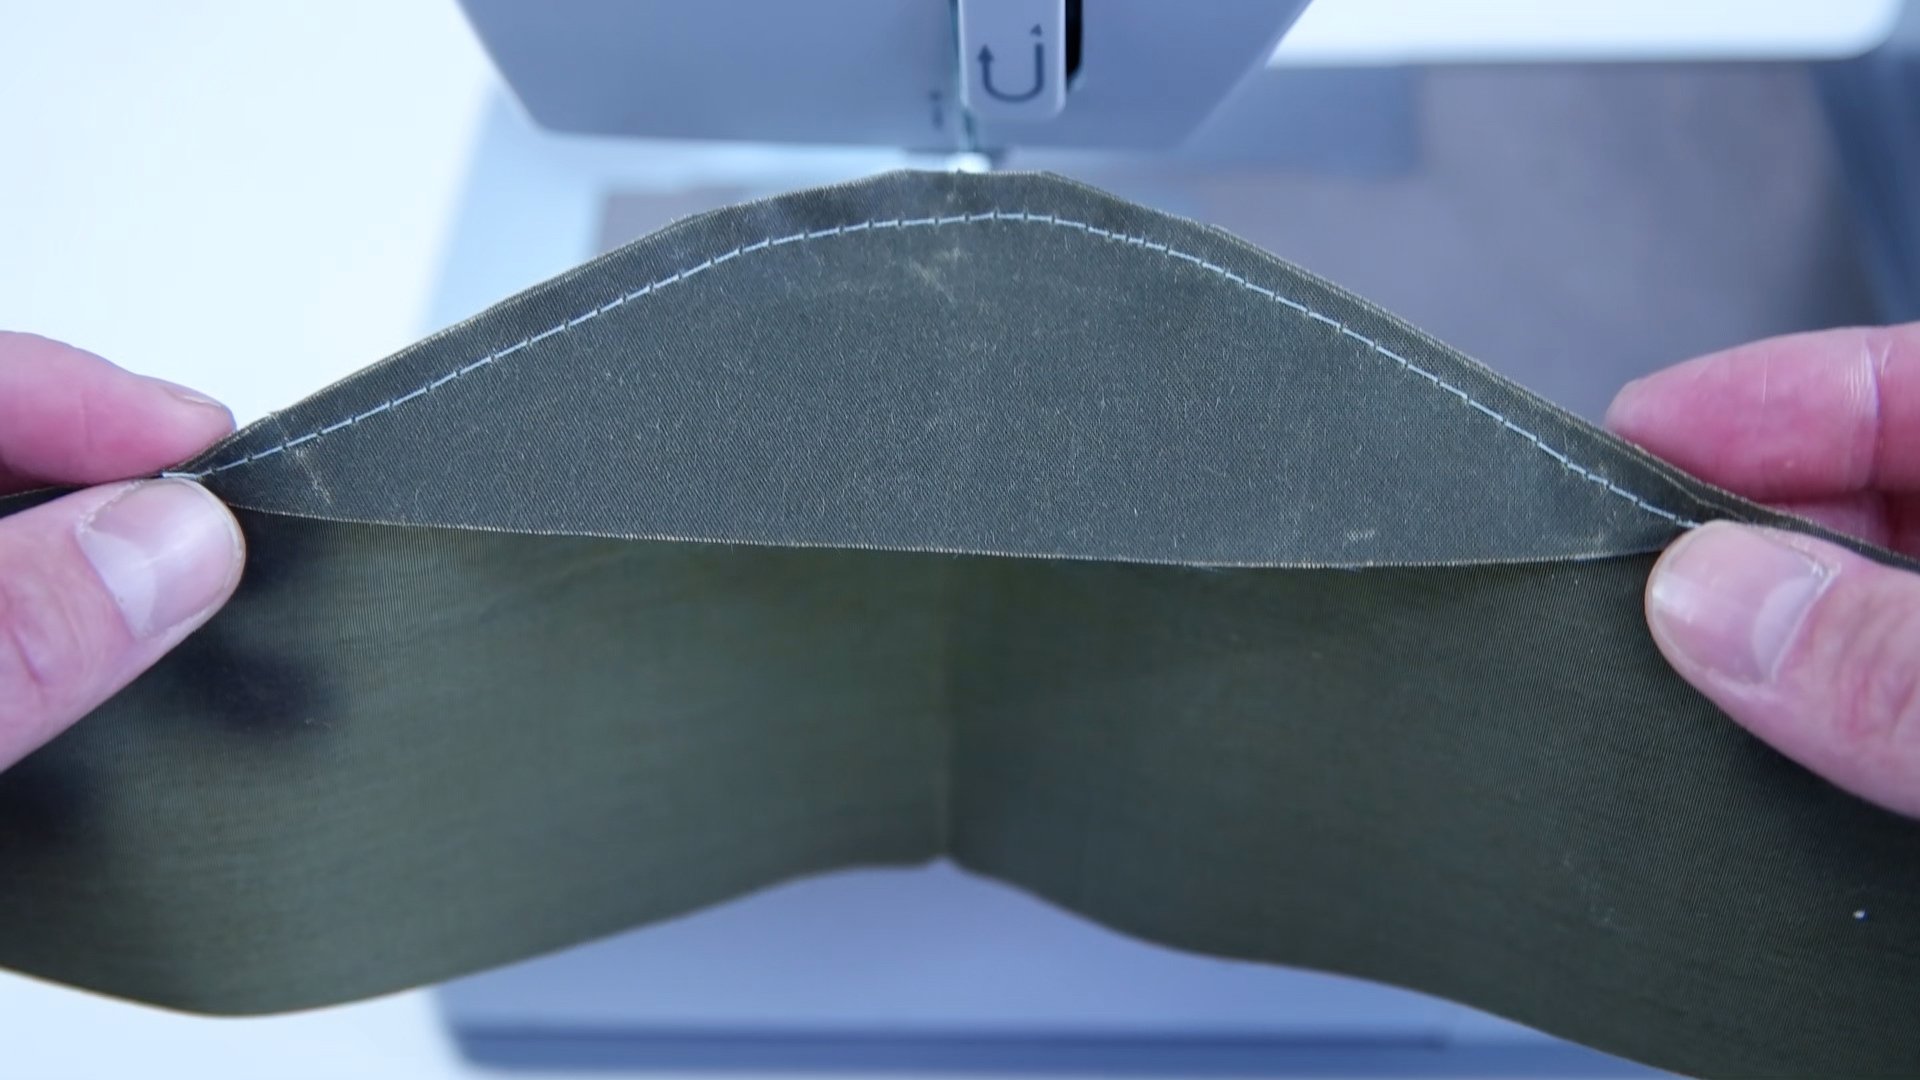
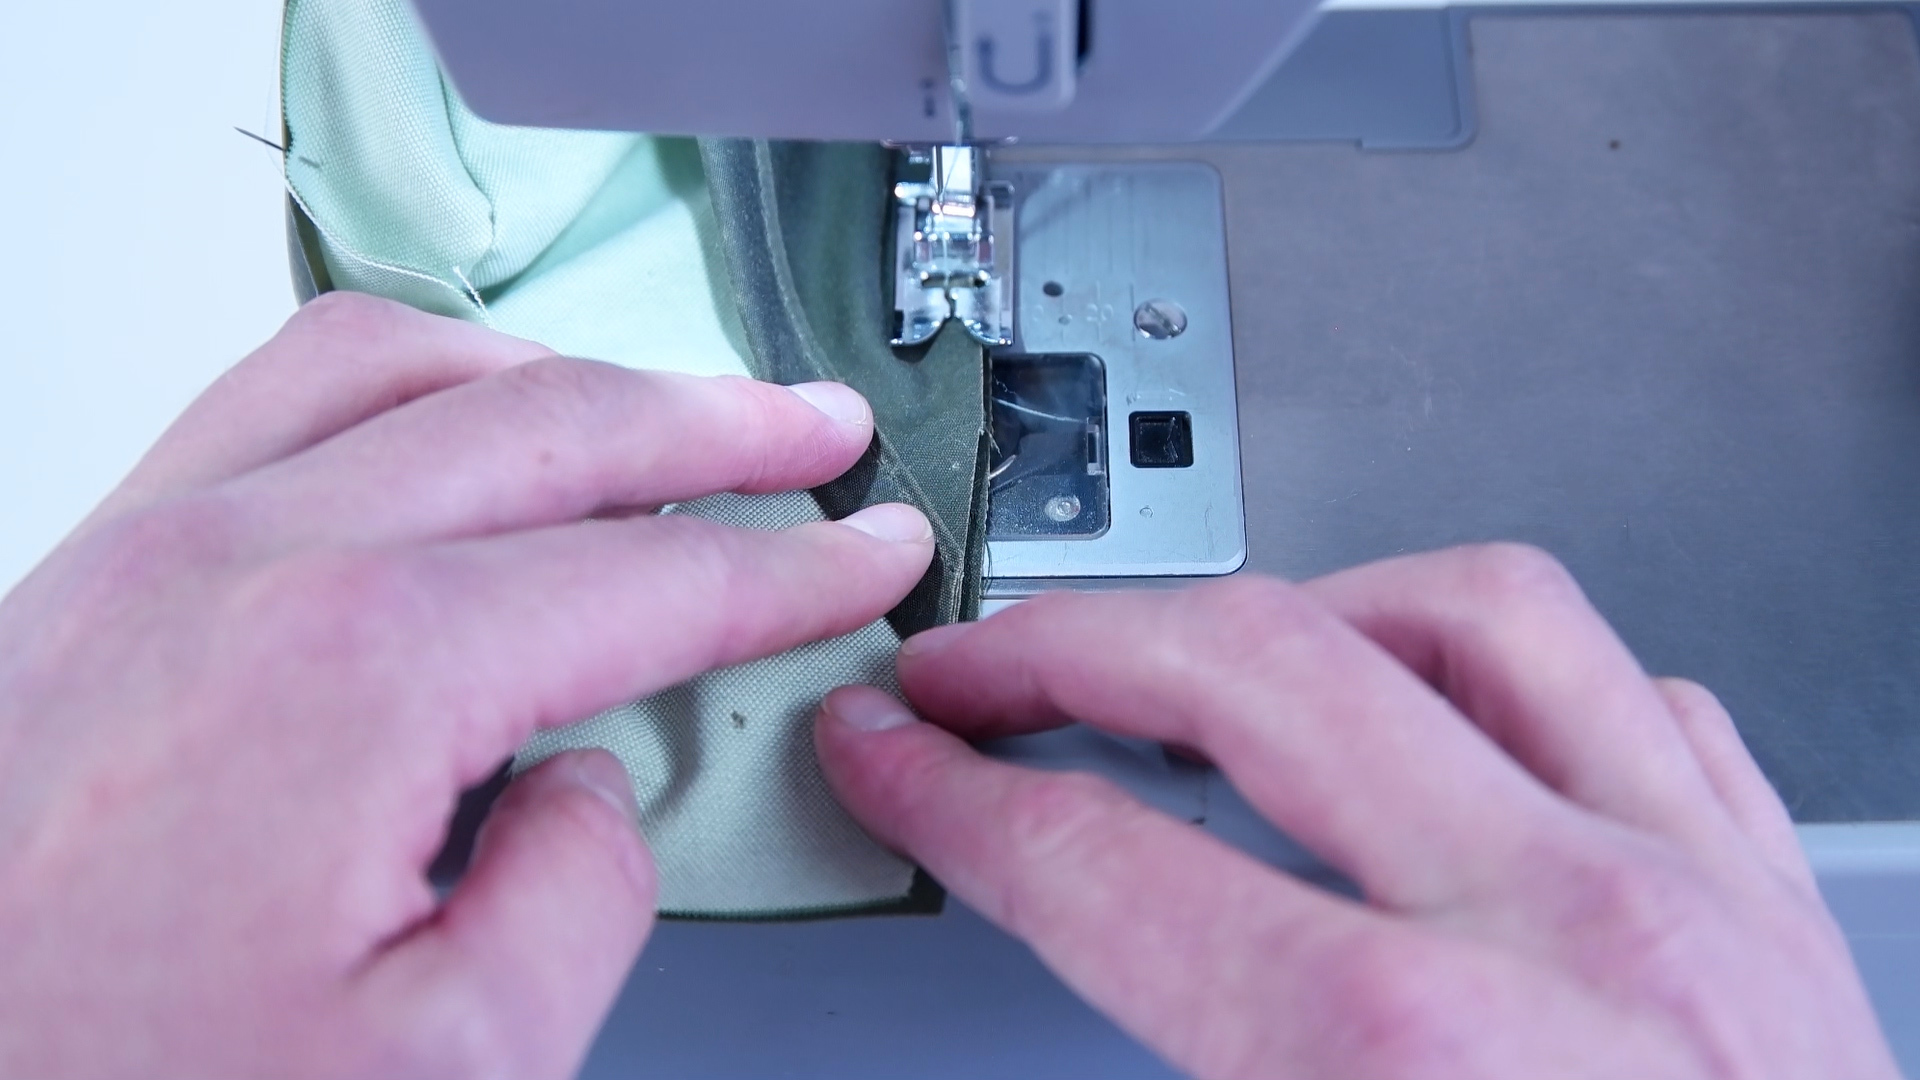
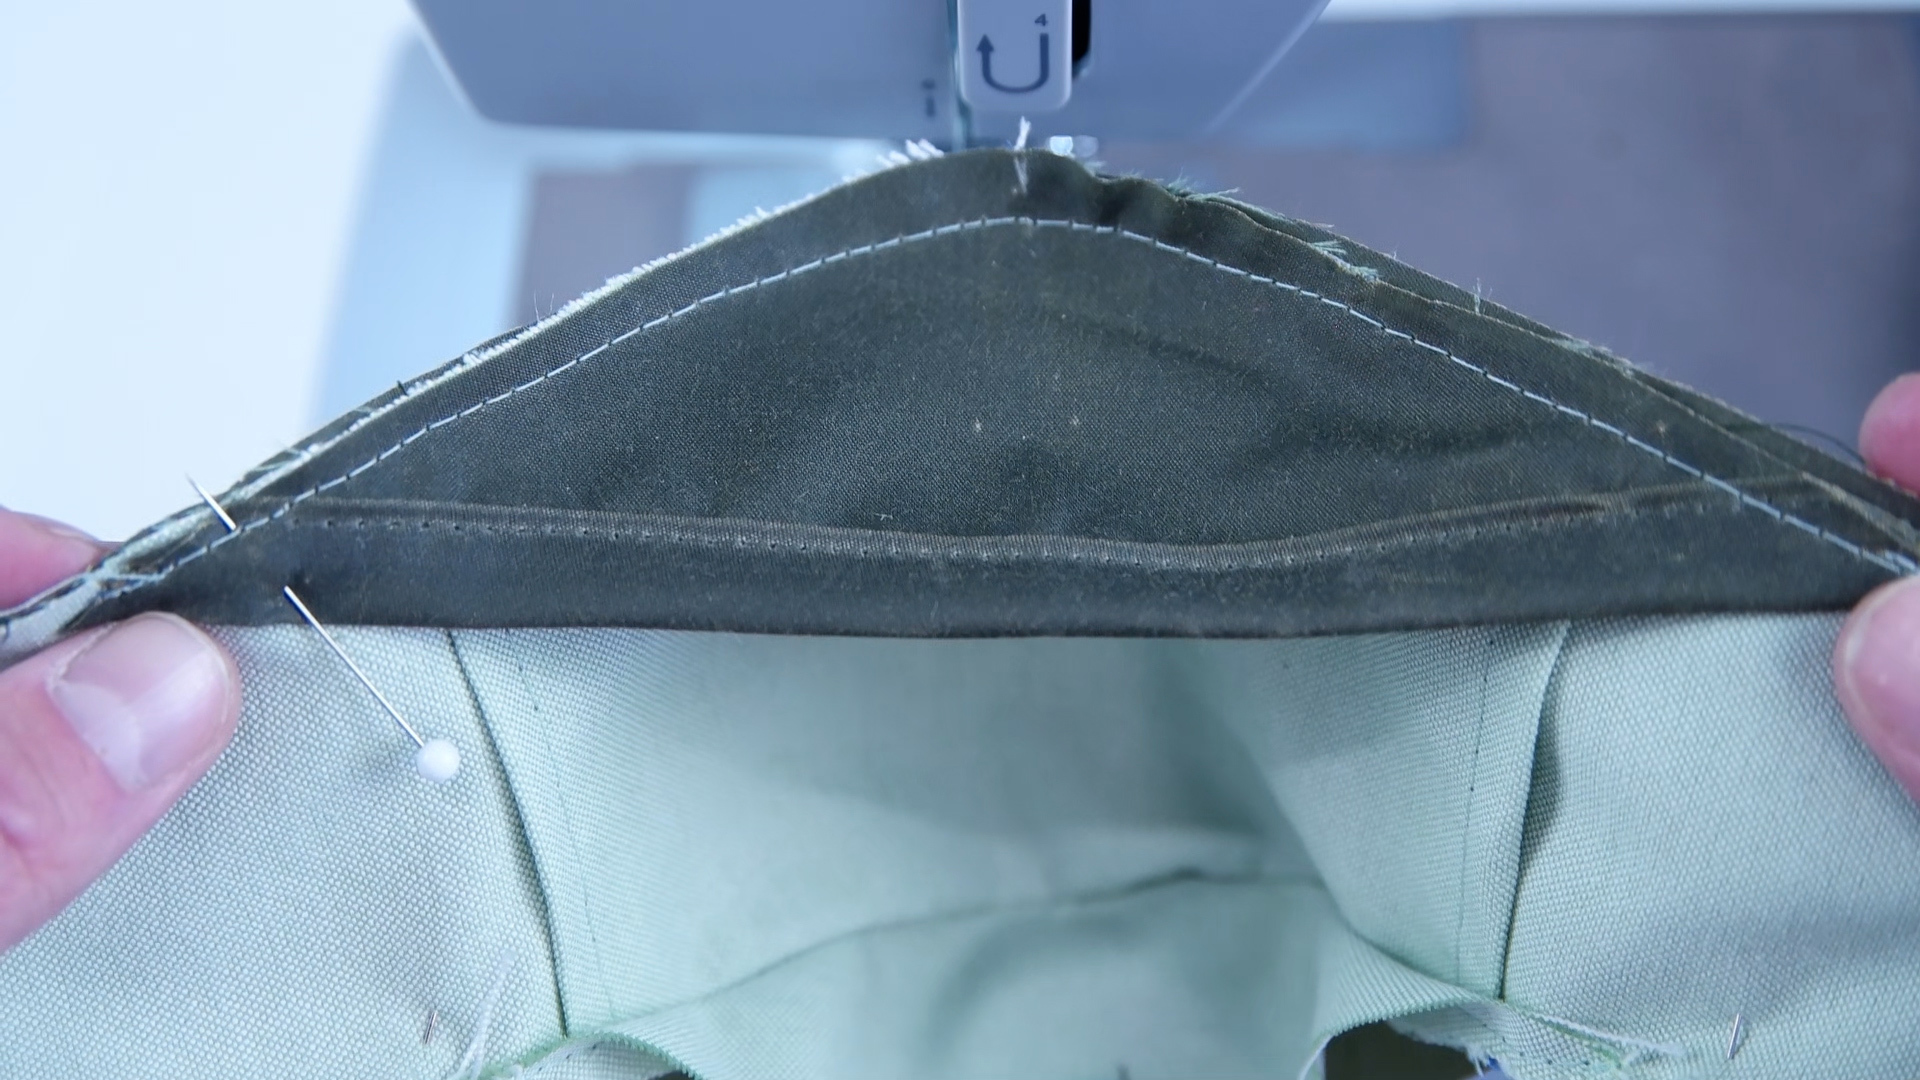
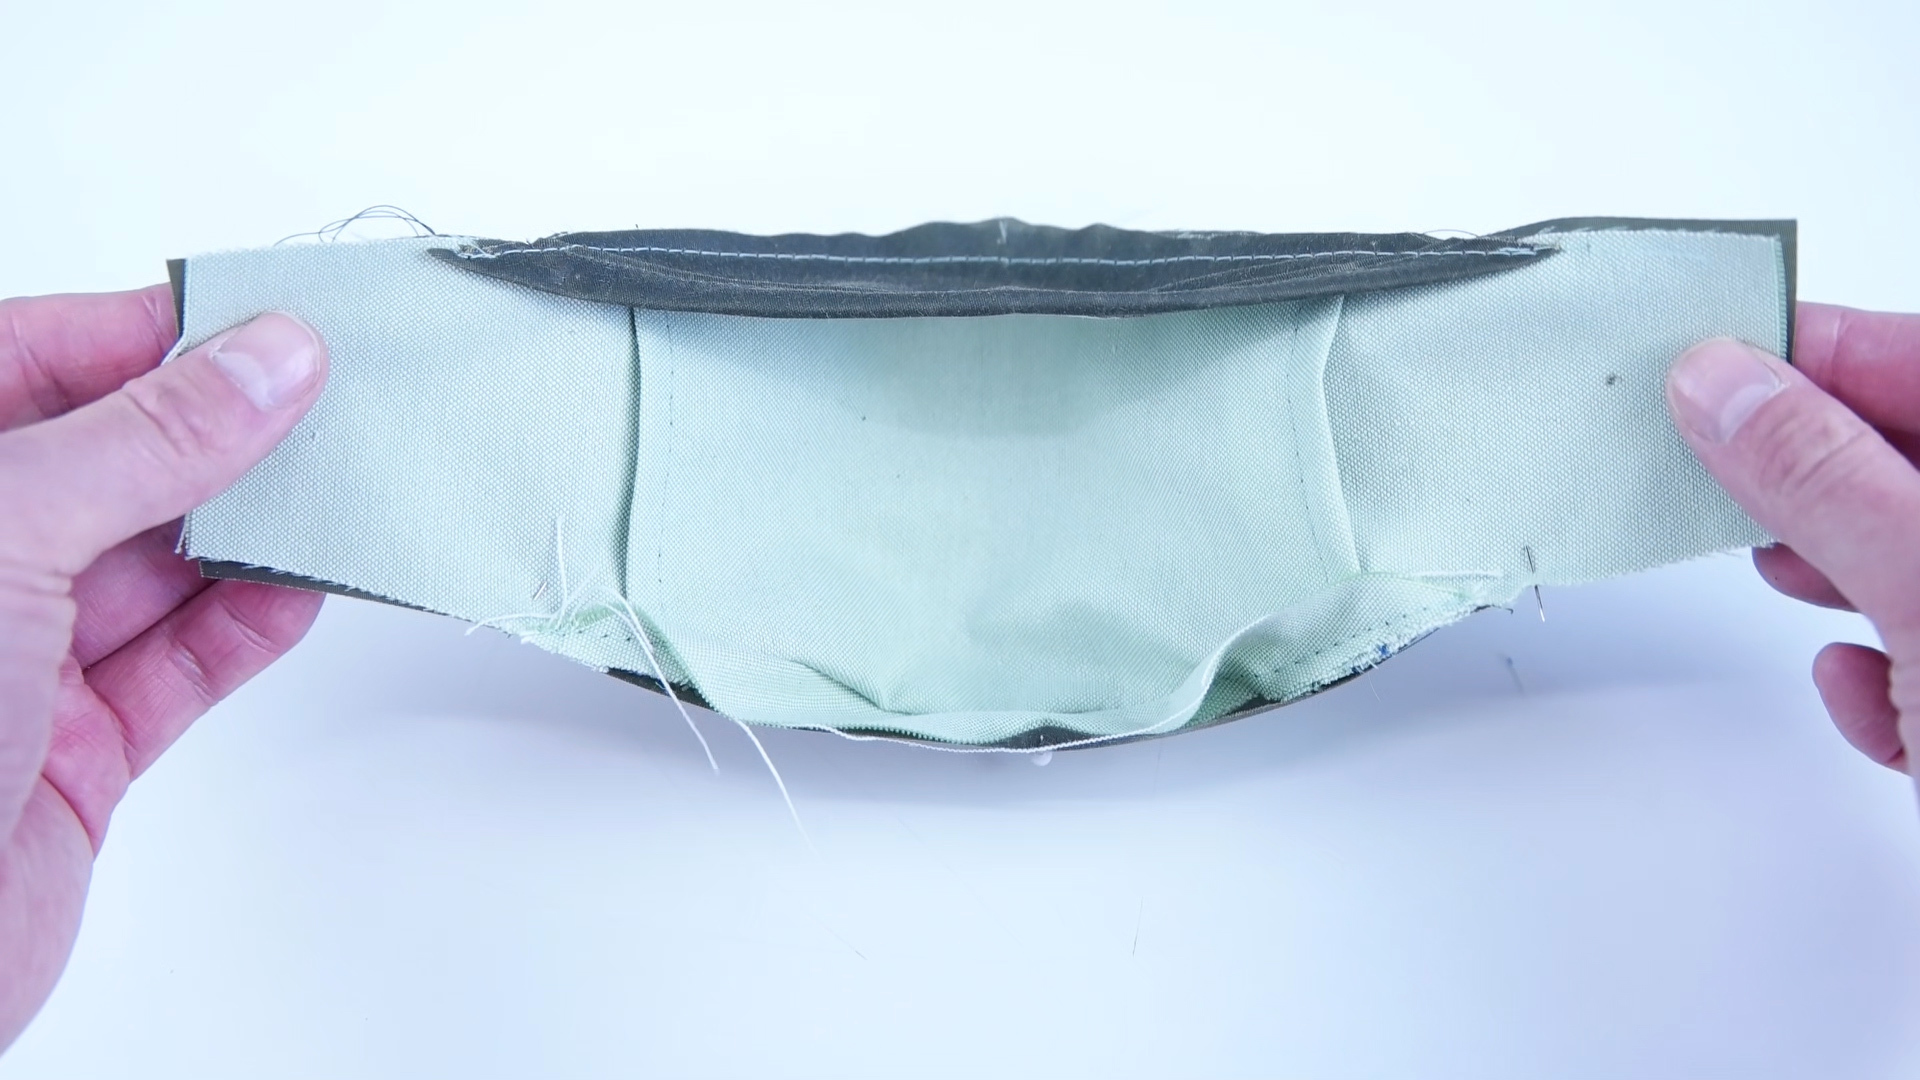
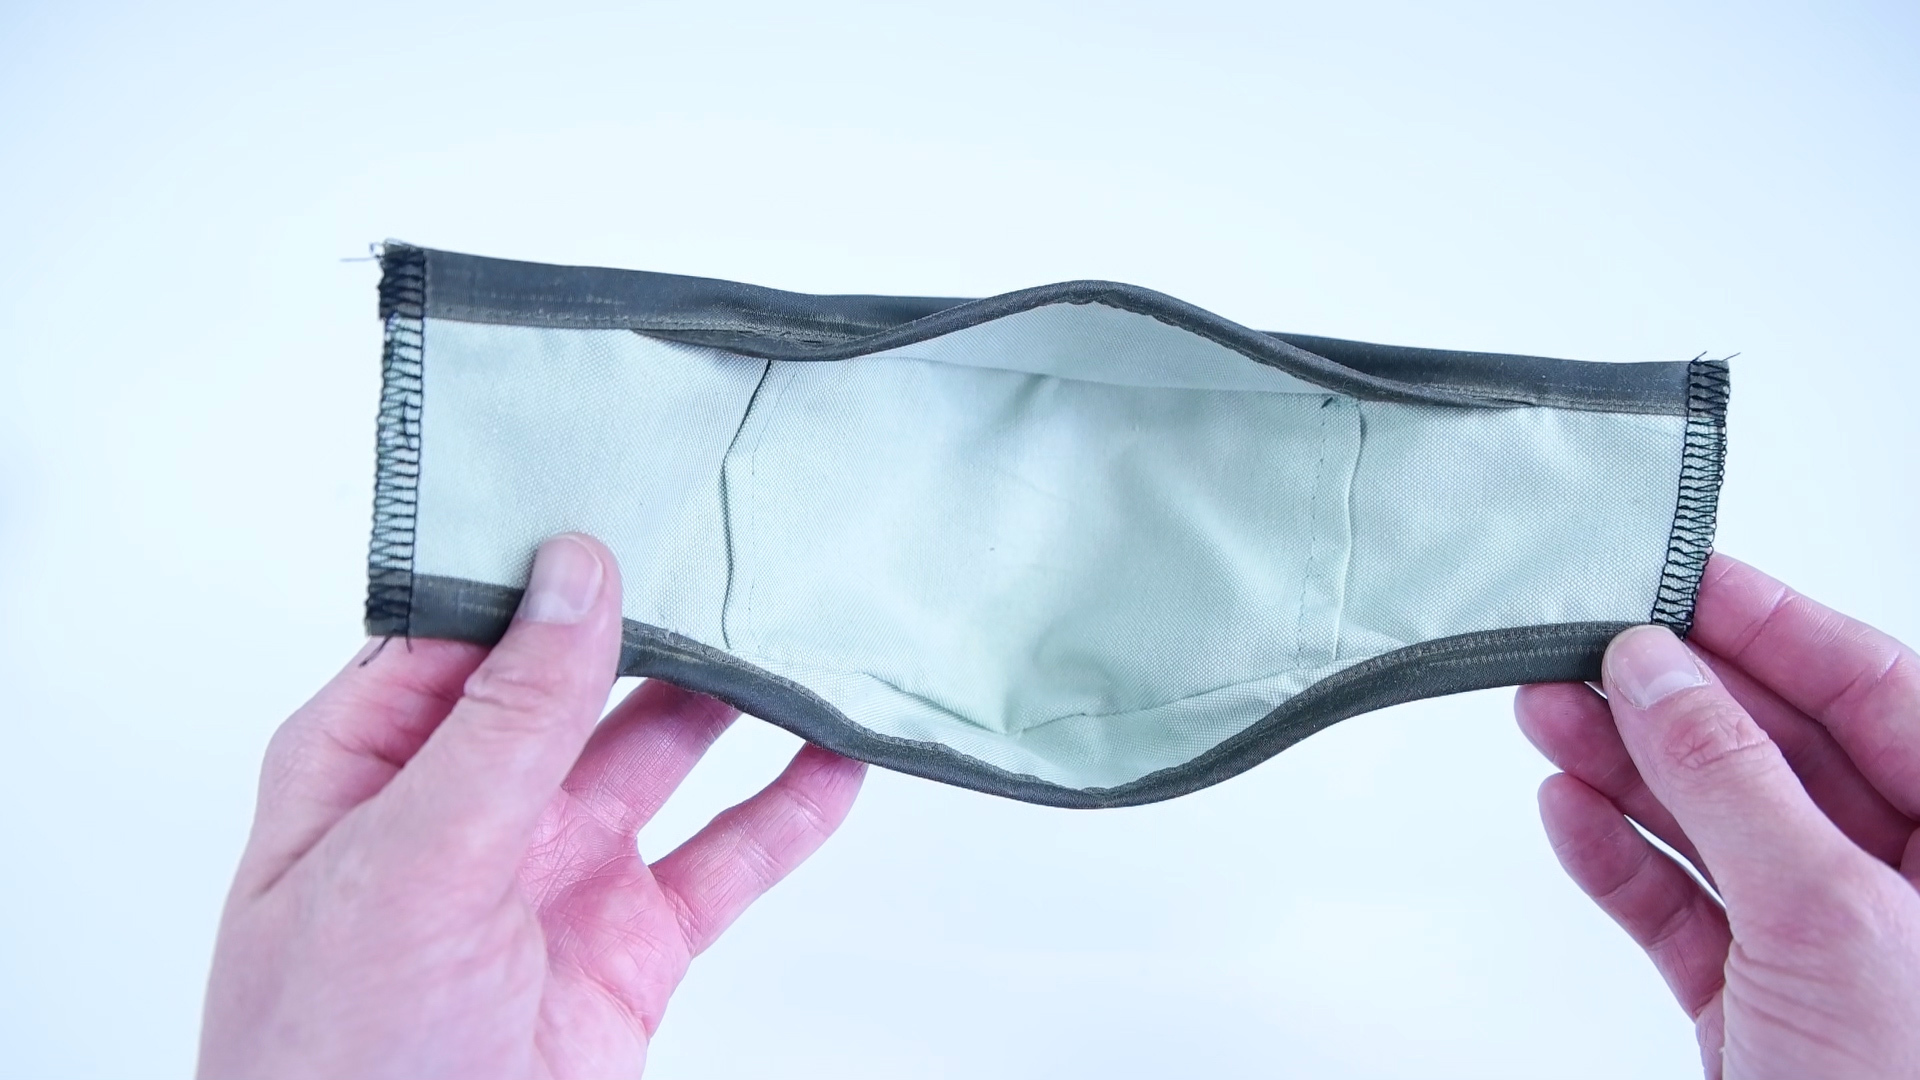
Assembling Panels
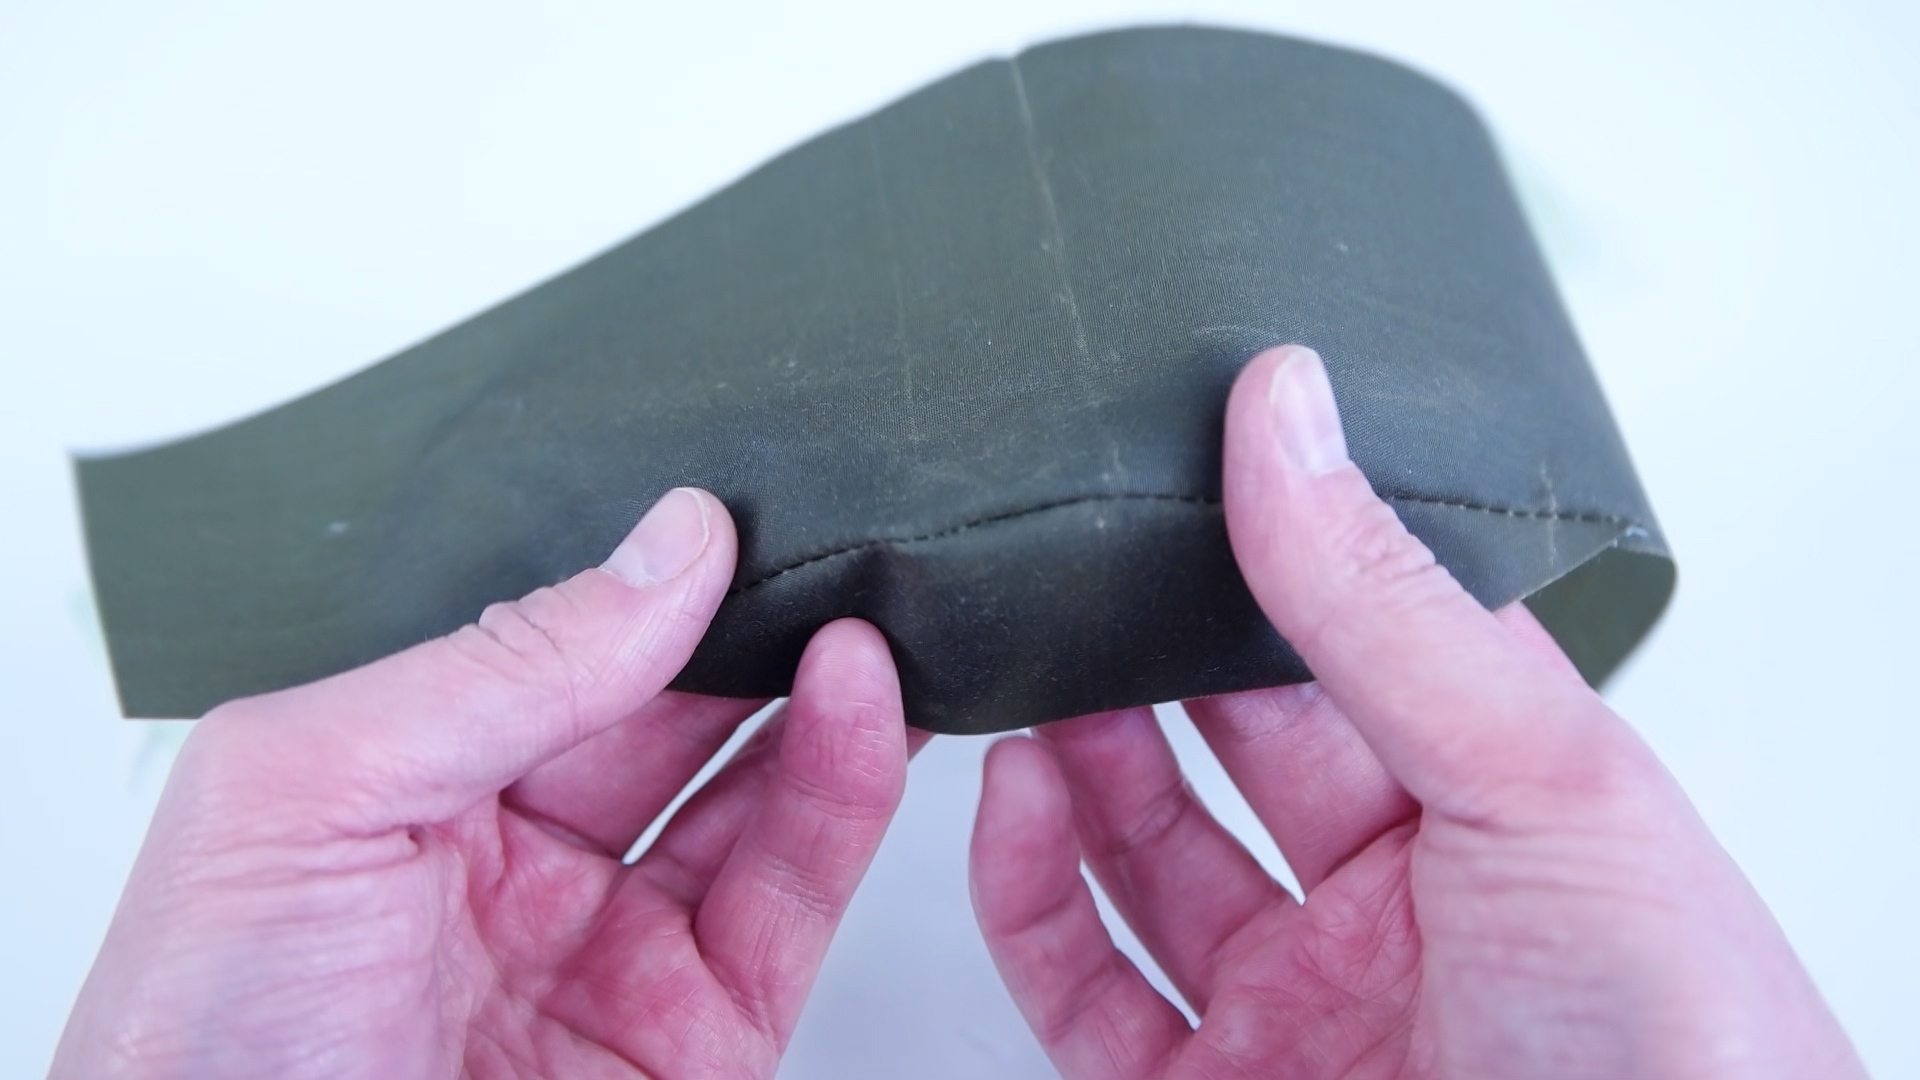
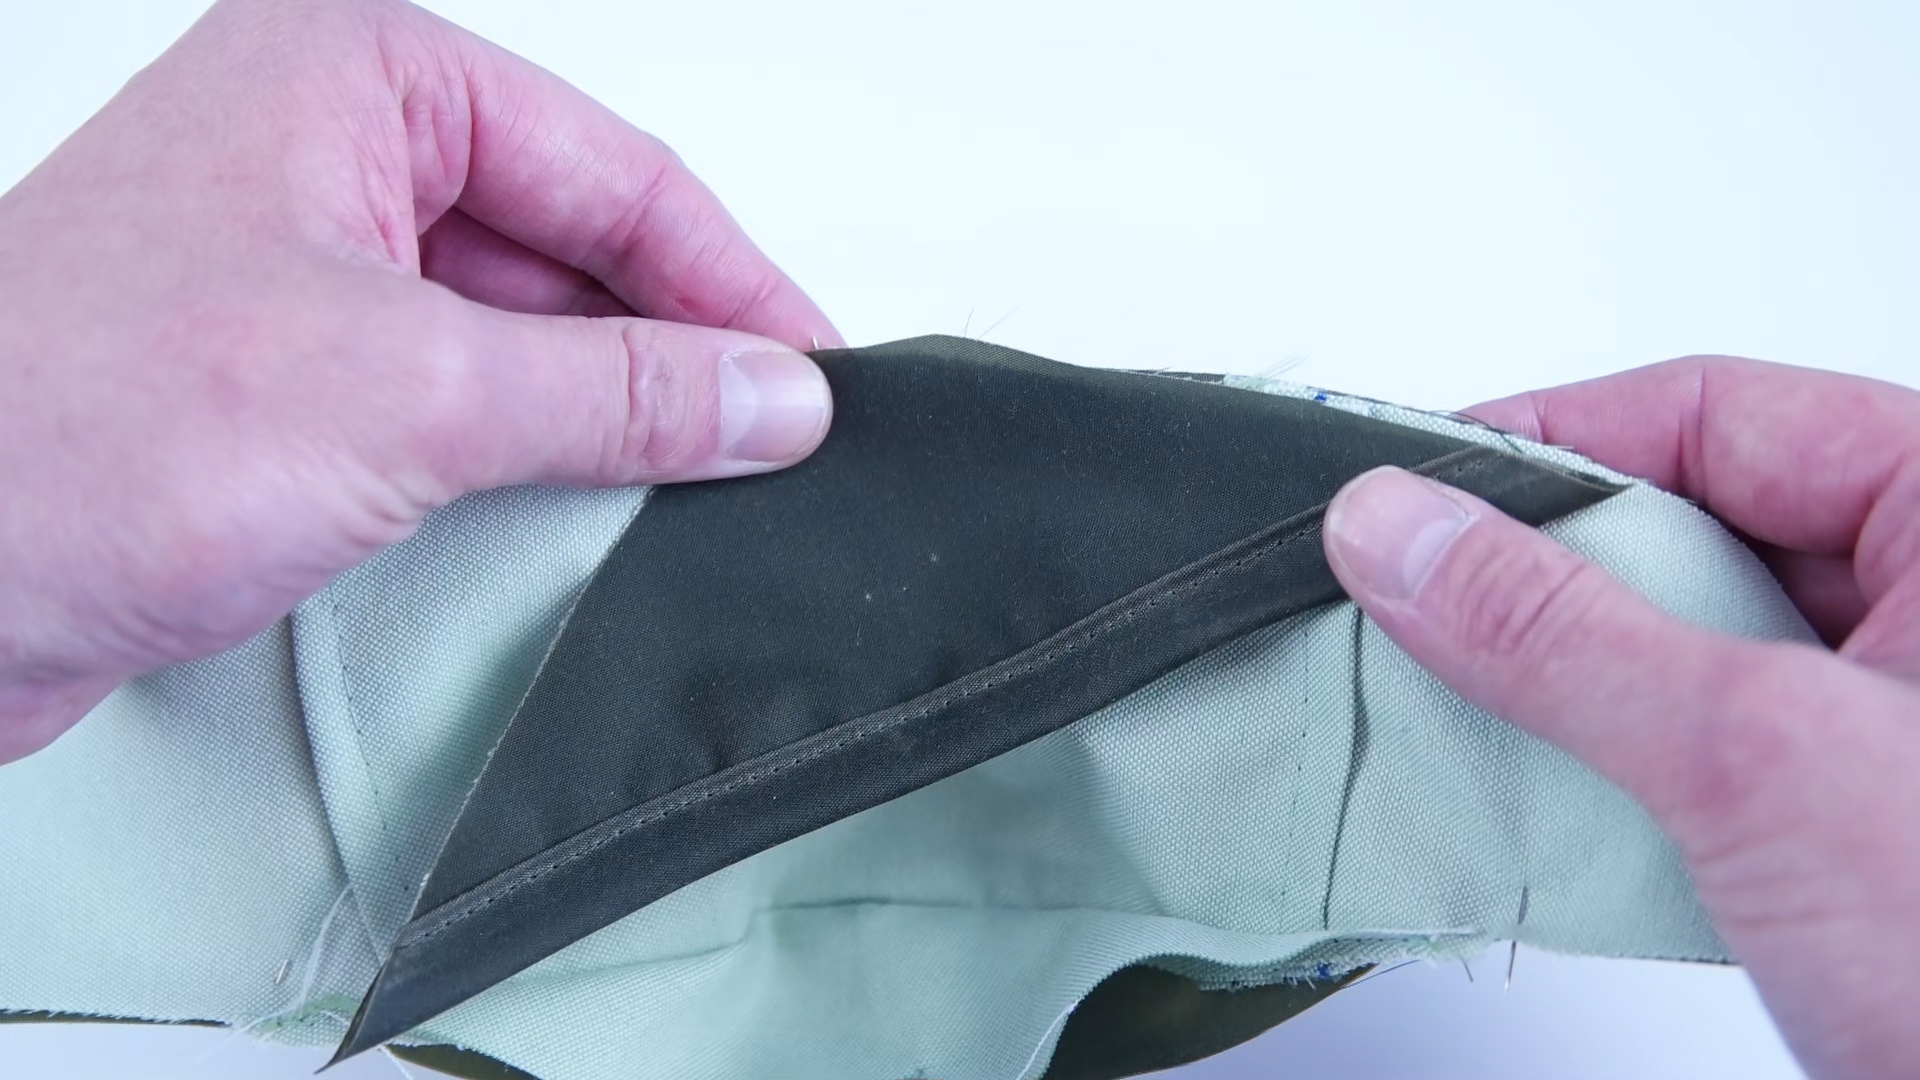
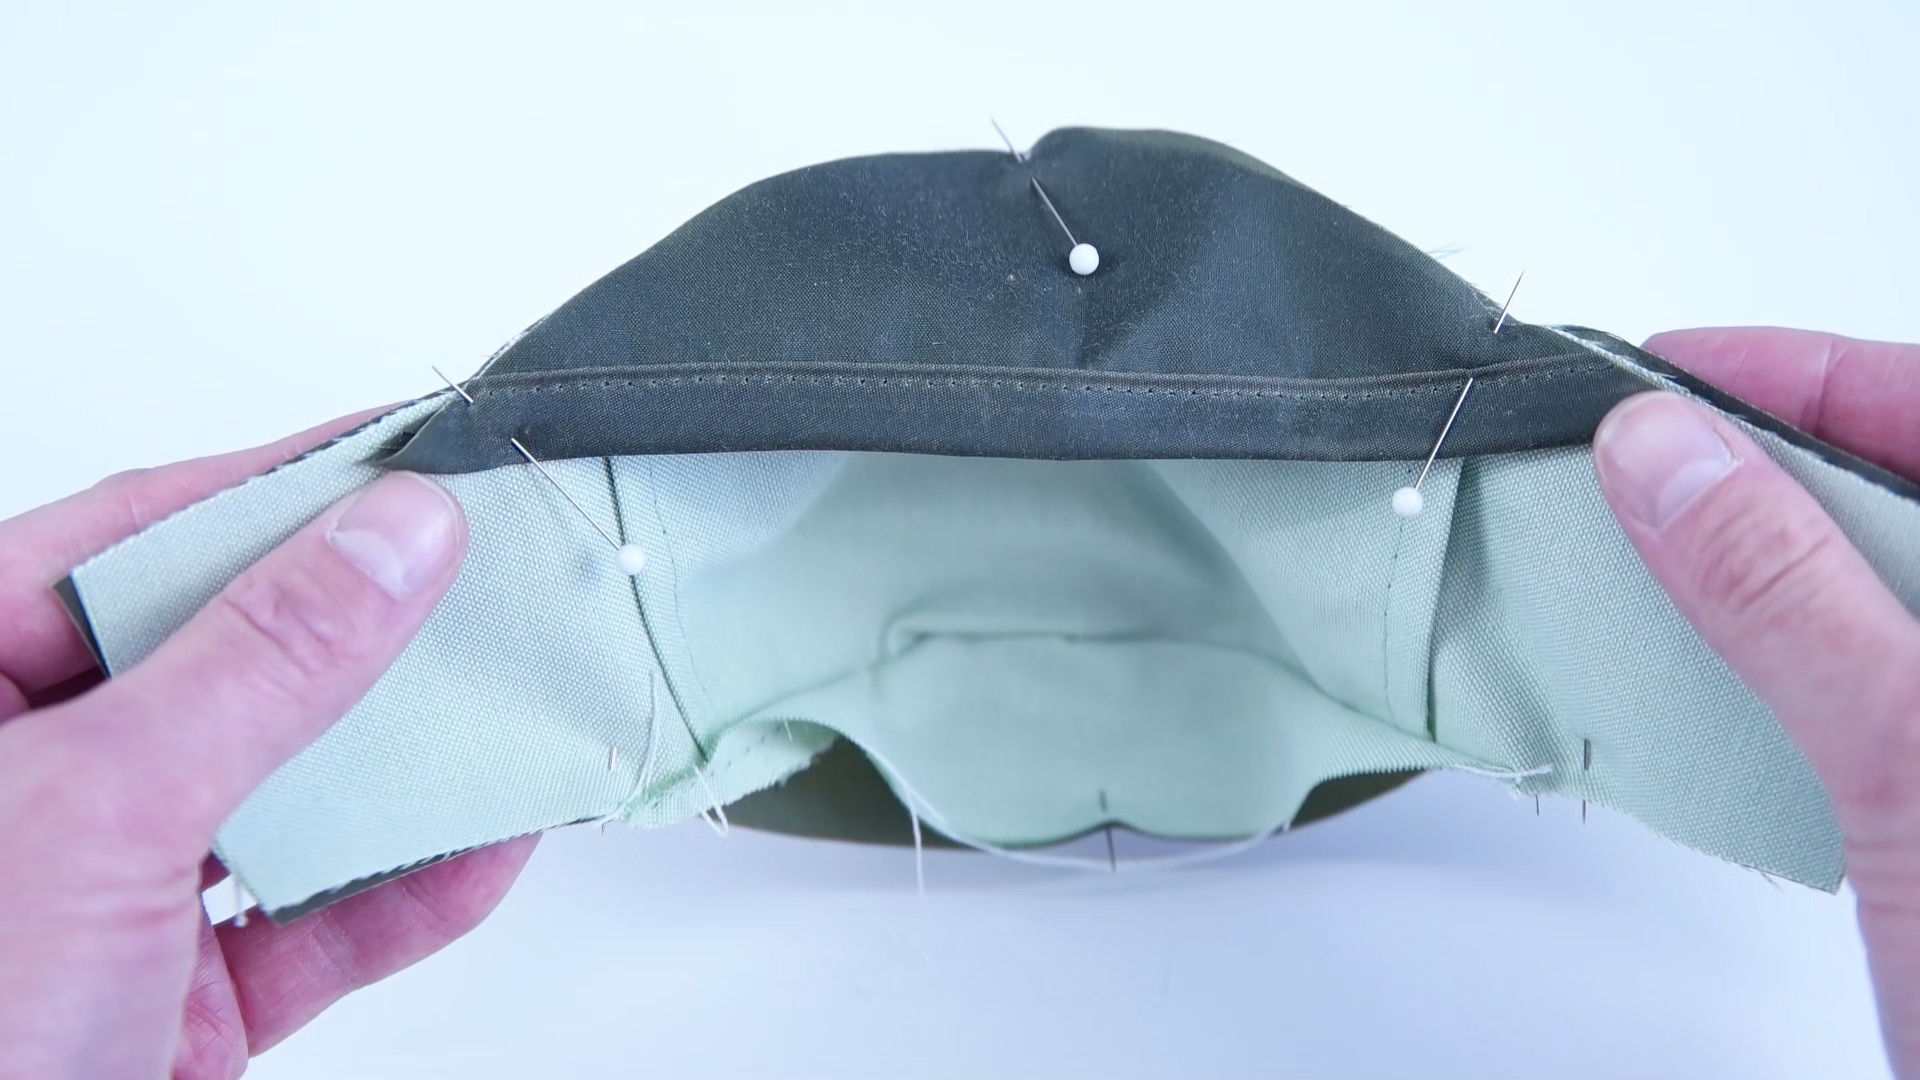
-Place the wrong sides of the Center Lining and Front Main Panel together.
-Line up the bottom seams and top notch.
-Place the Bottom Main panel on top of the lining with right sides together.
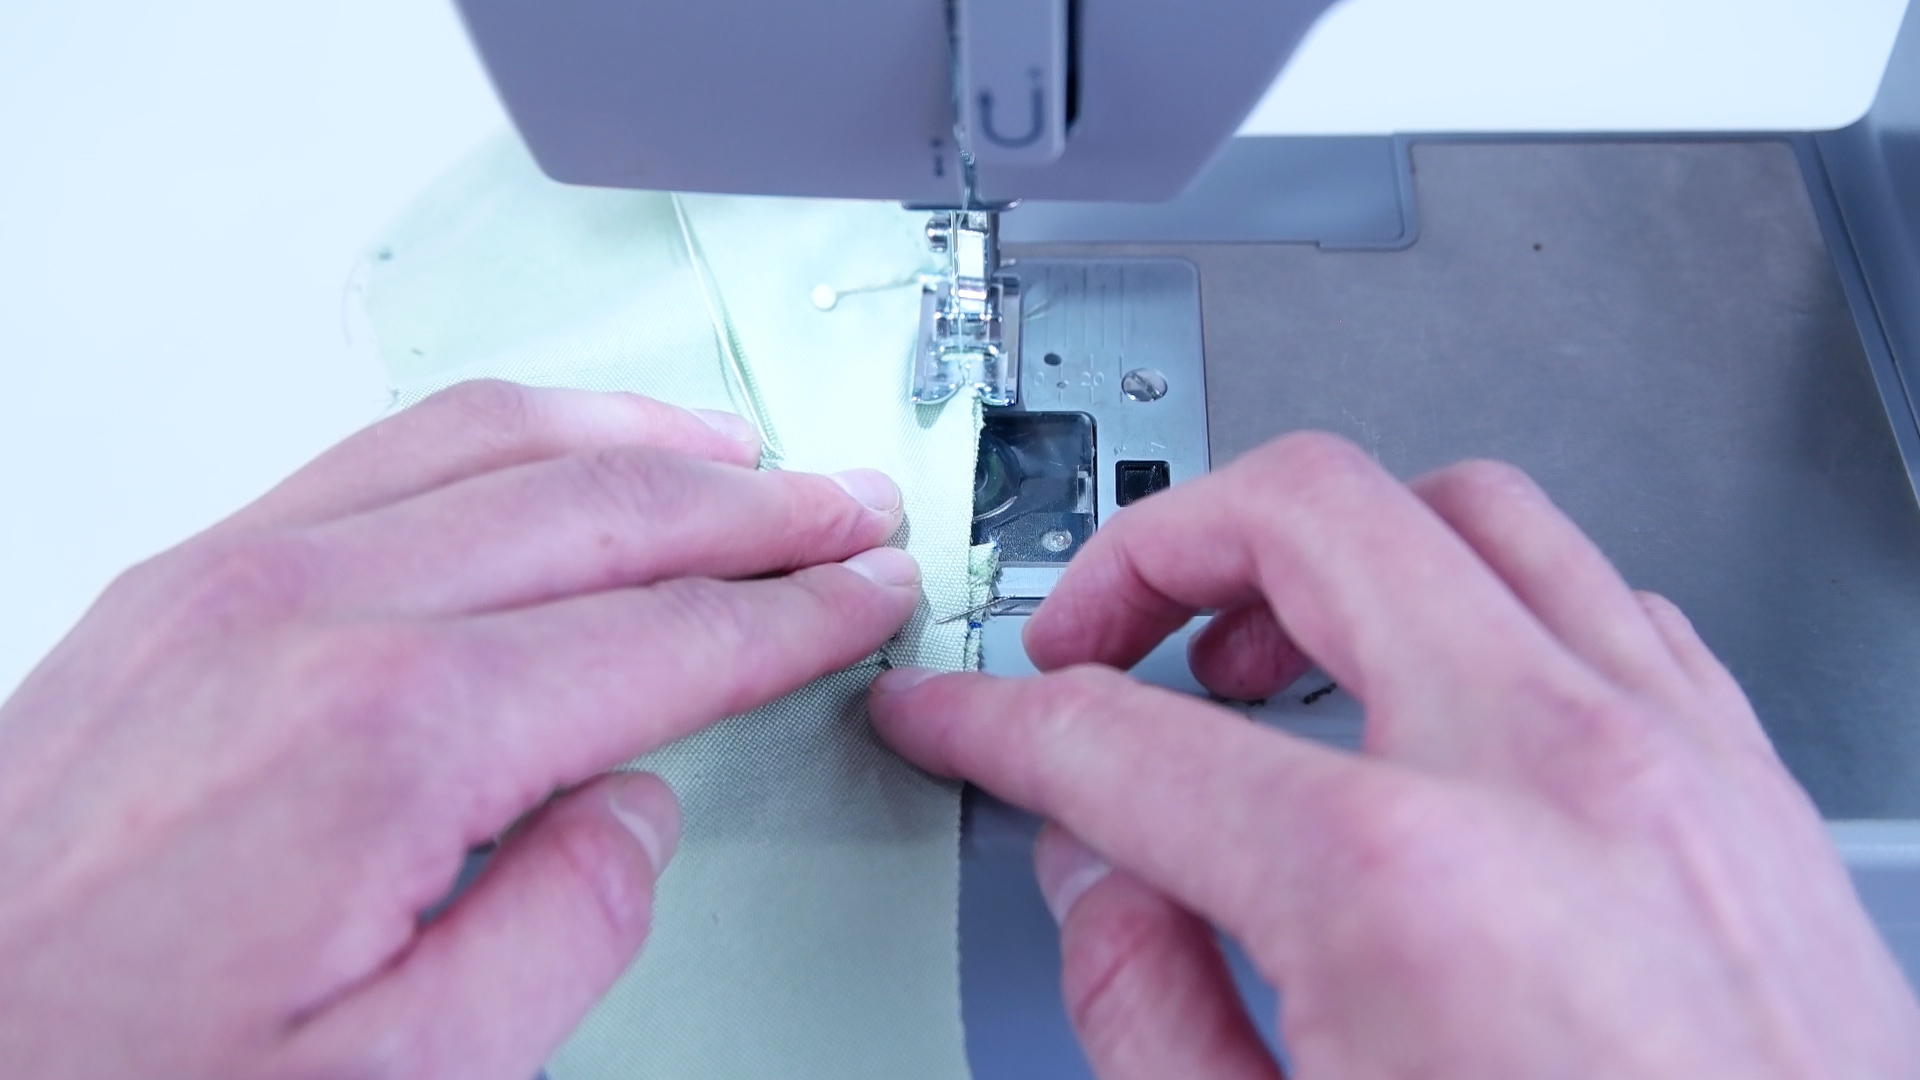
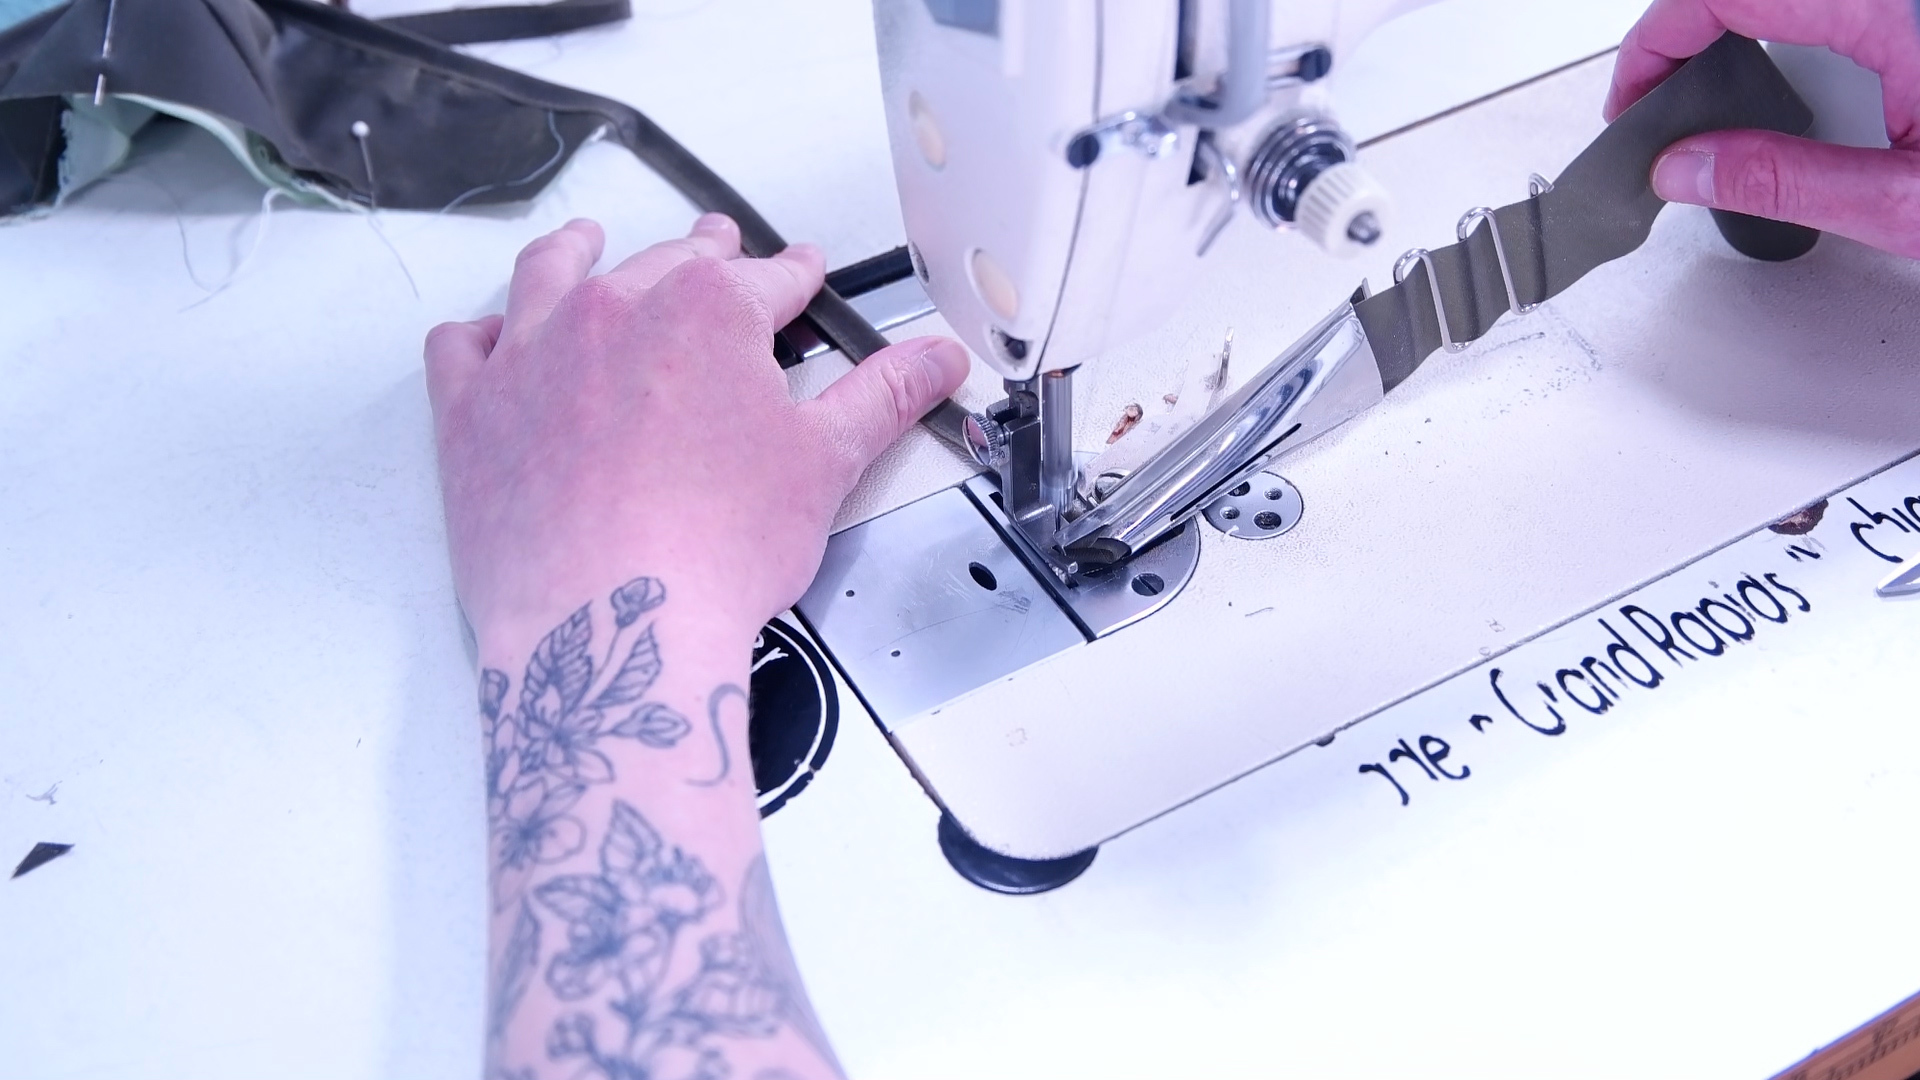
-Sew as close as you can to the edge.
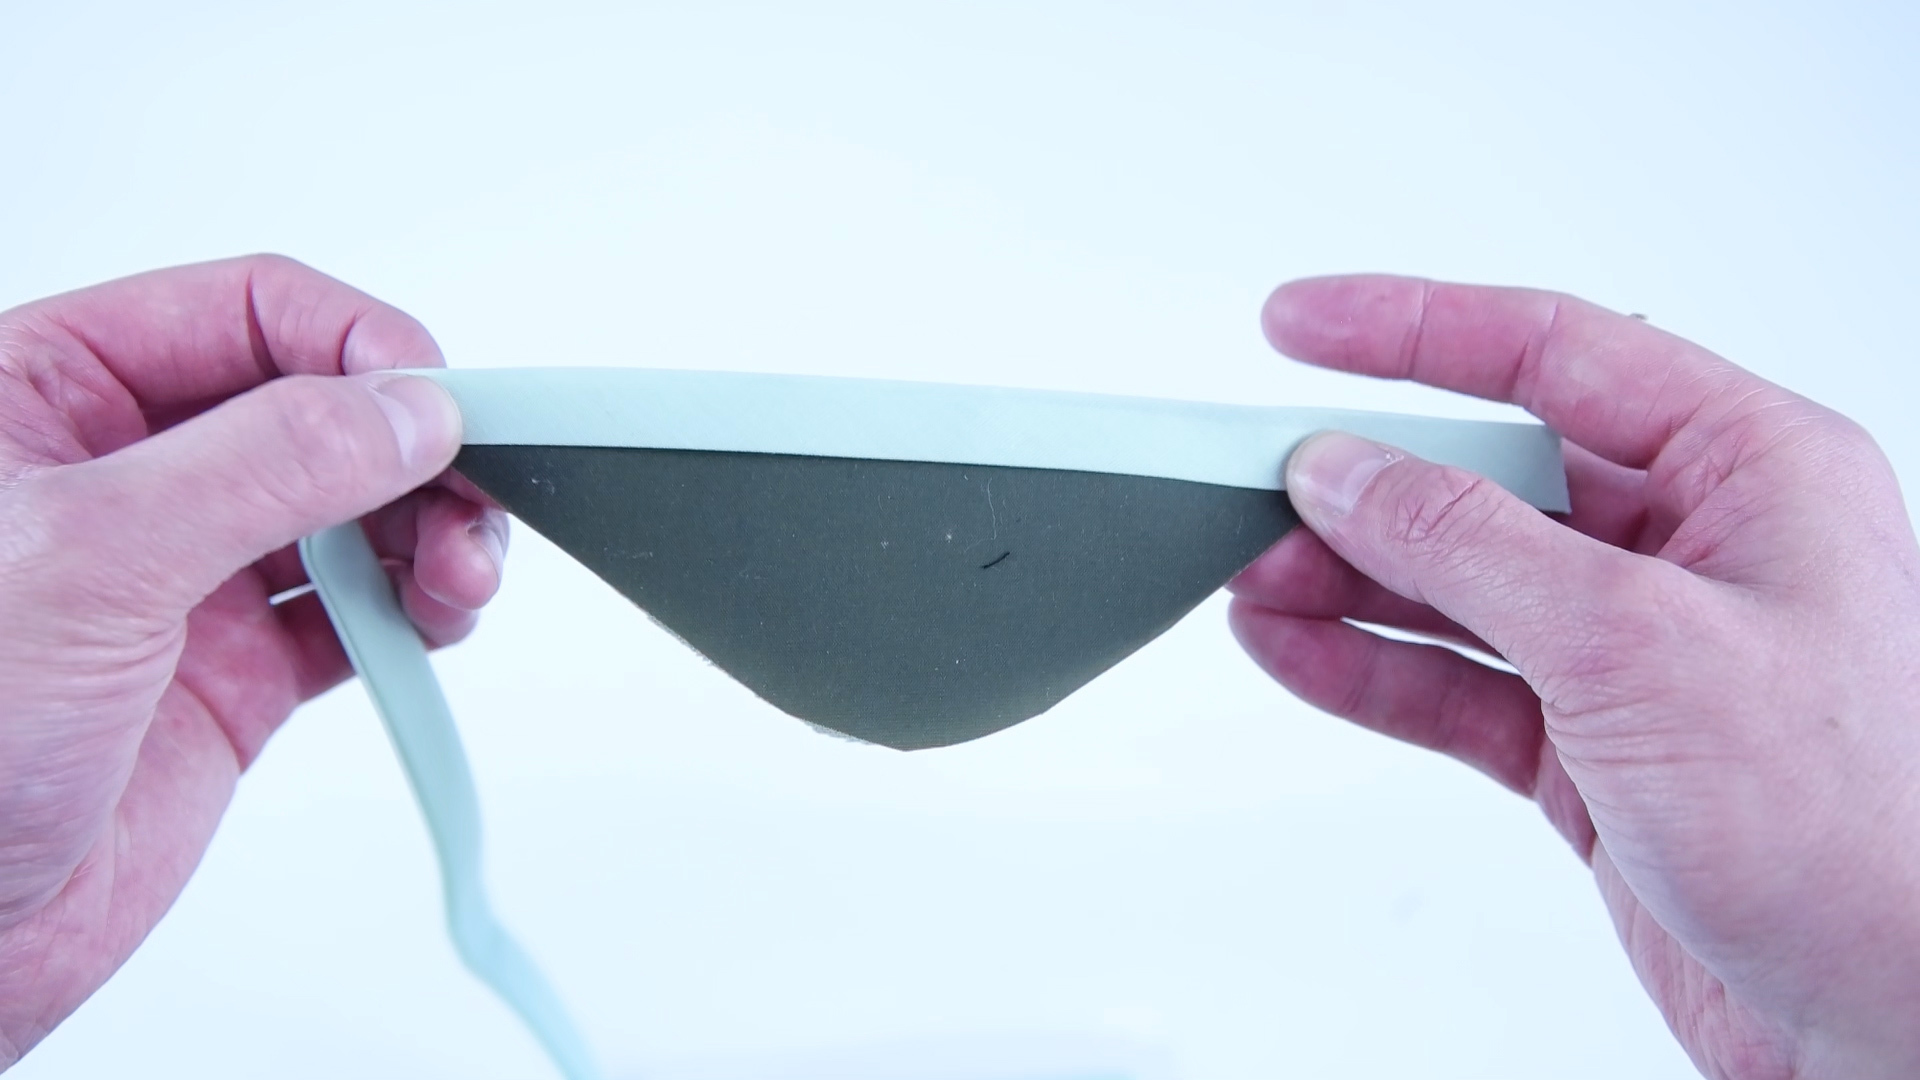
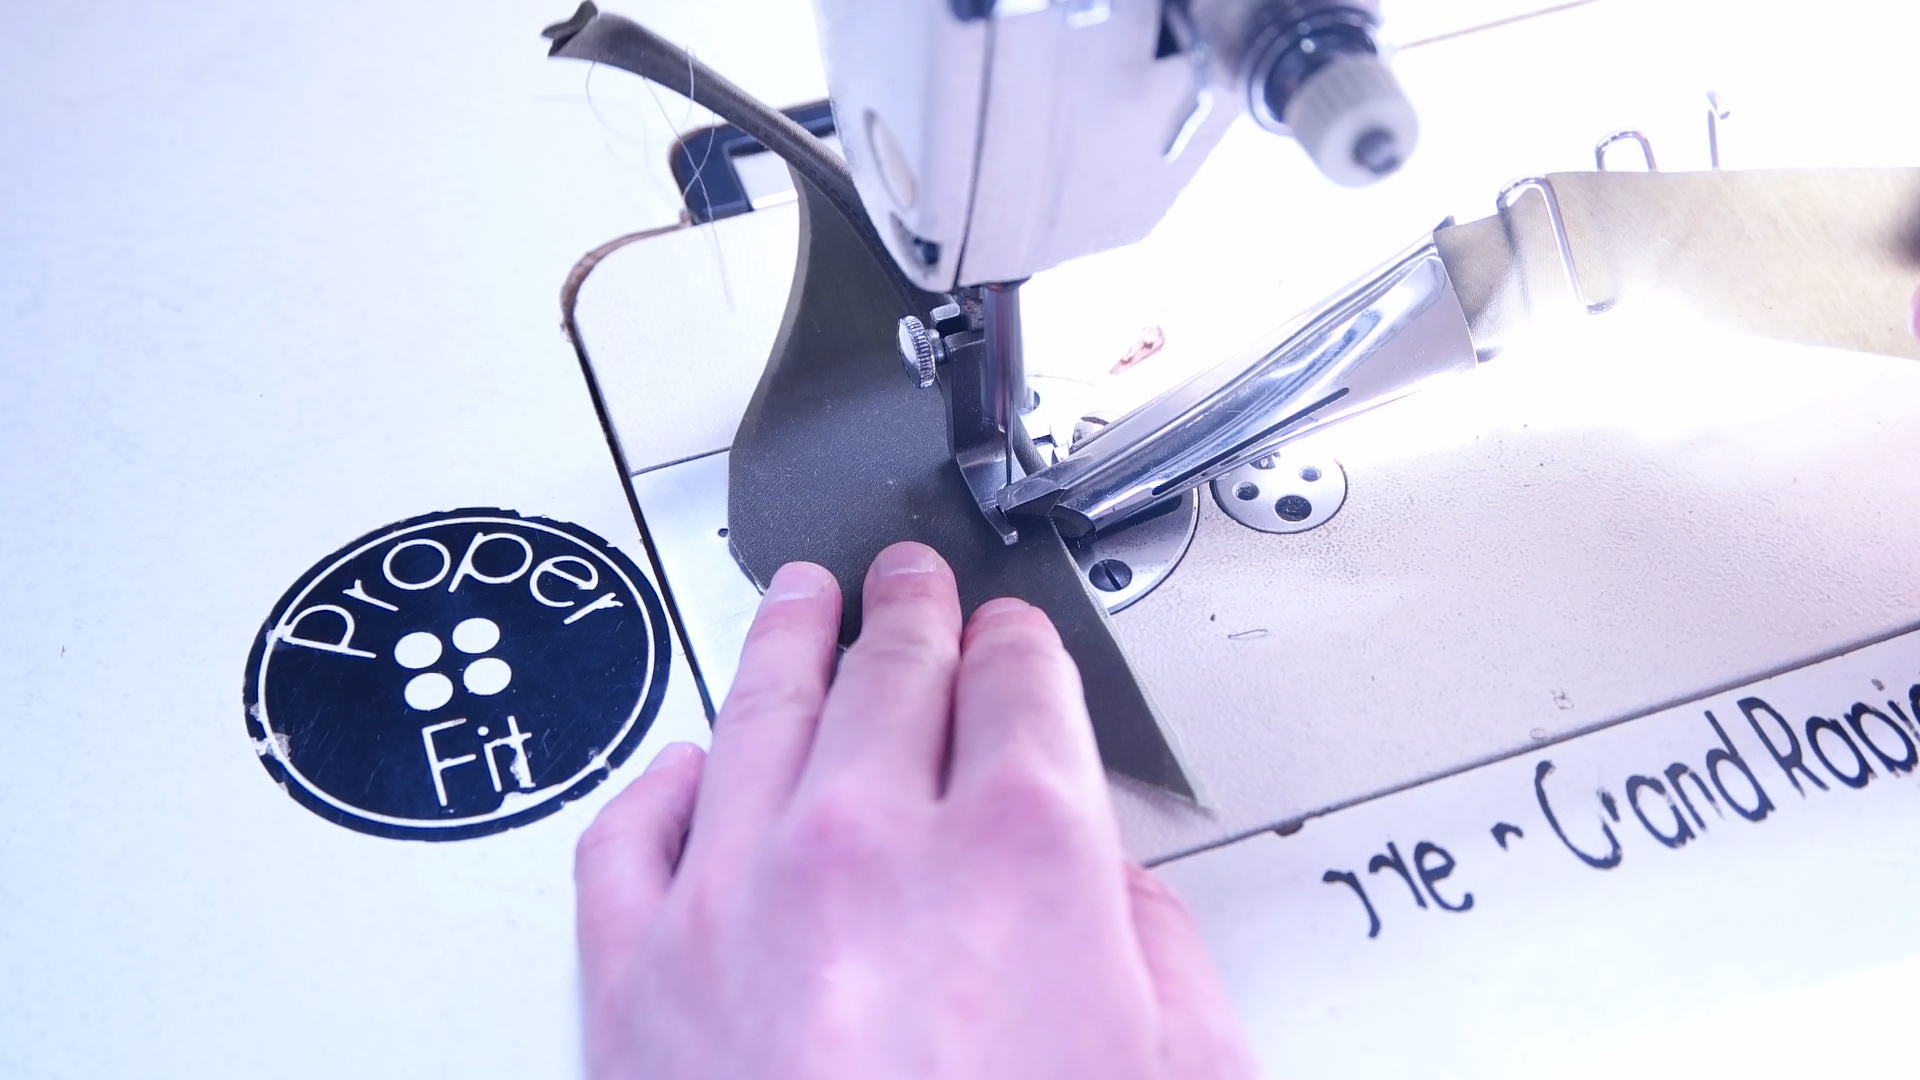
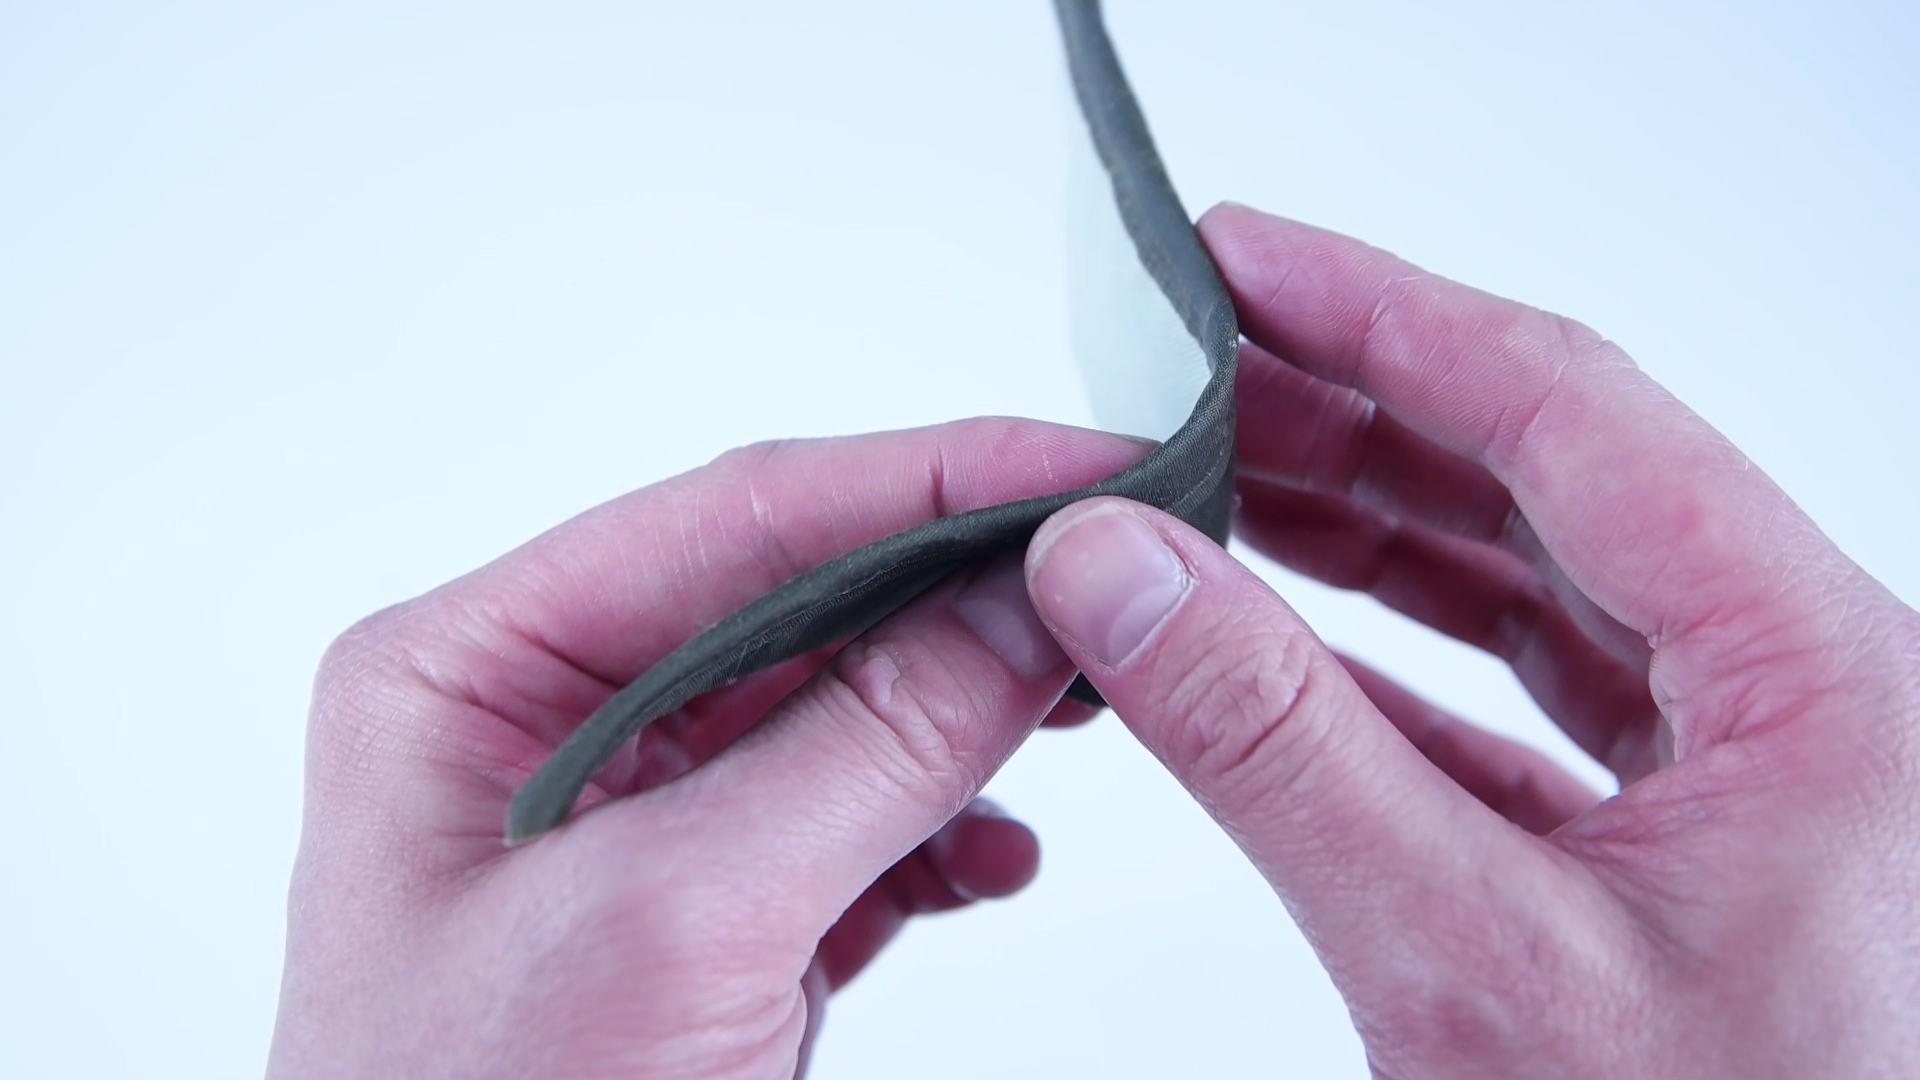
Bias Tape Top and Bottom Edge
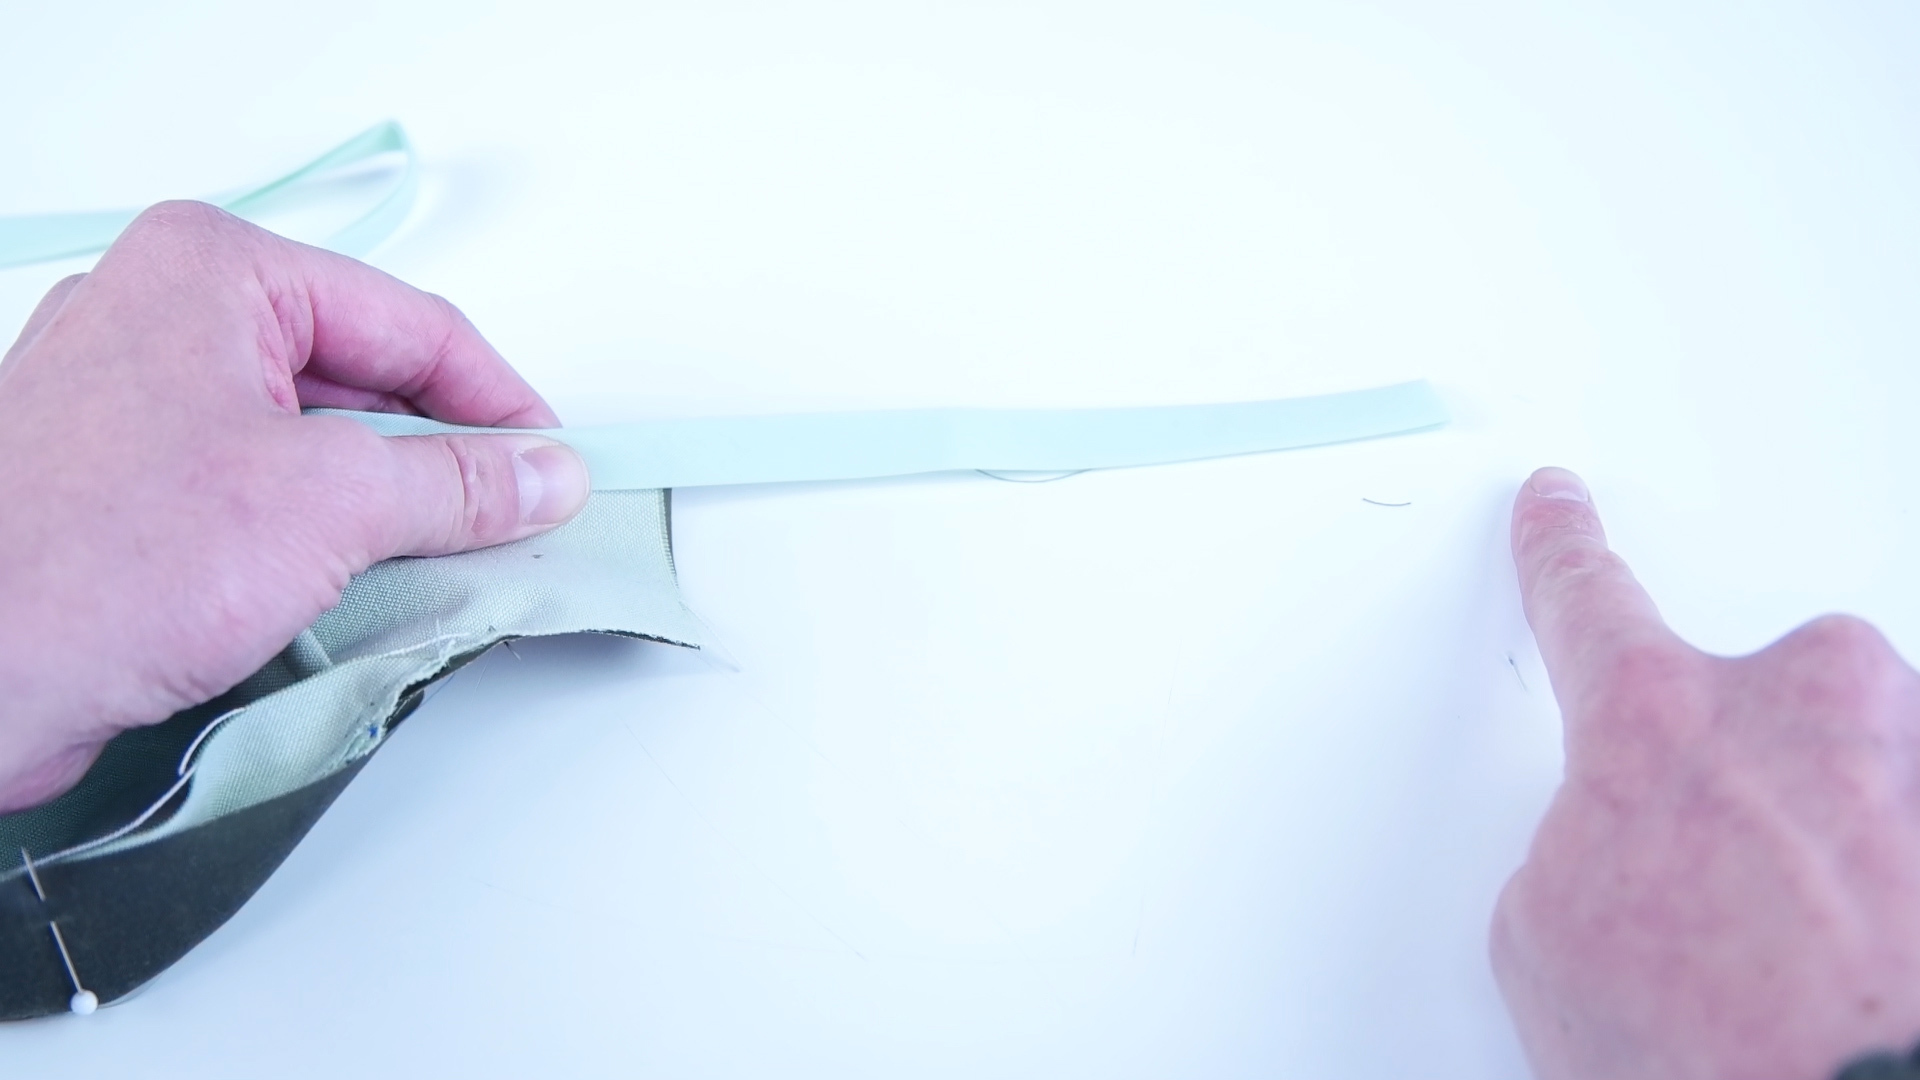
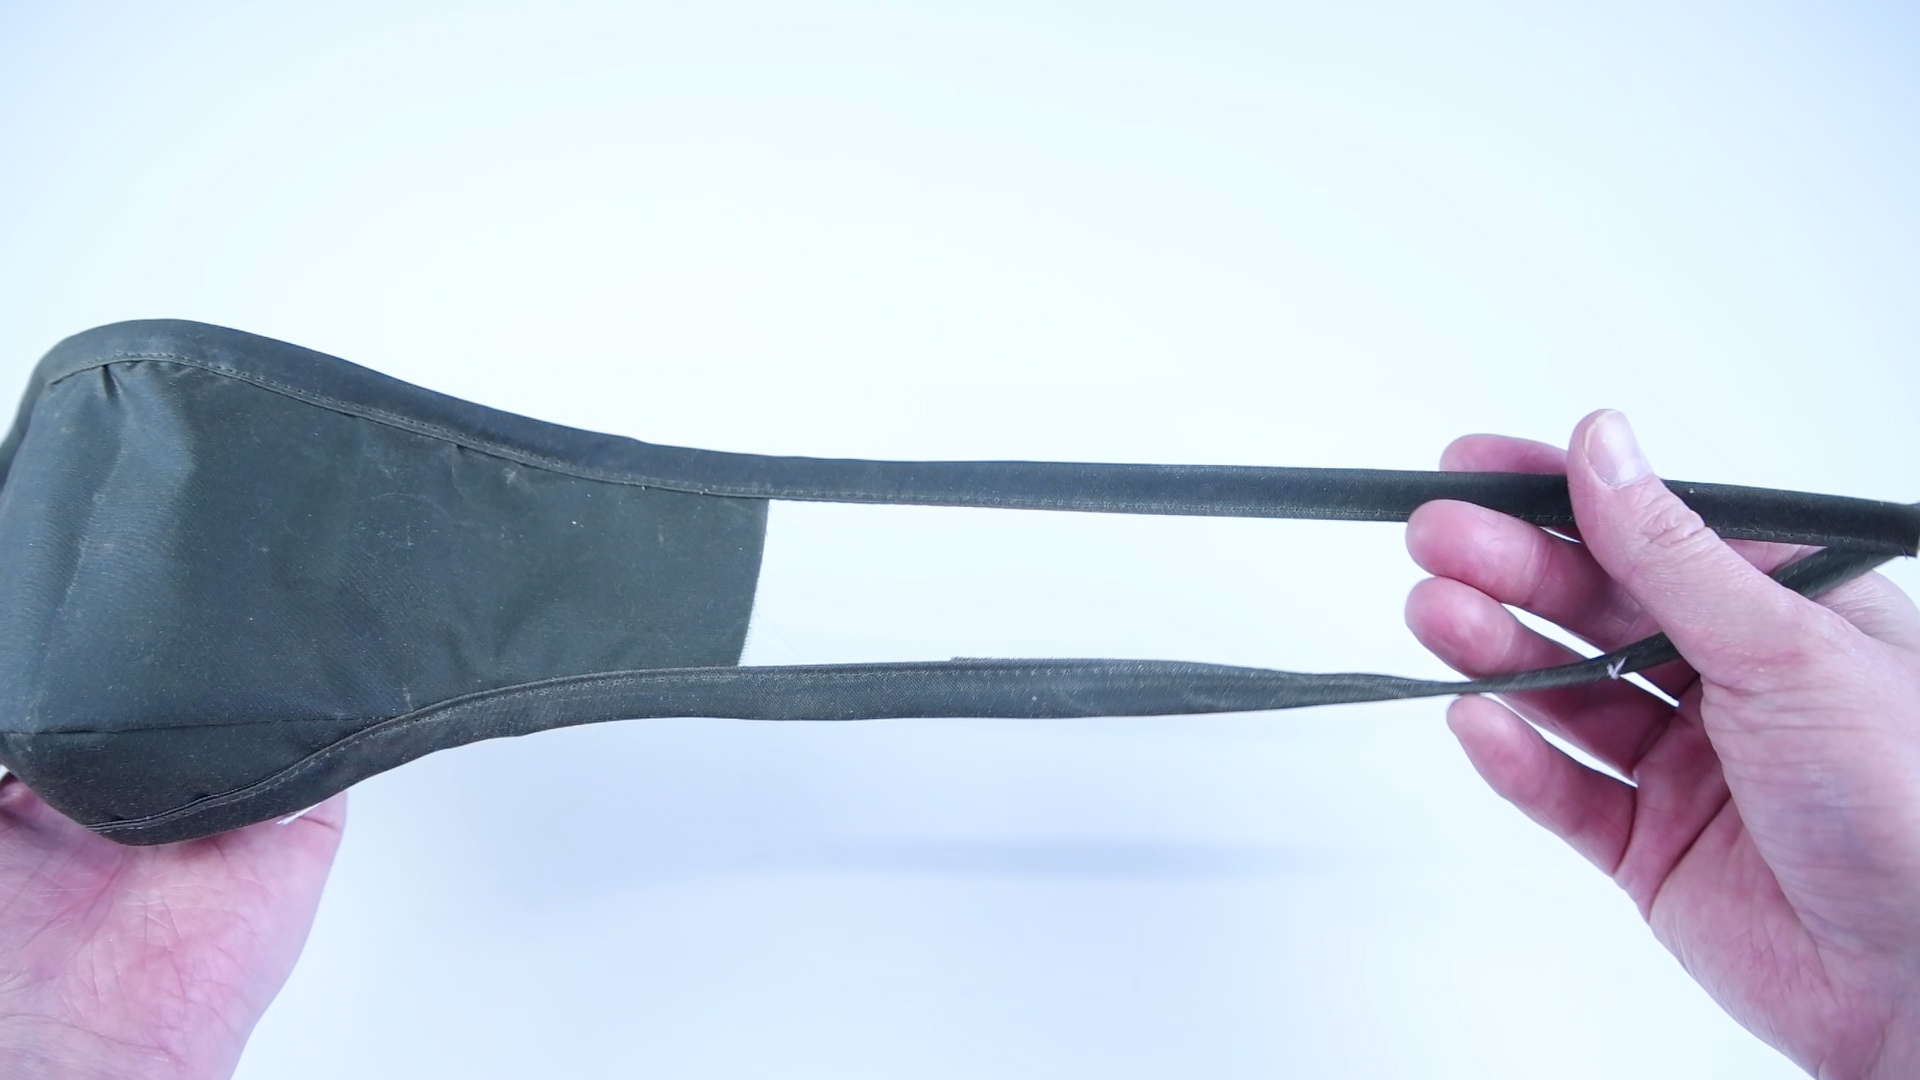
-Add bias tape to the top and bottom edge.
-BIAS TAPE TIE BACK OPTION: Leave 10 inches at the start and end of each edge. This will give you enough bias tape to tie behind your head. NOTE: you can always trim the bias tape down if it is to long :)
-ELASTIC or CORD OPTION: Add bias tape on both edges. Do not need to go past the sides.
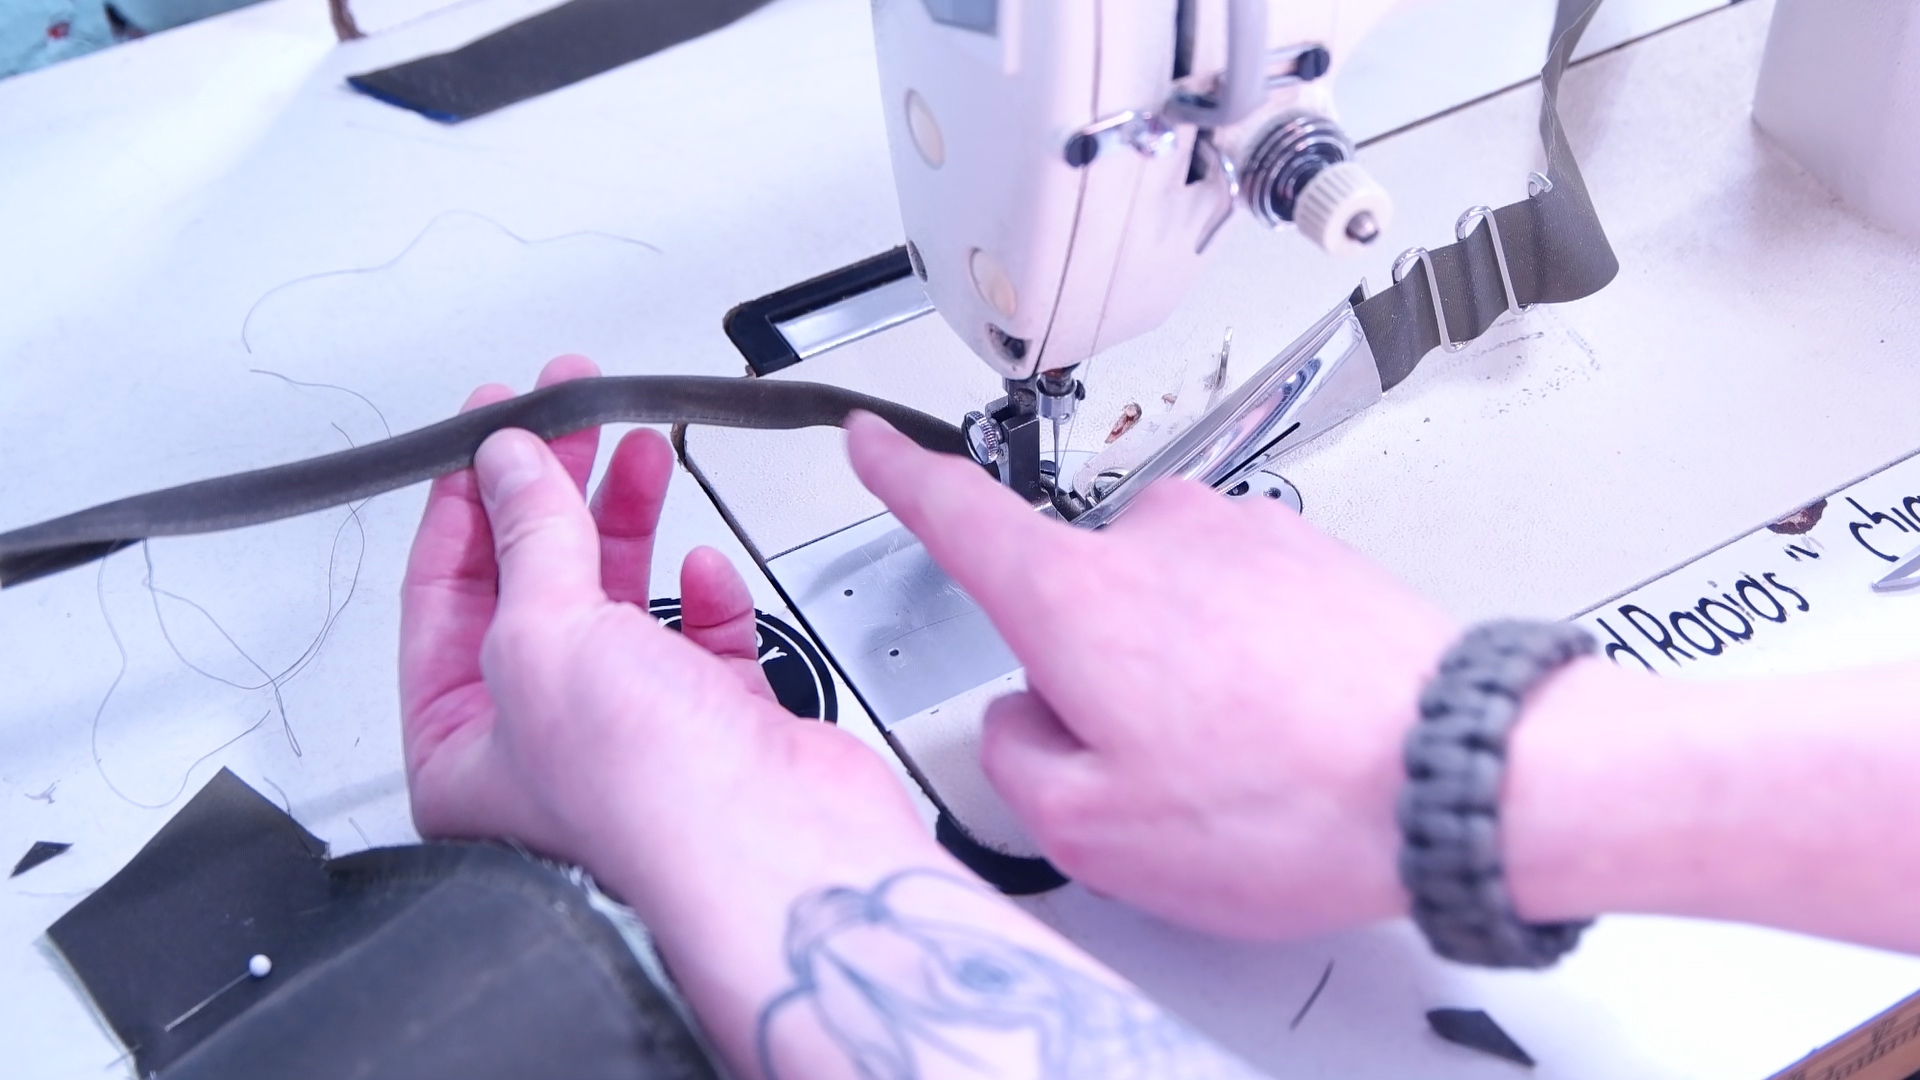
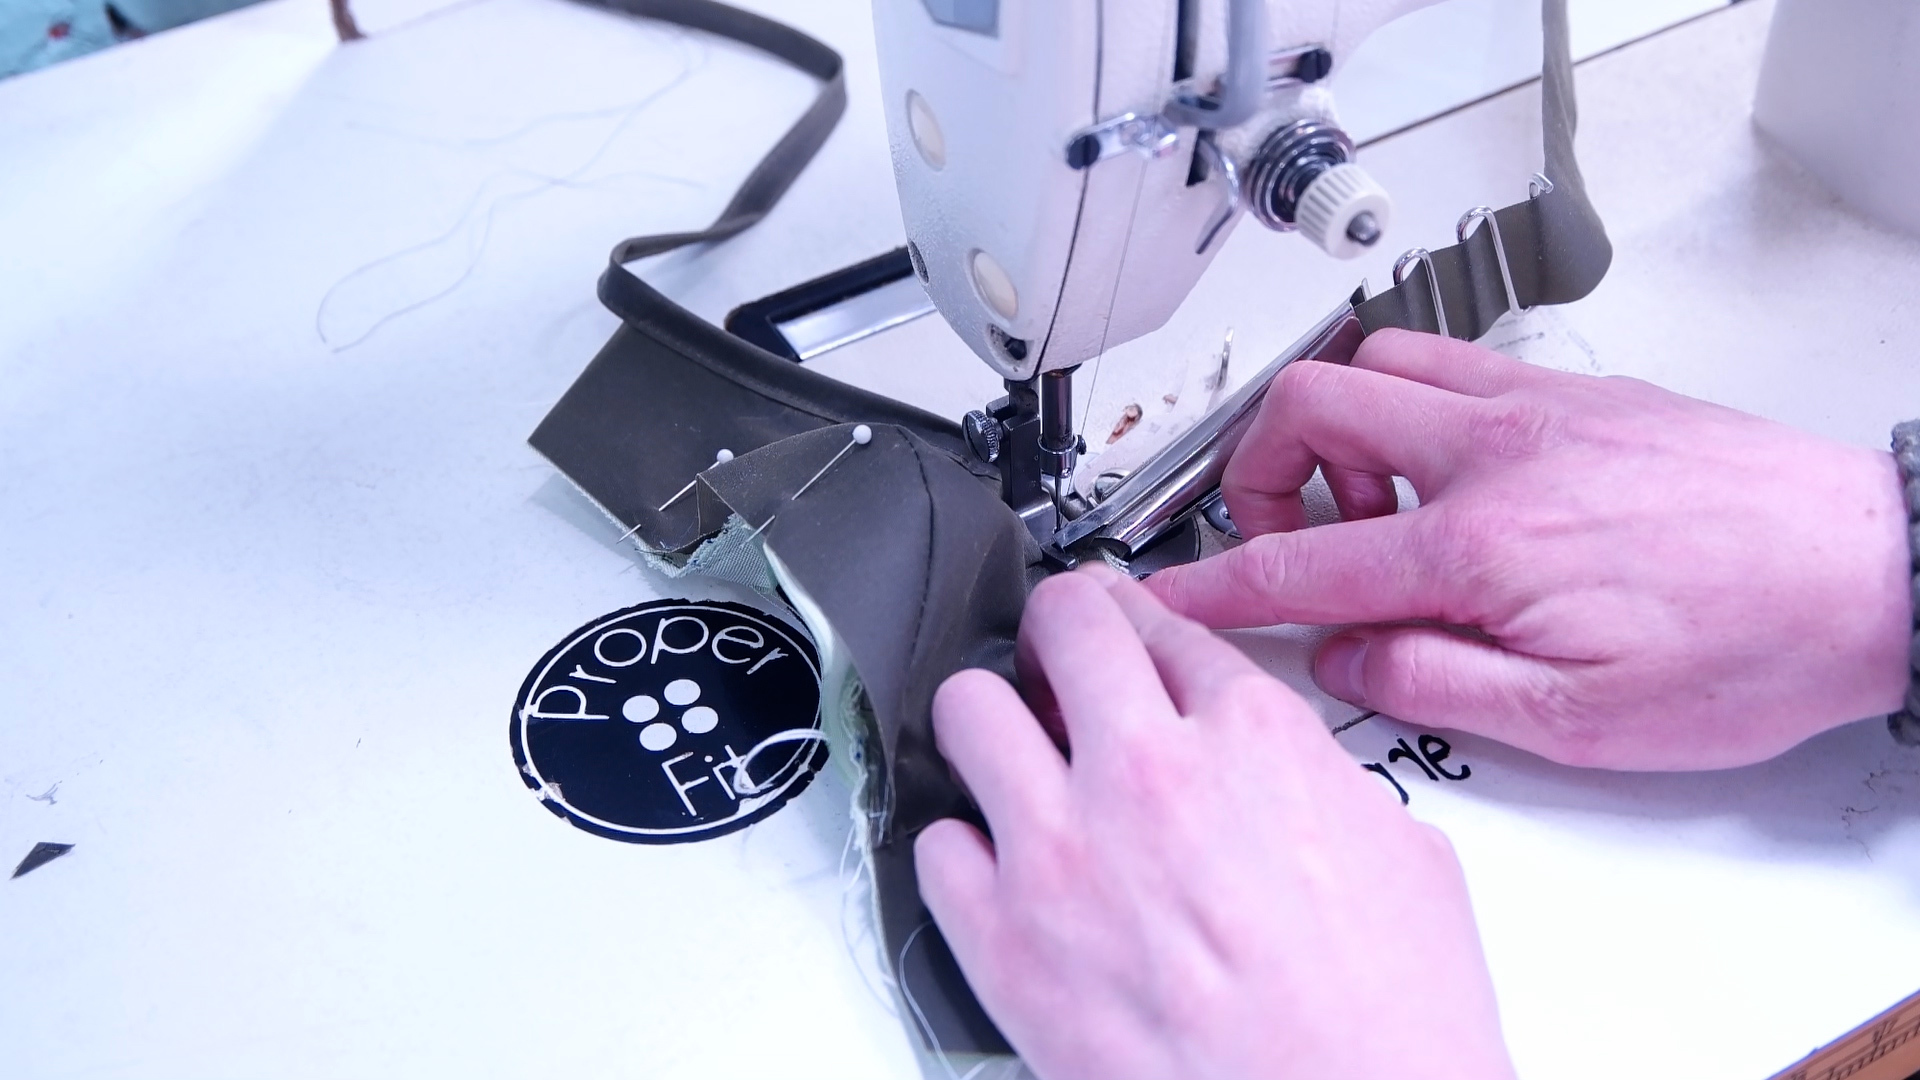
Finishing Bias Tape Ties

-If you did the bias tape tie back option. Finish the edges by rolling the ends over twice and tack stitching down.
Elastic or Cord Option
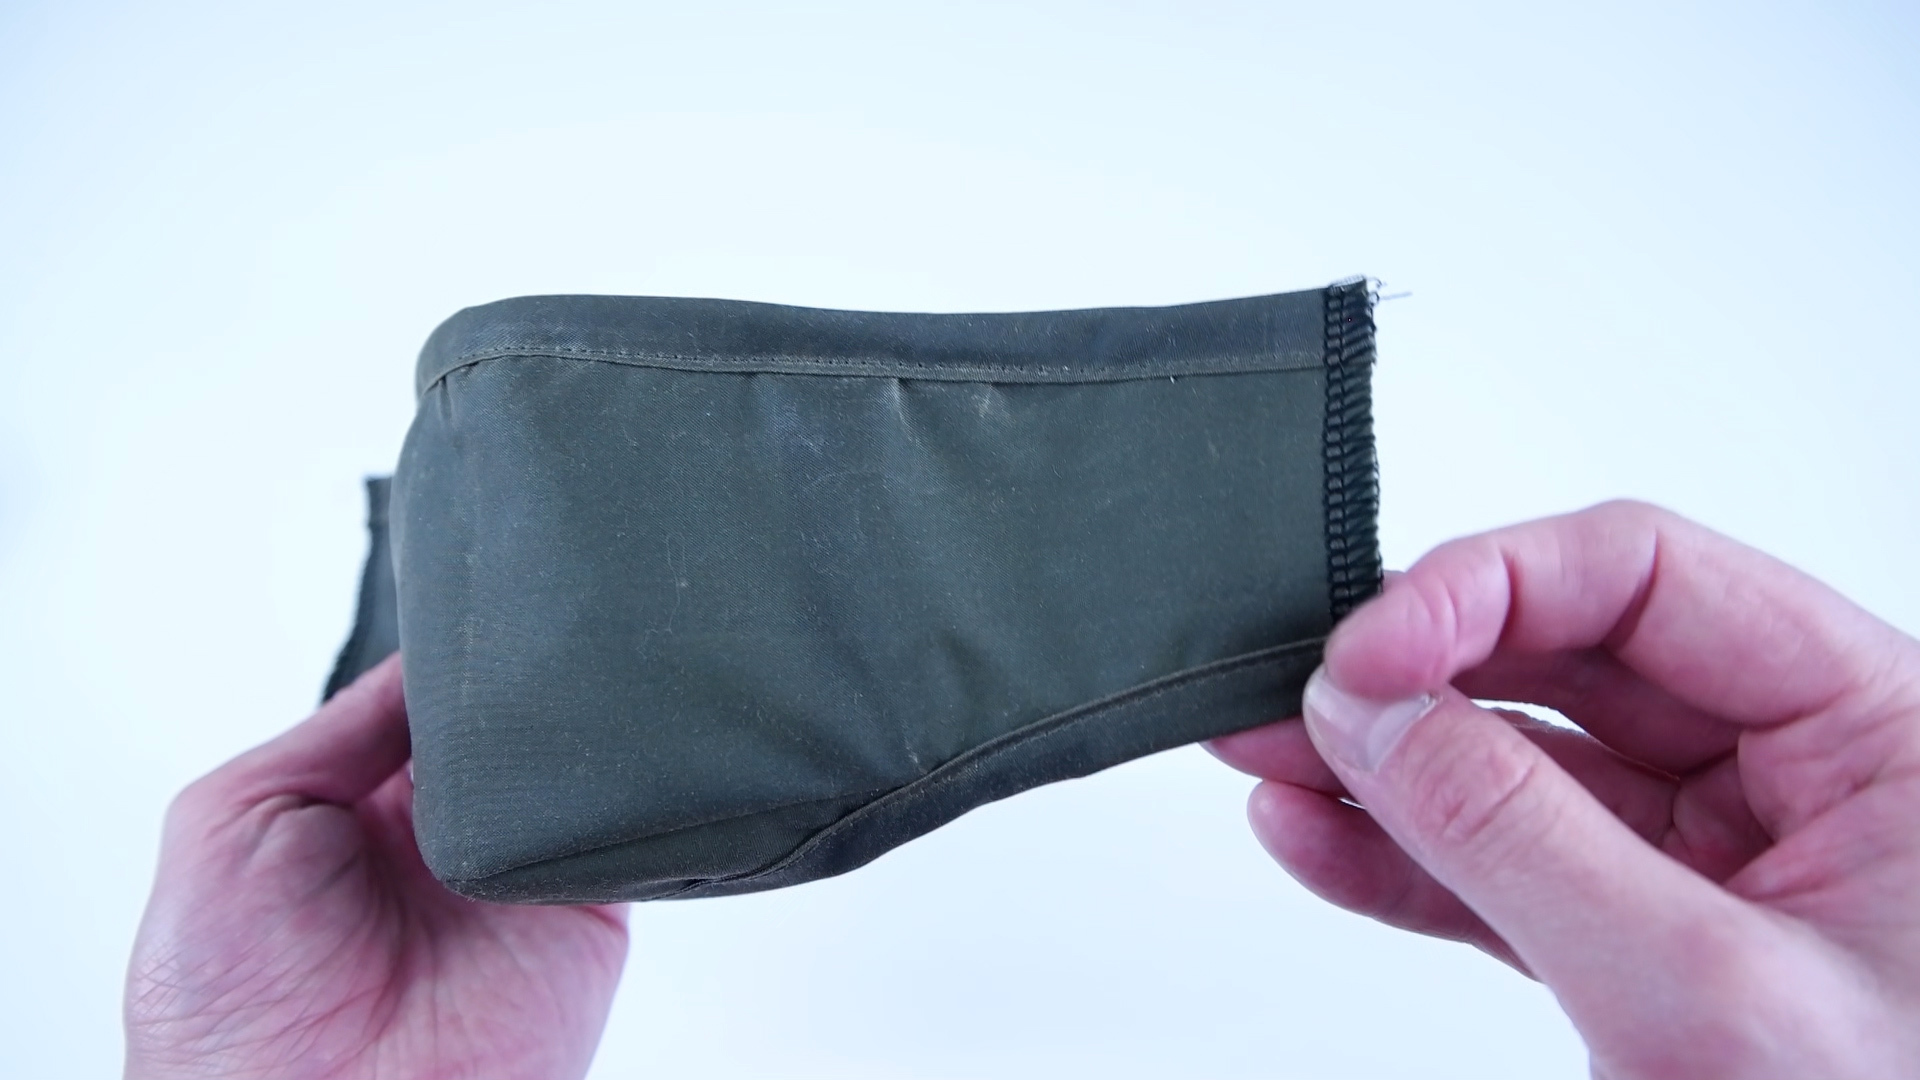
-Serge or zig-zag stich raw side edges.
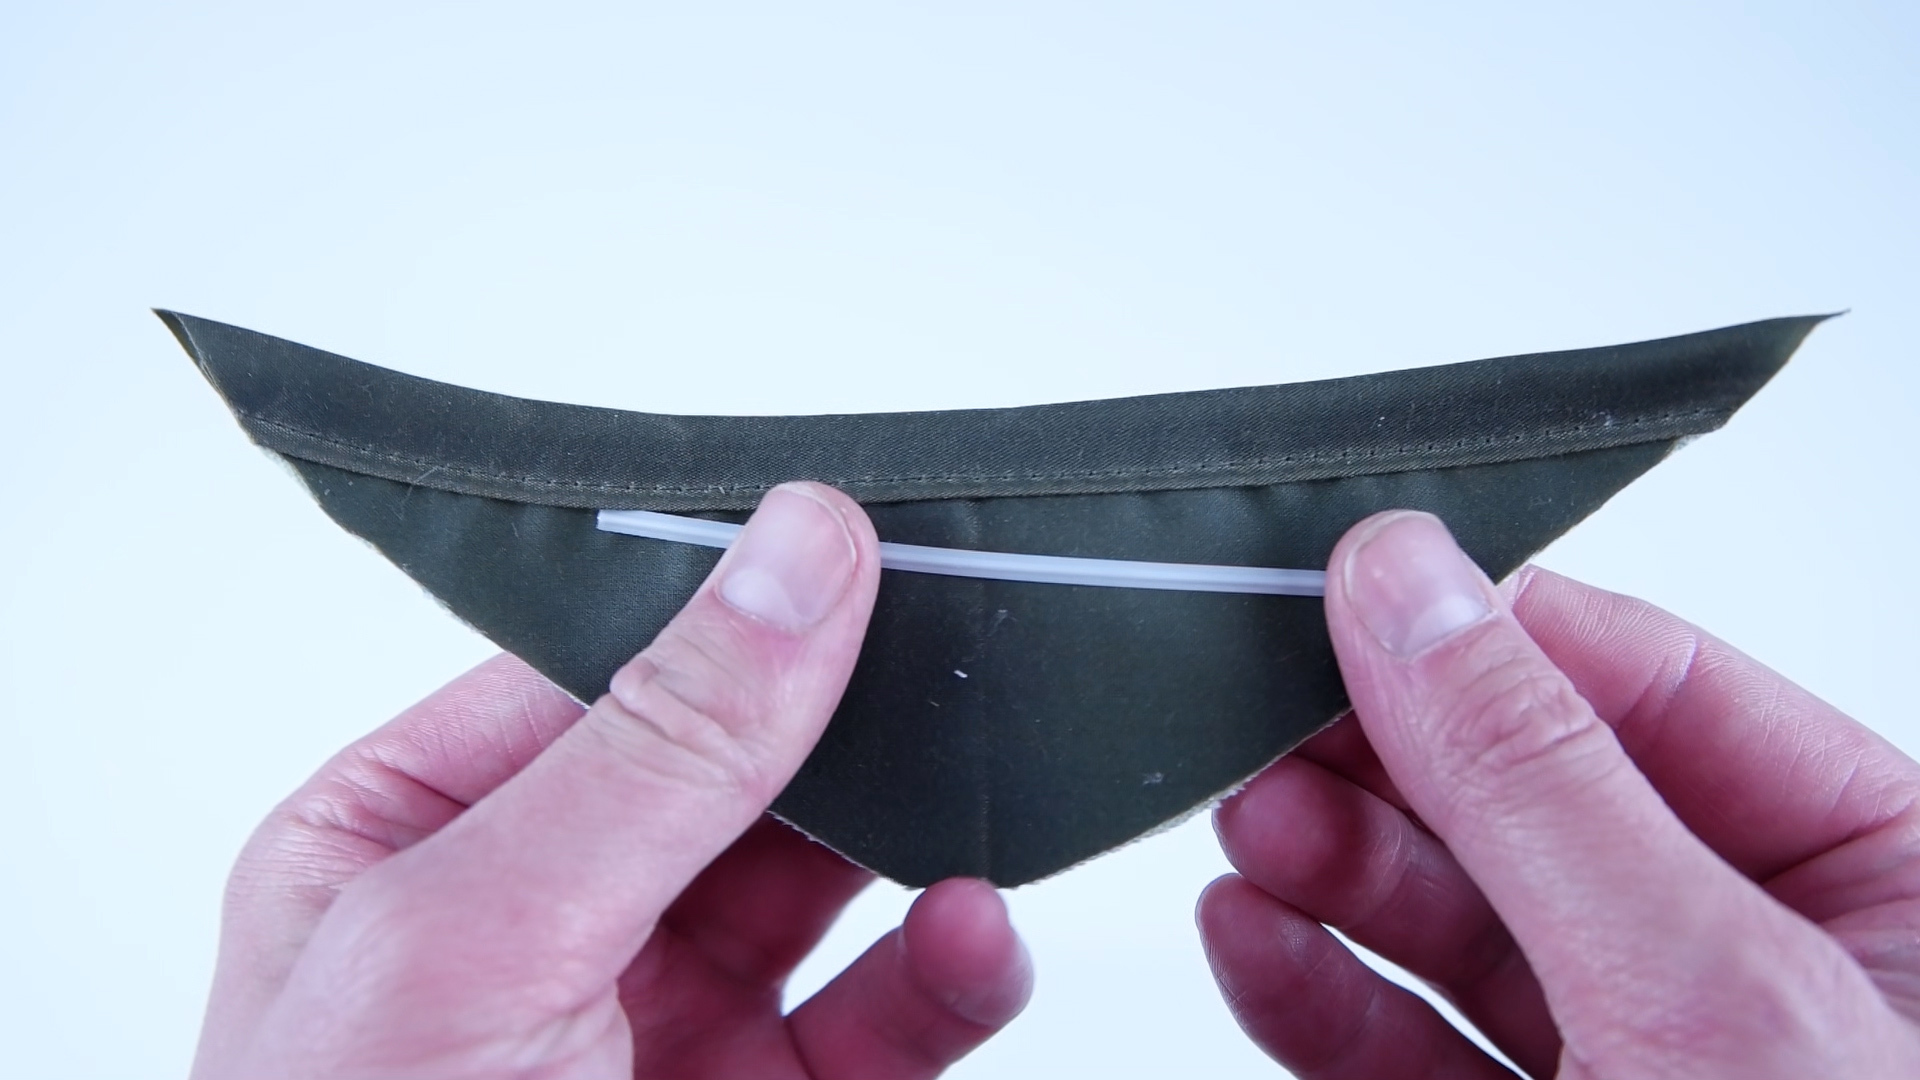
Cord Option
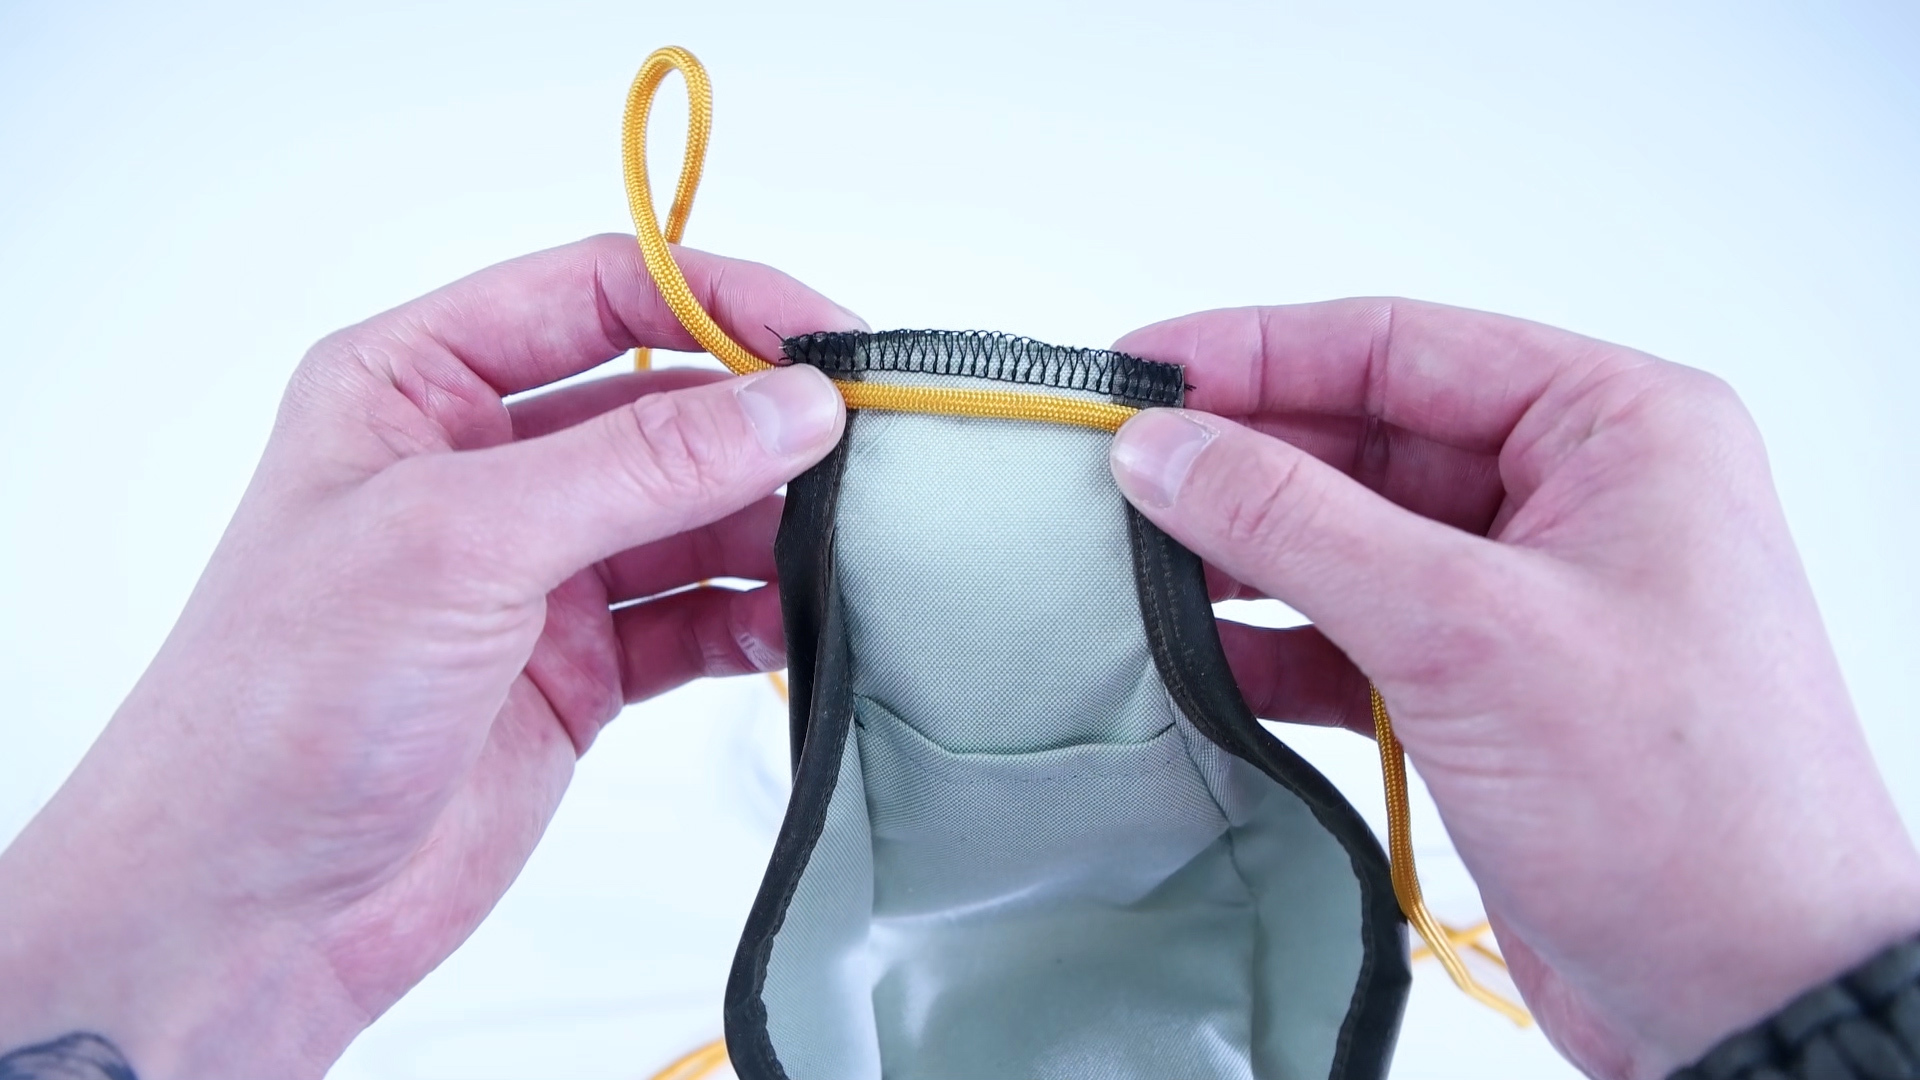

-Place the cord on the inside. Roll the edge over and hem down.
-Do not sew over the cord. You want the cord to side inside the hem.
Elastic Option
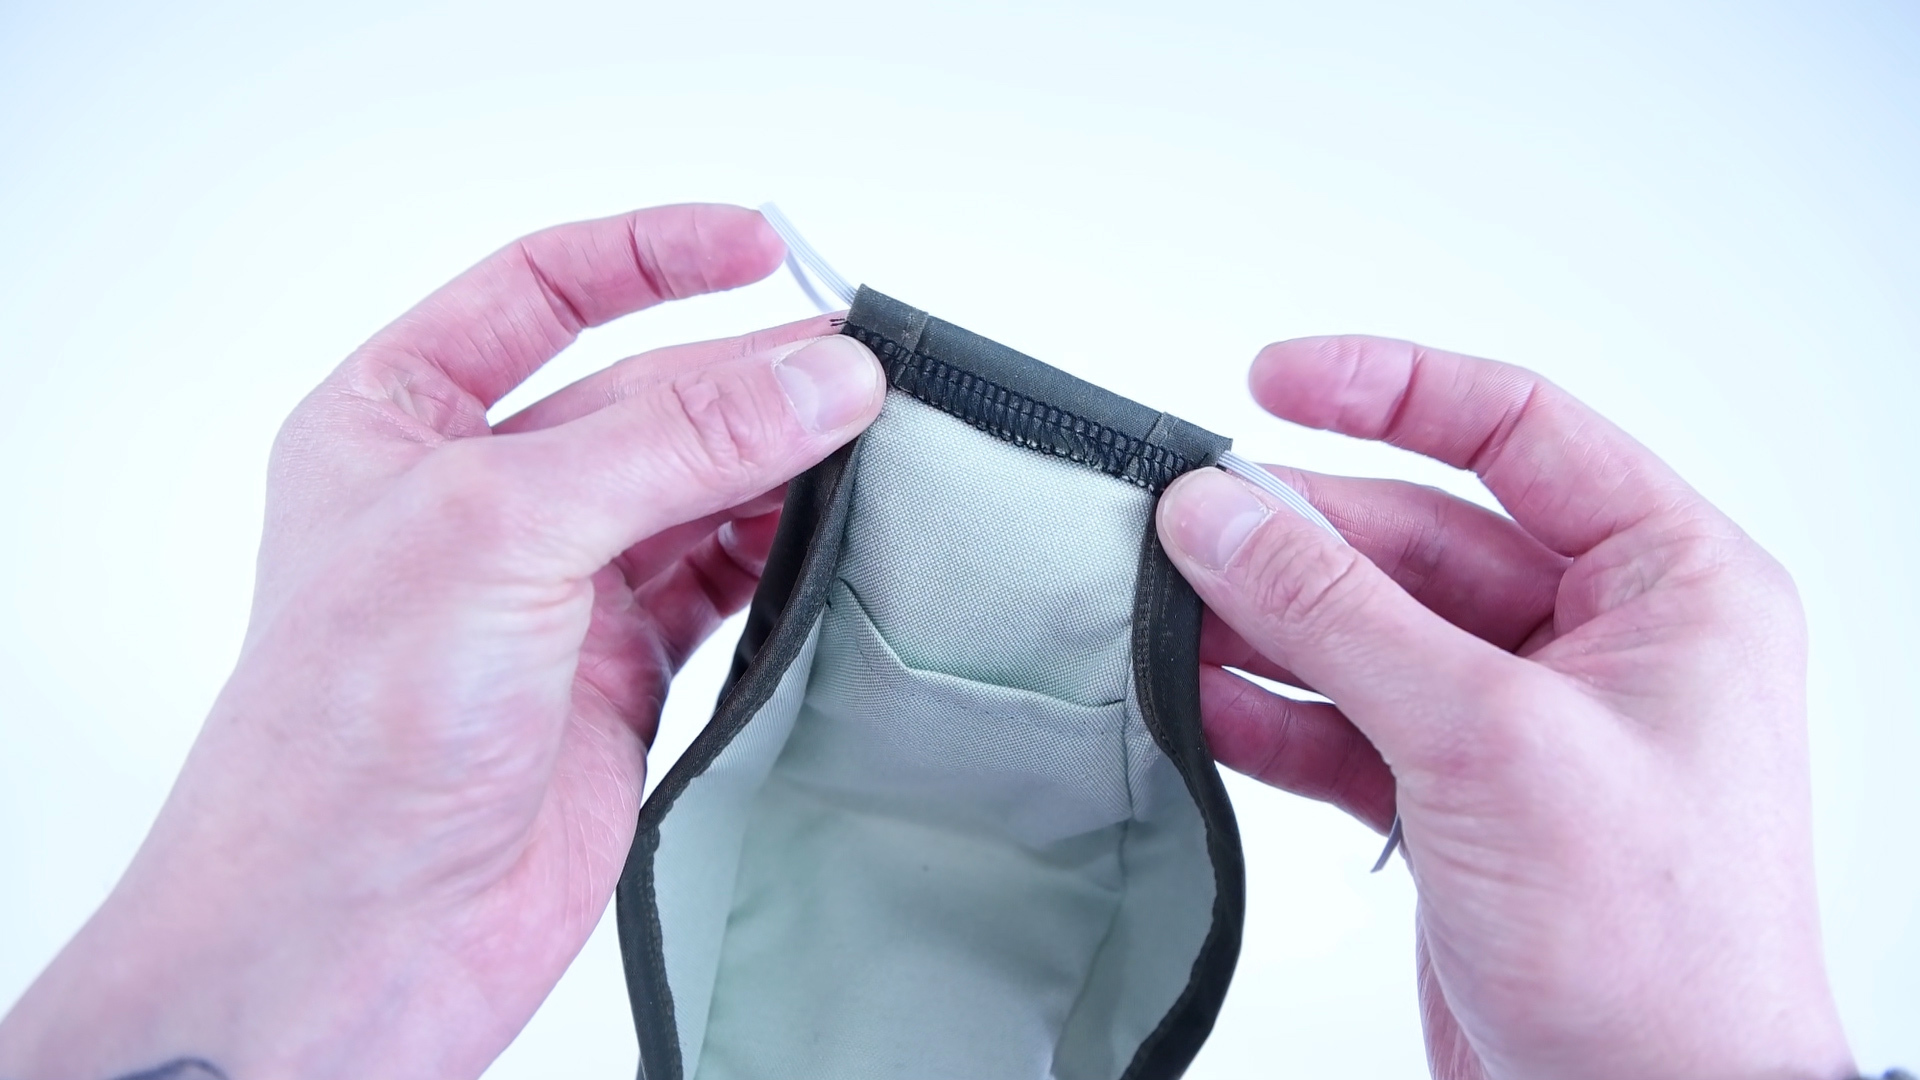
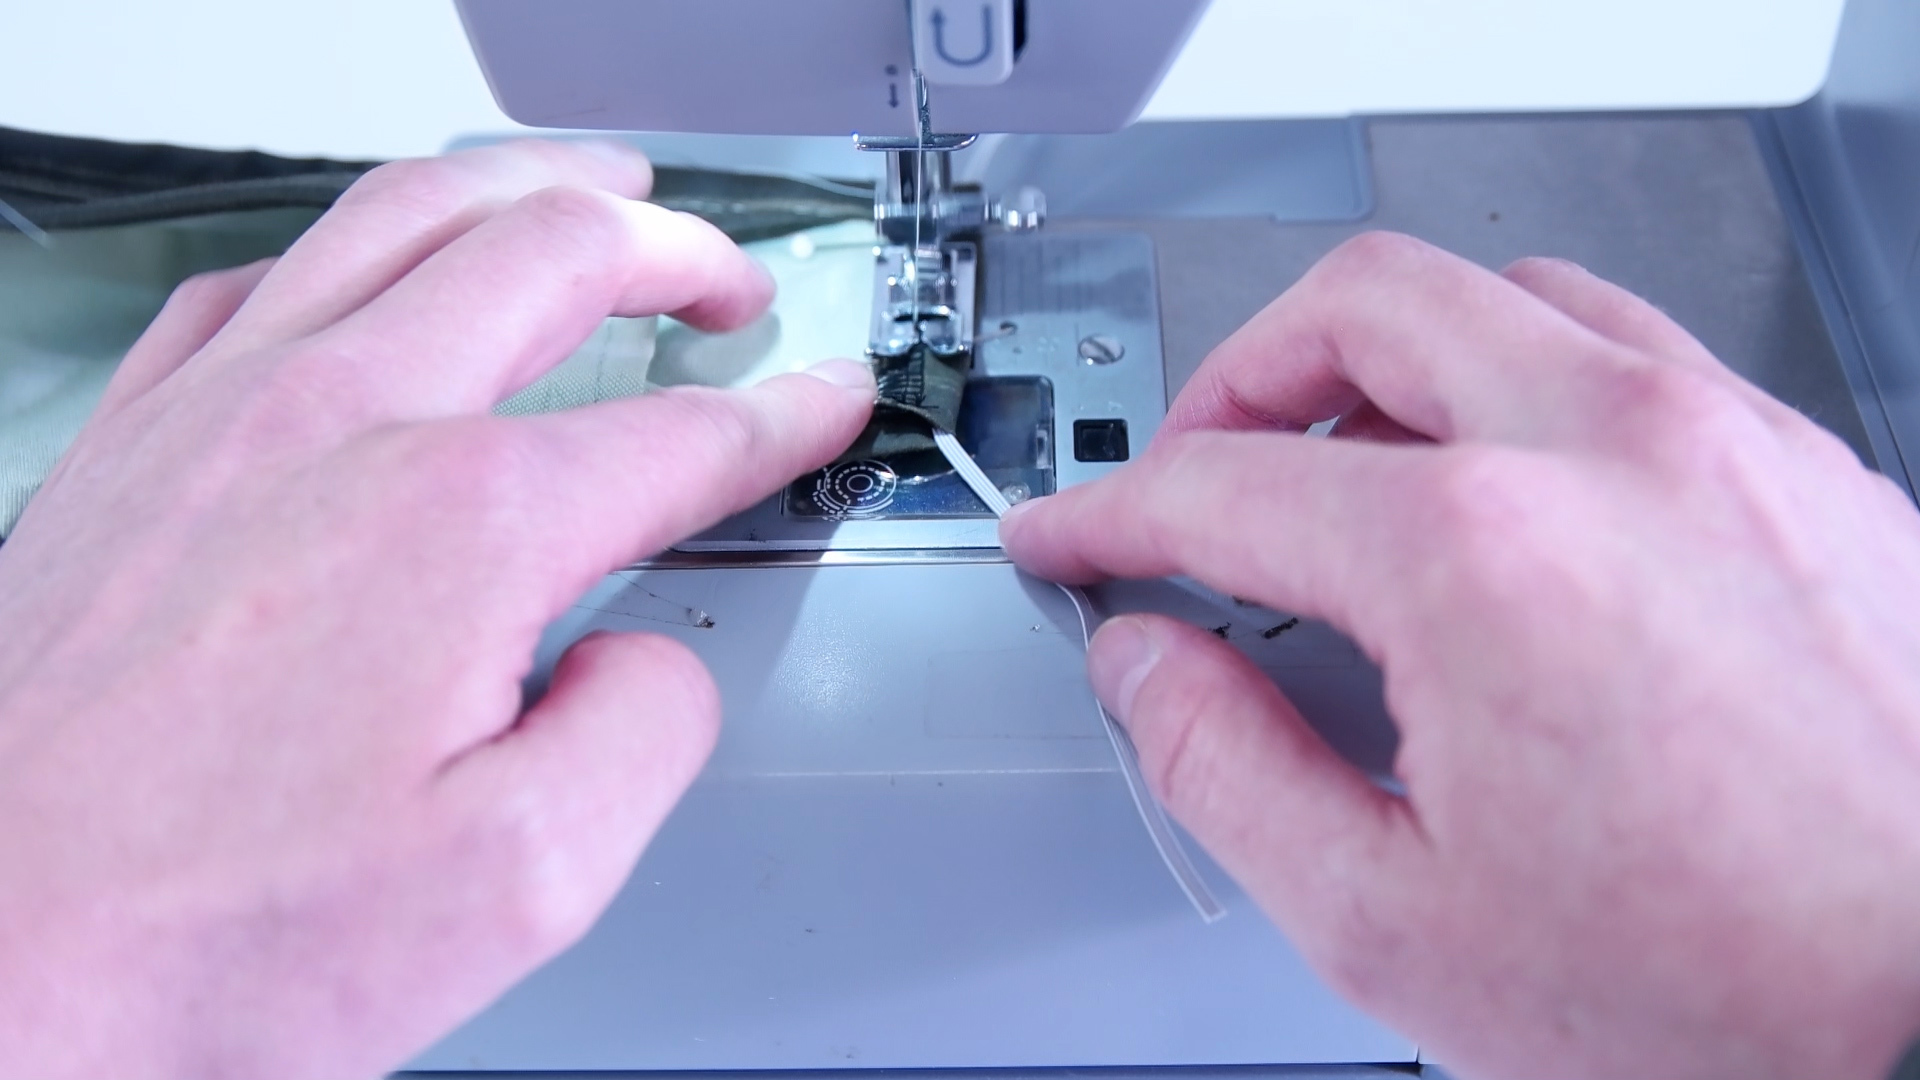
-Same as cord option.
-Place the elastic on the inside. Roll the edge over and hem down.
-Do not sew over the elastic. You want the cord to side inside the hem.
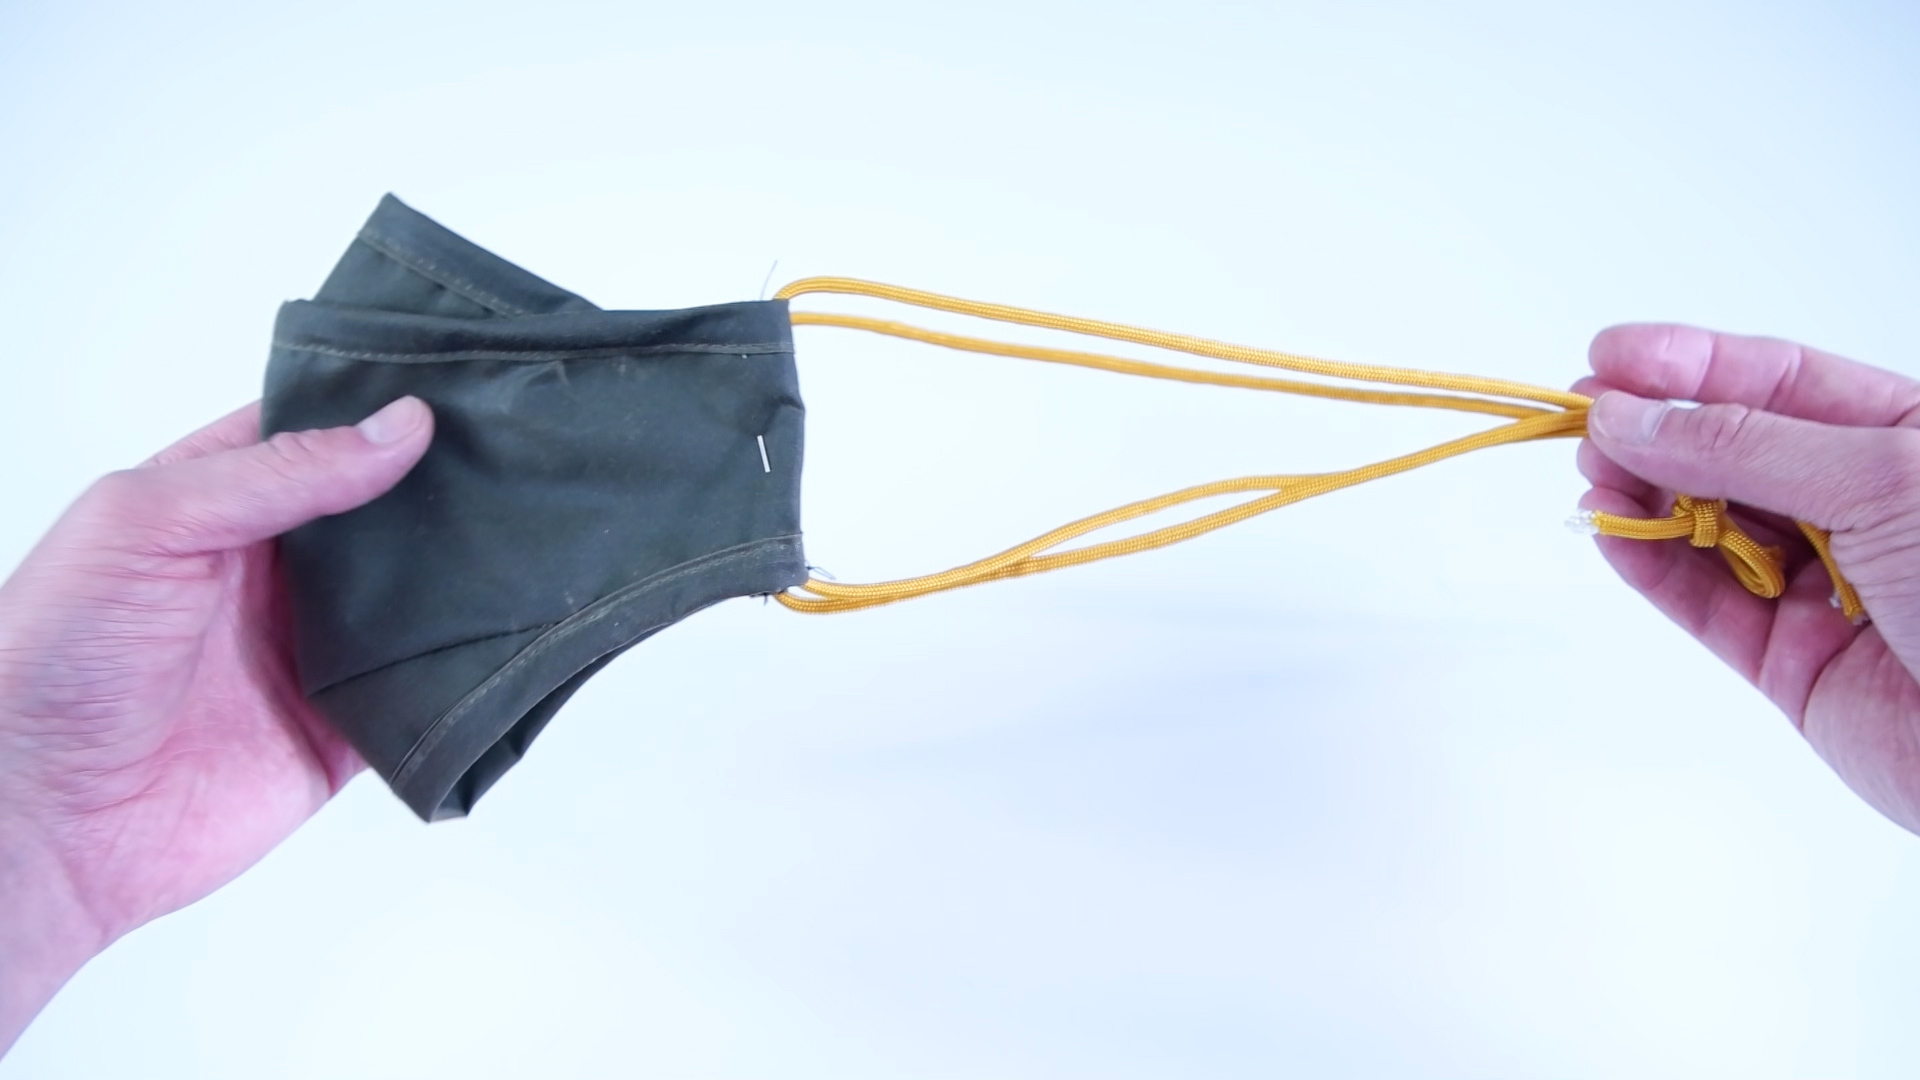
Tie Elastic
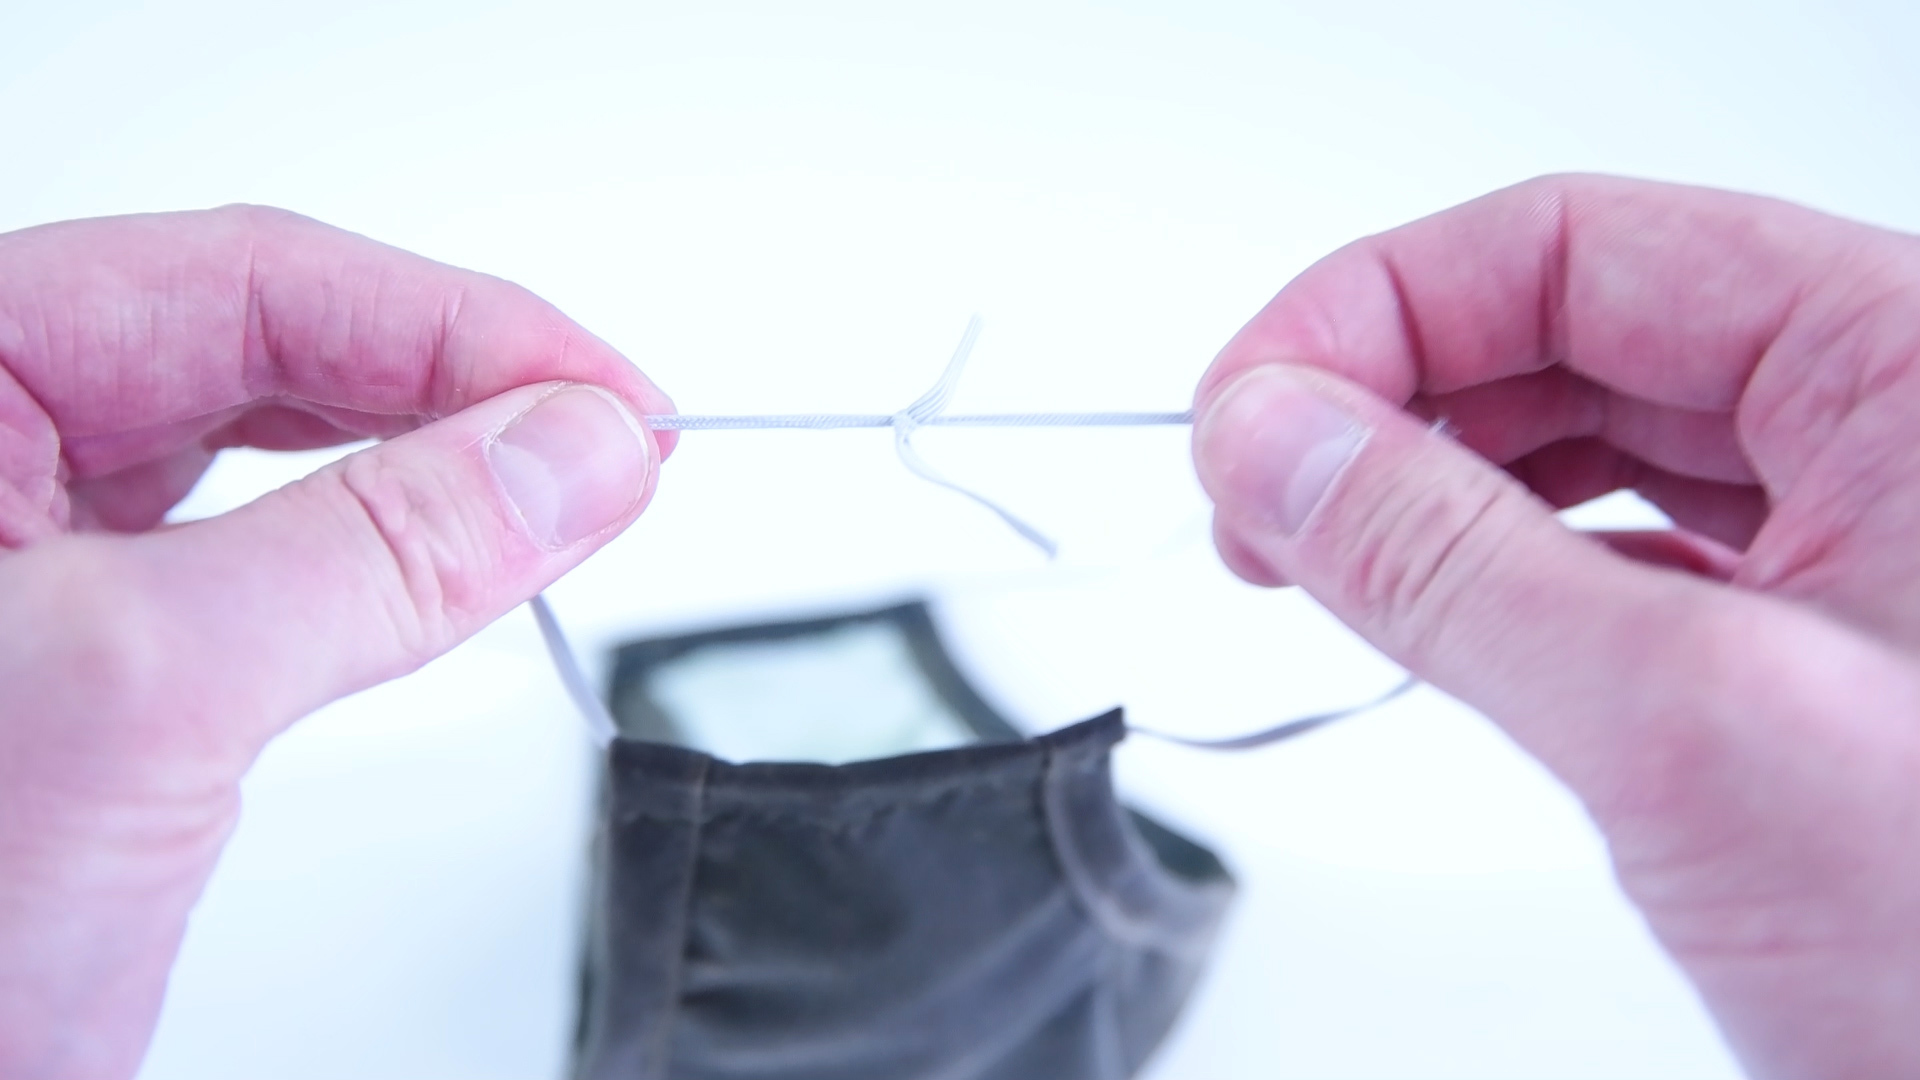
-Tie the elastic ends together.
-Move the knot into the hem.
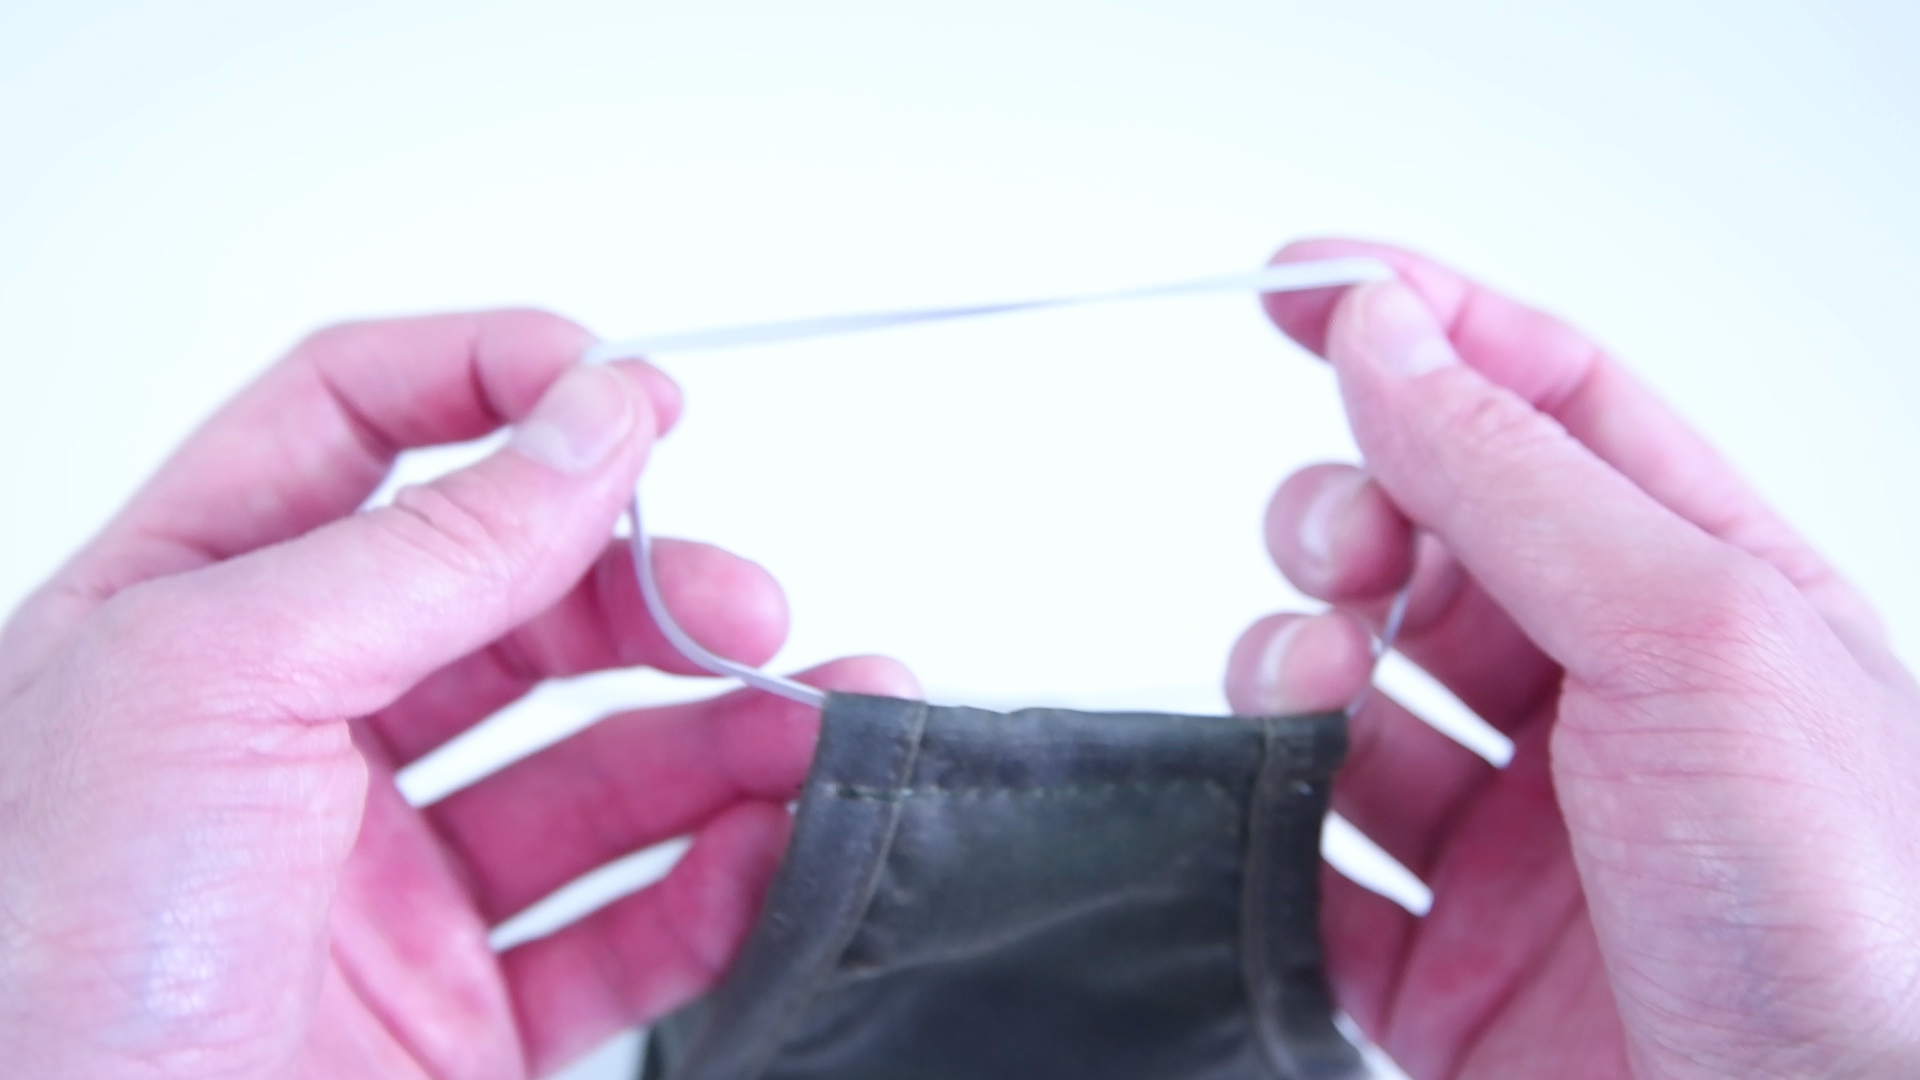
Add Elastic Stoppers
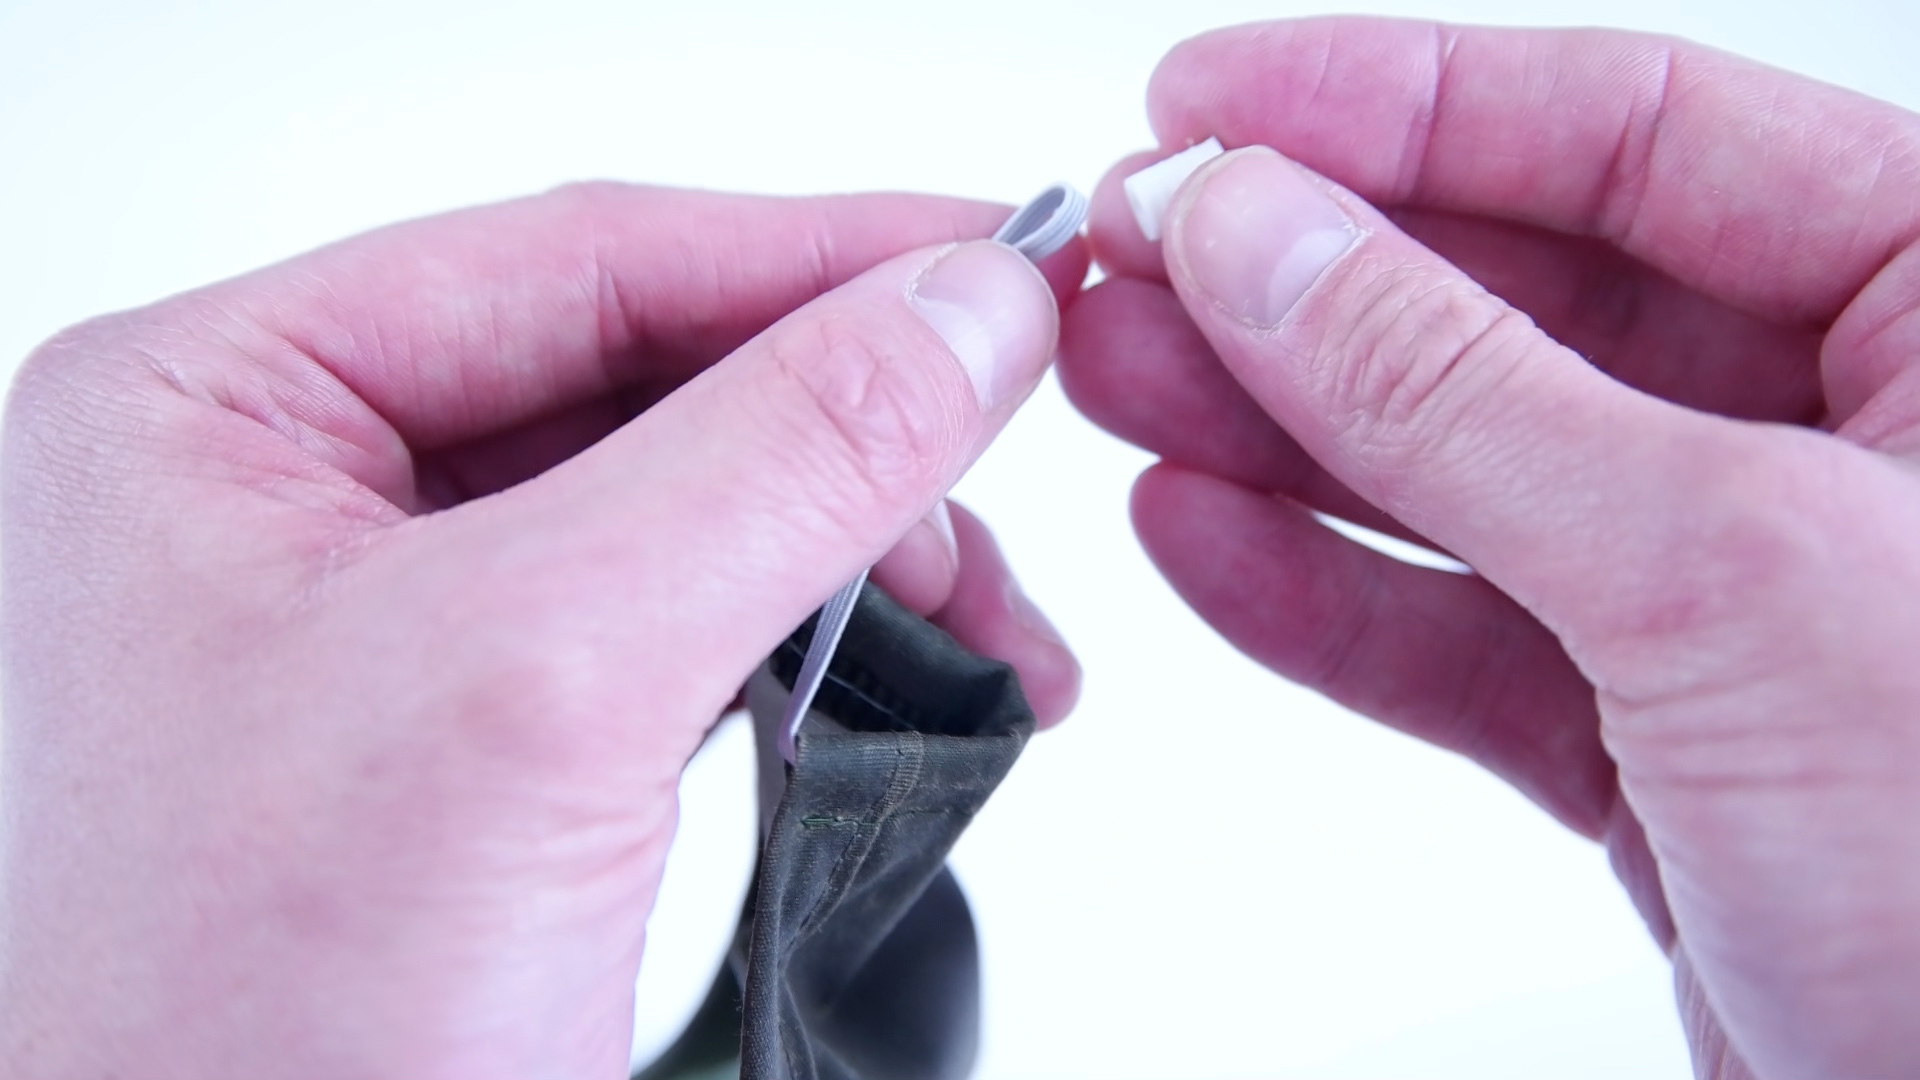
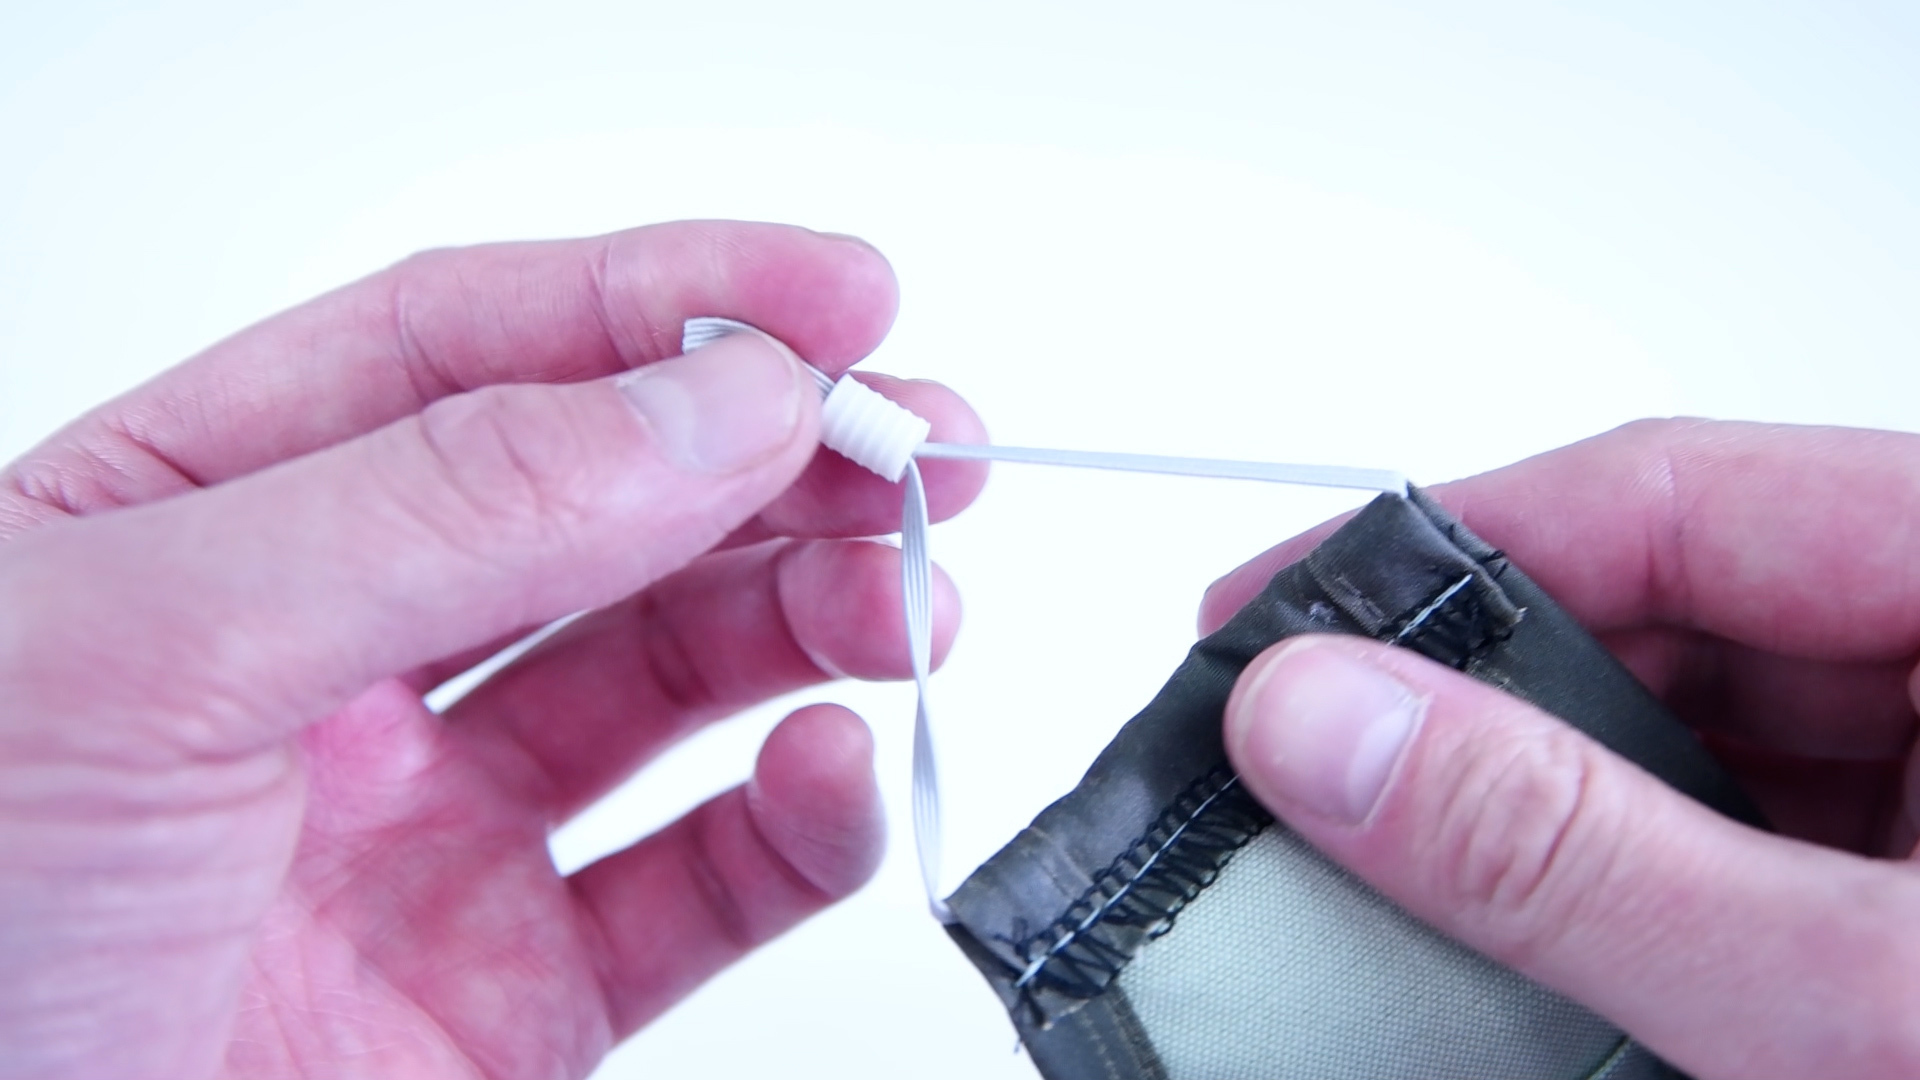
-Elastic stopper are great for adjusting the size of the elastic loop.
-Pinch the elastic together and slide it though the stopper.
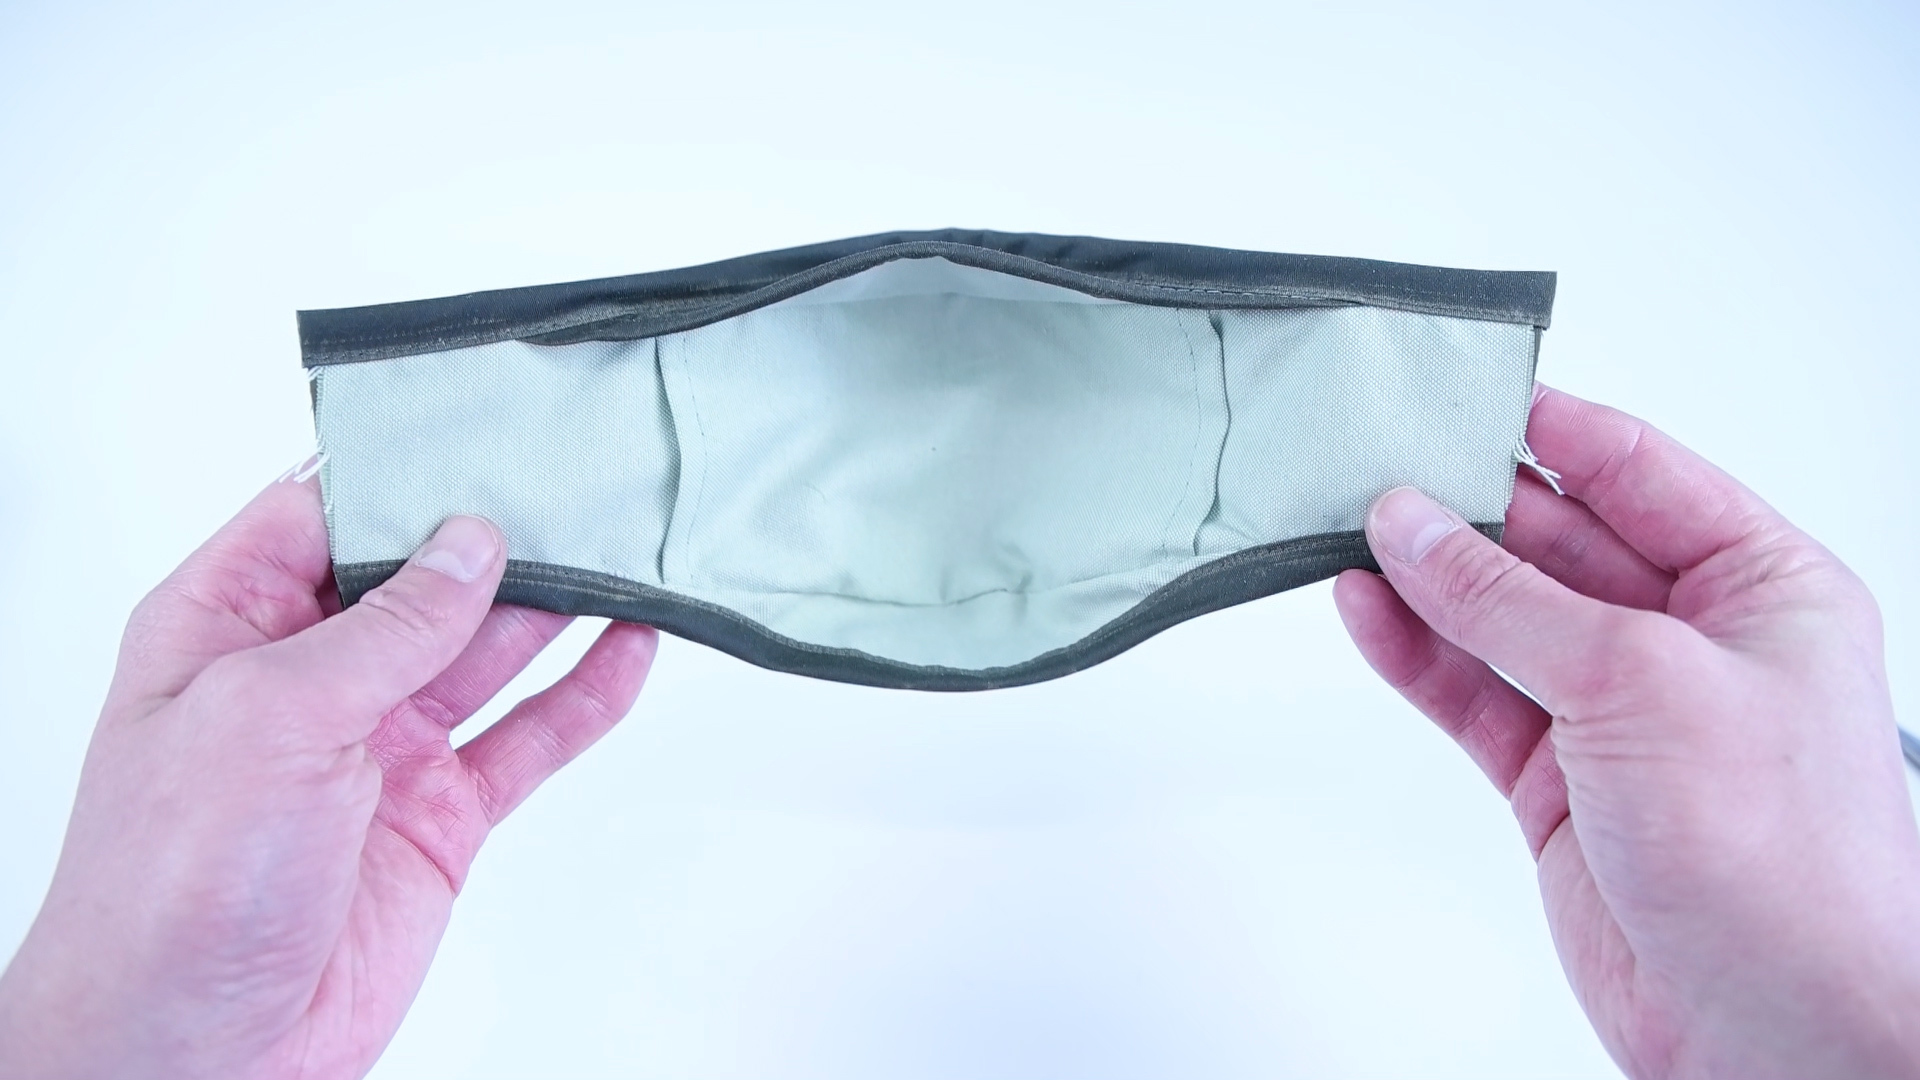
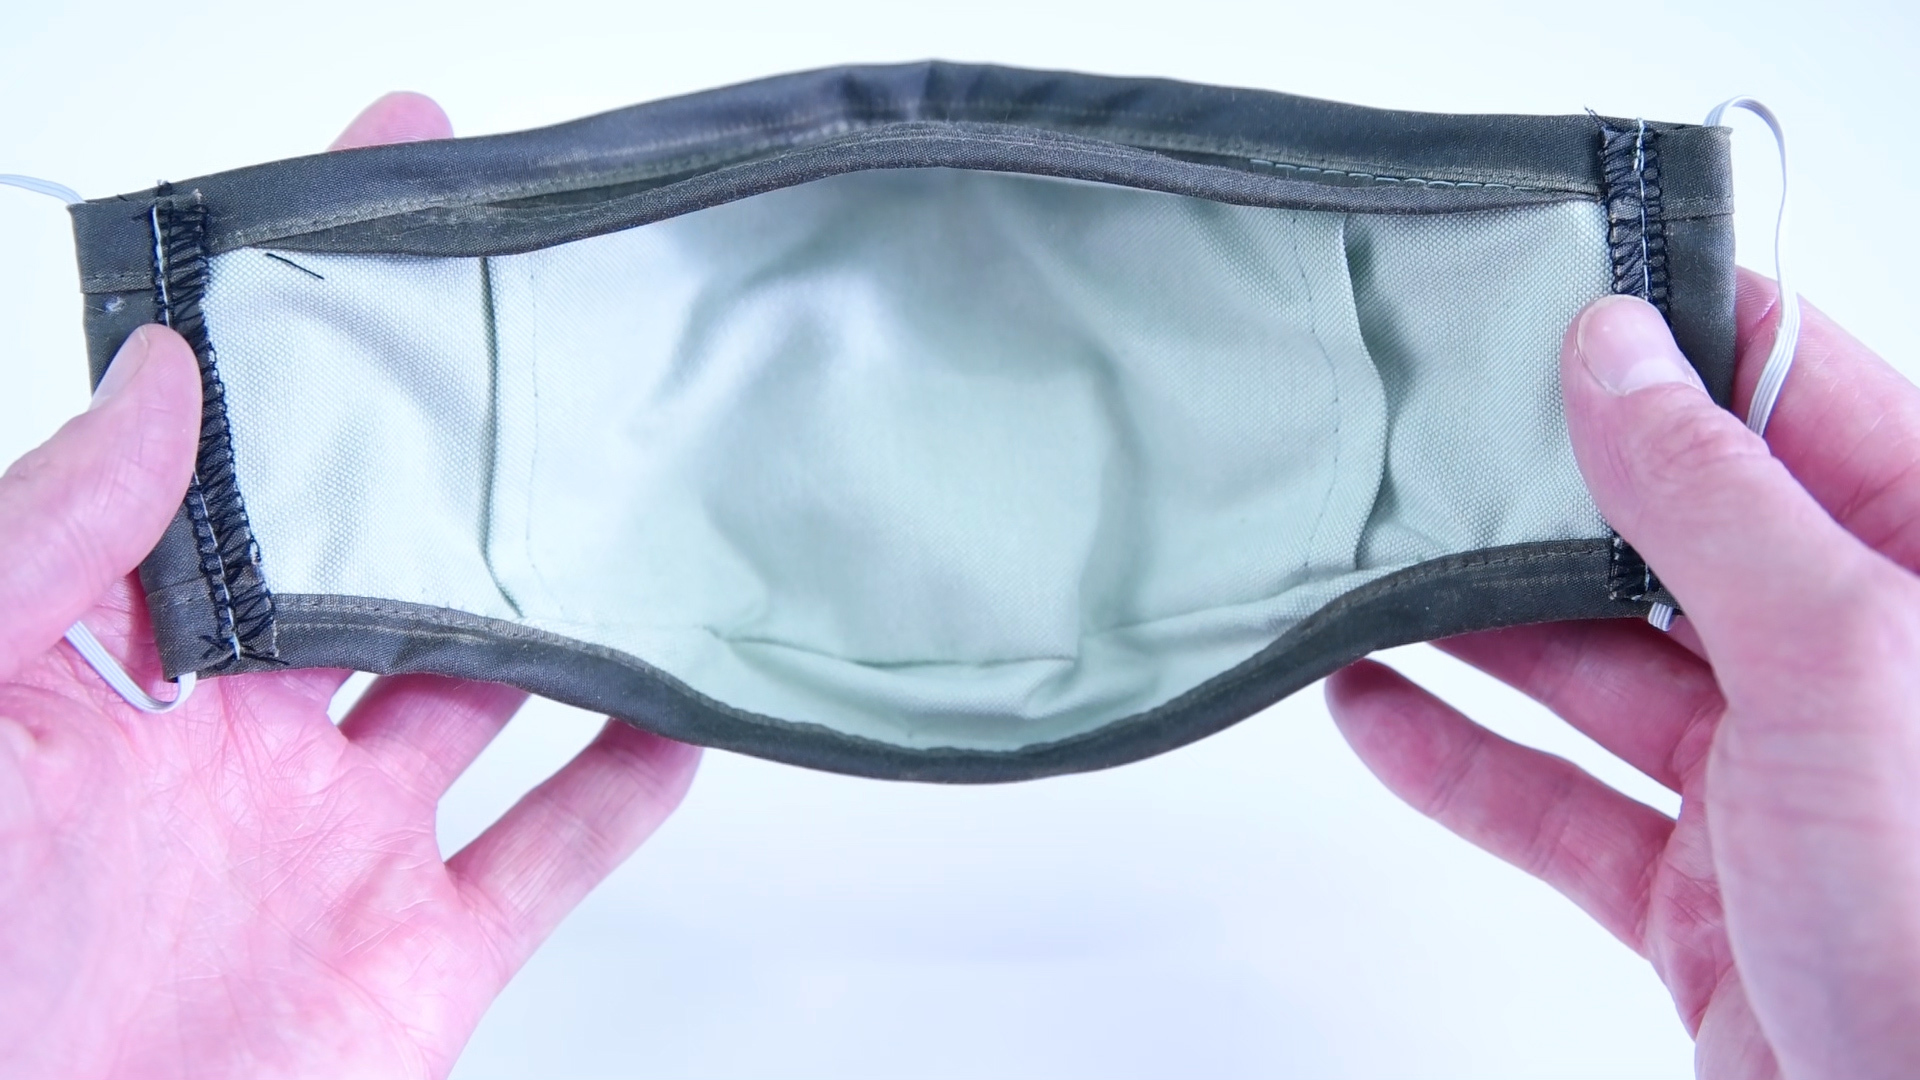
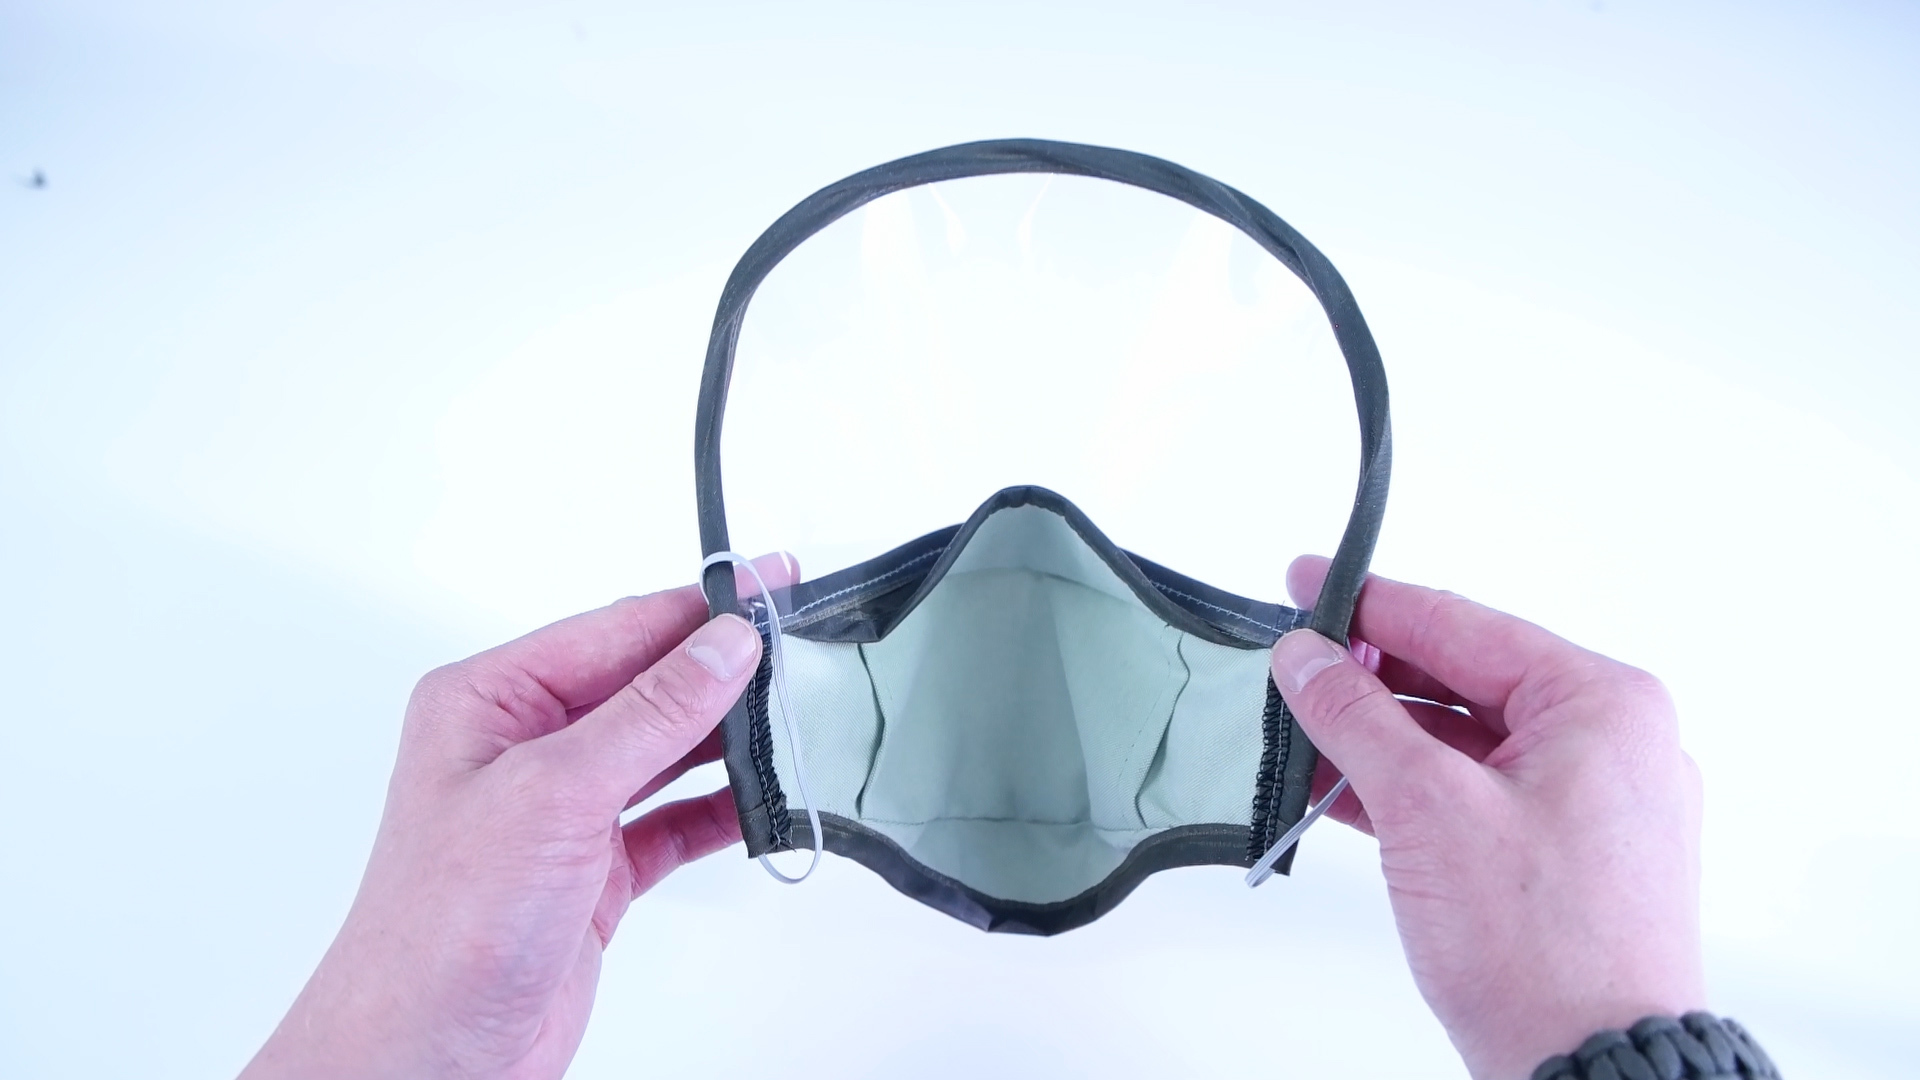
-Add the filter into the pocket and you are all finished with the mask! :)
Preparing Plastic Visor
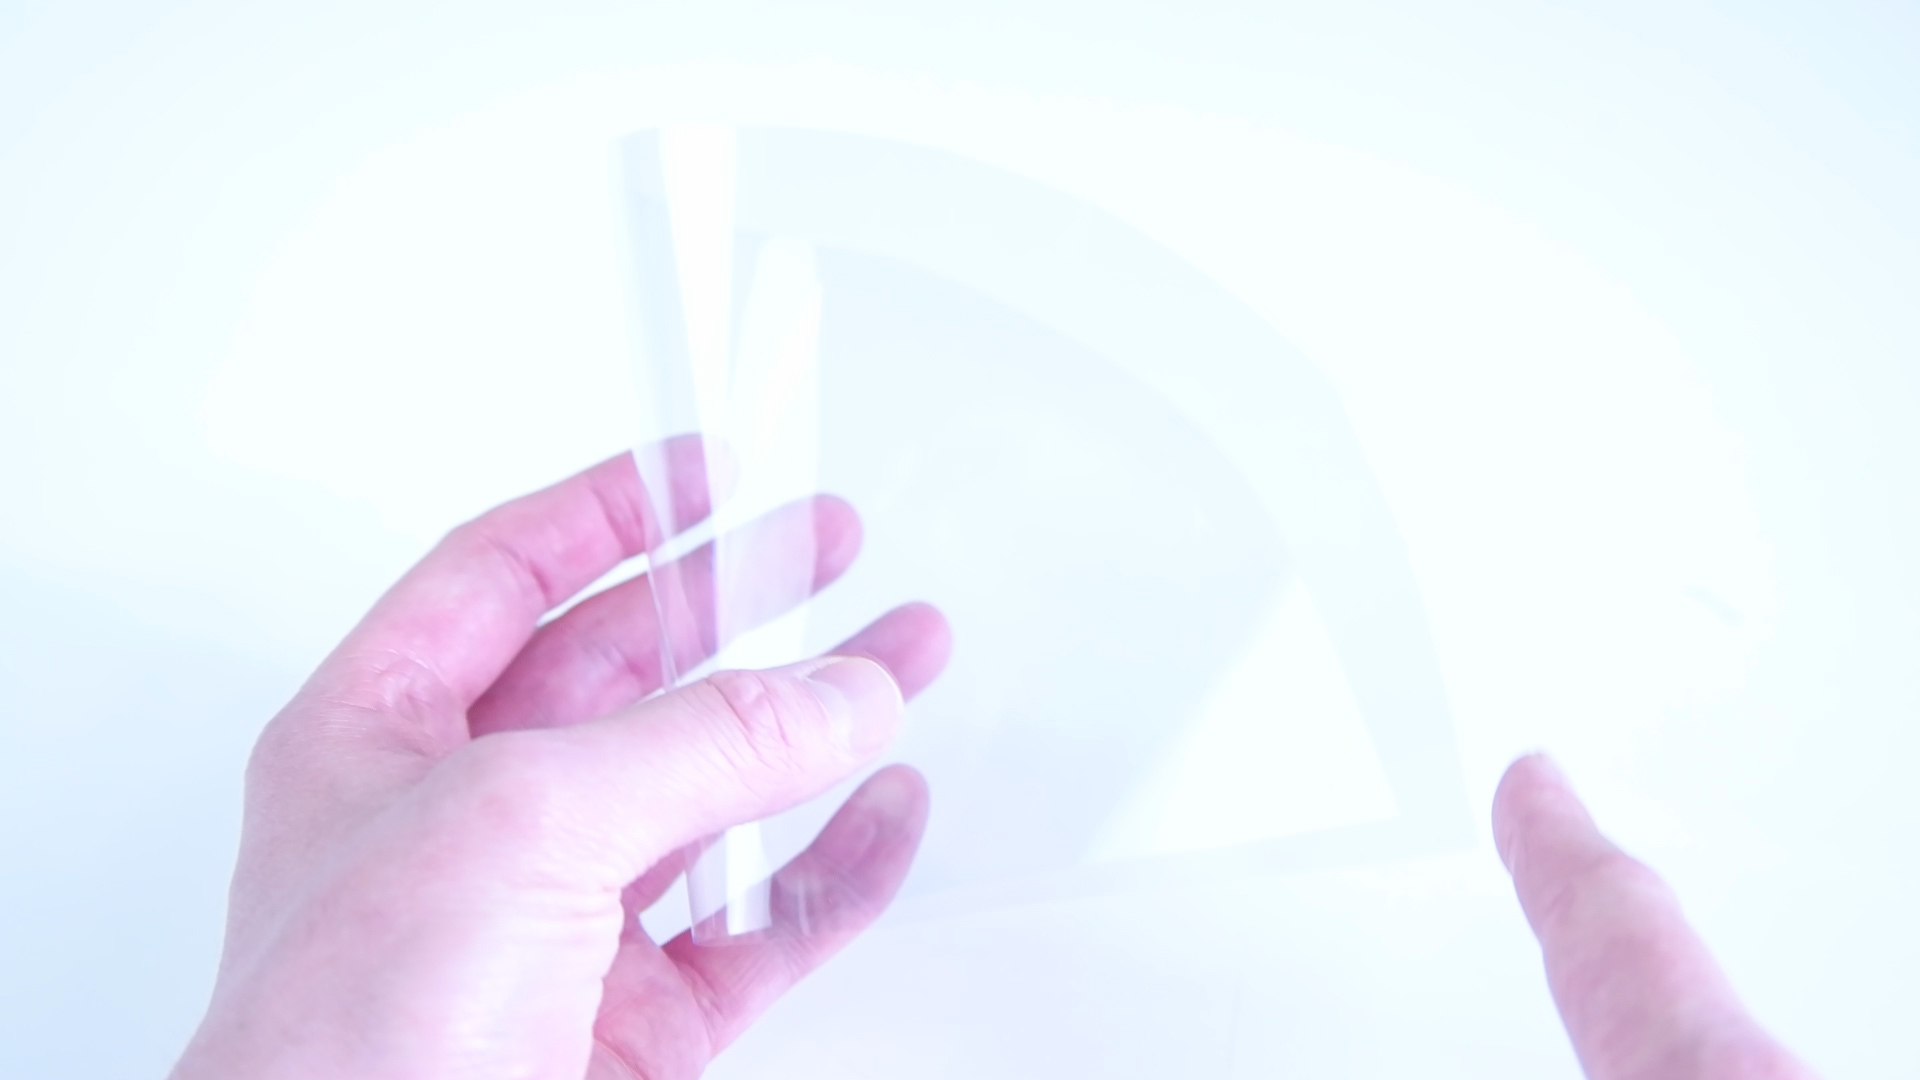


-Bias tape around the top edge.
-This will add structure to the plastic.
Attaching Plastic Visor
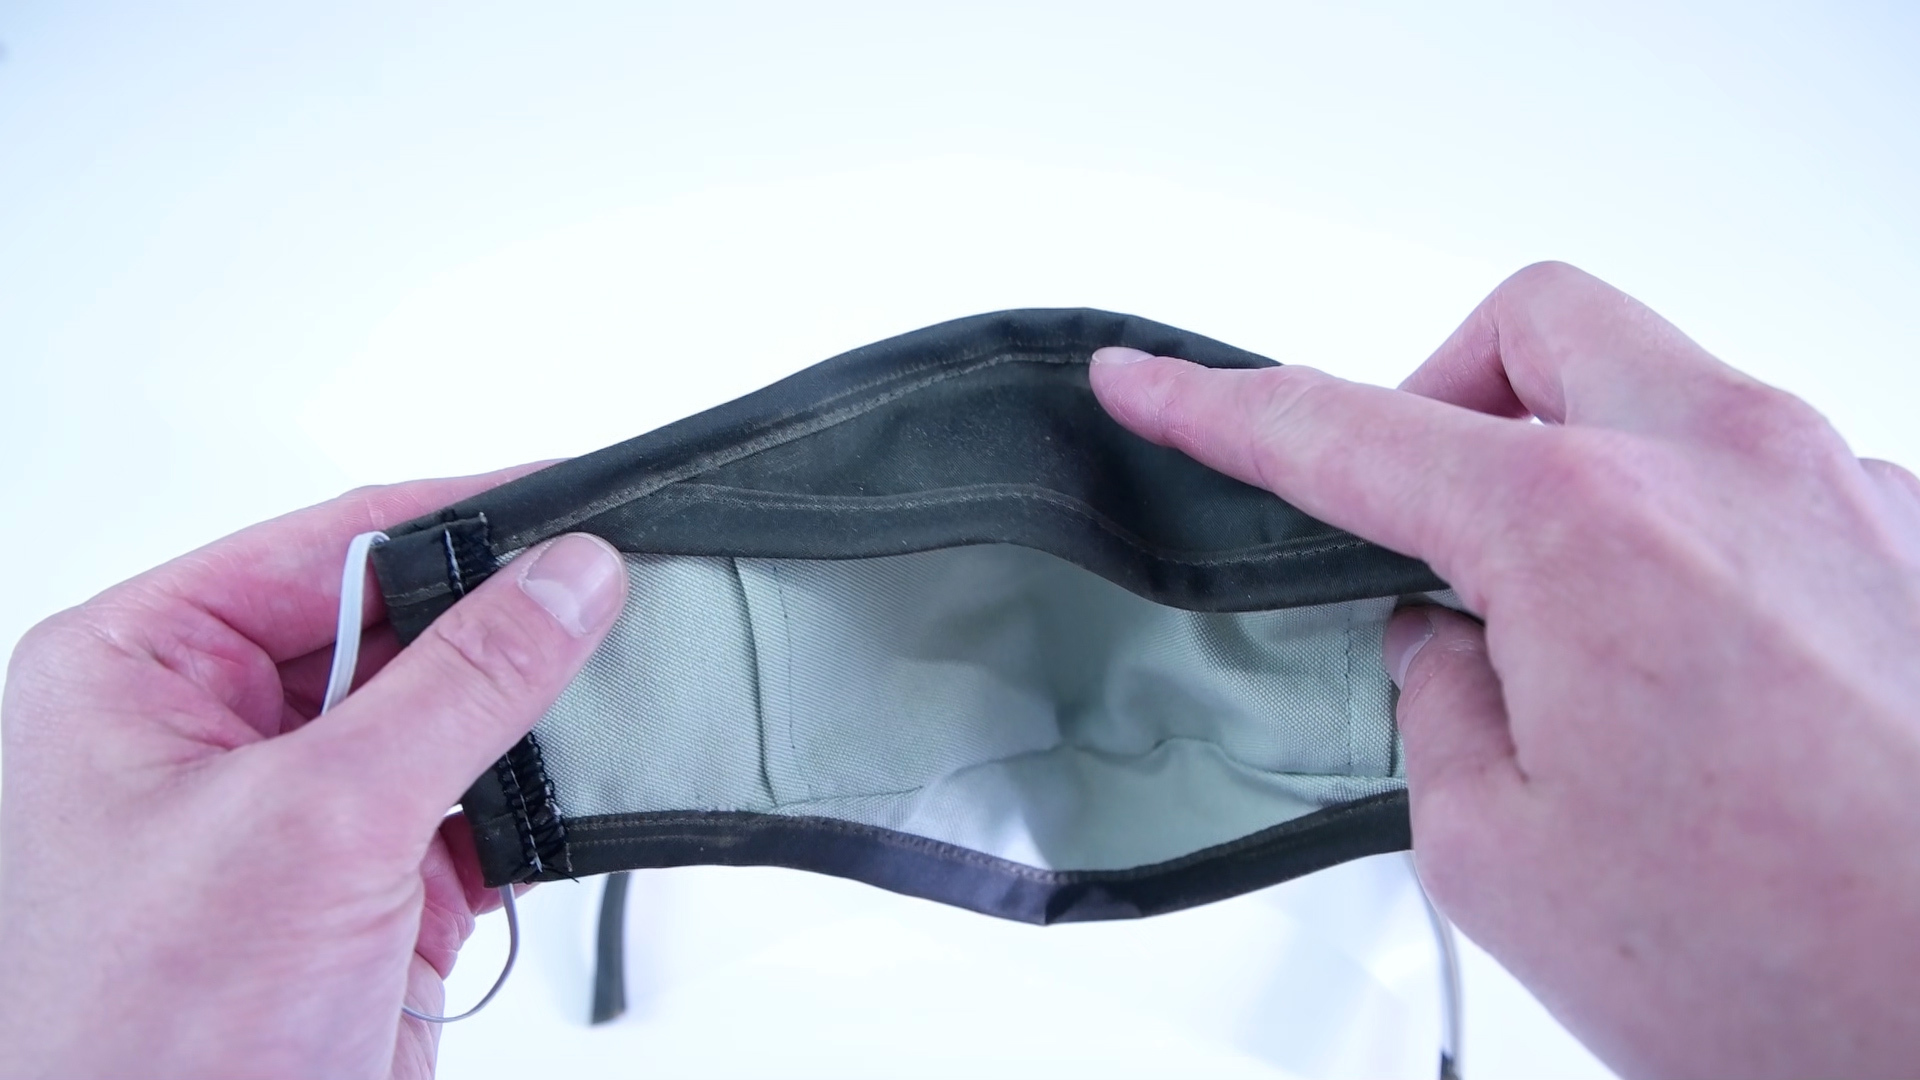
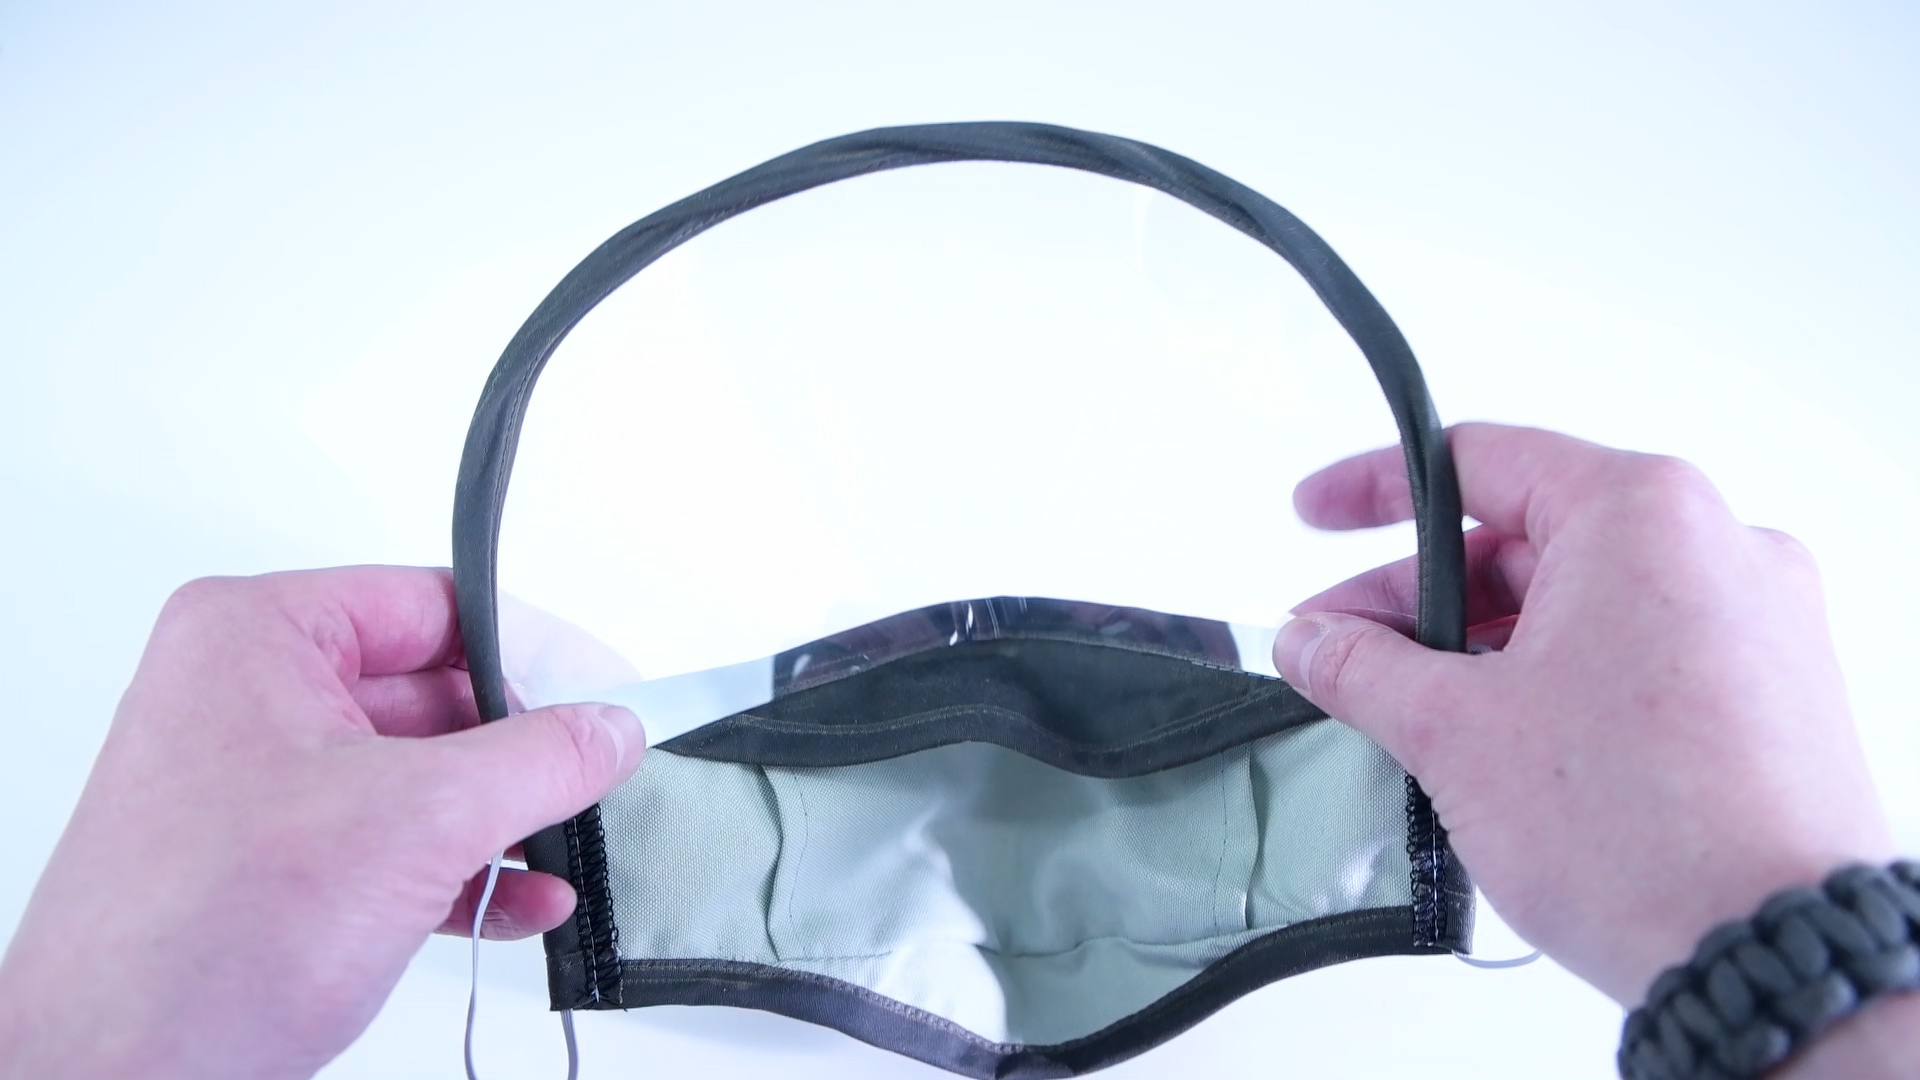
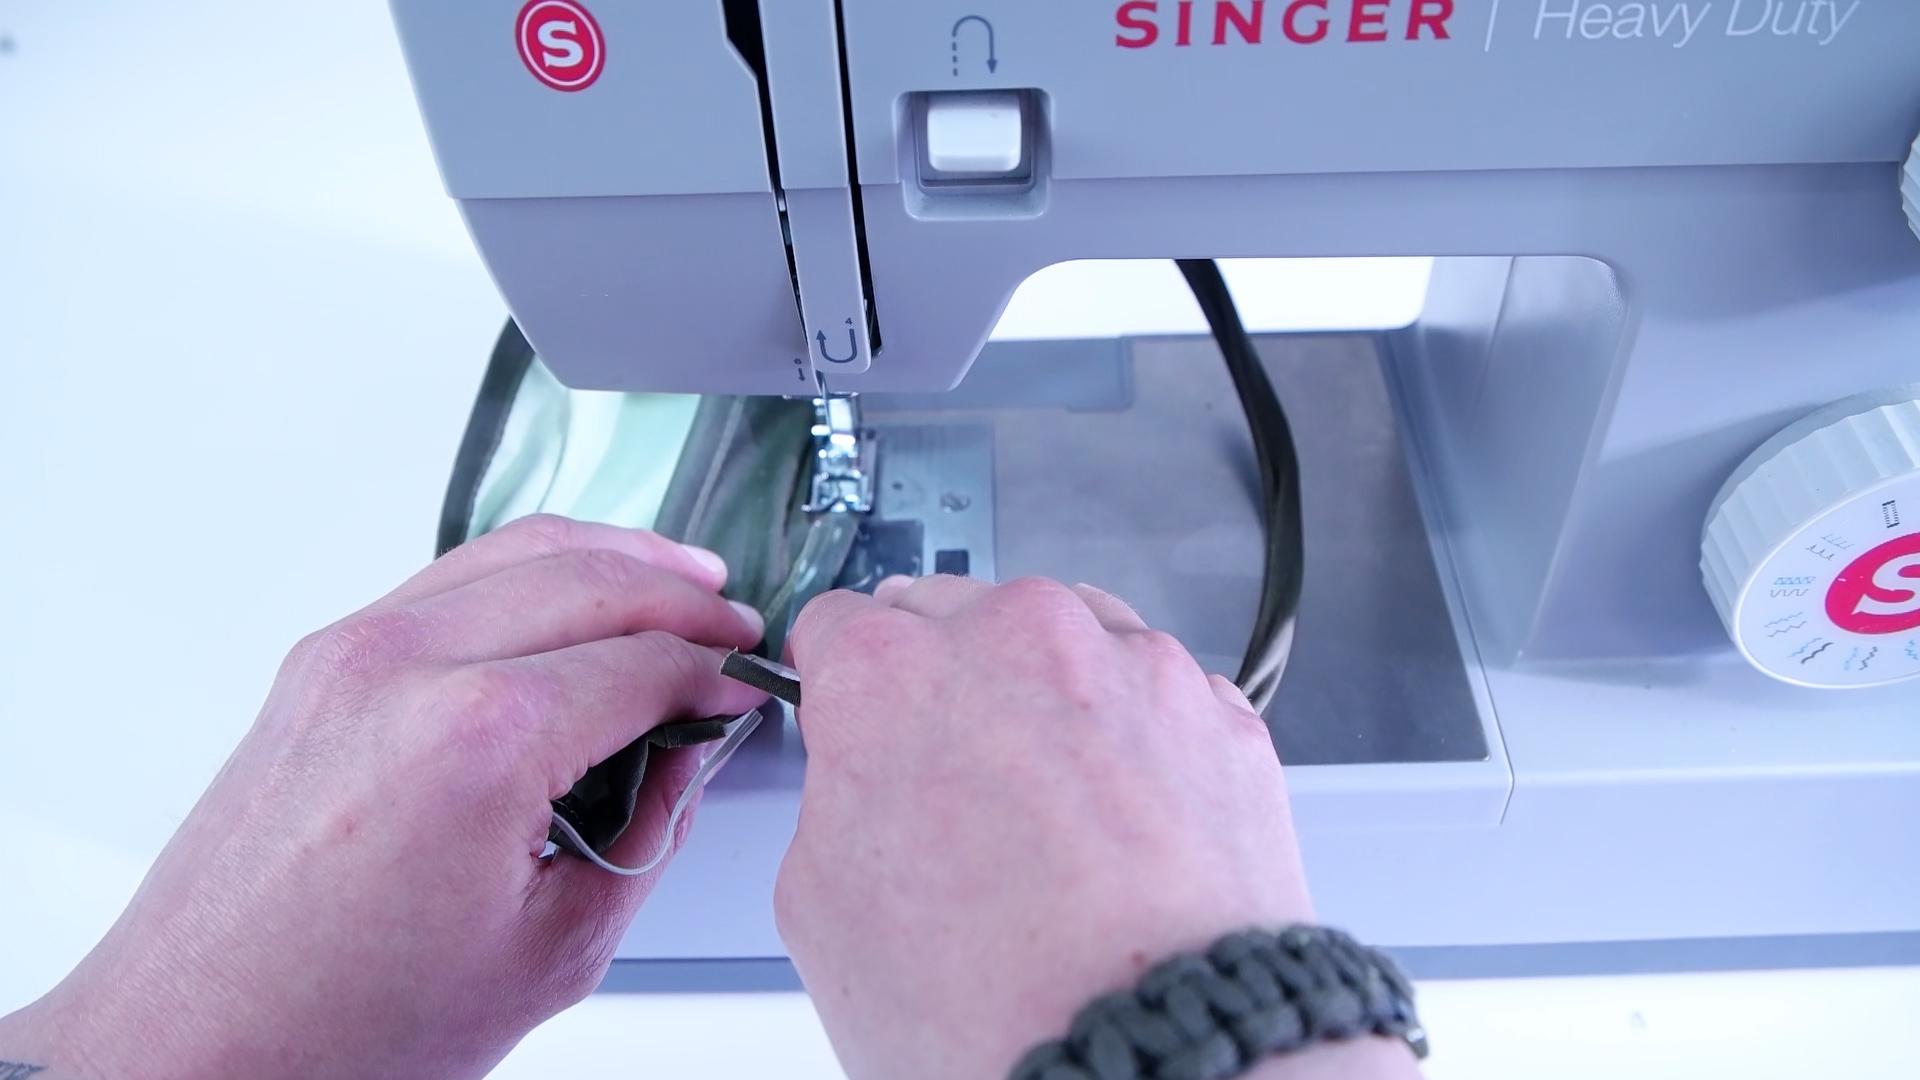
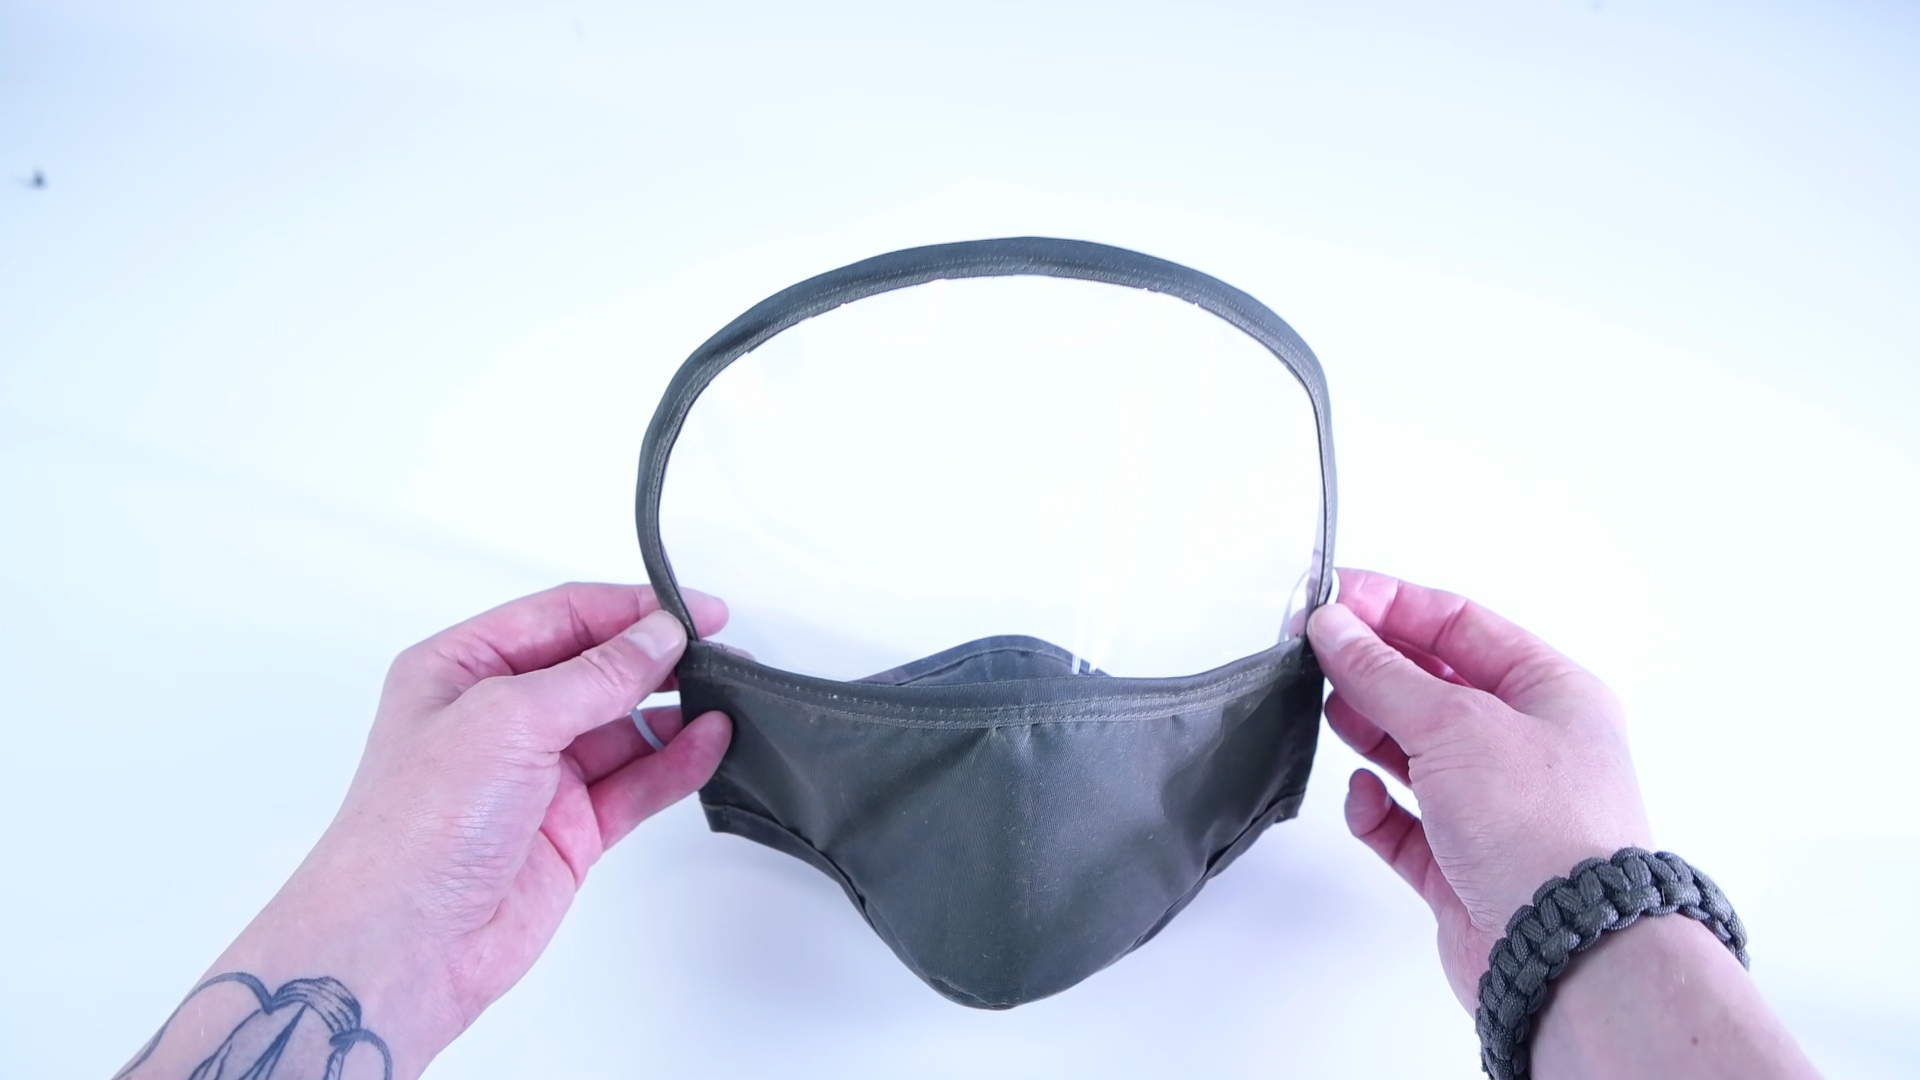
-Place the visor on the inside top edge.
-Sew it directly to the bias tape.
-Add the filter into the pocket and you are all finished!
Video Instructions
If you are having trouble figuring out any steps. I recommend checking out the detailed video. I go through every step :)