Fabricating Life Sized Heads
by Design that Matters in Workshop > 3D Printing
1445 Views, 12 Favorites, 0 Comments
Fabricating Life Sized Heads
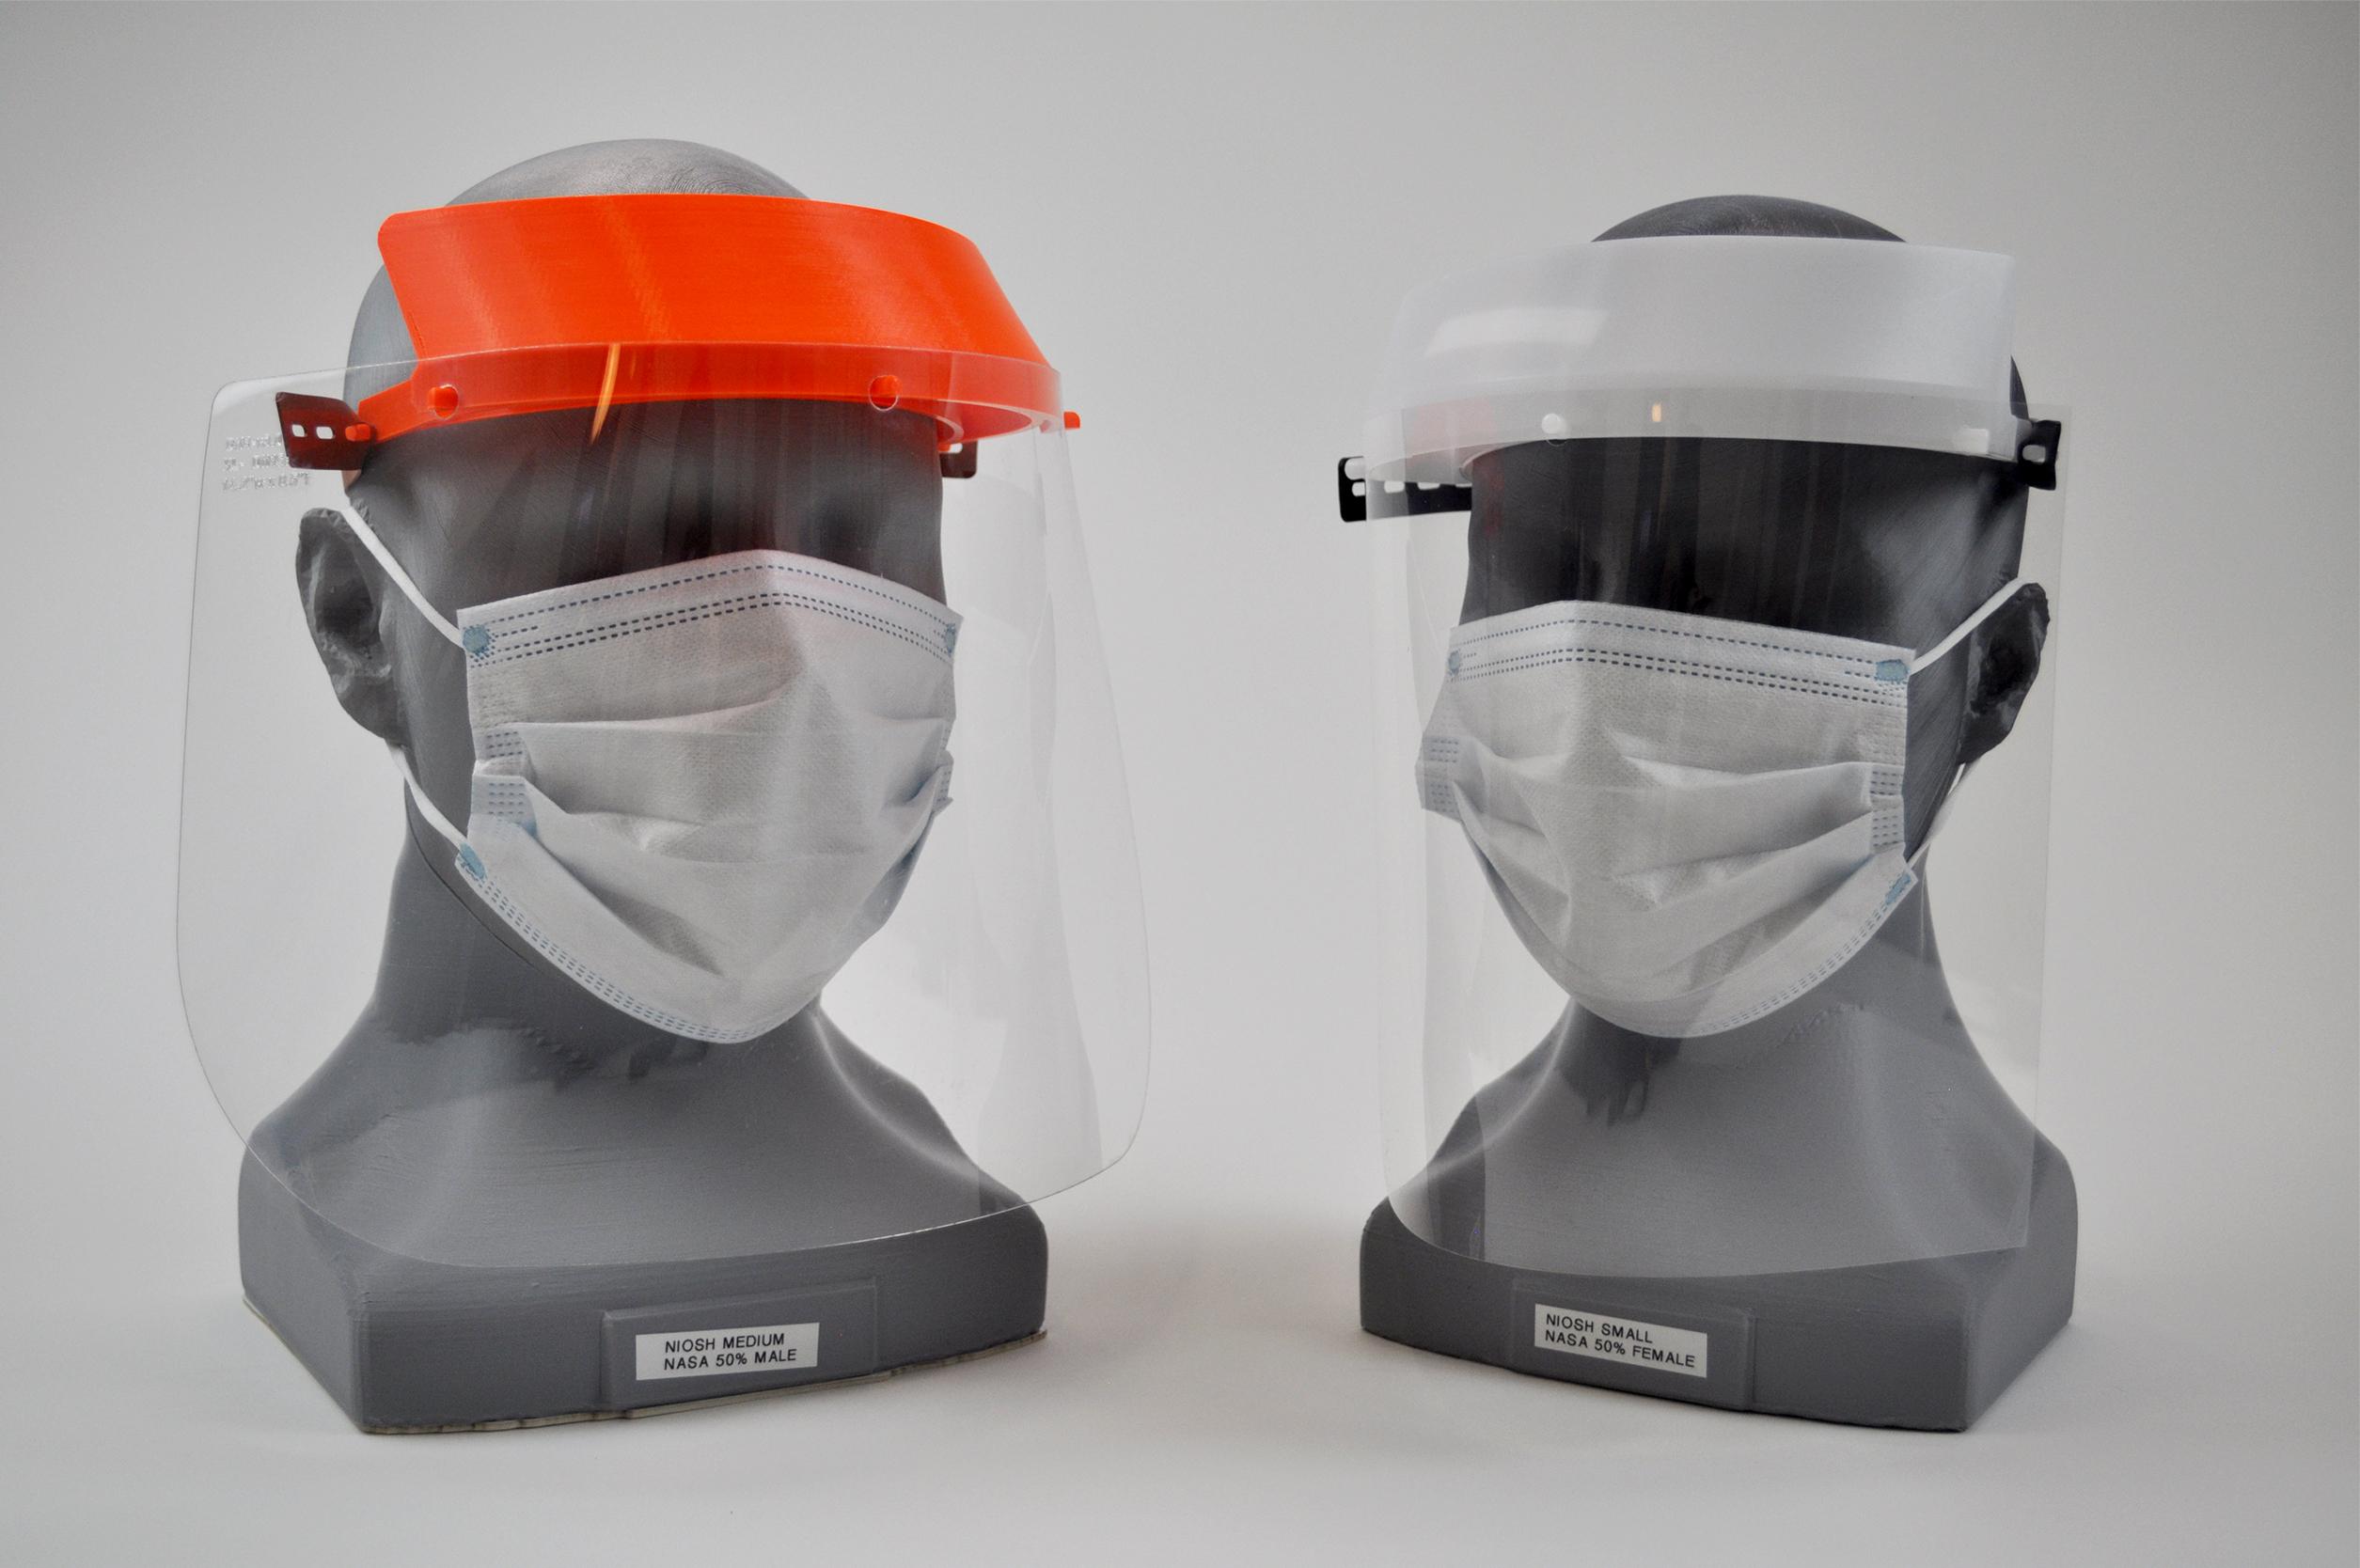
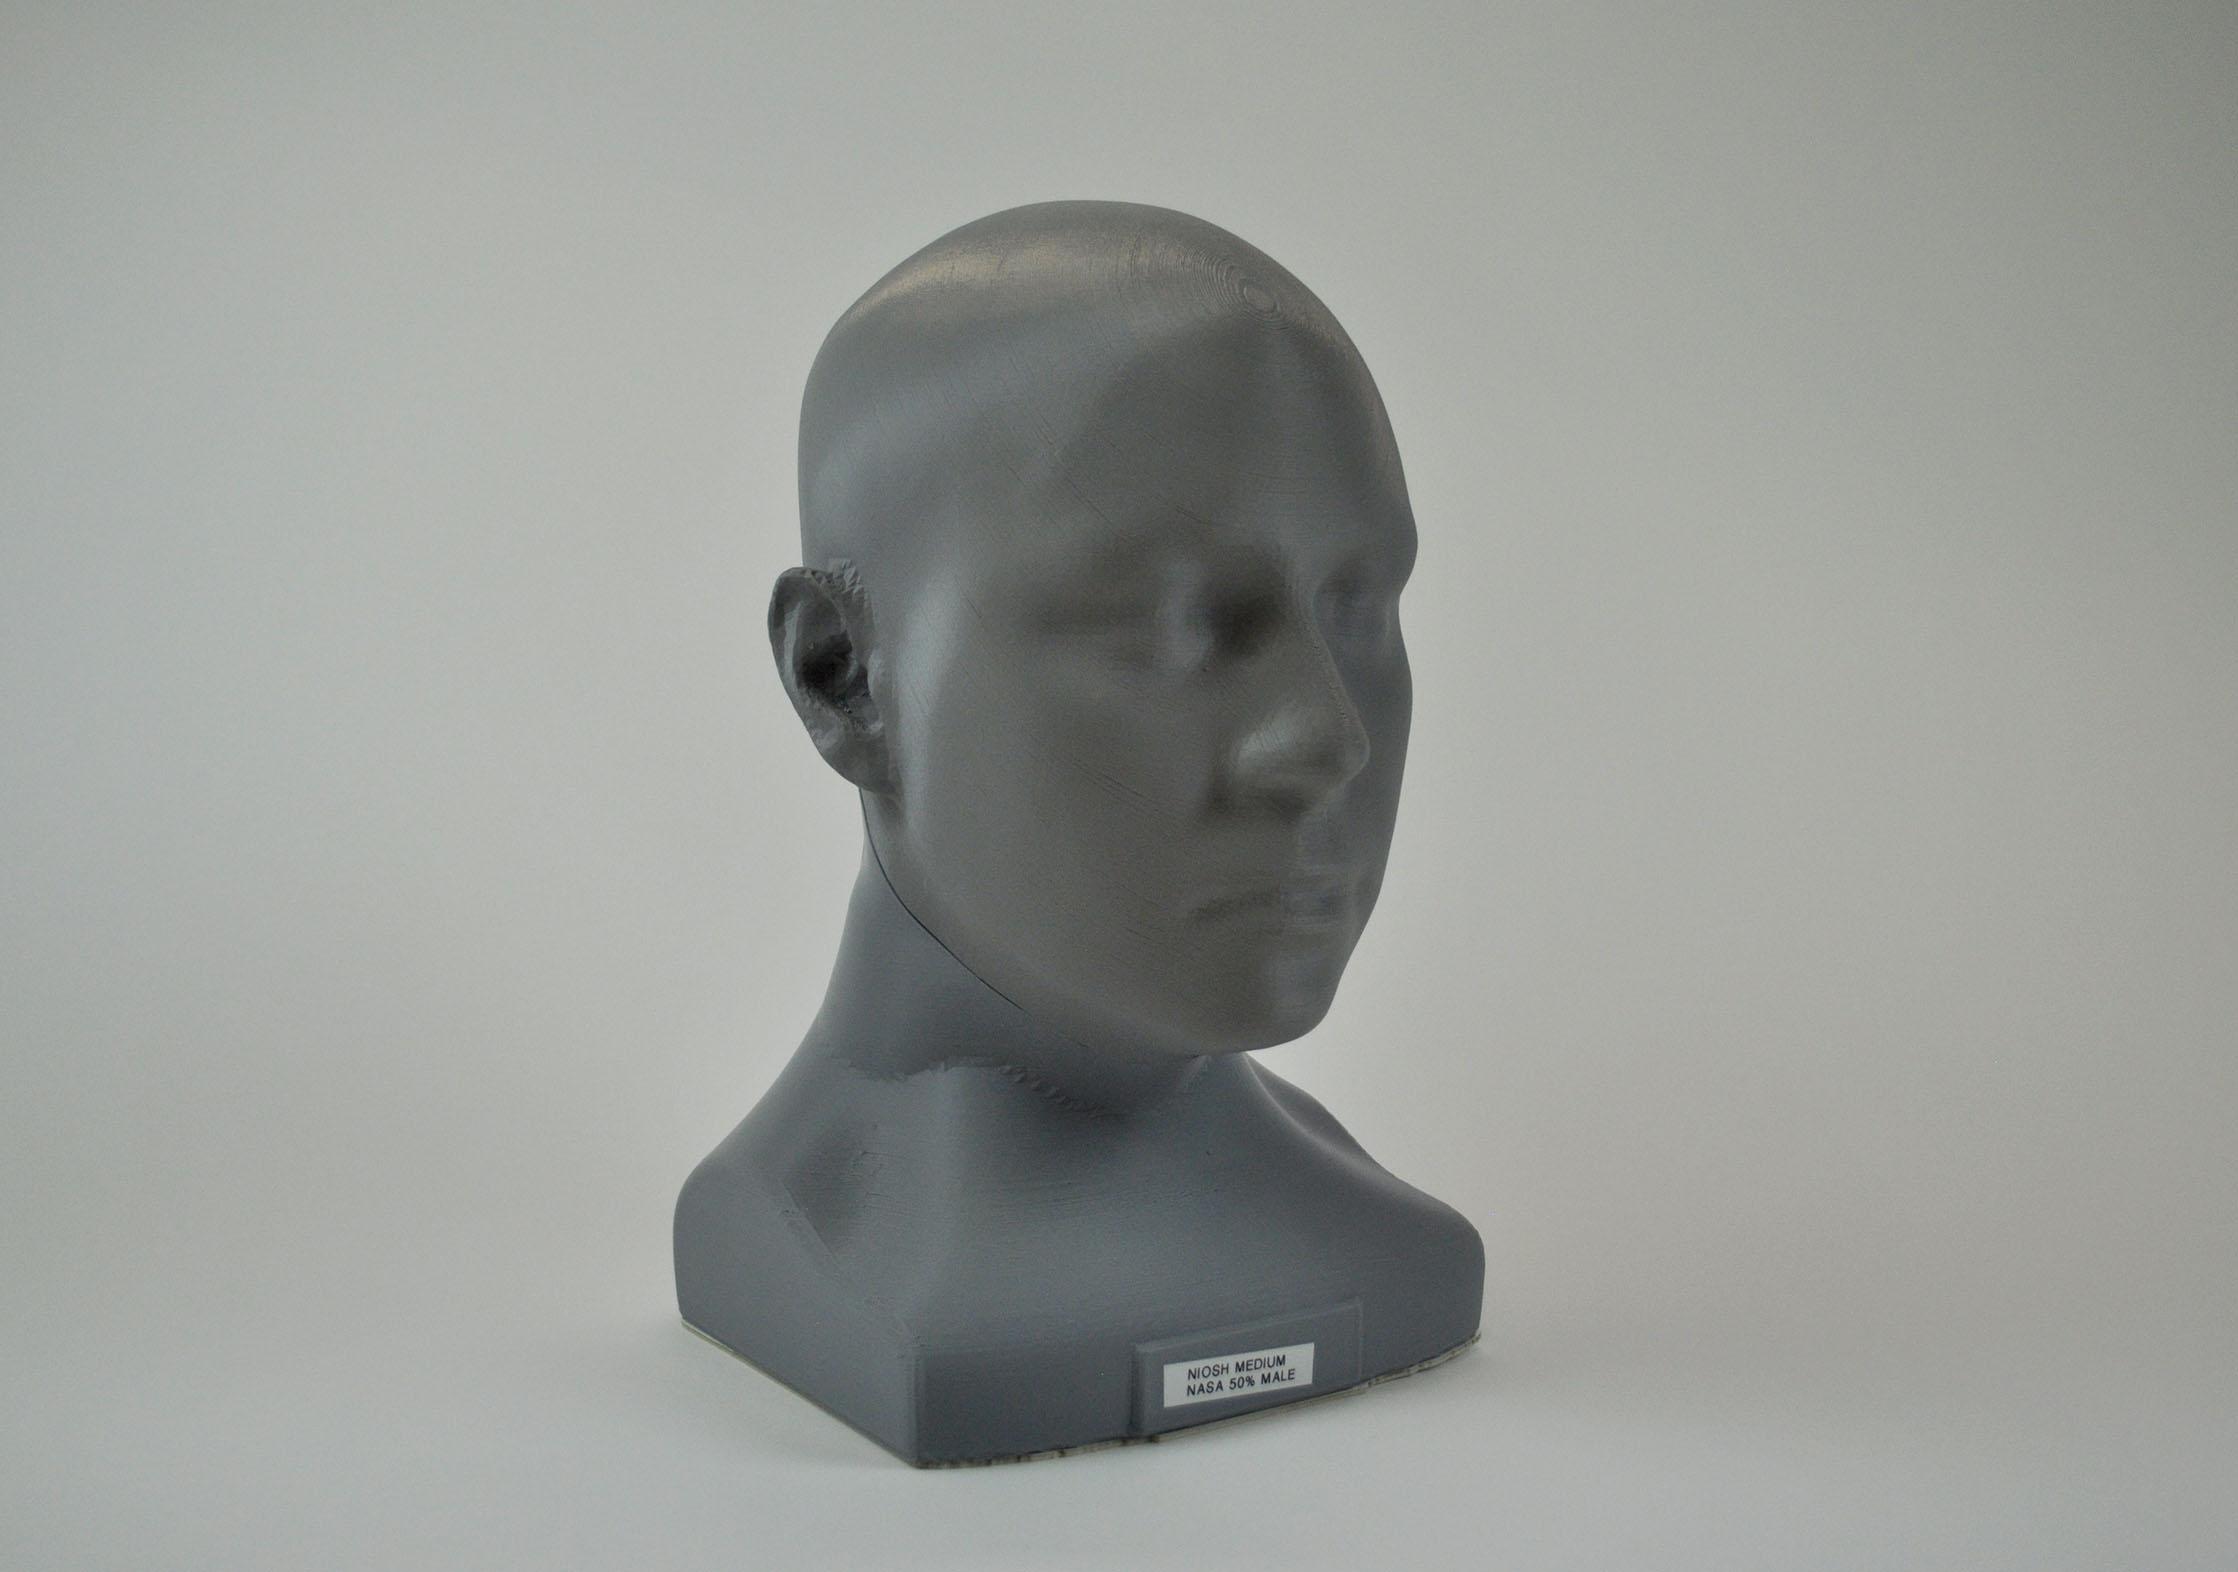
When Covid-19 hit the US in March 2020, the country faced extreme personal protective equipment (PPE) shortages. Design that Matters responded by rapidly designing and fabricating face shields for local hospitals. These face shields were designed to have as universal a fit as possible. NASA biometrics for head circumferences were used in the design process to achieve this design specification. The biometrics range from a 5% female head to a 95% male head. In order to demonstrate the universal fit of our product we decided to make life-sized heads. Follow along to learn about our design process and learn how to make your own life-sized head!
Supplies
3D printer and filament, Meshmixer, Luban, Fusion360, Slicer for Fusion360, cardboard, pencils, glue
Downloading Stl Files
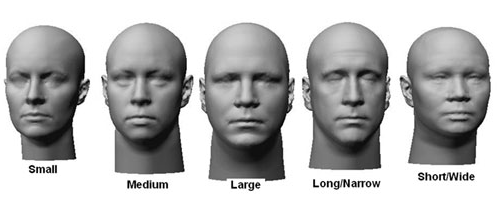
If you want to make the headforms from scratch you need to start with downloading various stl files. If you would like to skip to fabrication visit Thingiverse or Prusa for the finished files!
Step 1A: Download NIOSH head stl files from the cdc website.
Step 1B: Design a base for your heads in your preferred CAD software. You can also download the base I designed (attached file: base FINAL.stl).
Downloads
Combine the Head and Base Using Meshmixer

You can download Meshmixer here.
Meshmixer is a software that allowed you to edit and manipulate 3D meshes. For combining the head to the base the tools I use are plane cut, sculpt, and transform. For a tutorial video on combining the heads visit our DtM YouTube page.
Laser Cutting

If you prefer to 3D print the heads you can skip to step 5!
For this step I used Fusion360 Slicer to generate dxf files for your laser cutter.
Step 3A: Import stl file with the up-axis set to Z
Step3B: Adjust settings to match the picture above
Step3C: Make sure you have two dowels. To add a dowel hover above the head in the blue plane and click. You can position your dowels as desired.
Step3D: Click "Get Plans" to generate dxf files.
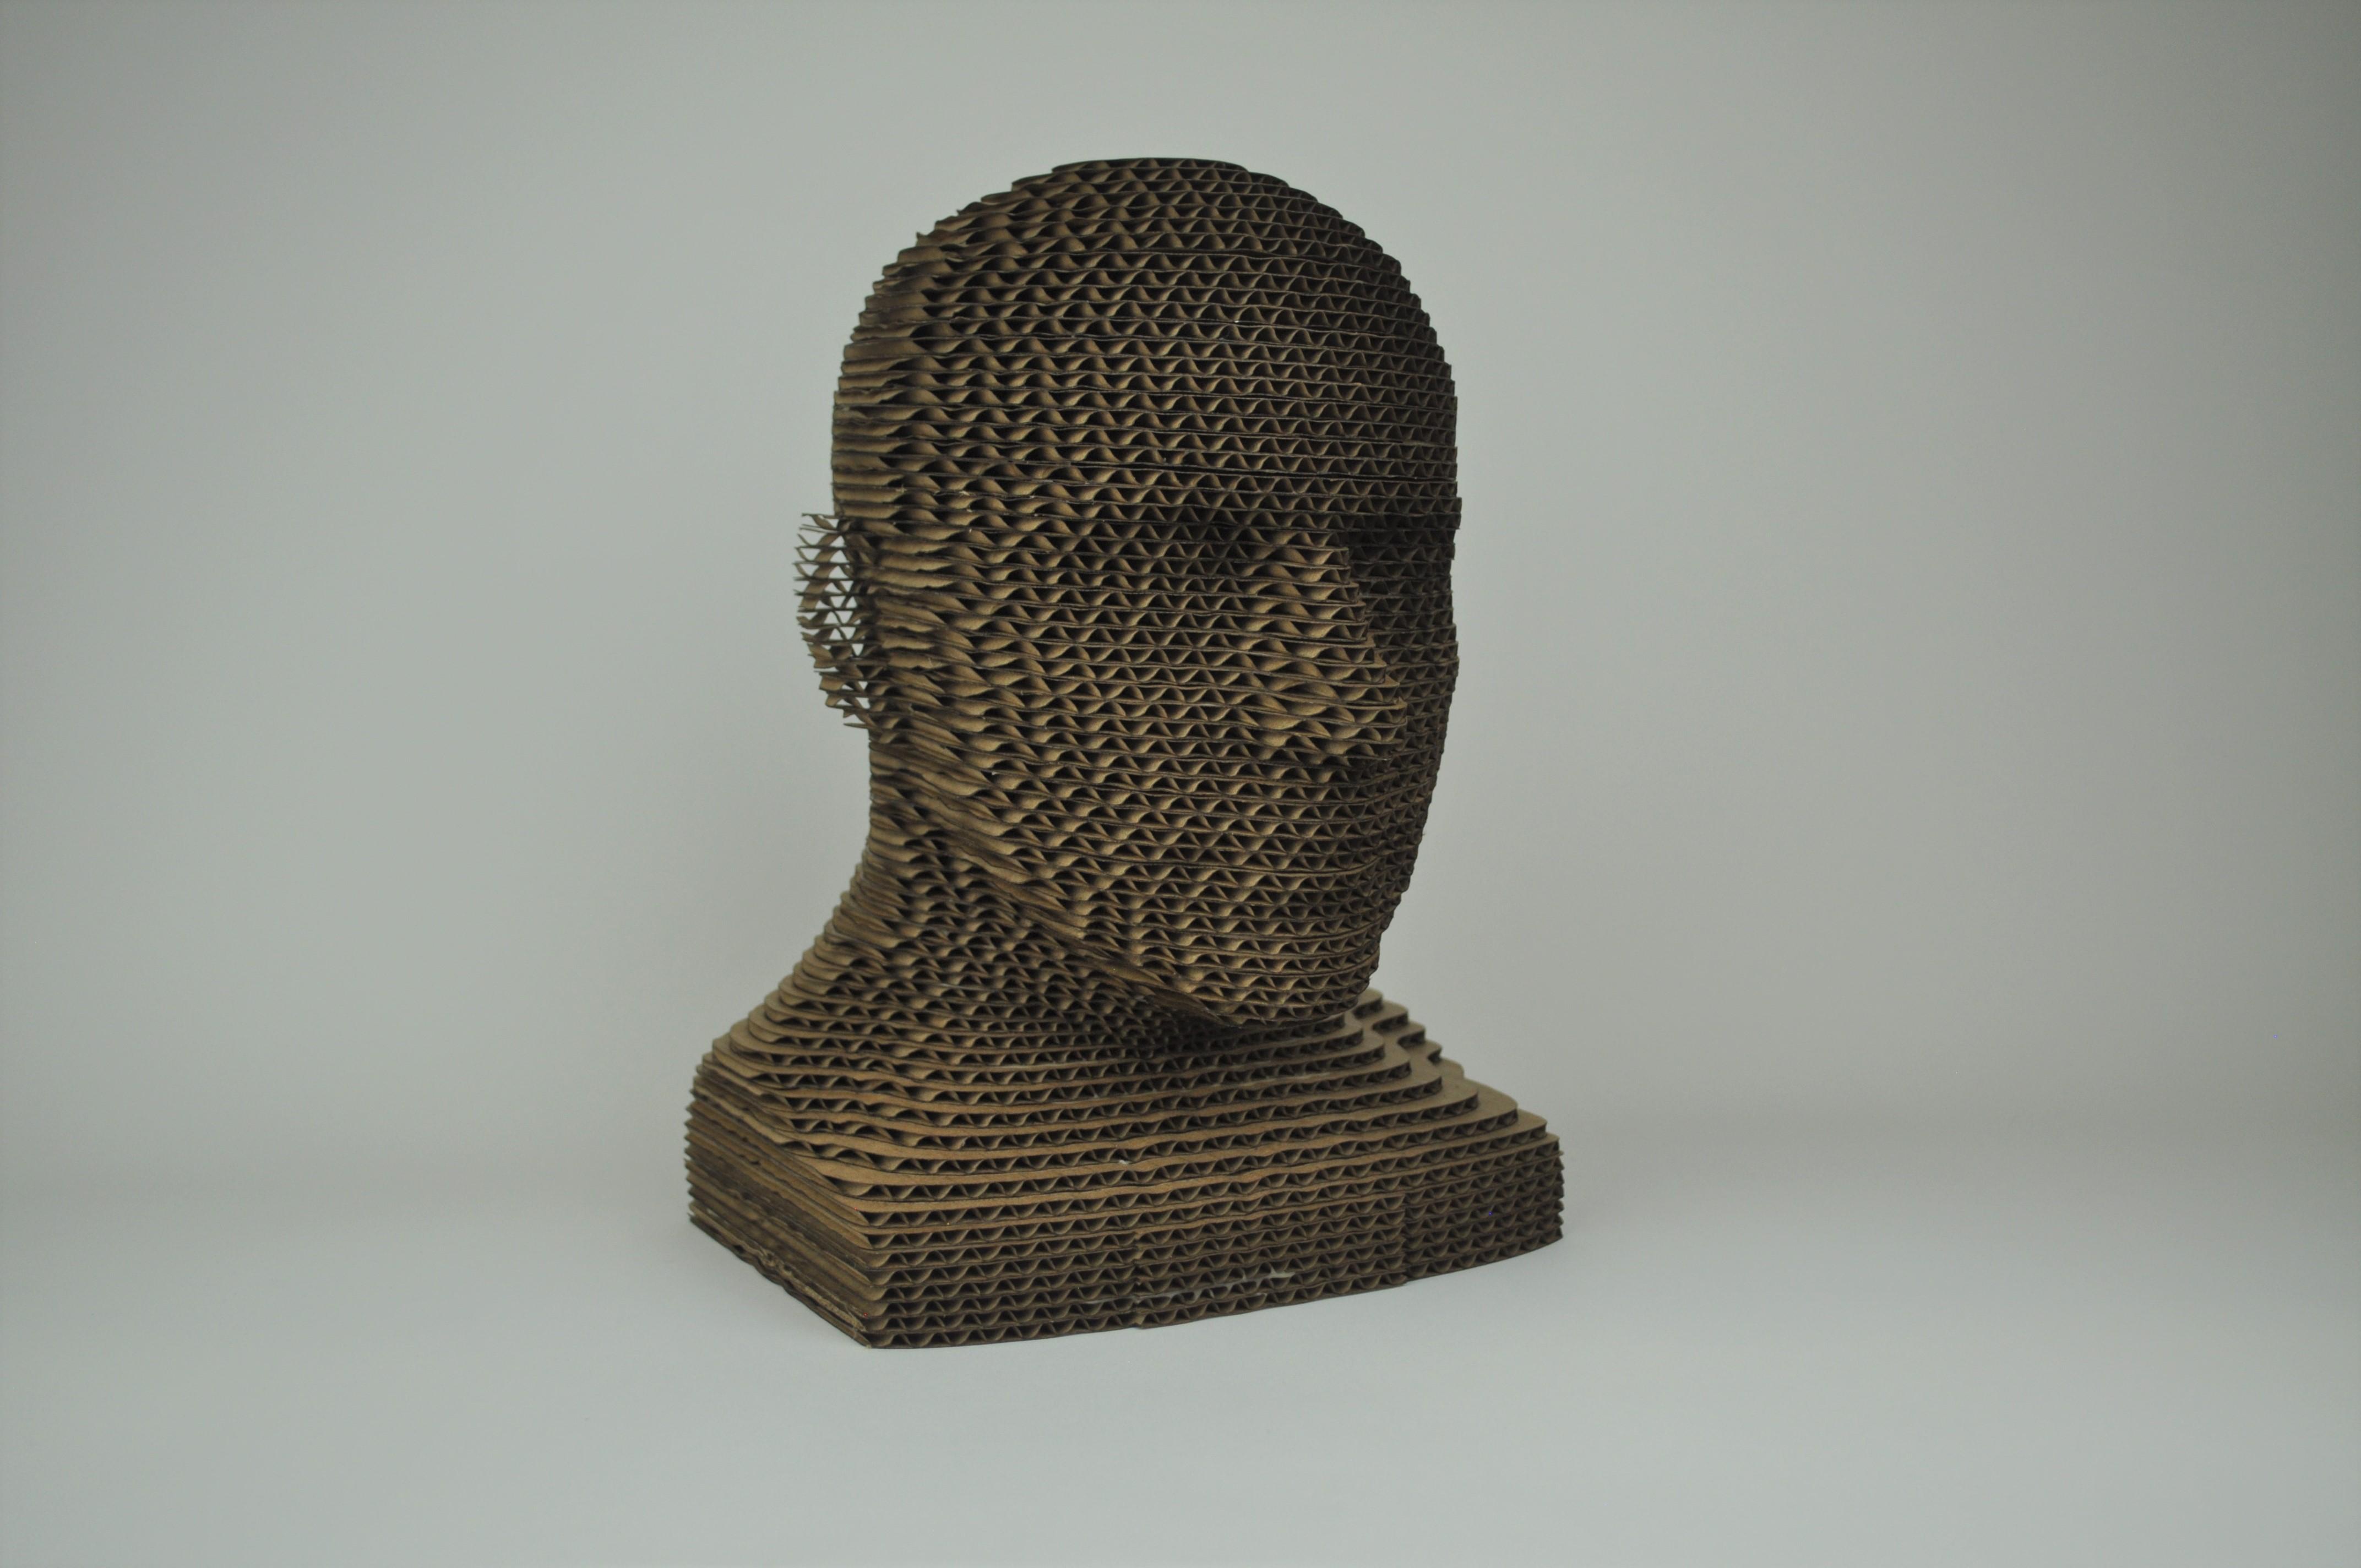
Constructing Laser Cut Head
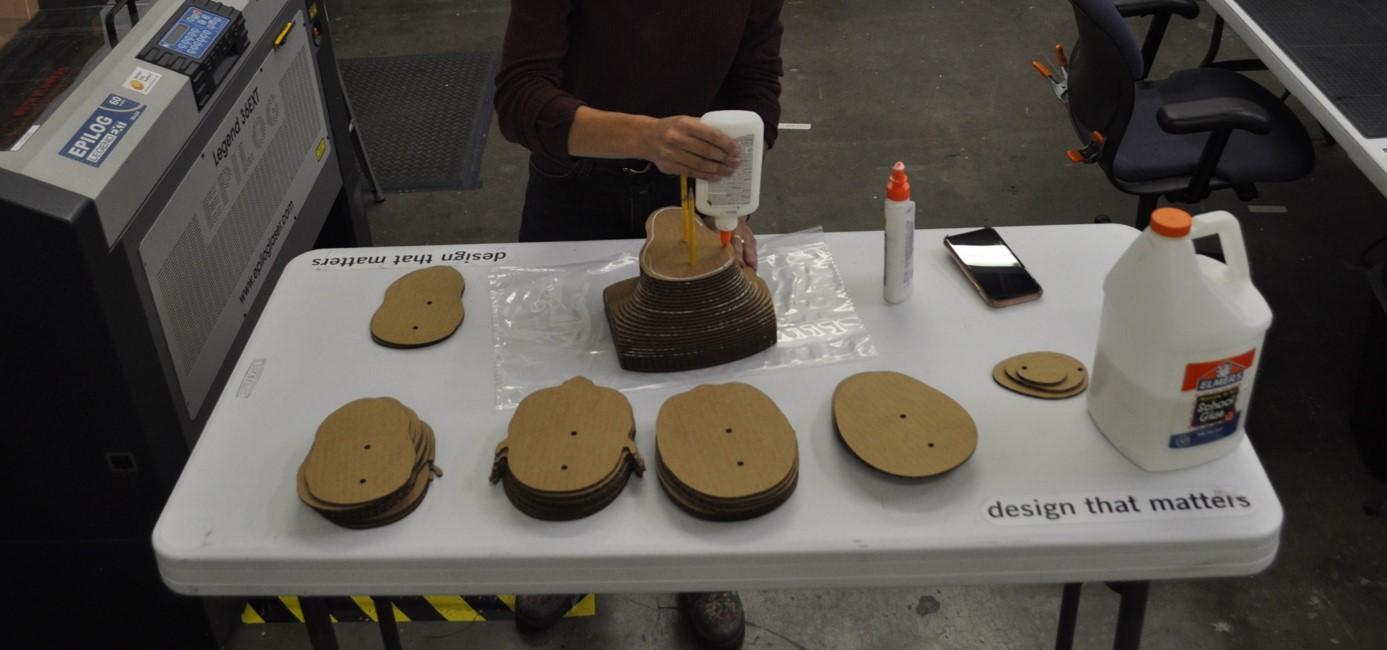
For this step you will need cardboard, 2 pencils, and glue (Elmer's glue)
Step 4A: Laser cut the pieces that you exported as dxf files.
Step 4B: Break off the ends of 2 pencils and place them in the dowels to use as guides while you construct. As you build your head make sure to move the pencils upward when about 1/3 of the pencil is still visible. This will help prevent them from getting stuck in the head.
Step 4C: Assemble by gluing each layer and putting the subsequent layer on top. Avoid using too much glue and glue around the edges for better results.
Using Luban to Split the Heads
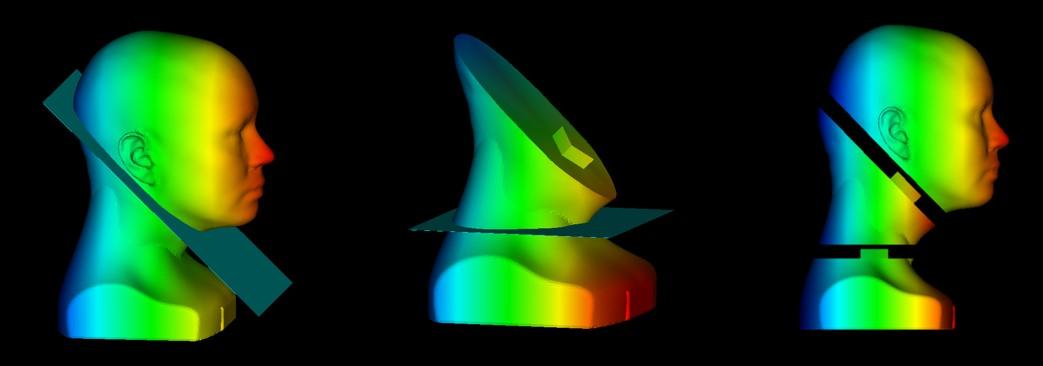
Most 3D printers are not large enough to print the heads in one go so you need to split them up. We used Luban to separate the heads into multiple parts.
You can download Luban here.
3D Printing
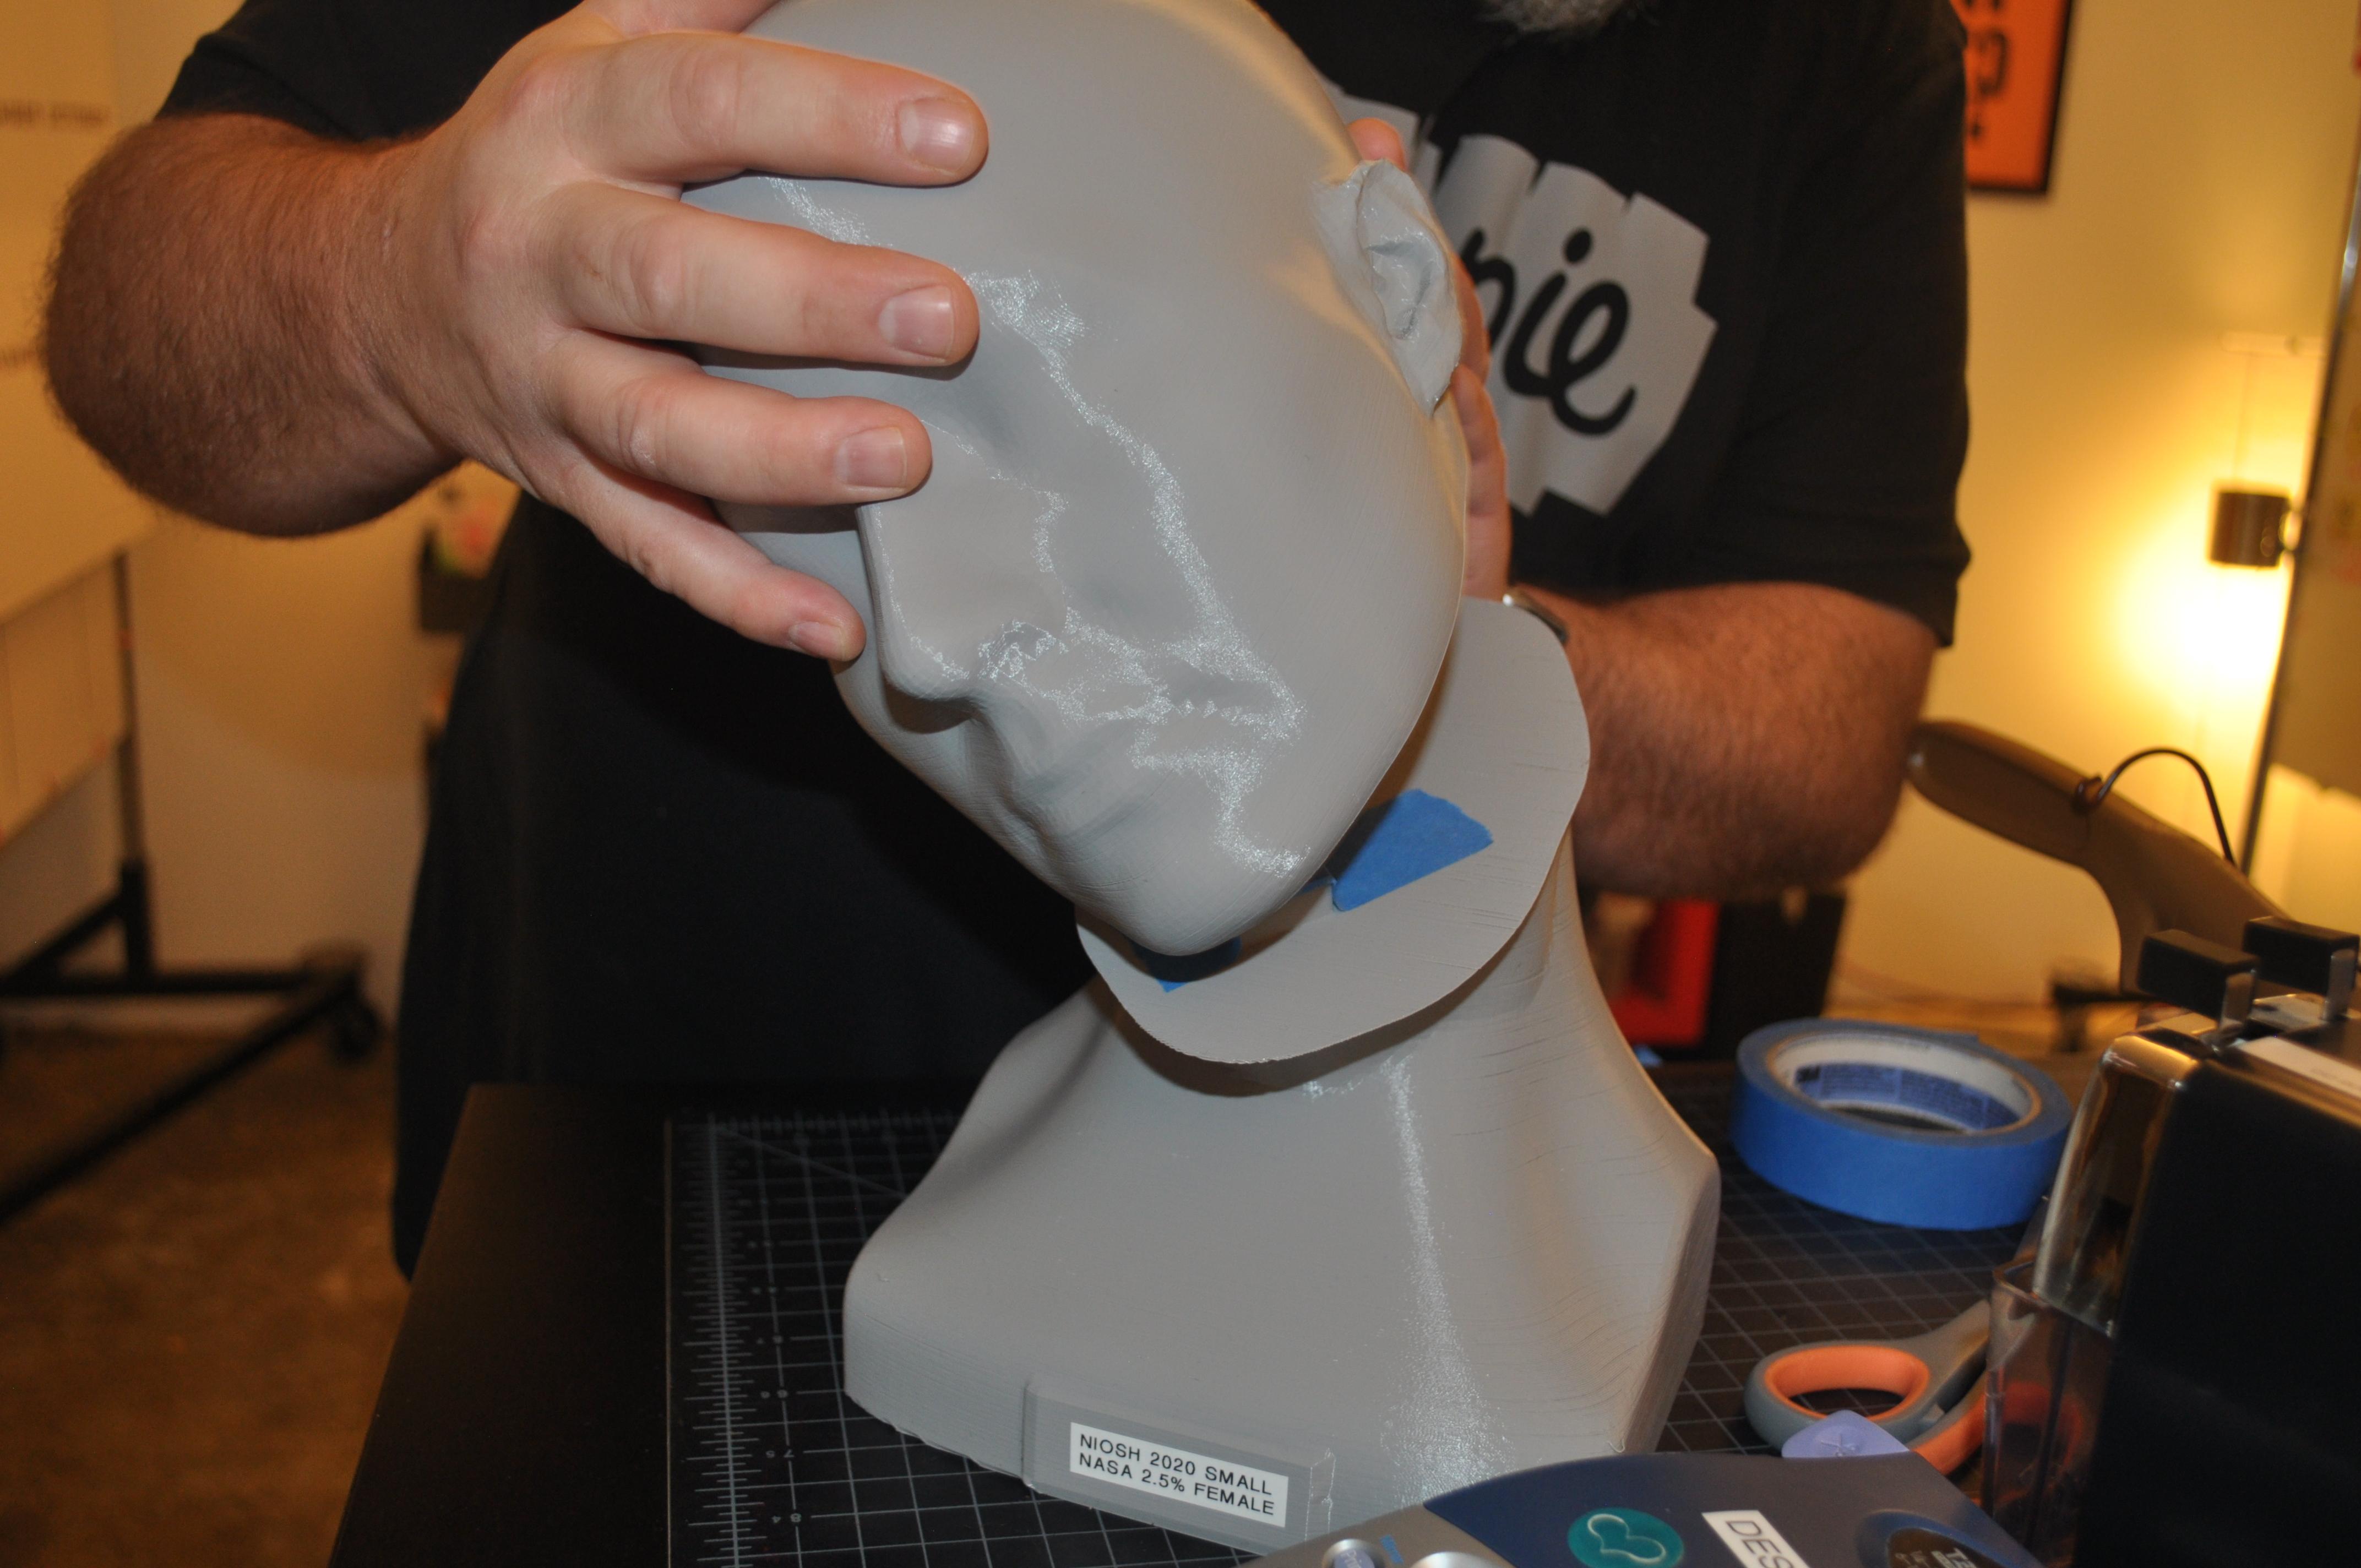
Step 6A: Print your parts. Make sure to add supports. An infill of 4% is sufficient. Keep in mind that the heads took over 10 hours per part to print.
Step6B: Combine the heads by matching up the plugs.
Display Your Heads!
