Fabric of Space
![shreshth album cover final final.png](/proxy/?url=https://content.instructables.com/F0E/1RLA/KSX82HMG/F0E1RLAKSX82HMG.png&filename=shreshth album cover final final.png)
![Screenshot 2021-08-30 174629.jpg](/proxy/?url=https://content.instructables.com/F93/MBY2/KSX82HH2/F93MBY2KSX82HH2.jpg&filename=Screenshot 2021-08-30 174629.jpg)
![space bg.png](/proxy/?url=https://content.instructables.com/F06/YI2U/KSX828LI/F06YI2UKSX828LI.png&filename=space bg.png)
![shreshth mockup2.png](/proxy/?url=https://content.instructables.com/FFS/R3Z2/KSYNJIE5/FFSR3Z2KSYNJIE5.png&filename=shreshth mockup2.png)
Hi,
This project is all about digital illustration and graphics and trust me not only is it fun, its going to be really easy if you follow along :)
Supplies
adobe photoshop
internet connection
.
.
thats it!!
Step 1:Create a New File in Photoshop
![Screenshot 2021-08-30 152749.jpg](/proxy/?url=https://content.instructables.com/FD4/UV7O/KSX82AMM/FD4UV7OKSX82AMM.jpg&filename=Screenshot 2021-08-30 152749.jpg)
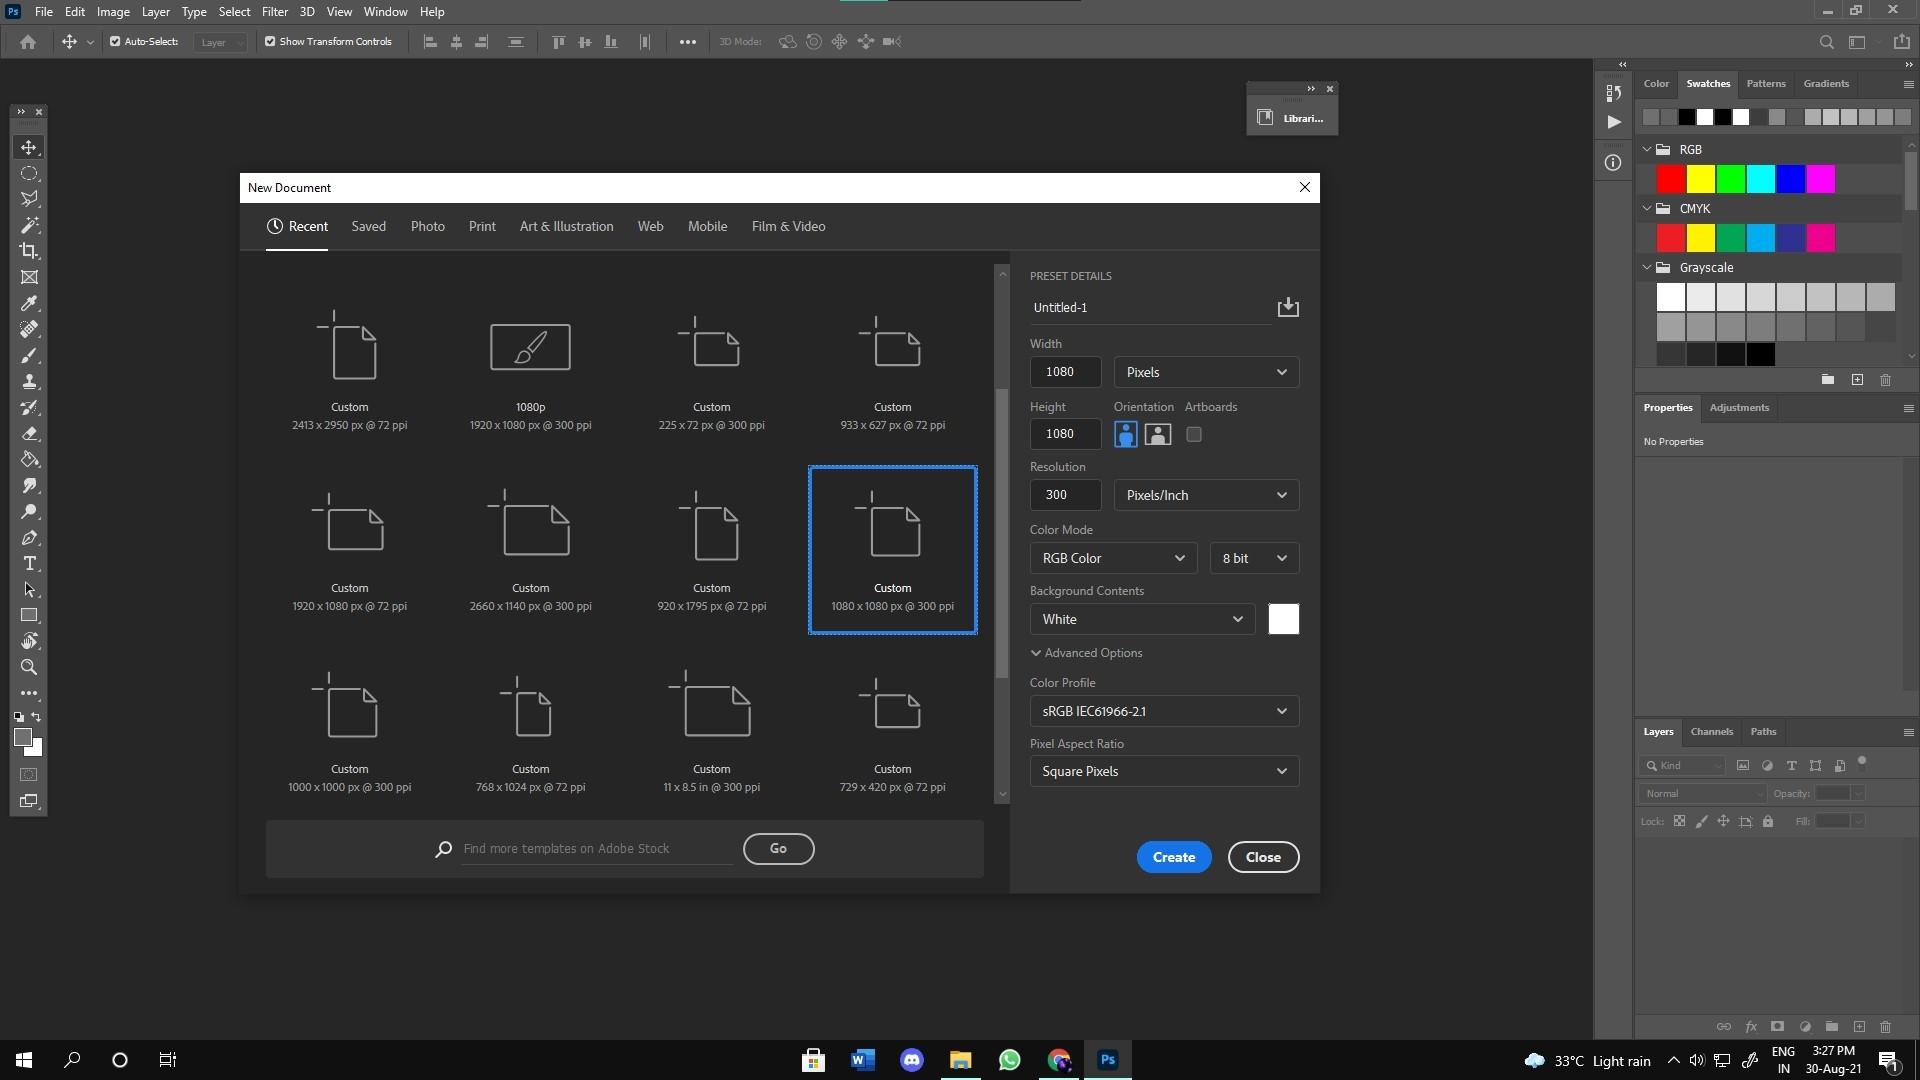
Create a file size of your choice.
I went with 1080 x1080 @300 because i wanted to post the project on Instagram .
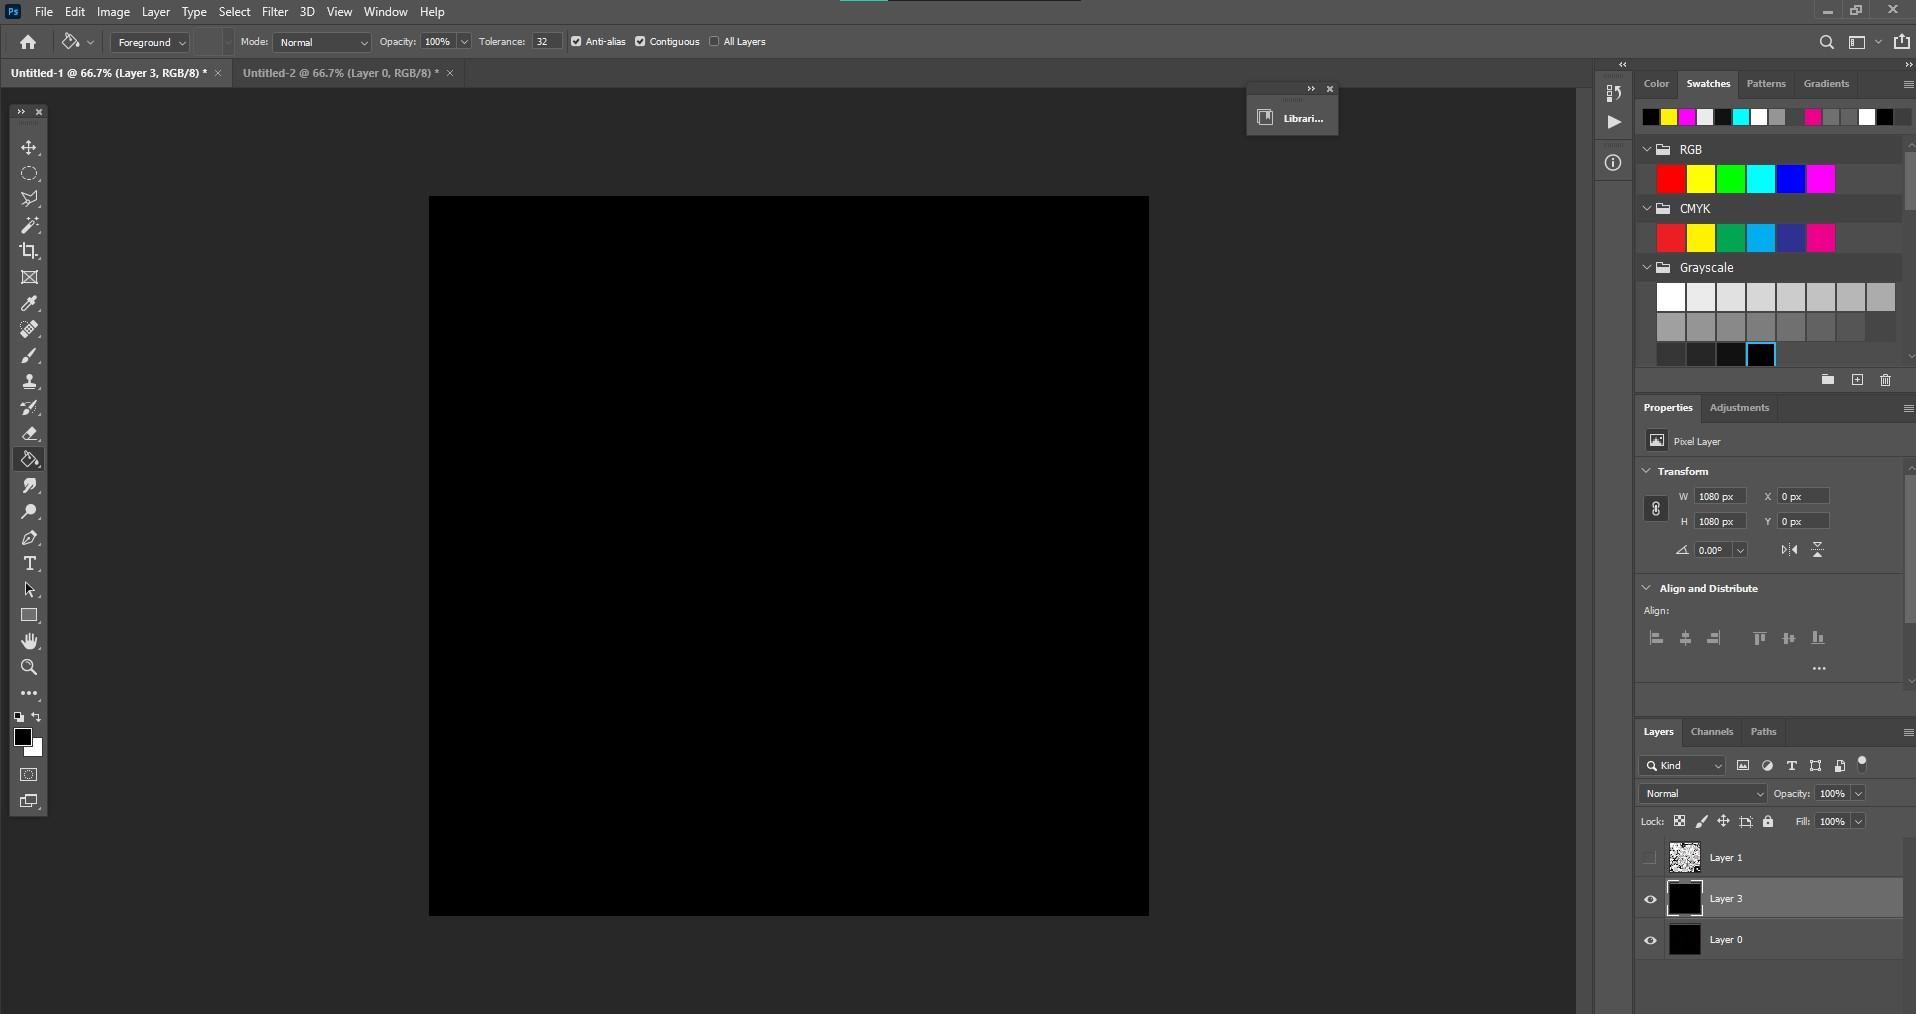
Step 2: Add a New Layer
![Screenshot 2021-08-30 153349.jpg](/proxy/?url=https://content.instructables.com/FV1/7MJ7/KSX82ASM/FV17MJ7KSX82ASM.jpg&filename=Screenshot 2021-08-30 153349.jpg)
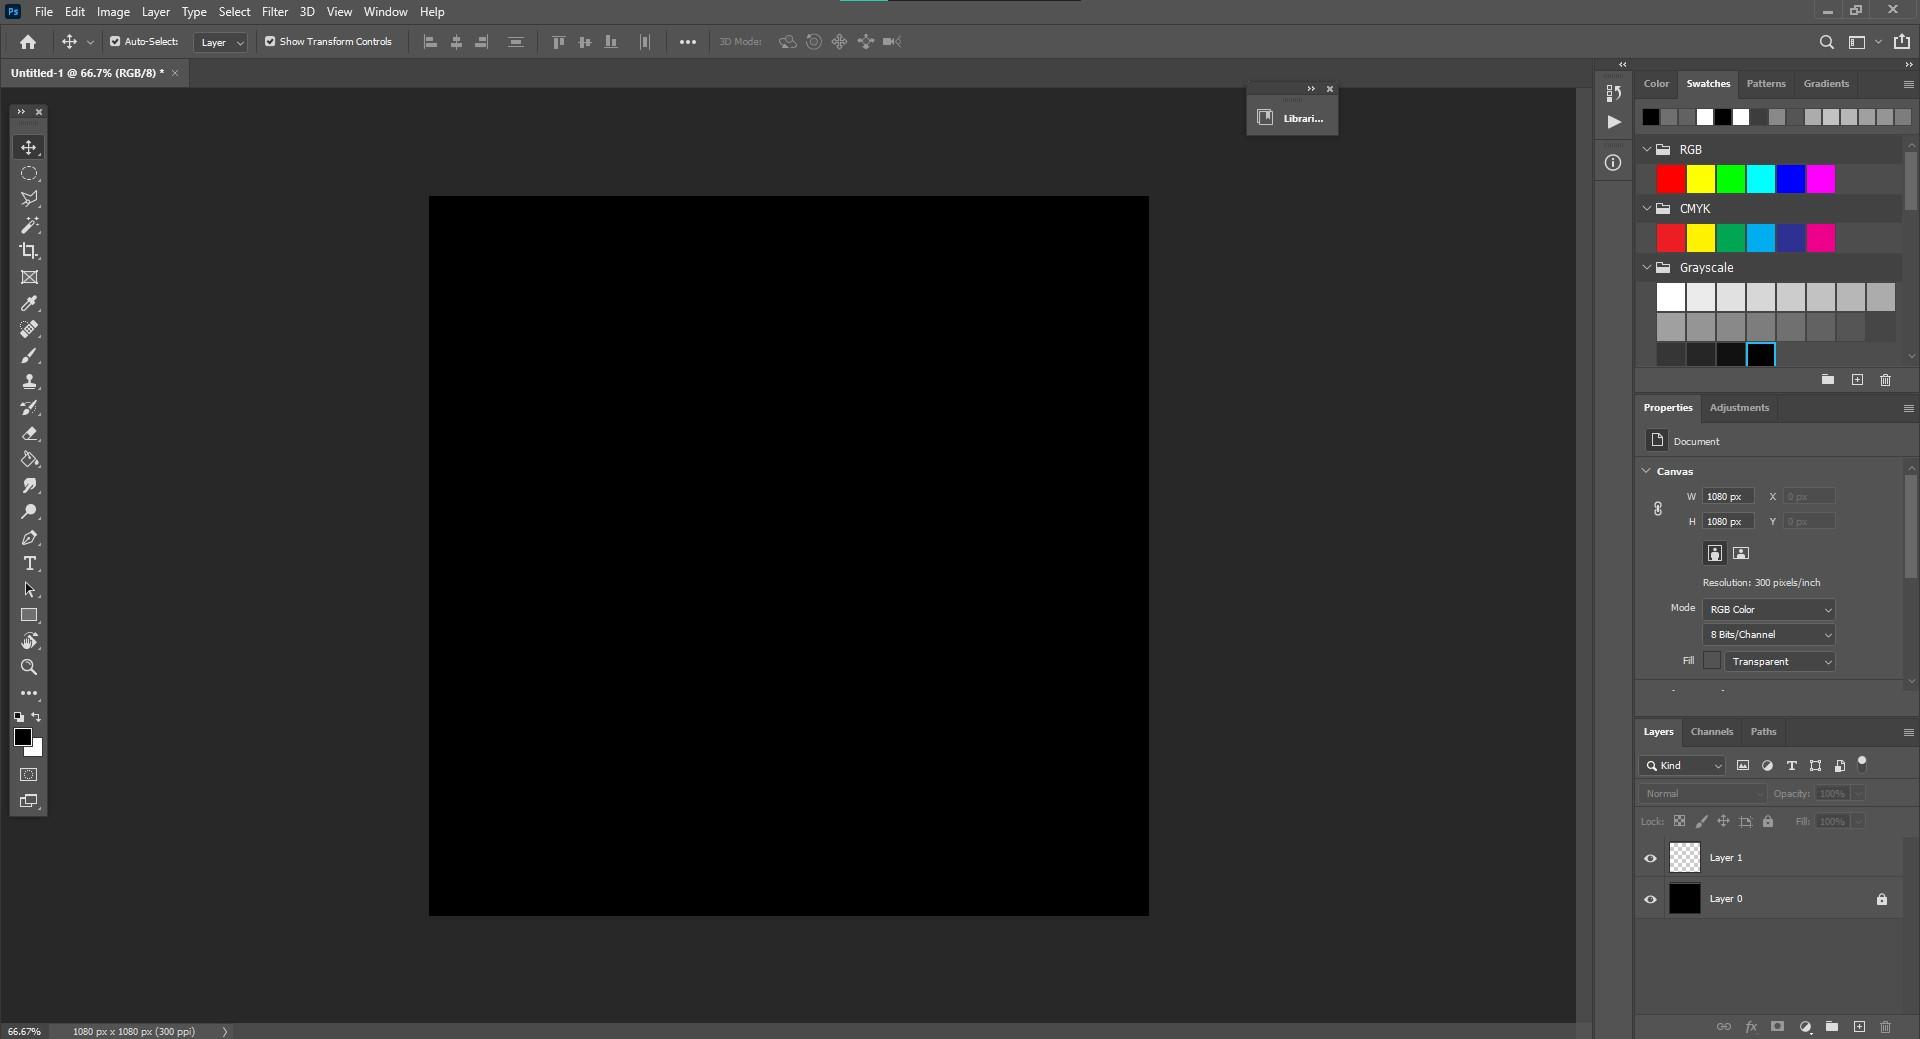
Add a new layer on top of the background layer .
Then, unlock the background layer and change its color to black using the fill color tool.
Step 3: Play With Colors on Layer 1
![Screenshot 2021-08-30 155045.jpg](/proxy/?url=https://content.instructables.com/F4C/OROG/KSX82AYG/F4COROGKSX82AYG.jpg&filename=Screenshot 2021-08-30 155045.jpg)
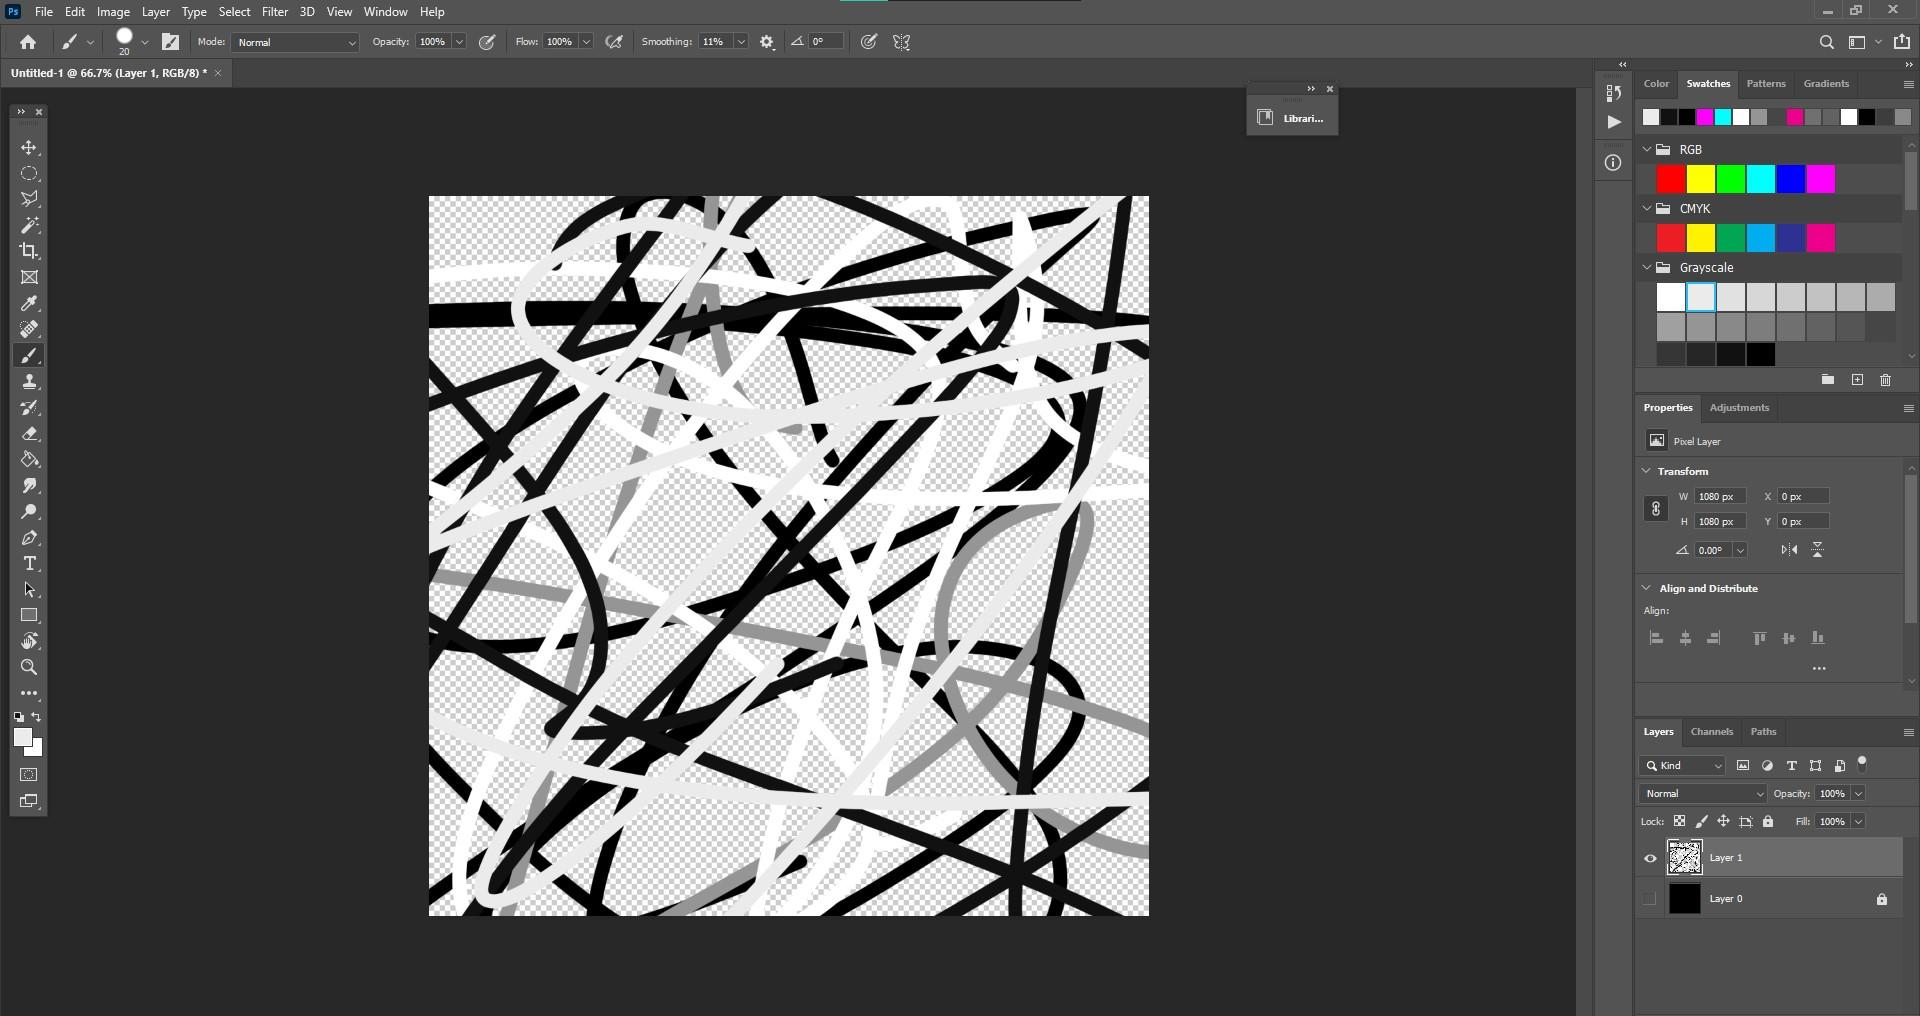
Using the brush tool put random strokes on layer 1 with black and white colour.
Step 4: Make a Wavey Pattern!
![Screenshot 2021-08-30 155403.jpg](/proxy/?url=https://content.instructables.com/F2W/Q94T/KSX82AZW/F2WQ94TKSX82AZW.jpg&filename=Screenshot 2021-08-30 155403.jpg)
![Screenshot 2021-08-30 155444.jpg](/proxy/?url=https://content.instructables.com/FYN/JG1M/KSX82B06/FYNJG1MKSX82B06.jpg&filename=Screenshot 2021-08-30 155444.jpg)
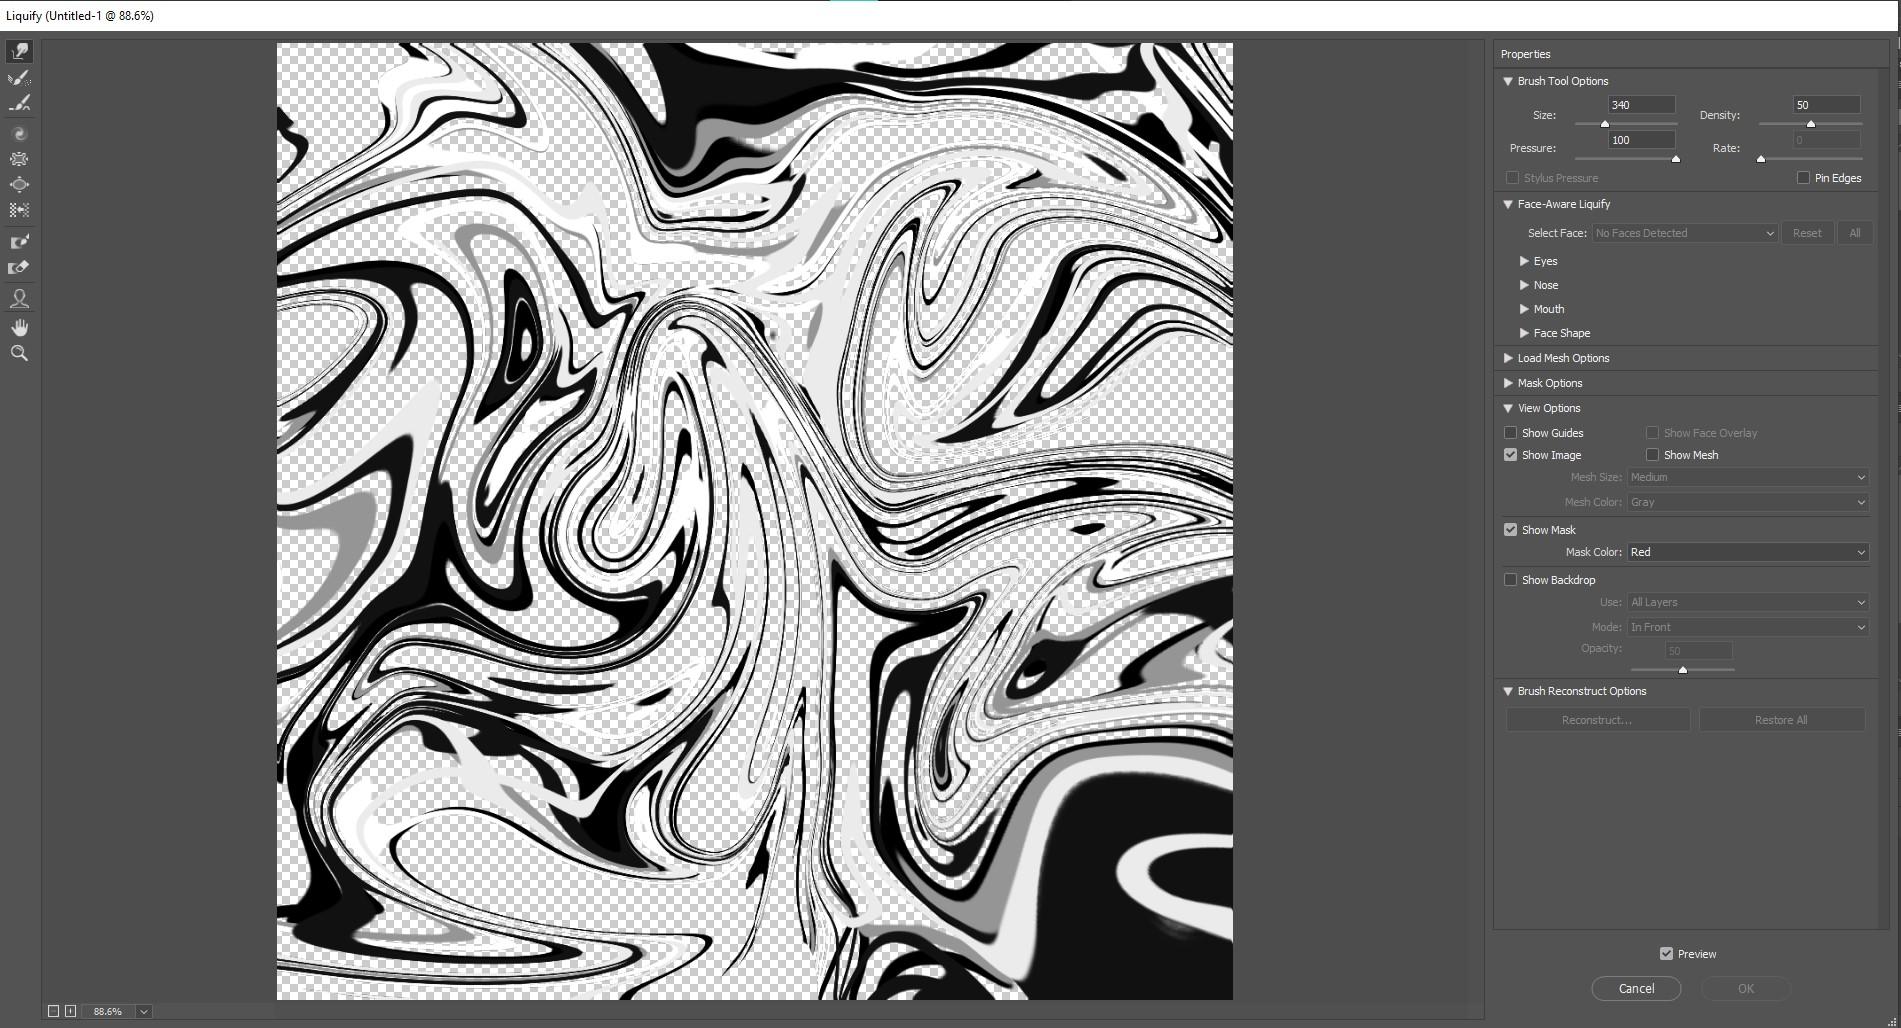
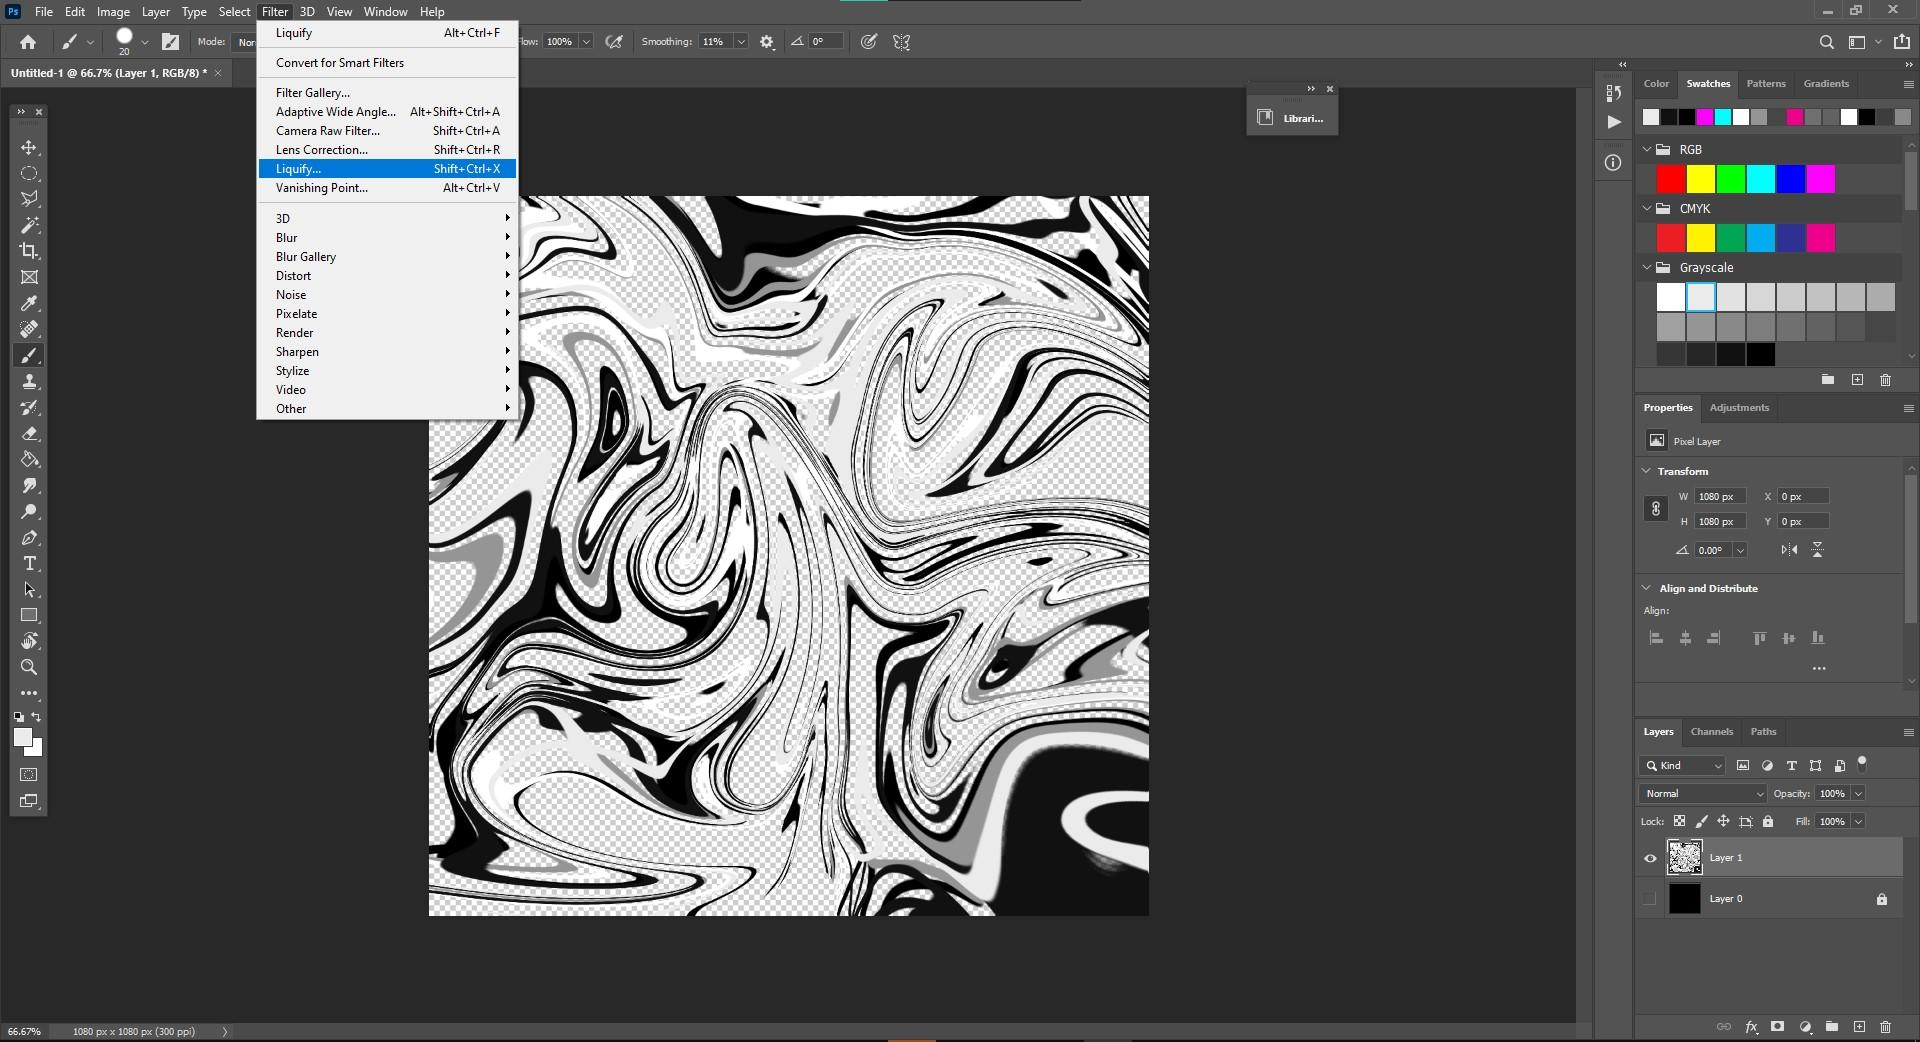
now, go to filter>liquify , set the brush size to 340 and make a random trippy pattern till you are satisfied with the result.
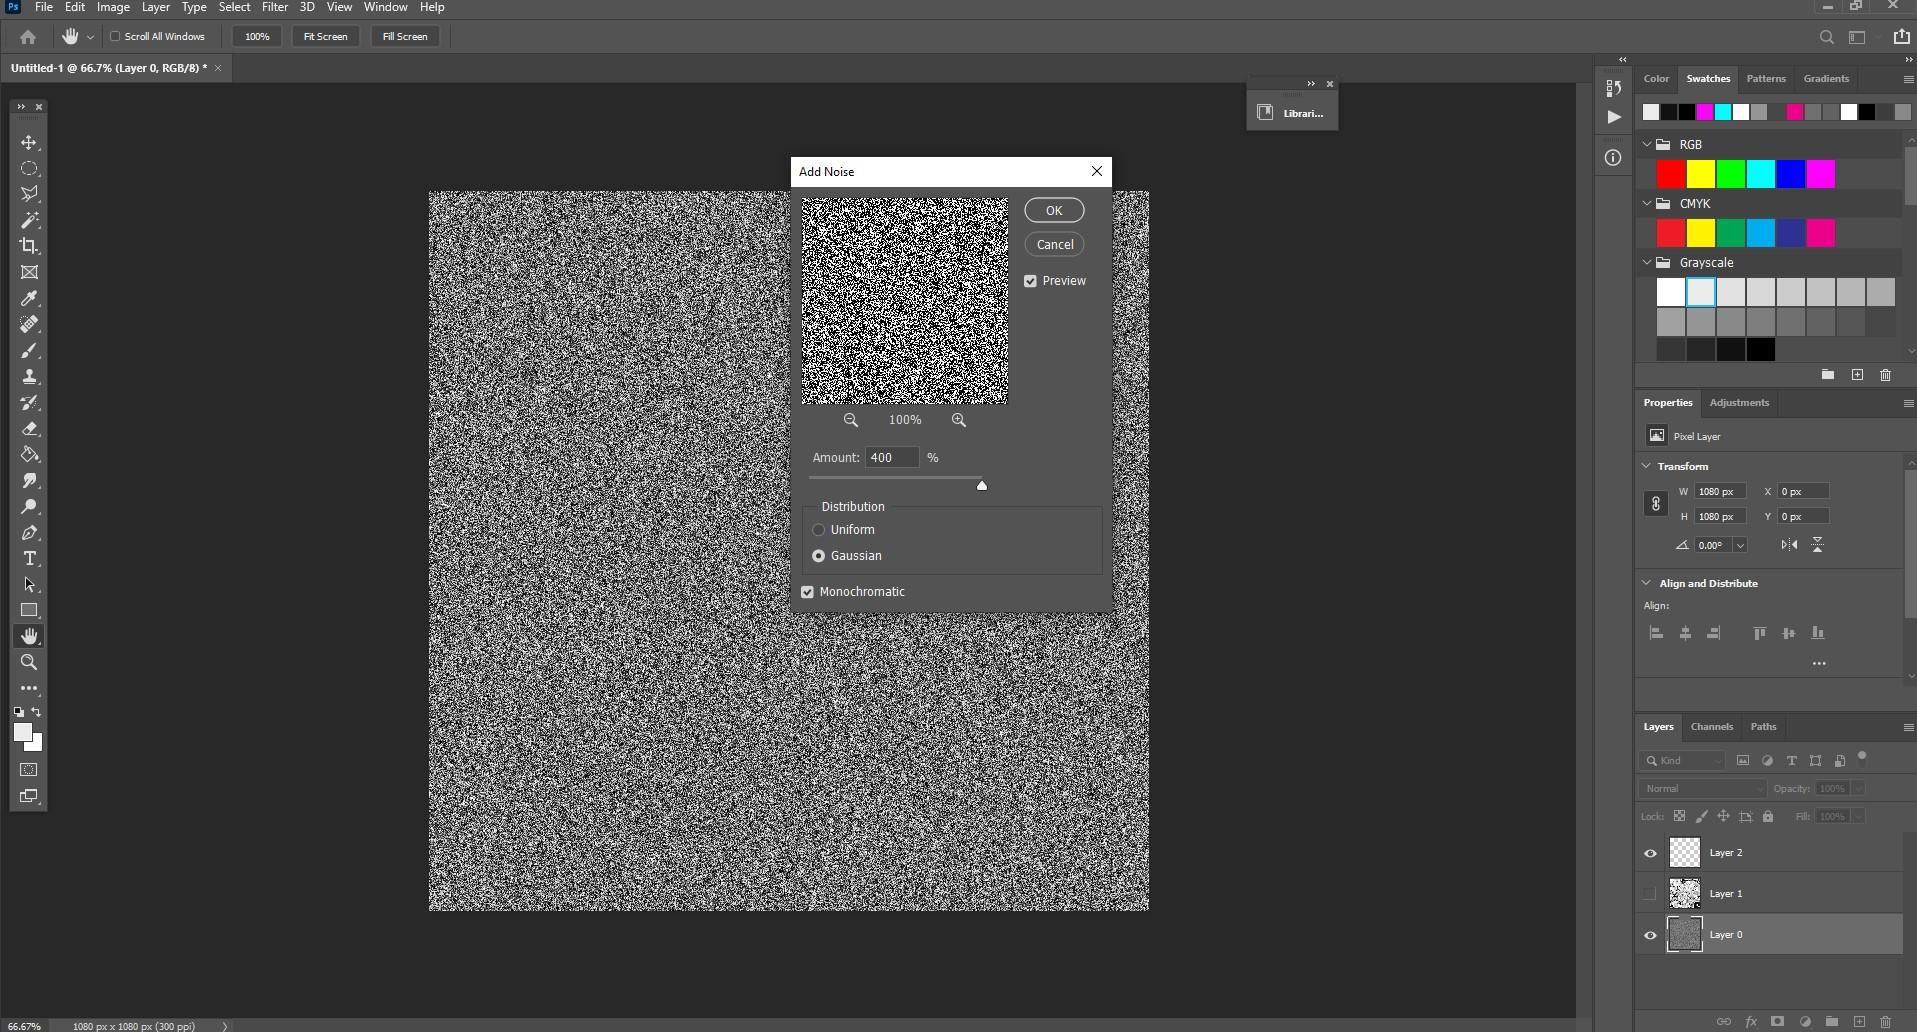
Step 5: Add Some Noiiiisssee!!!
![Screenshot 2021-08-30 155829.jpg](/proxy/?url=https://content.instructables.com/F9A/GCMD/KSX82B3Y/F9AGCMDKSX82B3Y.jpg&filename=Screenshot 2021-08-30 155829.jpg)
![Screenshot 2021-08-30 155906.jpg](/proxy/?url=https://content.instructables.com/FZC/DTP0/KSX82B3Z/FZCDTP0KSX82B3Z.jpg&filename=Screenshot 2021-08-30 155906.jpg)
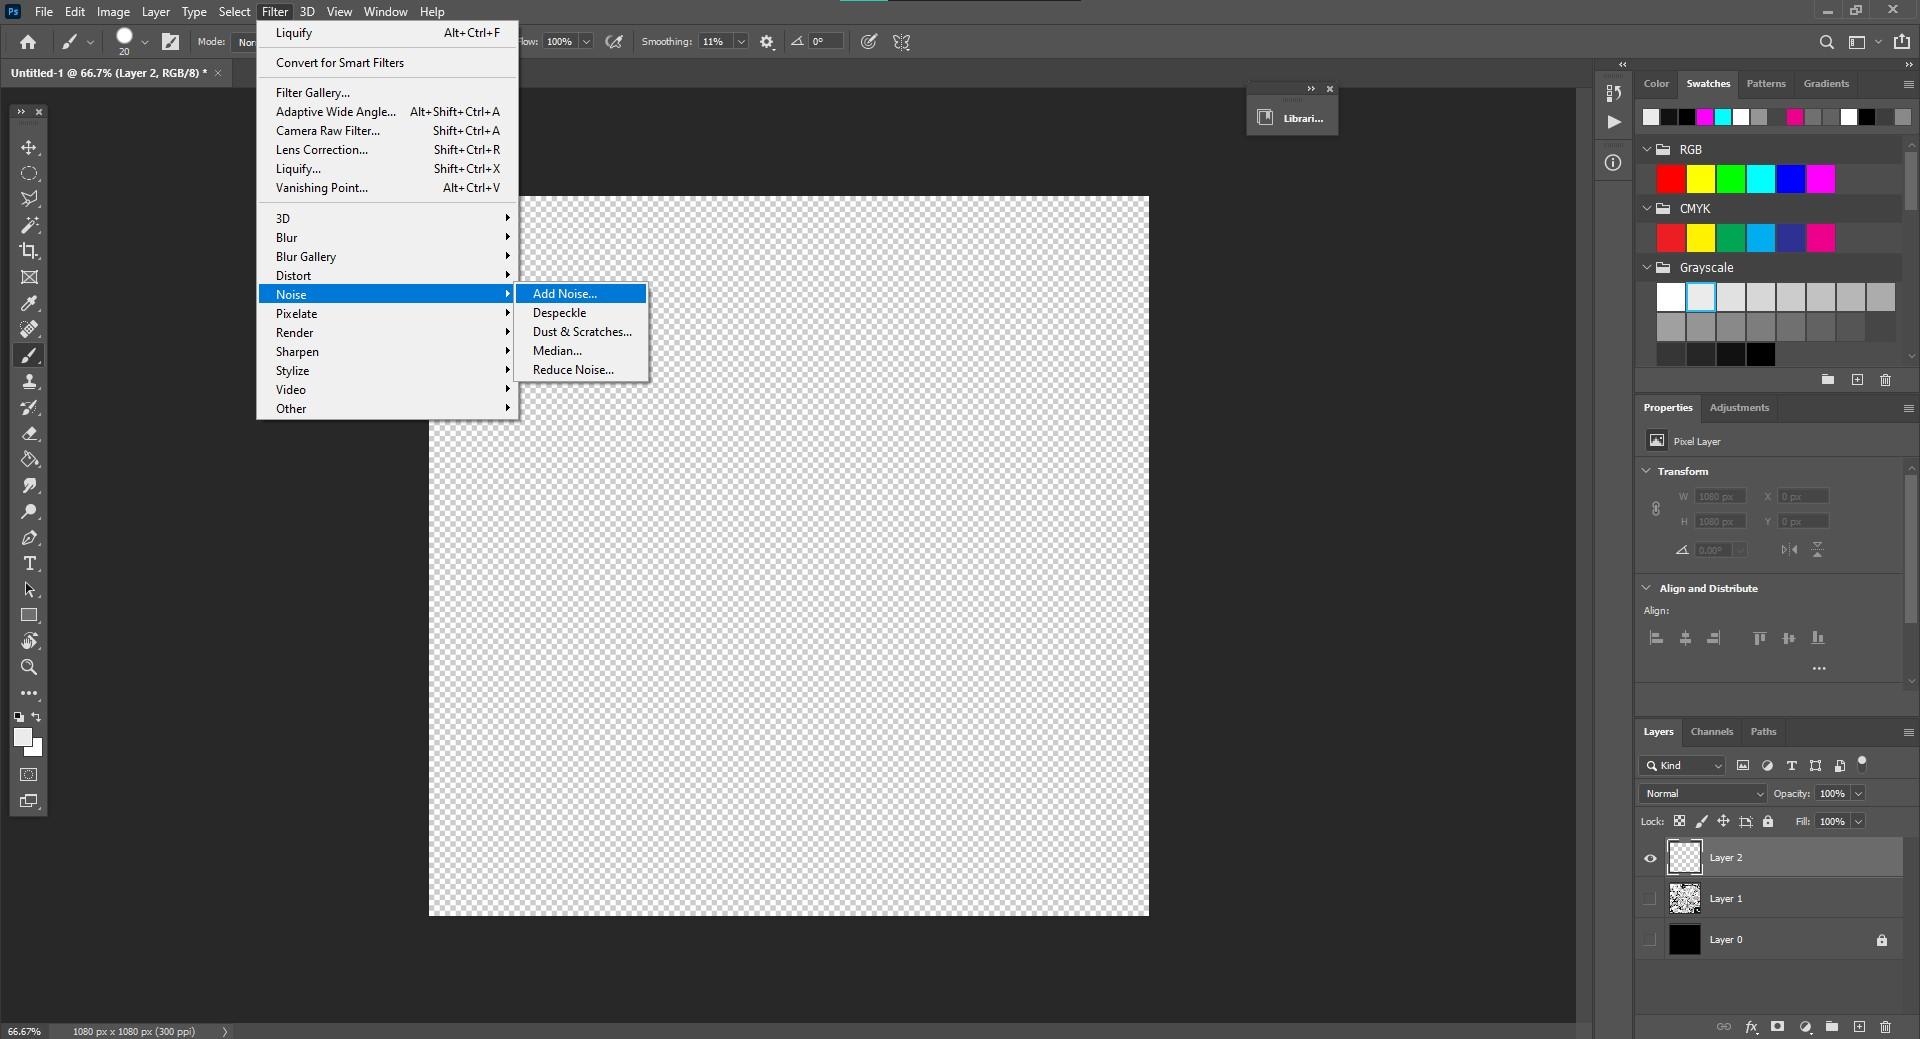
Go to the blacked out layer .
Then go to filter>noise>add noise.
see the image for the exact values of the noise!
Step 6: Add Some Gaussian Blur
![Screenshot 2021-08-30 160248.jpg](/proxy/?url=https://content.instructables.com/FED/QQ8T/KSX82B96/FEDQQ8TKSX82B96.jpg&filename=Screenshot 2021-08-30 160248.jpg)
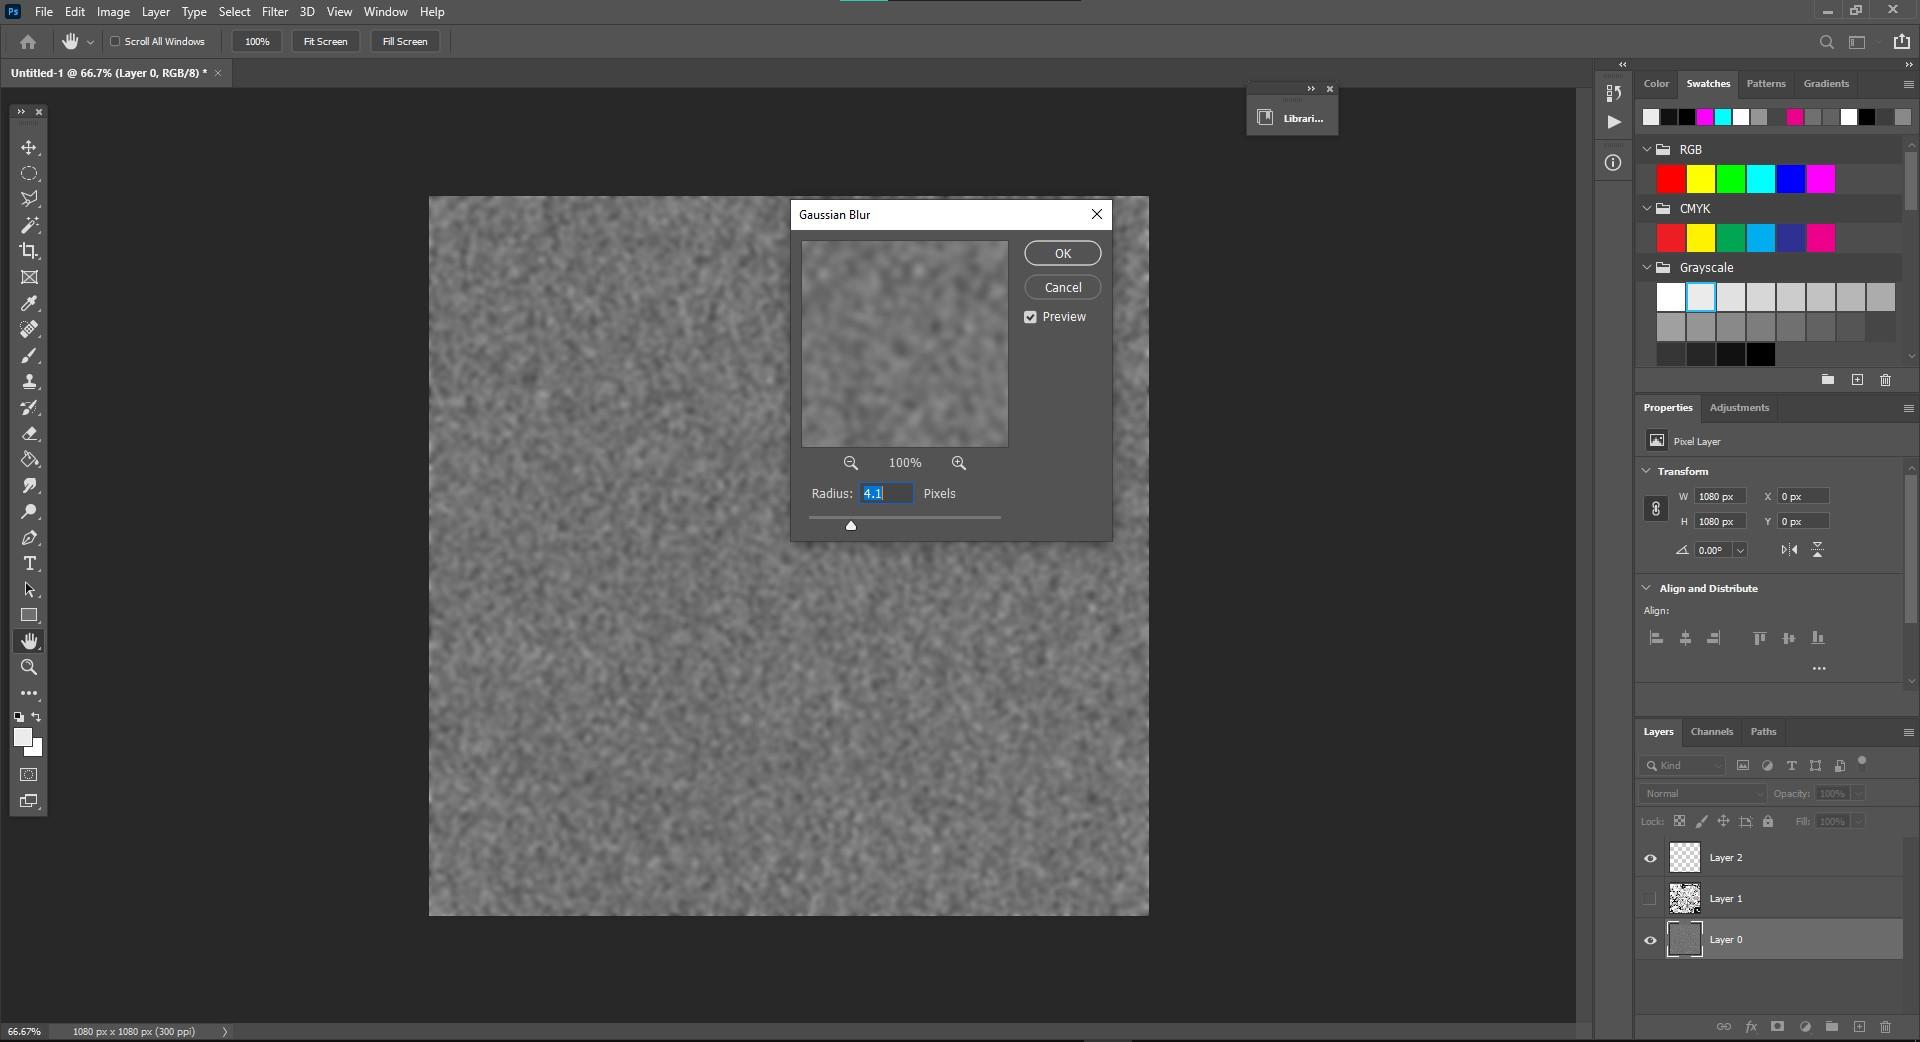
go to filter>blur>gaussian blur
value of blus is 0.5
yea thats it were almost there!
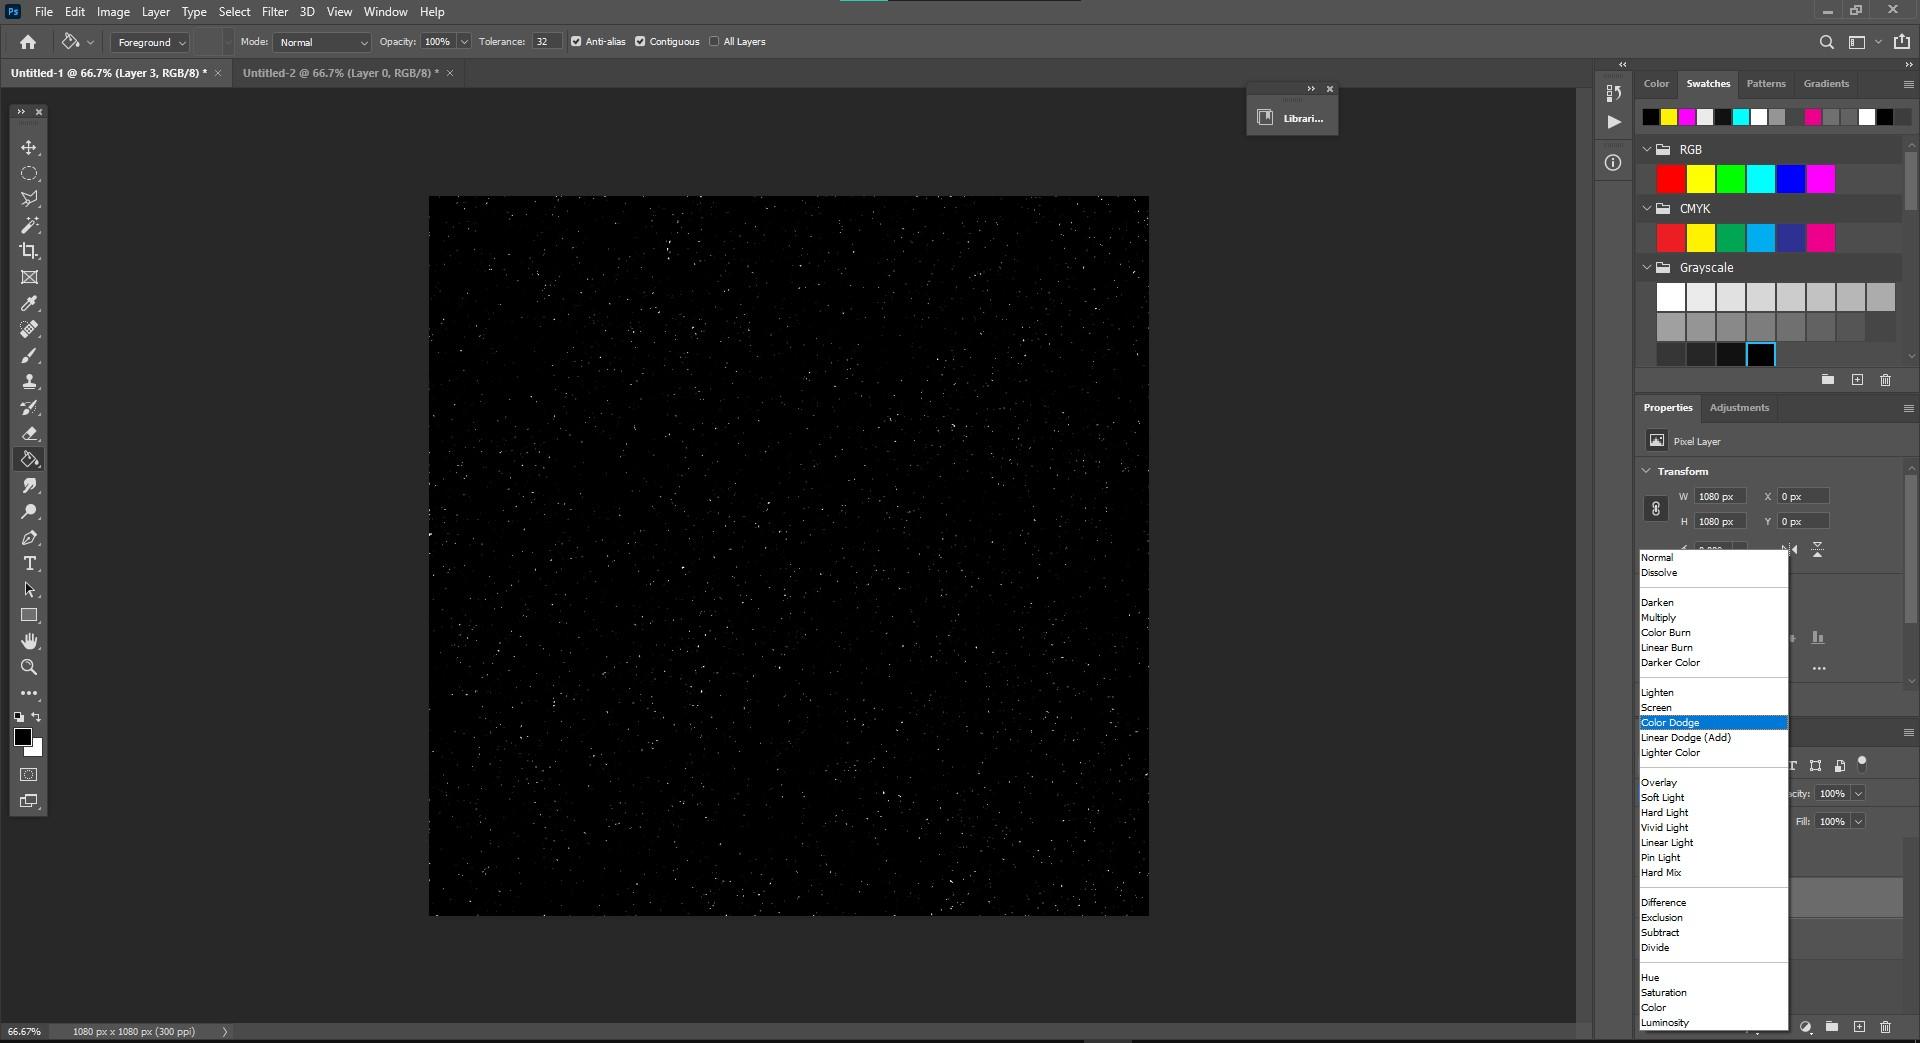
Step 7: Adding the Stars!
![Screenshot 2021-08-30 161604.jpg](/proxy/?url=https://content.instructables.com/F6N/AJCM/KSX82BIR/F6NAJCMKSX82BIR.jpg&filename=Screenshot 2021-08-30 161604.jpg)
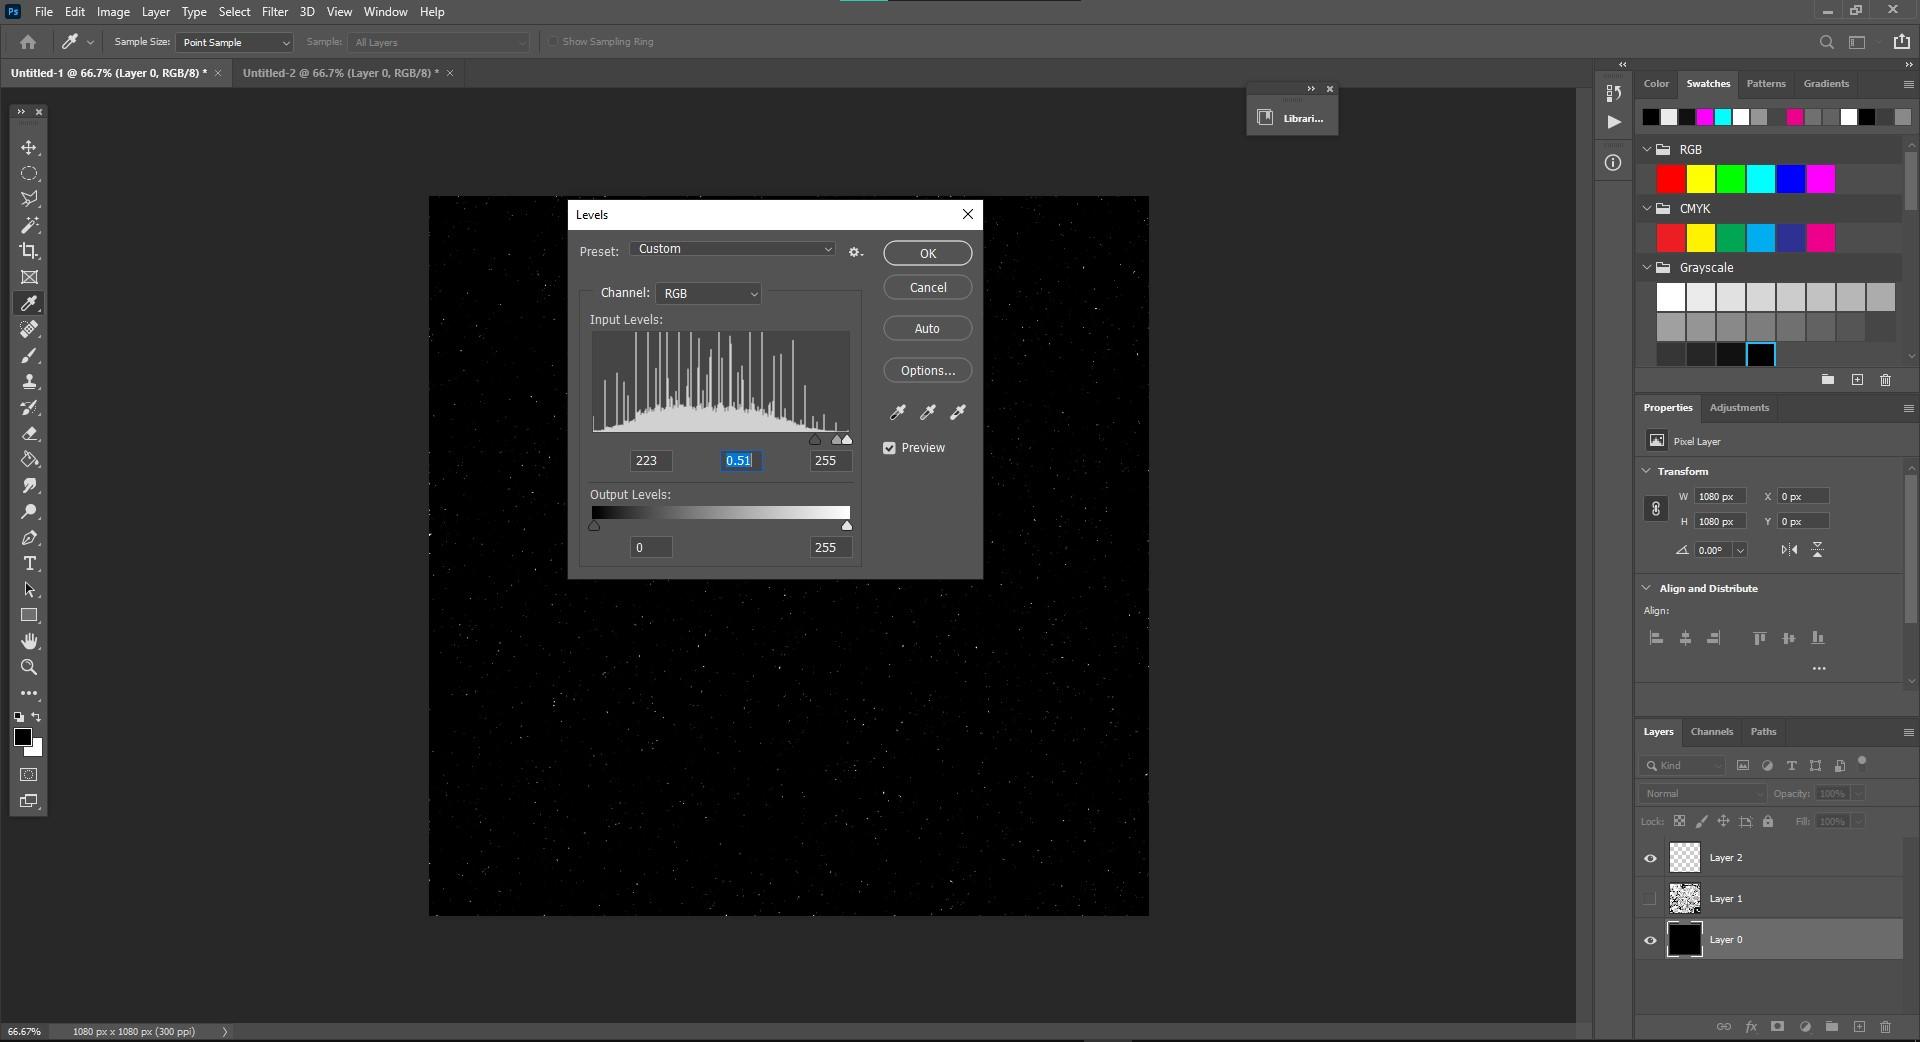
press ctrl+L to open levels menu and select the value
accordingly to the desired quantity of stars in your work!
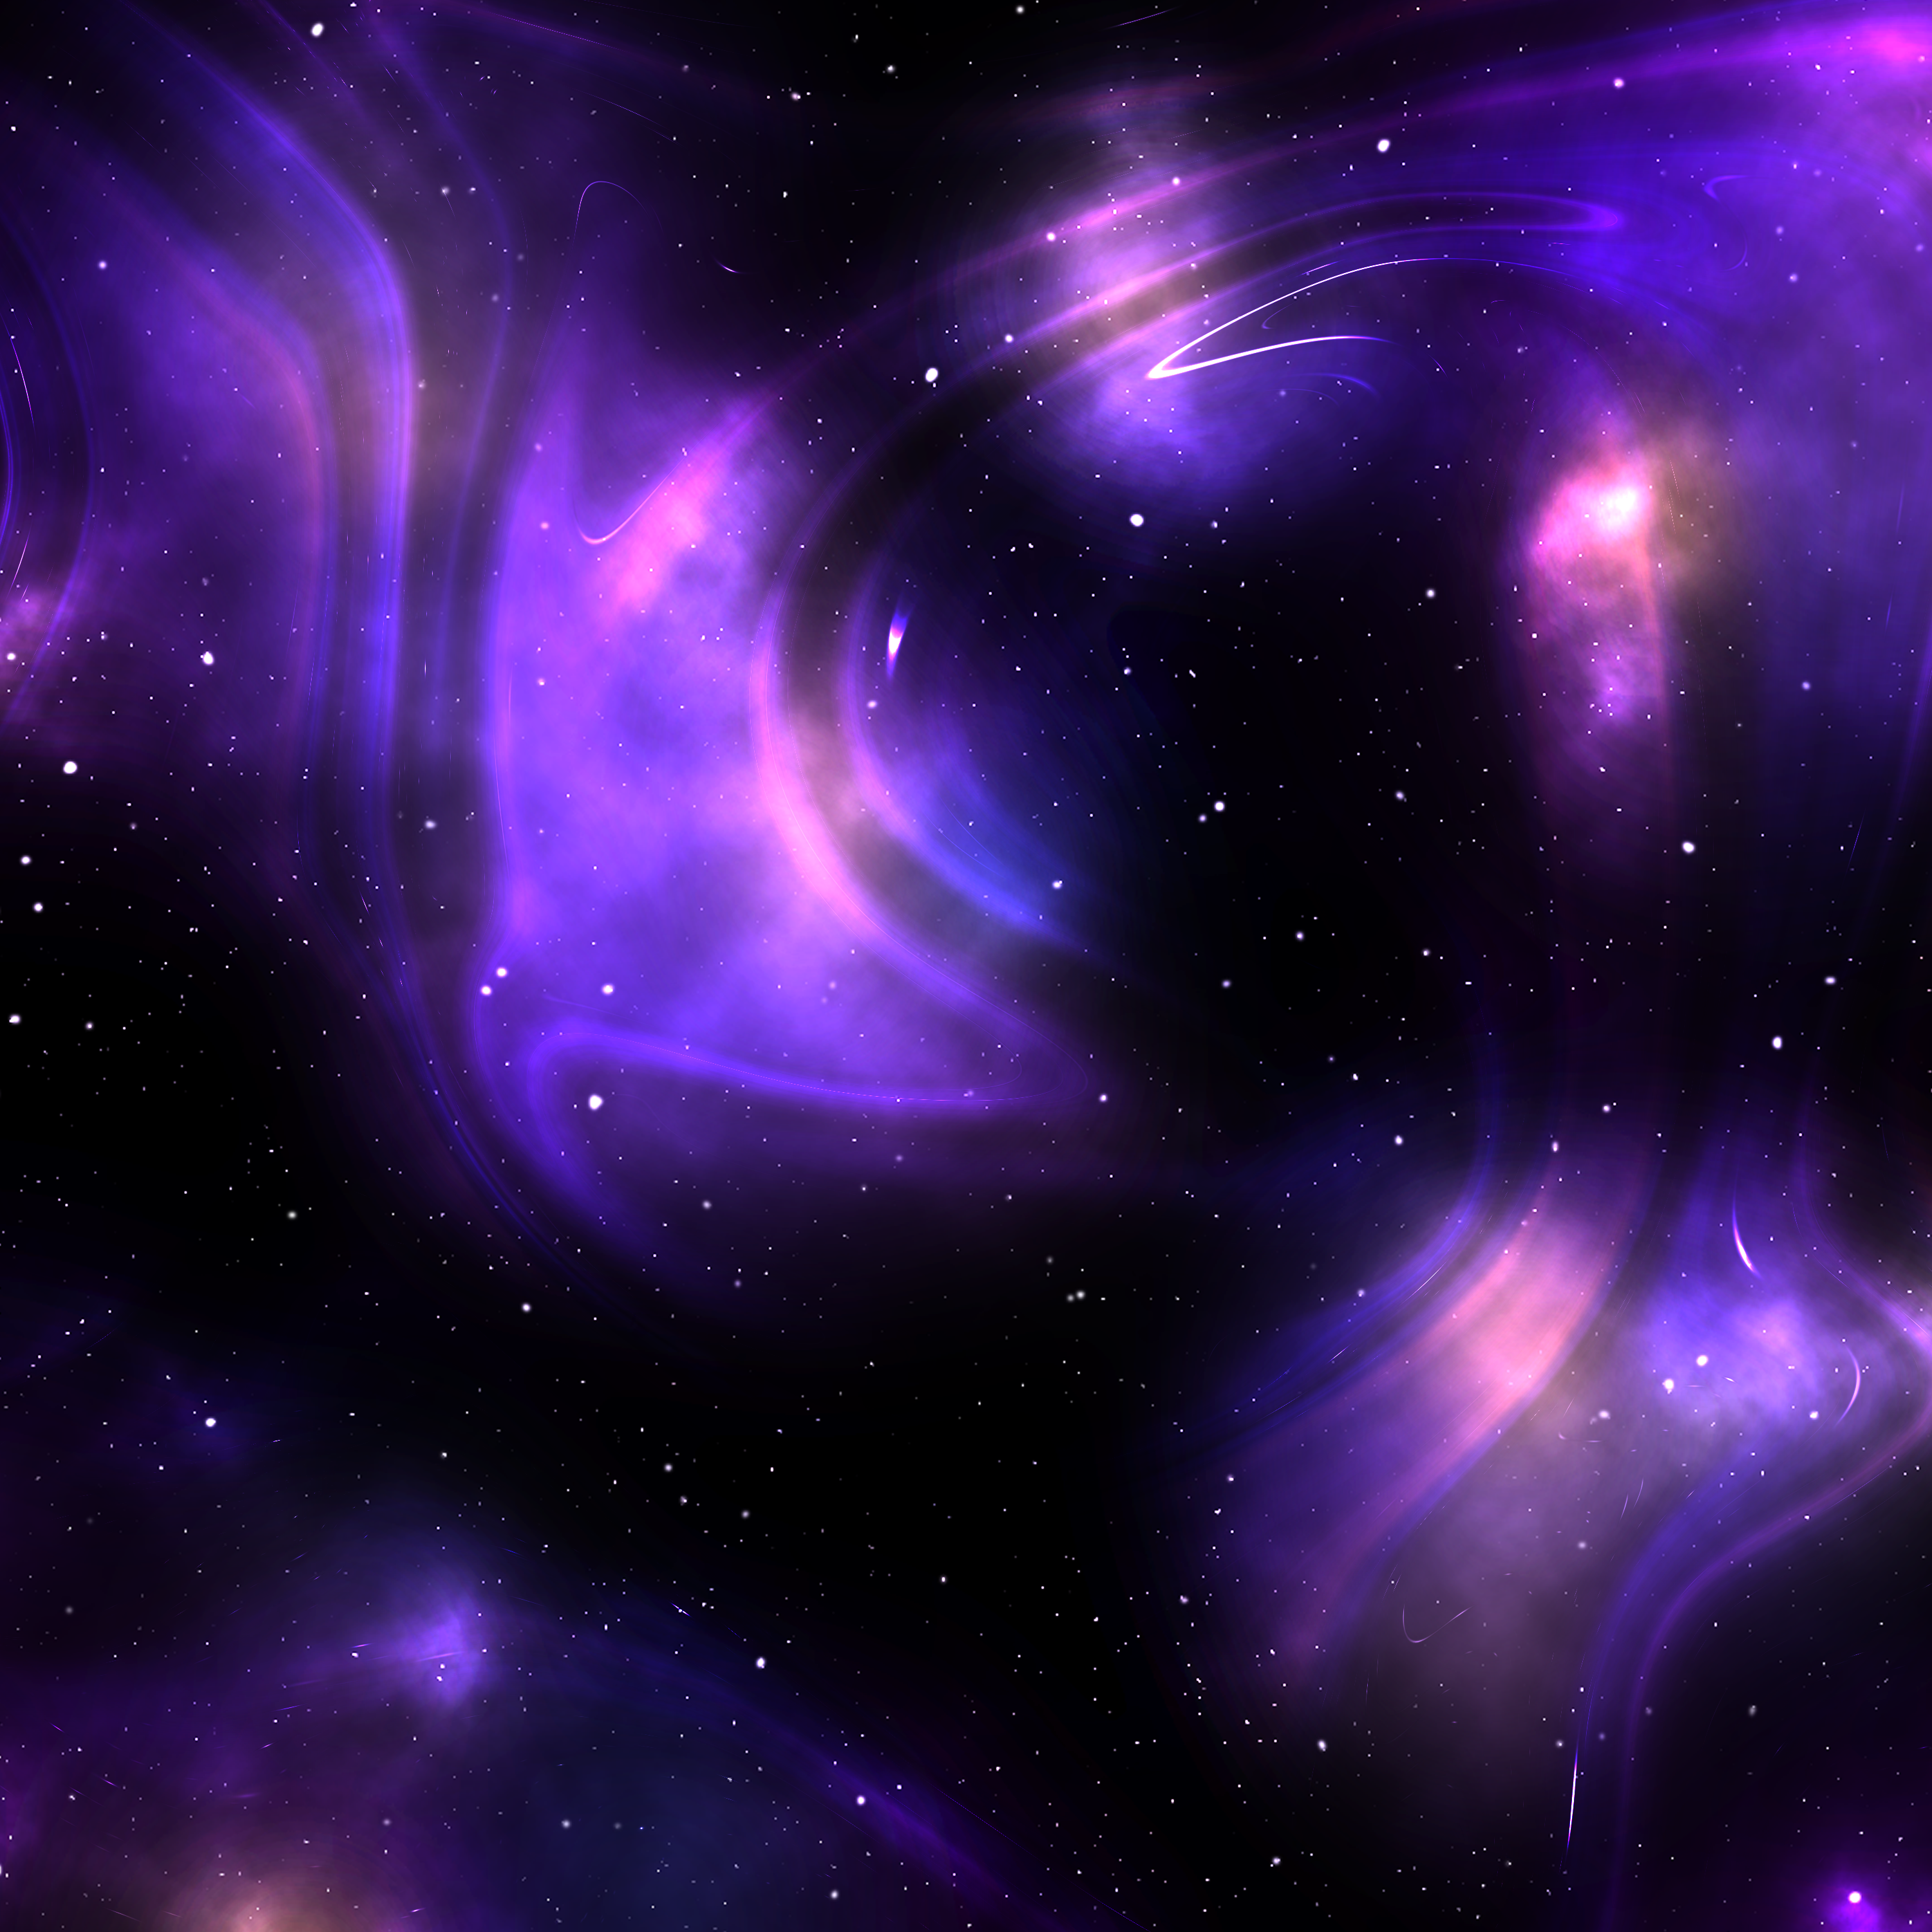
Step 8: Adding the Nebula!
![Screenshot 2021-08-30 162141.jpg](/proxy/?url=https://content.instructables.com/F1N/YOGR/KSX82D9S/F1NYOGRKSX82D9S.jpg&filename=Screenshot 2021-08-30 162141.jpg)
![Screenshot 2021-08-30 162204.jpg](/proxy/?url=https://content.instructables.com/F99/3MKU/KSX82D9R/F993MKUKSX82D9R.jpg&filename=Screenshot 2021-08-30 162204.jpg)
![Screenshot 2021-08-30 162609.jpg](/proxy/?url=https://content.instructables.com/FFJ/1AQQ/KSX82DQM/FFJ1AQQKSX82DQM.jpg&filename=Screenshot 2021-08-30 162609.jpg)
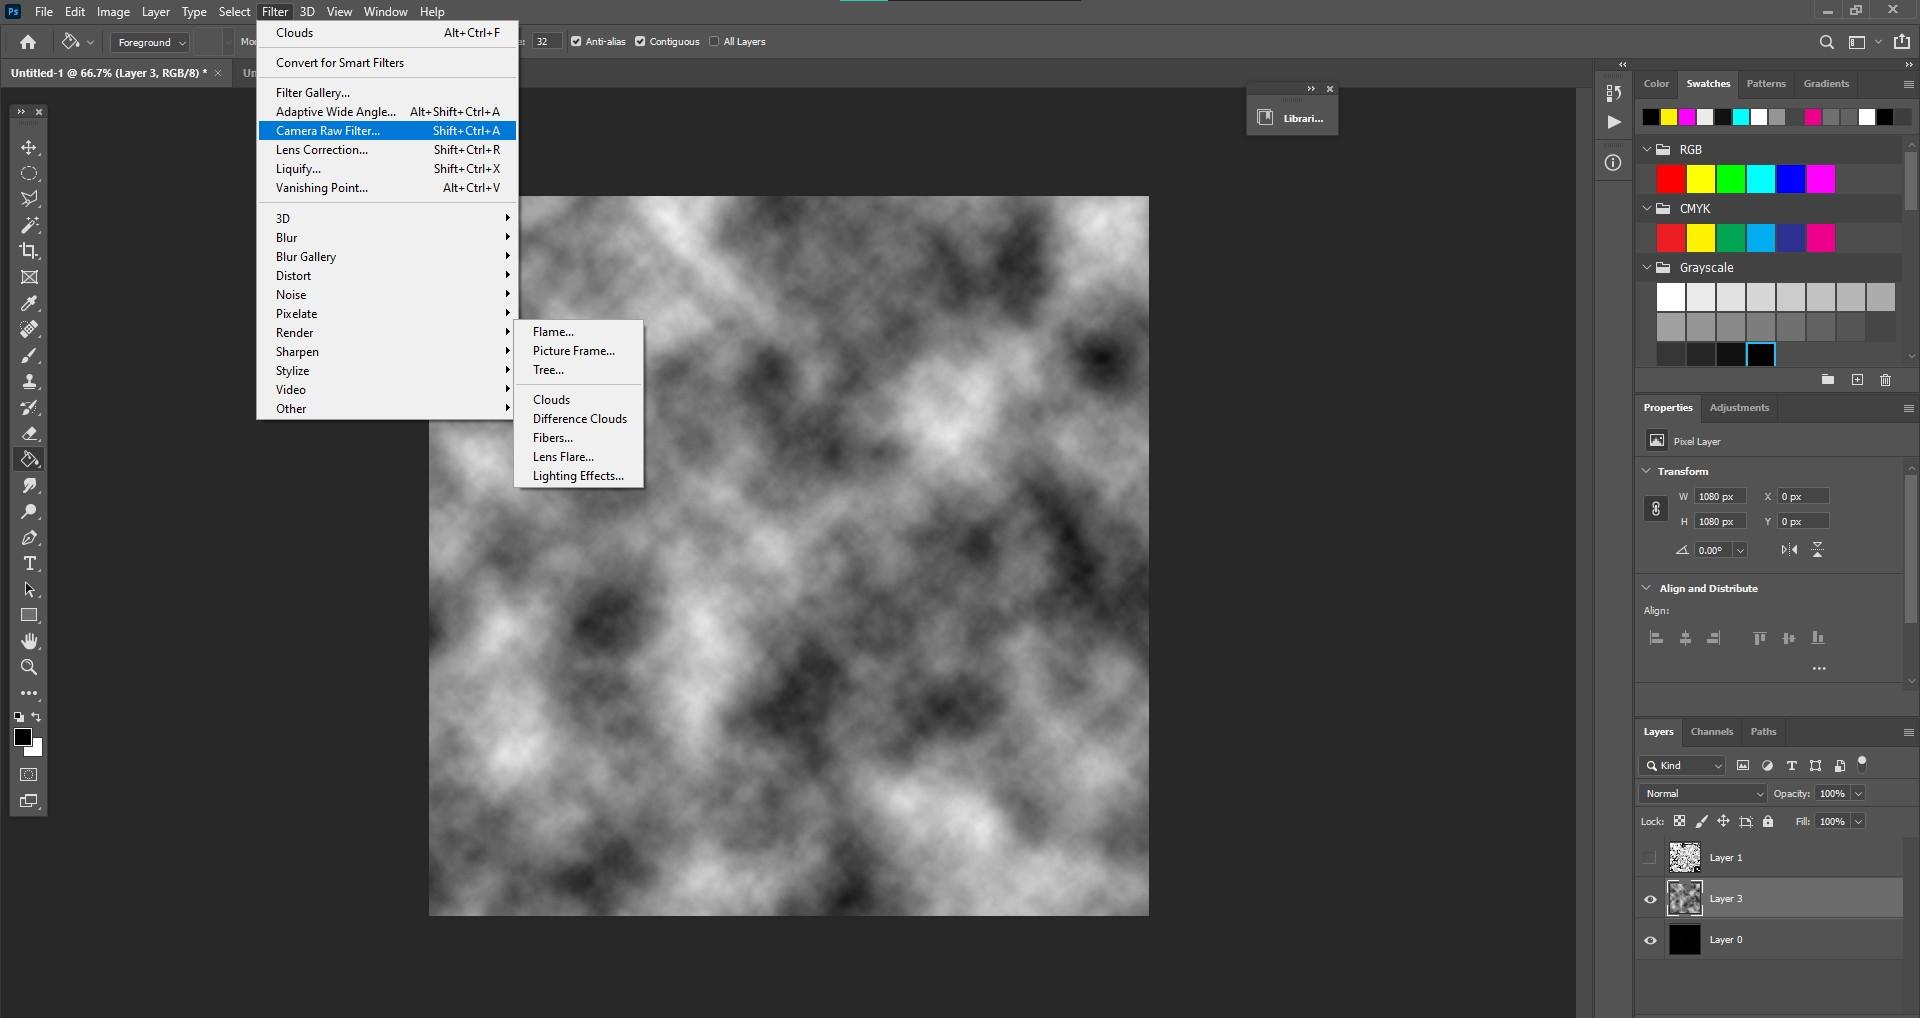
Add a new layer and fill it black.
Now , go to Filter>render>clouds (trust me).
also , make the cloud layer color dodge.
Step 9: Adding the Nebula Pt2!
![Screenshot 2021-08-30 163050.jpg](/proxy/?url=https://content.instructables.com/FF1/9HB4/KSX82F1F/FF19HB4KSX82F1F.jpg&filename=Screenshot 2021-08-30 163050.jpg)
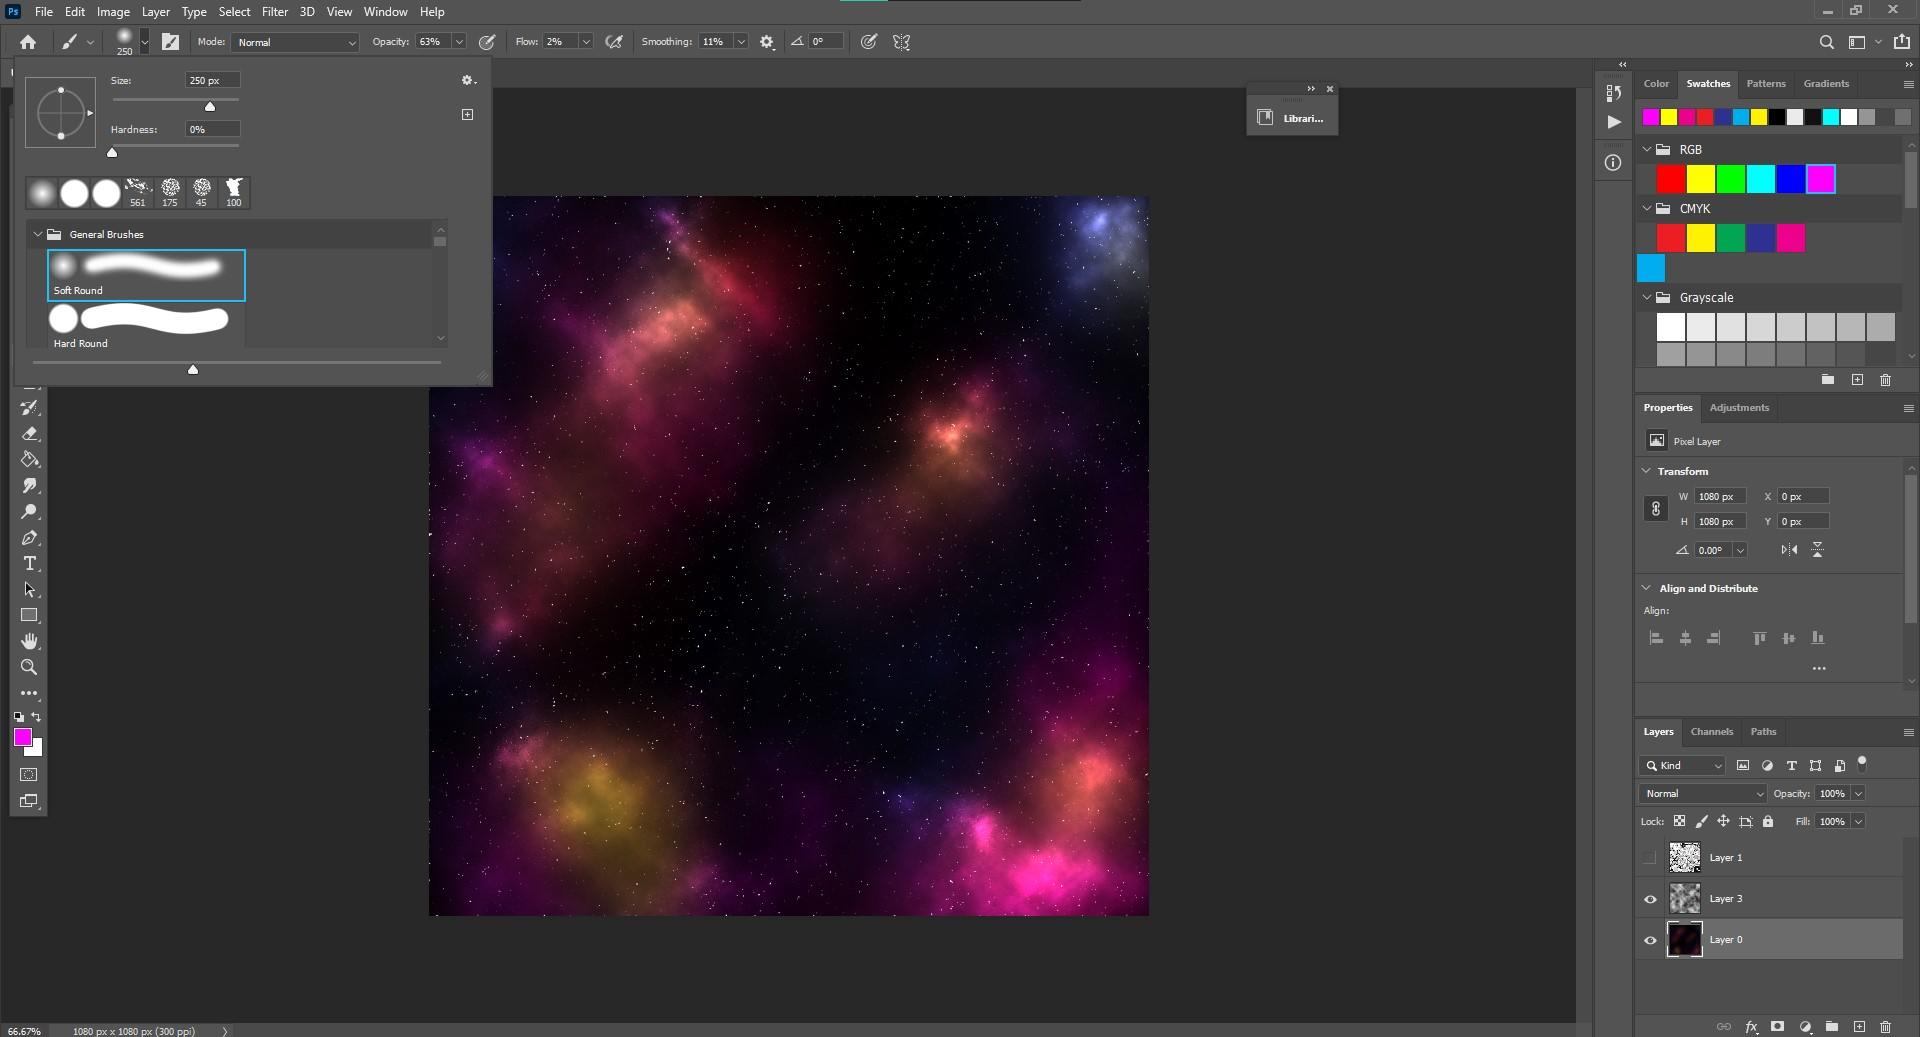
now select the soft brush decrease the opacity and fill and then colour the nebulas as your preference.
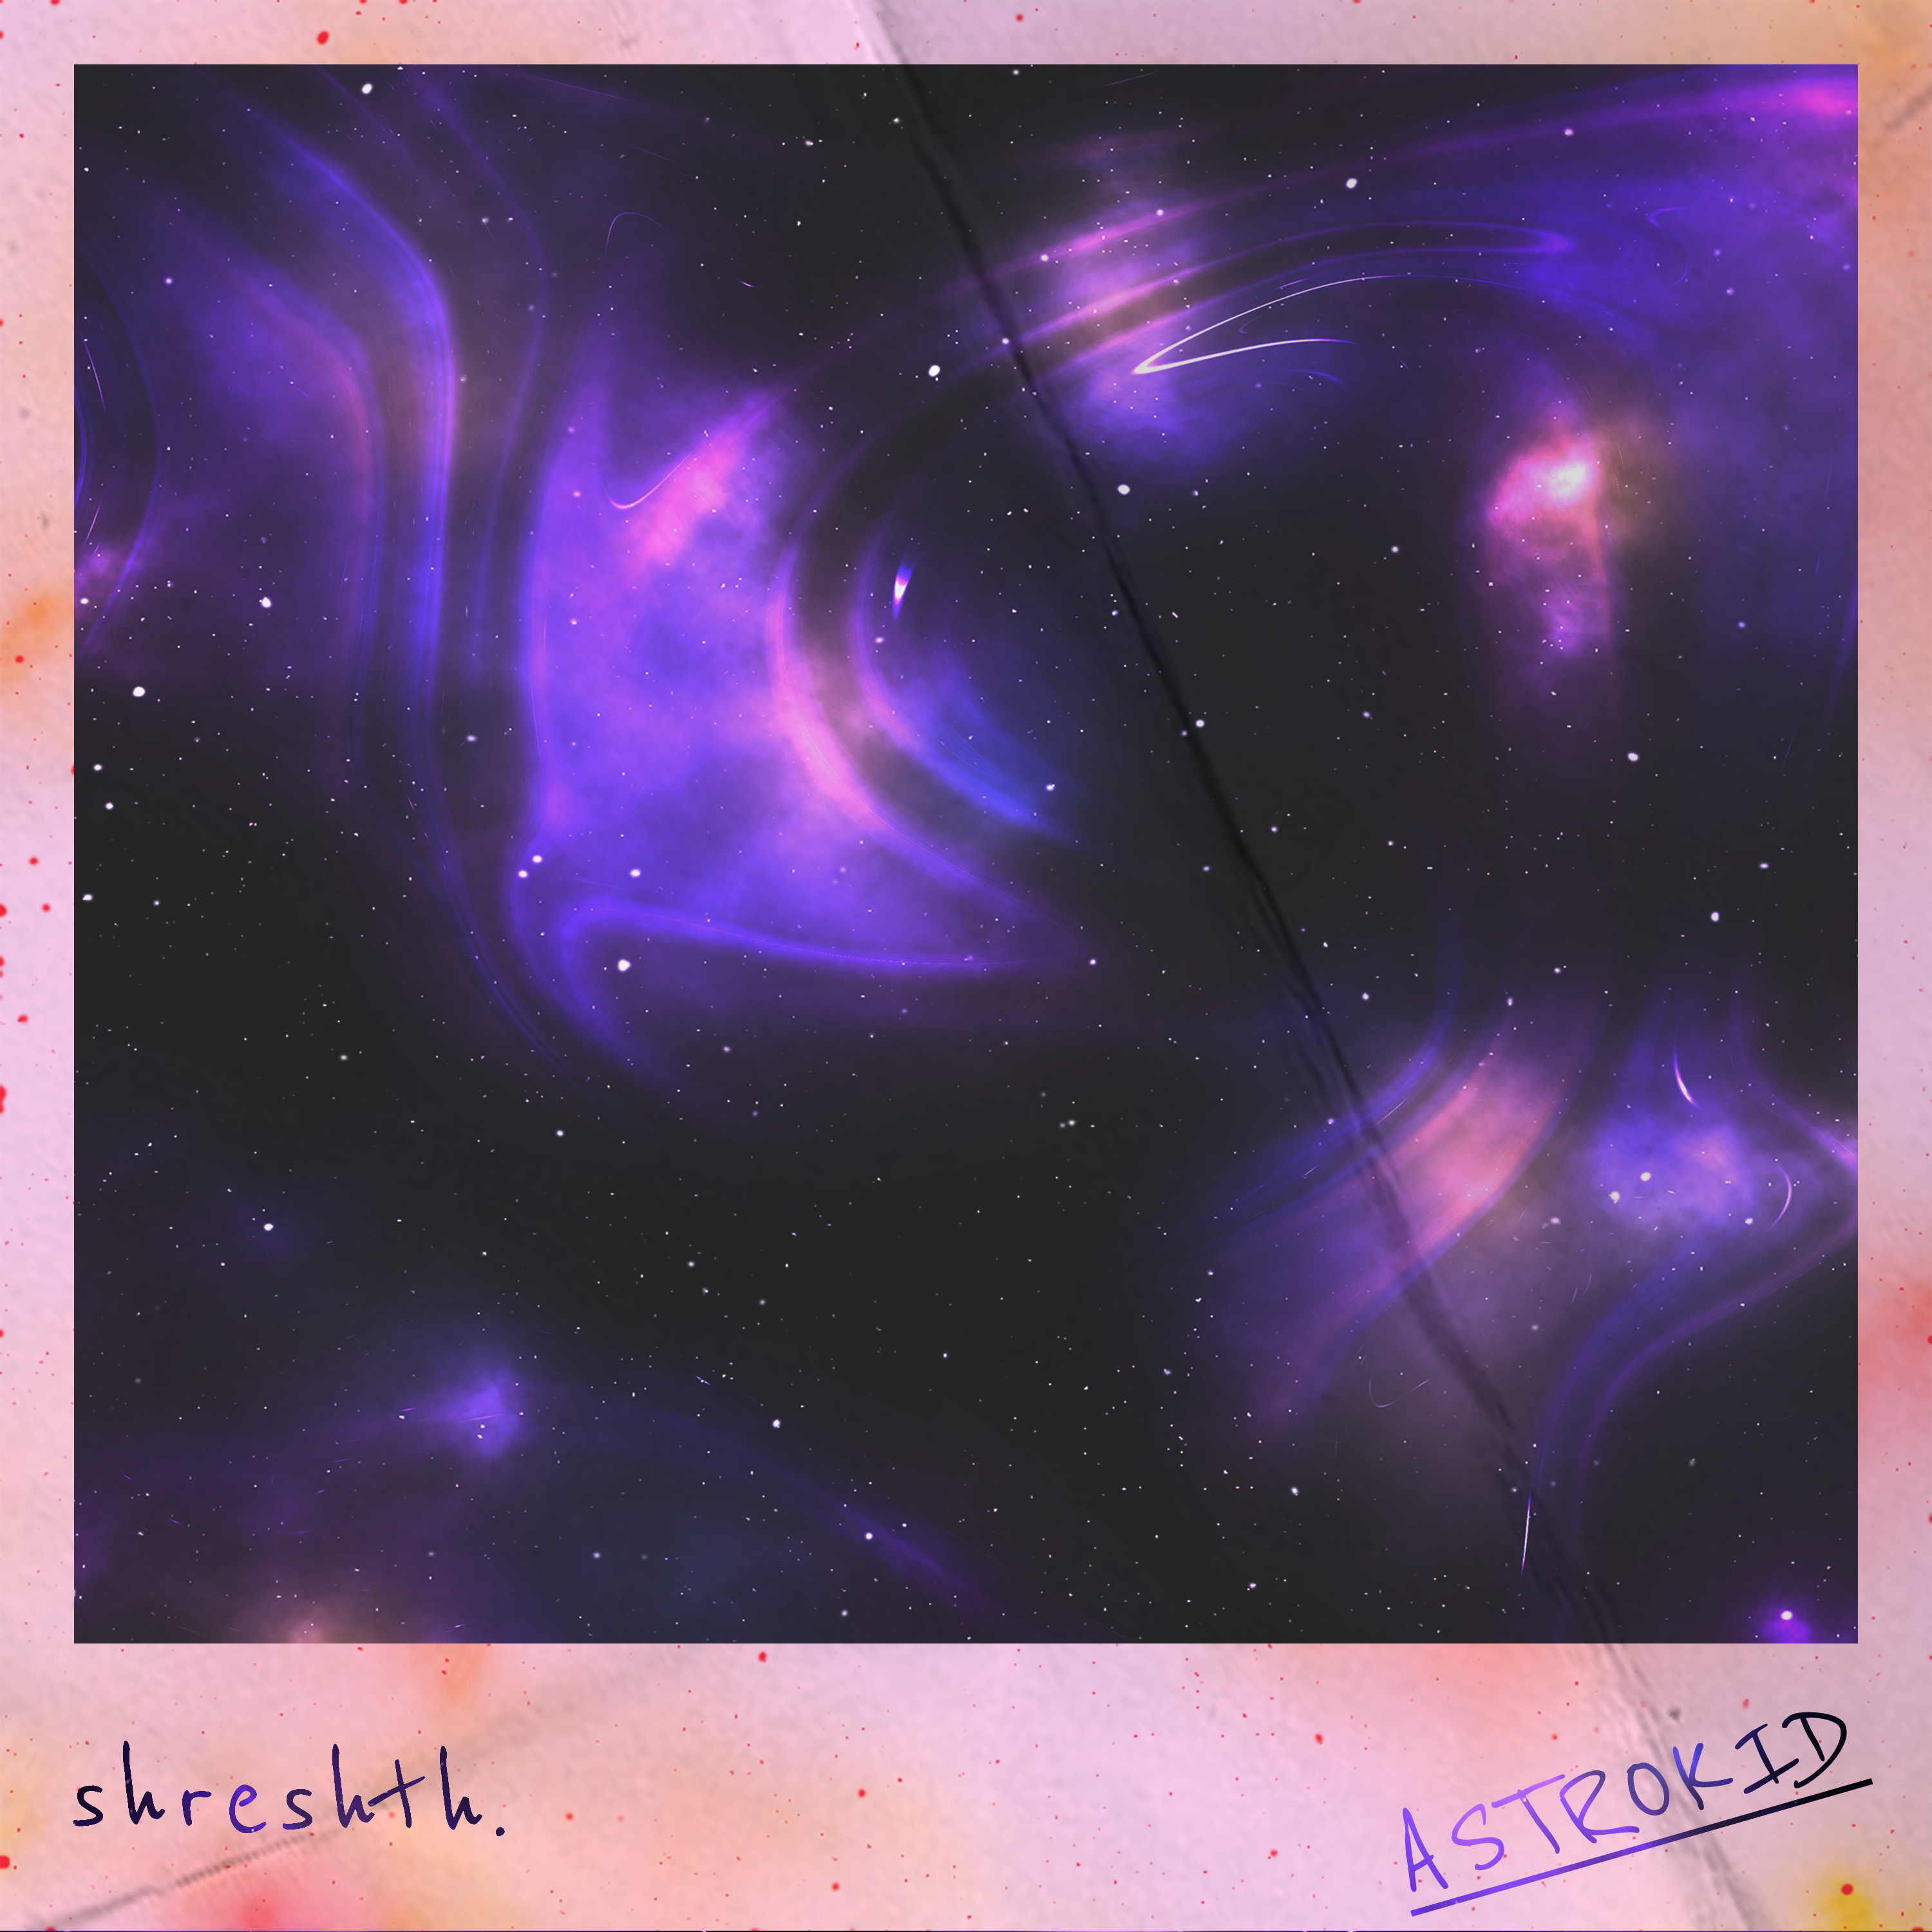
Final Step !
![Screenshot 2021-08-30 174629.jpg](/proxy/?url=https://content.instructables.com/FWC/DNSZ/KSX82HJE/FWCDNSZKSX82HJE.jpg&filename=Screenshot 2021-08-30 174629.jpg)
![shreshth mockup.png](/proxy/?url=https://content.instructables.com/FPP/W0U4/KSX82HJJ/FPPW0U4KSX82HJJ.png&filename=shreshth mockup.png)
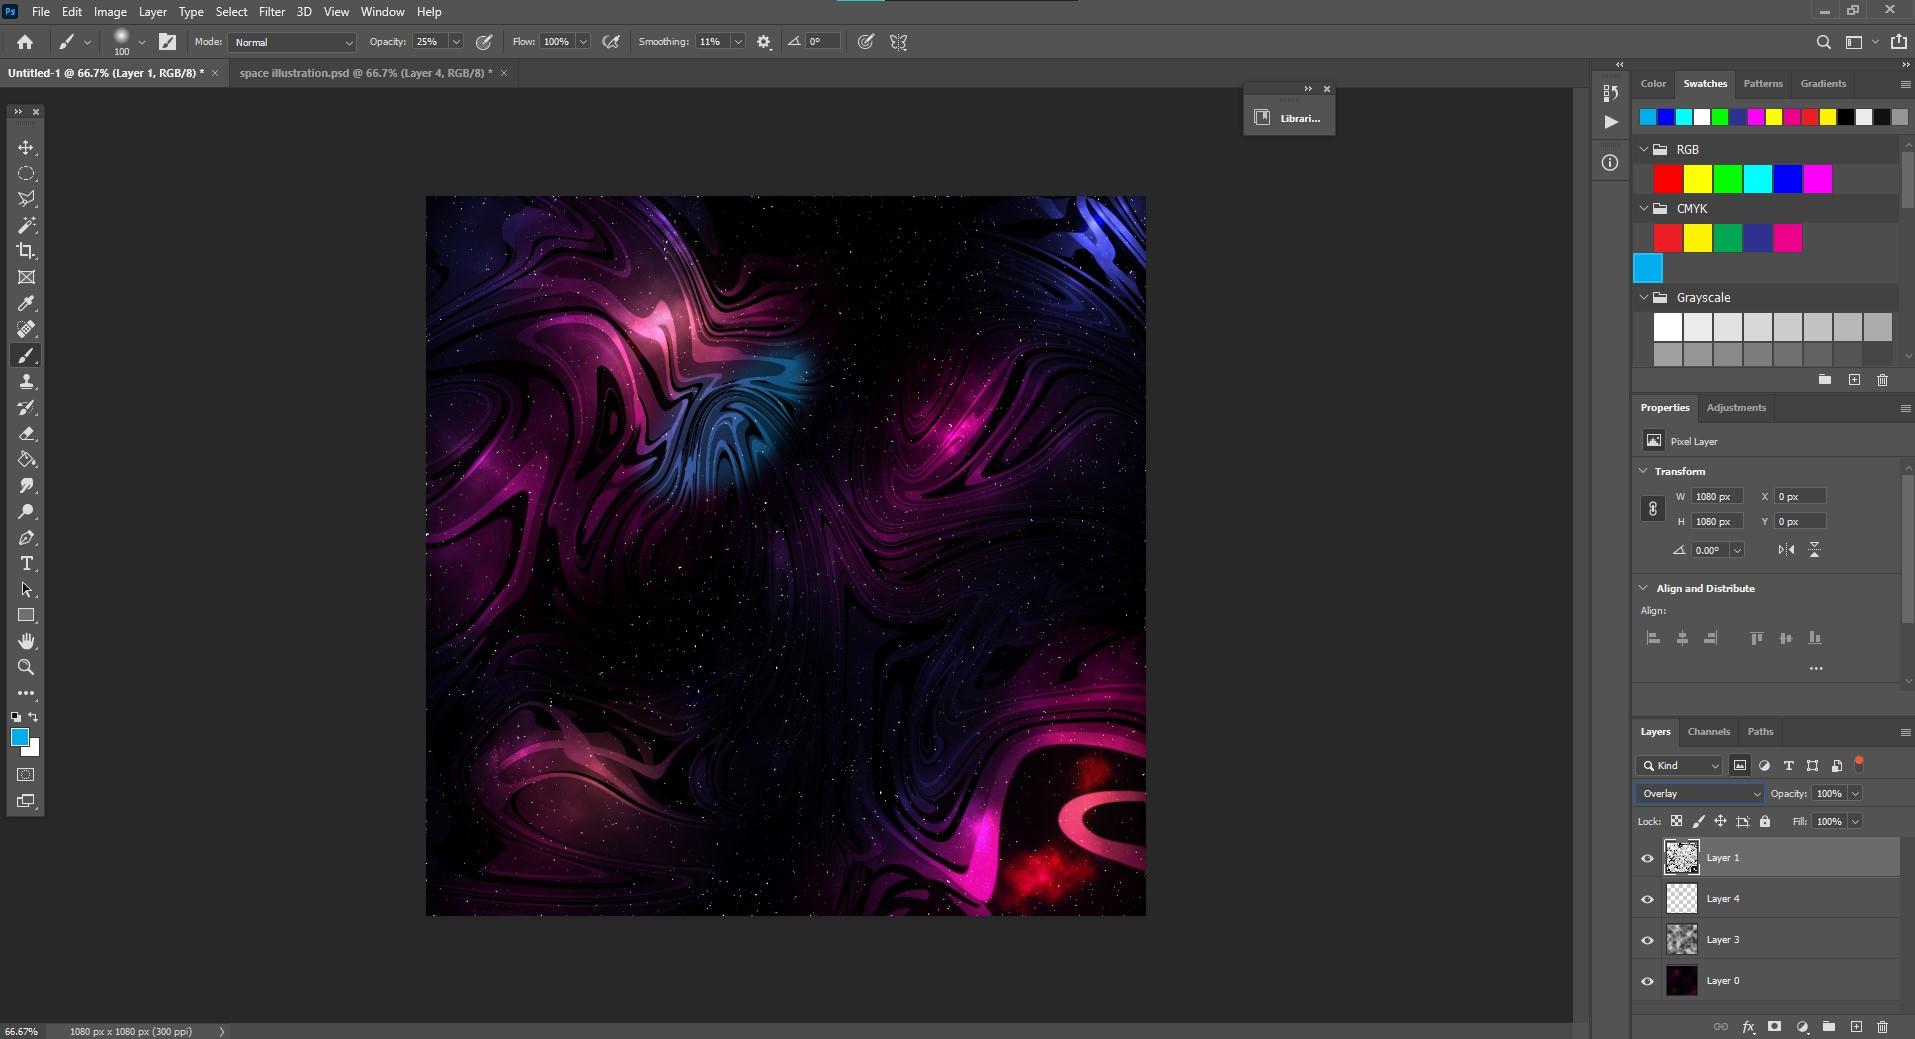
now to give a fabric effect,
set the wave pattern layer to overlay and you are done!!
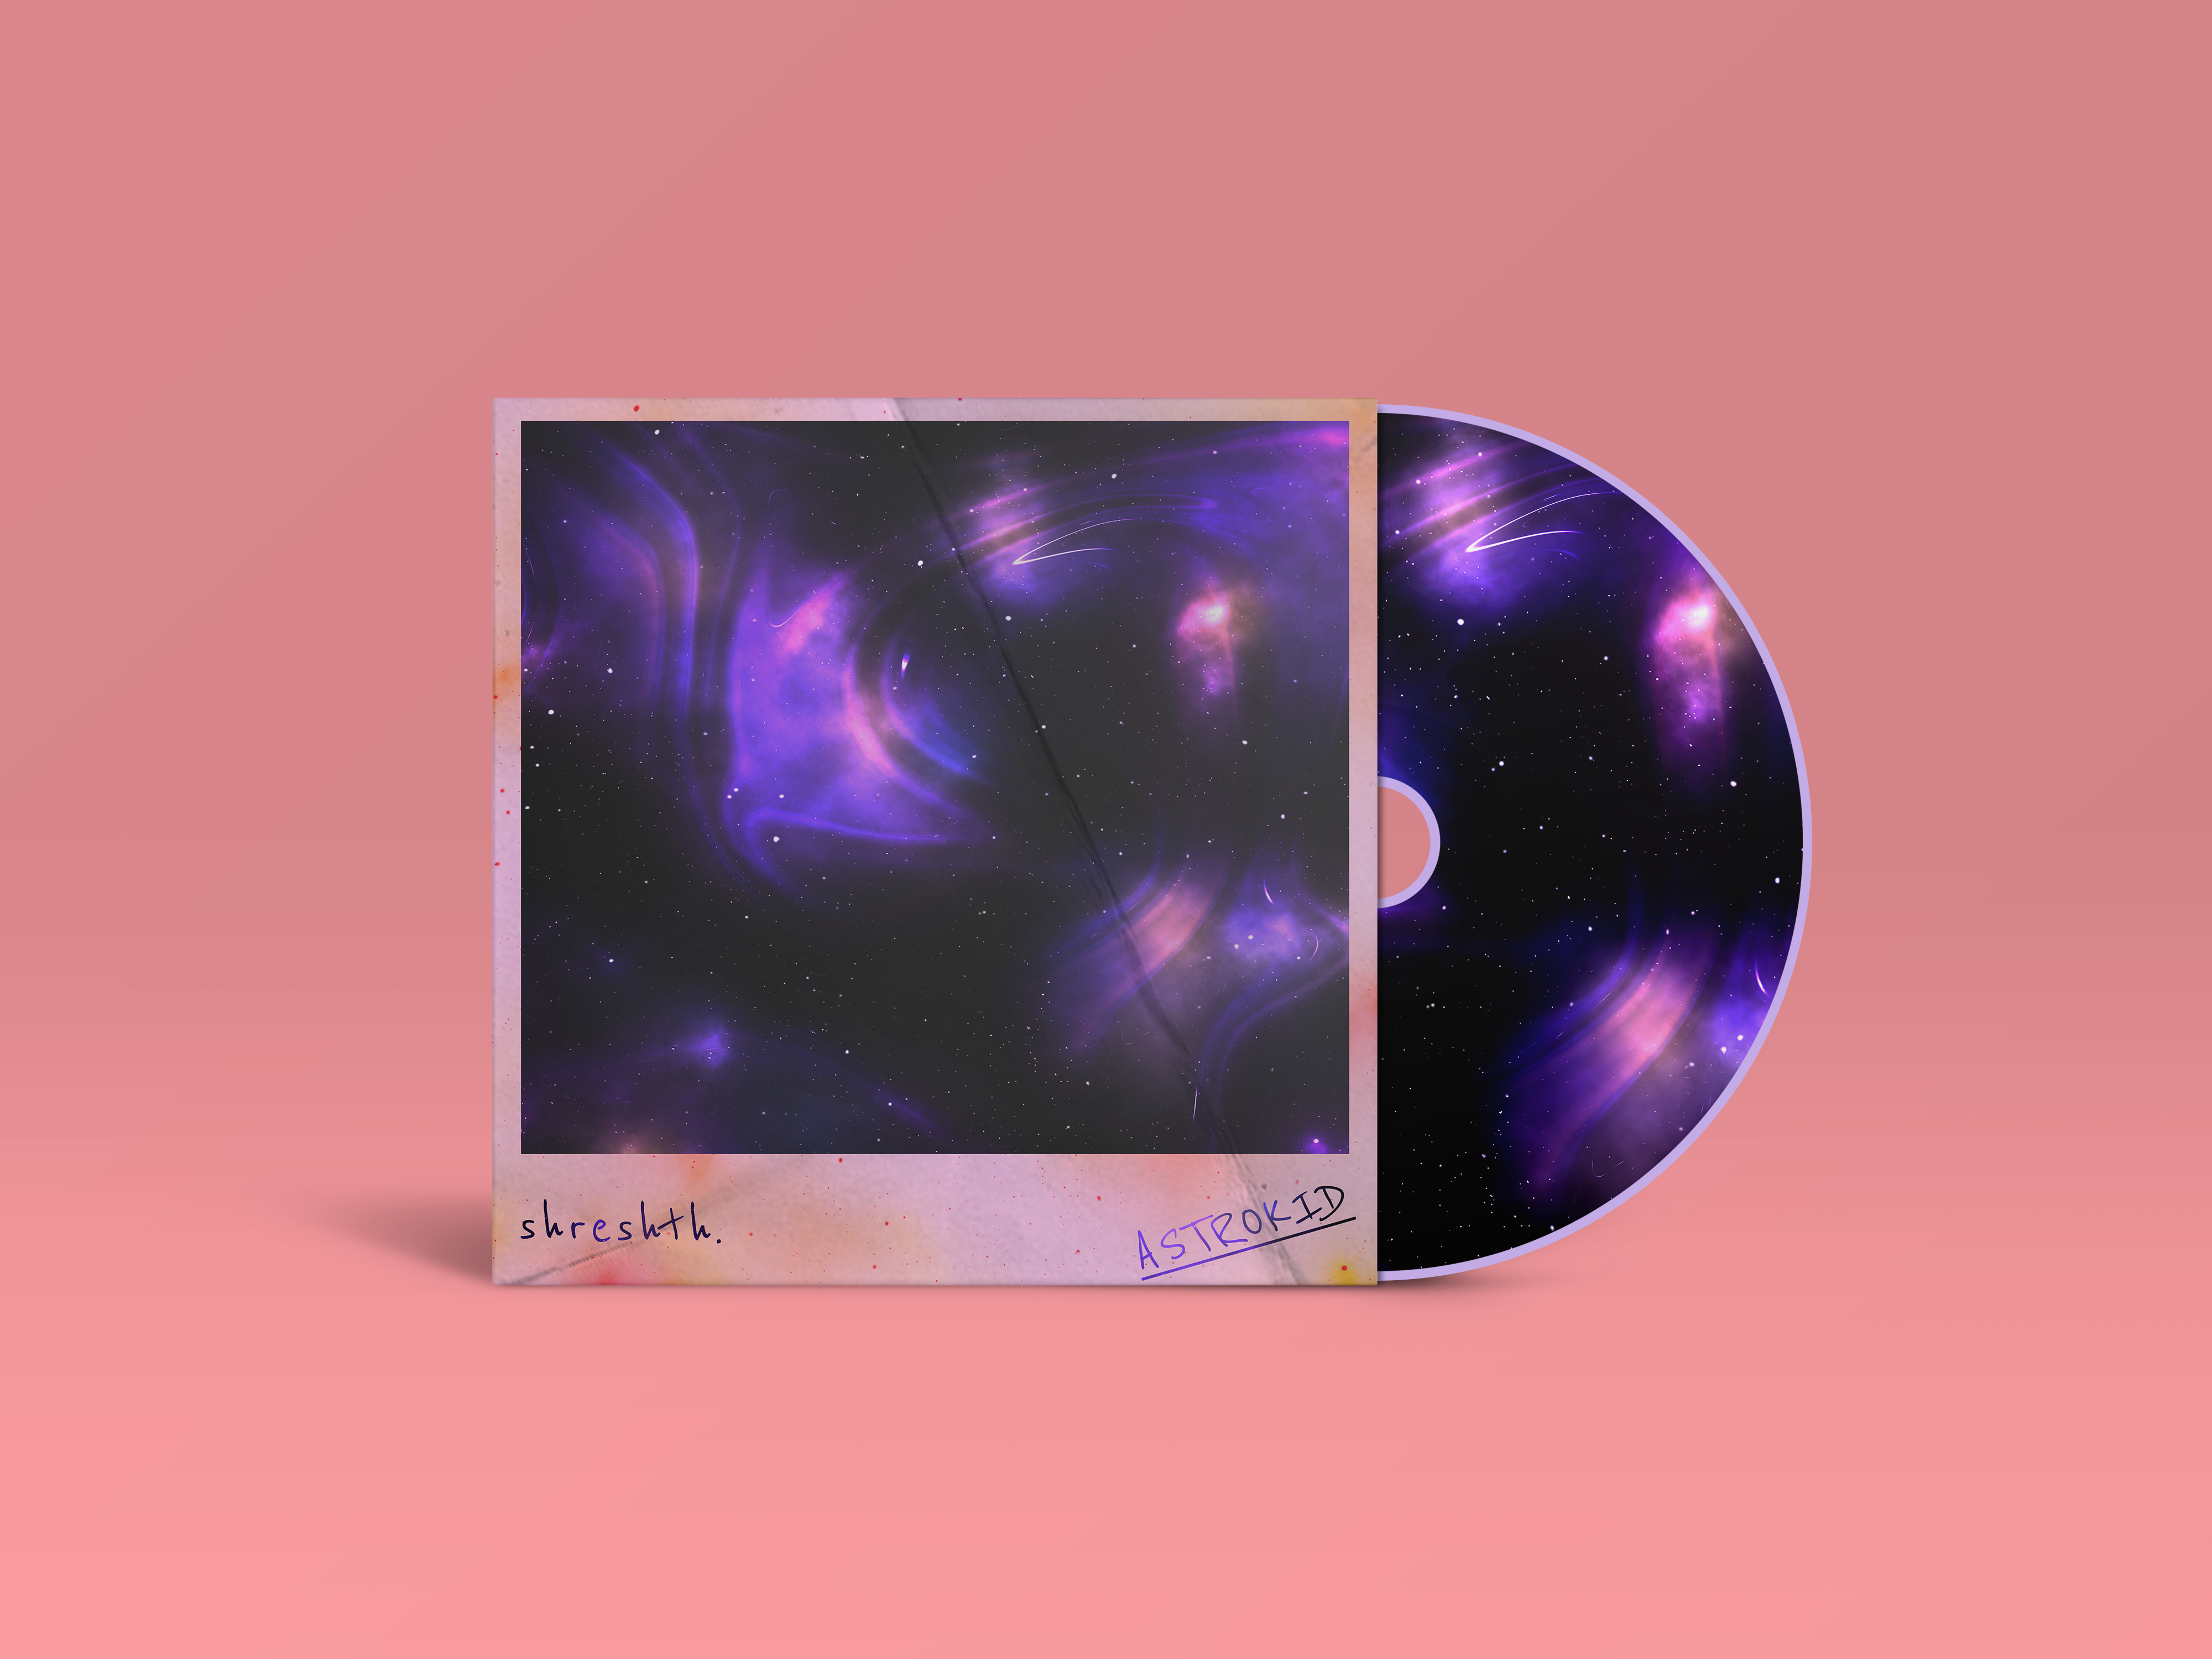
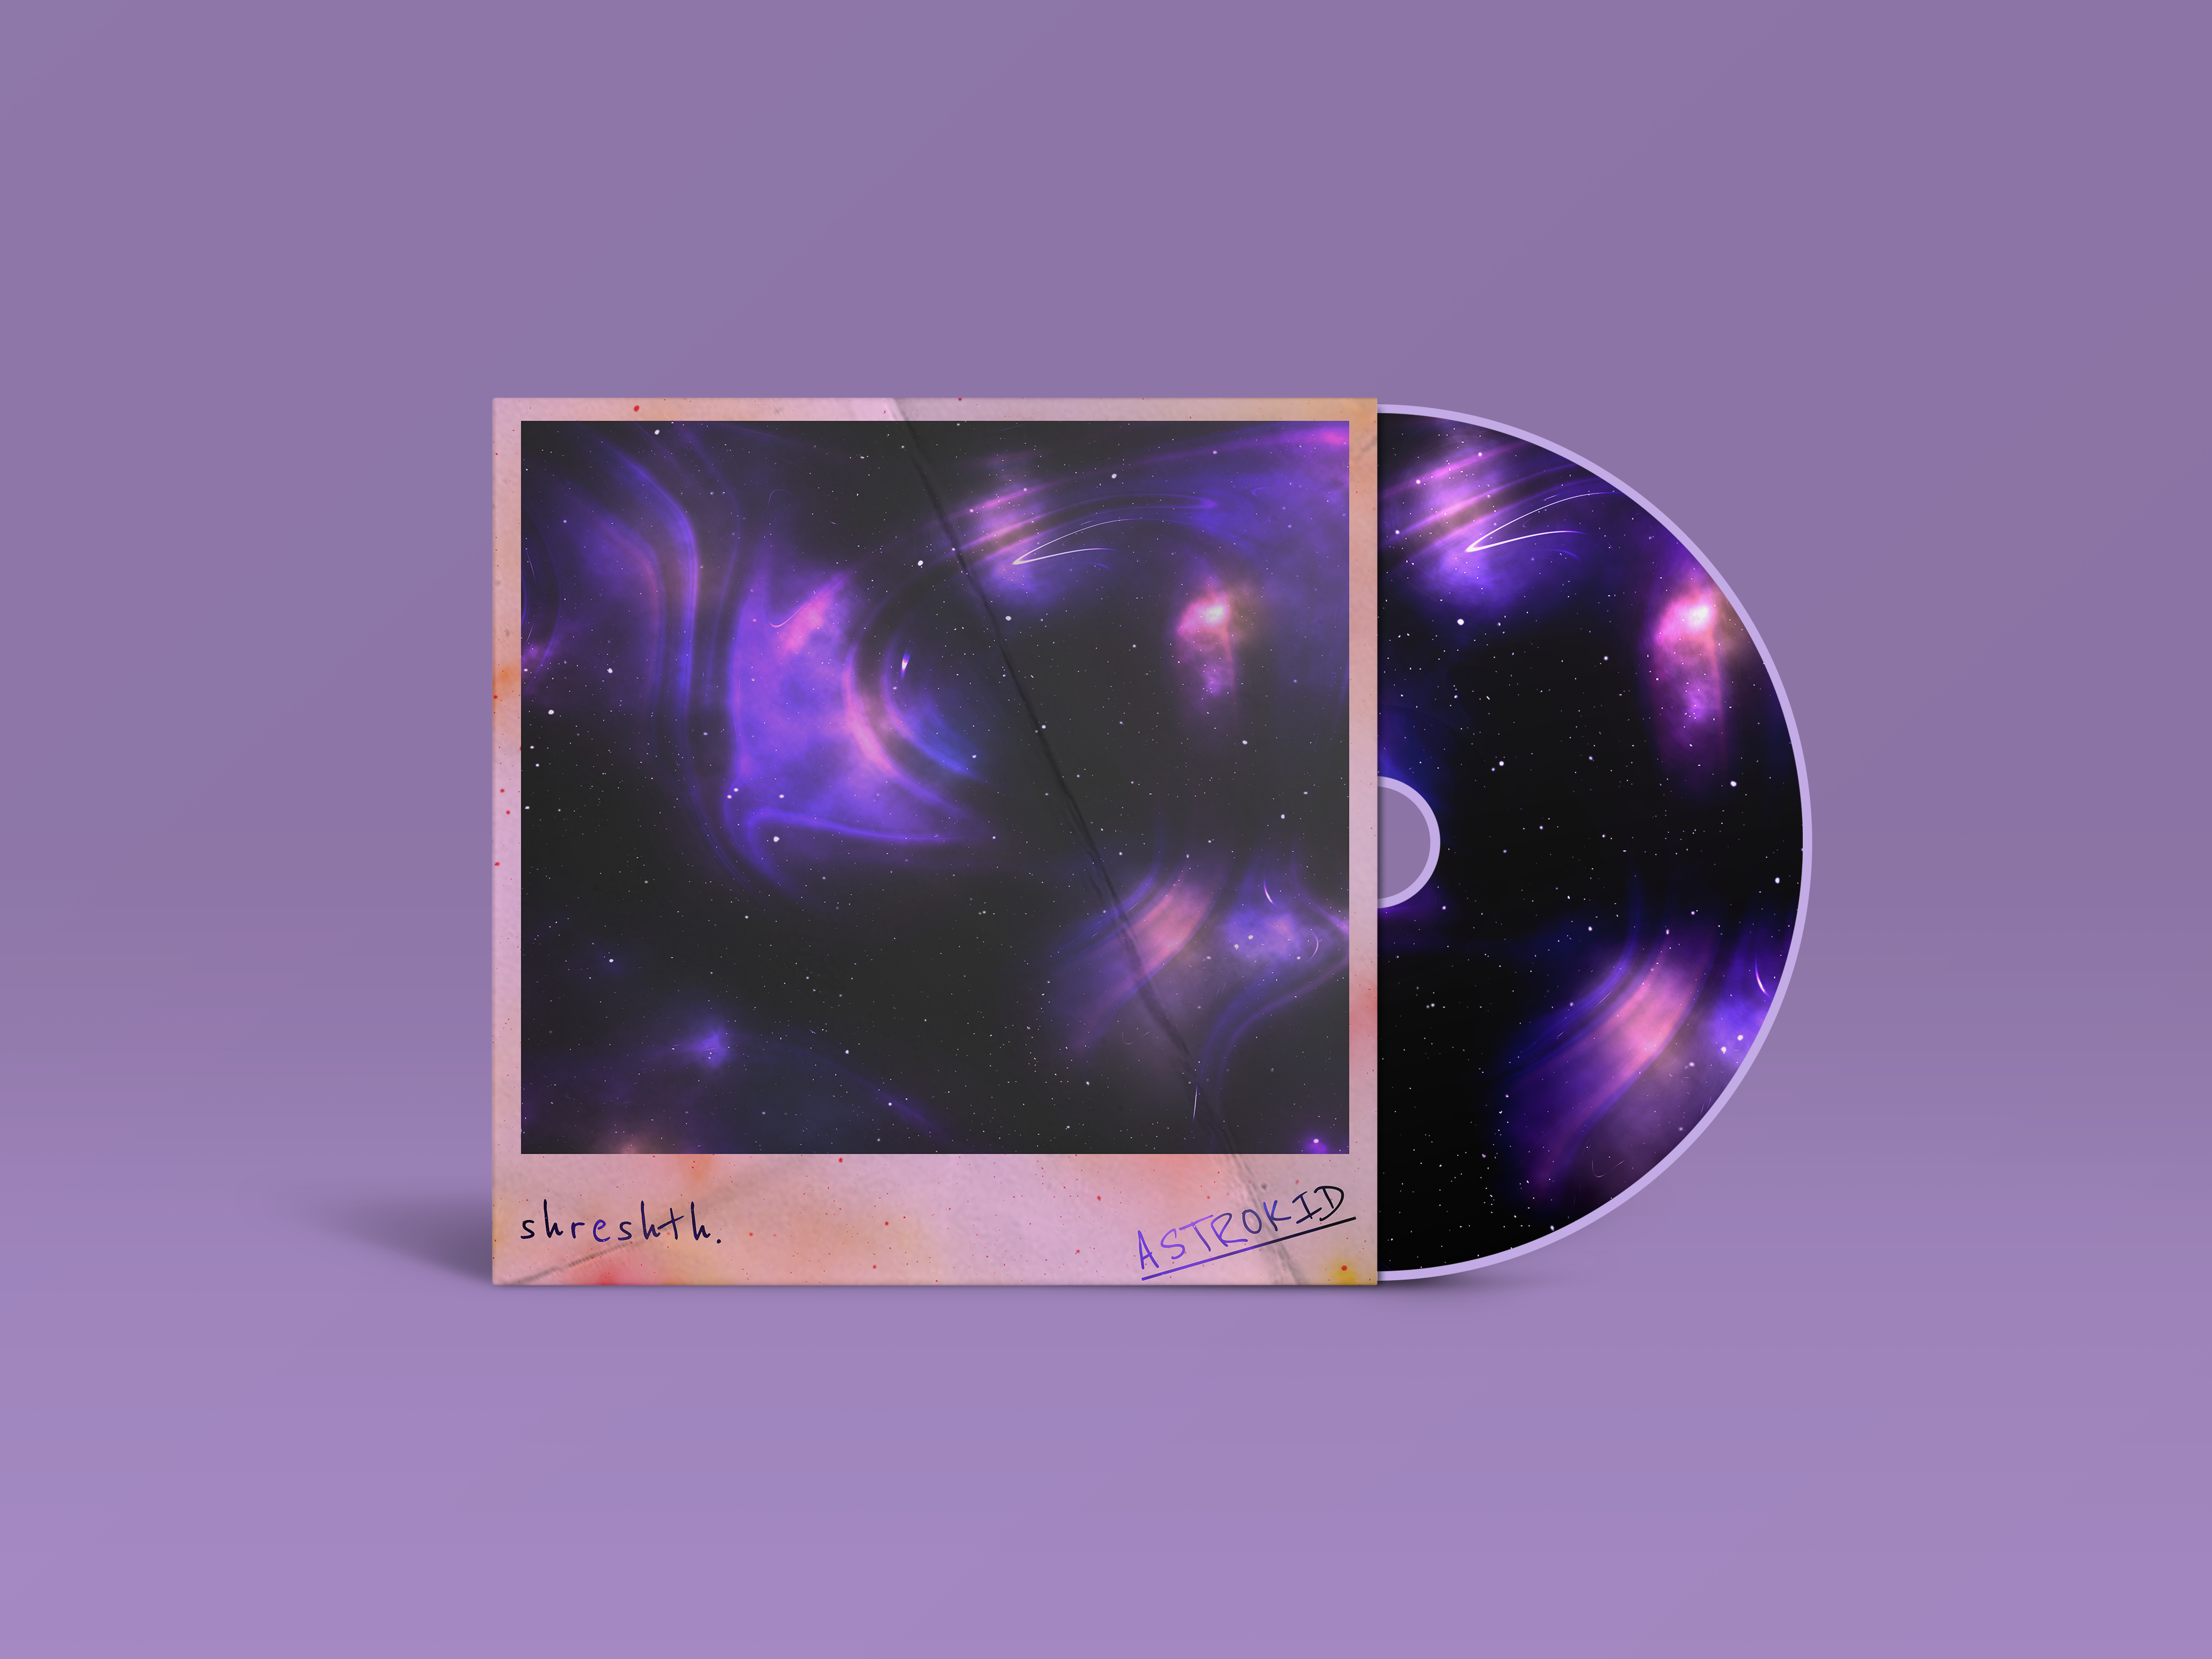
you can use this effect wherever you want!
i have shown an example above.