FOR THE LOVE OF PRINGLES LIFE HACKS
by lifeworthliving4 in Living > Life Hacks
2524 Views, 6 Favorites, 0 Comments
FOR THE LOVE OF PRINGLES LIFE HACKS


If you love Pringles as I do, these hacks are for you. Rinse out your empty Pringles cans, then air dry with the open end down in a dish tray. Store them for later use.
Supplies
Pringles can, regular size and/or mega-size
Permanent marker
Clear Tape
Hack One: Painting


You are in the middle of painting your wall and run out of time for the day.
Grab a regular size Pringles can. Remove the lid off the can, hold the paint roller handle while sliding the roller into the Pringles can. Using one finger or the paint stir to hold the roller down while sliding the handle out of the roller. Put the lid back on the Pringles can.
It's the perfect size for the roller and your roller will be moist and ready to paint the next day. Need more time? Place a piece of saran wrap around the top of the Pringles can before you put the lid back on. That will keep your roller good and moist for about a week.
Hack Two: Craft Storage


![IMG_3556[1].JPG](/proxy/?url=https://content.instructables.com/FHG/TV7Z/KW4YTVIV/FHGTV7ZKW4YTVIV.jpg&filename=IMG_3556[1].JPG)
My sewing room was always a mess. How many times have you searched for an item so long you lost the desire to use it or just ran to the store and bought it again, only to find it days later. This will end that problem.
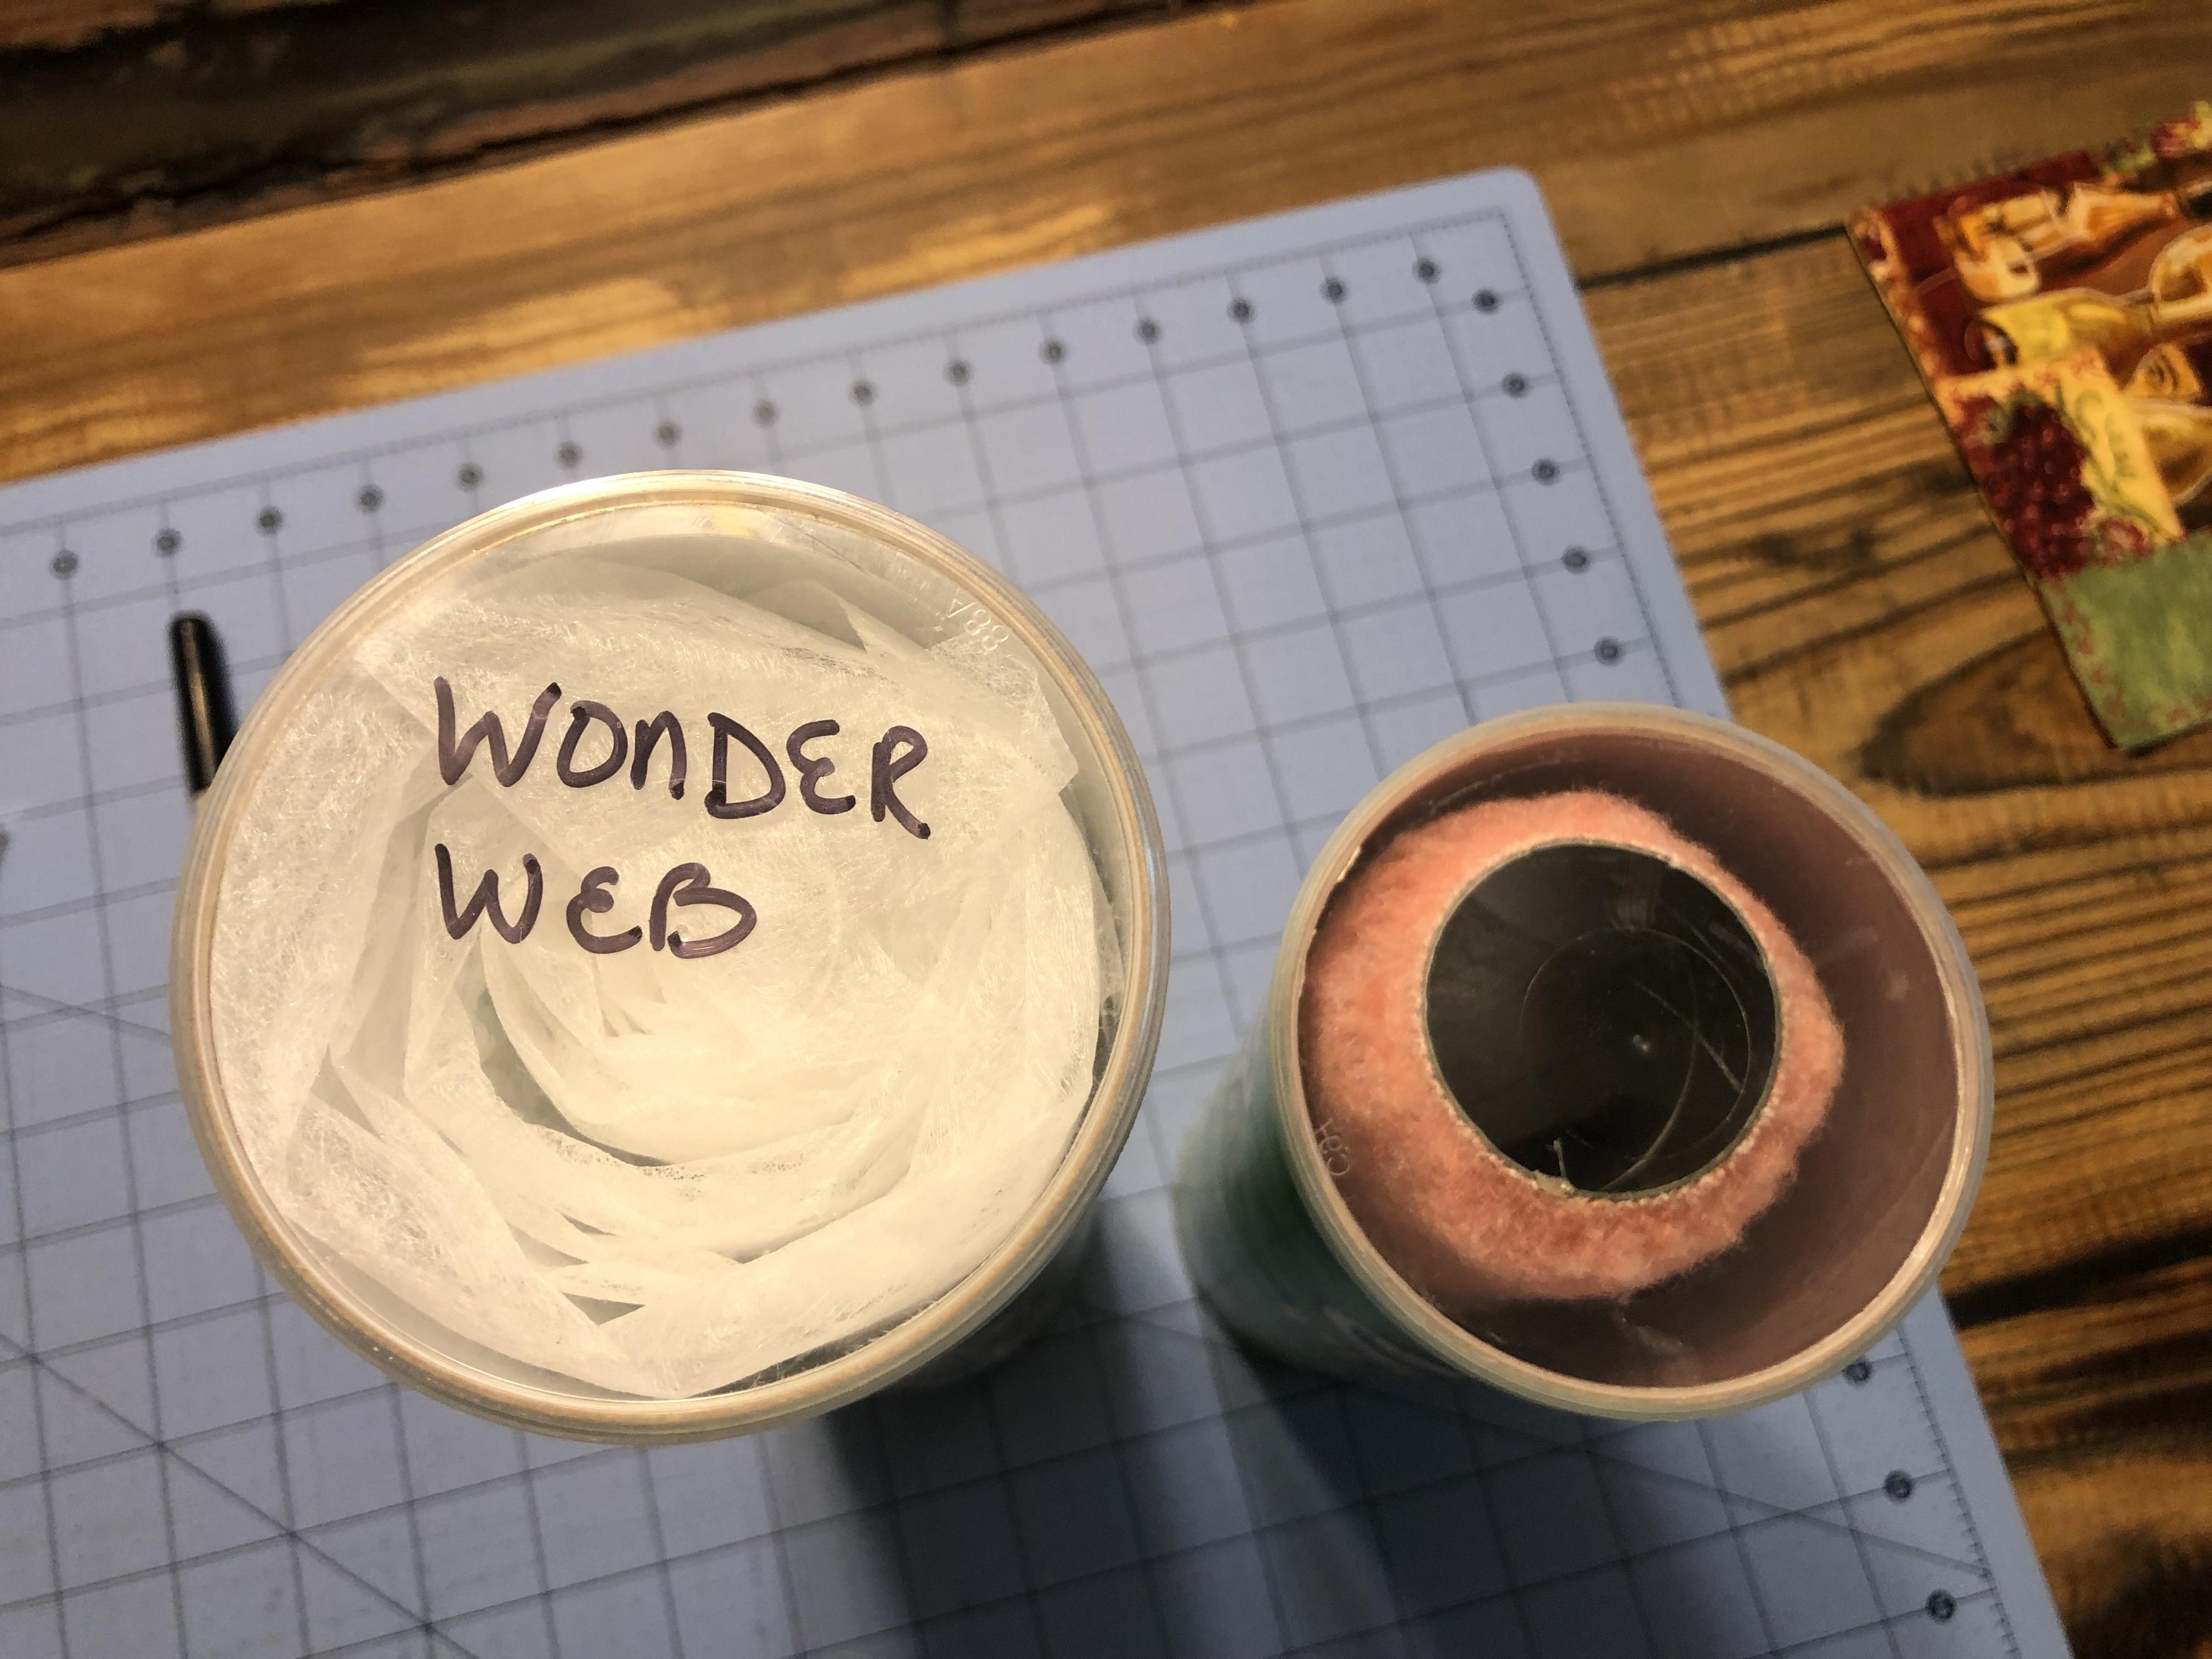
I use the mega and regular size Pringles cans for my craft room.
Take any material such as Stabilizers, Tool, Interfacing, etc. Lay it out flat. Fold as many times as needed to achieve the length of the Pringles can.
Filling Your Cans


Now that you have the length you need, start rolling the material as tightly as possible.
Slide the material into the Pringles can. Place the lid back on the can.
Label Your Cans


Now that we have filled our cans, we need to label them.
There are two ways I label my cans.
First: Using a black marker I write on the lid the contents of this can. Since the lid is see-through you can look to see the item for color, grit, whatever you are looking for.
Second: If it's an item such as interfacing, I take the instruction sheet that comes with it, cut out a piece that will fit my can, that has the information I will need later to use it. Attach it with clear tape.
Storing Your Cans
![IMG_3554[1].JPG](/proxy/?url=https://content.instructables.com/FL3/QJES/KW4YTVIR/FL3QJESKW4YTVIR.jpg&filename=IMG_3554[1].JPG)
![IMG_3555[1].JPG](/proxy/?url=https://content.instructables.com/F2J/U1SC/KW4YTVIS/F2JU1SCKW4YTVIS.jpg&filename=IMG_3555[1].JPG)
Now that we have our cans filled and labeled we need to store them so that we can easily see what they hold.
I had a collapsable storage bin in the back of my closet that worked just great. You can pick up square crates from most stores. Make sure it's deep enough to slide your cans in. Lay it on its side where the opening is facing you. Place your cans in the crate where you can read the lids to find the material you are looking for.
Finishing Hacks for My Hacks
![IMG_3557[1].JPG](/proxy/?url=https://content.instructables.com/F0V/USTE/KW4YTXTQ/F0VUSTEKW4YTXTQ.jpg&filename=IMG_3557[1].JPG)
![IMG_3558[1].JPG](/proxy/?url=https://content.instructables.com/FJI/GN44/KW4YTXTU/FJIGN44KW4YTXTU.jpg&filename=IMG_3558[1].JPG)
![IMG_3559[1].JPG](/proxy/?url=https://content.instructables.com/FU2/JND6/KW4YTXTV/FU2JND6KW4YTXTV.jpg&filename=IMG_3559[1].JPG)
![IMG_3560[1].JPG](/proxy/?url=https://content.instructables.com/FFG/XKS1/KW4YTXTW/FFGXKS1KW4YTXTW.jpg&filename=IMG_3560[1].JPG)
If you mix Mega cans with Regular size cans just move the regular size cans forward until all of your cans are flush.
There are times that I will have material that is just too large to put the lid back on. What I do is use the steps above to place the material in the can with the extra sticking out of the can. Write on the lid what the material is, then place the lid on the bottom of the can. When placing the can in your stack, place it with the bottom facing forward the back so you can match it up with all the other cans and see what material is in the can, by reading the label.