Eye Protecter
Living in a world with phones, computers, and other 3C techniques, our eye sights have been getting worse. This machine can help your eyes recover after using a cell phone for too long.
And we all know that looking at trees and green plants can help our eyes recover. However, we have to look at it for more than 2 hours for our eyes to recover. But using the machine, you only need 30 mins a day, and you can have the same result.
There are machines that sell for 80,000, using Arduino, we can make the lite version just in our house.
Supplies
Step 1 : Finish the Led Lights
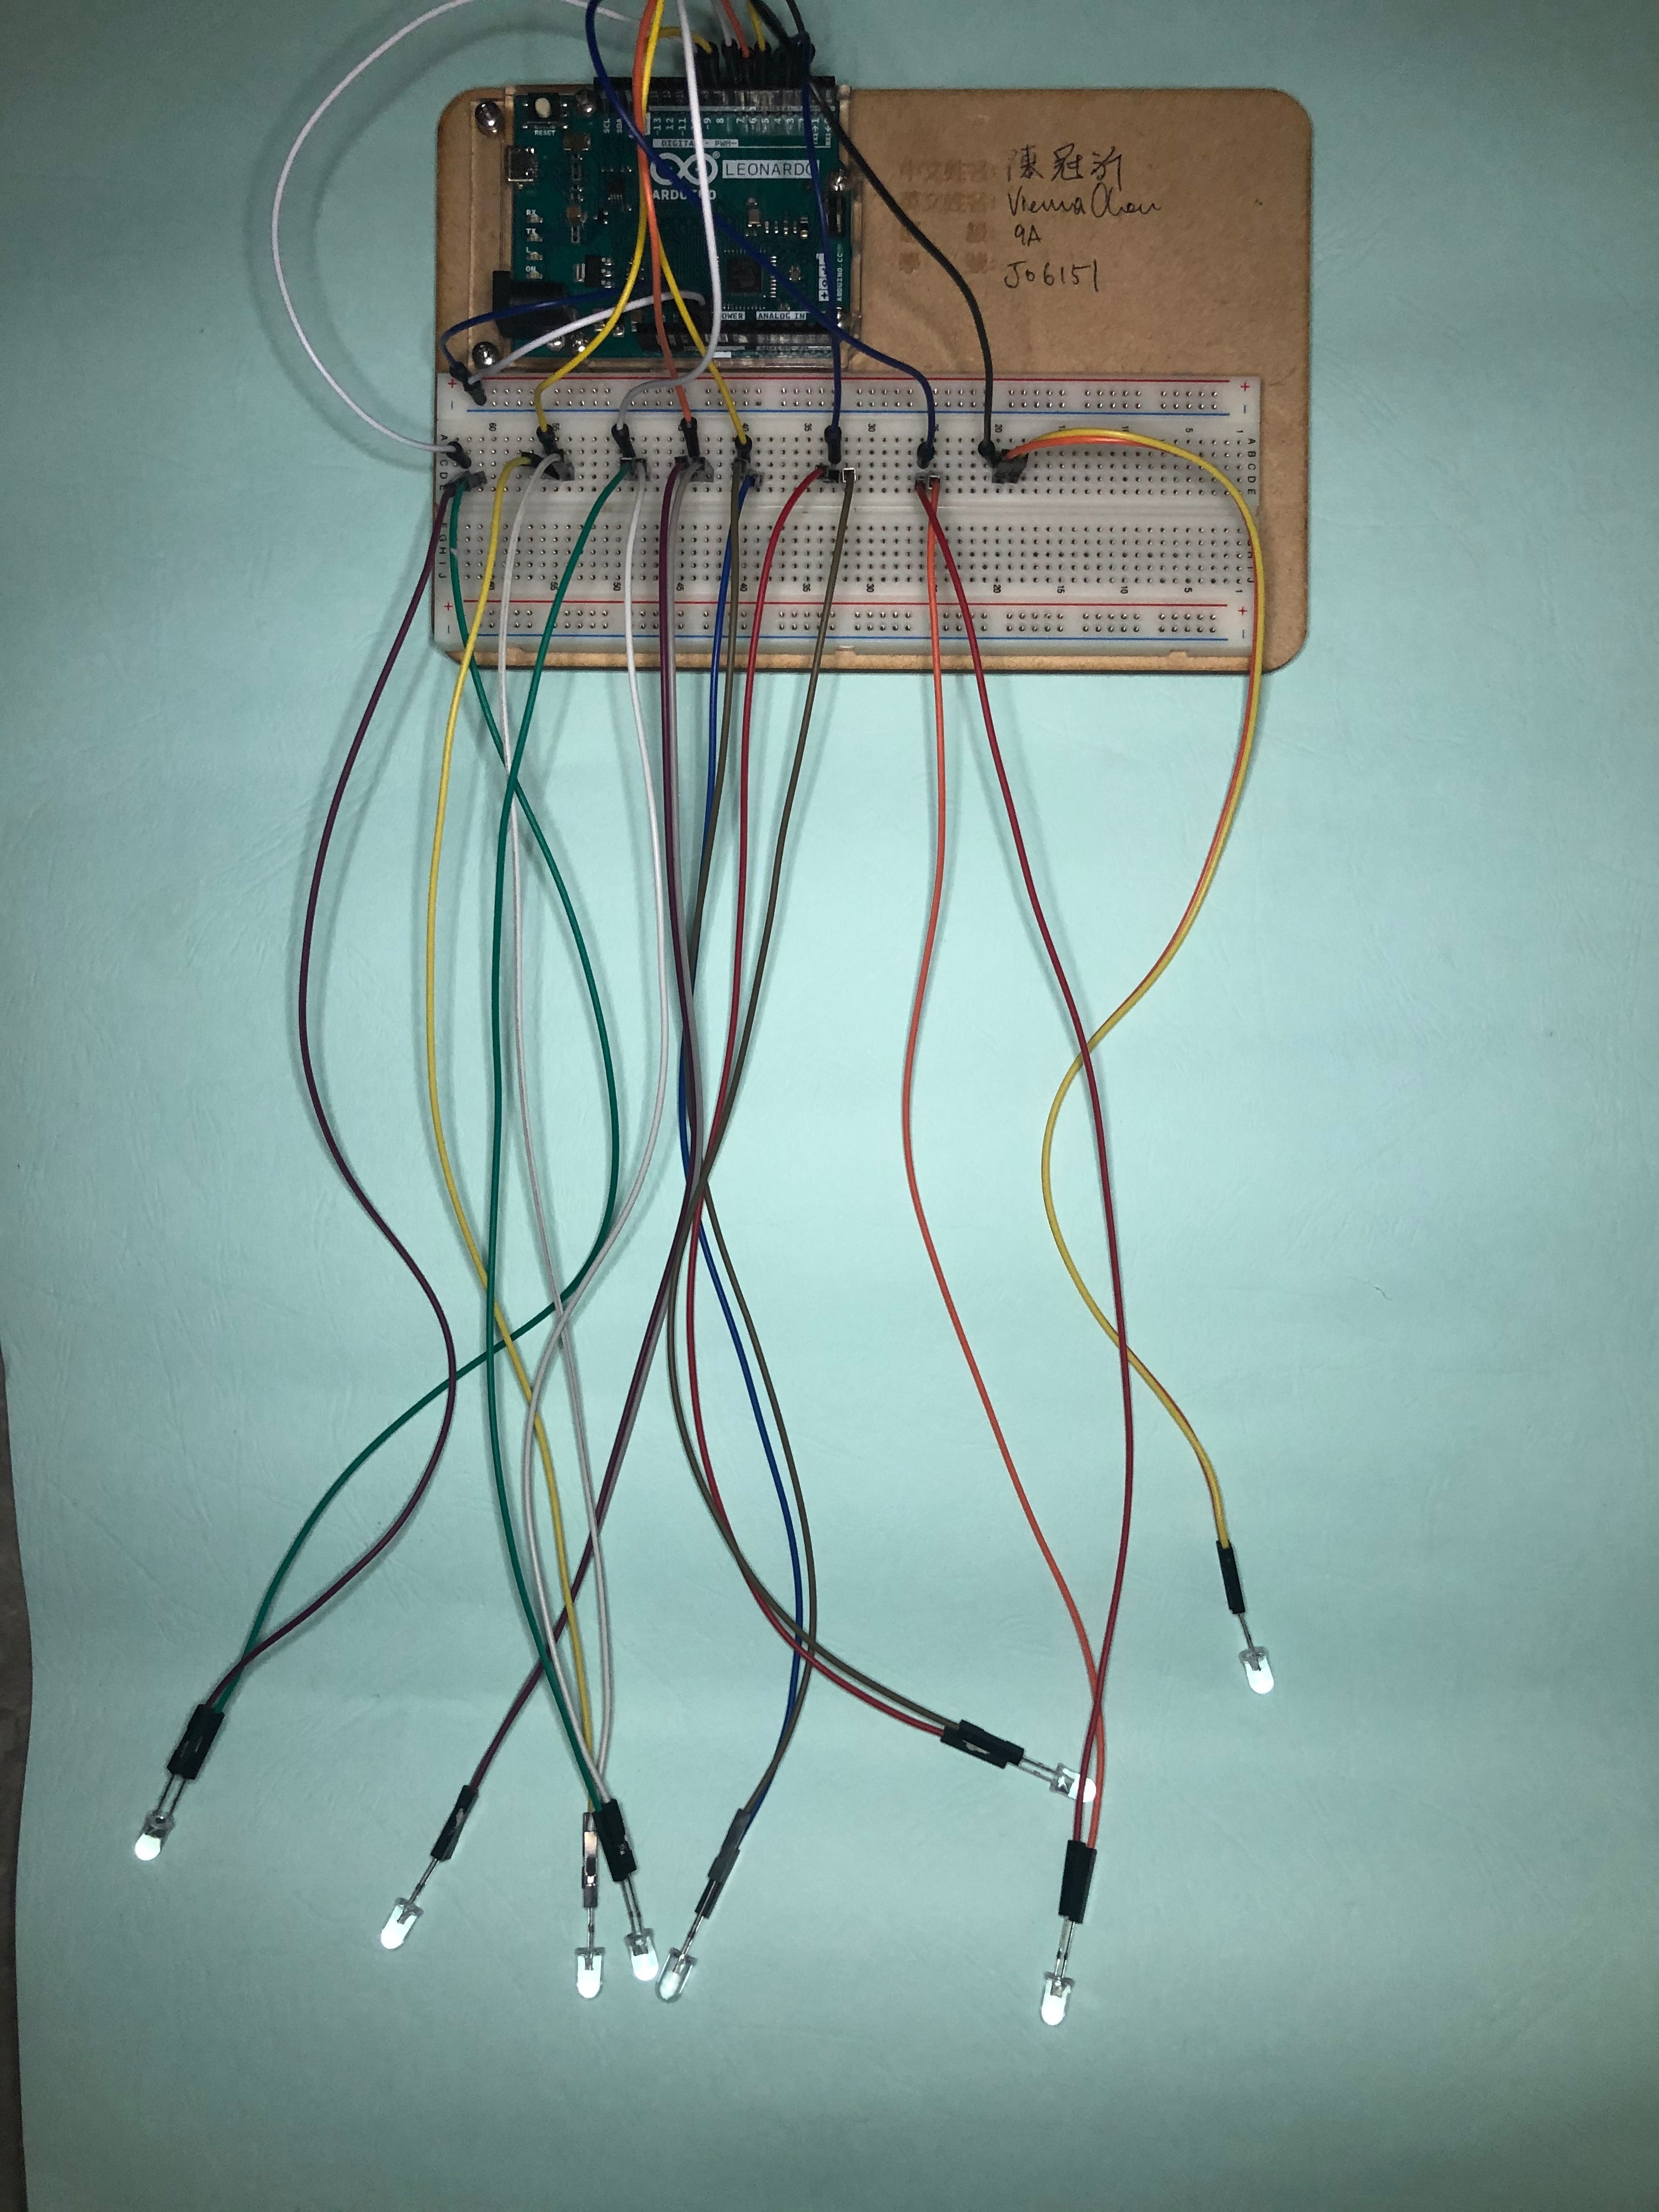
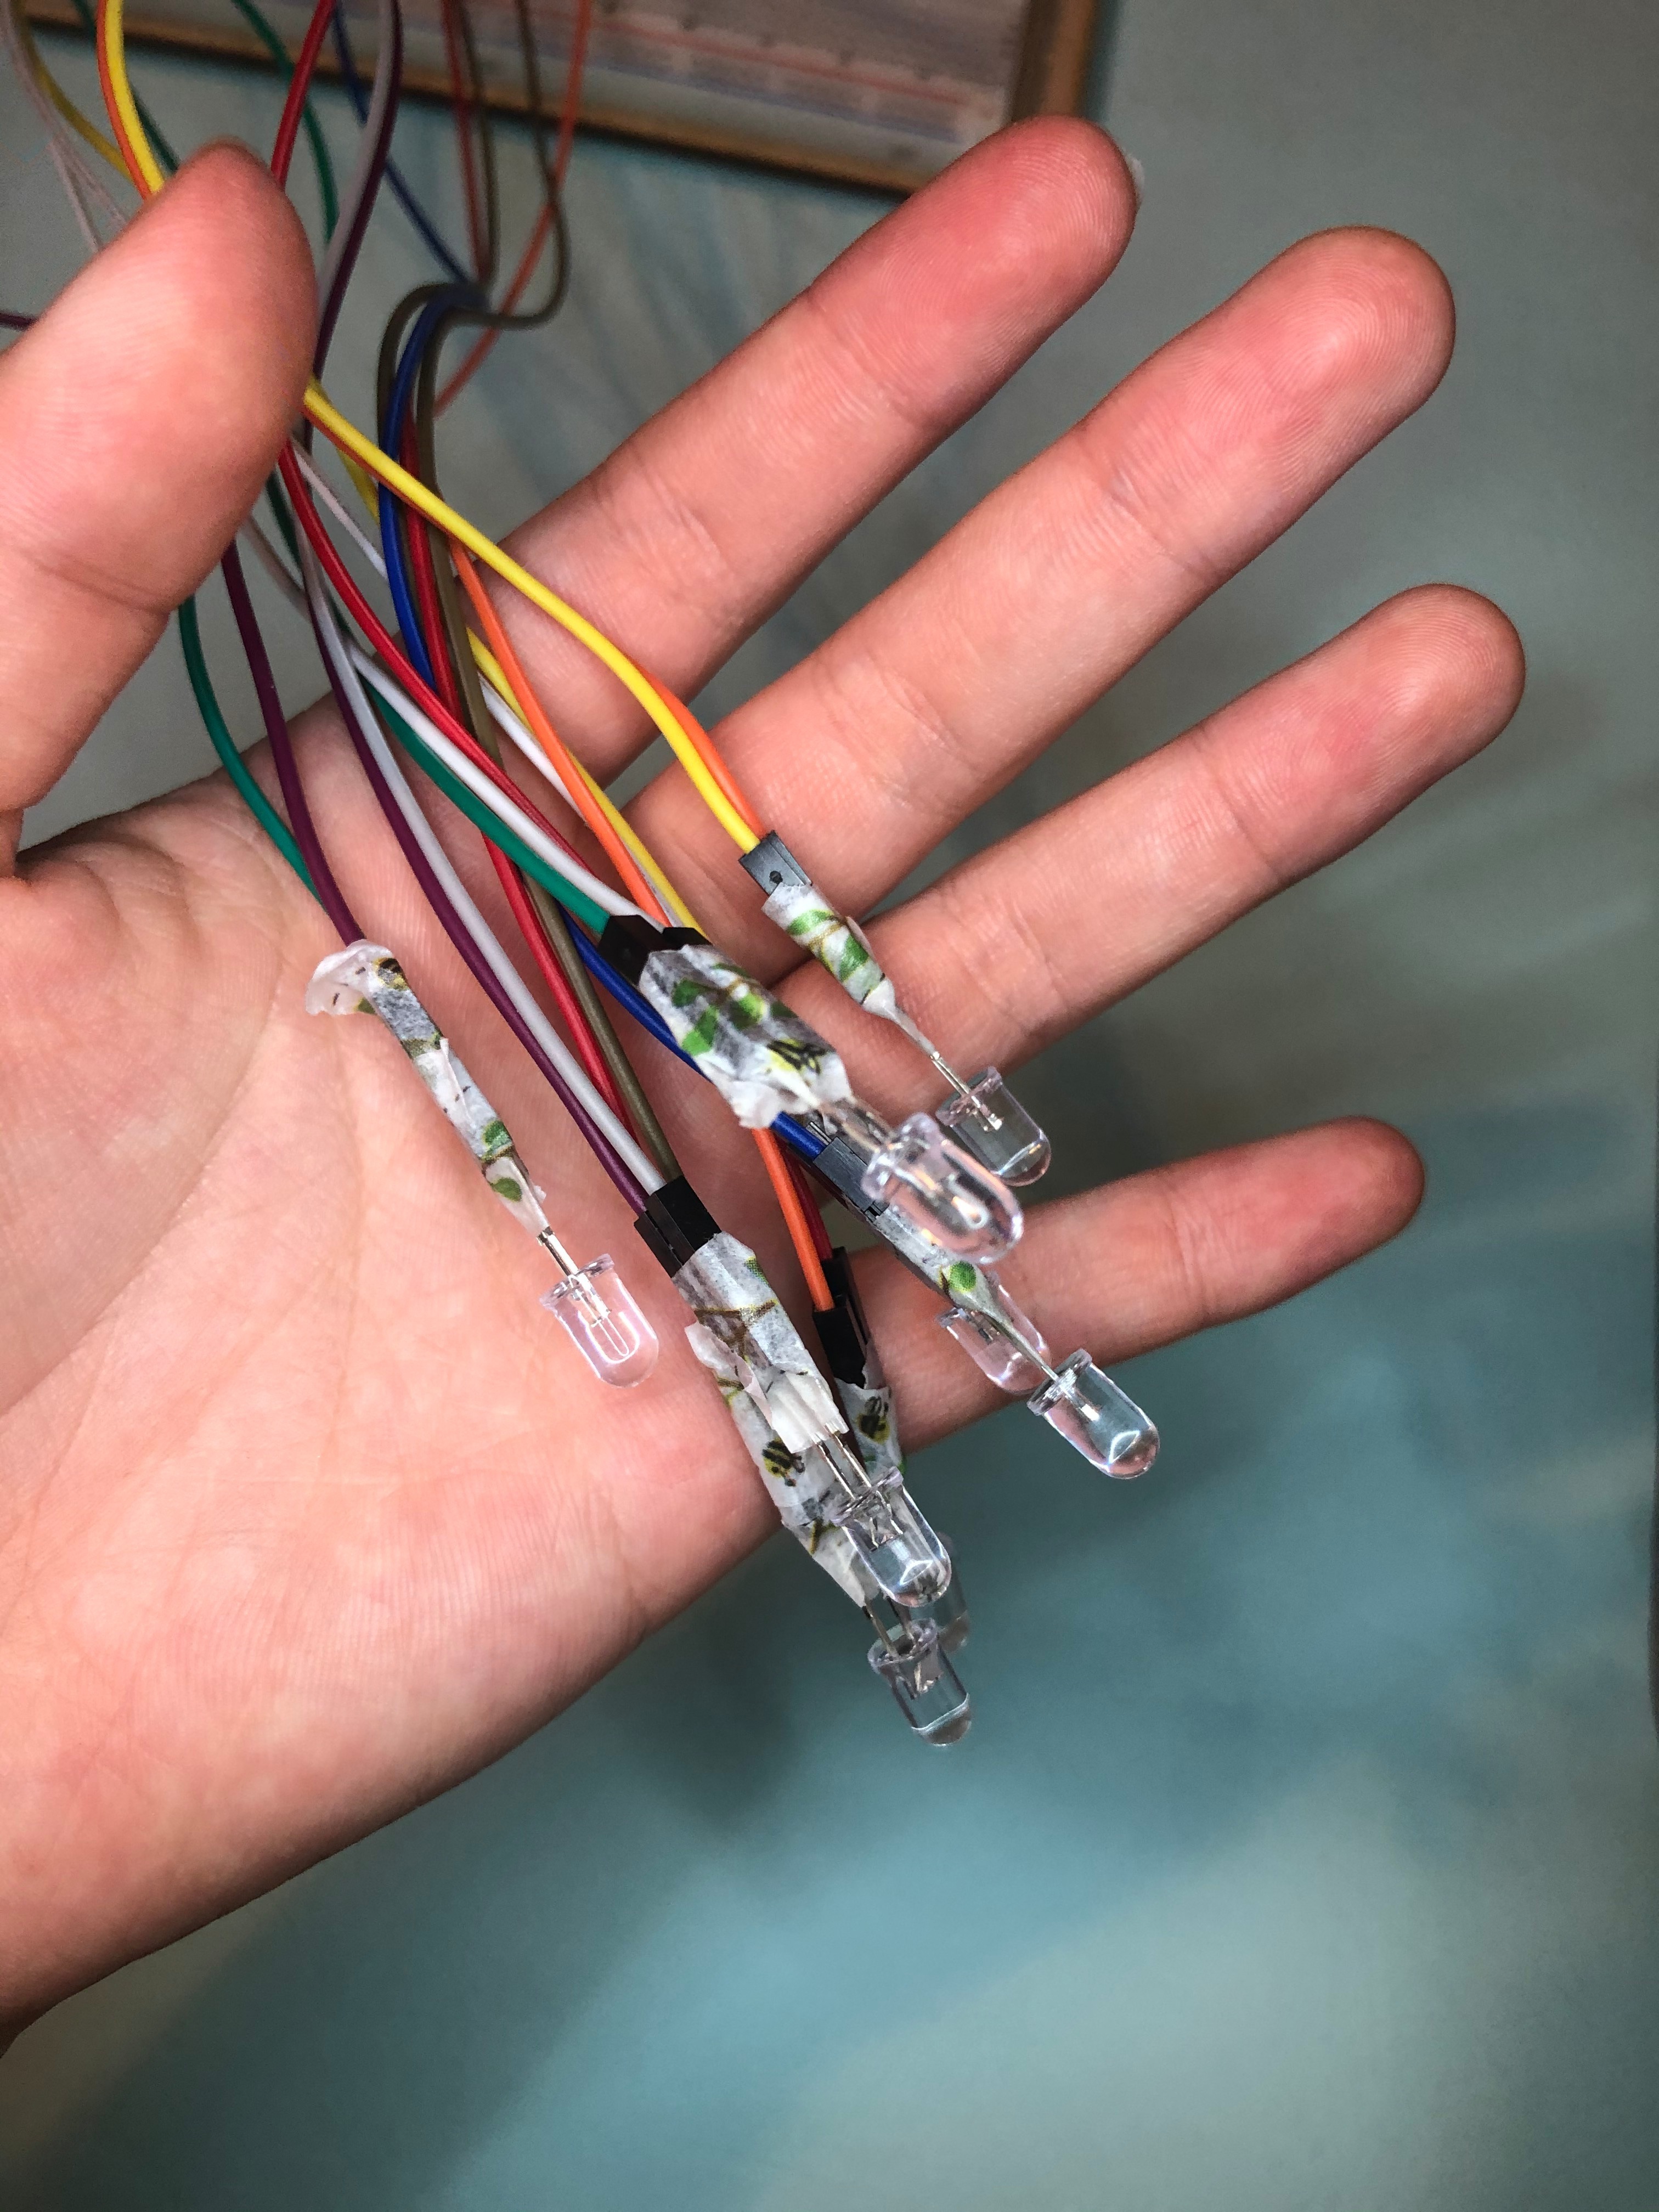
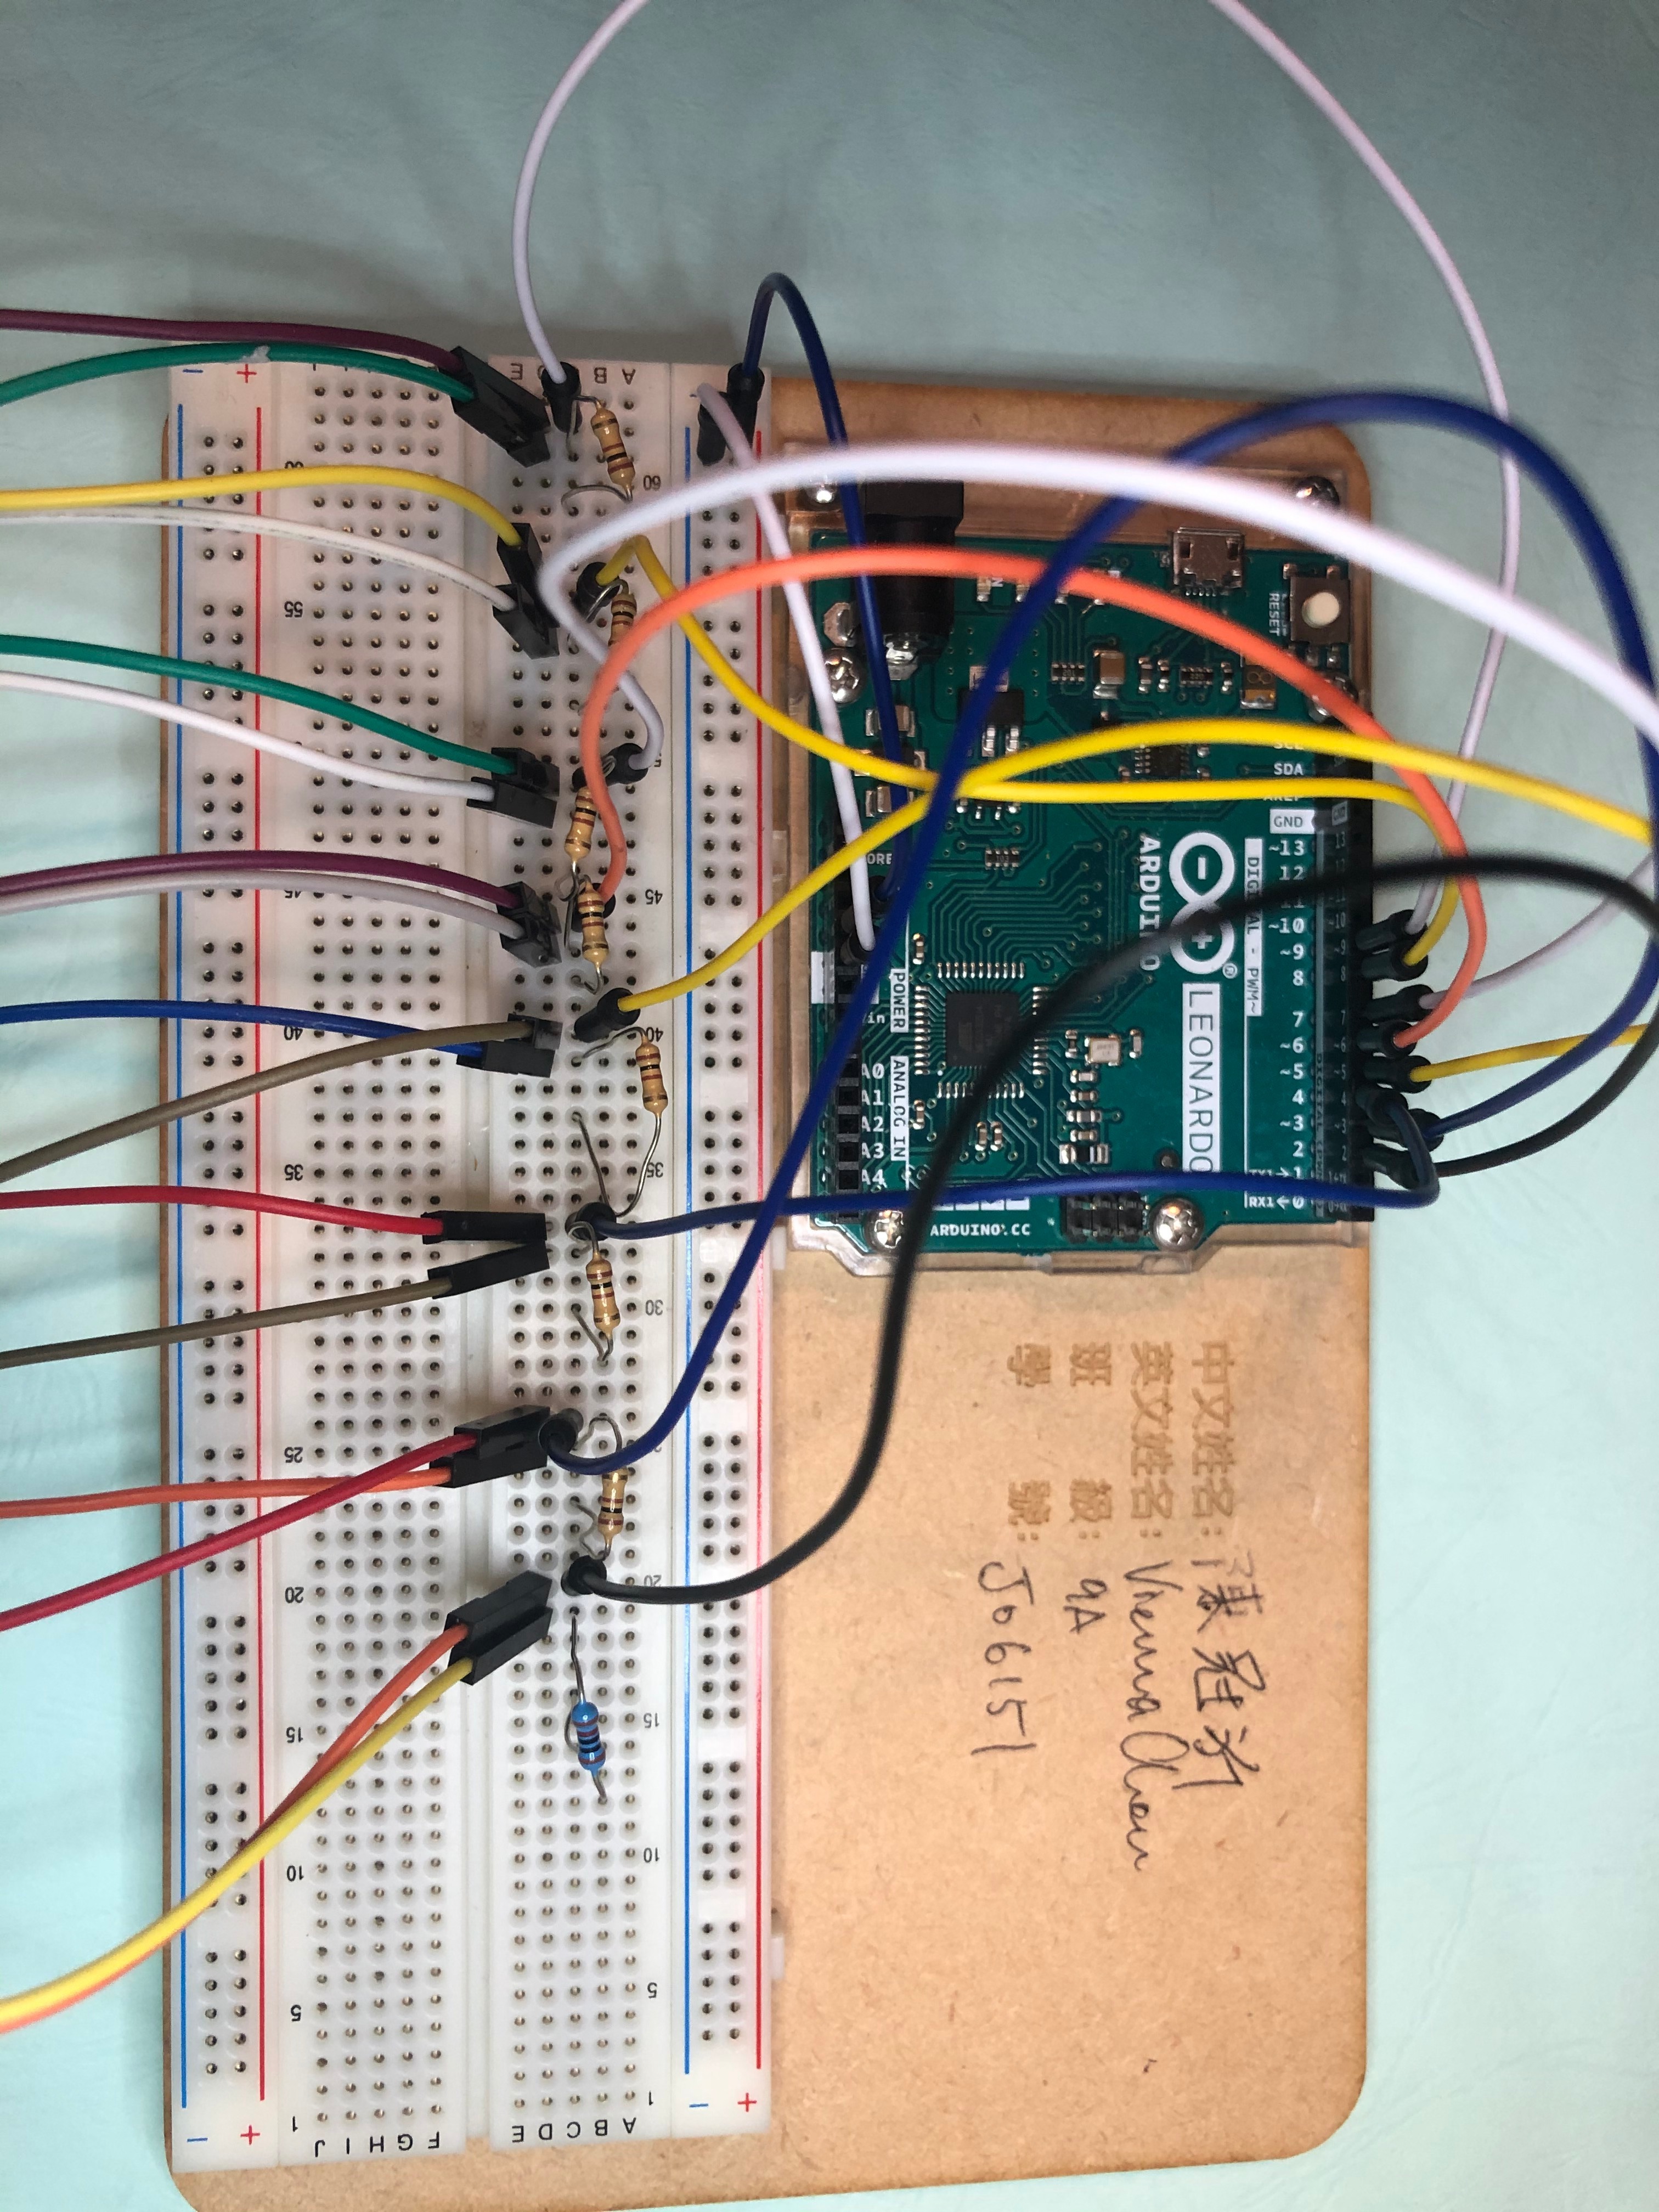


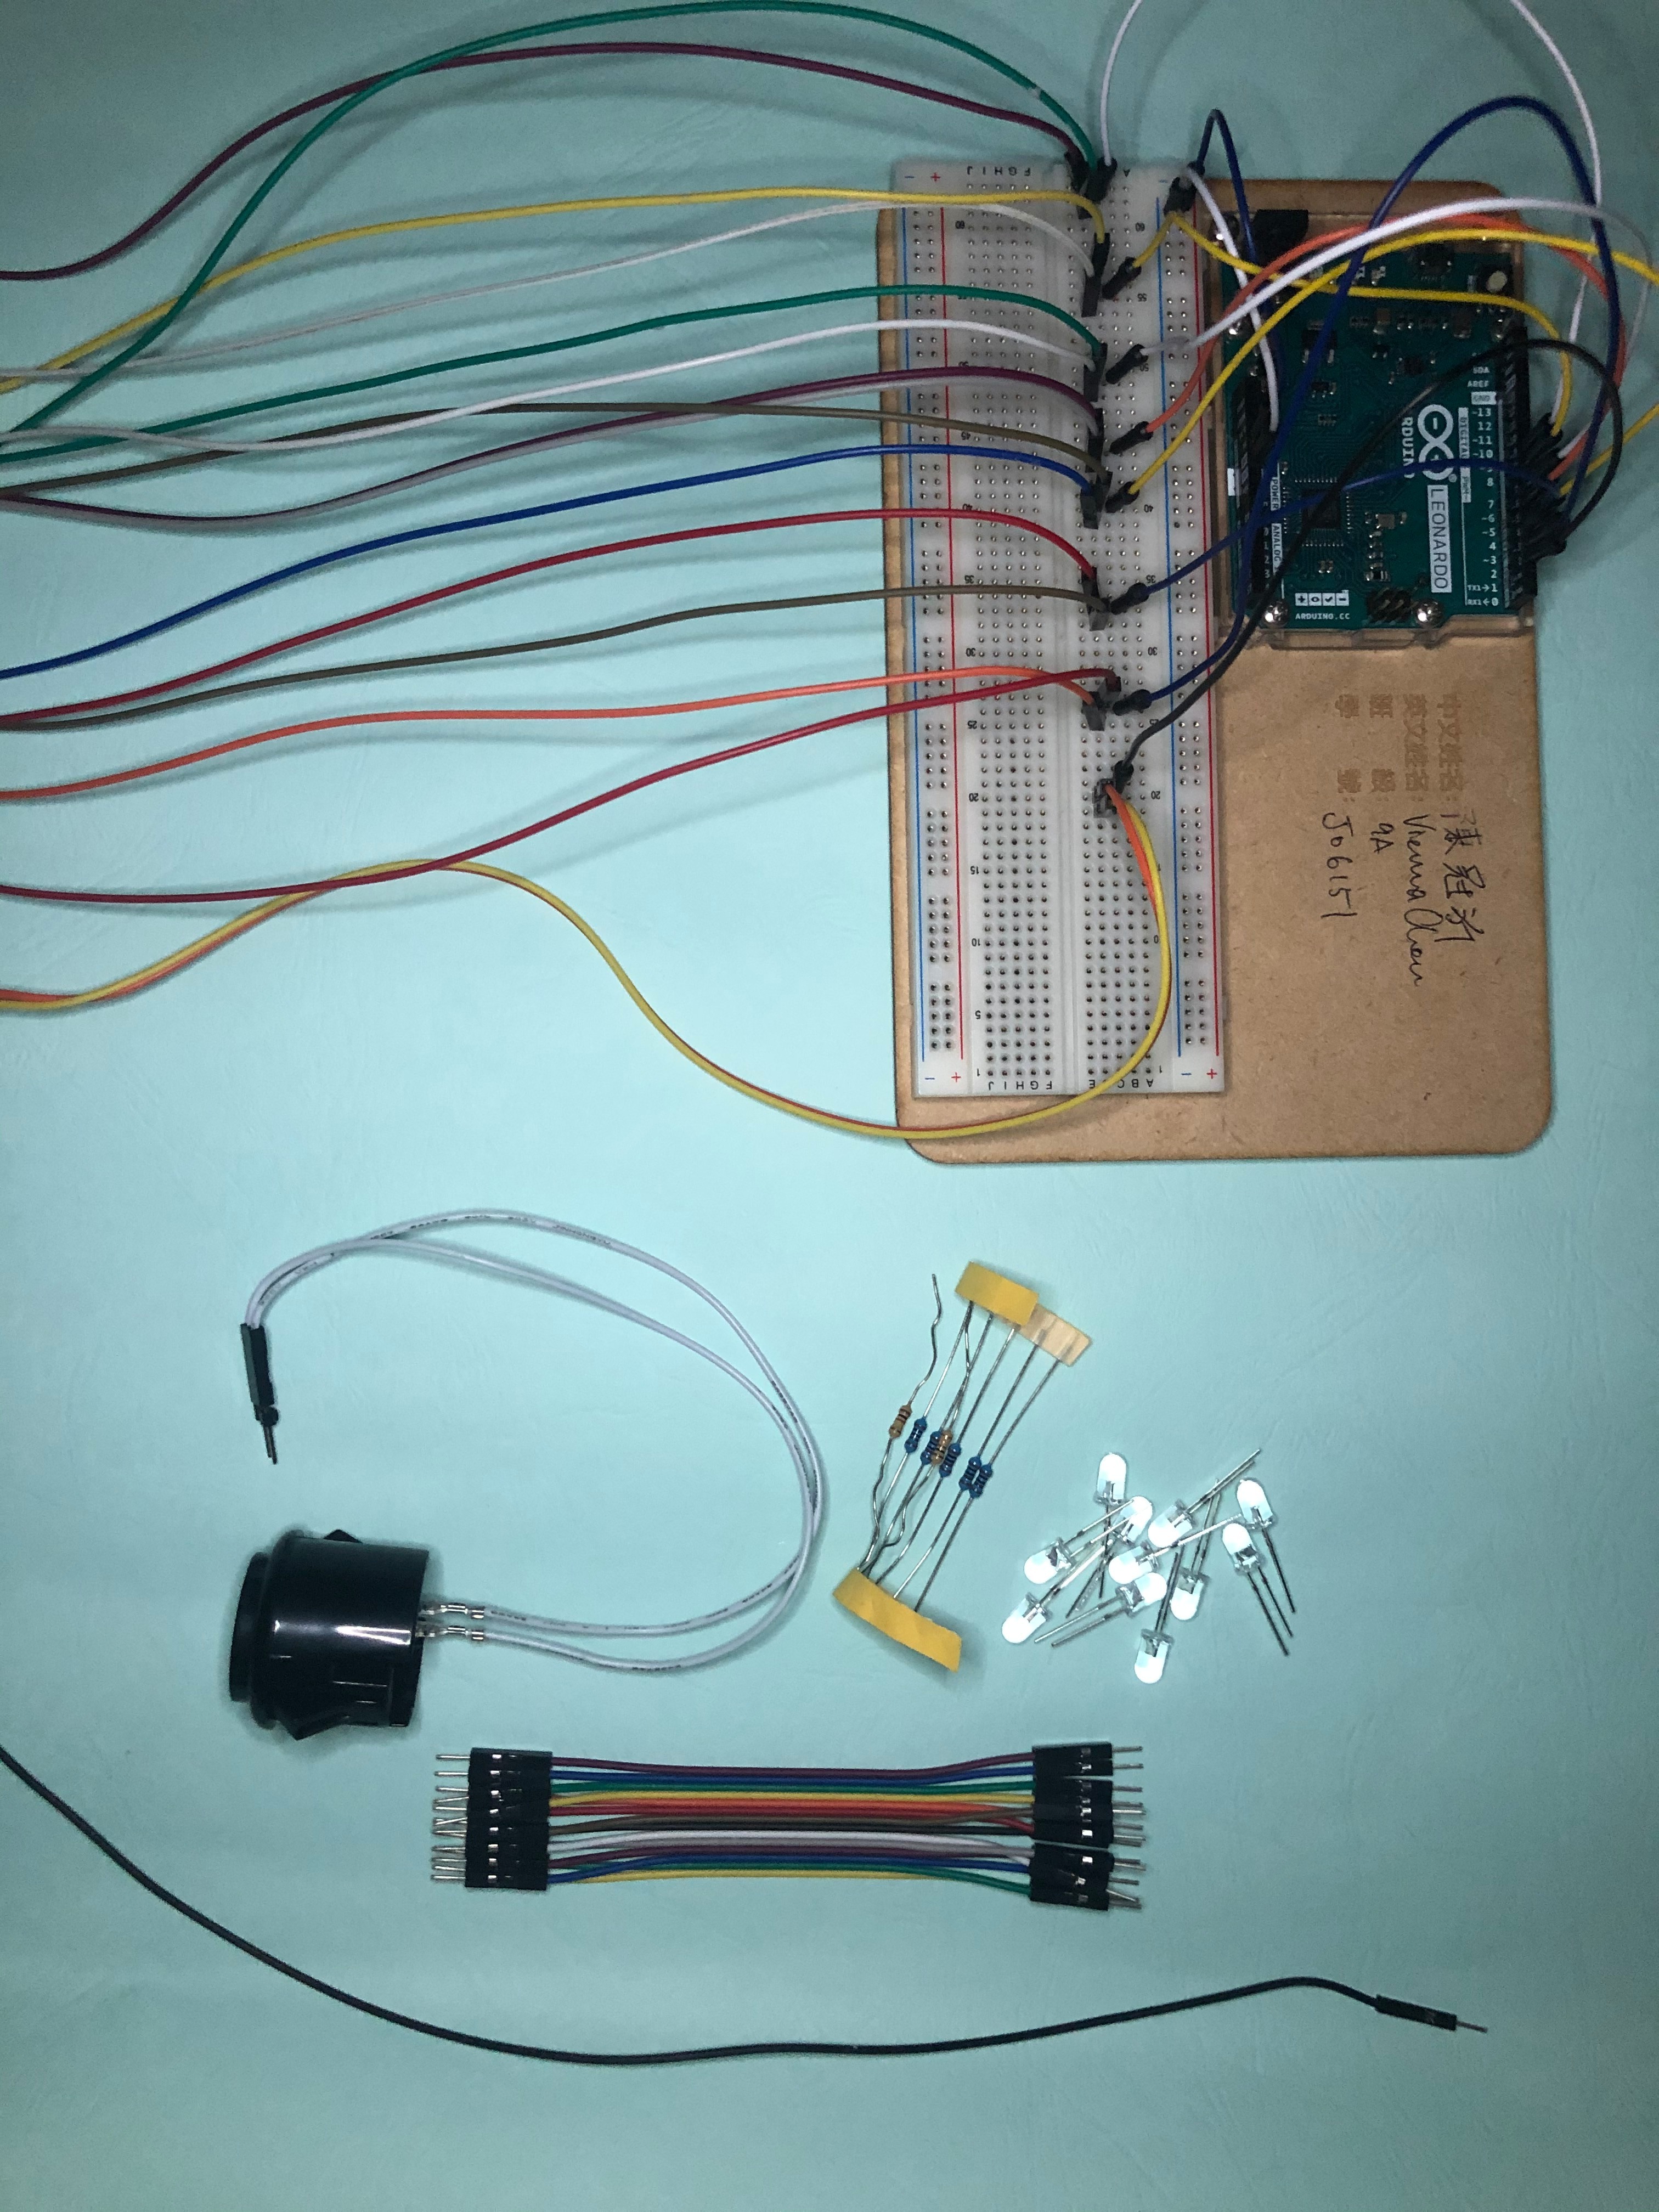
First, we have put all the lights on the breadboard. The materials are shown in the picture above.
1. 5V - positive, GND - negative
2. digital 2-8 - led lights, digital 11 button
3. Put tape on the top of the led lights to prevent it from falling off
Step 2 : Code!!!!


When you are uploading your code to your Arduino board, you need to attach a USB cable to your computer, so it would function correctly.
Link to my code:
https://create.arduino.cc/editor/viennachen/0e57a3...
When you press the button, the music will start first, and then the lights will start to shine.
Code Part 1: When you press the button, the space button will be pressed, the music will start.
Code part 2: 100 milliseconds between each light
Code Part 3: Second part of the light, 100 milliseconds between the light on and off, 500 millisecond between each light.
Step 3: Design the Box
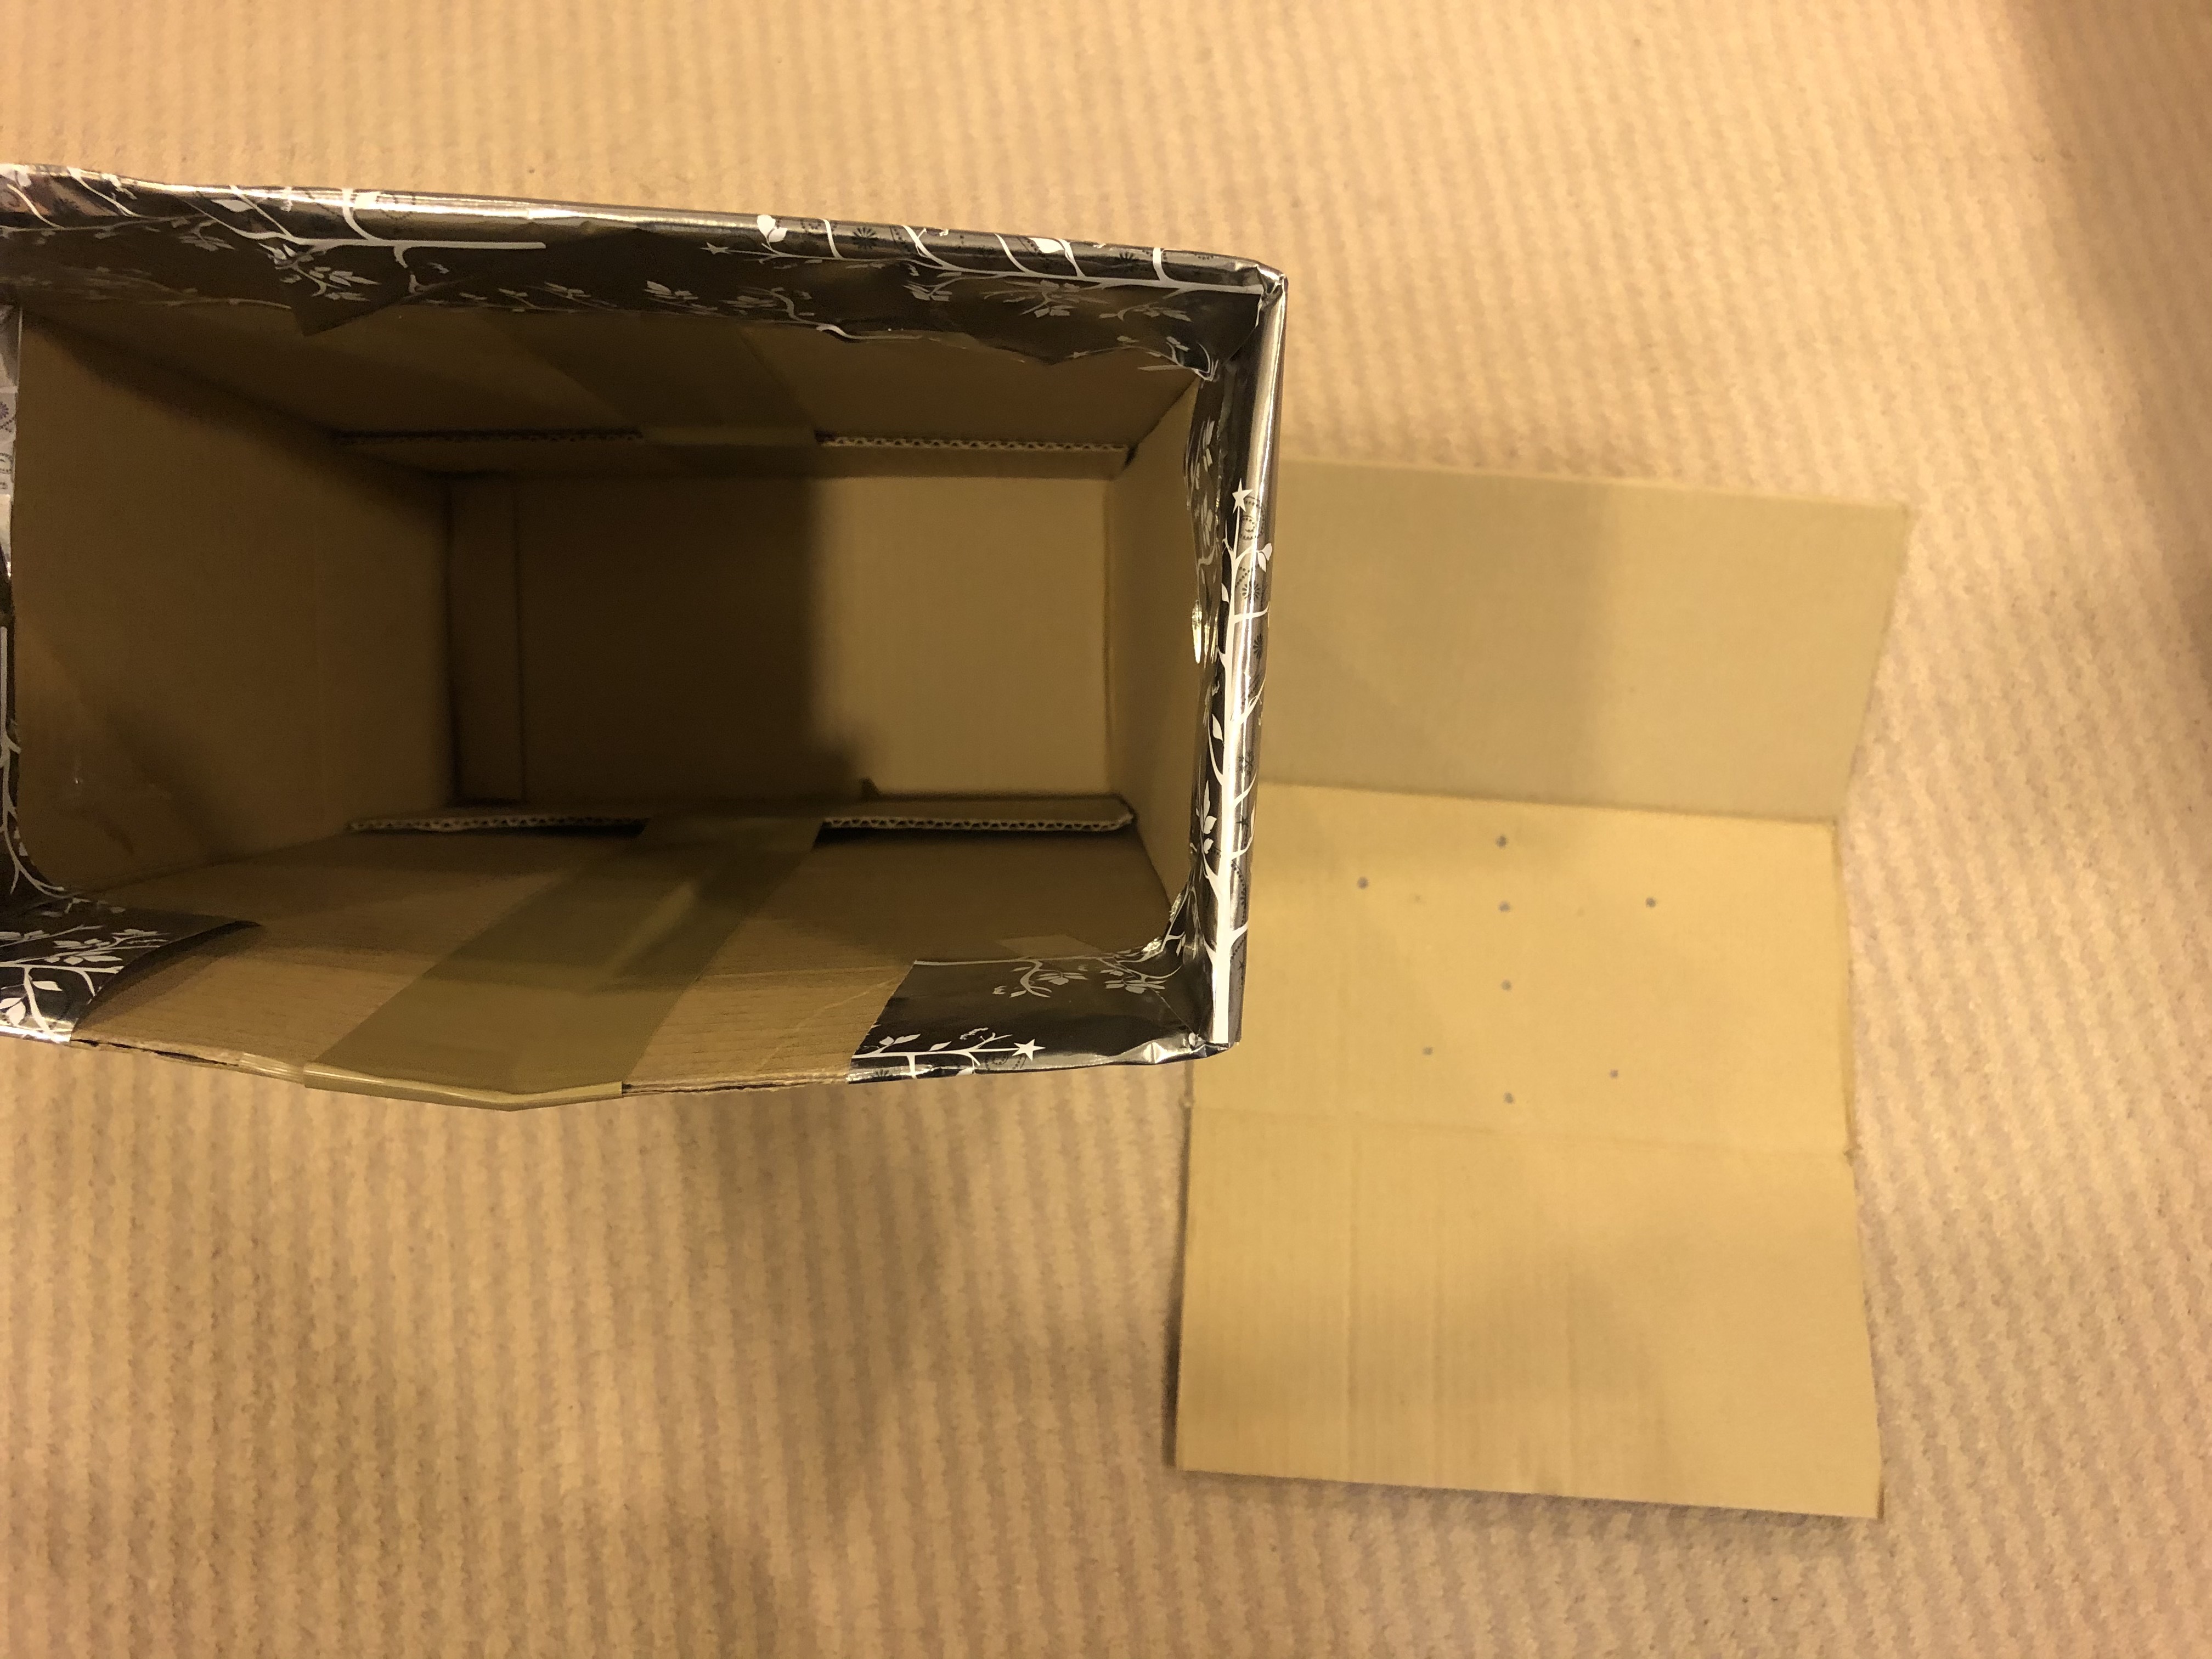
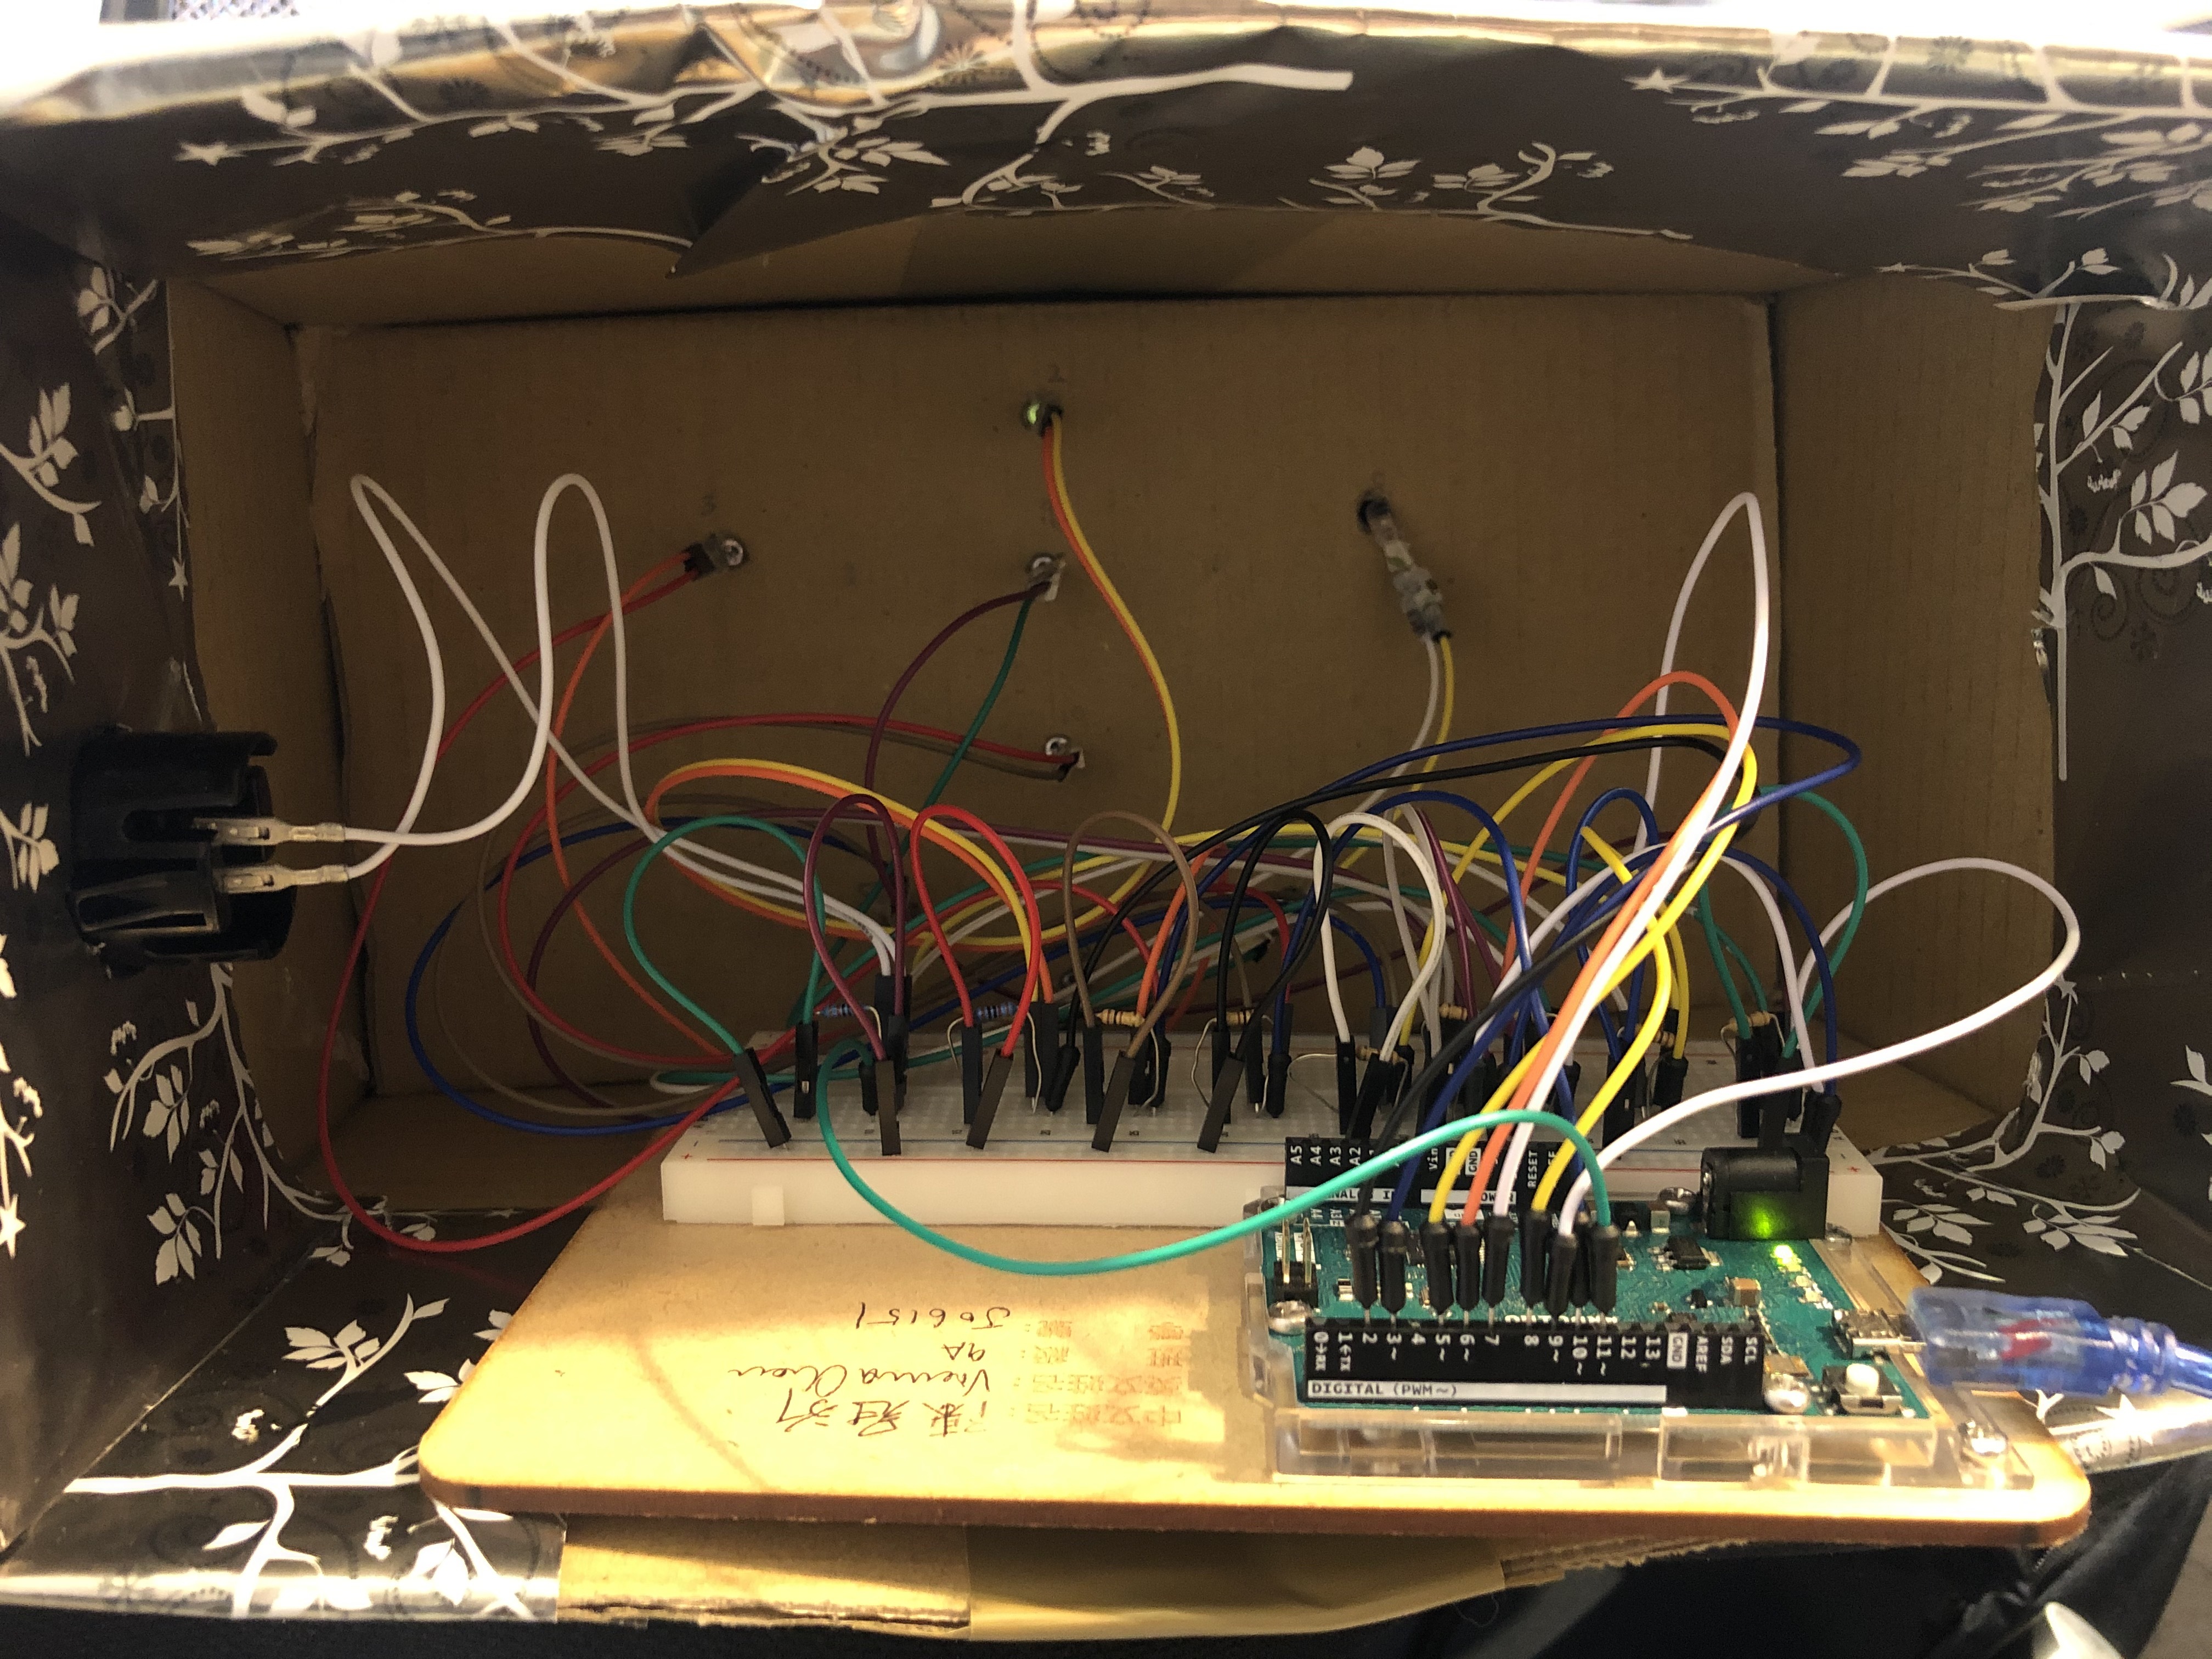
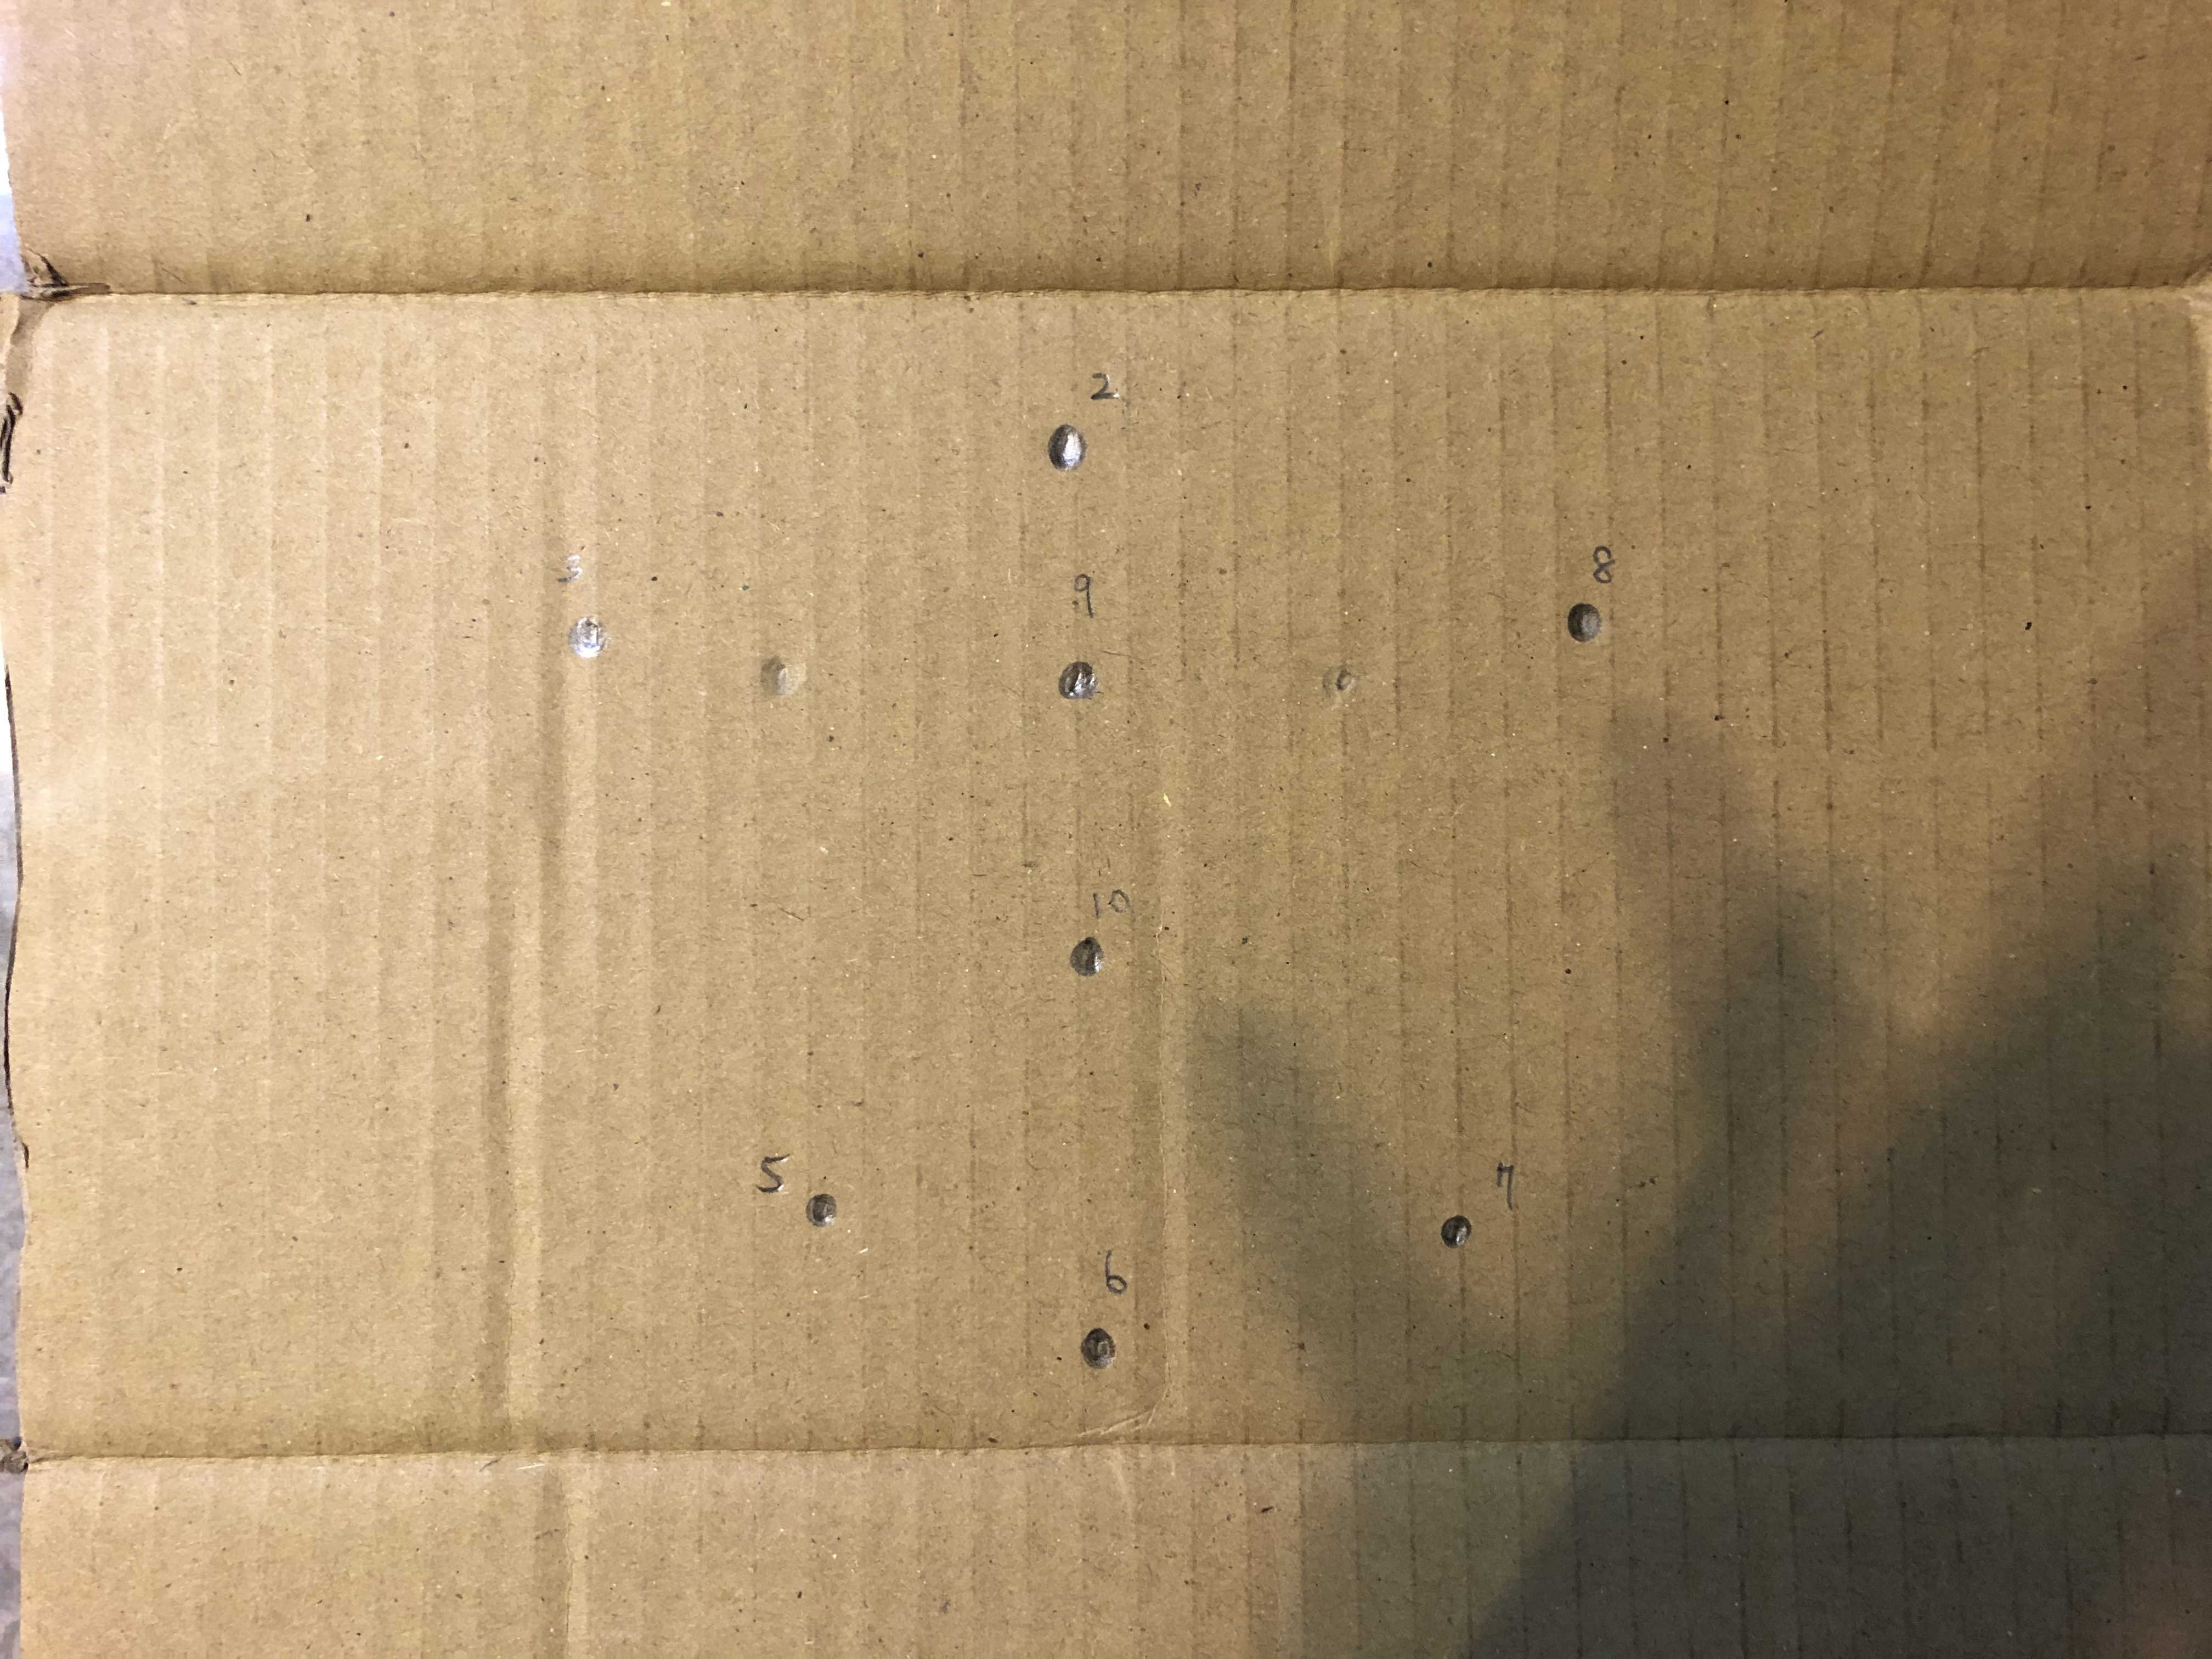
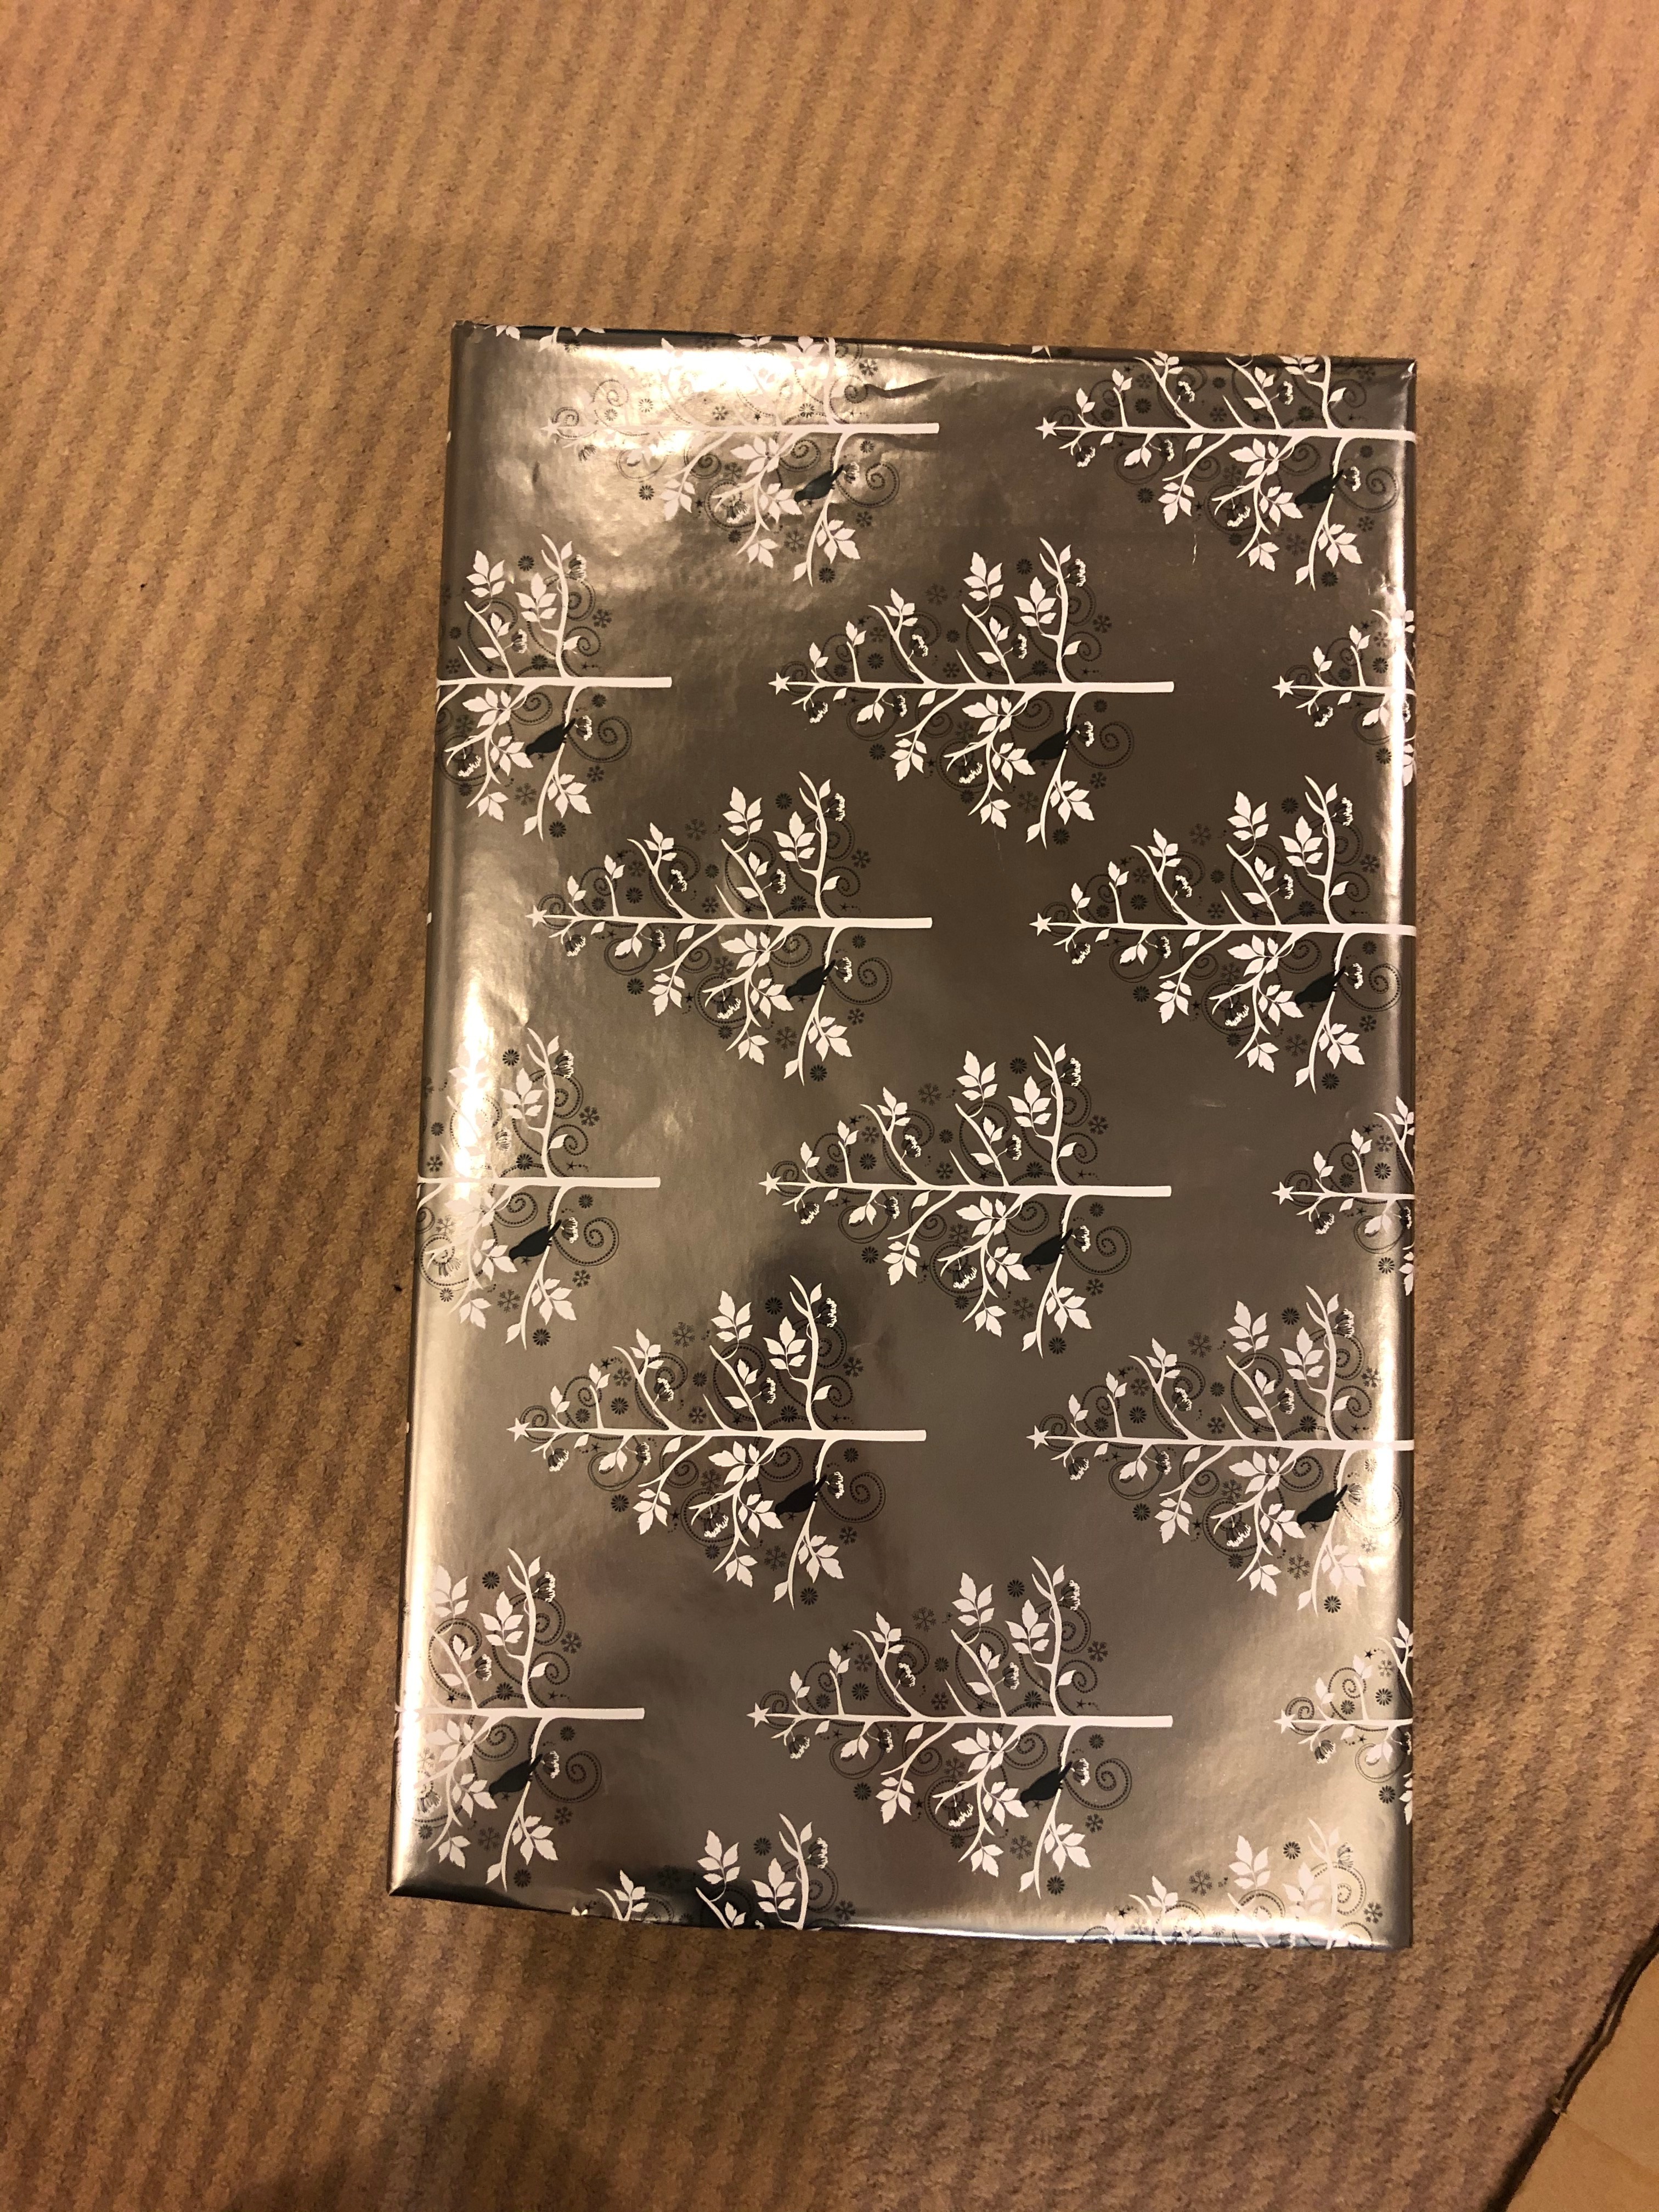
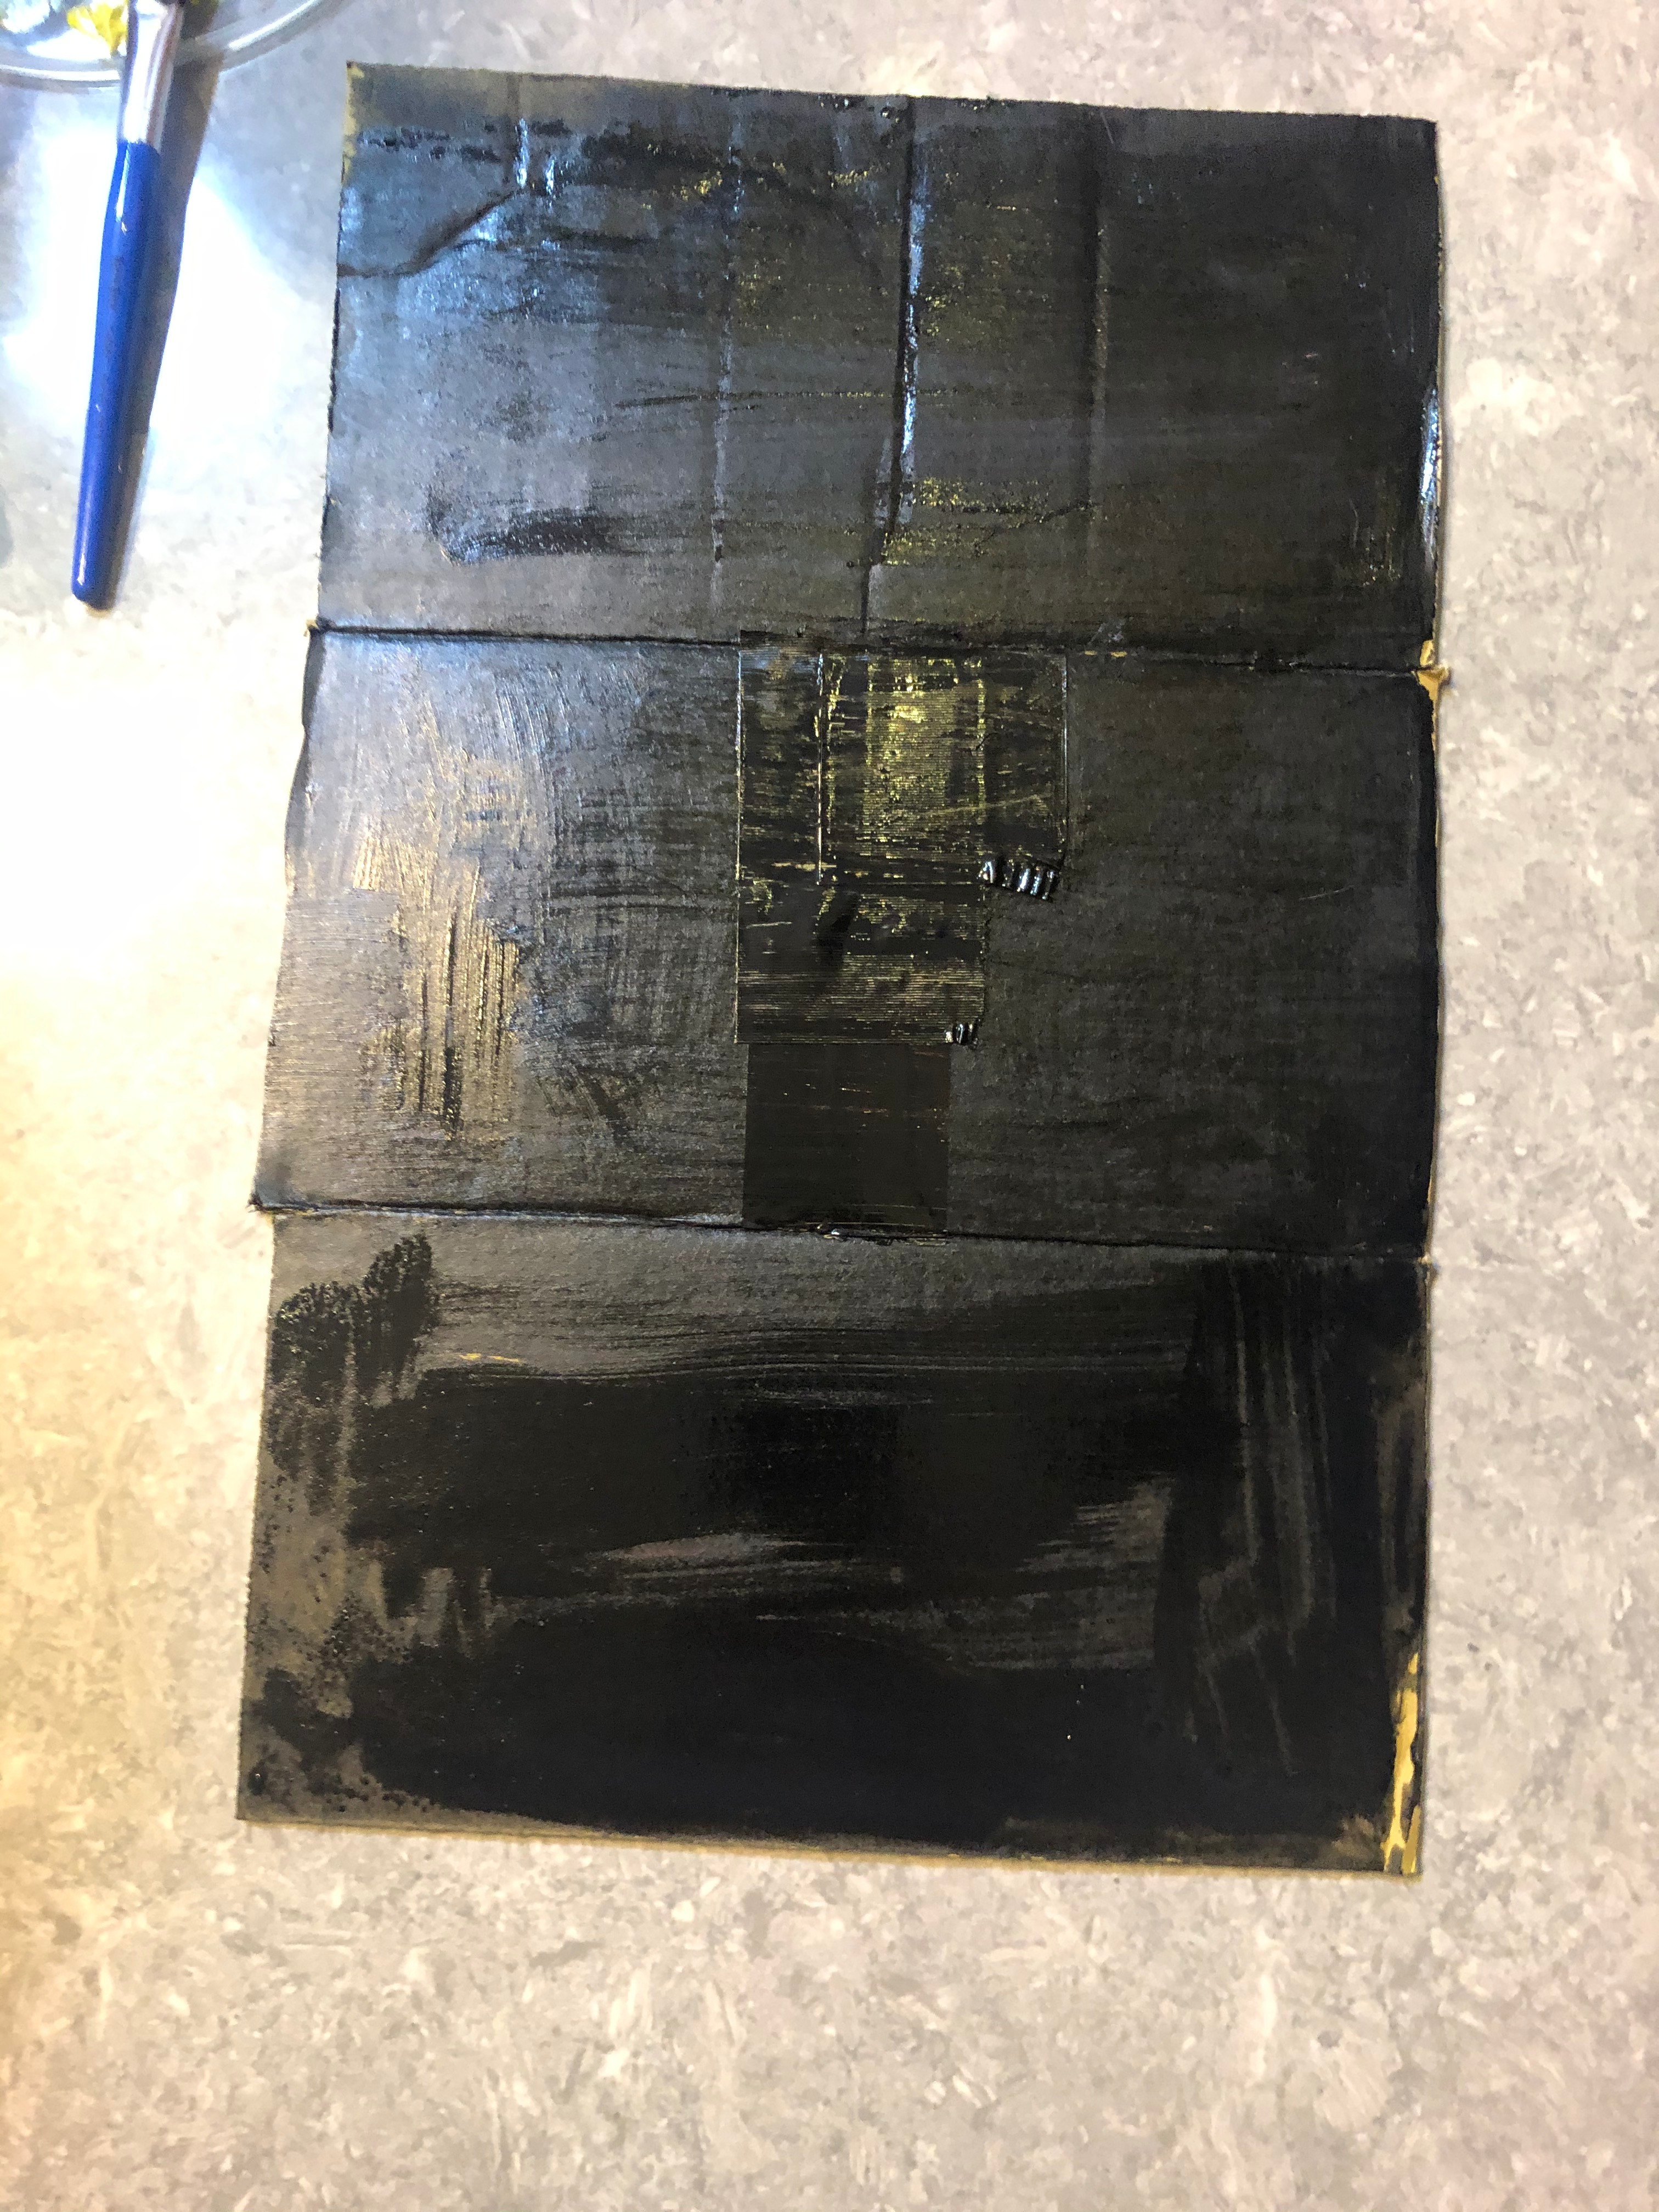
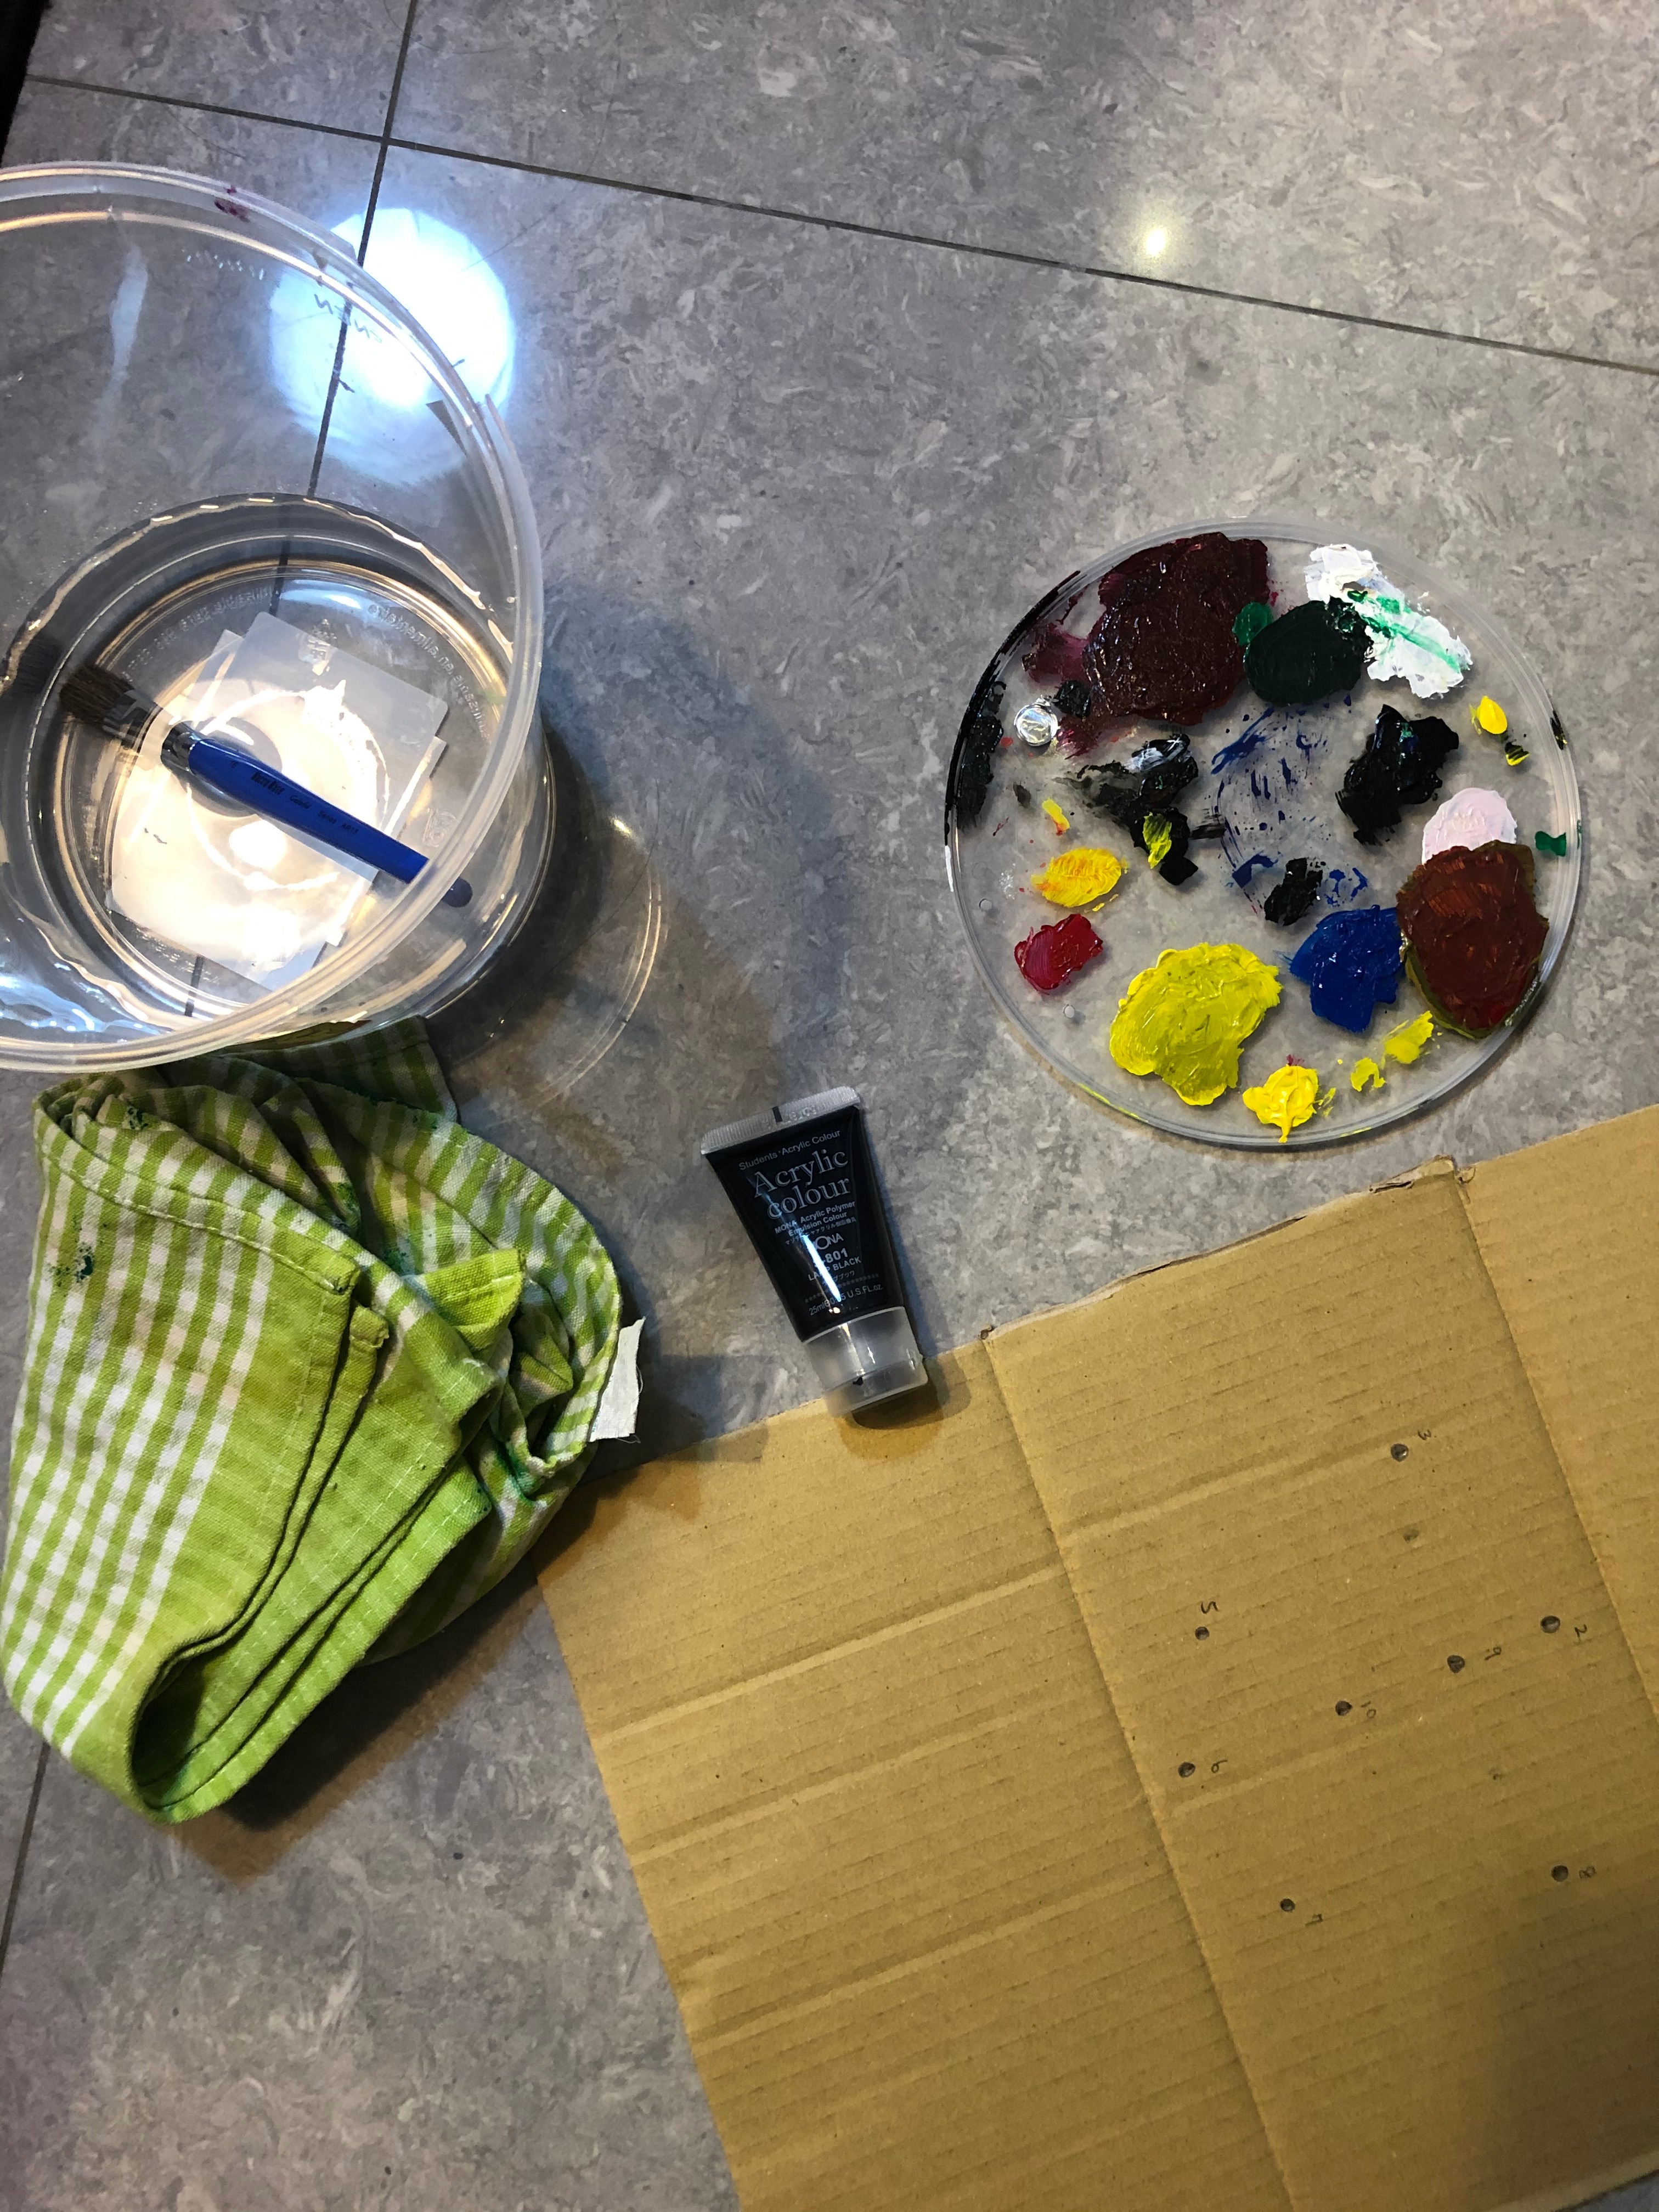
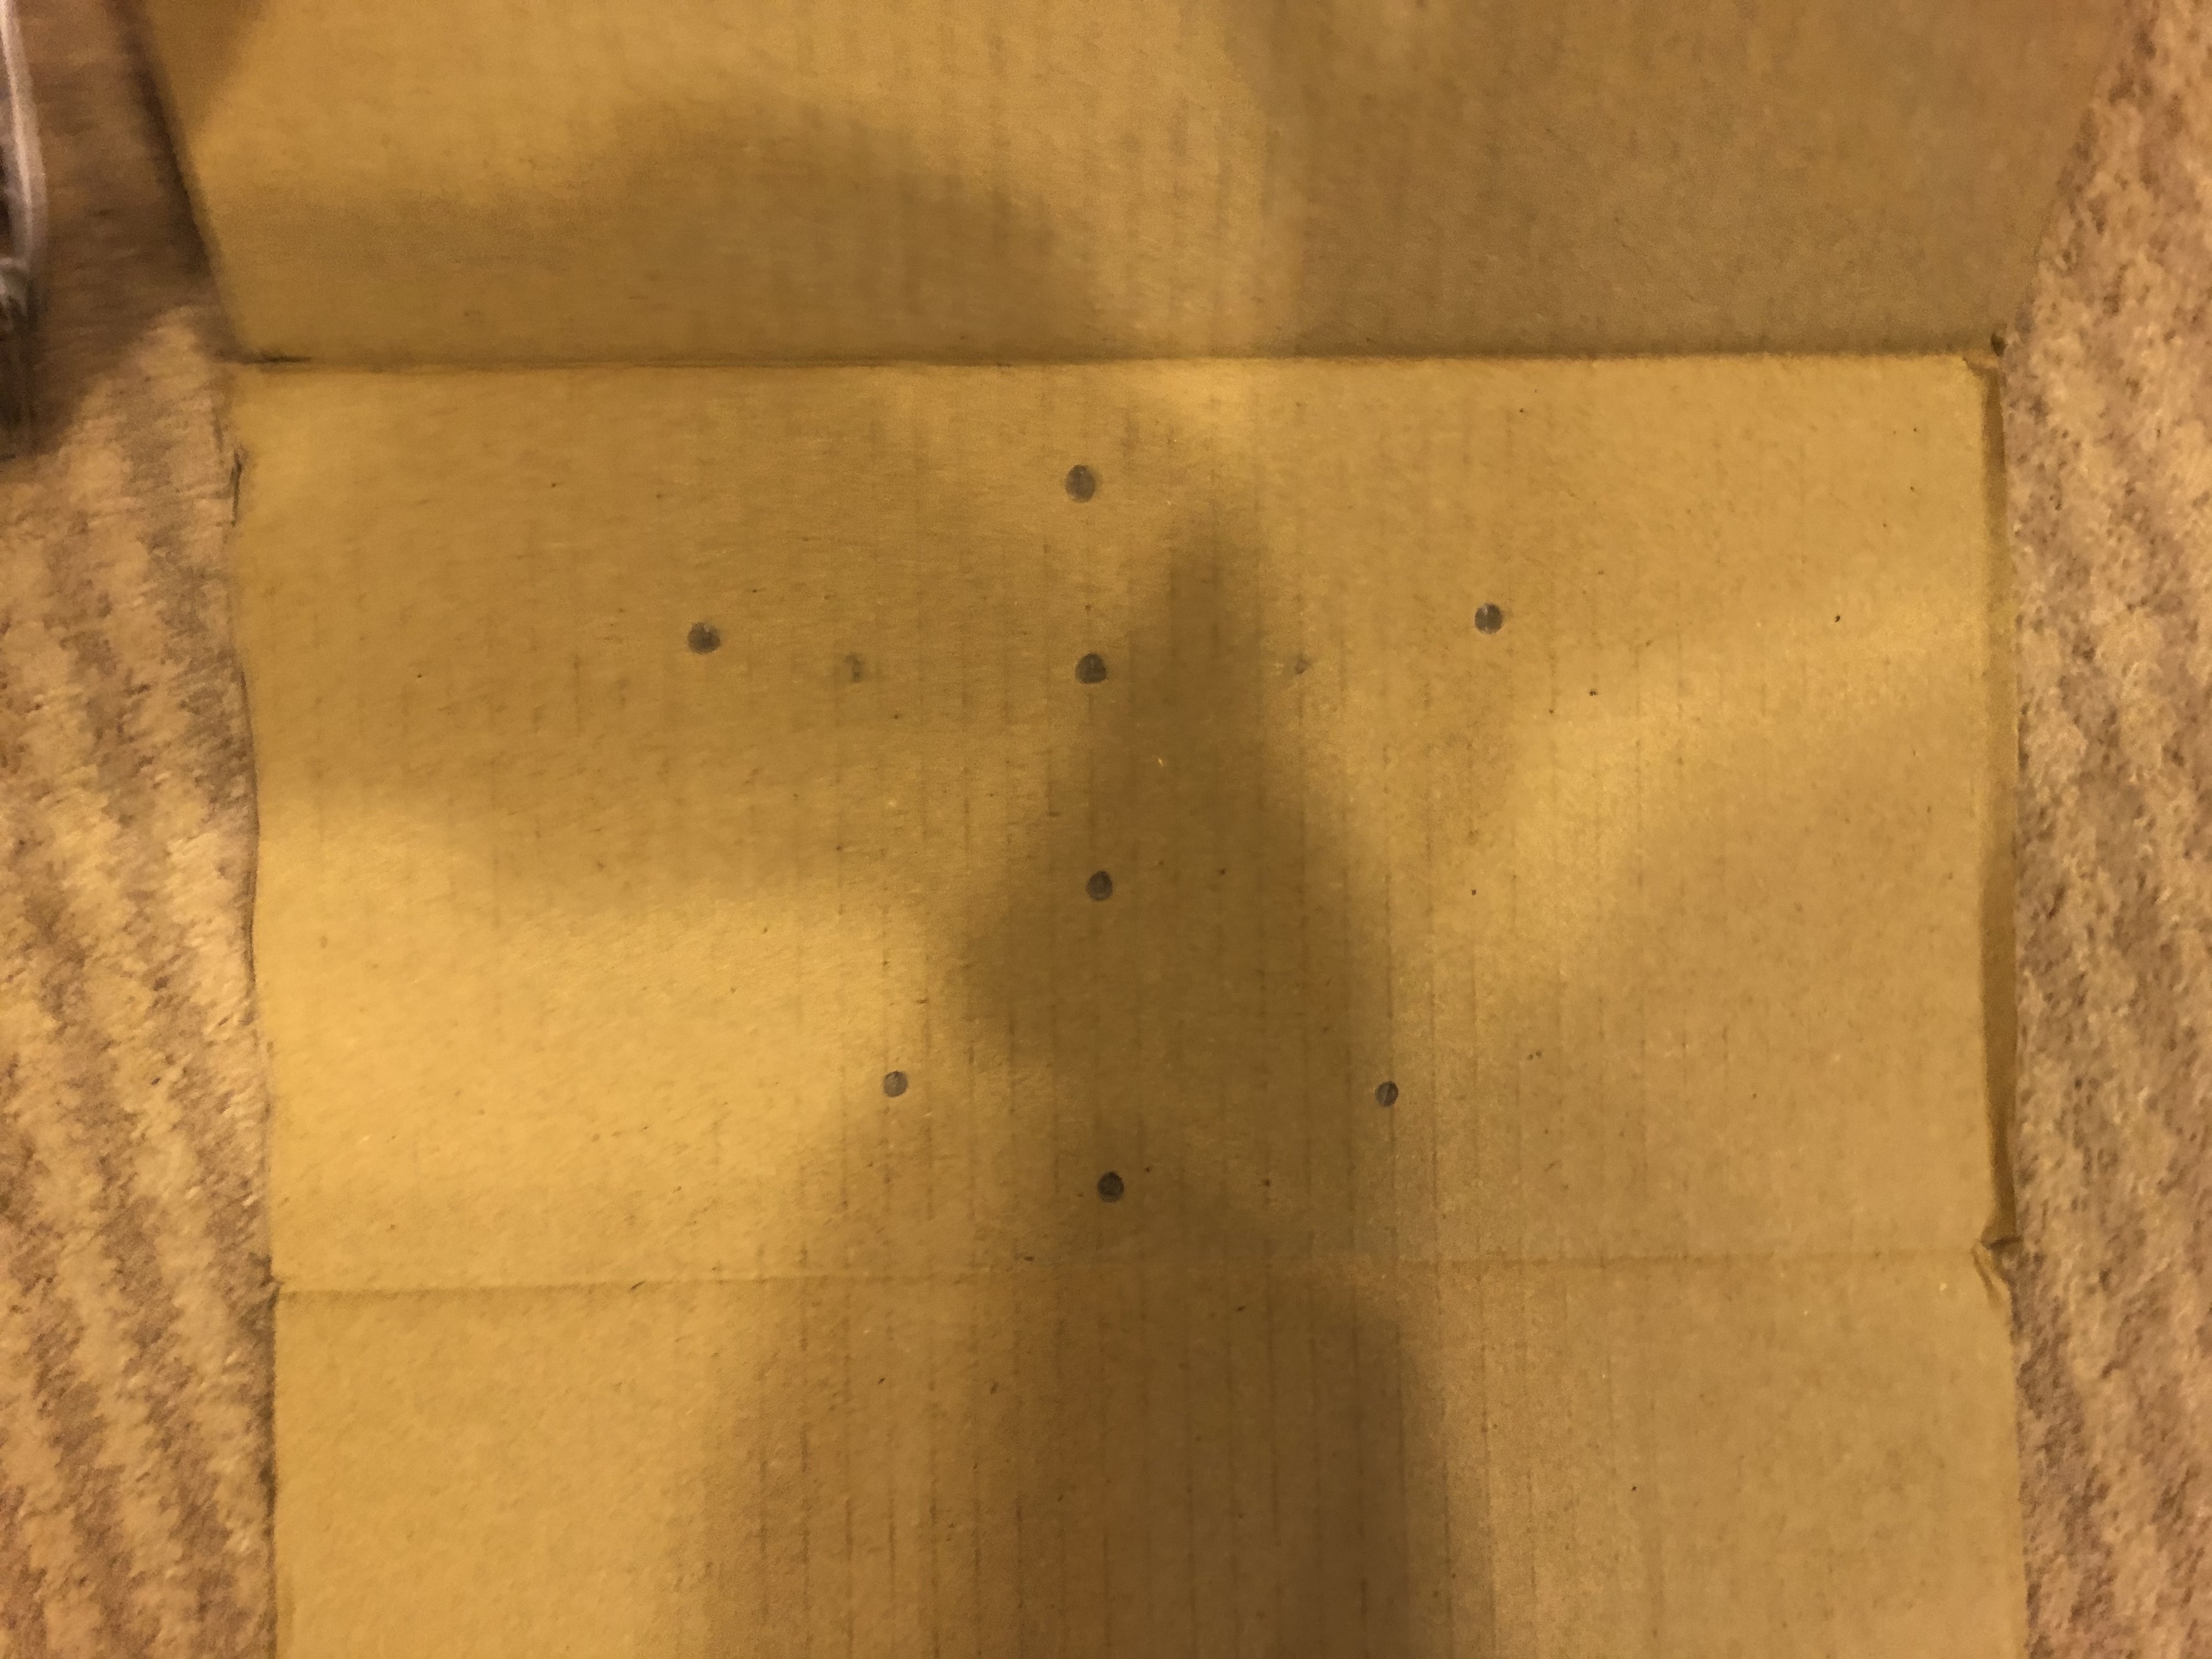
Now you will create a box to hold all the light!
1. find a box and stick all the sides together ( Make a full closed box)
2. Cut one side of the box off
3. The cut offside will become a plat cardboard
4. Plot the points on the cardboard. The number on the dots should as same as the one on your Arduino board
5. Paint the other side of the board black
6. Turn the plots you draw into holes.
7. Place all the Led lights in the holes. The lights should the same as your lights on your breadboard.
8. Leave the board outside, and the lights facing inside
9. make holes in the front of your box