External Act LED for Raspberry Pi
by M ELECTRONICS LAB in Circuits > Raspberry Pi
7674 Views, 6 Favorites, 0 Comments
External Act LED for Raspberry Pi
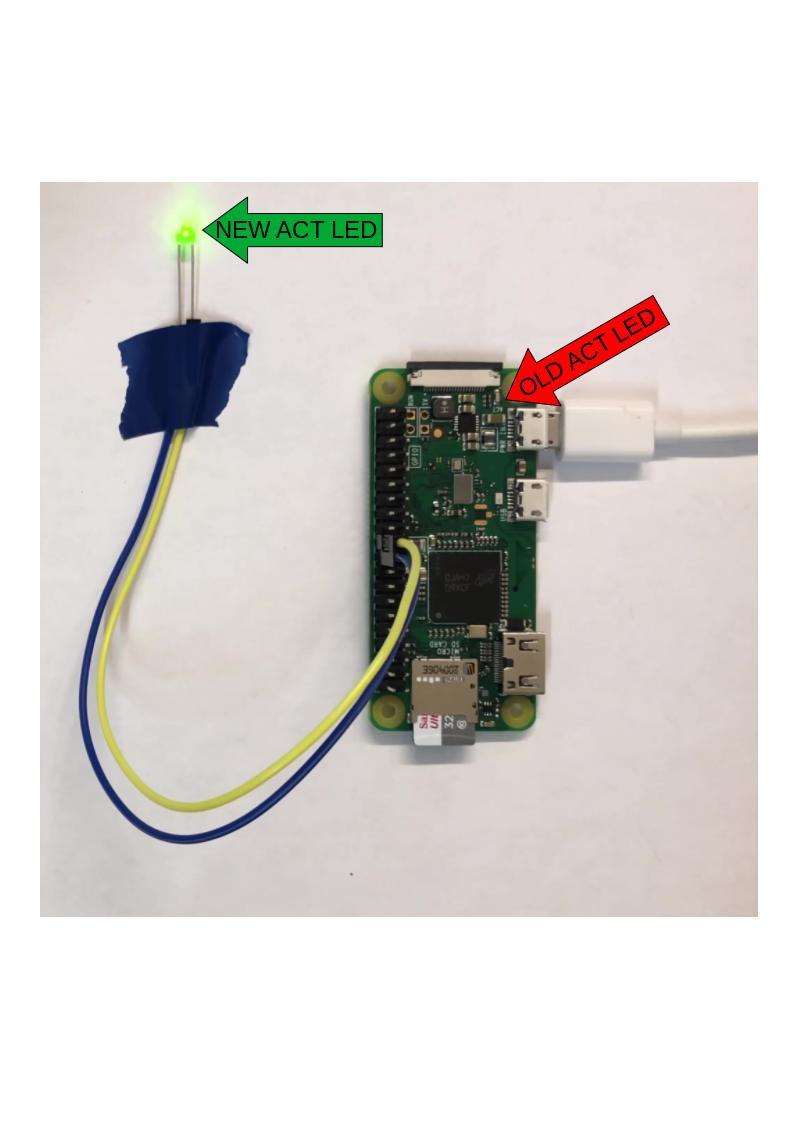
This Instructable is useful for example if you have an appliance which uses an raspberry pi but you can't see that the pi does something. I'll show you how to make an external act LED.
Open Config.txt
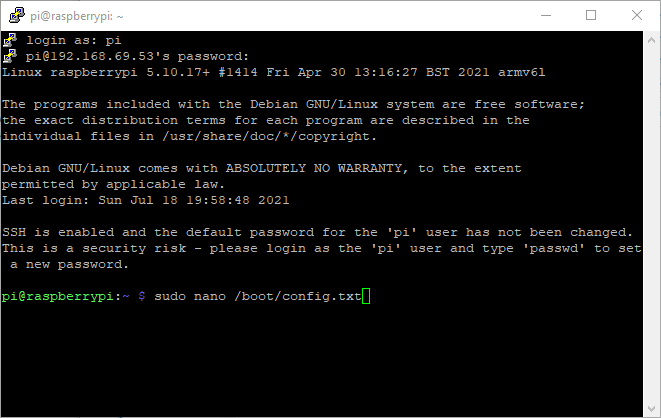
First we have to open the config.txt file. Depending on your Debian version your file is located in a different Folder.
For newer versions after Bookworm it is this command:
sudo nano /boot/firmware/config.txt
For older versions before bookworm the command looks like this:
sudo nano /boot/config.txt
Change Config.txt
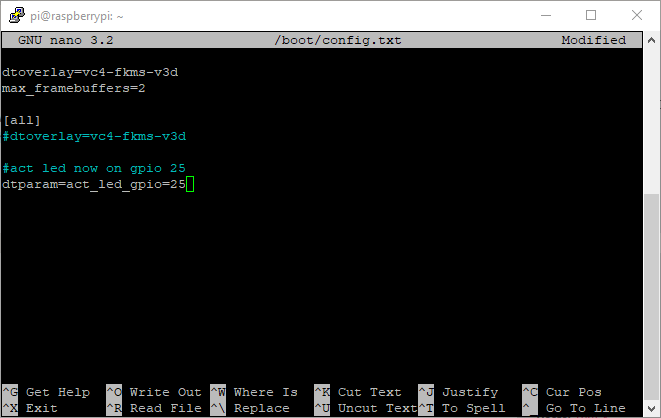
Choose a GPIO you want to use I'll be using GPIO 25. Now add the following lines to your /boot/config.txt :
#act led now on gpio 25
dtparam=act_led_gpio=25
Note that the first line isn't necessary but it might be helpful to remember what you have changed.
Save and Close /boot/config.txt
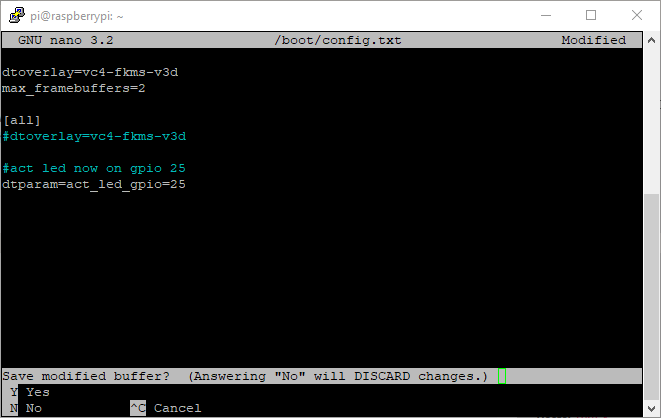
Press ctrl and X . Then after it asks you to save the modified buffer press Y to save and close.
Reboot
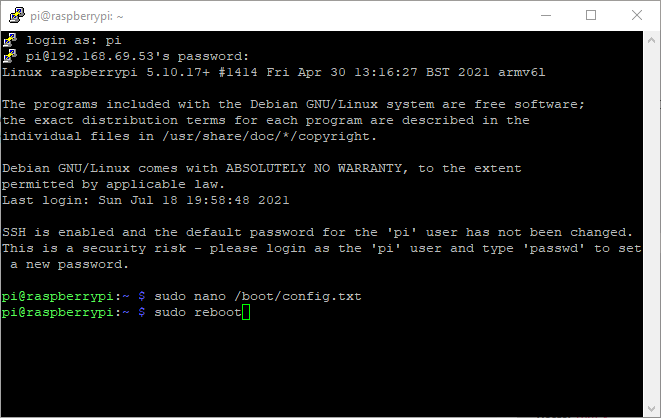
Type
sudo reboot
to reboot. Now you have done the software part.
Building the Circuit
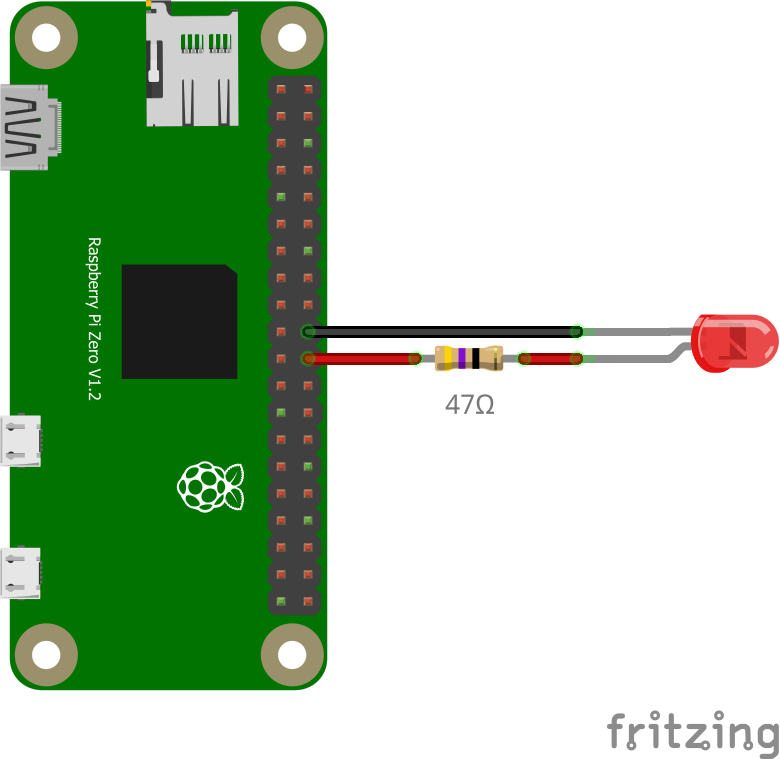
Connect the cathode of the LED to GND (Ground). Connect the anode of the LED in series with a 47 Ω resistor to the GPIO you have chosen before.
Done
