Express Yourself!

When one of the girls I work with was starting Middle School she wanted something special to wear for school and her Mom was broke. She found this way to earn the money herself and deck out her and her classmates lockers and bedroom doors as well.
This I'ble is being submitted on behalf of Karry H., age 13. grade 8. All designs shown here are her personal creations.
This I'ble is being submitted on behalf of Karry H., age 13. grade 8. All designs shown here are her personal creations.
Materials

You will need:
2 pieces of Glitter Foam with an adhesive backing
Scissors, Exacta Knife or Die Cutter
Mounting Materials, i.e. stick on magnets, double sided poster tape or just peel the backing off the bottom sheet of foam.
Marking Pen if cutting by hand
2 pieces of Glitter Foam with an adhesive backing
Scissors, Exacta Knife or Die Cutter
Mounting Materials, i.e. stick on magnets, double sided poster tape or just peel the backing off the bottom sheet of foam.
Marking Pen if cutting by hand
Design and Cut

Design and cut your foam for the front side.
If you are not using a die cutter (Karry is using my Crucit Expression Machine here) draw your design on the back of the paper using a marking pen and leave at least a one half inch edge for the frame. Following your markings cut through the foam, an Exacta Knife works best for hand cutting.
If you are not using a die cutter (Karry is using my Crucit Expression Machine here) draw your design on the back of the paper using a marking pen and leave at least a one half inch edge for the frame. Following your markings cut through the foam, an Exacta Knife works best for hand cutting.
Peel Your Design

Flip the foam (front side piece) over and starting at the top of your design peel away the paper backing from all areas you want to stick to the backside piece.
Note: do the outer edges last so you aren't constantly getting it stuck to yourself.
Note: do the outer edges last so you aren't constantly getting it stuck to yourself.
Add the Backing


Place the second piece (back side piece) of Glitter foam on top of the front piece with the Glitter Side facing the adhesive and smooth out
Peel the Front

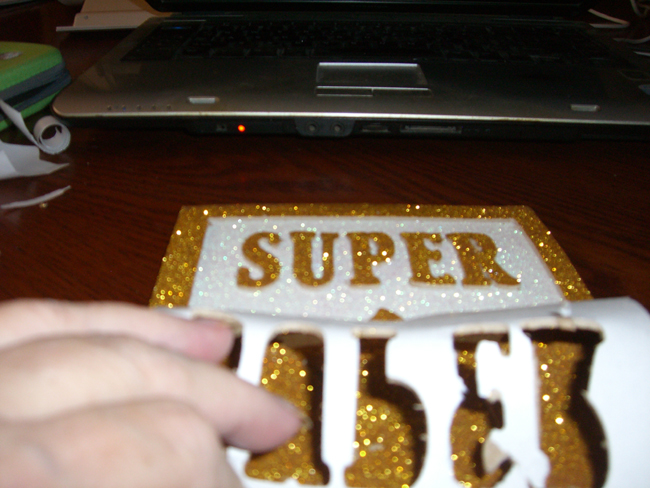
Flip the Glitter Foam over to the front side and carefully peel away the unwanted parts of the front foam to expose your design.
Hang and Enjoy!


Decide how you want to hang your project.
You can simply peel off the adhesive backing and stick it up on your door or in your school locker, but remember it can't be peeled off and used anywhere else.
I recommend attaching the sign to a piece of poster board then adding either sticky magnets (for a locker or refrigerator) or using double sided poster tape that is repositionable for a door or wall.
Below are a few examples of Karrys Designs.