Explosions in GIMP/Photoshop
by Ausm in Craft > Digital Graphics
9250 Views, 23 Favorites, 0 Comments
Explosions in GIMP/Photoshop
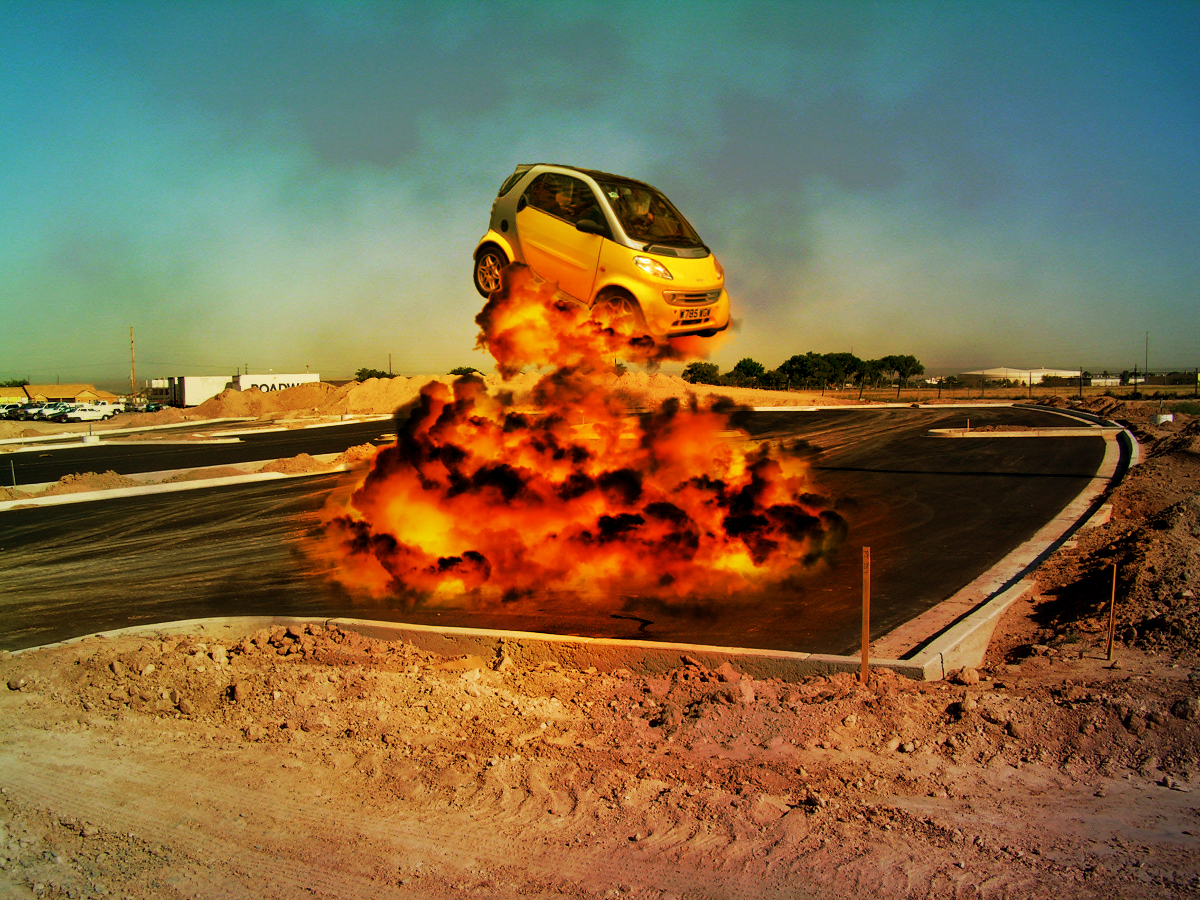
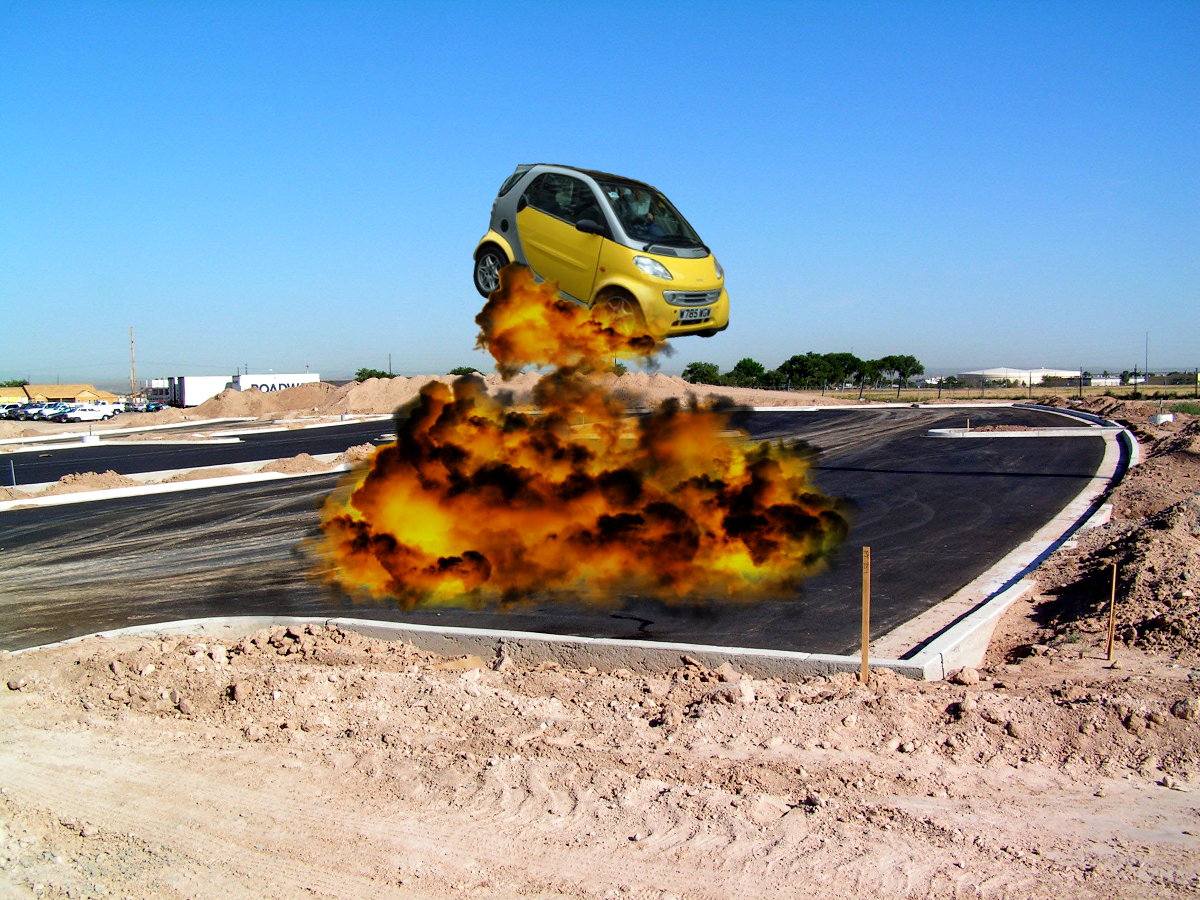
Using a few extra brushes and a little now how, you can blow up anything from the safety of your computer [Minus the excitement >:(] Oh well... Use This to make a nice wallpaper, impress your friends, or show off your new 1337 photoshooping skilz.
In the boredom of a computer graphics class that I was far above (taking it to get to "higher" classes) I was looking for a way to render an explosion from scratch. I eventually stumbled upon starlight86's tutorial.
http://gimp-tutorials.net/creating-fireball-and-explosion-effect-in-gimp
I tried it, and it wasn't exactly how I wanted it. Infact, when I tried it it looked pretty ugly. I fooled with something new and discovered something my eyes will never forget, A SOMEWHAT REALISTIC LOOKING EXPLOSION!!!!!!111!1!!1. So I created something new again and came up with what you see here.
Ingredients
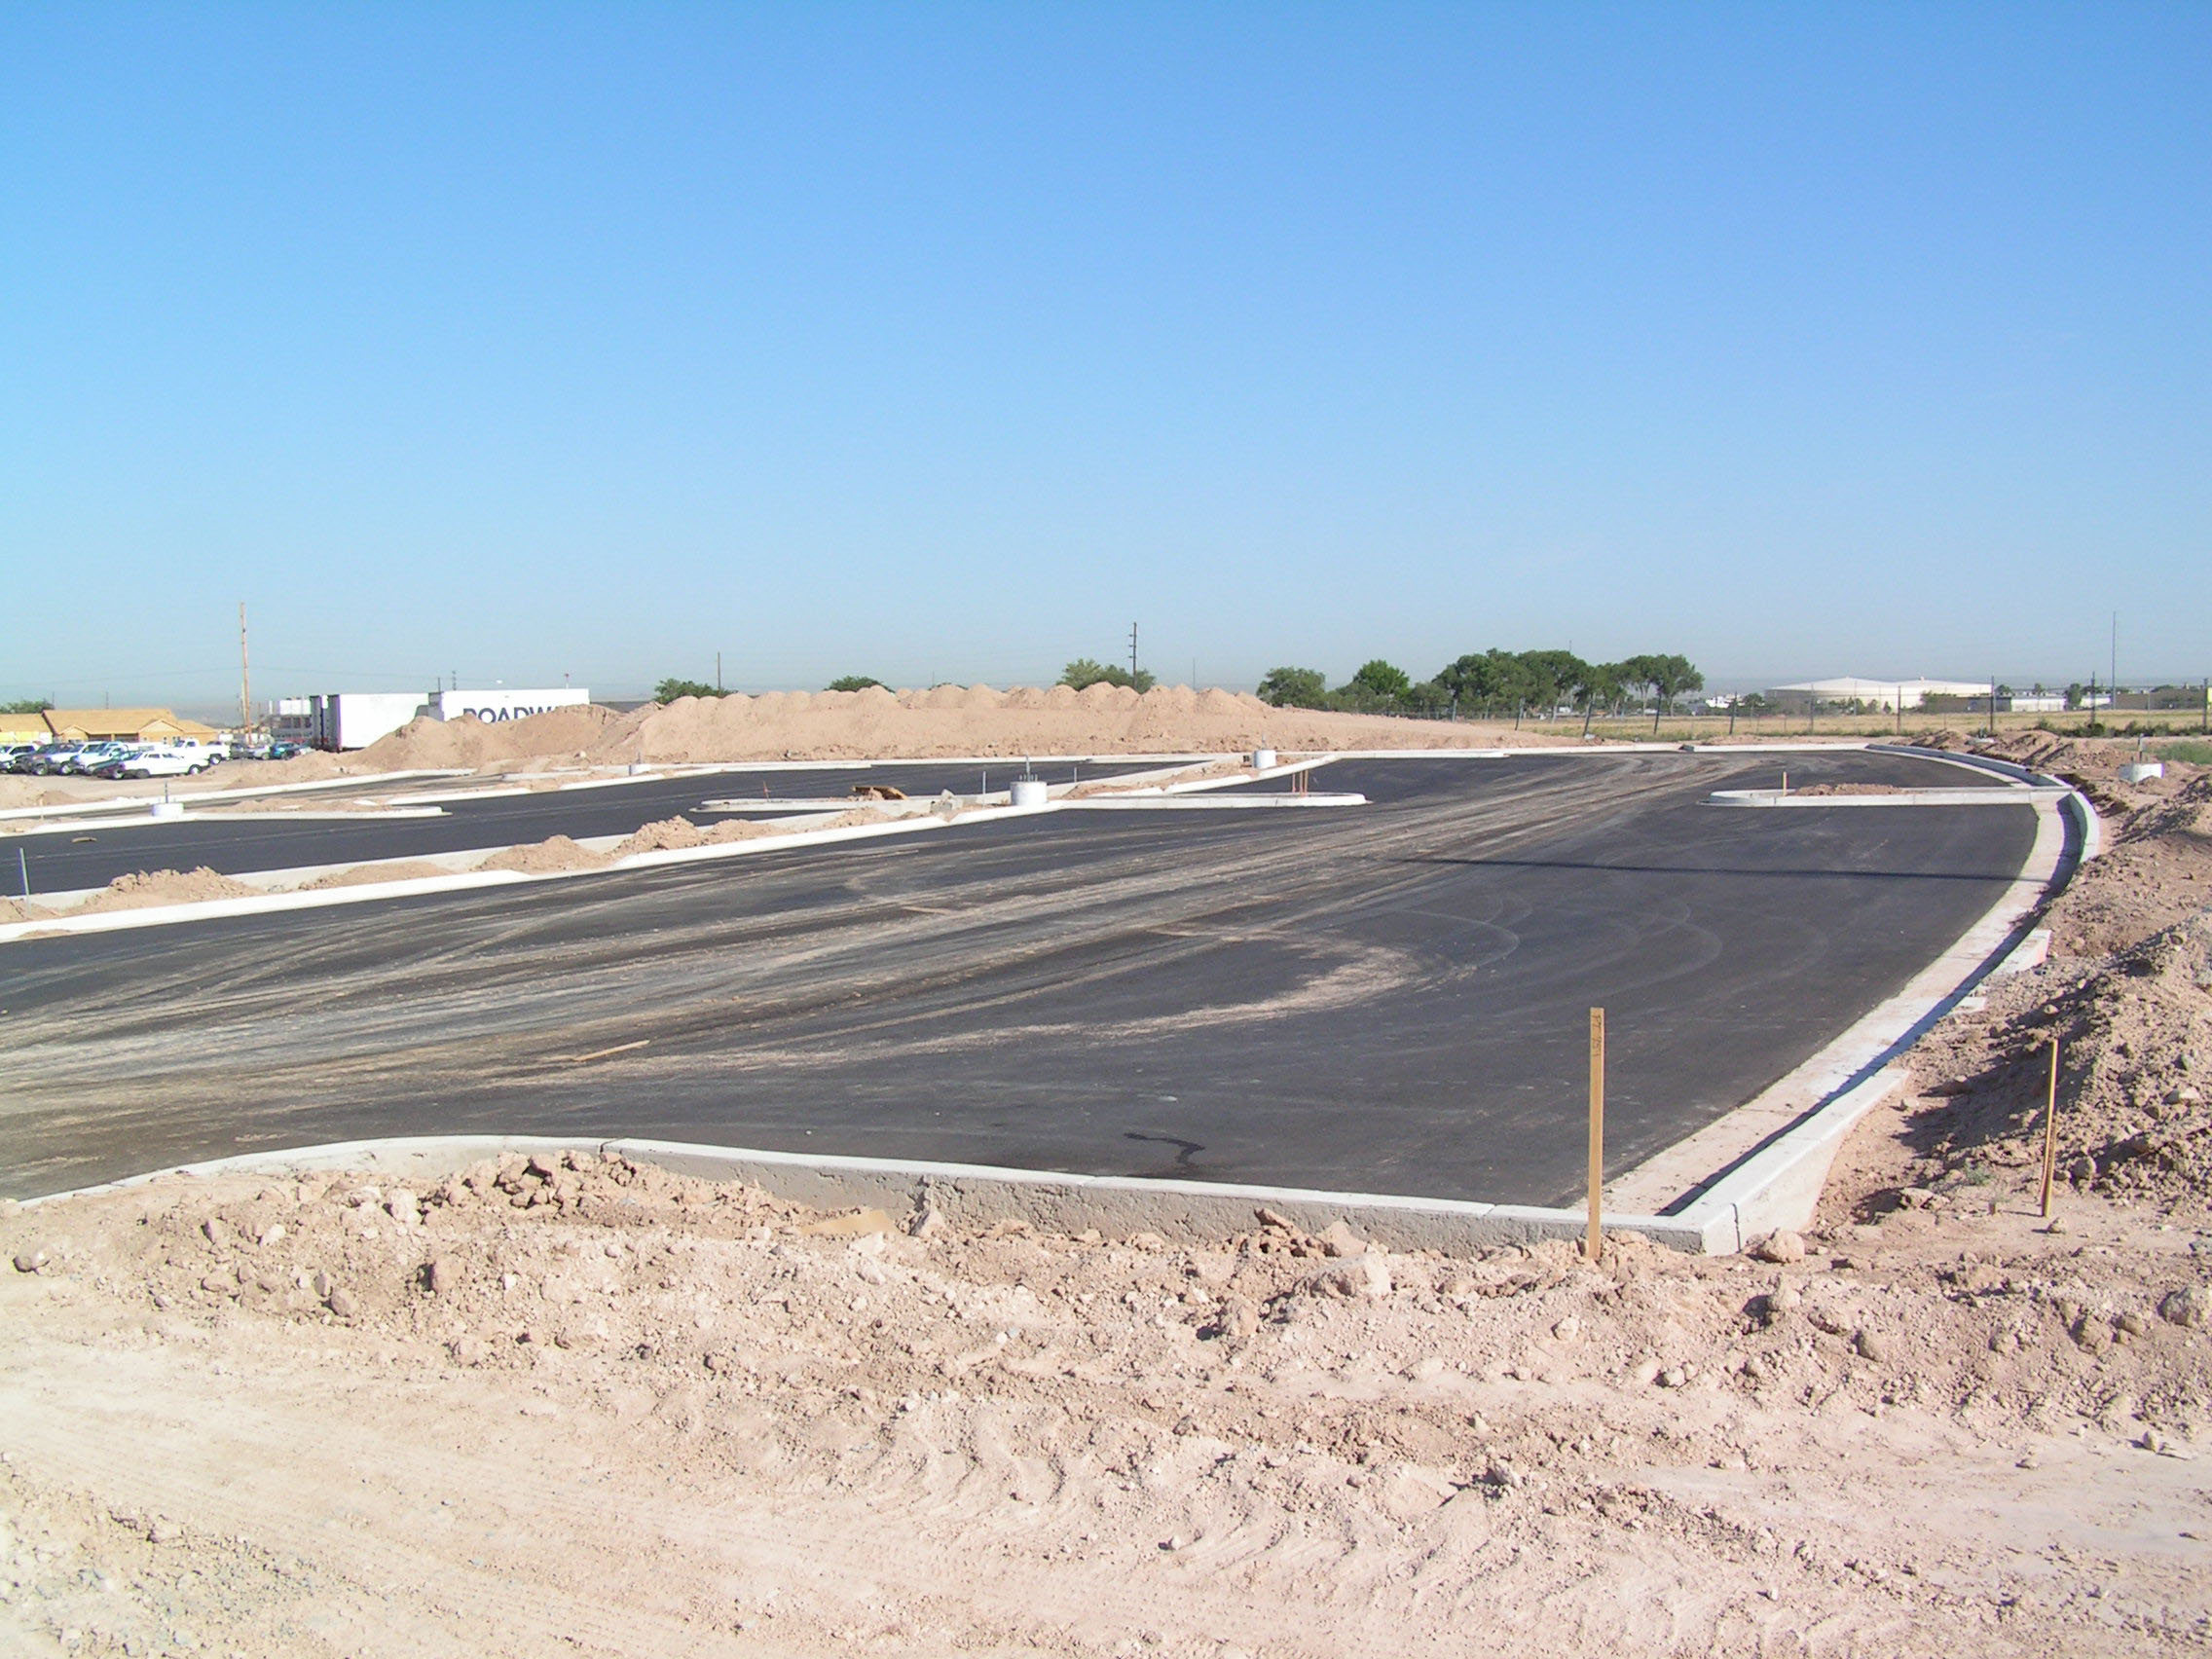
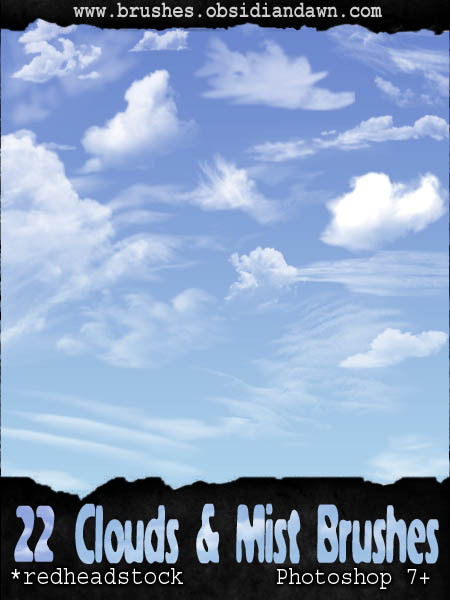
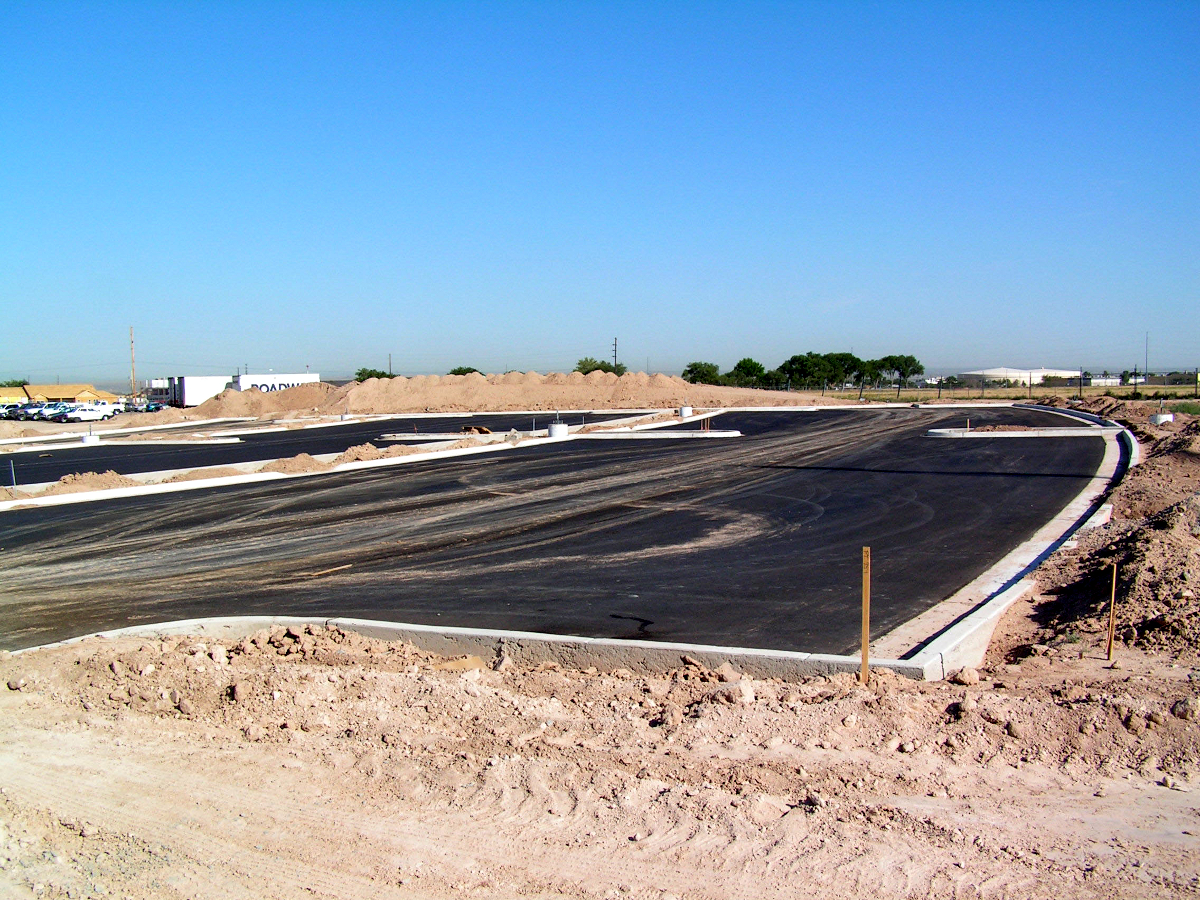
The first thing to do is to find a good stock image or go with a picture you took, I decided to go with a parking lot. I like to have parking lots for explosions. If you decide to go with something else, make sure it has a large open flat space, and make sure that there are not to many obstructions to your future explosion. Make sure that you can visualize what you want. You will also need a set of cloud brushes.
I got my set @ http://project-gimpbc.deviantart.com/art/GIMP-Cloud-Brushes-62335977
Original parking lot image @ http://cint.lanl.gov/core_facility/images/7-8-05%20Parking%20Lot.JPG
If you do not go with this set, or opt to make your own, make sure there is a wide diversity of clouds from large to small, and puffy to flat. You need this difference for the explosion.
Now that you have all of the ingredients, not it's time to cook them.
Humble Beginnings
By reading this instructable, I'm assuming that you have very basic GIMP/Photoshoping skills.Example: I not telling teh n0Obz how to create a new layer.
To install the brushes, you might want to google that up if you do not know how. You might need to restart the program for them to show up.
If you do not like the size of the stock (to big sort of thing), you should size it down. I made mine 1200x width, and I don't know what the second dimension is, it should do it for you... You might want to start with something smaller to get a "feel" to this effect before doing anything big. I don't know why, but for some reason, this does not work if it's on anything other then a white canvas, and I'm not interested in knowing so don't tell me.
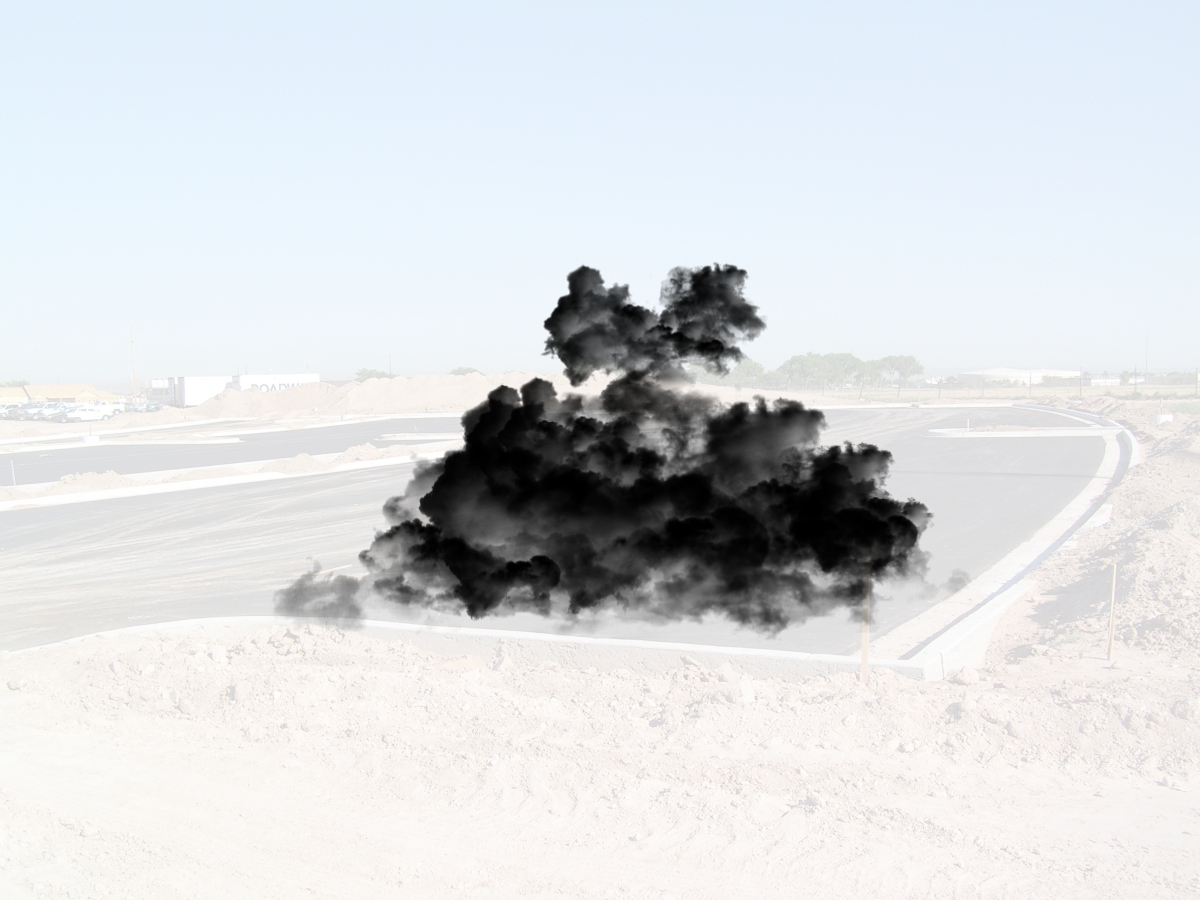
On top of the stock, create a completely white layer. Drop the opacity down enough that you can see the stock and so that there is enough contrast so work with the explosion.
Create another layer. Now, you want to start with puffy clouds to create the general shape of the "base". Vary between puffy clouds; and with the "[' and "]" buttons, you can resize the brushes in GIMP, so you can also vary the size. After a general shape, "fill" it with flatter clouds to give it volume. Try to make a couple of areas more concentrated with puffy clouds then other areas. If you're planning to make a car shoot out of it, make a "shelf", but try not to make it to thick. Look at the picture for more details. I will refer to this layer as the "black layer"
Painting Smoke
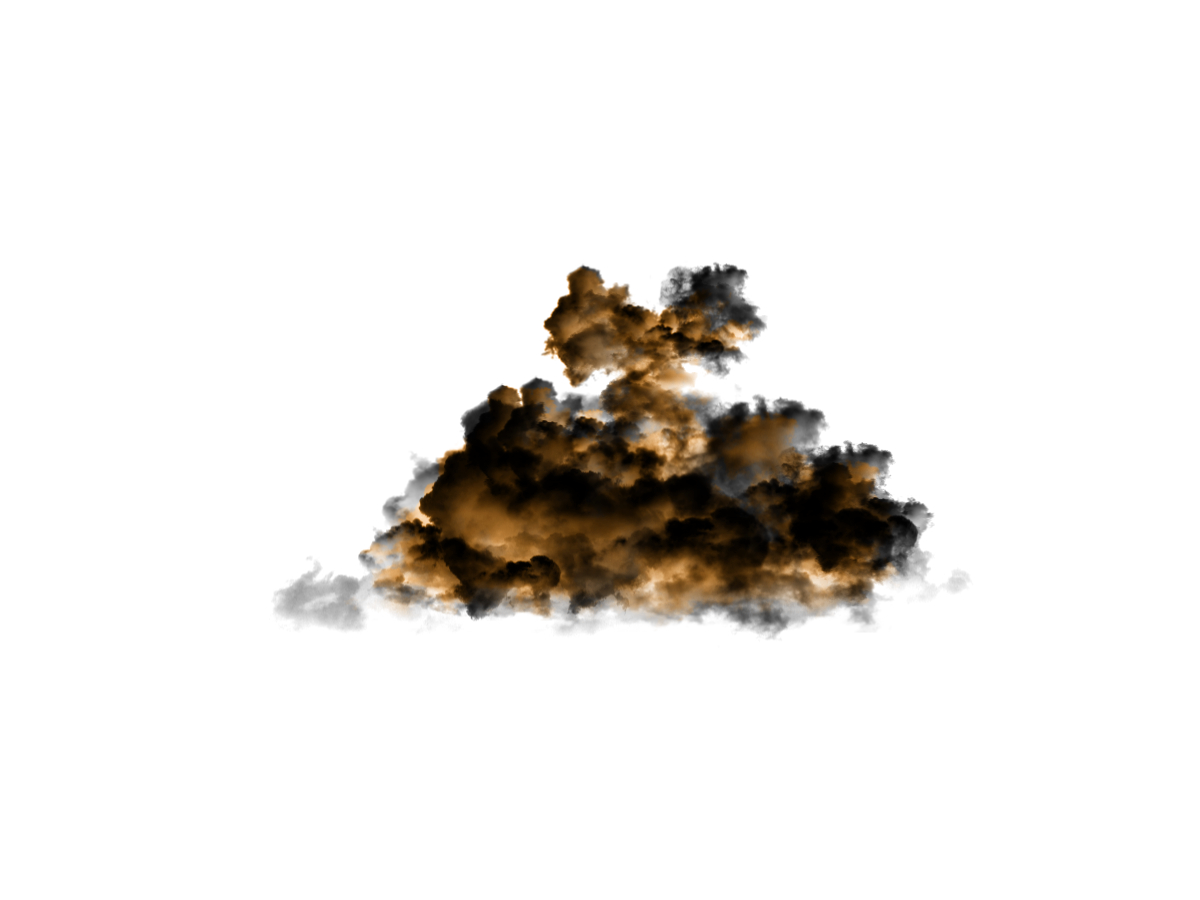
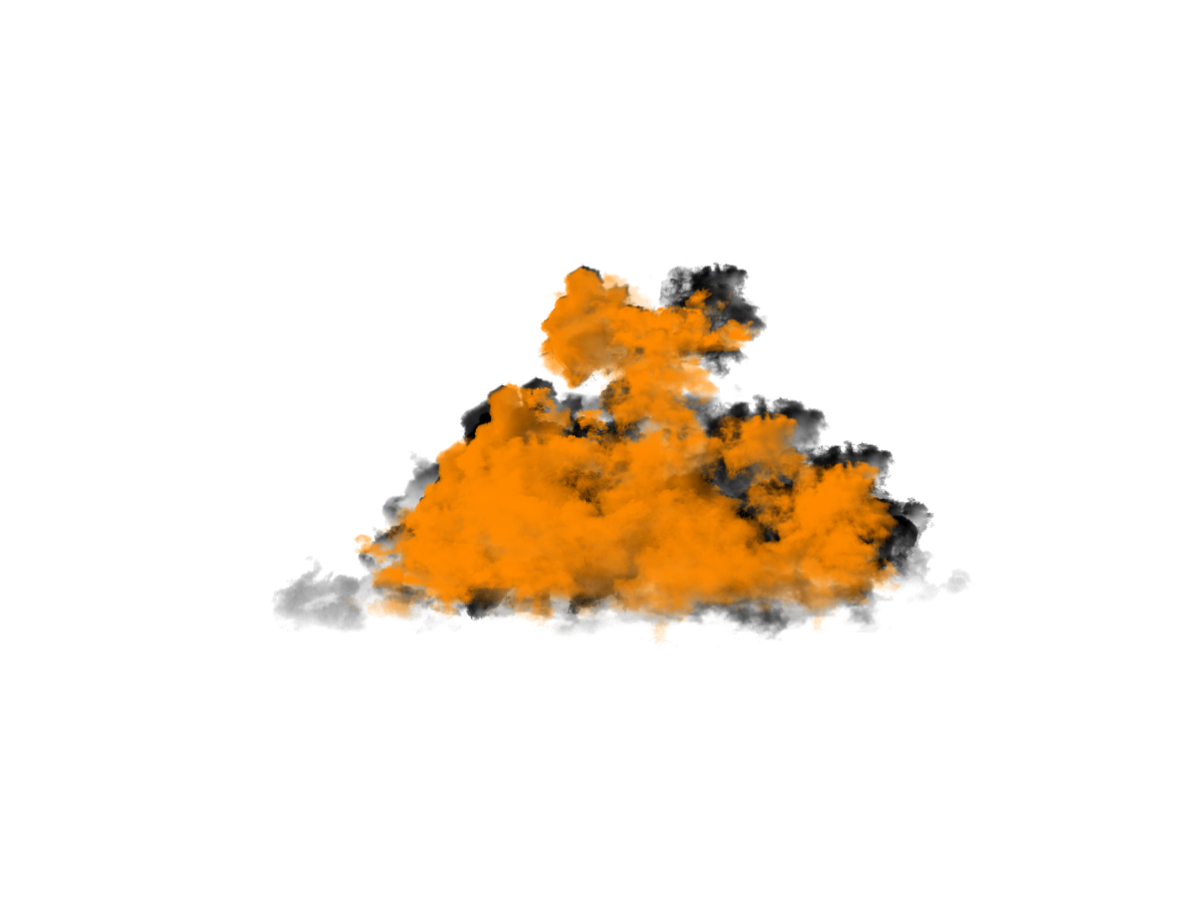
Next is to add some color to it. First, set the white layer you created a while back and set the opacity to 100%. Now pick an orange (#ff5d25) ( not to bright, but not to yellow or red). Create a new layer. Now with more cloud brushes, color in the explosion. Thickness is not a really big factor here. Just make sure to "stay inside the lines". By this I mean to avoid going near the edge of the explosion, to leave a small border around it. Now set the layer to Overlay and leave the opacity at 100% I refer to this layer as the "orange layer".
Rinse, Lather, and Repeat.
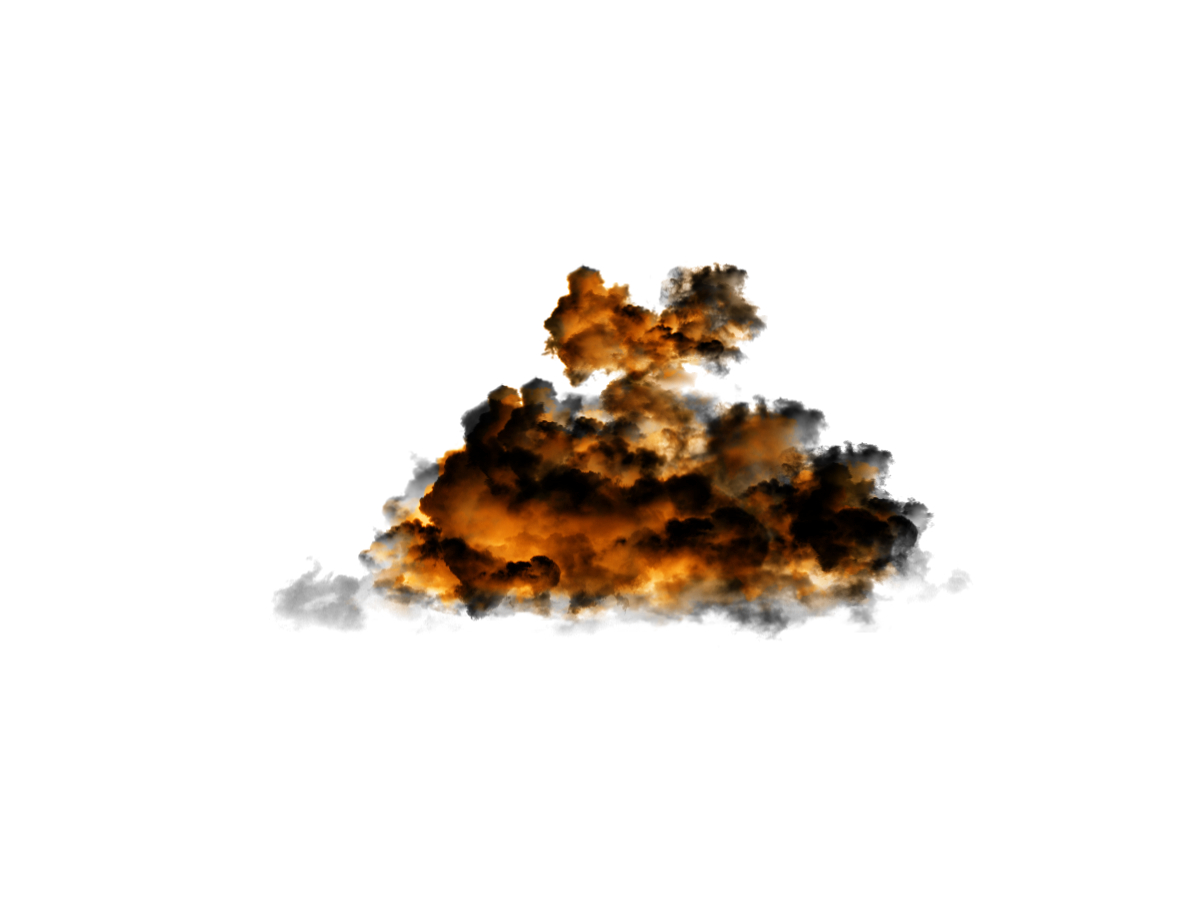
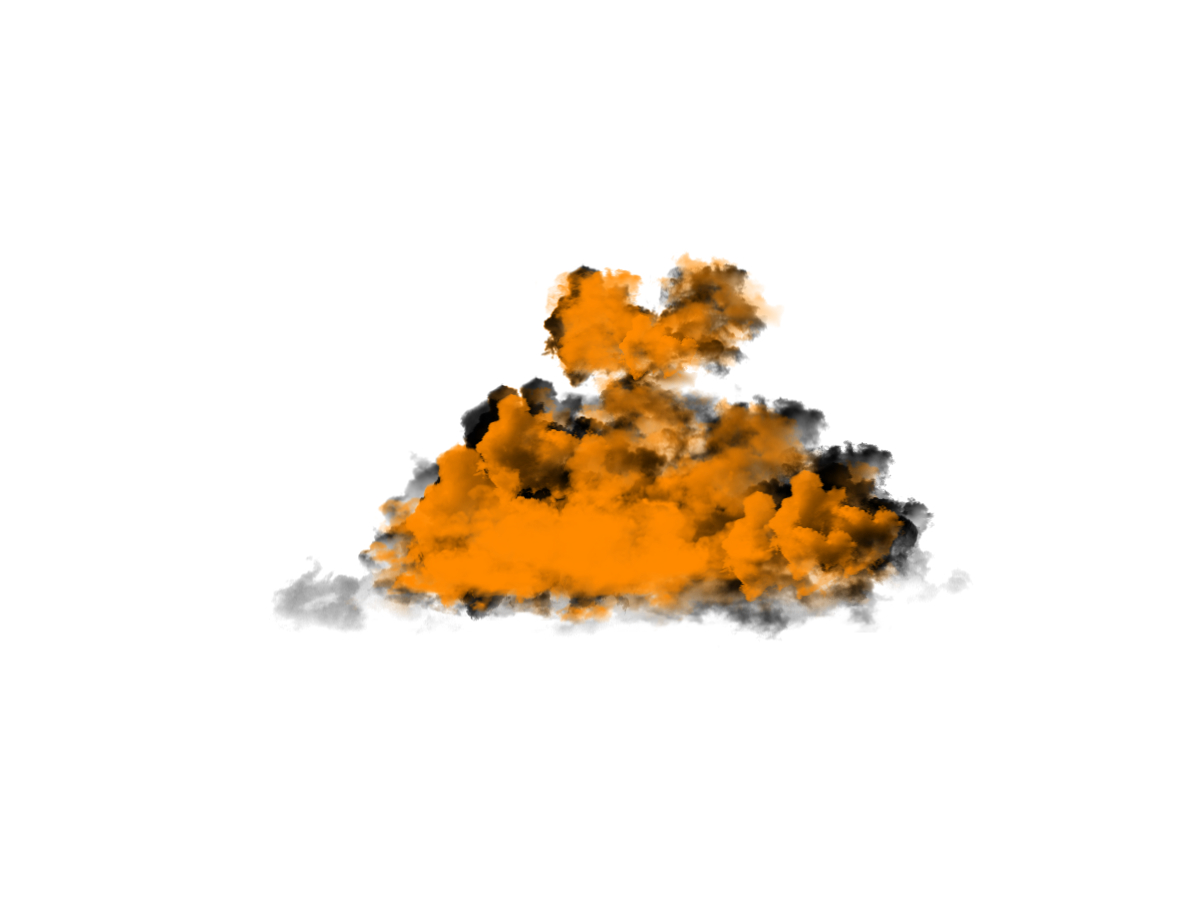

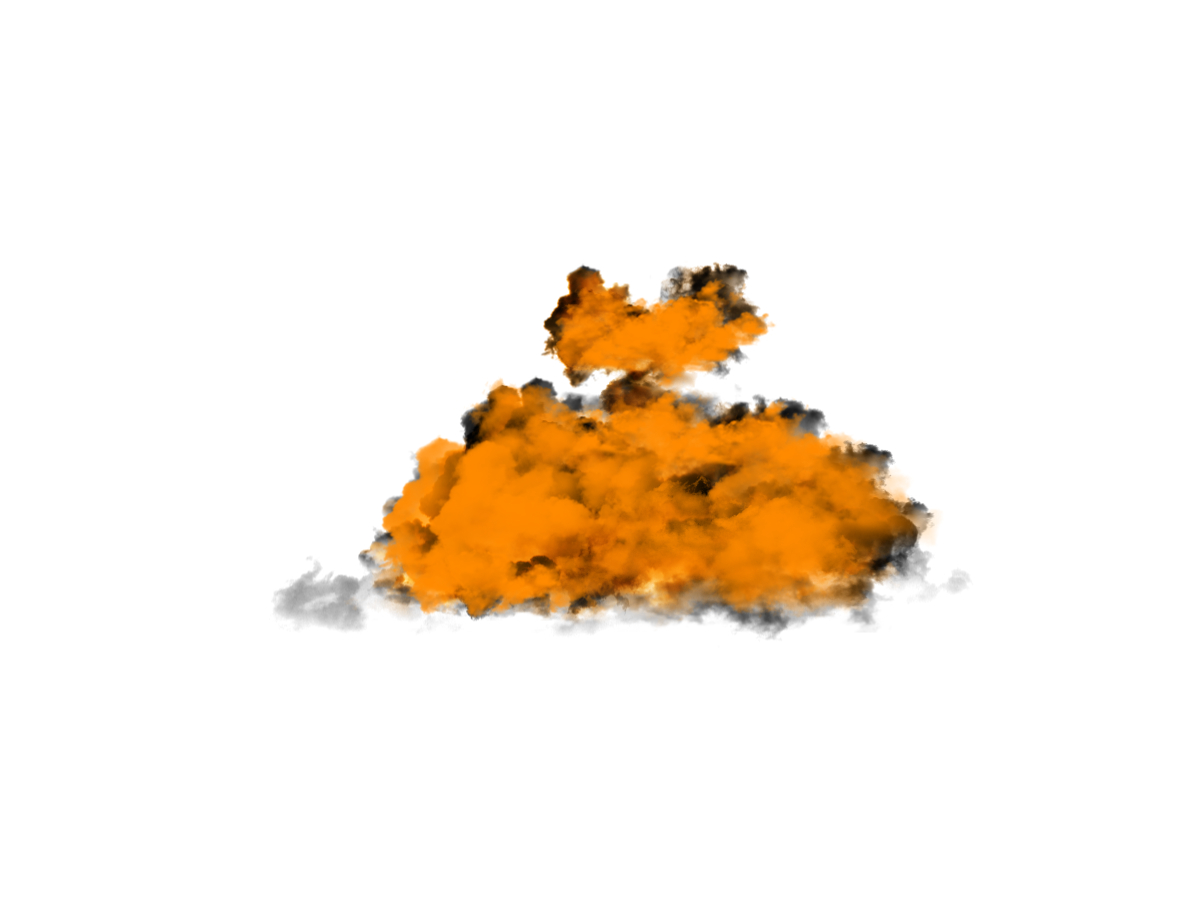
Now you want to do the same thing as you did in step three, with a few changes. This time, you do need to take thickness into consideration. With the second and third layers, you want to make the orange layers thicker right about where it was thicker in the "black layer". With this, you will give those thicker areas the brightening that they need (to shine!!!!). But if you find the thinner layers getting to bright, you might want to cut back in those areas. Make sure to make them in different layers, just incase you forgot or might forget...
Spotlight Please!

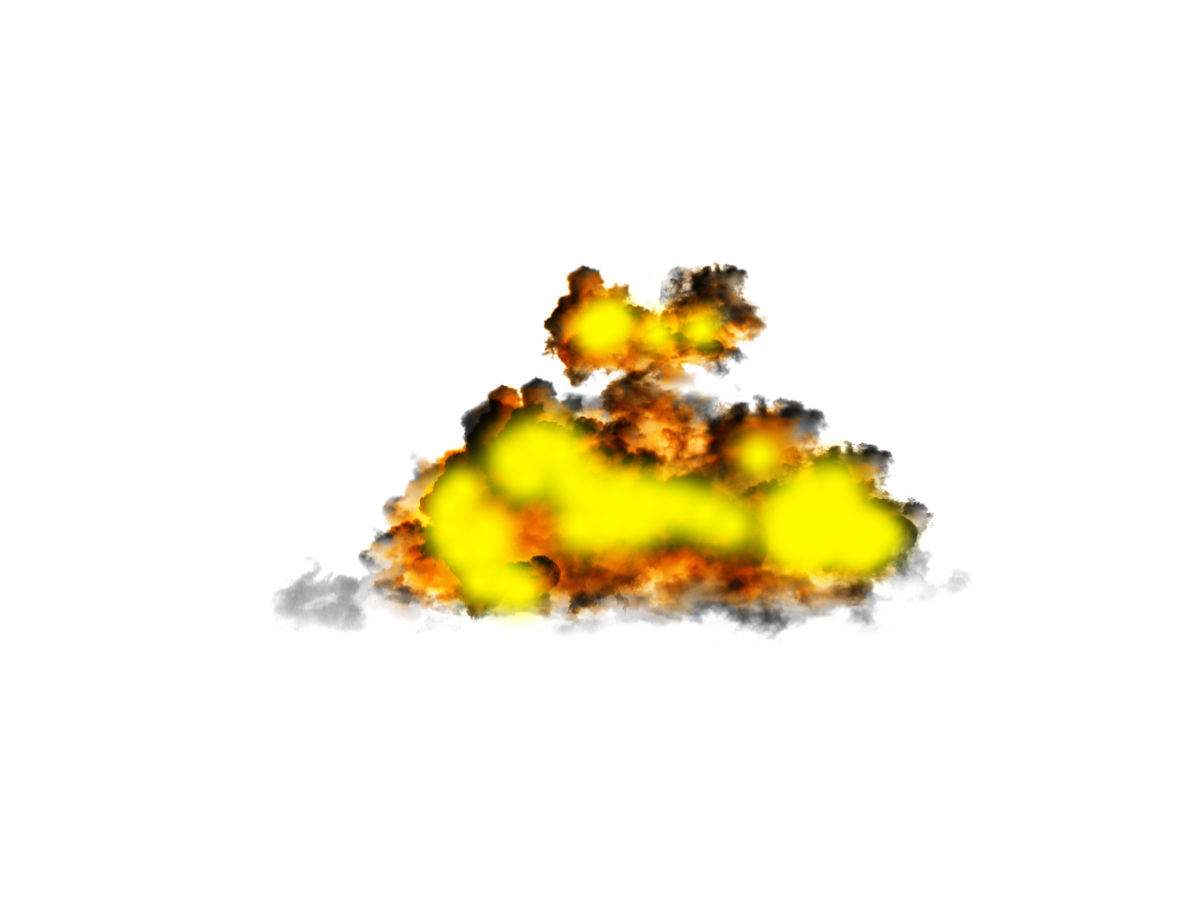
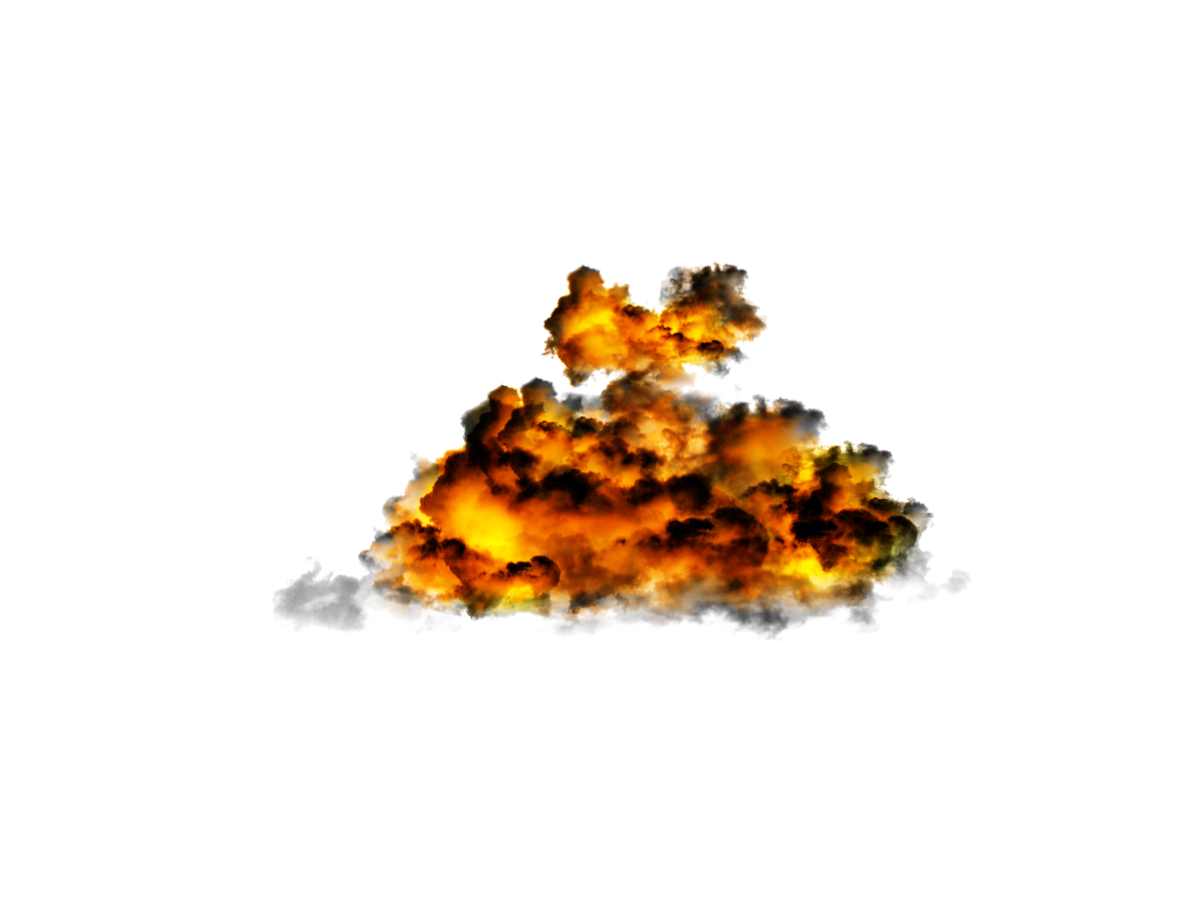
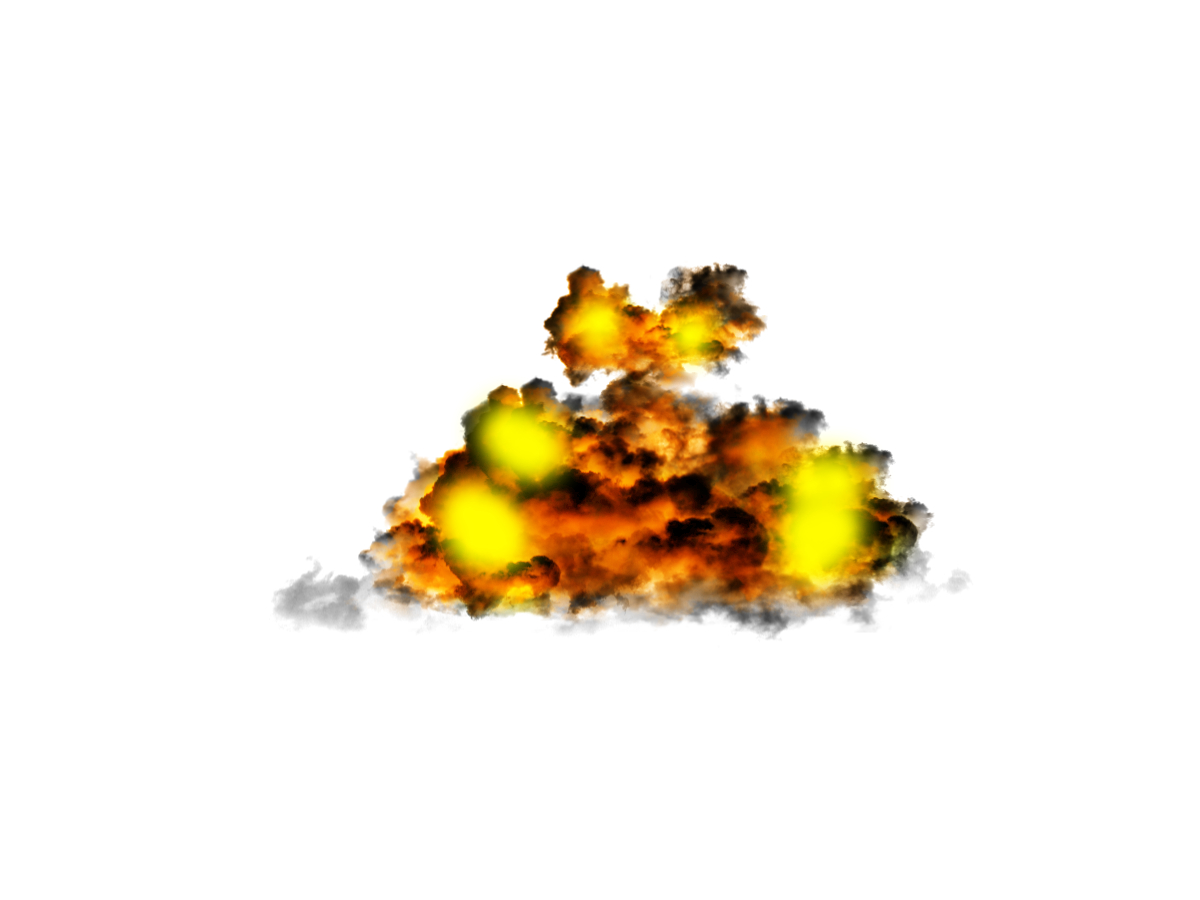
If you are satisfied with what you got in step 4, you can stop right there and go to step 6. But, I encourage you to press on to see what it's supposed to look like.
This is to brighten up the explosion, to make it stand out a little more.
Create a new layer. This is now the "yellow layer". Now grab a nice soft brush and scale it to a reasonable size depending on the size of the explosion (see pics for references). Change the main color to yellow and do a general "painting" over the explosion. Color over every space that looks like it could look better brightened up, and leave alone the areas that already look fine. (Use just a little common sense, I know you have it) Set this layer to Soft Light.
Now with the second "yellow layer", limit yourself to the areas that look bright due to the first "yellow yellow". In other words, the area that looks really yellow (due to the first "yellow layer"). Normally, this process follows on to a third layer, but the explosion looked just a little brighter then I l would of liked, so I decided to stop at two layers. Set these layers also to Soft Light.
Death to Everything!!!1! (saved on My Computer :\)
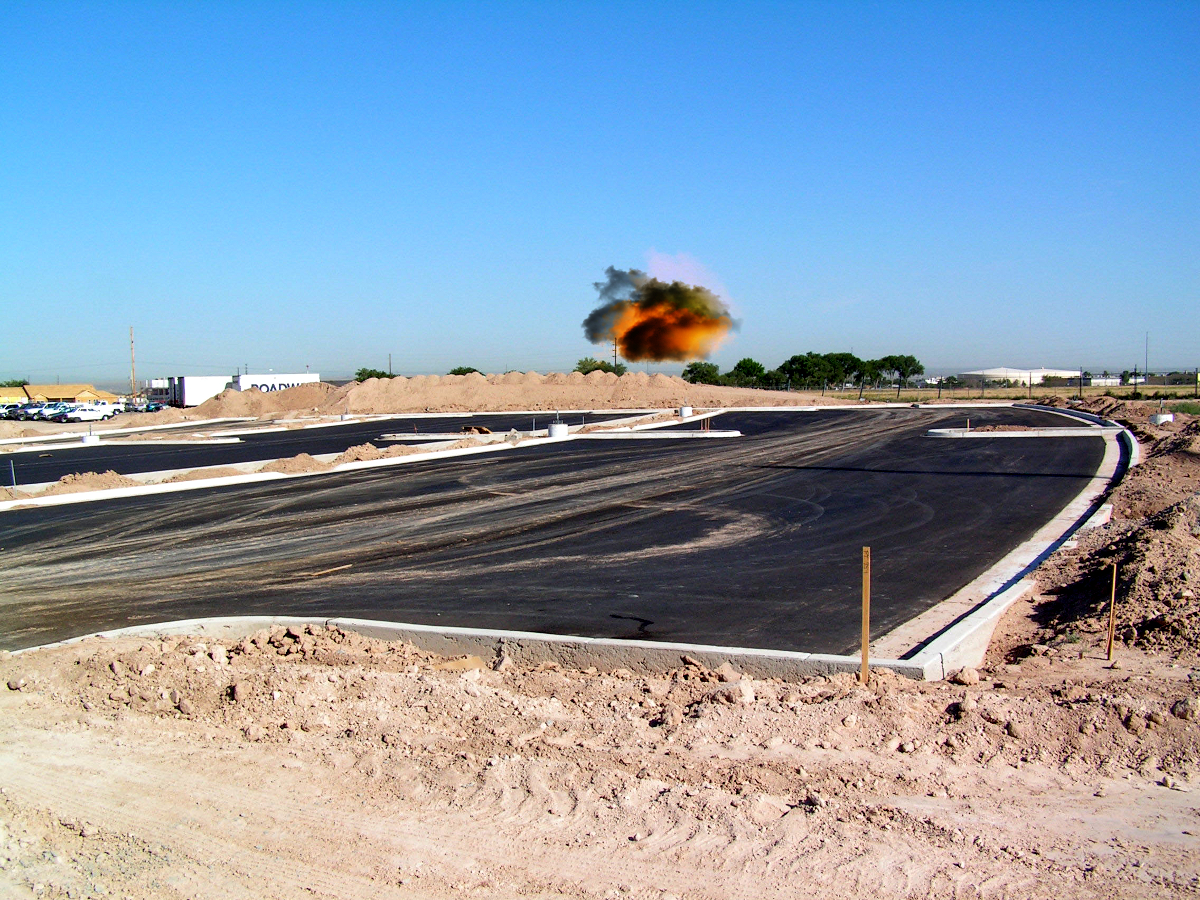
The first thing that you need to do is to save the explosion on that white background as a .jpg. The higher the quality the better. Now save the image as an xcf or a (whatever the photoshop image extension is) so that you can open it for reference, or to revise it. Now delete all the layers except for the stock and import the .jpg of the explosion that you just made. With the awesomeness of the GIMP, we are going to cleanly remove the white of the explosion. (I have not found out how to do this on photoshop). On the GIMP, go to and select Layer>Transparency>Color to Alpha. The default color should be white, if it isn't, set it to white and click OK. Move the clean explosion to wherever you please.
If you plan to blow something up, now is the time to implement. Hopefully you know how to use paths, and removed the background from it (go to someplace else for pathing if you need help. I find the video series "You Suck at Photoshop" very helpful. Rotate and scale the object as desired.
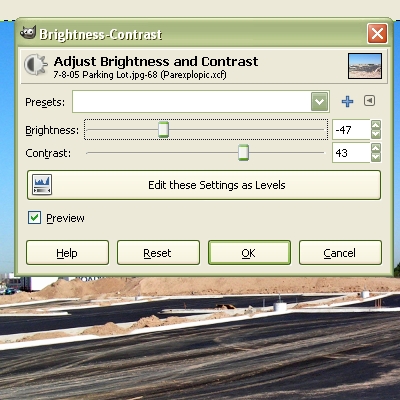
The thing thing that you have to do in this step is to change the brightness and the contrast. I forgot how to get there, I can't open GIMP at this point. Once you open the dialogue window, up the contrast and turn down the brightness. I used brightness of -47 and contrast of 43. I encourage you to use different settings and experiment with them (After you atleast run through through the entire explosion process atleast once)
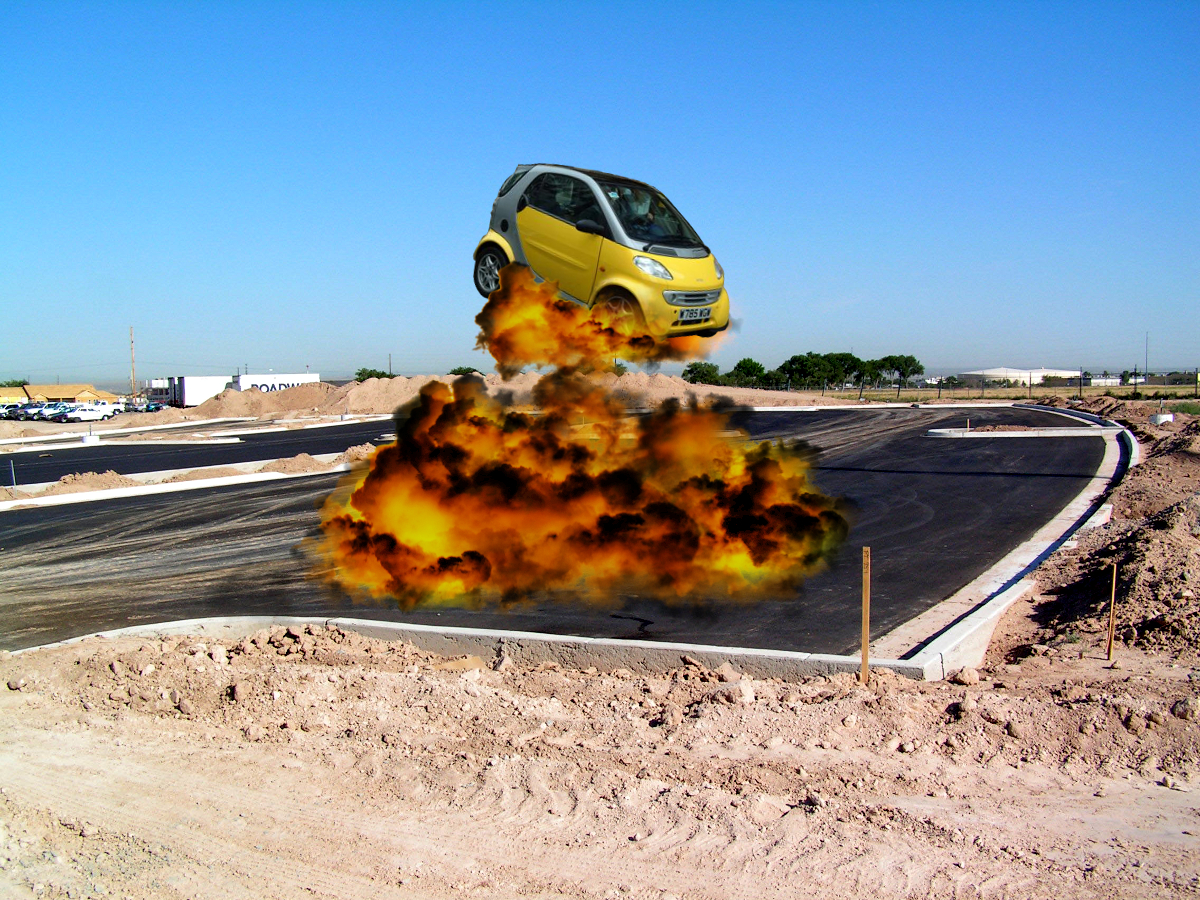
I found it that the car looked a little out of place. I also found out that it looked like the explosion did not look like it was under the smart car. To fix this I repeated the process for making an explosion (Black orange and yellow layers) under the smart car. You don't need to export and all of that if you're just adding some touchups.
The Plot Thickens.
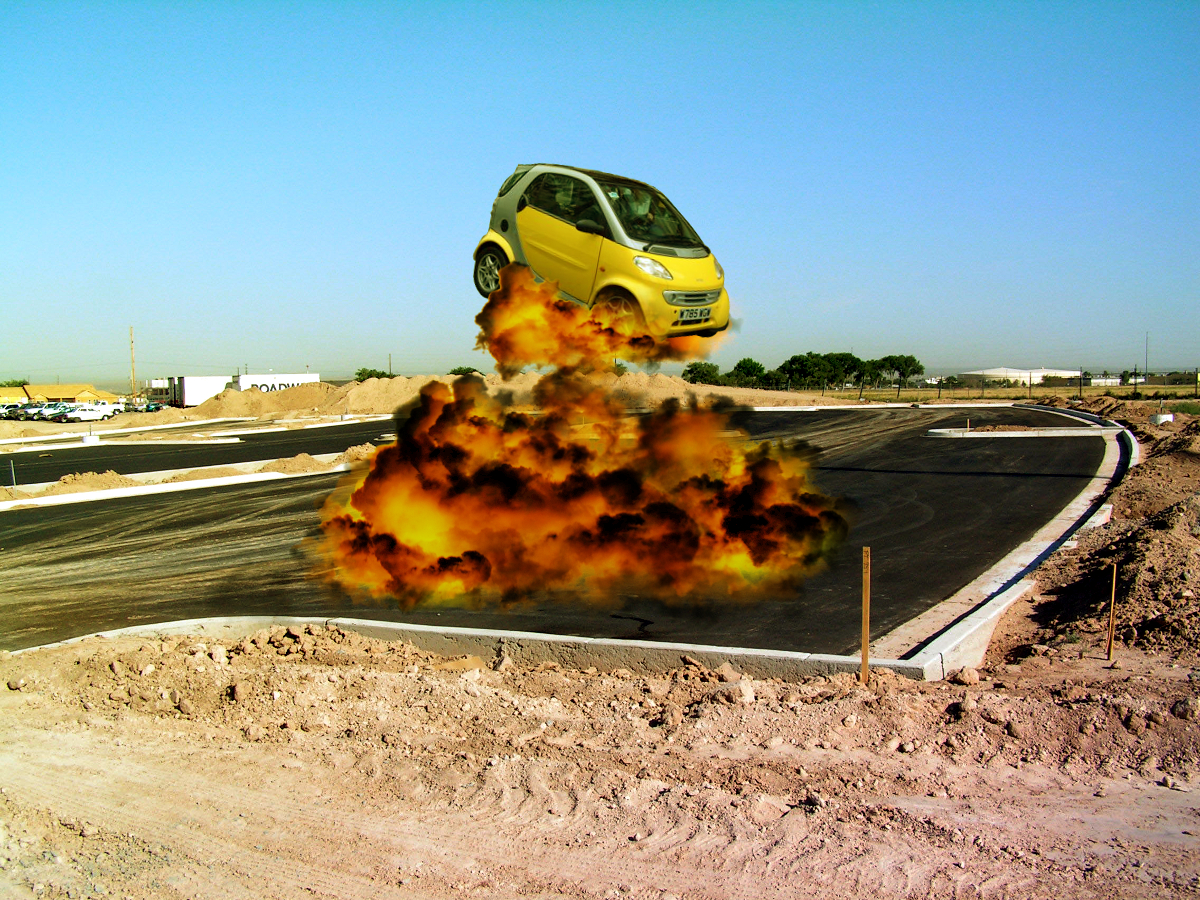
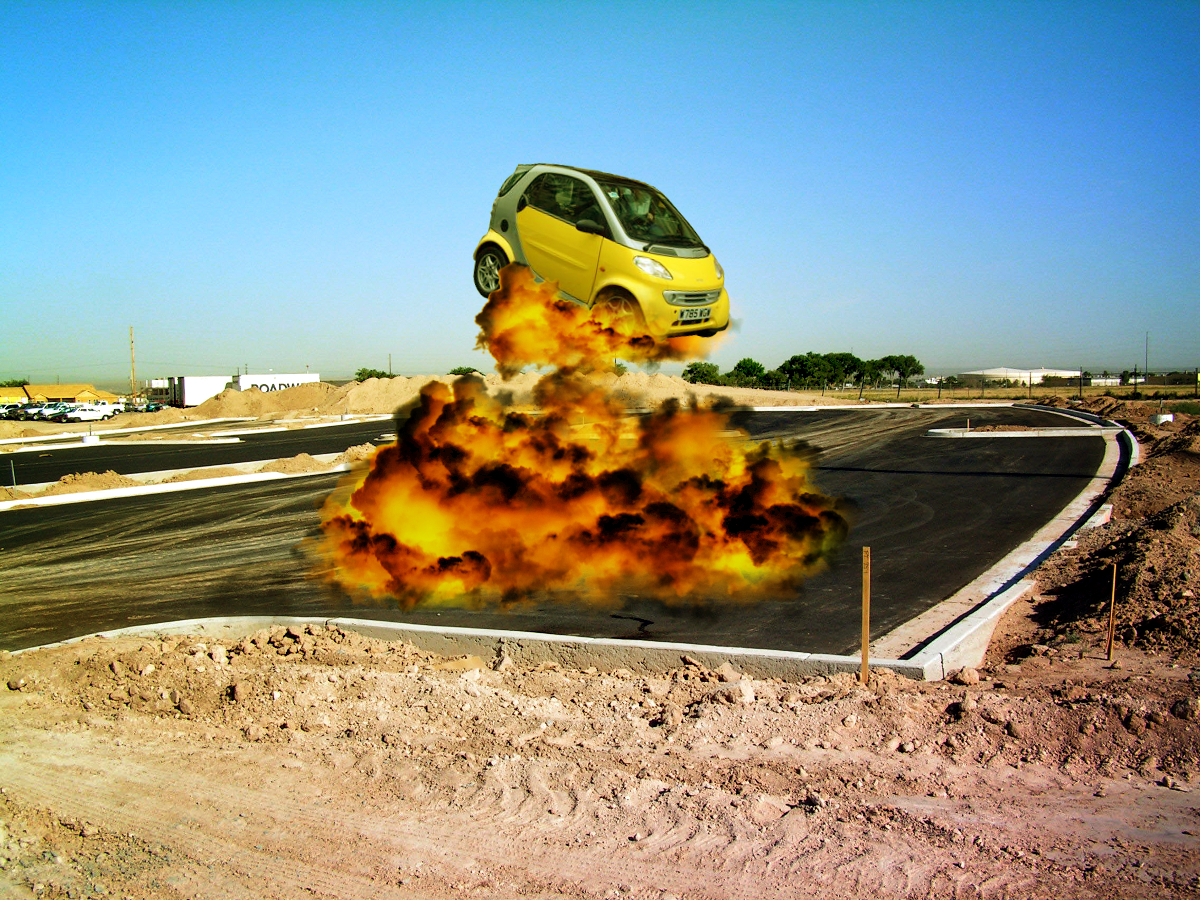
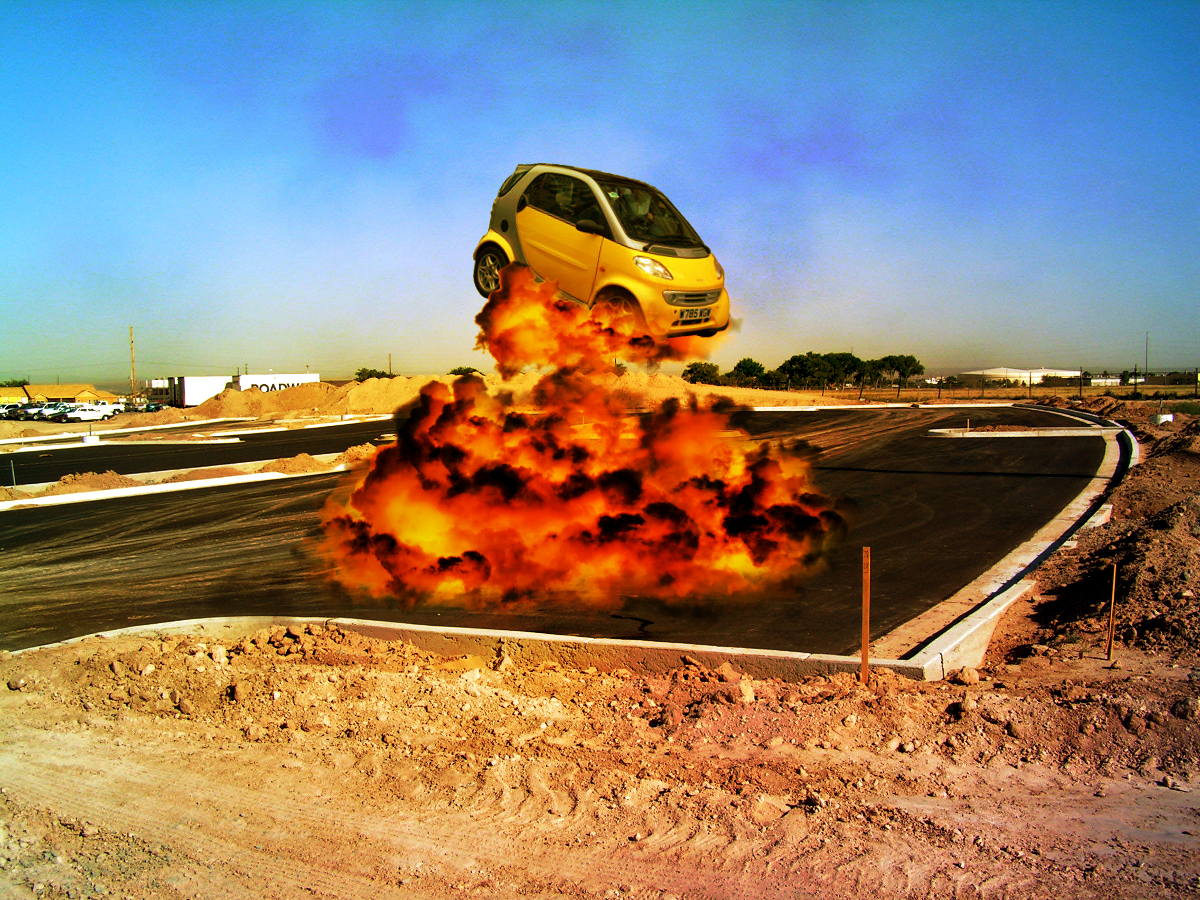
Now this is the part that I follow starlight86's tutorial for lighting (cause I still suck in that region) with just a few modifications. If you now how to implement the lighting yourself, I'm not going to hold you back.
oops, forgot pictures to show what the layers look like in normal... Try your best, I'll try to get that picture in.
Create a new layer
(As shown in pic 1) The first lighting layer is a linear gradient from black to yellow. Set black as the foreground color and yellow as the background color. In this picture, I stretched the gradient from the lower right corner to the upper left. If you want to do something different, just make sure that the black originates from the ground and the yellow ends in the sky. Now set the layer to overlay.
Create a new layer.
(Pic 2) The second layer is going to be a radial gradient from white to black originating from the explosion. Select white as the foreground and black as the background colors. Start the gradient from the center of the explosion, and end it just past the boundary of you longest dimension. For example, I dragged my gradient from the center of the explosion to the left just outside of the picture. Set this layer to Overlay at 85% opacity.
Create a new layer.
The third layer (I forgot the picture of the result) is a radial gradient from the same orange you used in the explosion to transparency. Select the orange as the forground color, then on the gimp, click on the gradient and select FG to Transparency. Repeat the process in the second layer for creating the gradient. ("Start the gradient from the center of the explosion, and end it just past the boundary of you longest dimension." ) Set this layer to overlay.
Create a new layer.
(Pic 4) For this layer, go to (on the GIMP) Filter>Render>Clouds>Solid noise and set the detail to four. Then Left click this layer and select create mask, select black(full opacity). Now make white your foreground, select FG to transparency and radial for your gradient, and with the mask selected, repeat the process once again for creating a radial gradient. ("Start the gradient from the center of the explosion, and end it just past the boundary of you longest dimension." ) Set this layer to burn and lower the opacity to 45% or lower if needed.
Now just need to add a little more presence to the explosion
The Grand Finale

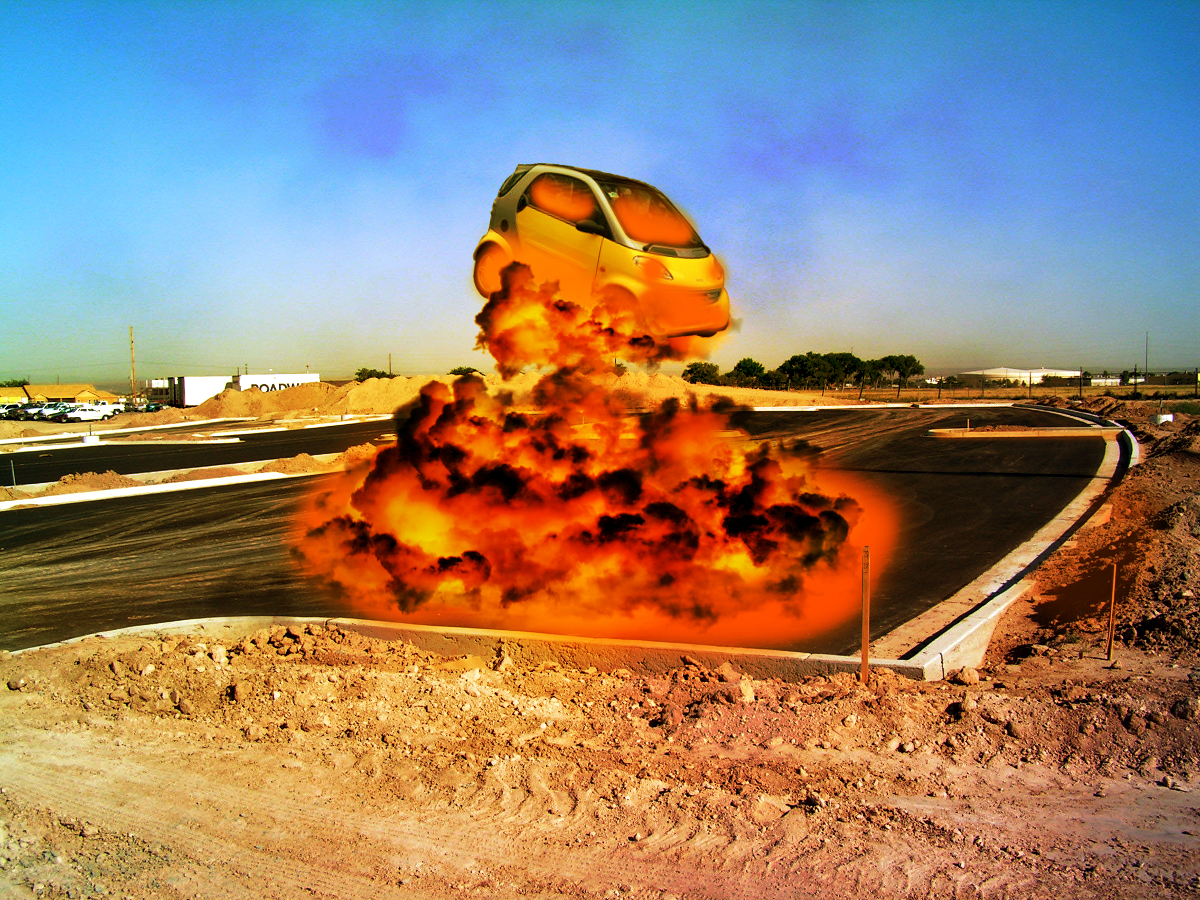
The only thing to do now is to make lighting to show that the explosion is right there in the foreground.
Create a new layer....
set it under the lighting and explosion layers, but leave it on top of the object layer.
Now set the the foreground to the same orange you've been working with and grab a large soft brush. All you need to do is color in the places that seem like it would look orange from the explosion. (Look at the pic for more info) I painted the ground underneath and around the explosion orange, as well as the lower section of the smart car along with the windows. Just don't get carried away. Set the layer to overlay at 100%. If you find some sections to be to orange, erase it and put it on a new layer. Set it to overlay but this time lower the opacity until satisfied.
Some Alternative Results & Final Words
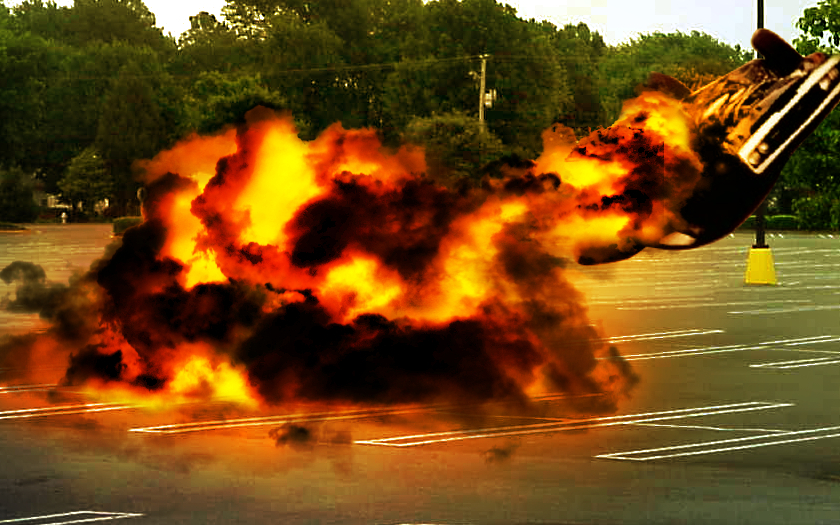
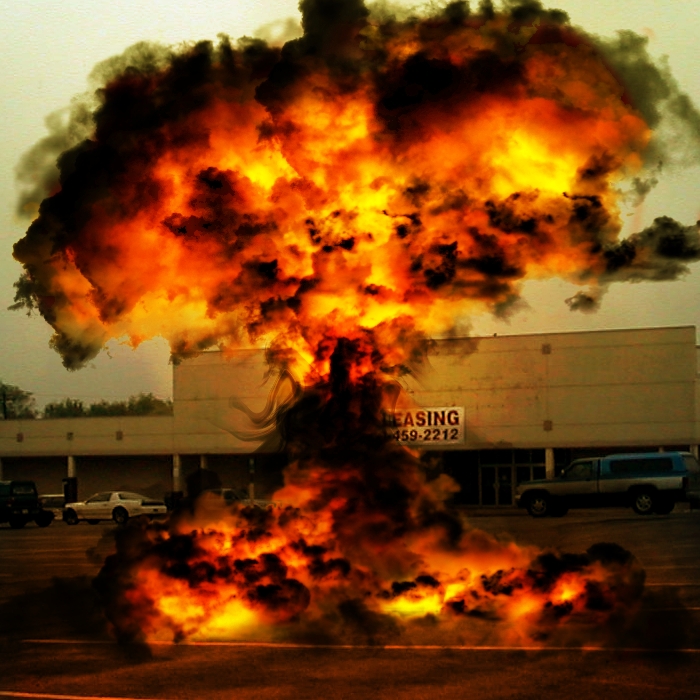
I'm sorry if I bored you half to death and had to be shocked back to life.
I would like you to use credit if you port this to another site. And if you show off your image, I would like credit to. ATLEAST don't say that you came up with this all your own and say that you had help.
This was meant more for the GIMP, but I'm sure that you can opt it for Photoshop. You'll just have trouble with step six (I think)
I tried to explain things as in depth and detailed as possible. I don't like those tutorials that just assume that you know what your supposed to do. So if anything needs clearing up or more explaining, PM me and I'll see what I can do.