Ethernet Camera With Mbed Platform WIZwiki-W7500
by iam_maker_leo in Circuits > Microcontrollers
2936 Views, 14 Favorites, 0 Comments
Ethernet Camera With Mbed Platform WIZwiki-W7500
I will introduce a mbed platform ethernet Camera.
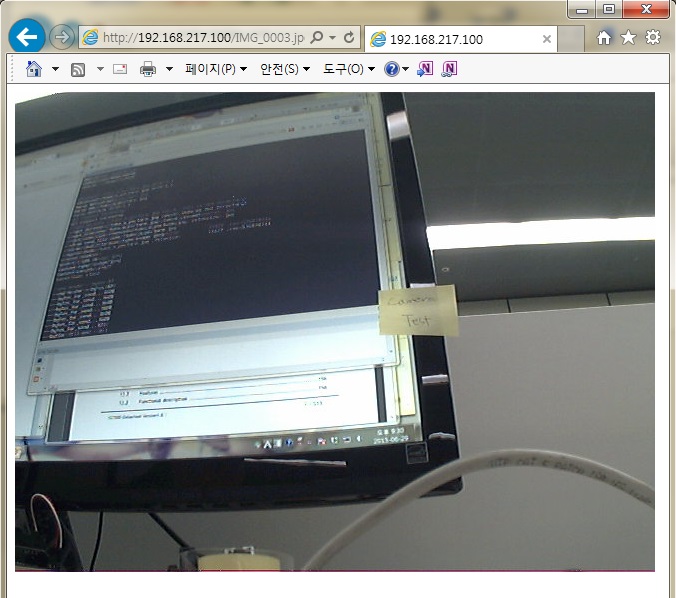
You can take a picture inside of house by just click the web site if you follow this contents.
It is very easy and simple way with no need any app. for smart phone.
I choose a WIZwiki-W7500 platform for mbed platform.
You can study about image file, serial communication, sd card file system, ethernet file server.
Let start.
Prepare Meterials
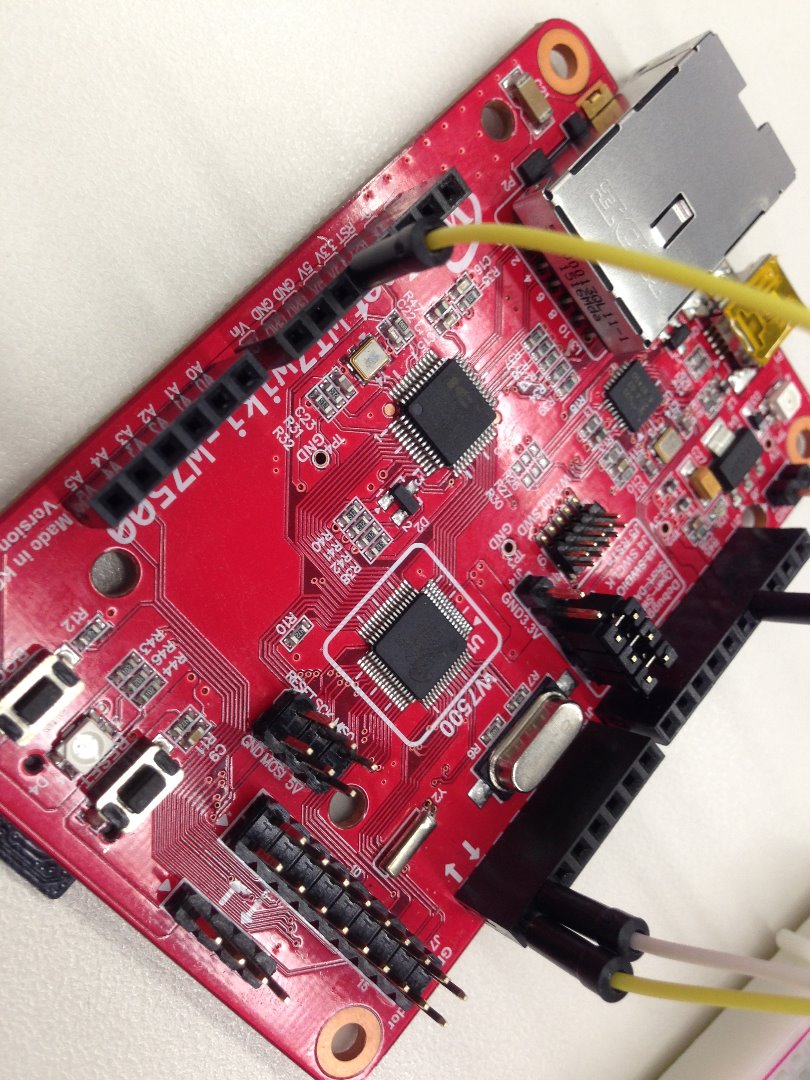
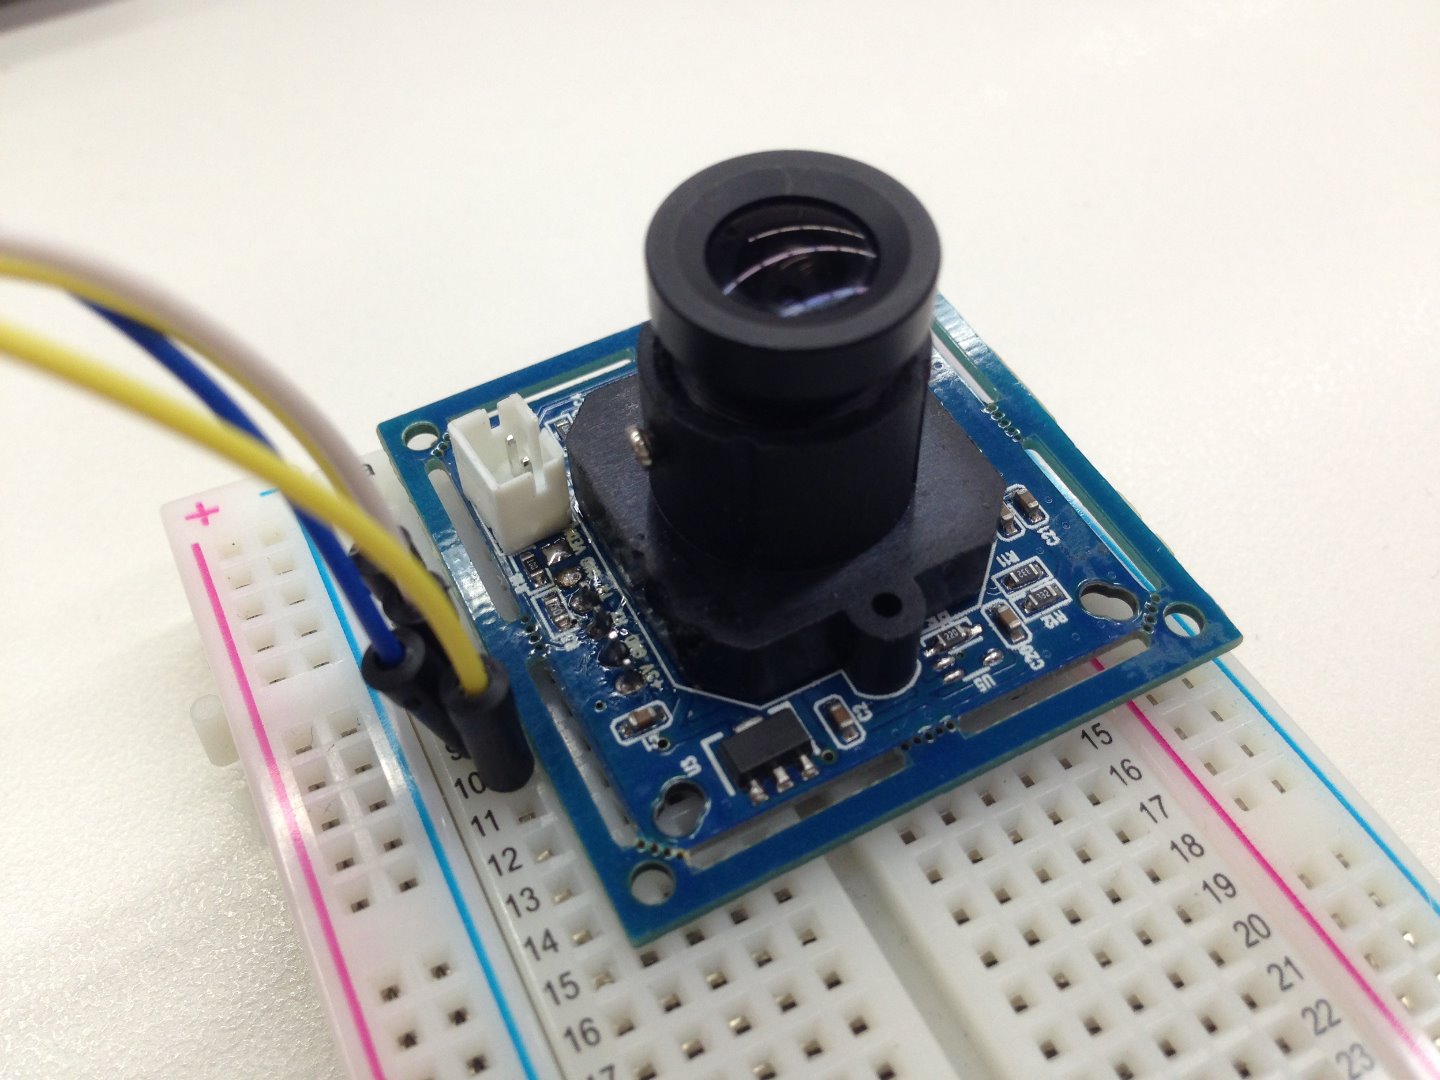
We need several meterials for this project.
1. WIZwiki-W7500 Platform (https://developer.mbed.org/platforms/WIZwiki-W7500/)
2. TTL Serial Camera (https://developer.mbed.org/components/Camera-LS-Y201/)
(https://learn.adafruit.com/ttl-serial-camera)
JPEG color / infrared camera allows you to capture and output JPEG images through UART, making it easy to integrate into an existing design.
And sd card & few wires for connect
Hardware Connection
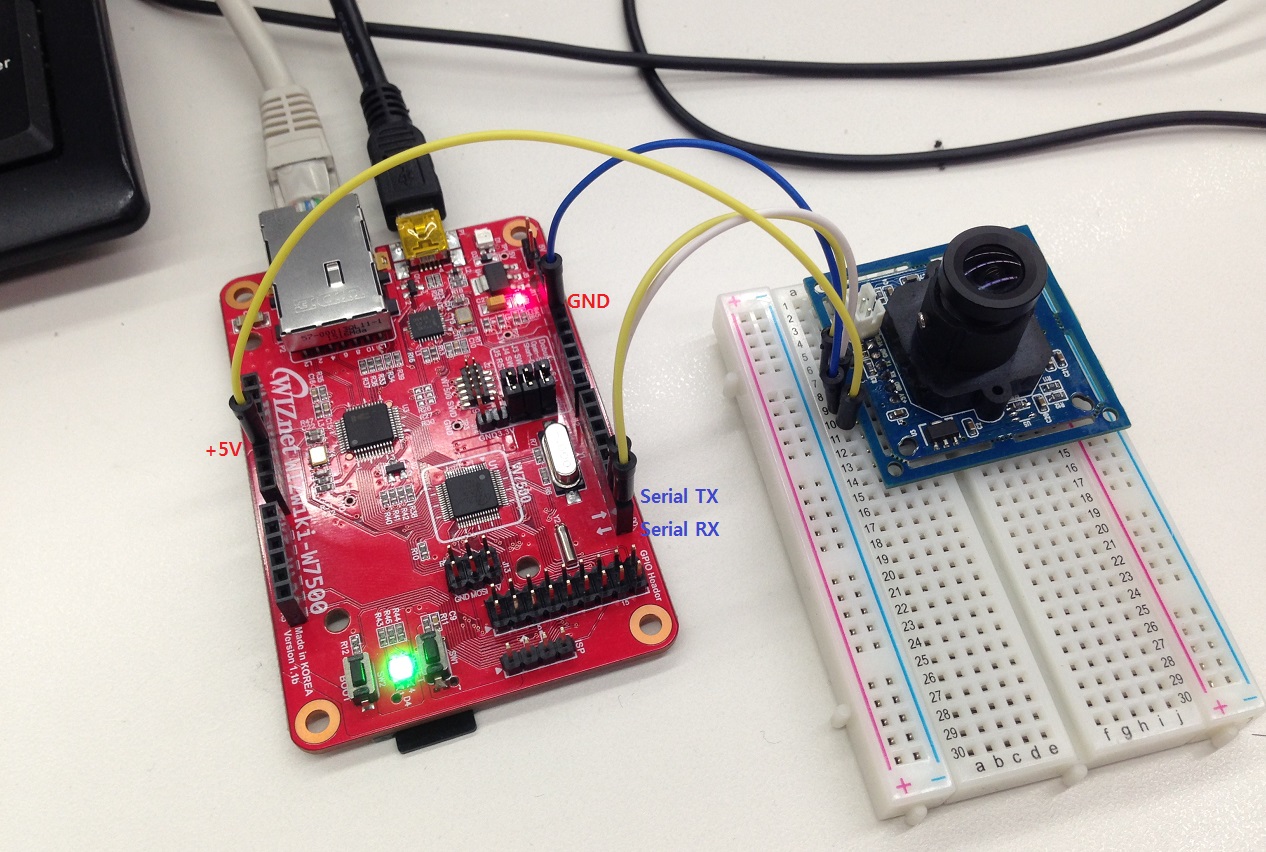
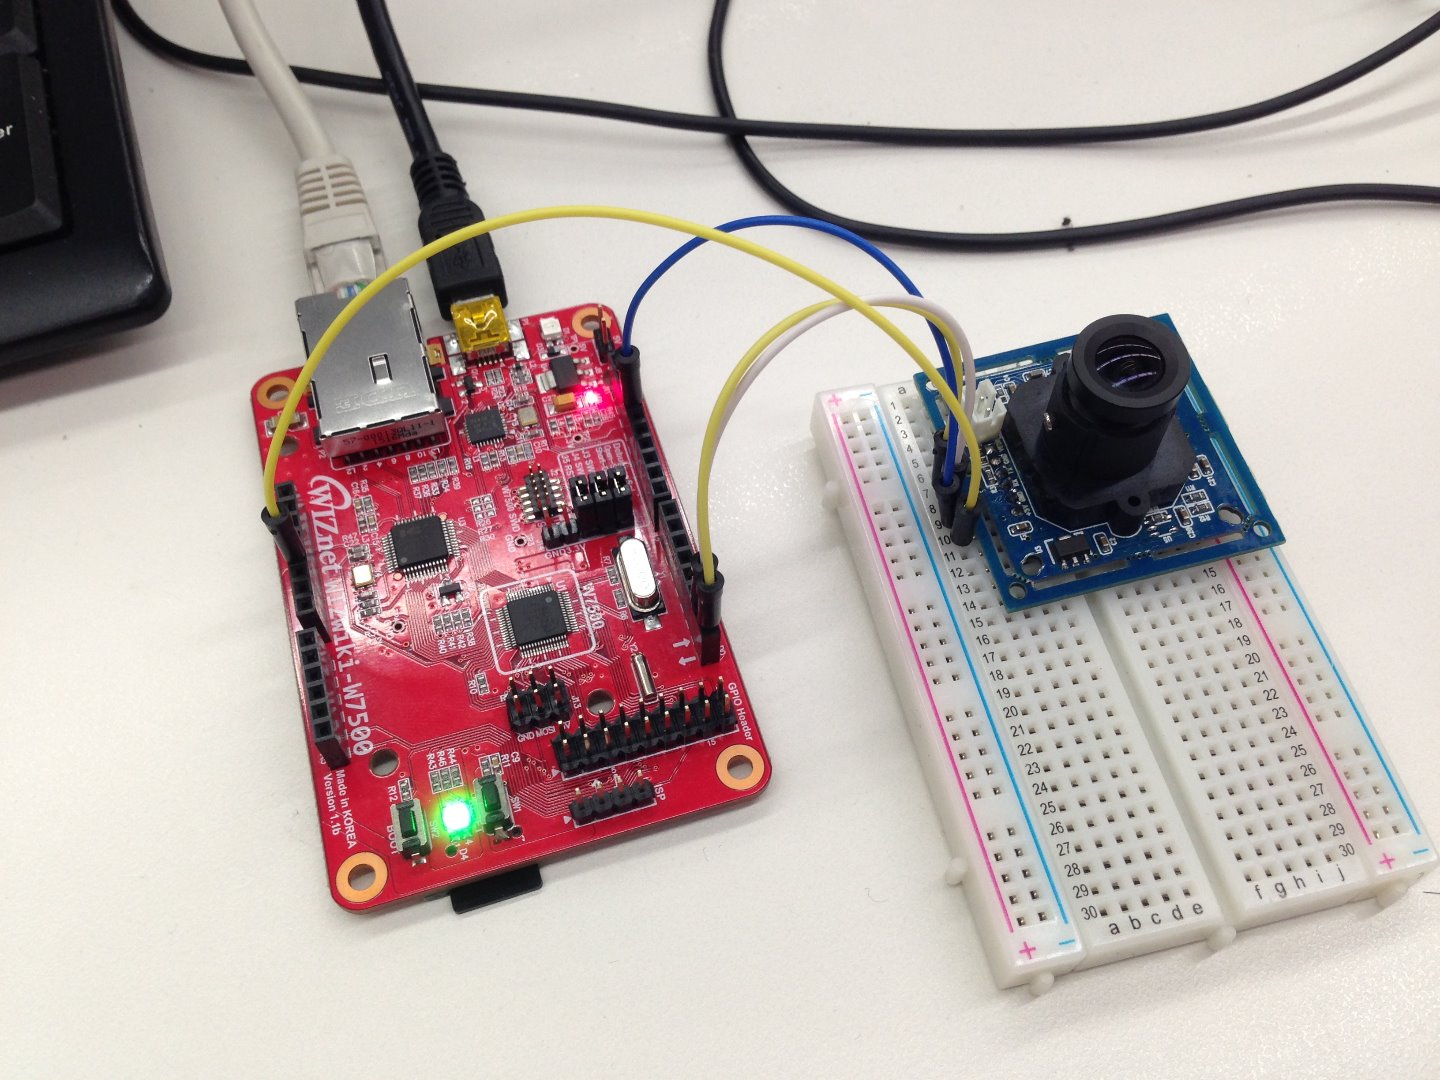
Hardware connection is very easy.
Just follow picture.
We need connect just UART TX, RX, 5V and GND
Software Prepare
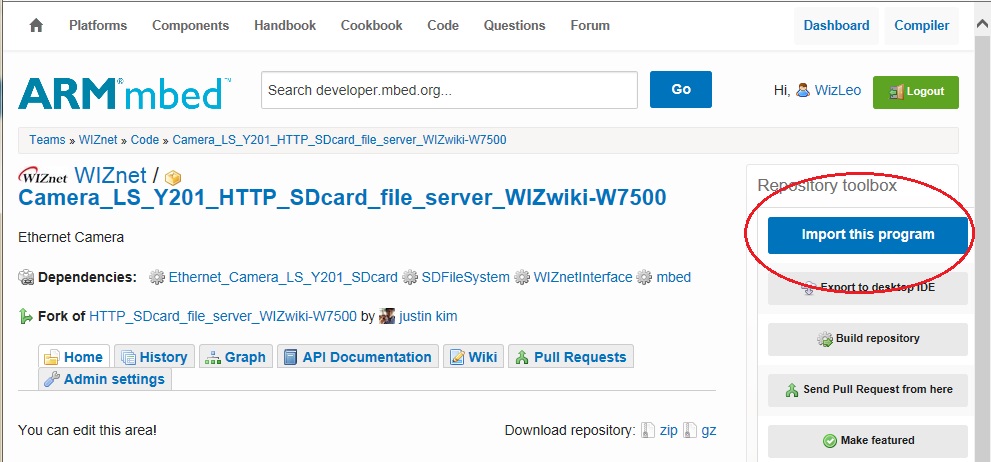
We can download software of this project from below site.
https://developer.mbed.org/teams/WIZnet/code/Camera_LS_Y201_HTTP_SDcard_file_server_W/
I already uploaded.
You can use this code just click "Import this Program" after log in mbed.org.
Need to Modify the Software


There are little to know about this code.
1. You have to modify ip address as your own information.
2. Prepare a "take_a_picture.jpg" file on sd card.
Any file OK, just need same file name.
It will be use as a trigger signal for take a picture command.
How to Run This Project
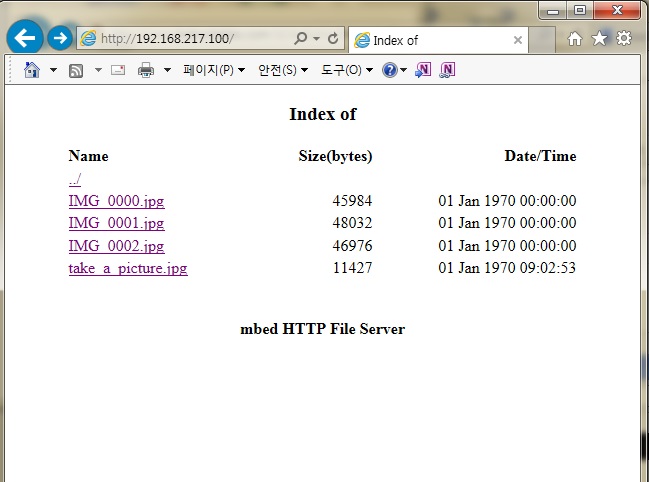
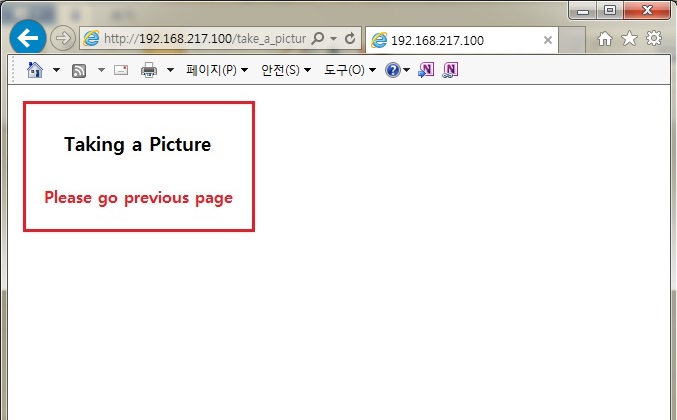
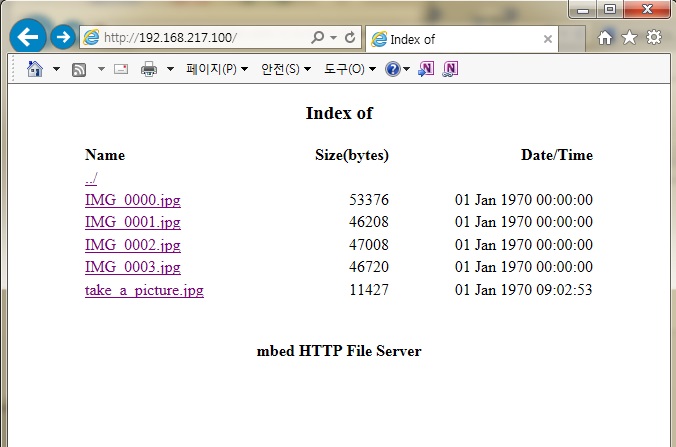
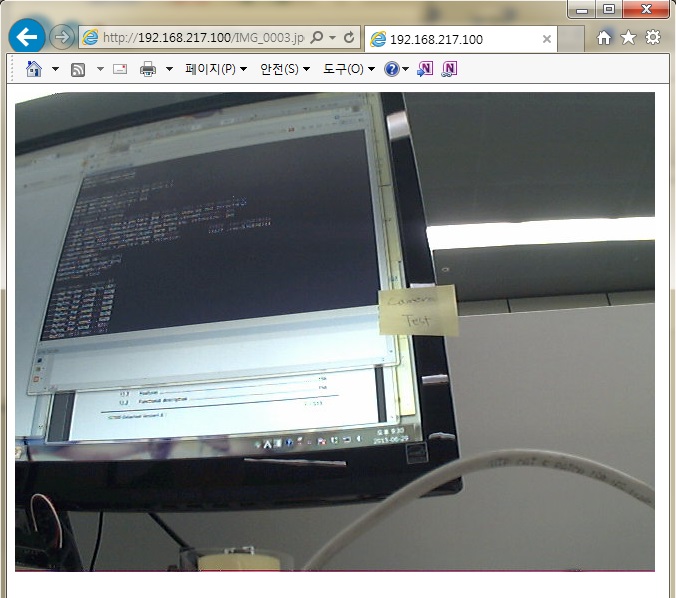
1. After Power on or reset button, it start to reset Camera module and change image size to 640x480 from default size.
2. And it take two pictures. Pictures are saved in sd card.
3. It works as a tcp file server.
4. If user click "take_a_picture.jpg", it start to take a picture.
User can take a picture just click this file from anywhere.
5. User can check pictures what user taken via web page through tcp file server system.
Summary
1. Connect the File Server : http://192.168.217.100/
2. To take a picture : Click "take_a_picture.jpg"
3. To See picture : Just Click picture file name
Demo
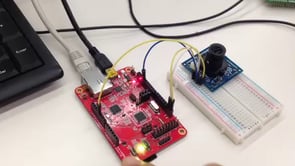
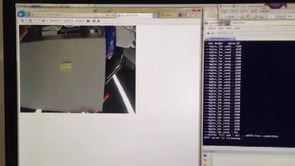
There are two demo video
1. First video shows the first start of this project
Take two pictures
Confirm taken two pictures
2. Second video shows how to take a picture via tcp file server.
Take a picture by clicking
Confirm the taken picture
I will upload video soon.^^