Essential Outdoor Photography Guide
by King Awesome in Circuits > Cameras
9825 Views, 147 Favorites, 0 Comments
Essential Outdoor Photography Guide
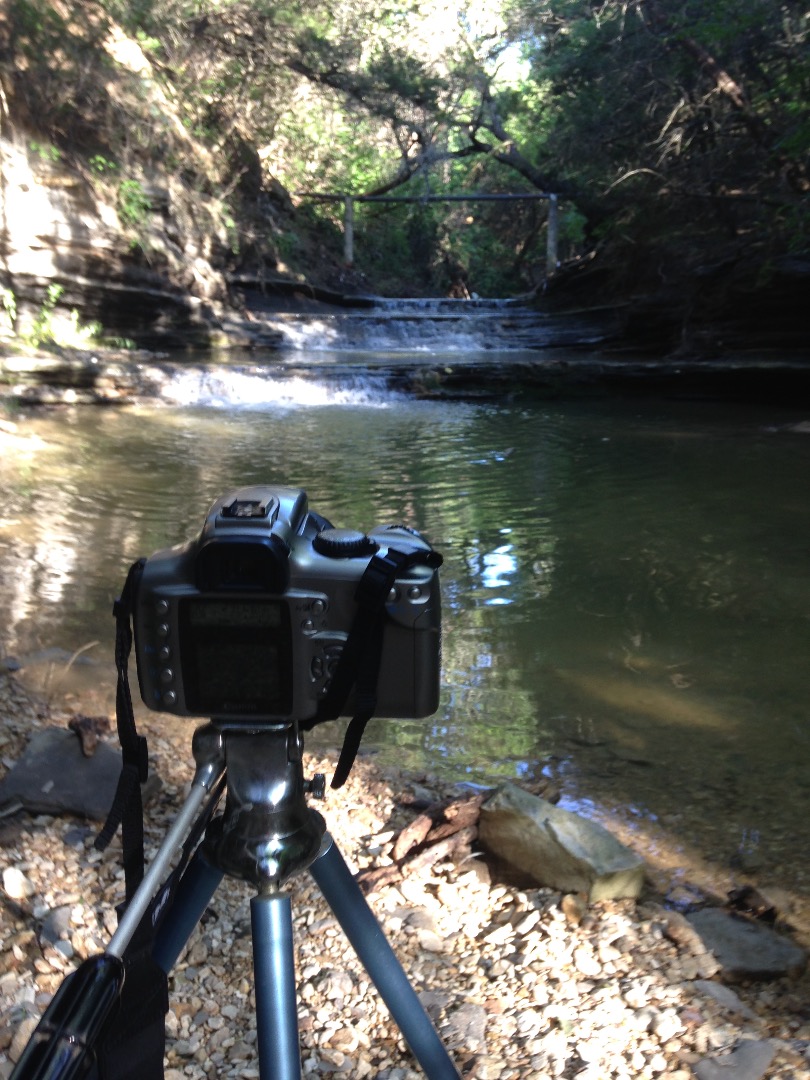
Anybody can pick up a camera and snap a picture of something, but it takes practice to take high quality photos. In this Instructable I will share the basics of photography as well as some tips and tricks to taking great shots. This Instructable is aimed at photographers with DSLR cameras or Point and Shoot Cameras.
Knowing Your Camera
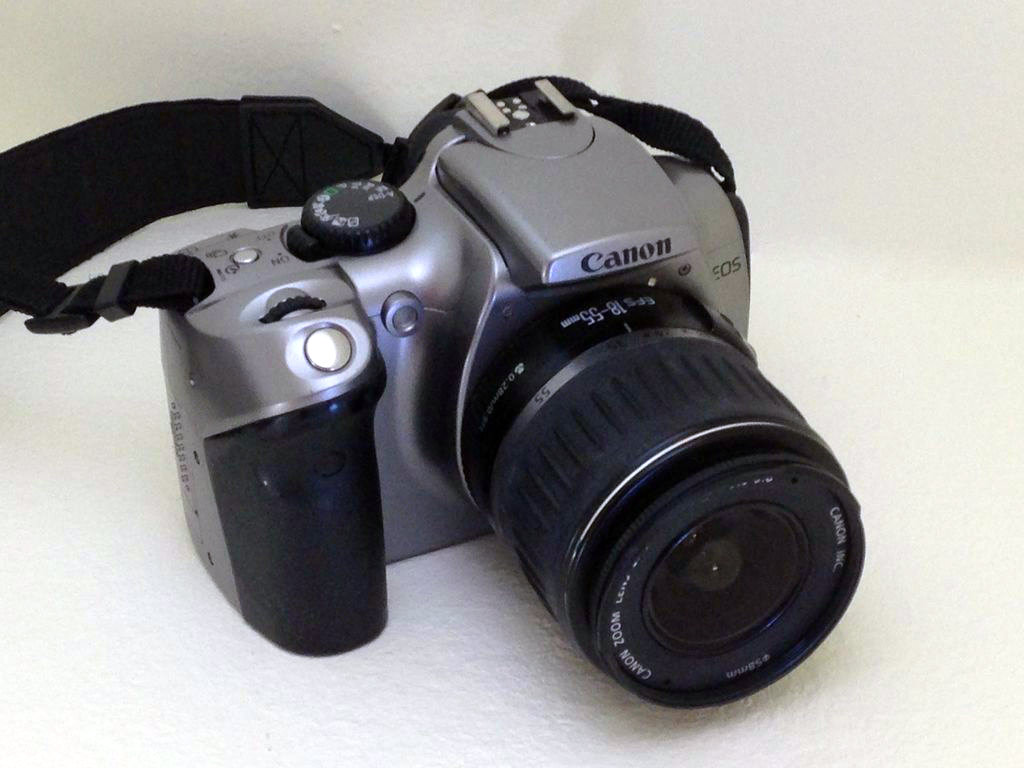
The basic DSLR design is comprised of the body and the lens. When you look through the viewfinder, you see the image that the camera will capture when you take the picture. The light from the outside travels through the lens into the body of your camera, where a mirror reflects the light up to either a pentaprism or a pentamirror. Then the light travels out of the view finder into your eye. In the body of the camera, a light sensitive sensor picks up the image, recording the color and brightness of the light. The sensor then sends this information through a circuit board to a memory card, where the photo is recorded.
Through this process, there are three important variables: aperture, shutter speed, and ISO. All three of these variables determine the quality and brightness of your photo. You have to decide what elements you value in your photo and adjust the settings of your camera that relate to priorities.
Aperture
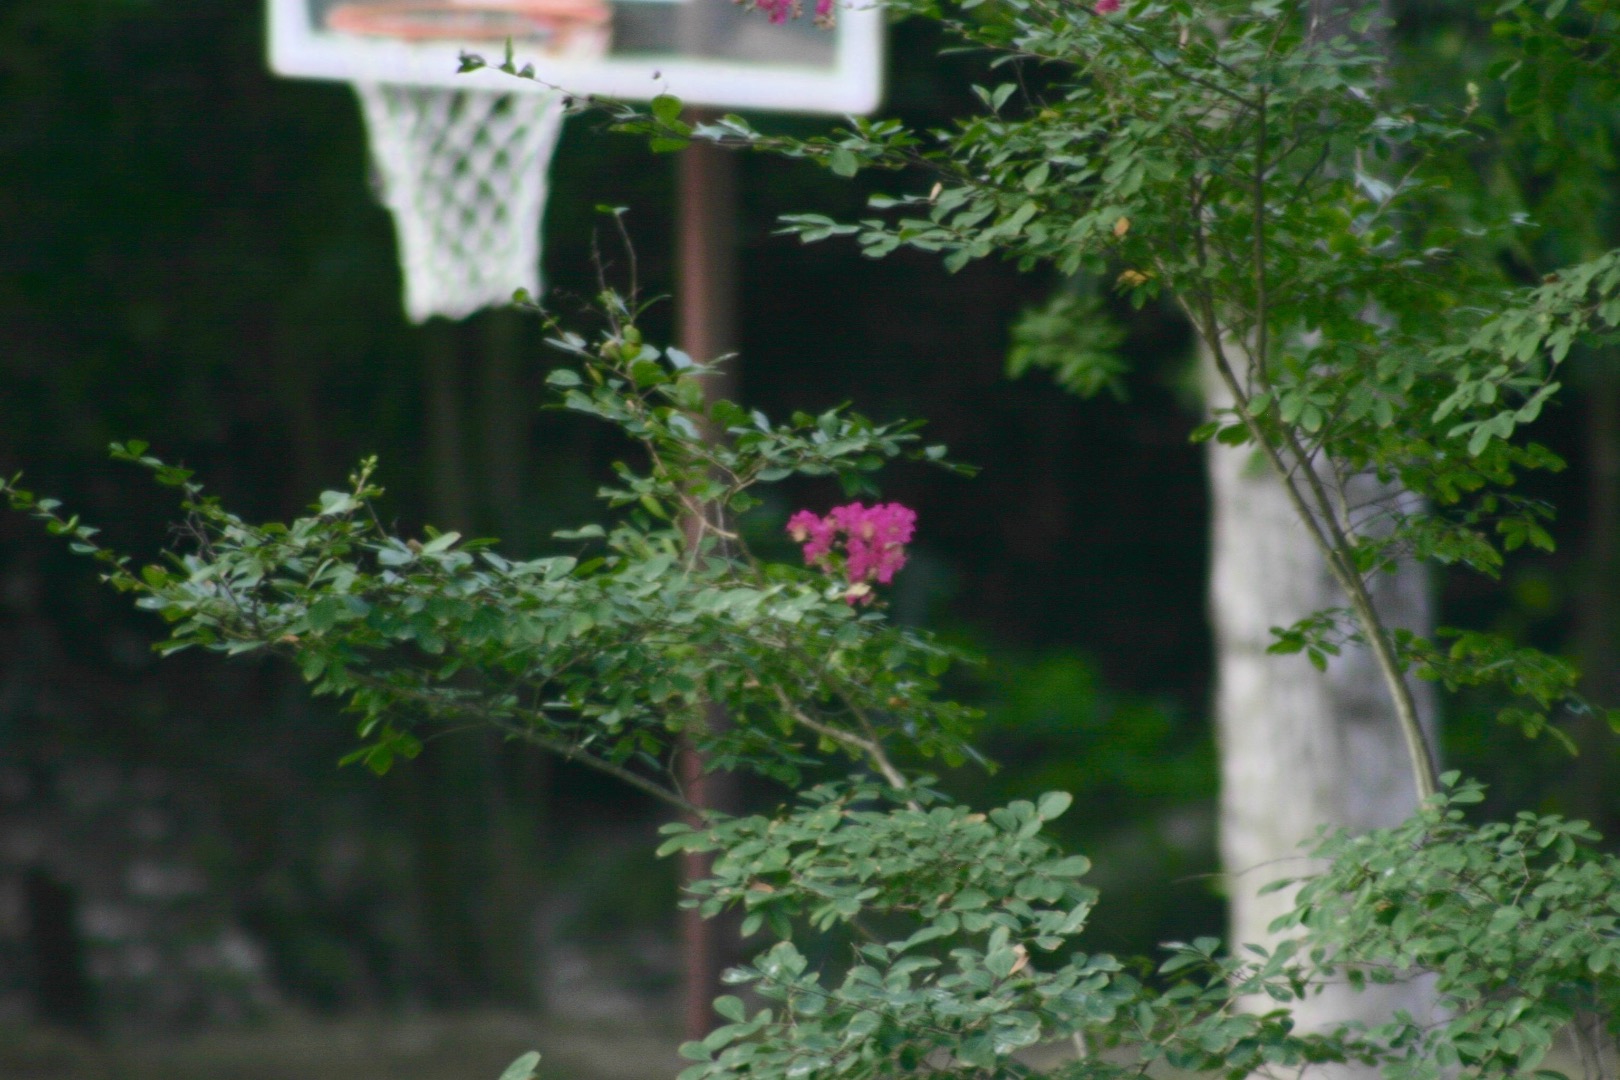
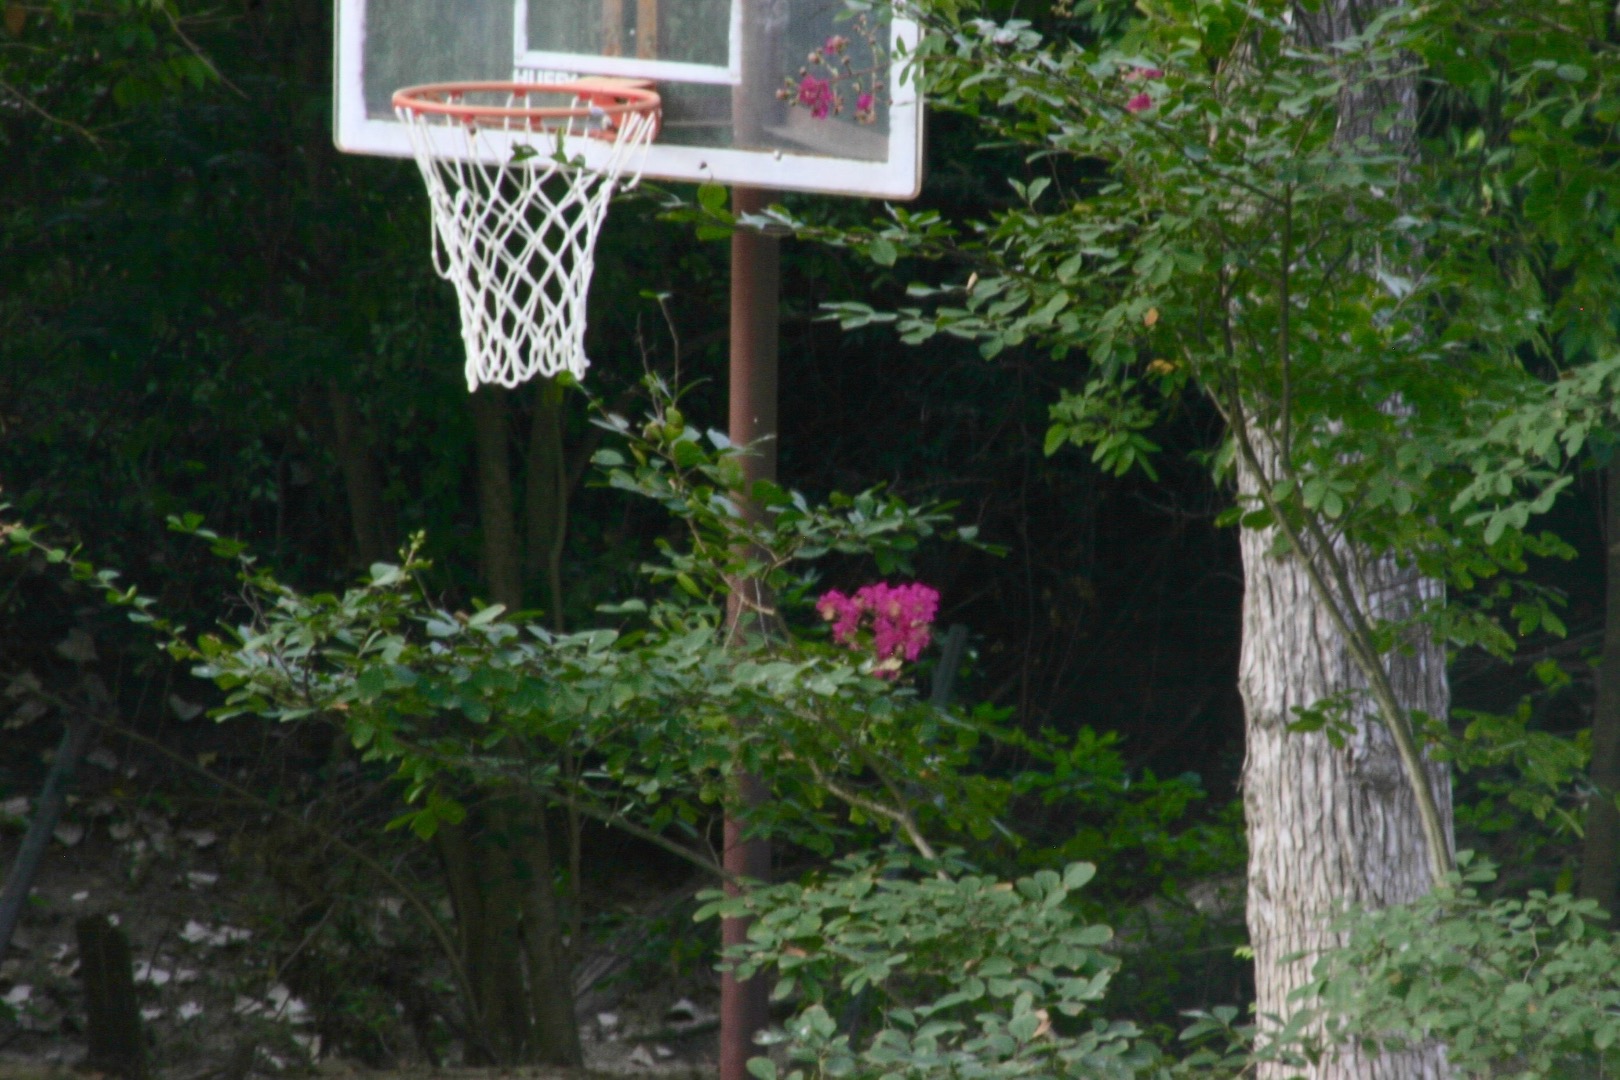
Aperture is the size of the hole that the light shines through (the shutter) to reach the sensor, and is measured in F-stops. The smaller the F-stop number, the larger the hole. A large F-stop will bring more or the photo into focus. If you want to focus the image on only one thing, use a small F-stop. If you want to focus on more things on your photo however, use a large F-stop.
The fist photo was taken with a F-stop of 5.6, while the second one was taken with a F-stop of 40. Notice that the second photo is focused on a larger depth field. Both photos were taken from the same place.
Shutter Speed
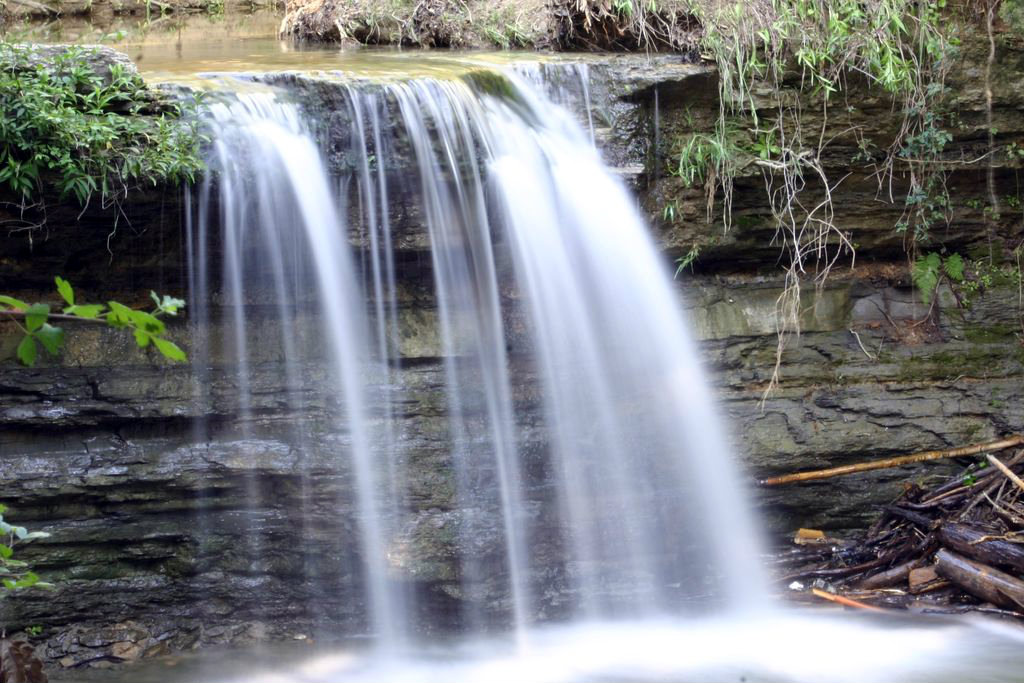
The shutter speed determines how fast the lens close and open. This is measured in seconds or fractions of a second. The faster the shutter speed, the less movement is shown in the photo. For sports or fast moving objects, use a fast shutter speed. For a nice image of a waterfall or flowing water, use a long shutter speed. Long shutter speeds can produce neat photos of moving lights, such as in fireworks and headlights and taillights on a highway at night. TIP: When photographing a busy tourist destination use a long shutter speed to eliminate people from the picture. NOTE: A longer shutter speed lets in more light. If you find that you are over exposing your images, fix this by turning down the ISO and raising the F-stop.
ISO
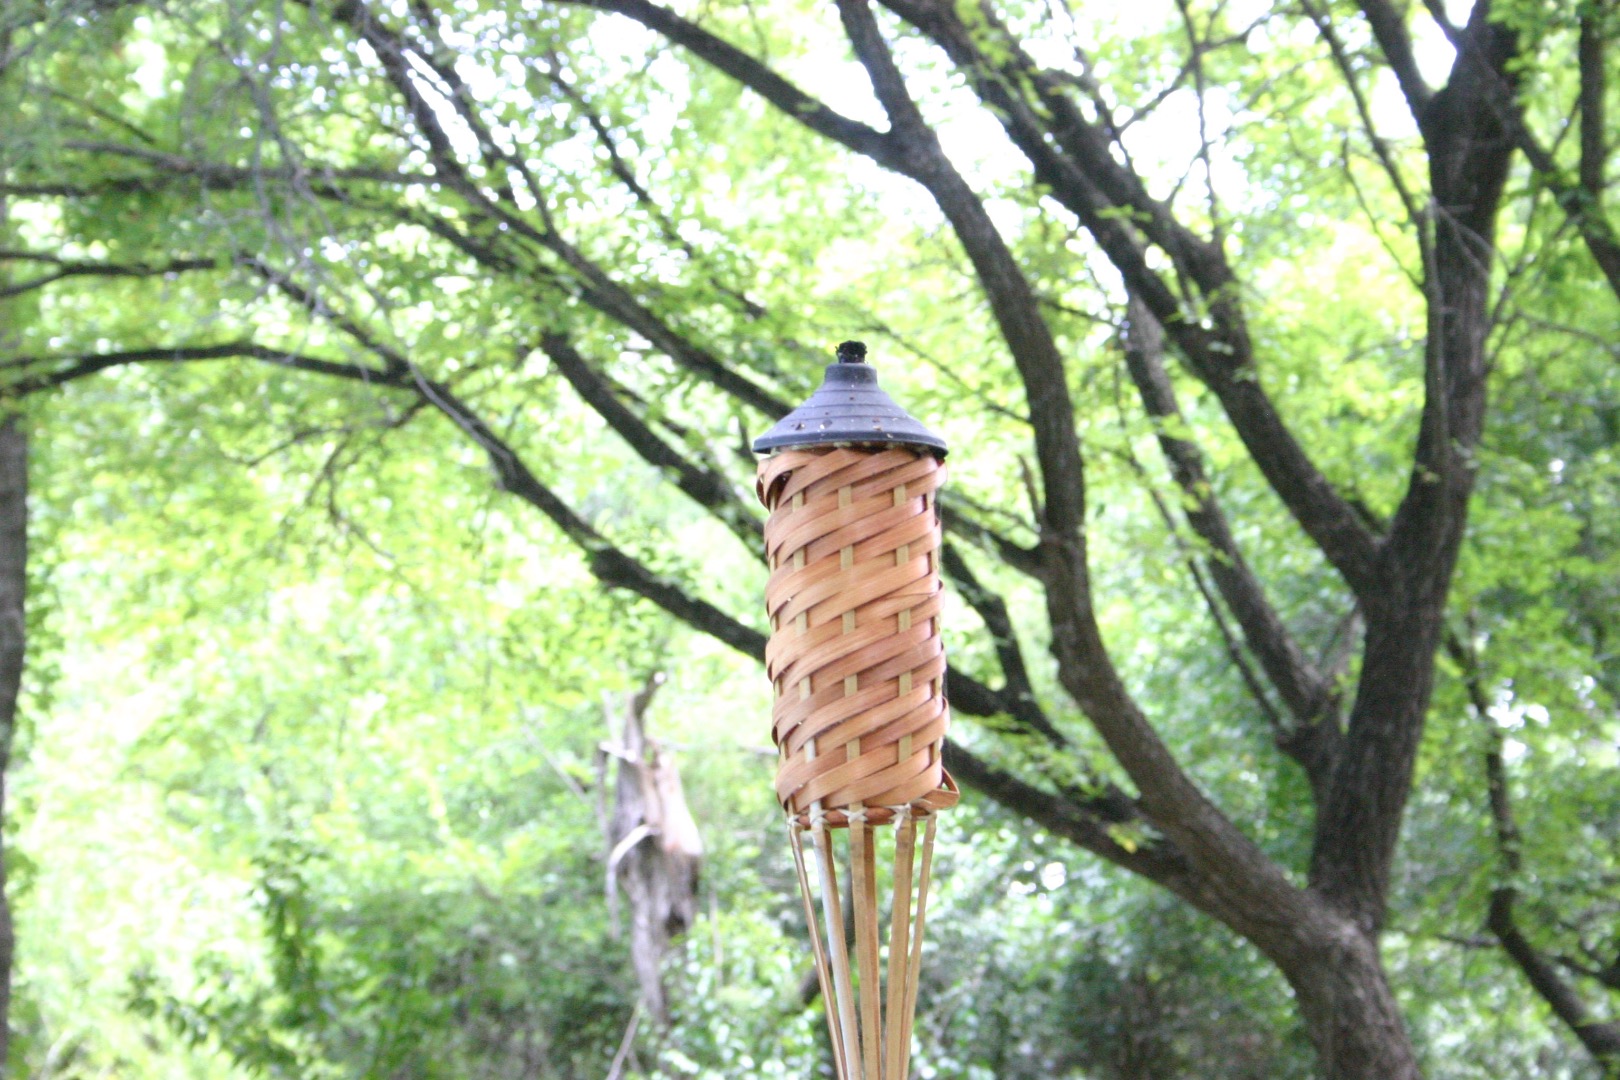
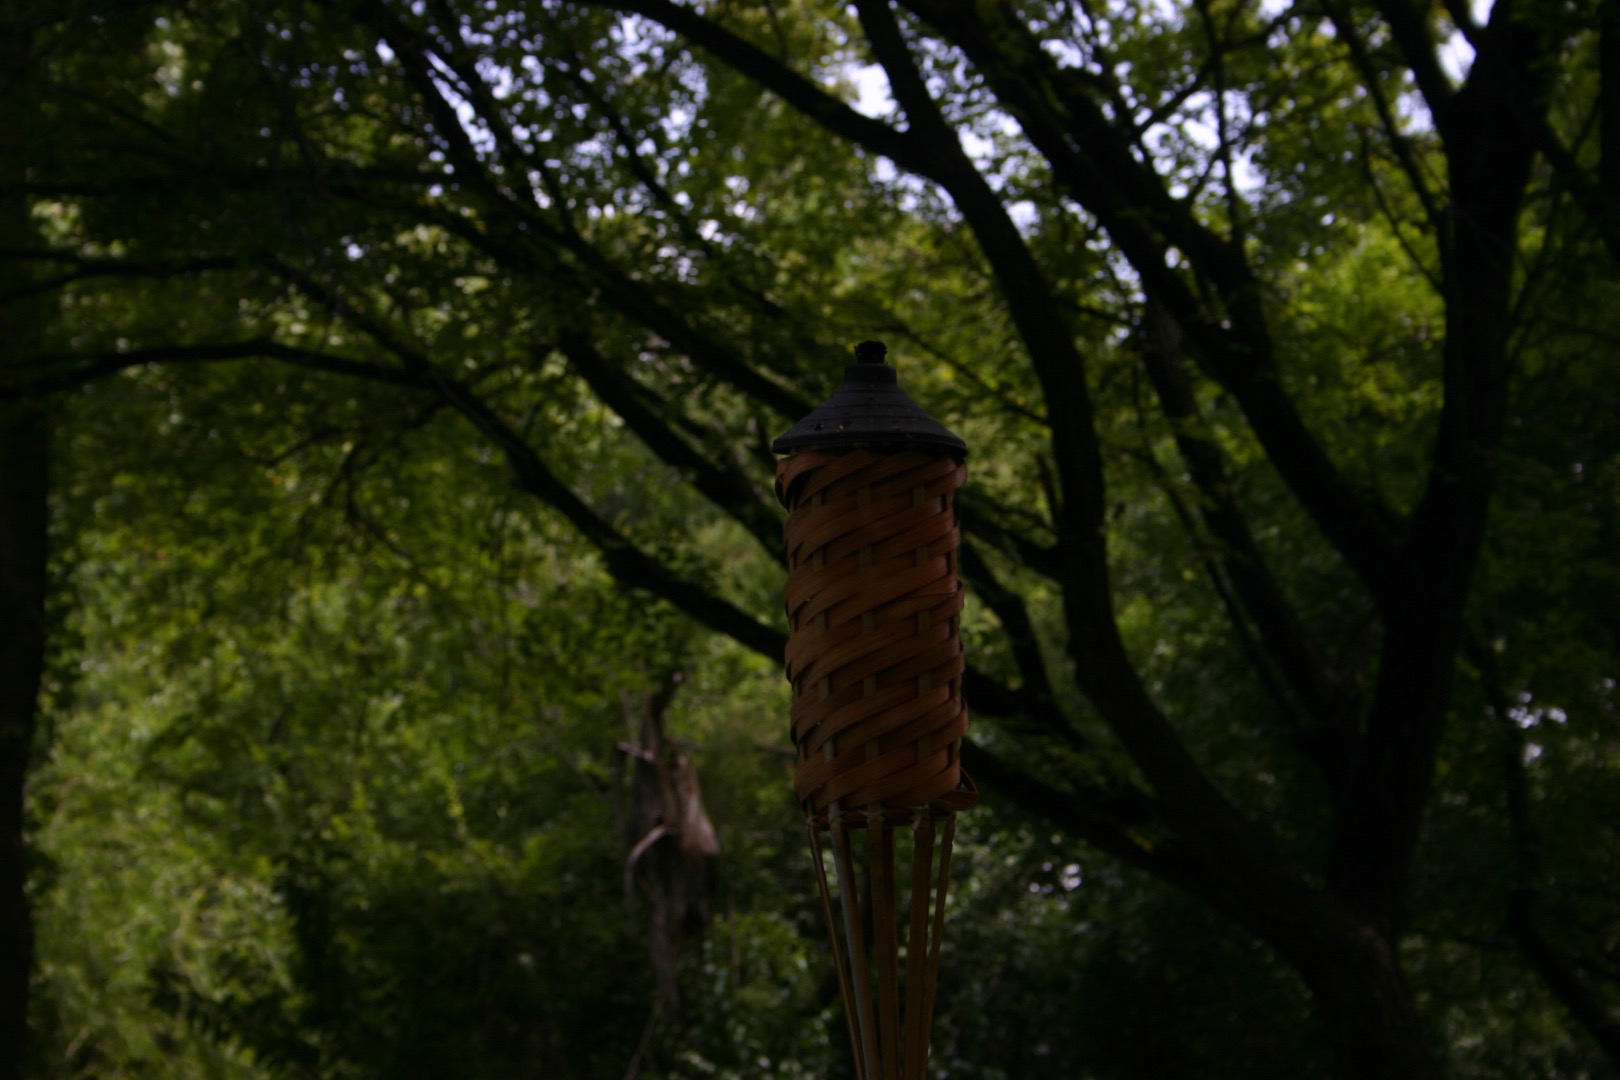
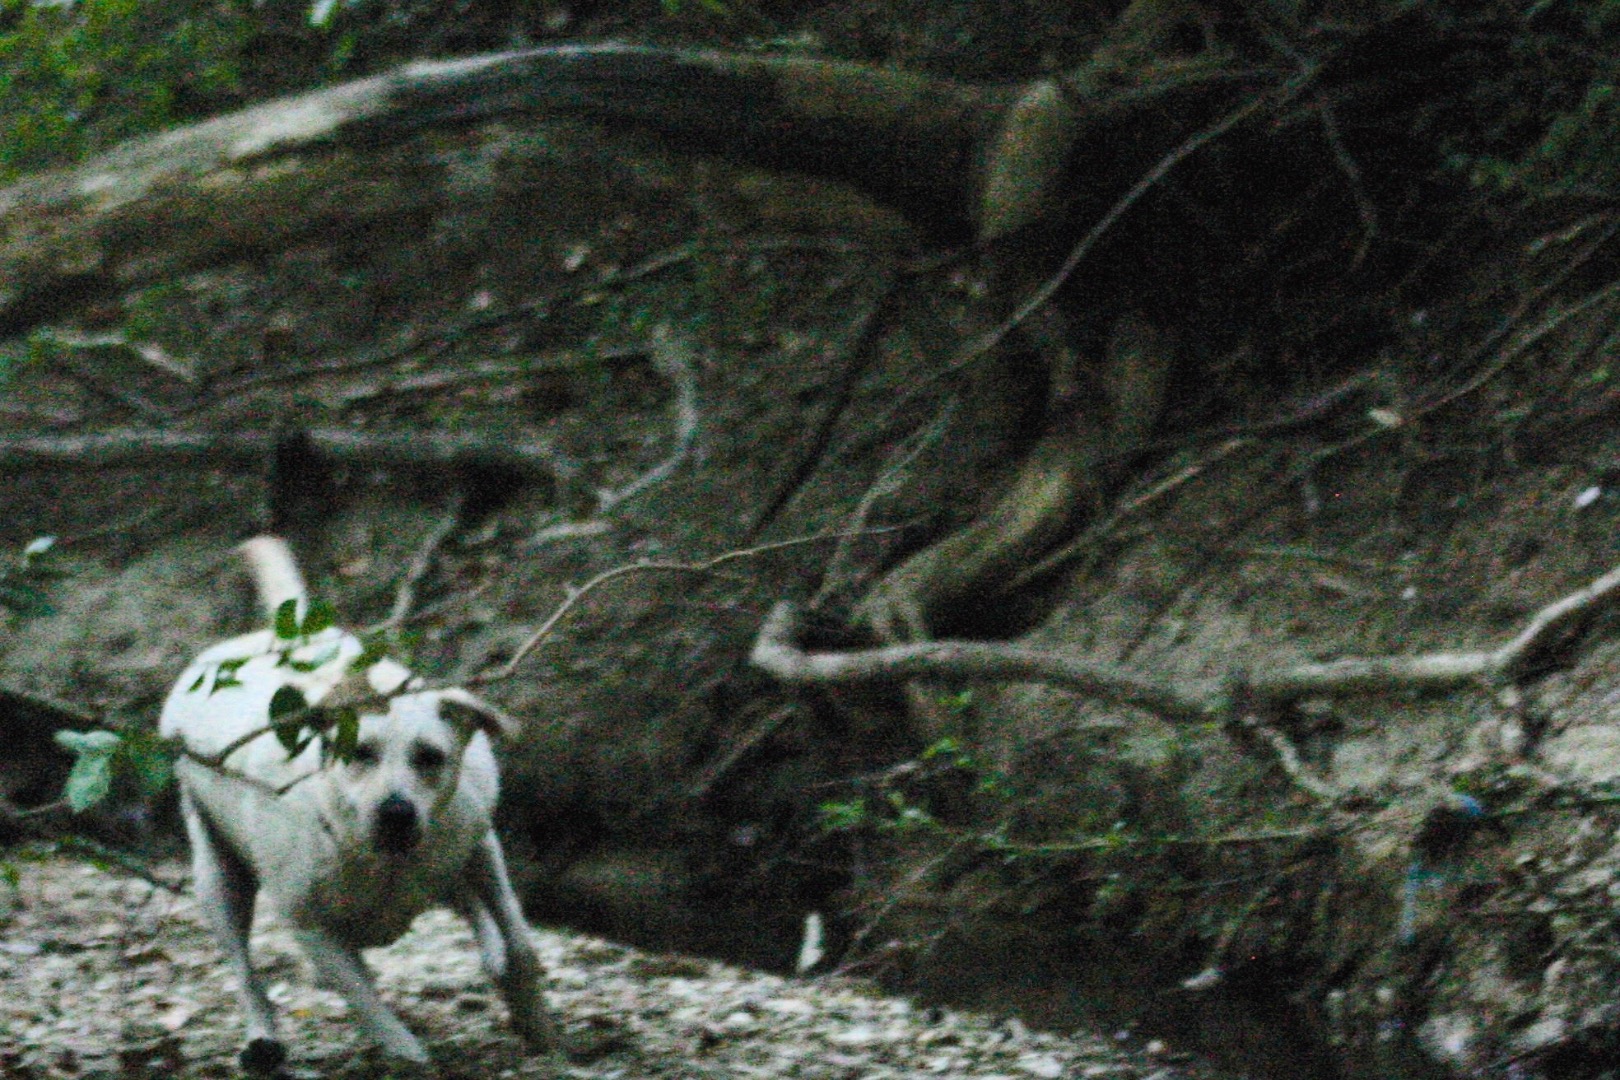
ISO determines the sensitivity to the light. If your ISO is too high, your image will appear grainy and unattractive. Use a lower ISO when possible to give your photo a sharper quality.
The first image above was taken with an ISO of 1600 (zoom in to see the digital grain), while the second photo was taken with an ISO of 100. The third picture, with the dog, was taken with an ISO of 1600, and the digital grain is very visible.
Lenses
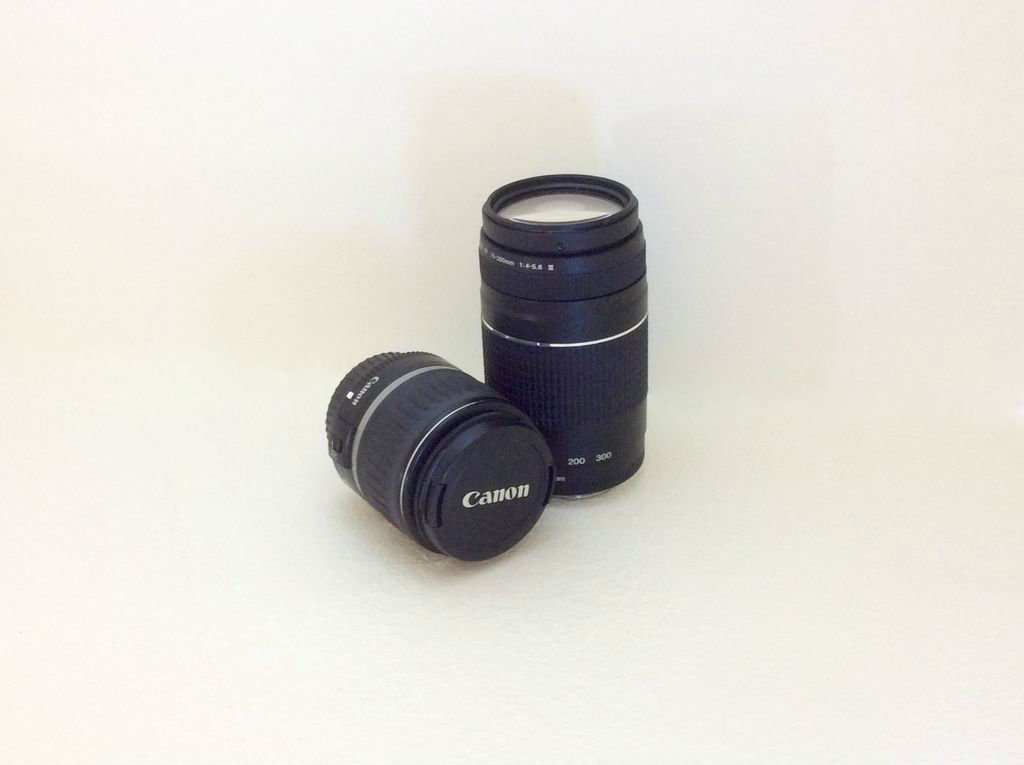
Lenses are very a important part of your camera. After all, without a lens, you can't even take a picture. Lens zoom is measured in millimeters (mm). Many DSLRs come with 18-55mm lens. This should cover your basic needs and allow you to capture the overview of a scene, but a higher zoom long lens can really place you in the scene. TIP: High zoom lens are good for taking pictures of wildlife and scenery, but when taking a photo of something far away, high zoom lens really show haze, reducing the quality of the photo. Instead, try getting closer to the subject to get a sharper image.
In contrast, when taking close-up pictures of flowers or insects, use a macro lens. This type of lens really gives detail to objects up close.
When photographing landscapes, use a wide angle lens with the least amount of zoom possible, which allow you to get more scenery into one photo.
The image shows a 18-55mm lens and a 75-300mm lens, which I use.
To change the lens, remove the lens by pressing down on the button to the right of your lens on the front of your camera. Then turn the lens counter clockwise then pull the lens out. Next insert the new lens in the camera where the red dot or white square on your lens is aligned with the corresponding shape on your camera body. Turn the lens clockwise until the it clicks.
Filters
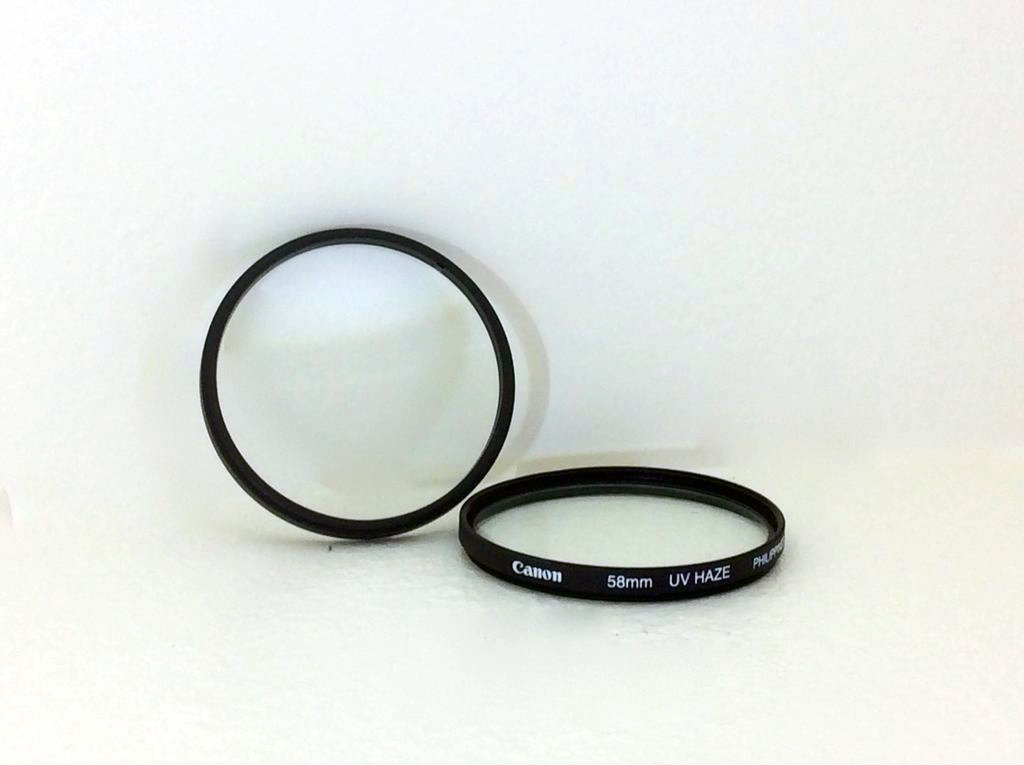
Filters can really alter the quality of your photo. When shooting outside, using a UV filter is a good idea. First, filters protect your lens. It is a lot cheaper to buy a new filter as opposed to a new lens. Second, the UV filter filters out ultraviolet light, helping to eliminate some extra haze, allowing for a nicer, sharper photo. Polarizing filters emphasize natural colors like the blue sky and reduce reflections on water and glass.
Camera Modes
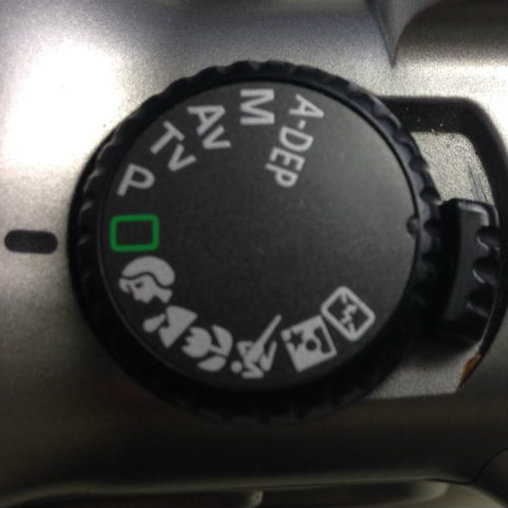
The modes of your camera are important because they change the aperture, shutter speed and ISO, according to your subject and conditions.
The green rectangle represents full automatic mode, where the camera judges the light of your environment and changes settings as needed. This option may also activate the flash if more light is needed.
The face on the dial represents portrait mode. In this mode the camera automatically detects faces and opens the aperture to focus only on the subject.
The mountain symbol represents landscape mode, in which the aperture shrinks to bring more land into focus.
The running symbol represents action mode. Action mode increases the shutter speed to reduce blur from fast moving people and objects.
The person with the star symbol represents night mode, in which ISO and shutter speed are increased.
AV lets you choose the aperture, and the camera will adjust the shutter speed to compensate for the aperture.
TV lets you choose the shutter speed, and the camera will automatically adjust the aperture.
Select M for manual mode if you prefer to customize your ISO, shutter speed and aperture. This mode may take some trial and error to get the perfect photo.
Photographing Pets
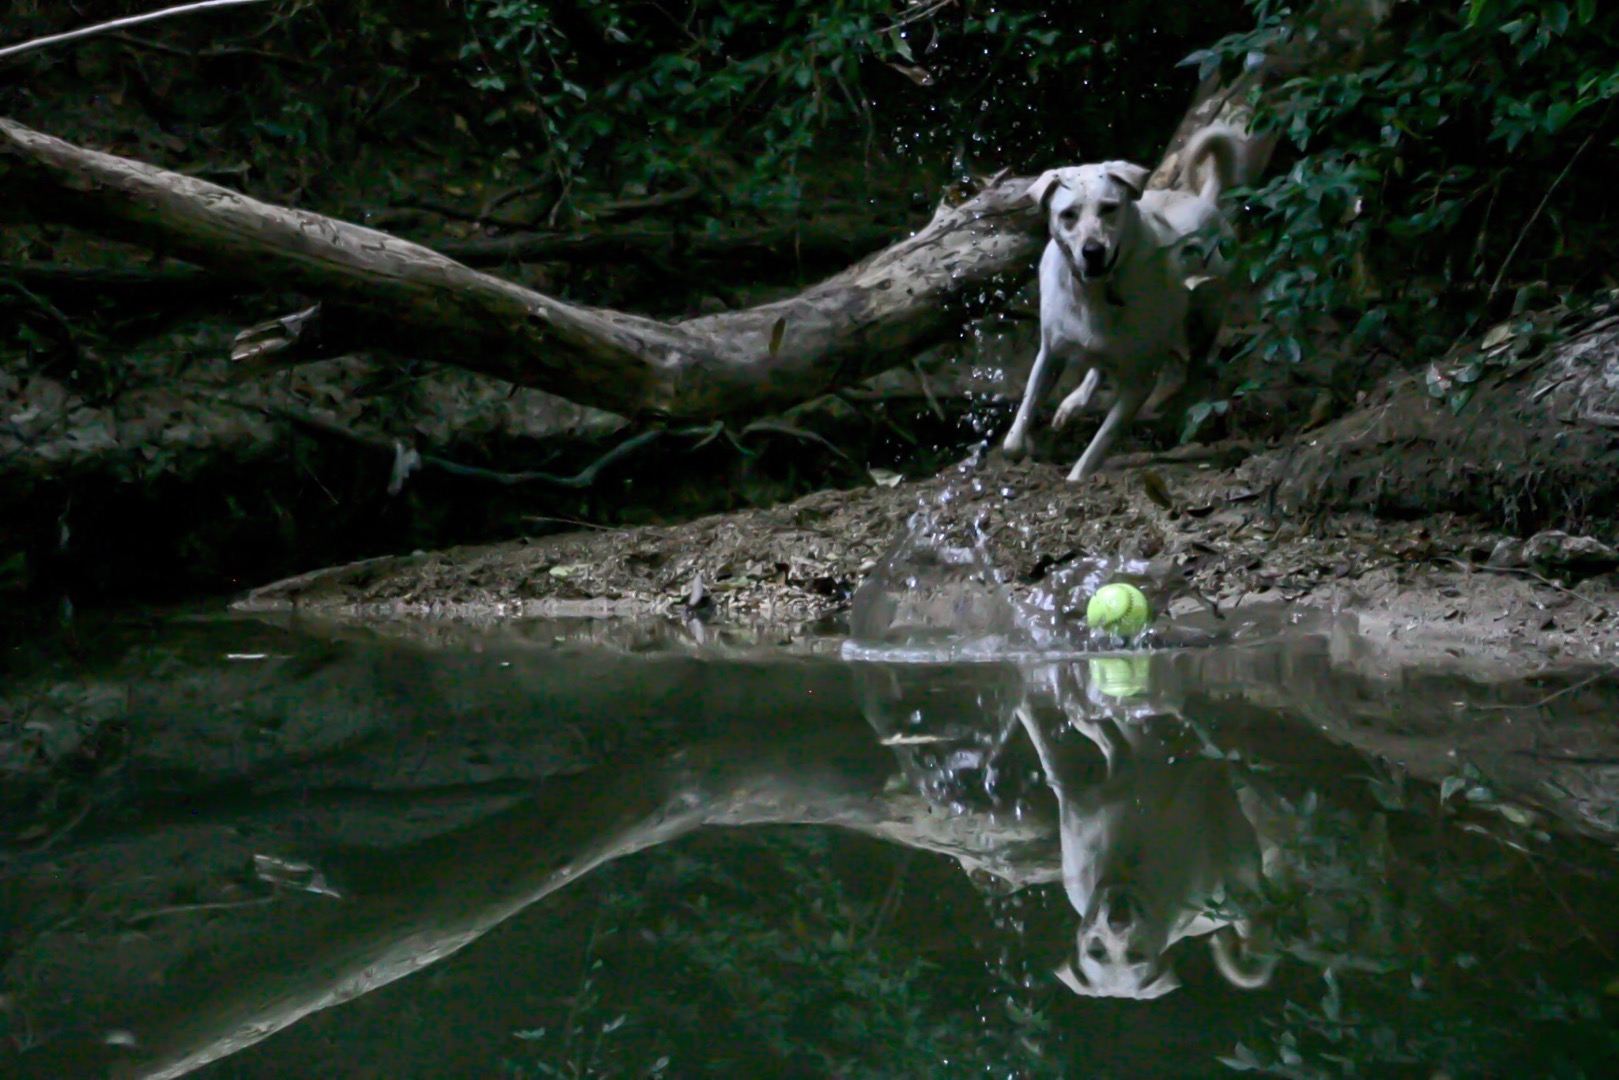
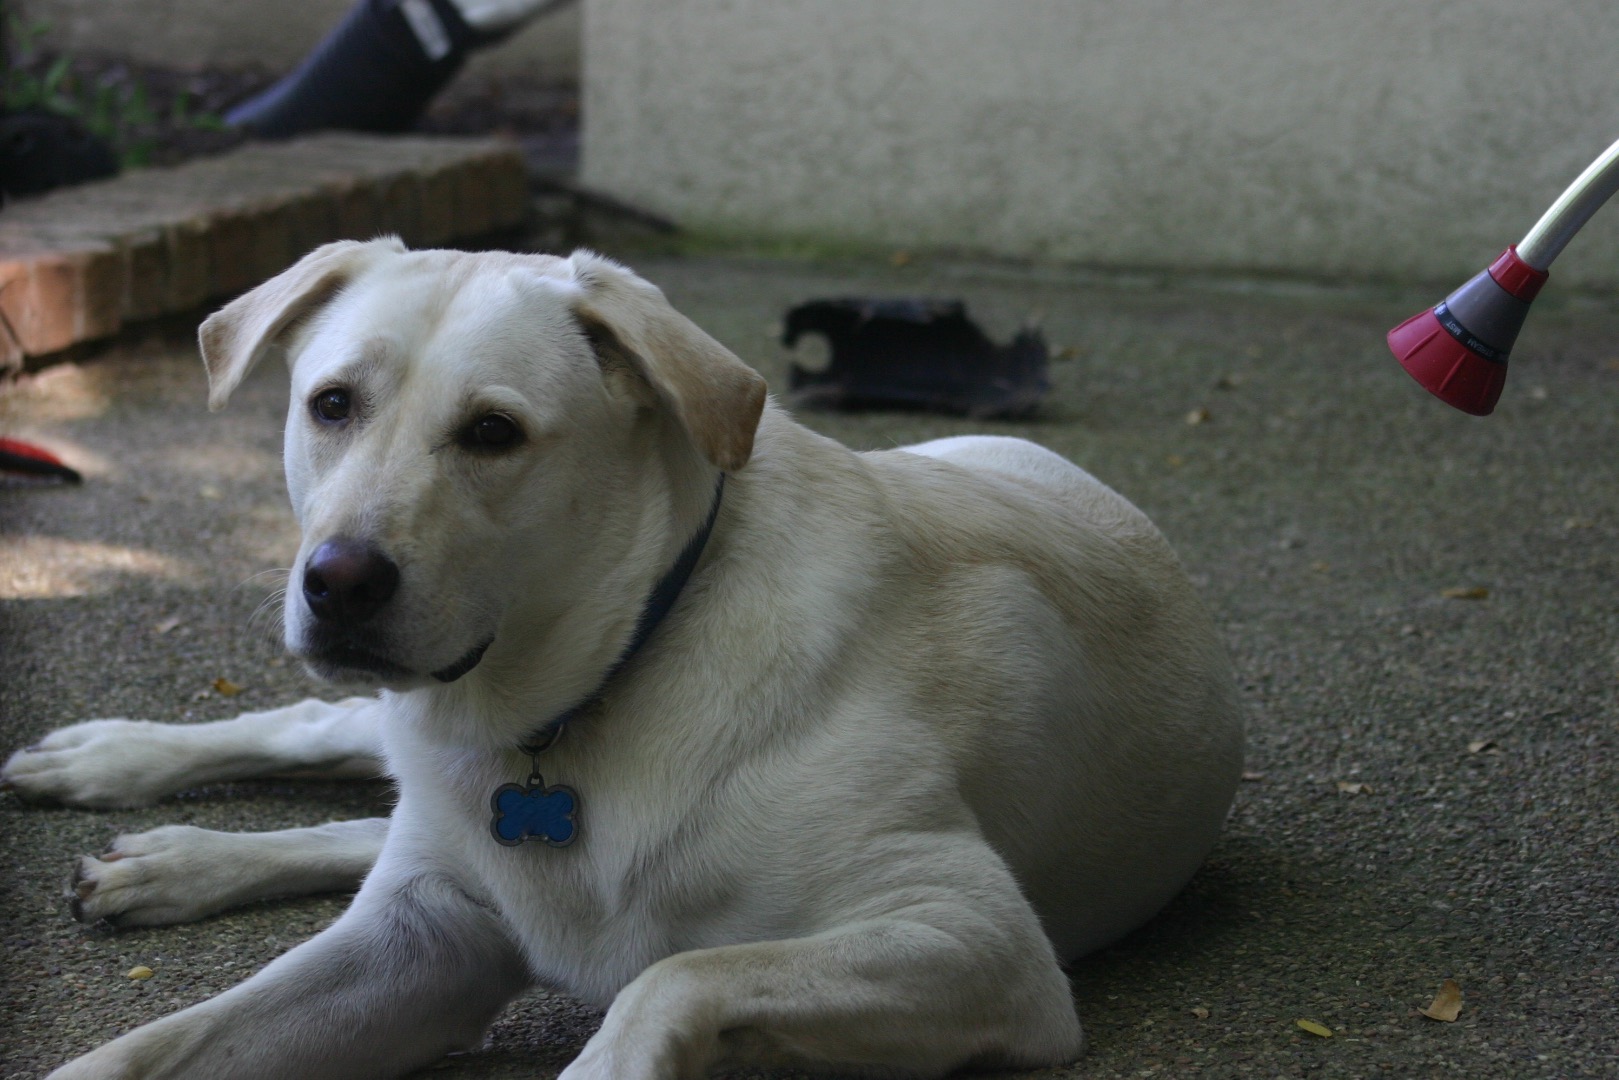
In order to take great photos of cats and dogs, you must get up close and personal. Get on their level for the best shots, and they look great playing. You want to capture their personality as well as their appearance. Throw a toy for them and snap the picture as they sprint for it.
Landscapes
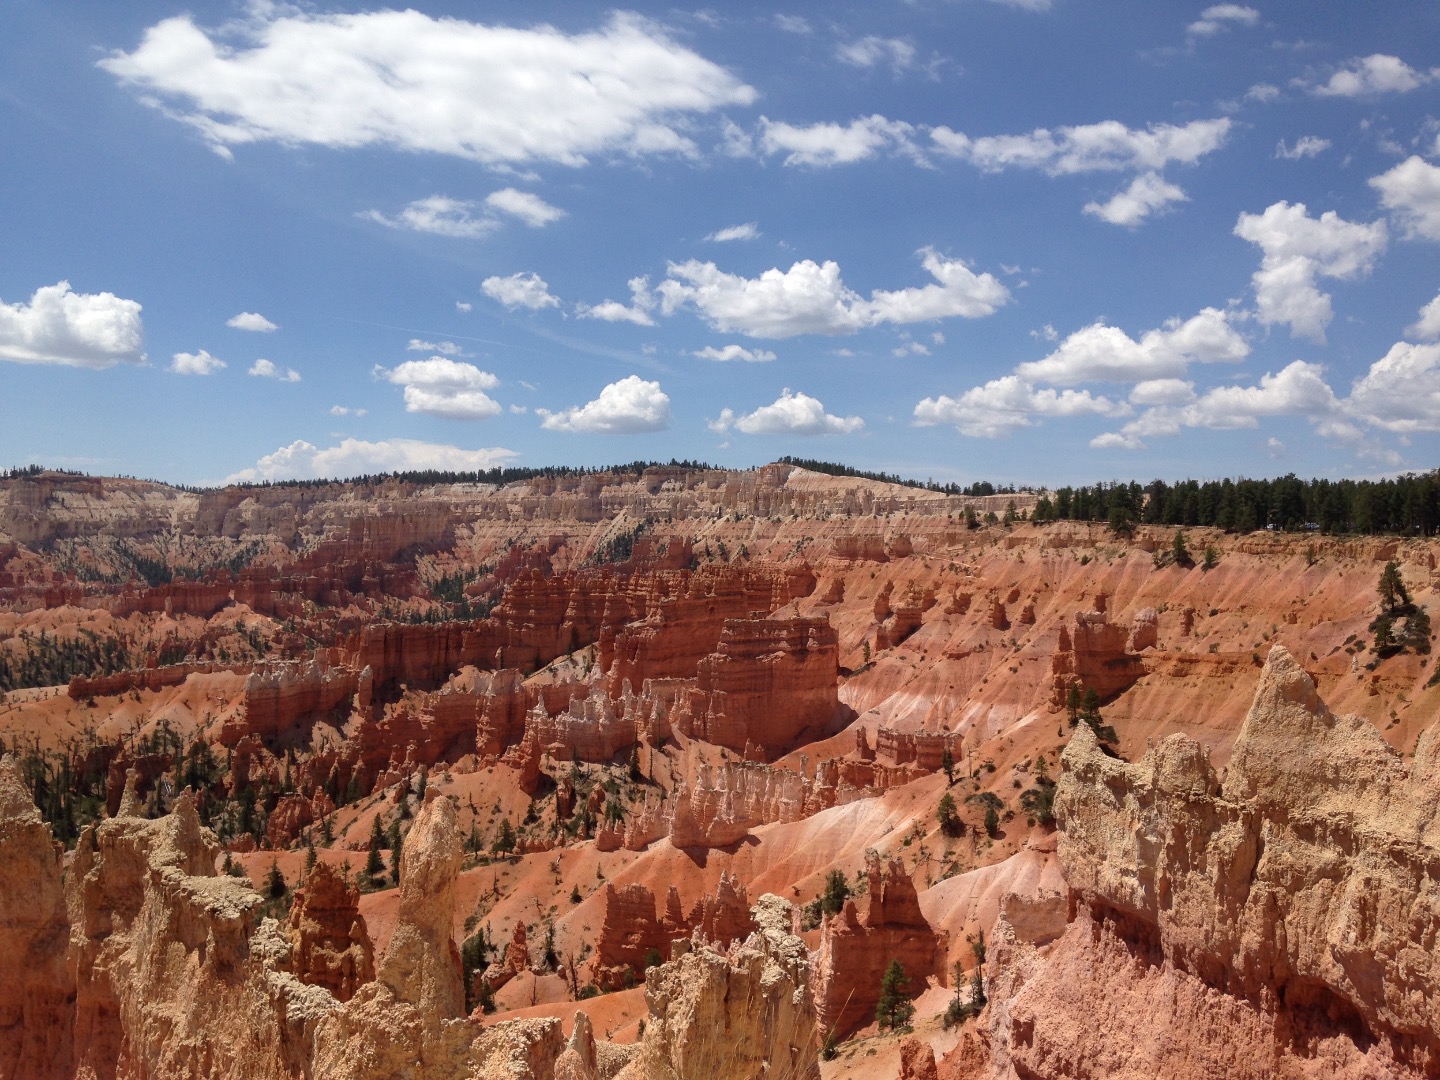
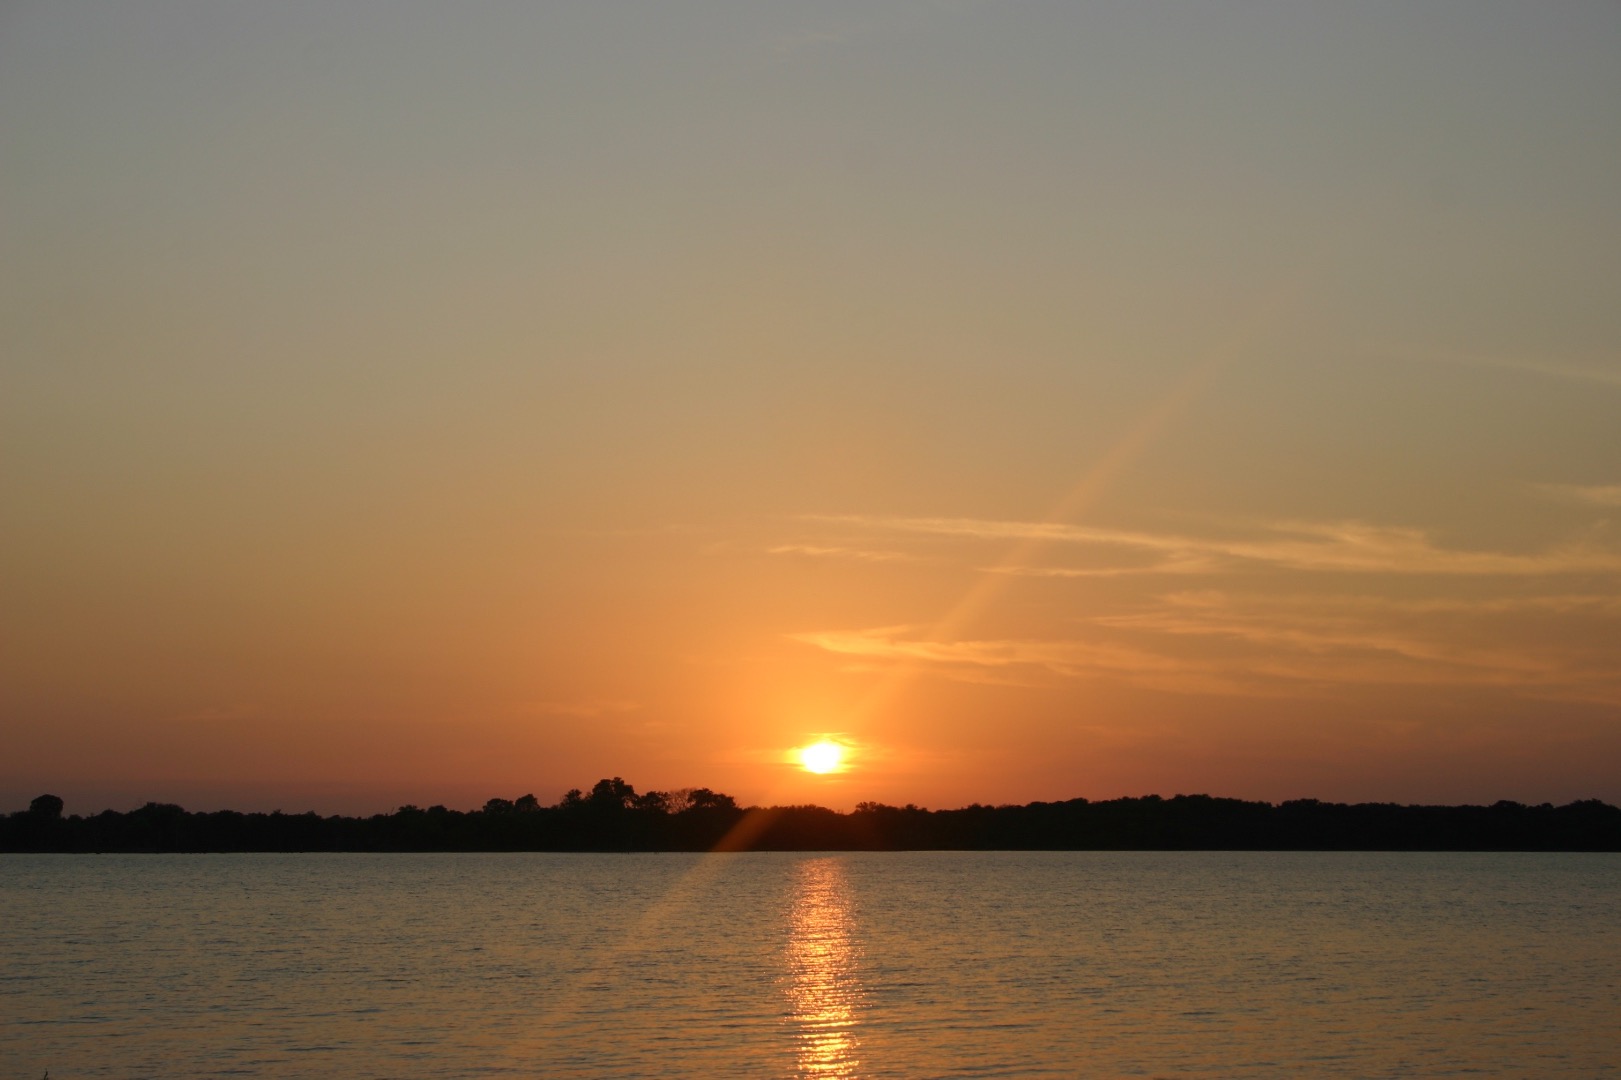
Good landscape photos show the overview of a large scene, sharing its nice qualities and traits. Make sure the photo has nothing unnatural obstructing the scenery. A telephone pole or cell tower in the middle of a natural scene will likely interrupt the photo. Likewise, people can really detract from a photo. In an area with tourists, explore using a long exposure to rid the photograph of them. Also consider using a polarizing lens for your landscape photos, as this can really add more color to the image.
Wildlife
Wildlife photos are beautiful when shot properly. Animals turn out best in photos when they are in clear view, taking the center of attention. A photo of wildlife silhouetted against a sunset or sunrise is eye catching. Zoom in to get a nice, detailed shot of the animal without startling it. Many people make the mistake of walking too close to wildlife in hopes of getting the perfect shot. This may startle and scare off your subject, but more importantly, it may provoke the animal to become aggressive toward you. Keep your distance.
Outdoor/Sports Photos
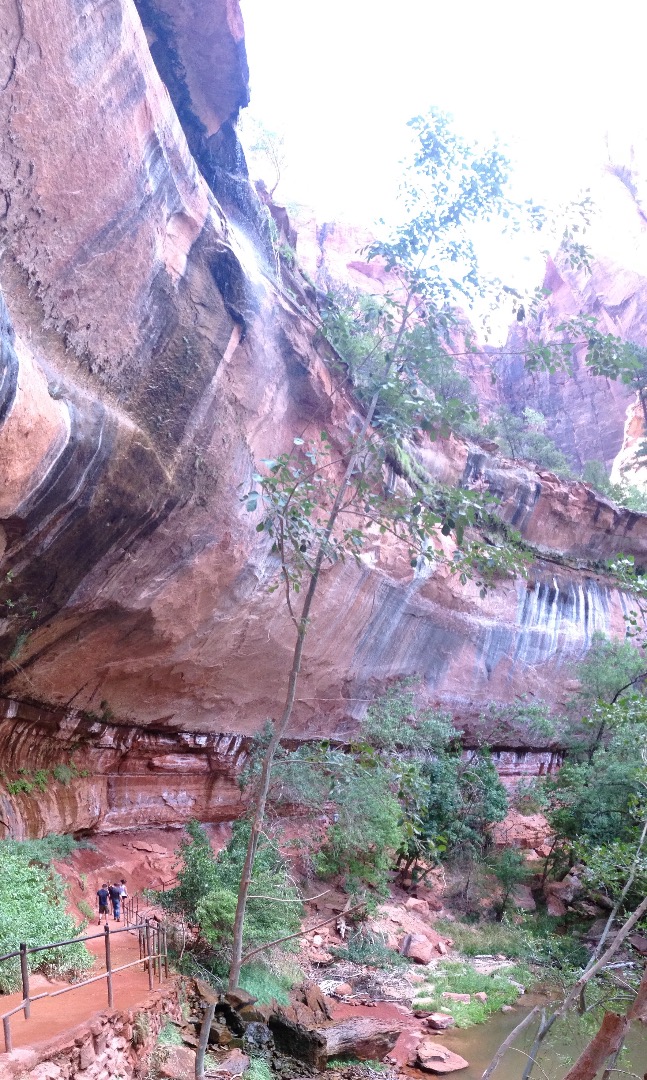
Outdoor adventure photos are all about capturing a person as a small part of a big idea. You want to show all the environment and challenges that a person is facing. That is why many good outdoor photos include a lot of scenery with a small person at the bottom.
For action photos, use a fast shutter speed. Timing is everything. Train your camera on the place of opportunity, where your subject will preform the action that you want to shoot. That way, all you have to do is press the shutter when the opportunity is present. When photographing sports, consider using a higher aperture so that you can get more action in one photo.
Details, Details, Details
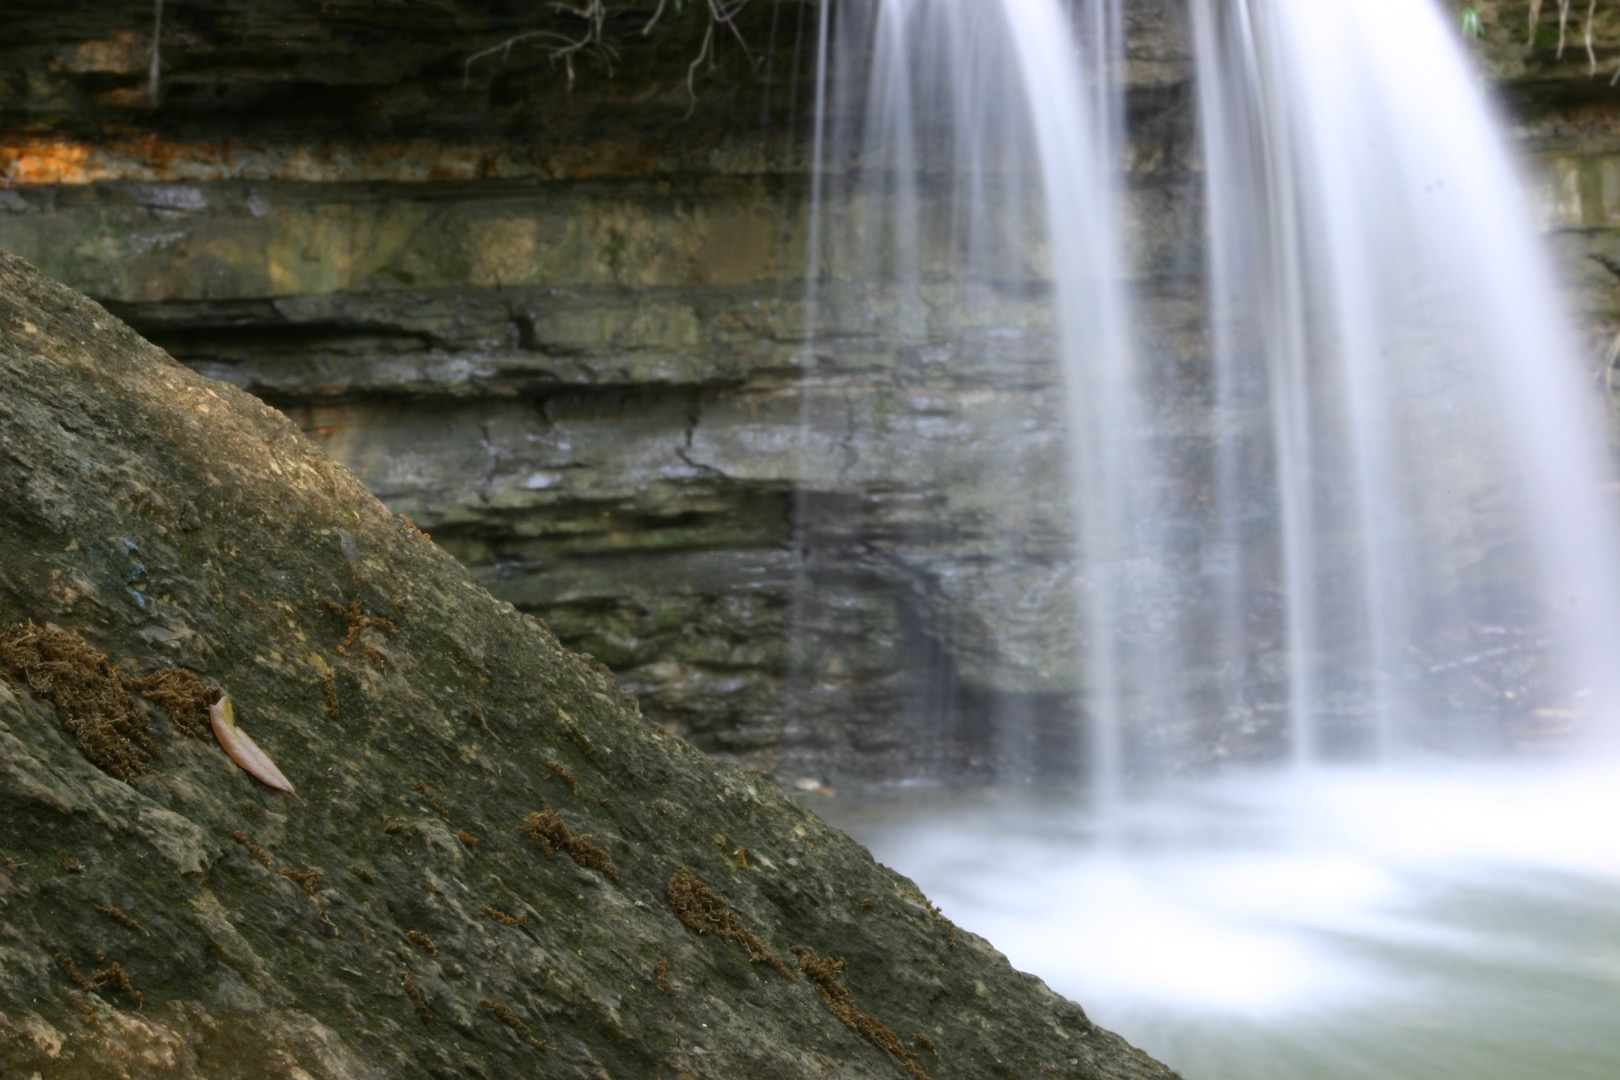
Details are very important to a photograph. You want your photo to stand out, and details will do just that. Focus on the design of tree bark, the creases of a leaf, or the flow of water in a creek. Details are often in the foreground or background. A great way to get close-up details in a photo is with the use of a macro lens.
Notice how the mossy stone in the photo is very detailed, while also giving detailed depth to the waterfall behind it.
Other Tips
.jpg)
We have covered quite a few situations, but there are a few extra tips I want to share with you. There is a photography 'rule' so to speak called the "The Rule of Thirds". Imagine your view split into a three by three (#) graph. Then shoot your subject where the lines cross. Don't have the subject of your photo directly in the middle.
Line patterns give a photo personality. A person's eyes are drawn to lines in photographs. For example, a road winding up a mountain, contrails in the sky or bridges across the lake add interest to the photo.
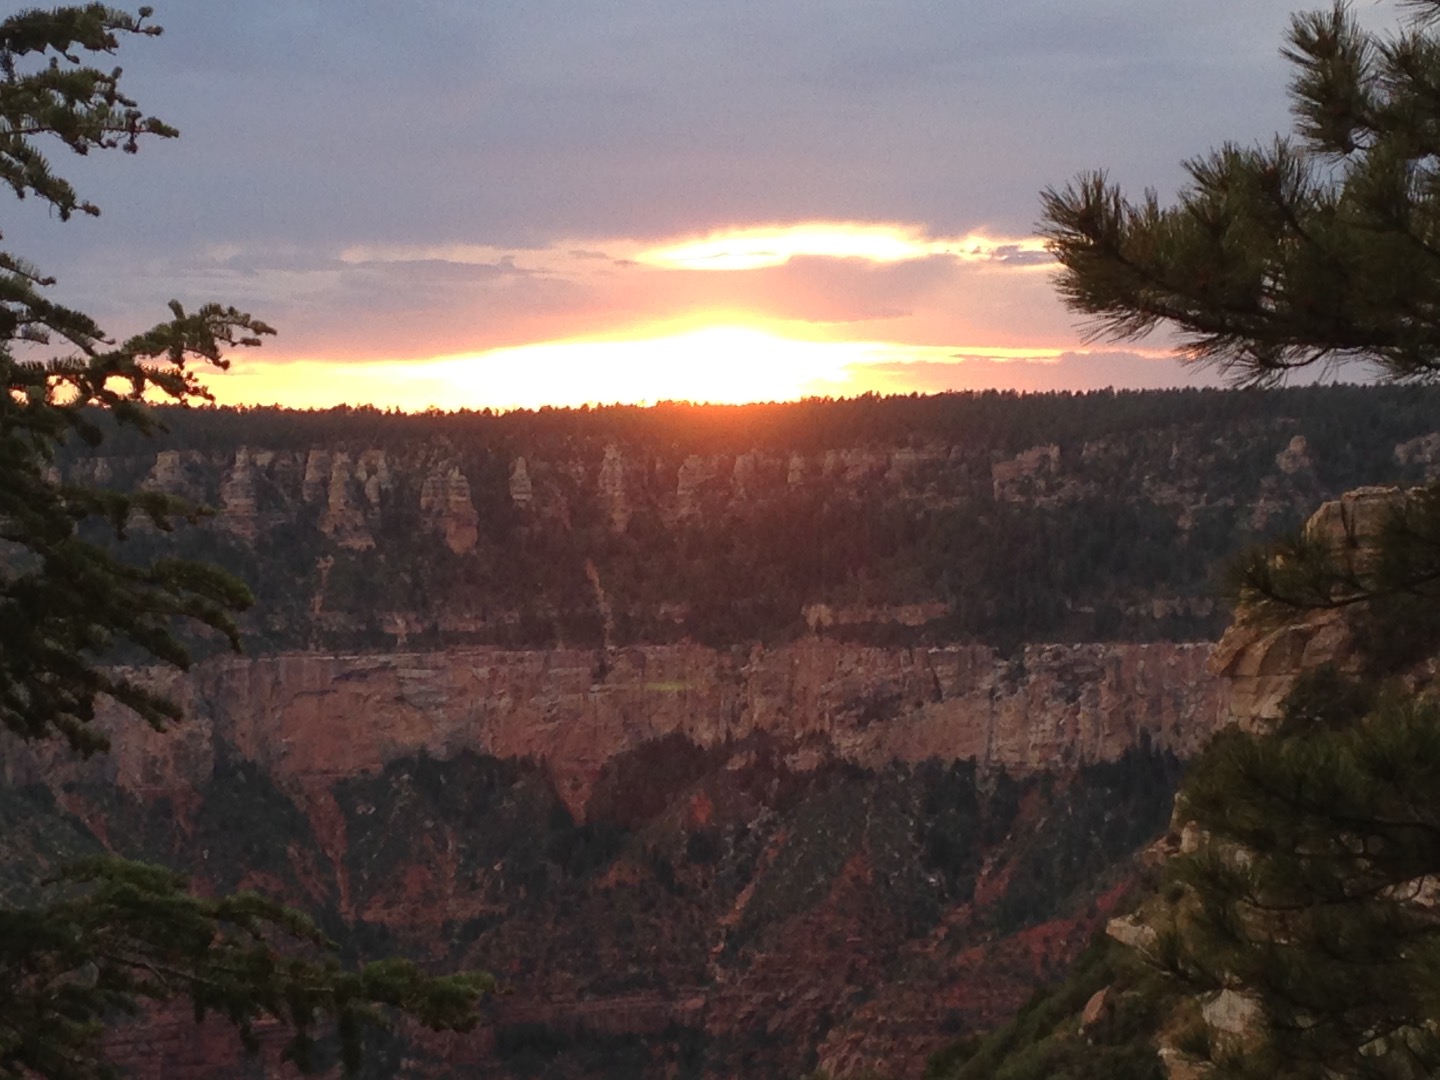
Natural frames give your photo dimension and a nice set-up. Take a landscape photo through a natural rock arch, or use two trees on each side of a view, like I did in the photo above of a spectacular sunset.
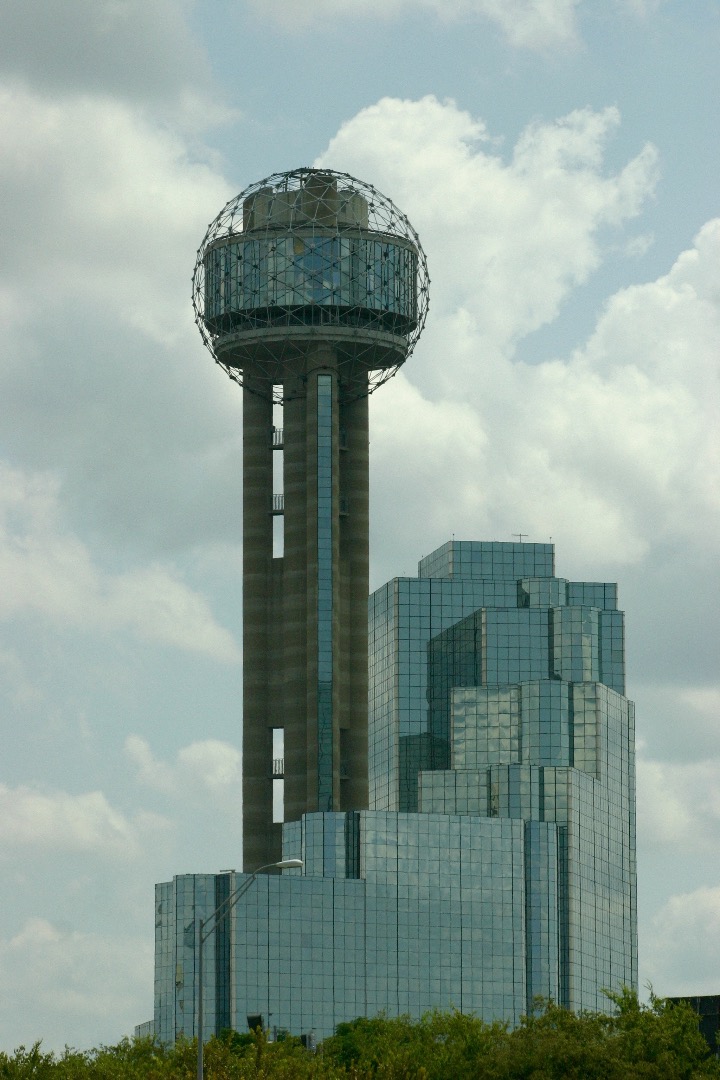
Many new photographers only take horizontal (landscape) format photographs, but consider taking vertical (portrait) format photographs in some cases, as well.
Try not to point your camera at the sun, as the sun can damage the camera like it can damage your eye.
When taking portraits, have the person stand far away from objects behind them. That way, you blur the background, drawing attention to the subject.
Get Out There.
I hope you have learned something in this Instructable and will be able to use what you have learned when taking photos. Now get outside (or not) and take some photos. Feel free to ask any questions, and I will do my best to answer them. Also, please comment with any of your own photography tips. Thanks!