Esp32-Stick Telegram Gas Sensor: How to Make Plug-And-Play Gas Monitoring Sensor
by alexok997 in Circuits > Arduino
610 Views, 0 Favorites, 0 Comments
Esp32-Stick Telegram Gas Sensor: How to Make Plug-And-Play Gas Monitoring Sensor
This project is about using the Esp32-Stick board as a plug-and-play gas sensor, which means that all you need to do after the project is programmed, is to plug it into any network with Internet access using an Ethernet cable. If the gas value is above a certain threshold level, it will send you a Telegram message.
I created this project because I haven't come across any tutorials on using Esp32 Ethernet together with Telegram, and I thought it might be useful to someone
Supplies
What you need is:
Esp32-Stick-PoE-P if you want to use Passive PoE for powering your board.(Don't use PoE when you are programming the board!)
Esp32-Stick-PoE-A if you want to use Active PoE for powering your board.(Don't use PoE when you are programming the board!)
Esp32-Stick-Eth if you don't need PoE.
If you live in Czech Republic you can get the board much faster here
MQ-2 - Gas sensor
Create Telegram Bot for You Board
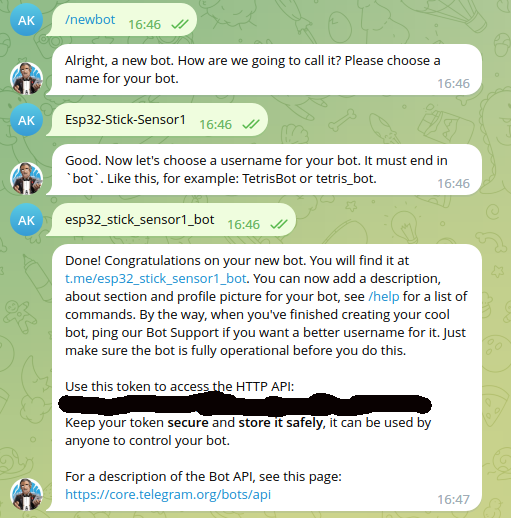
First let's create a bot account for the Esp32-Stick board. For that purpose, you can use t.me/botfather, which is a Telegram bot for creating other Telegram bots.
Use these commands:
- /start
- /newbot
- [Your bot name](Name the bot as you like)
- your_bot_name
Cool, now you can access your bot at t.me/your_bot_name.
Save HTTP API token, you will need to insert it into your code later.
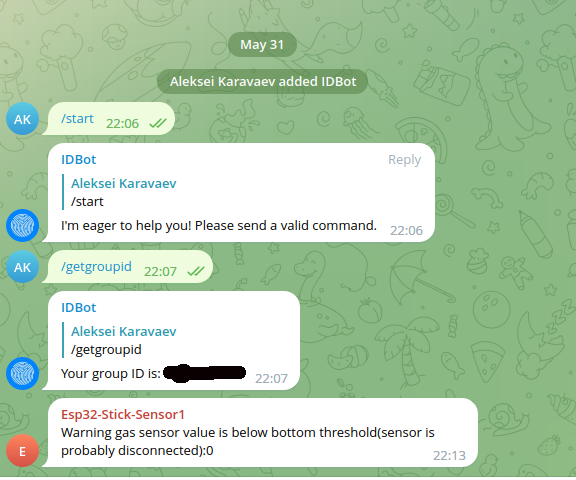
Add Your Bot to Group and Get Group Id
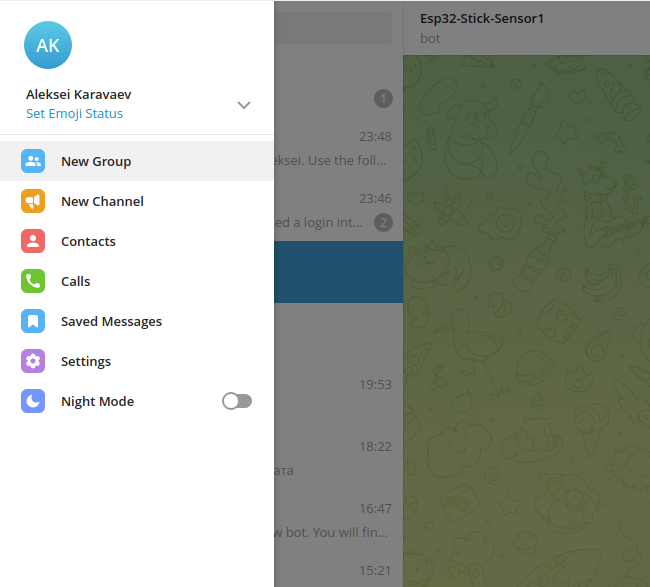
Now we need to create a telegram group for our bot and find out the group id.
- Create a telegram group.
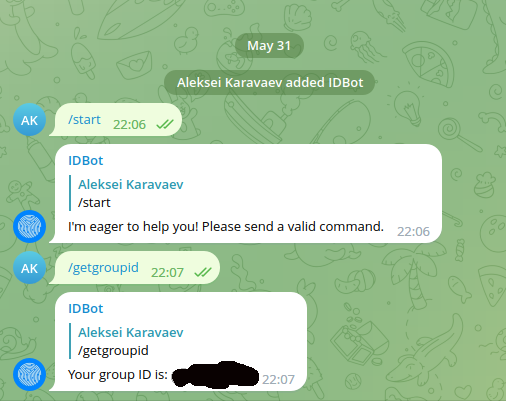
- Add your newly created bot there.
- Add t.me/myidbot
- Retrieve group id from t.me/myidbot using /getgroupid command
- Save the group id, you will need to insert it into your code.
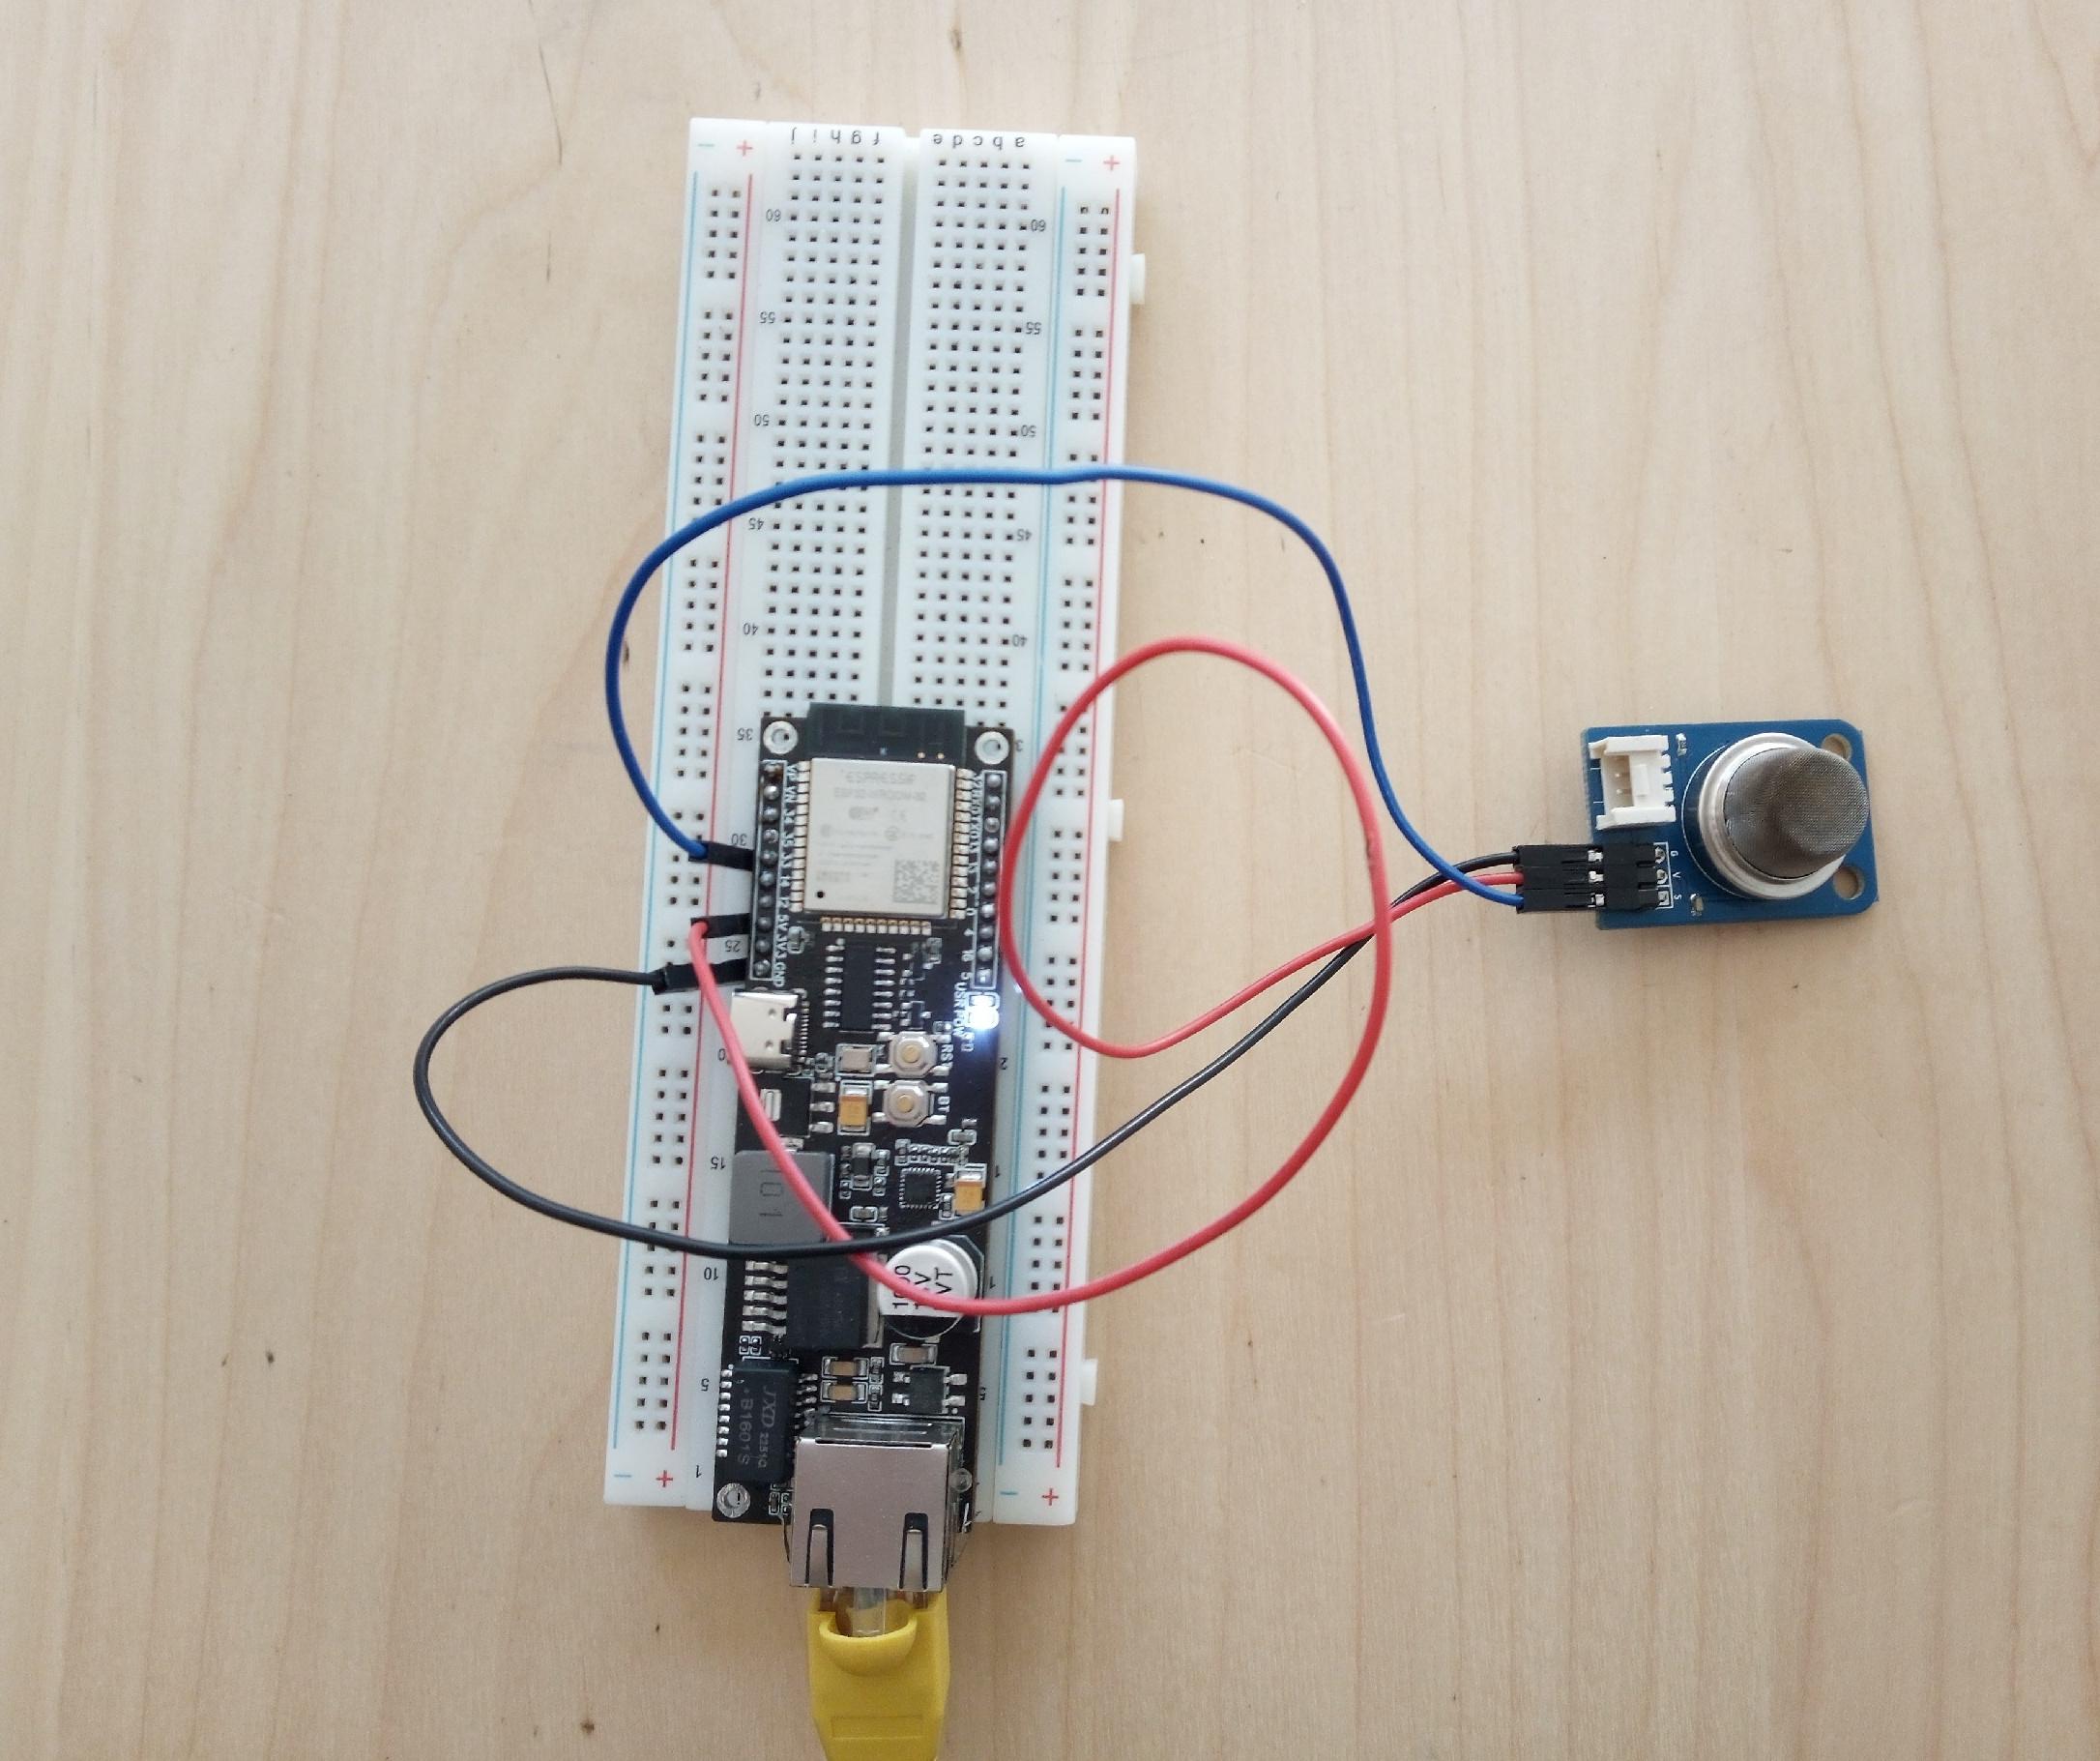
Connect the Hardware

Connections are very simple:
Sensor VCC->5V
Sensor GND->GND
Sensor Signal->pin 33
The MQ2 sensor operates at 5V, Esp32-Stick is 3.3V board, but the pins are 5V tolerant so you can have 5V on them without causing any damage.
Create PlatformIO Project

If you want to use Arduino IDE, skip this step.
Create a project in PlatformIO, use Adafruit Esp32 Feather as the board. (In most cases It doesn't matter what board you choose as long as the core chip is the same(Esp32 in our case))
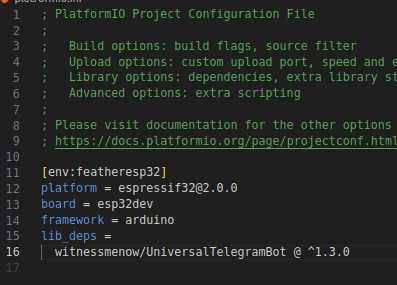
Check the plaformio.ini file and copy the configuration (It specifies espressif framework version platform = espressif32@2.0.0 that this example was tested with and sets the board=esp32dev, and adds all the necessary libraries). platformio.ini should look something like this:
[env:featheresp32]
platform = espressif32@2.0.0
board = esp32dev
framework = arduino
lib_deps =
  witnessmenow/UniversalTelegramBot @ ^1.3.0
At this point you should have an empty Platformio project ready and the Telegram Bot created and added to the group.
Create Arduino Sketch
Skip this step, if you want to use PlatformIO
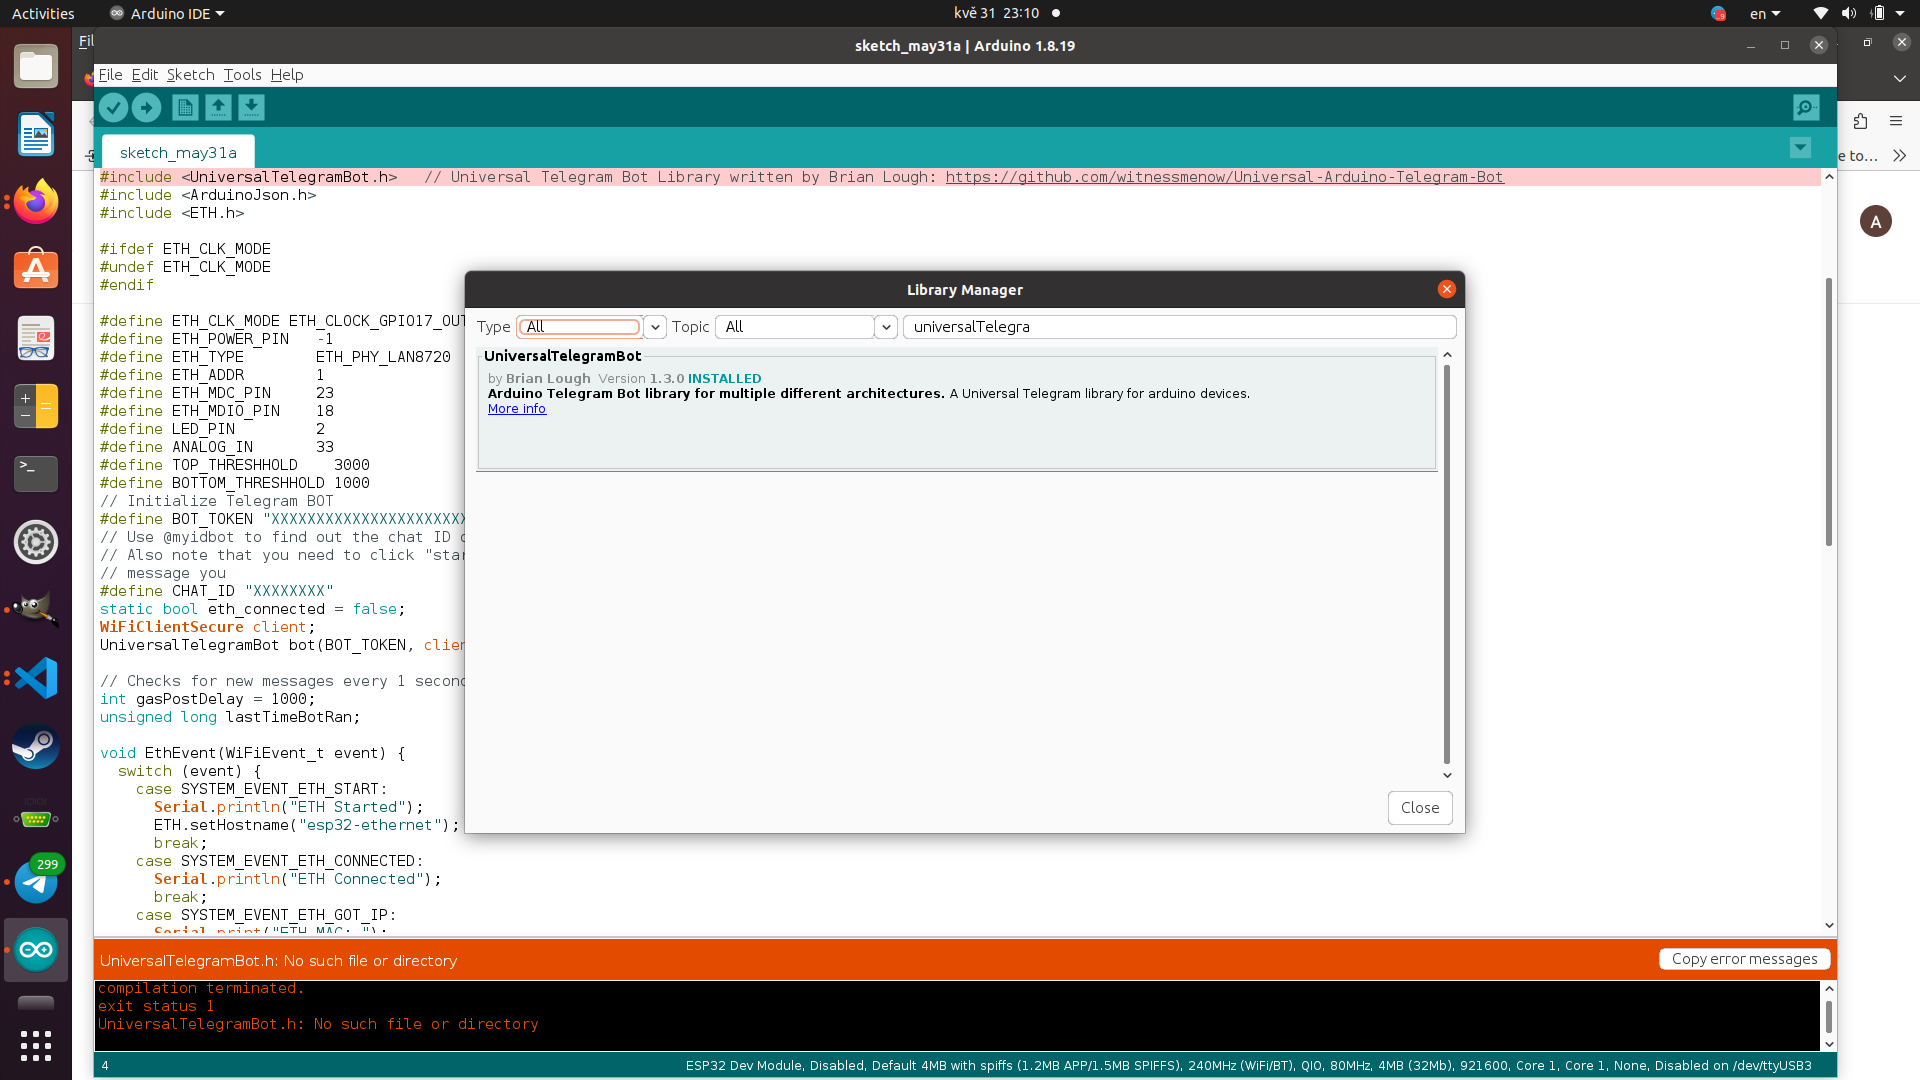
Create Arduino sketch and add UniversalTelegramBot library using Sketch->Include library->Manage libraries.
Also set Tools->Board to Esp32 Dev Module
Write Some Code
Ok, here is the part, where we upload the code and test our project.
Check out this code:
/*
  Karavaev Aleksei
  Project created using Brian Lough's Universal Telegram Bot Library: https://github.com/witnessmenow/Universal-Arduino-Telegram-Bot
  Example based on the Universal Arduino Telegram Bot Library: https://github.com/witnessmenow/Universal-Arduino-Telegram-Bot/blob/master/examples/ESP8266/FlashLED/FlashLED.ino
*/


#ifdef ESP32
  #include <WiFi.h>
#else
  #include <ESP8266WiFi.h>
#endif
#include <WiFiClientSecure.h>
#include <UniversalTelegramBot.h>   // Universal Telegram Bot Library written by Brian Lough: https://github.com/witnessmenow/Universal-Arduino-Telegram-Bot
#include <ArduinoJson.h>
#include <ETH.h>

#ifdef ETH_CLK_MODE
#undef ETH_CLK_MODE
#endif

#define ETH_CLK_MODE ETH_CLOCK_GPIO17_OUT
#define ETH_POWER_PIN   -1
#define ETH_TYPE        ETH_PHY_LAN8720
#define ETH_ADDR        1
#define ETH_MDC_PIN     23
#define ETH_MDIO_PIN    18
#define LED_PIN         2
#define ANALOG_IN       33
#define TOP_THRESHHOLD    3000
#define BOTTOM_THRESHHOLD 1000
// Initialize Telegram BOT
#define BOT_TOKEN "XXXXXXXXXXXXXXXXXXXXXXXXXXXXXXXXXXXXXXX"  // your Bot Token (Get from Botfather)
// Use @myidbot to find out the chat ID of an individual or a group
// Also note that you need to click "start" on a bot before it can
// message you
#define CHAT_ID "XXXXXX"
static bool eth_connected = false;
WiFiClientSecure client;
UniversalTelegramBot bot(BOT_TOKEN, client);

// Checks for new messages every 1 second.
int gasPostDelay = 1000;
unsigned long lastTimeBotRan;

void EthEvent(WiFiEvent_t event) {
  switch (event) {
    case SYSTEM_EVENT_ETH_START:
      Serial.println("ETH Started");
      ETH.setHostname("esp32-ethernet");
      break;
    case SYSTEM_EVENT_ETH_CONNECTED:
      Serial.println("ETH Connected");
      break;
    case SYSTEM_EVENT_ETH_GOT_IP:
      Serial.print("ETH MAC: ");
      Serial.print(ETH.macAddress());
      Serial.print(", IPv4: ");
      Serial.print(ETH.localIP());
      if (ETH.fullDuplex()) {
        Serial.print(", FULL_DUPLEX");
      }
      Serial.print(", ");
      Serial.print(ETH.linkSpeed());
      Serial.println("Mbps");
      eth_connected = true;
      break;
    case SYSTEM_EVENT_ETH_DISCONNECTED:
      Serial.println("ETH Disconnected");
      eth_connected = false;
      break;
    case SYSTEM_EVENT_ETH_STOP:
      Serial.println("ETH Stopped");
      eth_connected = false;
      break;
    default:
      break;
  }
}


void readSensorDataAndPost(){
    uint16_t sensorValue=analogRead(ANALOG_IN);
    if(sensorValue>TOP_THRESHHOLD){
      bot.sendMessage(CHAT_ID, "Warning gas sensor value is above top threshold:"+String(analogRead(ANALOG_IN)), "");
    }
    if(sensorValue<BOTTOM_THRESHHOLD){
      bot.sendMessage(CHAT_ID, "Warning gas sensor value is below bottom threshold(sensor is probably disconnected):"+String(analogRead(ANALOG_IN)), "");
    }
}


void setup() {
  Serial.begin(115200);
  Serial.println("ESP32-Stick Sensor Reader\n");
  WiFi.onEvent(EthEvent); //Interestingly enough WiFi.onEvent() also catches Ethernet events.
  ETH.begin(ETH_ADDR, ETH_POWER_PIN, ETH_MDC_PIN, ETH_MDIO_PIN, ETH_TYPE, ETH_CLK_MODE);
  #ifdef ESP32
    client.setCACert(TELEGRAM_CERTIFICATE_ROOT); // Add root certificate for api.telegram.org
  #endif

}


void loop() {
  if(eth_connected){
    if (millis() > lastTimeBotRan + gasPostDelay)  {
      readSensorDataAndPost();
      lastTimeBotRan = millis();
    }
  }
  delay(1);
}
To make it work you need to replace BOT_TOKEN with the token you got from t.me/botfather , and CHAT_ID with the group ID you got from t.me/myidbot during step 2.
!!!IMPORTANT NOTICE!!!!
If you are using Arduino IDE, replace all
SYSTEM_BLA_BLA_BLA
in EthEvent(WiFiEvent_t event)
with
ARDUINO_BLA_BLA_BLA
Now let's talk about the code a little bit. Essentially, what it does, is it configures the Ethernet to wait for the cable to be plugged in and goes to the loop(). When the cable is plugged in and the Ethernet is connected, eth_connected variable becomes true. Then the bot starts reading data from ANALOG_IN pin, if the value is above the top threshold(TOP_THRESHOLD) or below the bottom threshold(BOTTOM_THRESHOLD) the bot sends you a message.
There are two functions in this code except for loop() and setup(): readSensorDataAndPost() and EthEvent(WiFiEvent_t event). readSensorDataAndPost() reads data from analog input and posts to Telegram if the value is above or below the threshold. EthEvent(WiFiEvent_t event) handles Ethernet connection.
Downloads
Test the System

- Plug Ethernet cable in, wait a few seconds before the device connects to the Internet.
- You can use your normal lighter for testing, just press the gas button without starting a fire. Alternatively you can disconnect 5V from sensor for a few seconds, the bot will detect it and send you a message.
- Check your Telegram you should receive message from you bot!