Esp32-Stick Development Boards(POE-A, POE-P, ETH) Blink and Ping
by GrunclMichal in Circuits > Arduino
683 Views, 0 Favorites, 0 Comments
Esp32-Stick Development Boards(POE-A, POE-P, ETH) Blink and Ping

Hello.
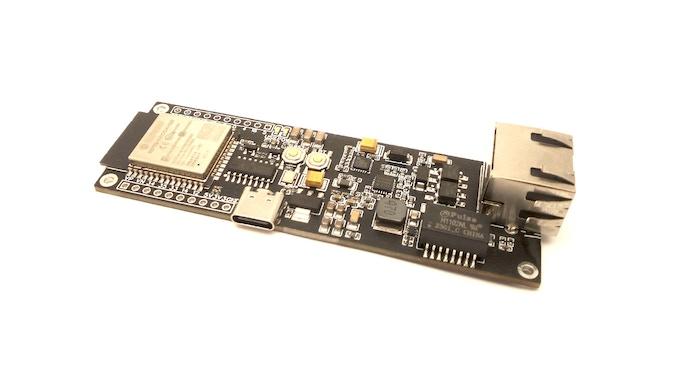
This is a short tutorial on basic test project for Esp32-Stick development boards(POE-P, POE-A, ETH). The basic idea of this project is to create a program that is going to blink a LED and starts pinging google.com.
Supplies
Connecting

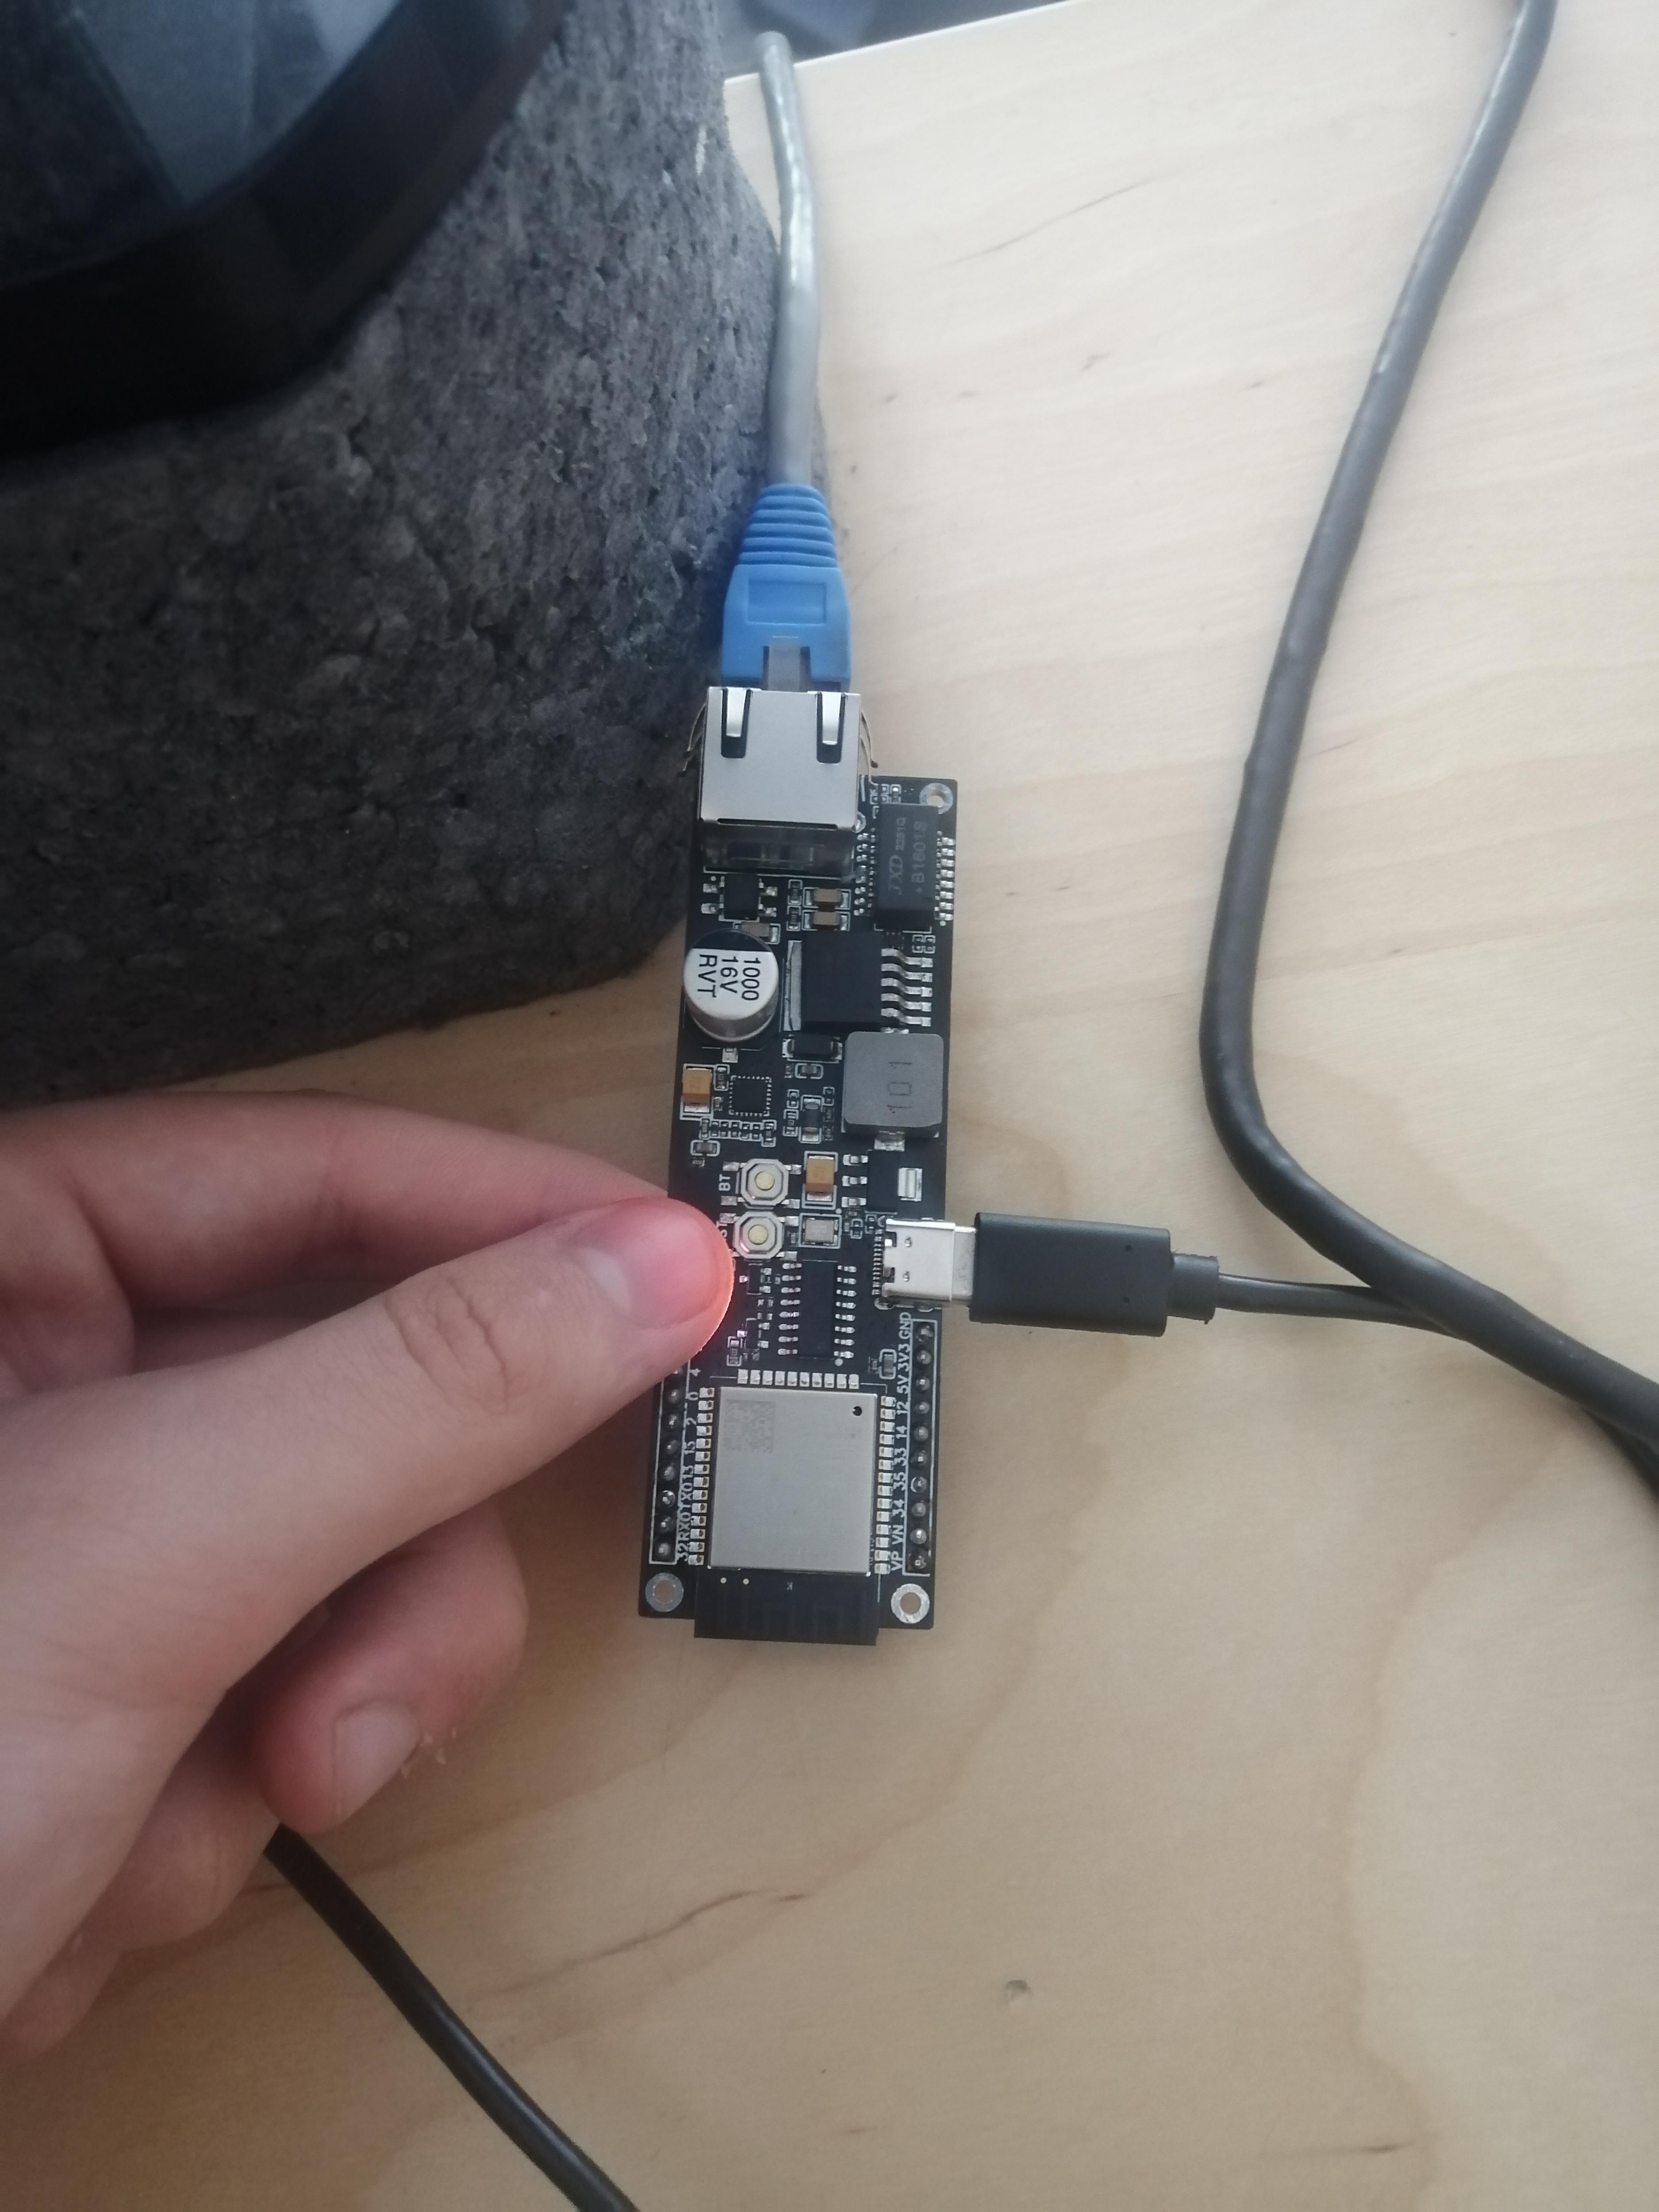
Esp32-Stick development boards have one user LED build inside of them and connected to GPIO2 so we don't have to connect external LED. Thanks to that all that we're left with is to connect USB-C and Ethernet cable to their dedicated ports on one side and on the other to PC and we're done with connecting.
Code
We'll be using VSCode with PlatformIO extension installed.
So, after installing PlatformIO click at a "Bee icon" and then select "PIO Home>Open".
Click on "New Project" give your project a name, select board "Adafruit ESP32 Feather" and hit Finish.
After that open file "platformio.ini" and check if all info is same as here:
[env:featheresp32]
platform = espressif32@2.0.0
board = esp32dev
framework = arduino
monitor_speed = 115200
If not, rewrite anything that is missing or is different.
Now for the main code.
You will find it in "src>main.cpp".
(Everything marked with "//" or written between "/* */" is comment. That means it's not a code, but a text written to help you understand it better. Try to read it and see, if you understand what's going on)
//this adds ETH library
#include <ETH.h>


#ifdef ETH_CLK_MODE
#undef ETH_CLK_MODE
#endif

//this defines important iner pins
#define ETH_CLK_MODE ETH_CLOCK_GPIO17_OUT
#define ETH_POWER_PIN   -1
#define ETH_TYPE        ETH_PHY_LAN8720
#define ETH_ADDR        1
#define ETH_MDC_PIN     23
#define ETH_MDIO_PIN    18


//this defines LED pin
#define LED_PIN         2


//var telling us if we're connected
static bool eth_connected = false;


/*
 *  this is a method that checks what kind of WiFi event happend and than prints out important info to console
 */
void WiFiEvent(WiFiEvent_t event) {
  switch (event) {


    //if event is "START" this prints it out to console and setsup hostname
    case SYSTEM_EVENT_ETH_START:
      Serial.println("ETH Started");
      ETH.setHostname("esp32-ethernet");
      break;


      //if event is "CONNECTED" this prints it out to console
    case SYSTEM_EVENT_ETH_CONNECTED:
      Serial.println("ETH Connected");
      break;


      //if event is "ETH_GOT_IP" this prints out all important info to console (MAC, IPv4, etc.) and sets eth_connected to true
    case SYSTEM_EVENT_ETH_GOT_IP:
      Serial.print("ETH MAC: ");
      Serial.print(ETH.macAddress());
      Serial.print(", IPv4: ");
      Serial.print(ETH.localIP());
      if (ETH.fullDuplex()) {
        Serial.print(", FULL_DUPLEX");
      }
      Serial.print(", ");
      Serial.print(ETH.linkSpeed());
      Serial.println("Mbps");
      eth_connected = true;
      break;


      //if event is "DISCONNECTED" this prints it out to console and sets eth_connected to false
    case SYSTEM_EVENT_ETH_DISCONNECTED:
      Serial.println("ETH Disconnected");
      eth_connected = false;
      break;


      //if event is "ETH_STOP" this prints it out to console and sets eth_connected to false
    case SYSTEM_EVENT_ETH_STOP:
      Serial.println("ETH Stopped");
      eth_connected = false;
      break;


      //default does nothing
    default:
      break;
  }
}


/*
 * this methode connects to host(google.com) and sends some HTTP requests
*/
void testClient(const char * host, uint16_t port) {


  //this pritns where are we connecting to
  Serial.print("\nconnecting to ");
  Serial.println(host);


  //this creates a WiFi client
  WiFiClient client;


  //if connection fails this prints it to console and stops this instance of connecting
  if (!client.connect(host, port)) {
    Serial.println("connection failed");
    return;
  }


  //this passes HTTP request and pints resaults
  client.printf("GET / HTTP/1.1\r\nHost: %s\r\n\r\n", host);
  while (client.connected() && !client.available());
  while (client.available()) {
    Serial.write(client.read());
  }


  //this prints "closing connection" and closes connection
  Serial.println("closing connection\n");
  client.stop();
}


/*
 *  this is first called methode that setup everything
 */
void setup() {
  //this setup LED pin
  pinMode(LED_PIN,OUTPUT);


  //this setup console and print in it that esp32 stick is started
  Serial.begin(115200);
  Serial.println("ESP32-Stick begin\n");


  //this setup WifiEvent as method that activates when WiFi starts event
  WiFi.onEvent(WiFiEvent);


  //this passes important pins to ETH
  ETH.begin(ETH_ADDR, ETH_POWER_PIN, ETH_MDC_PIN, ETH_MDIO_PIN, ETH_TYPE, ETH_CLK_MODE);
}


/*
 *  this methode is called as second and will loop forever
 */
void loop() {


  //if ETH is connected this passes HTTP host and port to testClient methode
  if (eth_connected) {
    testClient("google.com", 80);
  }


  //this turns LED on waits than turns it off and waits again (blinks LED)
  digitalWrite(LED_PIN,HIGH);
  delay(100);
  digitalWrite(LED_PIN,LOW);
  delay(100);
}
You can also download the code here: https://github.com/allexoK/Esp32-Stick-Platformio-Examples.
Now just start serial console (click on icon in the image) save and hit Ctrl+Alt+u to upload the project to your ESP32.
And You're done. Great Job. :D