Erasable Chalkboard Mask
by pokiespout in Craft > Costumes & Cosplay
3753 Views, 45 Favorites, 0 Comments
Erasable Chalkboard Mask
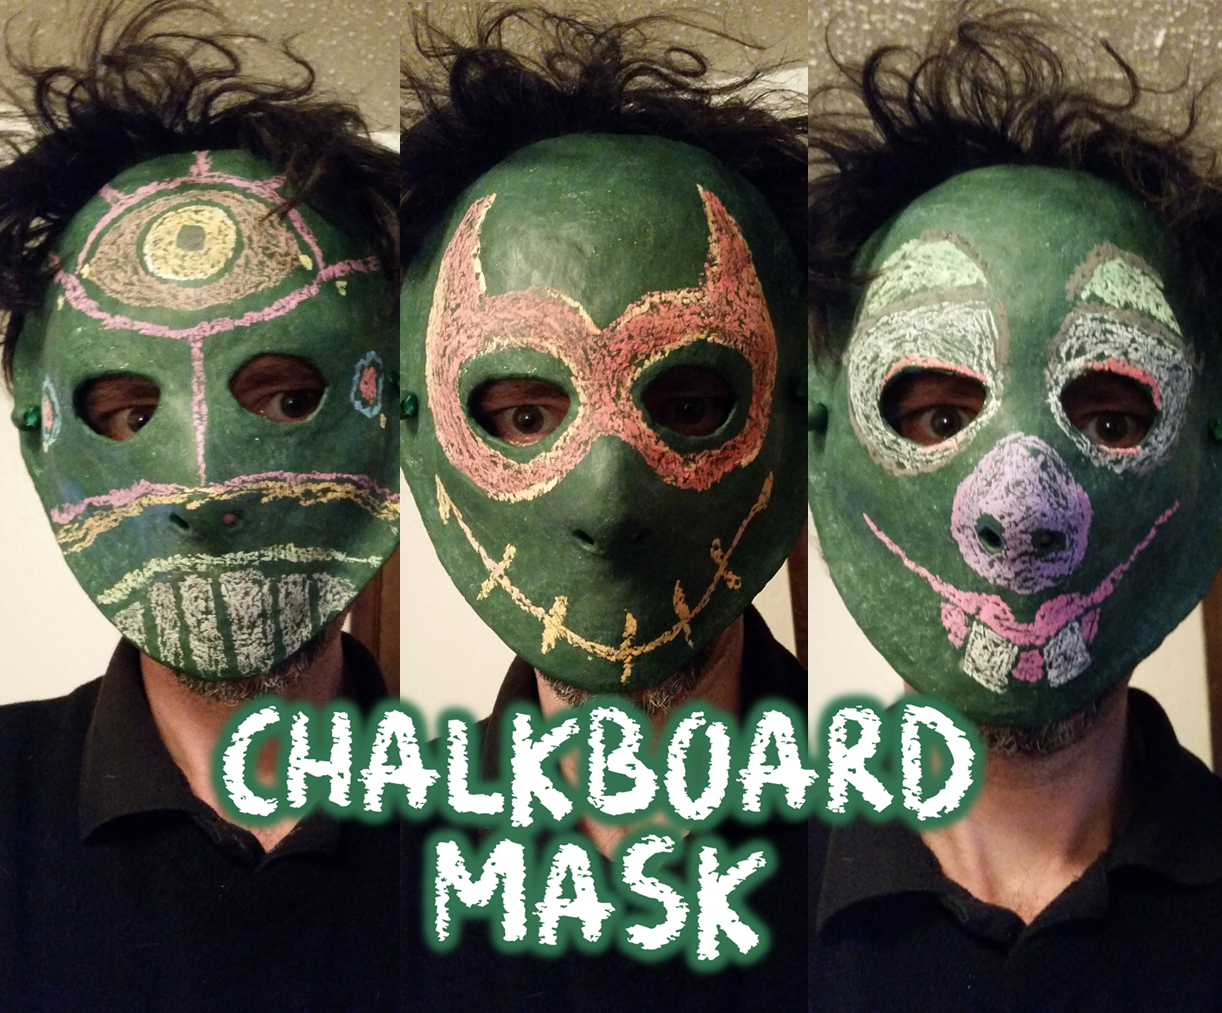
One afternoon I was at work. This was early on during the sixteen-day stretch in which I was making the Library Mask, and I was in the back room washing dishes. As I washed, I found myself muttering out loud:
"What if I just made a plain, simple mask and painted it with chalkboard paint? Then I could draw whatever face I wanted on it!"
At that point, with the reality of the Library Mask process looming large in my consciousness, the notions of plain and simple carried a lot of appeal.
The whole thing with chalkboard paint is that it's never going to be anywhere near as good as an actual chalkboard, and what little effectiveness you're likely to achieve will be predicated on how smooth your surface is. Now, my basic process for making masks involved plaster gauze, paper strips, and/or paper mache clay - all very versatile and useful materials, but not very likely to achieve the smoothness that is demanded by chalkboard paint.
Using chalkboard paint would probably be more effective on a store-bought mask with a smooth, regular surface, but I hate the idea of not making it myself. I would much rather struggle against the shortcomings of my available materials. I had a few ideas how I might make it work in spite of them!
I did a lot of research and decided to use the Rust-oleum brand of paint. I figured, if the results are totally unacceptable, I will try making my own. During my research, I did come across some tutorials for making chalkboard paint, and that seemed like a pretty good backup plan. But for this experiment, I would try the professional stuff first.
Surface Tension
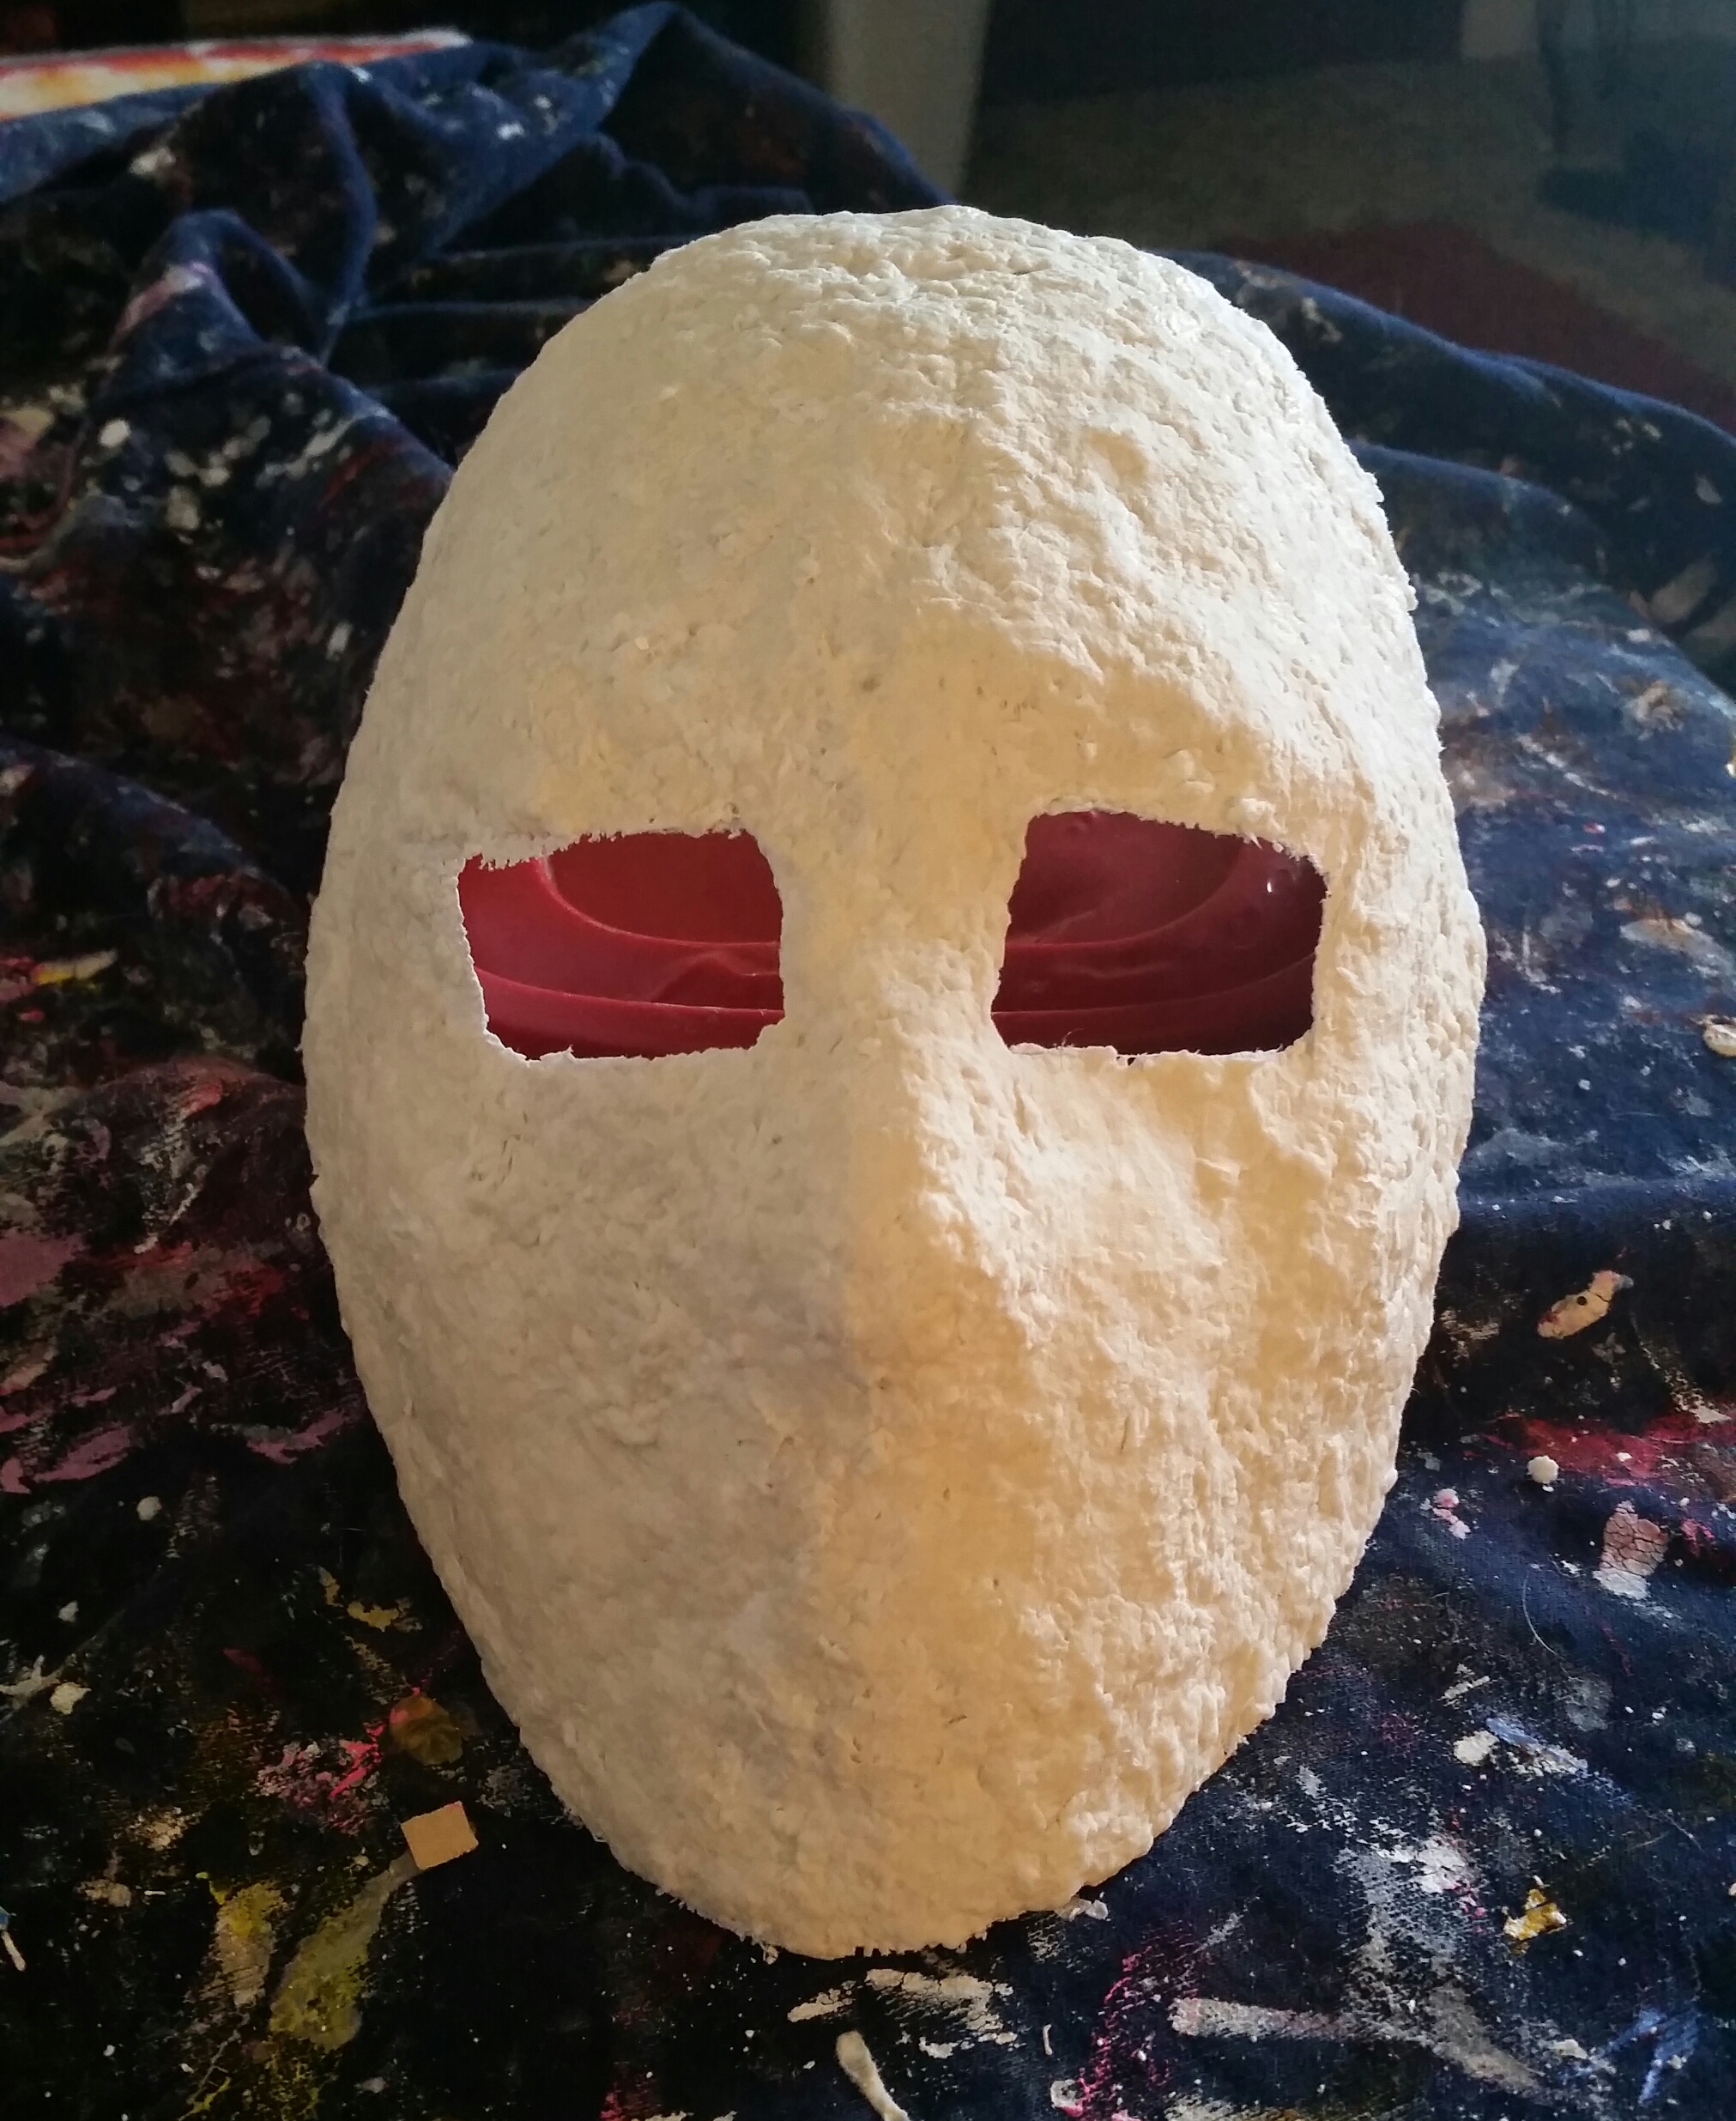
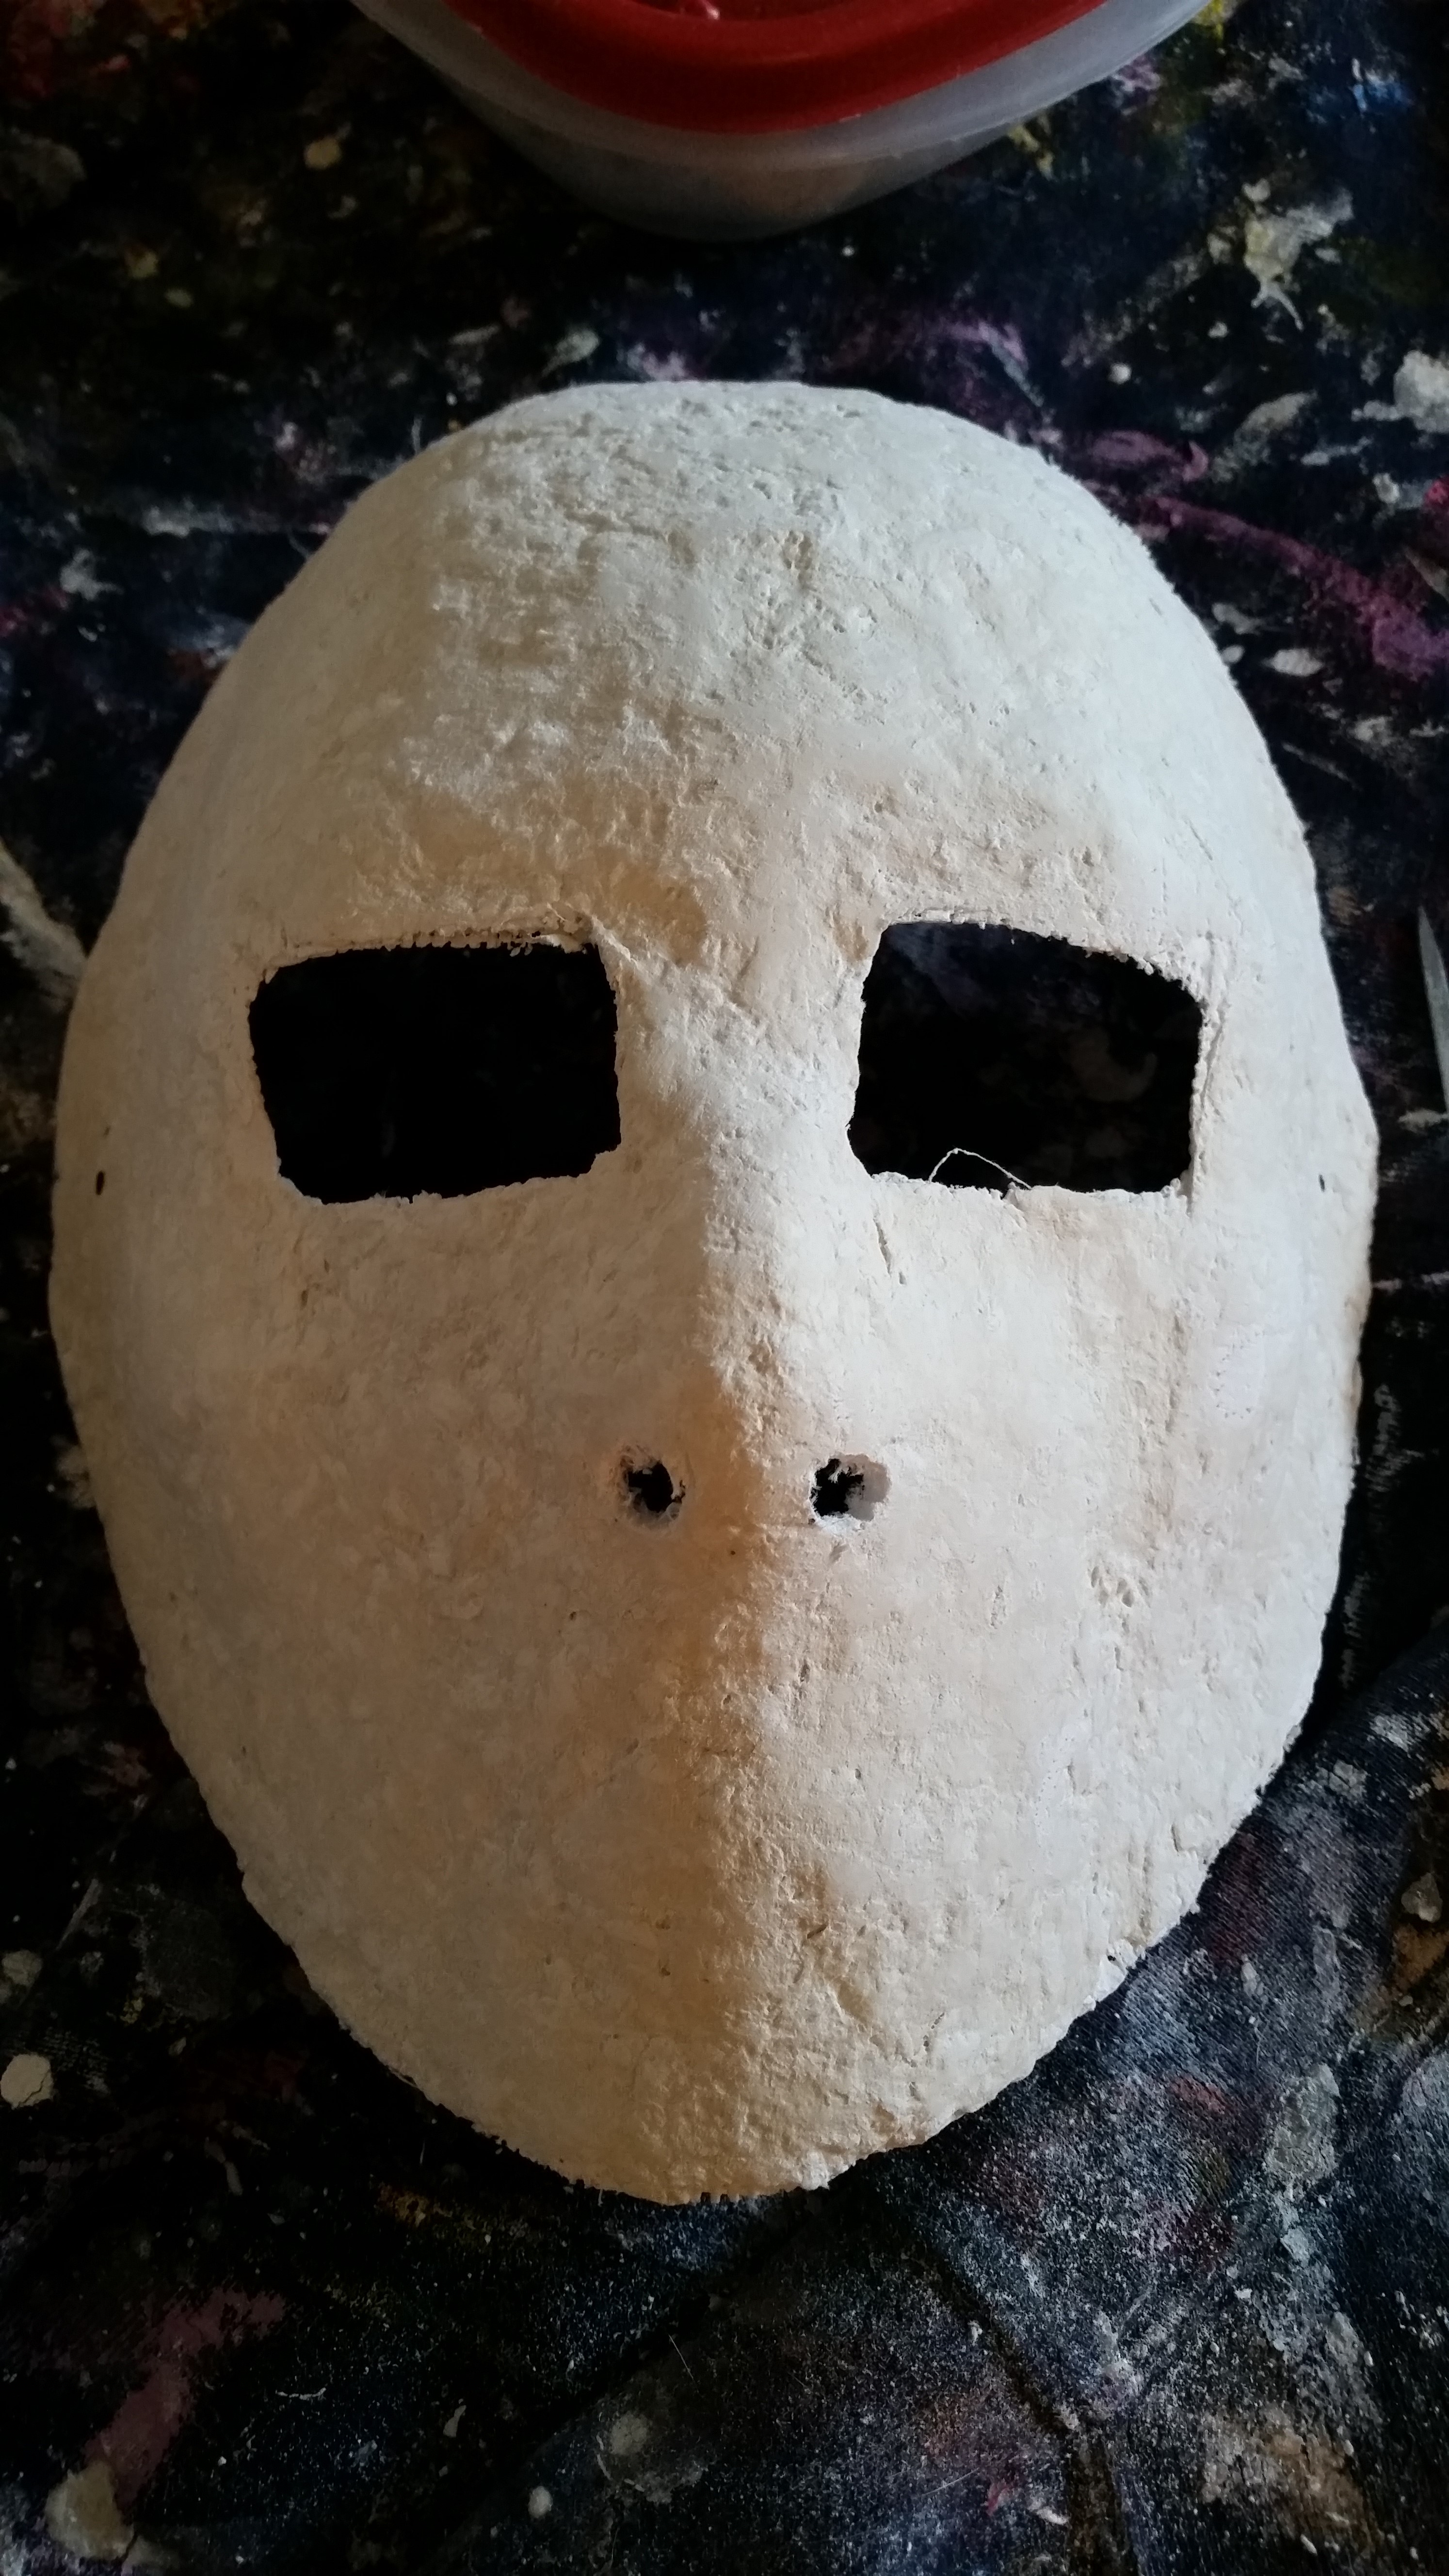
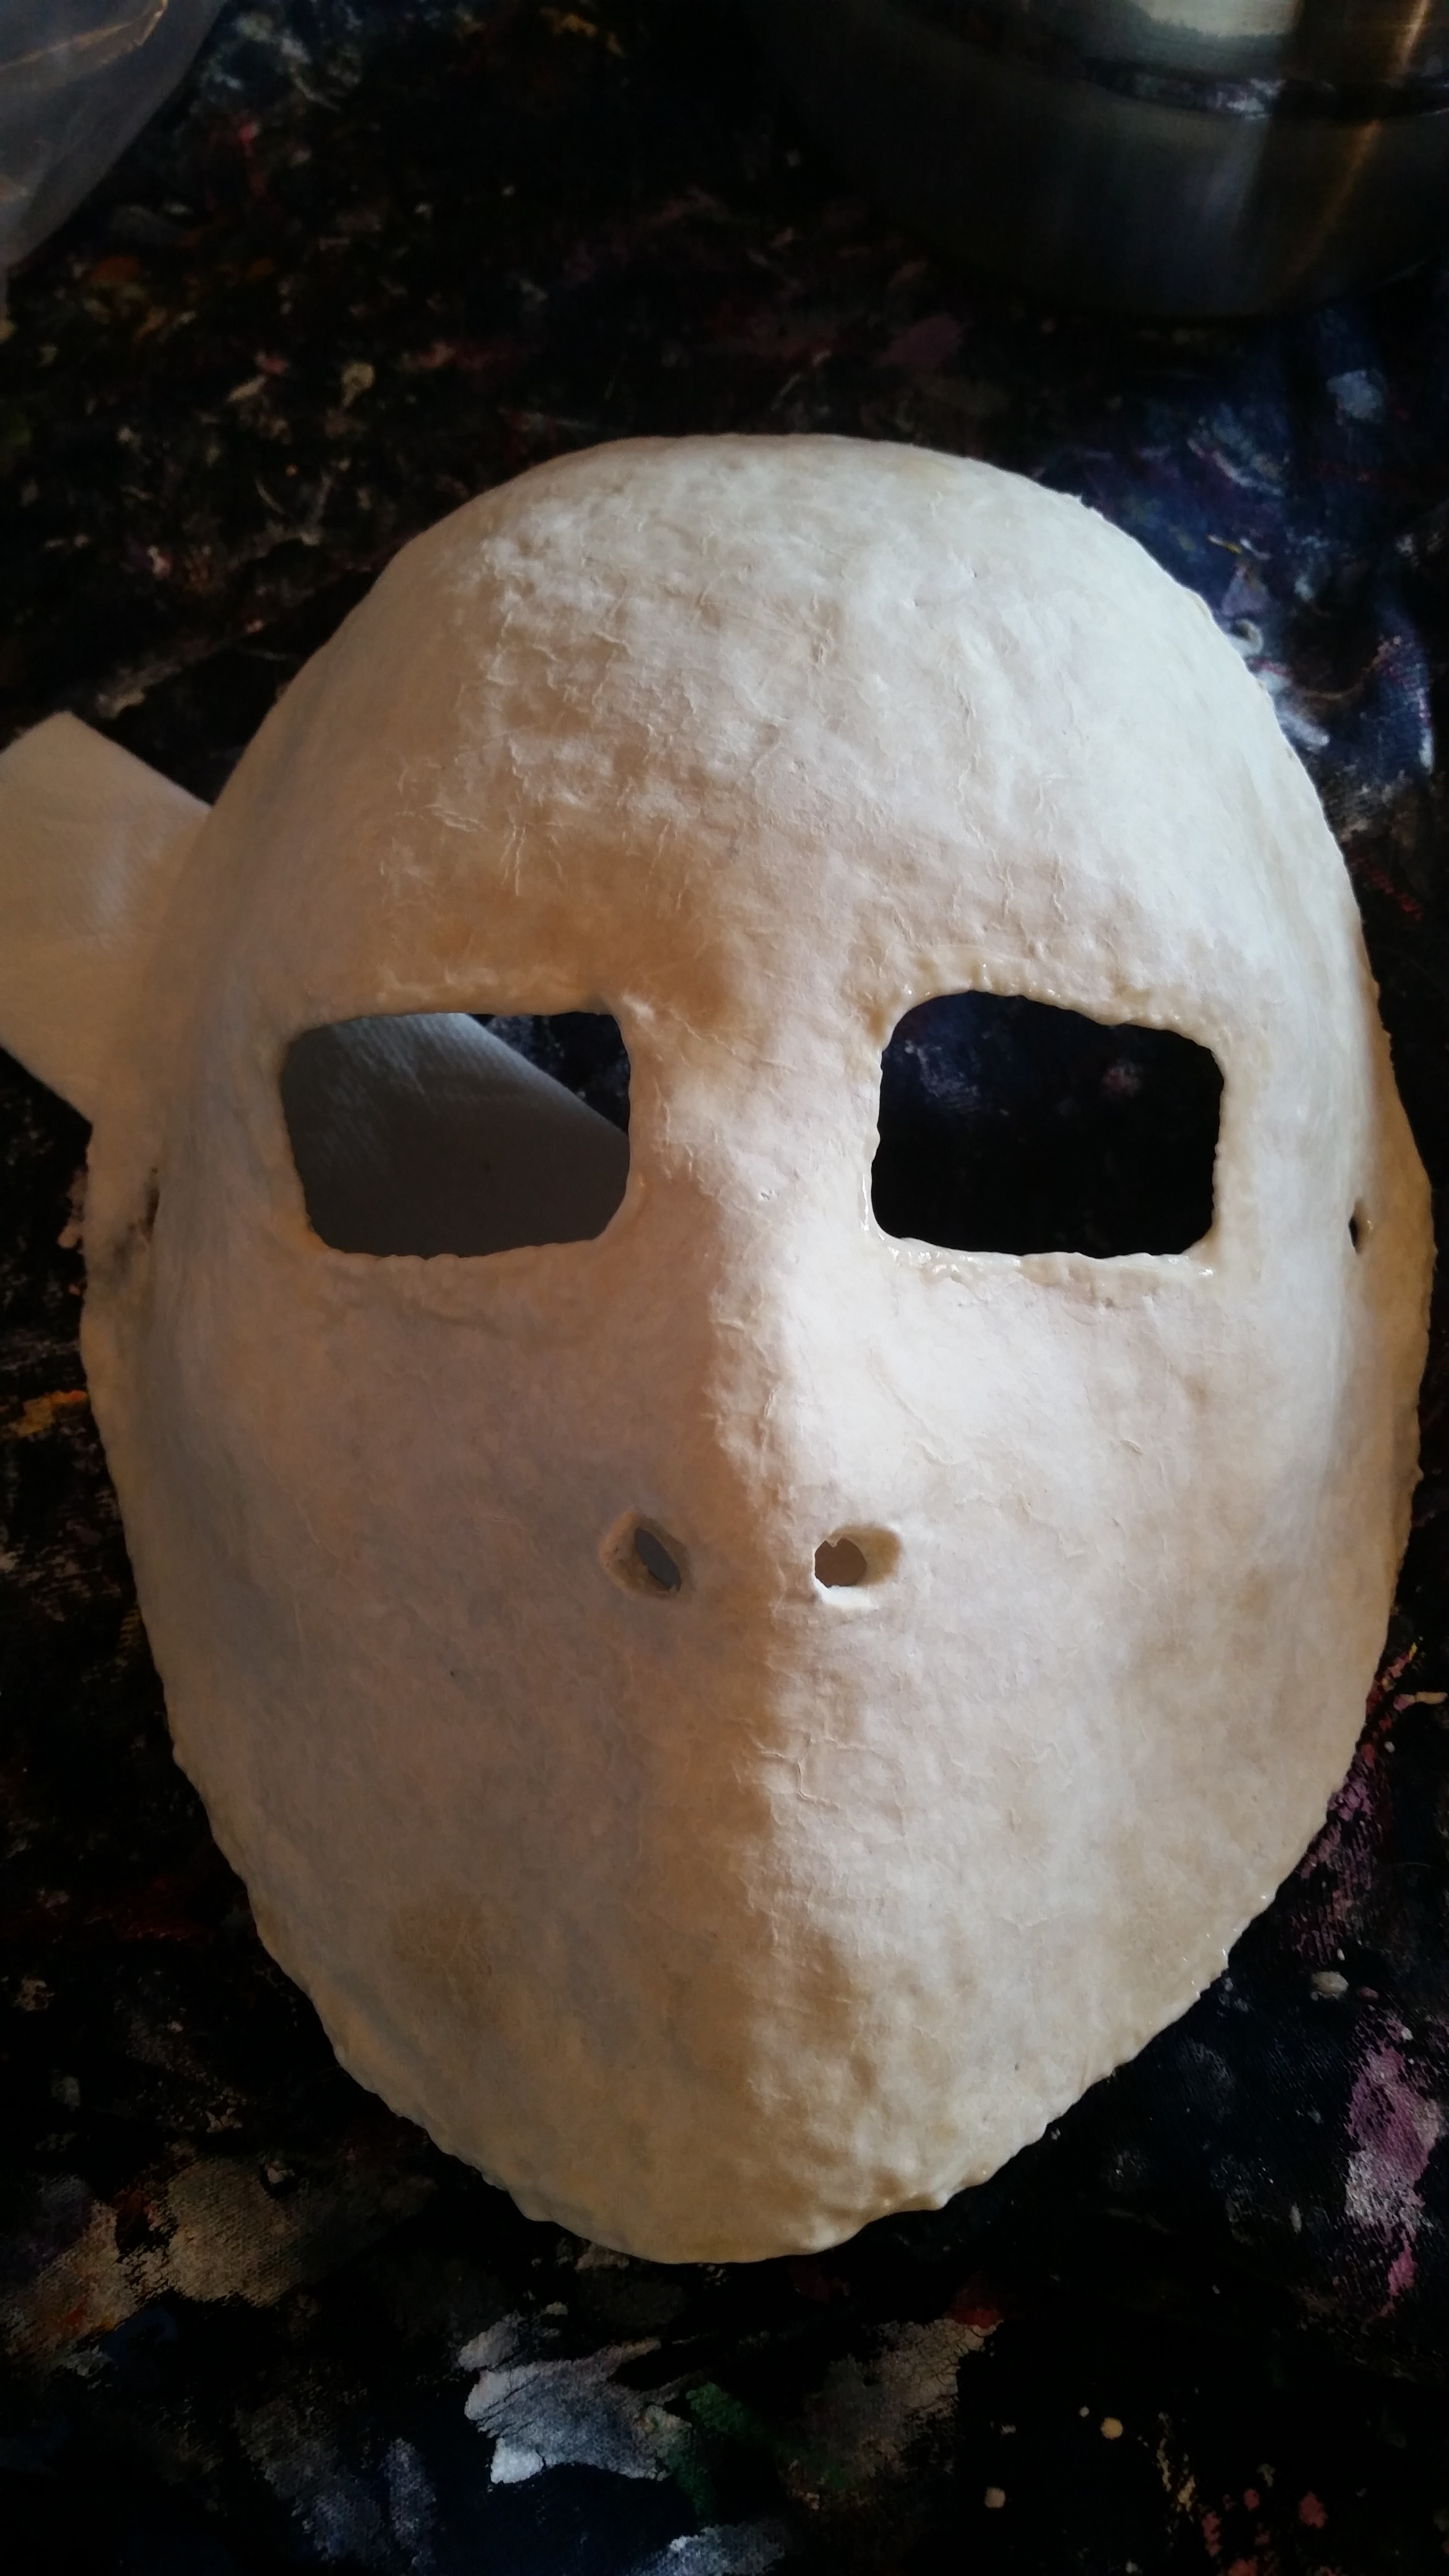
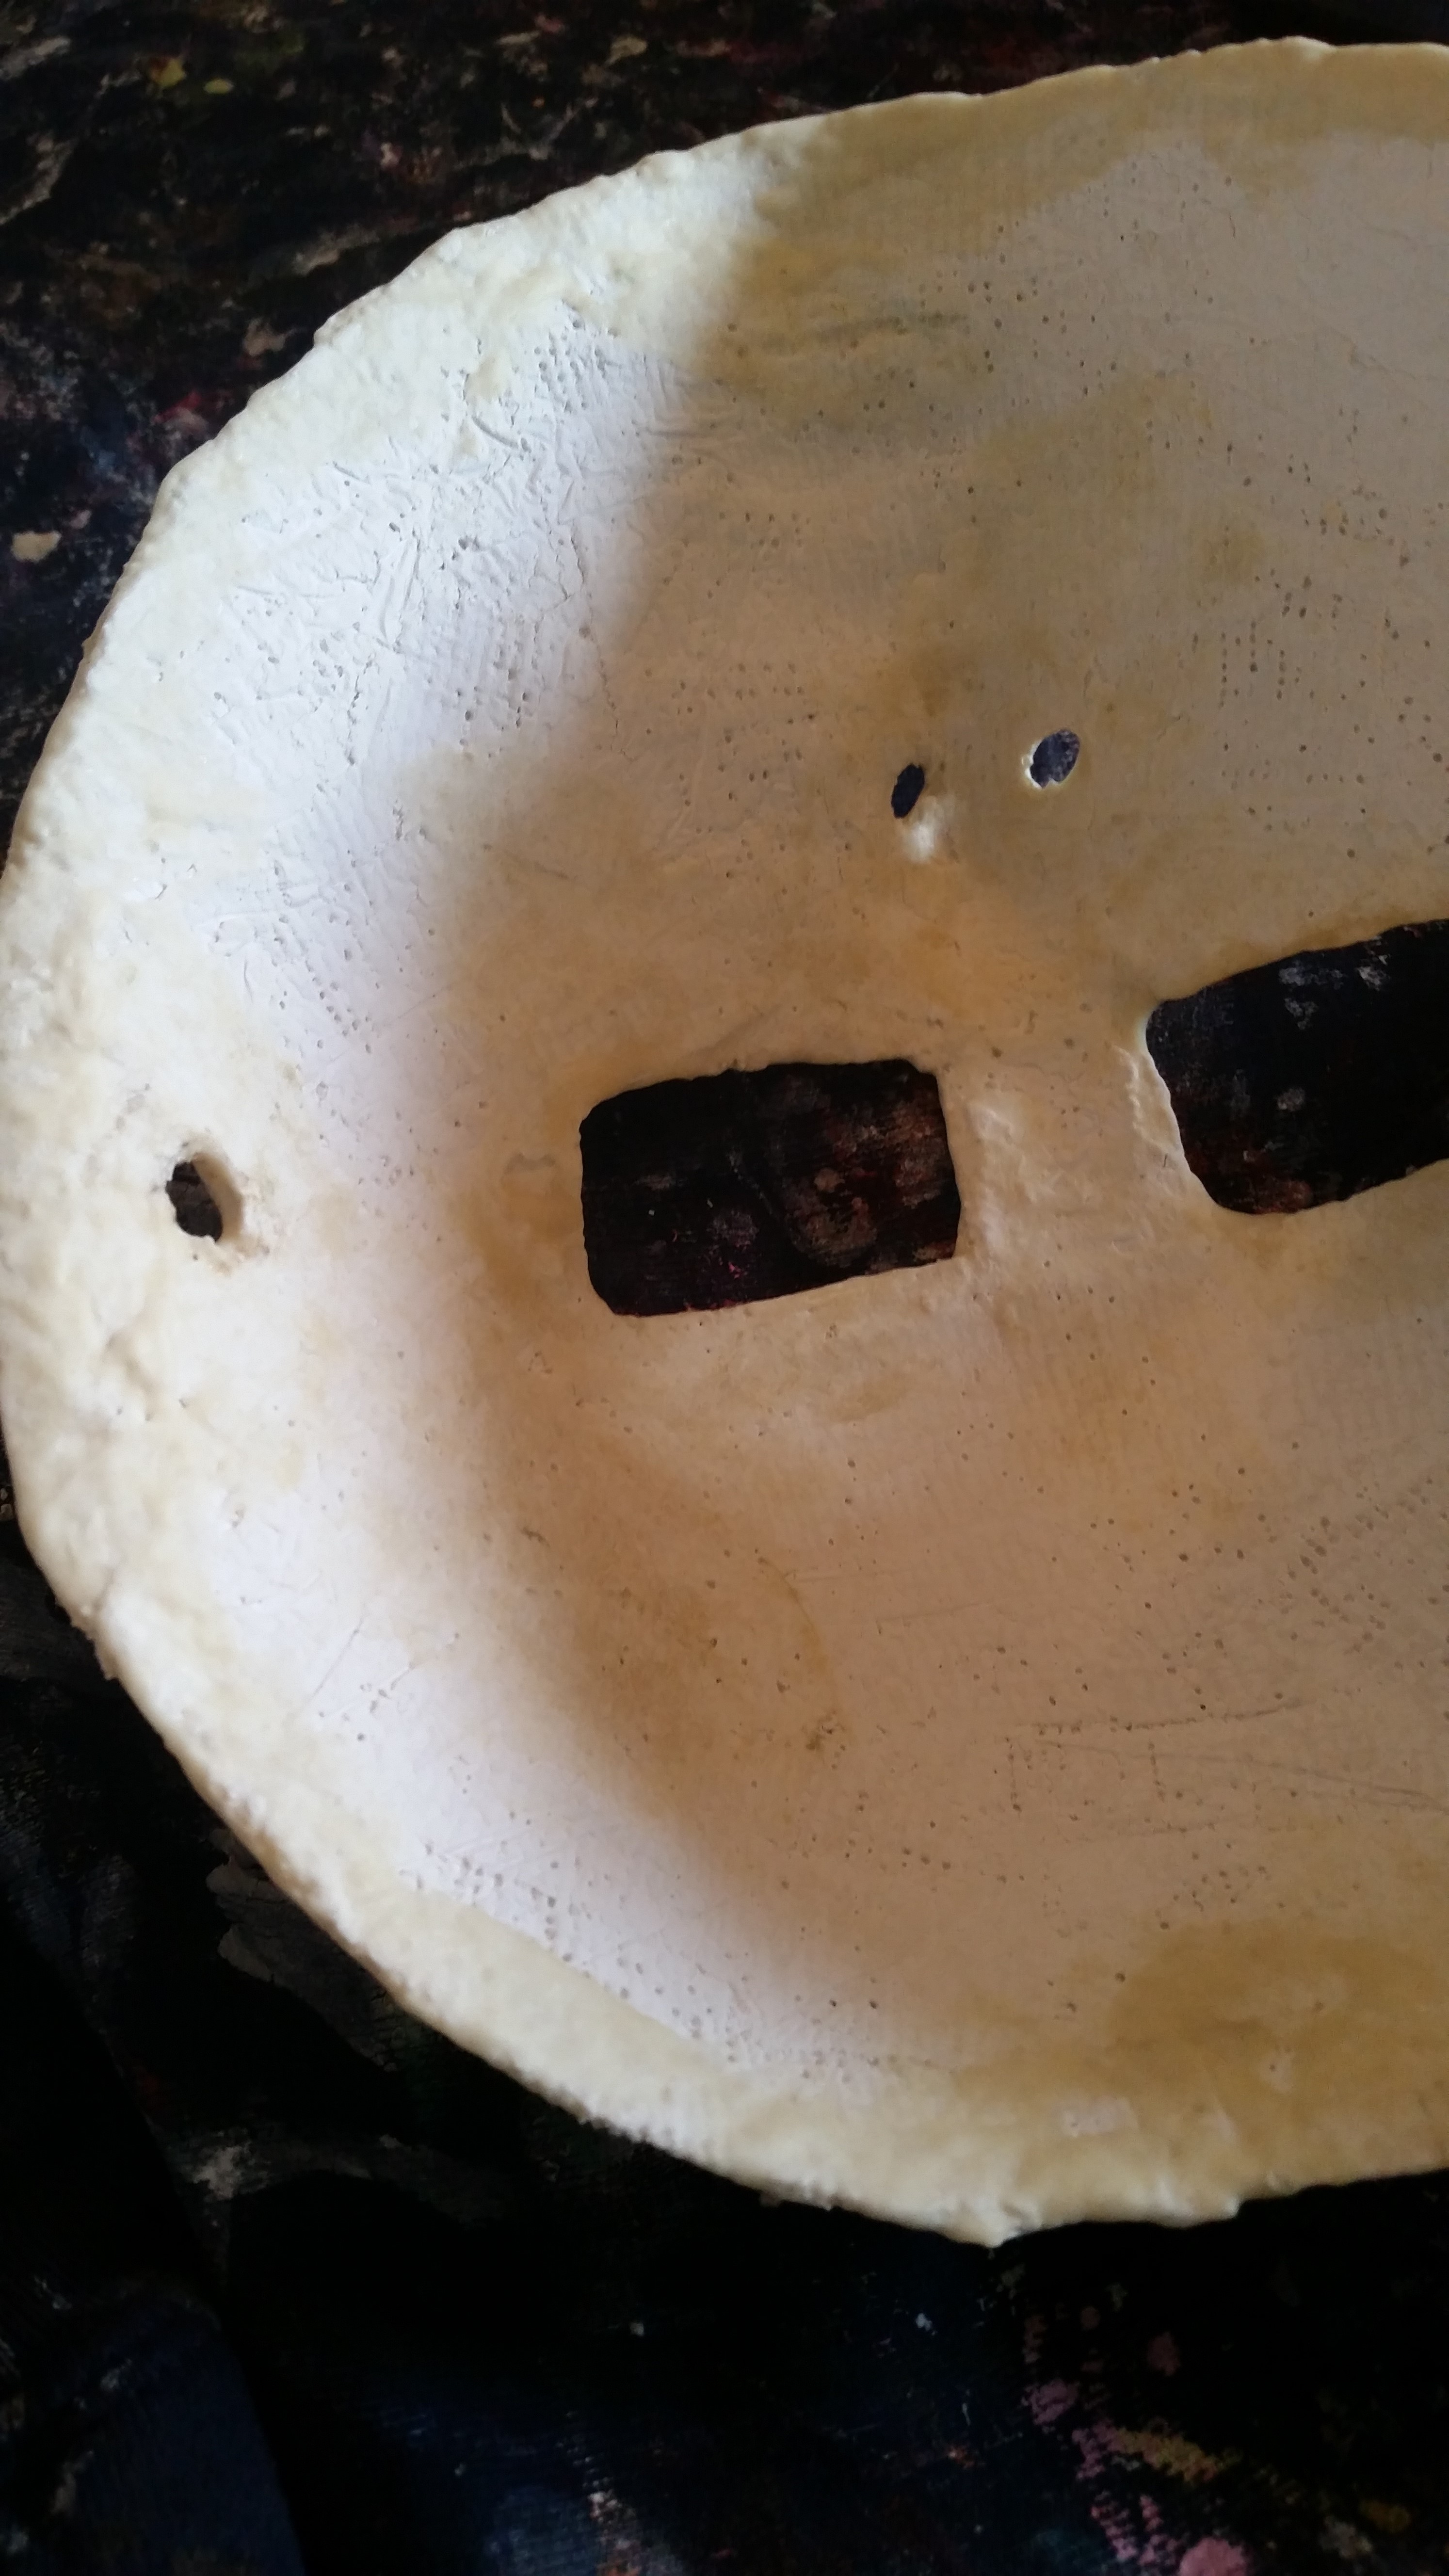
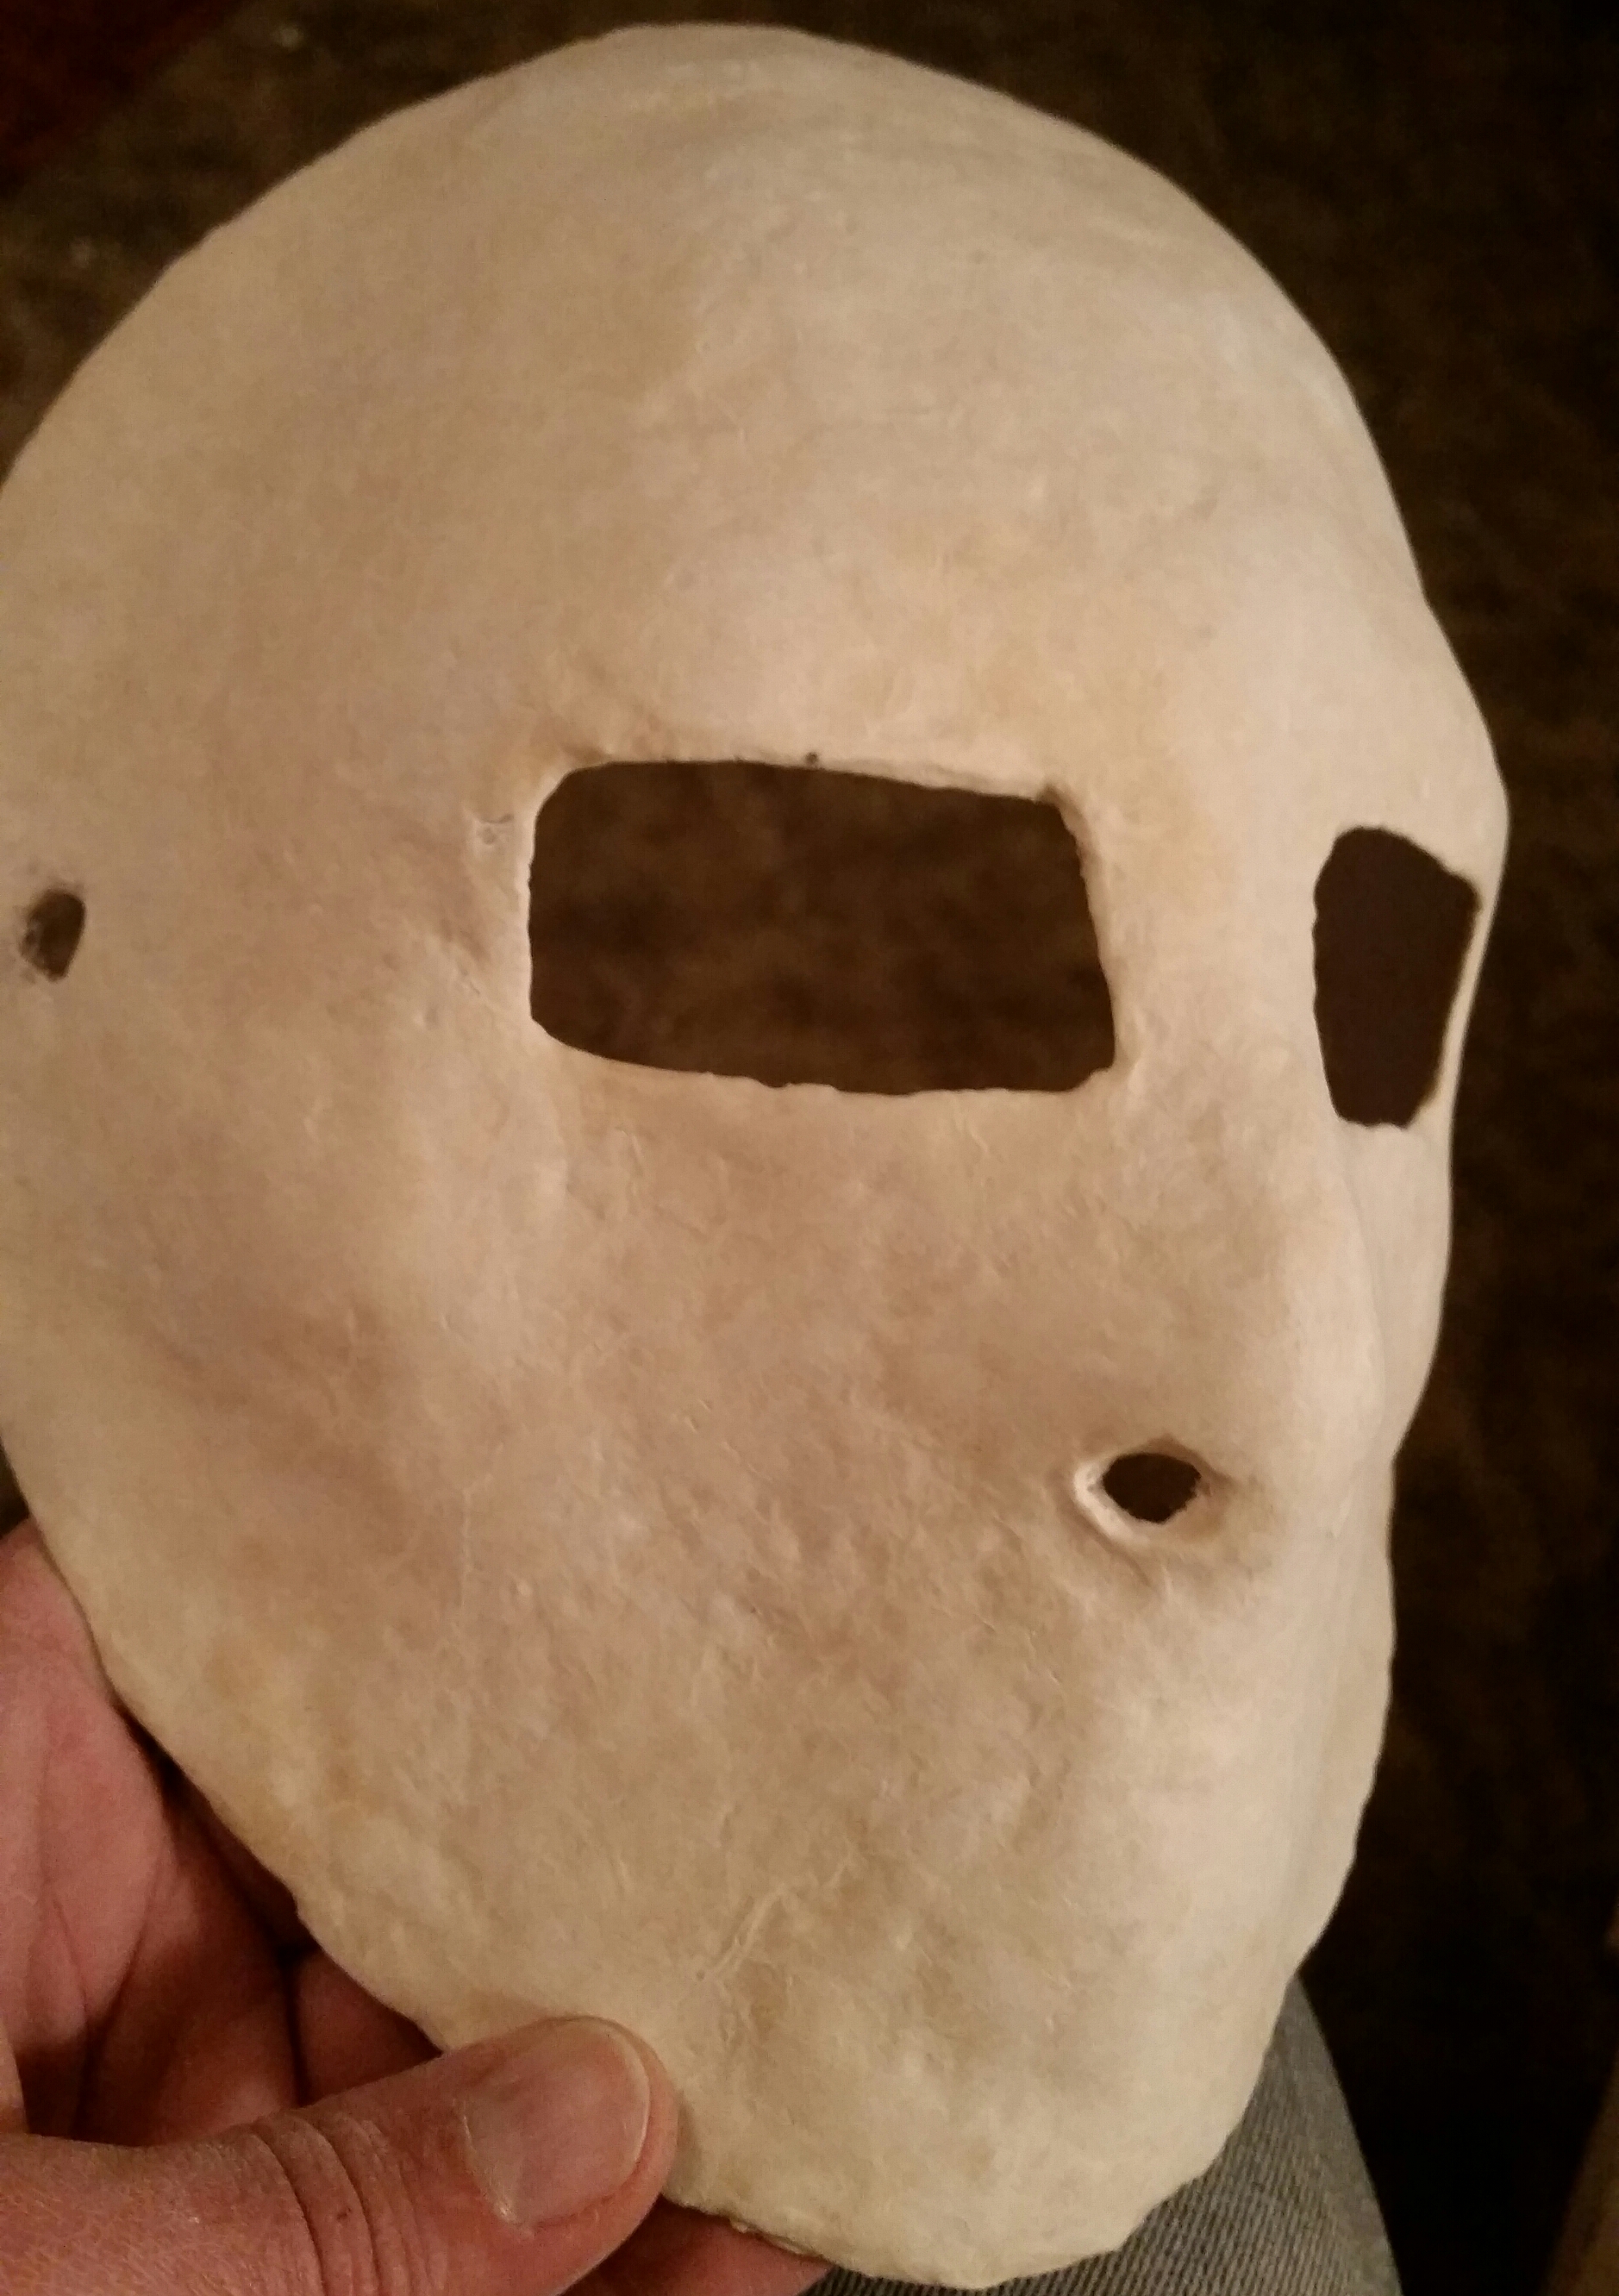
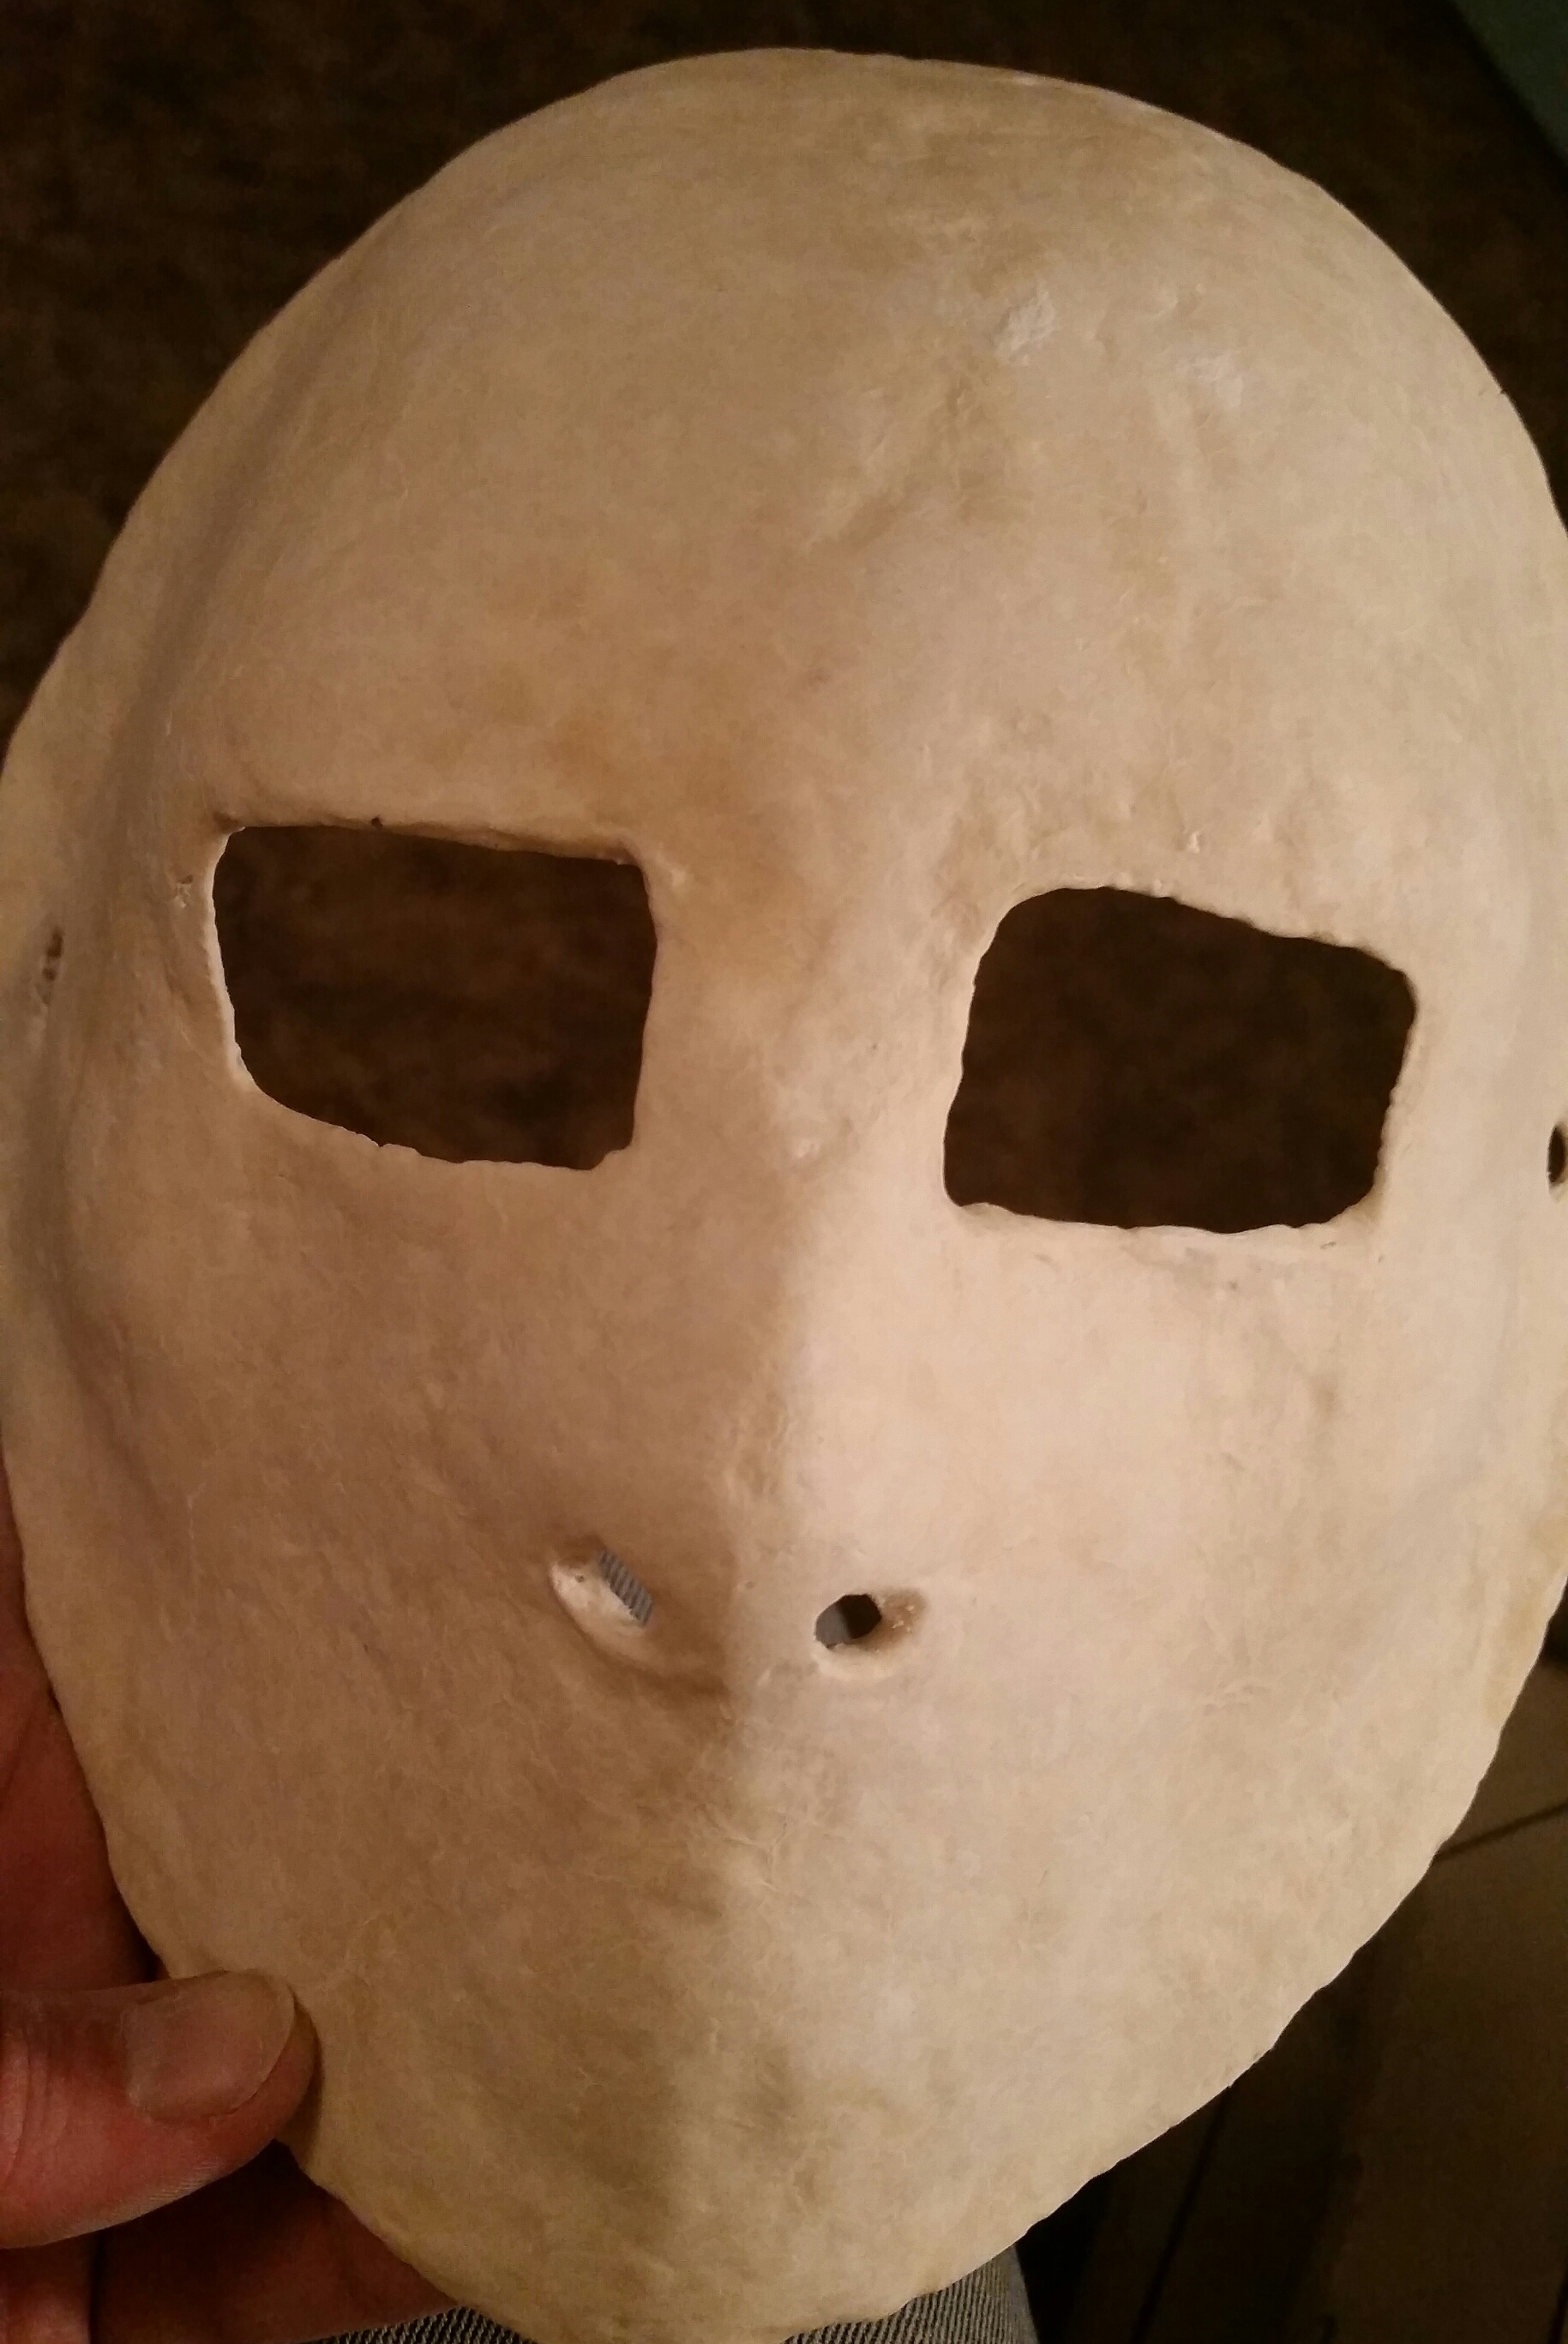
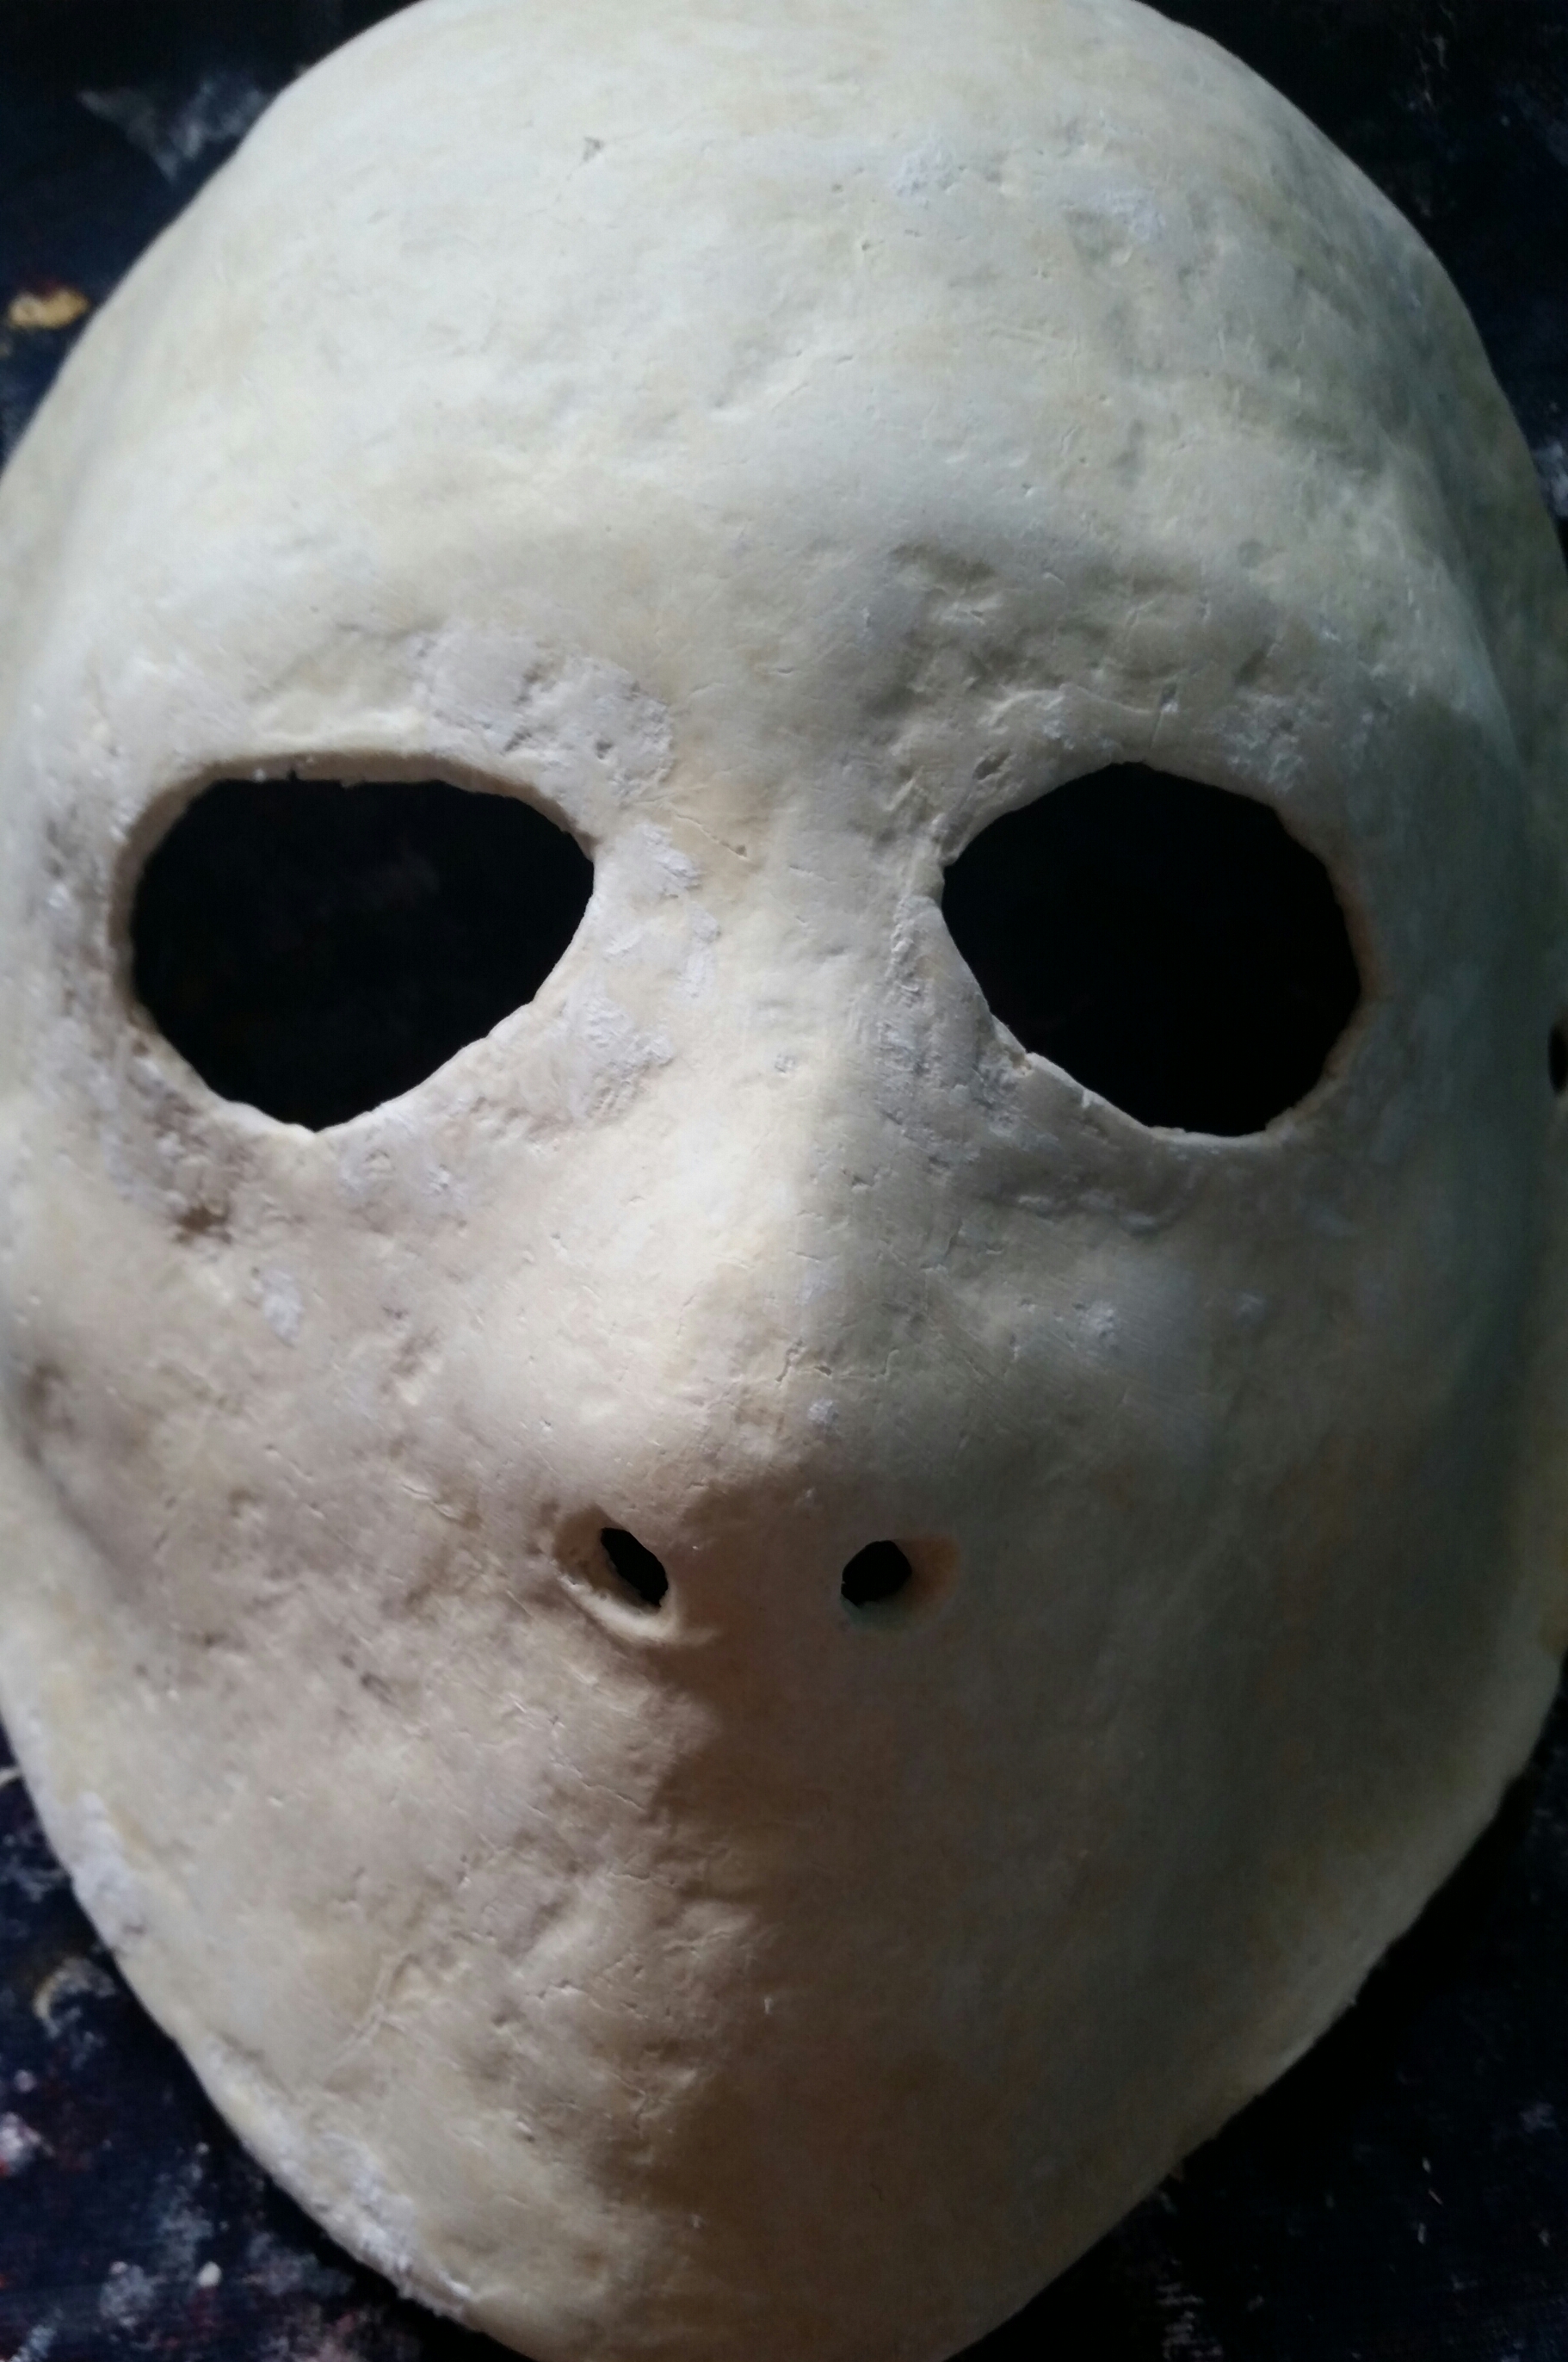
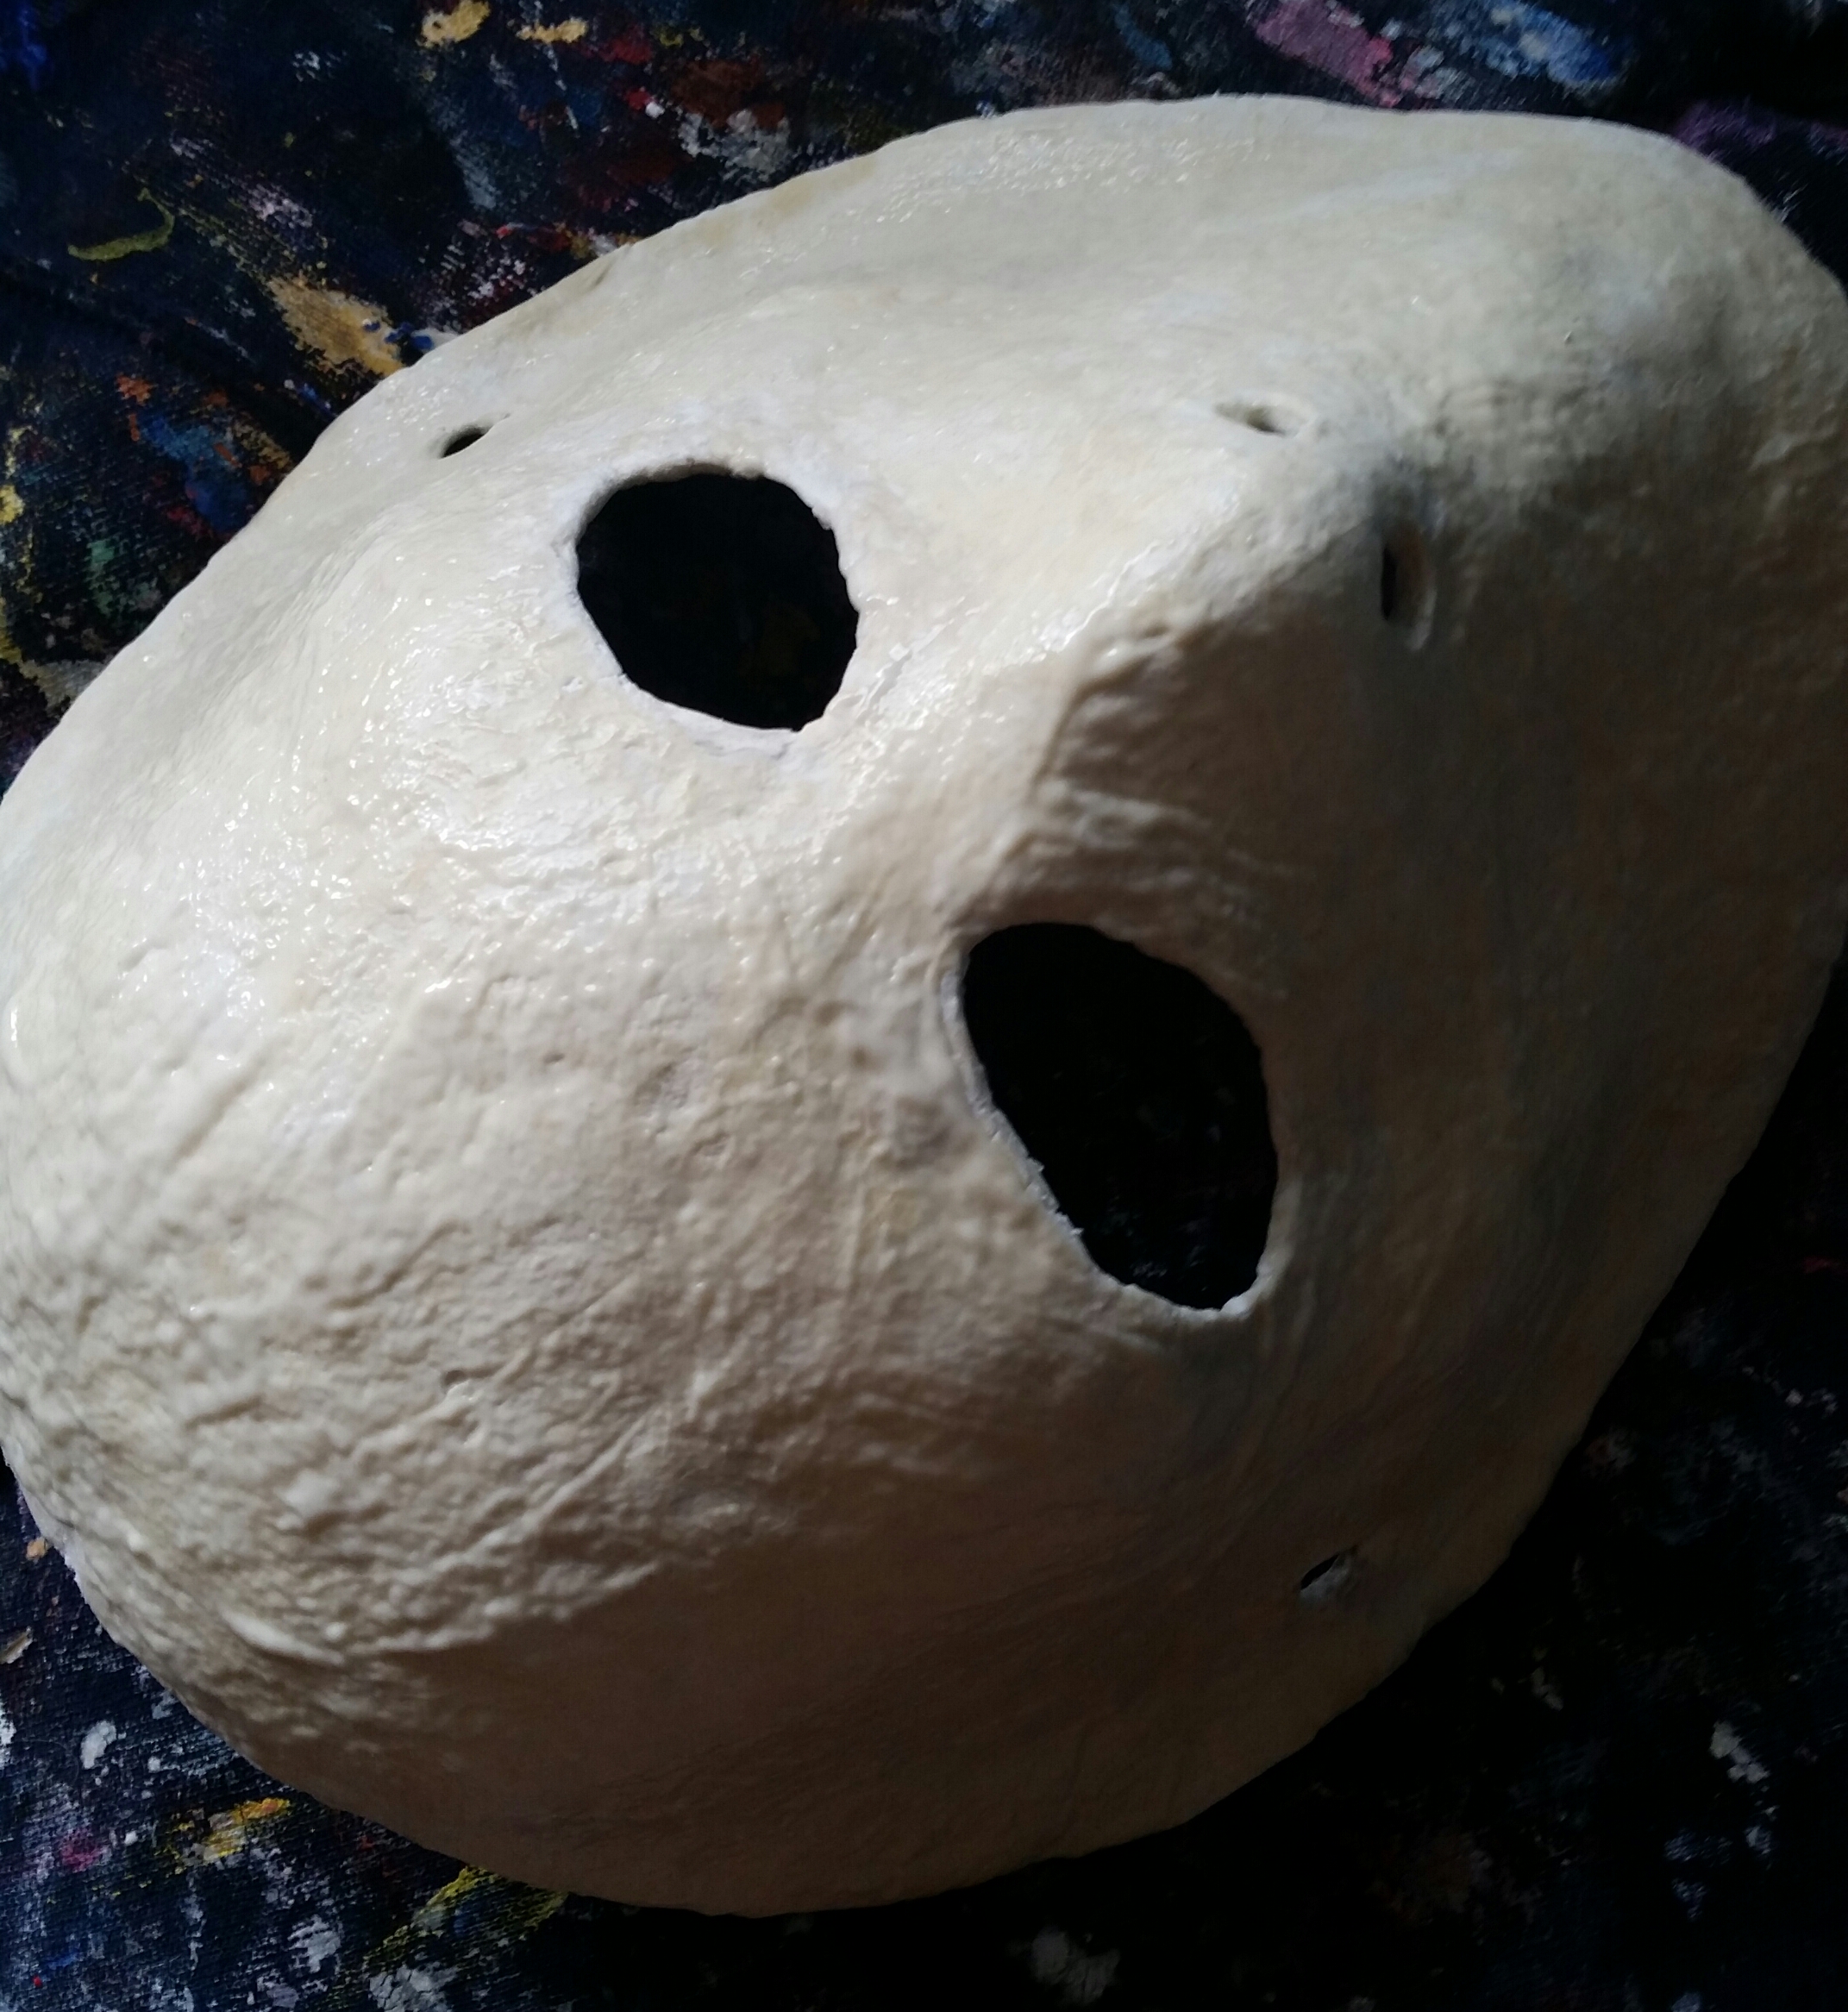
I started with a plaster gauze cast, as I often do, and then covered that with paper mache clay.
The trouble with the clay that I make is that it is naturally somewhat lumpy. The only tool I have for breaking up the tissue paper is a cheap immersion blender, which works all right but will never achieve a professional grade of smoothness. A food processor or some other, more powerful device might do a better job of it. Or, alternatively, I could just purchase a professionally made air-dry paper clay, but I'm cheap and I already have the ingredients for paper mache clay in my apartment.
Instead, I worked with what I had. The cottage cheese surface of the first coat sanded down well enough. I mean, it was still pretty rough but considering what it looked like to start with, it was a good beginning.
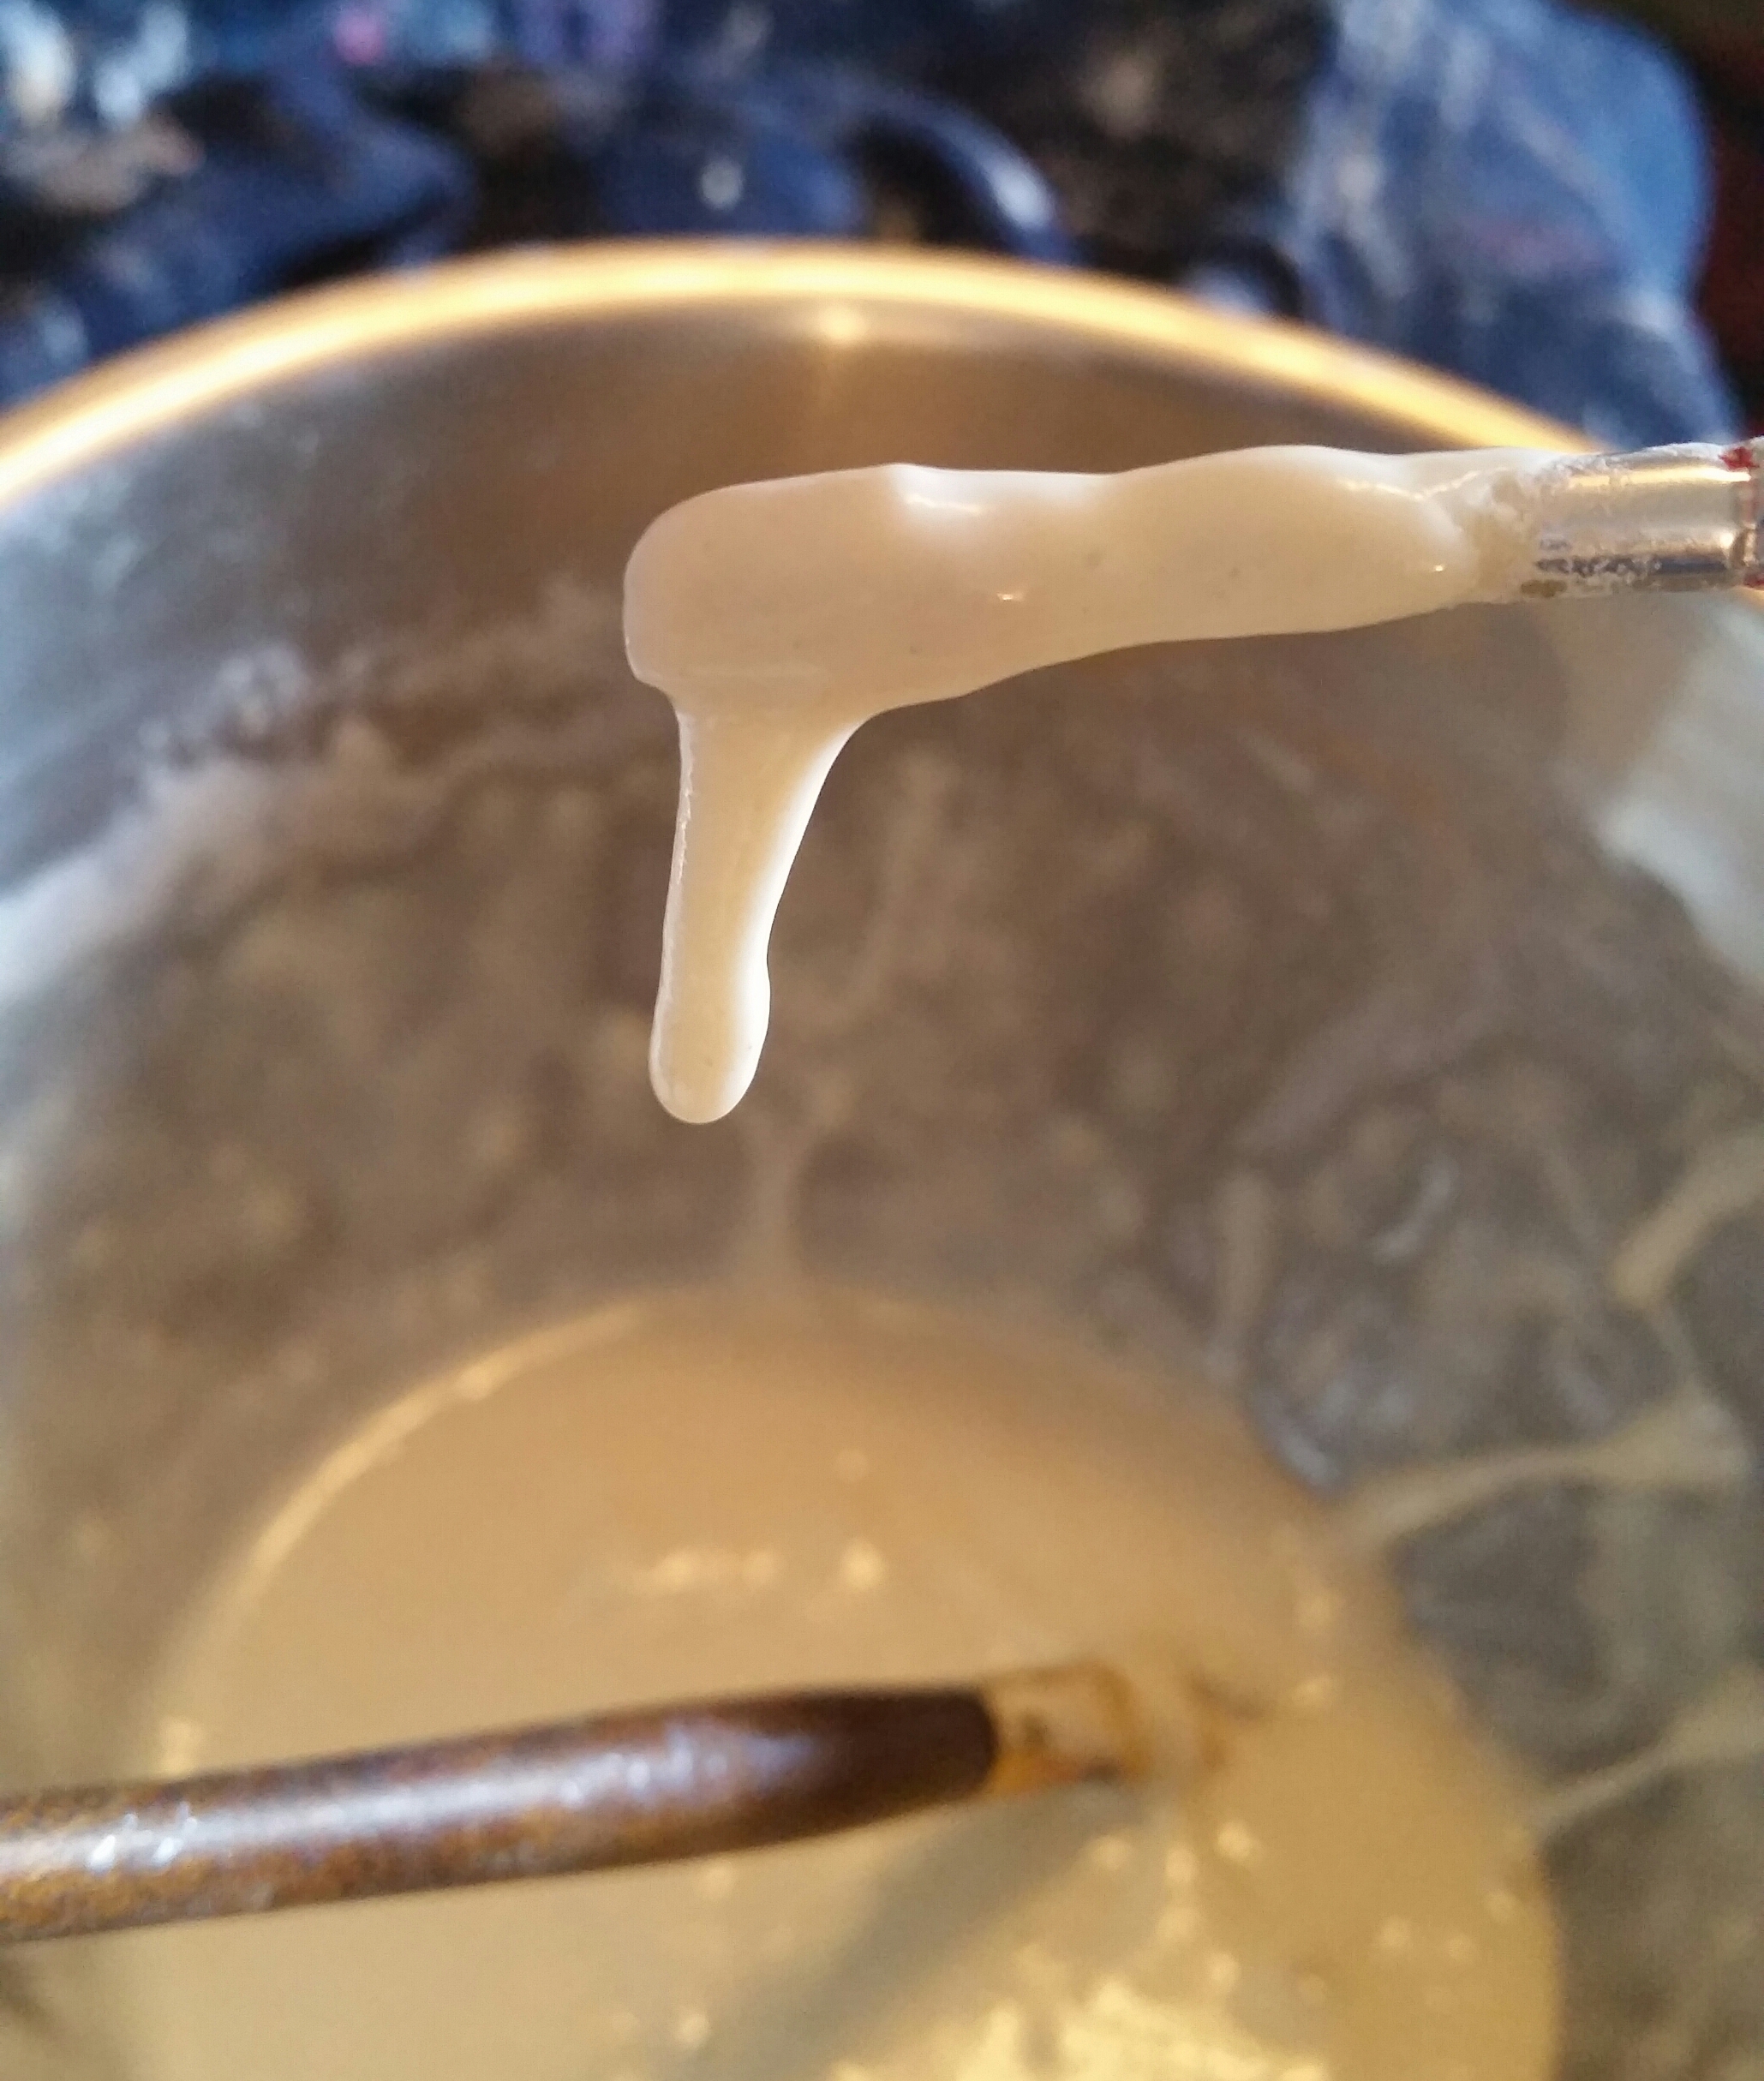
Next, I mixed up a batch of simple flour paste, but I made it really thick. I brushed that over the whole surface of the mask and allowed it to dry. The idea was that the paste would fill in some of the uneven spaces, and then stay there when I sanded it.
When I sanded that off, the mask was a little smoother. Then I broke out the clay again and reshaped the eye openings.
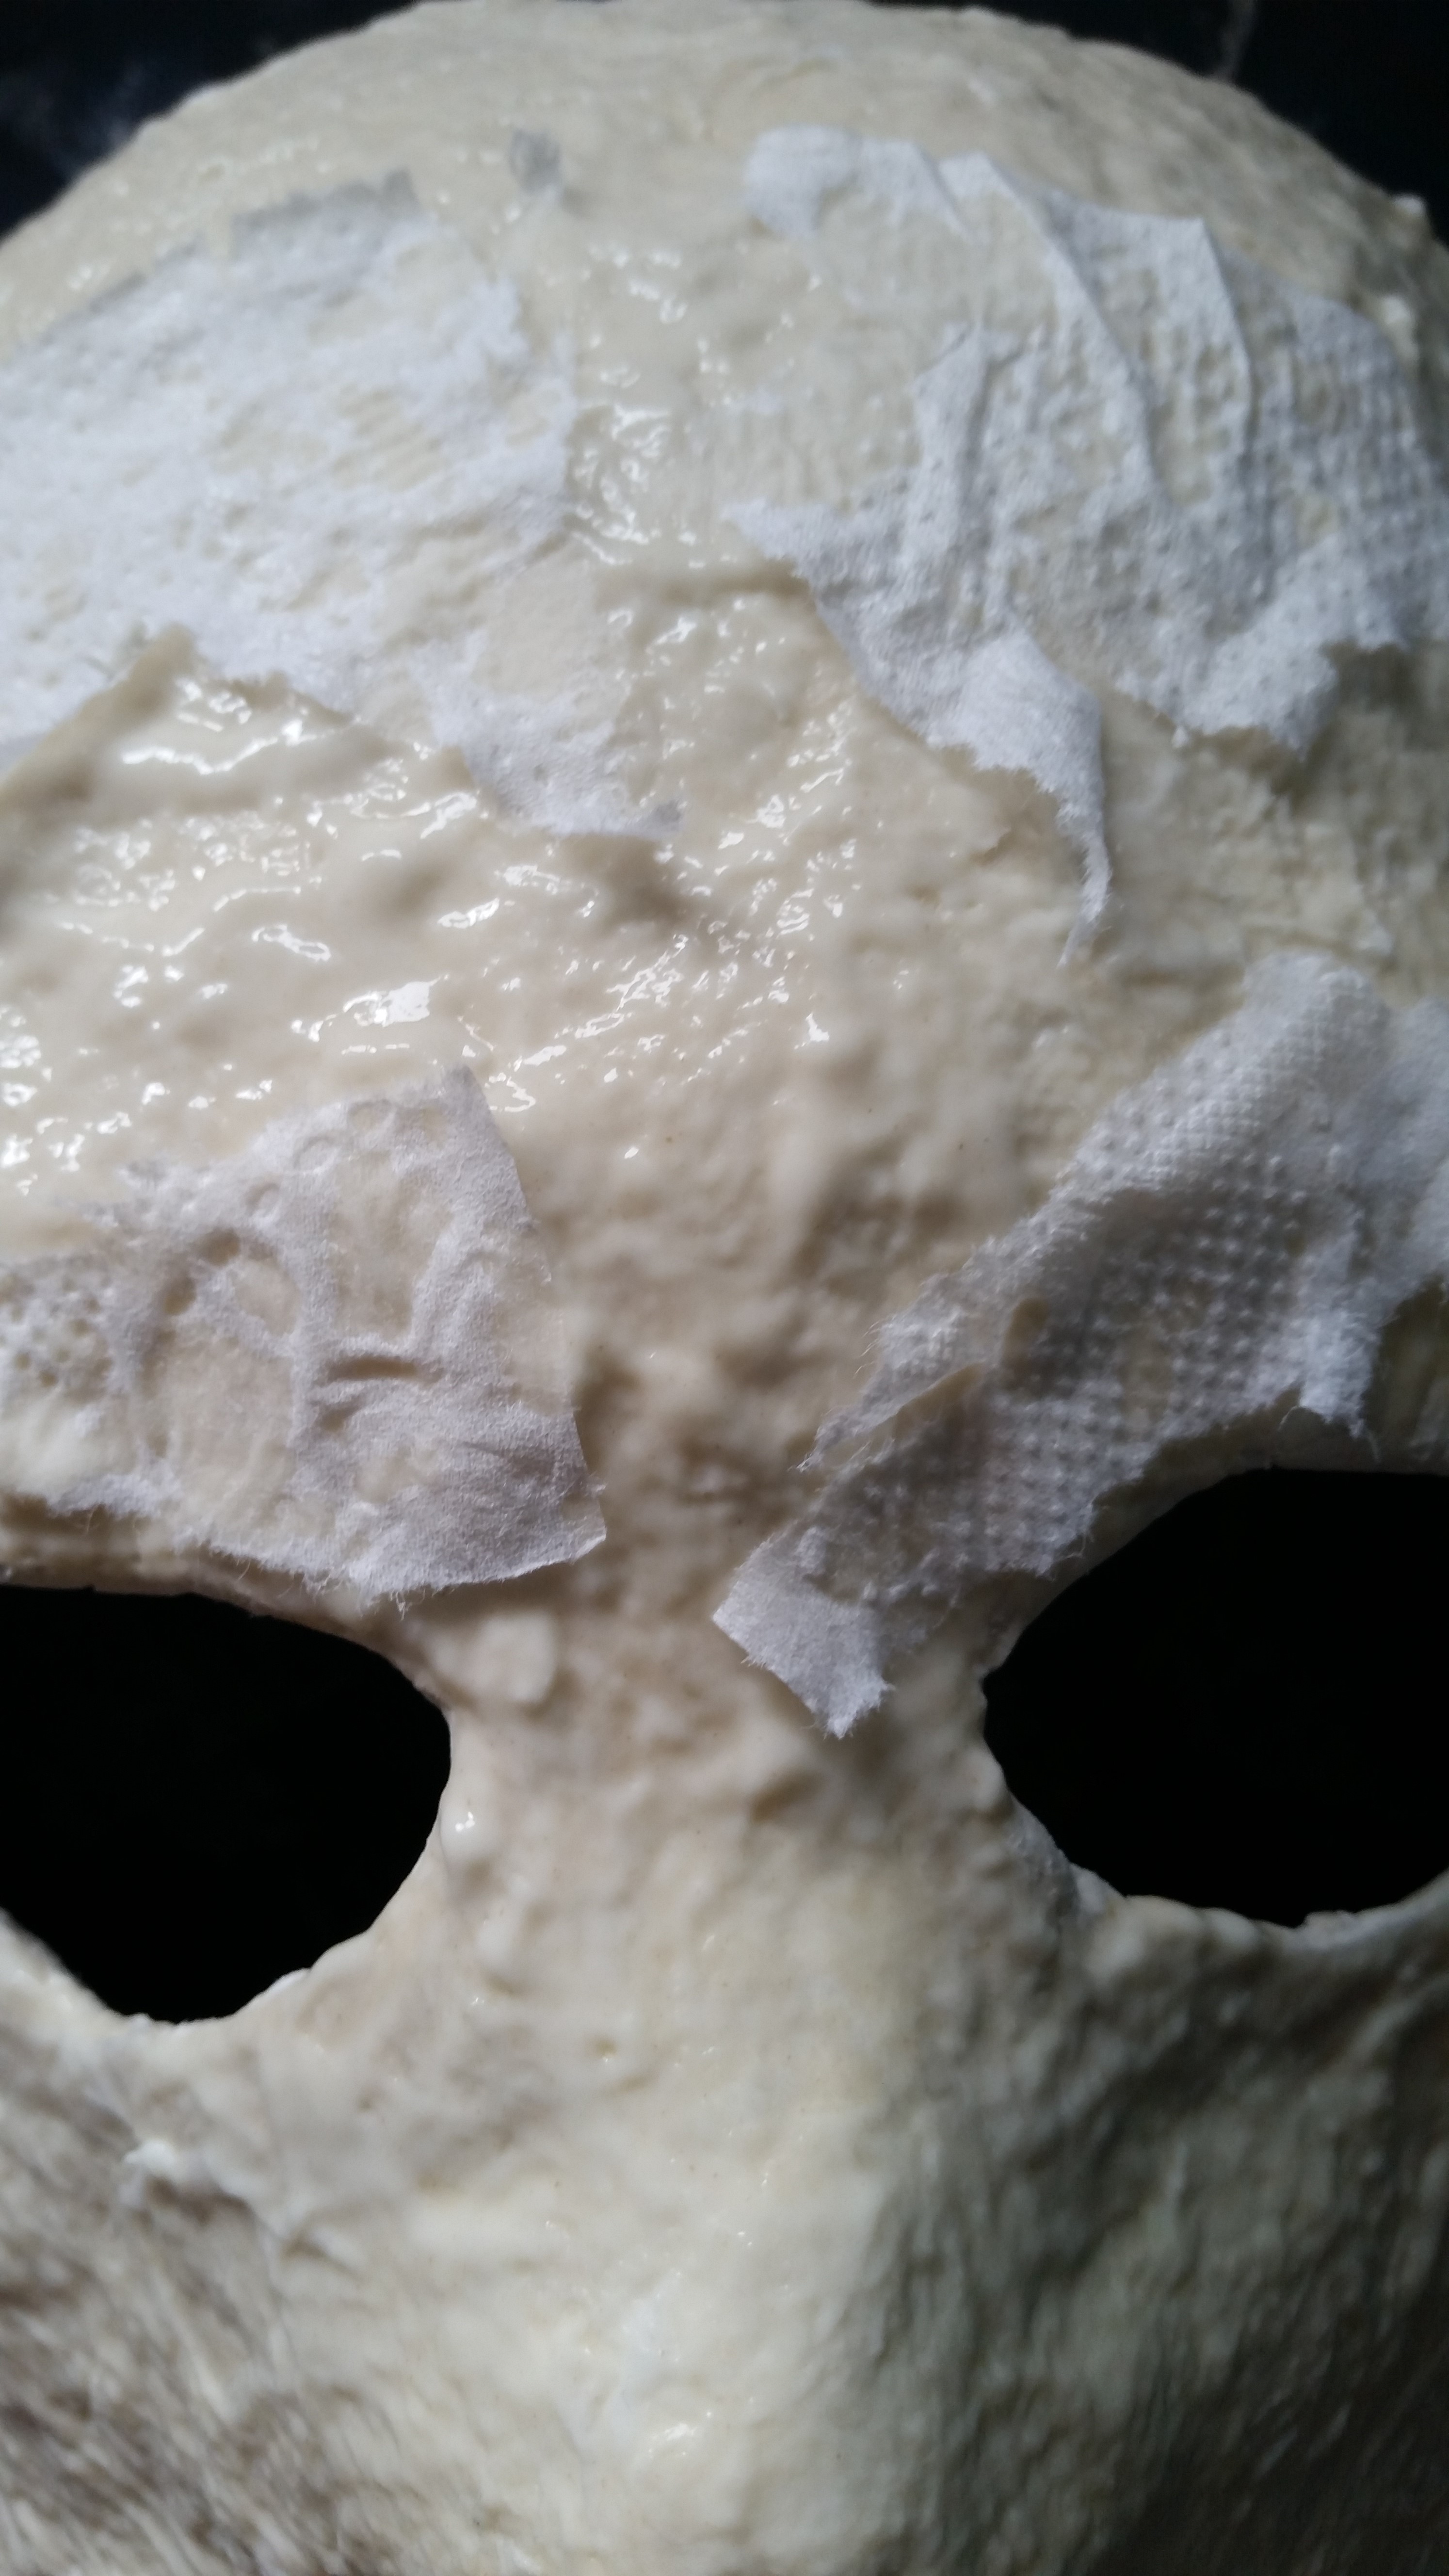
The next morning I sanded it all again, then repainted the whole surface once more with the flour paste. While it was still nice and gooey, I pressed a layer of tissue paper over everything and then added more paste. It was a big gross mess, but it worked. It sanded down smoother than ever.
The surface was not perfectly smooth, of course, but I never expected it to be. Considering the materials, I doubted that I would be able to make it much better!
Blackboards Should Be Green
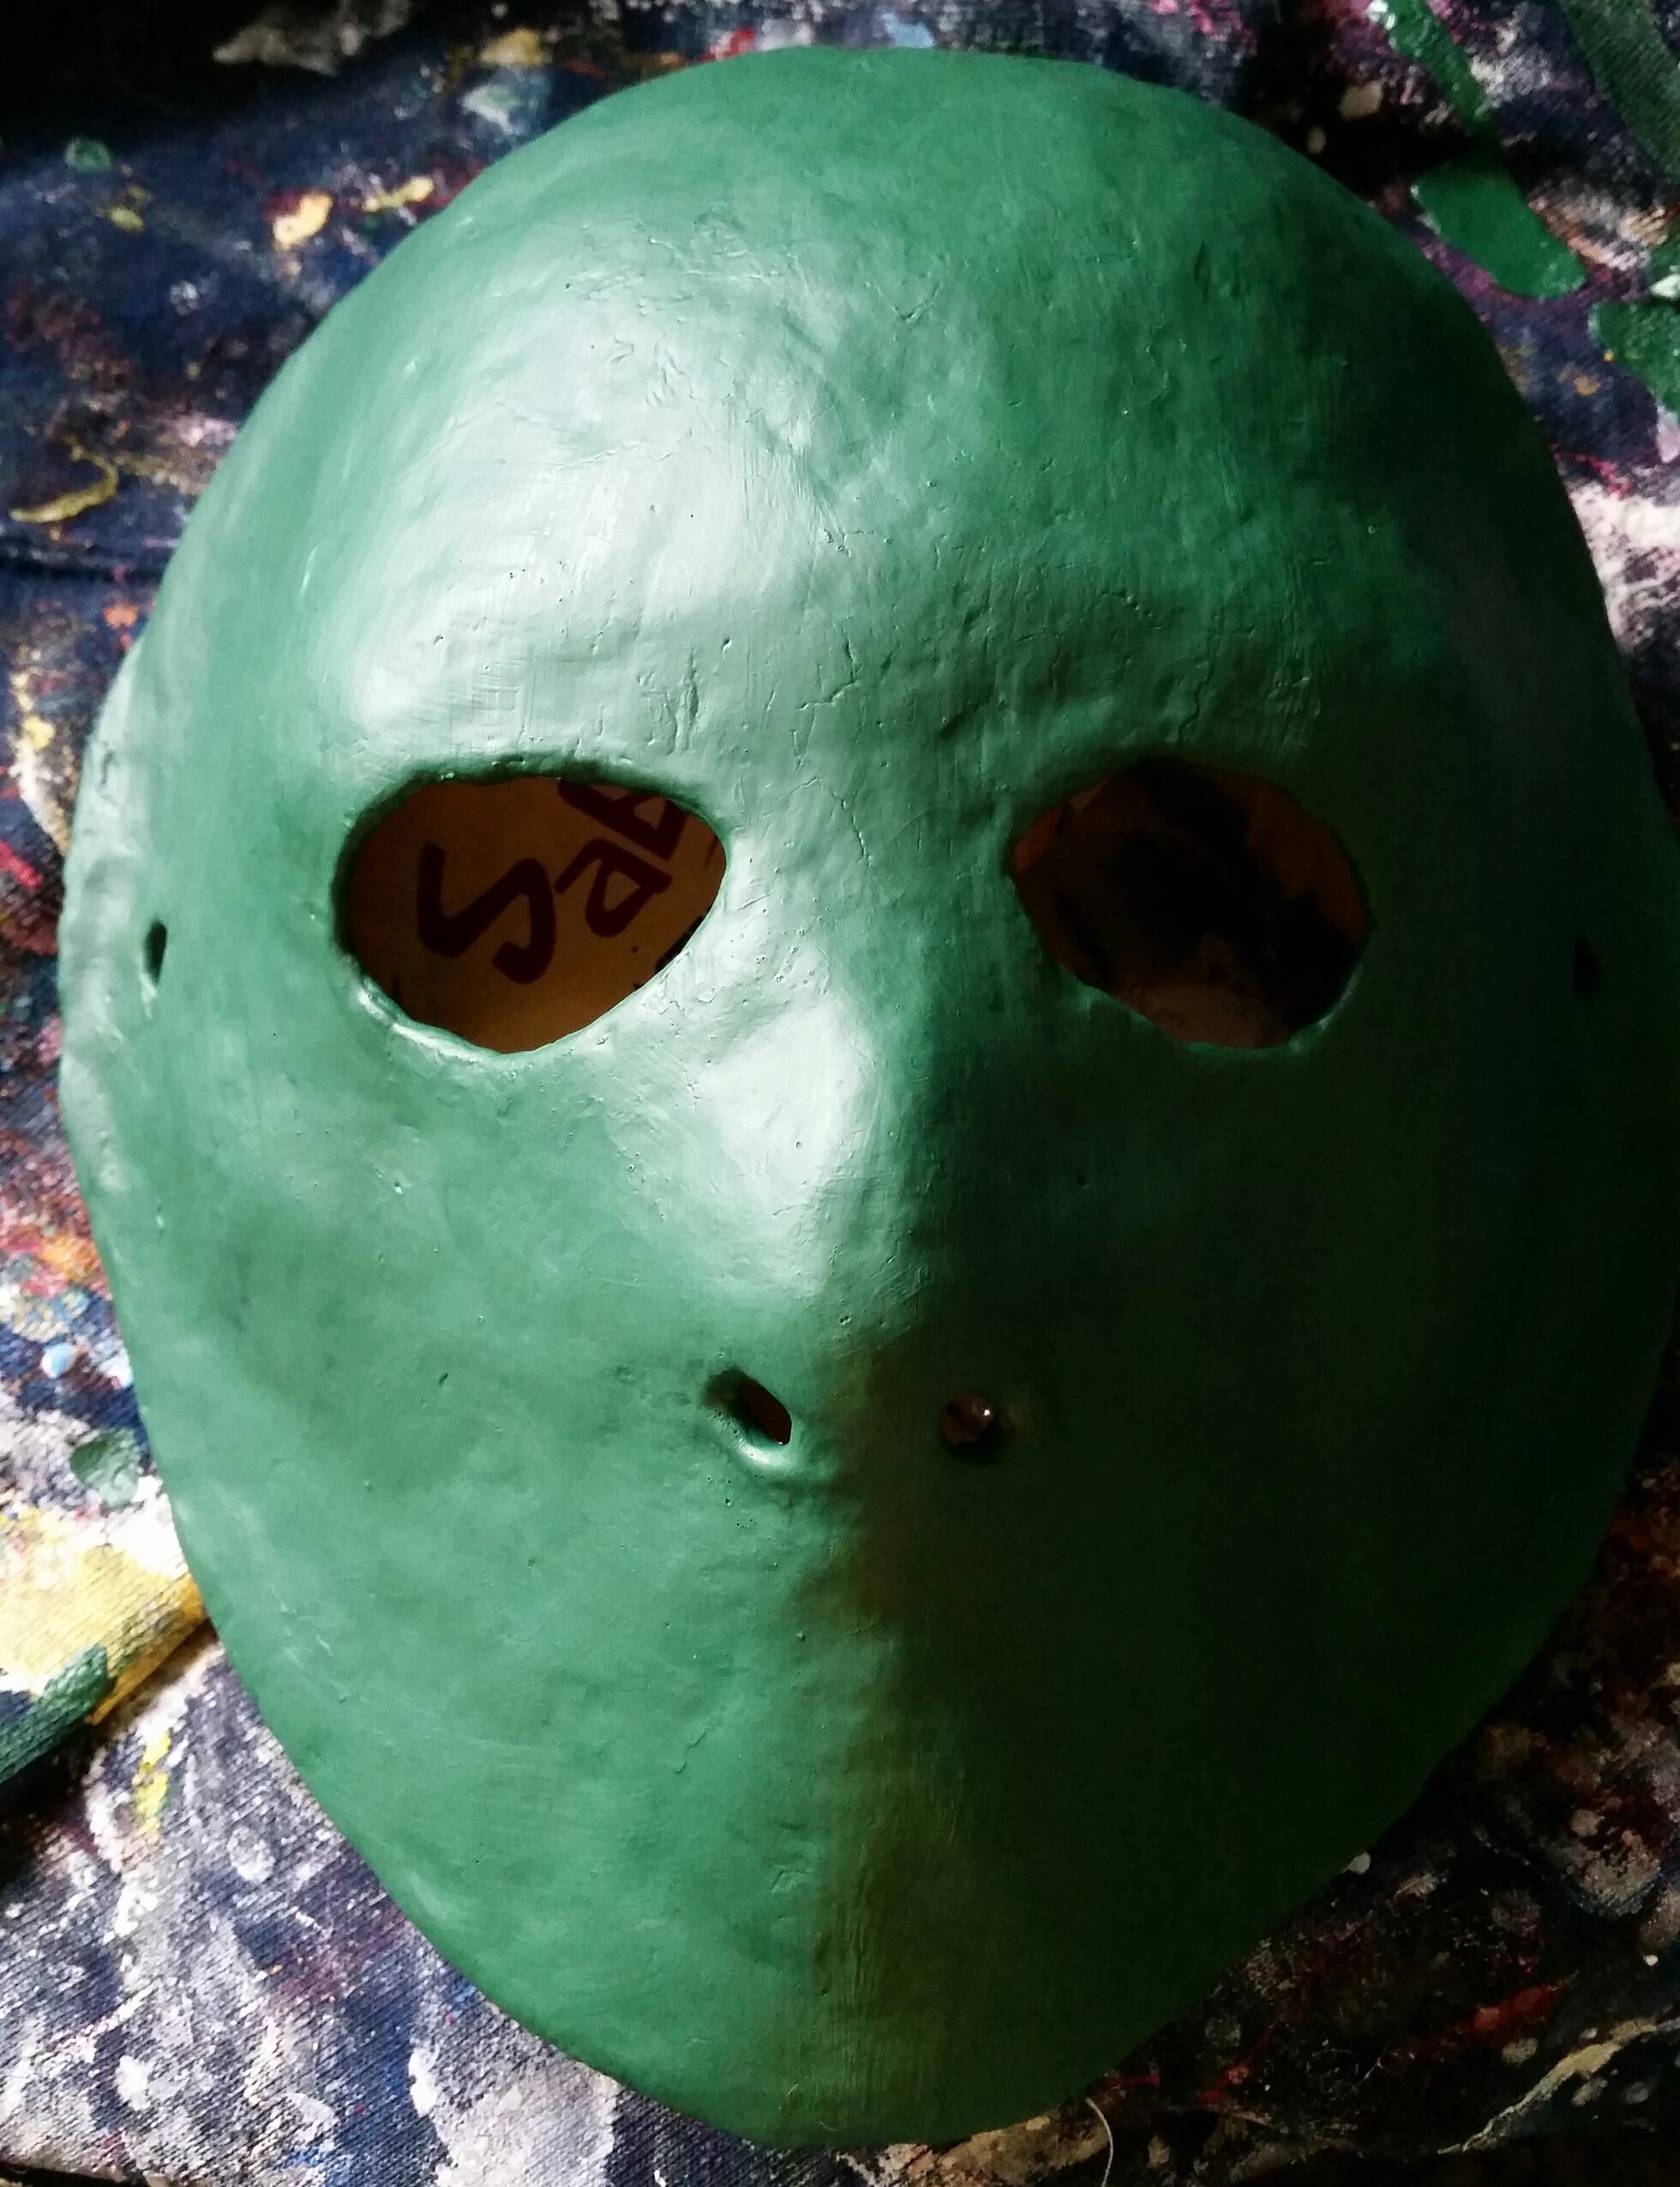
I applied the paint according to the manufacturer's instructions, in three coats. Then I did my best to leave it alone.
The painted object is meant to cure for three whole days before you're allowed to check and see if it works!
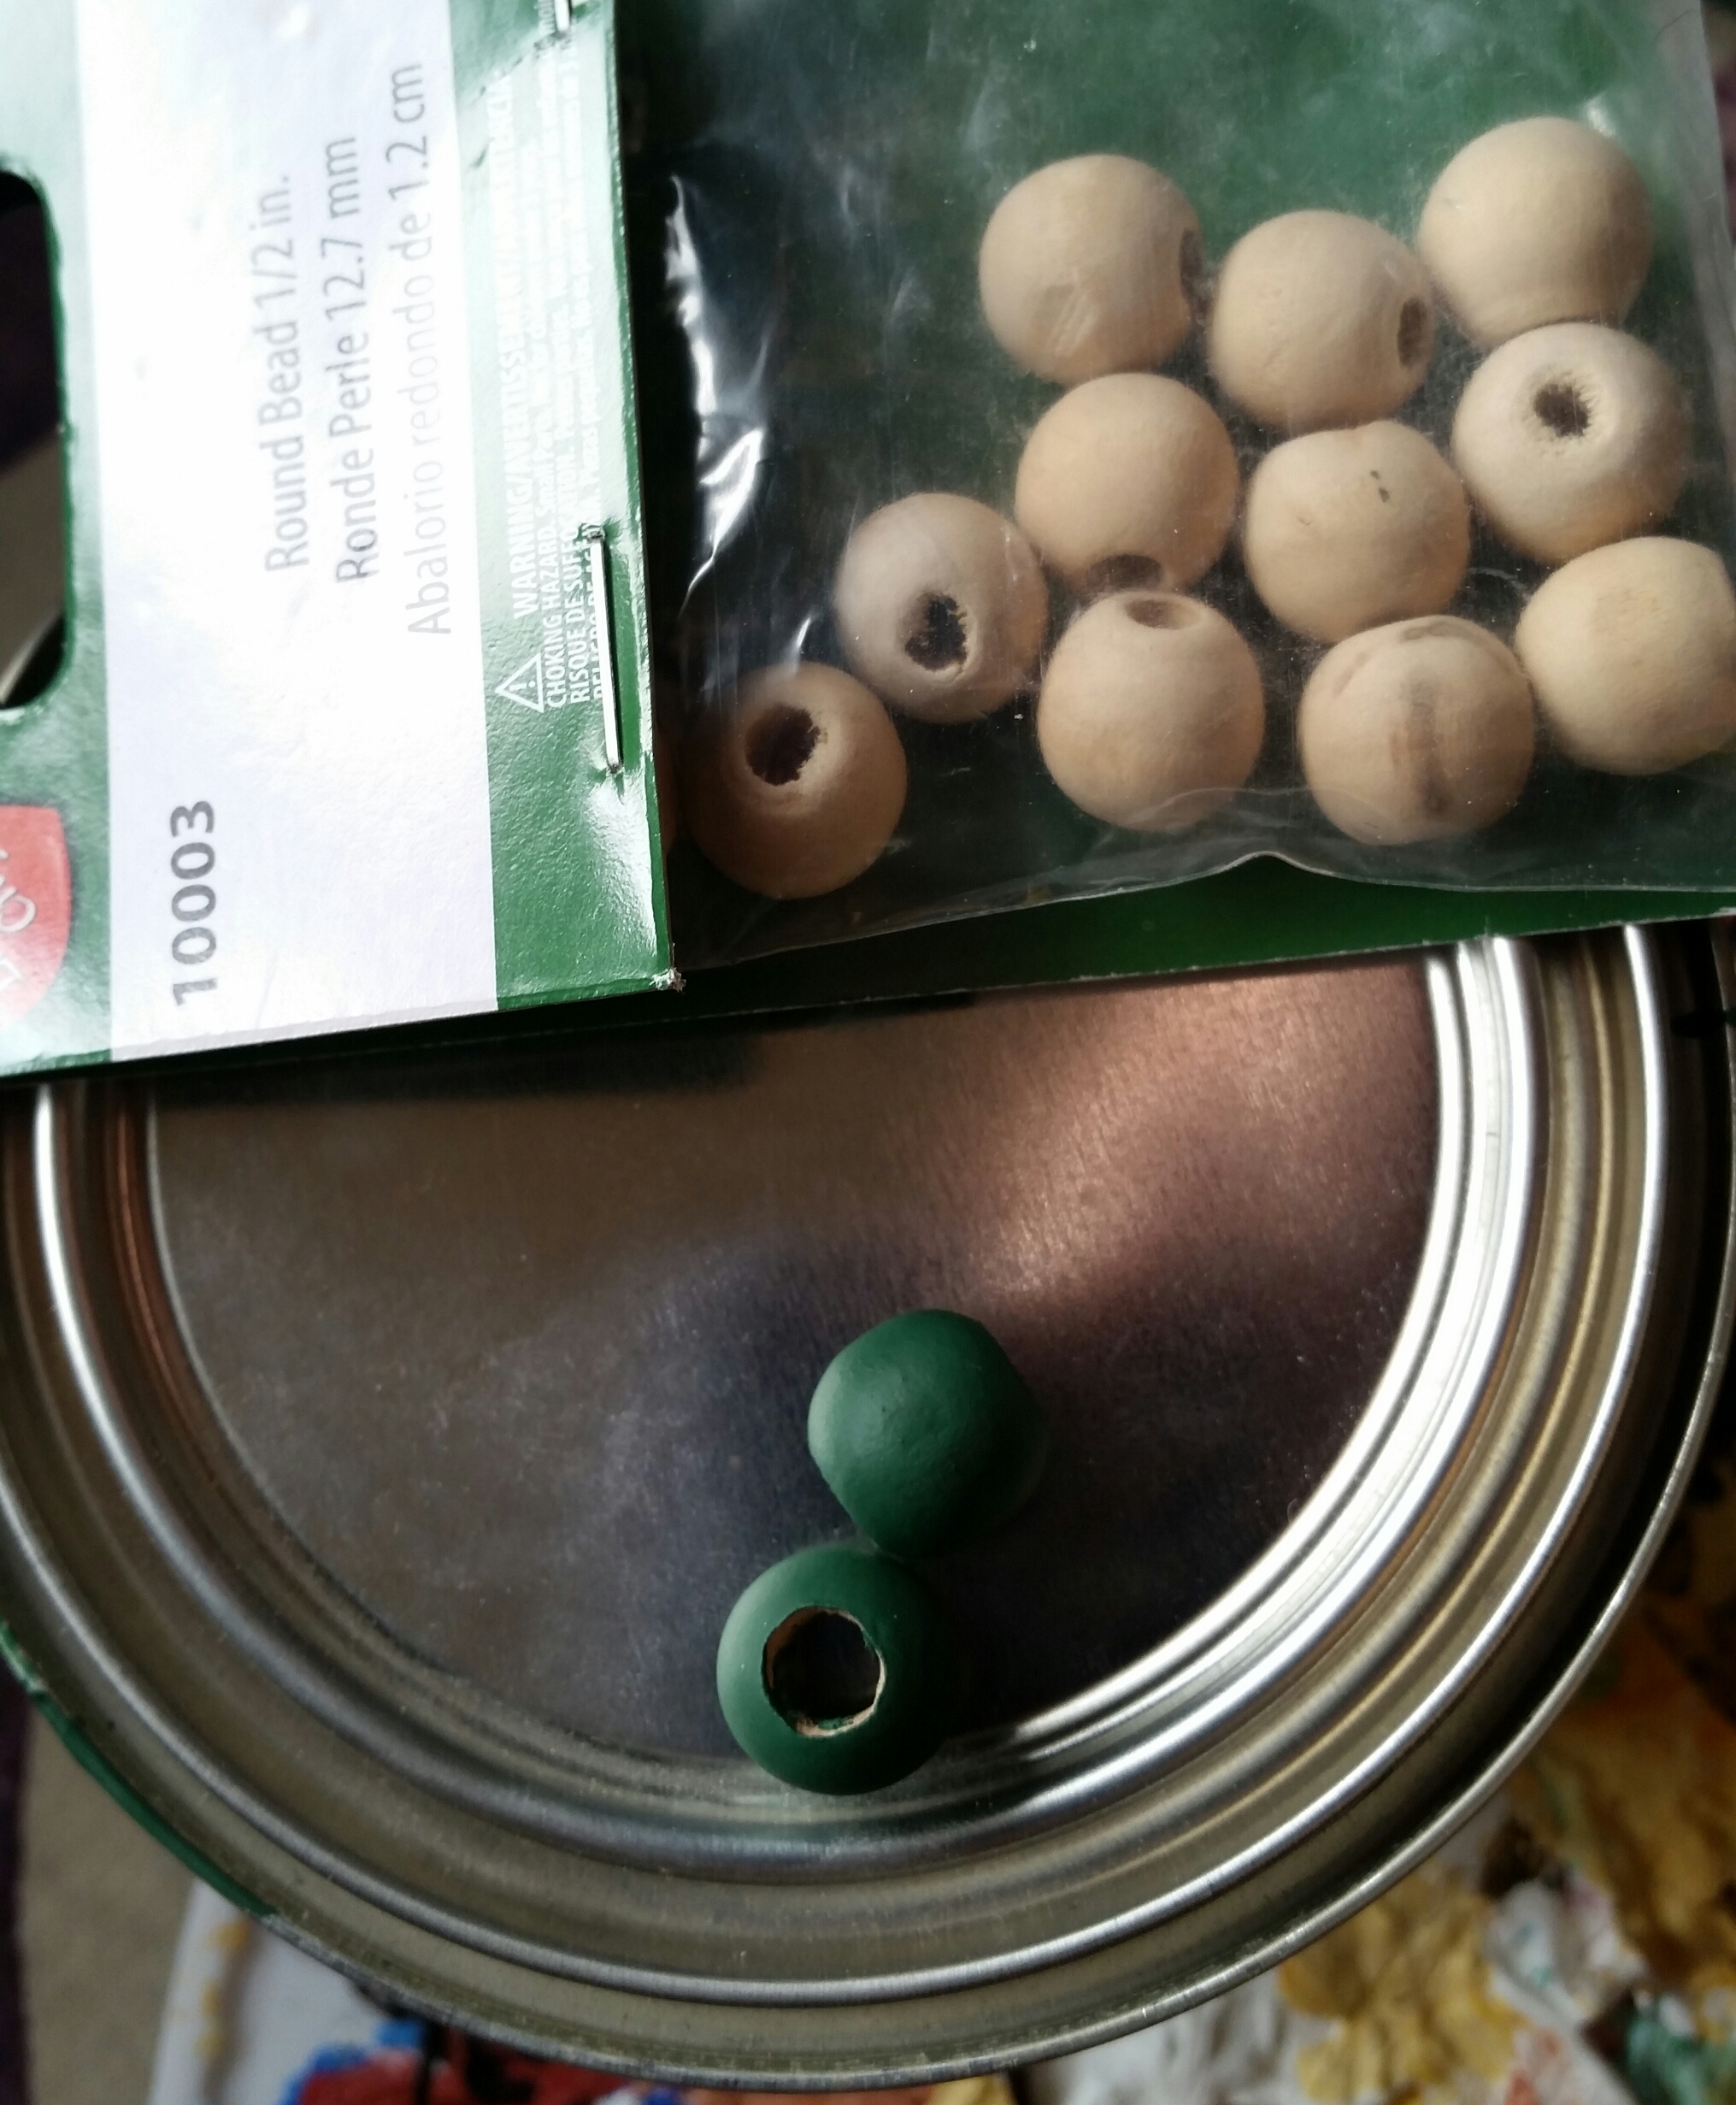
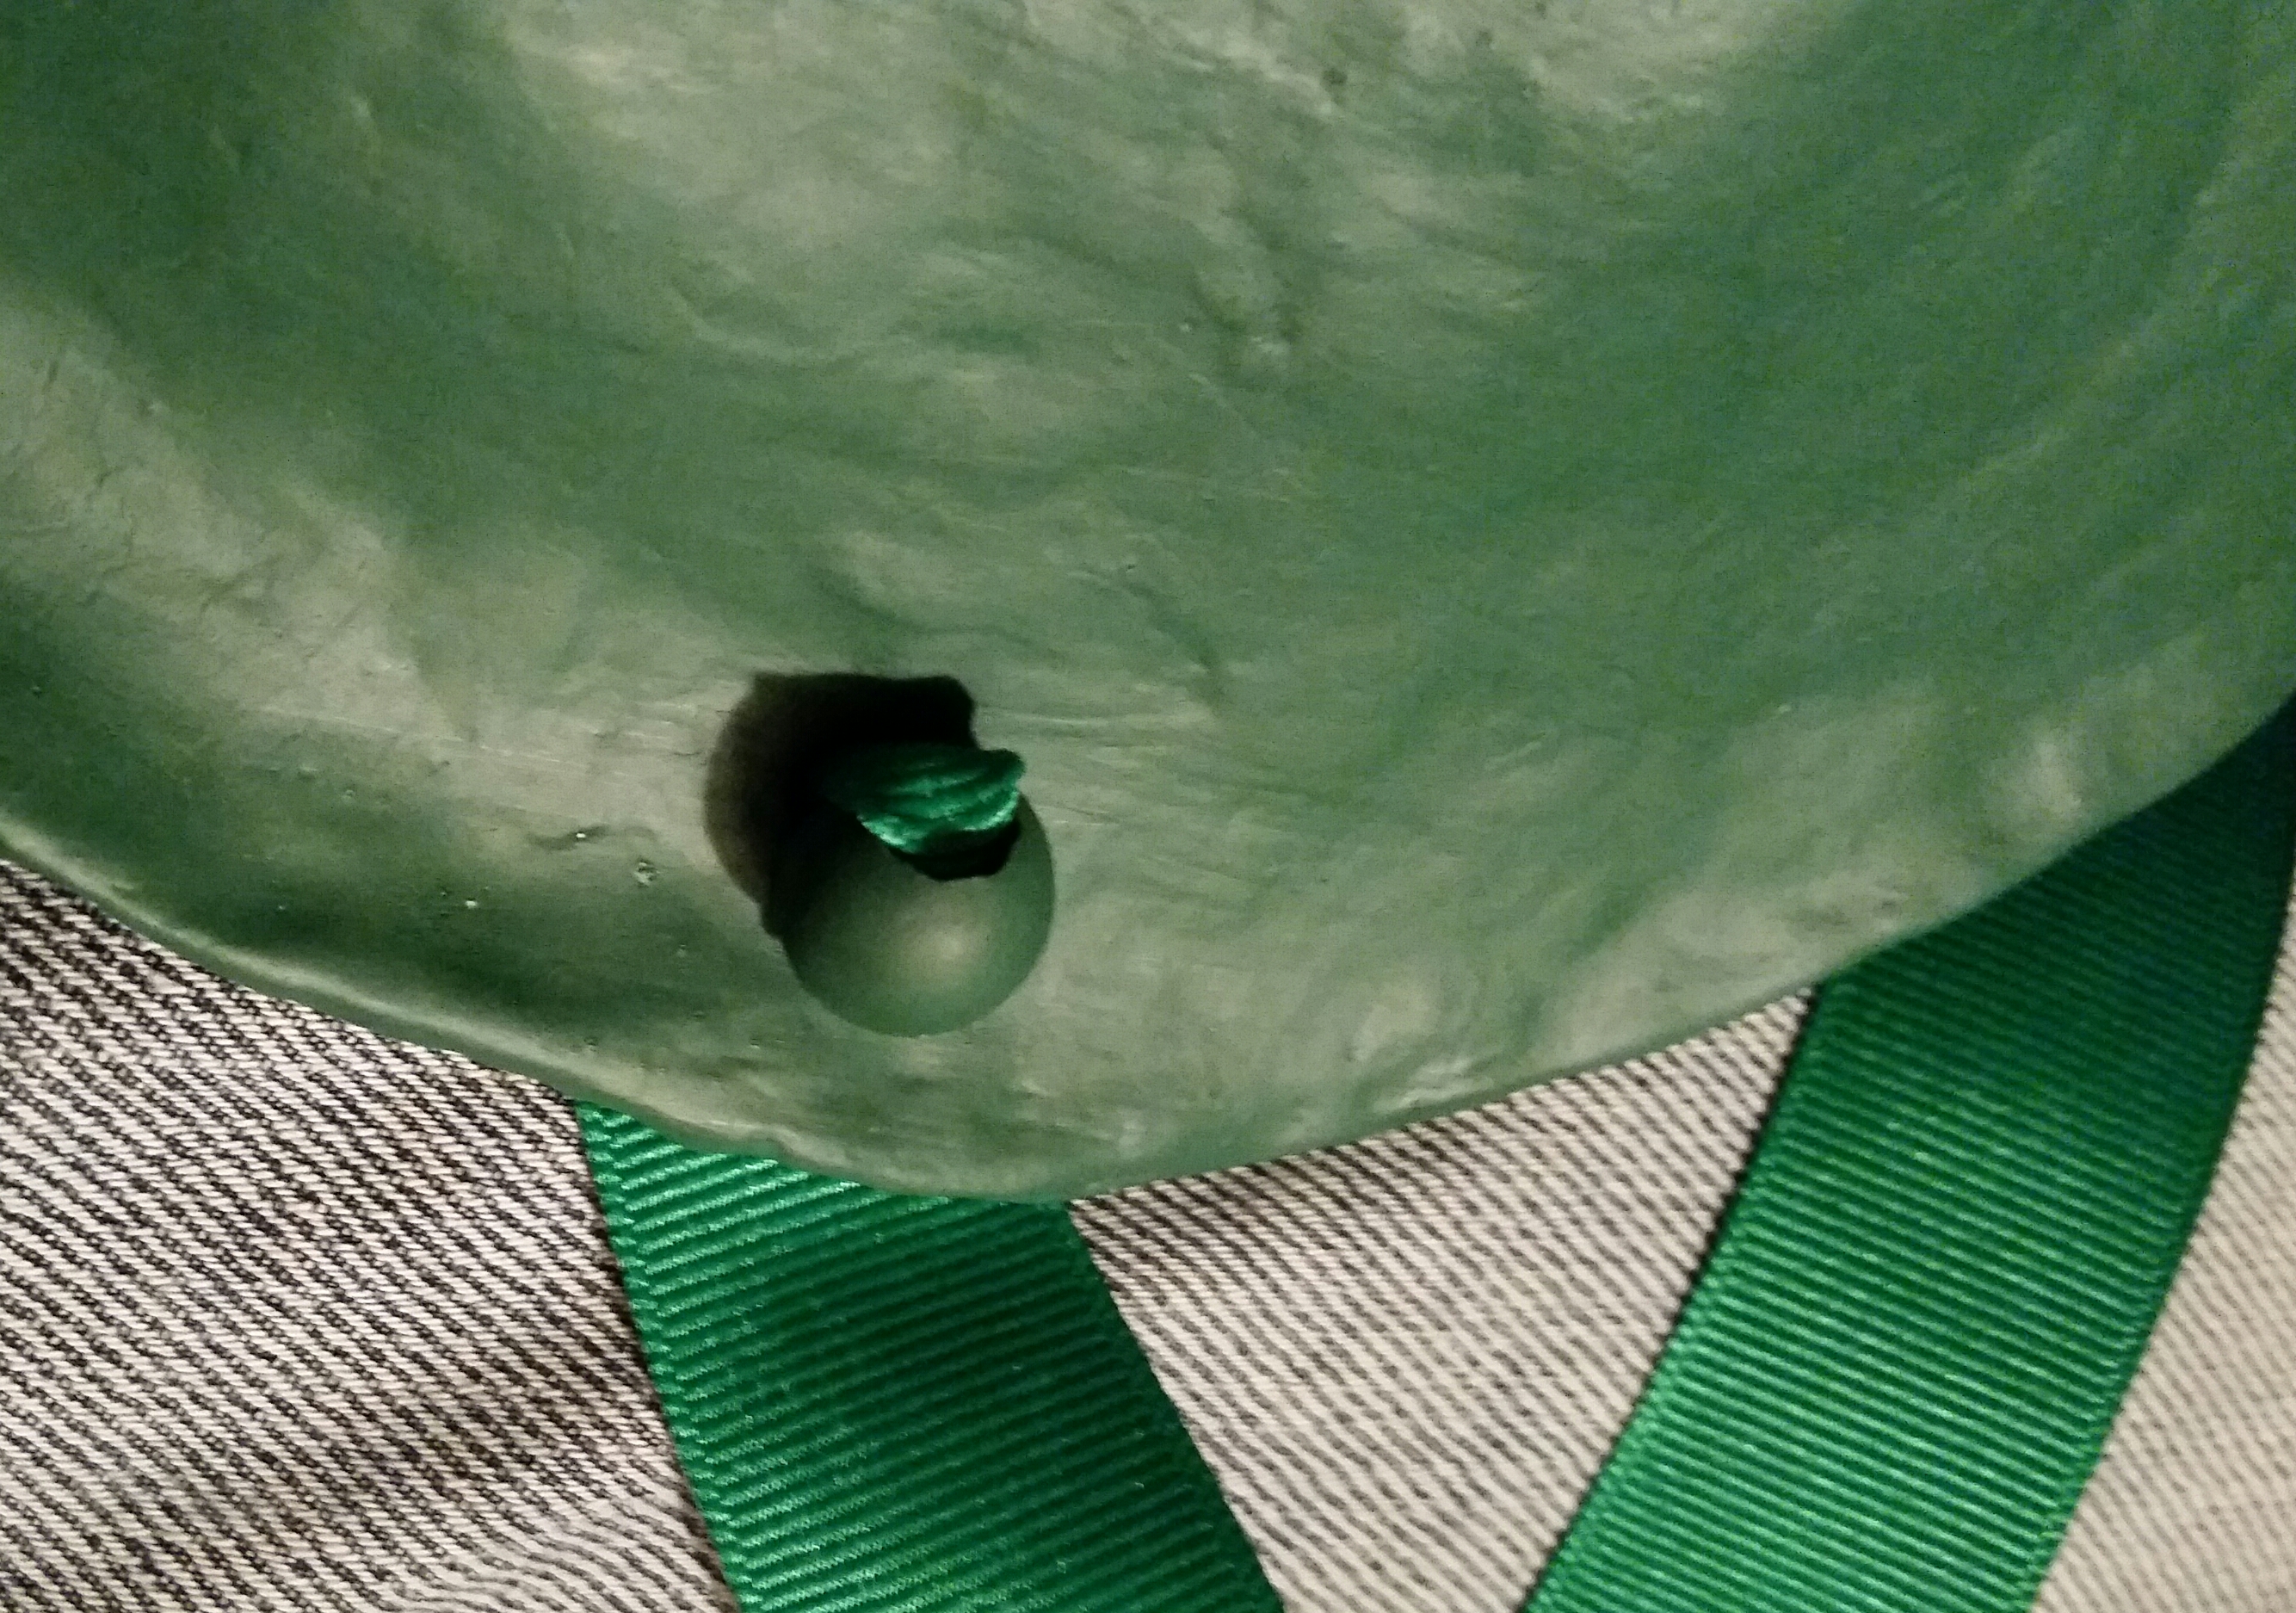
I passed the time as best I could. I went and bought some new beads, for making the ribbon ties. I bought cheap horrible ones from a store I like, instead of the good ones from the store I dislike. In order to use the cheap horrible ones, I had to use needle files to enlarge the holes, which at least took a while.
I painted the beads.
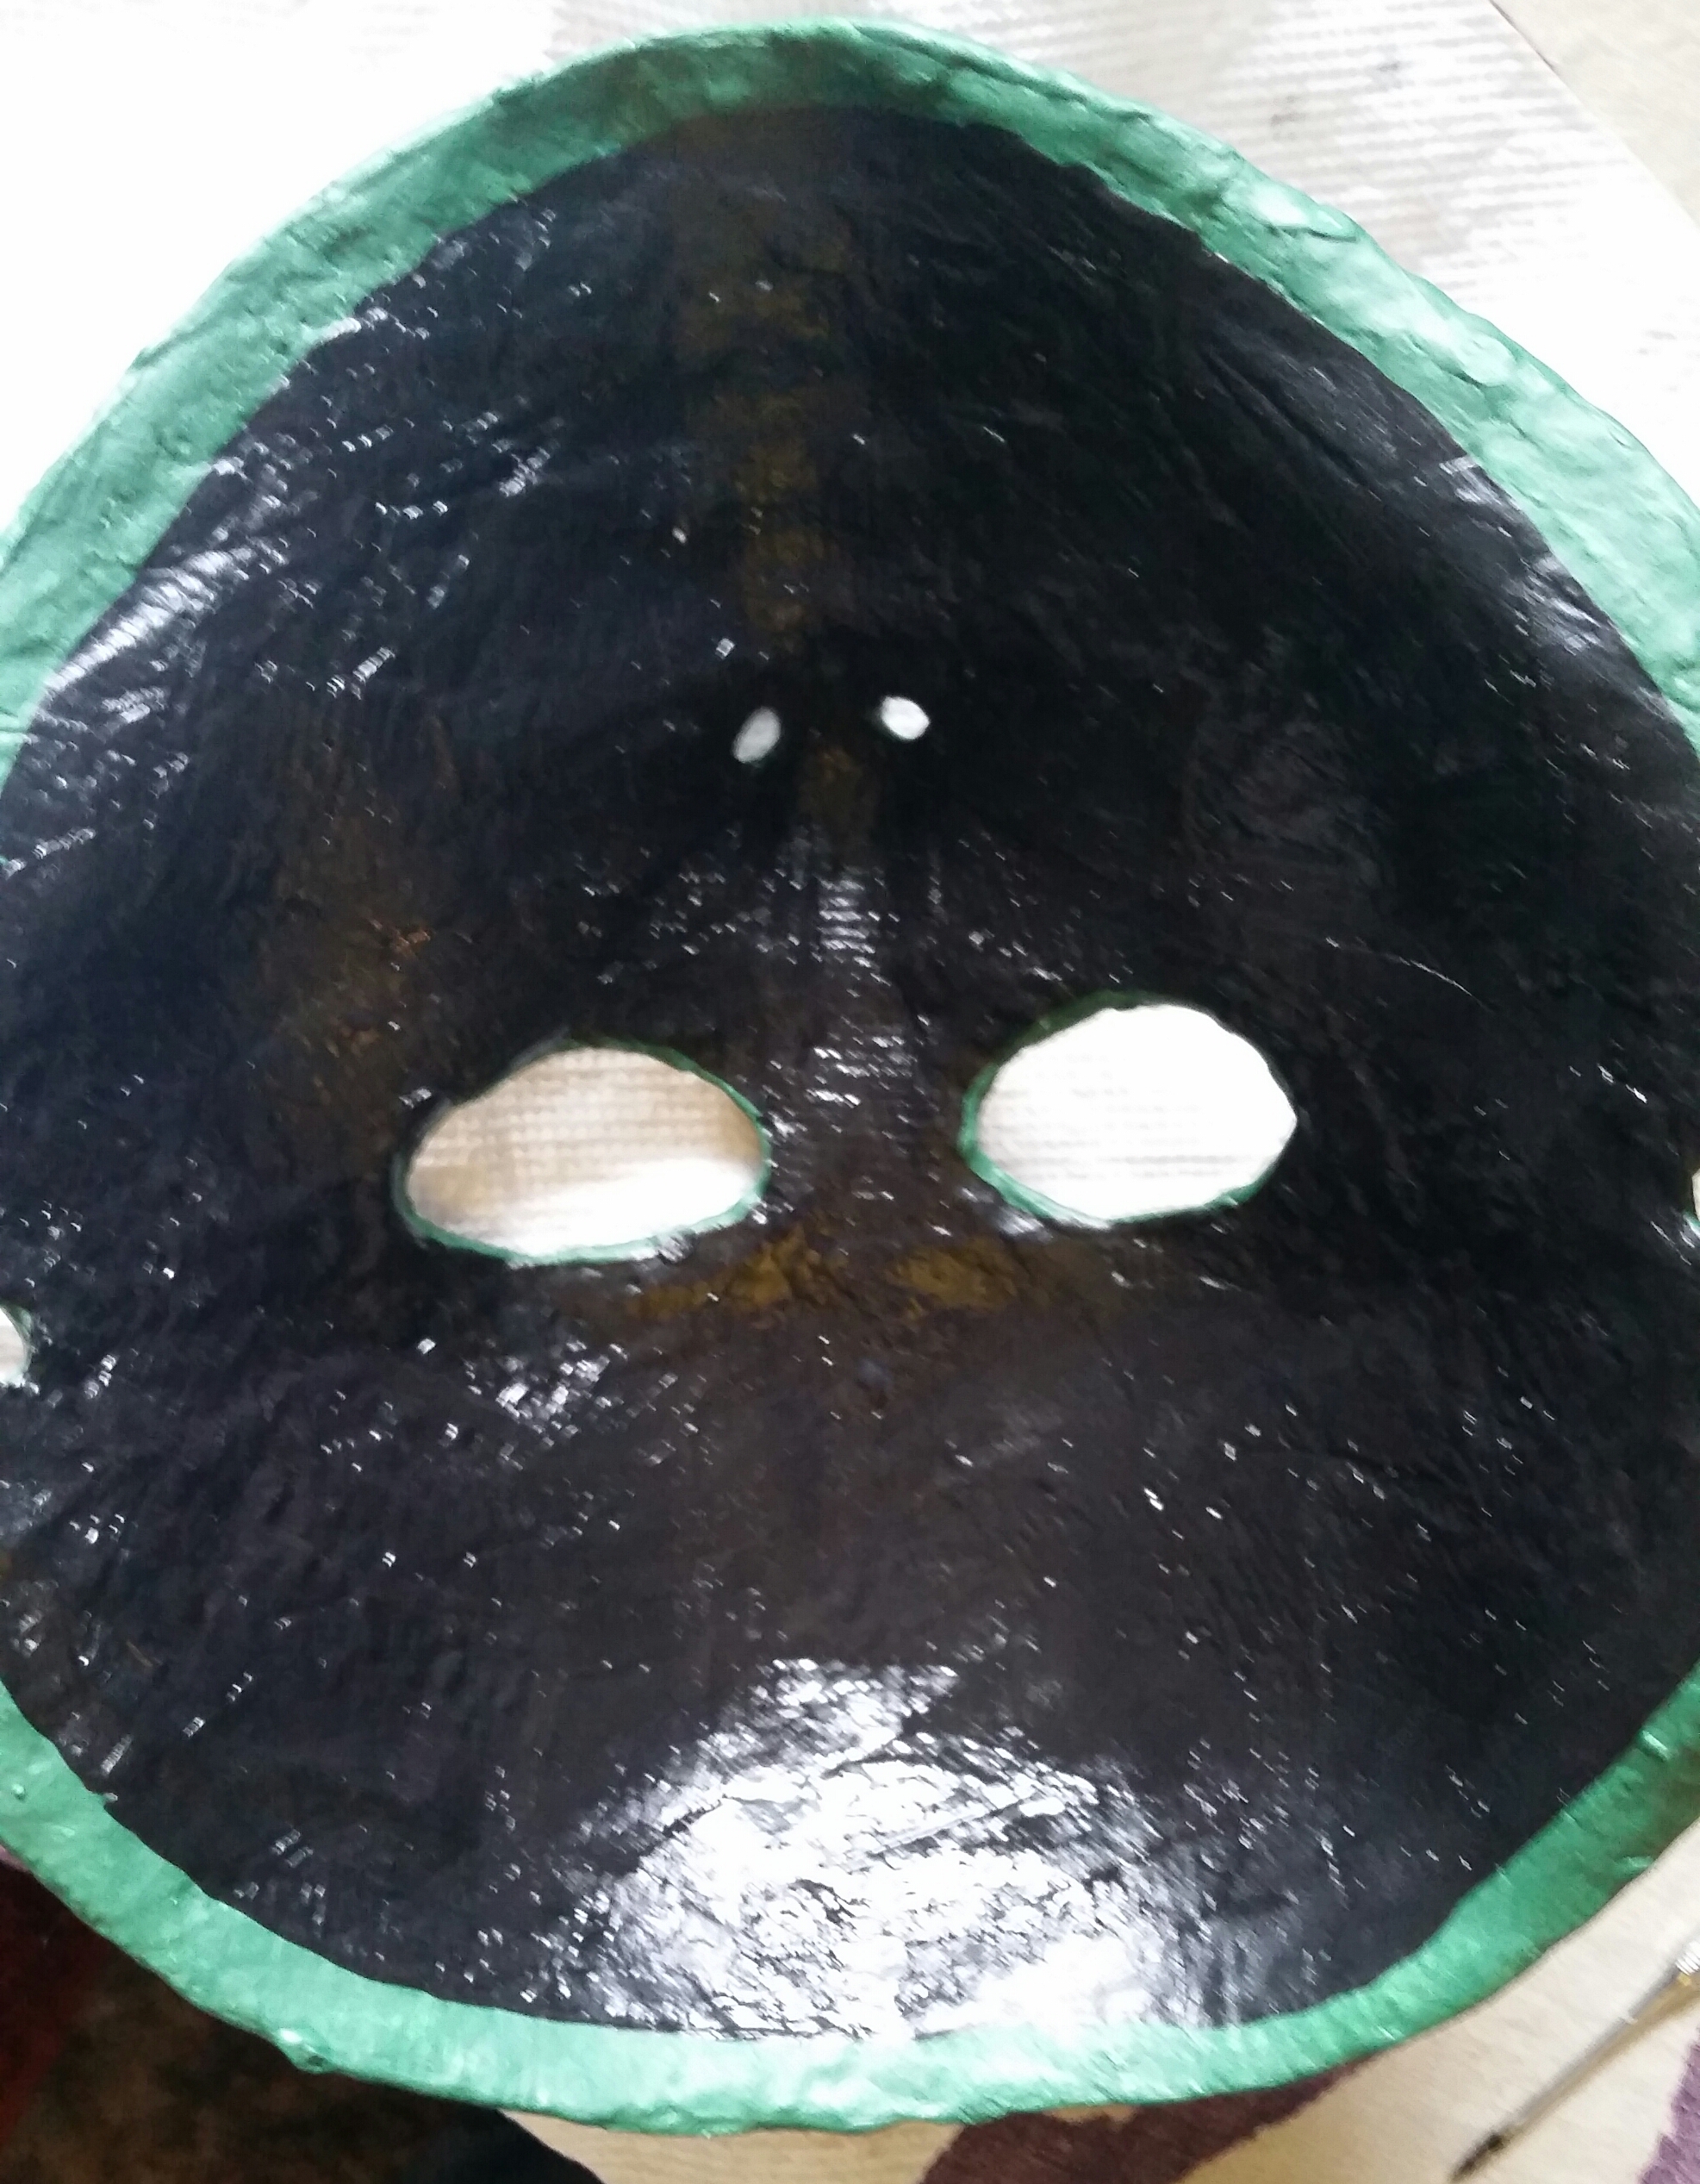
I painted the inside of the mask.
I put a matte varnish on the inside of the mask.
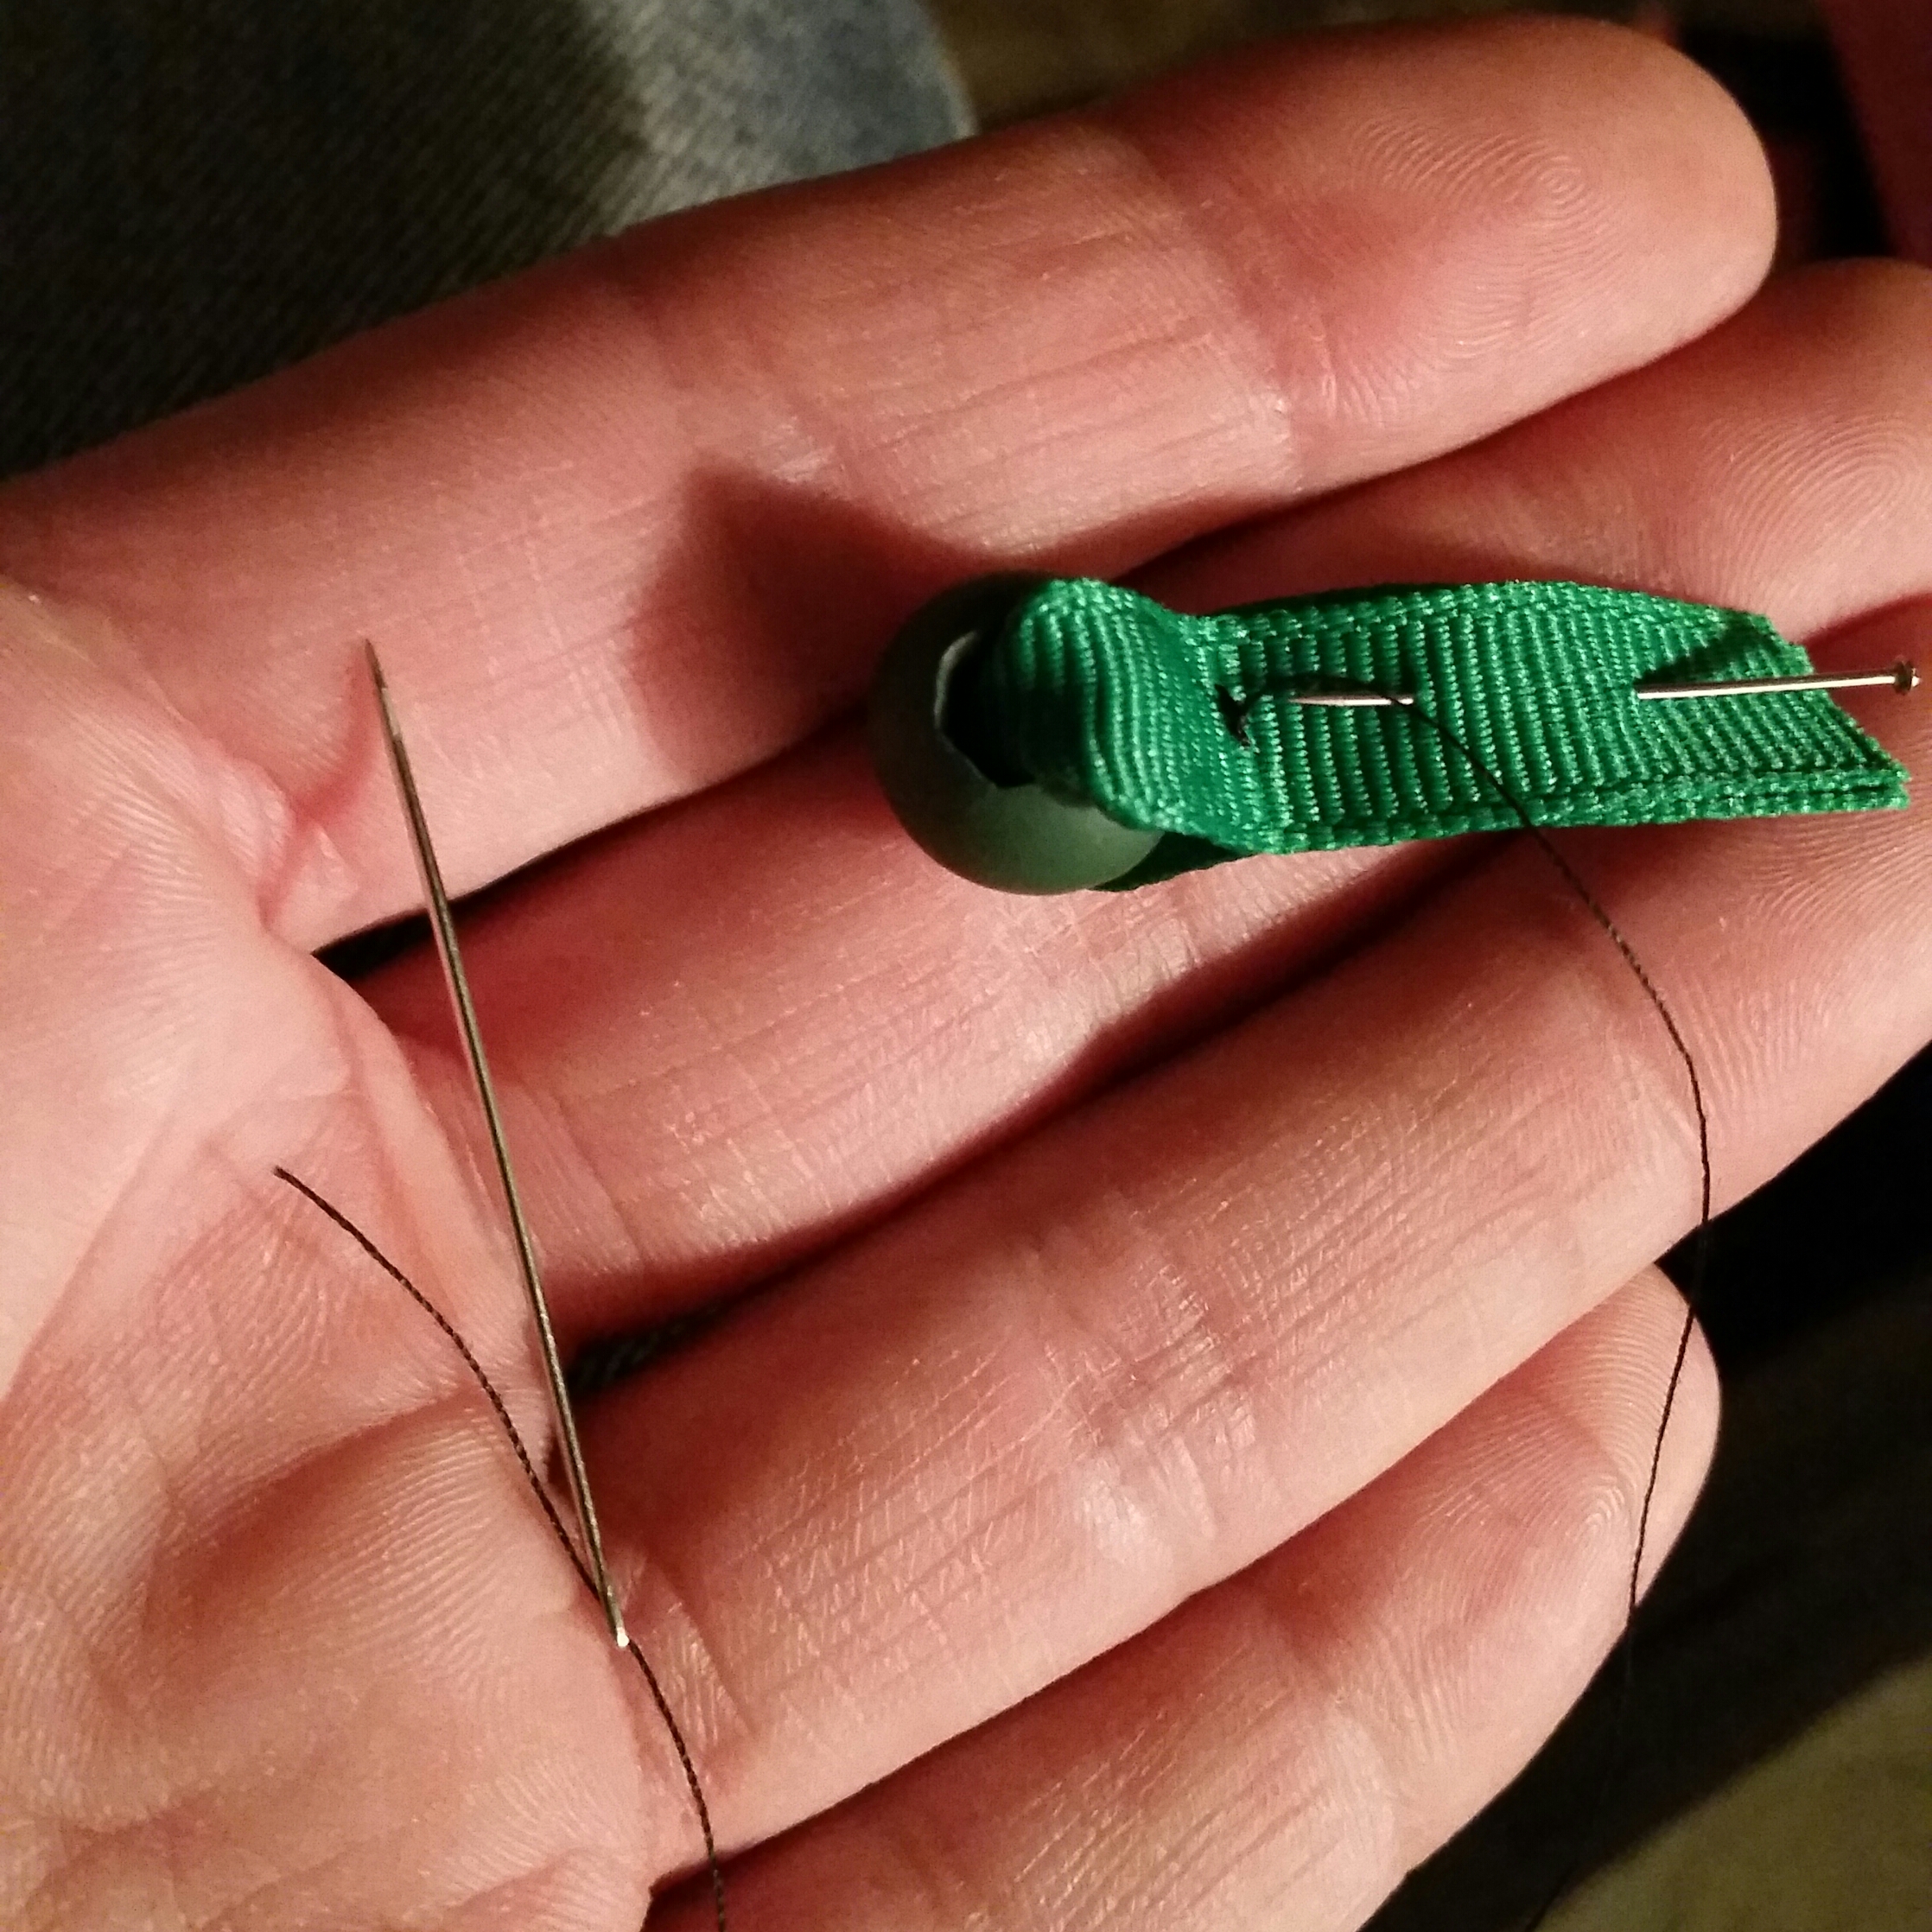
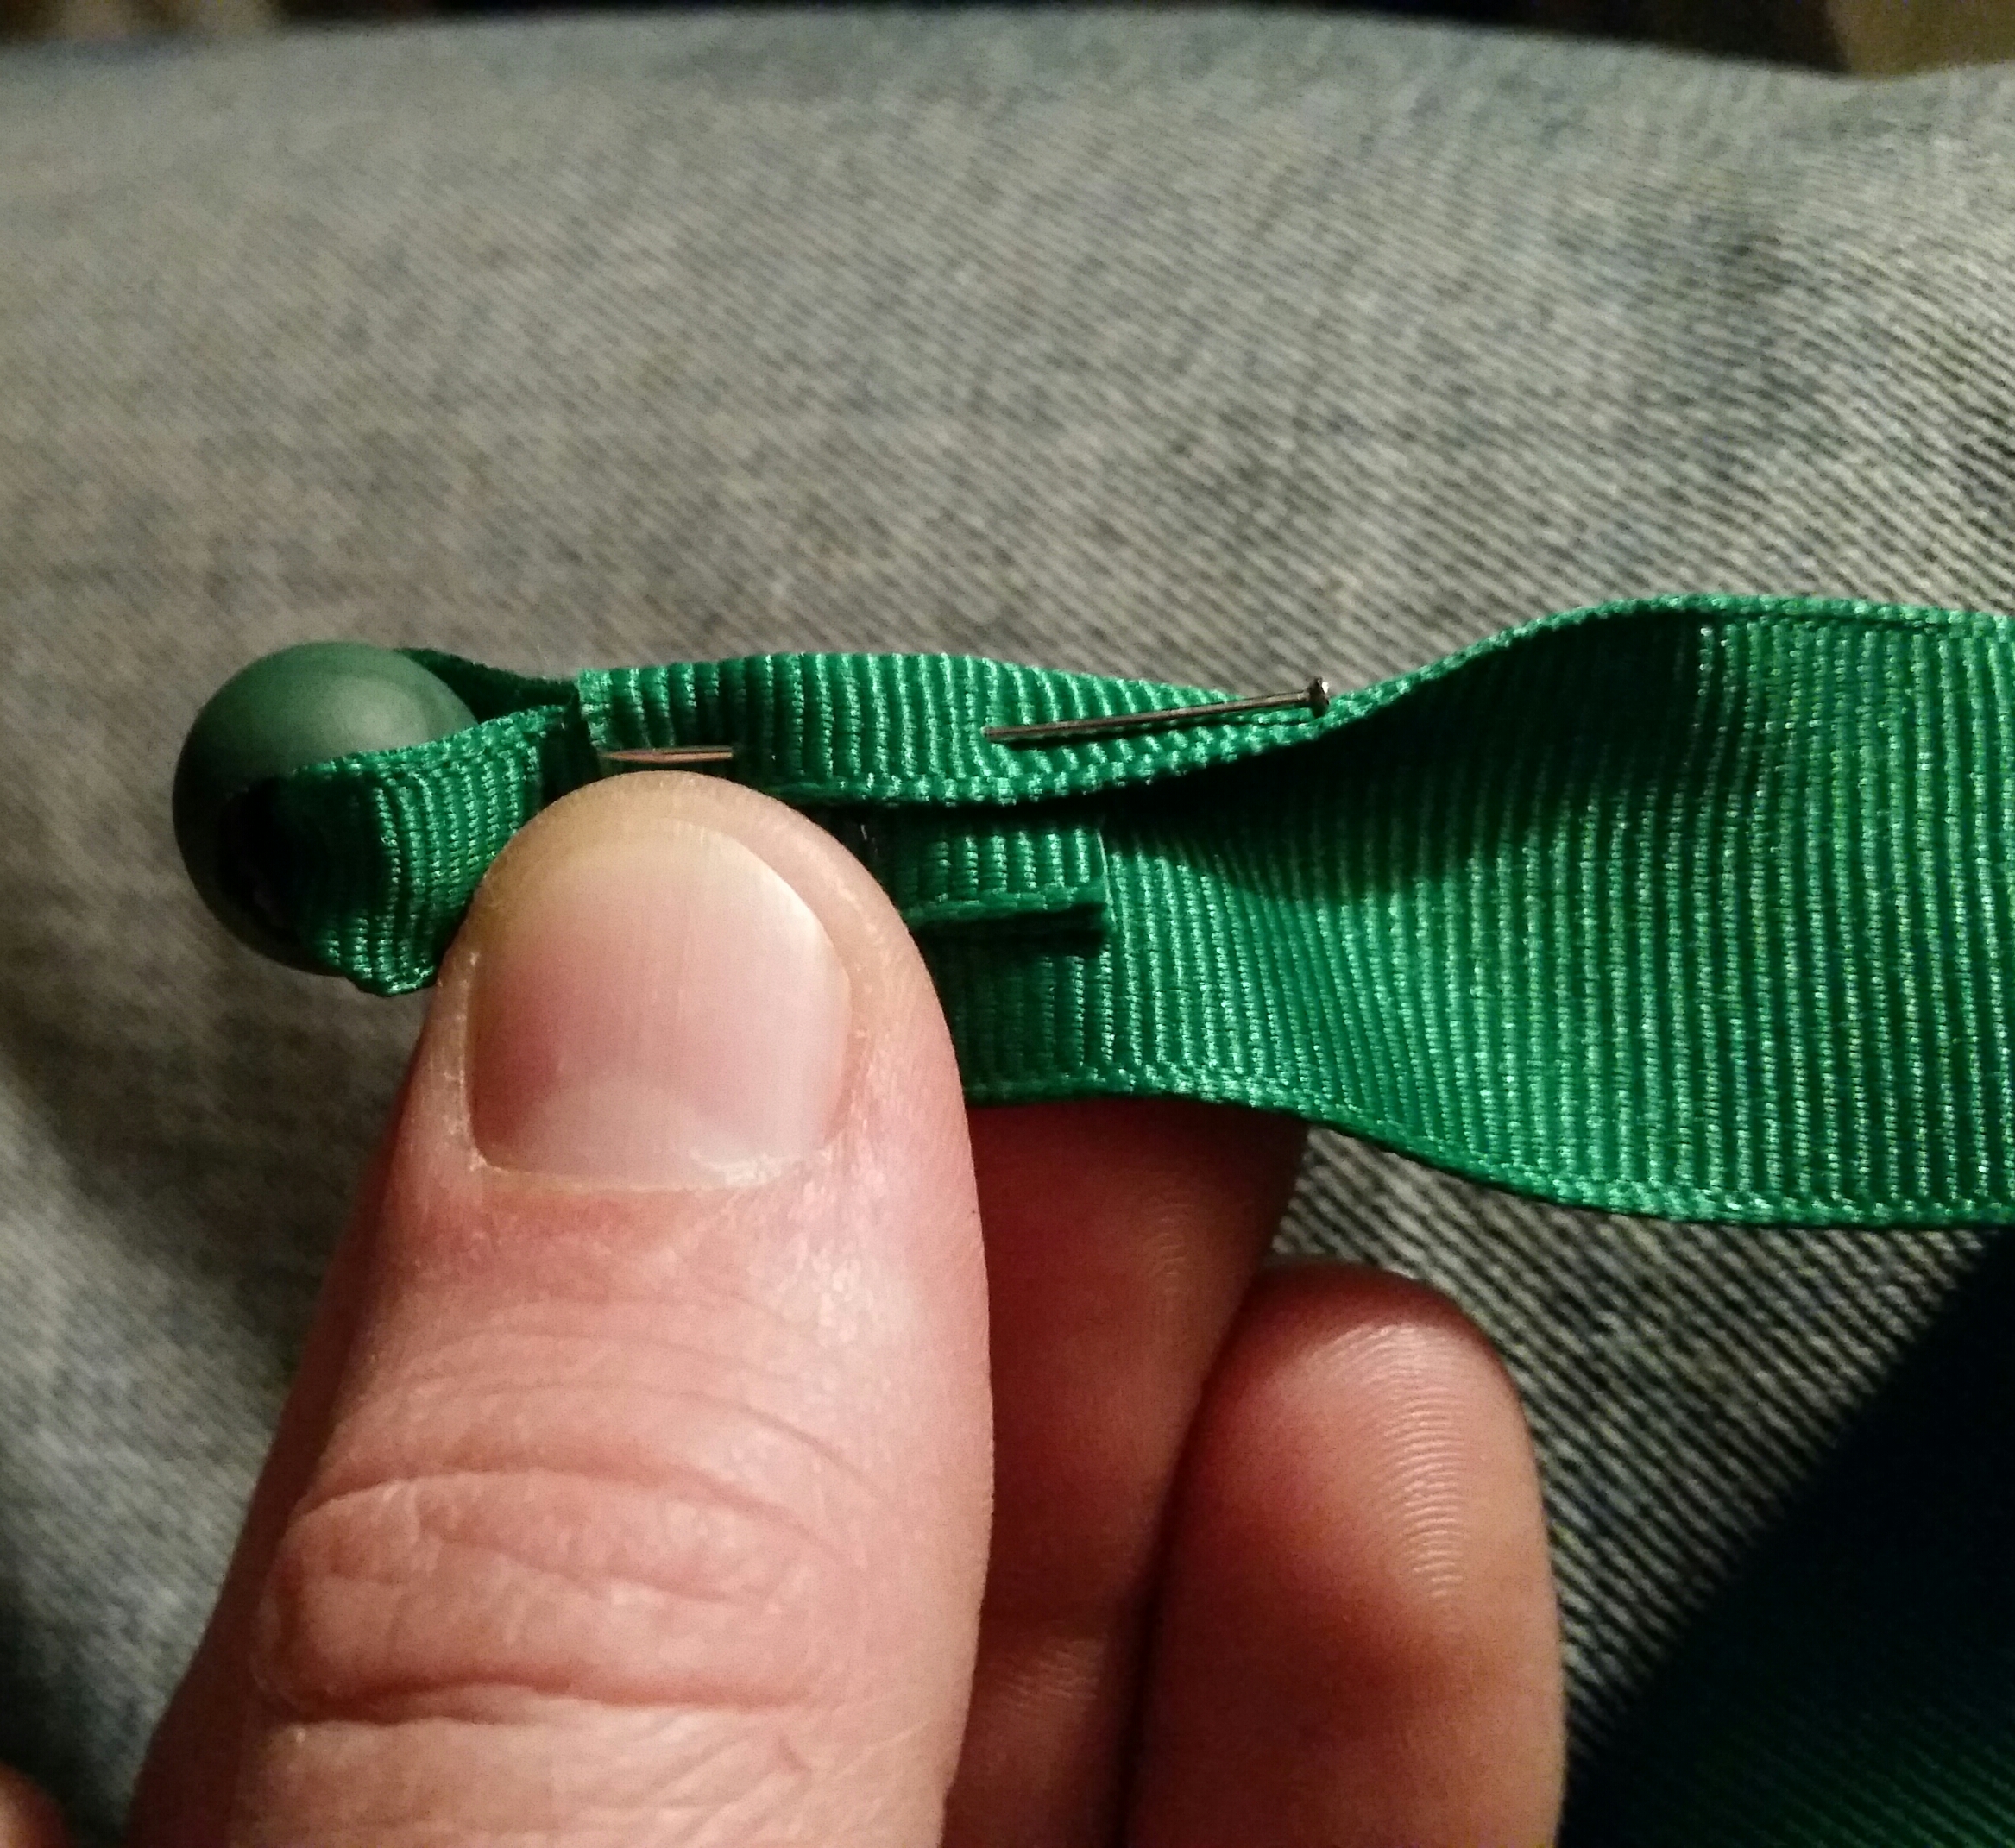
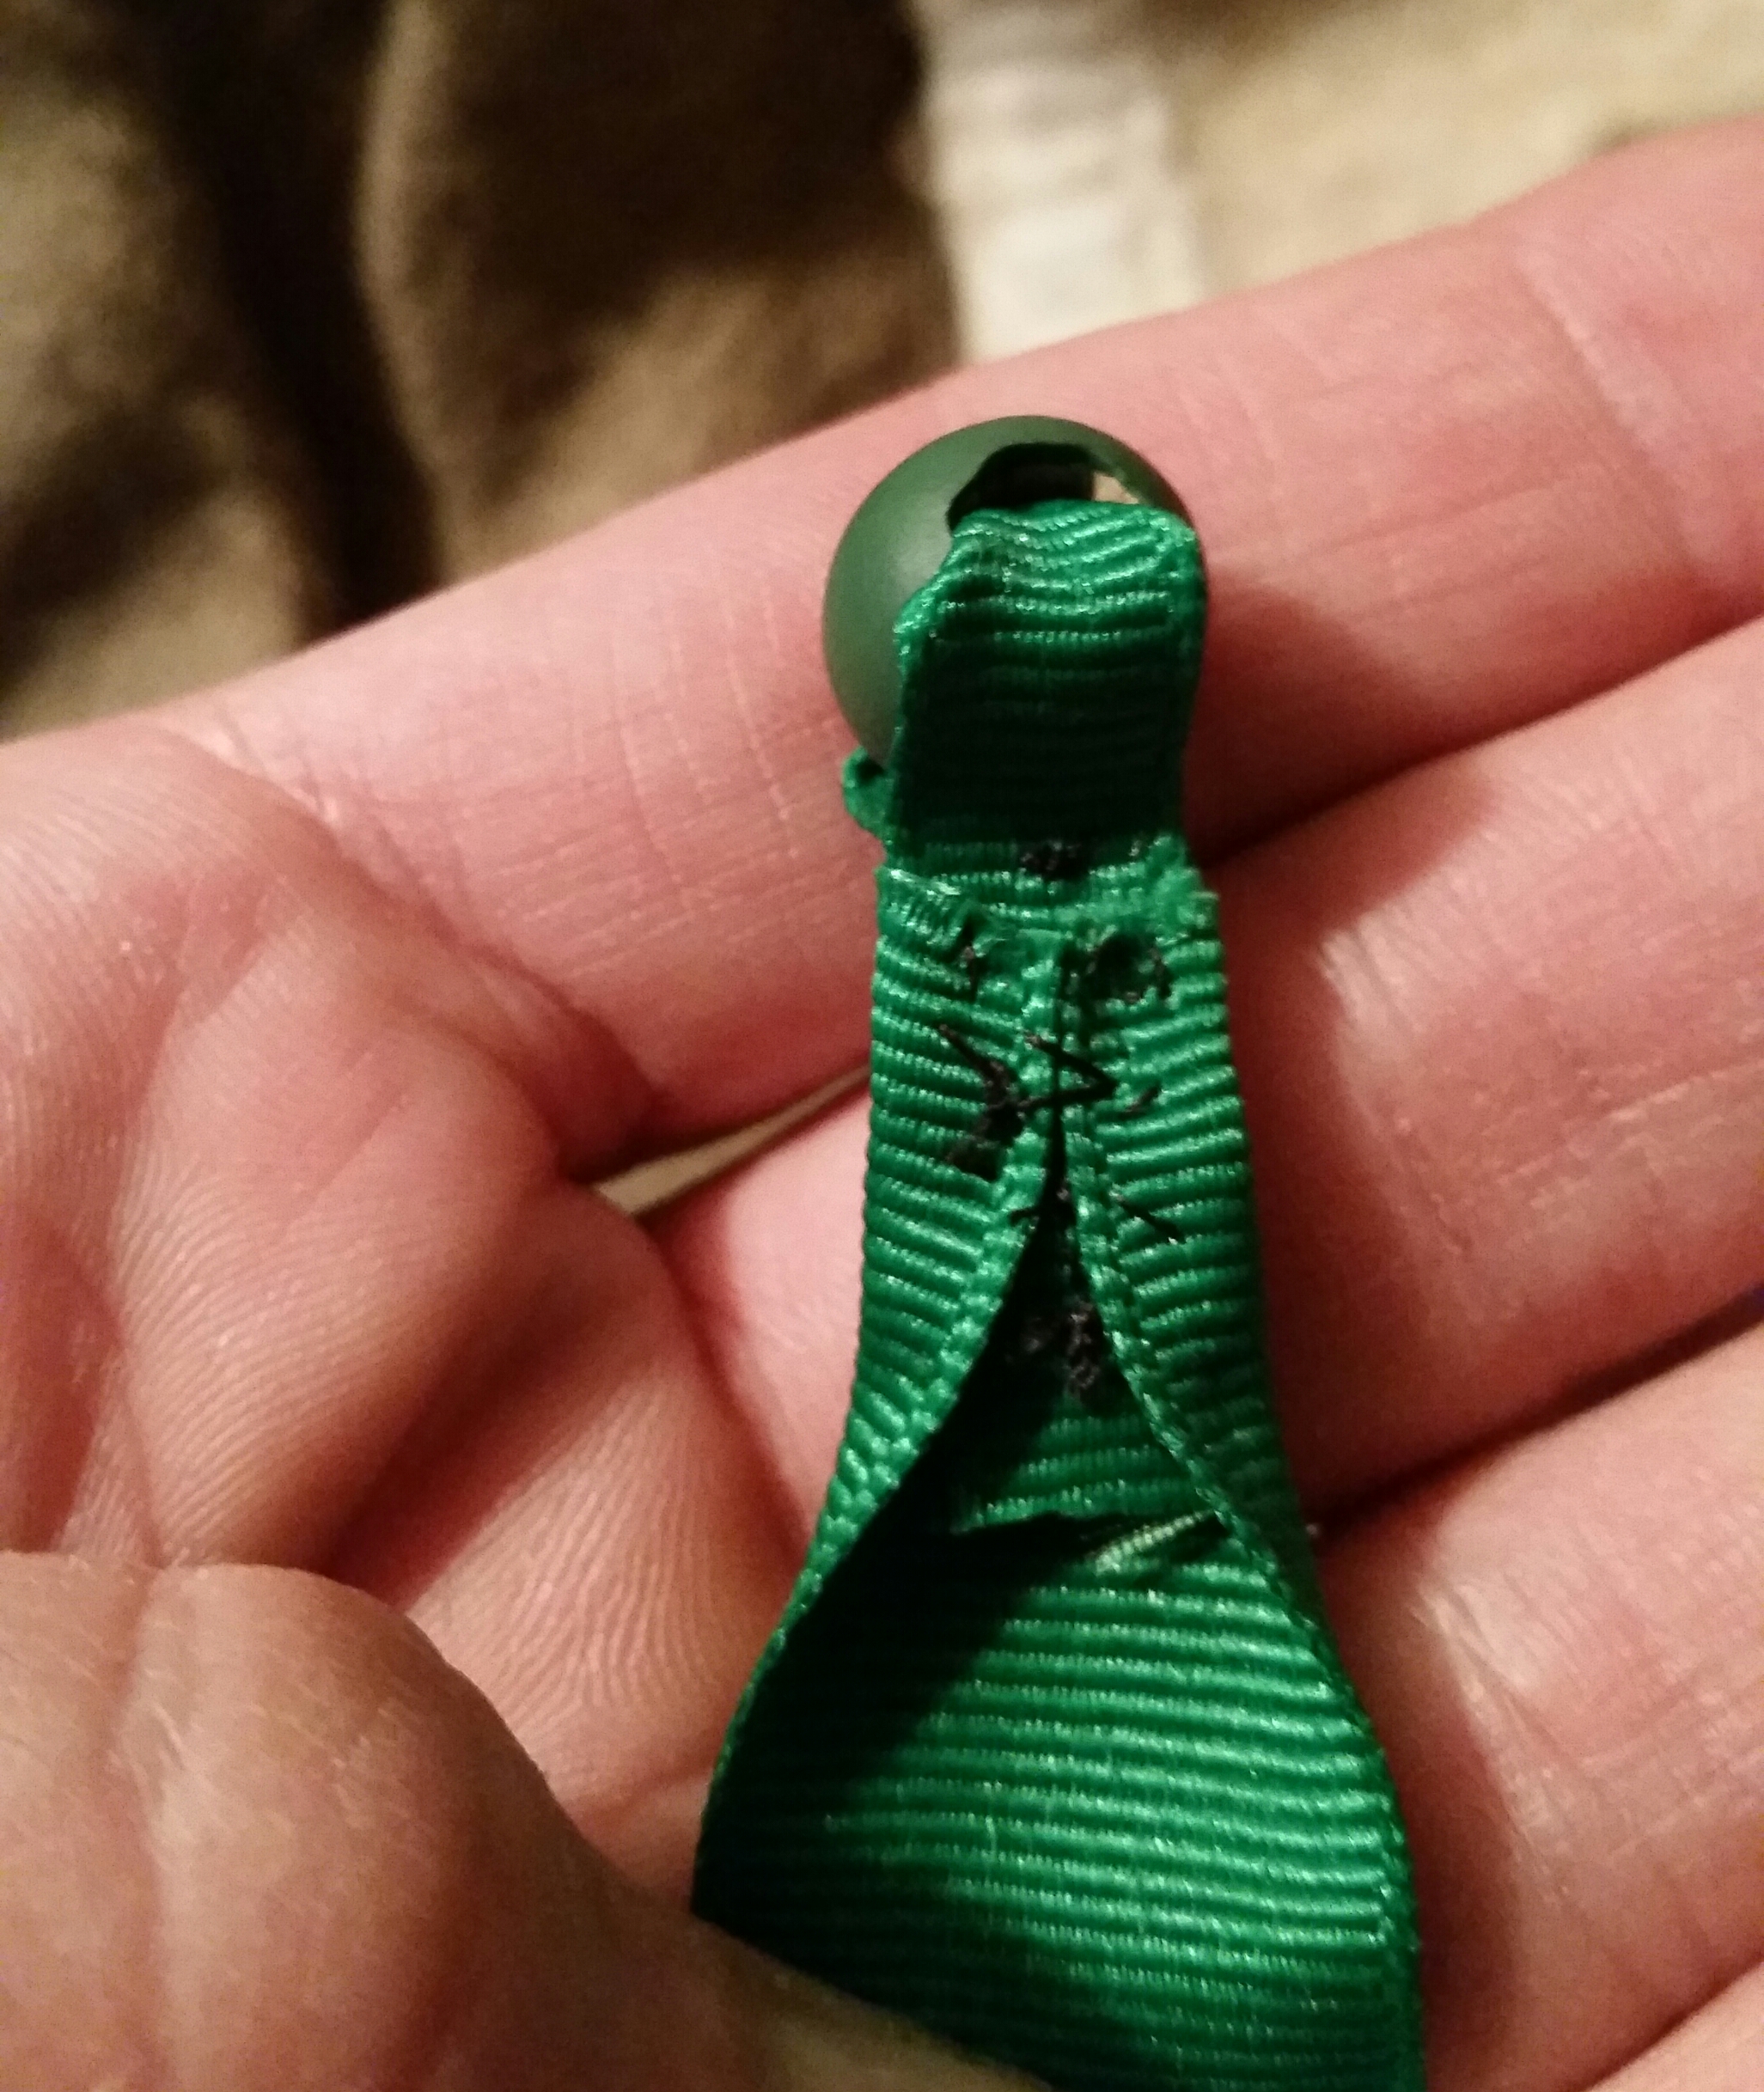
I made ribbon ties, but not the easy way. I used narrow ribbon to wrap the beads, then stitched it to wide ribbon to form the actual ties. It's needlessly complicated, but it does lay nicer against the mask.
And it takes time.
Many Masks!
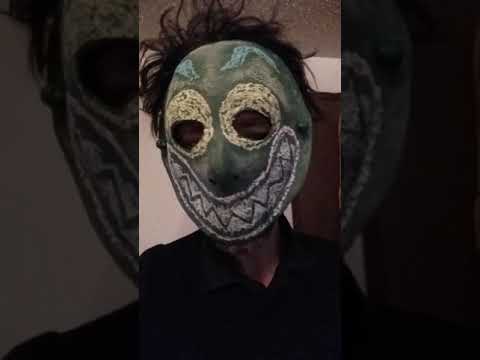
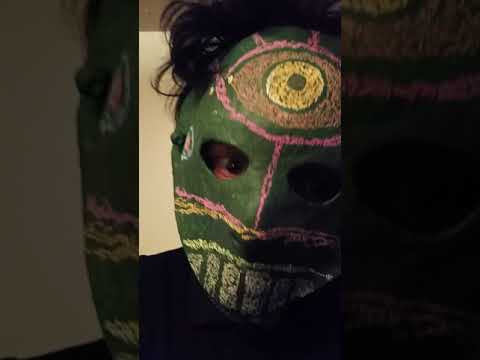
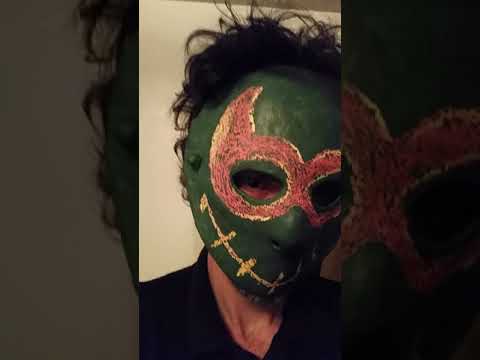
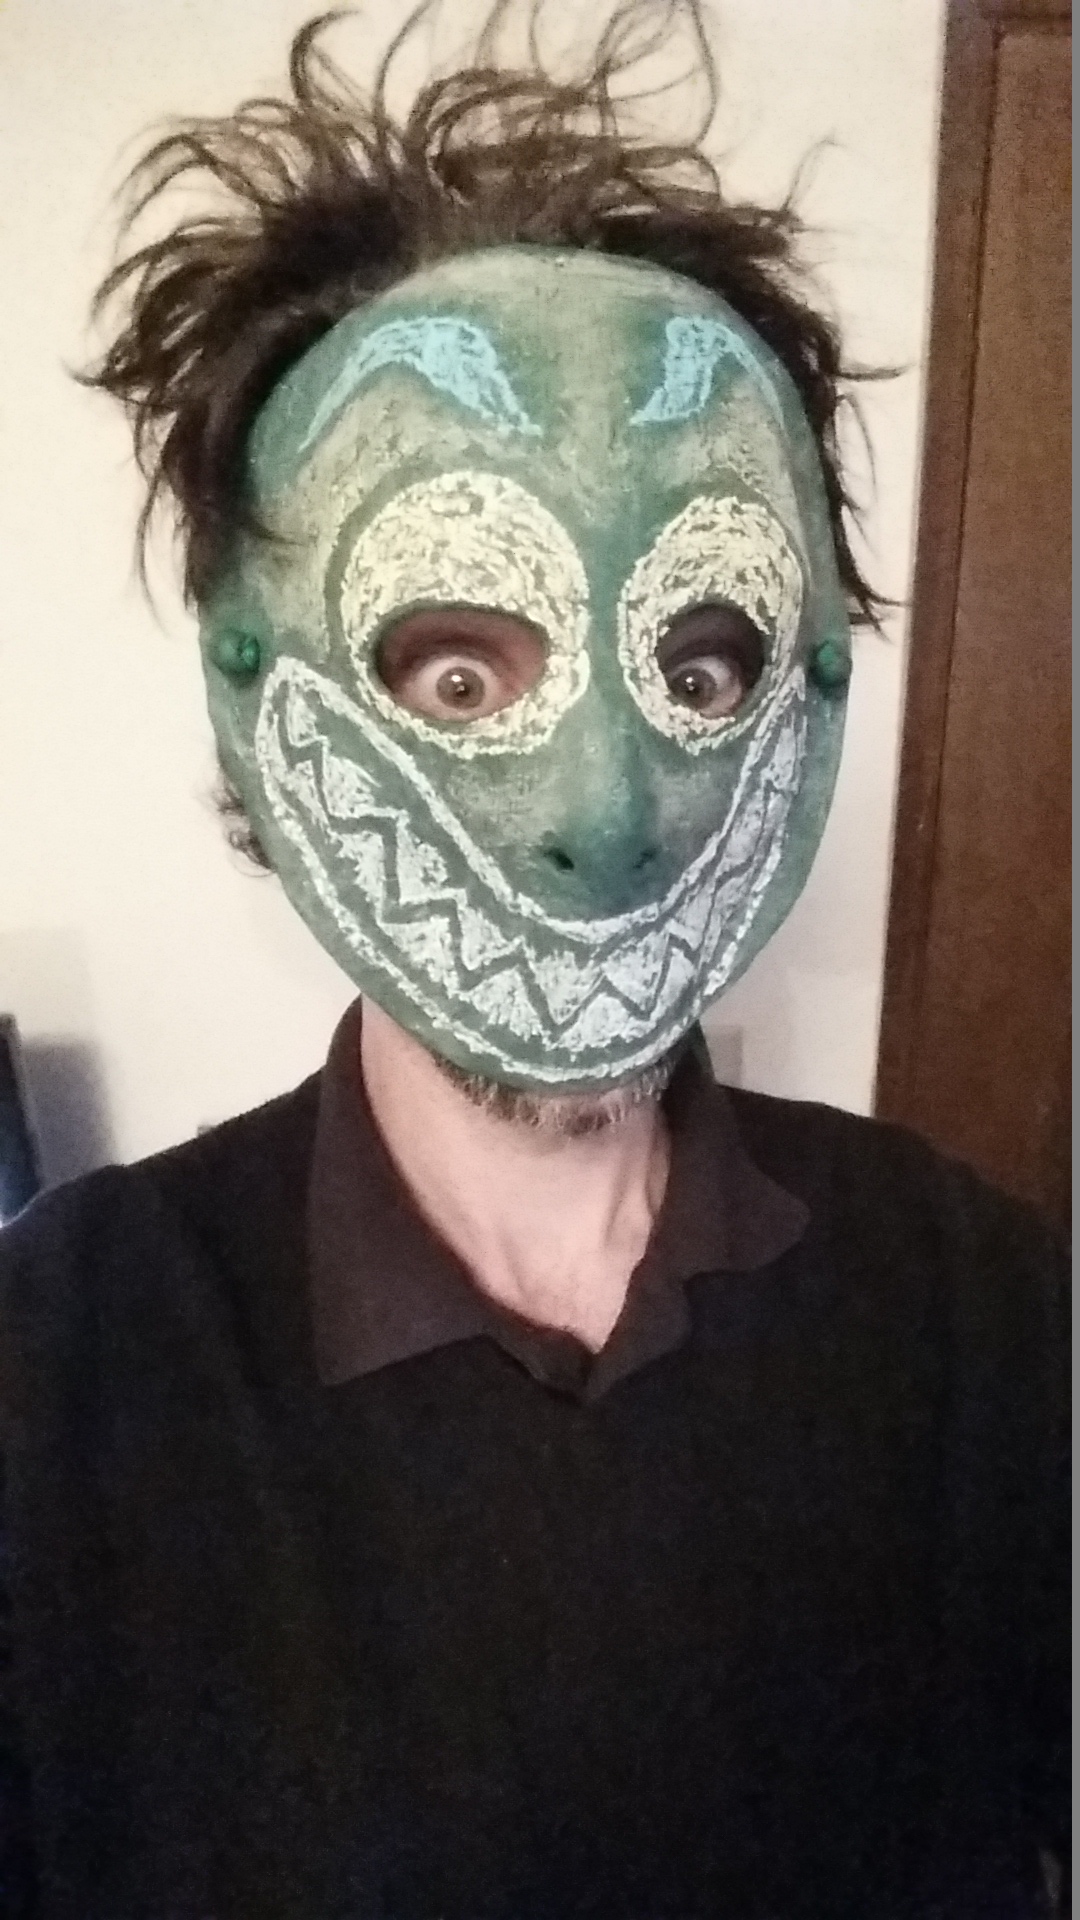
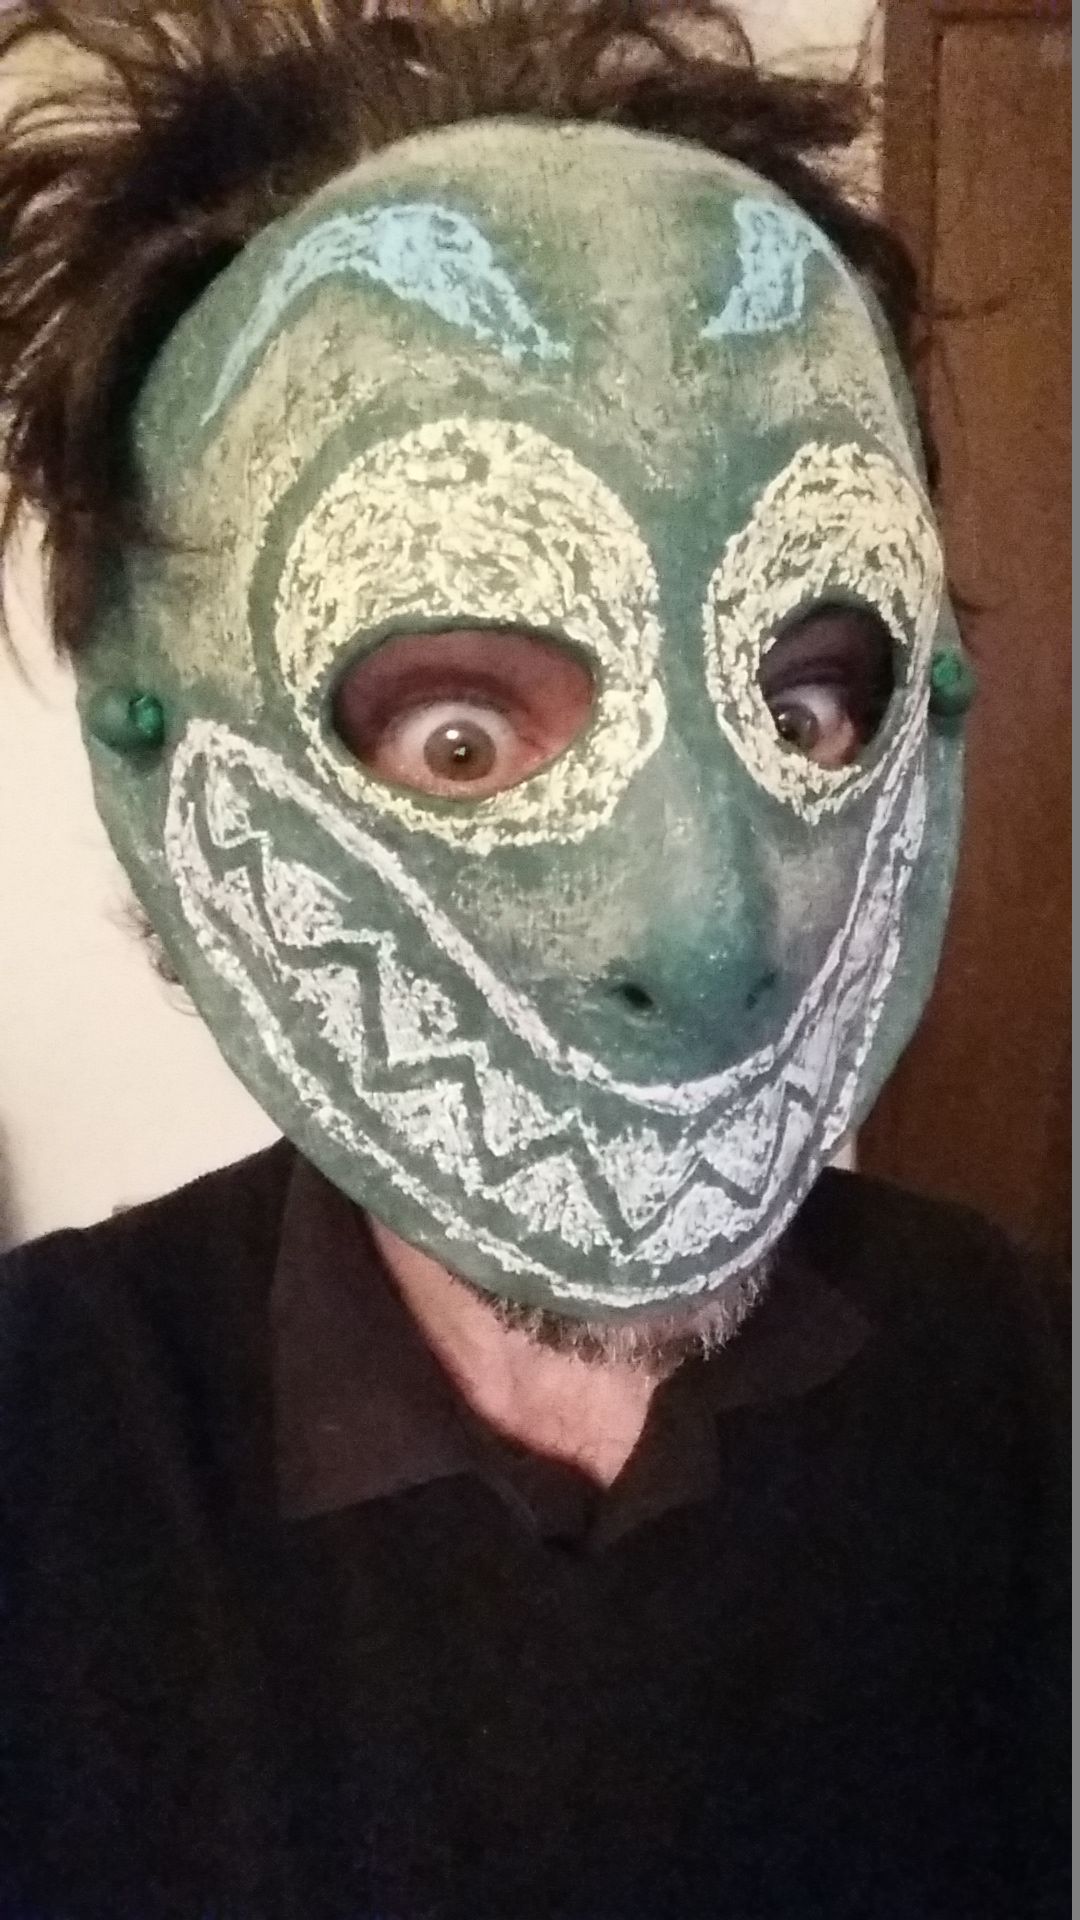
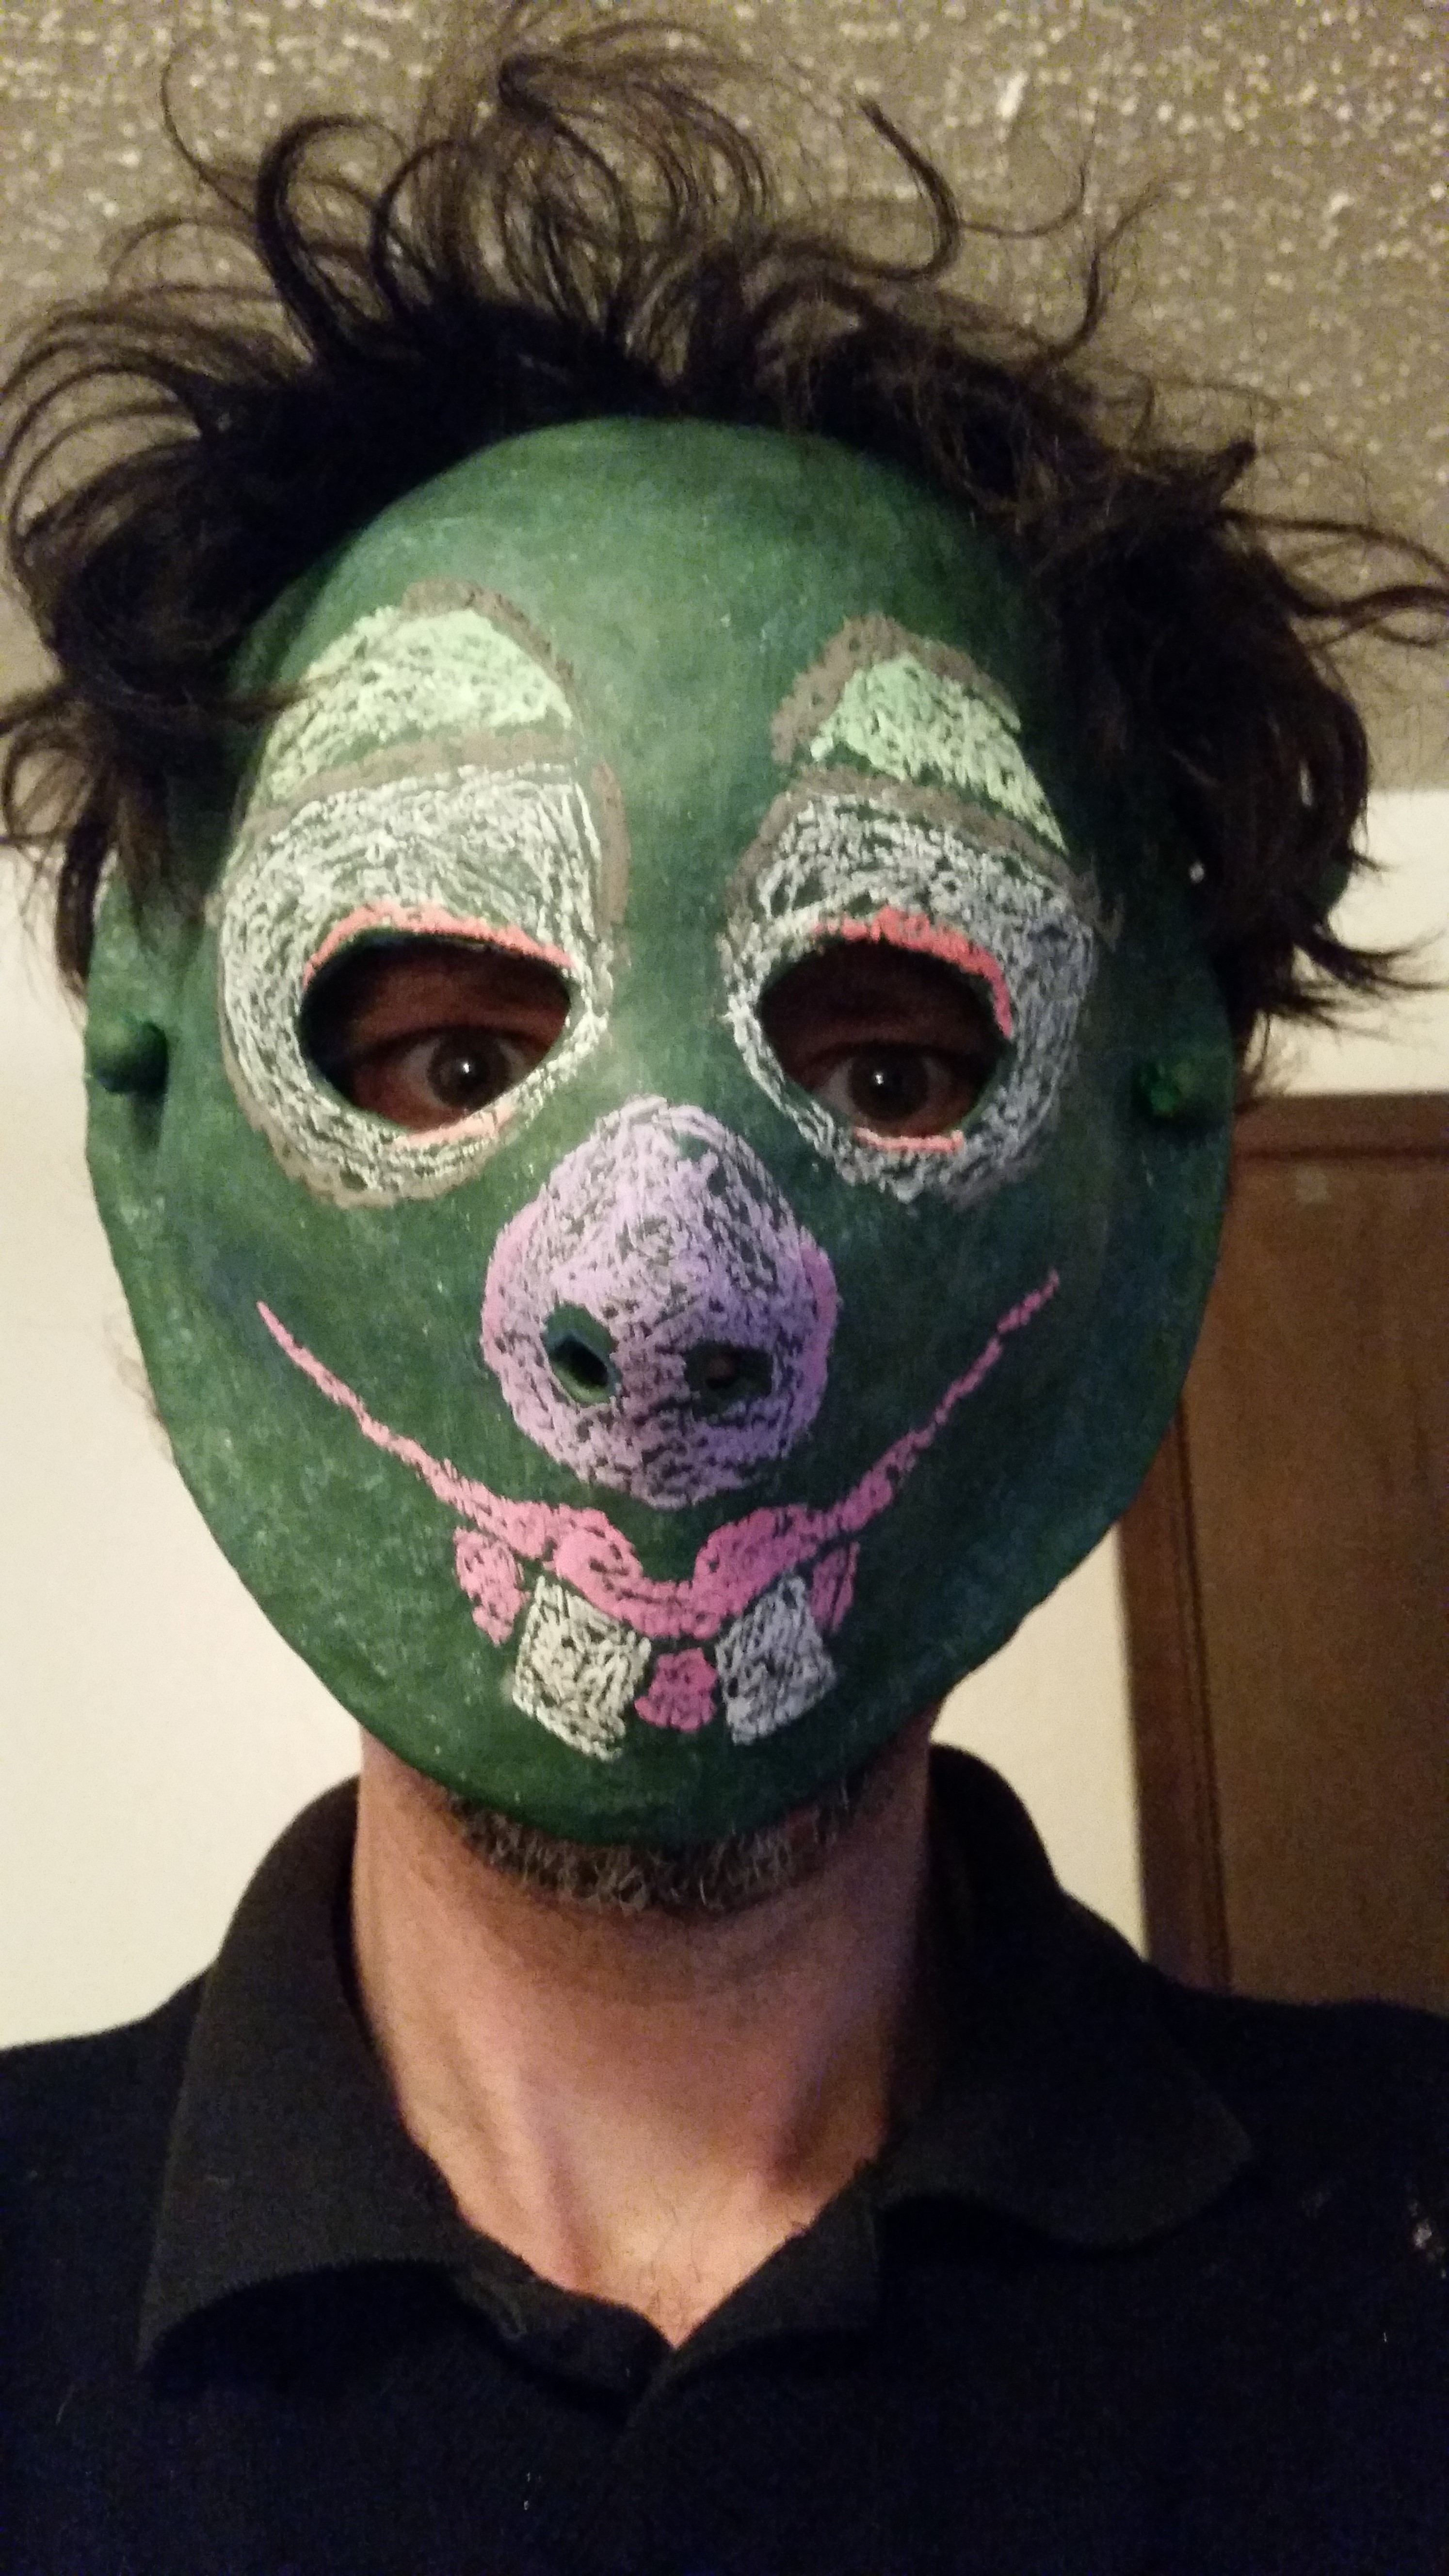
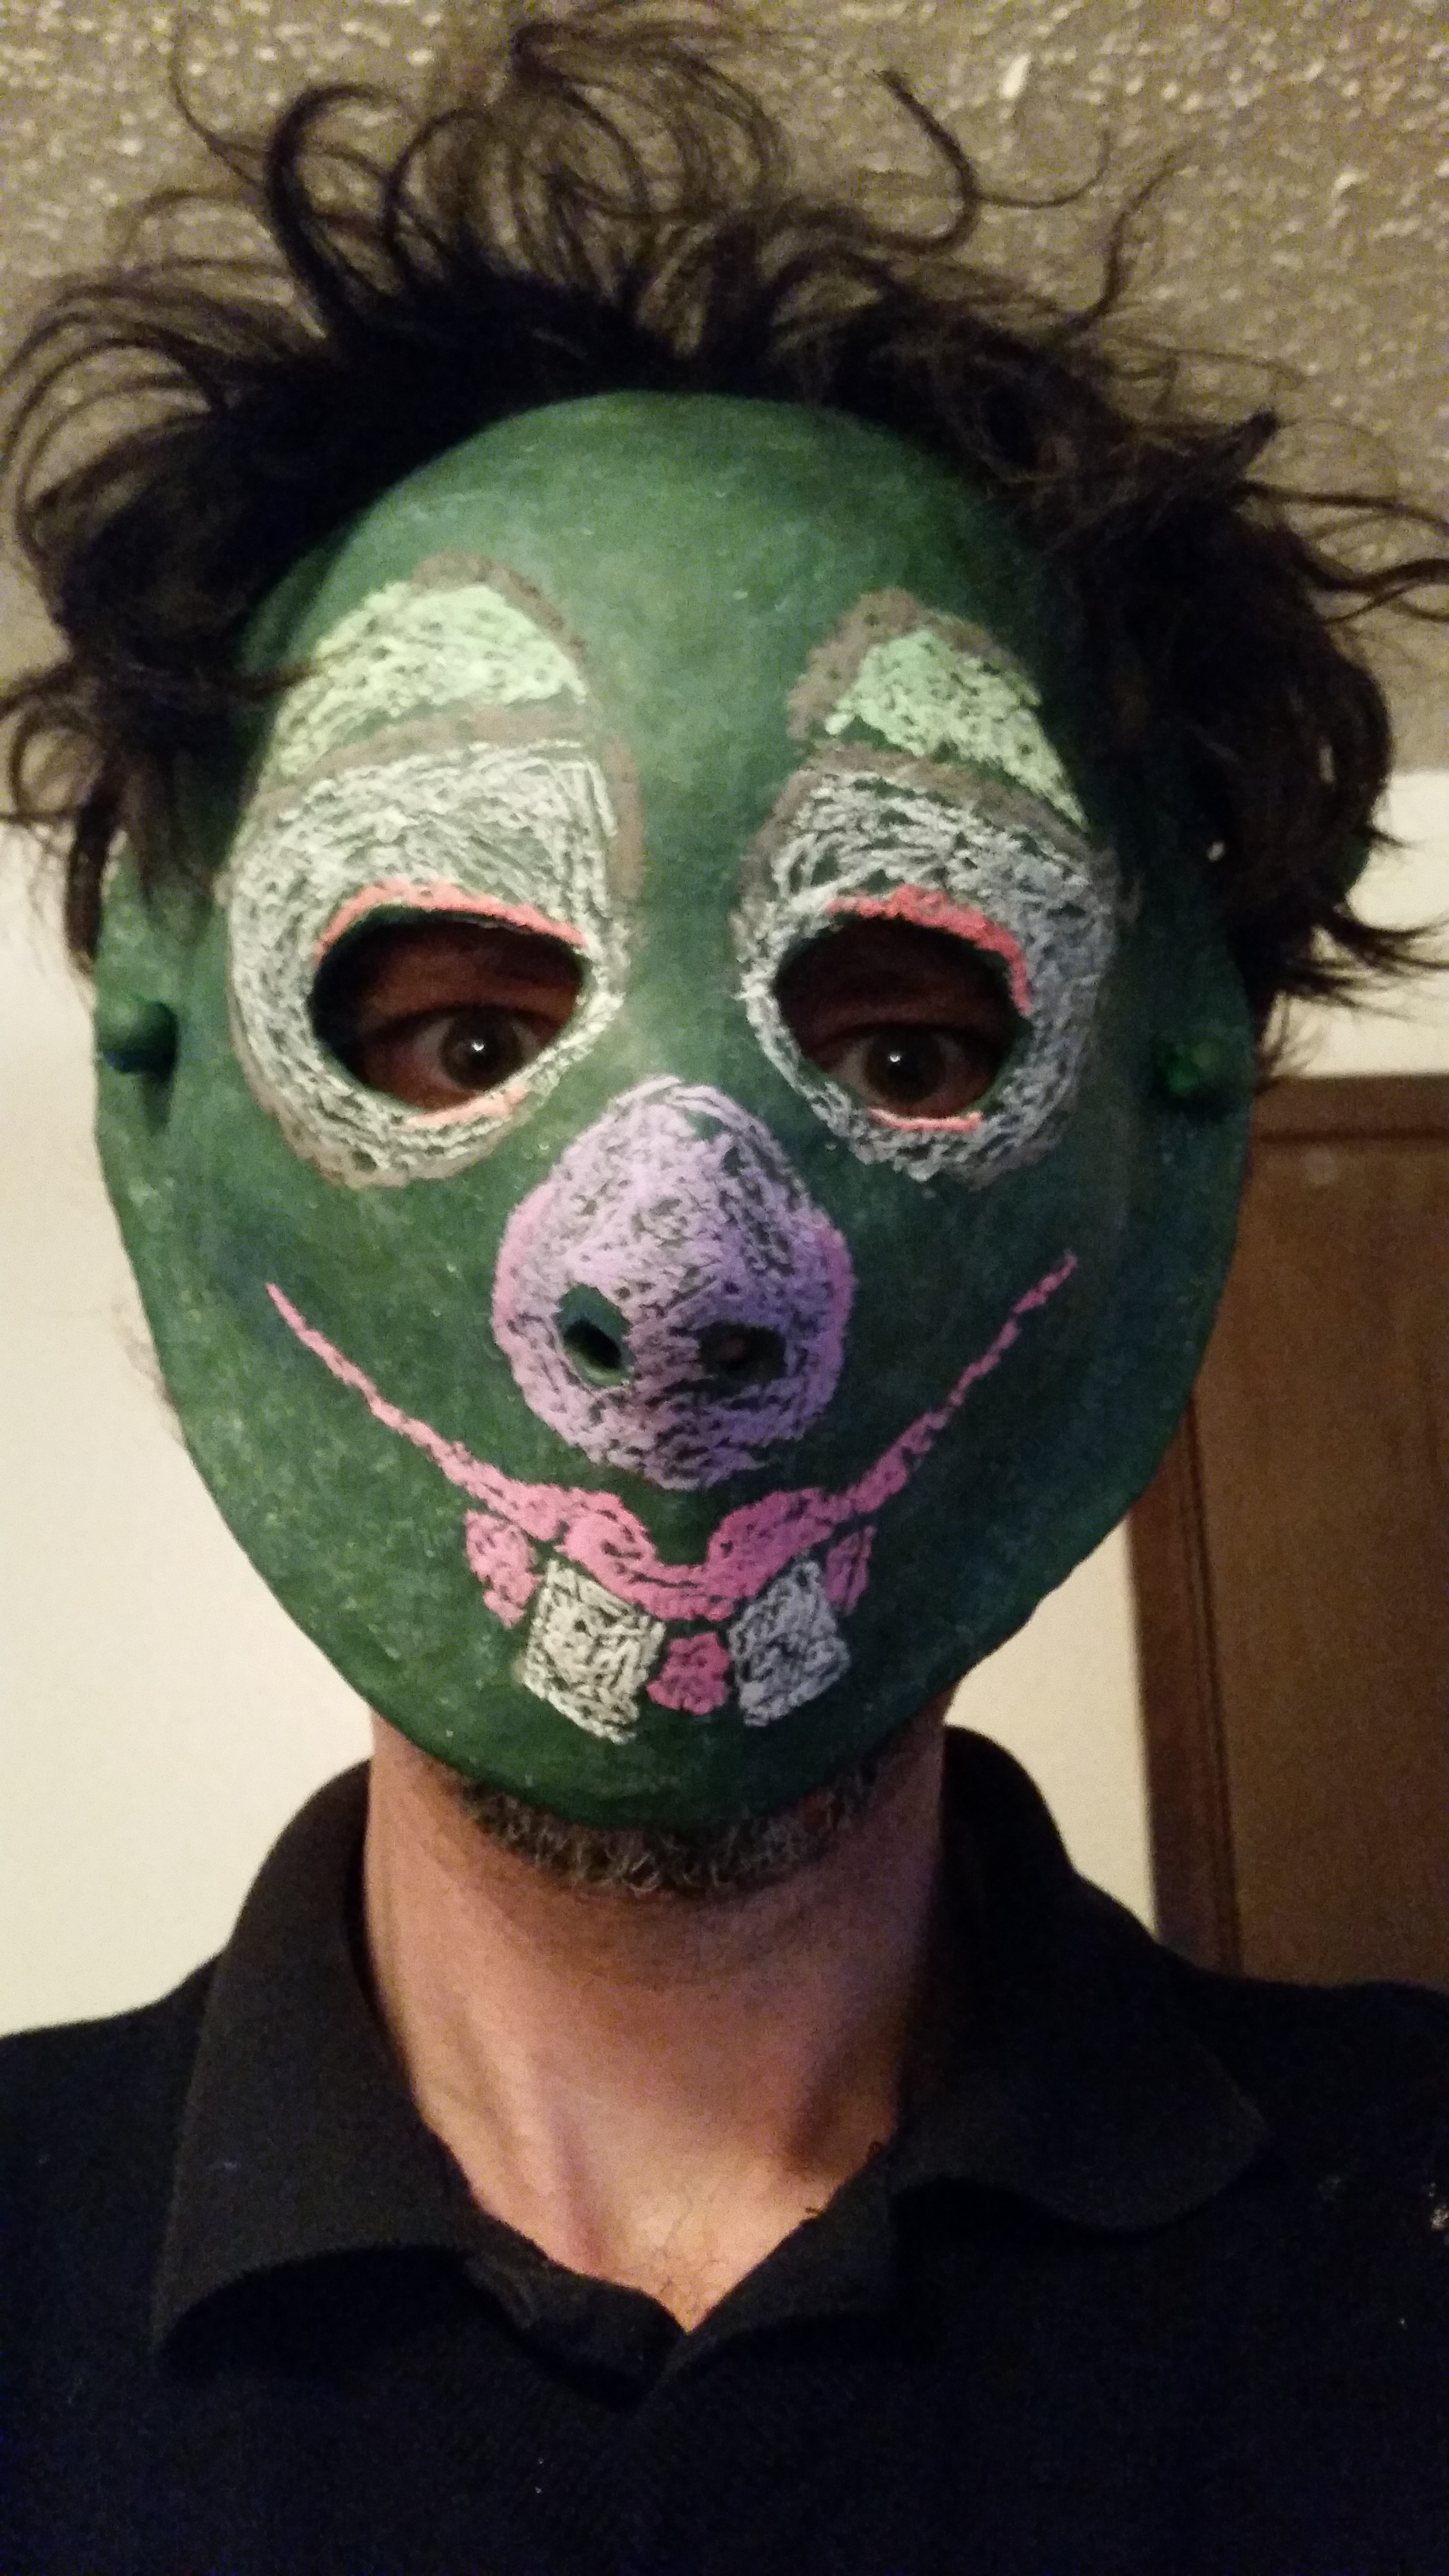
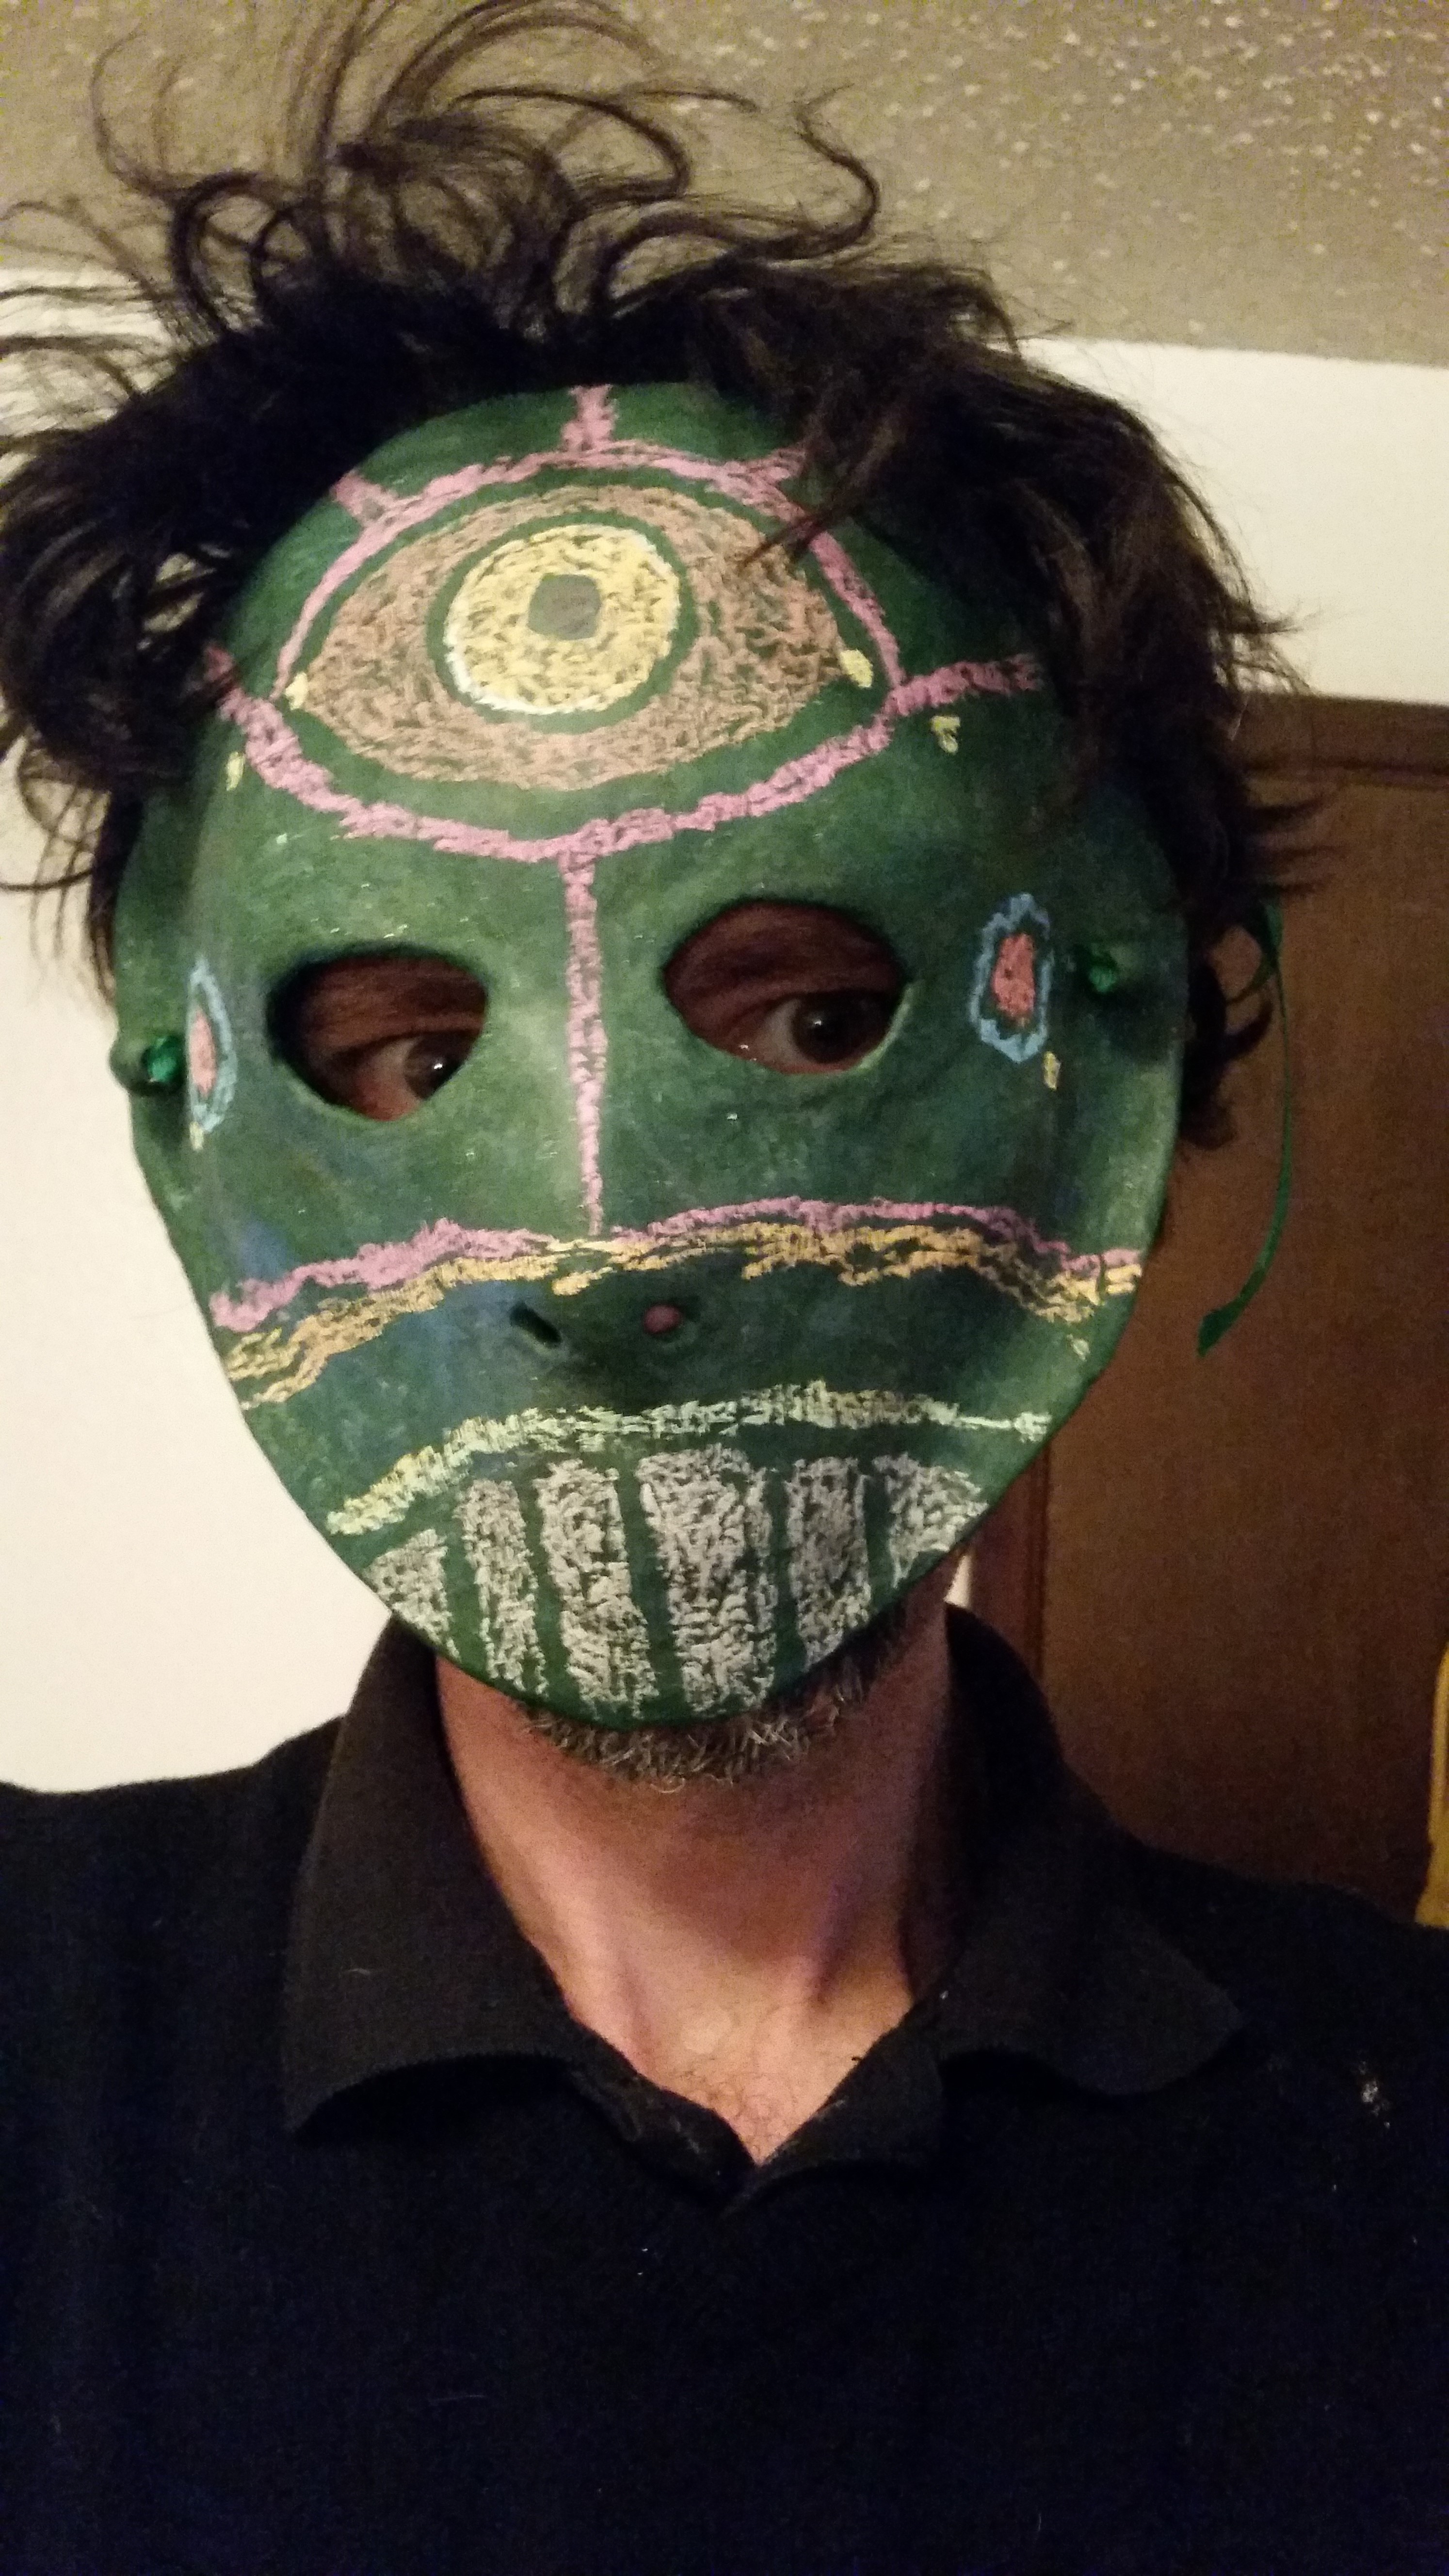
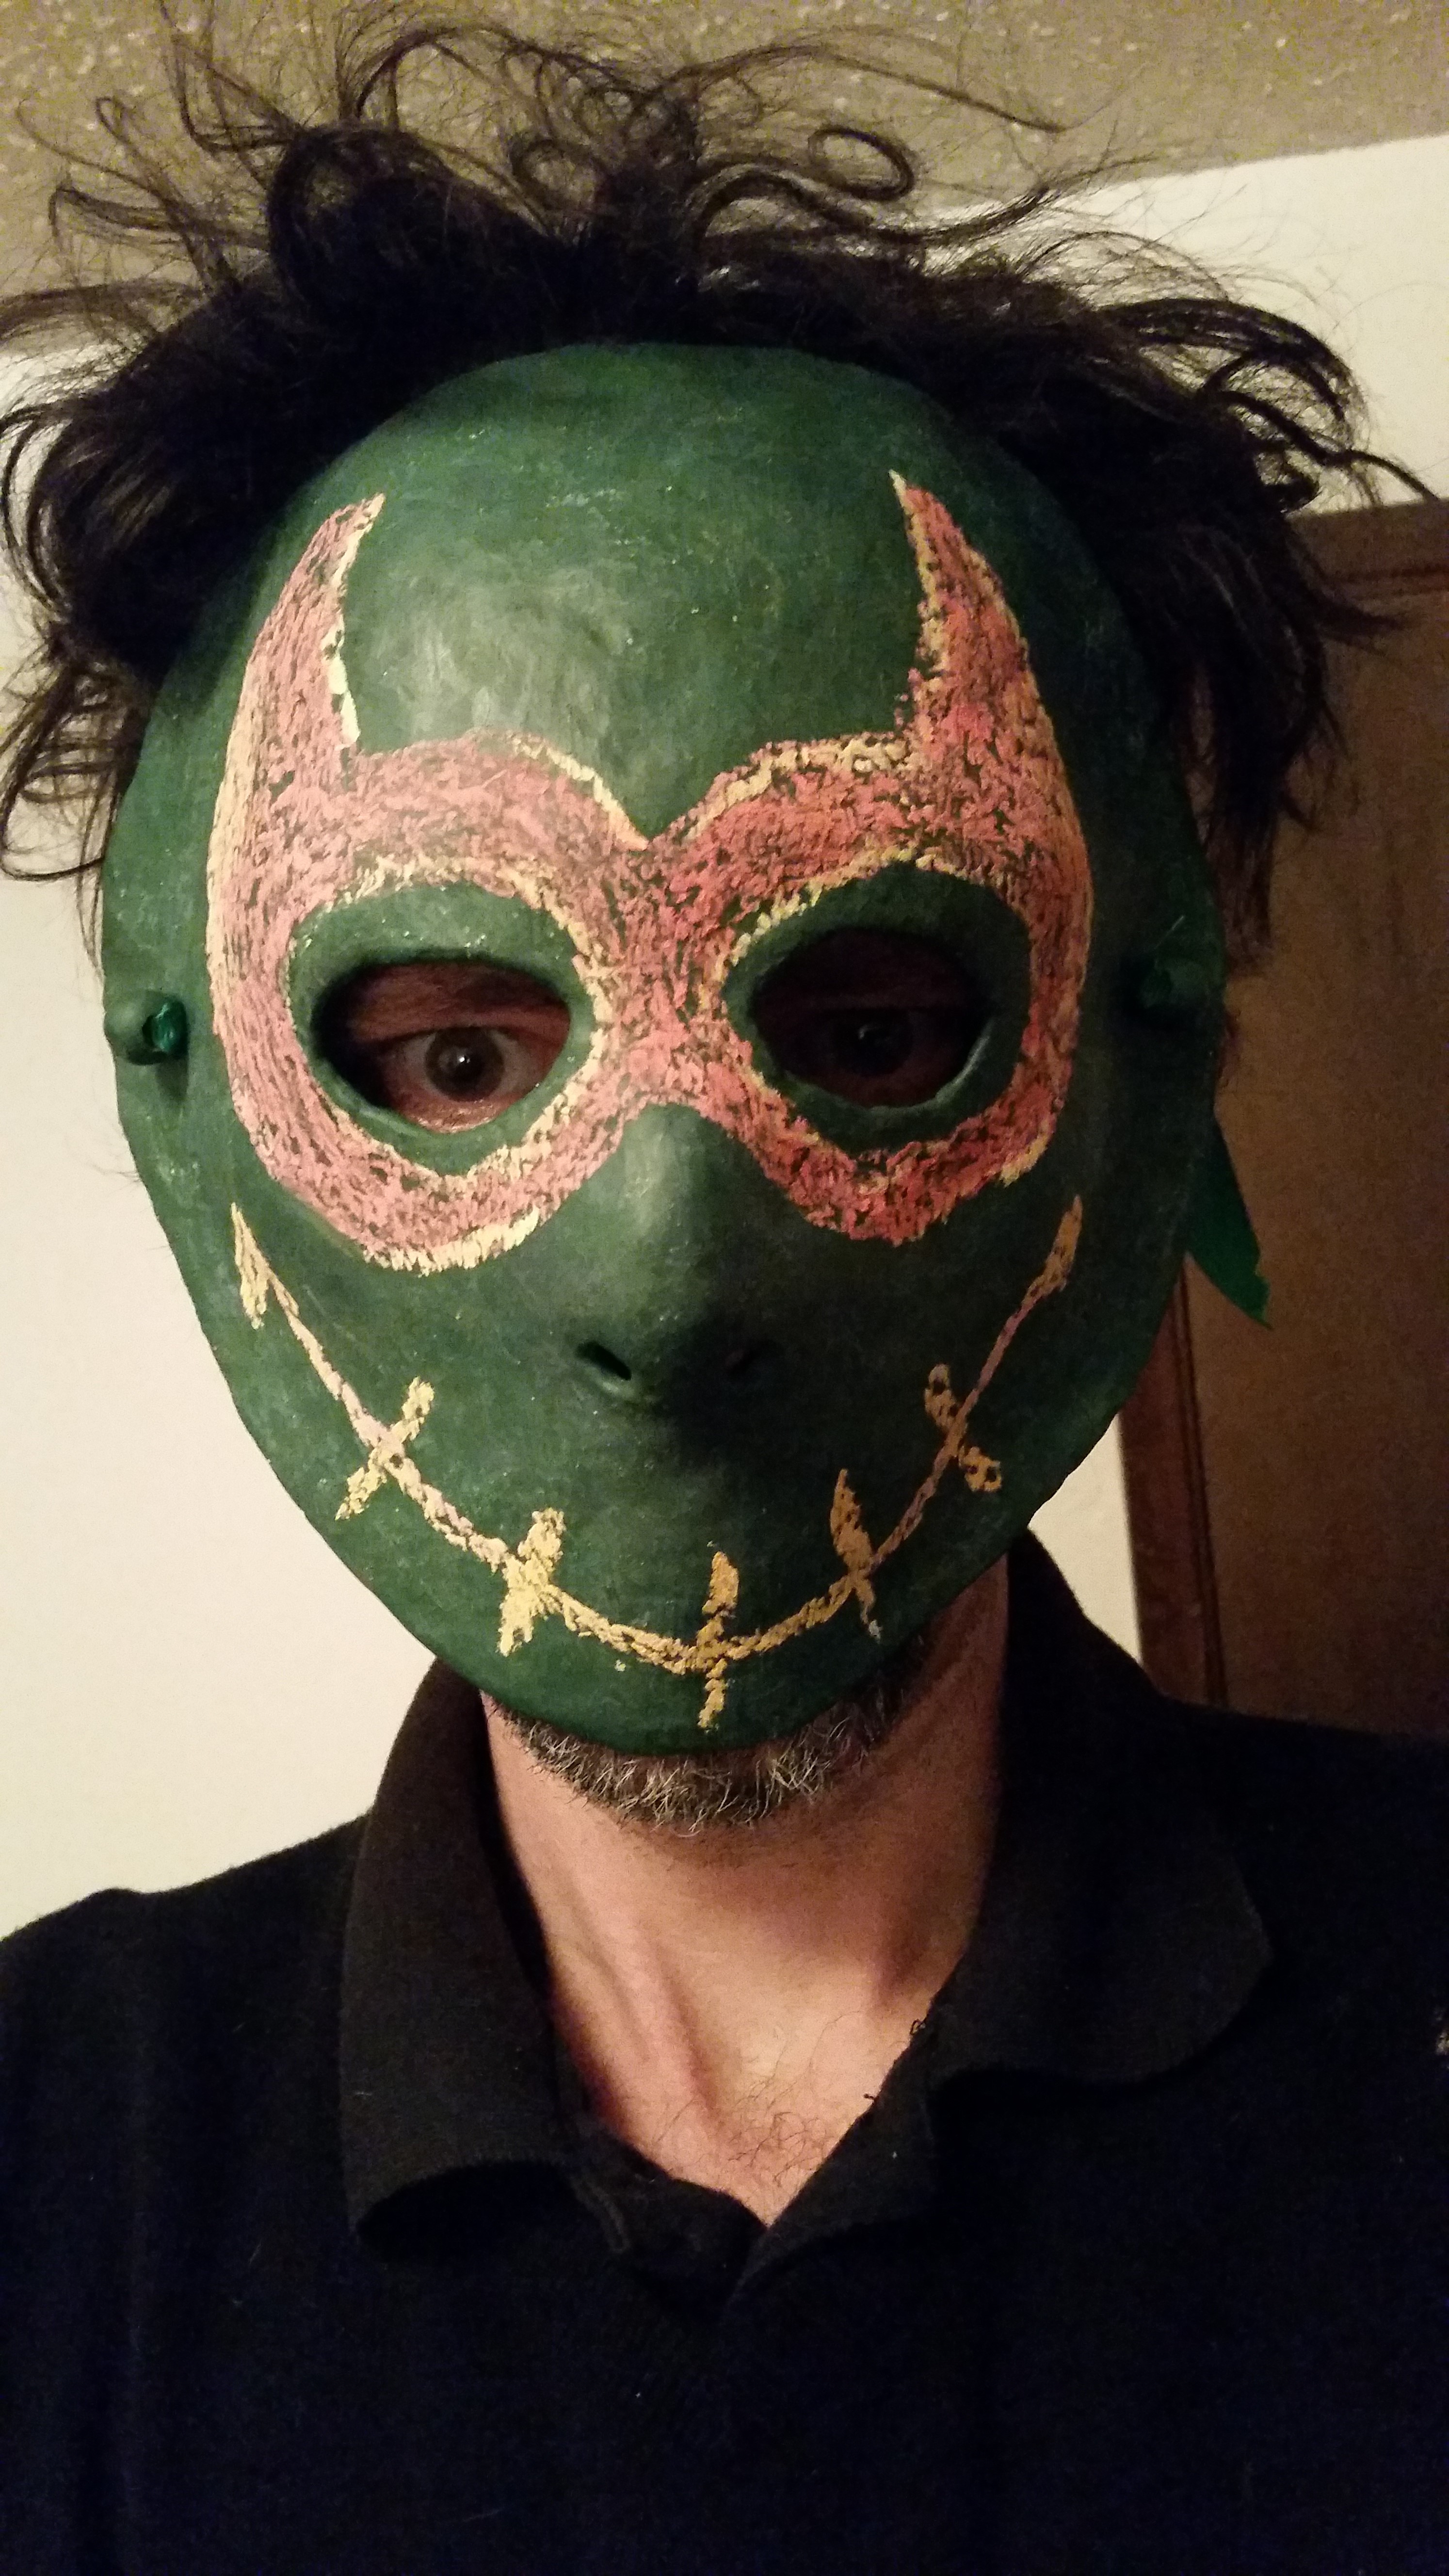
Finally, three days went by, which took at least eight days. Then, you can't just start drawing! First you have to prepare the surface by rubbing the whole thing with the side of a piece of chalk, then erase it. This leaves a fine layer of chalk dust on the chalkboard.
Once this had been done, I broke out the chalk and tried out a few different faces! The surface is, of course, imperfect, but it's good enough to draw on. I suspect that I might eventually grow frustrated with the limitations, but the idea worked well enough that it would be worth doing it over again. There are a couple of other projects coming up that will probably force me to buy some professionally made paper clay, and if there is enough left over, I would definitely make this mask with a smoother surface.
Anyway, I thought it was a fun experiment! I can't imagine that there is a lot of practical use. If you wear a chalkboard around, it's going to get messy. If you go outside, wind and moisture will be your enemy. The whole thing is absurd. But it is pretty great and you should do it anyway.
One final note: don't attempt to use chalk paint markers instead of traditional chalk. All of my research indicated that no matter what they say, chalkboard paints do not work with the markers. So I am just going to unilaterally recommend that you don't try it.