Eportfolio With Google Sites
by Learn and Live in Circuits > Websites
185546 Views, 24 Favorites, 0 Comments
Eportfolio With Google Sites

Hello and welcome to this tutorial on how to create an eportfolio using Google sites
Create an Eportfolio Site
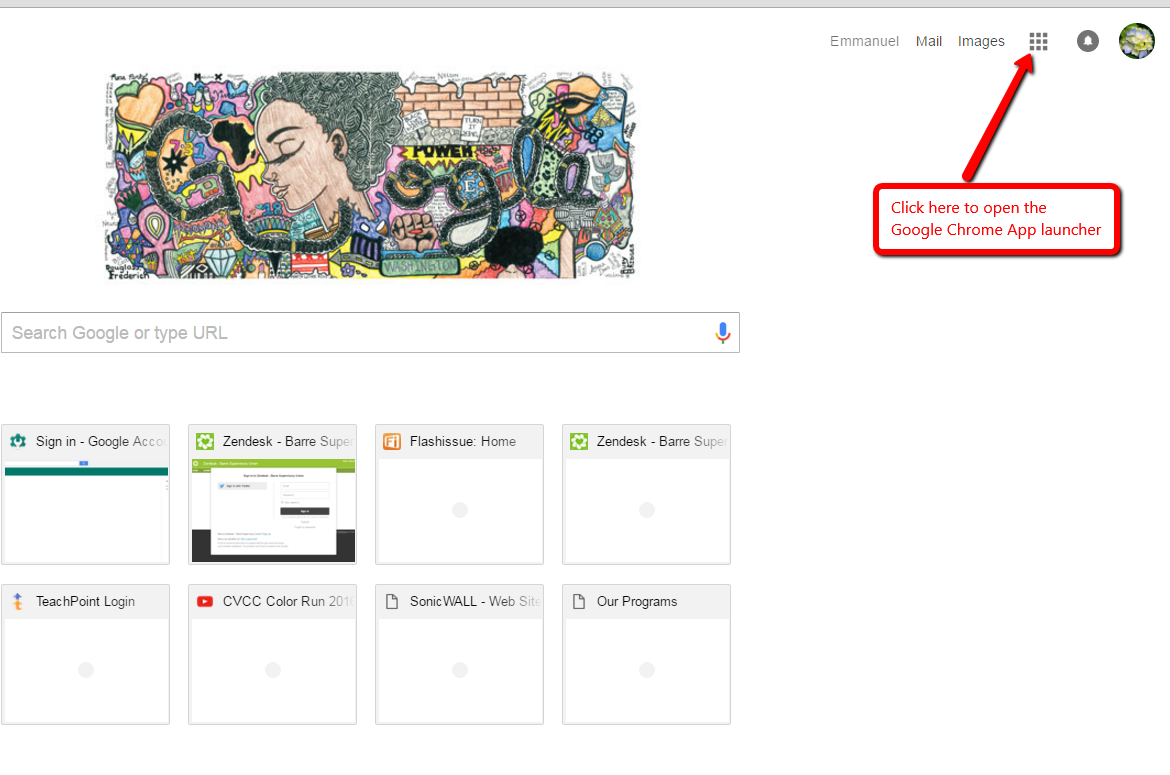
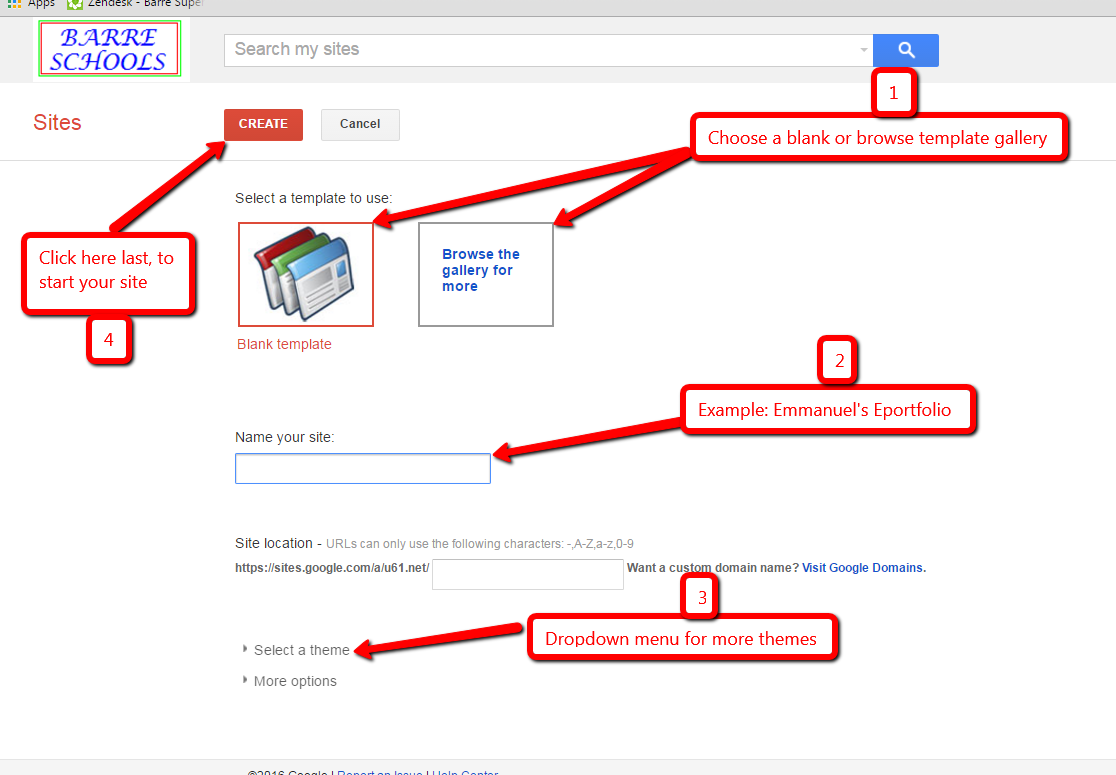
- Sign into your Google account and click on the App launcher
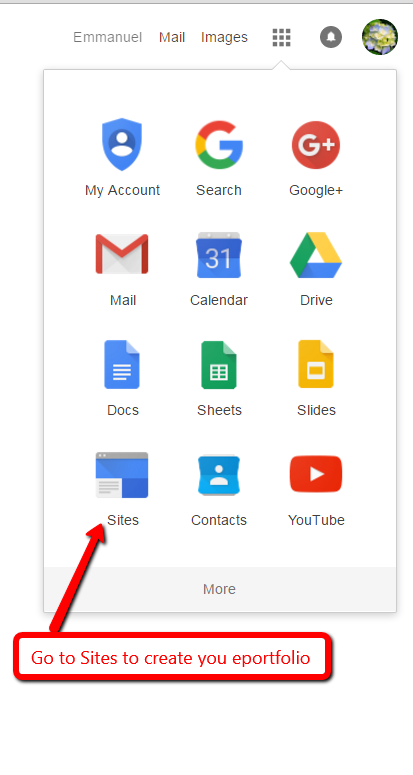
- Go to Sites to create your eportfolio
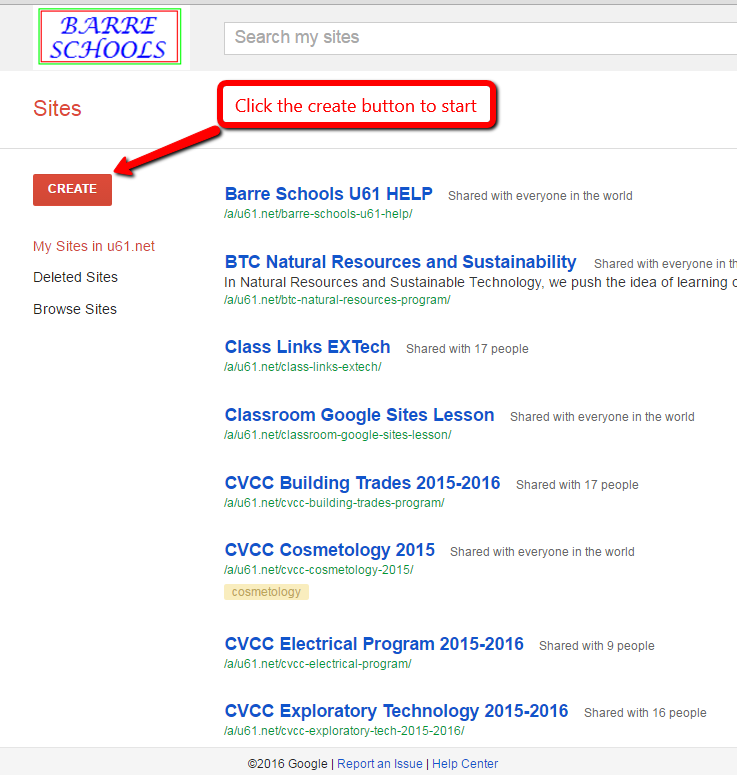
- Click the create button to start
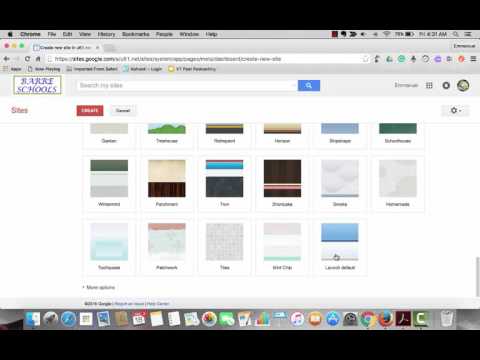
- Then follow these steps to finish site creation
1. Choose a template
2. Name your site
3. Select a theme
4. Click "create" button
Create Pages Within Your Site
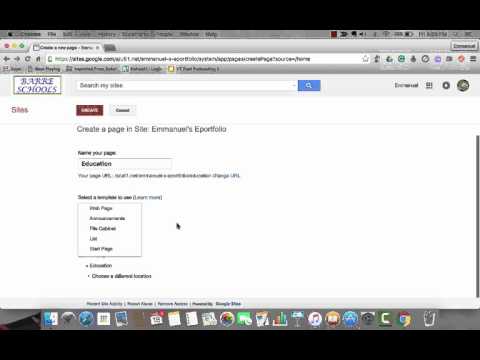
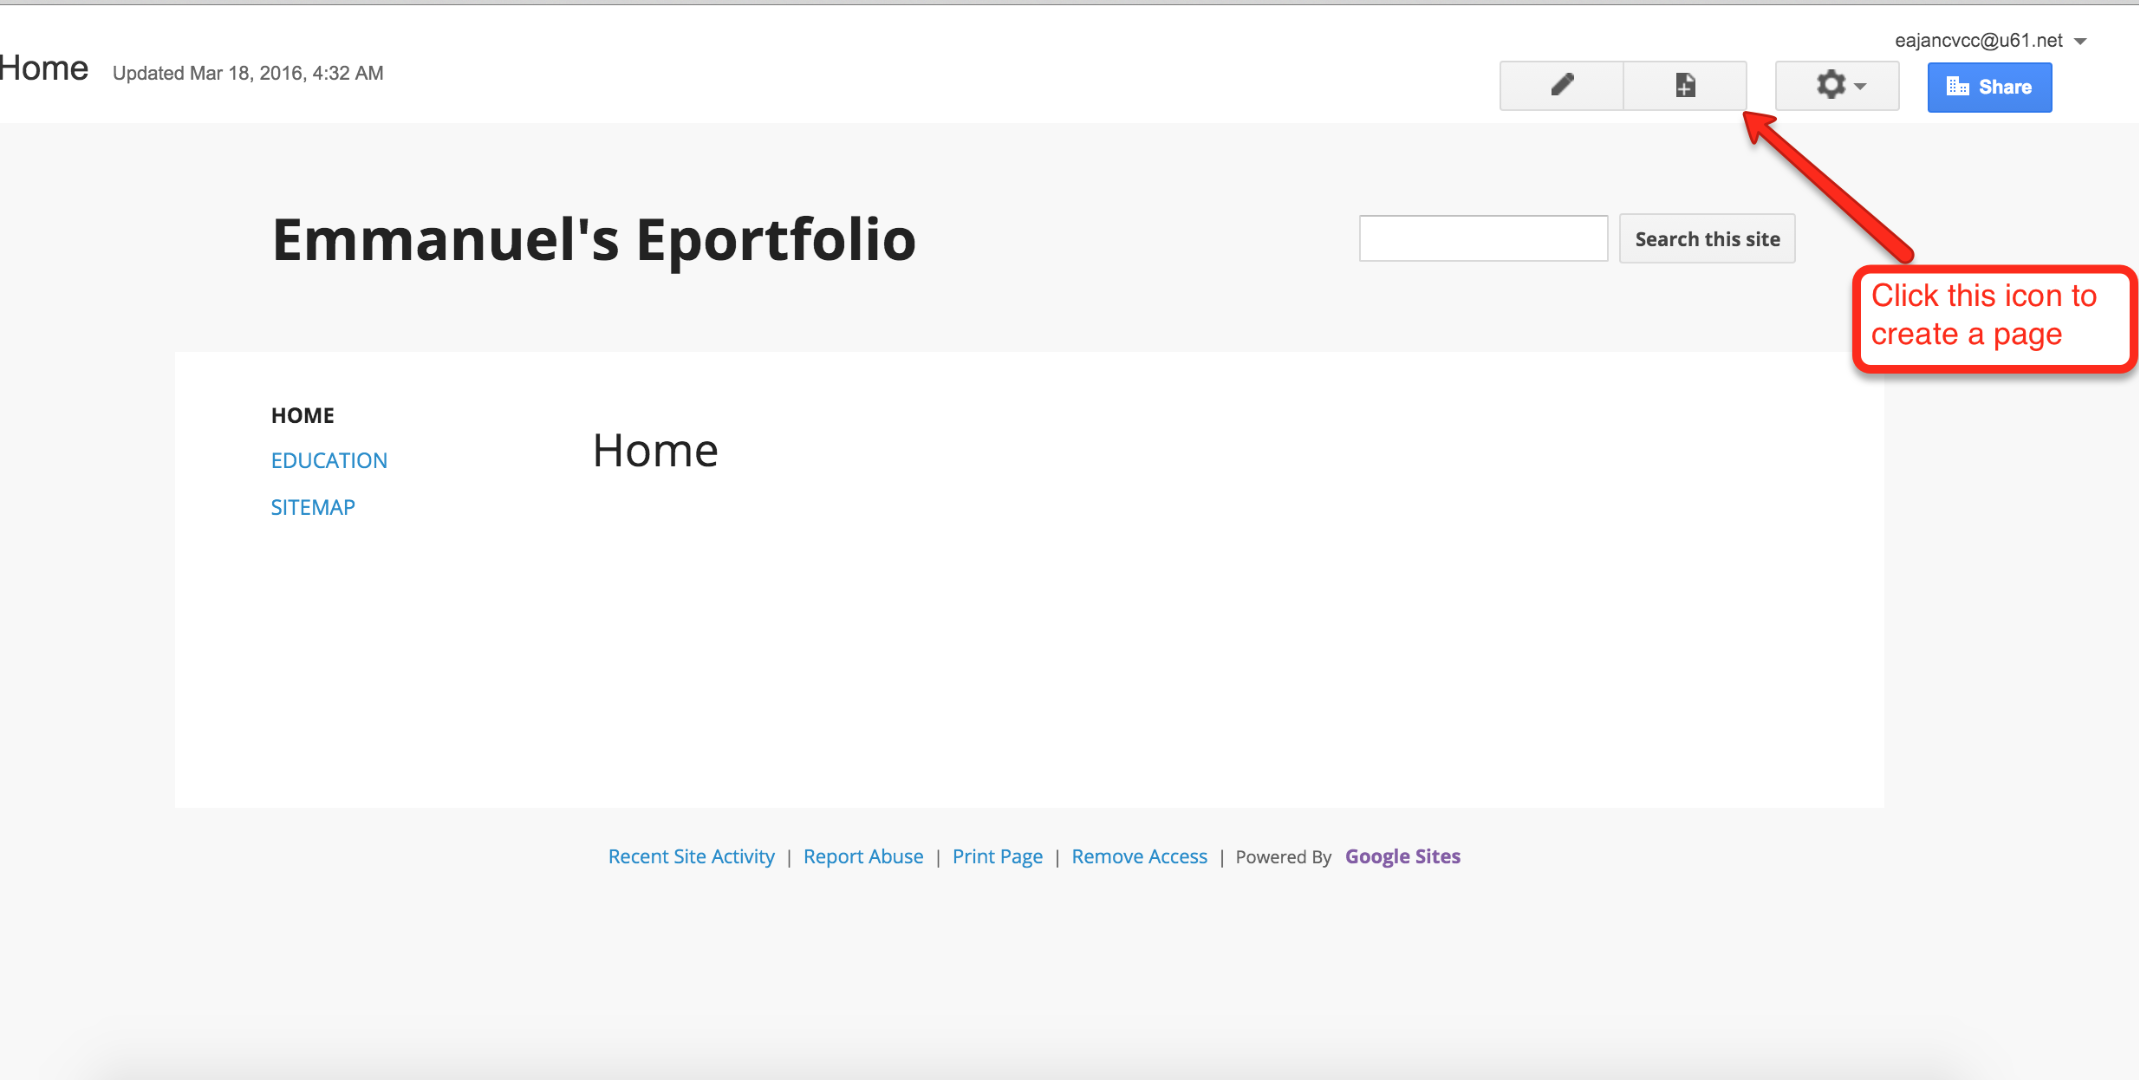
- From the Homepage, click the create page button to get started.
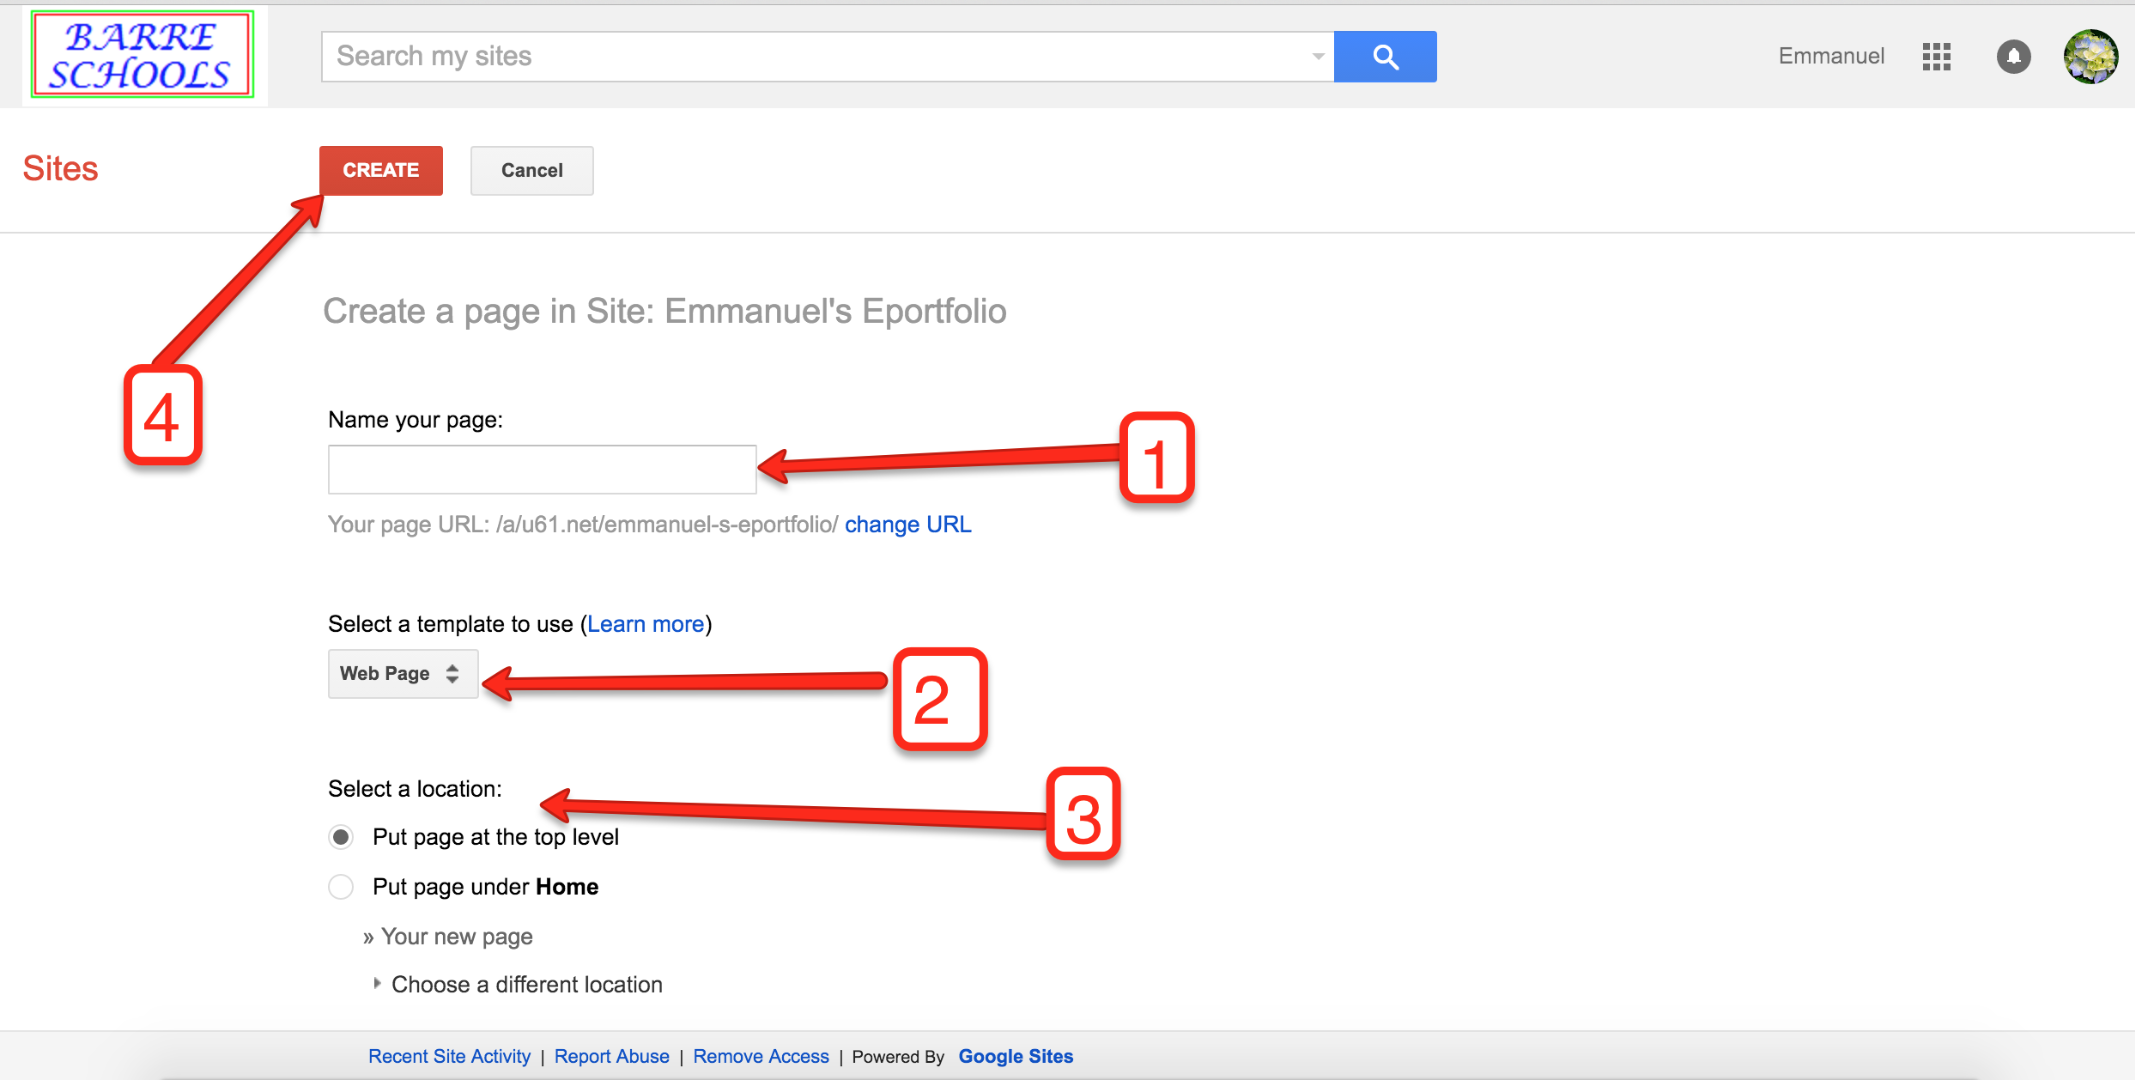
- Continue in the following order:
1. Name the page
2. Choose a page template
3. Choose where to put the page in the site
4. Click the "create" button
Page Layout
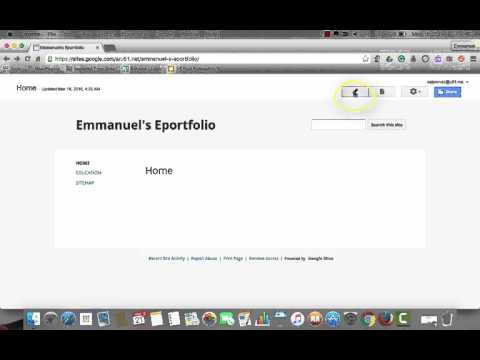
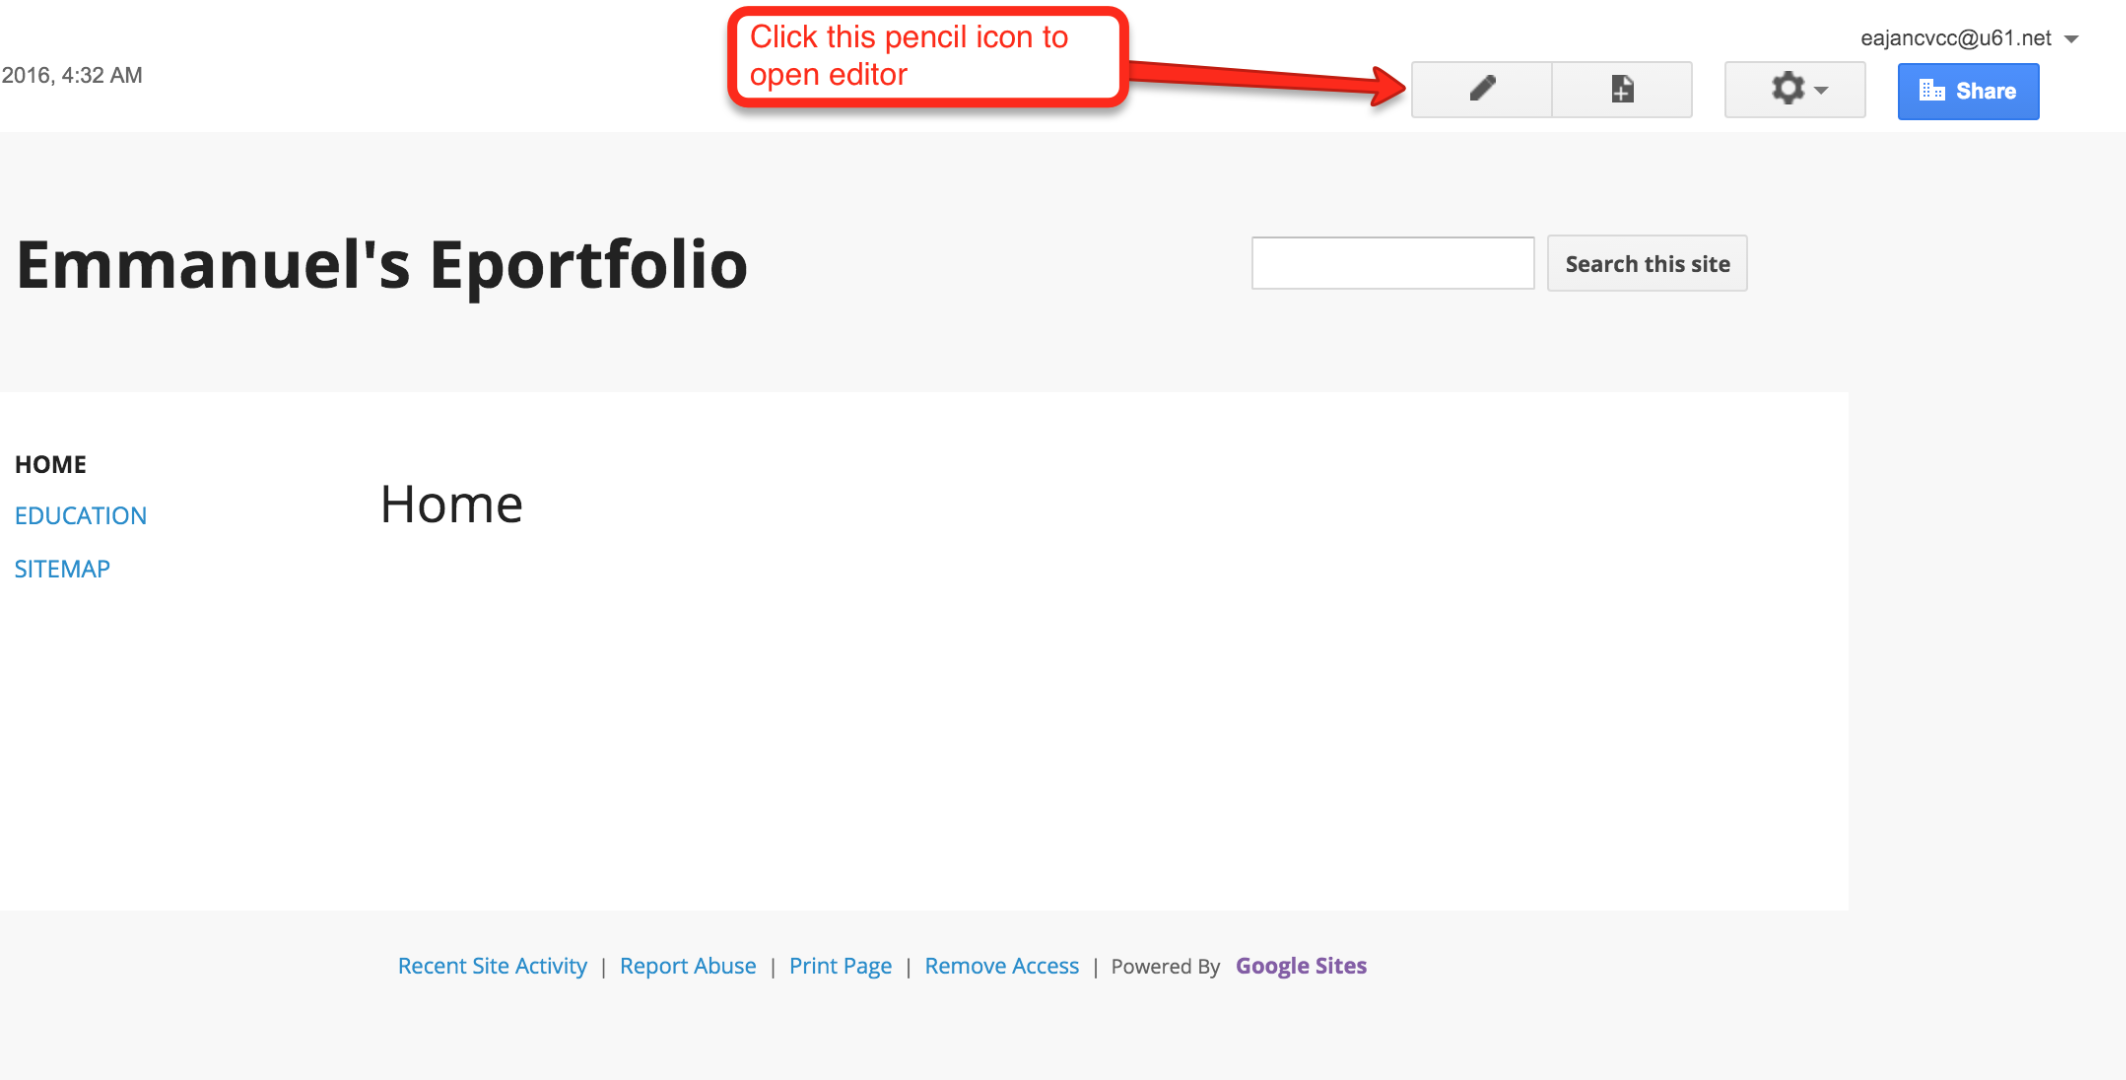
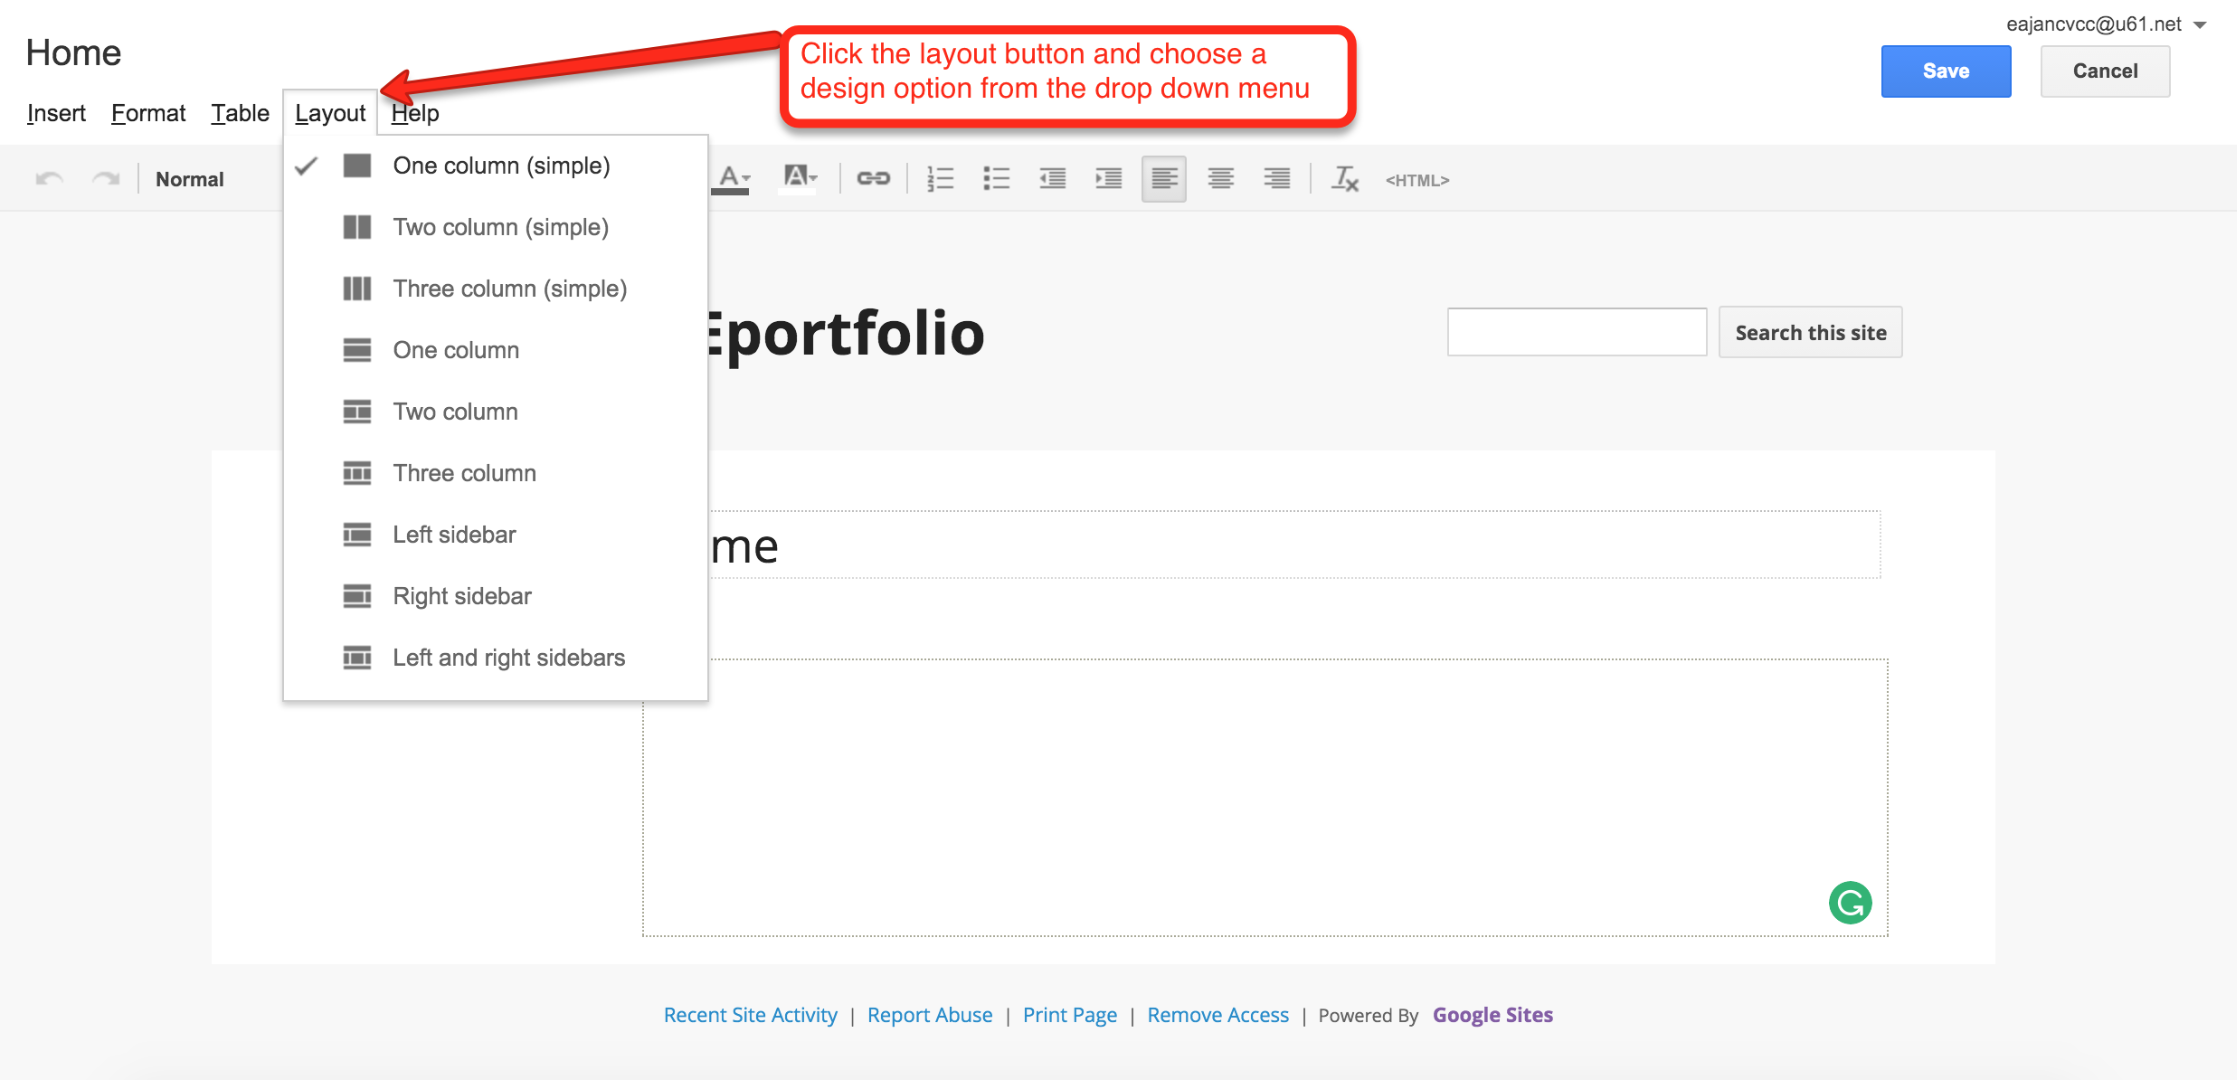
- To change your page layout, open "editor" mode by clicking on the pencil icon
- Choose a design option from the dropdown menu and fill in your contents. Don't forget to click save button after entering you contents.
Site Layout
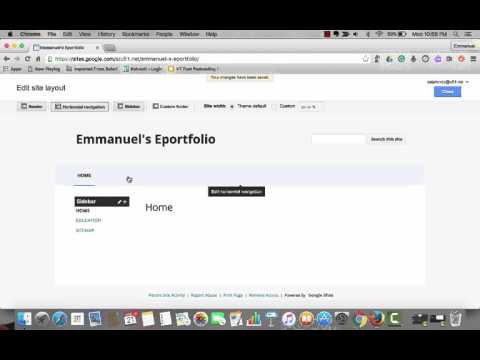
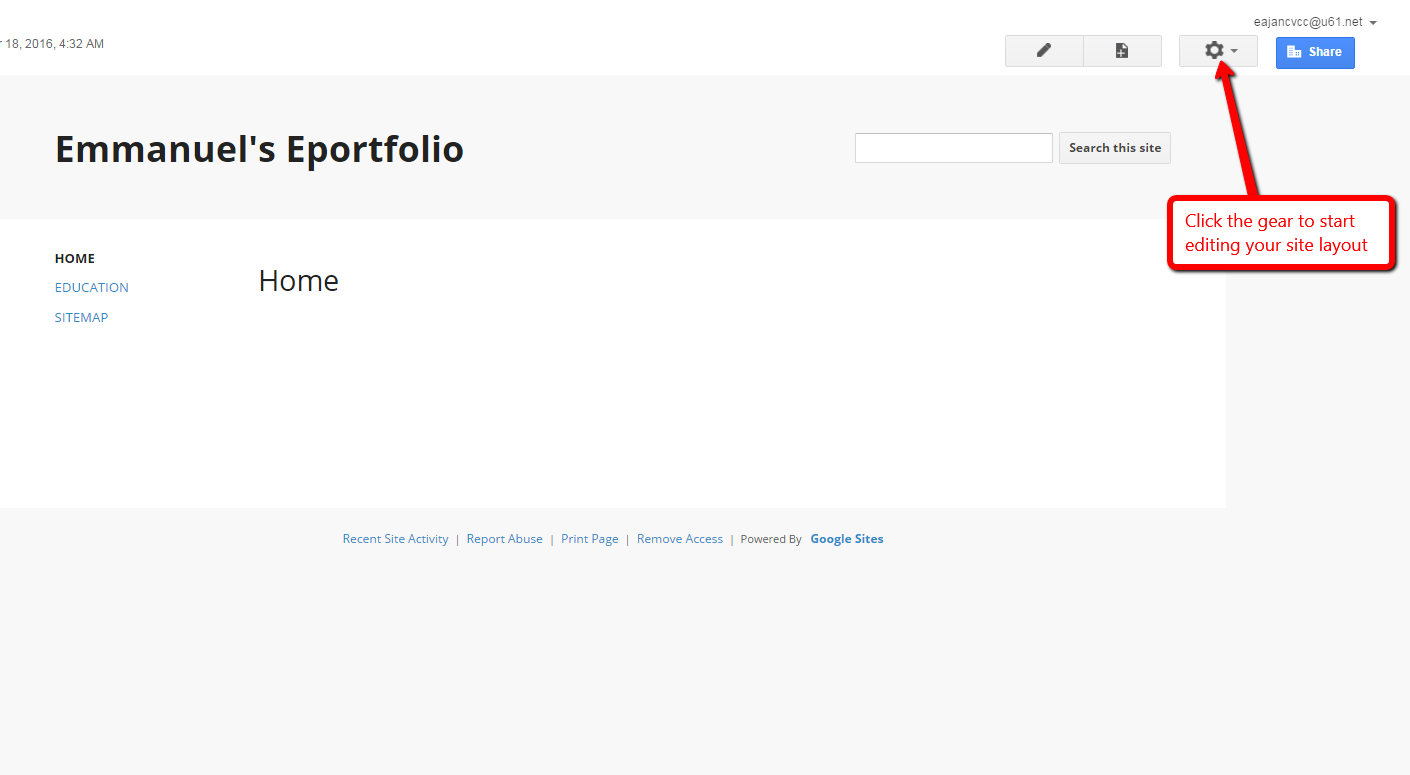
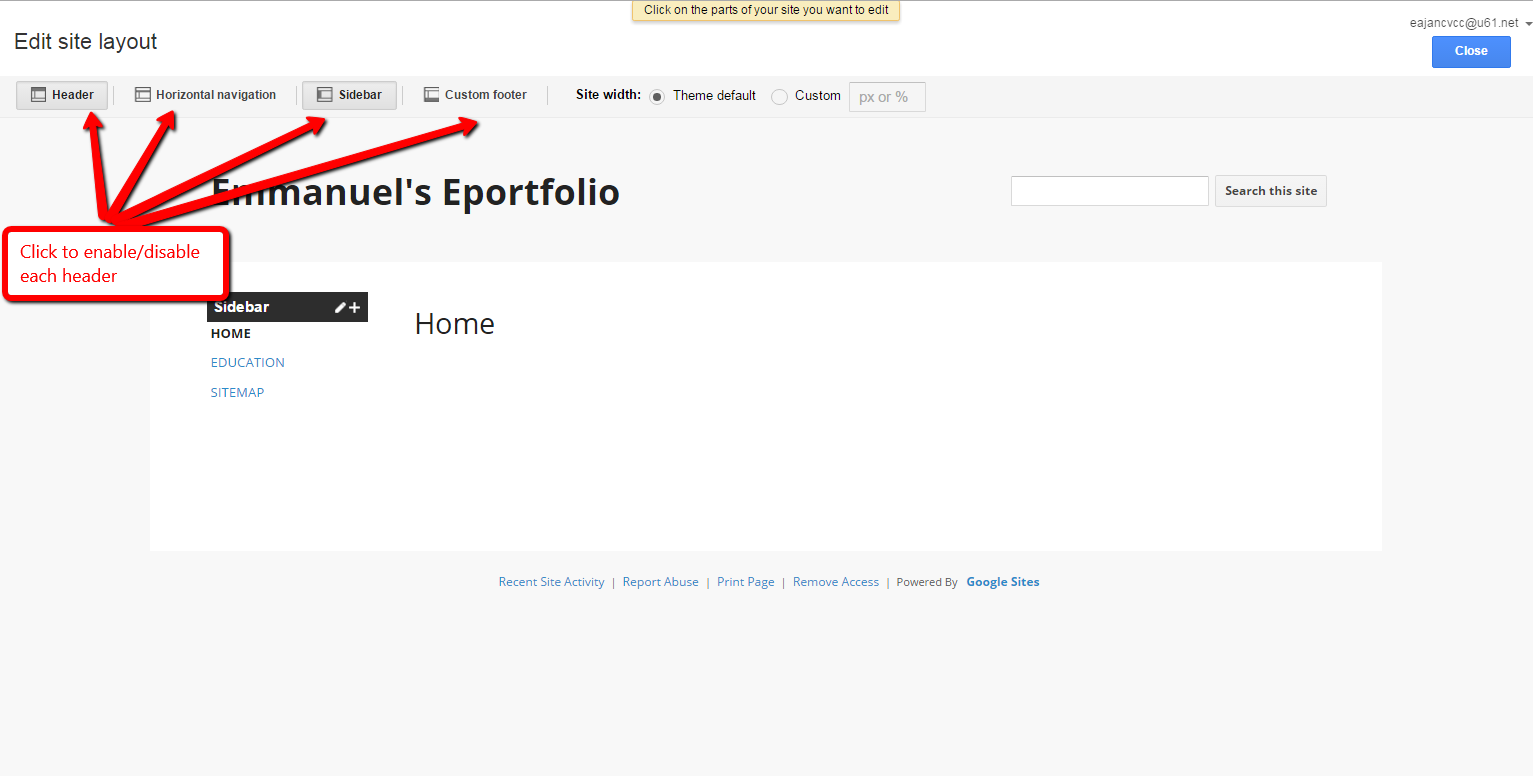
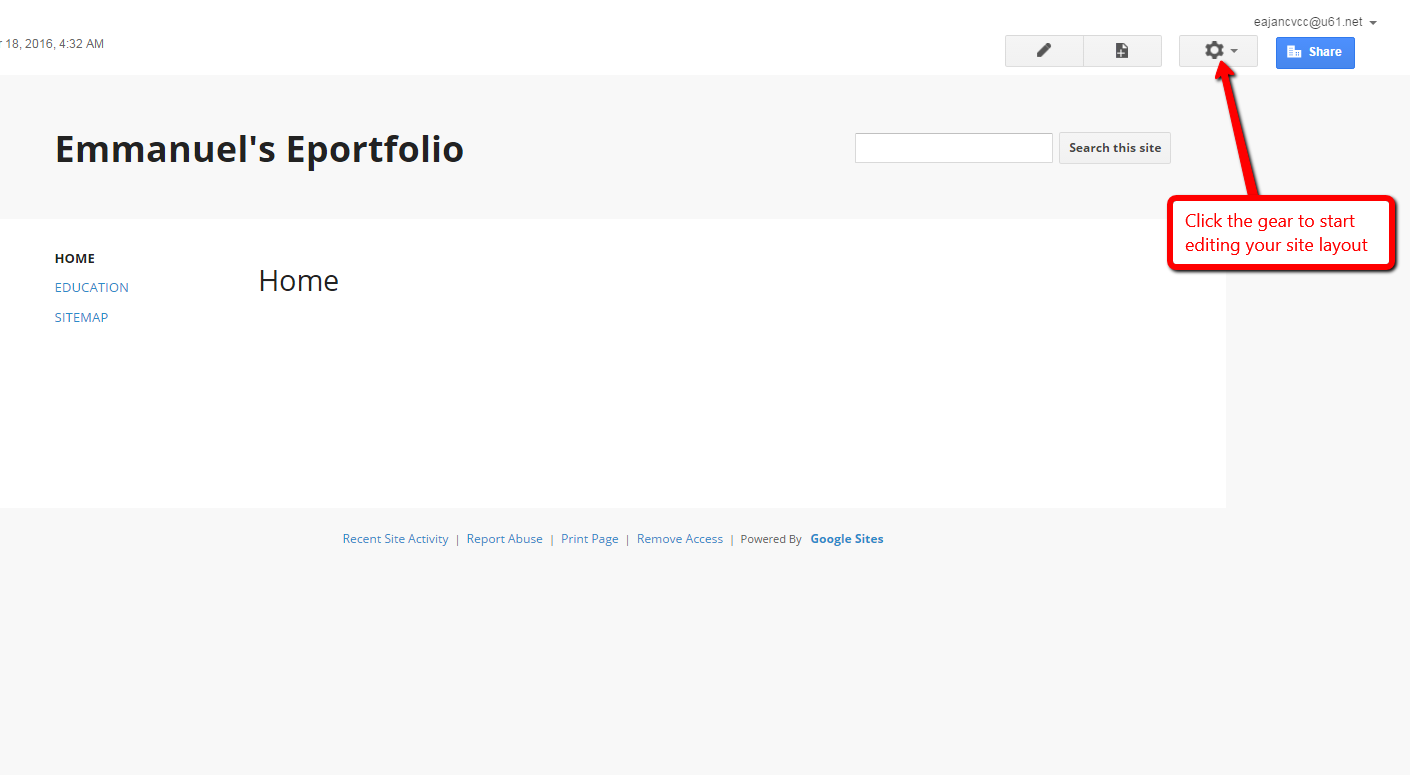
- Start editing your site layout by clicking on the gear at the top right corner of your browser window
- Choose Edit Site Layout and click on any of the header to enable/disable it. Changes are saved instantly.
Customize Site Appearance
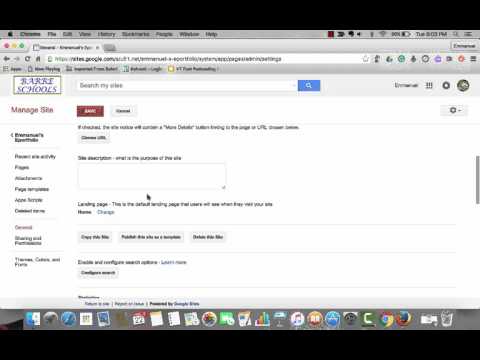
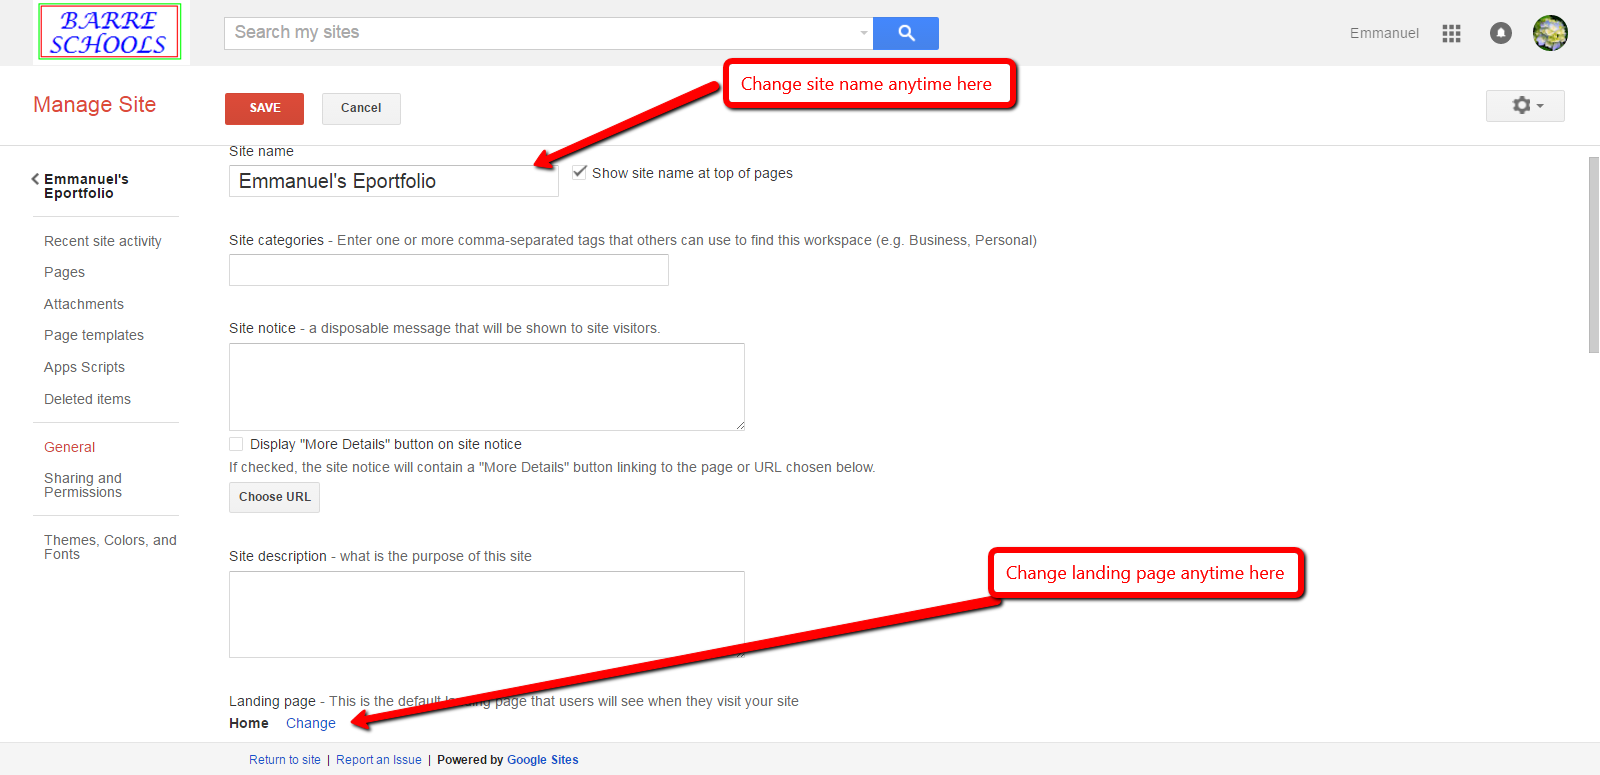
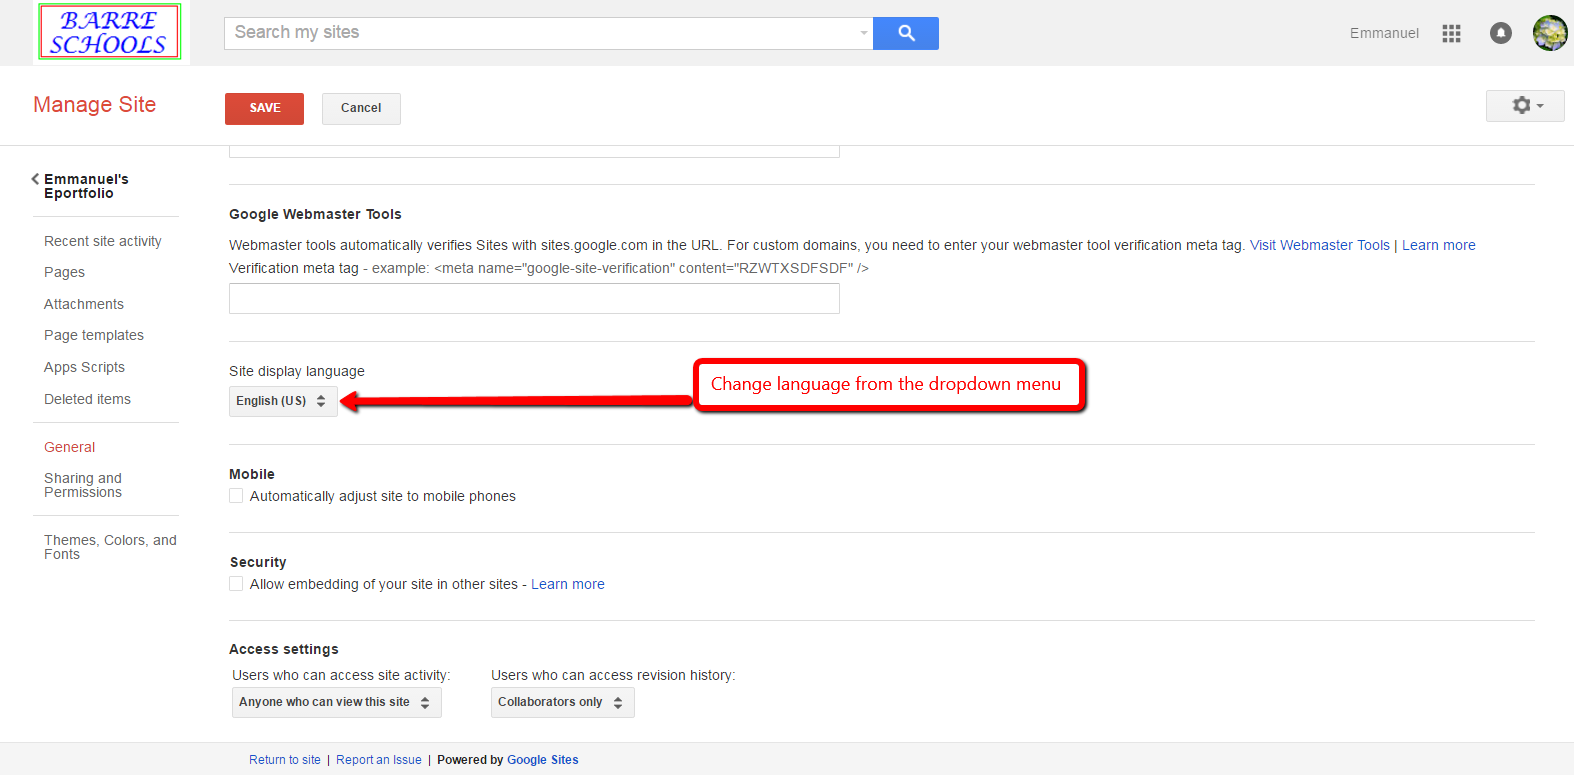
- Go to the gear button at the top right corner of your site
- Choose Manage Site, then General tab
- You can then edit the following
1. Site title (name)
2. Language
3. Landing page
Add Text and Images
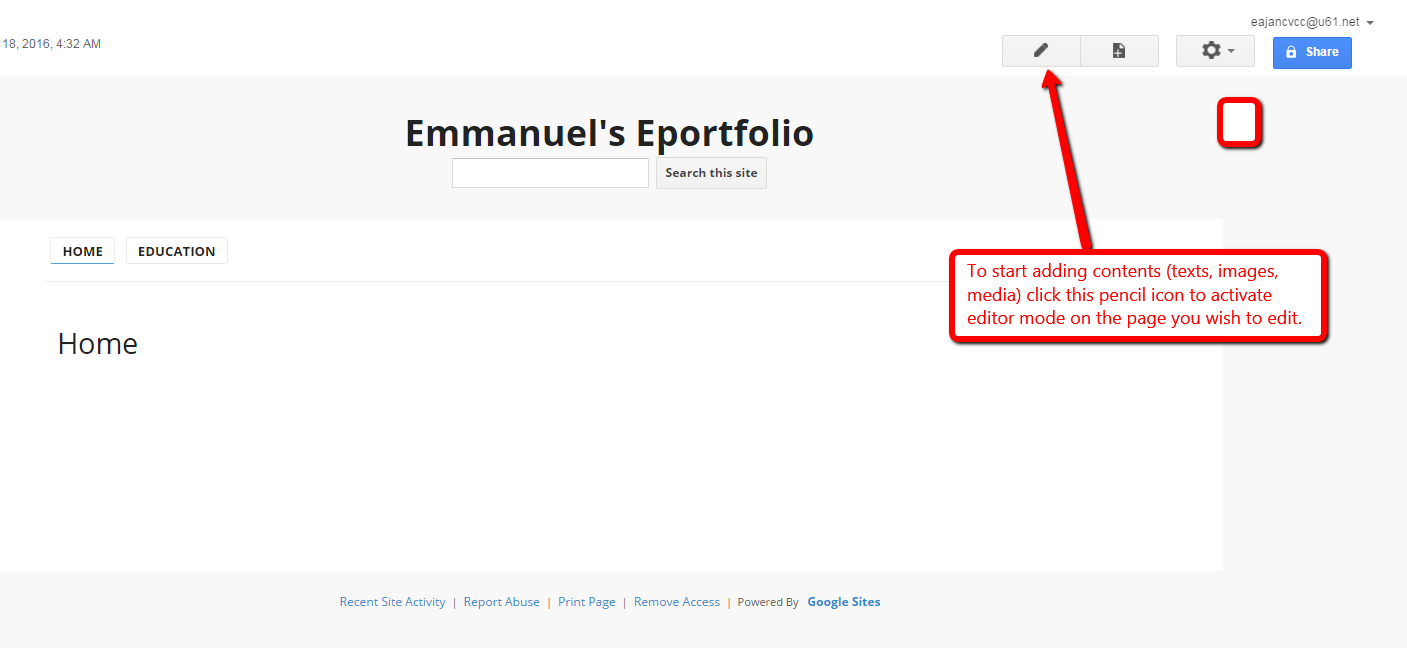
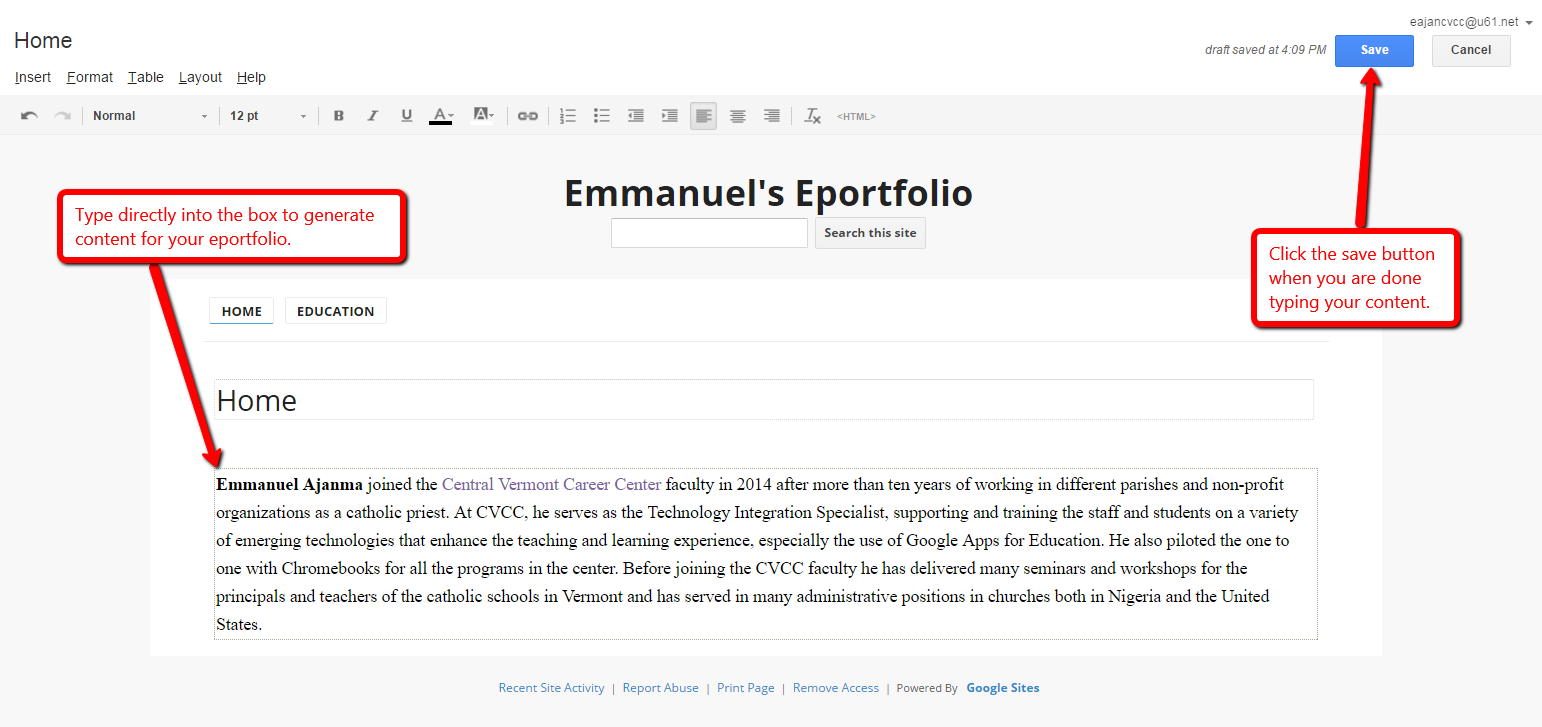
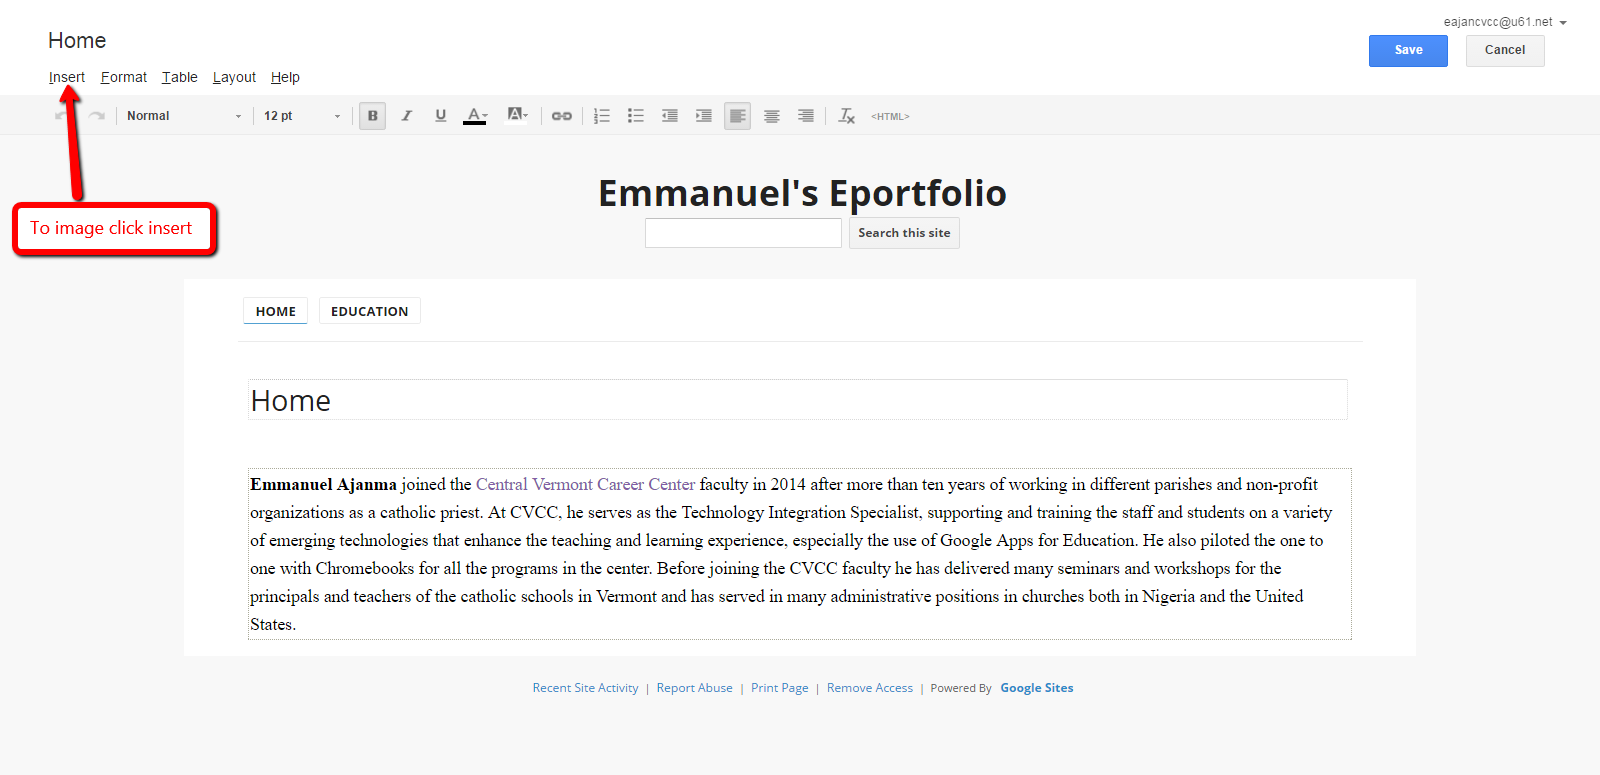
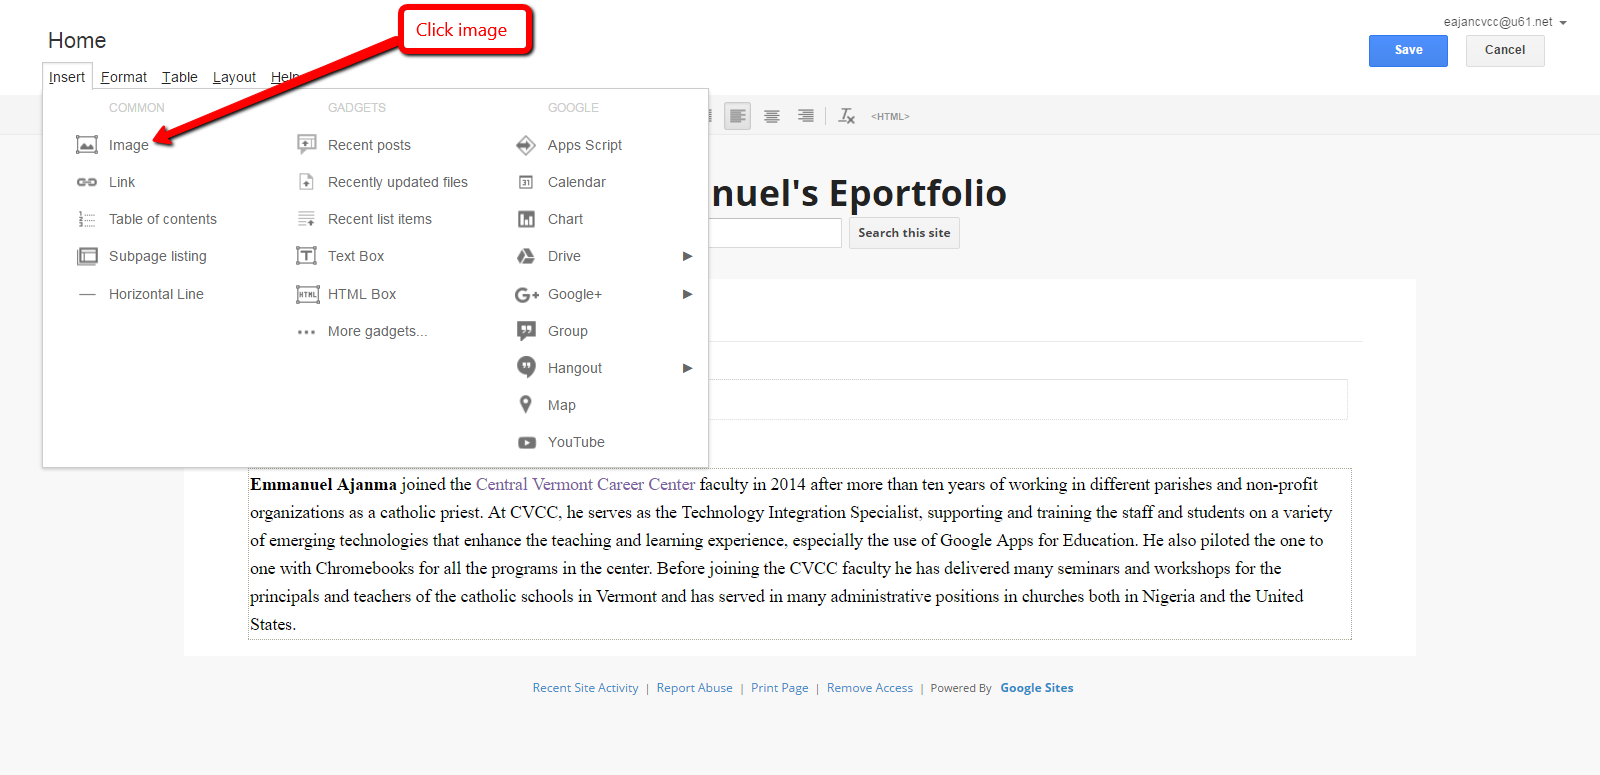
Insert Google Drive Files
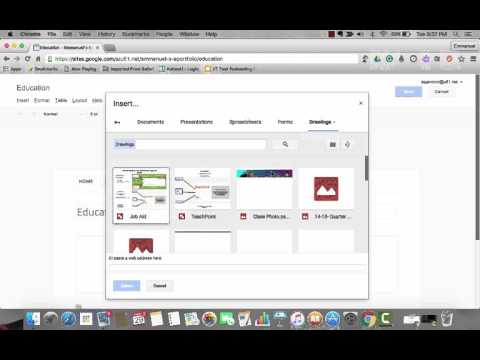
You can embed Google Drive files (documents, drawings, folders, forms, images, presentations, spreadsheets, and videos) into your e-portfolio site.
To embed a file:
- Go to the page where you want to embed the file
- At the top right, click Edit page button
- Place the cursor where you want the file to go.
- Click Insert > Drive. In the Insert window, search for a file to insert, or paste a Google file's web address at the bottom. Click Select.
- Choose a border, title, size, and other options, then click Save.
- At the top right, click Save to save the page.
When the original Google file is updated, it updates automatically on the site.
Note: For visitors to see the embedded file on your website, make sure "sharing" is turned on from the Share menu. It will display as view-only within the page.
Control Access to Your Eportfolio
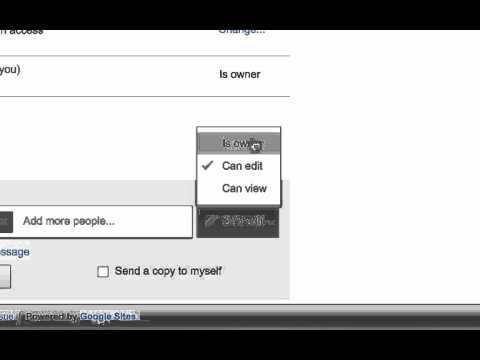
If your site is private, you can share your site to allow individual people to view or edit your site. If your site is public, your site will already be viewable by anyone, but you can share your site to allow other people to edit your site. Follow these steps to share your site with other people:
- From the gear button (More drop-down menu), select Sharing and Permissions.
- In the Invite people text box, enter the email addresses of the people you wish to share your site with.
- Choose the level of access you wish to give them. (Anyone you set to Can view can look at the site. Anyone you set to Can edit can change the look and content of the site. Anyone you set to Is owner can change the look and feel of the site as well as make administrative changes, such as deleting the site or adding new owners.)
- Click Send