Entrance Master Remote (w/ Raspberry Pi)
by Naran in Circuits > Raspberry Pi
2003 Views, 24 Favorites, 0 Comments
Entrance Master Remote (w/ Raspberry Pi)
![[DIY] Entrance Master Remote - trigger everything with one button!](/proxy/?url=https://content.instructables.com/FL9/EEI8/J4YG01B9/FL9EEI8J4YG01B9.jpg&filename=[DIY] Entrance Master Remote - trigger everything with one button!)
When you think Smart Home, you dream that everything could be controlled at the tip of your finger?
We have the right solution for you!
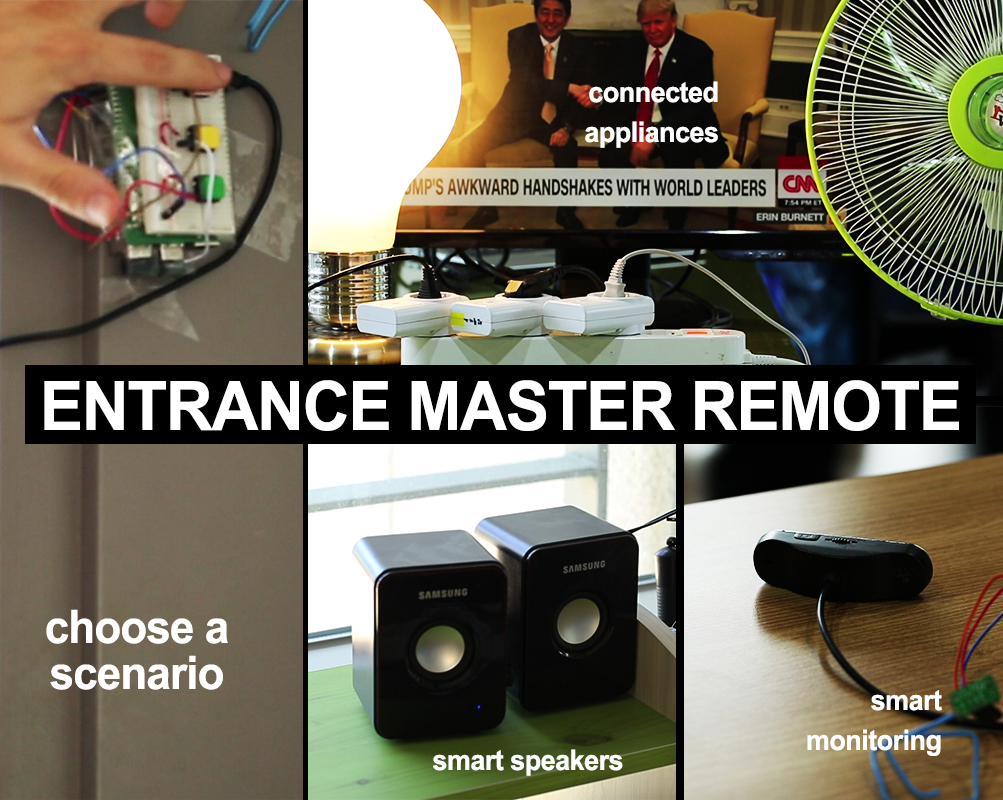
In a very simple and inexpensive way, you can create a DIY remote that will trigger all your favorite appliances, lights and devices by setting up pre-organized scenarios based on your daily needs. The main place of transition of your house is your doorstep, where you leave/enter your house, the place where you go from one scenario to another. That’s why we decided to create a master remote control installed right at the entrance of your smart home so that you can tell what you want to your home right when passing its threshold.
FEATURES
- Three or more scenarios with a dedicated button for each
- Connect lights, blinders, TV, speakers
- Integrate home monitoring to your home
This project can be done in about an hour and can cost as low as $40.
NECESSARY COMPONENTS
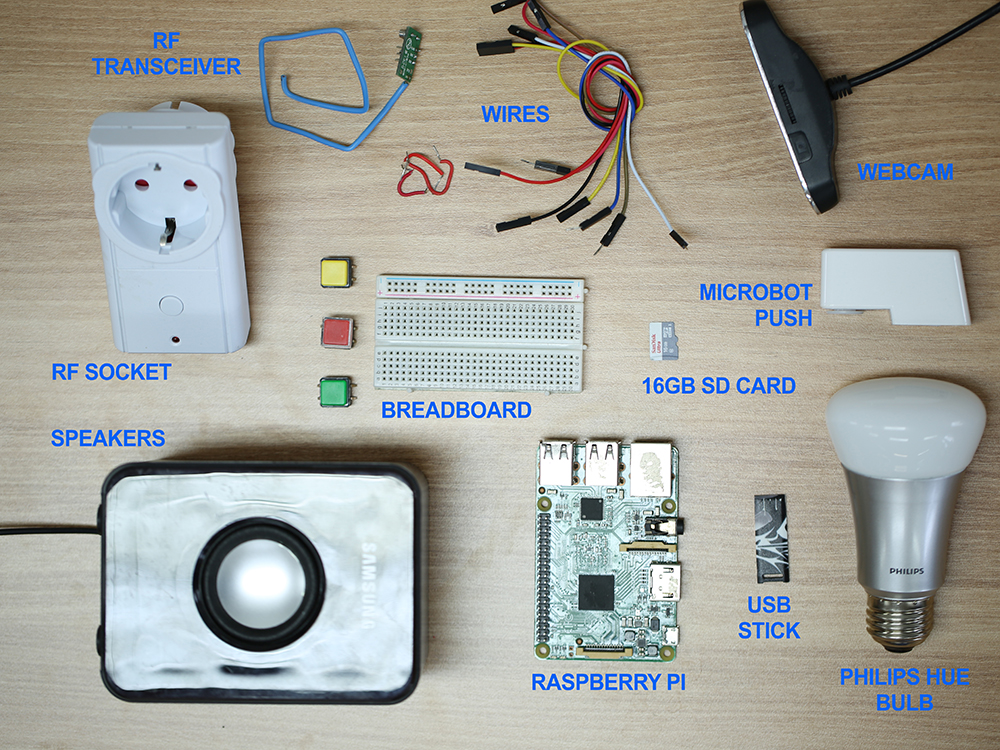
- Raspberry Pi 2 or 3 // ~$20~$35
- 16 GB SD card // ~$8
- Old unused webcam Speakers USB stick
- 3*RF sockets + RF transceiver module // ~$18
- Breadboard + buttons + jumper wires // ~$4
- Philips Hue light
Optional: MicroBot Push
SET UP PROTA OS ON YOUR RASPBERRY PI IN 15 MINUTES
Prota OS can be downloaded for free on https://prota.info/prota/pi/. It’s only 3.8GB and easy to burn on a SD card (make sure to use a 16GB card).
Follow the instructions of Raspberry Pi foundation to write the OS image on your SD card. Extract the .img file from the zip folderPlug in your SD cardDownload and open Etcher, select the image and the drive and start the process. That’s it!

Once Prota OS is burned on the SD card, you can follow this simple installation guide to set up your Prota hub (less than 1 minute!). You only need to define its name and password, your time zone and your email address and the rest is completely automatic!
That’s it! In less than 15 minutes and with no hassle, you transformed your Raspberry Pi into a Smart Home automation hub!
CREATE YOUR SMART BUTTONS ON YOUR BREADBOARD AND CONNECT TO PROTA PI
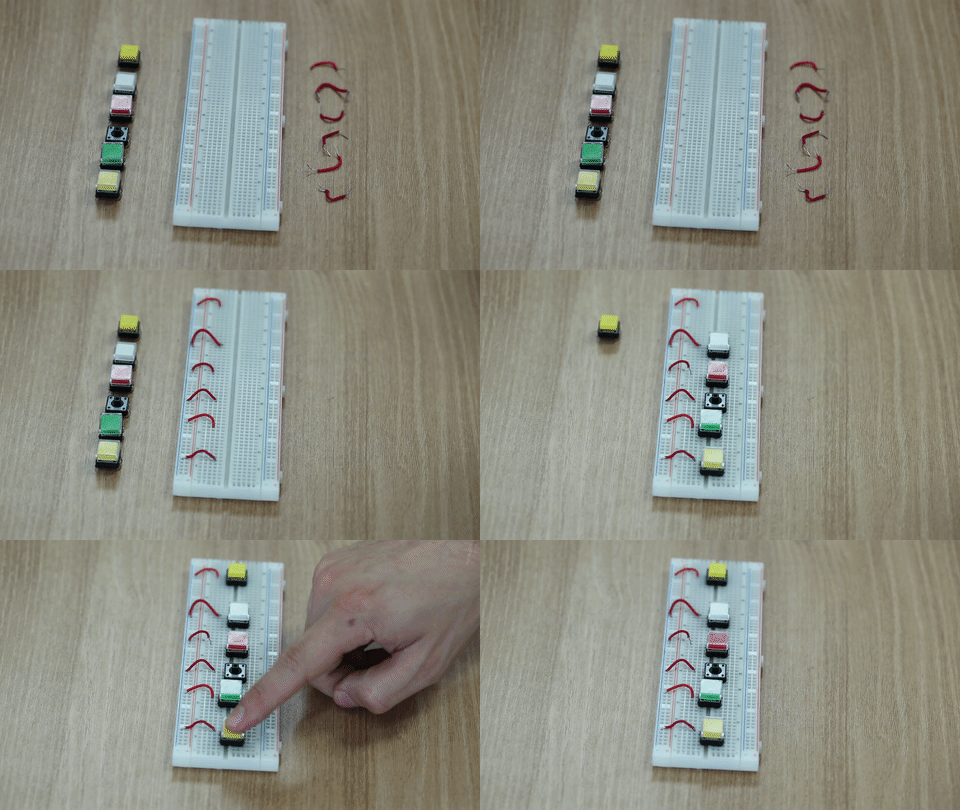
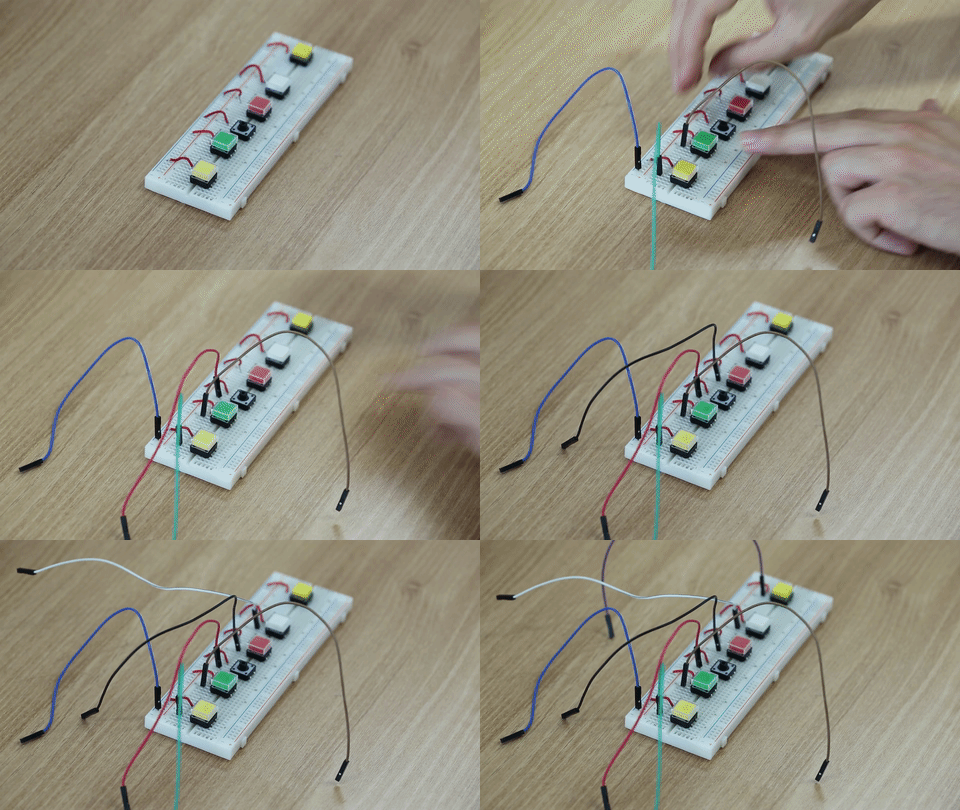
A breadboard is a board that helps you connect electronic components together and to your micro-computer Raspberry Pi. A small breadboard can be enough for this project (the GIF above were taken from the DIY Jukebox project with a bigger one.

First, let’s install the buttons on your breadboard. Separate each button enough. And connect hook-up wire between one of the leg of the button and the minus (-) line. That will allow us to use only one jumper wire for ground connection.
See GIF above
Now connect a jumper wire next to the other leg of each button (it must be on the same line number). This will make the data connection between your Raspberry Pi and the button to transform the physical push on the digital interface.
See 2nd GIF above
Now it’s time to connect those wires to the GPIO pins of your Raspberry Pi. Connect the wire in the ground line to a ground pin. Then connect each button jumper wire to GPIO pins, following the map below. For instance we chose here to connect with GPIO17, GPIO27, GPIO22.

Basically you can connect to any green pin on this map.
The physical connection is now done, we now need to set up the Prota Pi to recognize each button being pressed. For this we will use GPIO app in the next step.
SET UP YOUR SMART BUTTONS ON GPIO APP
GPIO app is an app that allows you to create command names for physical elements connected to your Raspberry Pi, like those buttons. We will later connect these commands into automation workflows (step 7).
- Go to App Libraries and download GPIO app
- Open GPIO app
- Click on GPIO 17 and set it to Interrupt // Pull up
- Click on “Set”

Now when you press your button, it should display on your GPIO interface (as below) “Rising interrupt” and “Falling interrupt”.

This means your Prota Pi reads the action of pressing the button. Now you can do the same thing with GPIO27 and GPIO22. Make sure all dots are lighten up like below, meaning all pins are set up.

Test each button to see if you do have for each the message “rising interrupt” / “falling interrupt”, which confirms the connection is working fine.
CONNECT YOUR RF SOCKETS AND SET THEM UP
You need two things for this step: RF sockets and an RF transceiver module with an antenna.
The latter will communicate via radio frequency with your RF sockets to turn them on and off. It’s a very economical way to connect devices/appliances that can be triggered by just being connected to a power supply (like lights and TV).
For RF Sockets: currently our OS supports 433, 477 and 315 MHZ sockets. We recommend you to use WattsClever, DX or Etekcity. The following brands are not working properly: Westfalia, Energenie, DiO, JTD.

You need to solder the RF transceiver and home-made antenna together. Make sure the soldering connects the antenna to the ANT port on the RF transceiver.

You can have more information on how to make an external antenna in this article.
Keep in mind that the required length of your antenna will depend on the frequency of your RF socket. Our OS supports 433, 477 and 315 MHZ.
Once soldering is done, plug three jumper wires to your RF transceiver (433/477/315 MHZ).
VDD = Electric current (5V)
GND = ground (select a ground PIN)
DATA = has to be connected to GPIO23

You can connect those three jumper wires as we did on PIN 2 (5V), PIN 6 (GND) and PIN 16 (GPIO 23).

The last step is to connect the configured antenna with the RF socket.
- Open App Libraries and download ON/OFF app
- Click on “Add socket”
- Type-in the details, select “On Board” and click on “Done”

- The app will start scanning the surrounding sockets. Press and hold on the socket’s button until the LED blinks
- When the LED stops blinking and stays on solid red, it means your Prota Pi has paired with your socket. You can then press on “Remember”

You can now try turning it on and off via the app interface.
Do the same for your other two sockets.
Alternatively, if you already have WeMo switches at home you can also very easily connect them via ON/OFF by selecting “WeMo Switch” in the New Device interface above.
CONNECT YOUR SPEAKERS
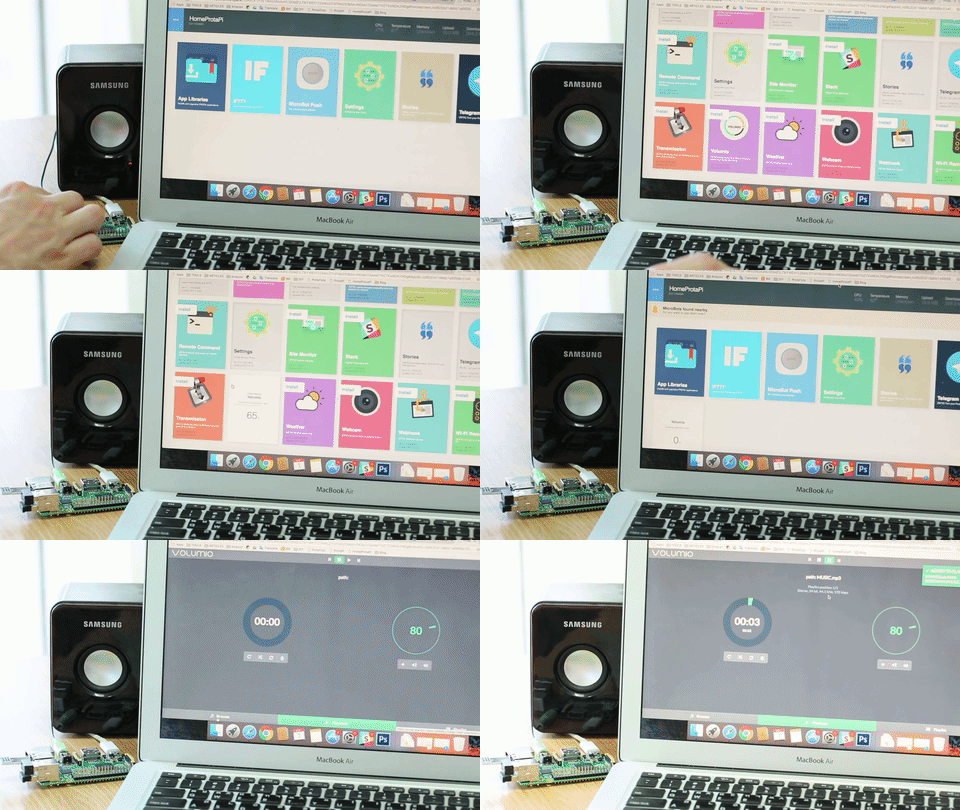
Connecting speakers with your Prota Pi is very easy!
Just plug an AUX cable to your Raspberry Pi and transform those old speakers into smart speakers that can be turned on remotely or play automatically you favorite songs based on pre-programmed playlists. It allows you to simply play all the audio files stored on your storage device.
- To use Volumio, follow those simple steps:
- Plug a USB stick with your favorite music in one of the USB port of your Prota Pi
- Go to App Libraries and download Volumio app Open Volumio
- Click on the bottom left button “Browse”
- There you will be able to select the songs you want to play. Go to Shared, select your storage device, click on right side icon and add them to your playlist.


Now that your speakers are connected, you will be able to link them to your buttons so that the music is triggered or turned off when you press on one of them.
TURN YOUR OLD WEBCAM INTO a SMART CAM + SET UP a TELEGRAM BOT
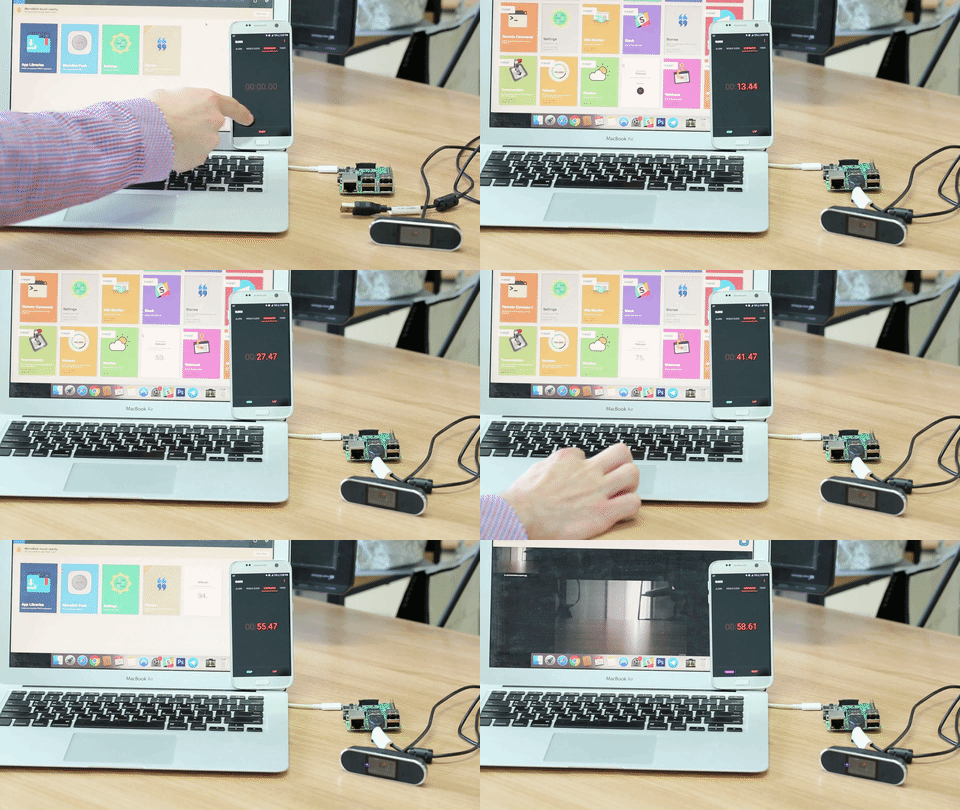
You have an old unused USB webcam at home? Let’s turn it into a smart cam!It’s so simple you can actually do it in 60 seconds and just few clicks (see above).
- Plug your old webcam
- Open App Libraries
- Download Webcam app
- Open Webcam app

Your homemade webcam will be able to detect motion and warn you when something happens at home and send you a snapshot of it. Those snapshots can be sent directly to your smartphone via Telegram. Let’s set up a Telegram Bot that will be the gateway between you and your home when you’re away.
A Telegram bot is a virtual assistant that you can create on Telegram messenger app.

- Download Telegram app on your smartphone and create an account
- Download Telegram app on your Prota Pi (in App Libraries)
- Open the Telegram app on Prota and click on “Request Authorization”
- Set a name and username for your bot, then click on "Create"
Your bot is now created! It will allow you to receive snapshots from your webcam directly when motion is detected.
CONNECT YOUR PHILIPS HUE BULB TO YOUR PROTA PI
You can connect Philips Hue light bulbs to your Prota Pi to add some nice light effects when pressing your 3rd button (“Relax Time”).
To do so:
- Go to App Libraries and download the Philips Hue app
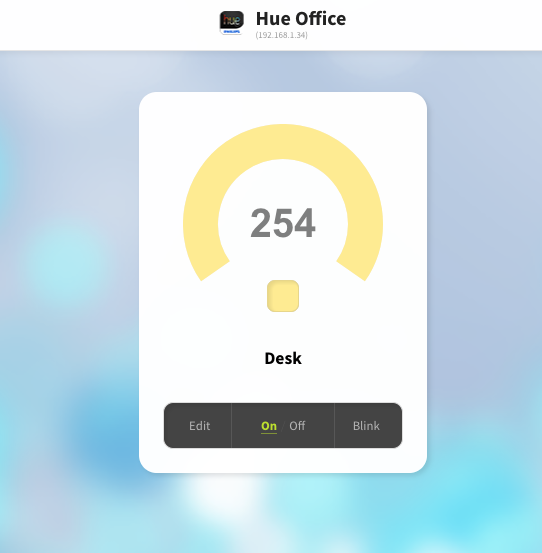
- Open the Philips Hue app. You will be requested yo press on the Push-link button of your Philips Hue bulb. As soon as you do that, the lights paired to your Hue hub will be integrated to your Prota Pi Hue app.
Make sure your bulbs have been paired with your Hue hub beforehand. You can follow this guide to better understand how to use and pair Hue bulbs with Prota Pi.

Now that it’s paired, you can directly control your Hue bulbs through the app interface. We will now be able to integrate those bulbs in automation workflows, so that when pressing the button the light turns on on a dim light.
OPTIONAL - CONNECT YOUR BLINDERS WITH MICROBOT PUSH
.gif)
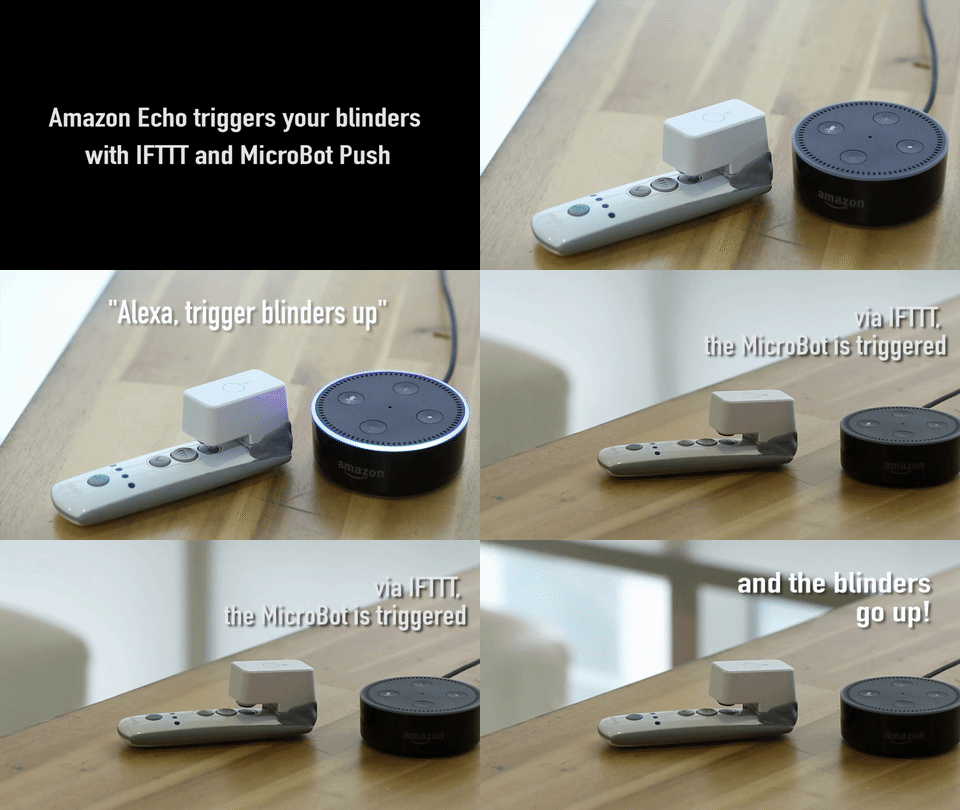
MicroBot Push is a small device that presses buttons for you, which is a practical way to connect appliances at home. If you do not have connected blinders at home, you can place a MicroBot Push on the blinders remote to connect them. That way, pressing the button dedicated to notifying your house you are back home will also open the blinders for you.
First, you need to pair the MicroBot Push to your Prota Pi.
- Turn on your MicroBot (the switch is on the back)
- Access your Prota Space and go to the homescreen
- Click on the “Pair now” button and follow the instructions to pair the MicroBot

Once this is done, install the MicroBot Push on your blinders’ remote control.

Here we used some Sugru to fix it.
When the MicroBot Push is remotely triggered, it will press on the up button of your remote control.
WRITE THE AUTOMATION WORKFLOWS
Time to write the automation workflows that will run each time your buttons are pressed.
Stories app is the automation tool that lets you write the rules of your smart home in natural language. We developed the Cite feature that allows you to import a storyline easily by just clicking on a link, so make sure to click on the link of each storyline below and adapt the specific elements to your personal case.
ARRIVING BUTTON
“When I press on Button 1 (GPIO17), smart socket 1 / 2 / 3 turned on and MicroBot Push opens the blinders” - LINK
LEAVING BUTTON
“When I press on Button 2 (GPIO27), smart socket 1 / 2 / 3 turned off, Webcam app turned on. If webcam detects motion, send a snapshot + alert message”- LINK & LINK
RELAXING TIME BUTTON
“When I press on Button 3 (GPIO22), Philips Hue bulb turns to dim light & turn on music.”- LINK
Dim light mode will maintain the same color but reduce the intensity. If you’d like rather a different color (smooth red or smooth blue) you can replace the “Philips Hue bulb turns to dim light” to “set to RGB” and define the color as 232/13/13 + brightness 50 (smooth red) or 13/13/232 + brightness 50 (smooth blue).
You can easily adapt those storylines to add anything else you’d like to be triggered on or off when pressing the buttons of your master remote.
SET UP AND TEST!
![[DIY] Entrance Master Remote - trigger everything with one button!](/proxy/?url=https://content.instructables.com/FCS/7DMI/J4YG016H/FCS7DMIJ4YG016H.jpg&filename=[DIY] Entrance Master Remote - trigger everything with one button!)
As mentioned earlier, you can add many extra elements to your master remote automation workflows. Consider the many web services or smart devices that IFTTT allows you to connect to your Prota, like Lutron Caseta wireless blinds to open/close, integrate other smart lights supported by IFTTT or notify your family members by sms/messenger app when you reach or leave the house. Make sure to look at our previous Instructables as well as check IFTTT’s website to find out more.
We hope you enjoyed reading and replicating this project and automating your home. If you liked this project, make sure to have a look at our previous projects, to follow us on both Instructables and Twitter.
BETA PROGRAM
You like Prota OS and want to test our newest apps before their release?
Subscribe your email address here to enroll or get further information on our Beta program.
You like our projects? Make your own!
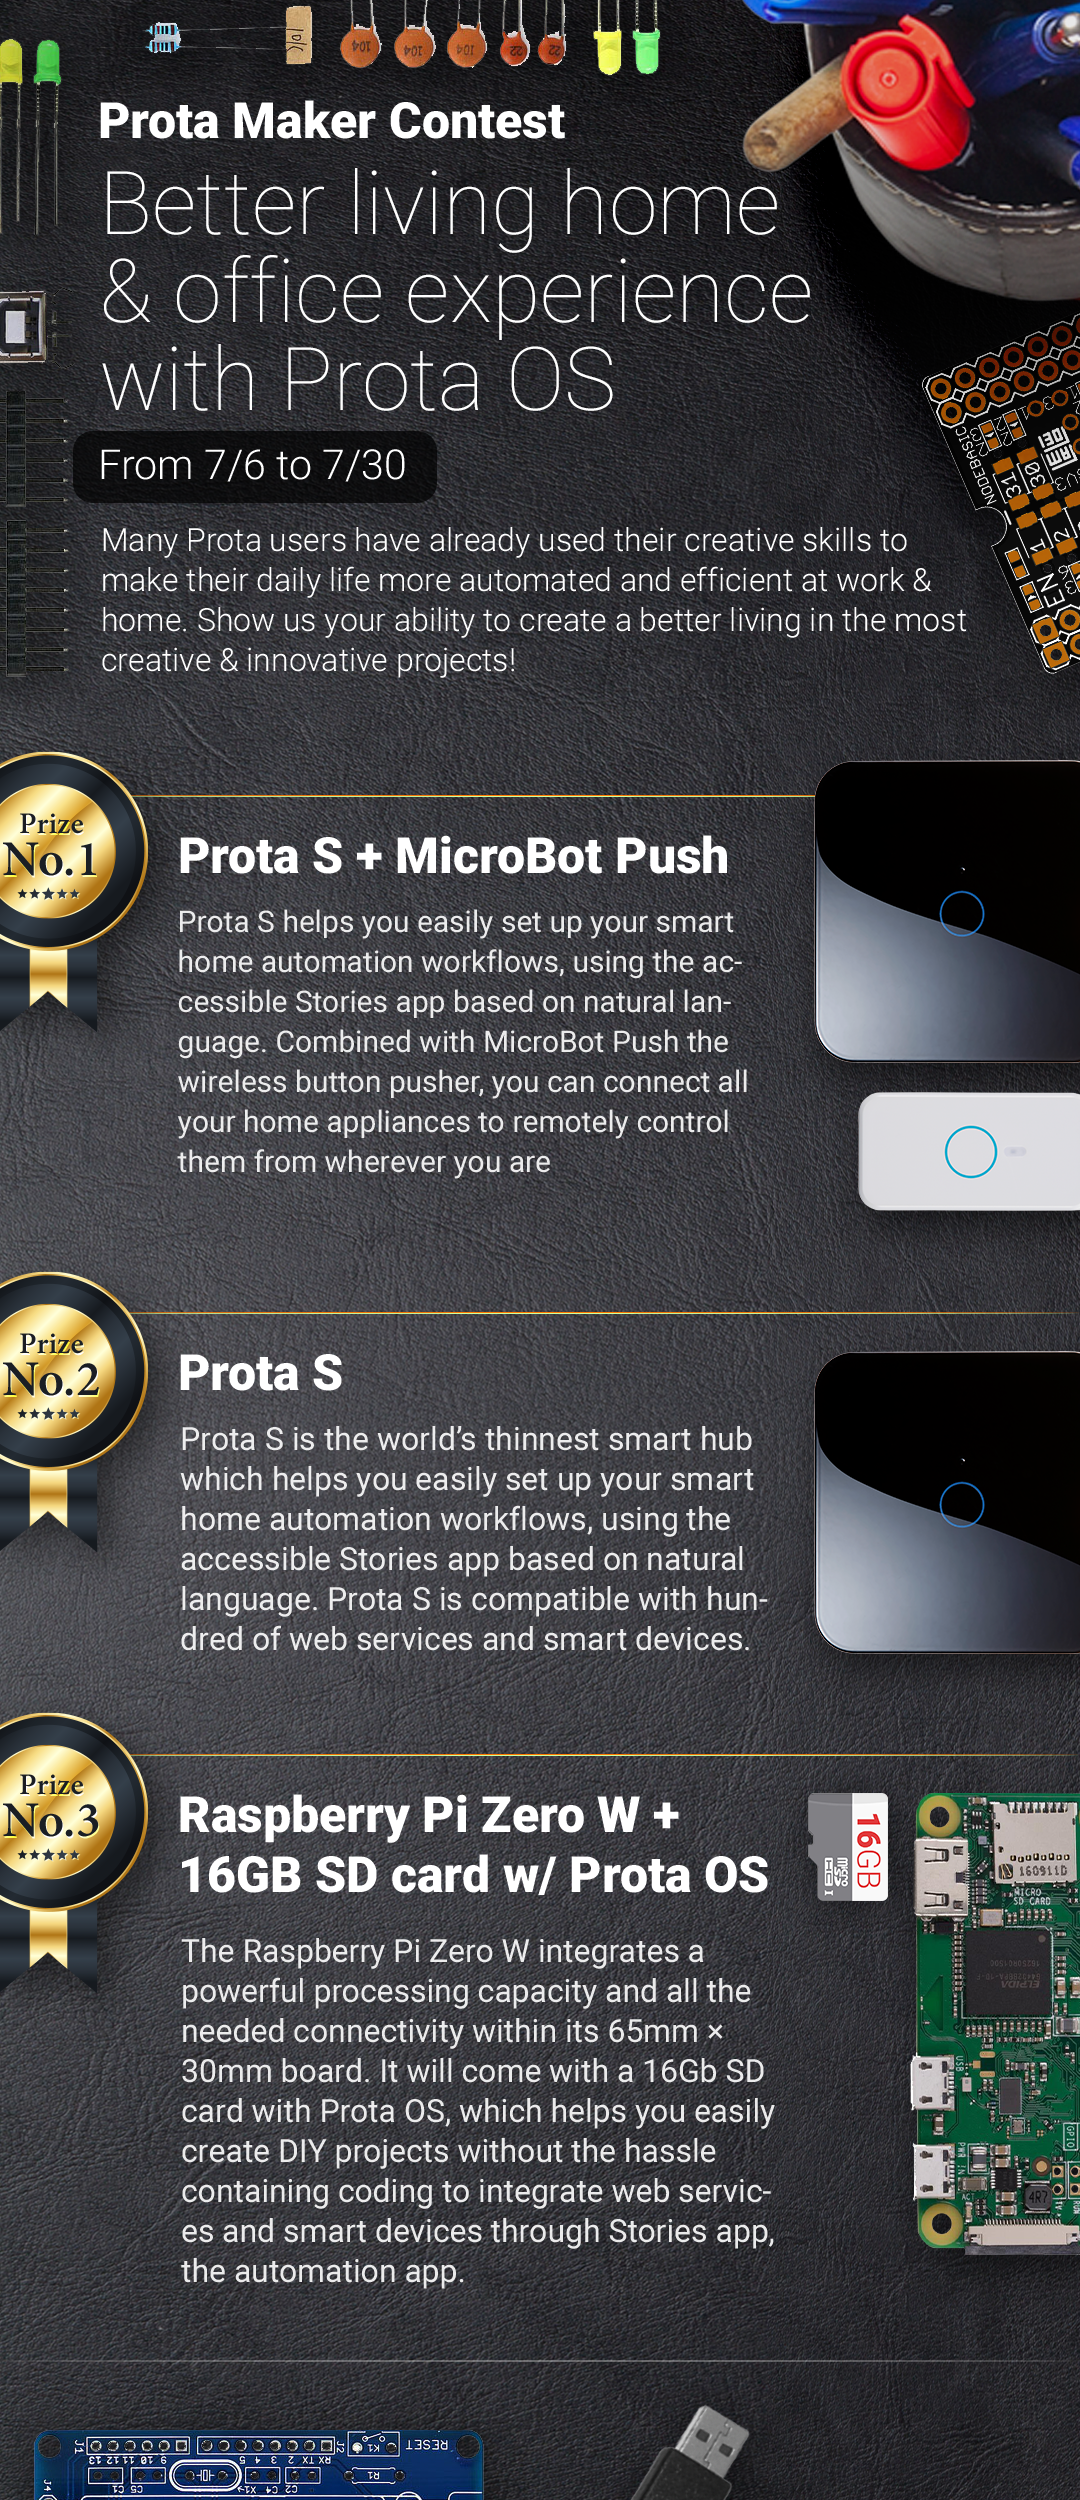
We are currently (and until July 30) running a maker contest. Show us the creative projects you can do with Prota OS and win awesome prizes!
More info here - https://support.prota.info/hc/en-us/community/topi...
