Enlarging an Image Using a Grid
by bryans workshop in Craft > Printmaking
6917 Views, 47 Favorites, 0 Comments
Enlarging an Image Using a Grid
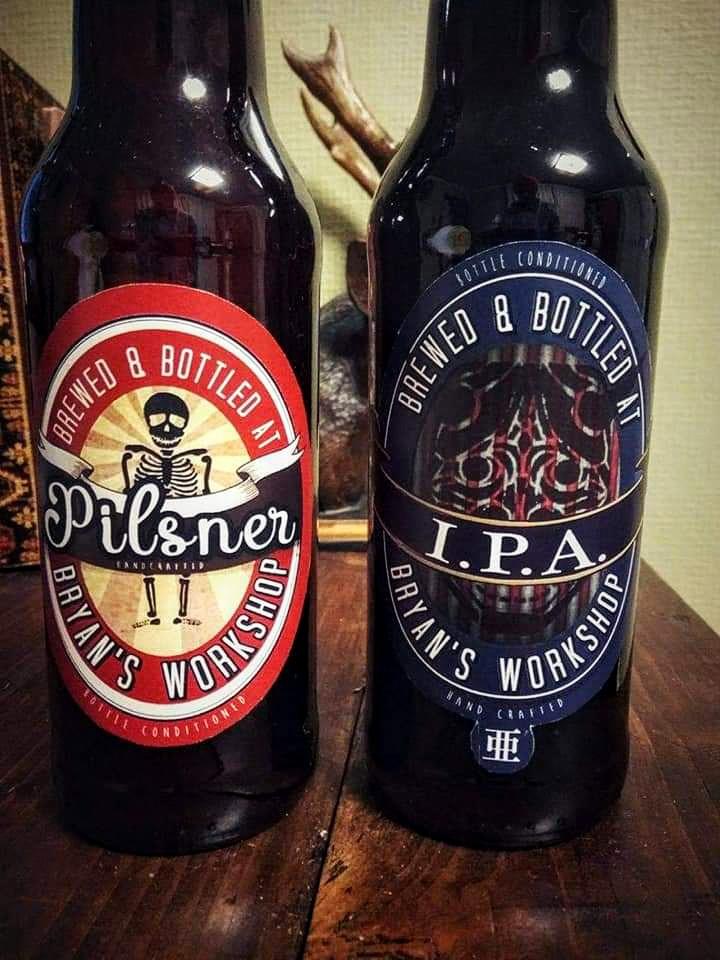
Any home brewers out there?
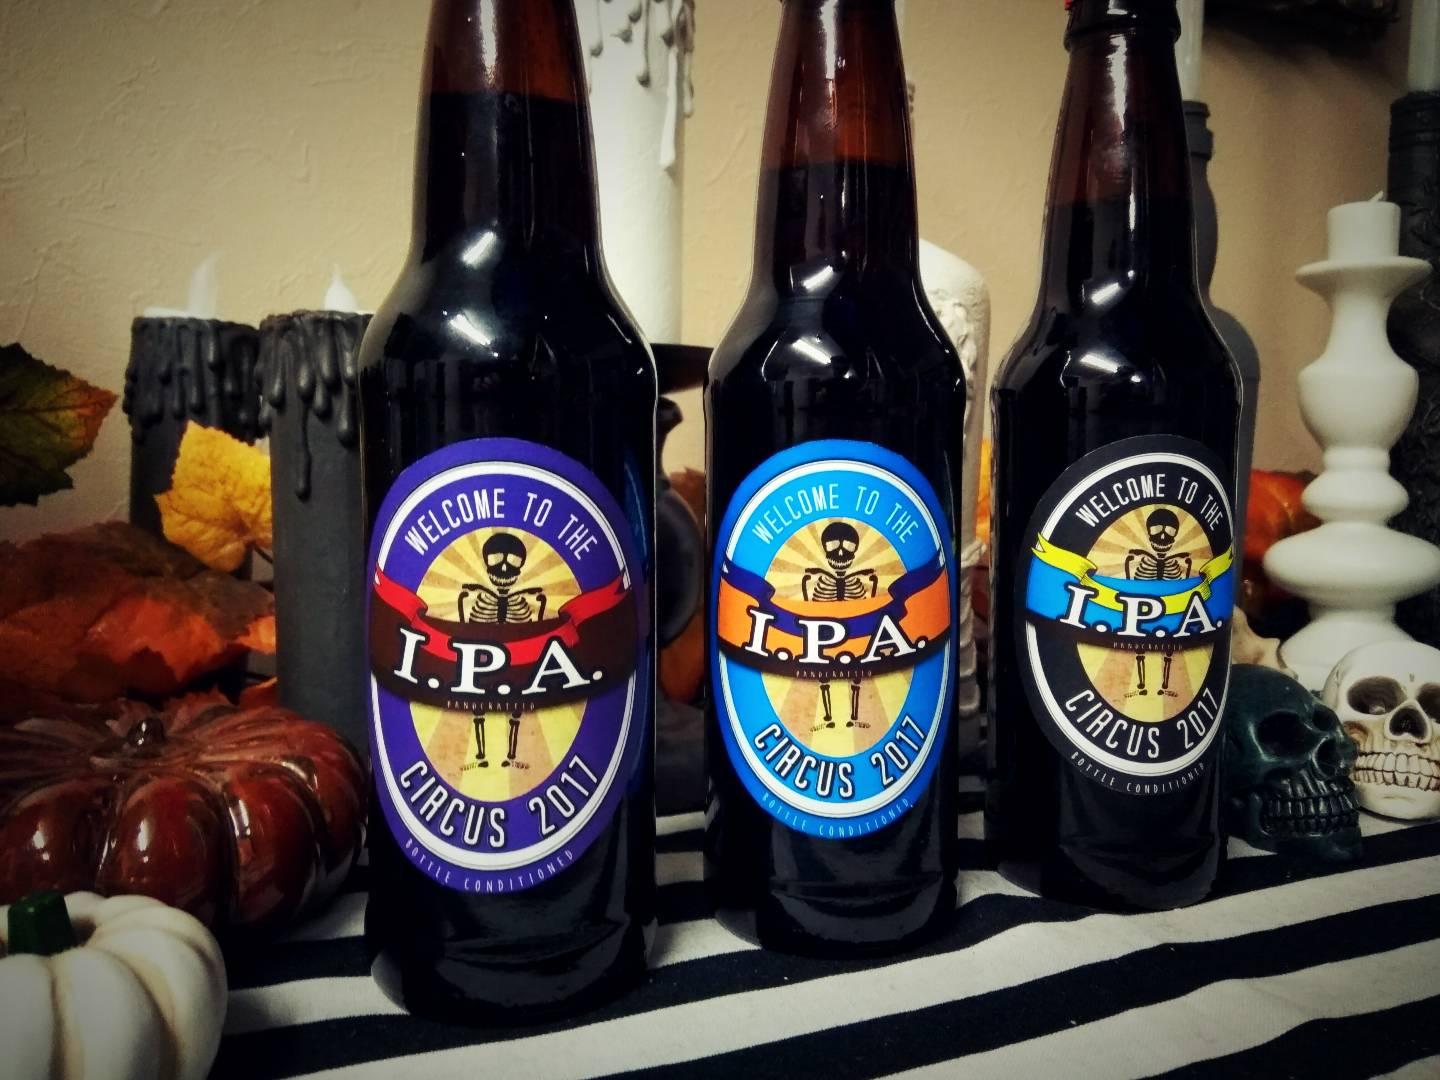
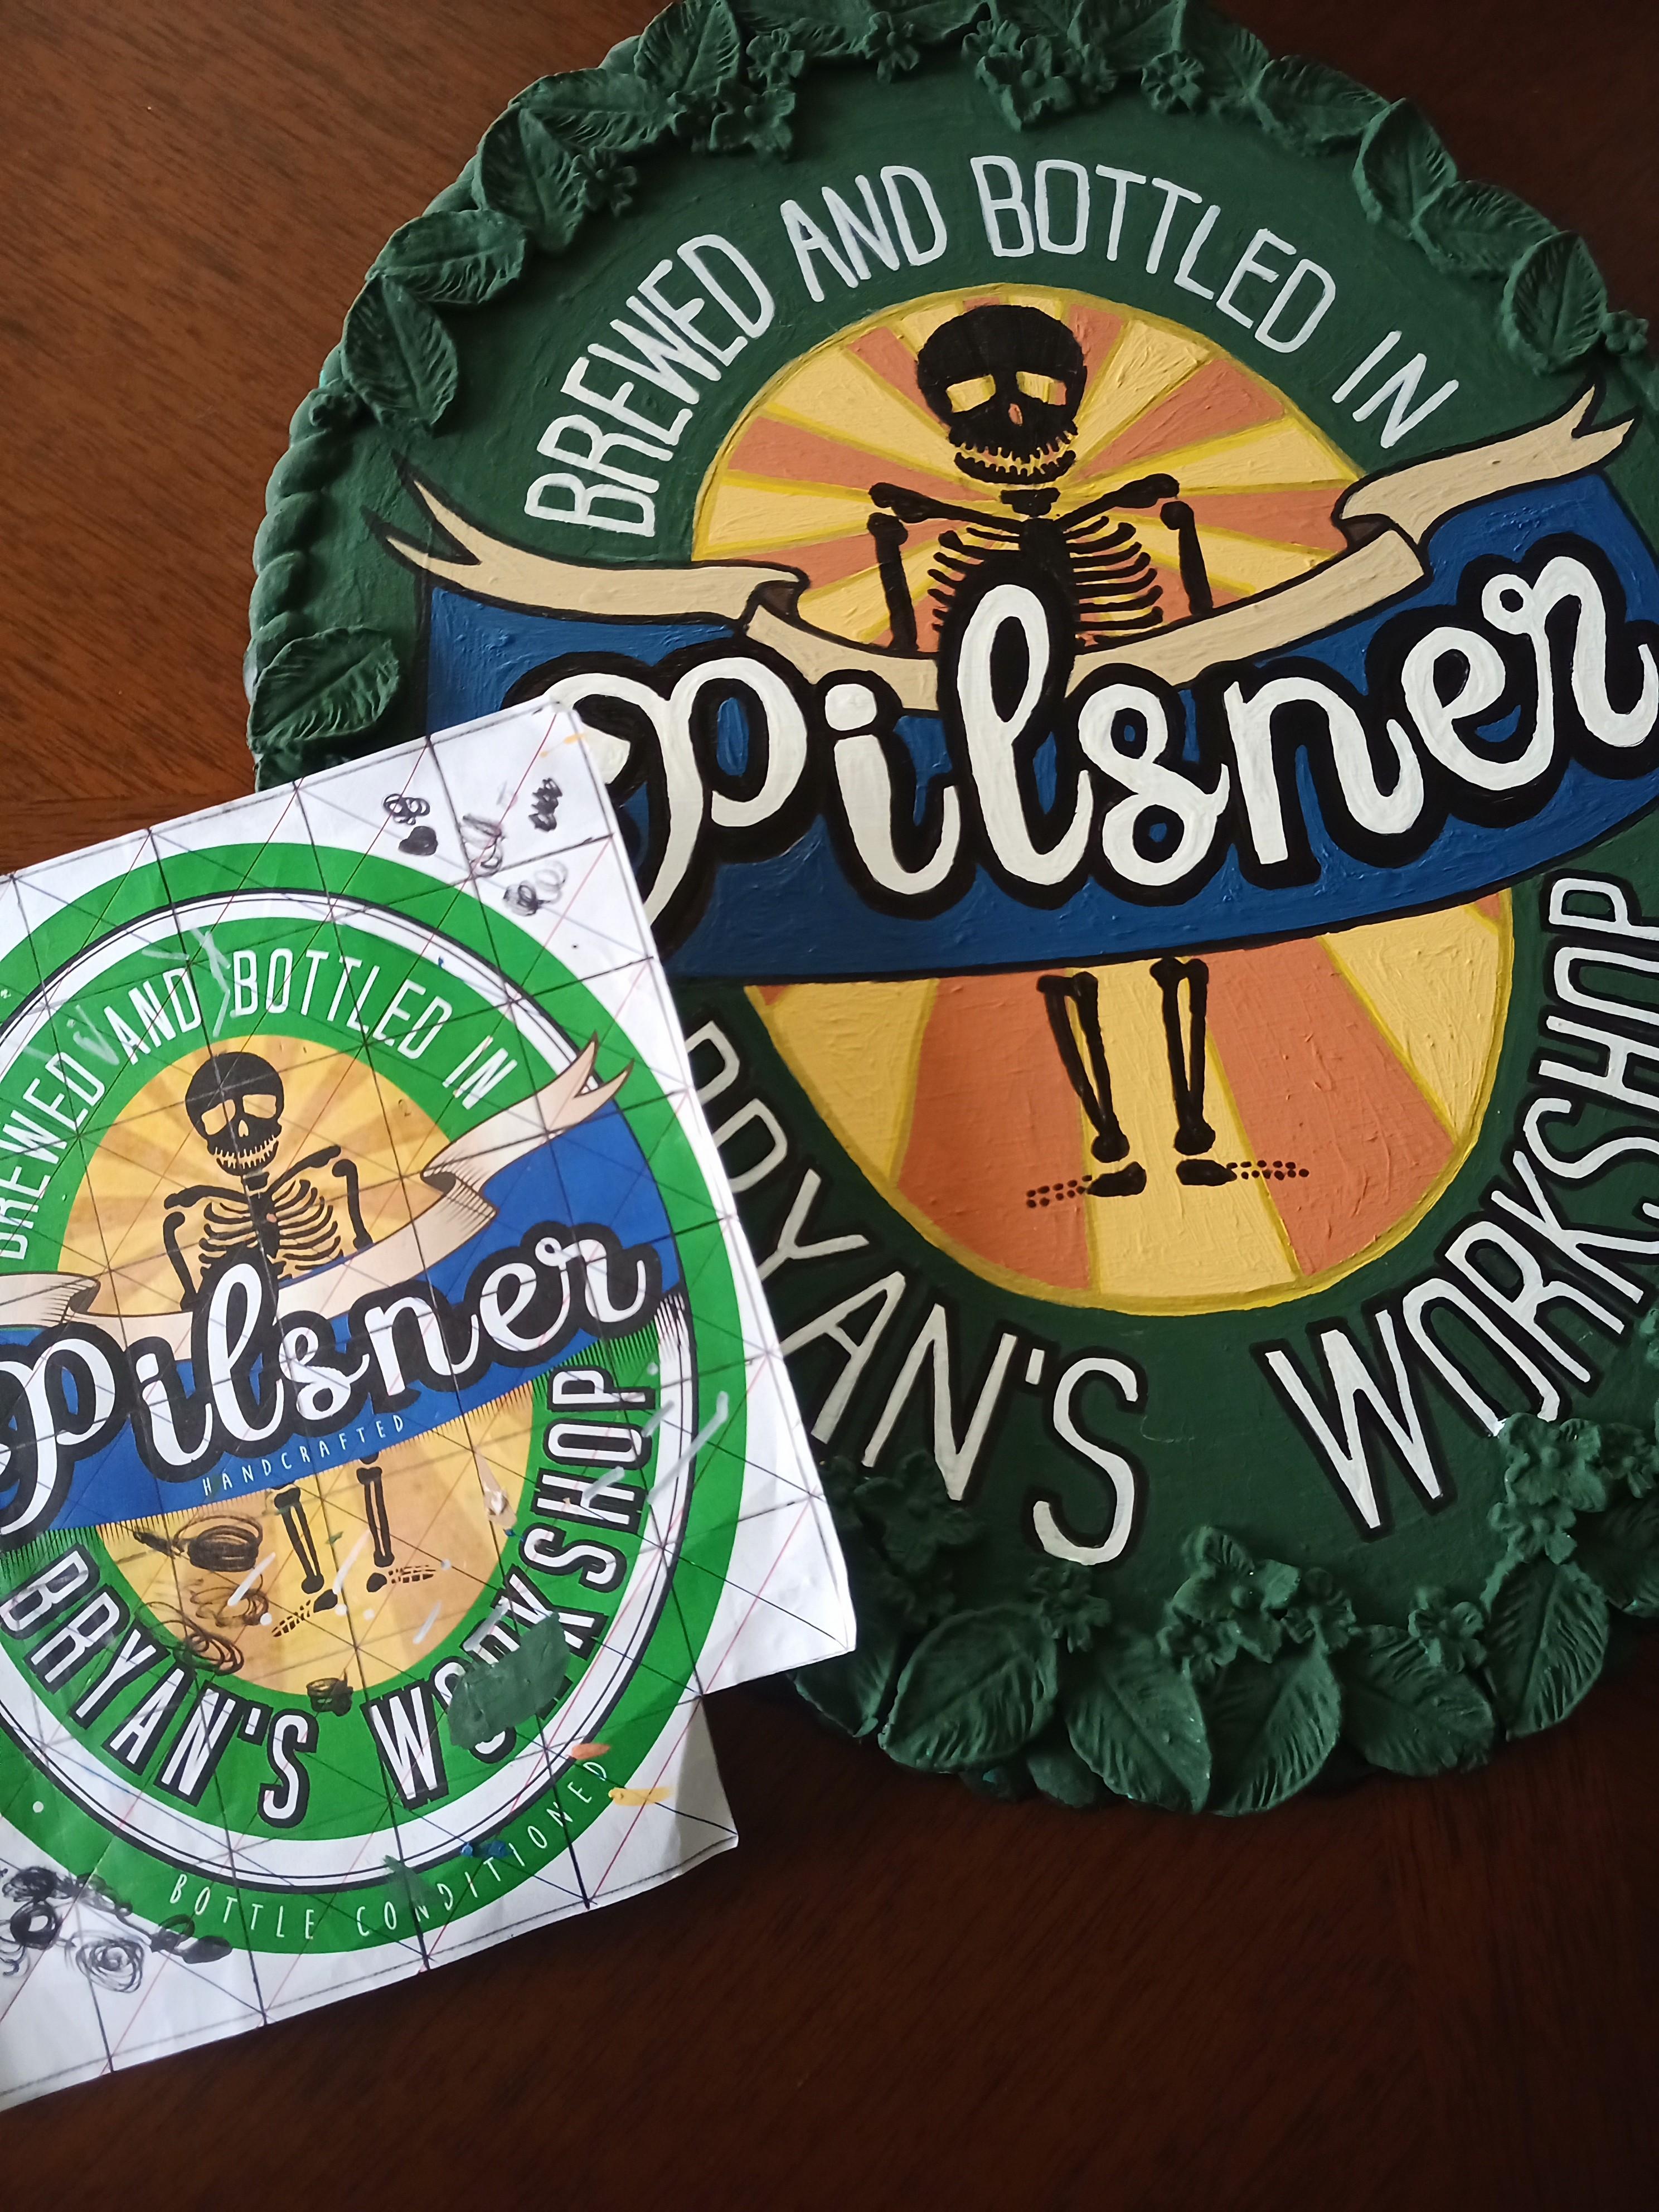
I am the king on mediocre home brewing and I'm going to show you how I enlarged one of my beer labels using a simple grid method.
Supplies

Materials
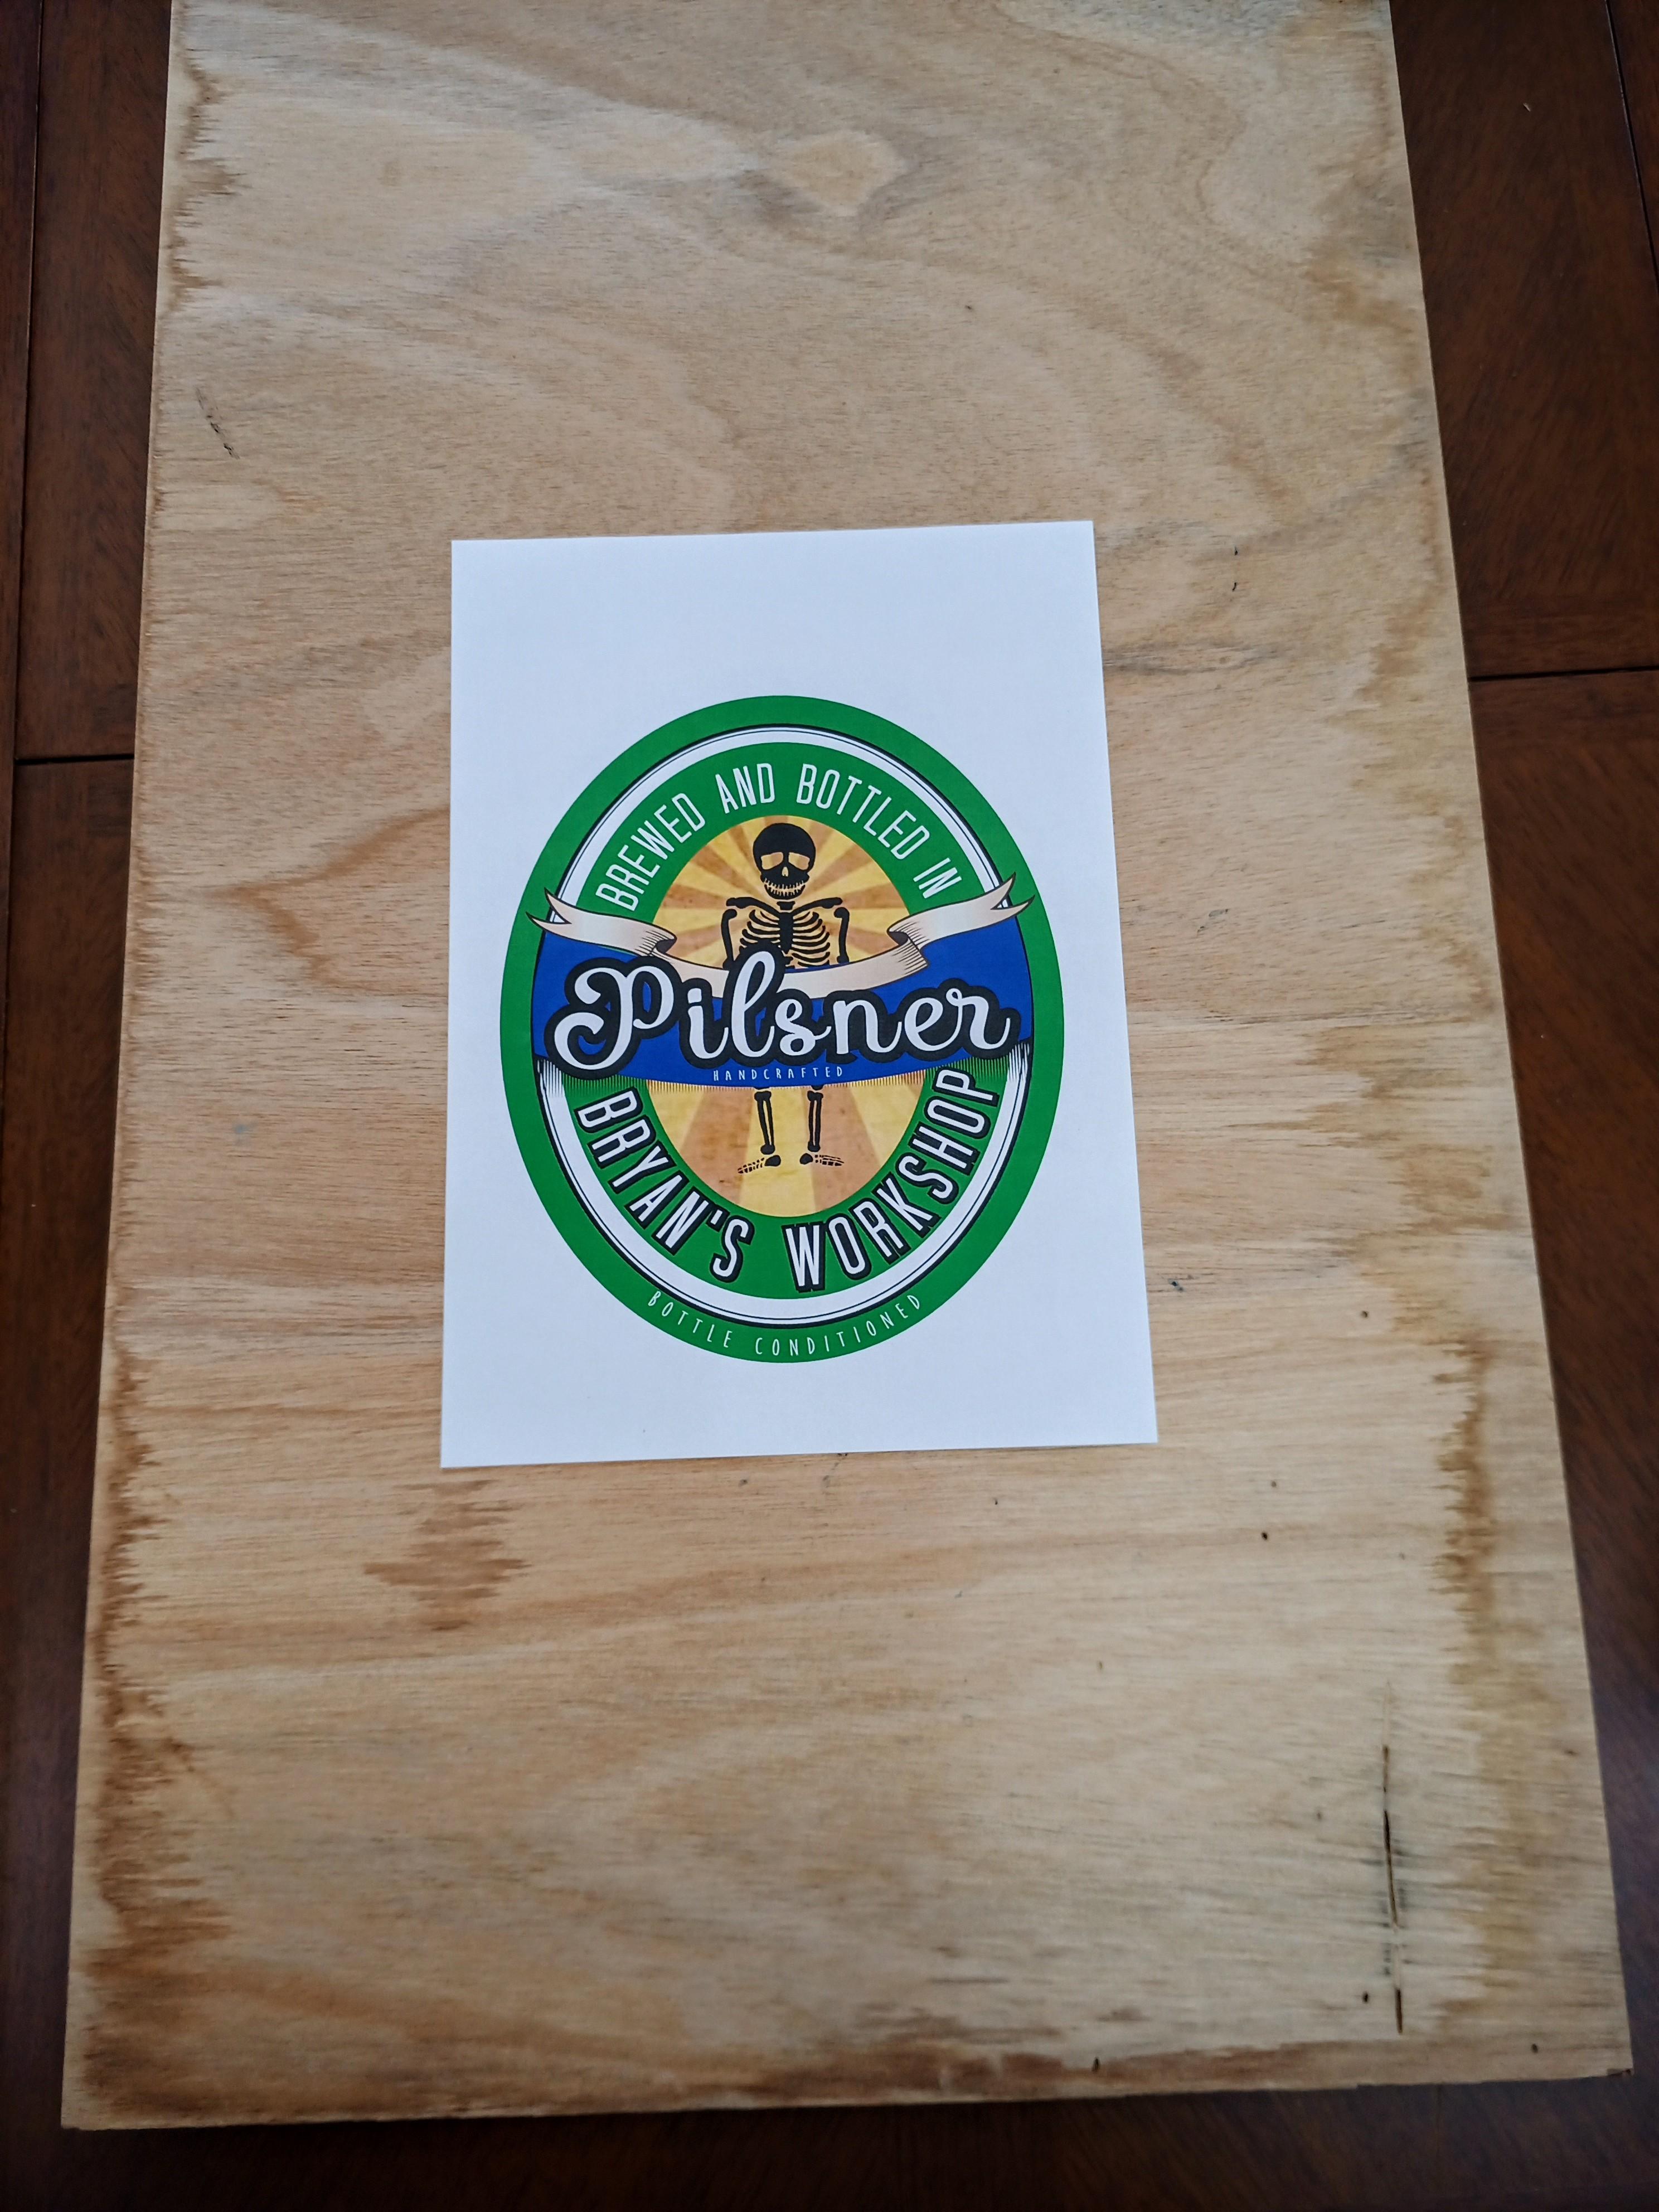
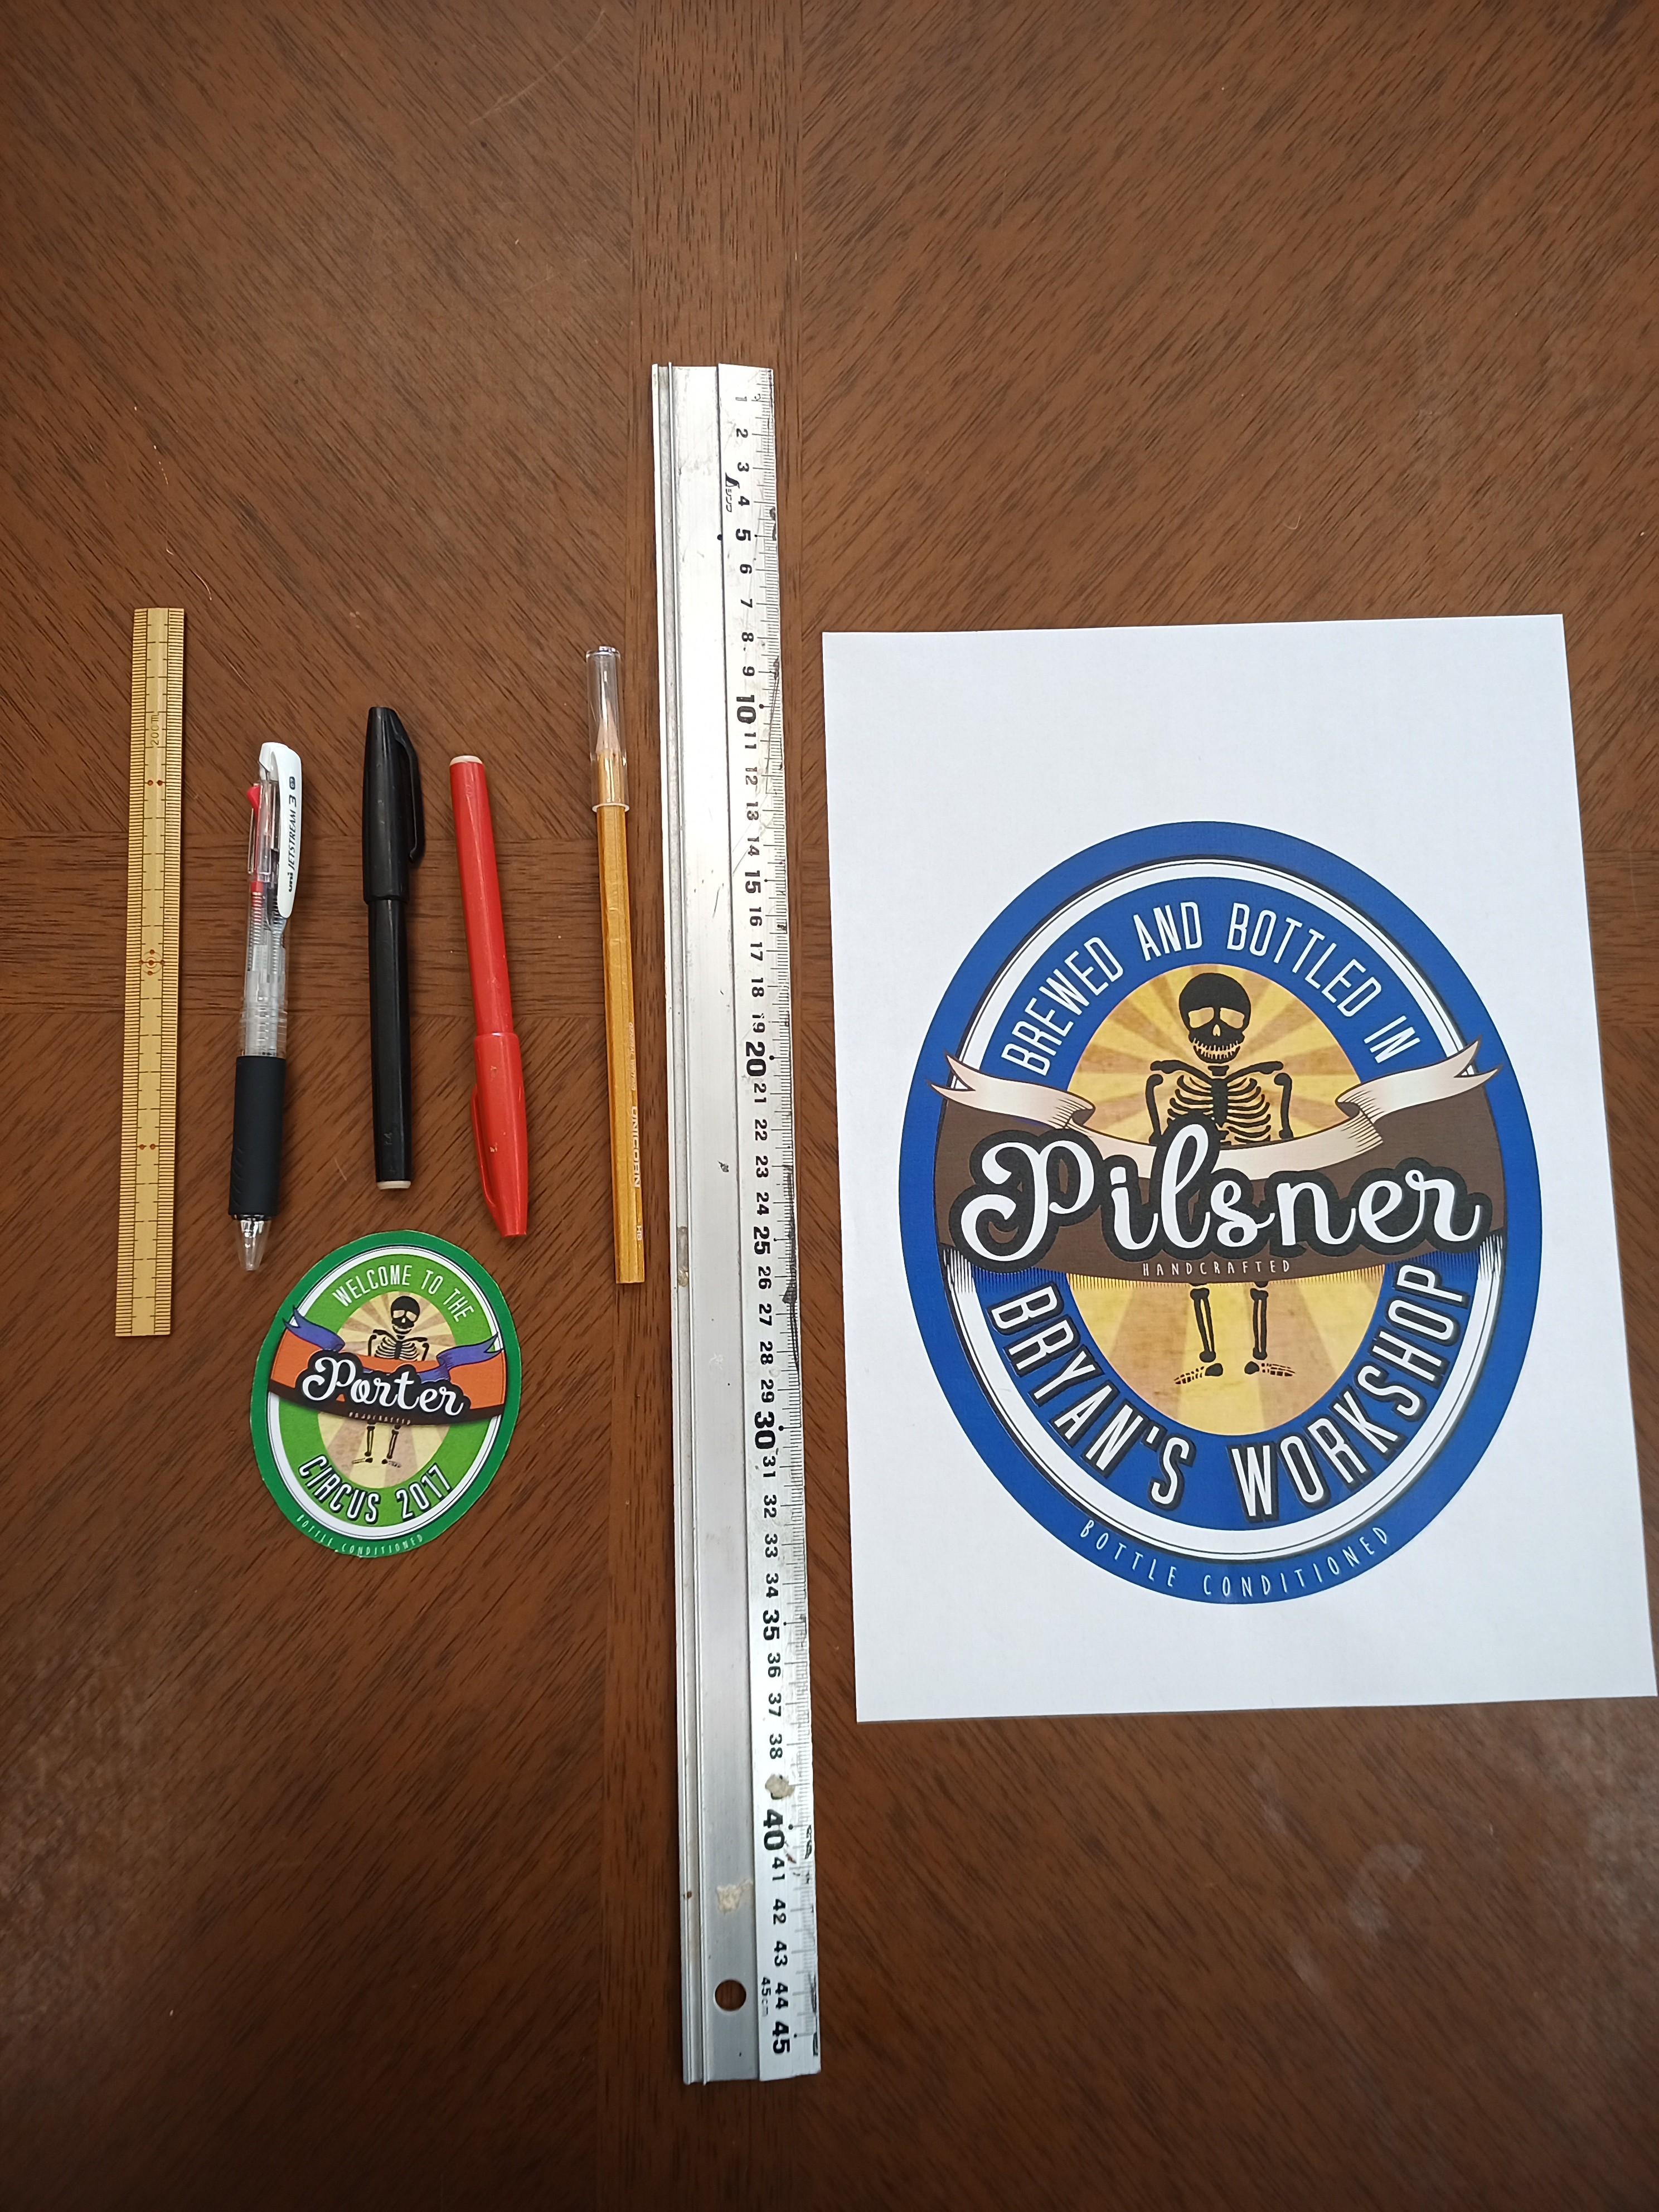
-Print out the image to enlarge
-Scissors
-Boxcutter
-Ruler
-Pencil
-Red marker
-Black marker
-Paint
-Paint brushes
-Top coat
Tools
-Jigsaw
-Orbital sander
Molding
-Silicone molds
-Polymer clay
-Wood glue
Gold leaf
-Gold leaf
-Gilding glue
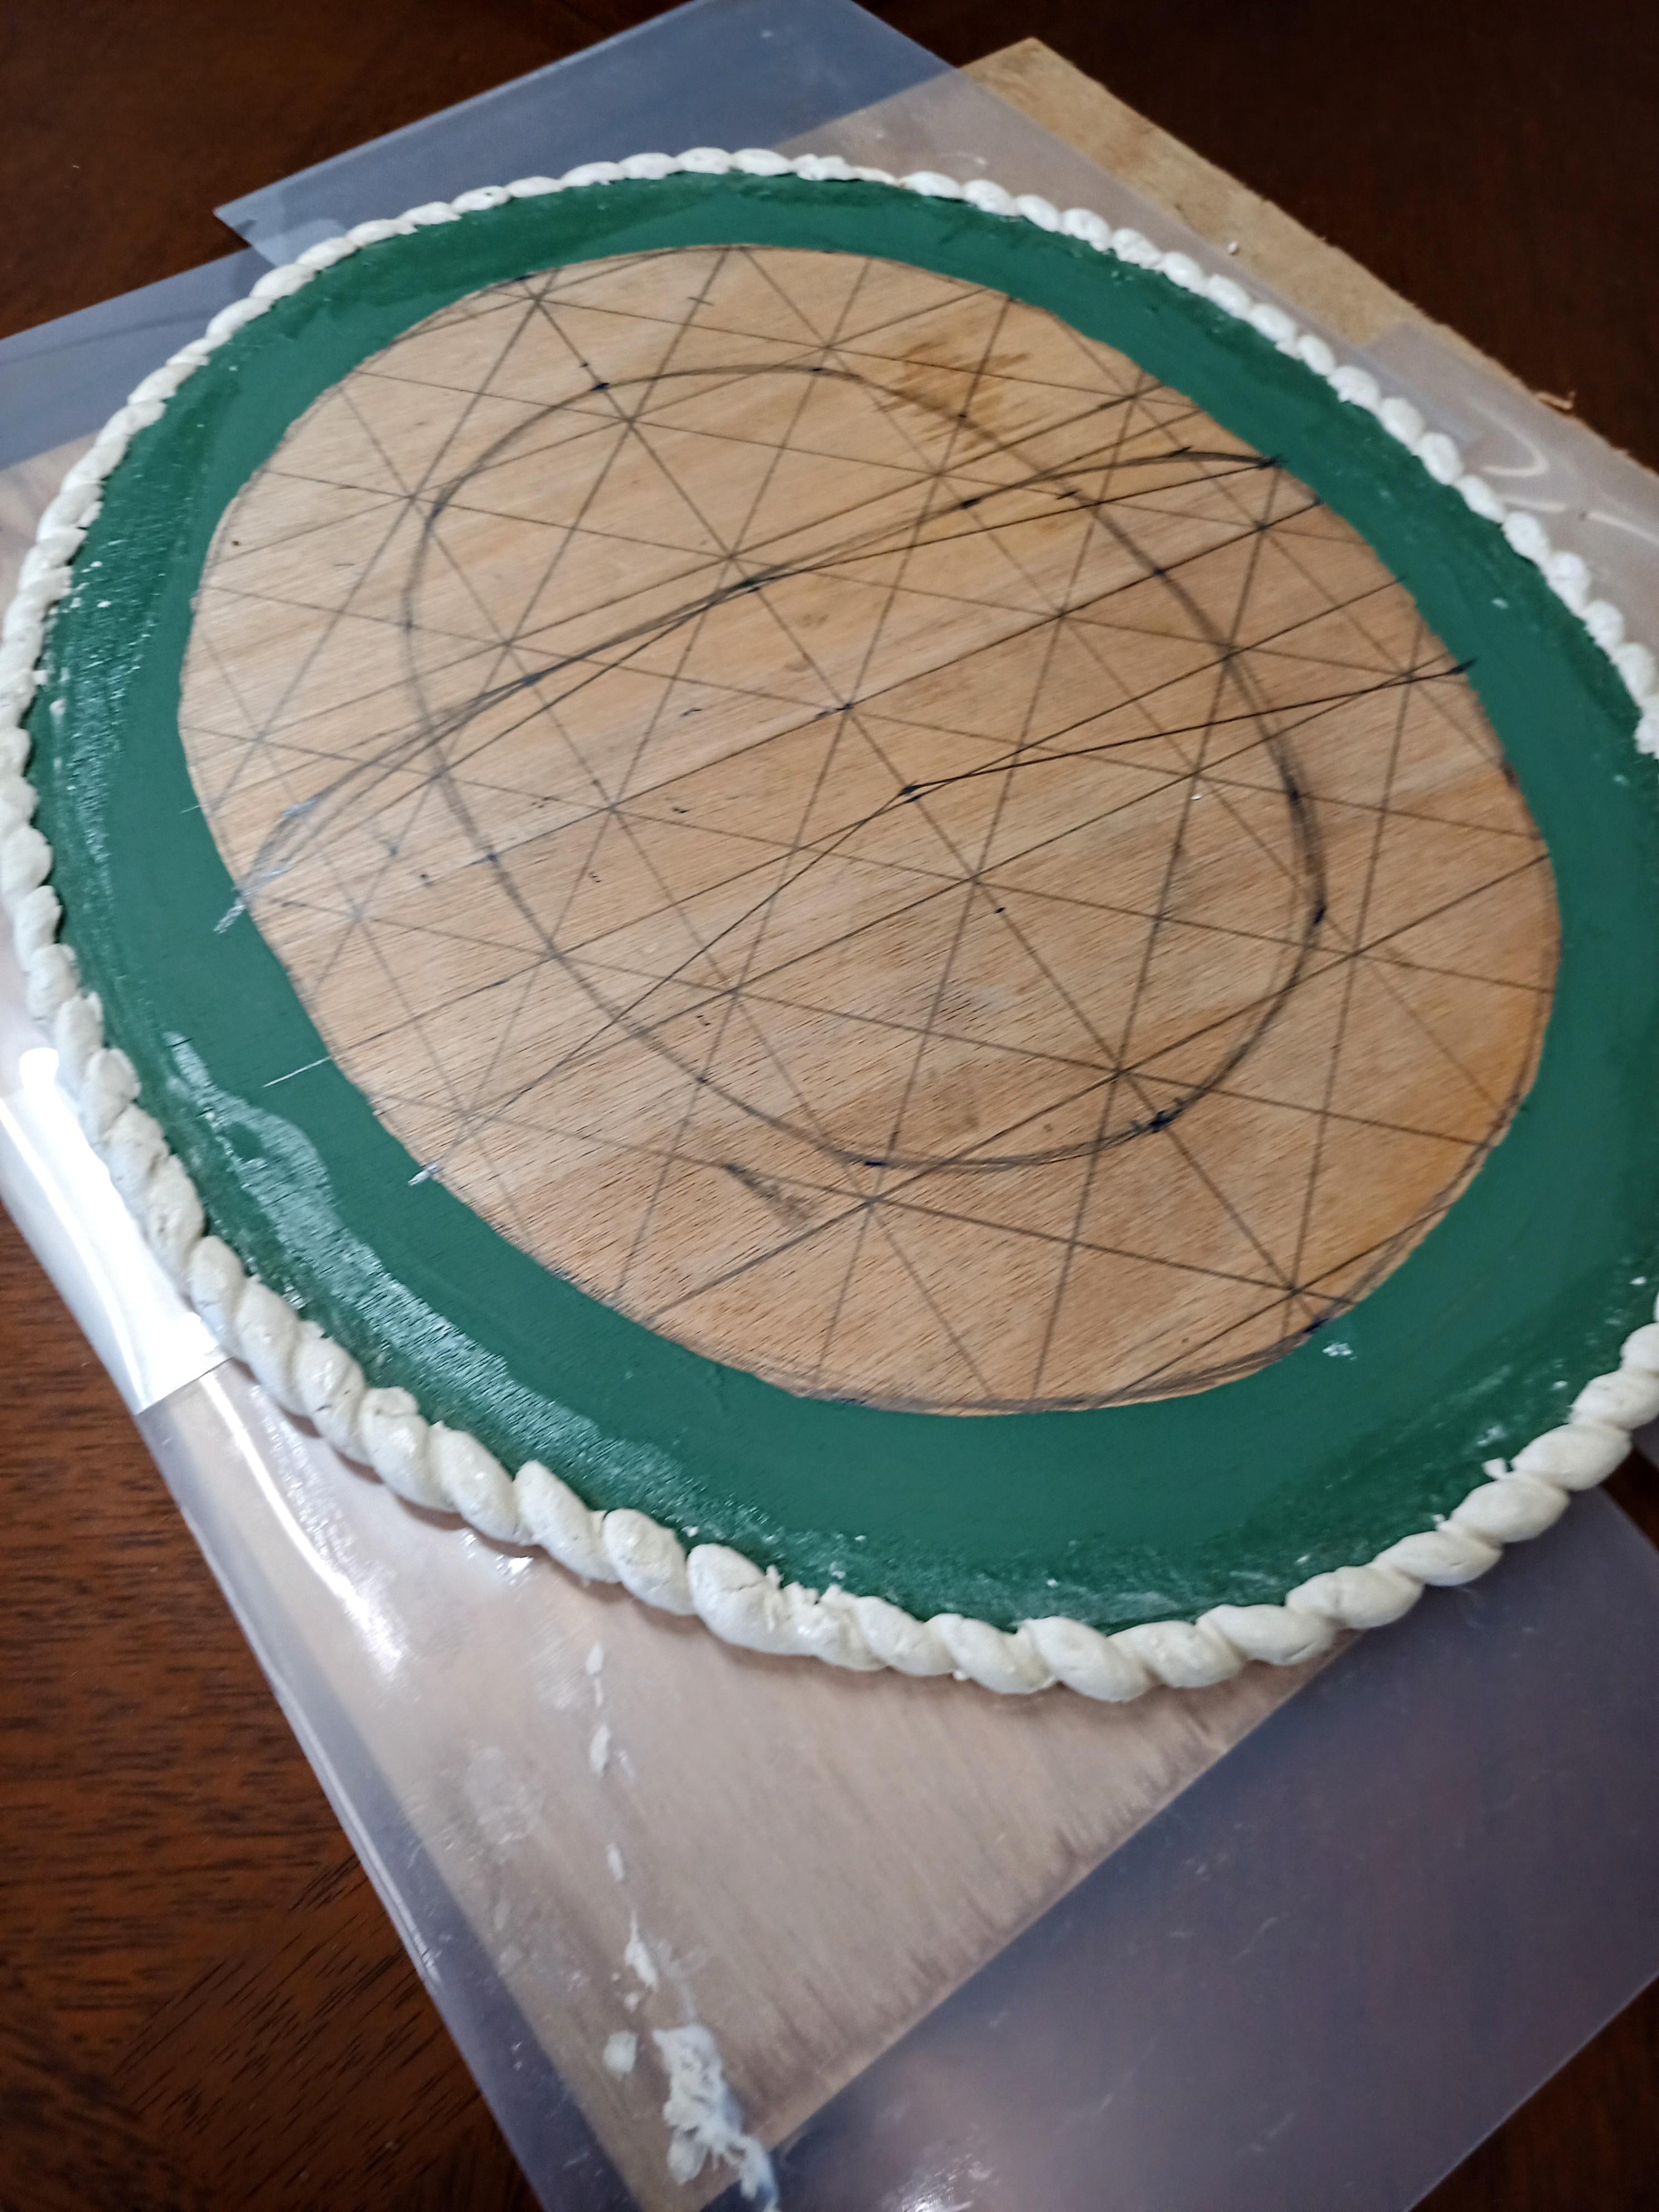
Draw the Grids
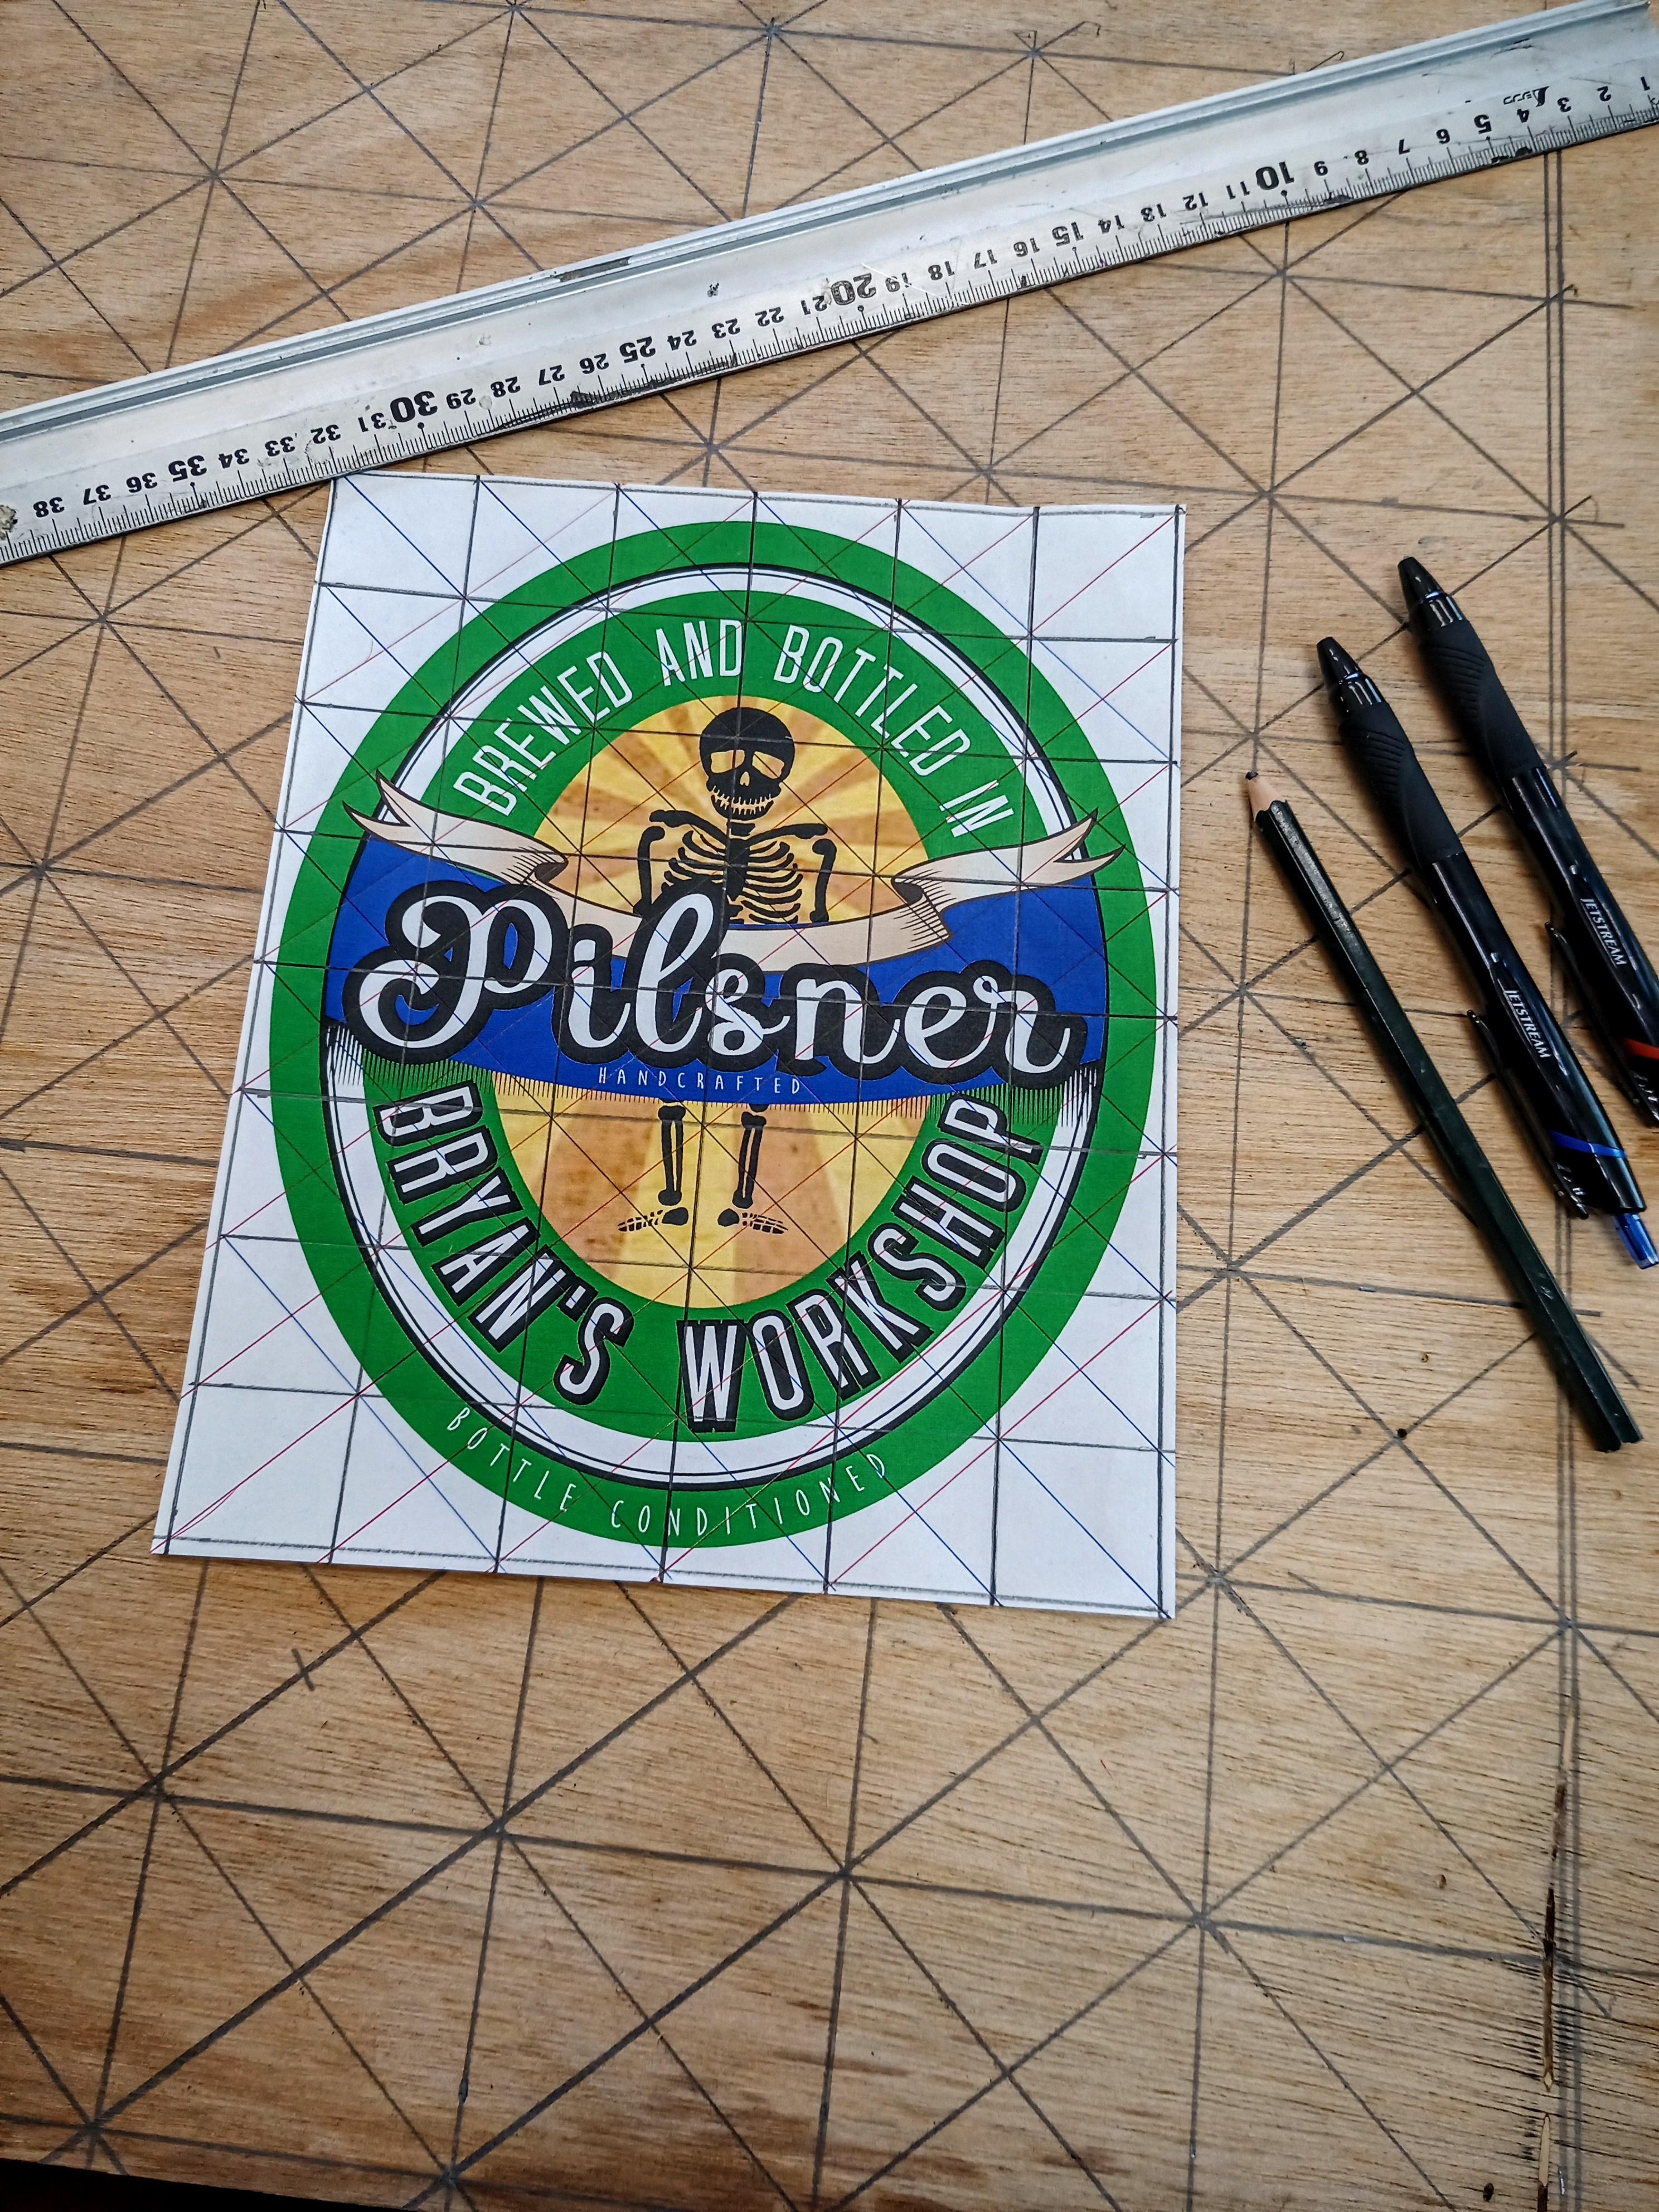
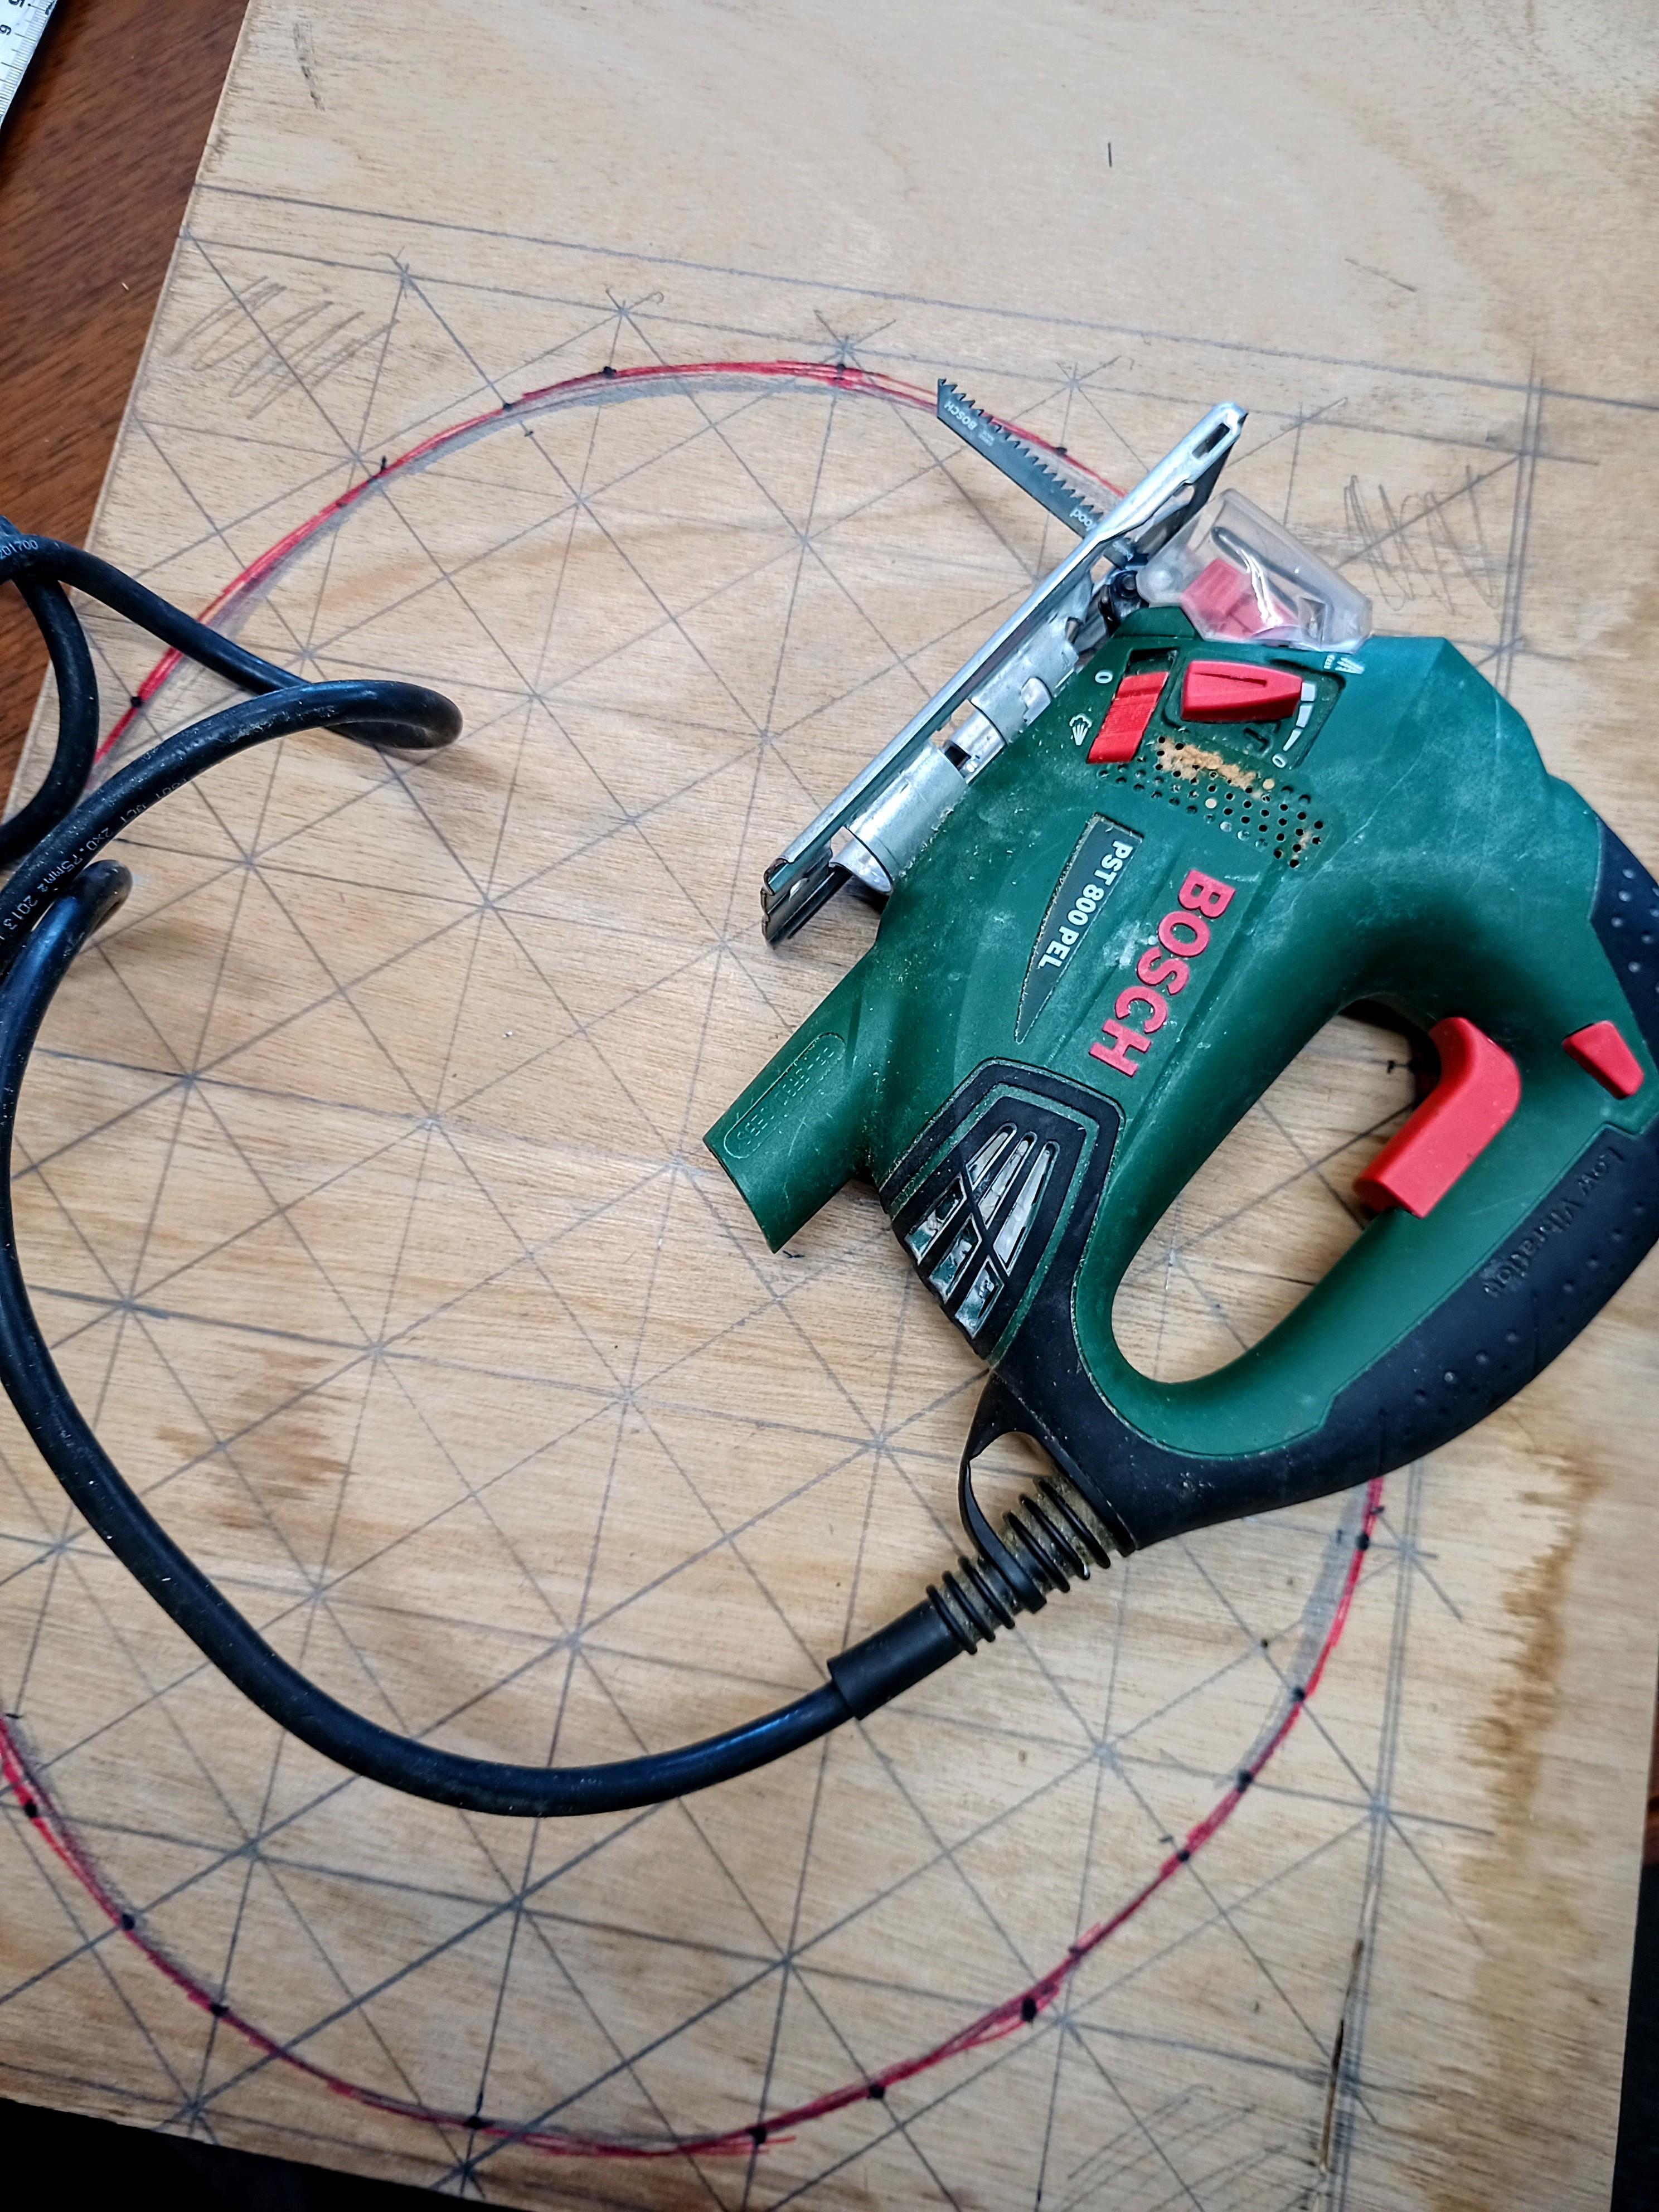
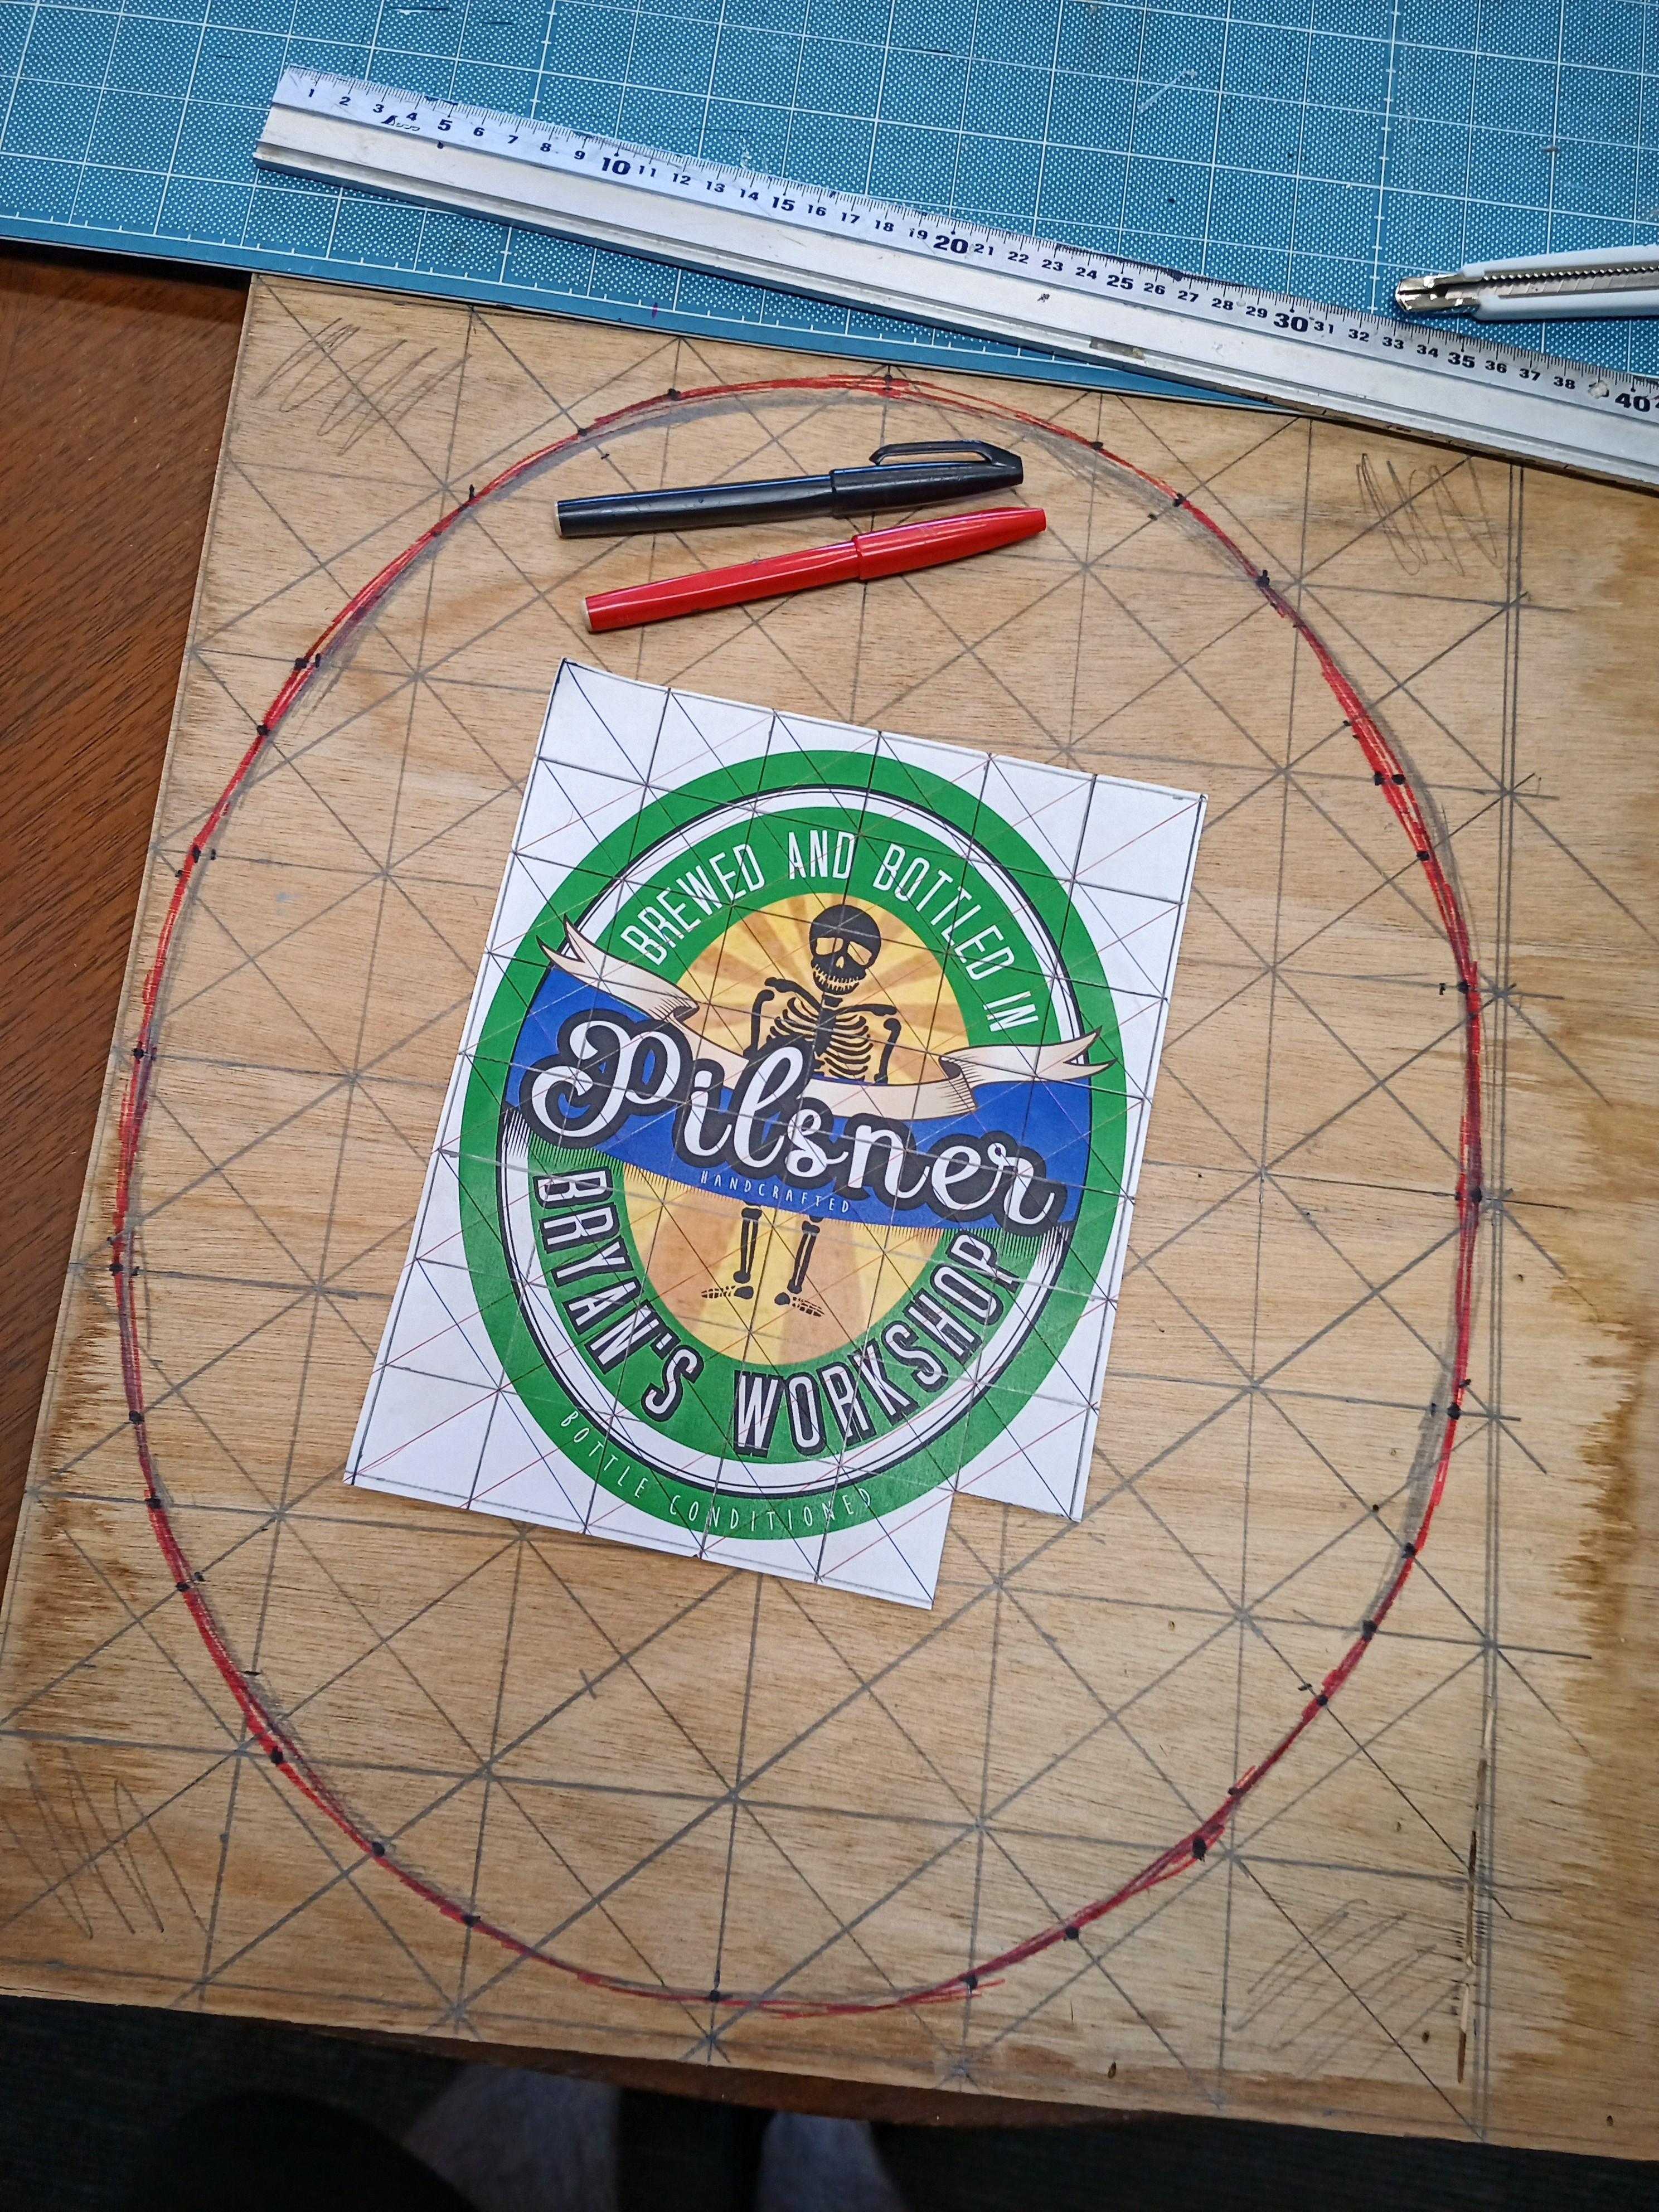
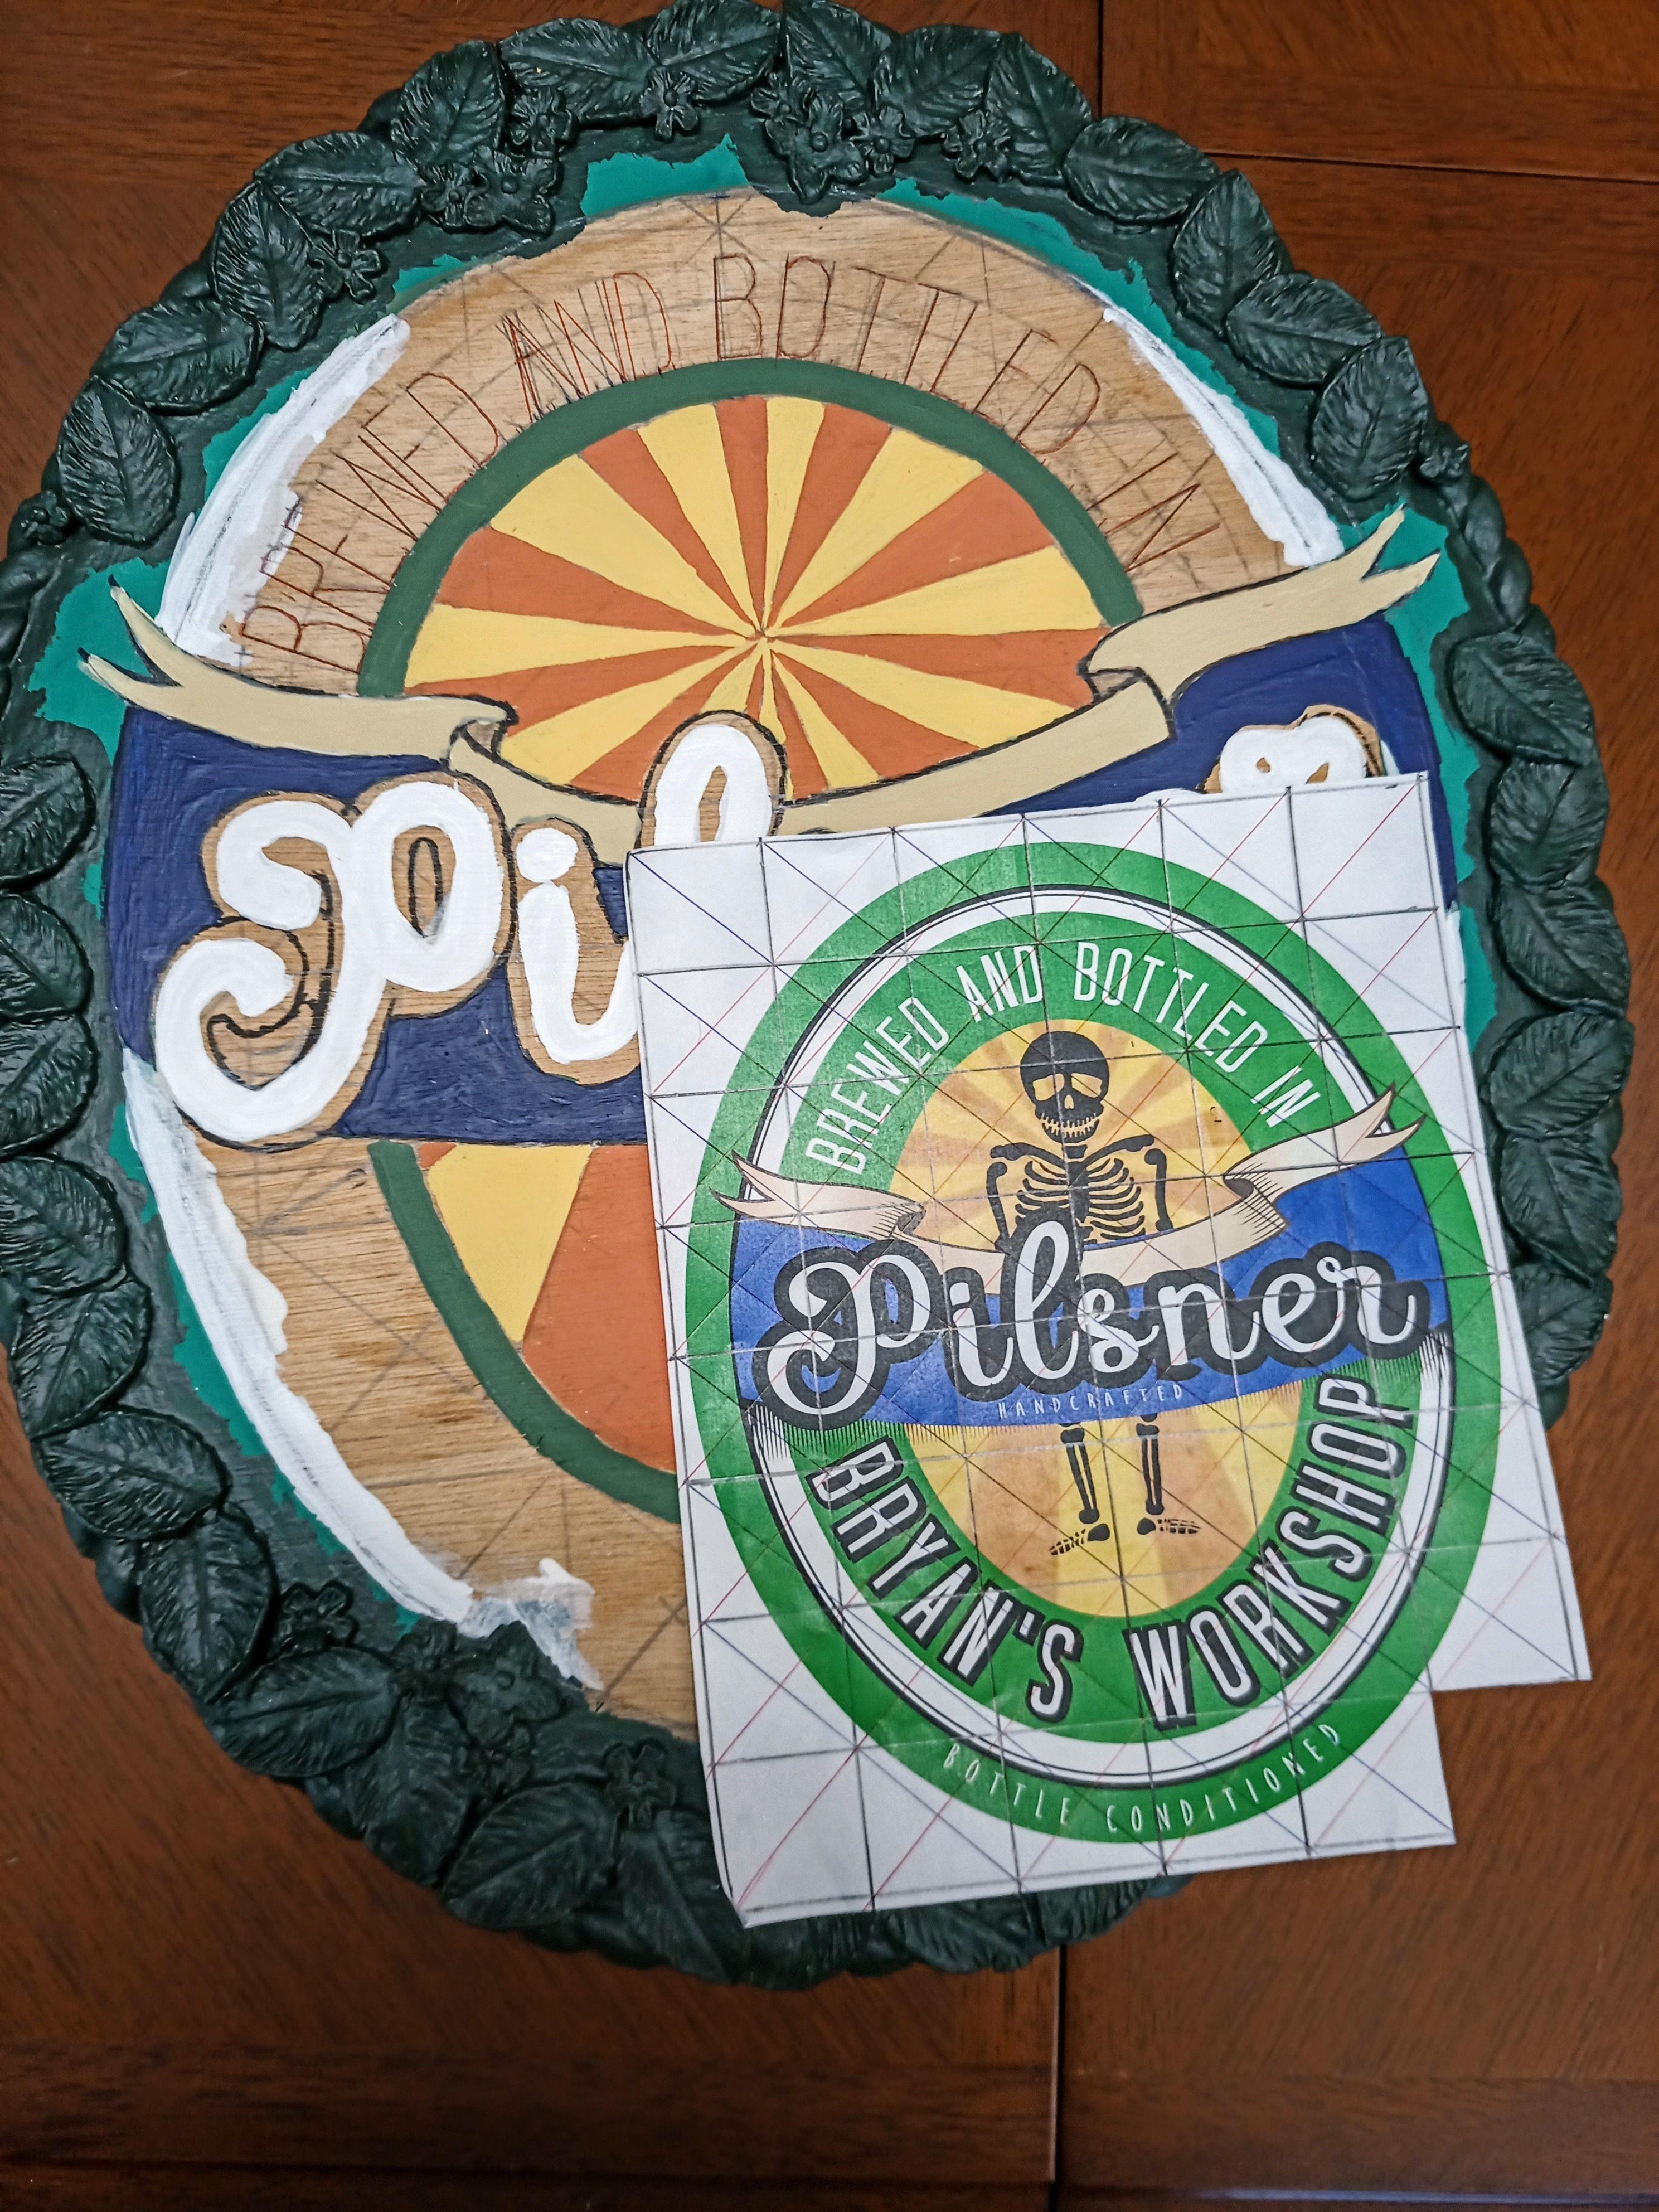
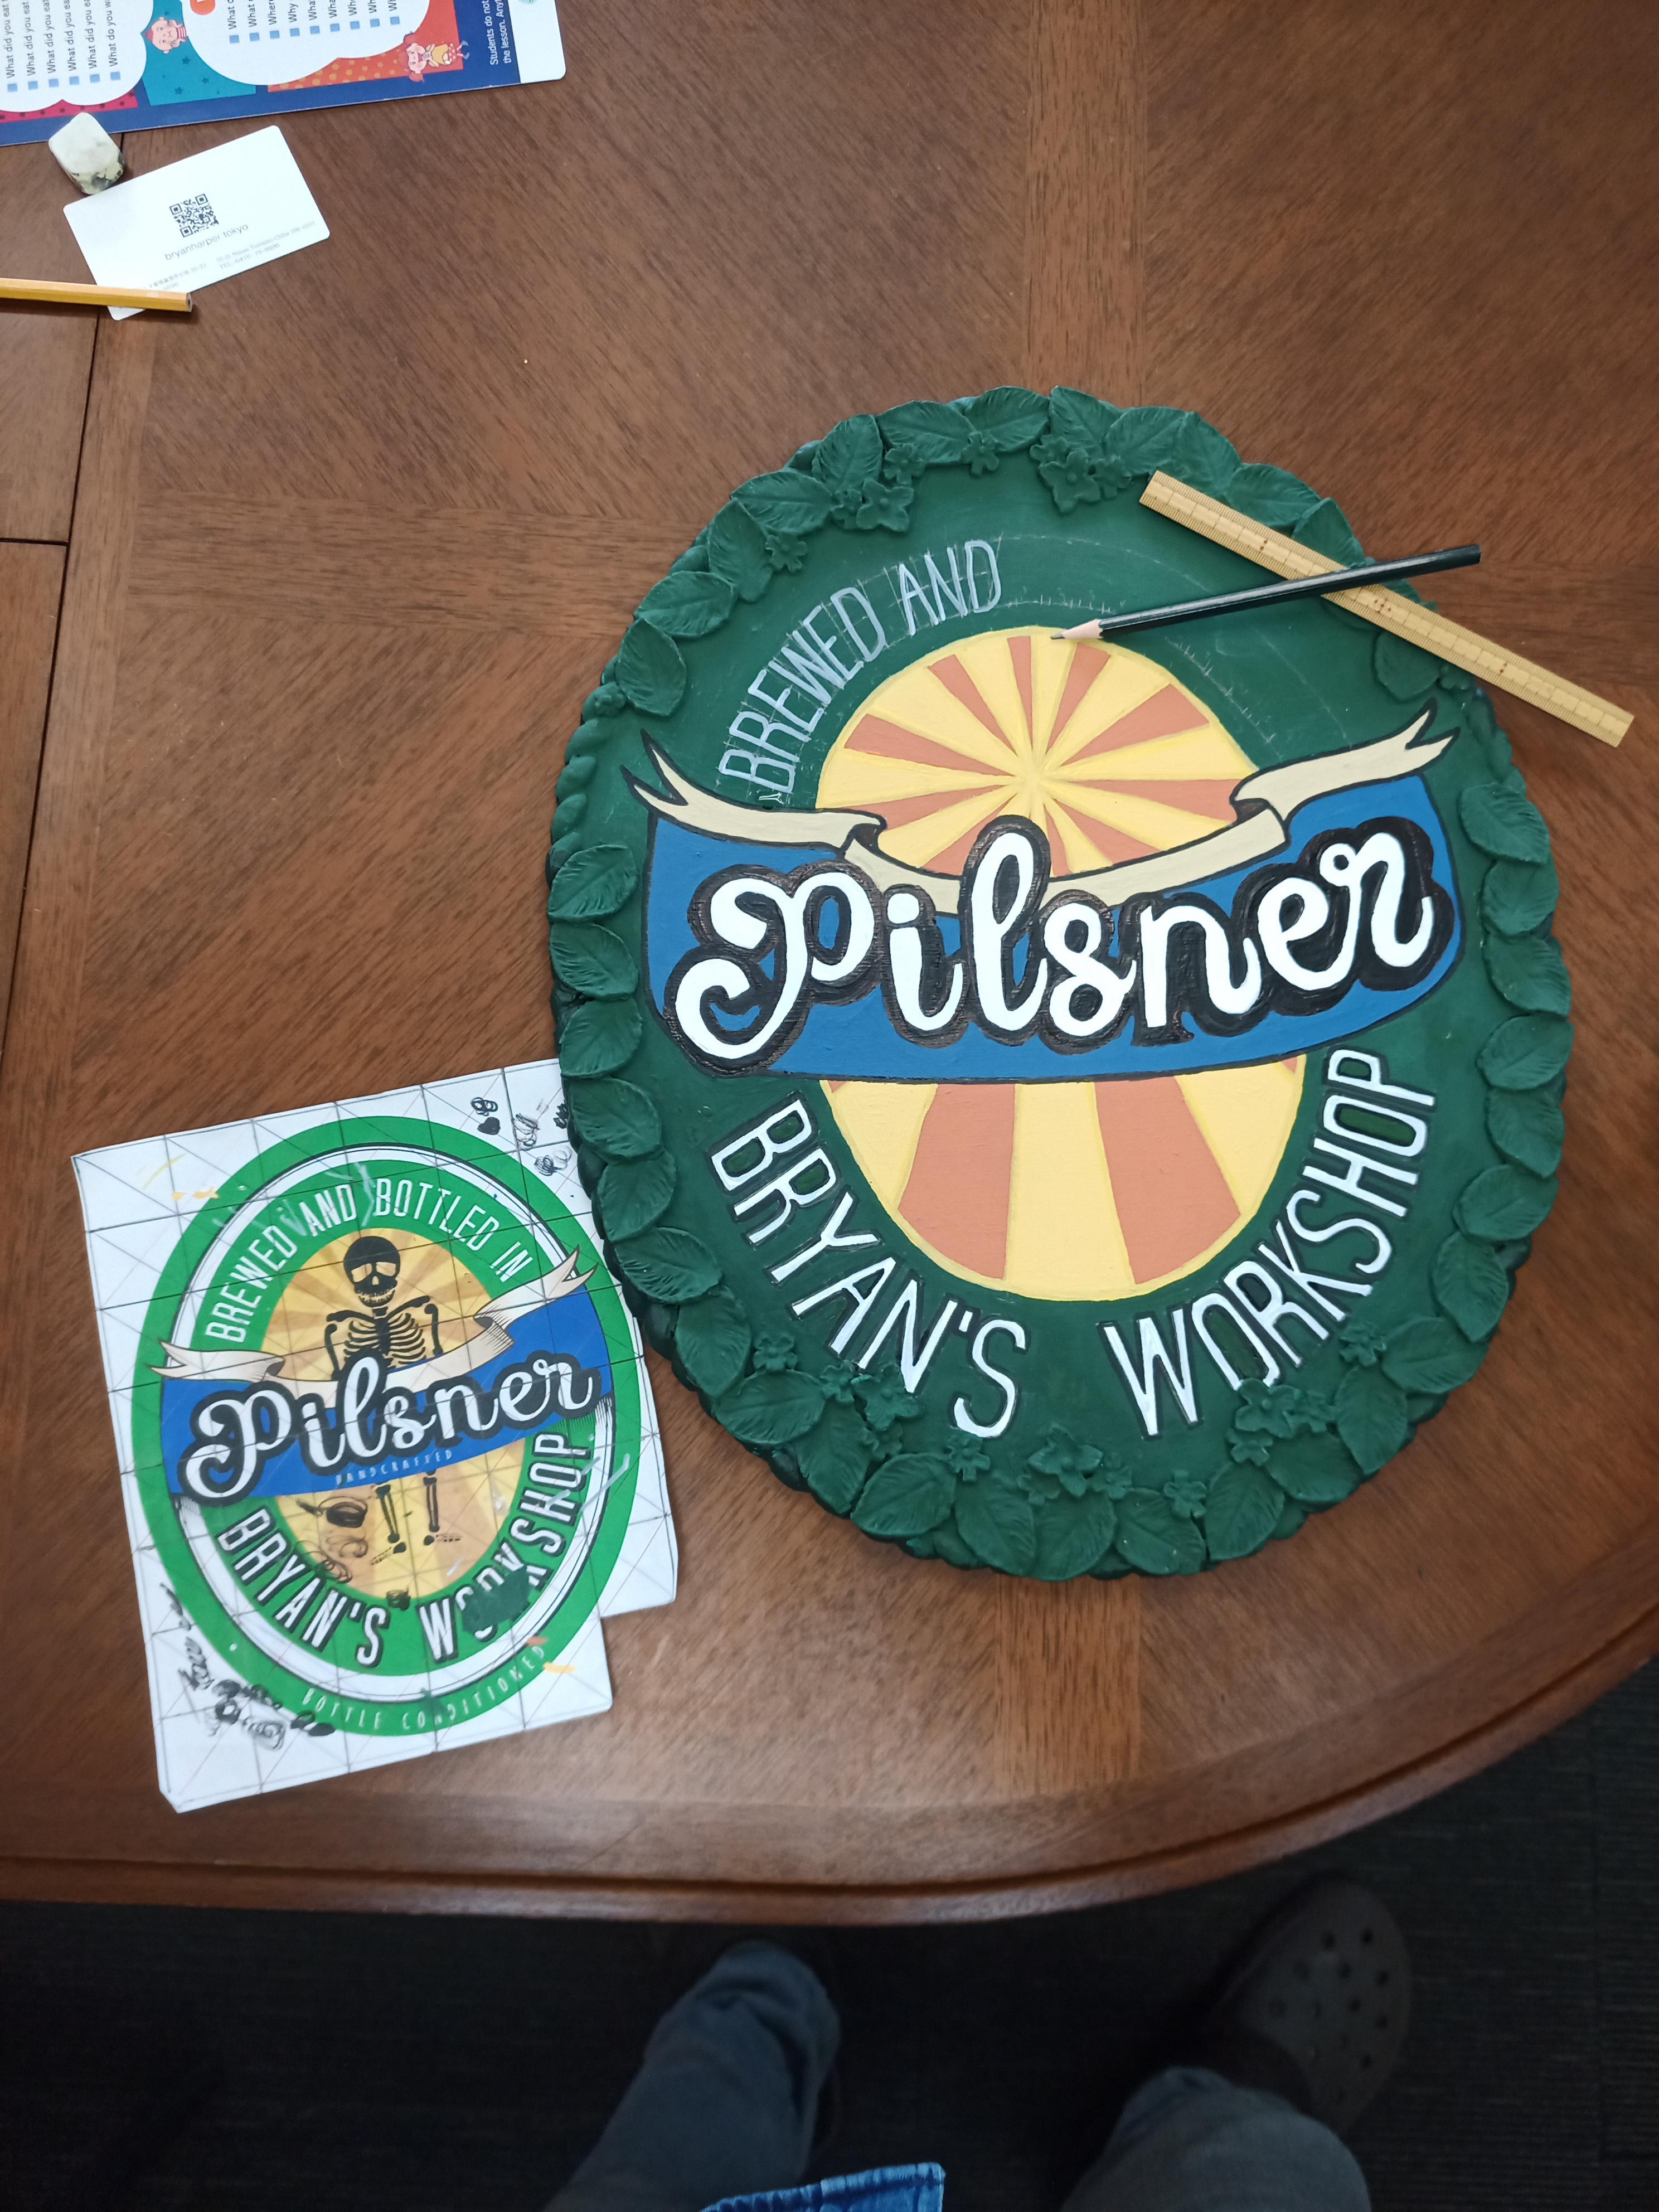
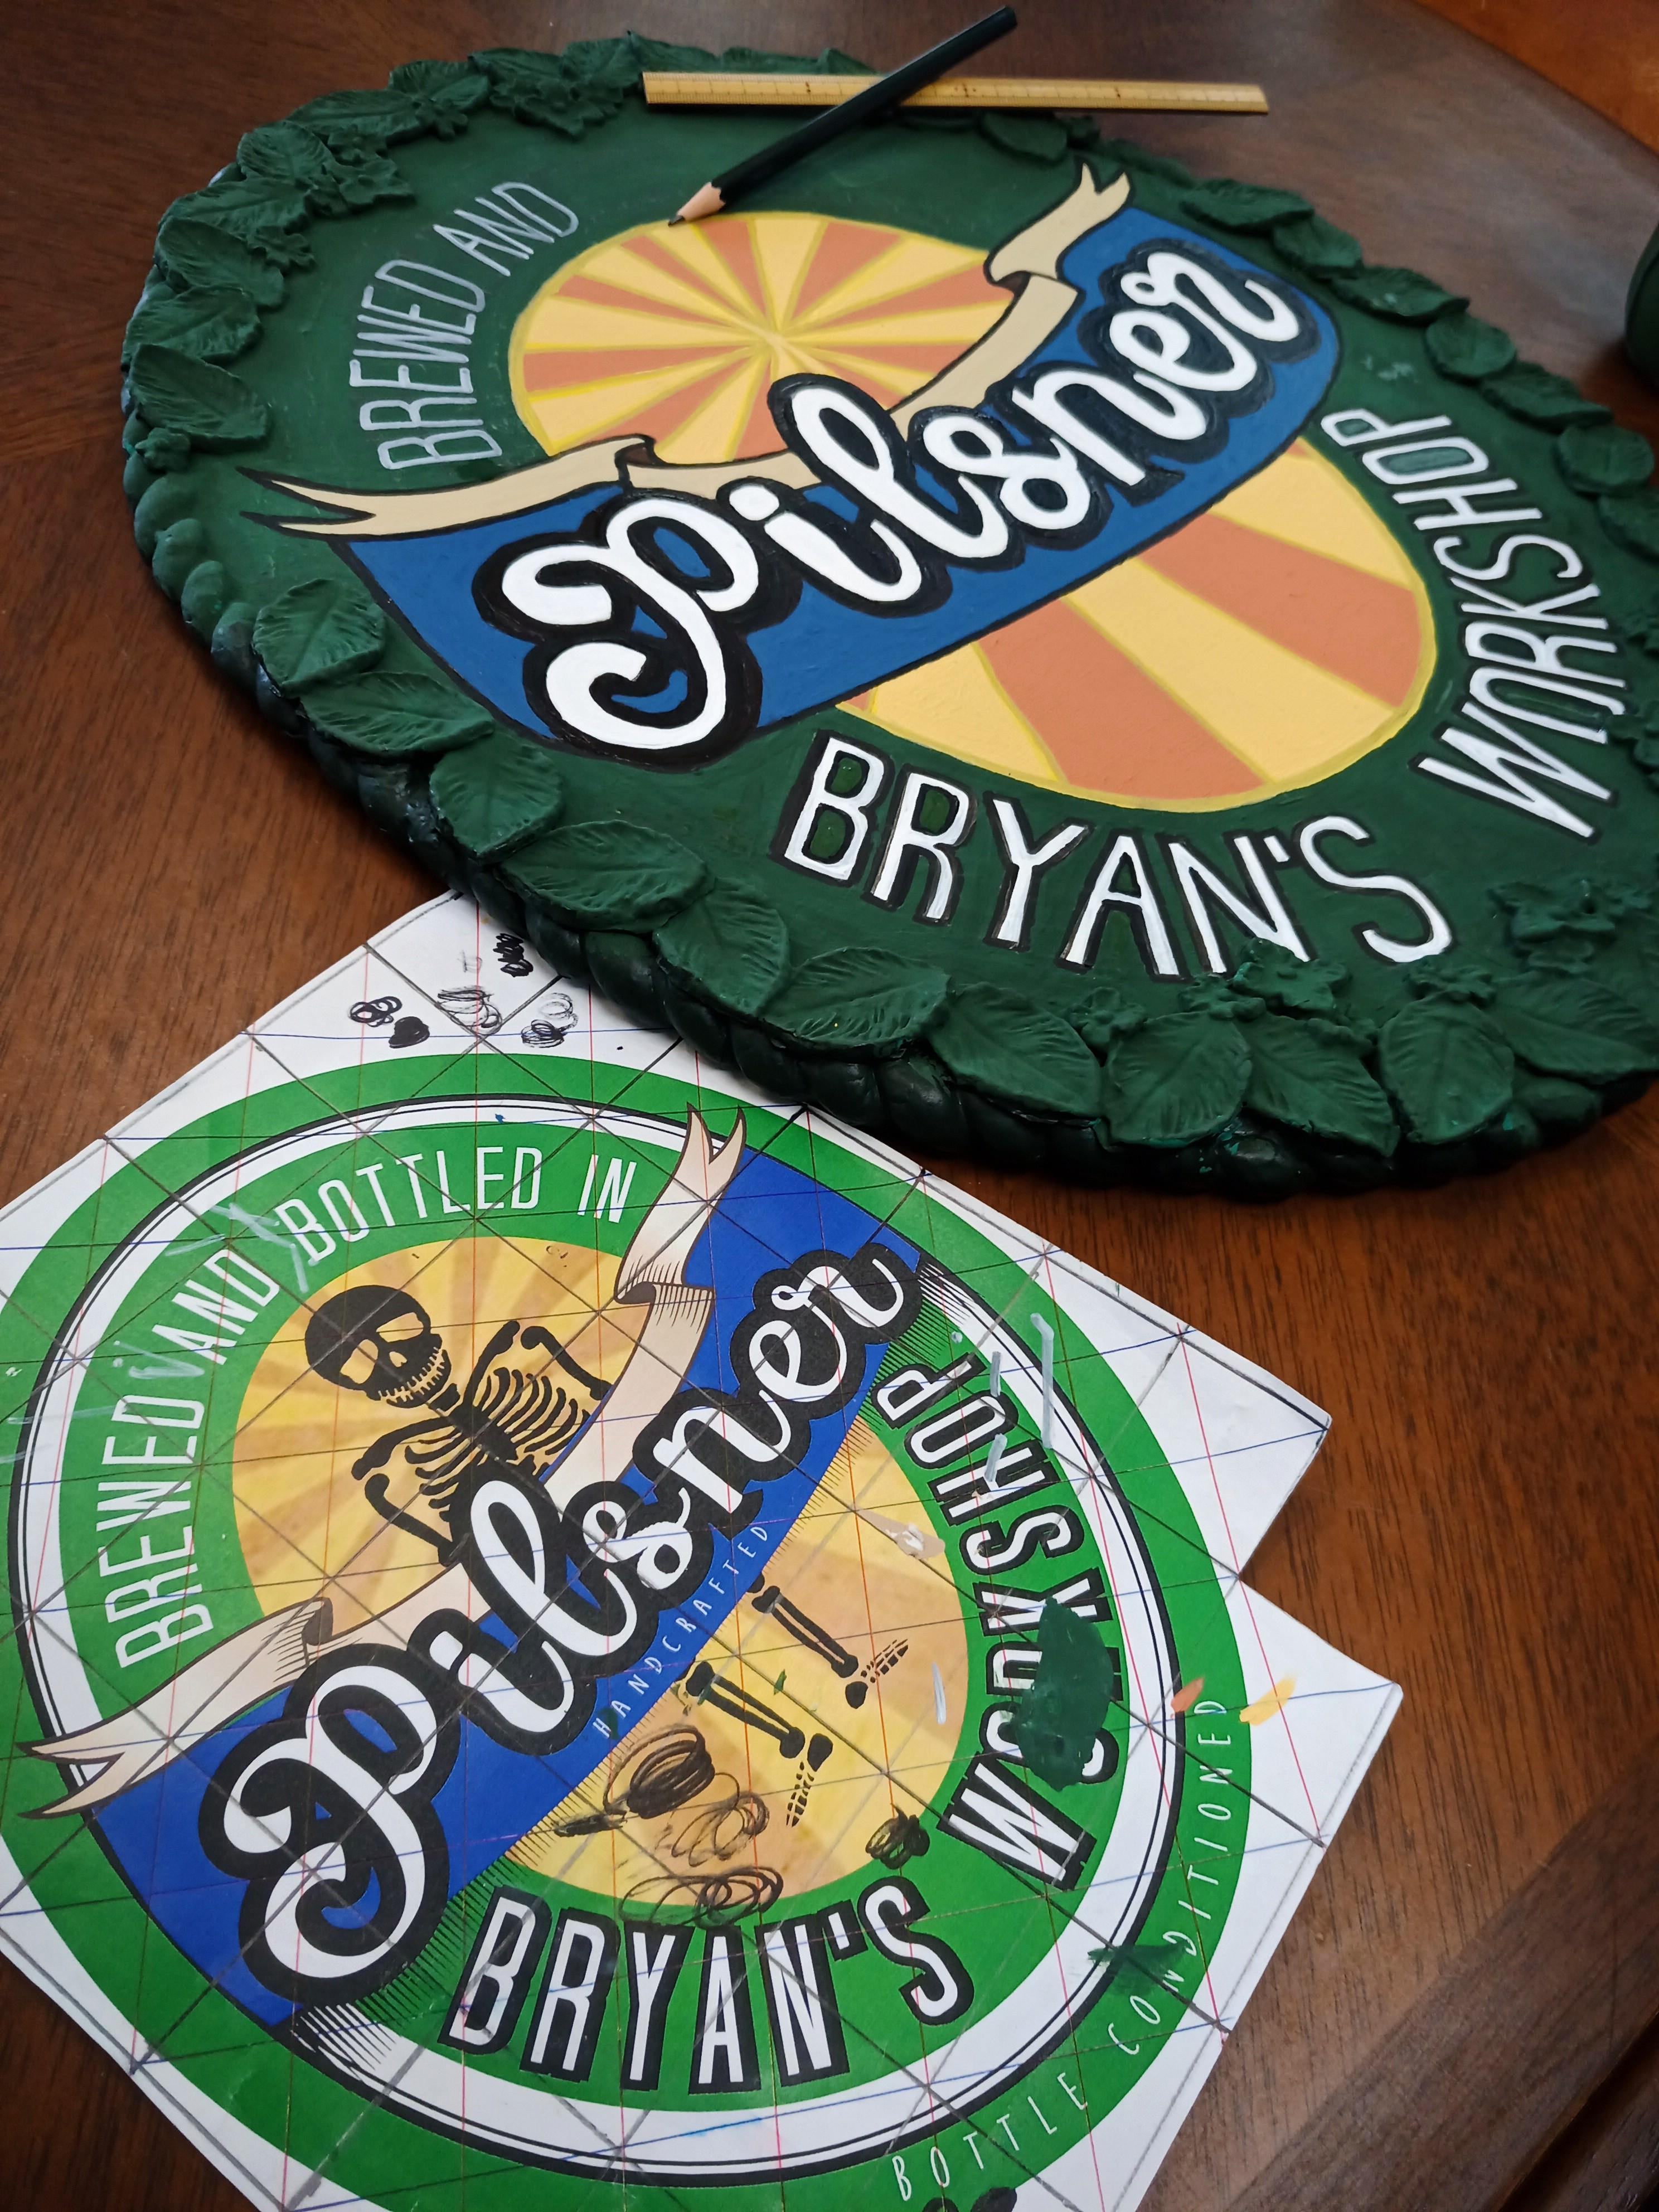
You totally remember the "grid method" from elementary school, but it basically involves drawing a grid over a reference picture, and then drawing a grid of equal or larger ratio on something else. Once the grids are finished, you draw the image on the new canvas focusing only on one square at a time.
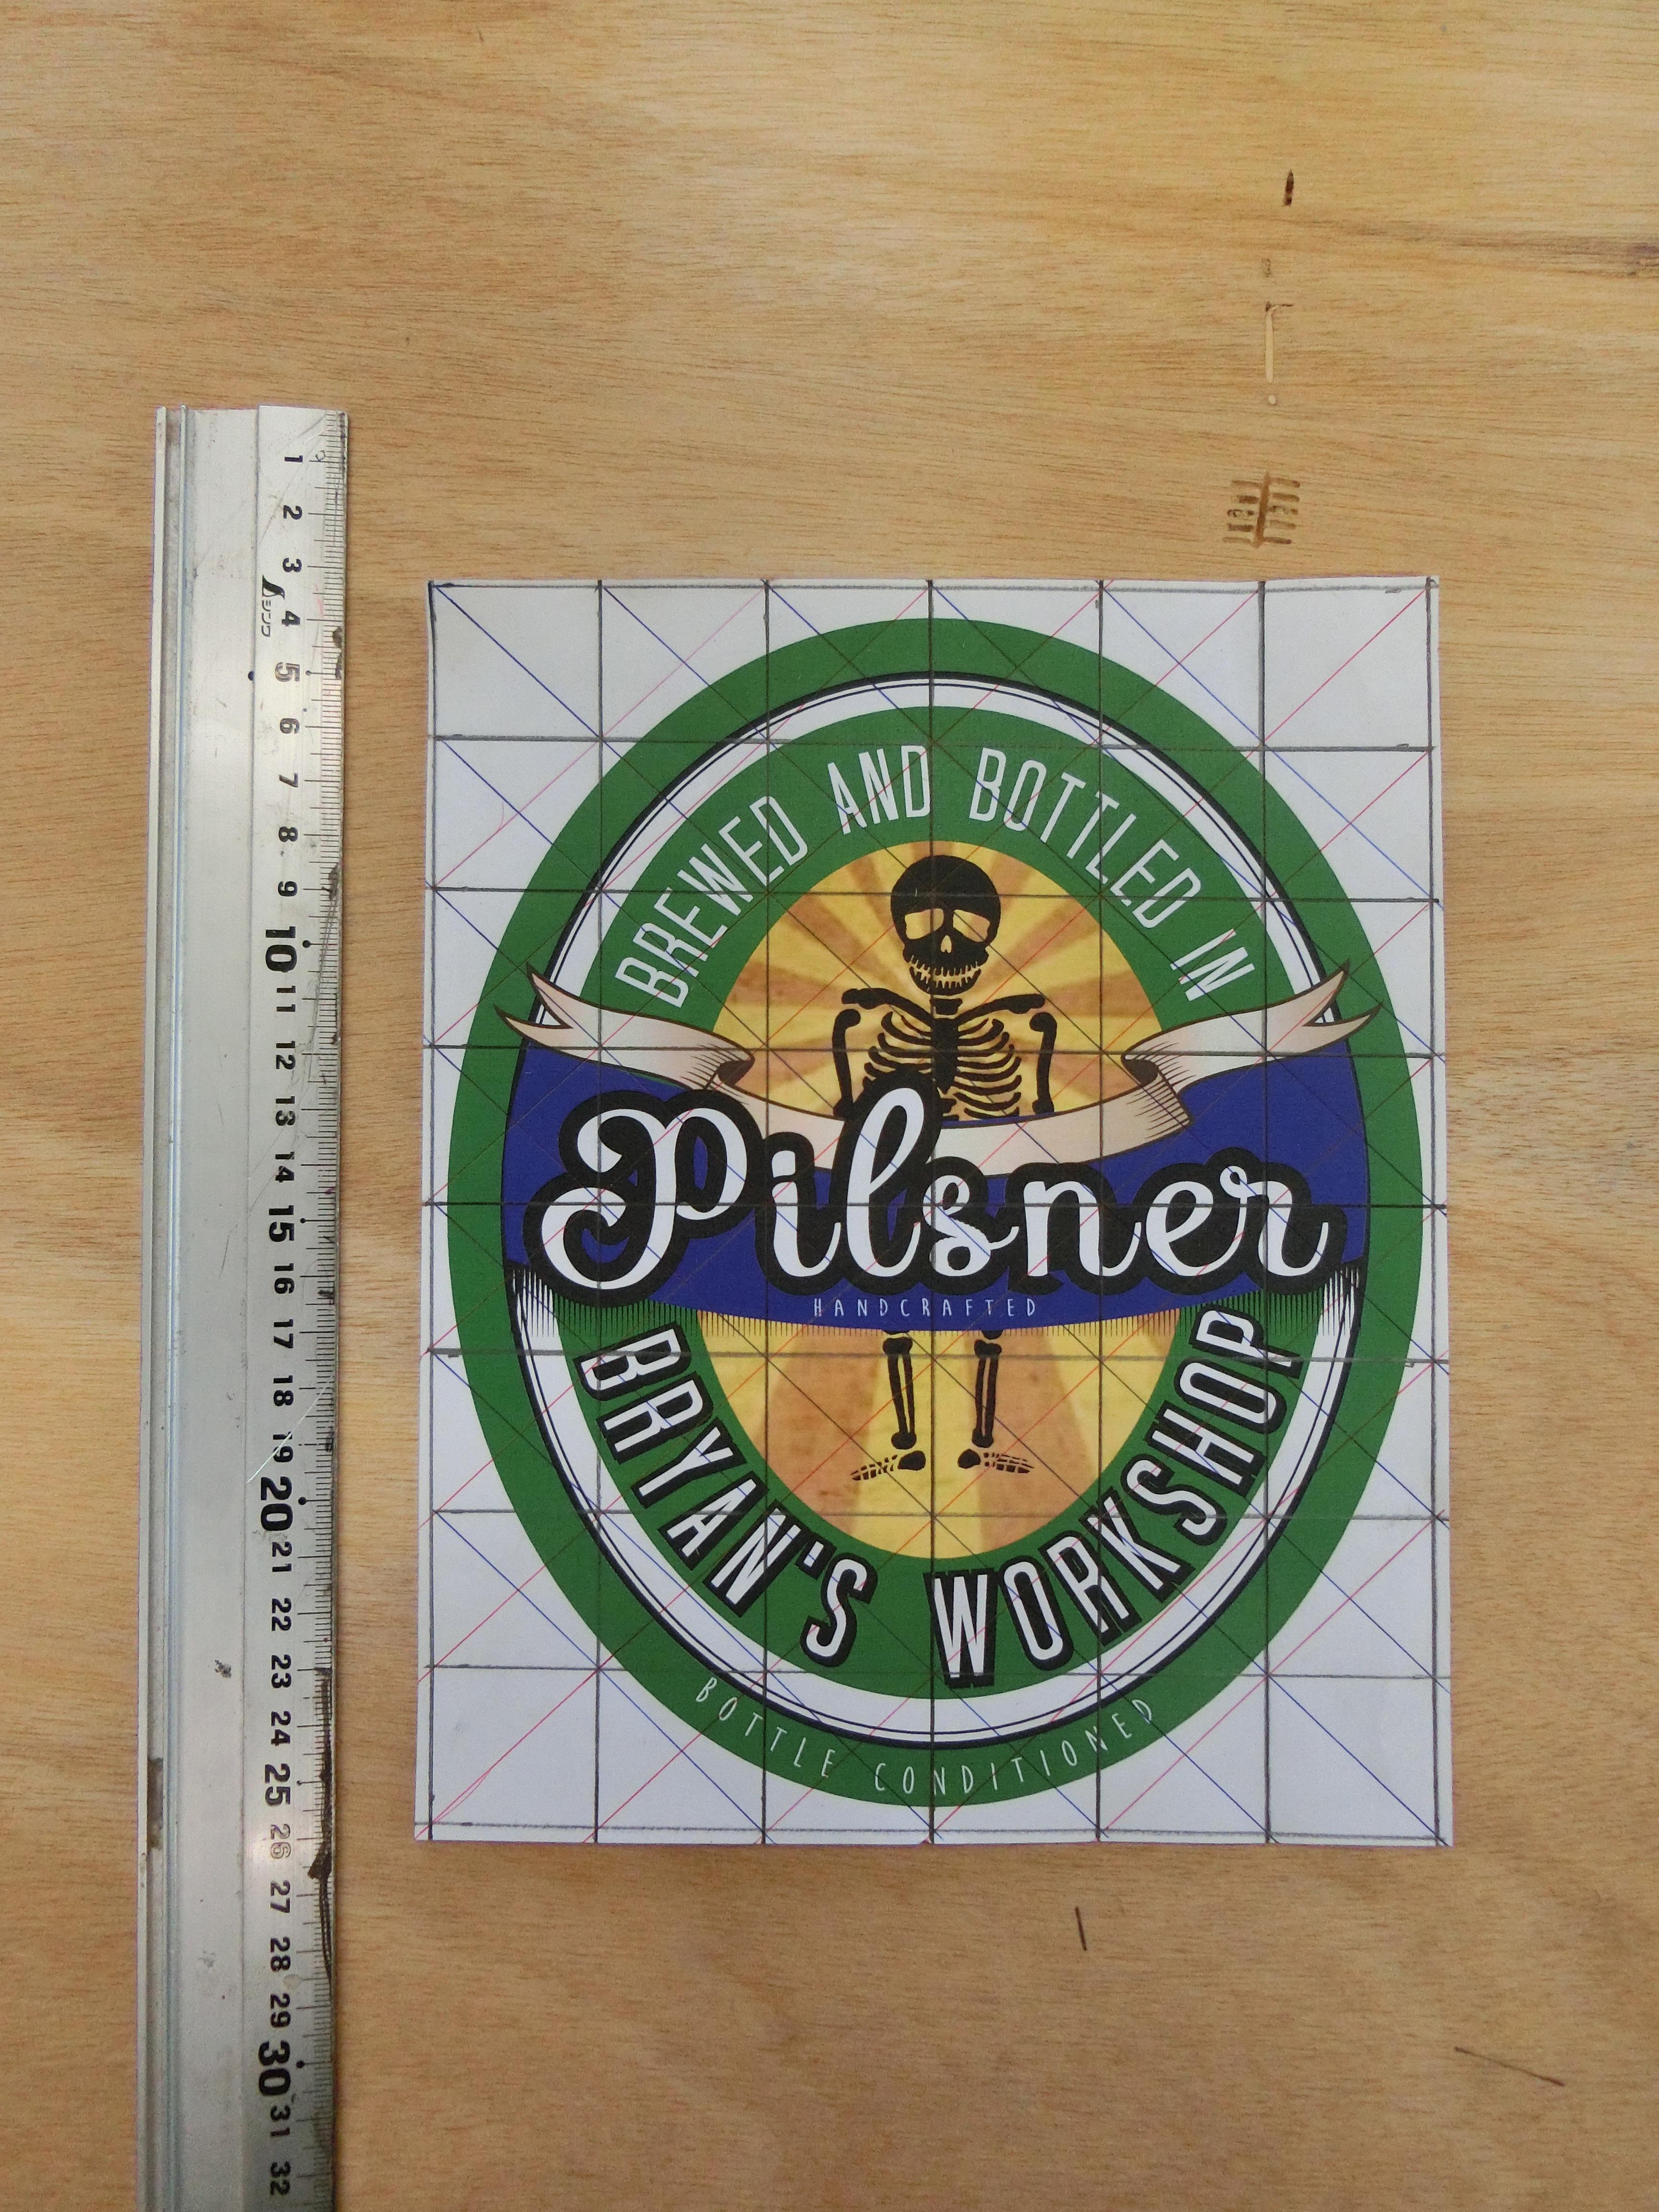
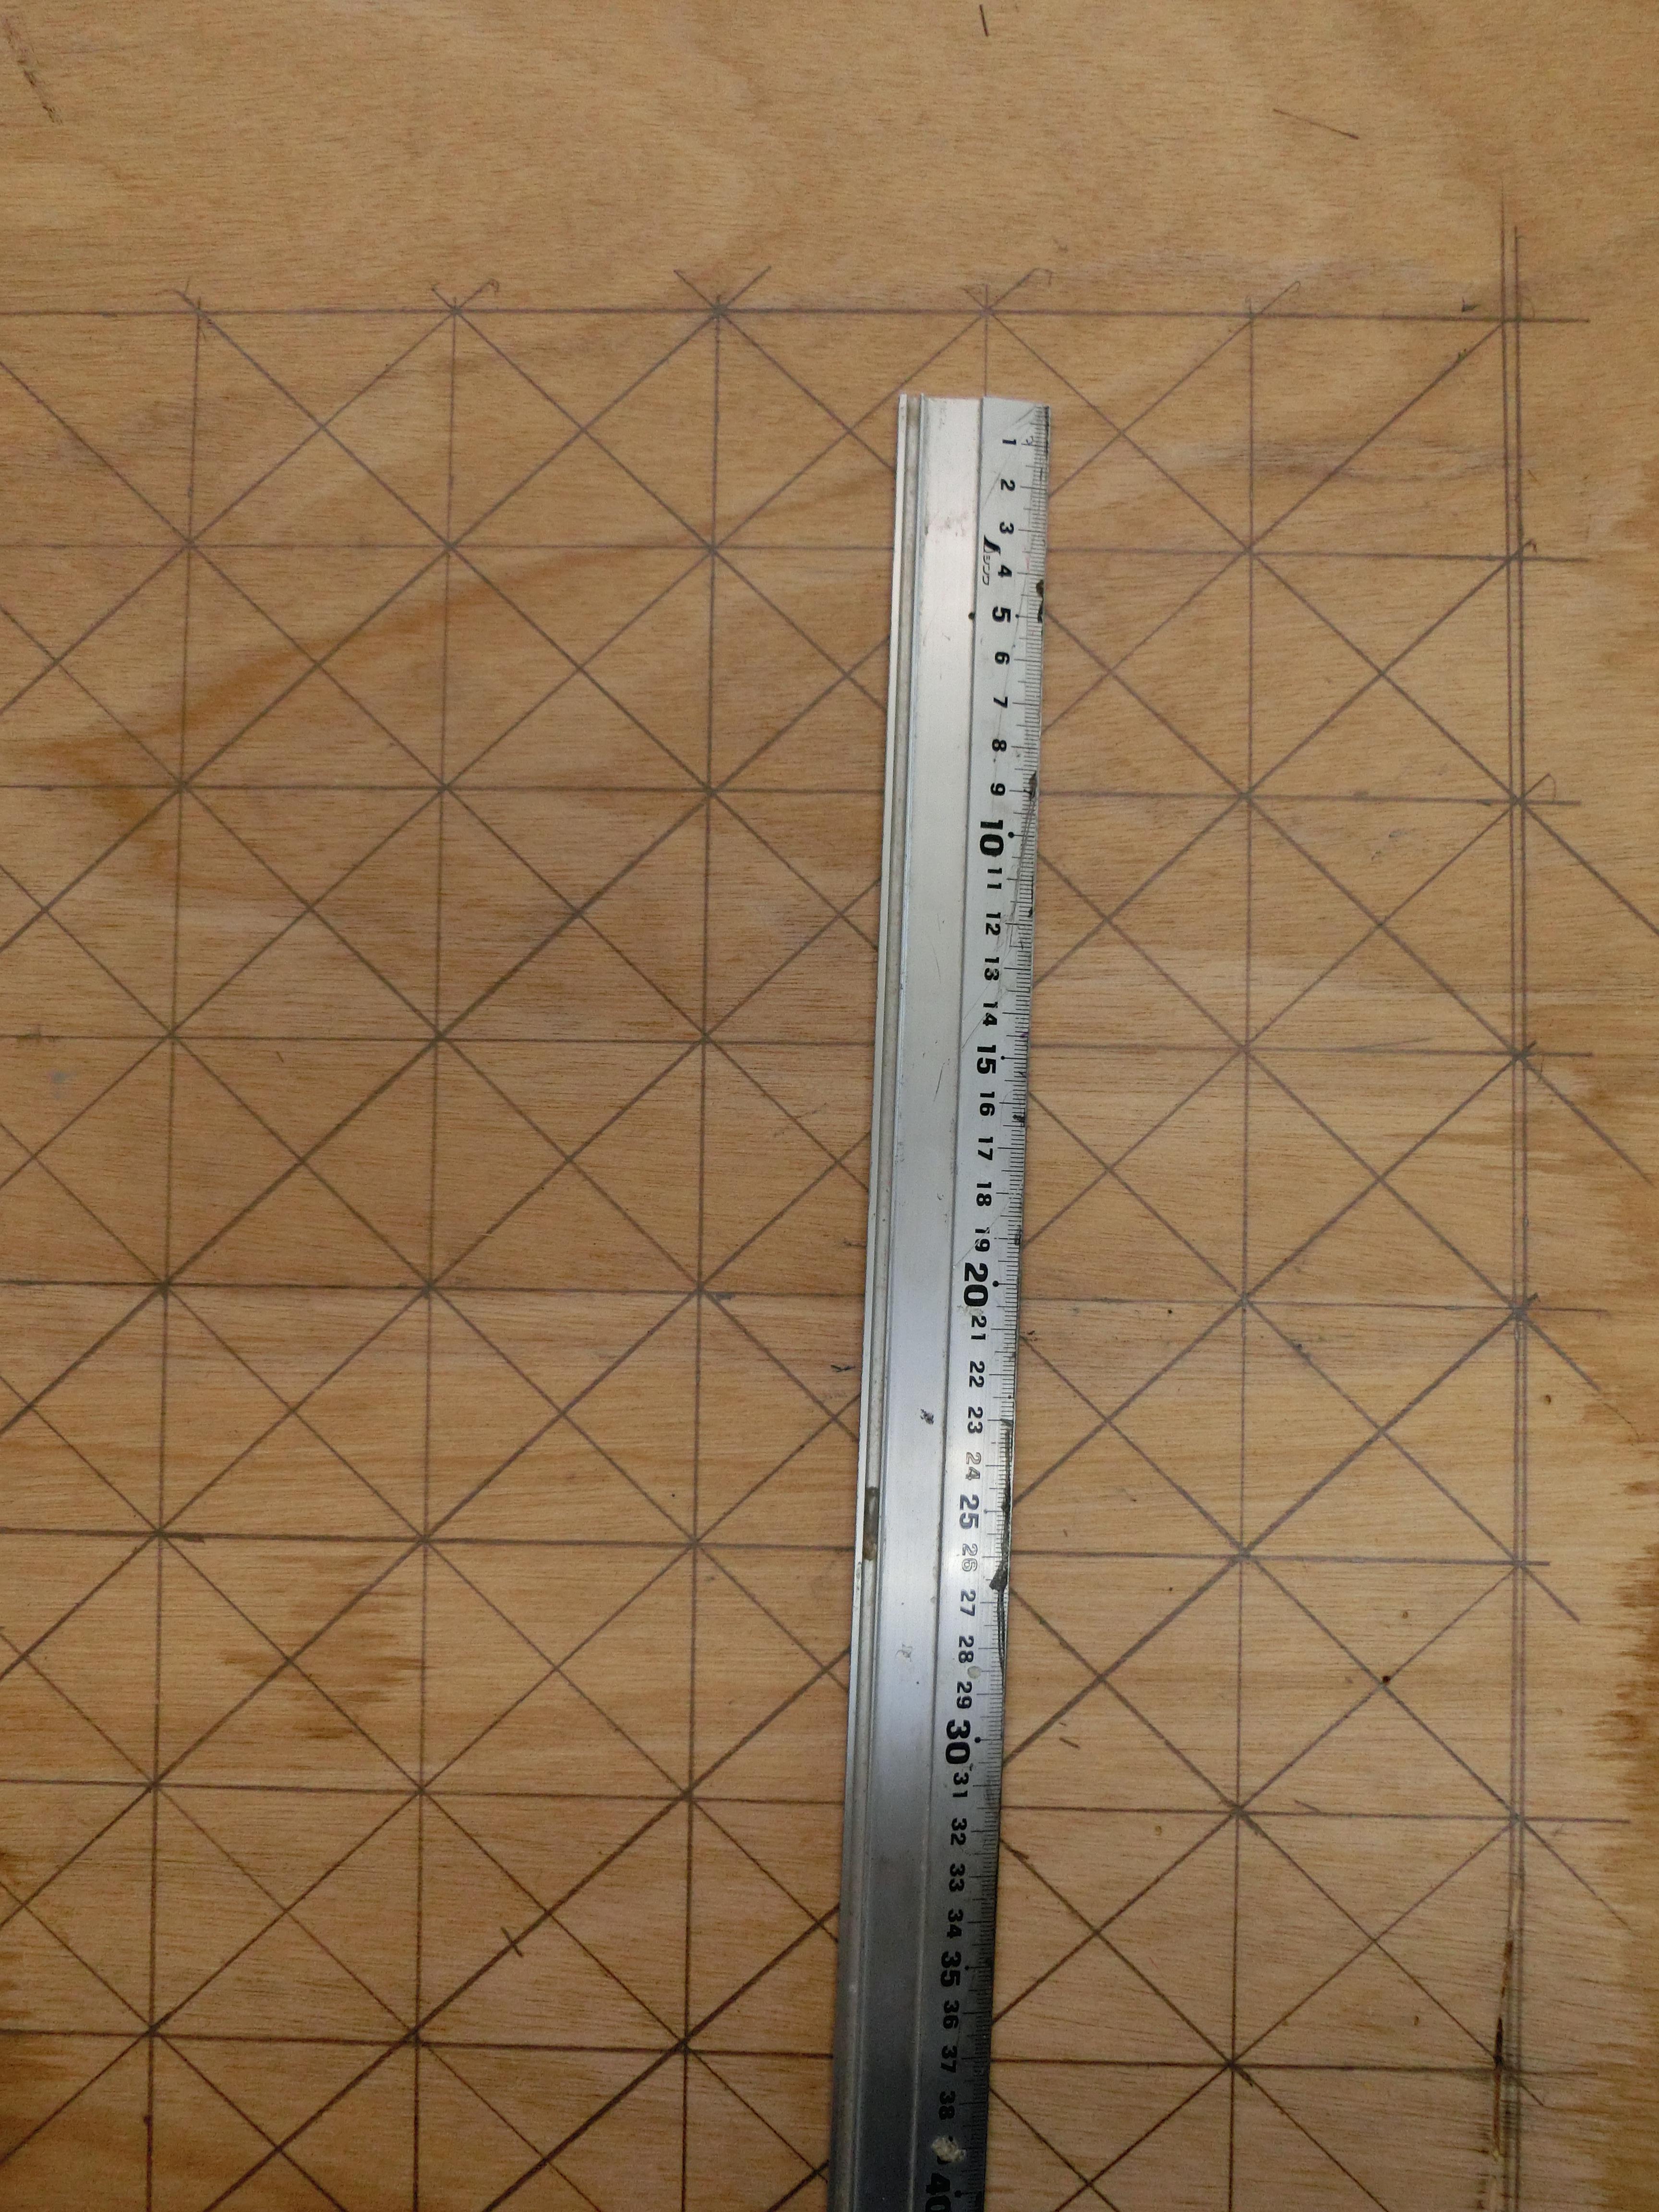
I doubled my image. I drew a 3x3cm grid on the printout of the beer label and made a 6x6cm grid on a piece of plywood.
*You'll need to draw the exact same number of lines on the canvas as you did on your reference picture, and that in both cases, the lines must be equally spaced apart.
It's super easy and the best part is this is a low-tech, kid friendly way to draw any picture you like.
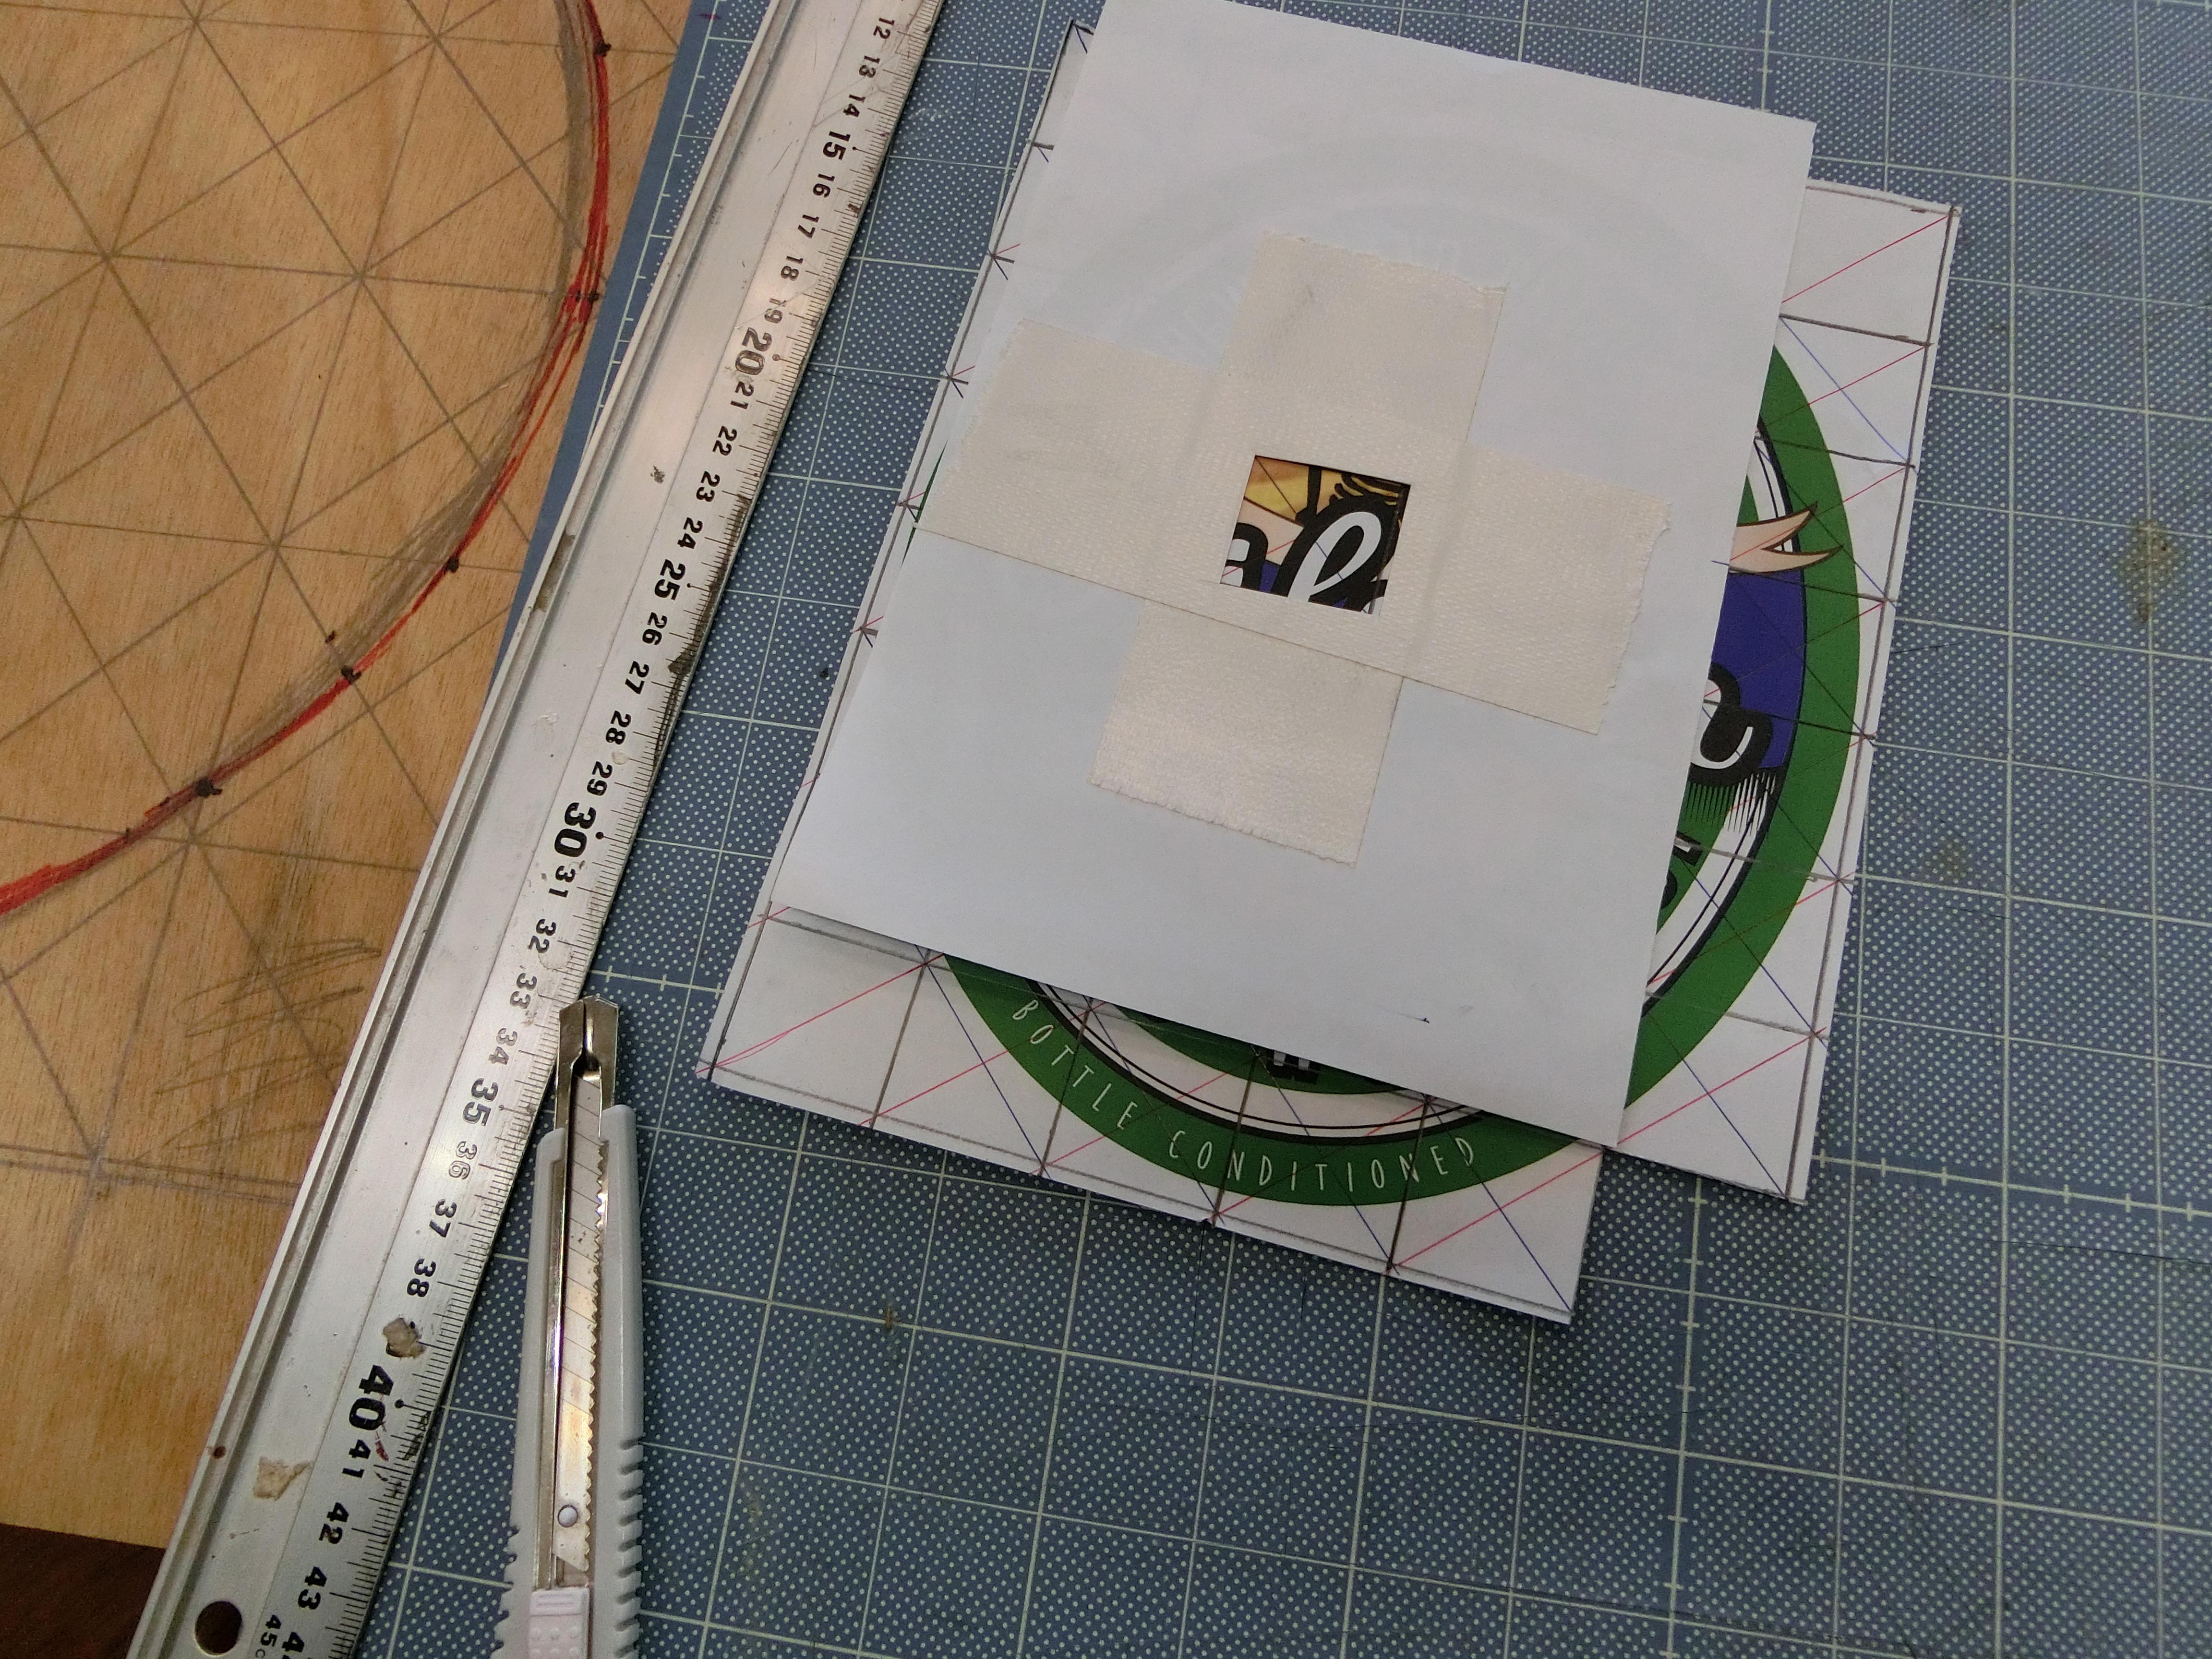
*To help yourself focus on a square, use a boxcutter to cut out a matching square in a sheet of paper.
Cutting
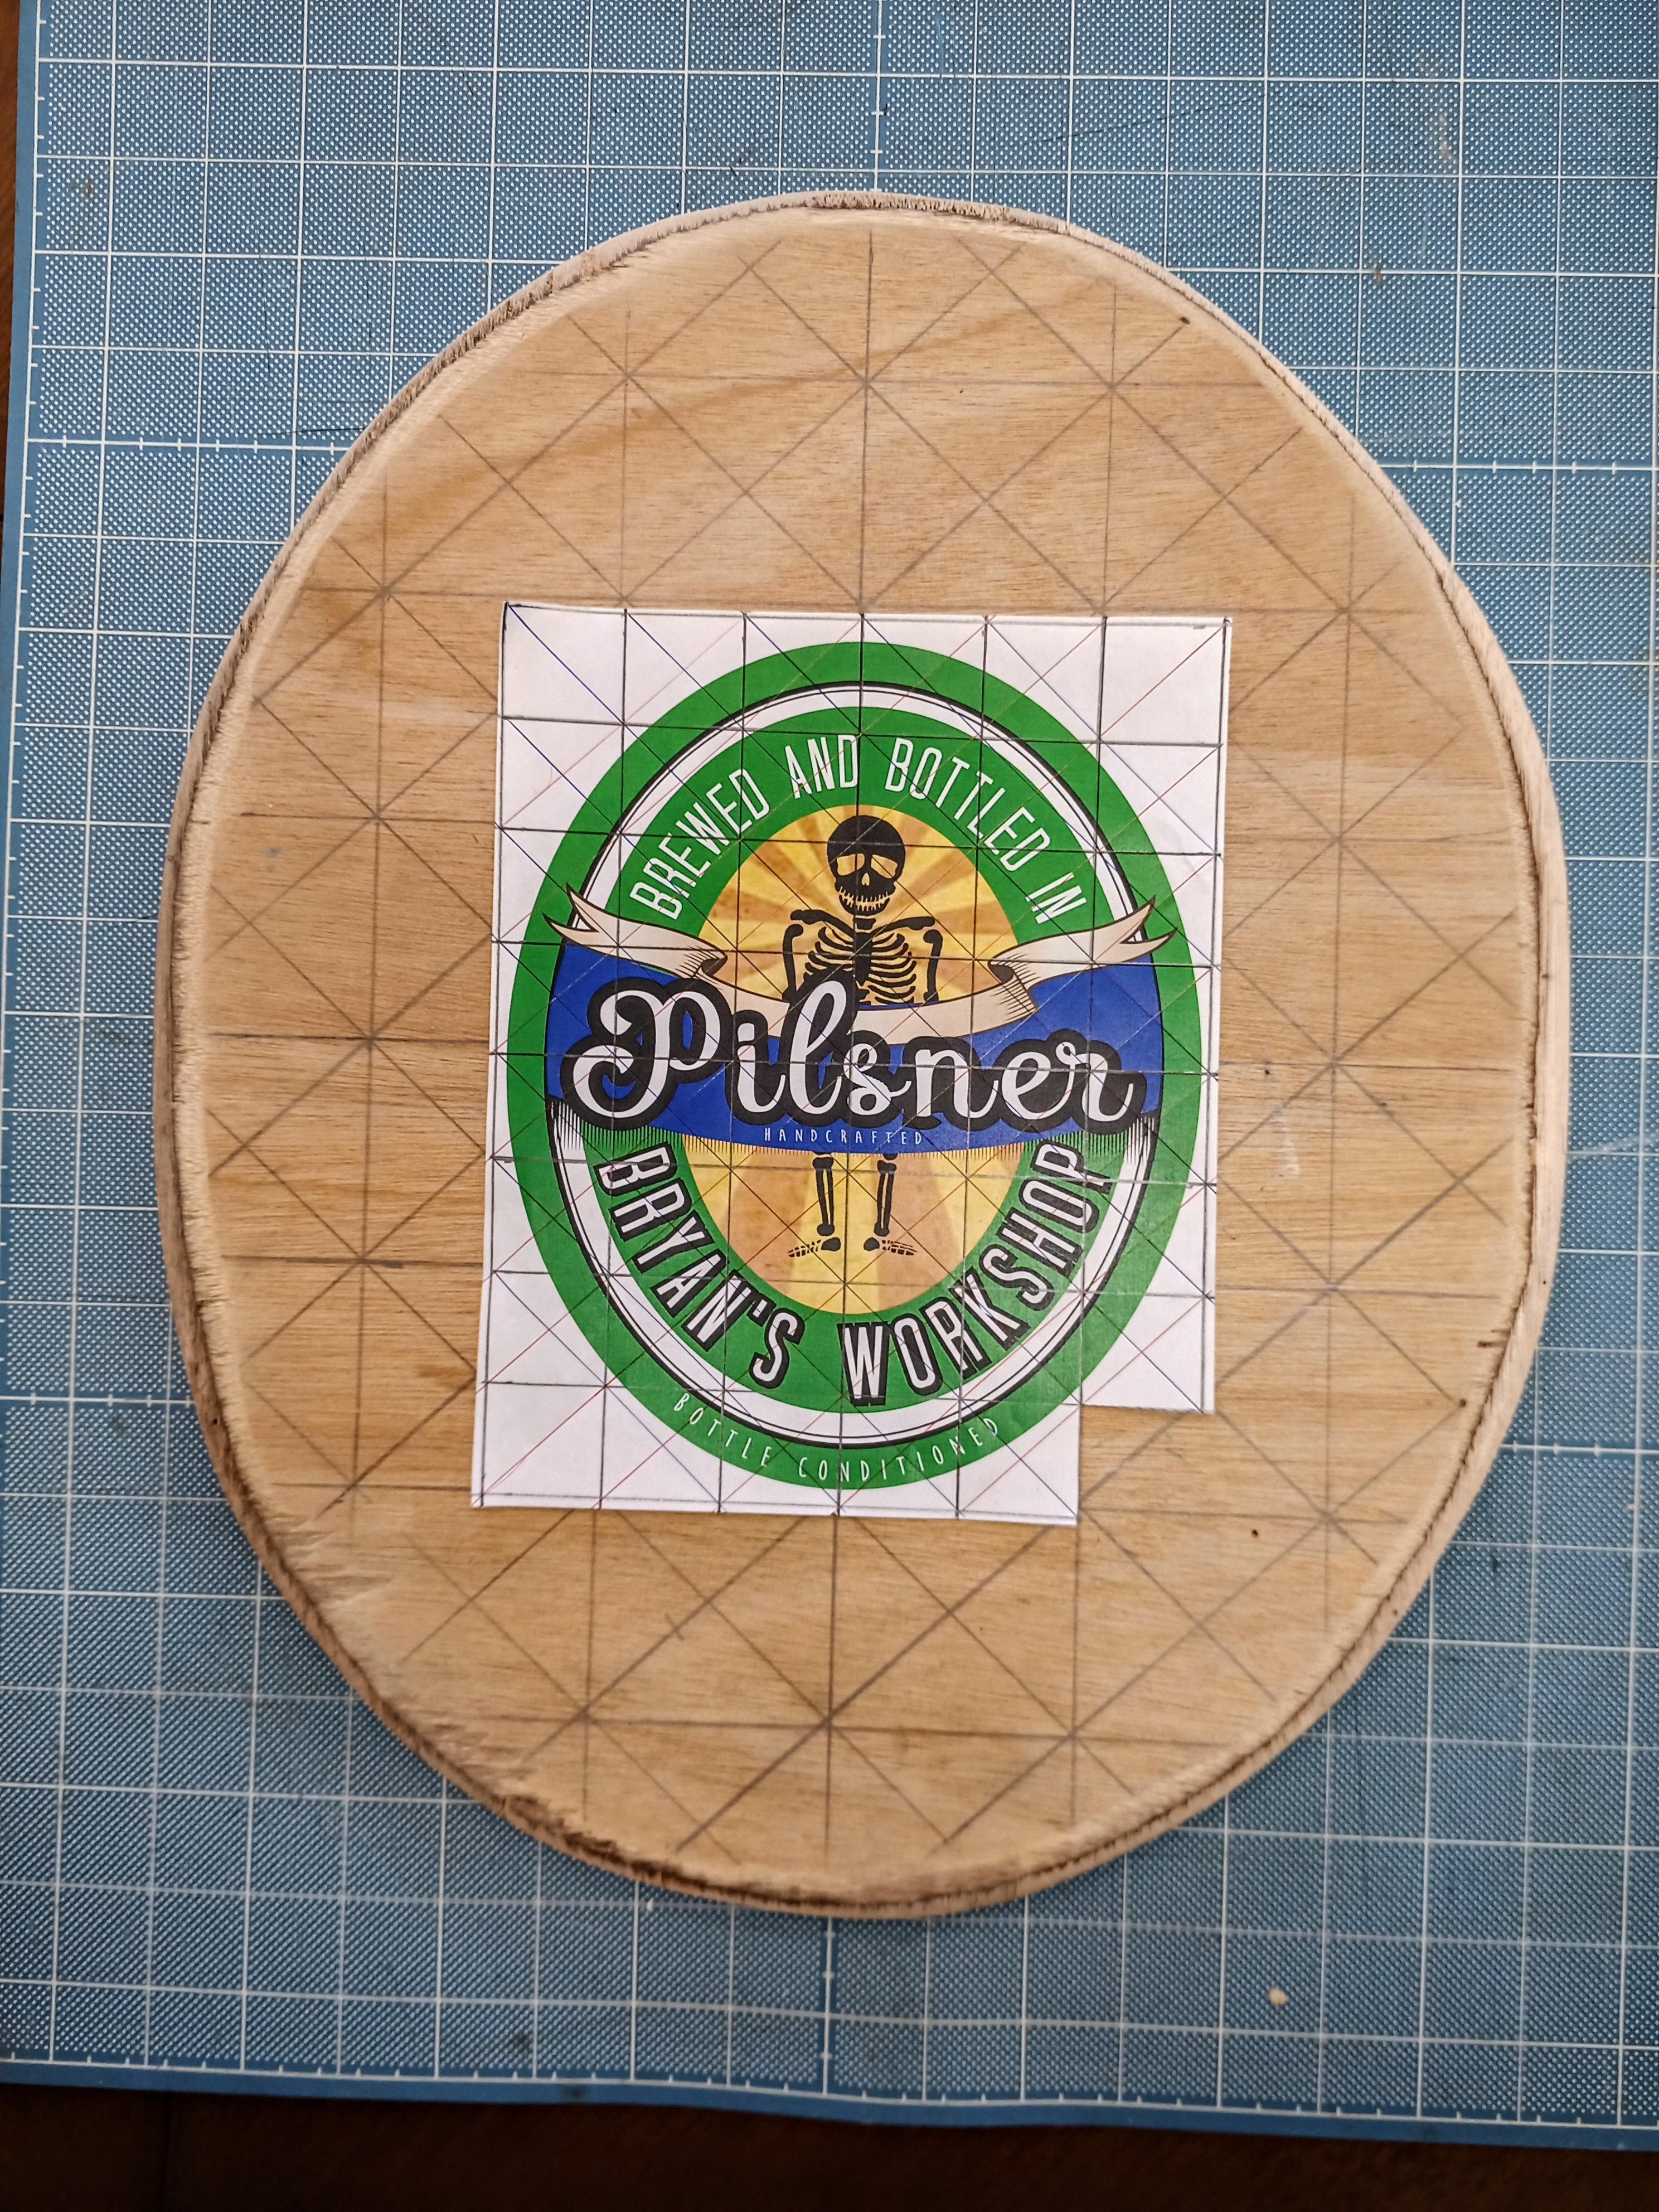
I used a jigsaw to cut out the oval and then I sanded it down.
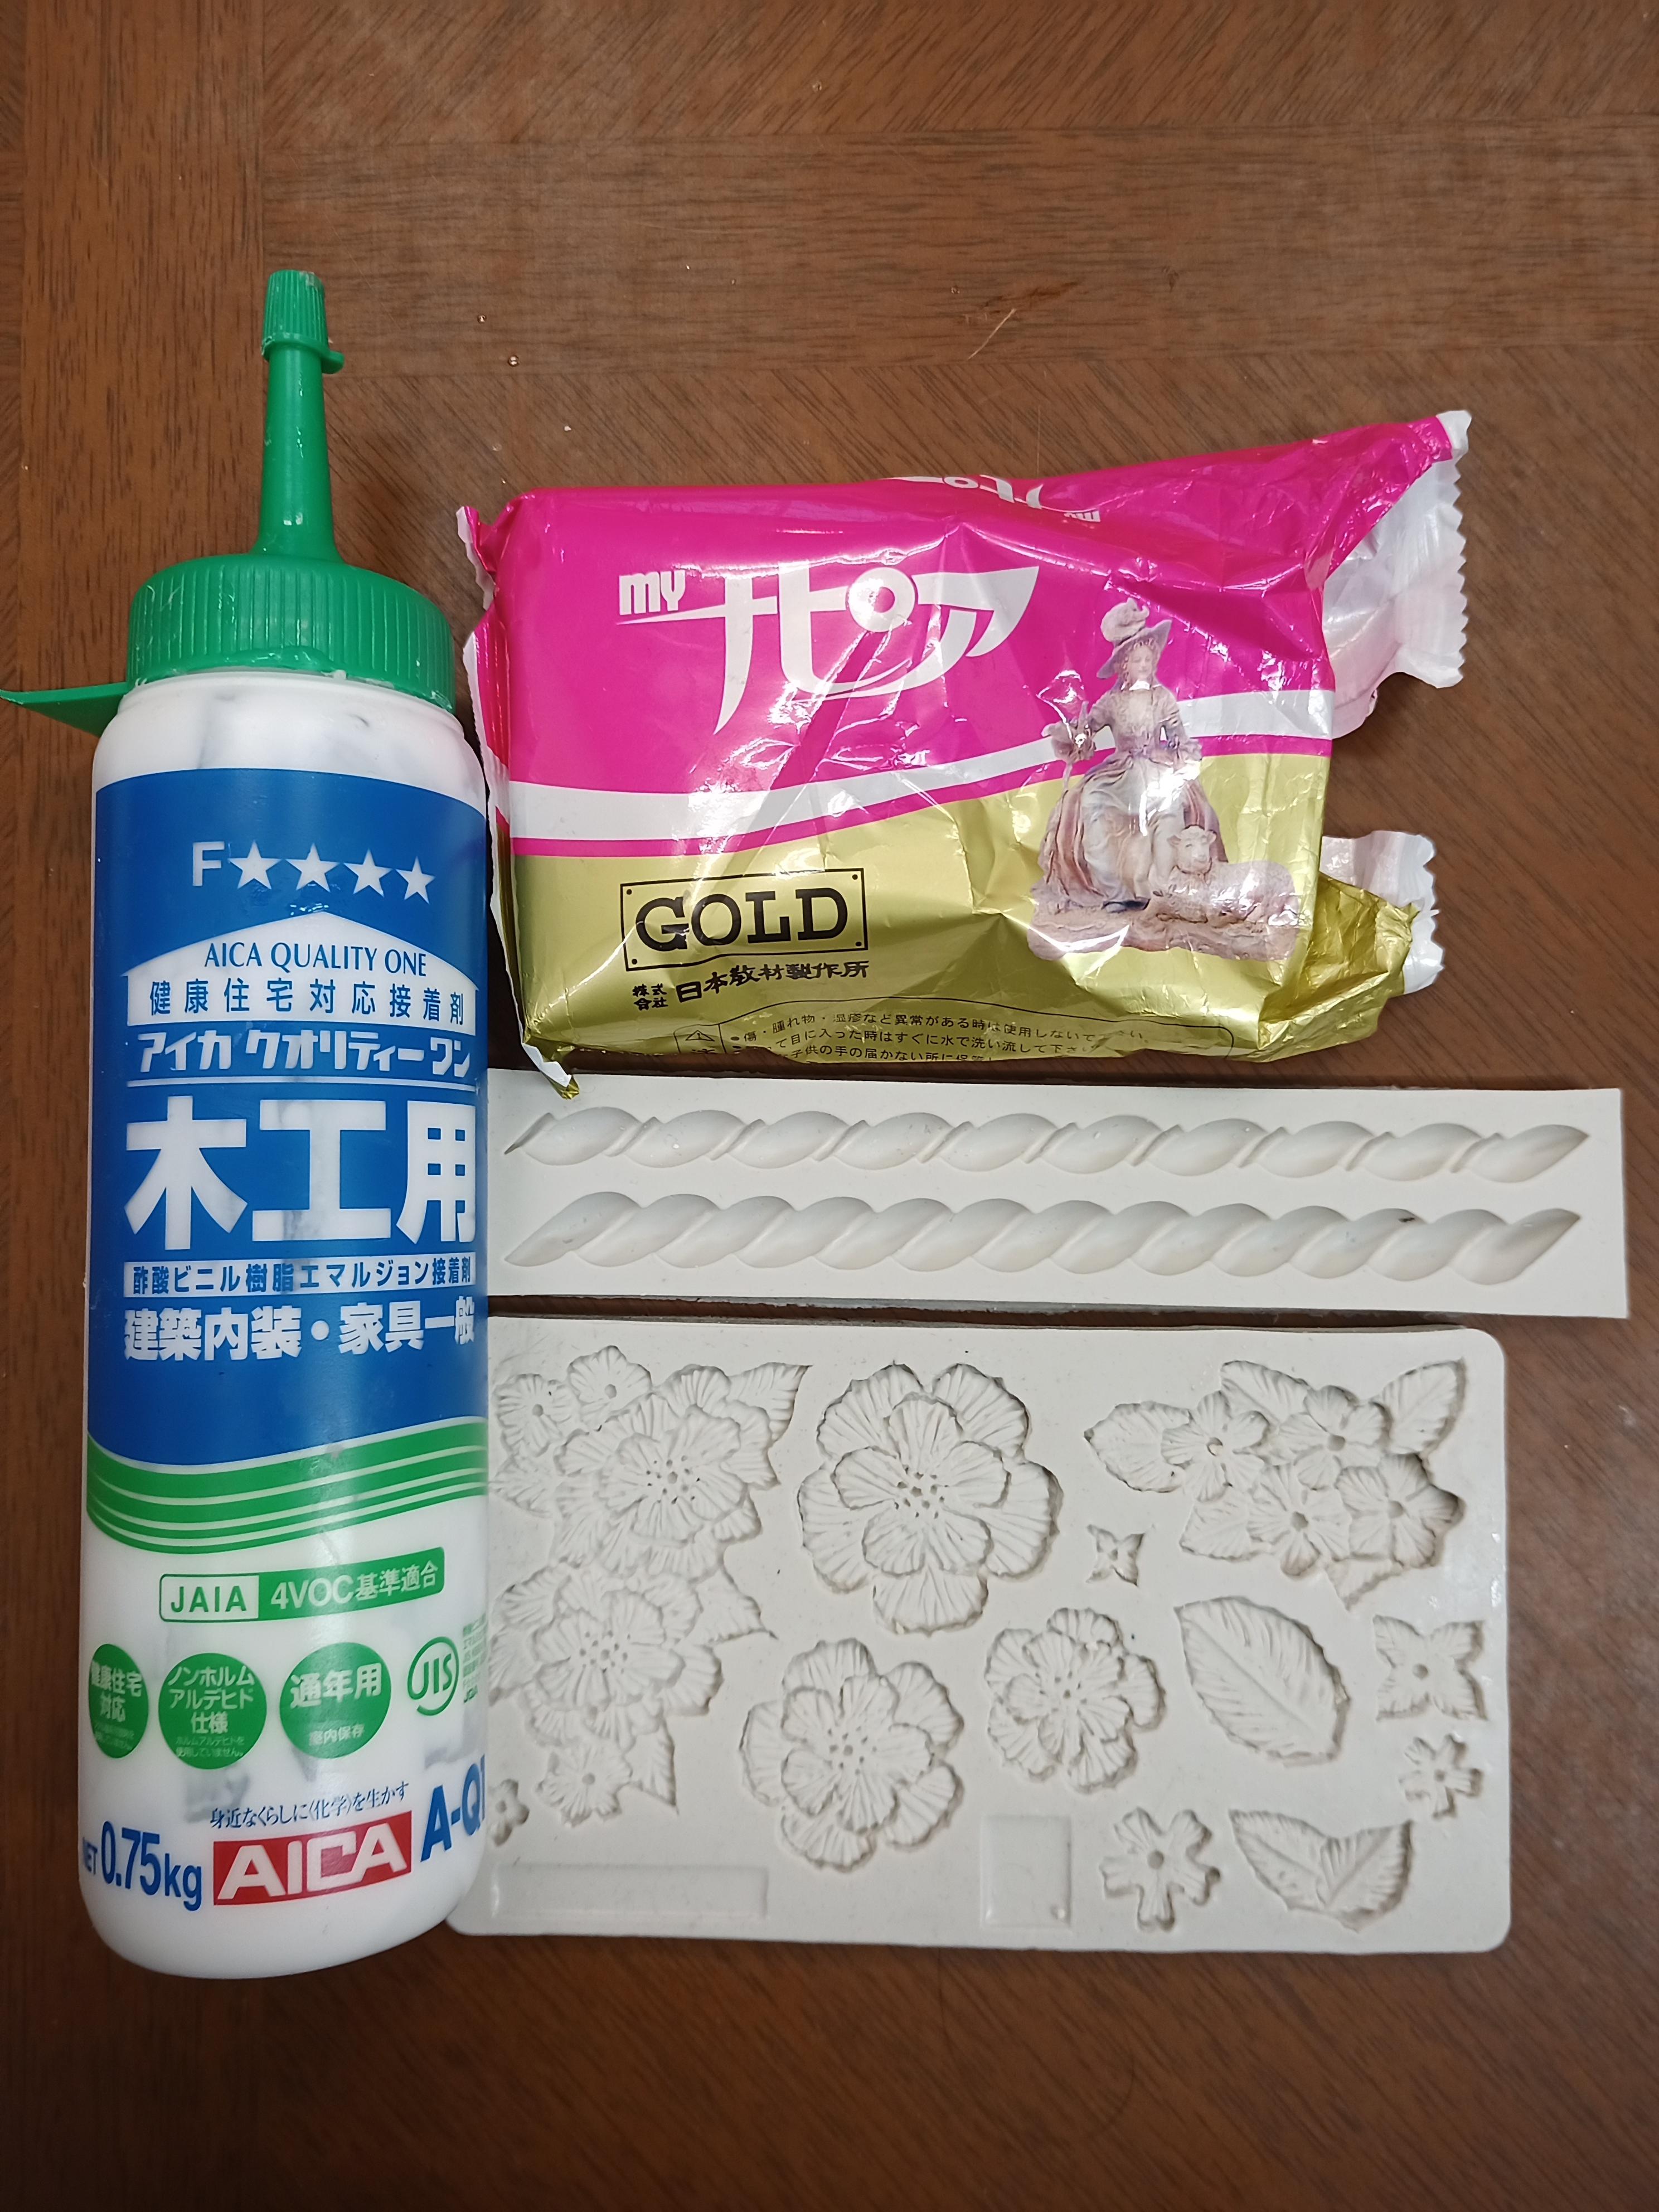
Clay Moldings
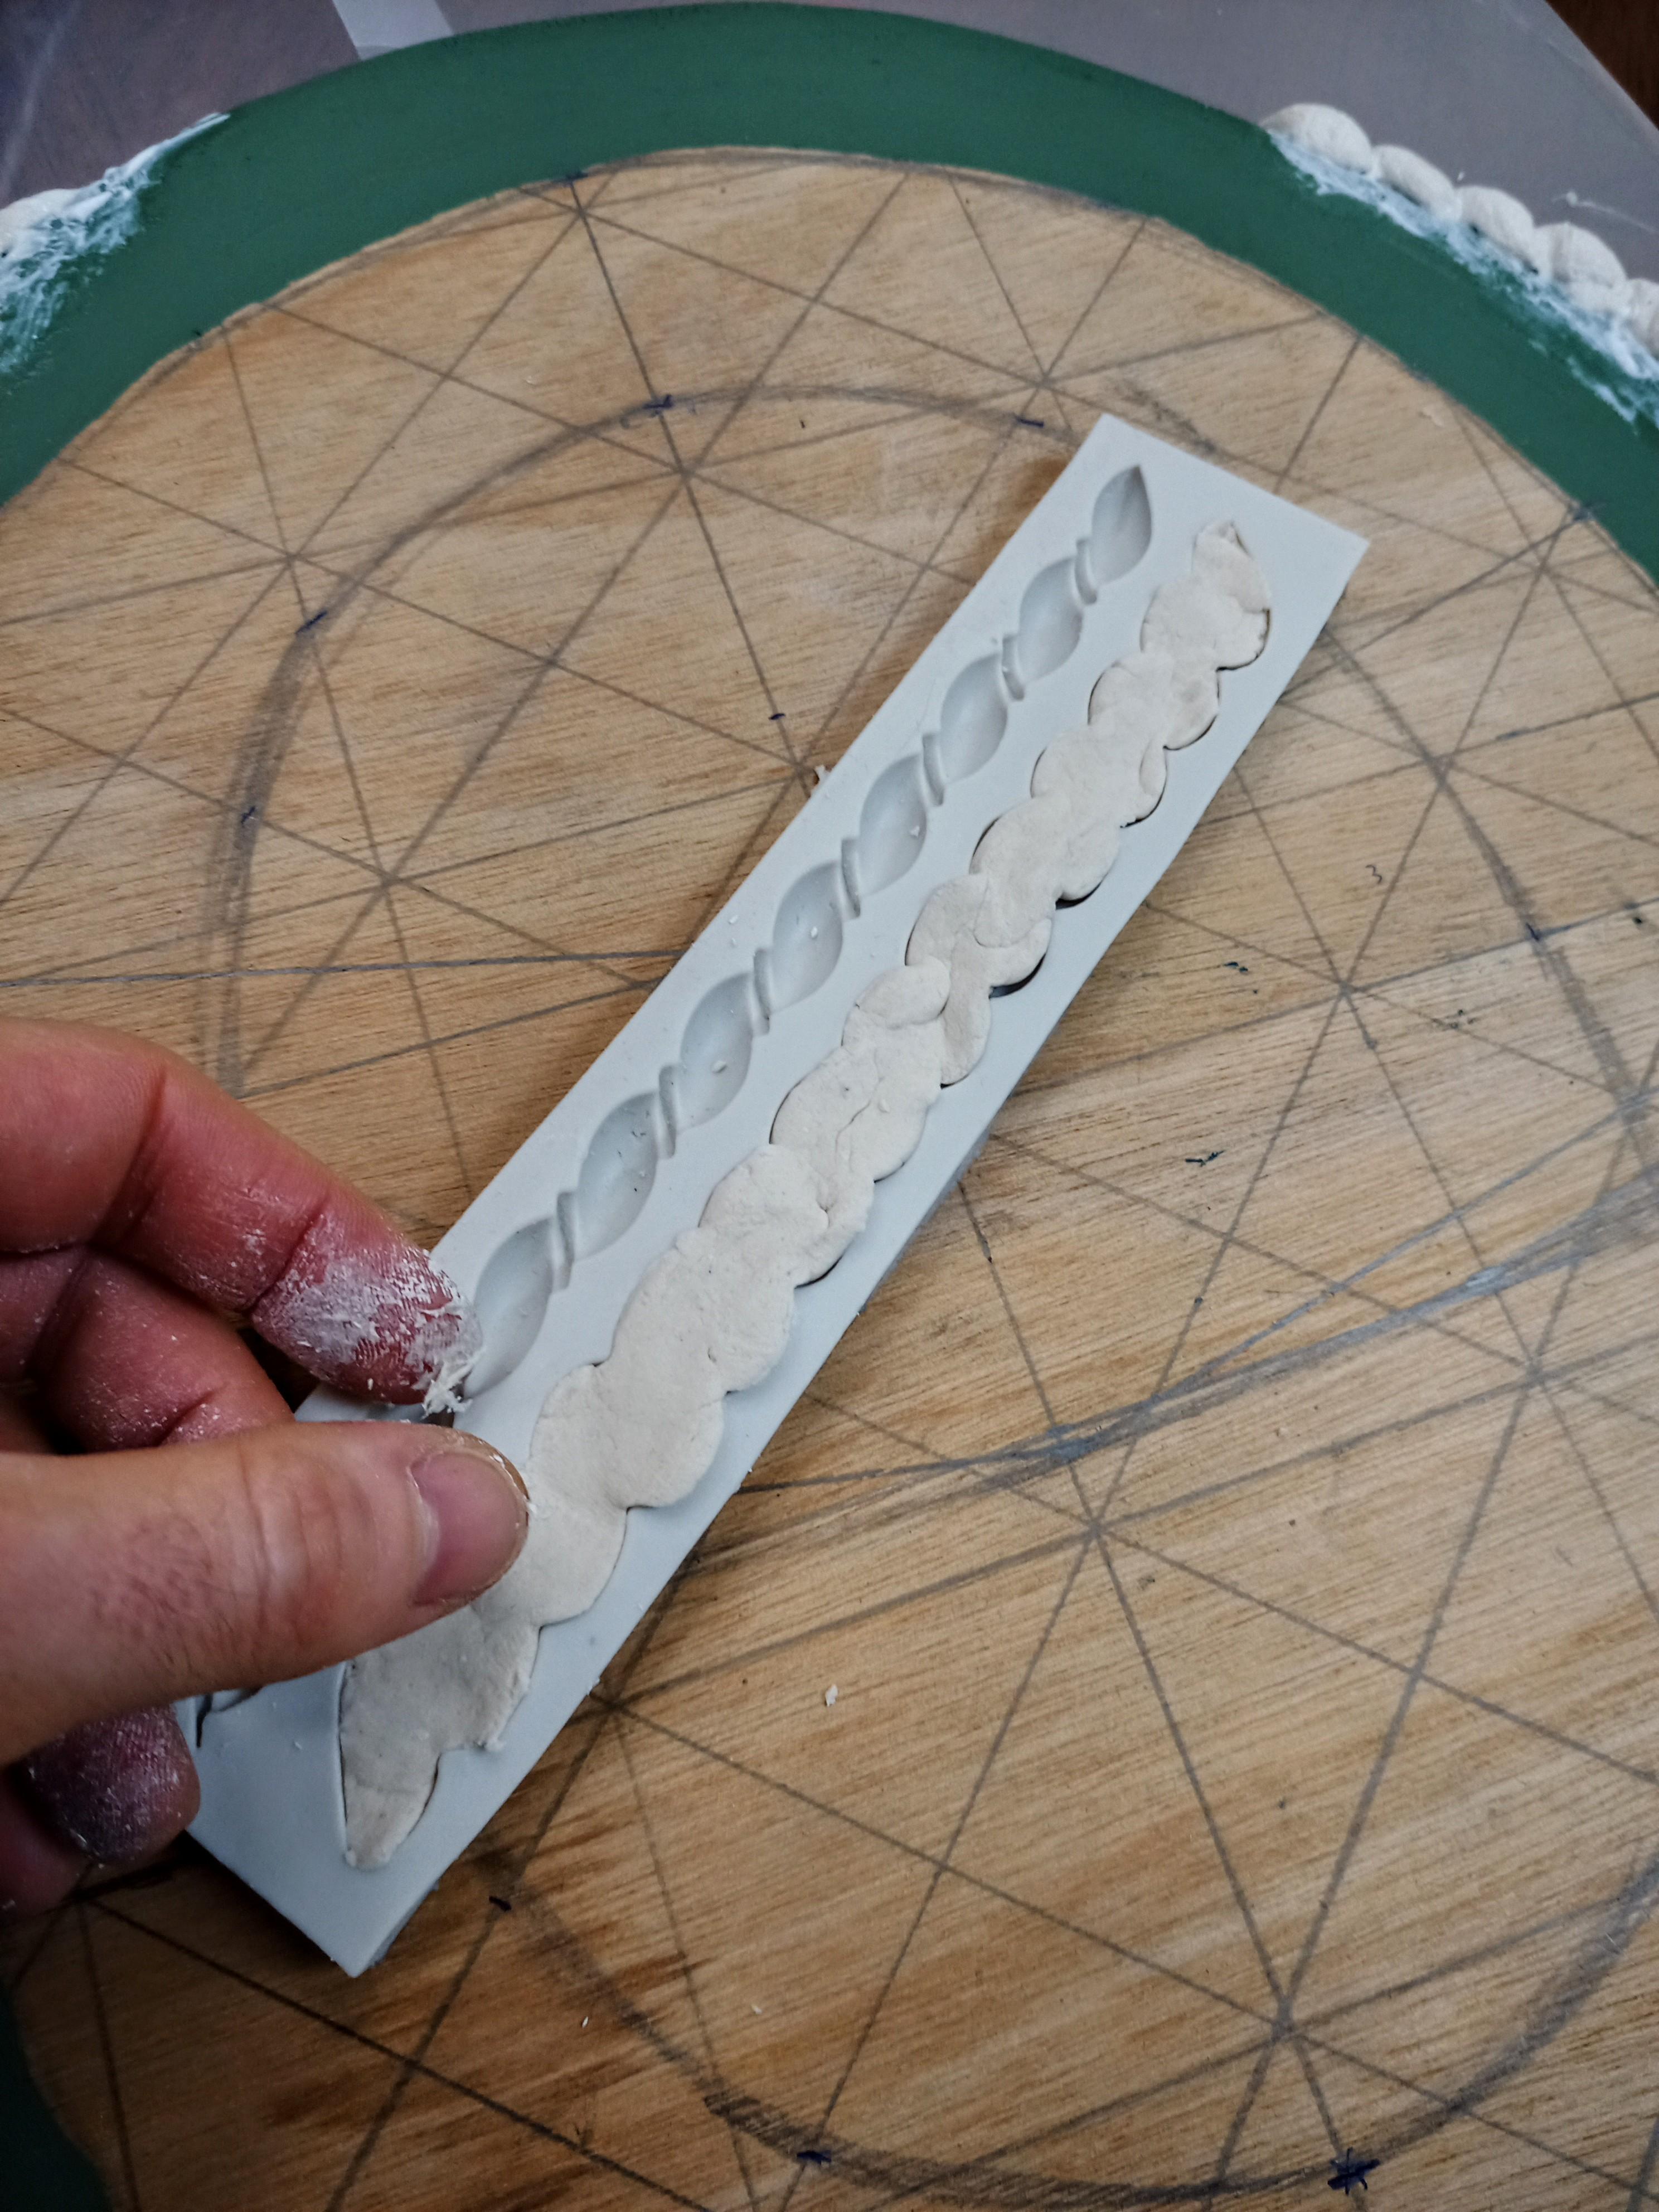
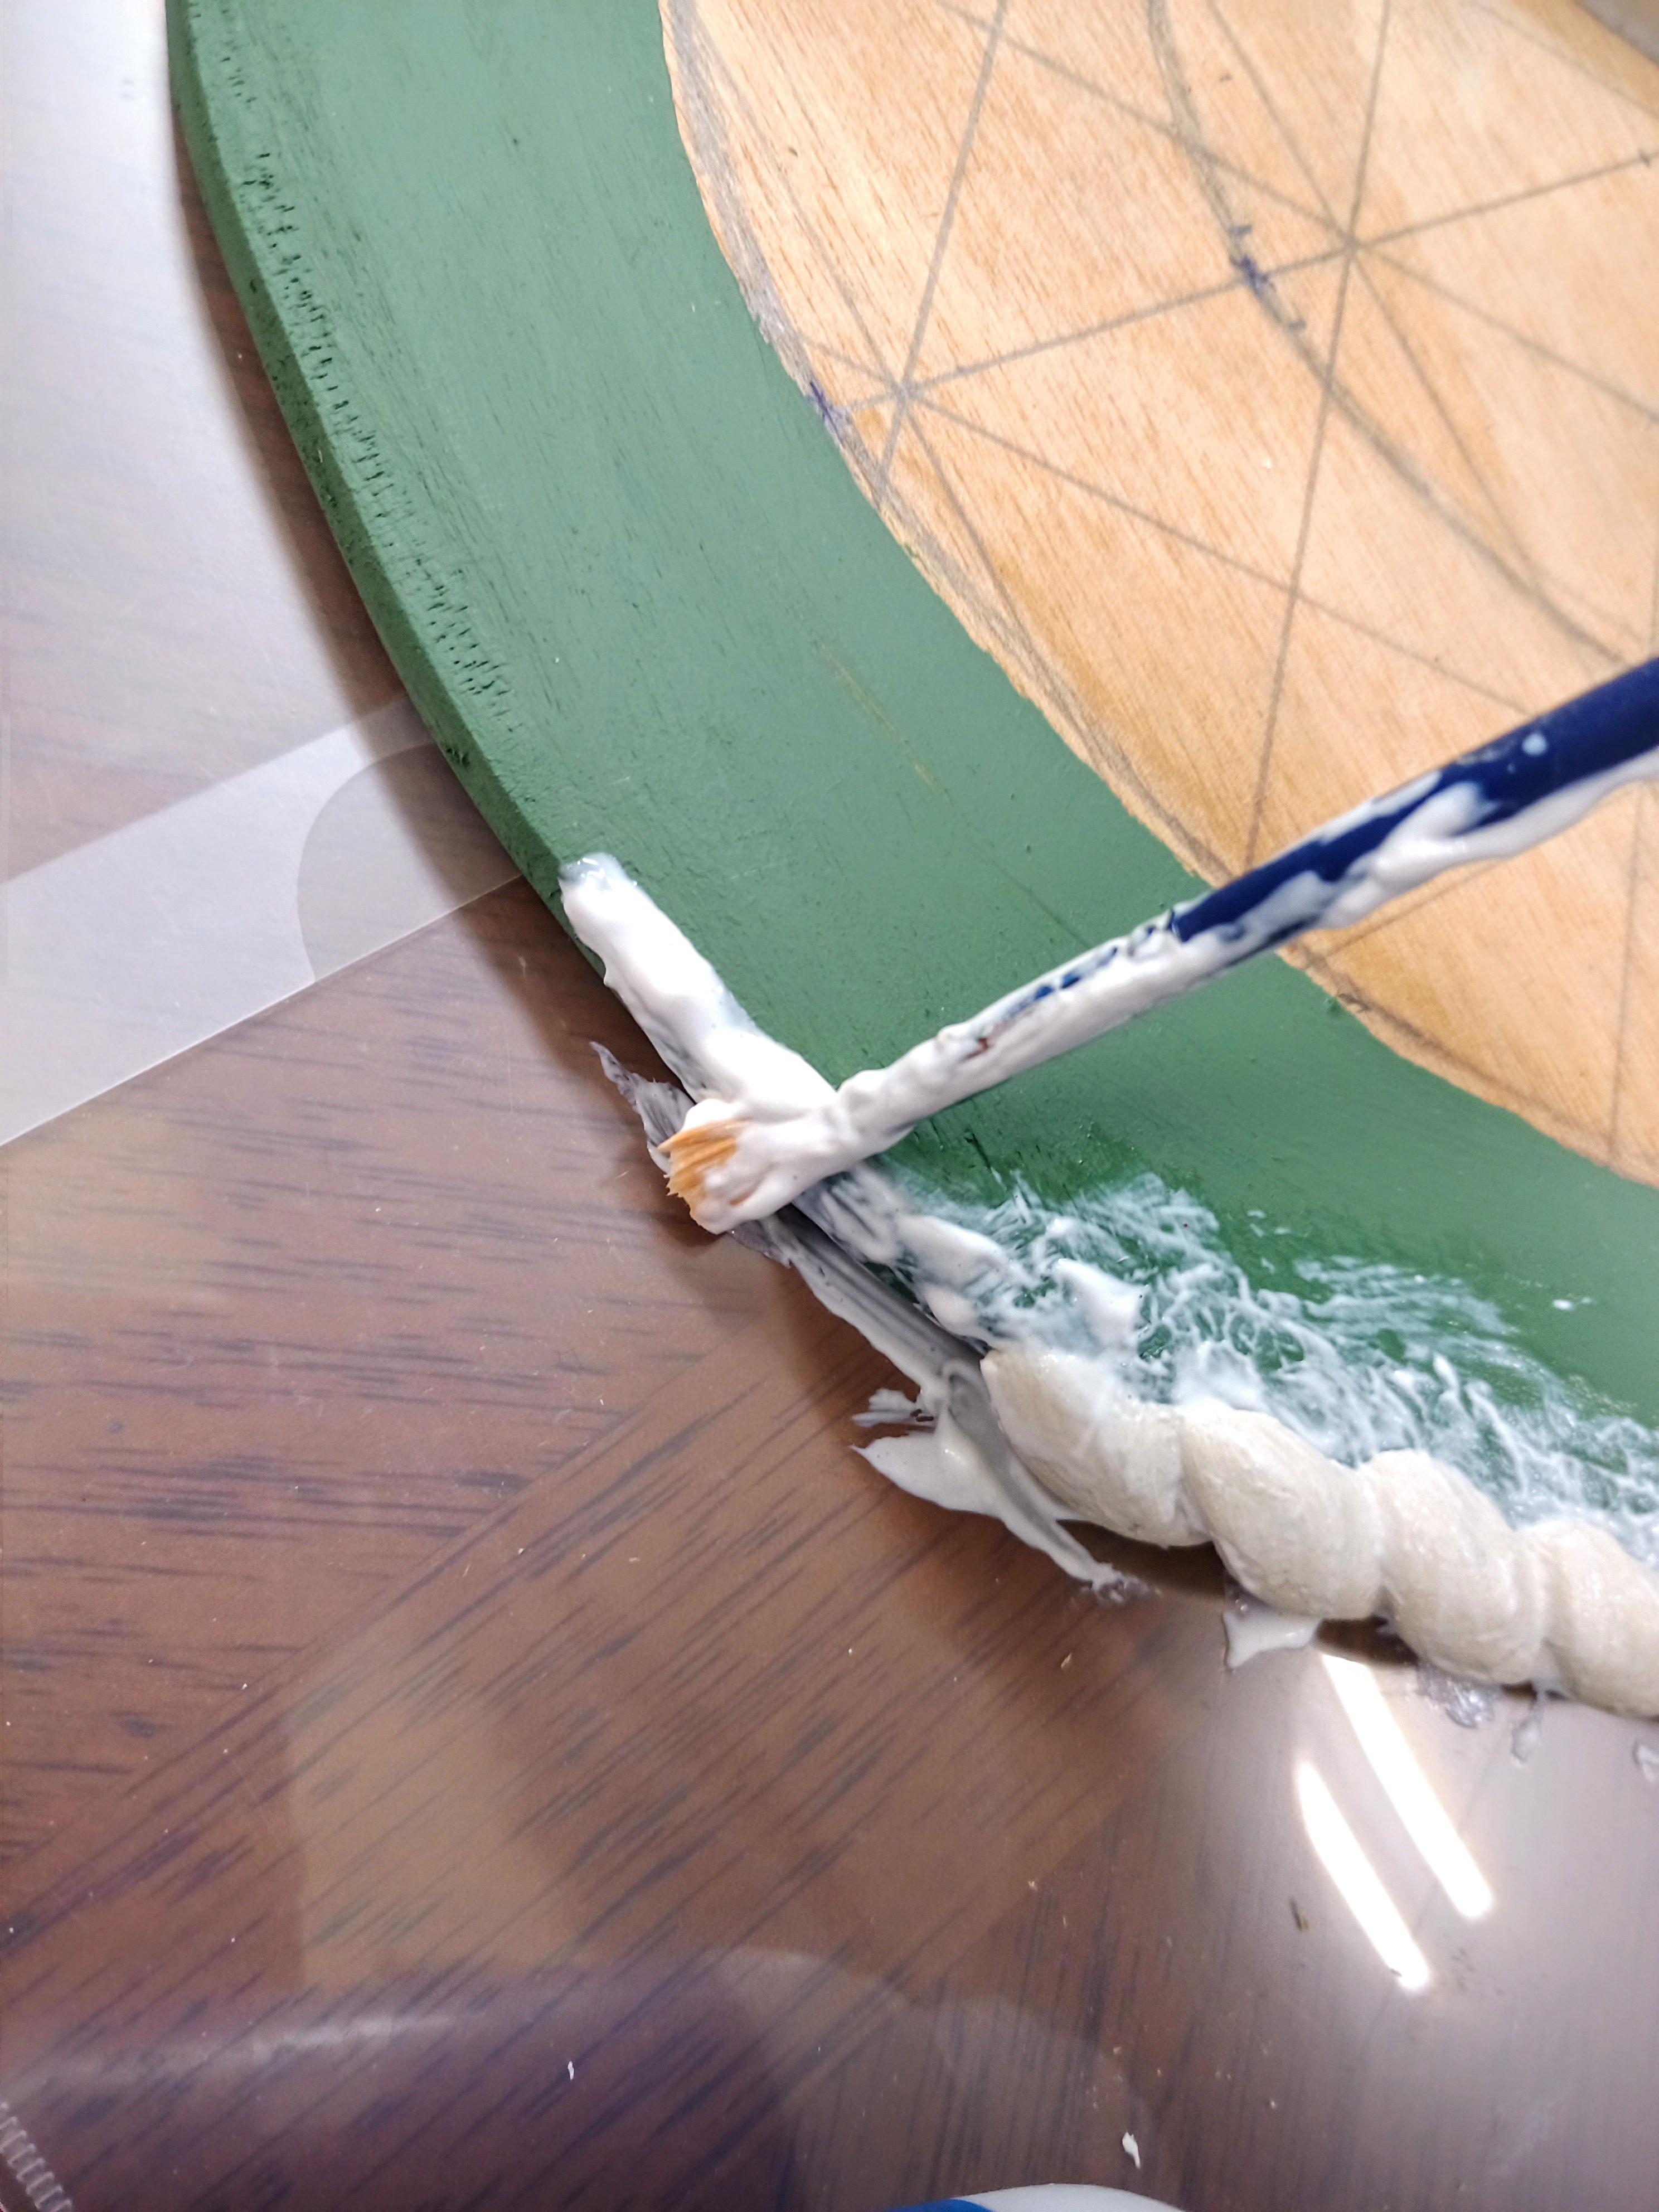
Creating polymer clay molding is easy!
-Press polymer clay into the molding, filling every nook and cranny and keeping the top as level as possible
-Paint a layer of PVA glue, epoxy resin, or gorilla glue onto the surface of where the mold is going.
-Gently pull the clay out of the silicone mold. Don't wait for the clay to dry.
-Paint the same glue on the back of the clay you just pulled out, and then gently press it onto the surface.
-Let it dry for 24 hours.
*You don't need to paint the surface first. I did, because I was trying to figure out my colors.
Drawing, Painting and More Molds
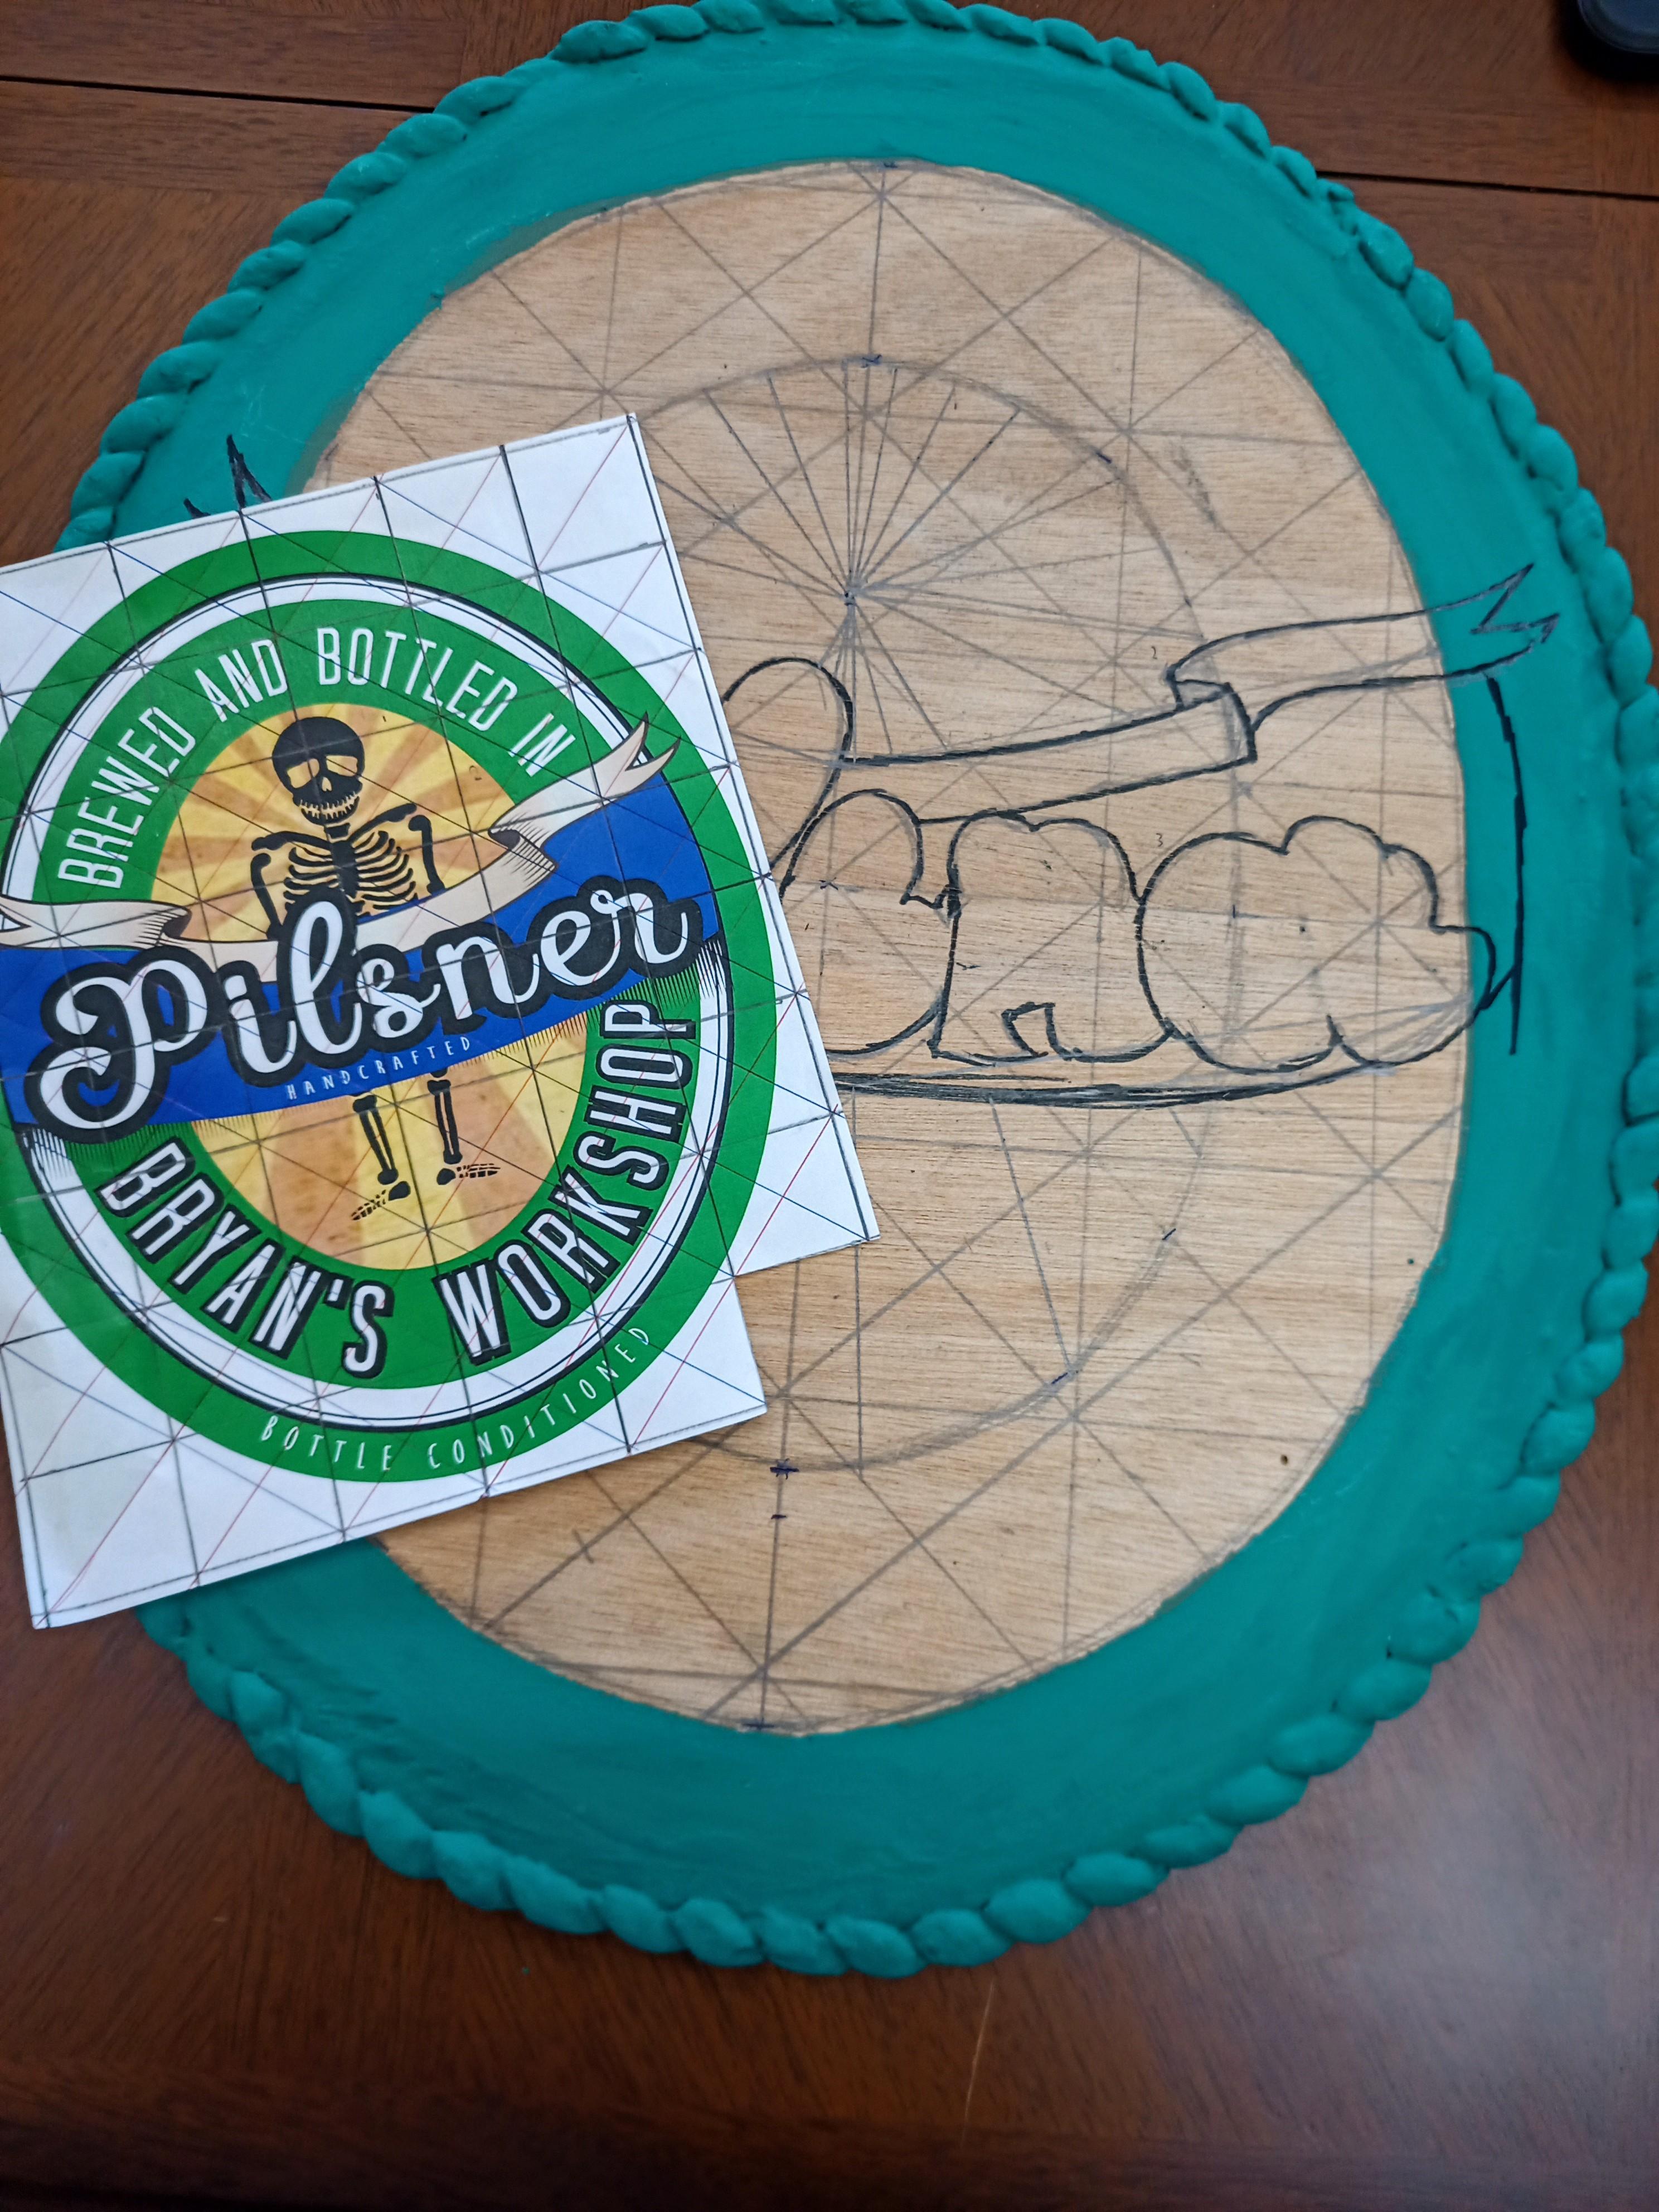
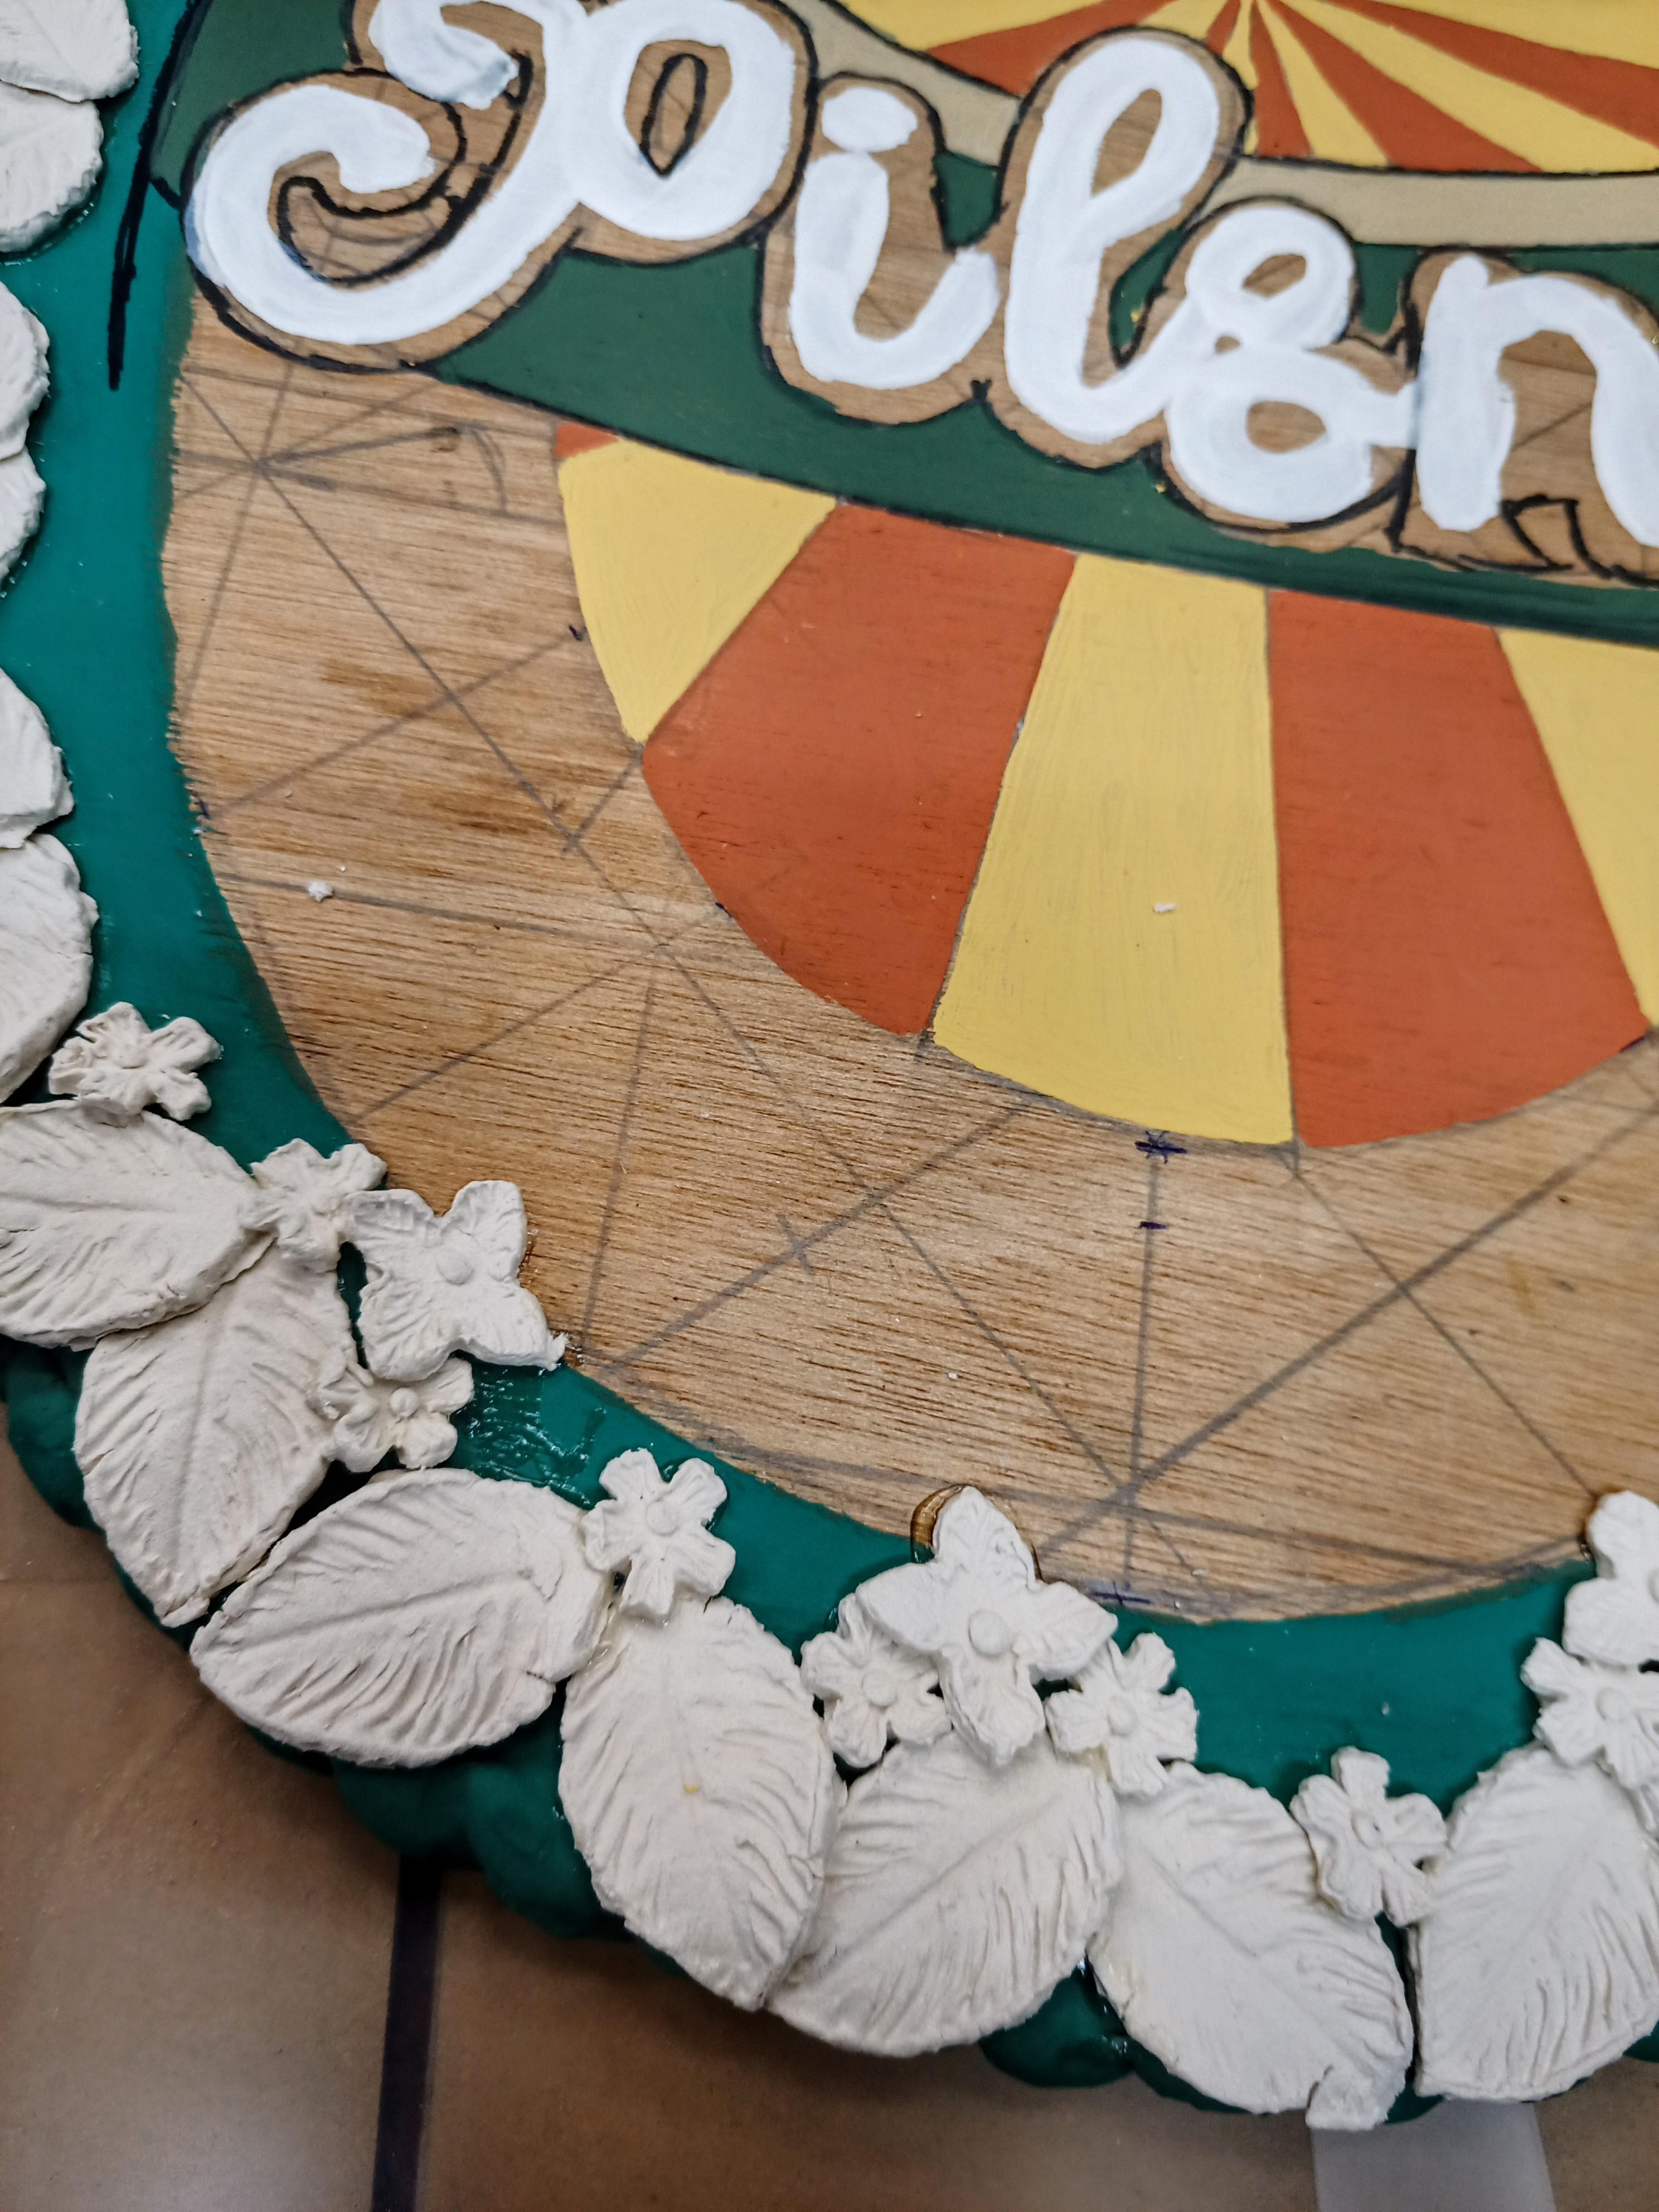
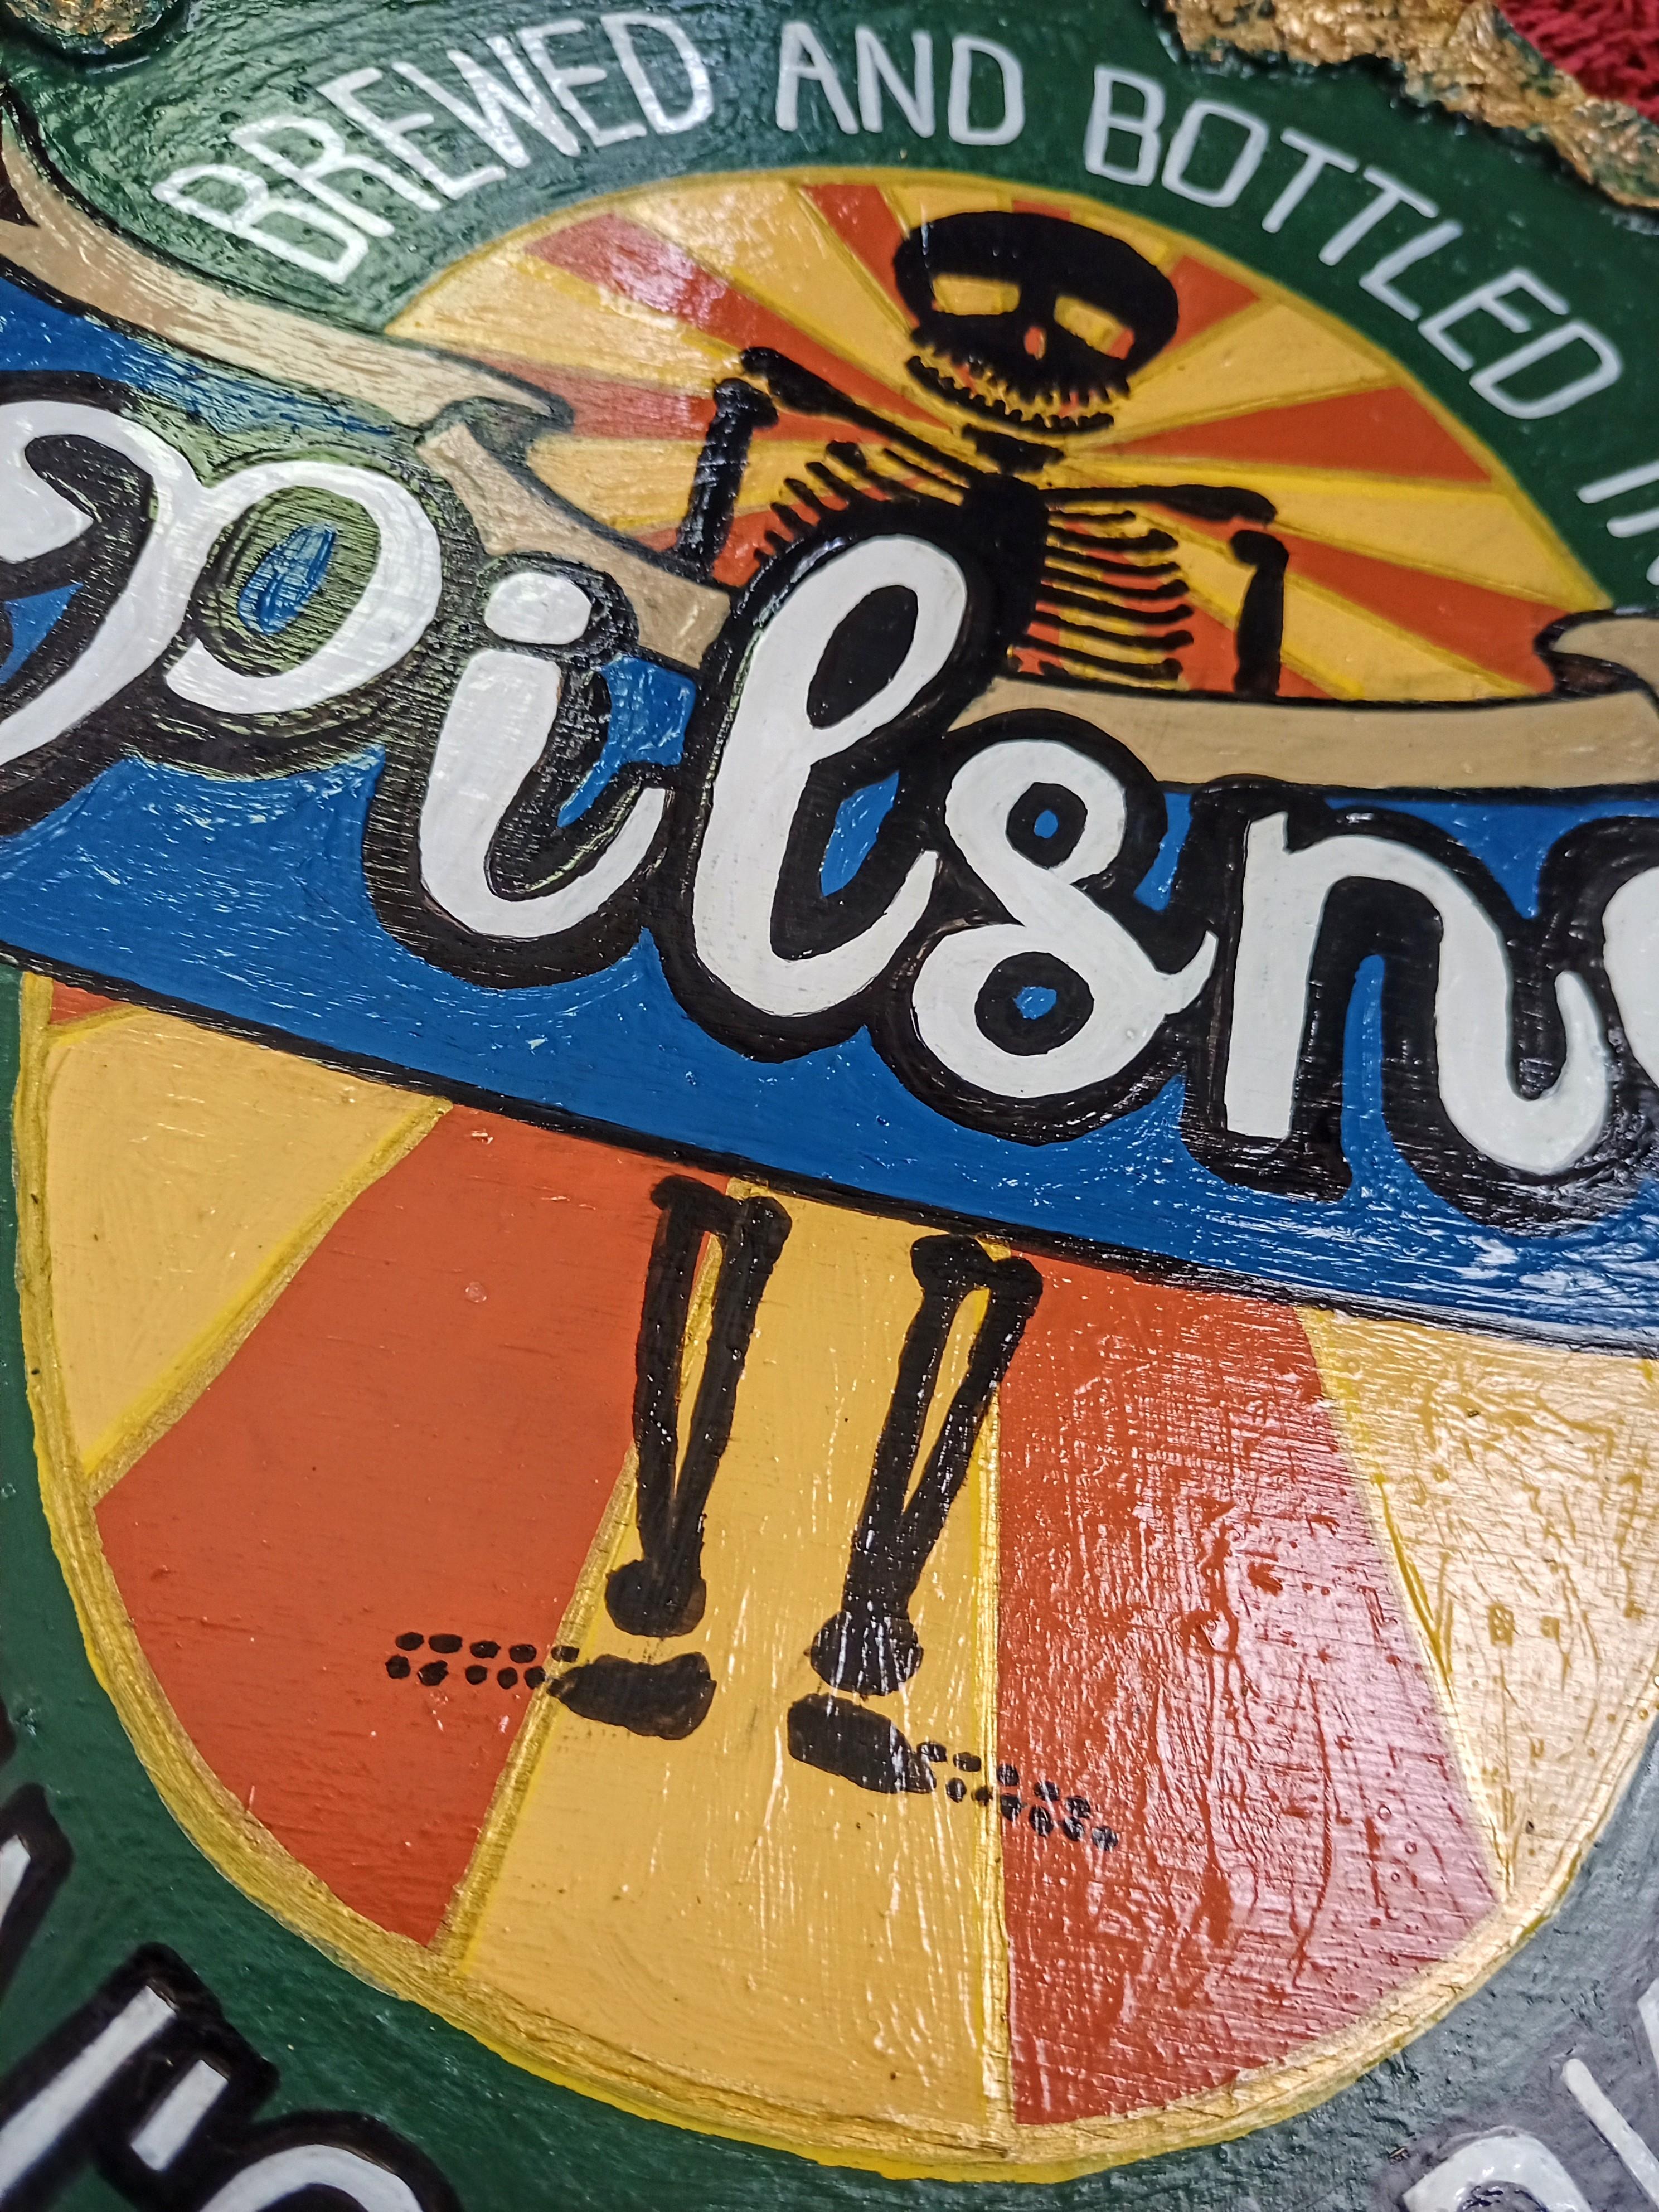
I drew the image onto the wood going square by square.
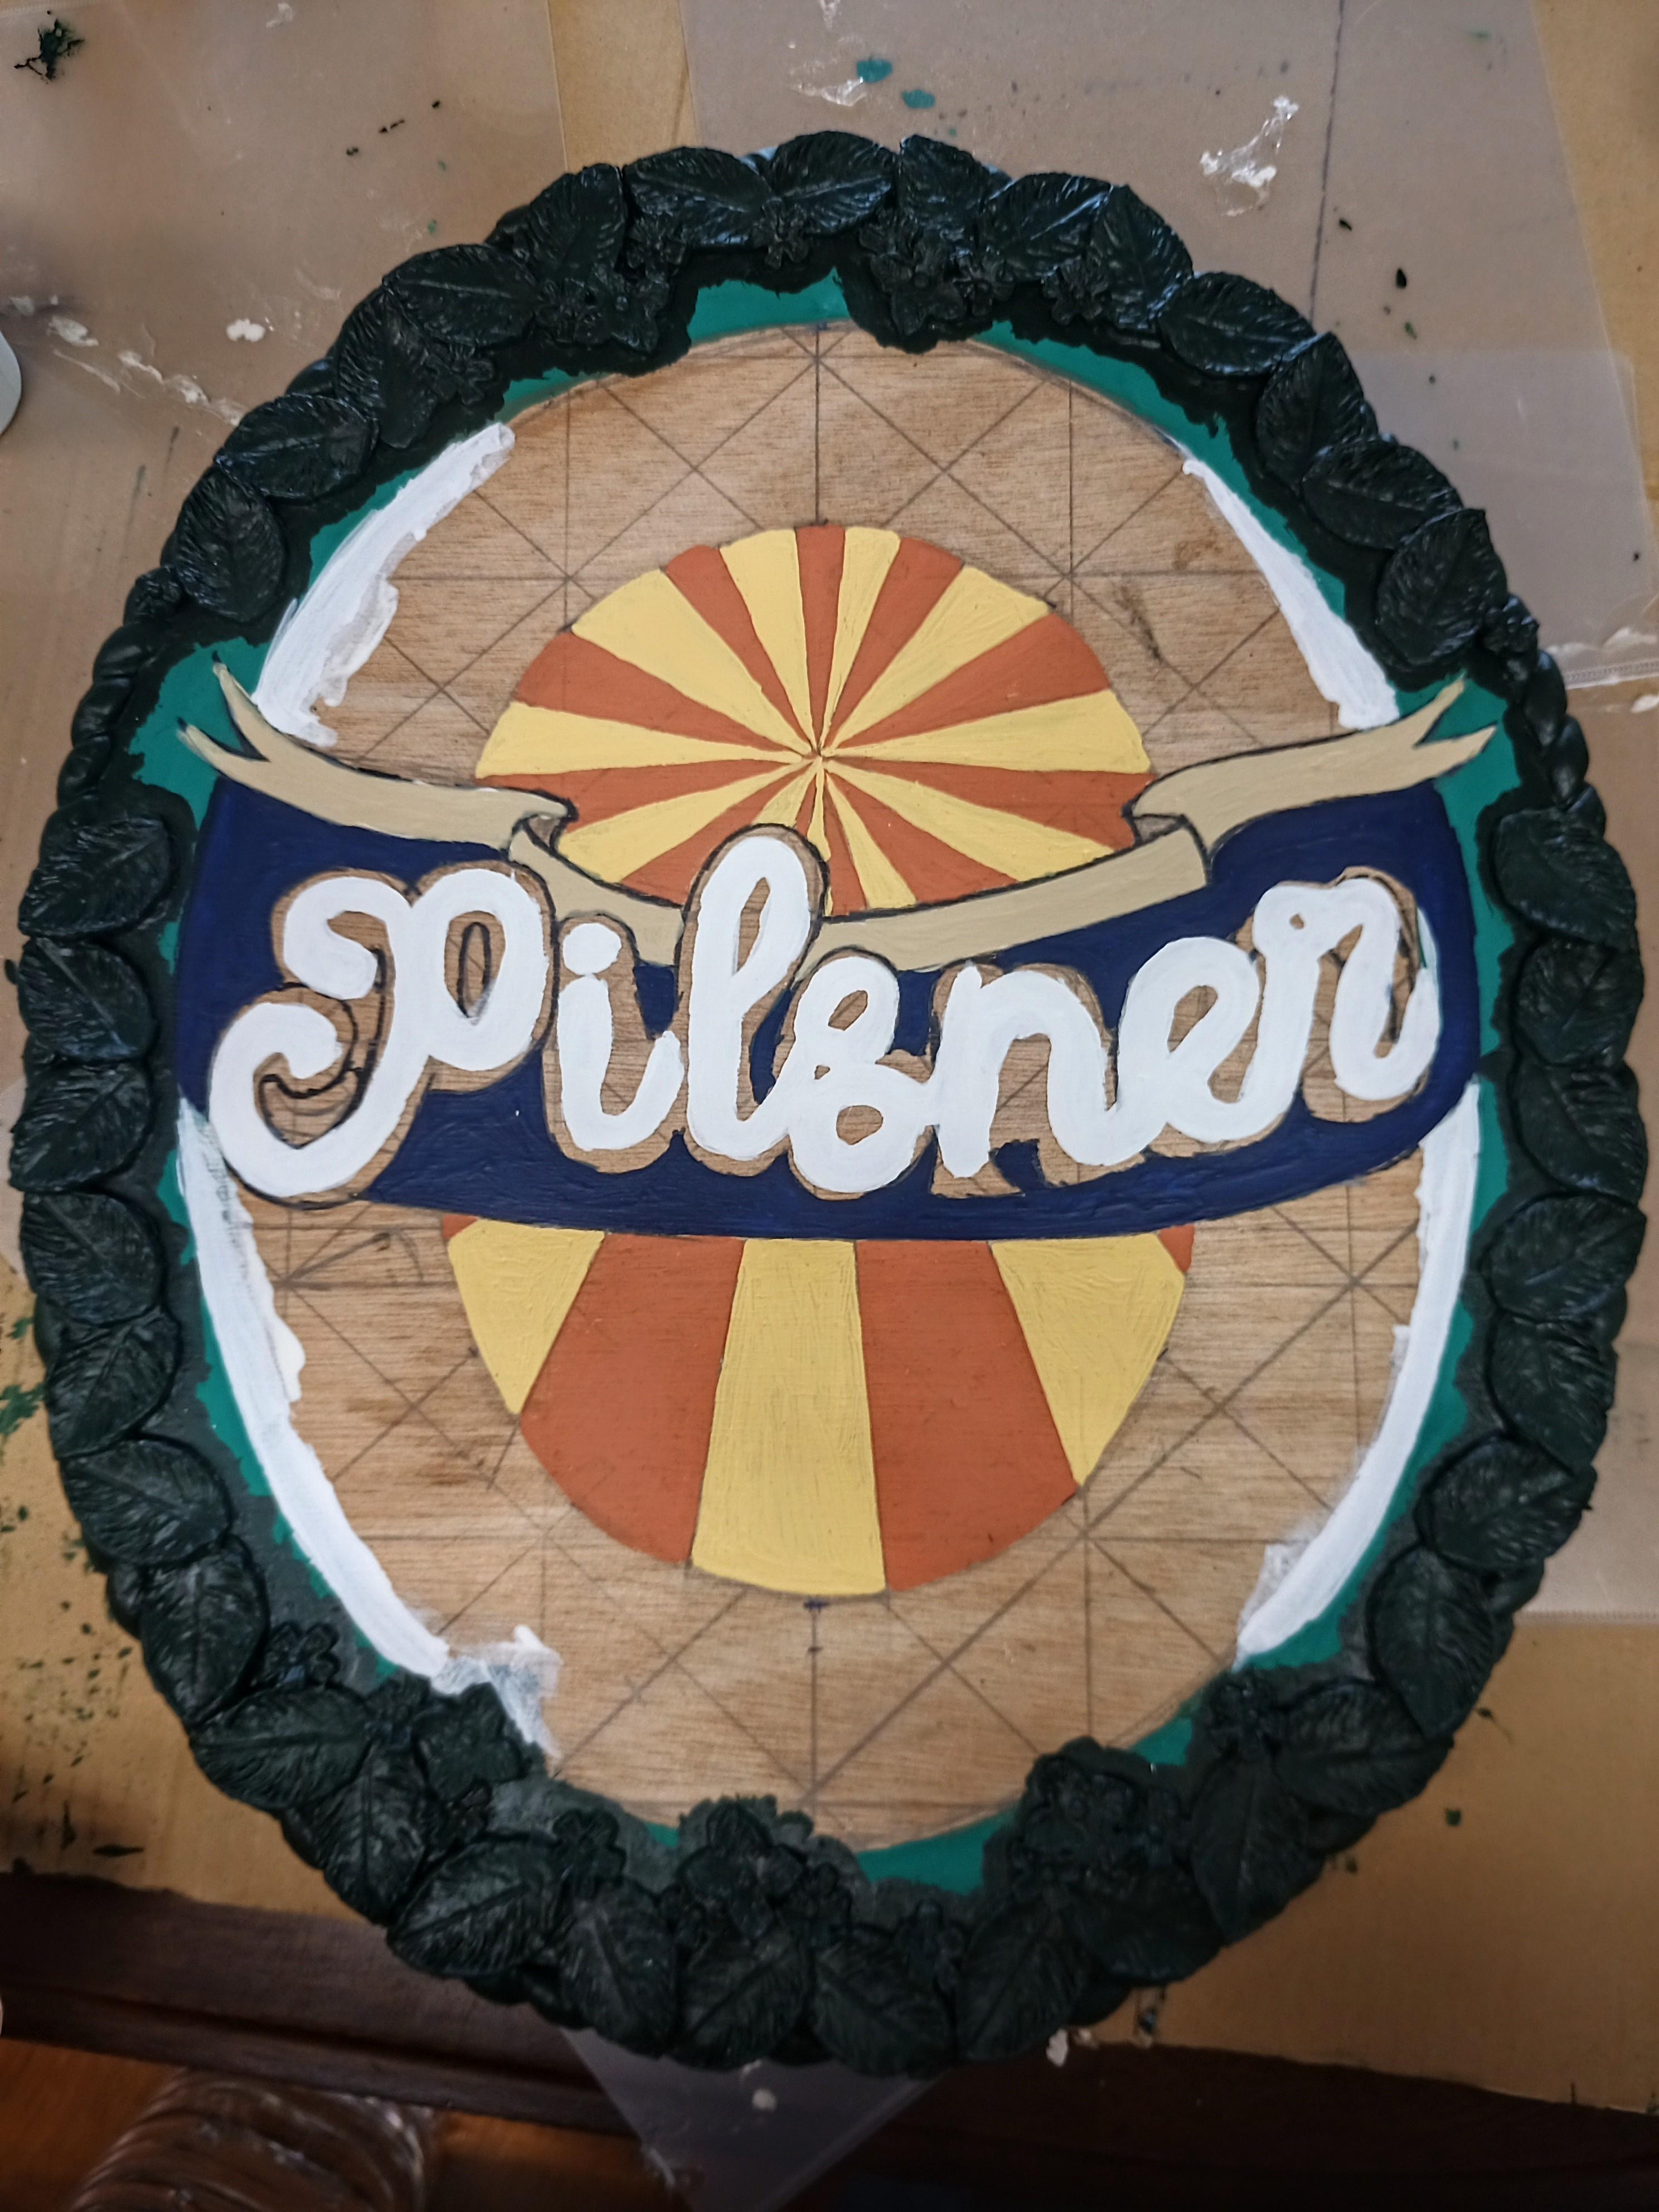
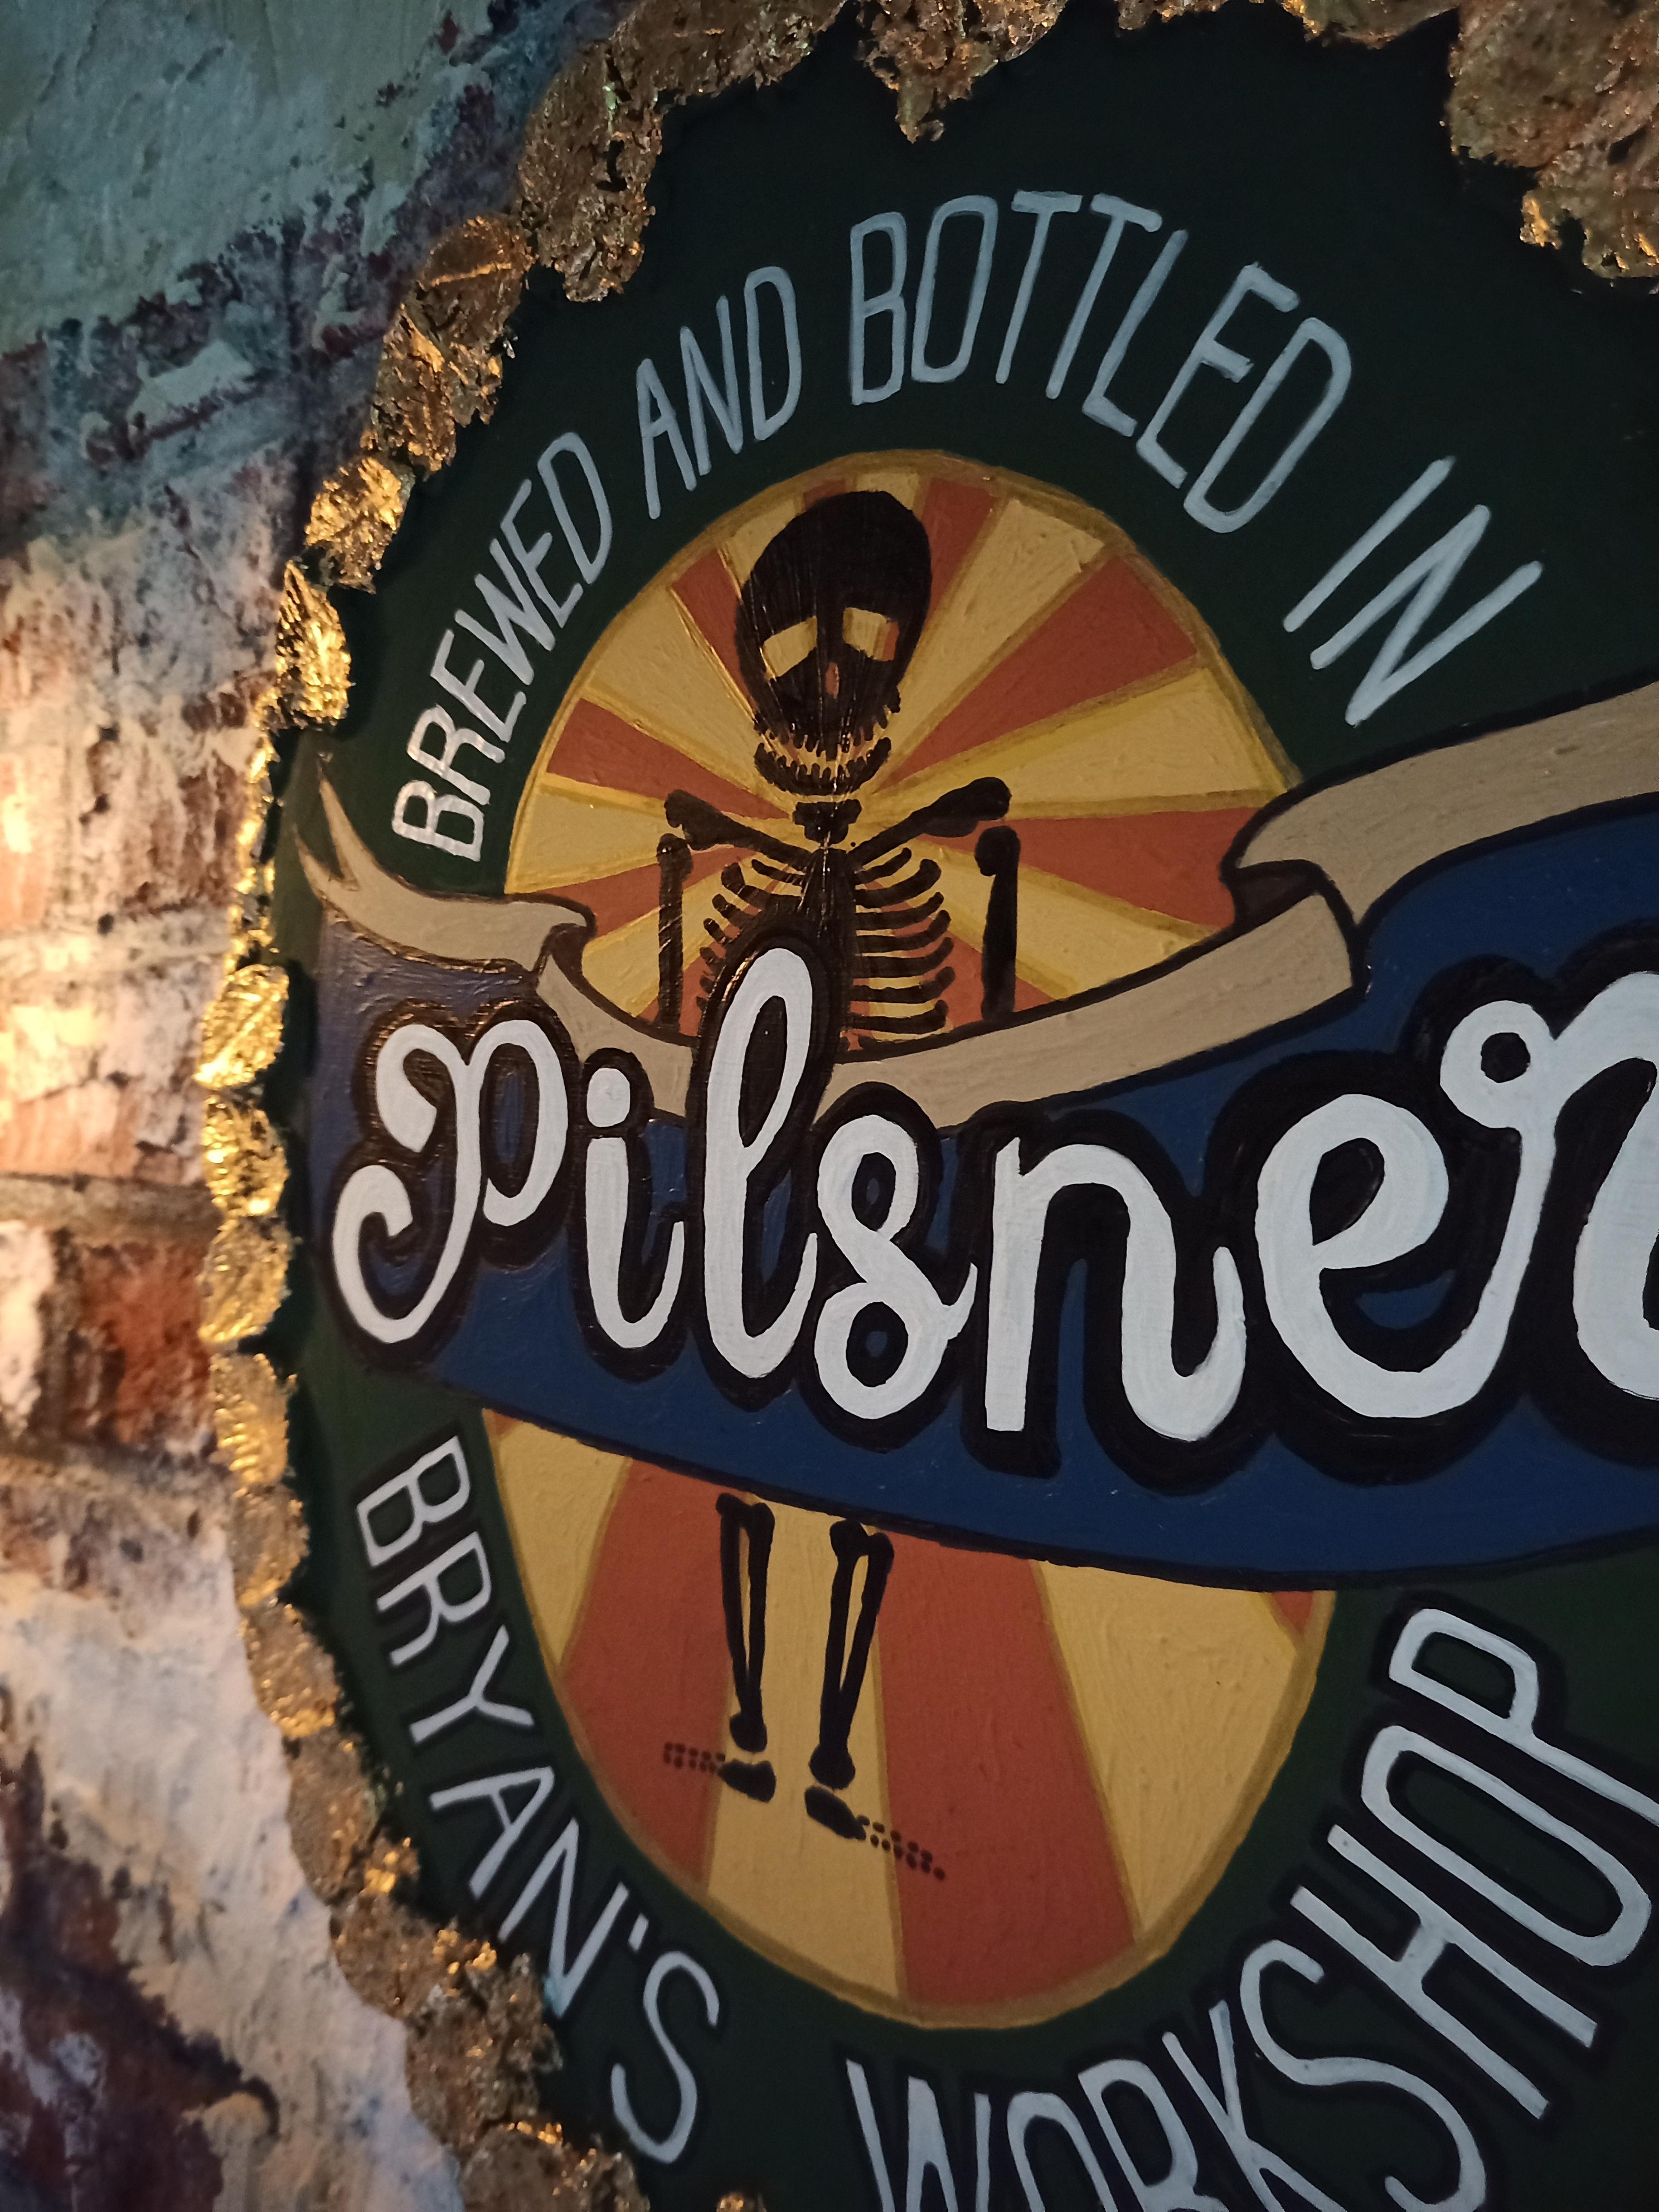
I started with the oval, painted it and continued on with the banner and "Pilsner" font. It was a little time consuming and I made a couple adjustments to the "Pilsner," because it was too straight on the printout.
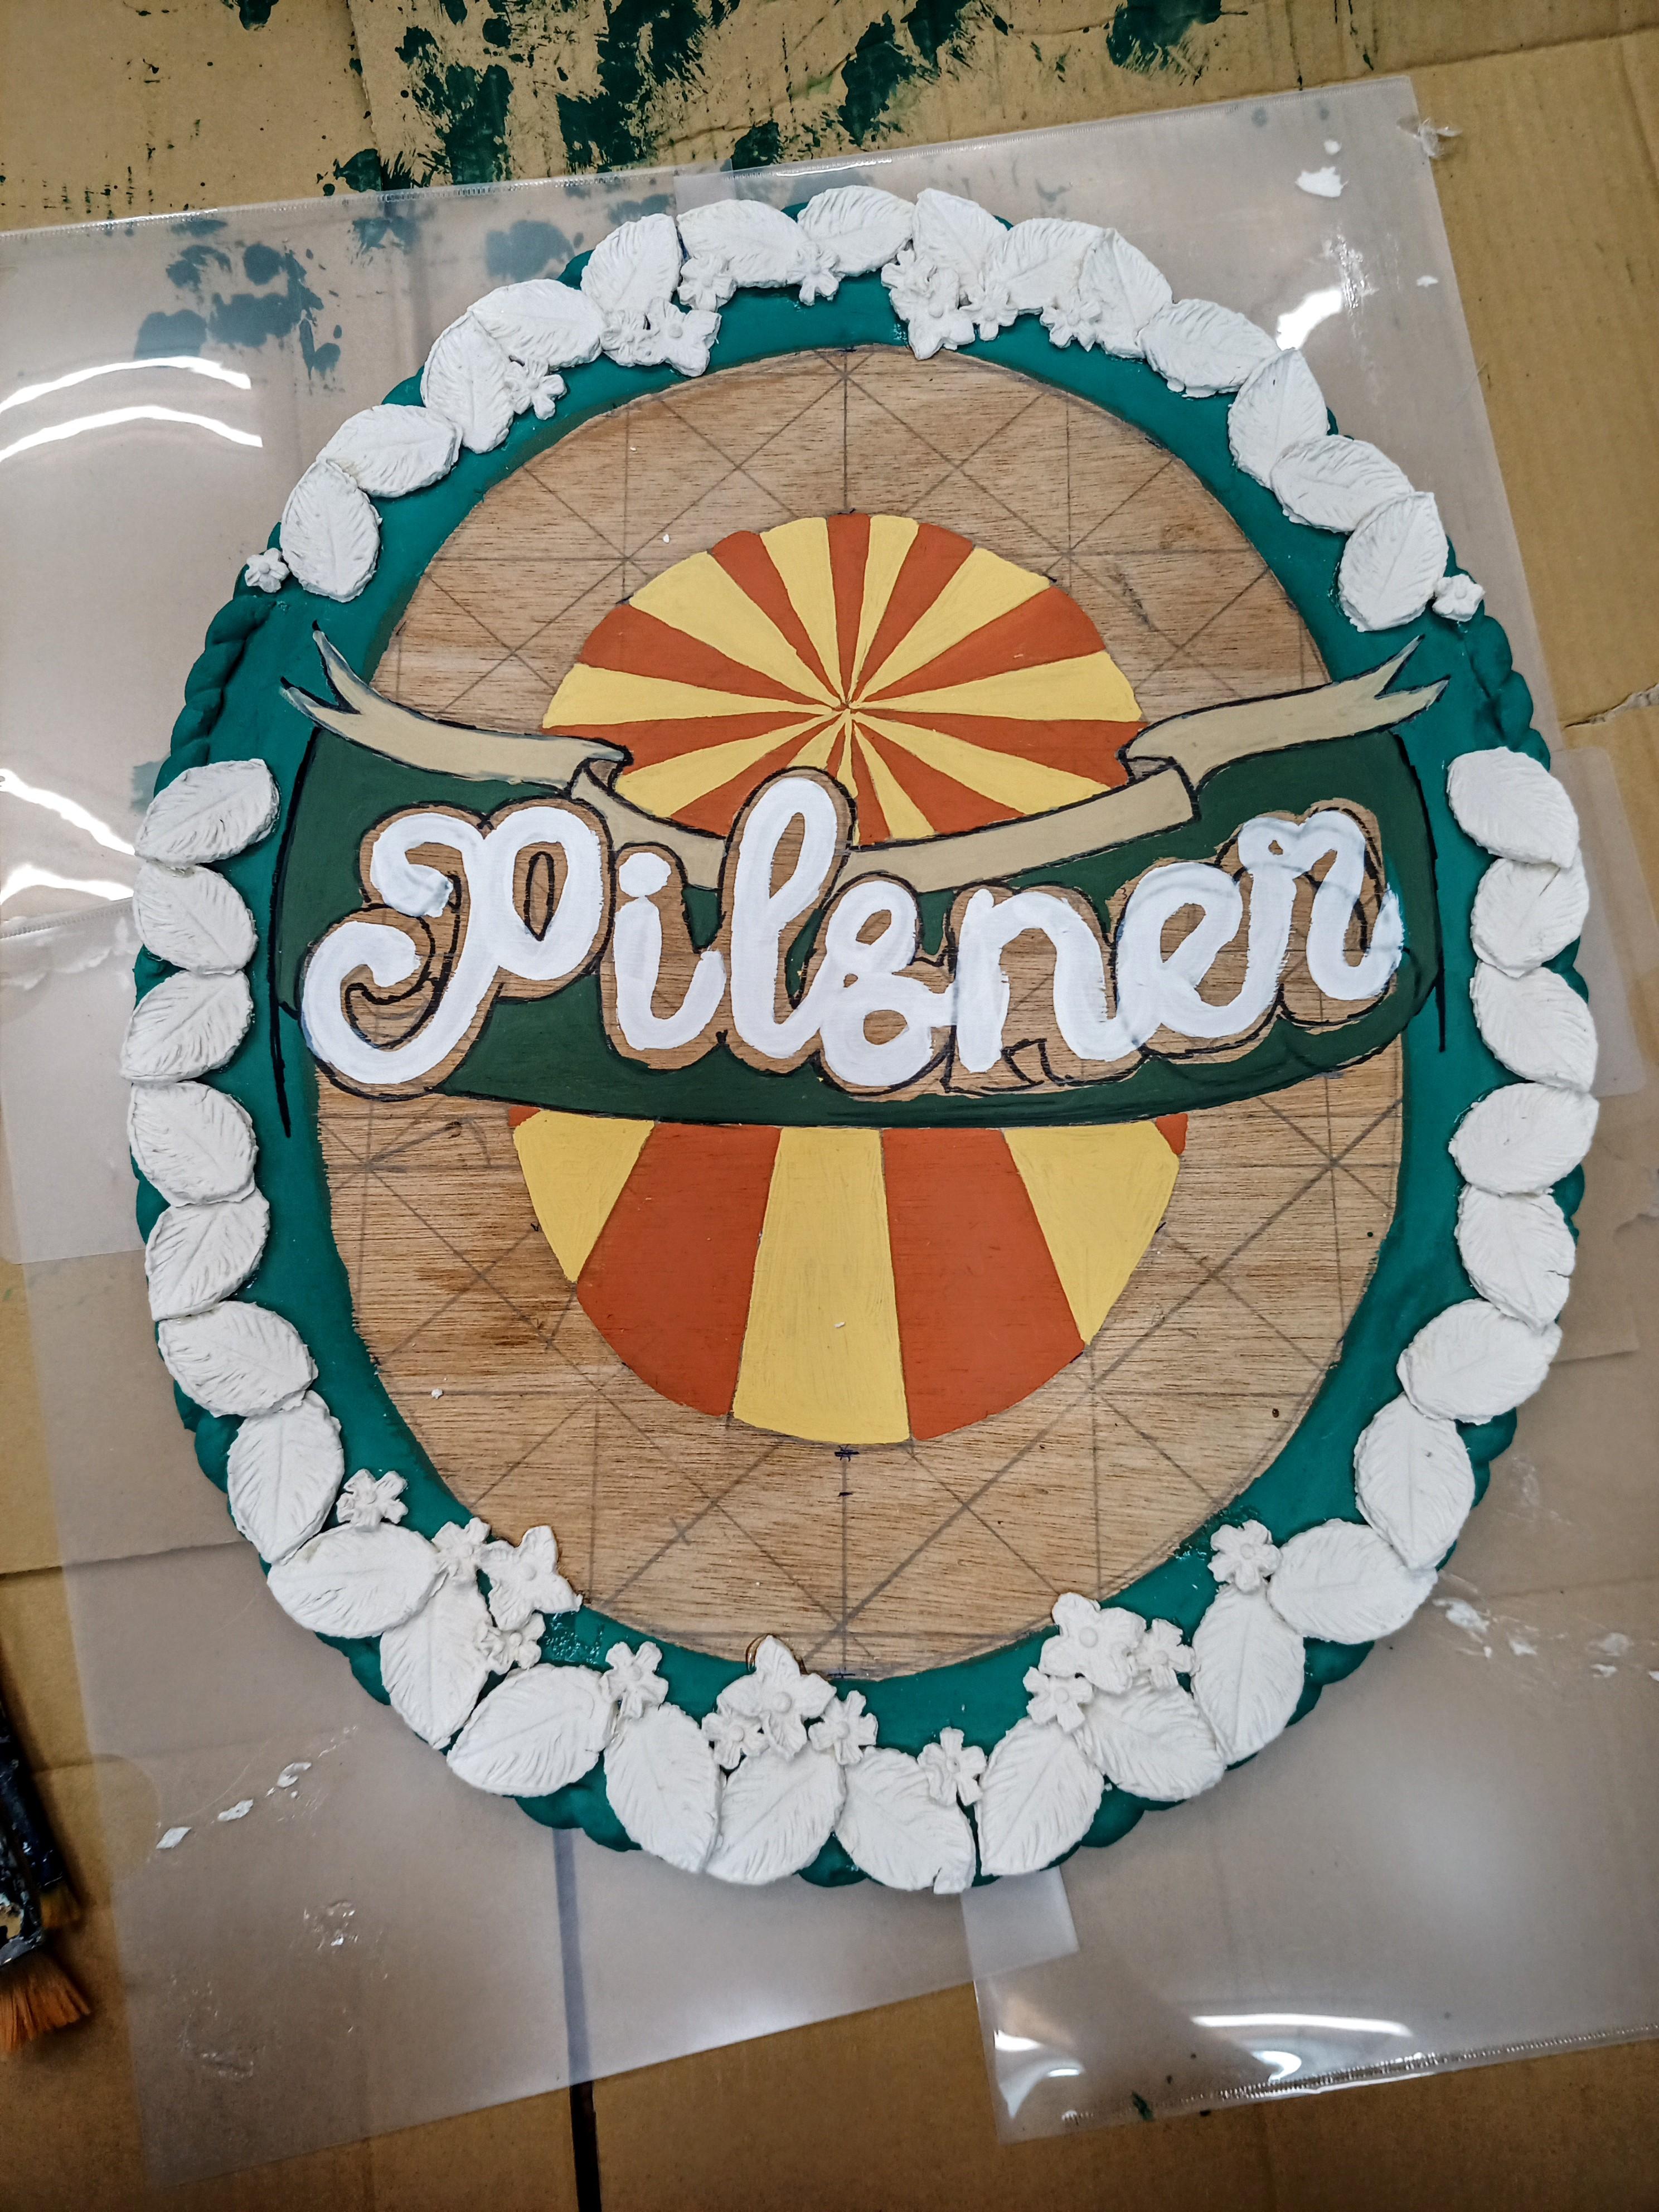
More Font
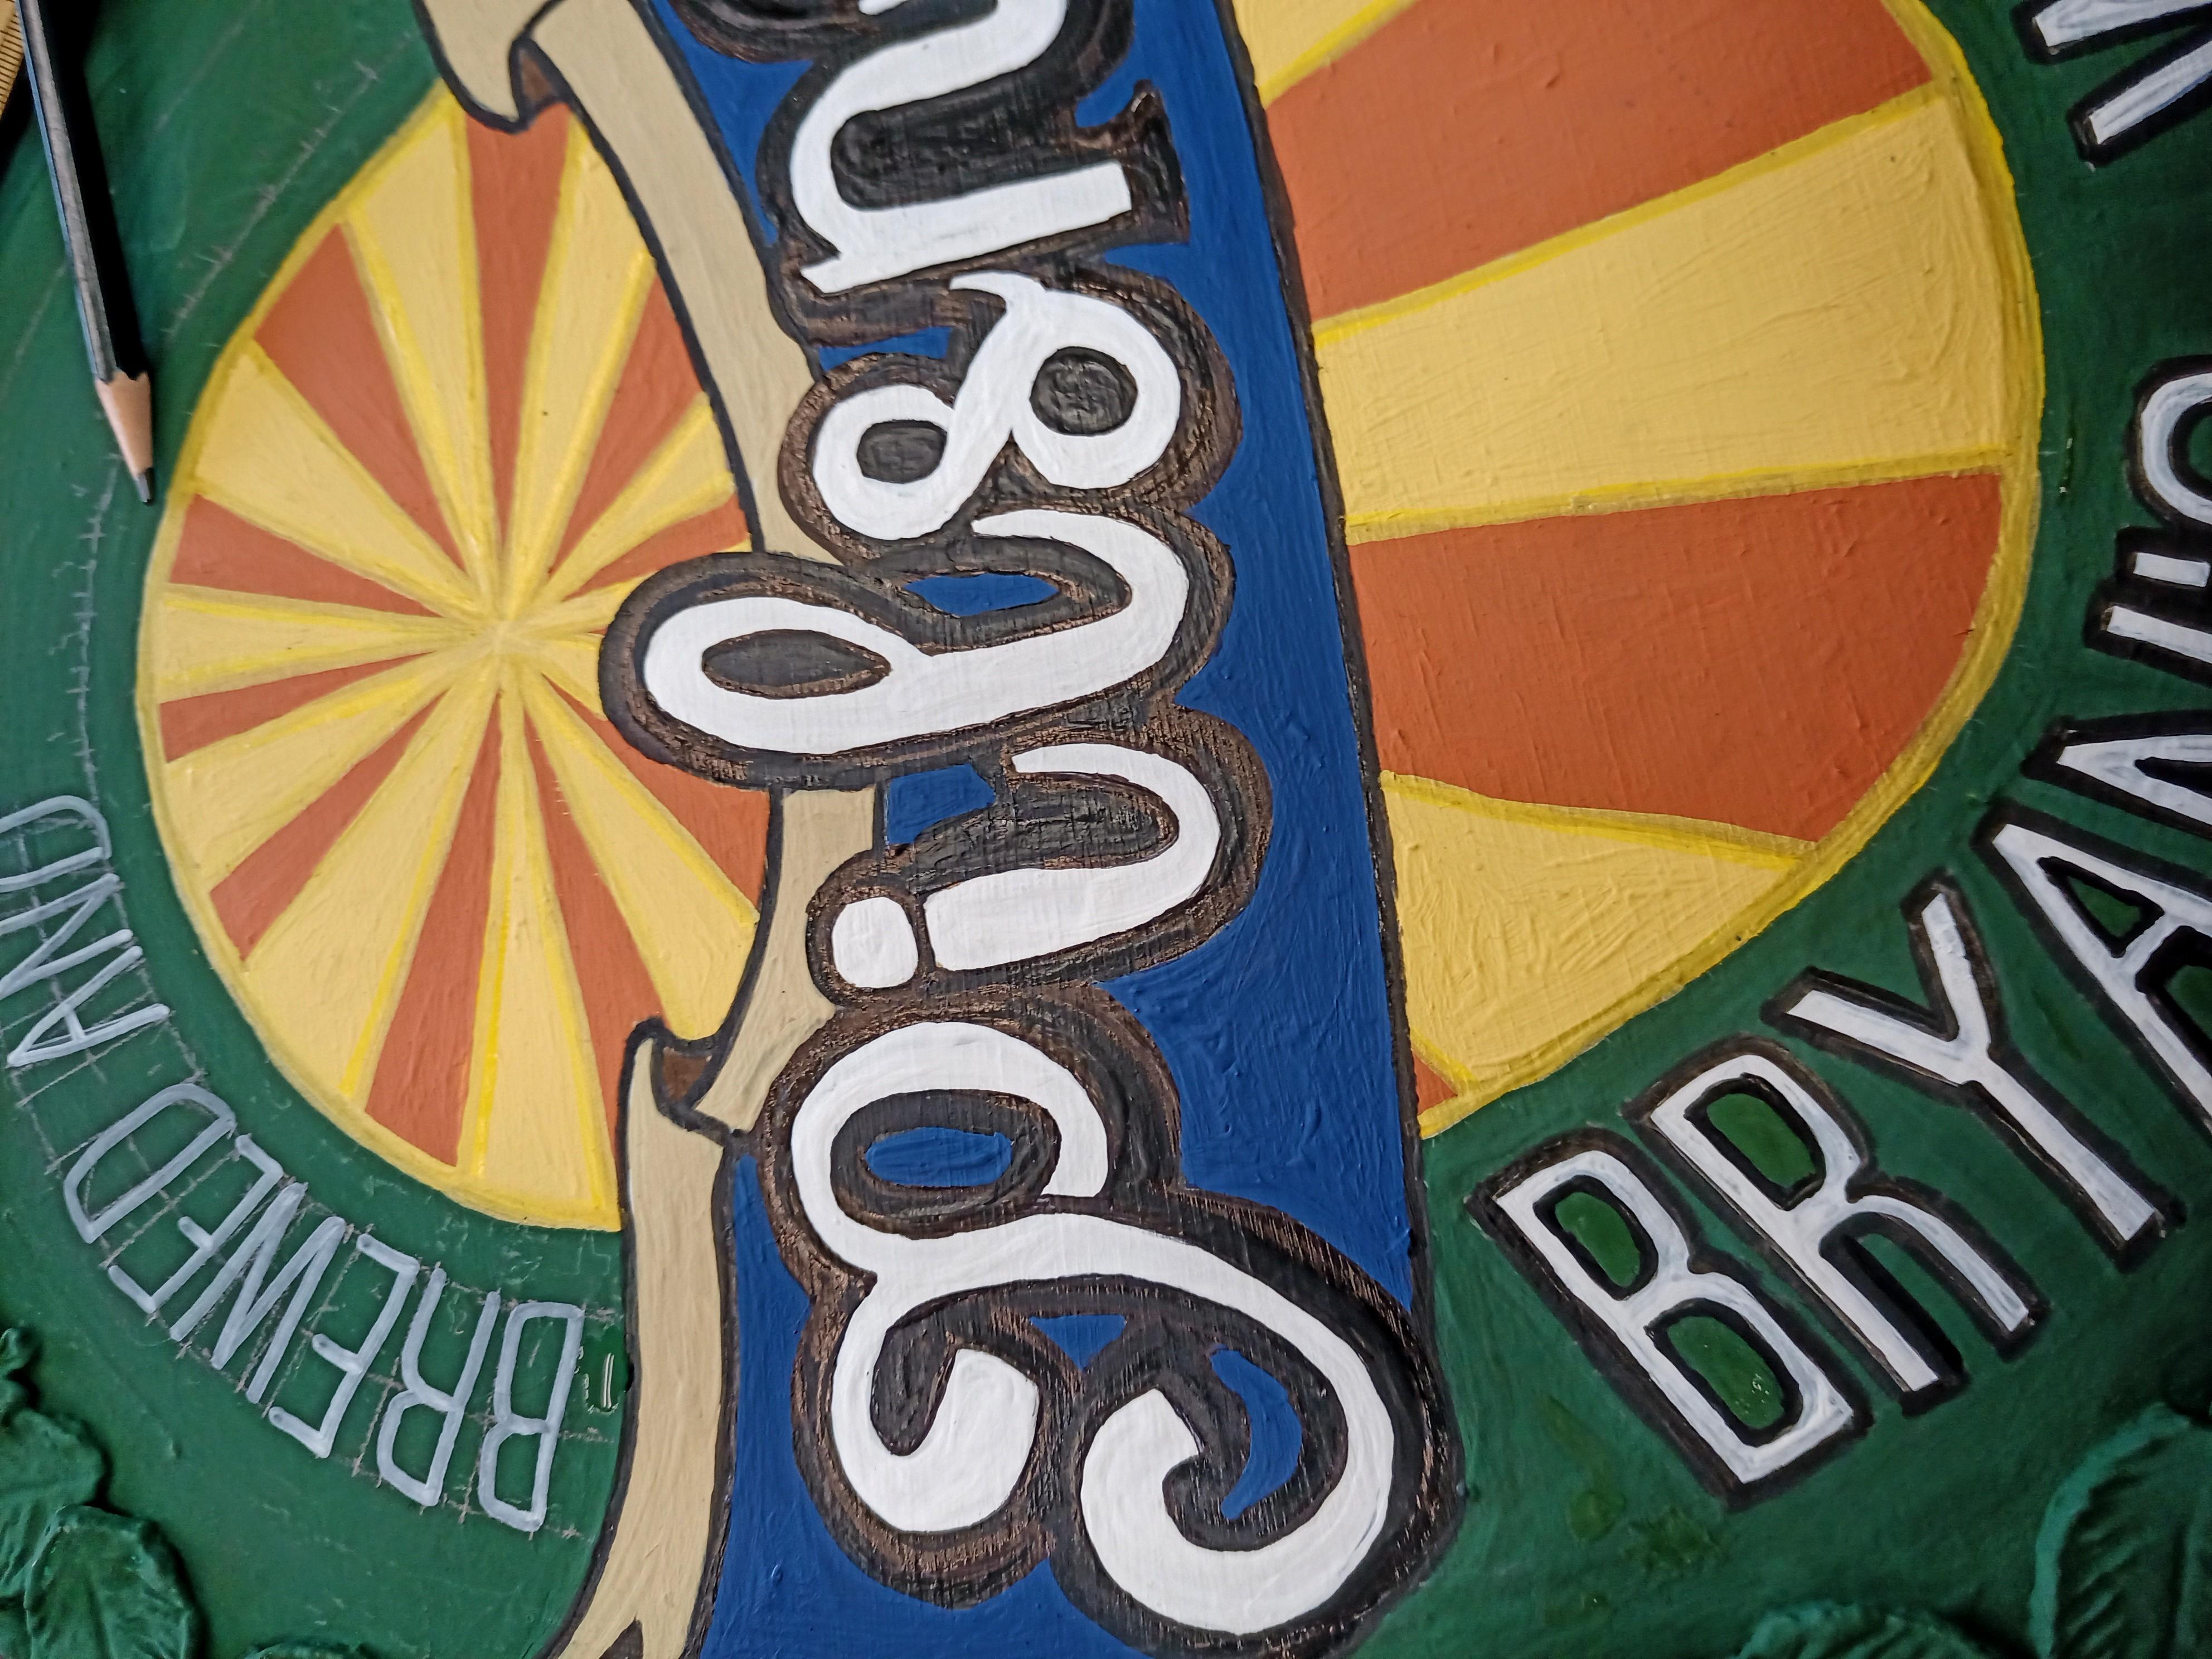
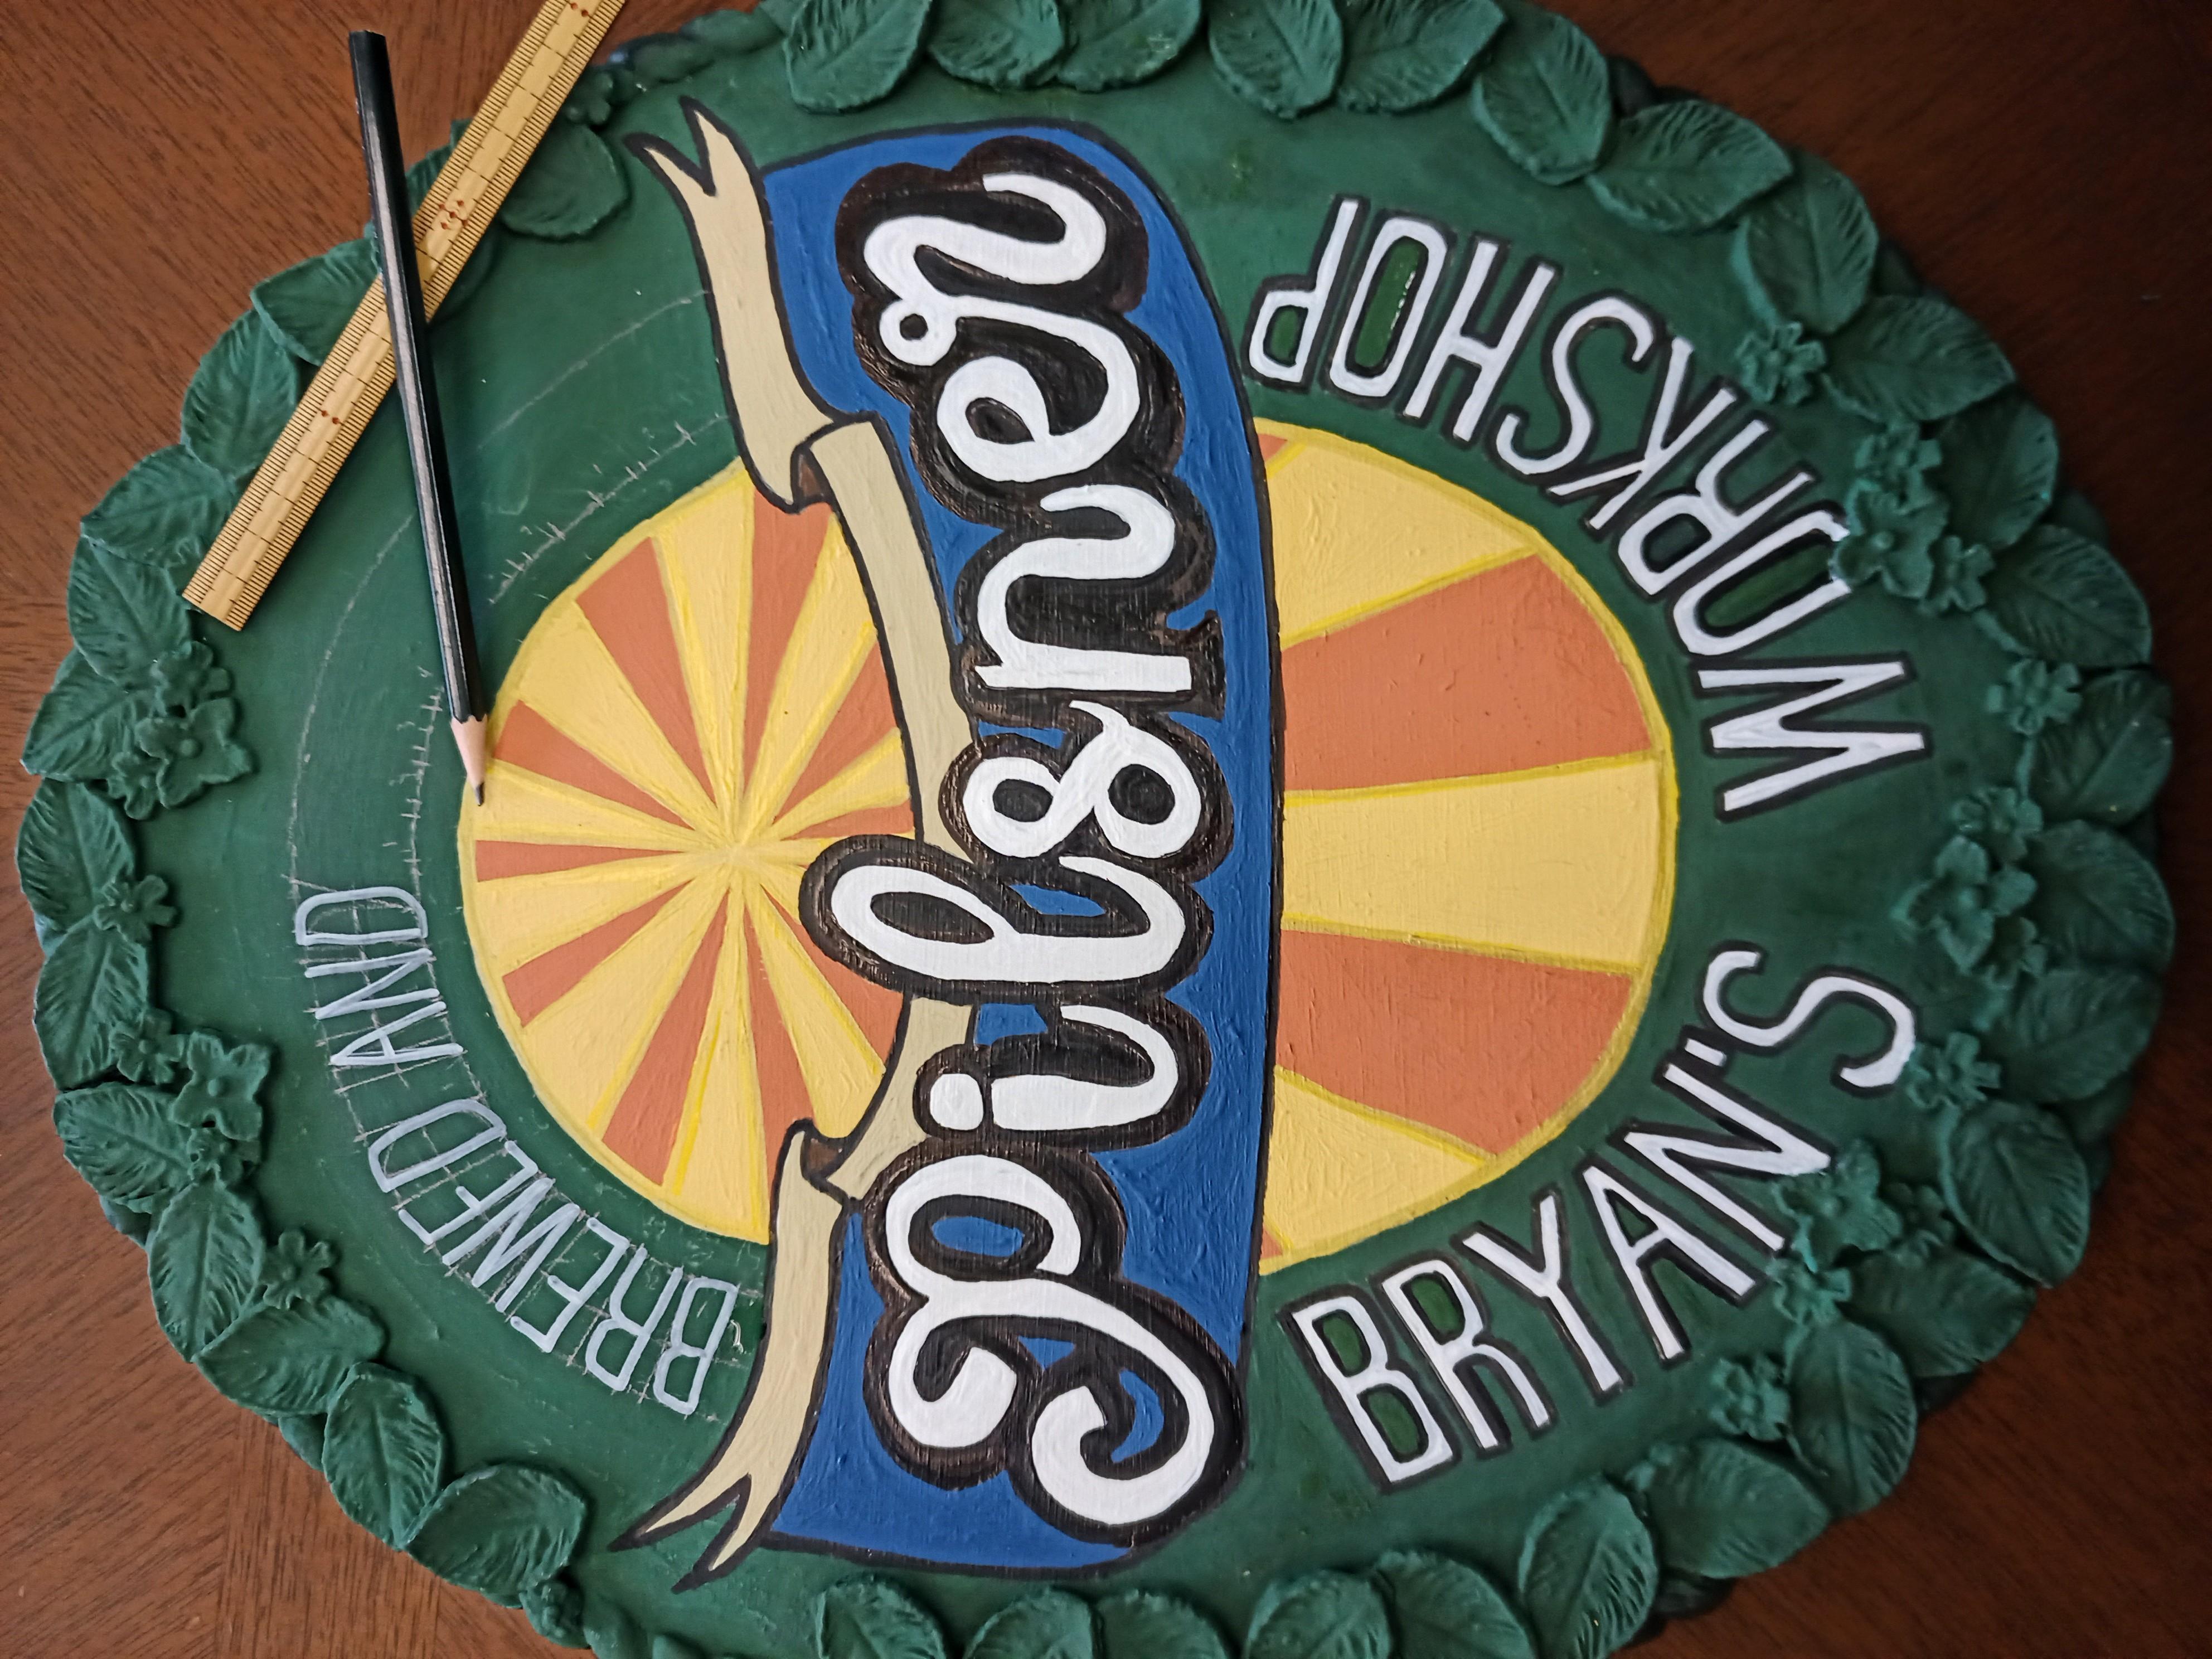

I thought I could pressure engrave the font to where it would show up under a coat of paint. NOPE! I wish I used a dremel tool. A few letters showed through, but I needed to draw arches and measure spaces since the grid was painted over. I also wish I didn't use chalk paint! Dang it! I mean, I really like how it looks, but it would probably look nicer without that chalk paint texture.
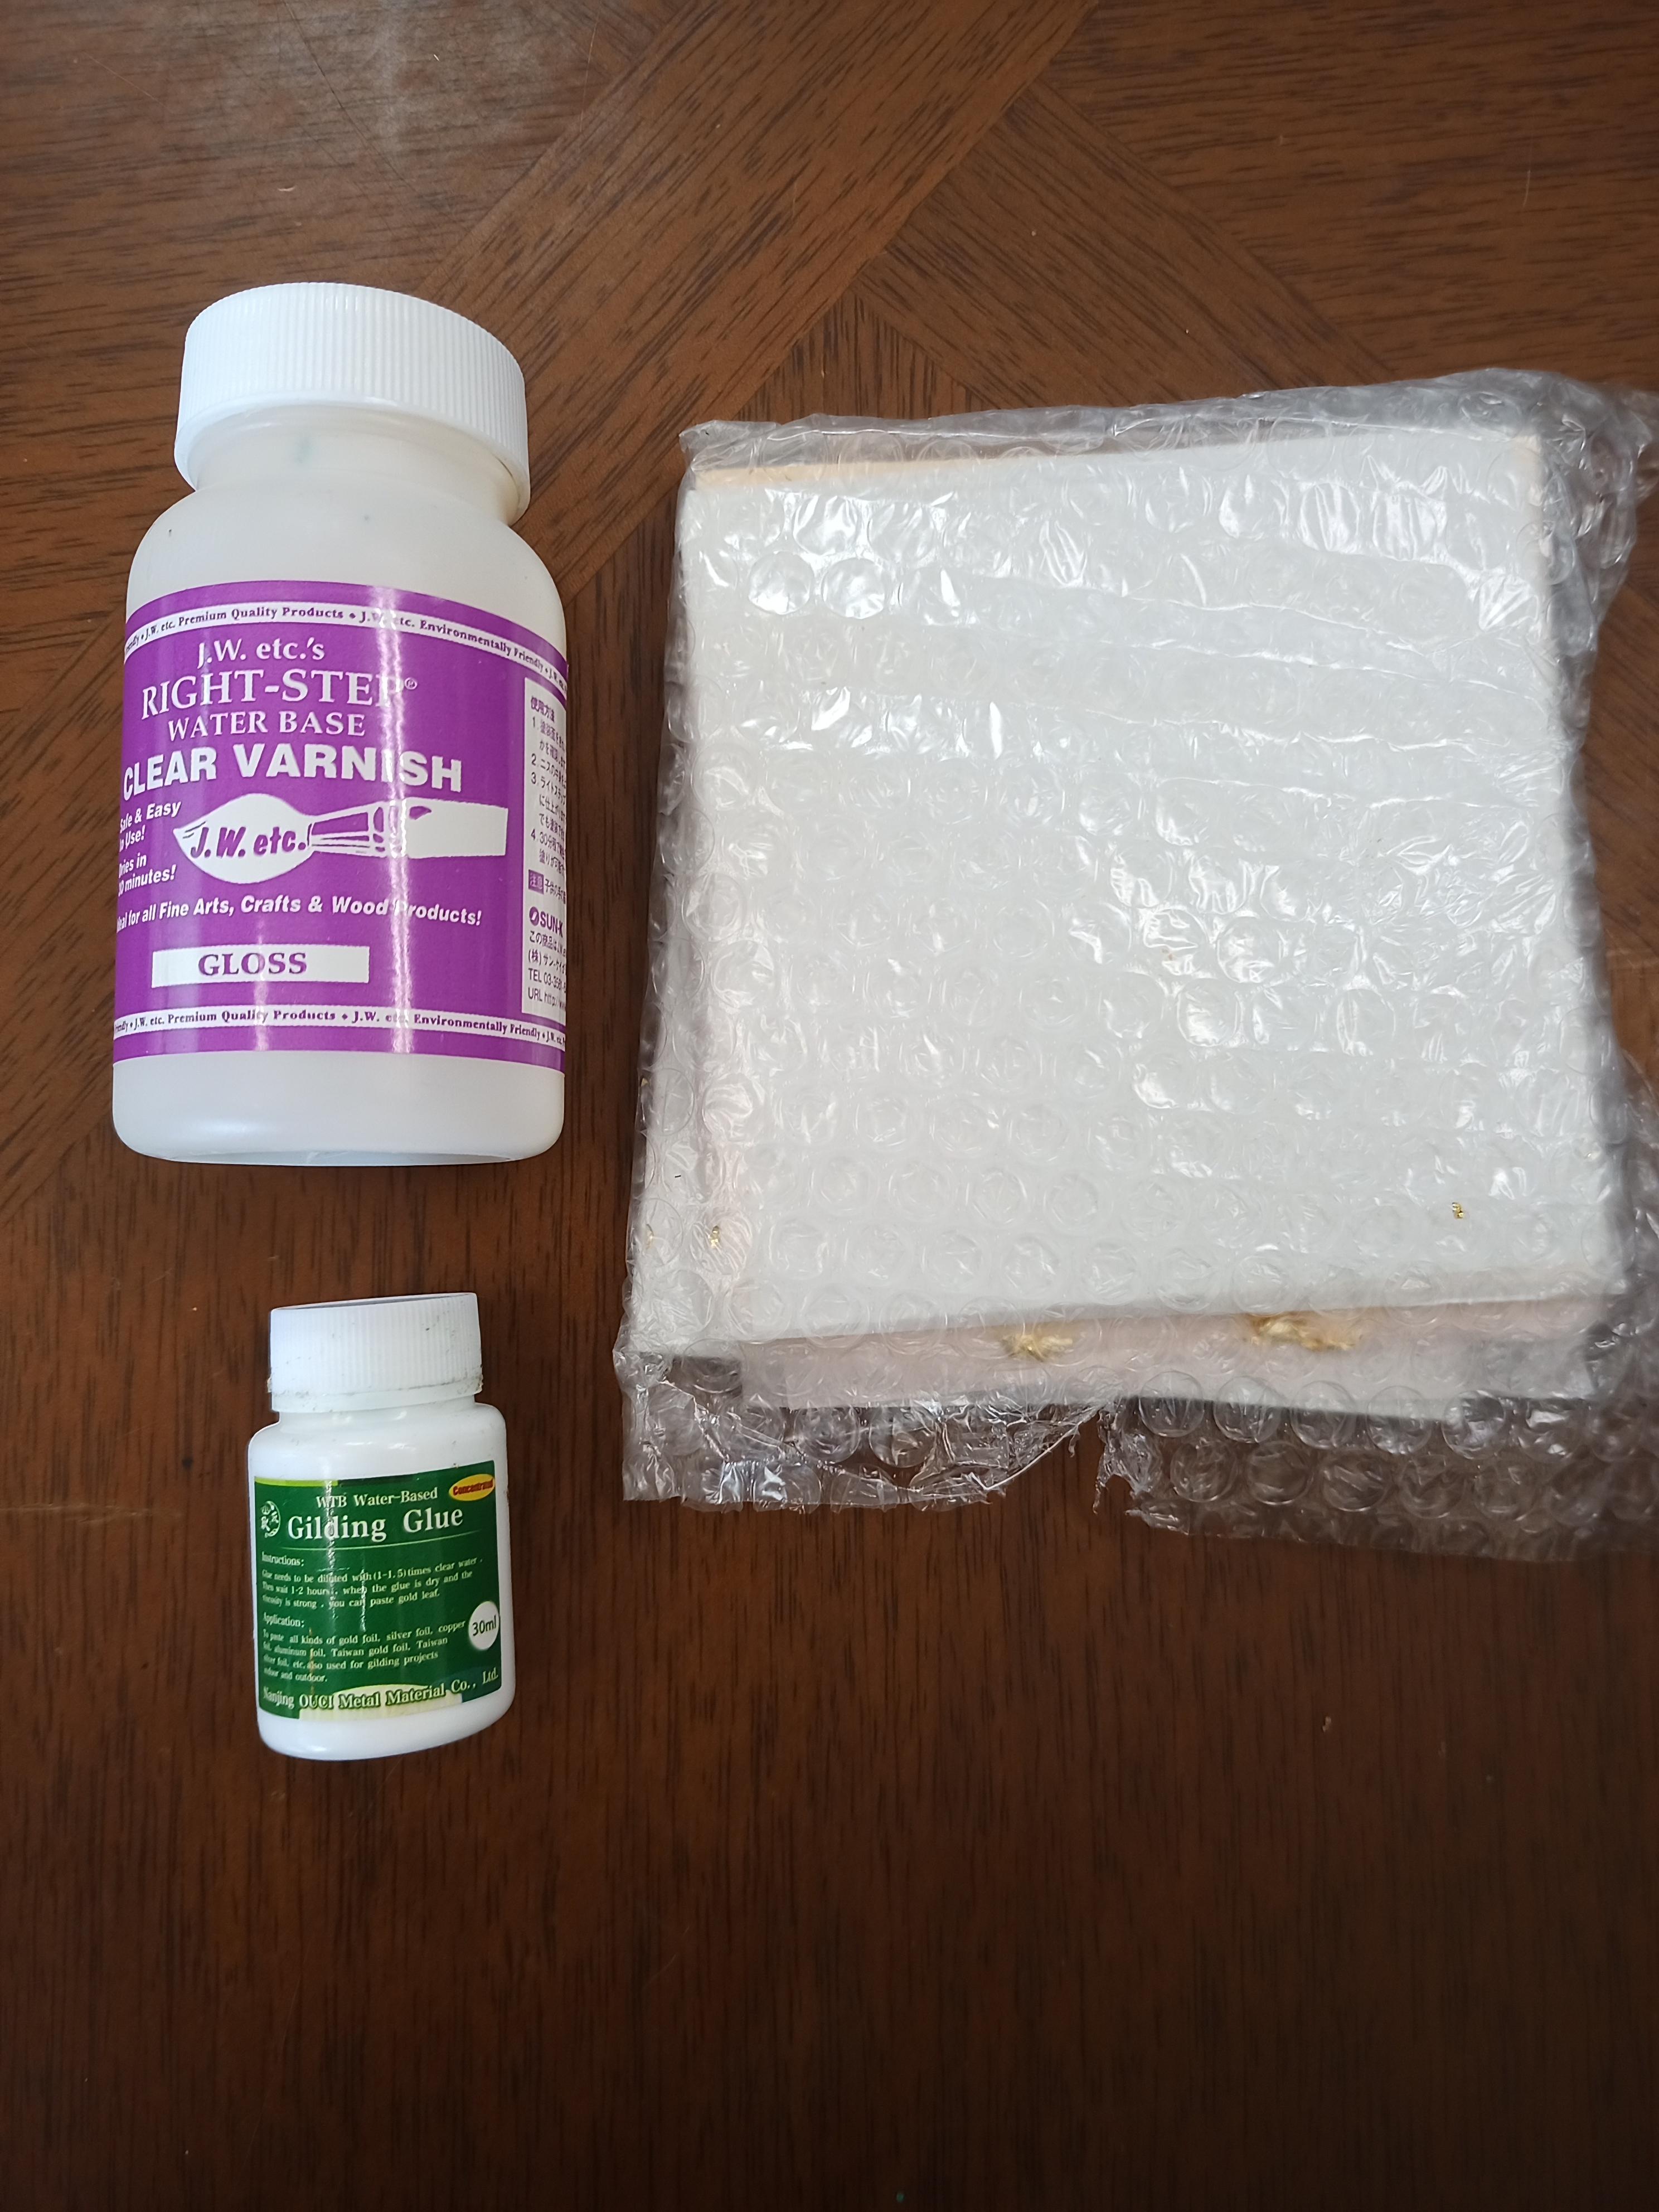
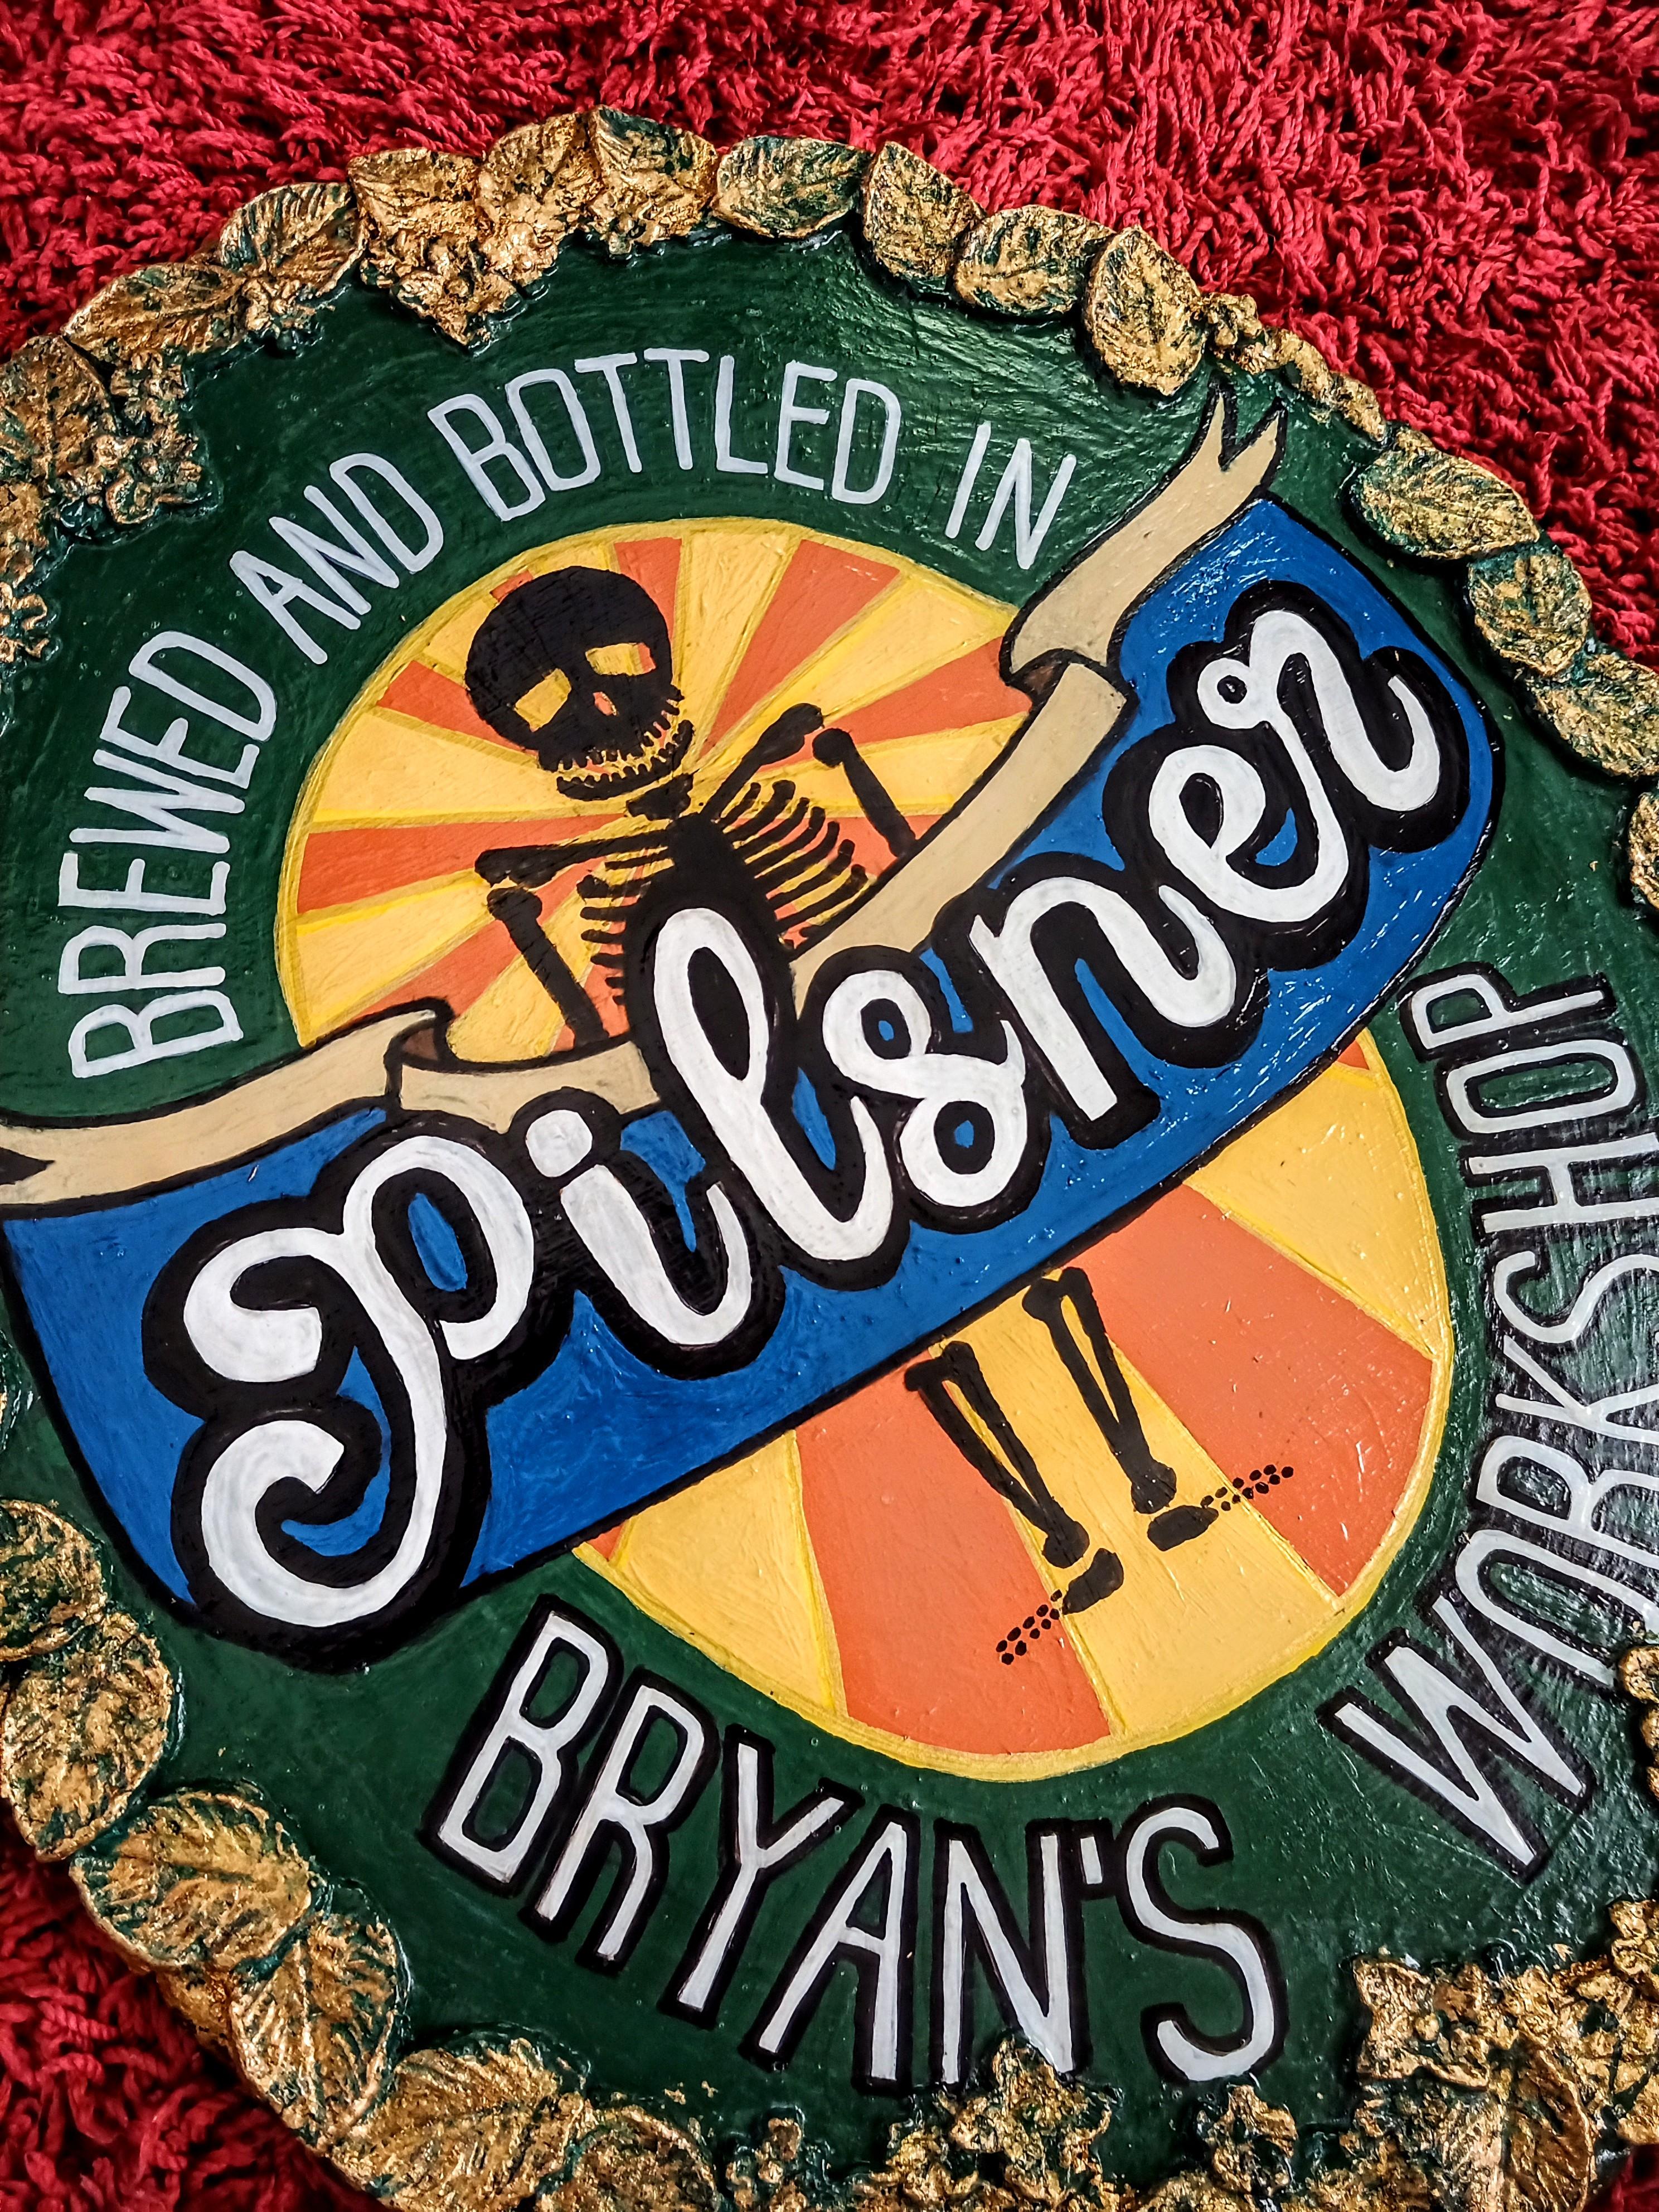
Gold Leaf
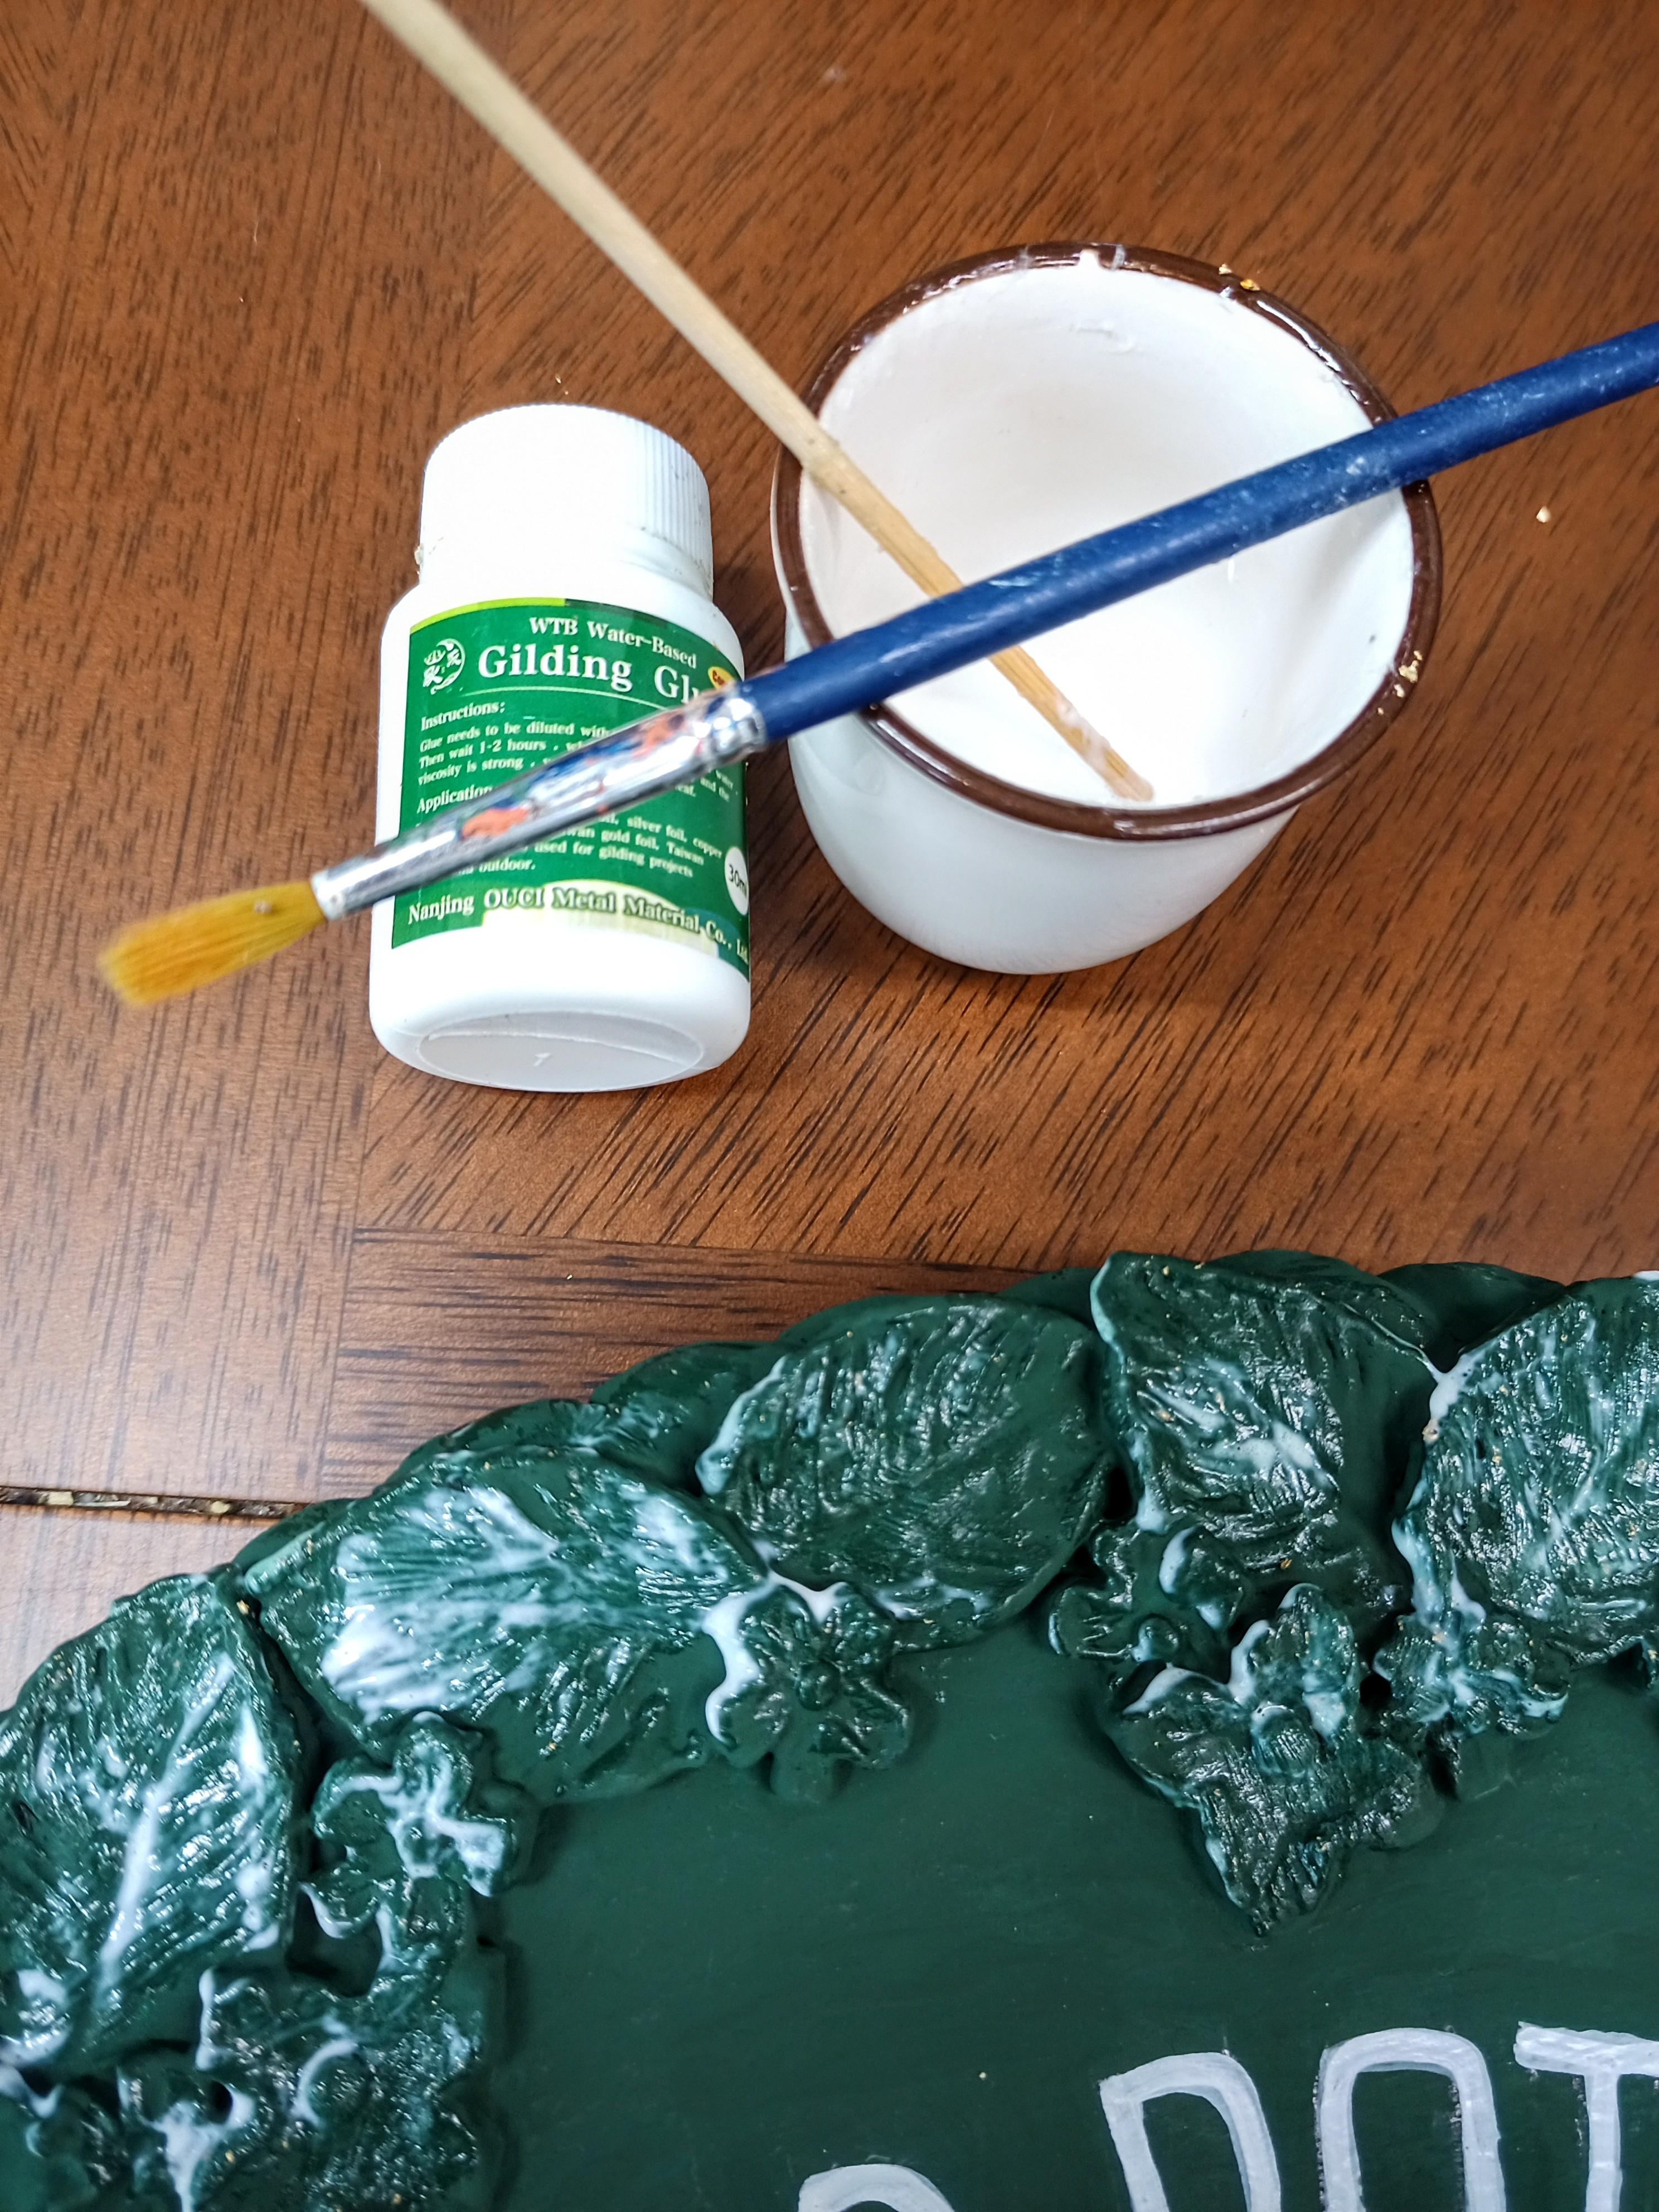
For gold leaf.
-Brush on gilding glue and wait for it to become tacky. About 20 minutes.
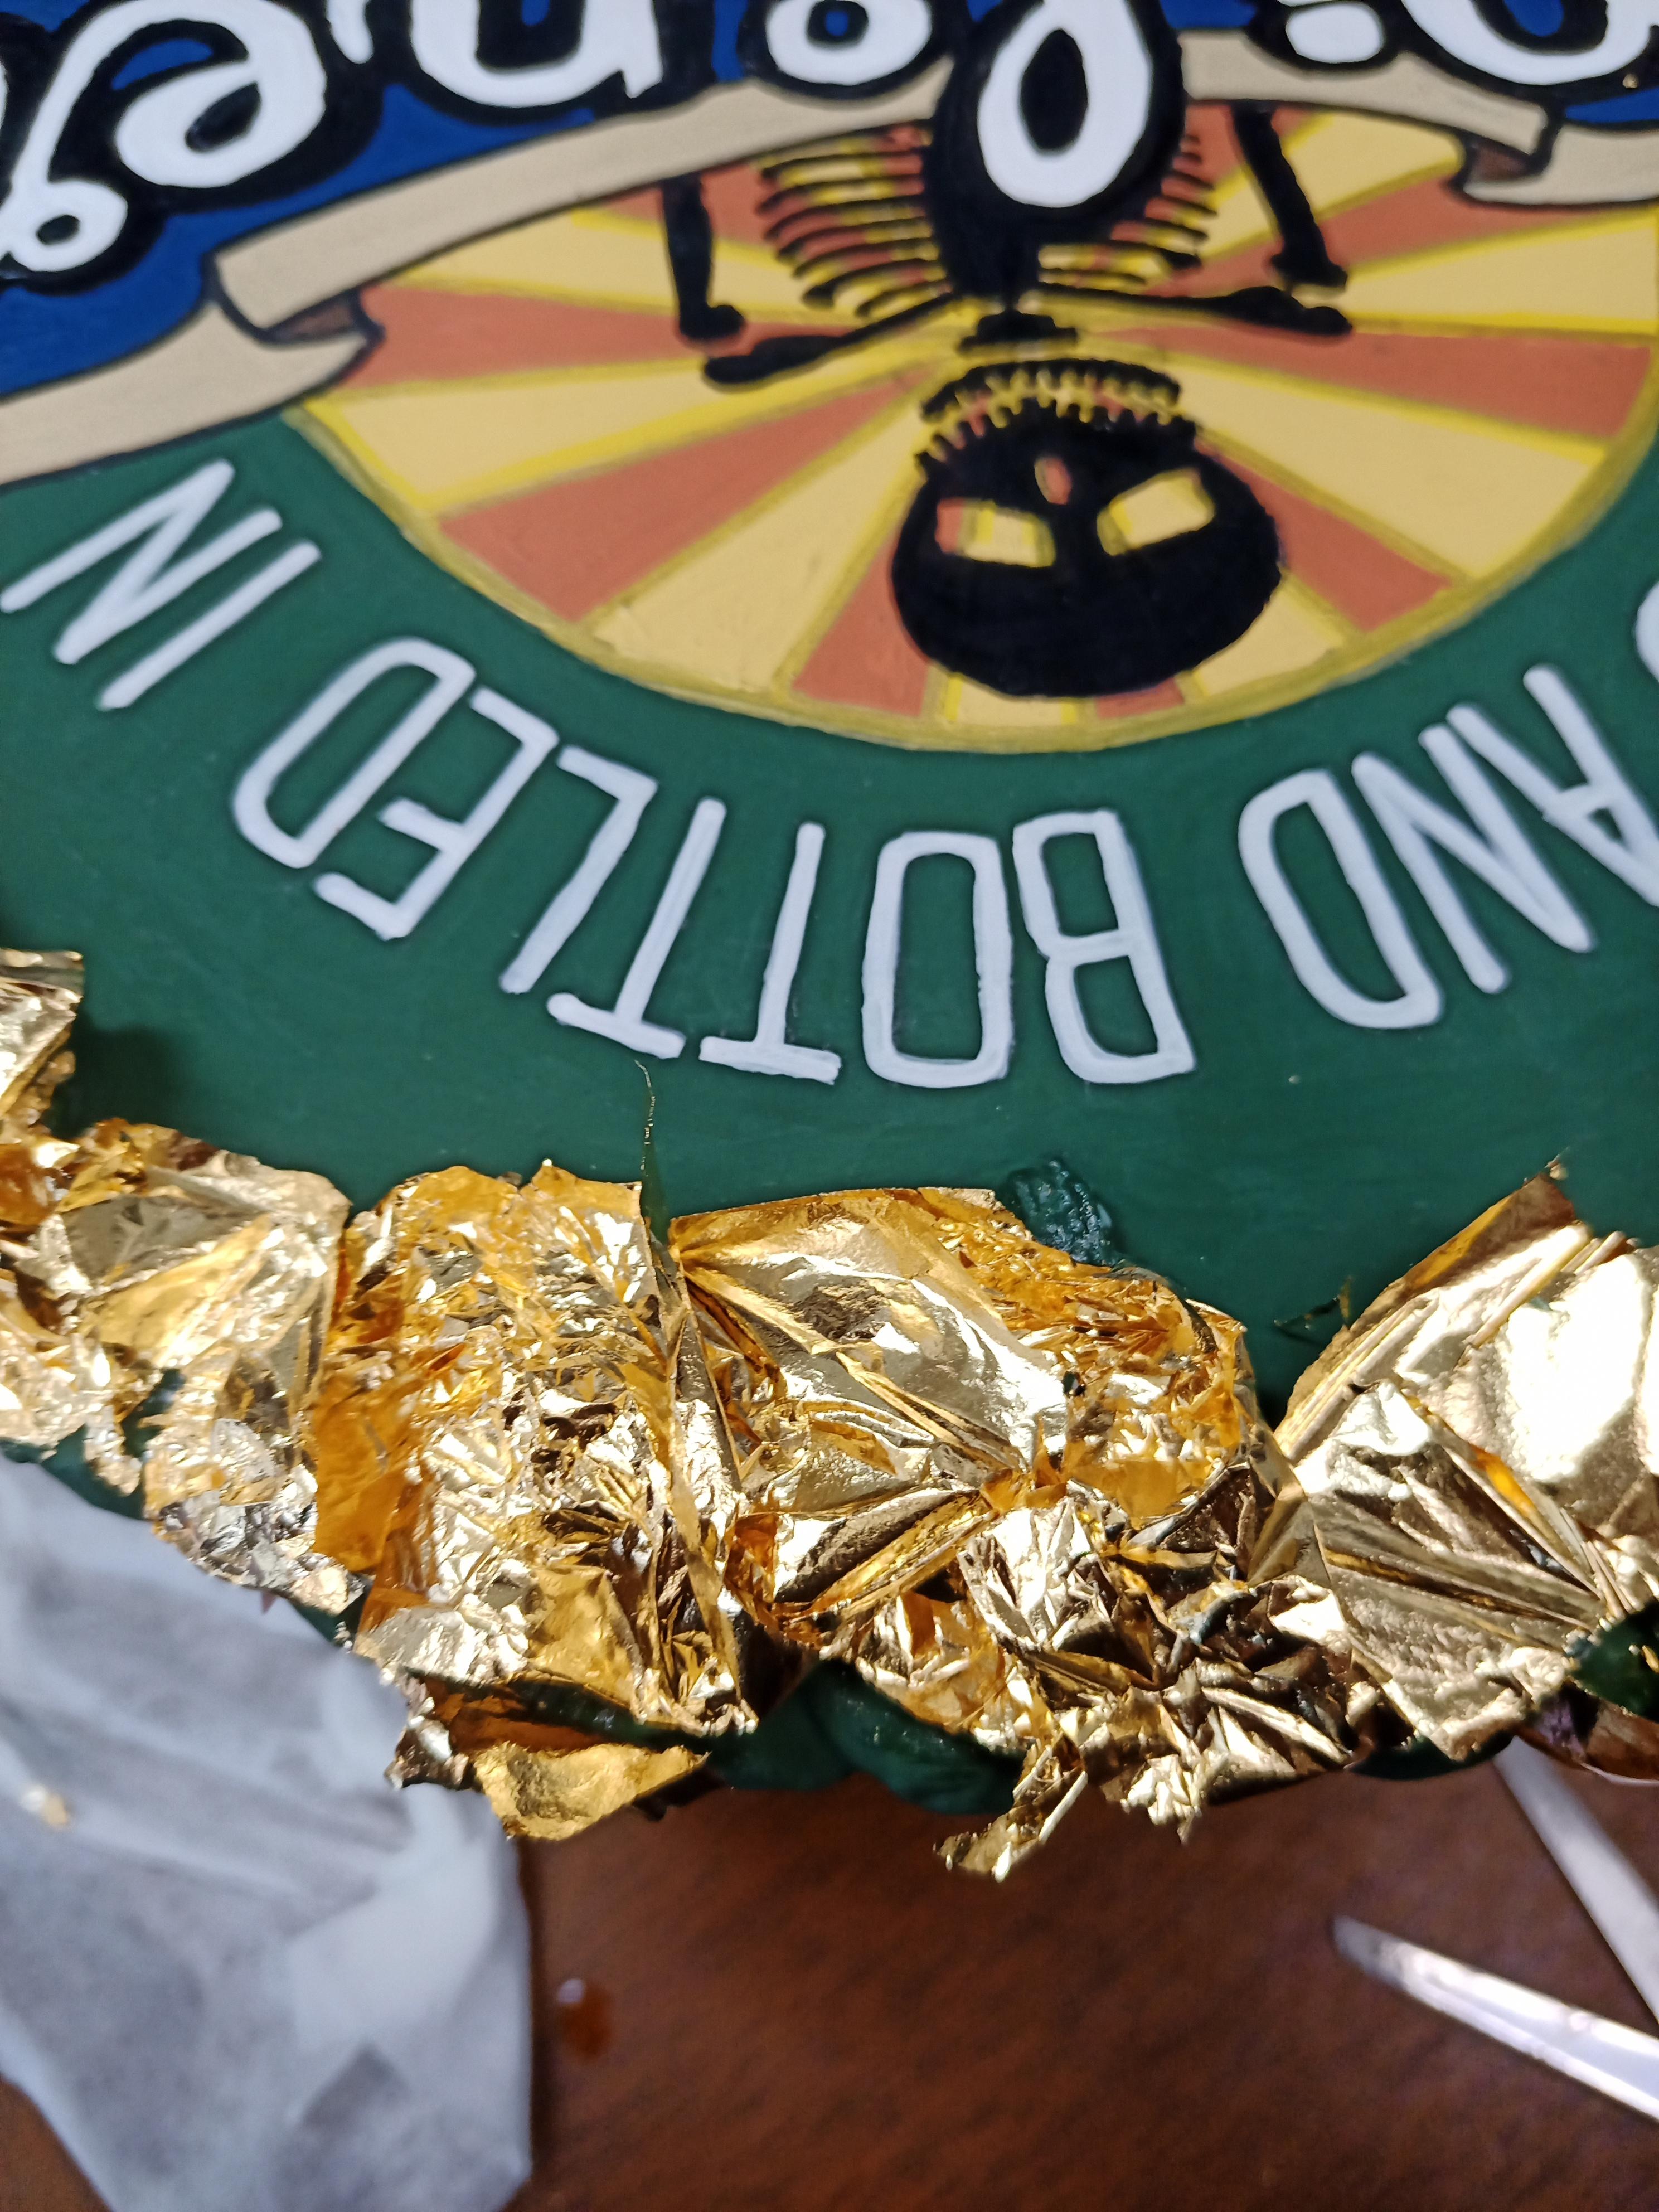
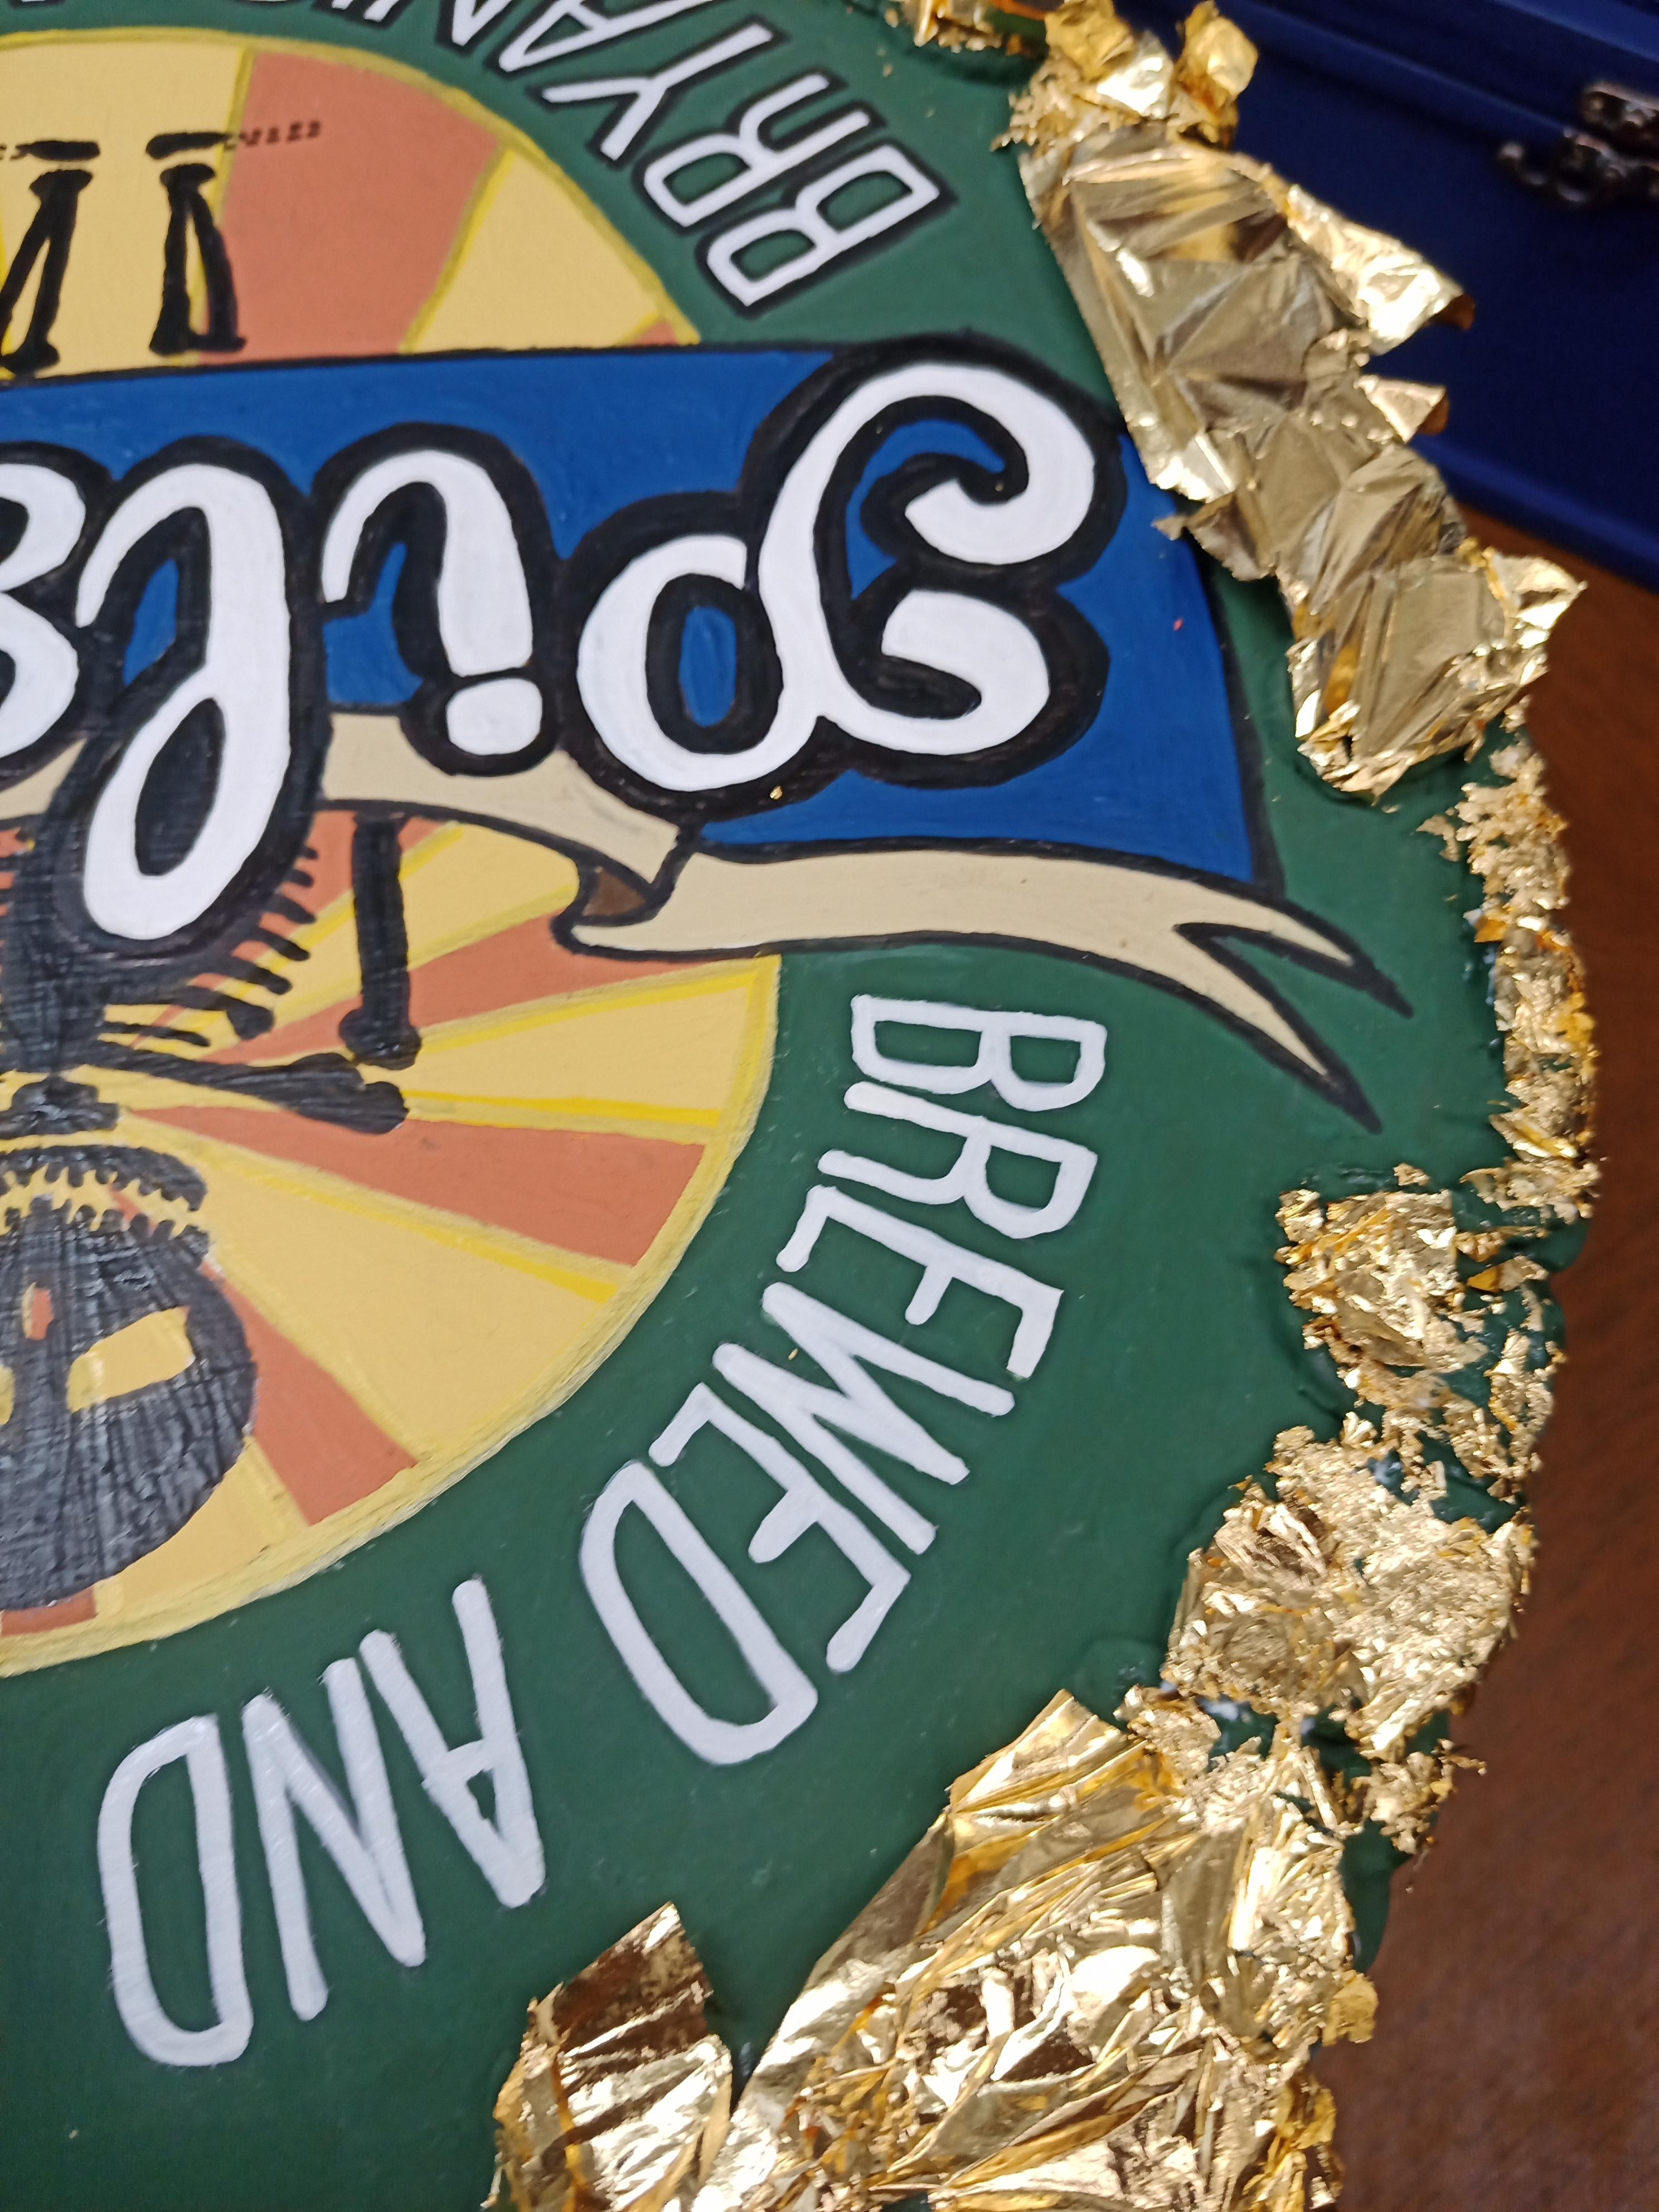
-Apply the gold leaf by placing it over the glue.
-Remove the unused leaf by smoothing the wrinkles with your finger or a small paint brush.
*The glue must be tacky or else the gold leaf is tough to apply. It'll slip around and get stuck to your fingers and brush.
*Gold leaf gets everywhere too! Really....everywhere! It breaks down into little gold specks while you smooth, so keep cleanup supplies nearby and turn off the ceiling fan.
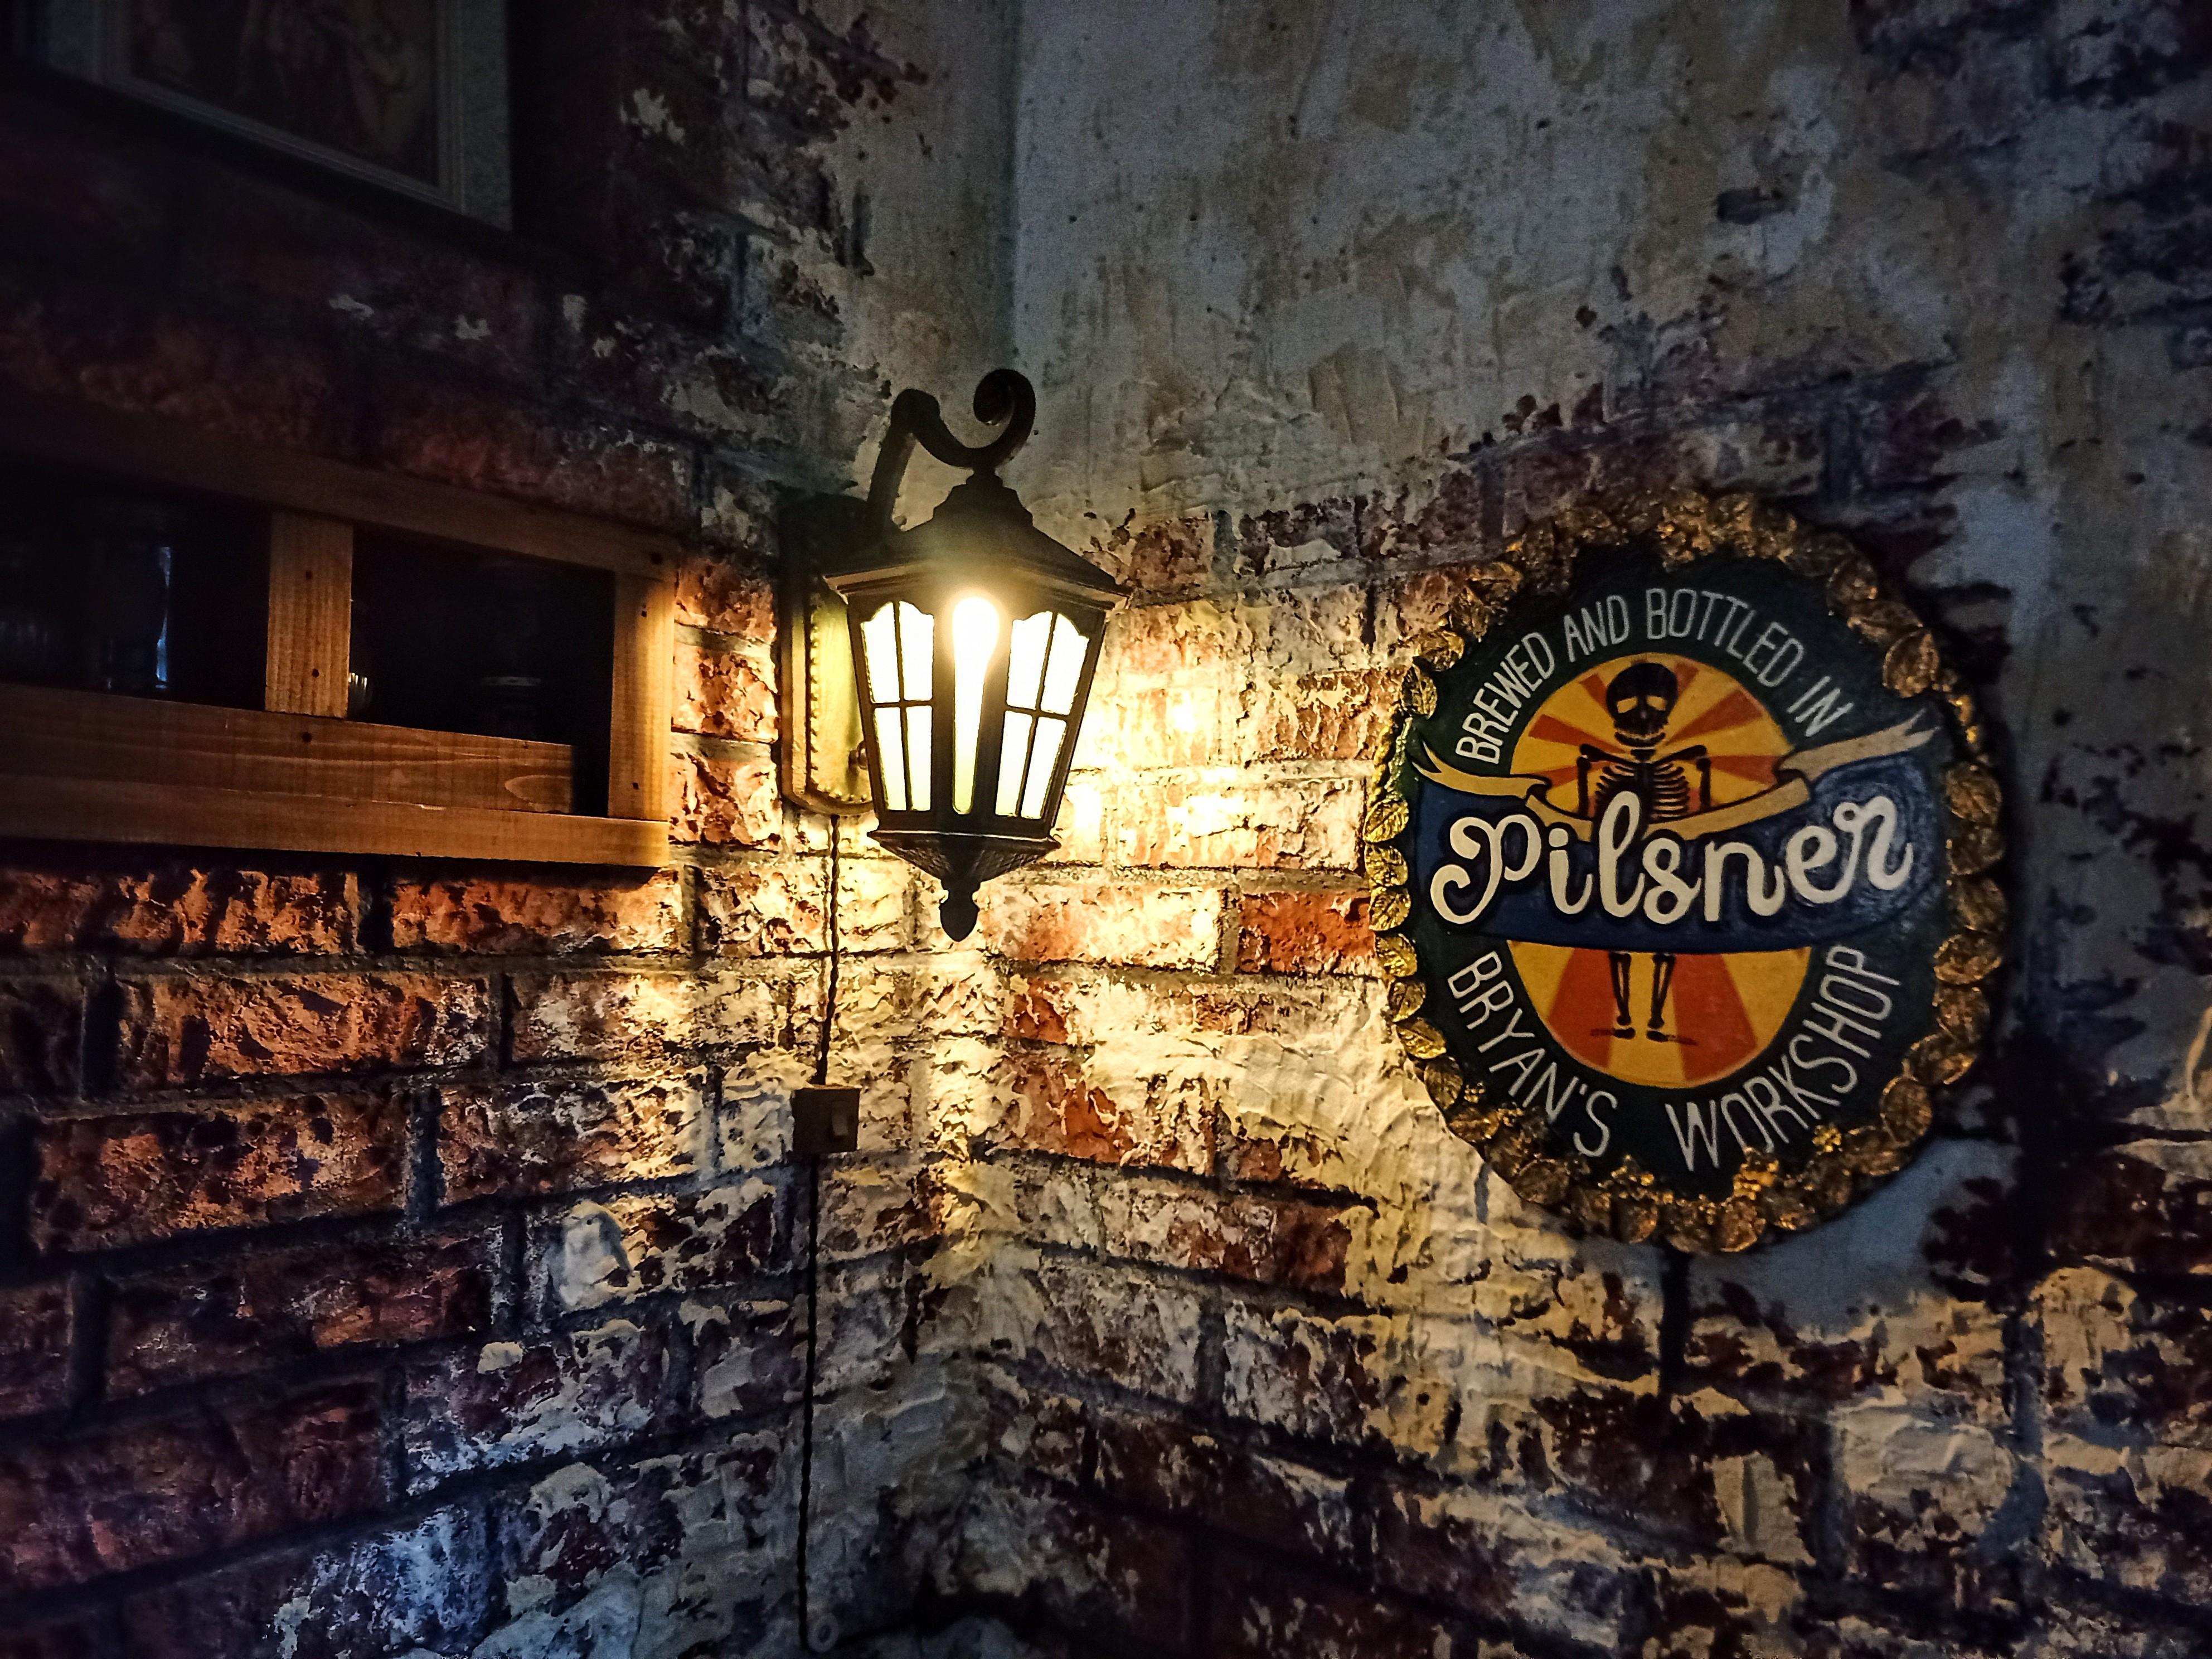
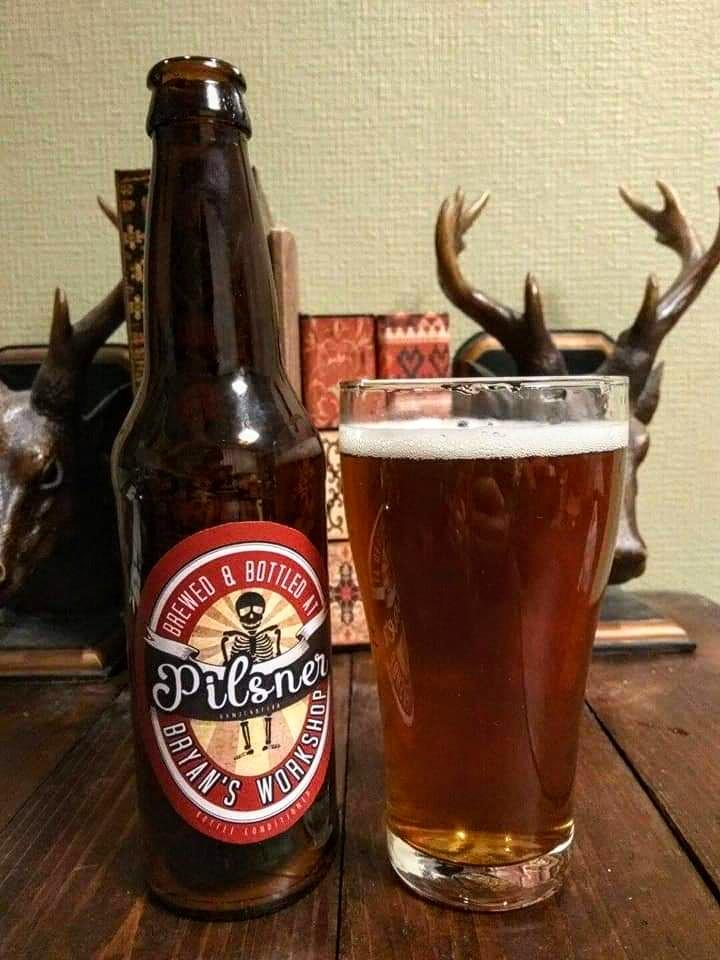
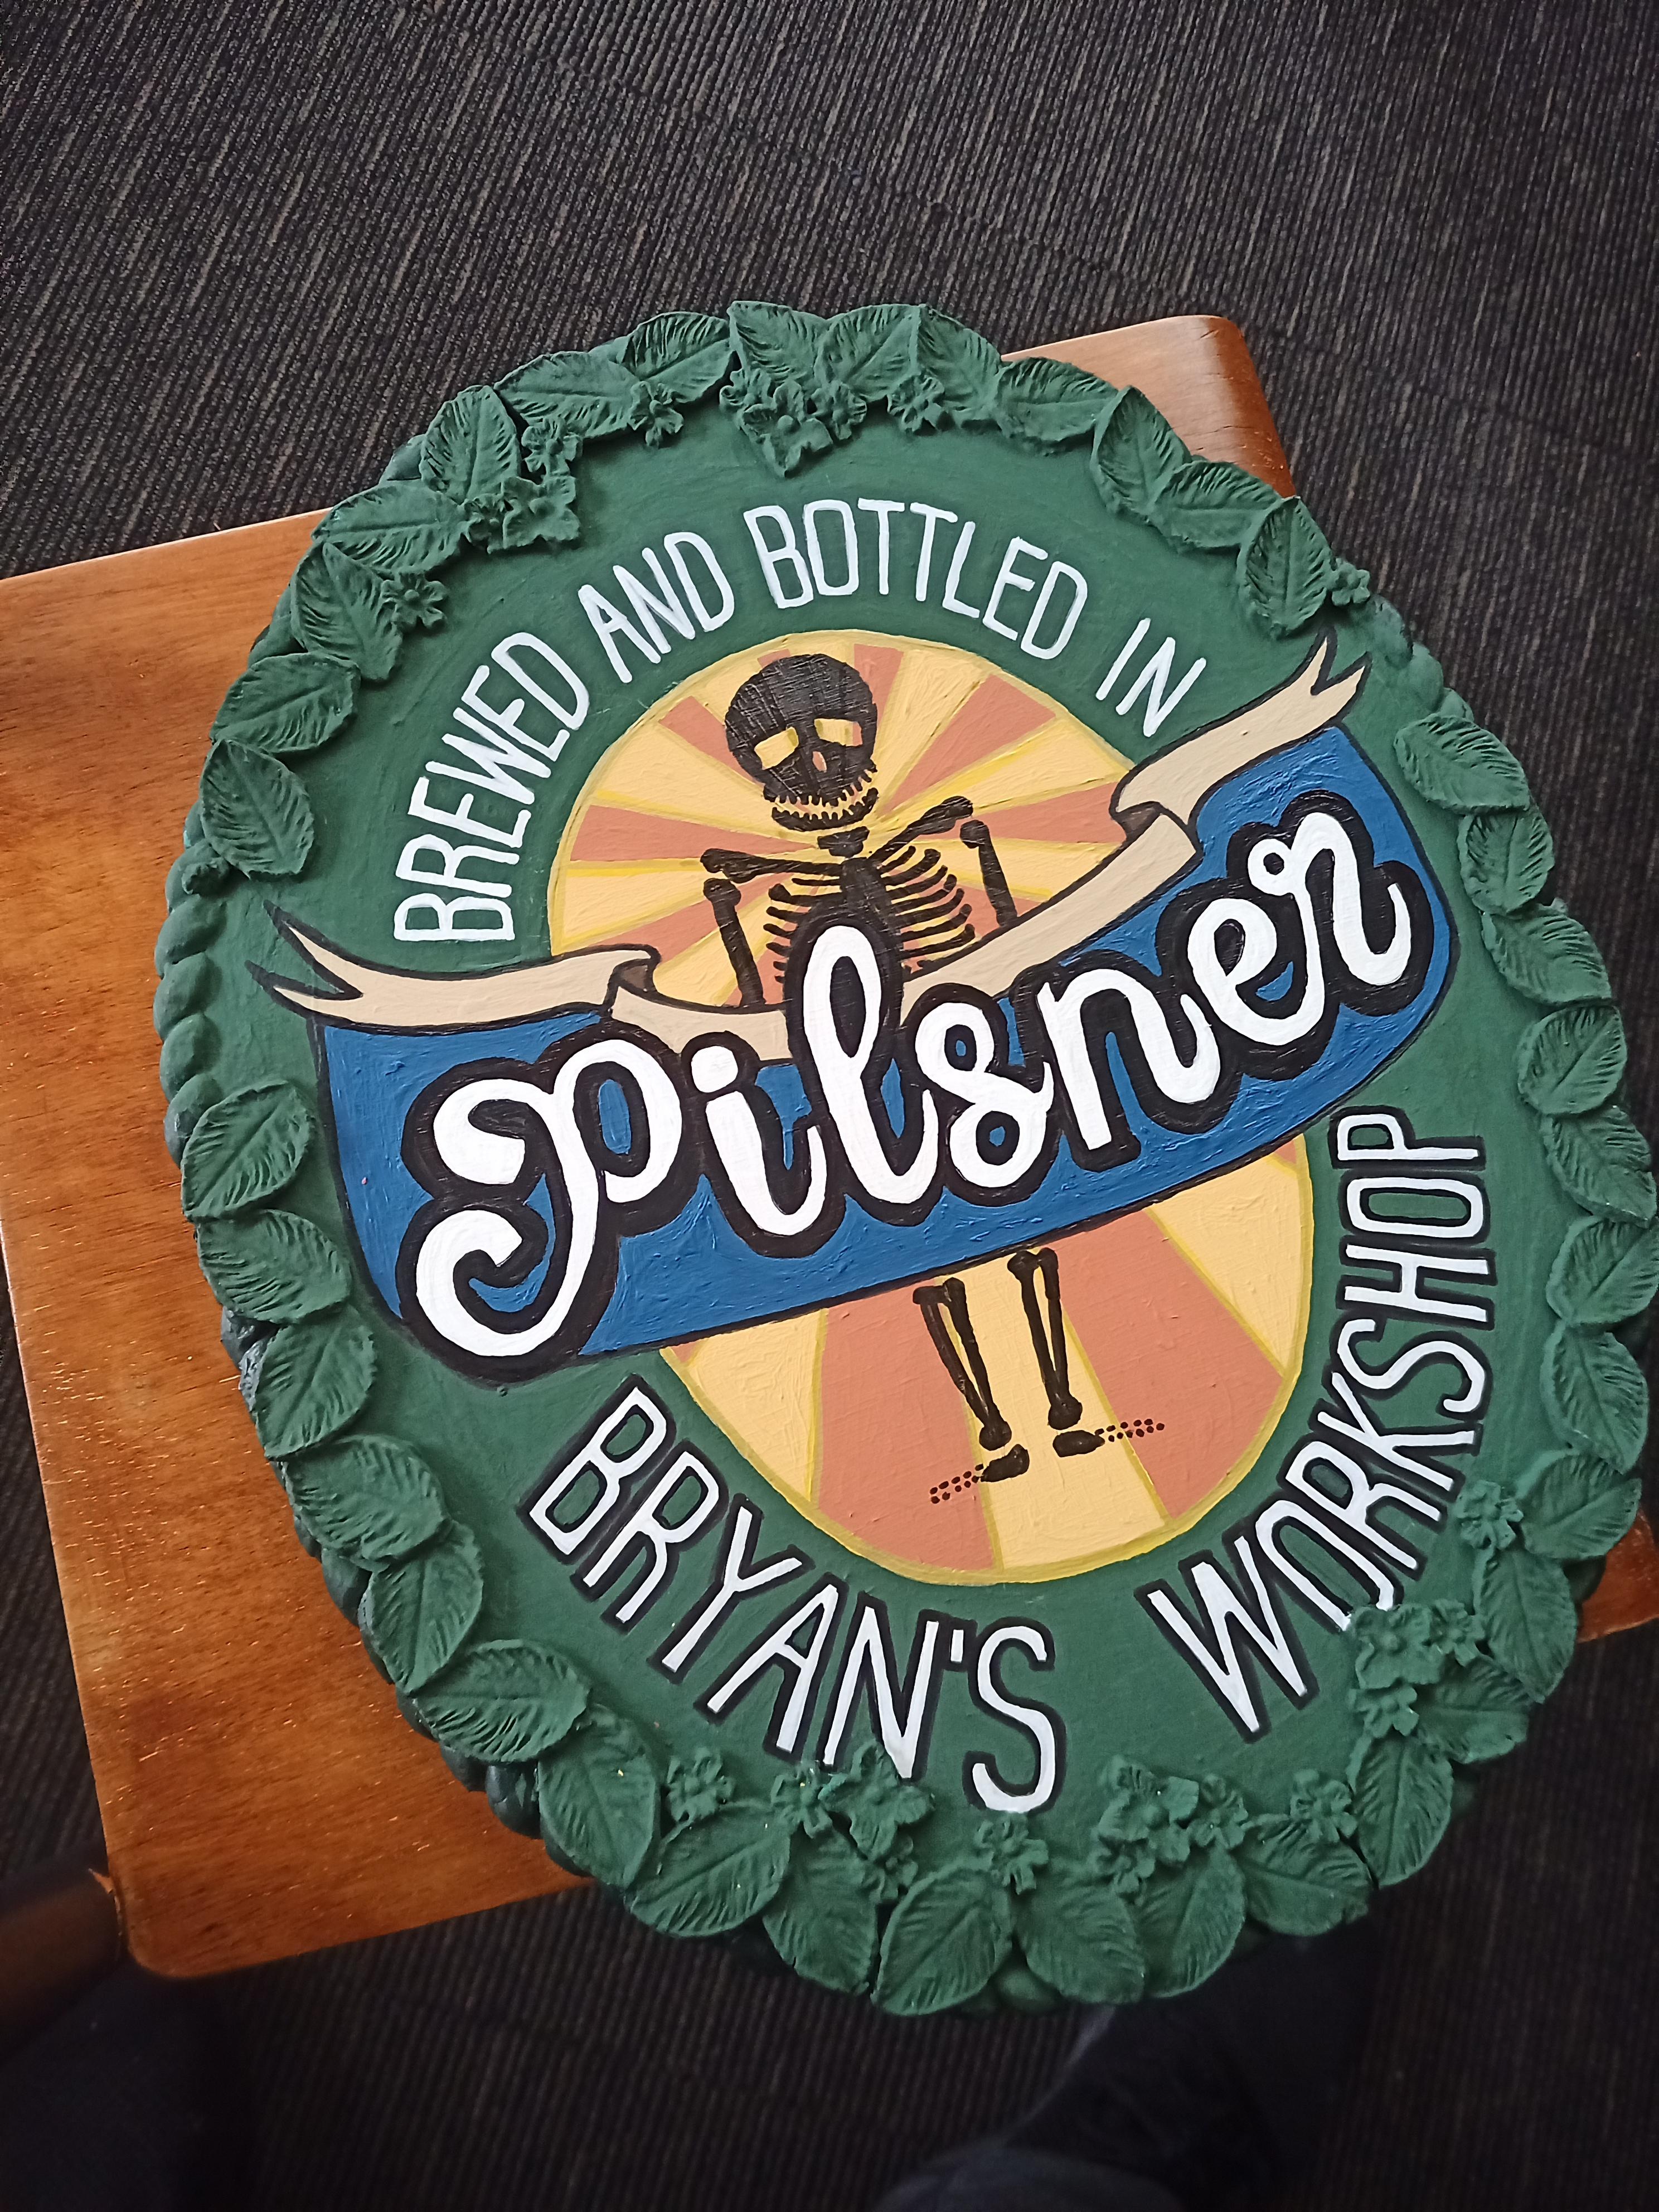
Finished!
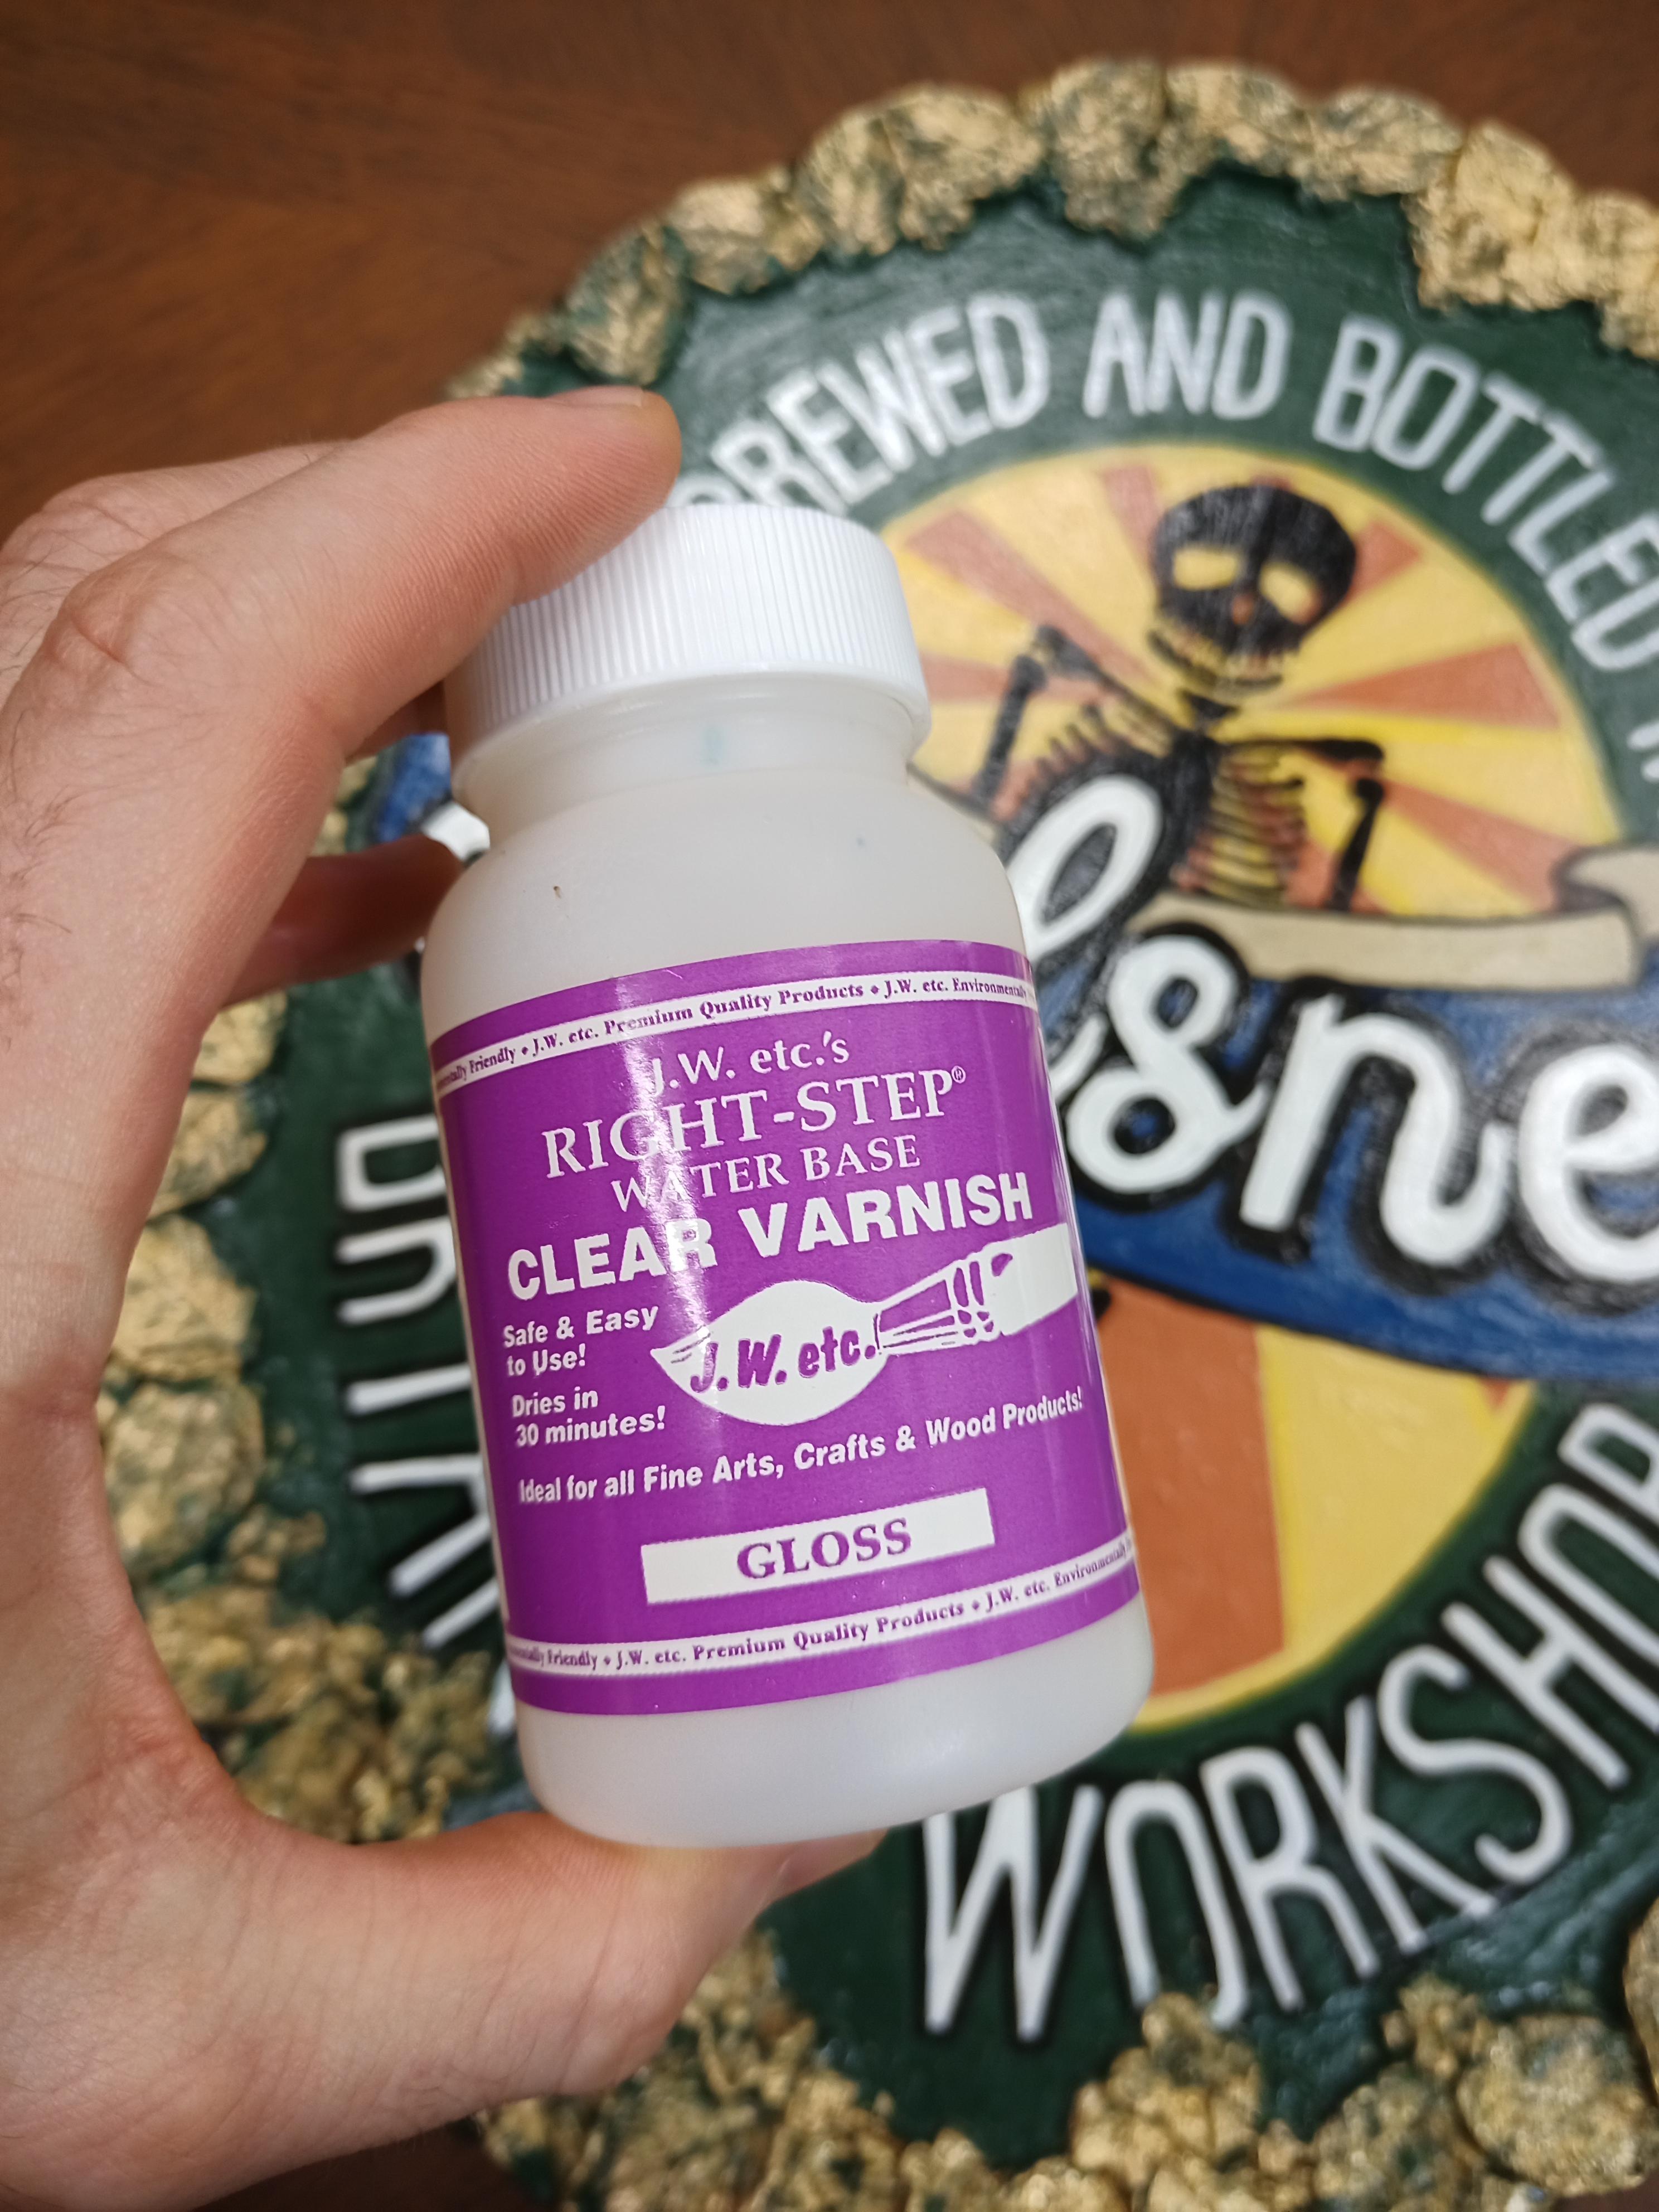
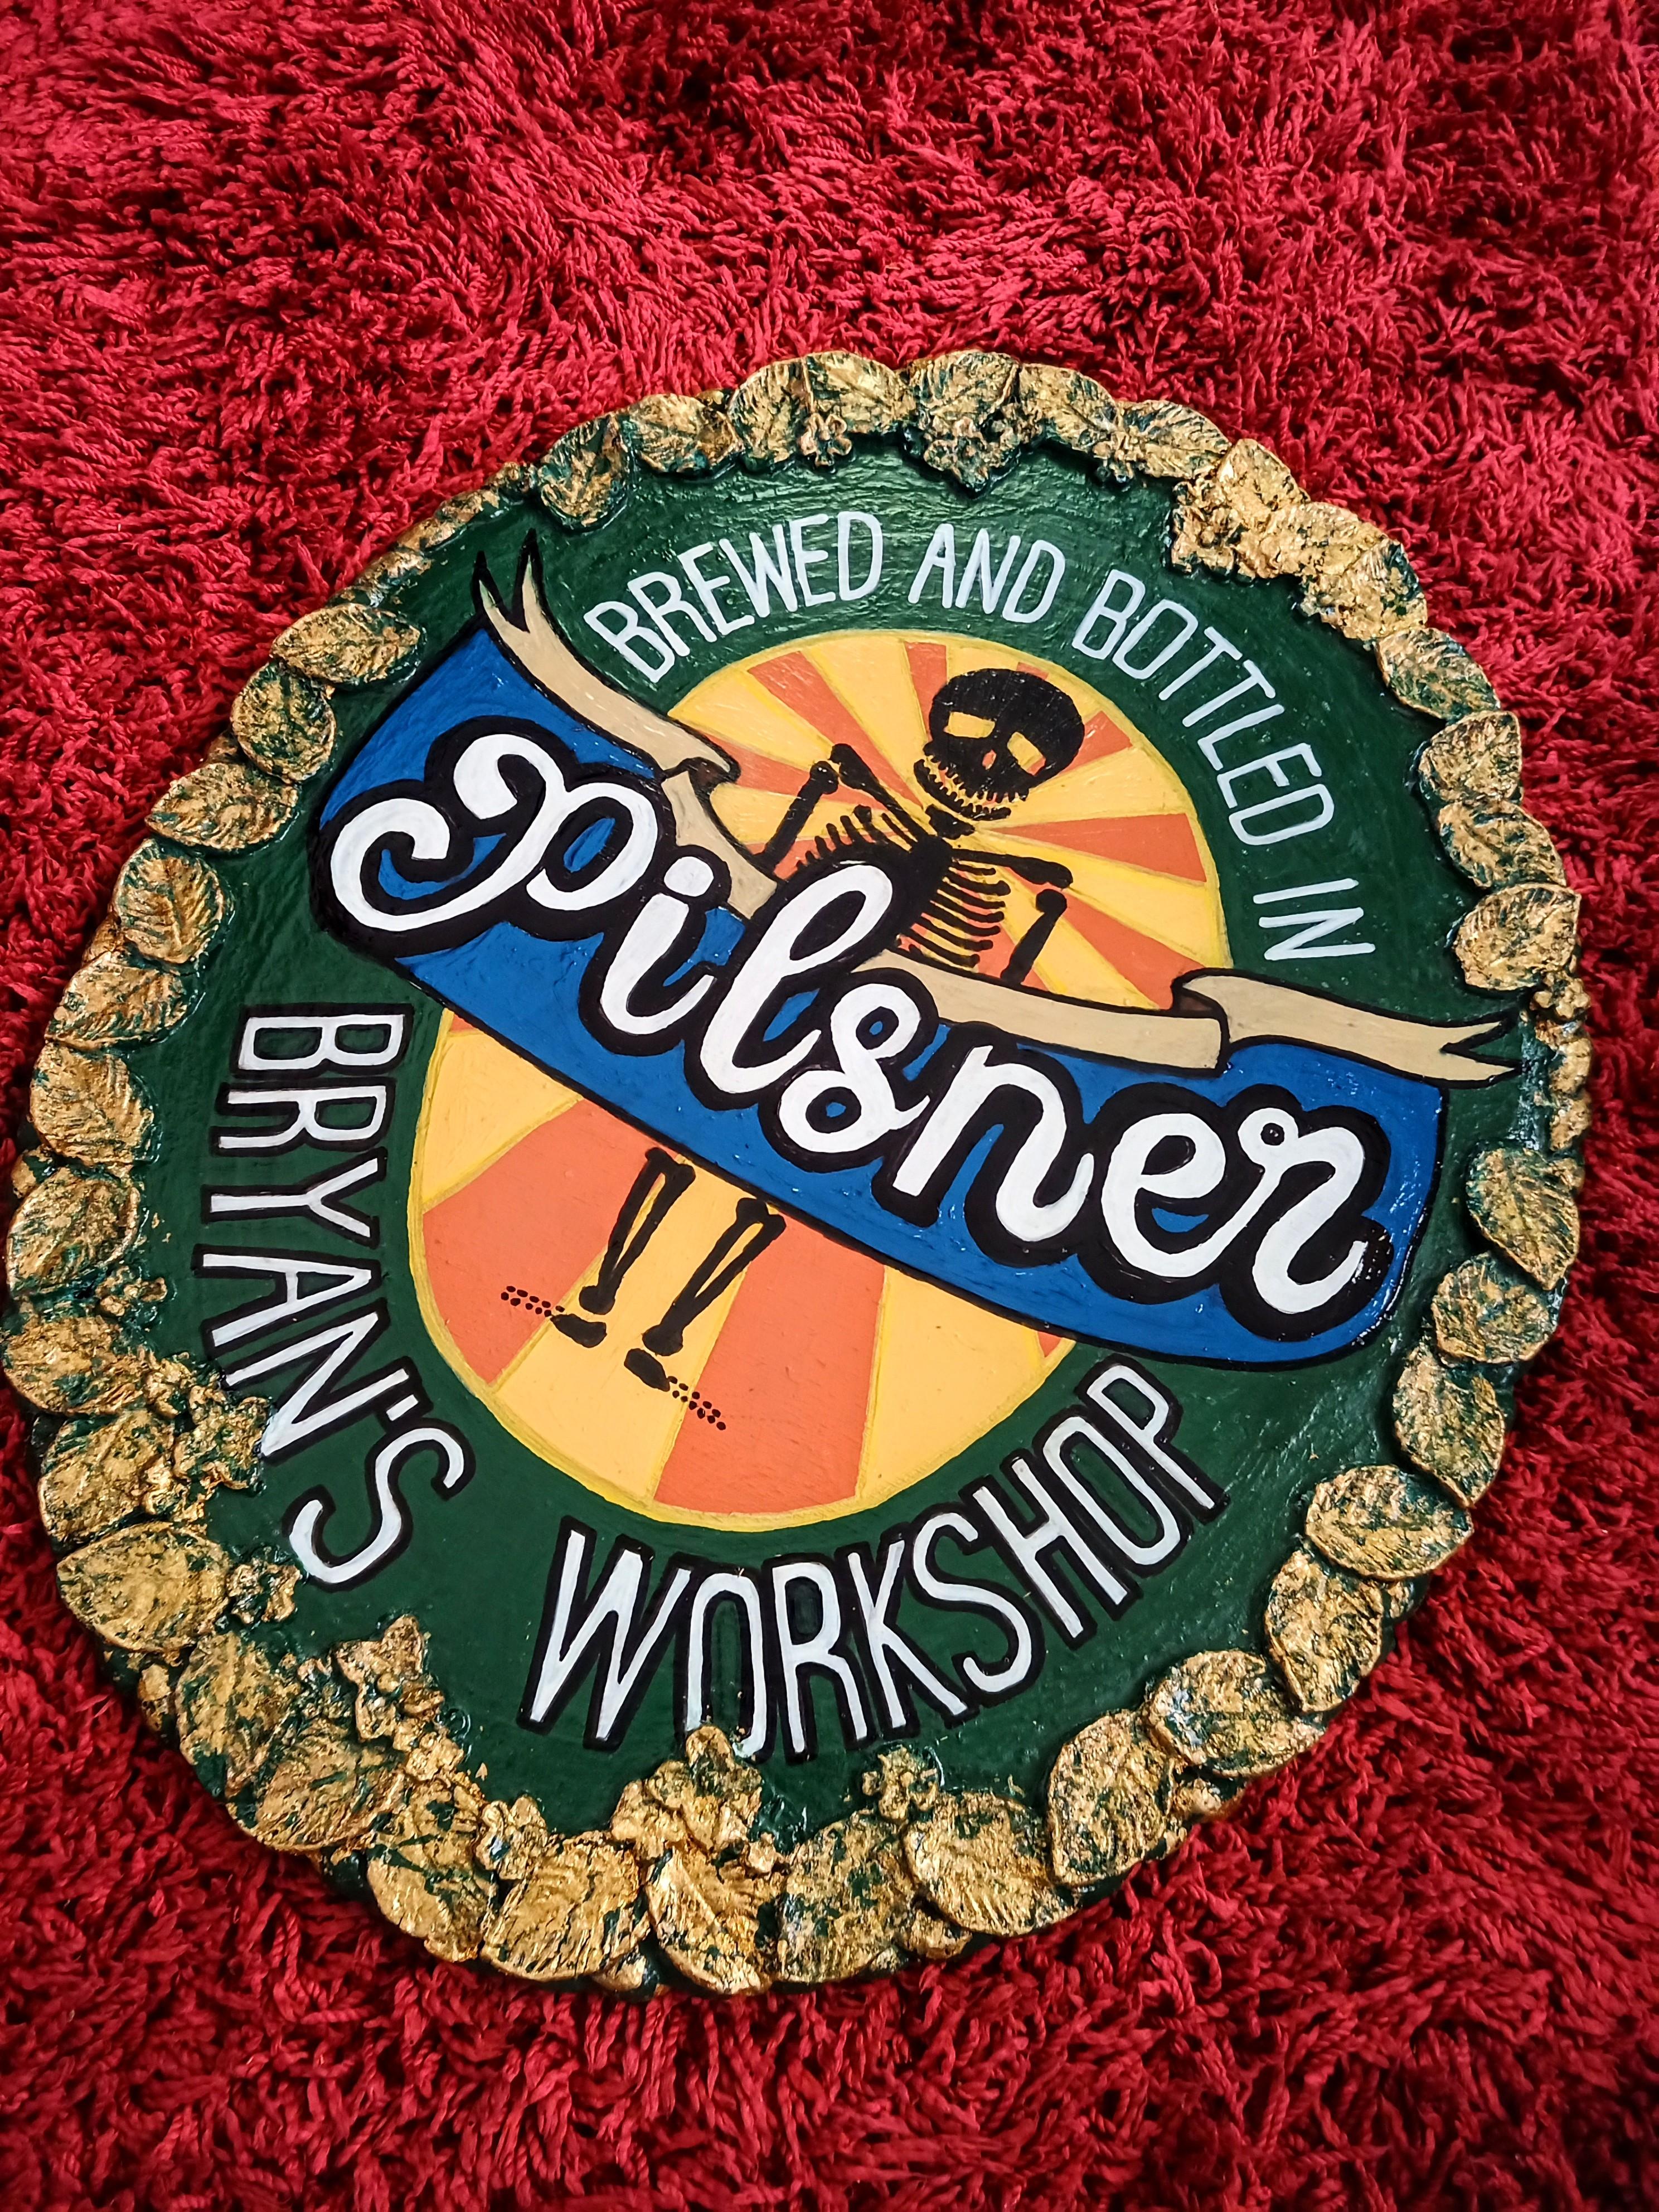
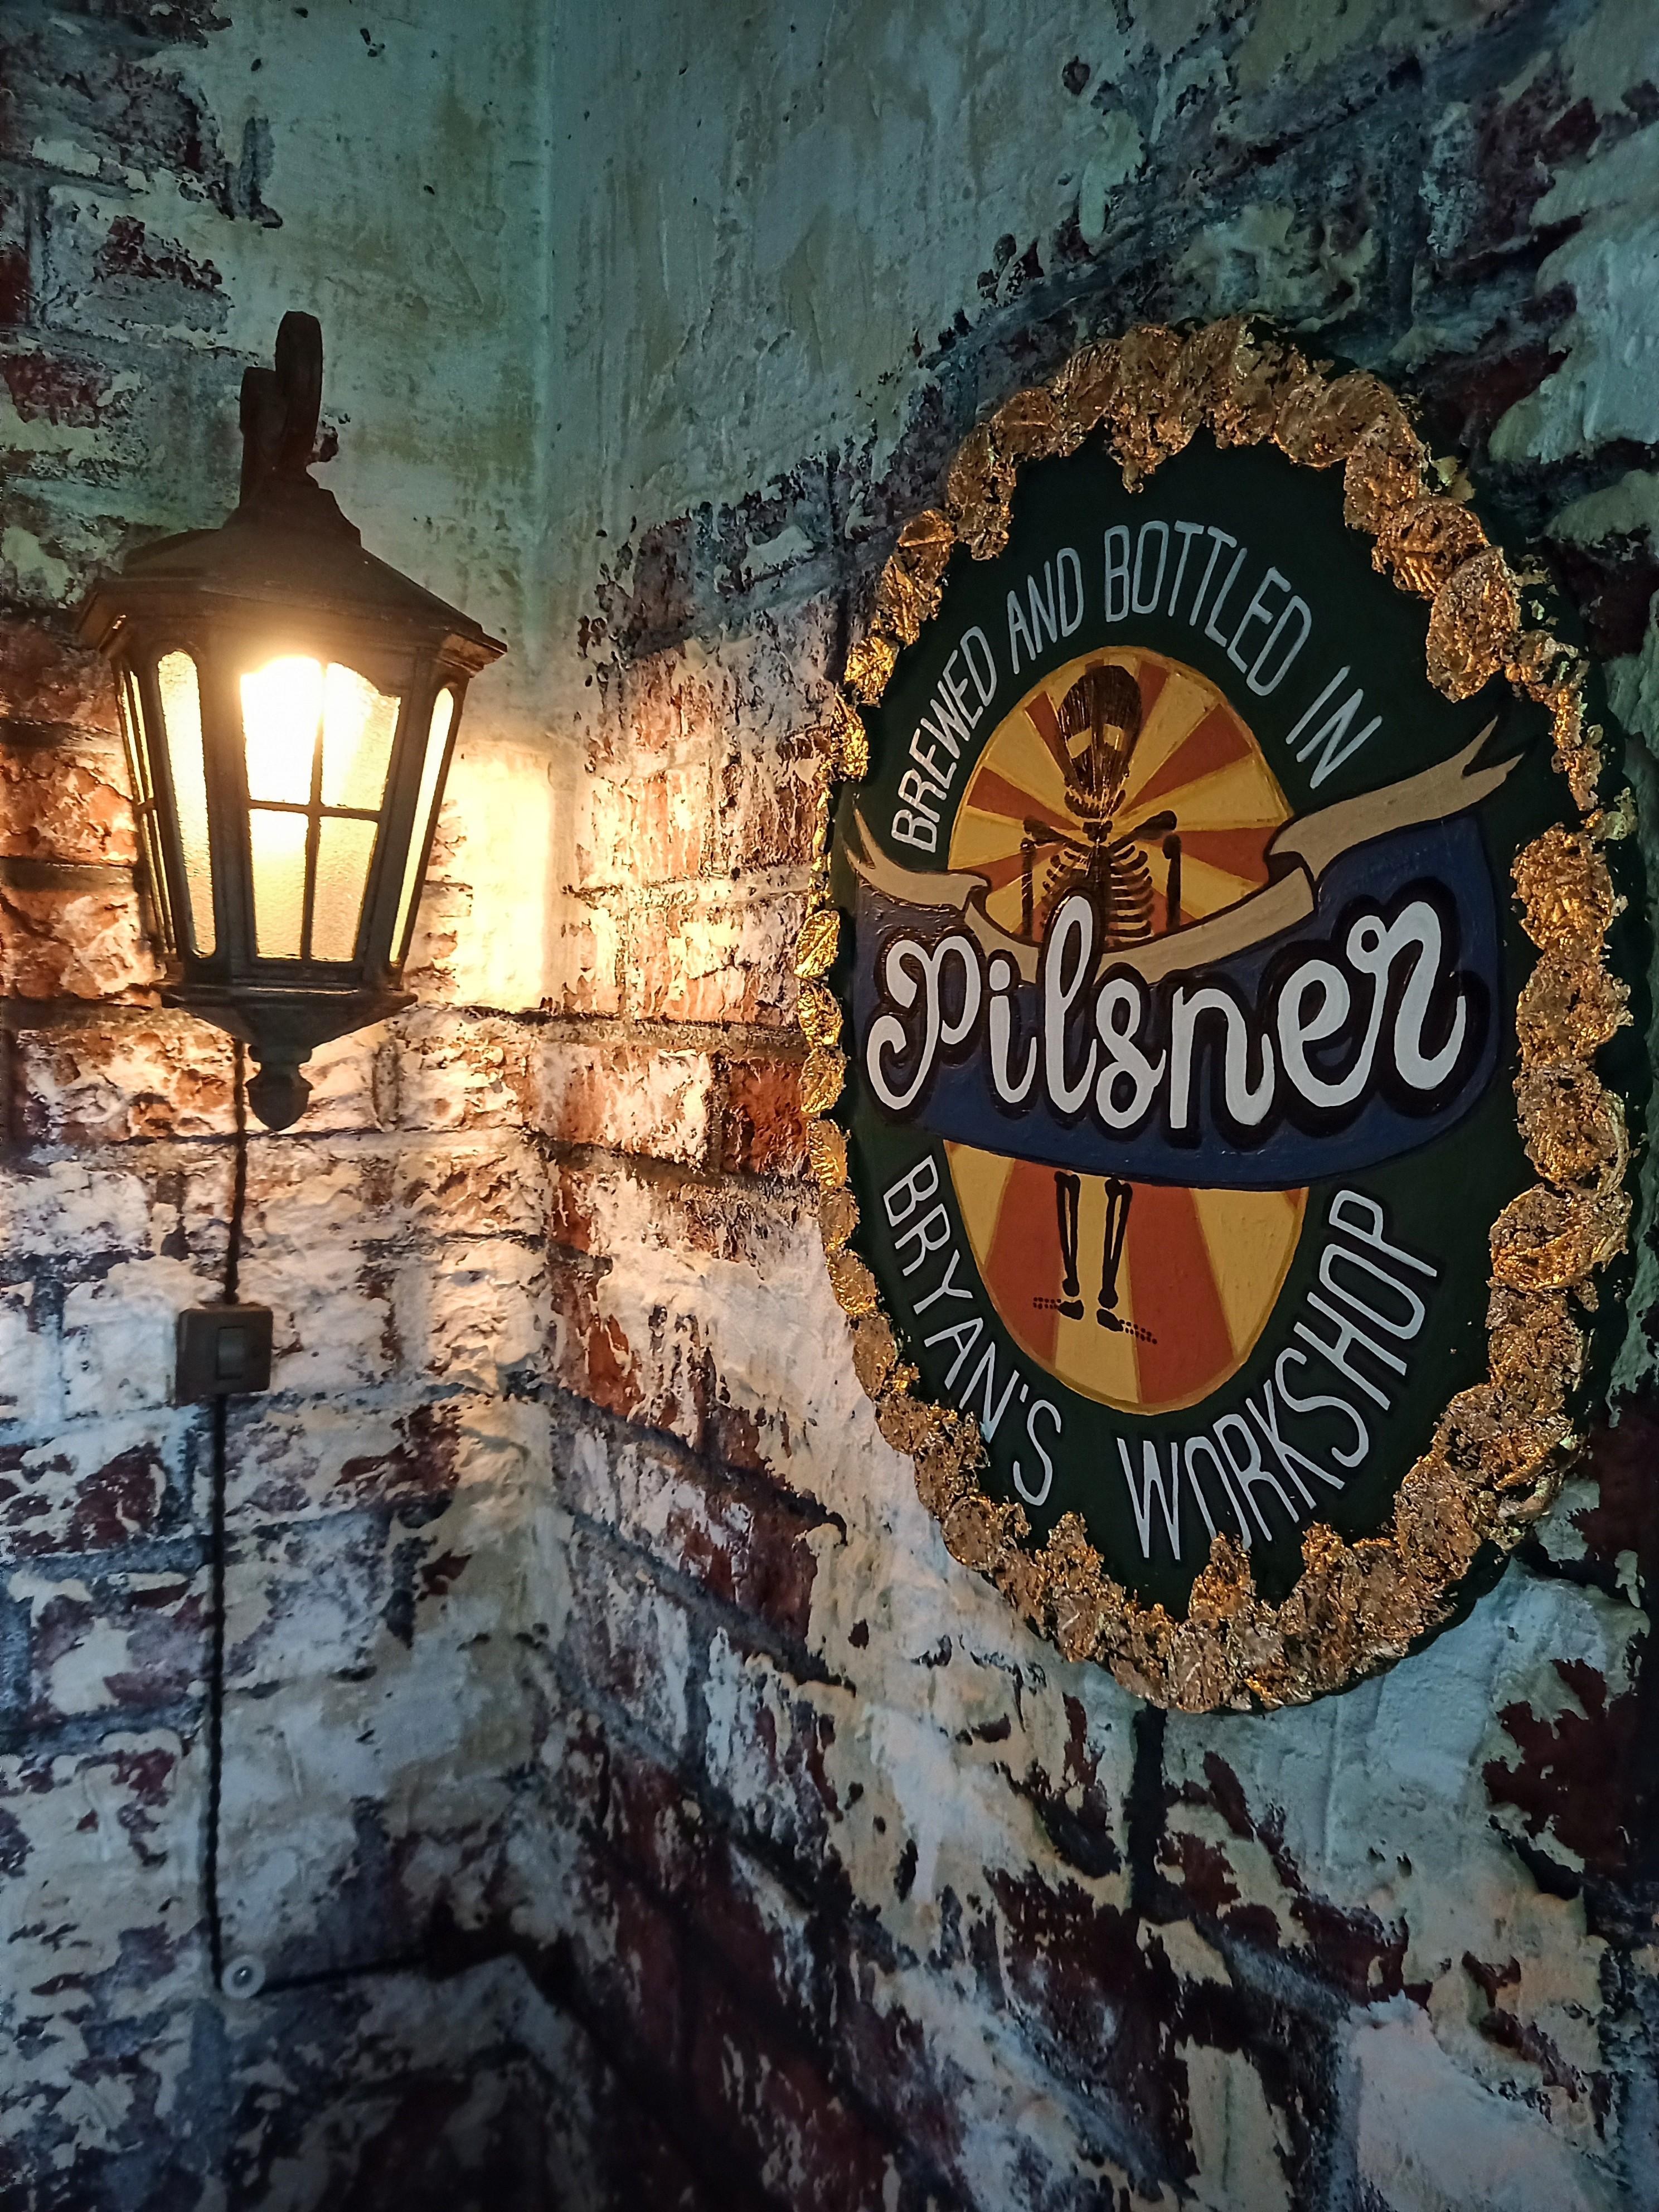
Top coat and hang!
I'm starting to like the chalk paint texture now too. This was a really fun project and took me back to elementary school.