Engraving Into Everyday Life
by DrewOlsby in Workshop > Laser Cutting
159 Views, 1 Favorites, 0 Comments
Engraving Into Everyday Life

I have, much like many of my peers, experienced the loss of a charger within the school building. Whether that’s from losing it or having it stolen, I have not been very successful at getting my charger returned. This is due to either
A) students not putting their name on tape on the charger and therefore nobody knowing they lost their charger
B) students have put their name on tape on the charger, but then when it's stolen people take the tape off with ease.
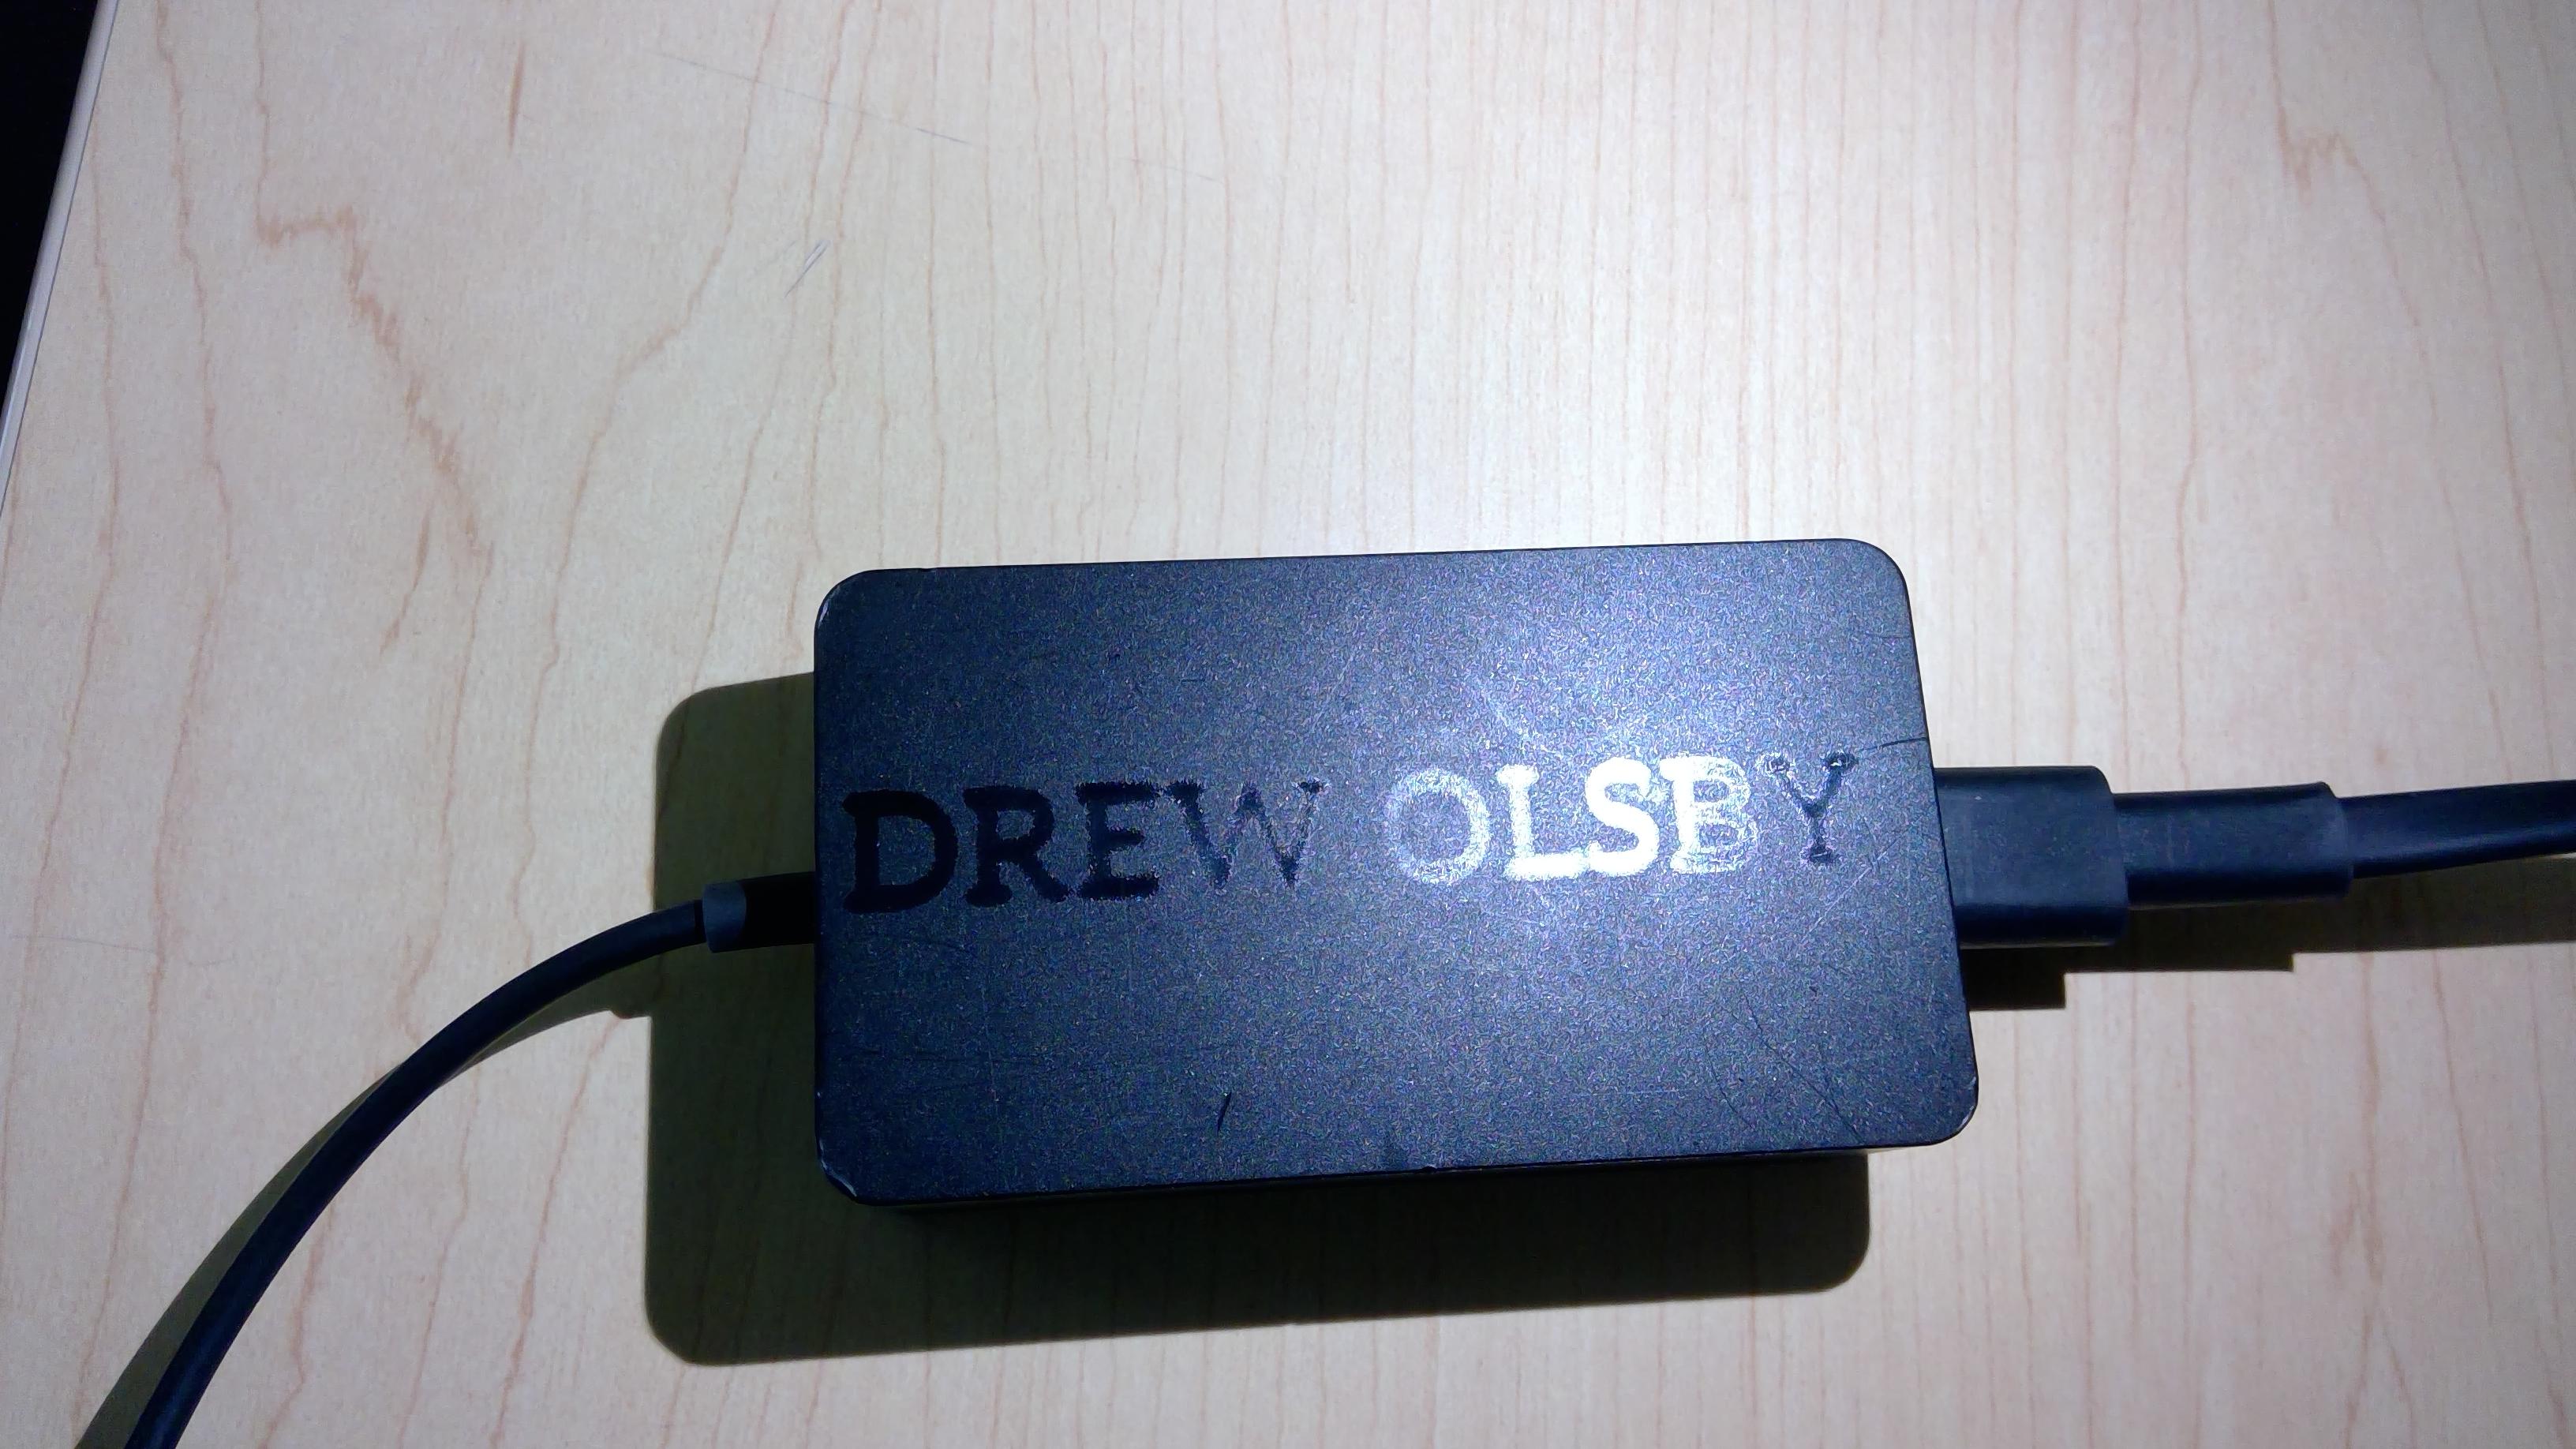
I have lost chargers to both of these methods of losing your charger. I have overheard other students talking about how easy it is to just take the tape off, and how that’s exactly what they would do. So I wanted to come up with an idea on how to permanently mark your charger. This is when I came up with the idea to laser engrave surface chargers using Glowforges laser printers. Making sure chargers still work after being laser engraved is of utmost importance, and so I have conducted experiments, and the chargers still work, while being personalized with the engraver.
Supplies
1) Glowforge Pro
2) piece of white blank paper
3) Surface charger
Steps to Successfully Customizing Your Charger
Step 1: Buy a Glowfordge laser engraver
Step 2: Download and create an account for Glowforge
Step 3: Go to Canva.com and create your design
Step 4: Download your design in the form of either an SVG file or PNG file
Step 5: Place a white piece of paper to increase contrast on the black of the printer
Step 6: Open up and place the charger on the white piece of paper
Step 7: Go to https://app.glowforge.com/
Step 8: Select your downloaded file with your design
Step 9: Drag your design and stretch or contract it to fit your desired size
Step 10: Place the design exactly where you want it to print
Step 11: Select Unknown in the upper left corner
Step 12: Select your material, if you cant then select the top right button that will allow you to put in a custom length.
step 13: select your design and select manual
Step 14: Select the power and everything you need to get the best print.
Step 15: Make sure you have some way of ventilating the Glowfordge!
Step 15: Hit print in the top right of the screen.
Step 16: When the button on the Glowforge glows white, hit that and your print will begin.
Step 17: Watch your masterpiece come to life!