Engraving Glass With a Diode Laser
by Small Workshop Chronicles in Workshop > Tools
446 Views, 8 Favorites, 0 Comments
Engraving Glass With a Diode Laser

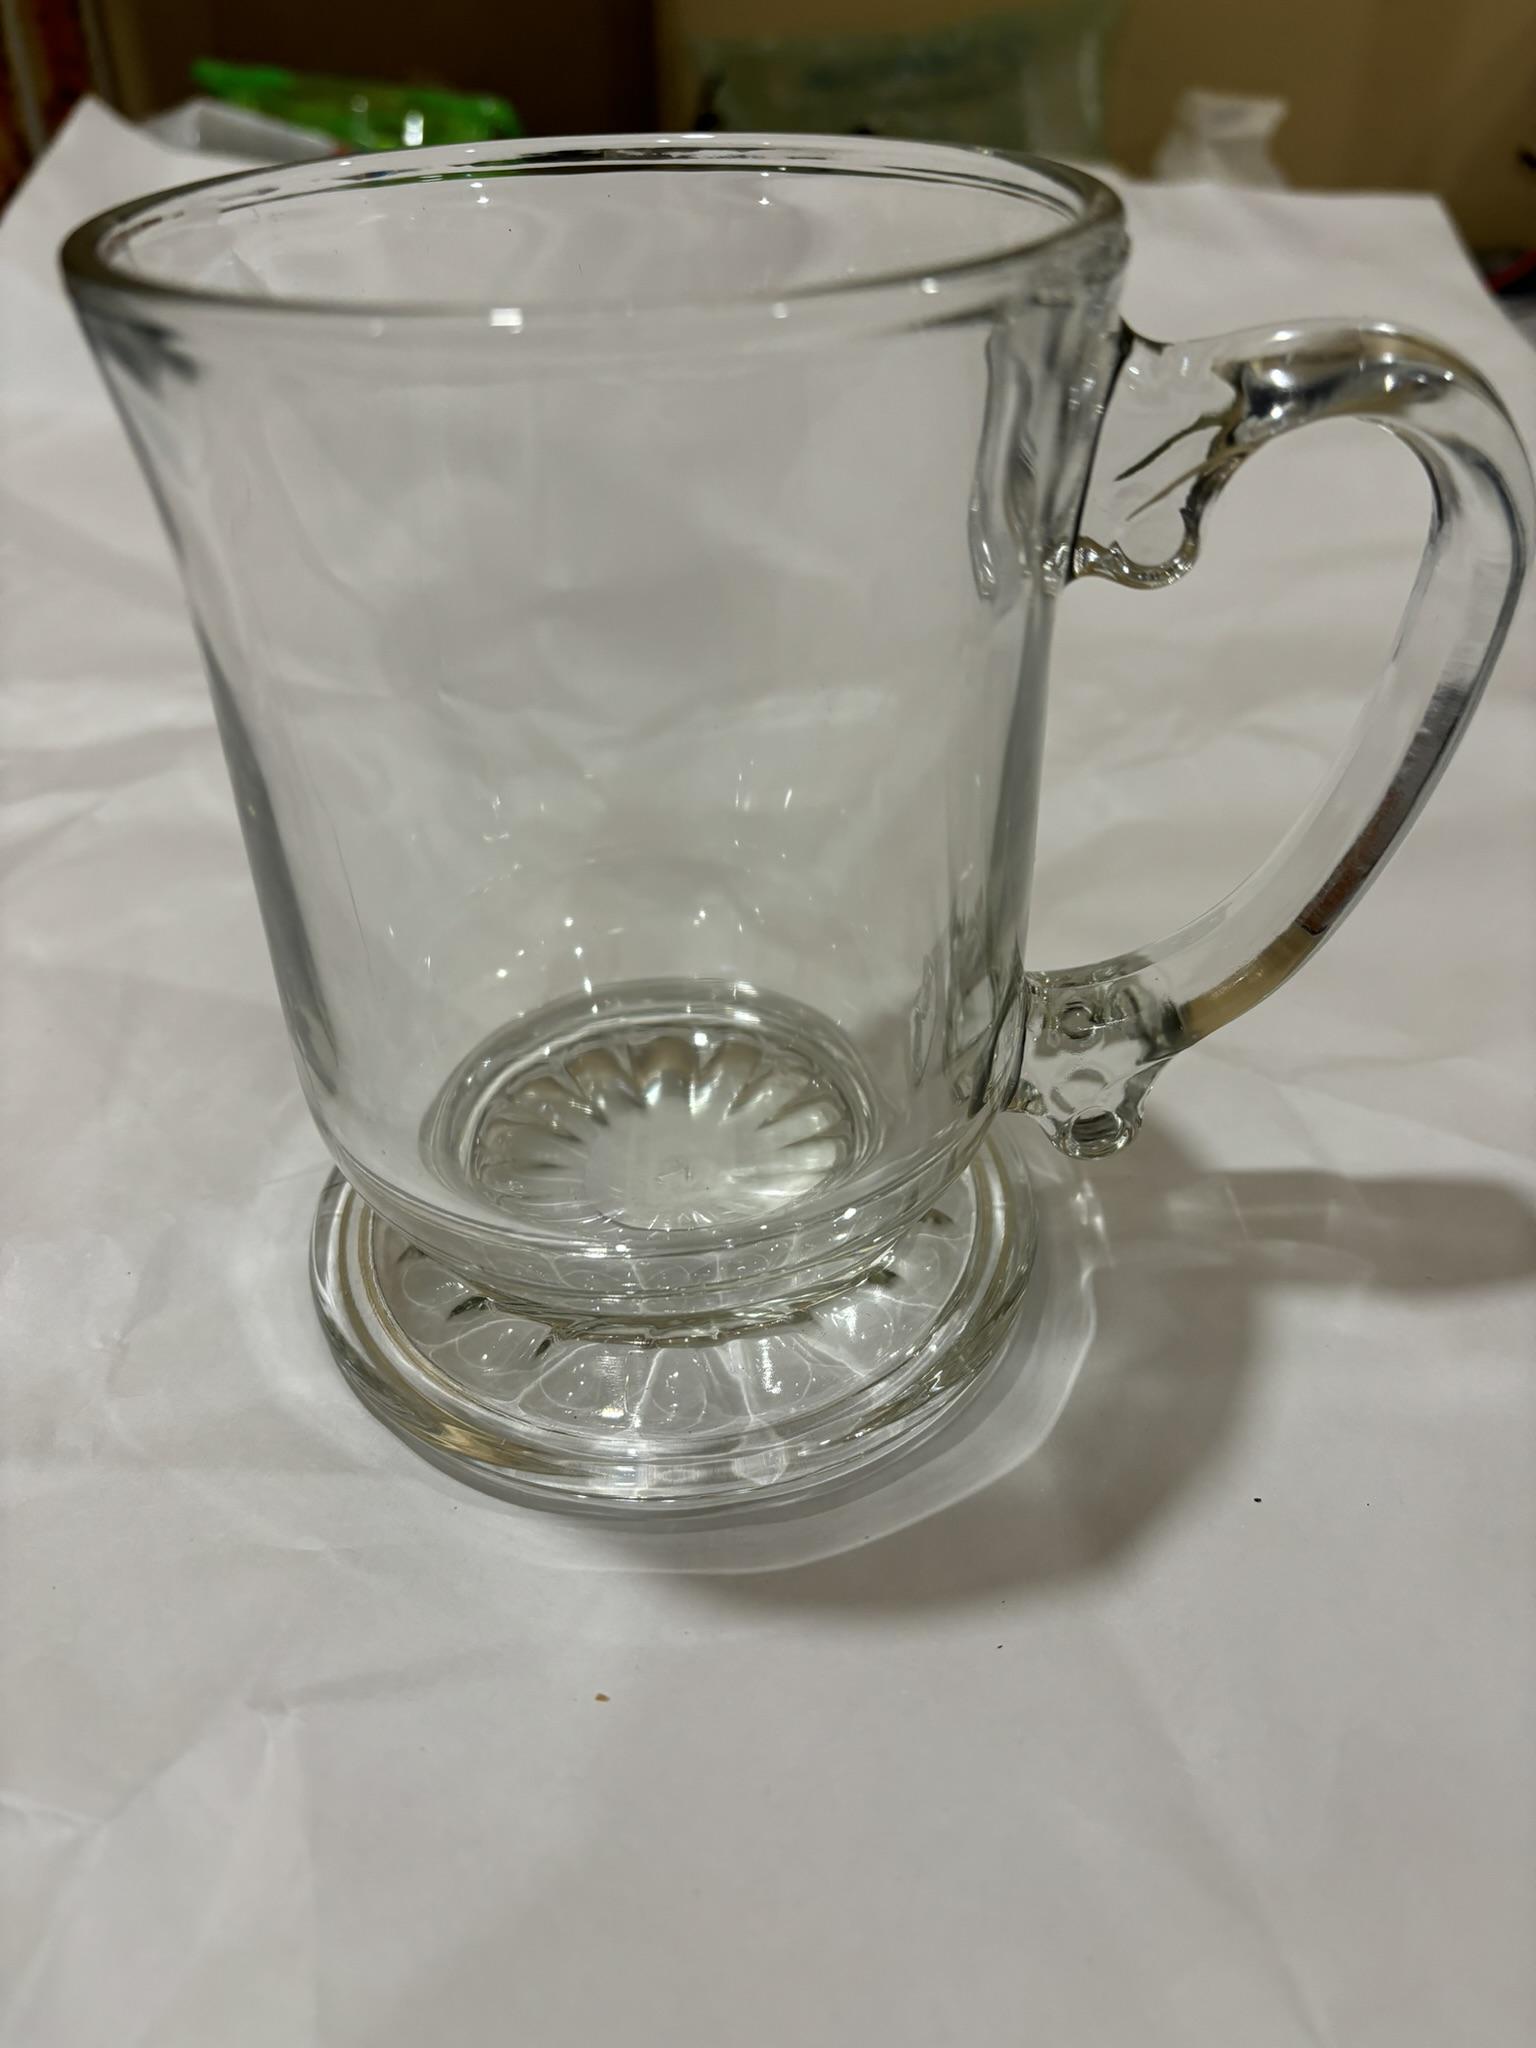

I've gotten fairly heavy into the laser engraving world which has morphed into a nice little side hustle for me
As with any business, the key to success is to keep growing your product lines, giving your customers a wide variety of products to choose from.
I've had some pretty good success in providing a wide selection of wall hangings and custom signs with my ORTUR engraver, but I was starting to feel a bit pigeon holed of being a "sign guy" and was starting to feel a little creatively limited.
About a year ago I came across a Facebook Market place ad for another ORTUR engraver that was available locally and at a reasonable price. Since I was wanting to have another engraver to potentially increase my productivity I decided to jump on it.
Once I finally collected my new acquisition, I noticed that I also acquired a few other goodies as part of the deal, including a rotary roller accessory which gave me the ability to engrave cylindrical objects.
This opened a whole new world of opportunity for me to explore. I played with my new tool, trying it out on round wooden items like pieces of dowels and rejects from my lathe until I got to the point that I was pretty comfortable on how to properly engrave round things.
Excited about my new found skill, I wanted to use it to do something more useful. Obviously I can use it to engrave things that I produced on my lathe, but I did want to see what else I could do with it.
The obvious item that came to mind was glass drinkware - This was something I could easily get an almost infinite supply for very little money. The idea of being able to sell them as customized engraved items was also pretty appealing.
My initial experiments were a little disappointing. First off I discovered that most people engrave glass with a CO2 laser, not with the LED Diode laser that I had. The main reason for this is that a CO2 and a Diode laser work on different parts of the light spectrum. Effectively, the light from my diode laser, because of the particular wavelength that it used, was just passing through the glass as if it was air.
Doing some experimenting, and after a few donations of my rejects to the local thrift store (they were still perfectly good drinking glasses, they were just a little "unique" - no sense in having them go to waste), I came upon a process that let me reliably engrave glass with a diode laser.
Supplies
The materials needs are pretty straight forward, all you need are:
- A diode laser engraver - I have an OTUR Master 2 myself but any engraver will work, the higher power the better
- Something to engrave - a drinking glass, coffee mug, etc.
- Paint
- Acrylic black gloss
- Acrylic black matte
- Painting supplies (roller and brushes)
Painting


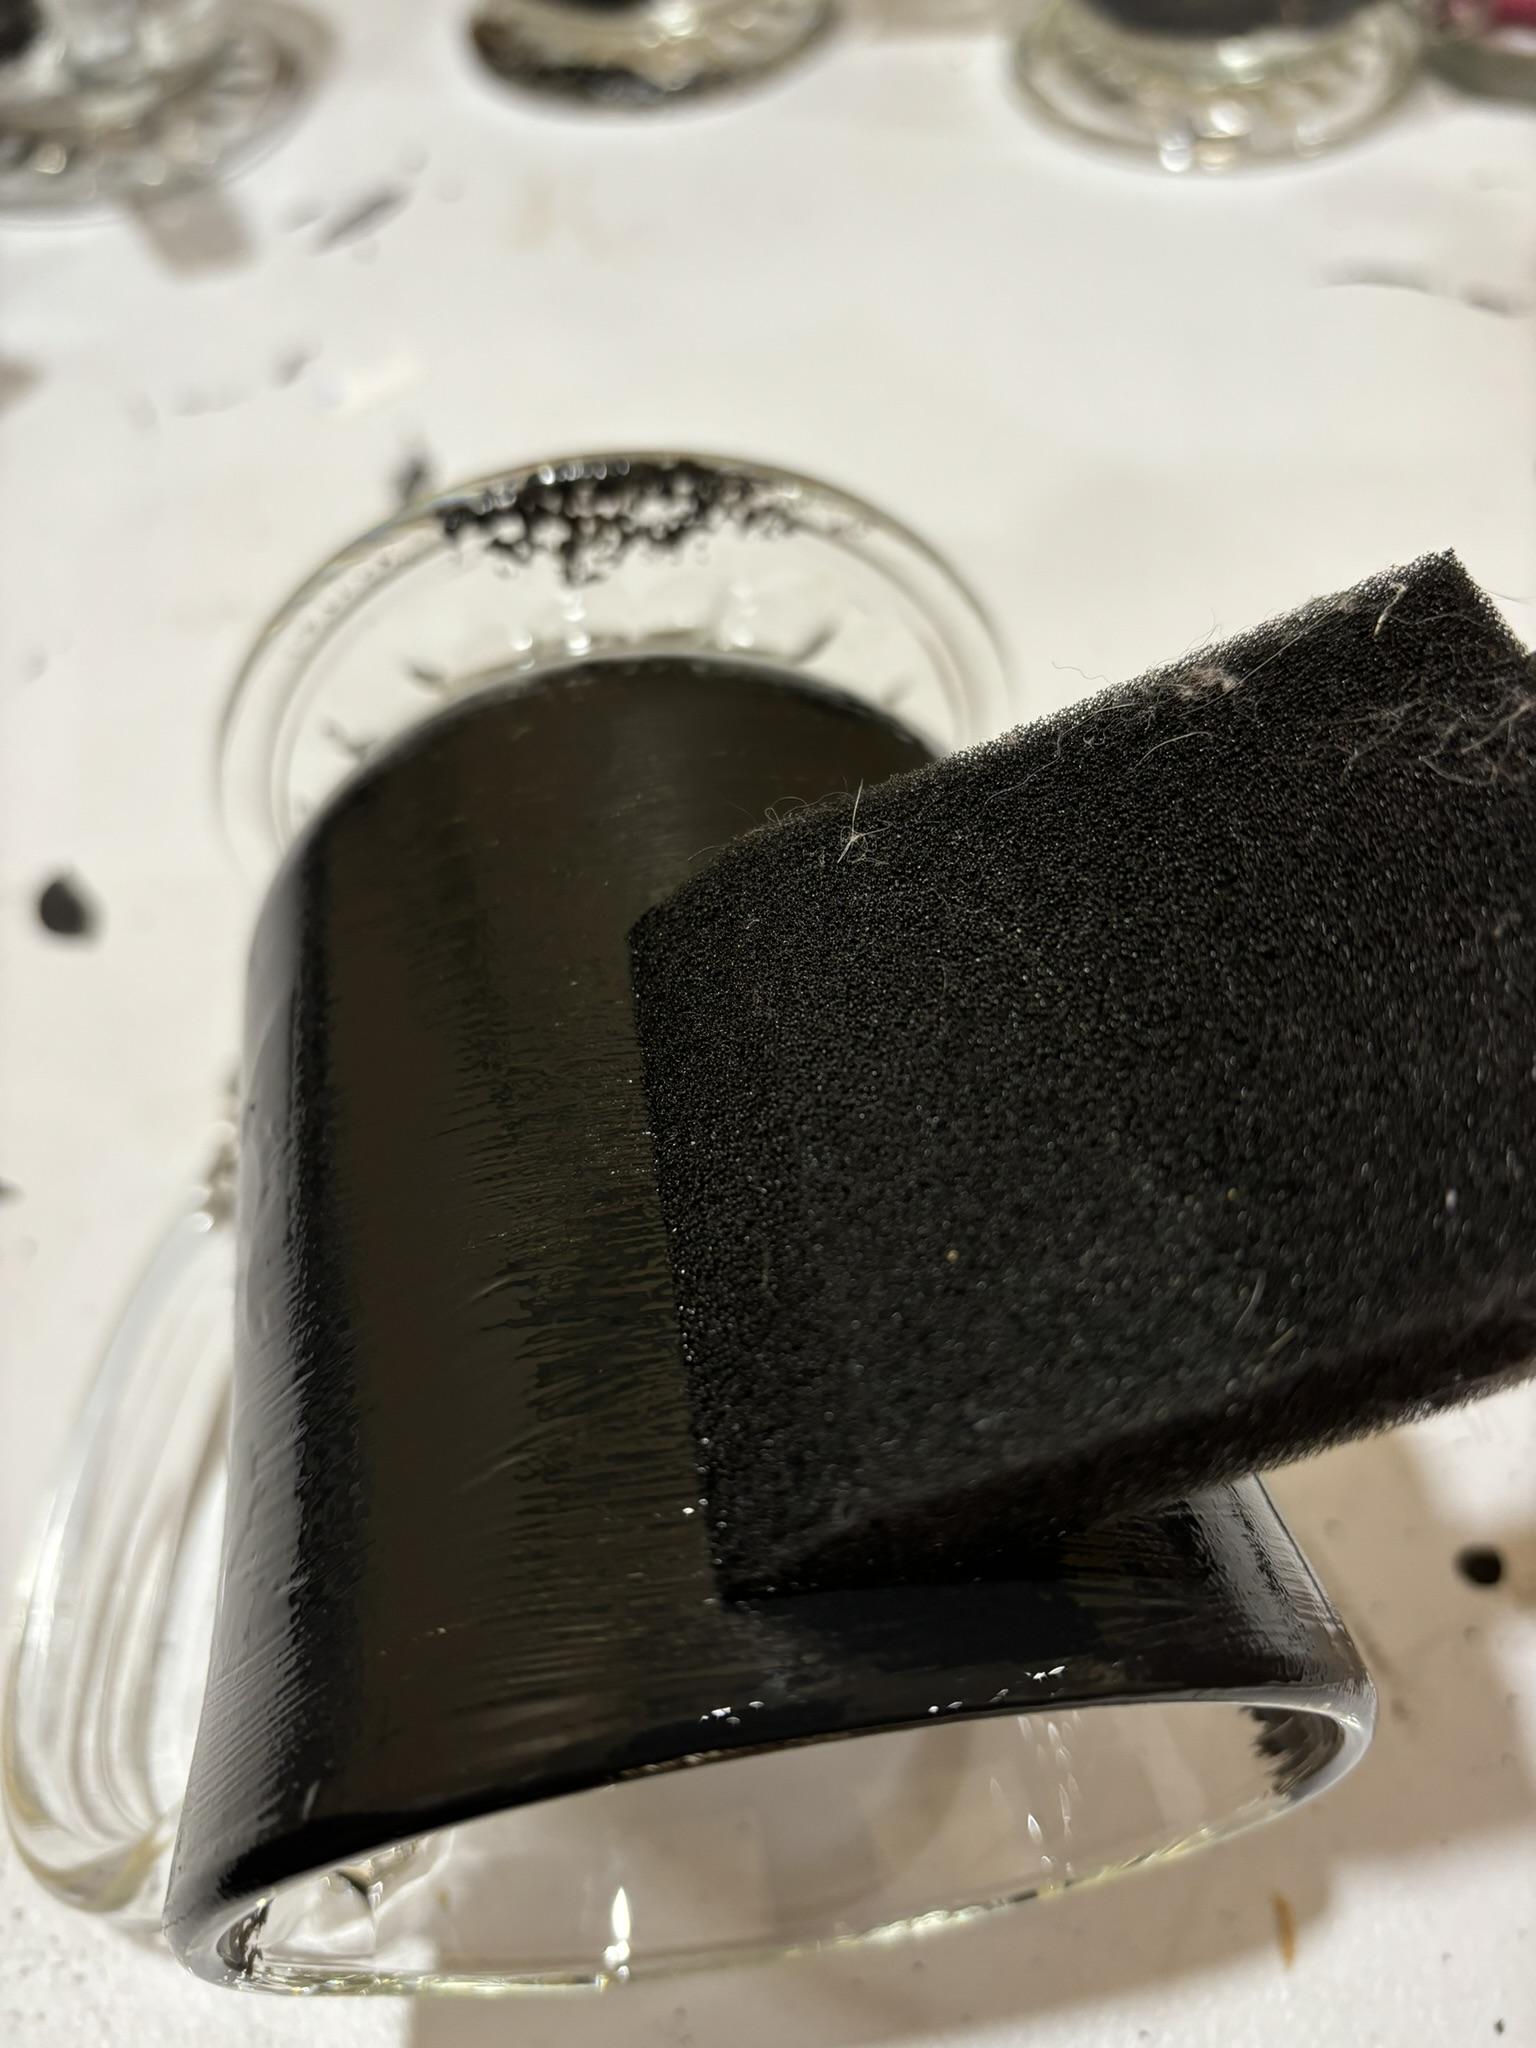
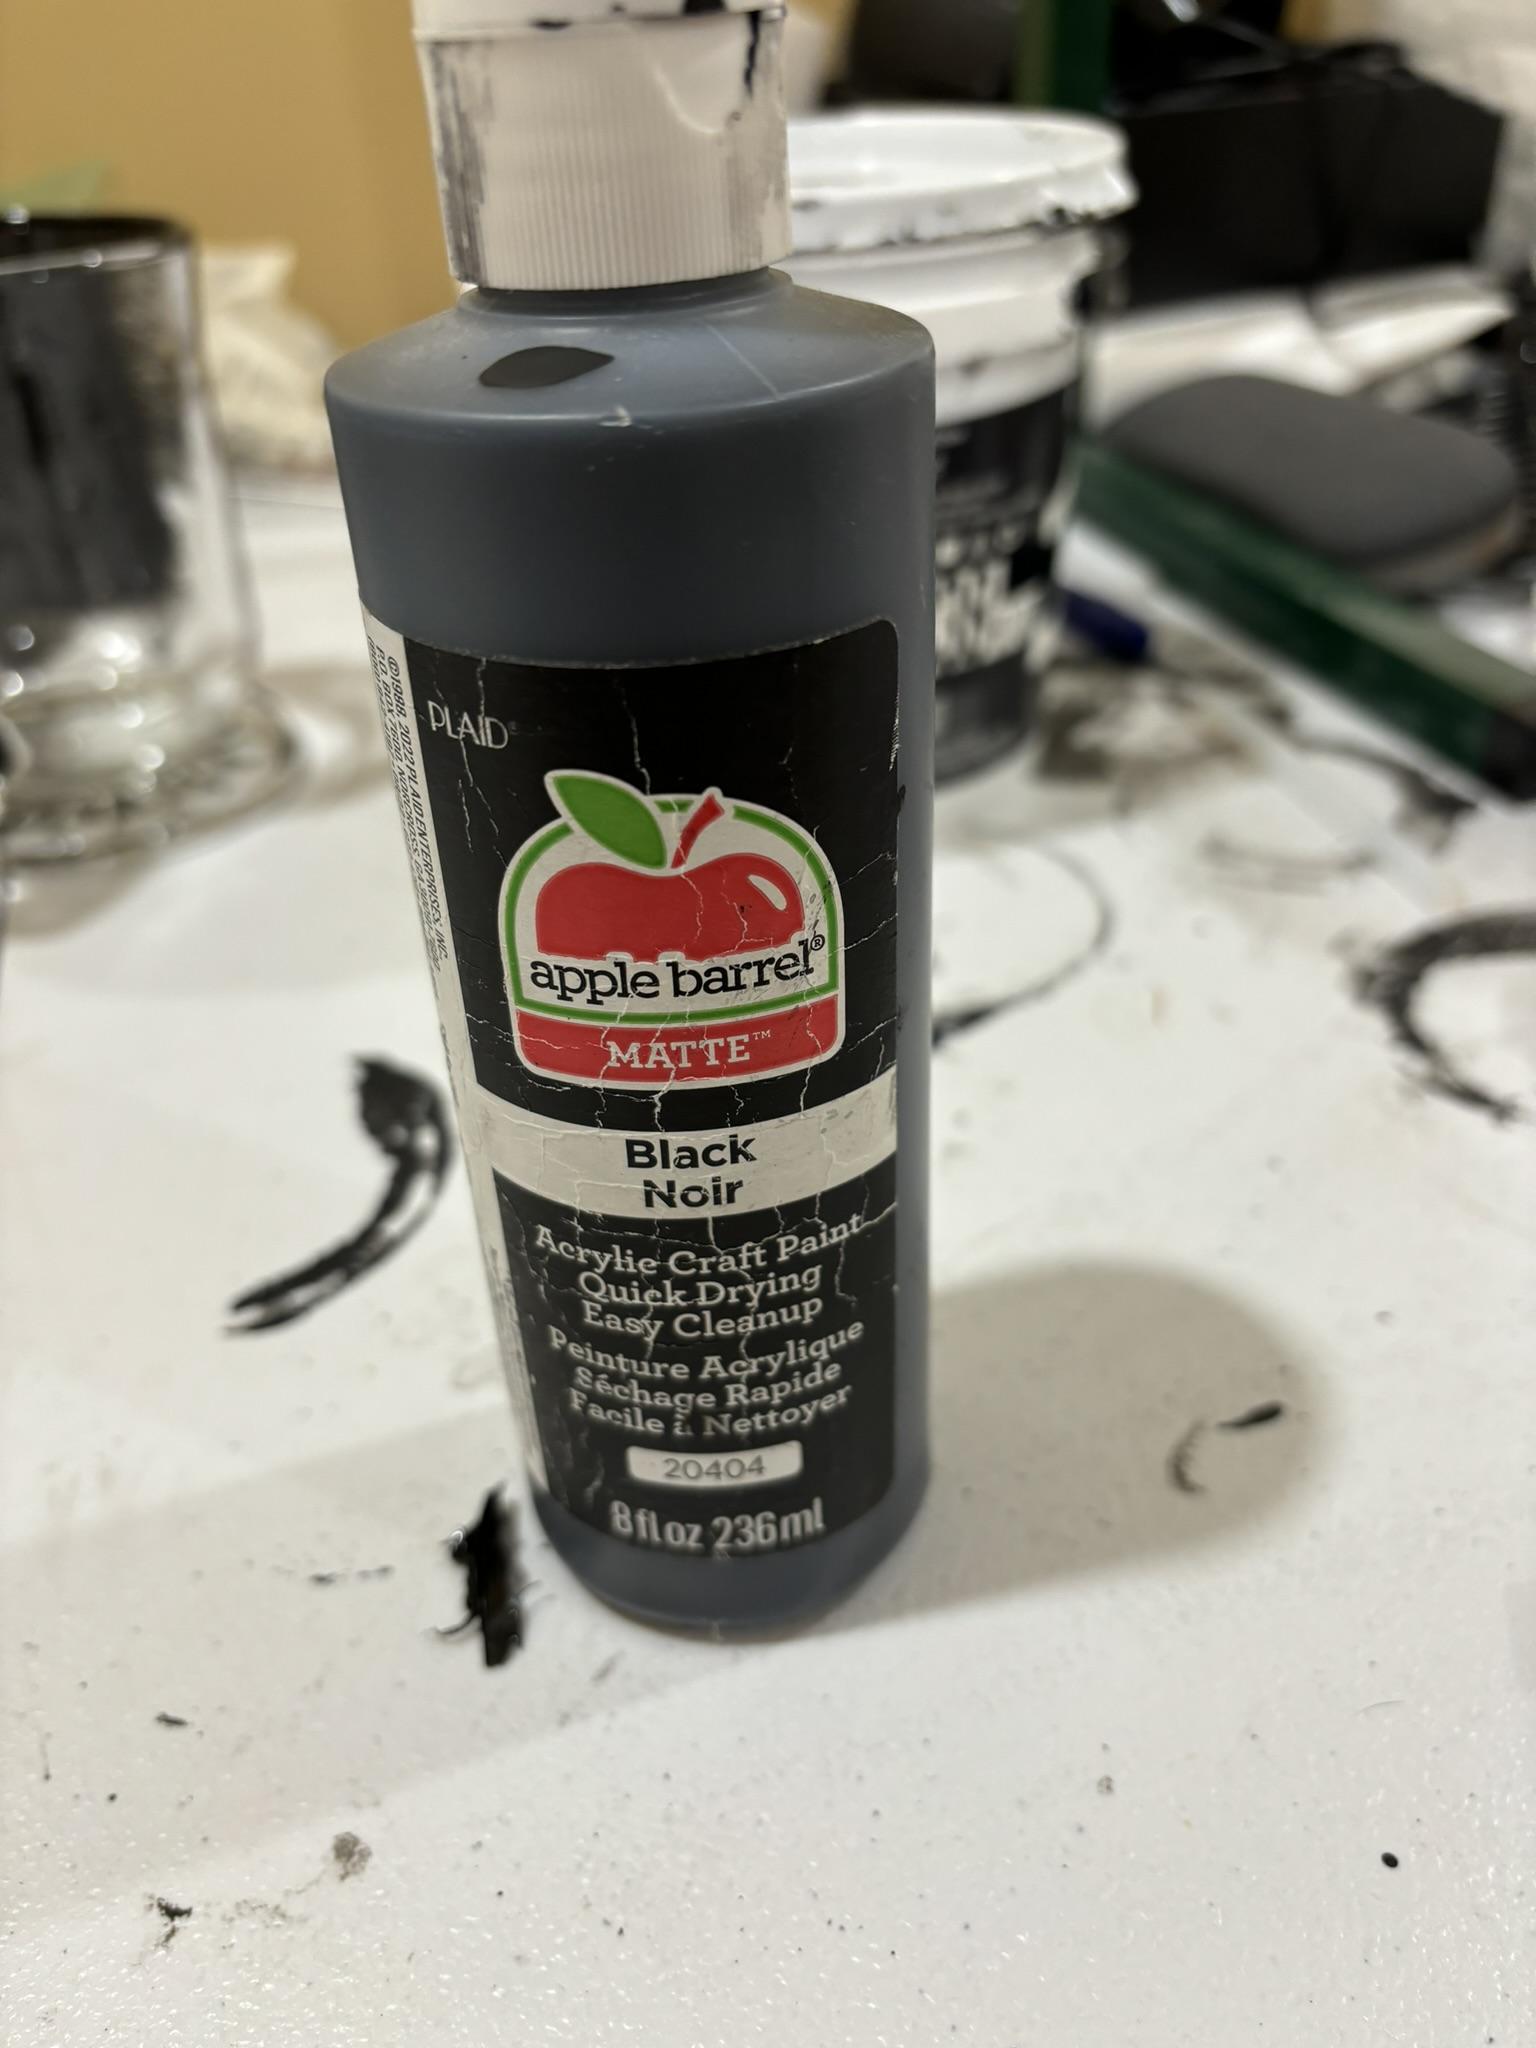


The trick is to put on a thin coating of black acrylic paint on the area of the drinkware that you want to engrave. Acrylic is the paint of choice since it is primarily water based, hence would make removing the paint later fairly easy. Acrylic paint is also pretty easy to find since you can find it at any place that sells craft supplies.
I had also discovered that the paint needed to be a matte (or similarly dull) finish since anything that had a gloss to it tended to reflect the laser beam, greatly reducing the effectiveness of the laser.
This in turn created another problem. I found that for whatever reason, matte black acrylic paint didn't really adhere properly to glass, resulting in the paint flaking off when it dried. Strangely enough, gloss paint didn't seem to have that problem.
Because of that, I ended up using a 2 coat paint process to prepare the drinkware for engraving.
First I applied an thin, even coat (this is important since I found that a thick or uneven coat created spotty results on the engraving) of black gloss paint on the glass surface that I wanted to engrave
I found that using a small roller brush provided the best coverage.
Once the first coat had dried I then applied a second coat of paint, but this time using a matte black paint. Again making sure that the coat was thin and even.
Once that coat is dry I now had a glass cup prepped for engraving
Engraving
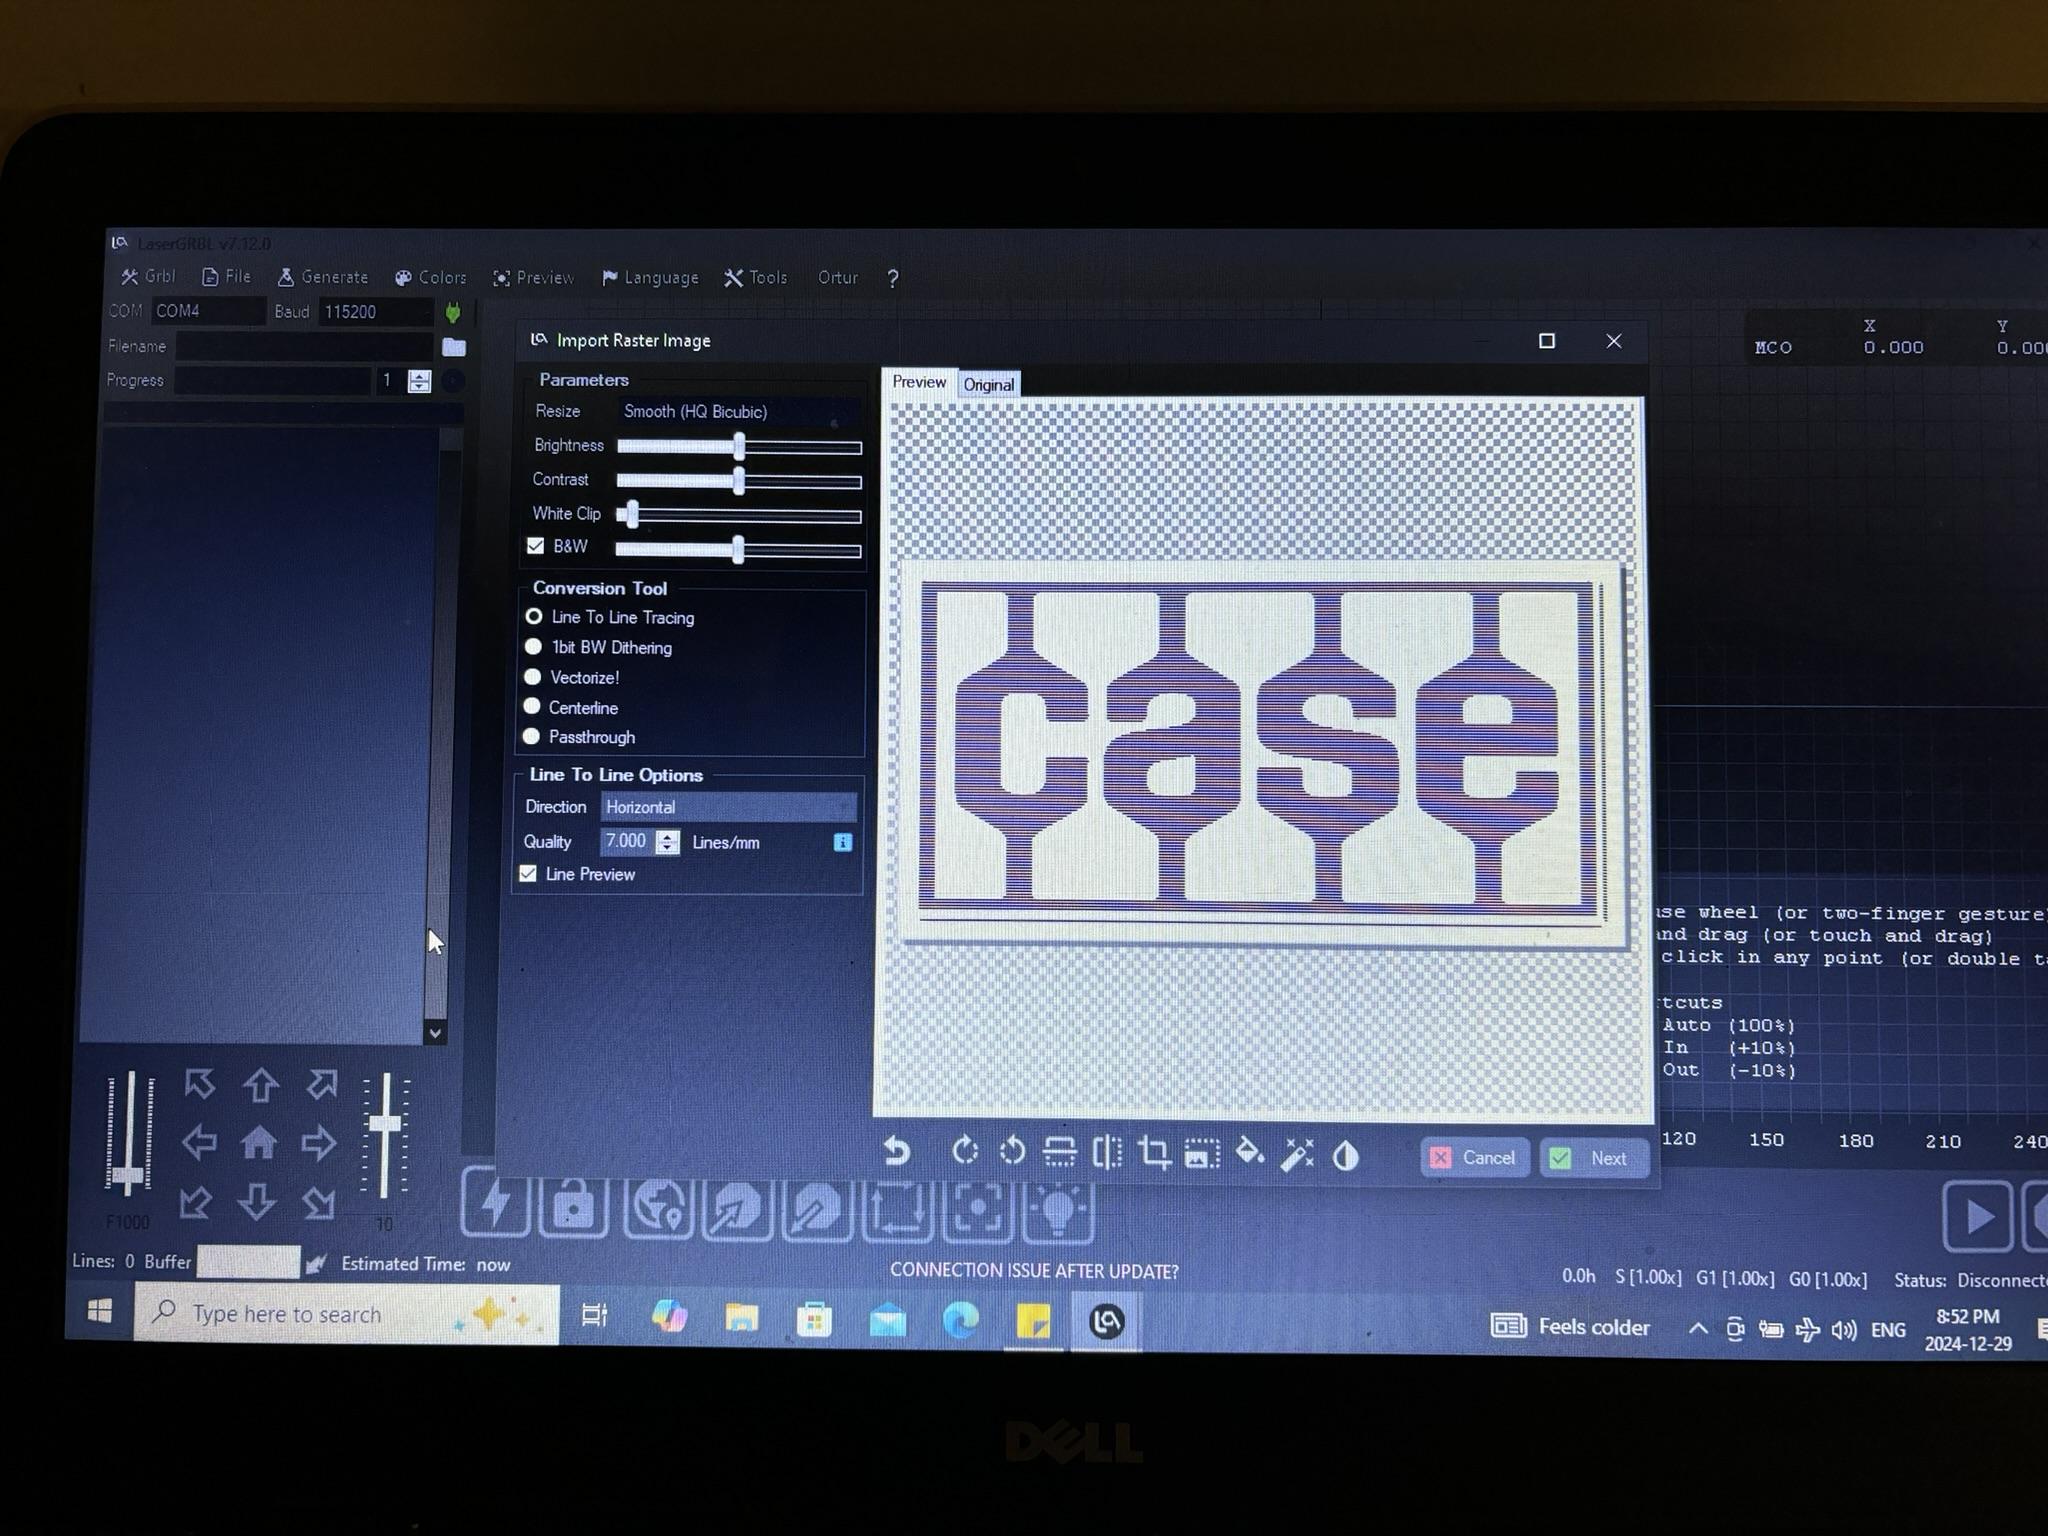

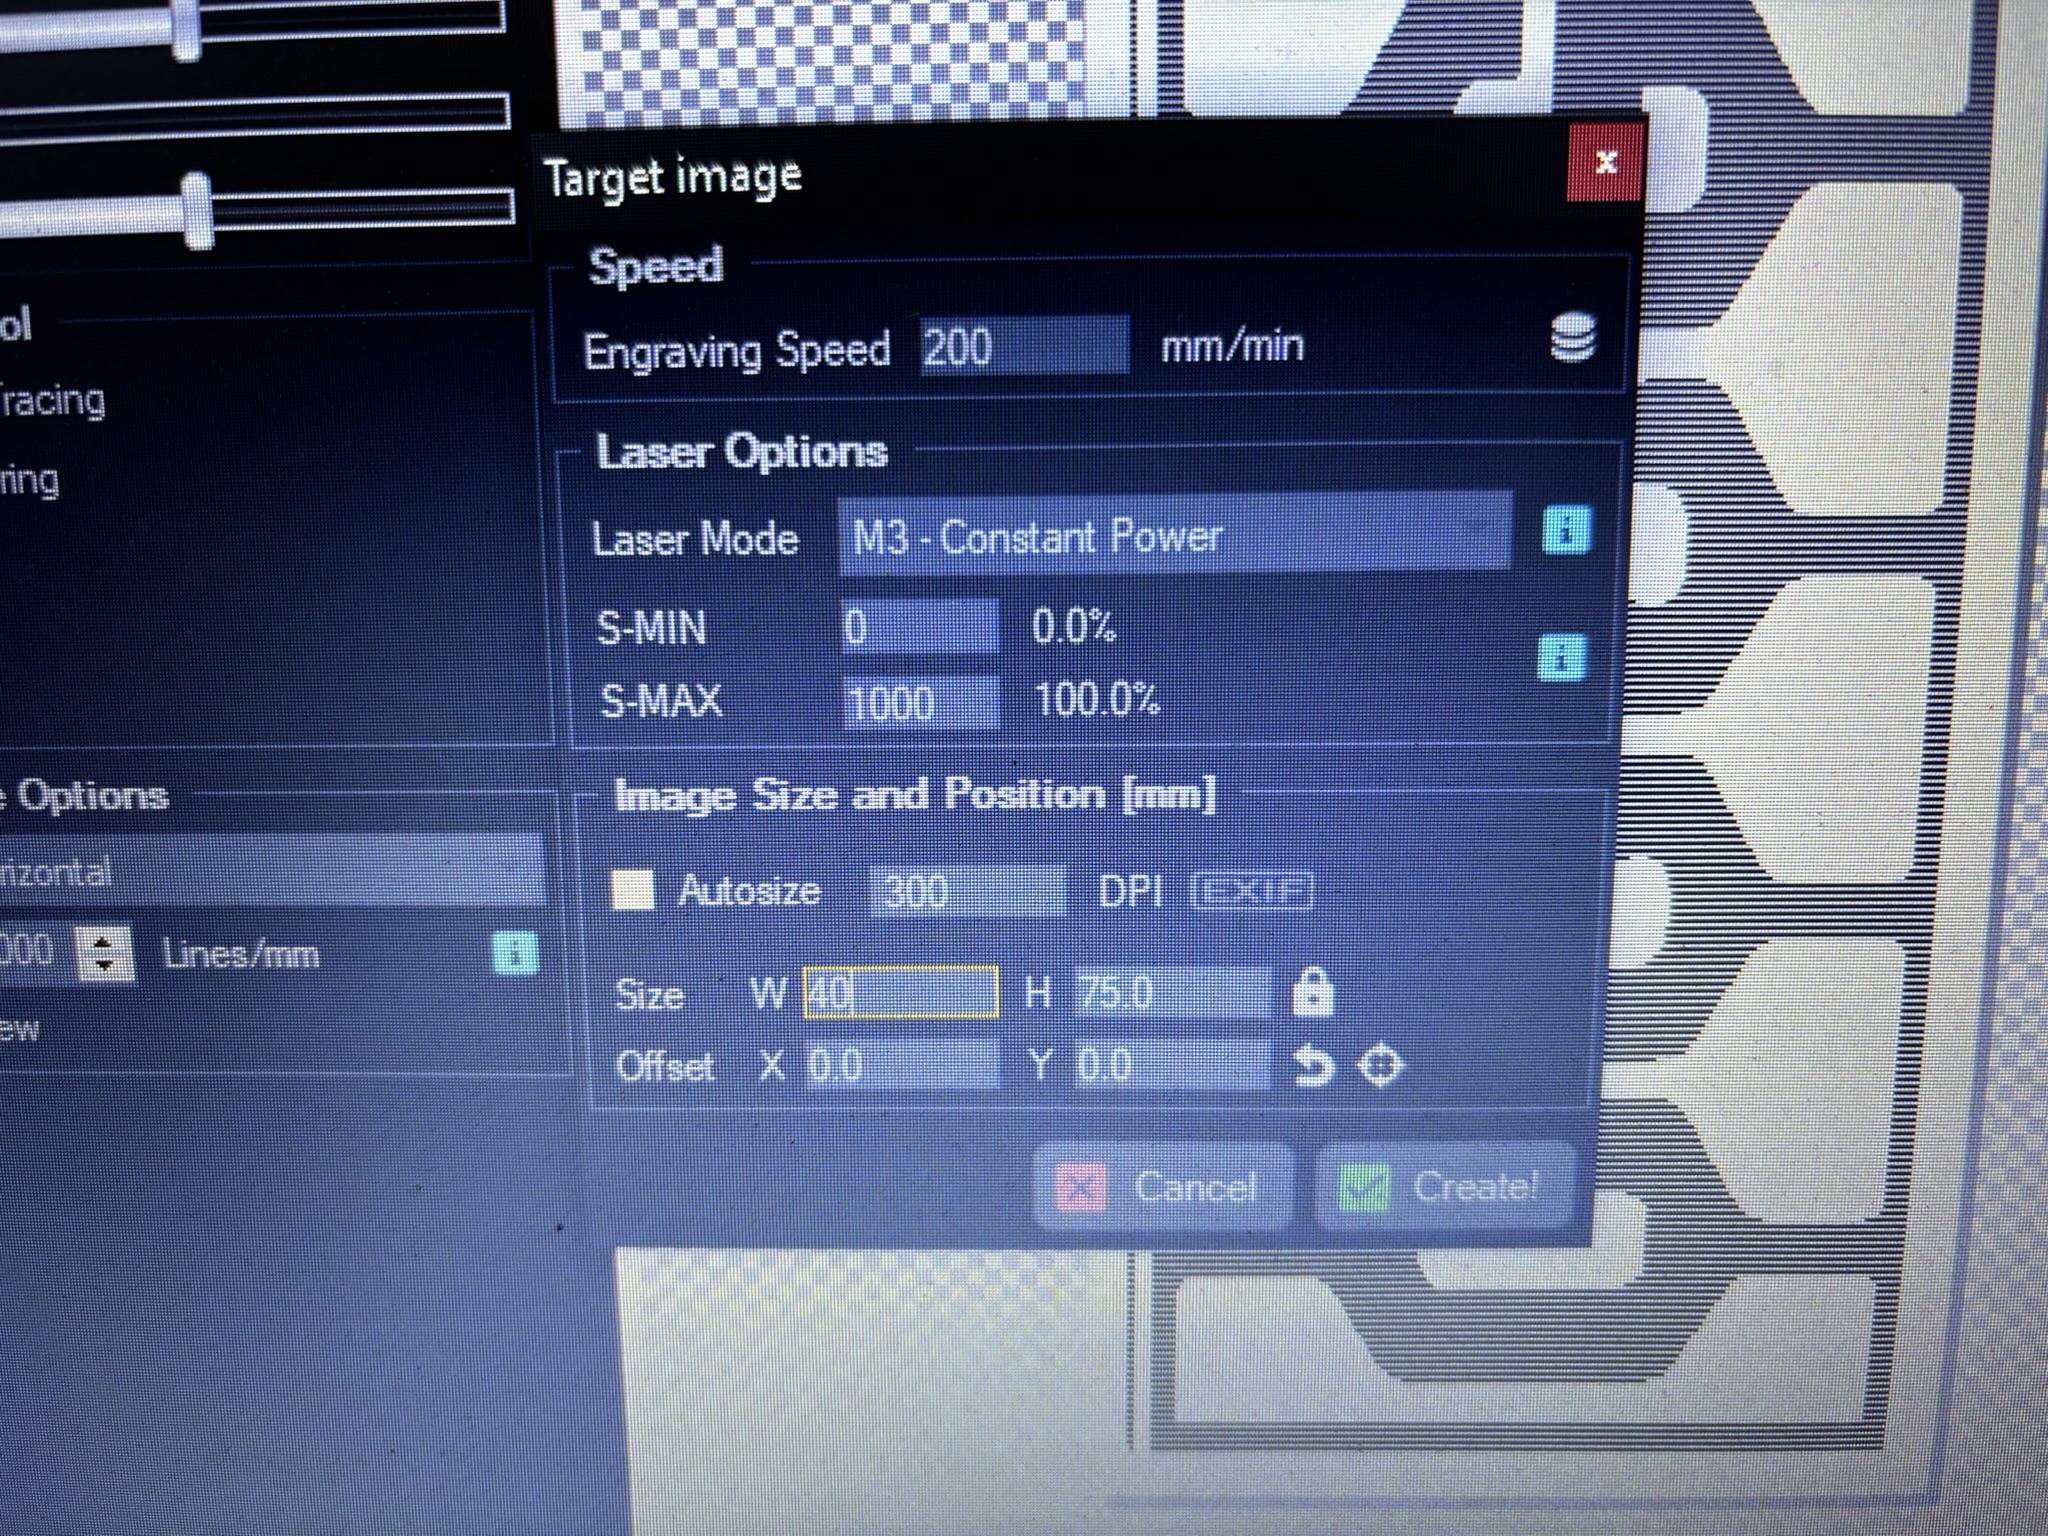
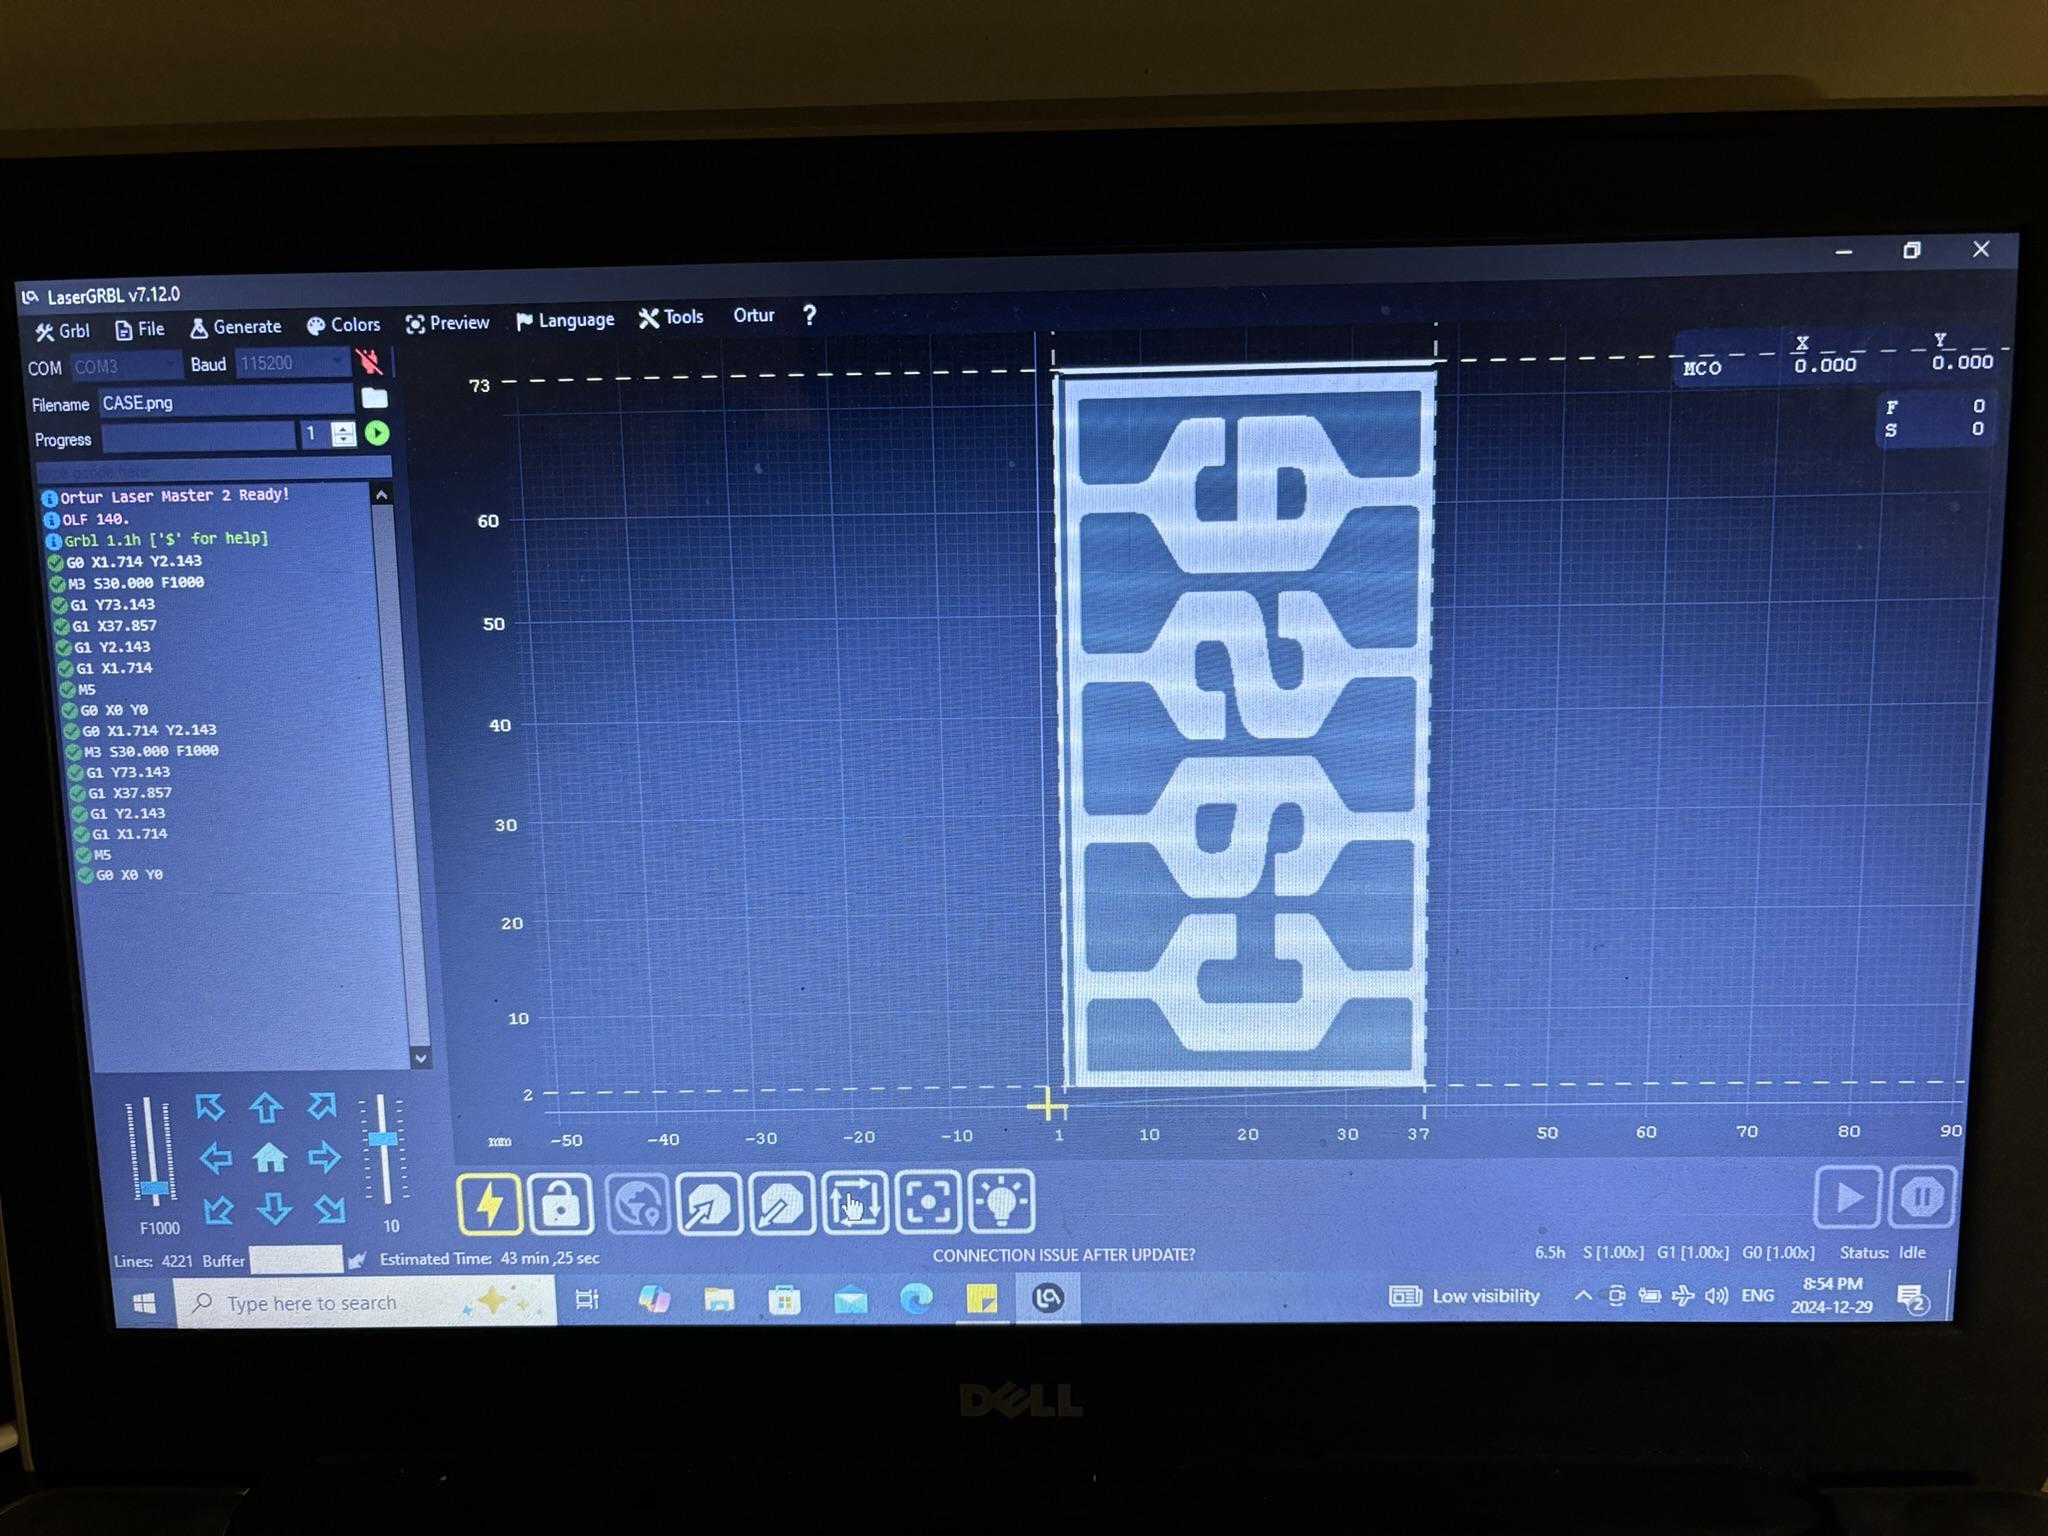


Next step is to set up my laser software for engraving.
When engraving anything cylindrical, I discovered that I needed to set my image to a 90 degree angle and mirror reverse the image - otherwise result would be something that was both sideways and backwards - Like I said, the local thrift store has some unique looking drinking glasses on the shelf at the moment due to me finding out about this.
Once I got the orientation correct, I then adjusted the image size, engraving speed and laser power.
Of course the size needs to reflect the area that I want to put the image on, but the key settings here are the laser strength and the speed. In these case, I need the laser as strong as possible, moving as slowly as possible.
Once things are set, it's time to engrave.
Once the engraver is finished, you would have your image burned into the paint which etches the glass,
Finishing Up


The only remaining thing to to is to clean the paint off. This is just a simple matter of using soap, water, and a little bit of elbow grease.
In the end you get a nicely engraved mug (in this case) ready for a hot cup of Joe.
Now, if you can excuse me, I need to go put the kettle on....