Engrave 3D Text With Sketchup
by snoyes in Design > Digital Graphics
16500 Views, 43 Favorites, 0 Comments
Engrave 3D Text With Sketchup
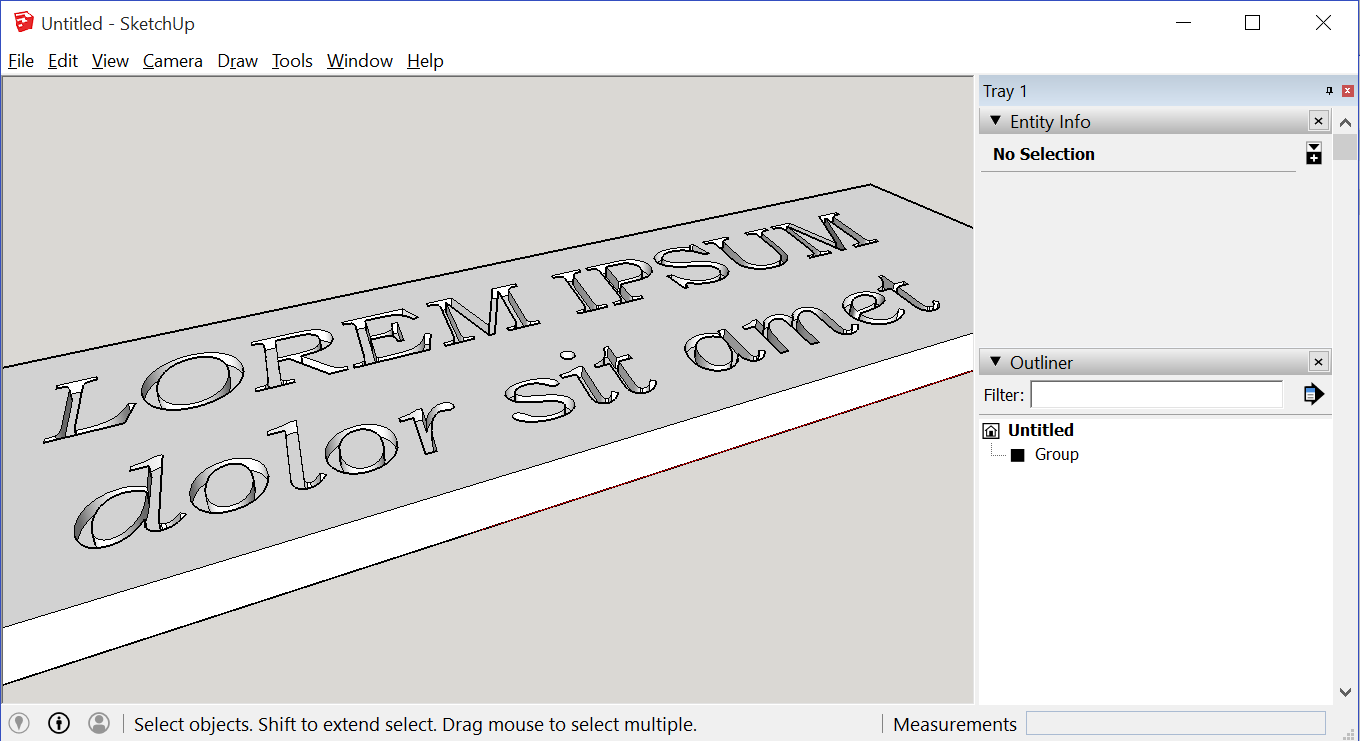
Engraving or embedding 3D text in the free version of Sketchup (sans the solid tools) is a little tricky. No doubt there exists some plugin to make it easier, but you can also roll it yourself with just a few lines of code.
Official Advice
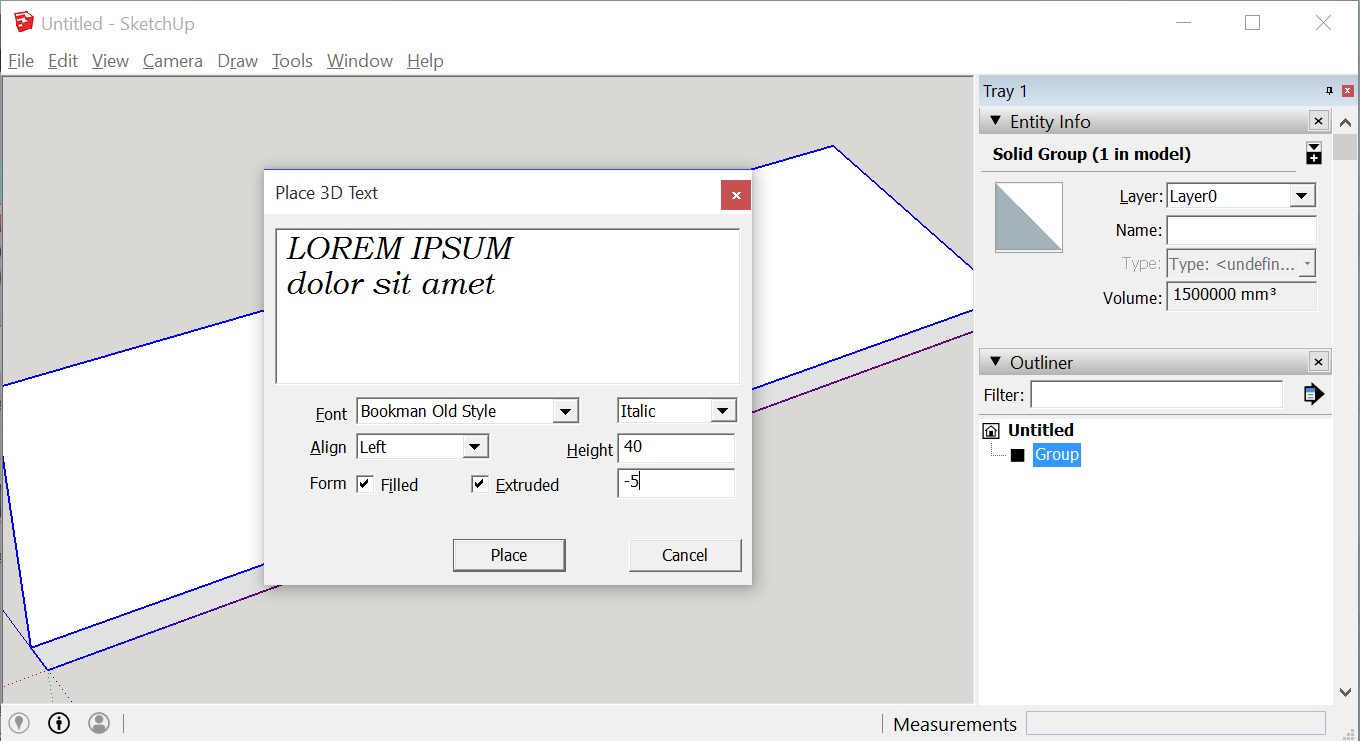
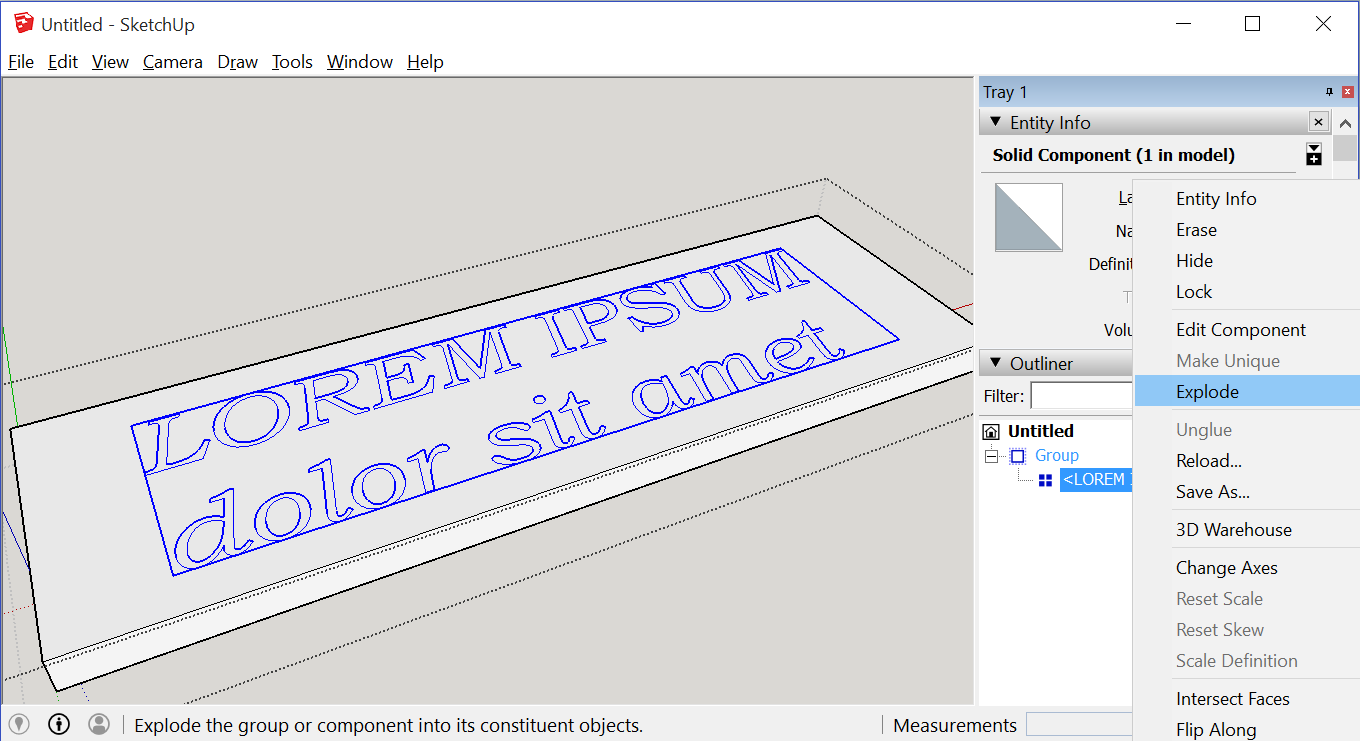
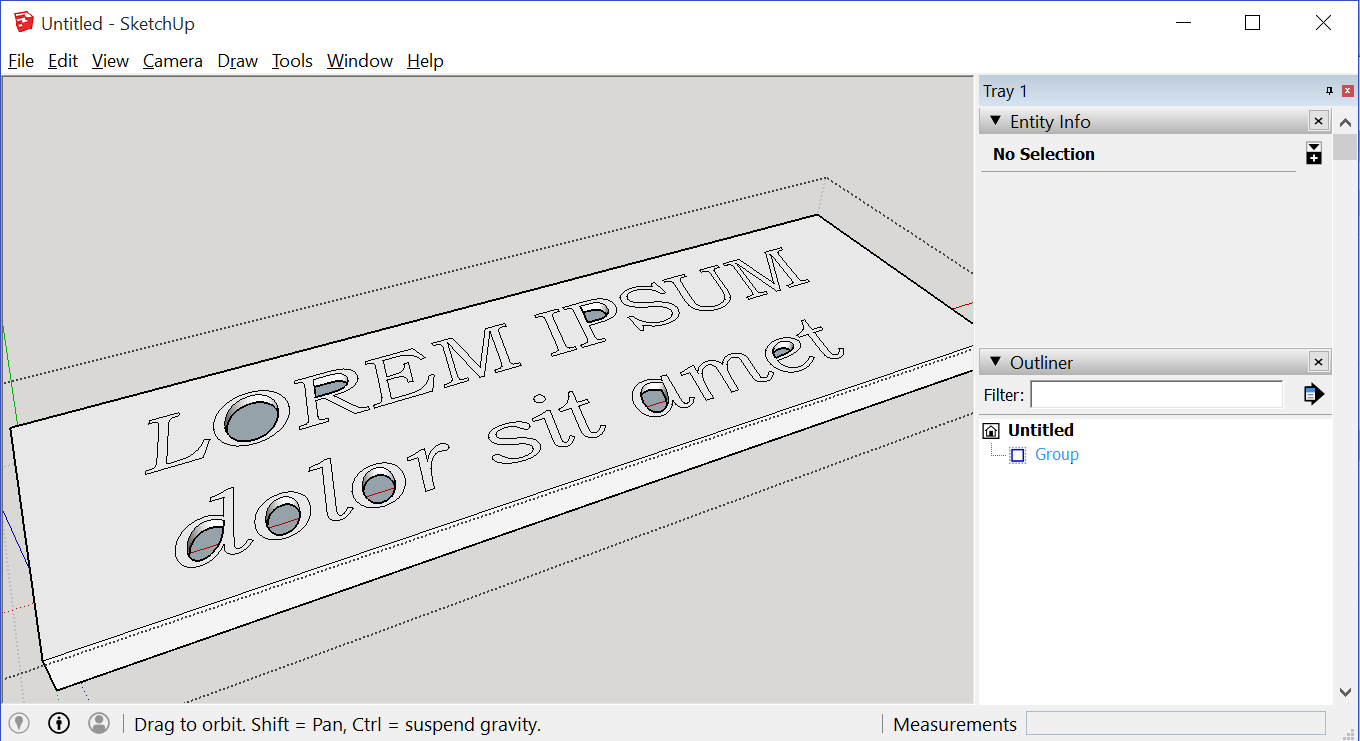
To create engraved text, enter a negative value in the Extruded box in Step 3. After you place your text, explode the group. (Context-click it and select Explode.) Then select each line and press Delete.
I think they meant "select each face".
That works, but presents two problems:
• Long text means lots of faces to select.
• Fonts with enclosed loops do not create the inner face. You can just redraw one edge and the face will pop into existence, but again, for long text, that's a pain.
Selecting Front Faces
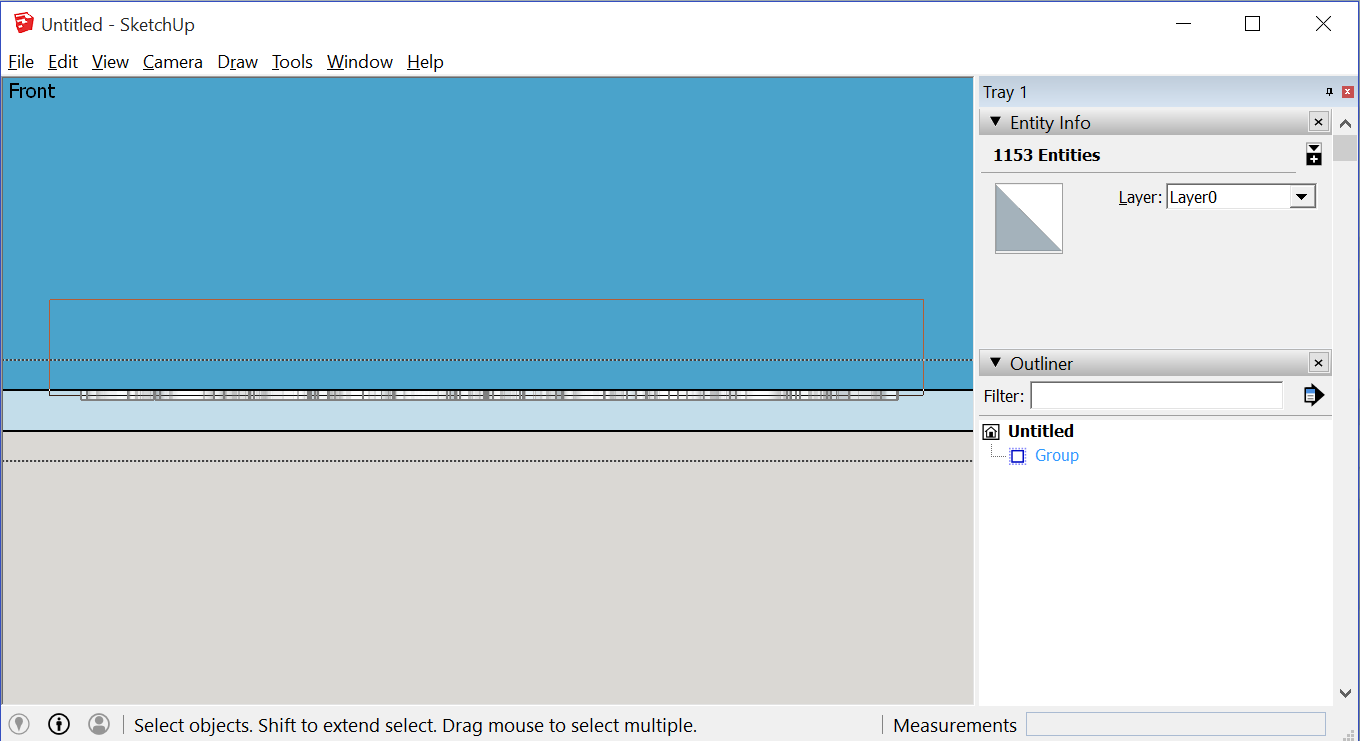
2. Set the camera to Parallel Projection
3. Set the Face Style to X-Ray
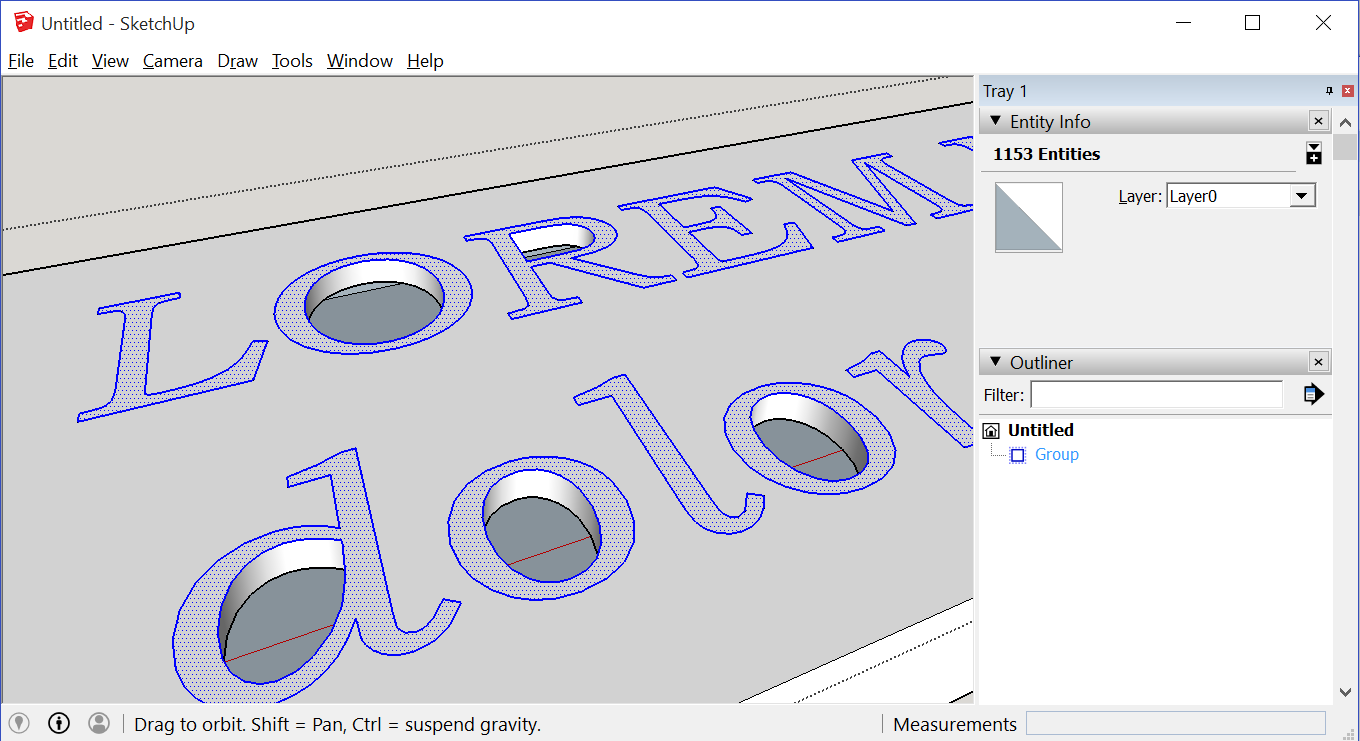
4. Drag a selection rectangle. Include just the front surface of the text.
• Drag left-to-right to select only those objects entirely contained within the rectangle. This is the desired behavior for this step.
• Drag right-to-left to select all objects even partially contained by the rectangle. Don't do that here, to avoid also selecting the faces that will make up the vertical walls of the engraved text. However, it may be useful (when used with the Alt key) to deselect other undesired geometry.
Reset the camera and style. The front faces of the text have all been selected, but so have the edges - deleting those edges would ruin the text.
Ruby to the Rescue
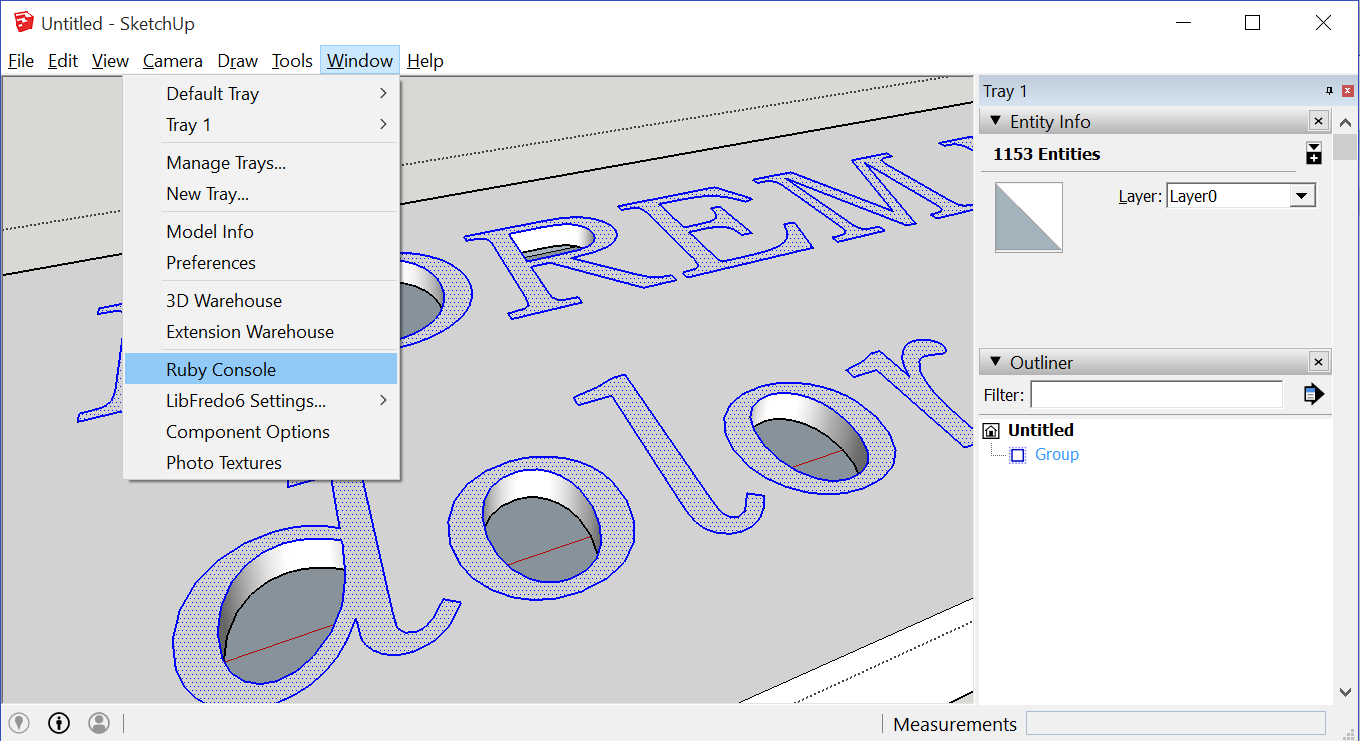
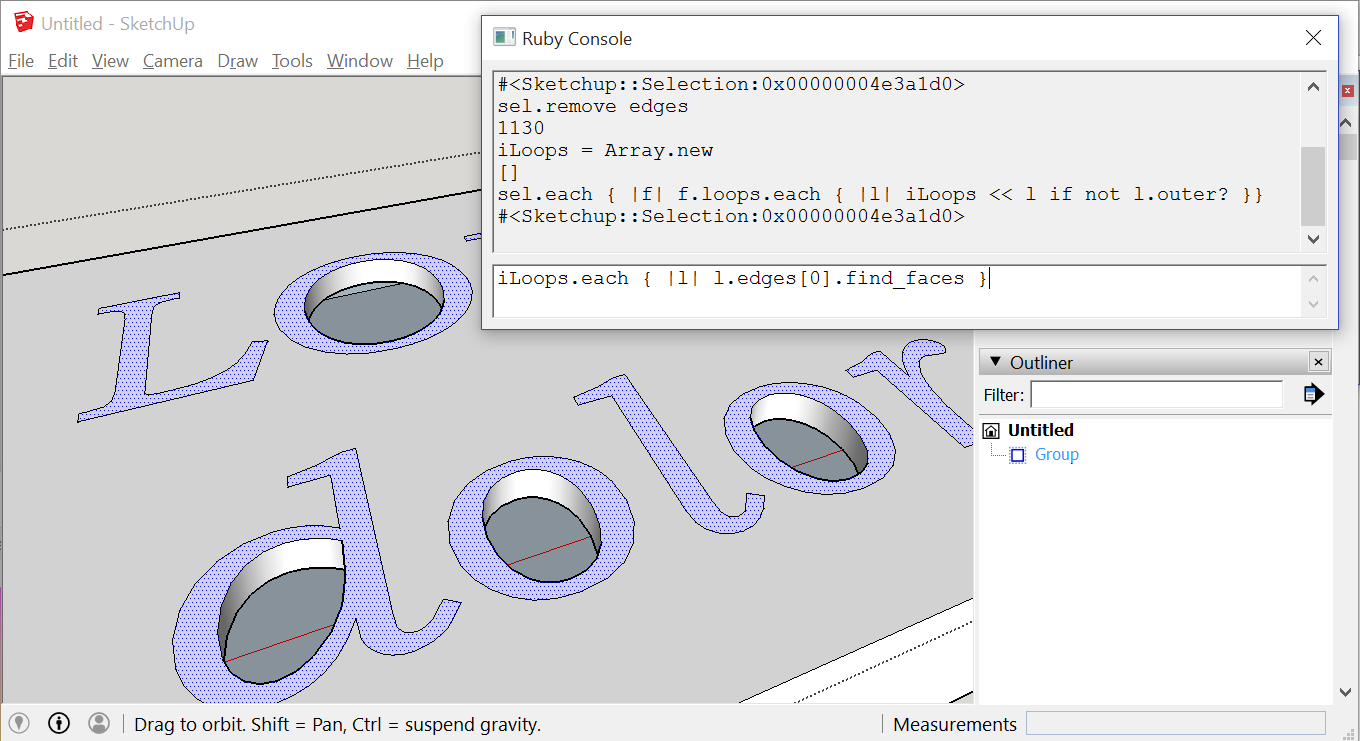
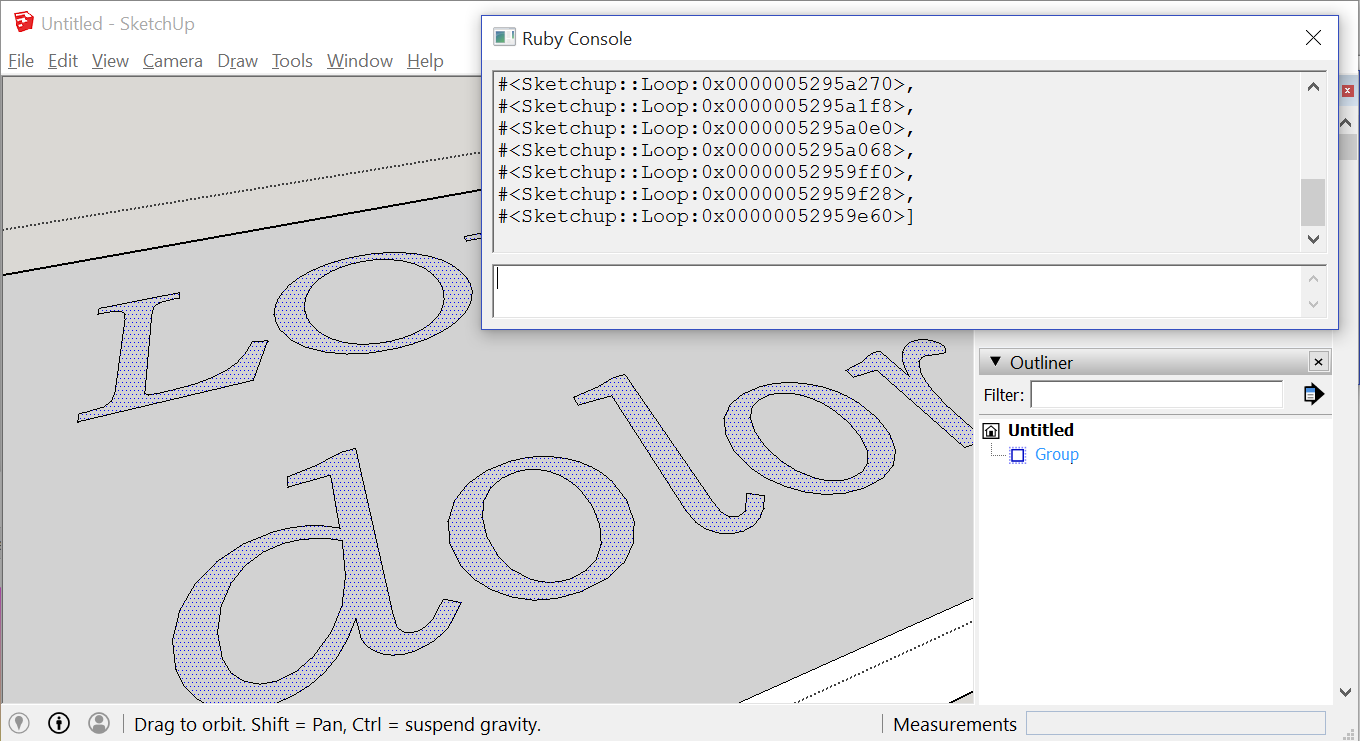
Open the Ruby console.
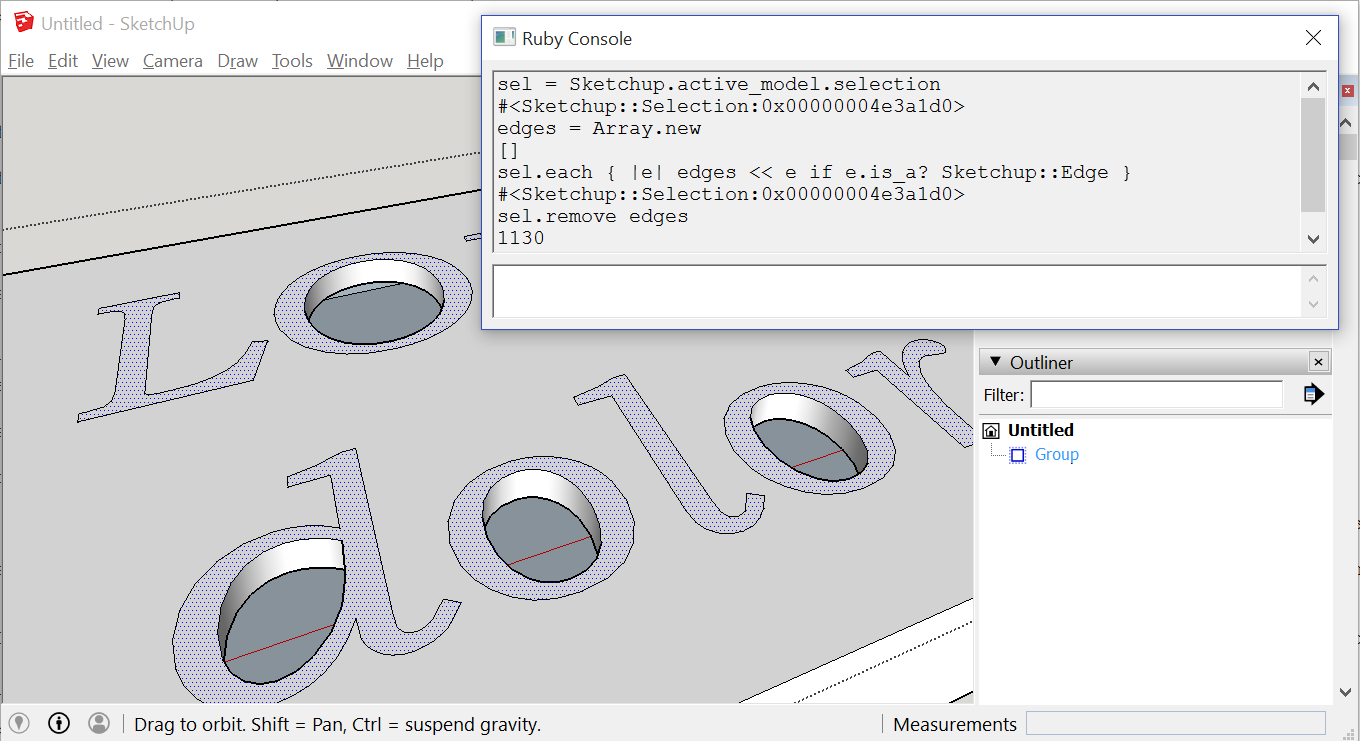
Run the following code:
sel = Sketchup.active_model.selection
edges = Array.new
sel.each { |e| edges << e if e.is_a? Sketchup::Edge }
sel.remove edges
iLoops = Array.new
sel.each { |f| f.loops.each { |l| iLoops << l if not l.outer? }}
iLoops.each { |l| l.edges[0].find_faces }
To explain that code:
Create a variable to refer to the selection. The name of the variable does not matter; I'm going to call it "sel".
Create an empty array. We'll put all those edges in here. Again, the name doesn't matter; I'm just going to use "edges".
Add each selected object to the "edges" array if it is an edge.
Remove the edges from the selection.
Now only the faces remain selected.
As an aside, if your text doesn't have any internal loops, then you're done with Ruby at this point. You can skip ahead to closing the console and deleting these faces.
Faces are bound by "loops". Every face has an outer loop, and might also have inner loops.
Create another empty array to hold the inner loops. The name still doesn't matter.
Get the loops for each selected face. Add only the inner loops to the array.
A loop is just a collection of edges. An edge can "find faces" which will create all faces which this edge might bound. Find the faces for the first edge in each inner loop.
Now the missing faces have all been created, and we still just have the original faces selected. We're done with Ruby. Close the console.
Delete, Orient, Verify Solid
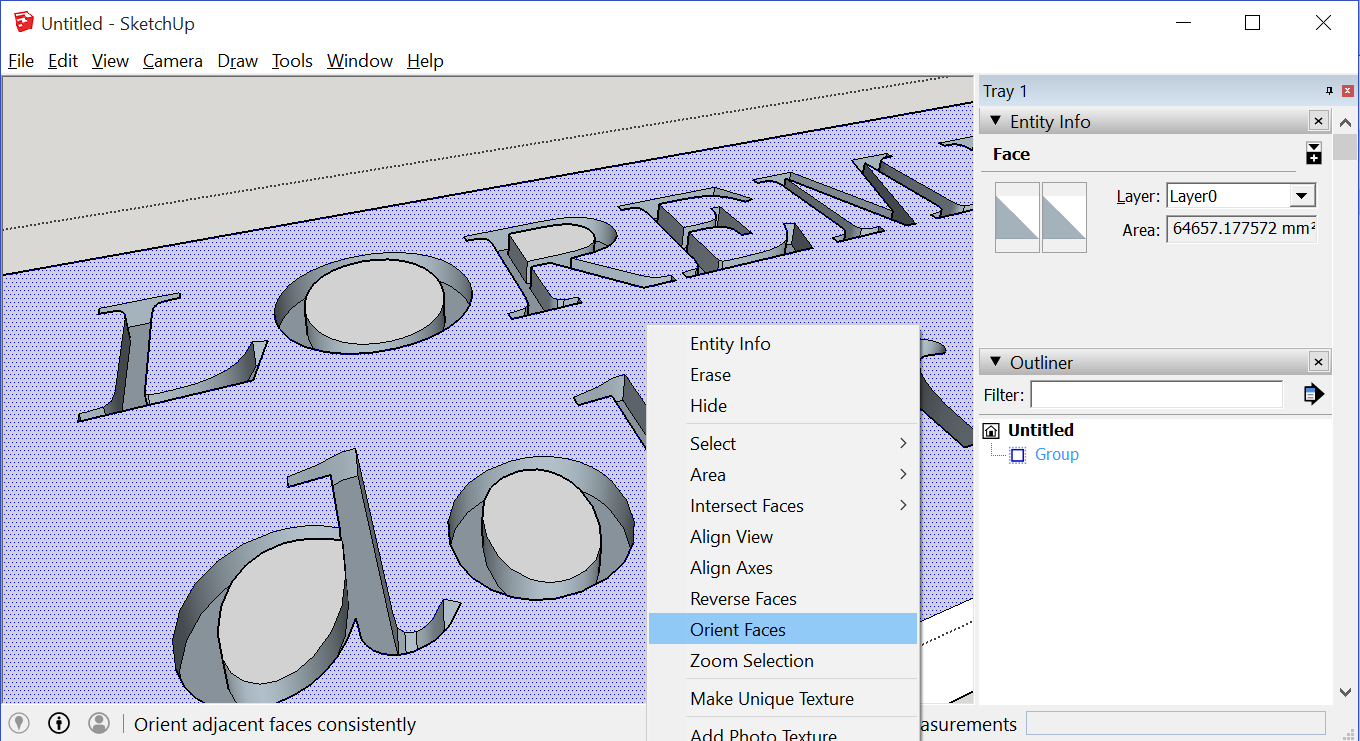
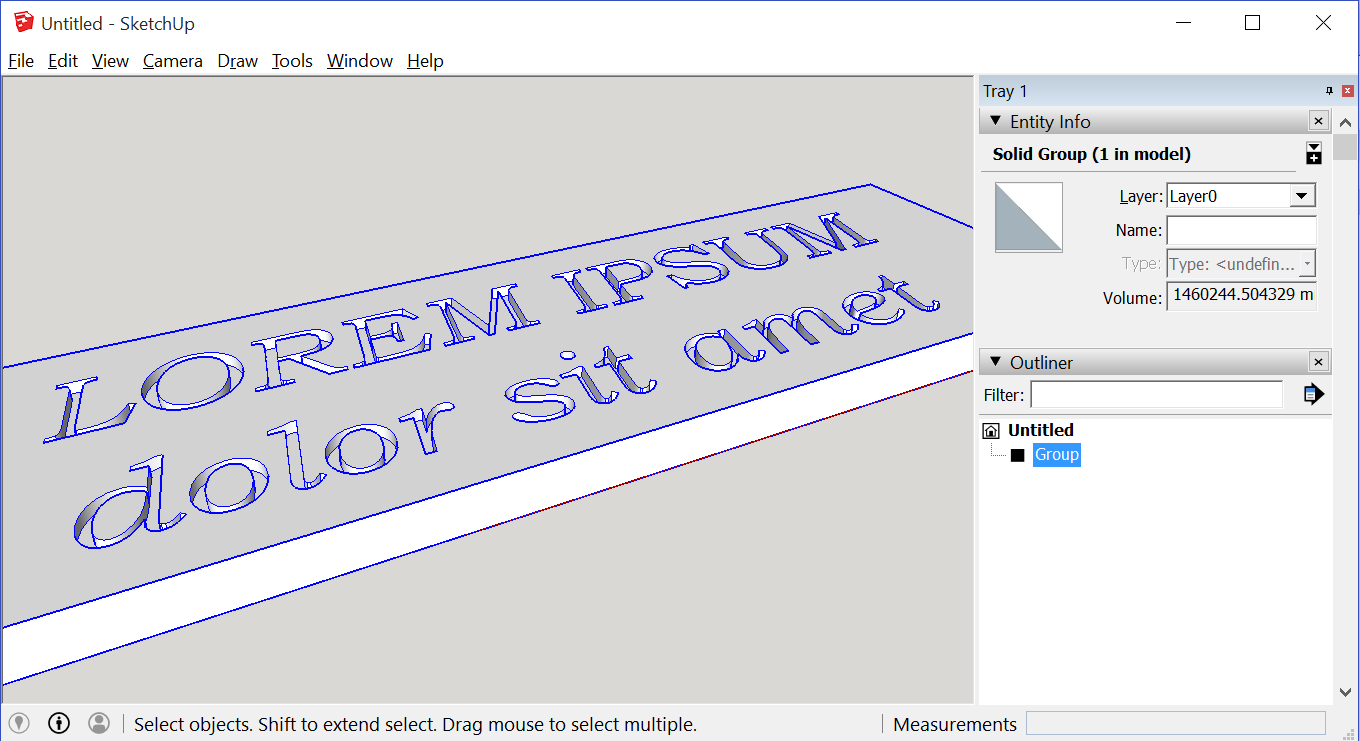
With focus back on the main Sketchup window, delete those faces. The text is now engraved, but most of the faces are pointing the wrong direction. Context-click anywhere on the white surface and Orient Faces.
Models intended for 3D printing or other CNC processes are best as solid objects. The Entity Info verifies that this process hasn't left any extraneous geometry or missing faces.