Engagement Ring


You will need the following things.
Tools:
- precision drill/grinder
- flex hose for drill
- diamond cutting disk
- polishing compound
- polishing cloth
- small grind bits for the drill
- caliper
- files
- sandpaper
- knife
- tribulet
- pencil
- pen
- stove
Materials:
- Silver Clay
- the gem (in my case Moldavite)
- paper
Measurements and Design
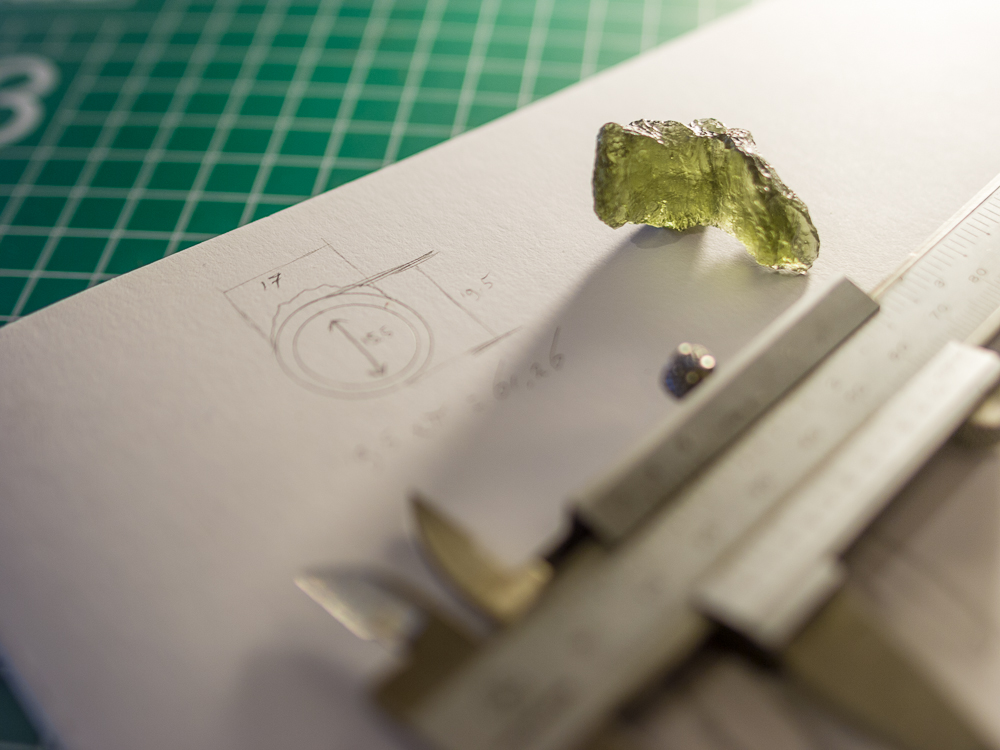
Before you can make a design you'll need some measurements and facts:
- First of all you need to know the ring size (this is basically the diameter of the finger the ring is meant for).
In my case her ring size is 14mm. Because the silver will shrink you have to make the ring bigger then the needed ring size. To be on the save side I used ring size 15.5mm. - How much the Silver Clay you use will shrink*.
Silver: Art Clay low heat shrinks about 8% to 10%. - How thick you want to make the ring.
To keep enough strength I had to make the ring 4mm thick.
With these numbers you can now calculate how much silver you'll have to cut:
15.5mm + 4mm = 19.5mm
19.5mm * 3.14(pi) = 61.26mm
*The ring will shrink because Silver Clay is a mix of water and silver. When baked the water will vaporize, so you end up with pure/fine silver.
Practice and Cutting the Stone
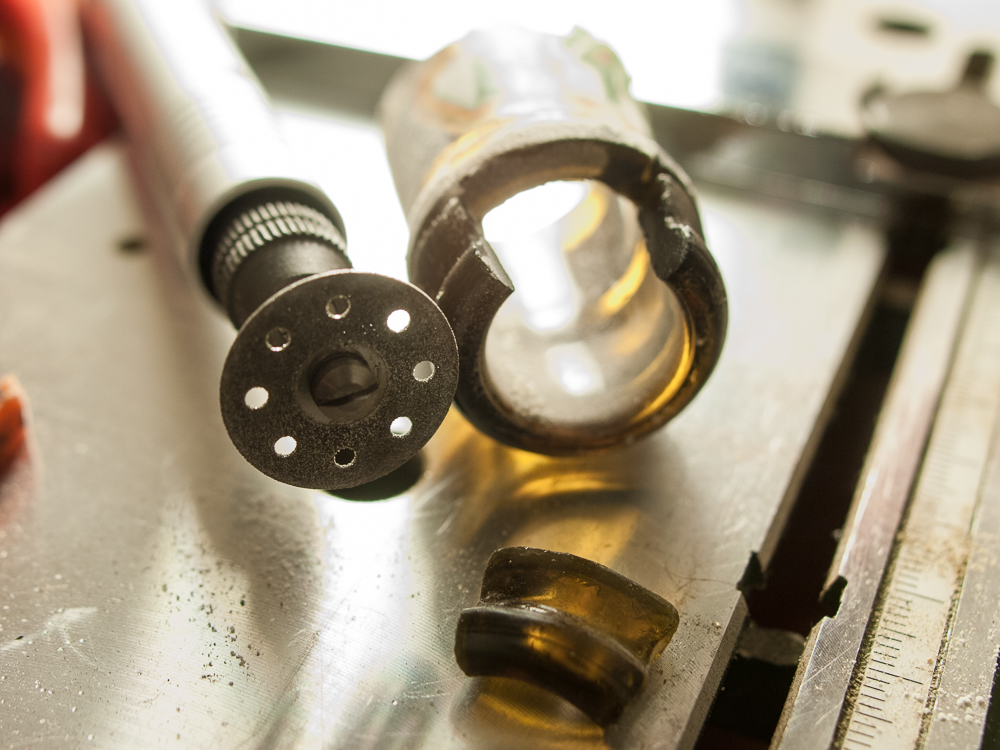


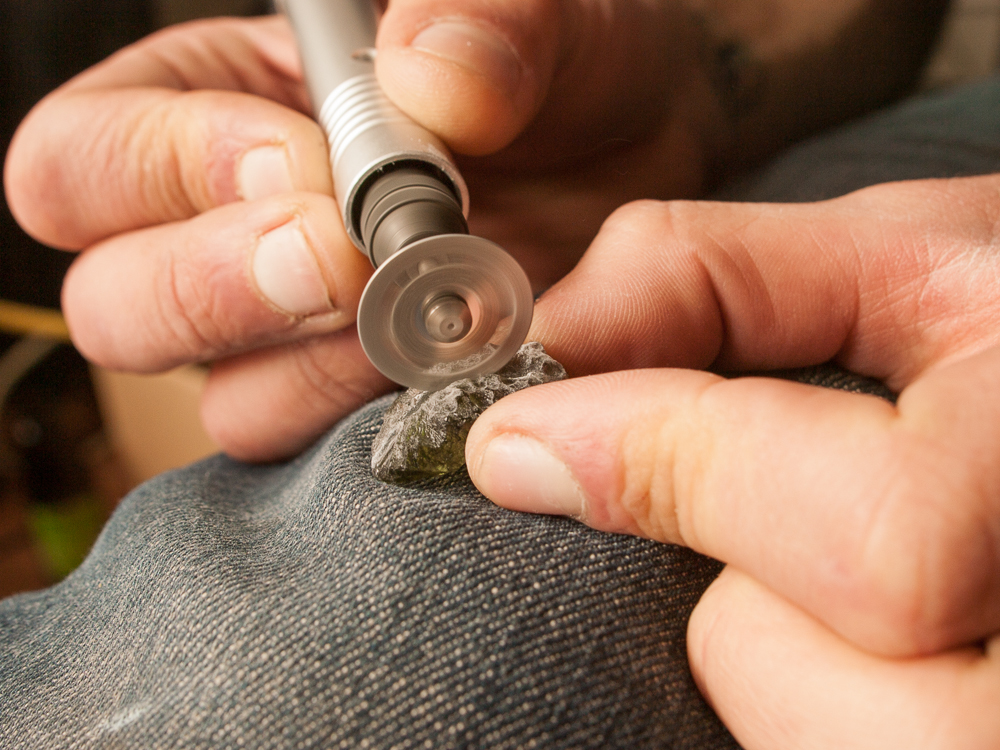


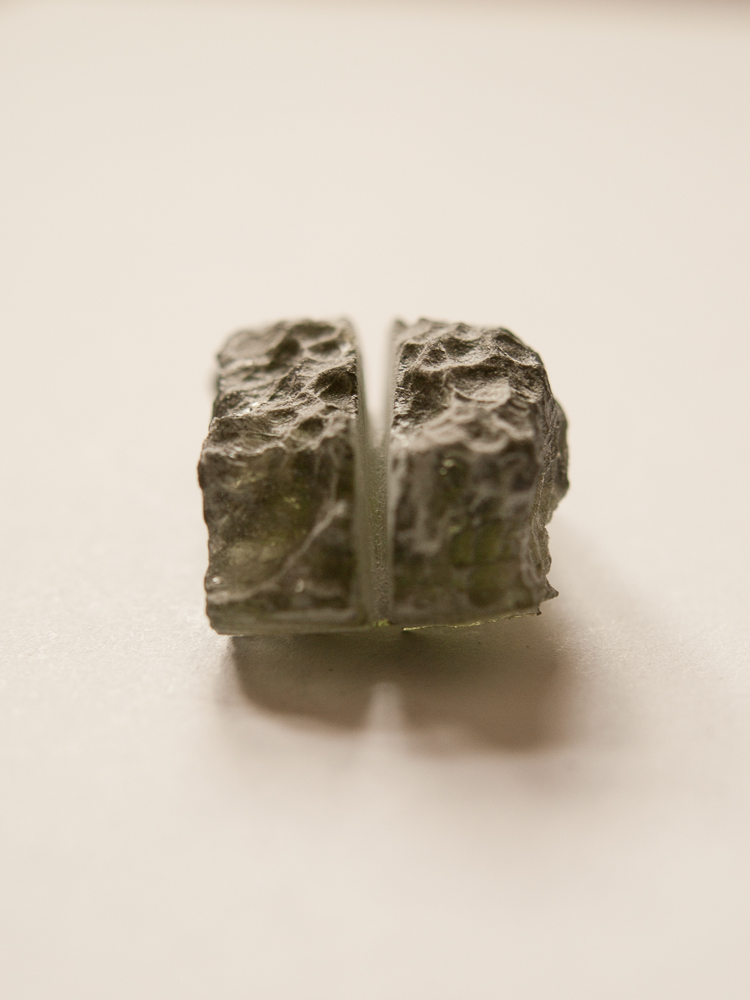
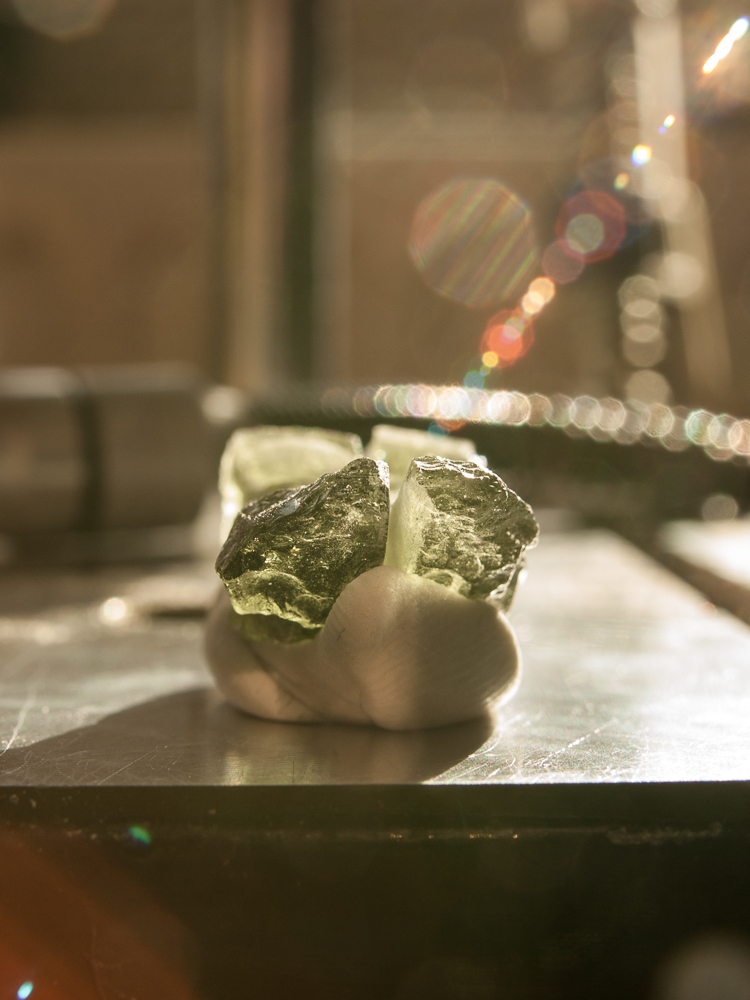

Cutting a gem is almost the same as cutting glass, therefore some practice could be helpful. I used a old beer bottle. The cutting disk I used was diamond coated.
Shaping the Stone

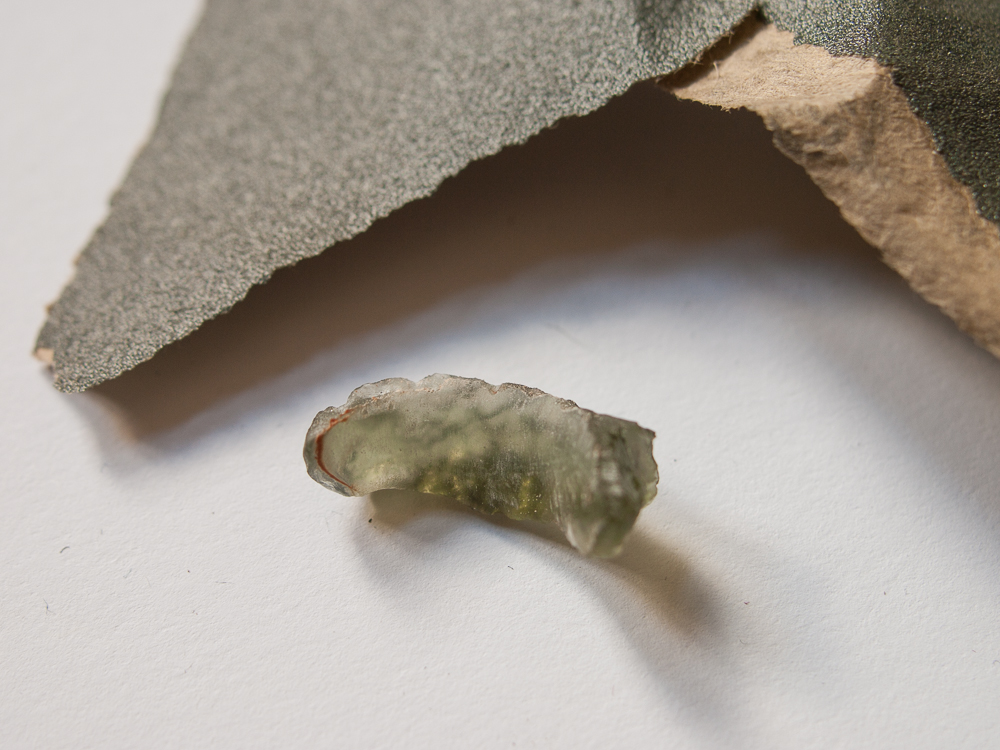
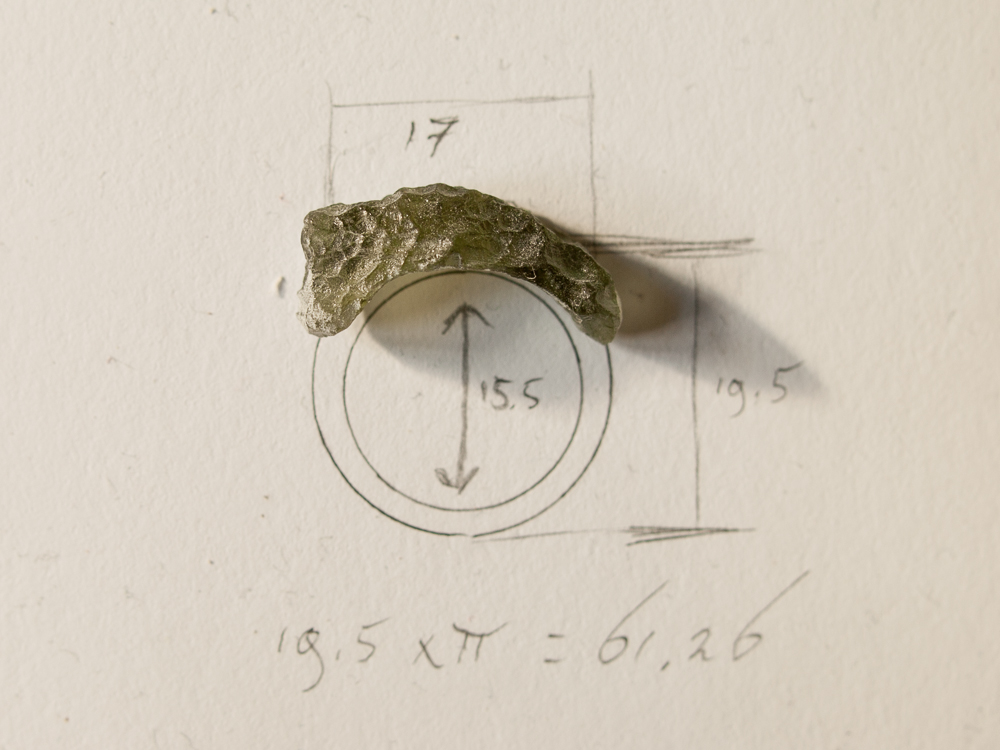


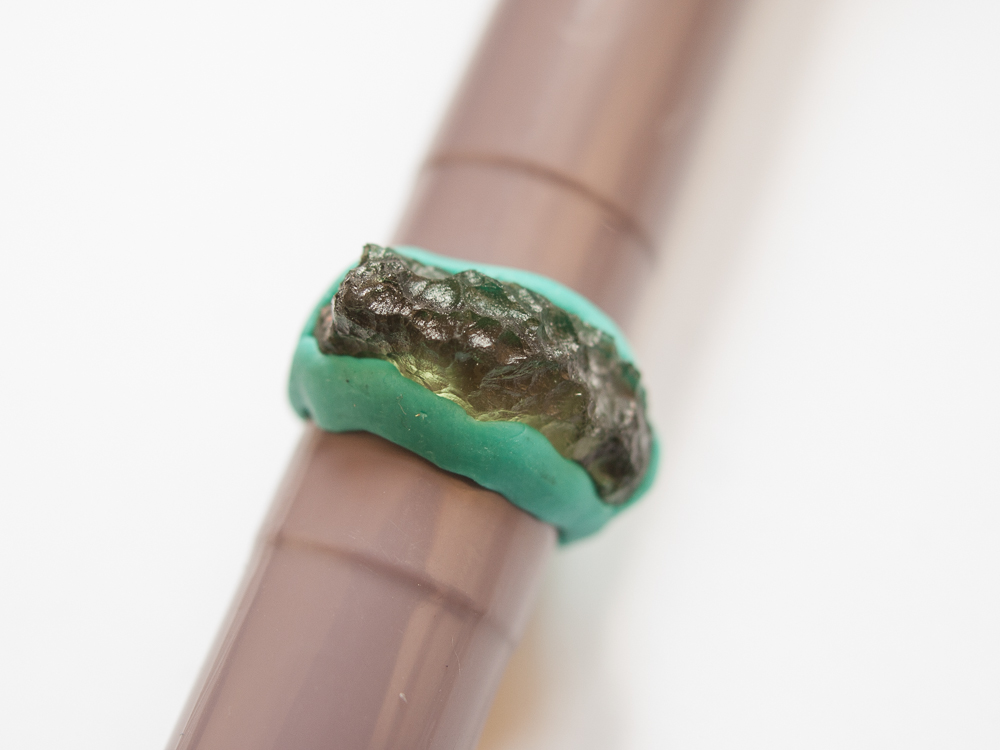
When you have the feeling the stone is almost in the right shape, you can use some modeling clay to make a test ring. This is just to see if the stone needs some adjustments.
Making the Ring


Modeling Silver Clay works almost in the same way as with normal clay, only I found it a little softer and somewhat more sticky. I put some backing paper on the tribulet so the clay wouldn't stick too much.
When modeling, don't worry too much about the roughness and the edges, later you can smoothen this with a file and sandpaper if you wish.
After modeling you should wait for at least 24 hour to let the clay dry completely!
When the ring is dry you can retouch/fill up spots simply by adding some extra clay. If you have to you can use a hot air gun to dry the retouches because the rest of the ring is already dry.
Baking the SilverClay

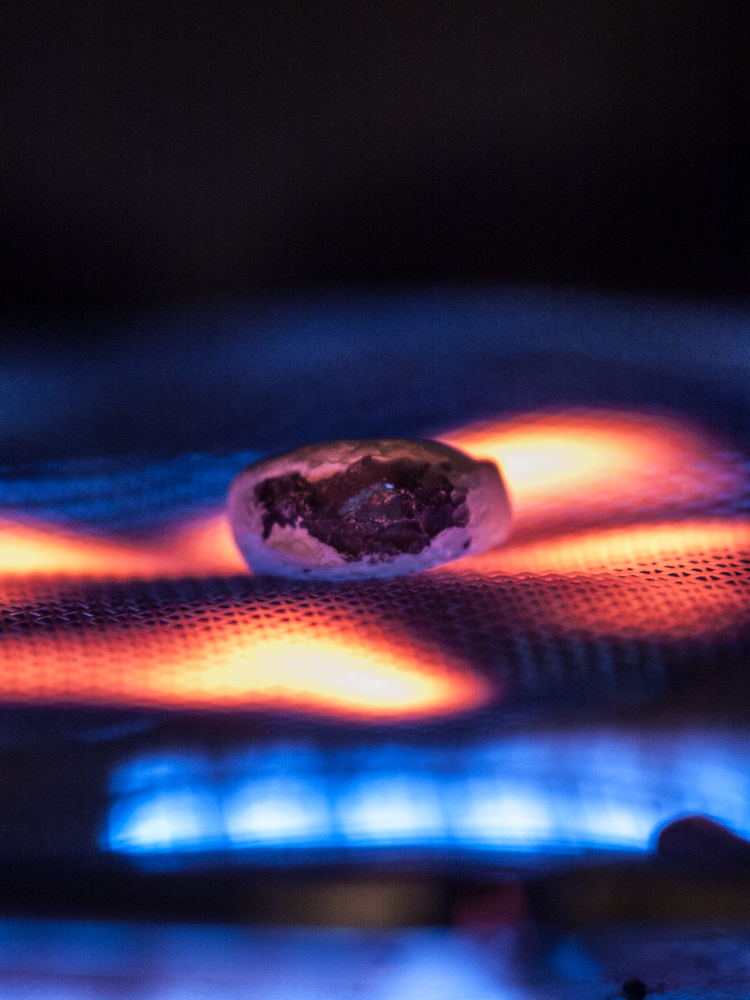
Baking the ring takes about 20 to 30 minutes on a medium high gas stove.
Polishing


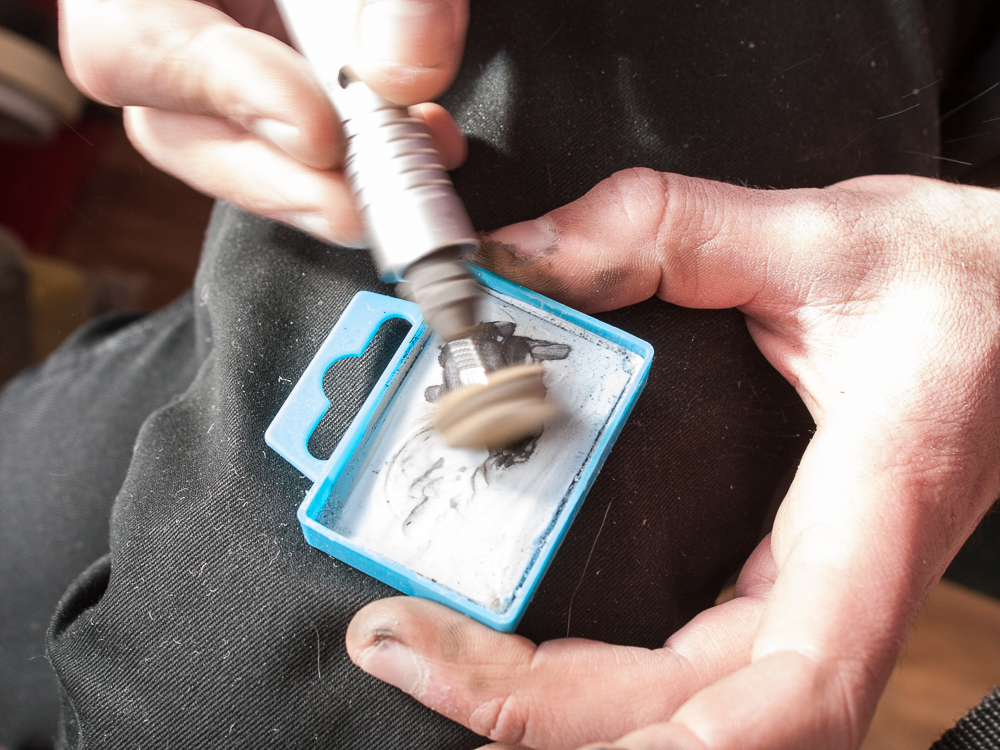
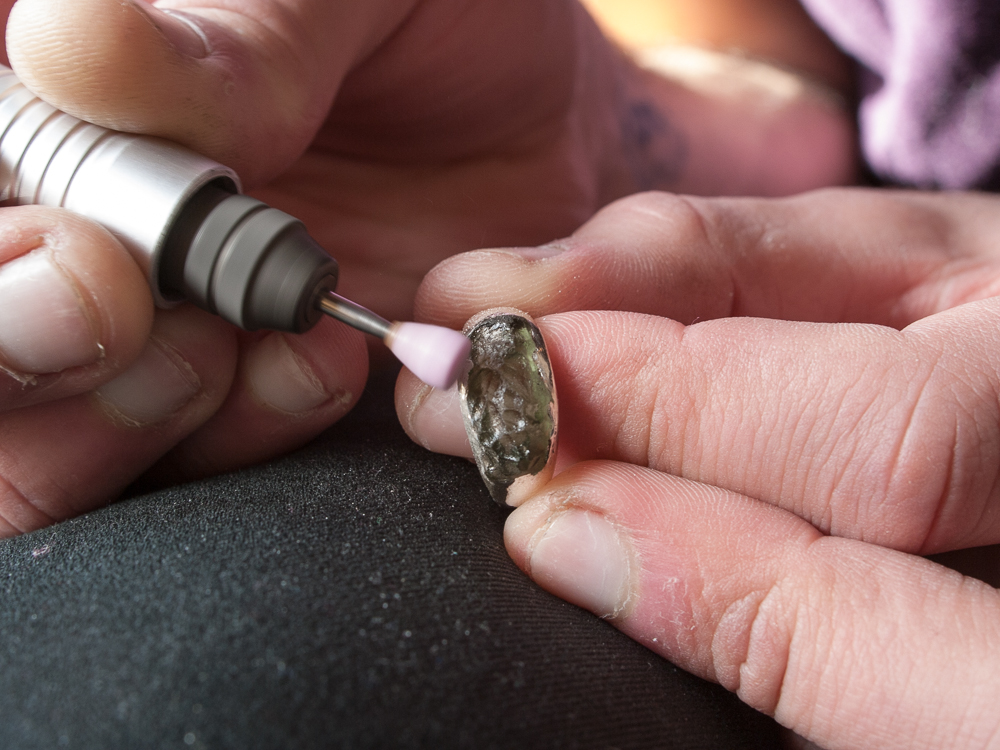
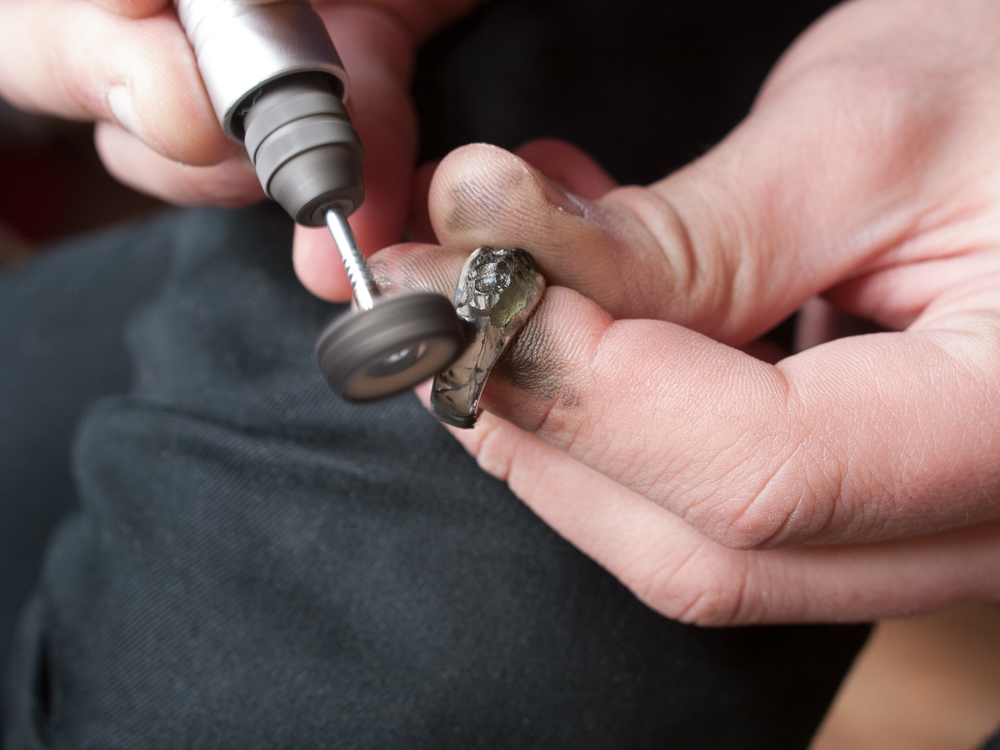

To really make it shine you'll need some patience, but it's worth it!
Success!


Now it's time to wait for the right moment...!
I was so nervous words cannot describe... I proposed to Iris in Sumatera (Indonesia), at Danau Gunung Tujuh ('the lake of the seven mountains') and she said YES!!!
Good luck! :)