Enclosure for 8*8*8 RGB LED Cube
by Cyril12 in Workshop > Woodworking
706 Views, 7 Favorites, 0 Comments
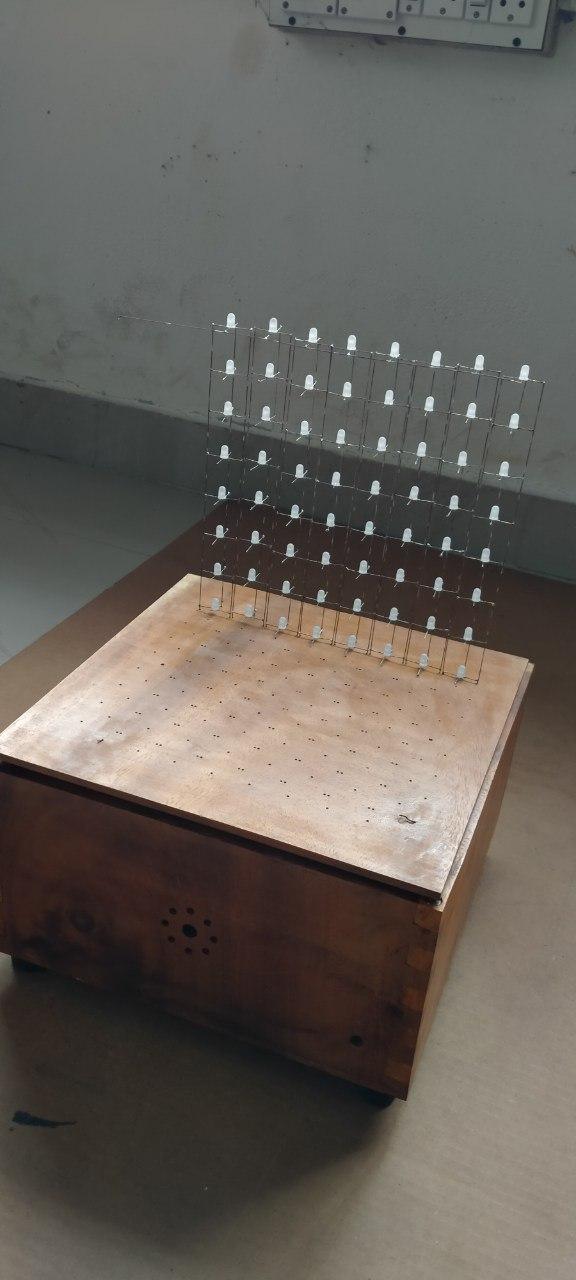
Enclosure for 8*8*8 RGB LED Cube

I designed this wooden enclosure for an led cube which is of 8*8*8 RGB . So I am making an enclosure for the cube the size depends on size of cube.
Supplies
- Use pen and paper to plot the design of your need.
- Use measuring tools like Tri-square, Ruler and also pen to trace design
- A carpenter's chisel and a small block plane
- Use sanding paper from a coarse to a fine grit
- Wood glue and some clamps
Measure and Plan
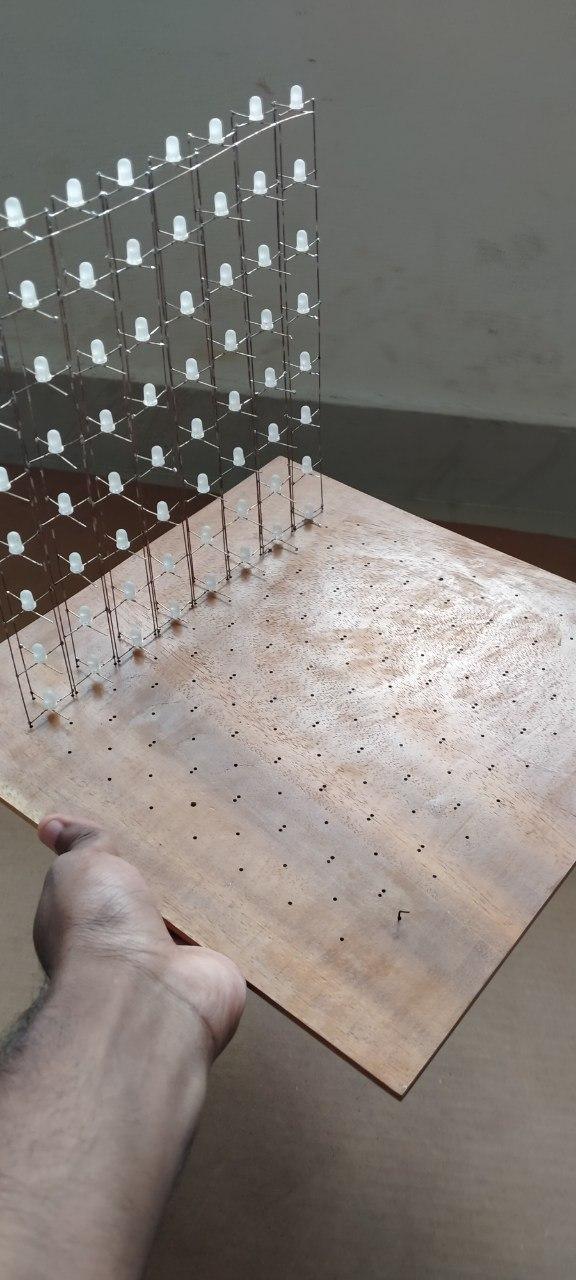
- Measure the dimensions of your LED cube, including its width, height, and depth.
- Decide on the size and style of the wooden box.
- Consider whether you want it to fully encase the cube or have open sides for better visibility. I'am going to design a fully enclosed type.
- Plan for any additional features you want, such as compartments or a hinged lid.
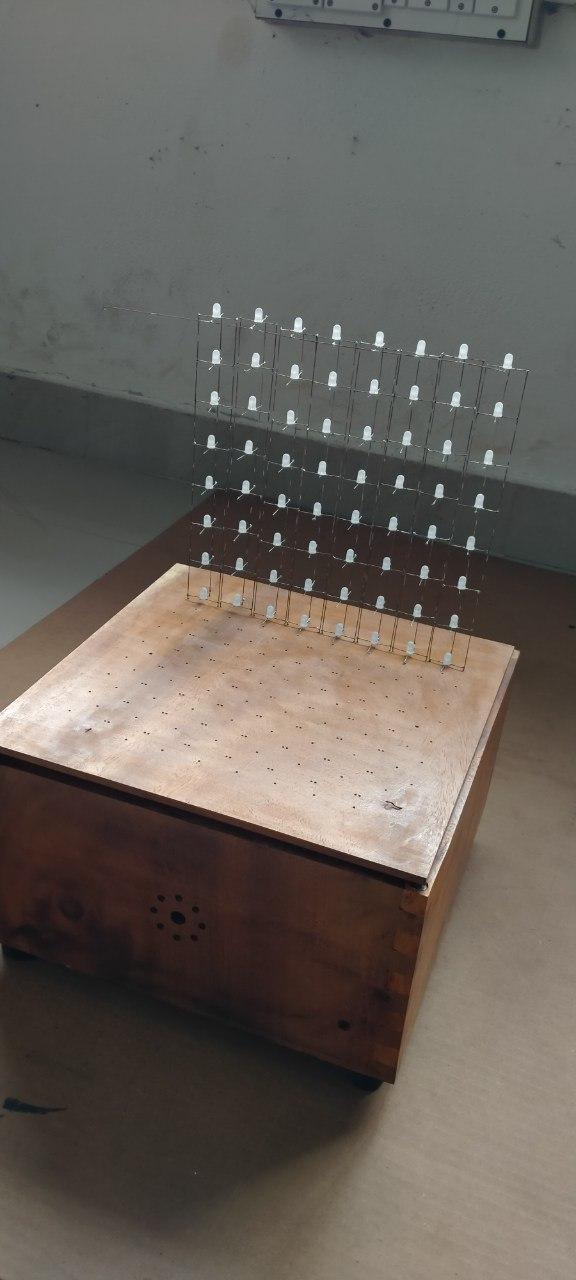
- Plan the supports for the PCB
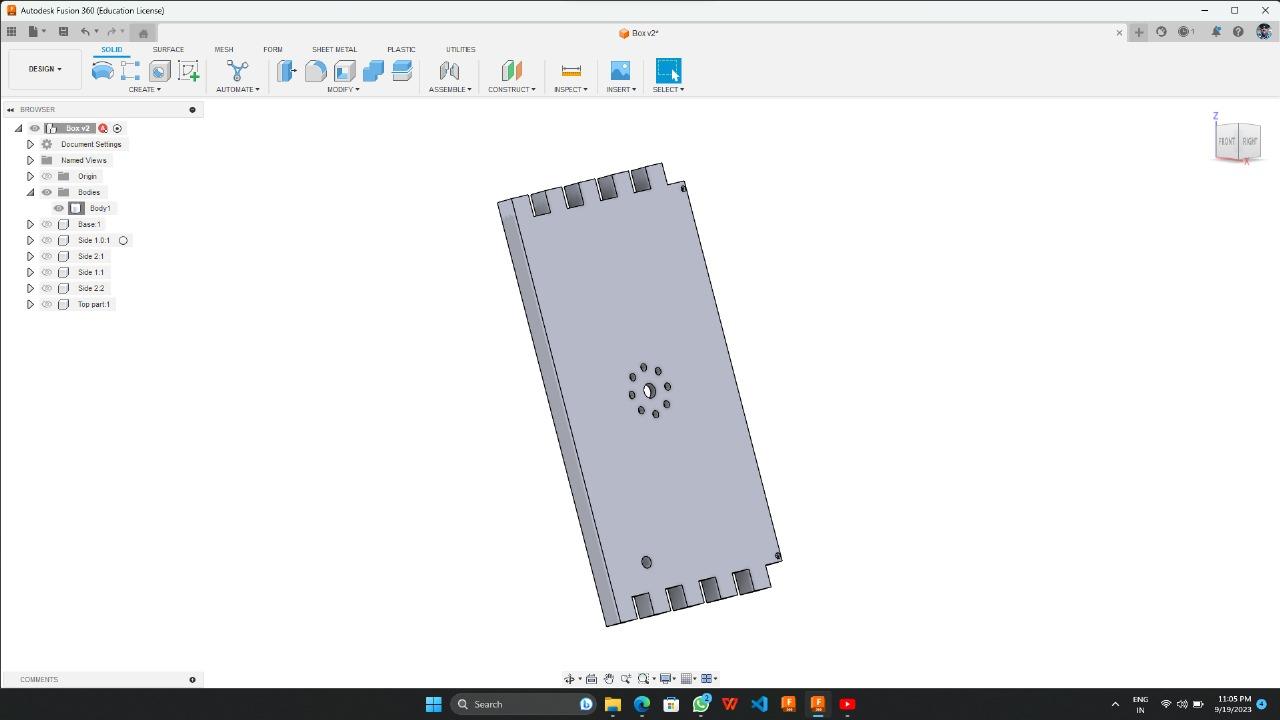
Design in Fusion 360
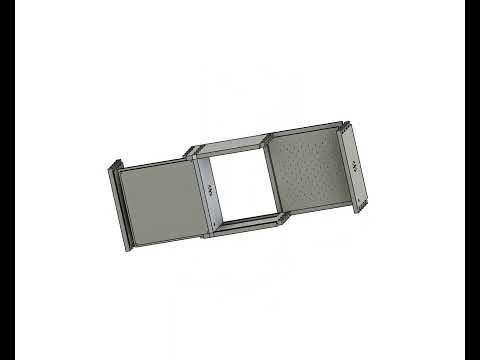
 - Exploded Views)
- Create a new design in Fusion 360.
- Start by drawing a sketch of the base of the wooden box based on the measurements.
- Extrude the sketch to the desired height. To create the pieces to be joined
- Design all sides and assemble in Fusion 360.
- Add joints, grooves, or slots for the LED cube and any other components you plan to include.
- If you want a lid, design it separately and ensure it fits securely on the box.
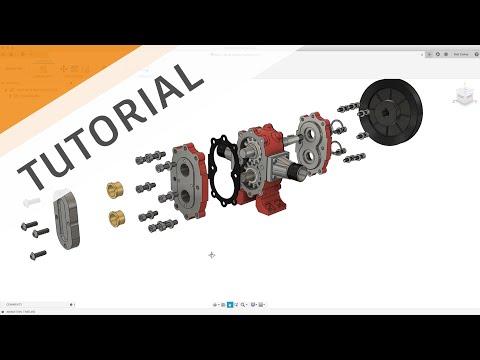
- I will provide a simple video link which demonstrates the assembling of joints. Which I found helpful to me at the time of designing and assembling.
- Start by creating a new design in Fusion 360.
- Open the components you've previously designed in other files.
- Save the new assembly file in your desired location.
- Insert the components into the current design.
- Adjust the position of each component as needed.
- Use the align tool to precisely align components by selecting specific points on each part.
- Ensure the components are correctly oriented.
- Complete the assembly, and you can proceed to create an assembly drawing in a subsequent video.
Export the Design
- Once your design is complete, export it as a DXF or SVG file, which can be used for laser cutting or CNC machining.
- Ensure that your design files are in the correct format and include all necessary details.
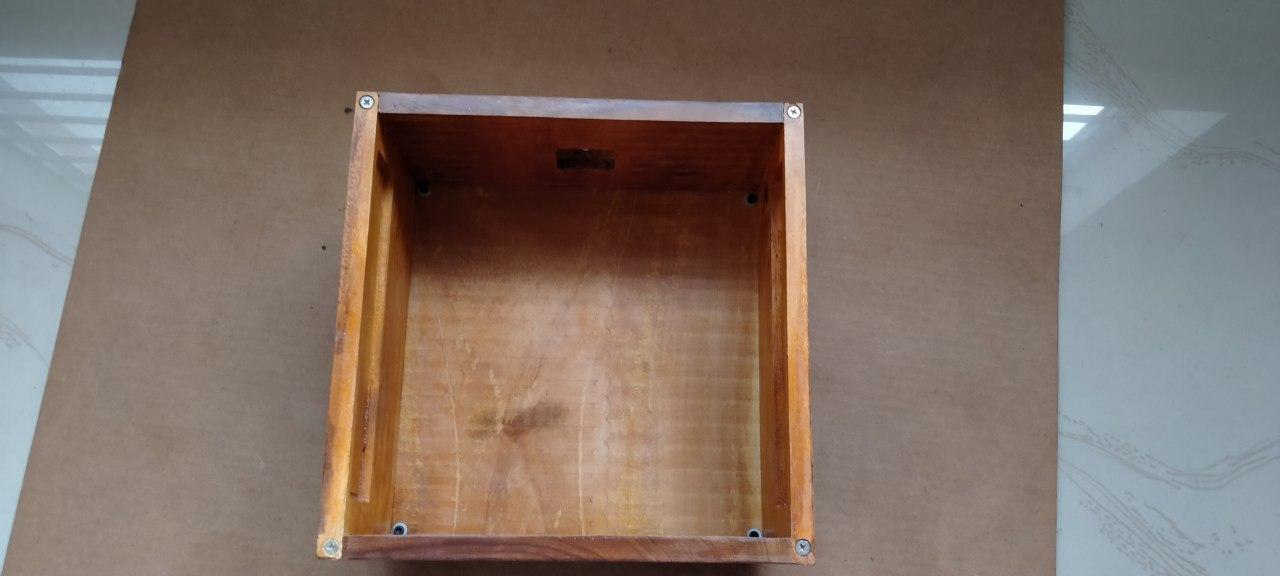
Select and Prepare the Wood
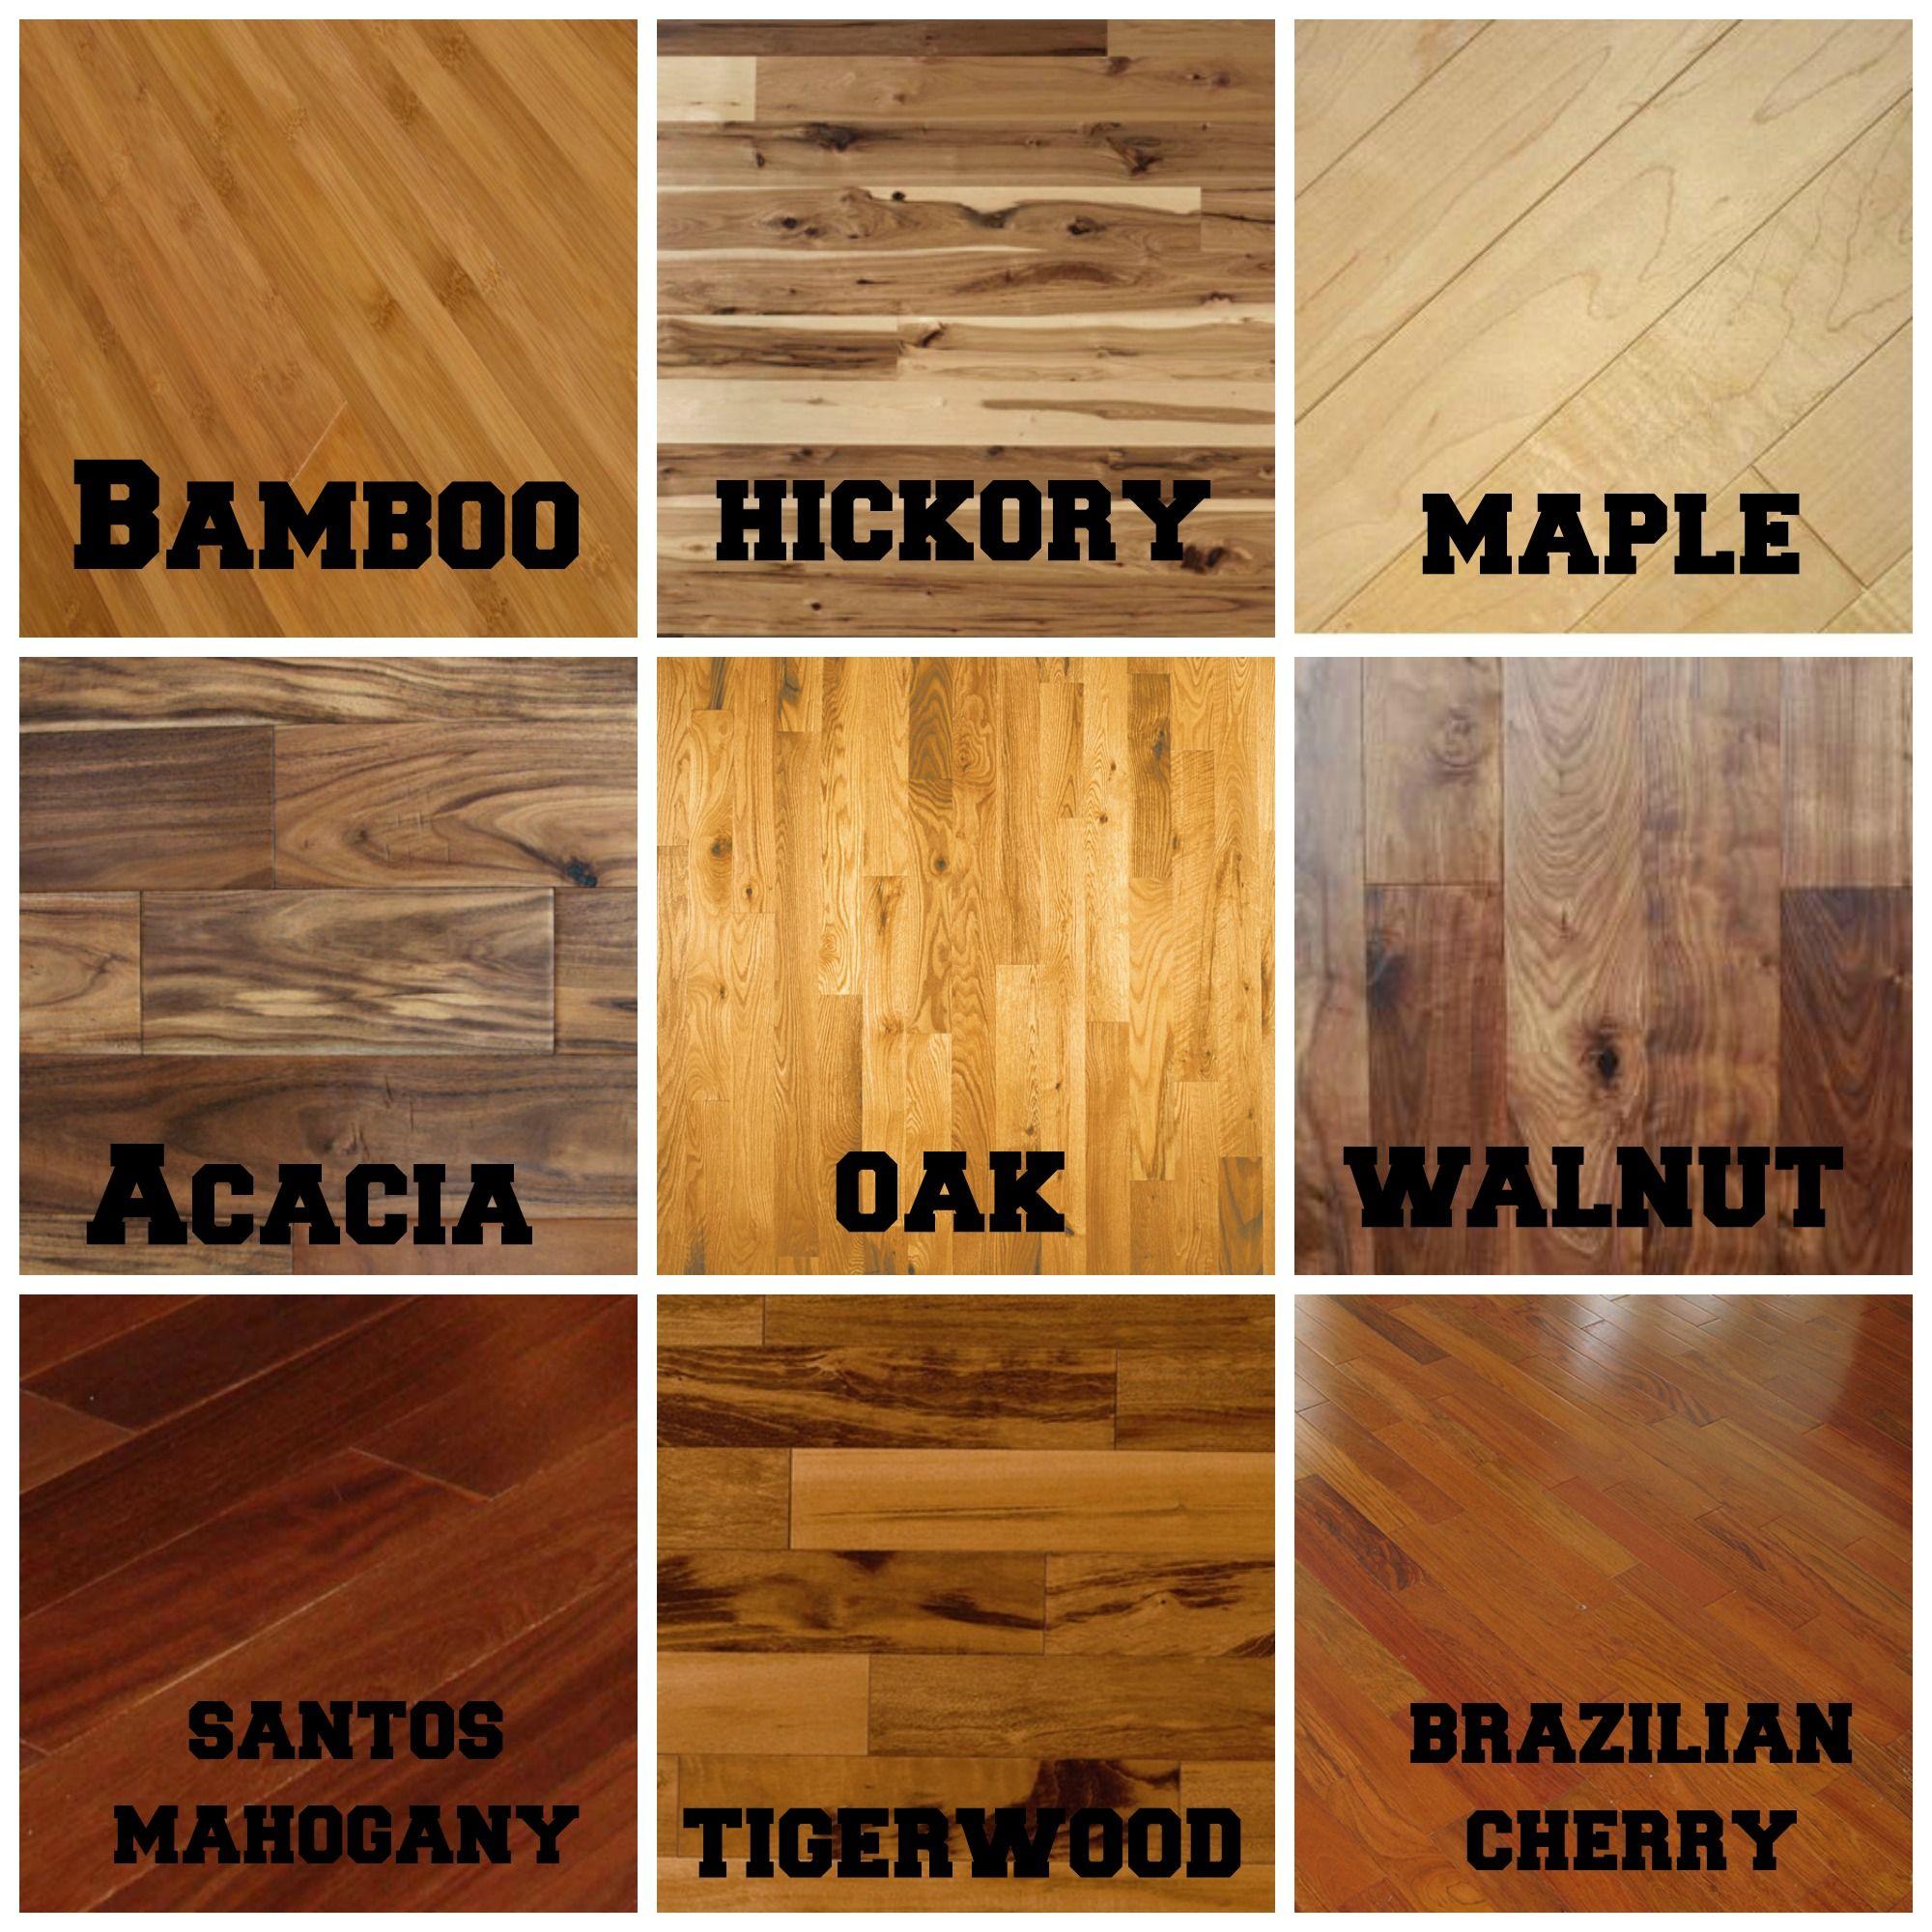
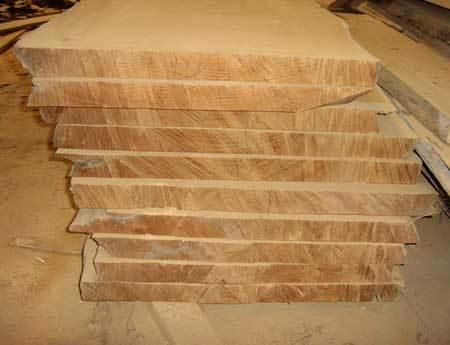
- Choose the type of wood you want to use for your box. Plywood, MDF, and hardwoods like oak or walnut are popular choices. I have used teak wood from waste
- Cut the wood sheets to the required sizes using a table saw or circular saw.
- Sand the edges and surfaces of the wood pieces to smooth out any rough edges or imperfections.
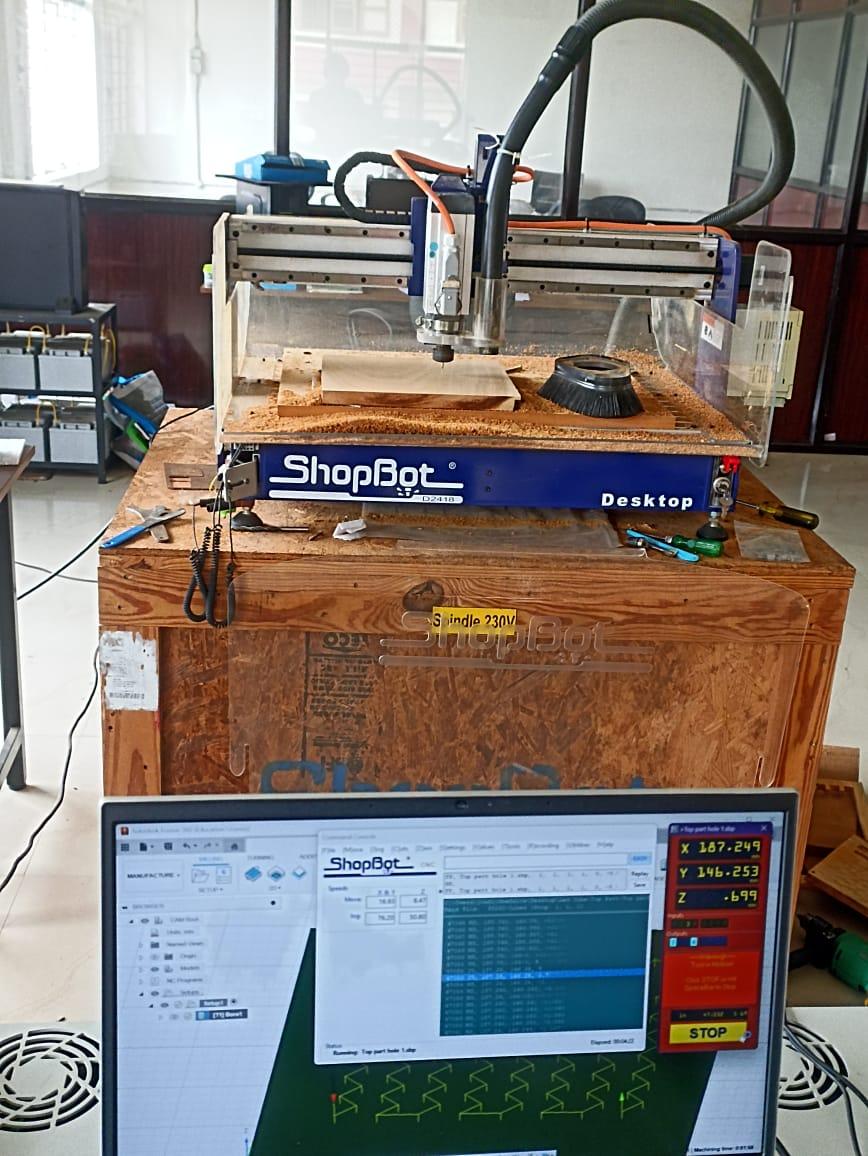
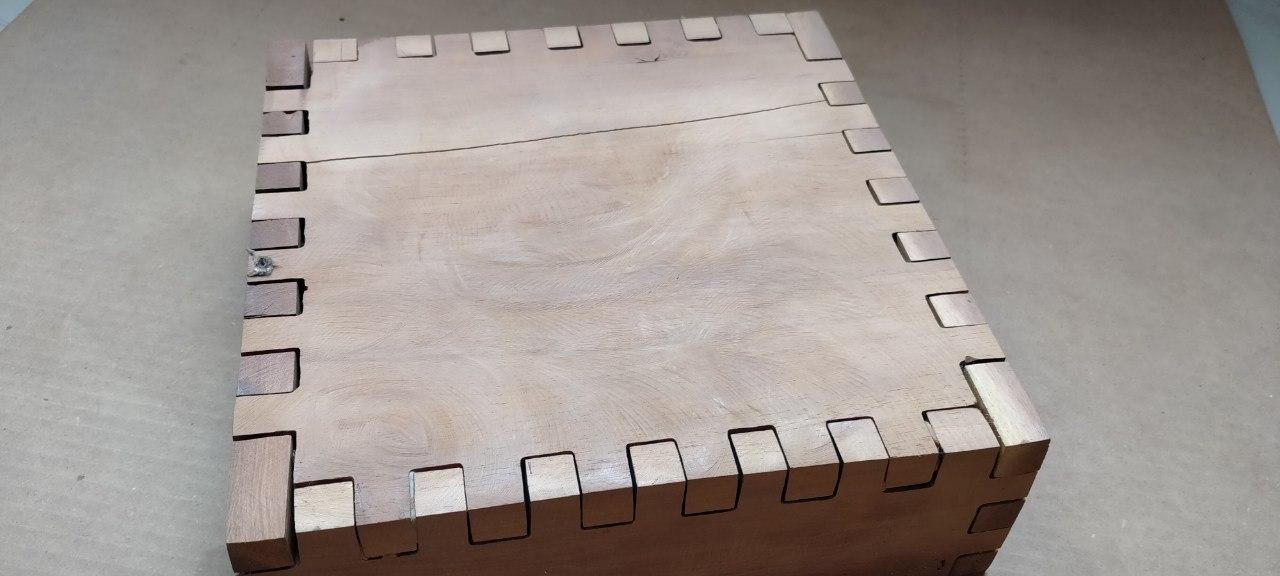
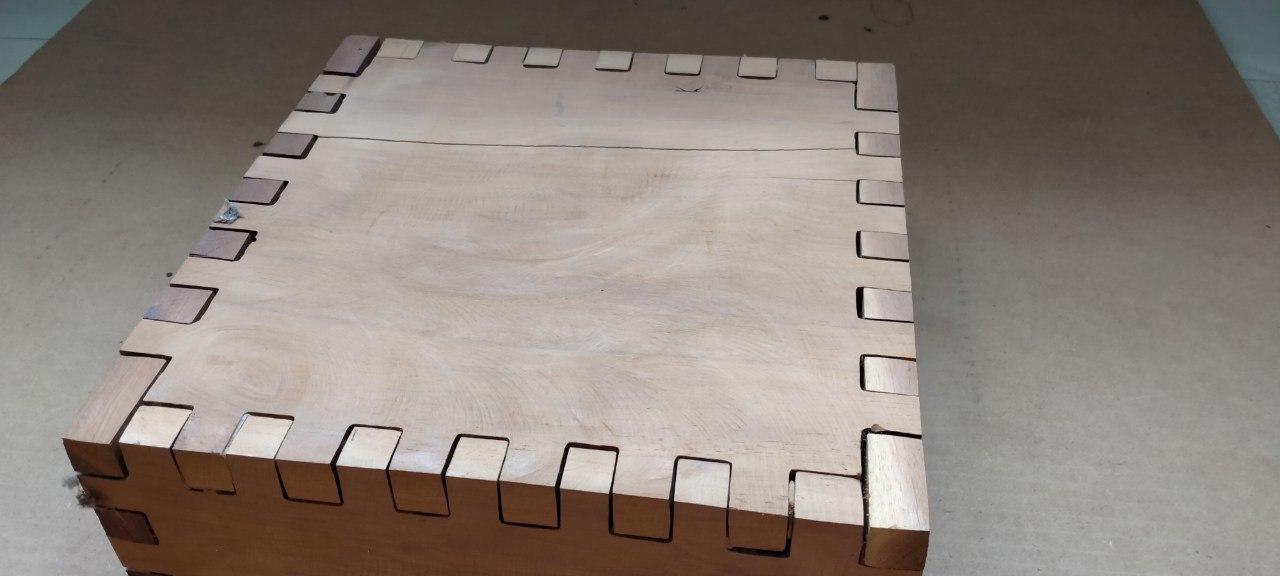
Laser Cutting or CNC Machining
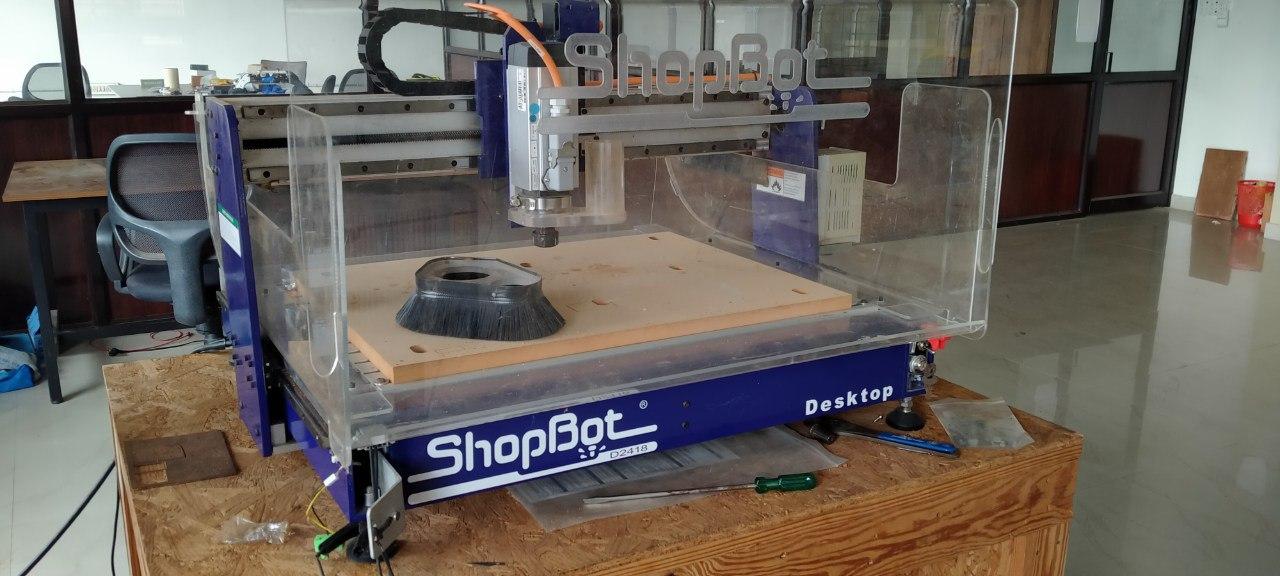
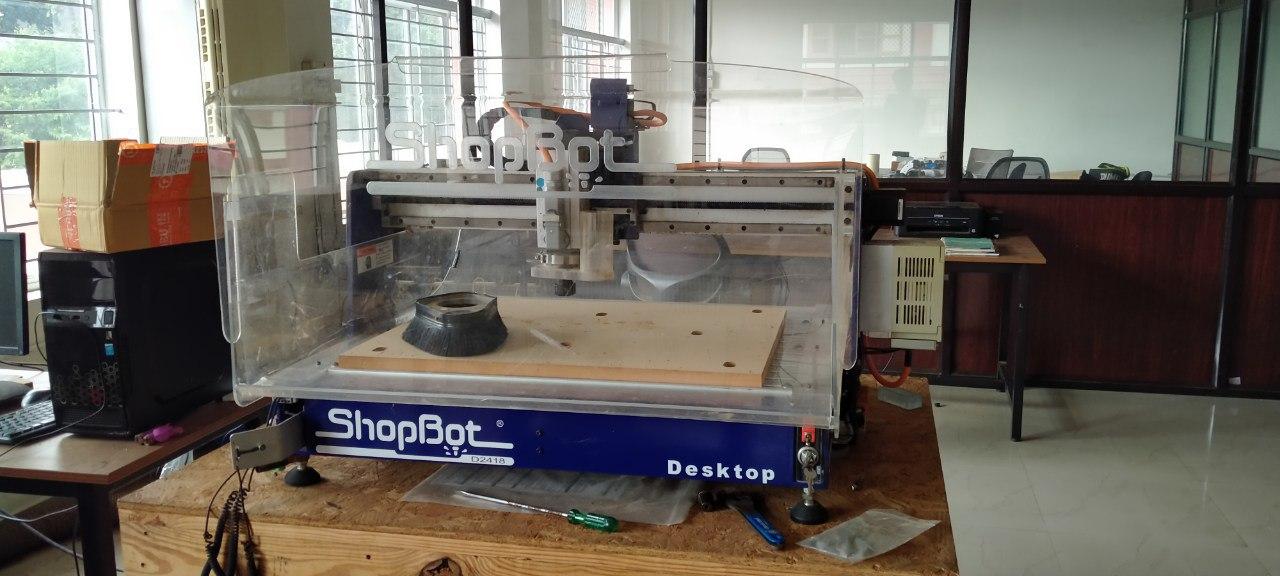

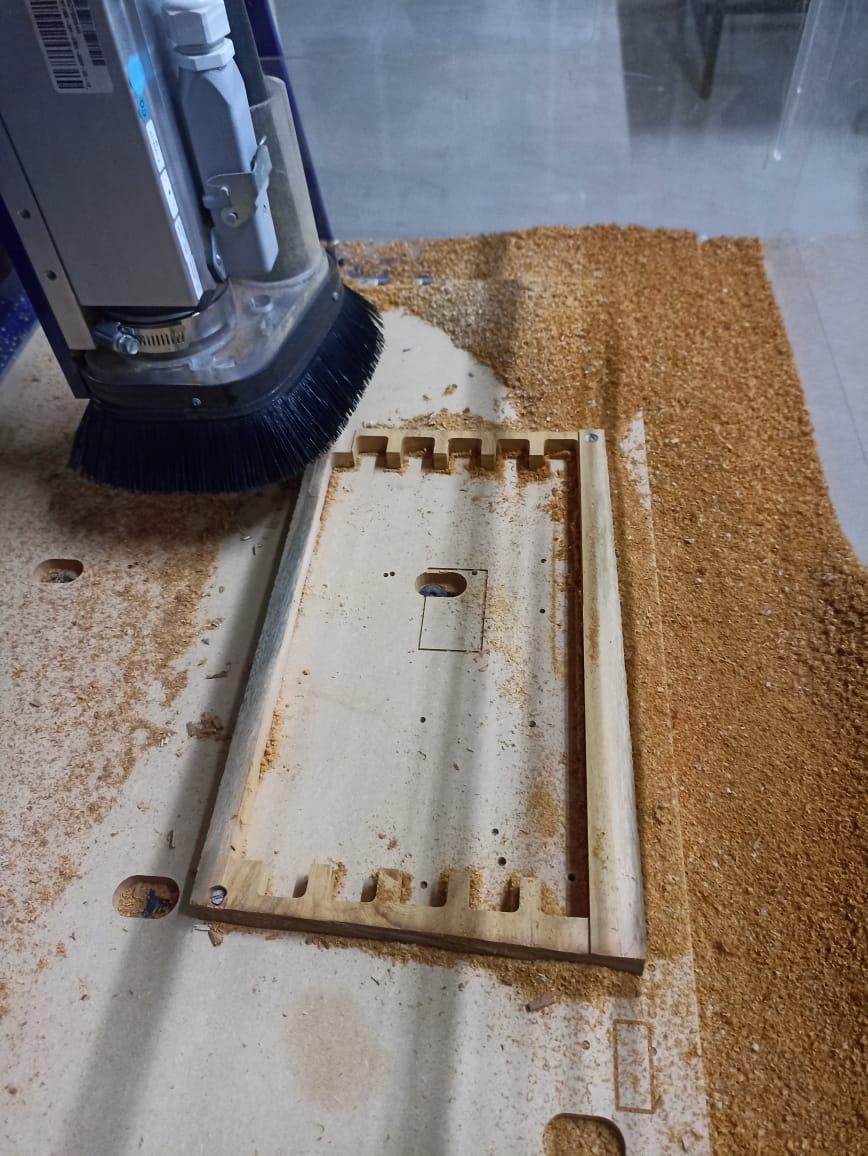
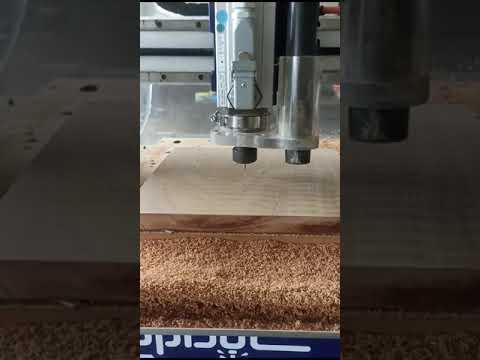
- Use your Fusion 360 design files to guide the laser cutter or CNC machine to cut and shape the wooden pieces.
- Pay close attention to accuracy, as precision is crucial to ensure the parts fit together correctly
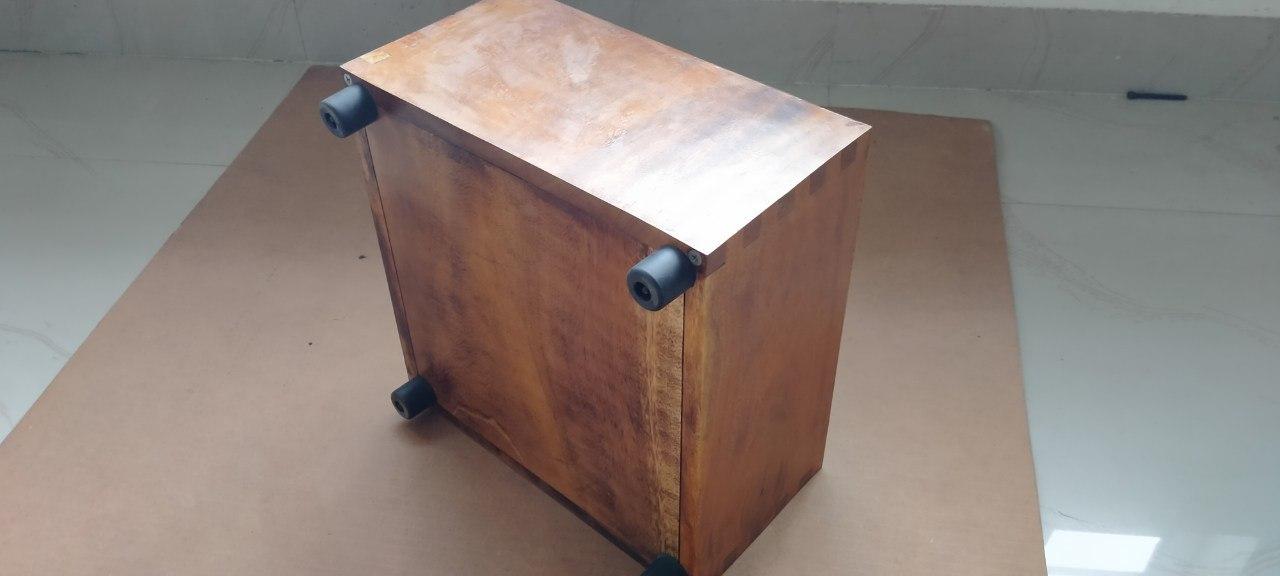
Finish and Seal


- Sand the entire wooden box to smooth out any rough surfaces and edges.
- Apply a finish to the wood, such as stain, paint, or varnish, to protect and enhance its appearance.
- Allow the finish to dry completely before moving on to the next steps.
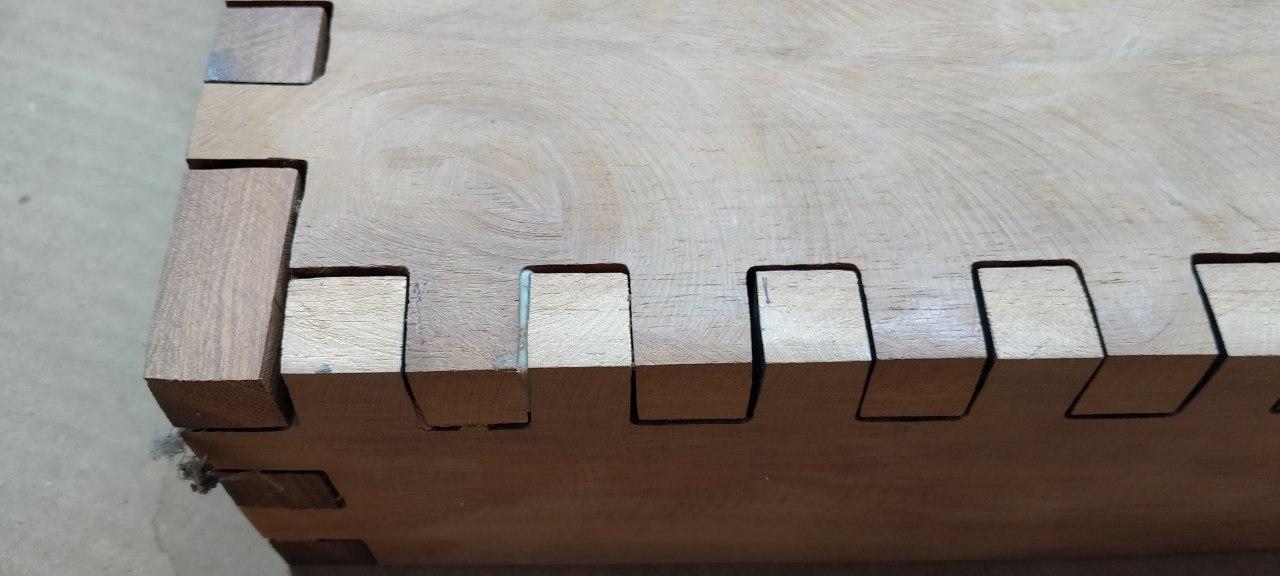
Assembly
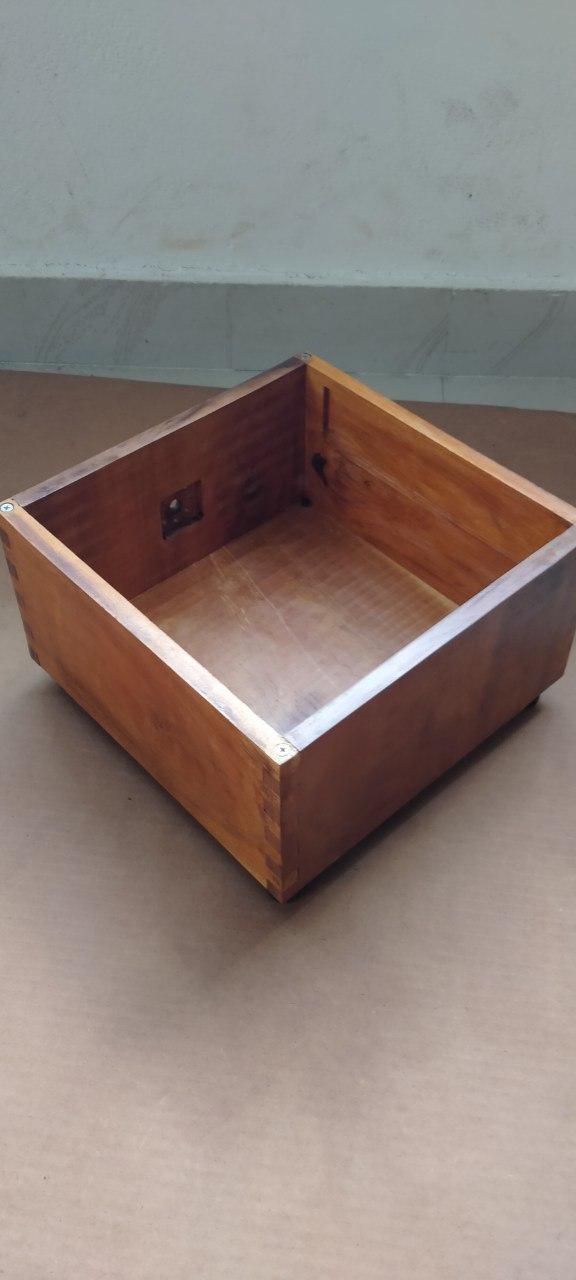
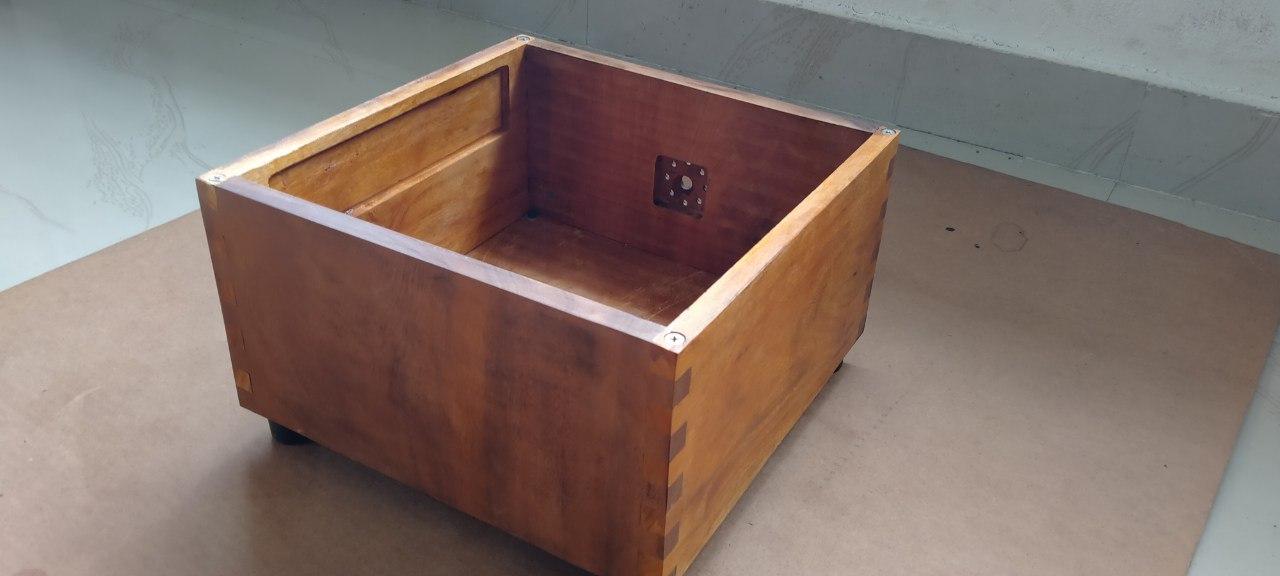
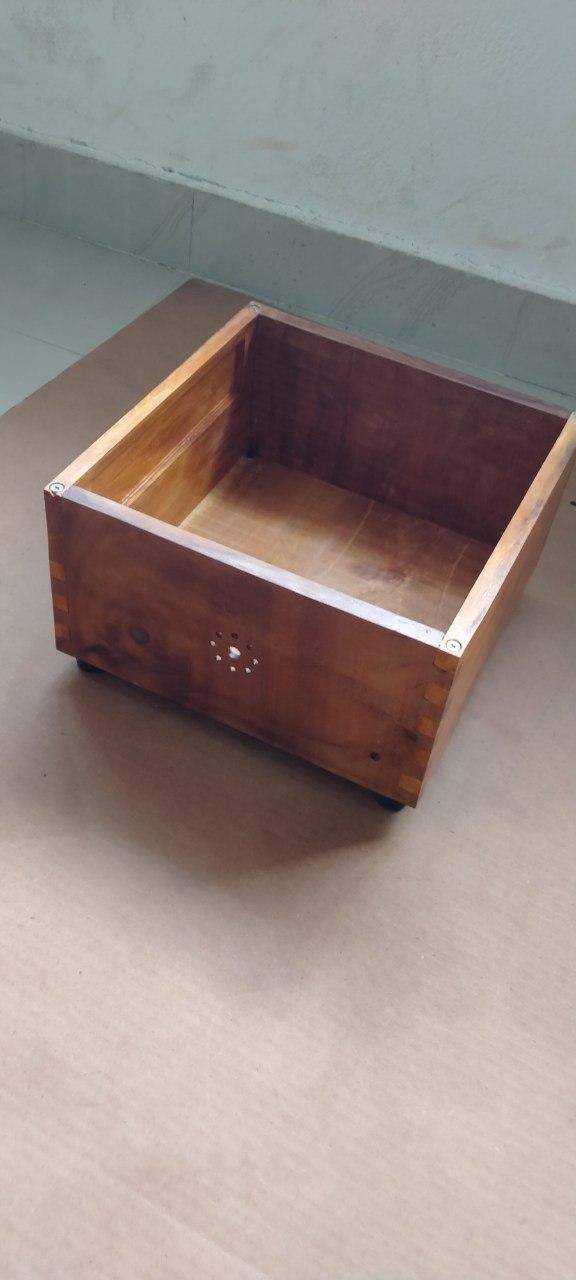


- Assemble the wooden box according to your design, using wood glue and screws for reinforcement.
- Carefully align the joints and edges to achieve a tight fit.
- If your design includes a lid, attach it using hinges or another appropriate mechanism.