Emerald Ring
.png)
Today we are making a gold ring with an Emerald centerpiece using Tinkercad.
Supplies
- Computer/device
- Paper
- Pencil
- Access to tinkercad
- Ruler
Join Tinkercad
.png)
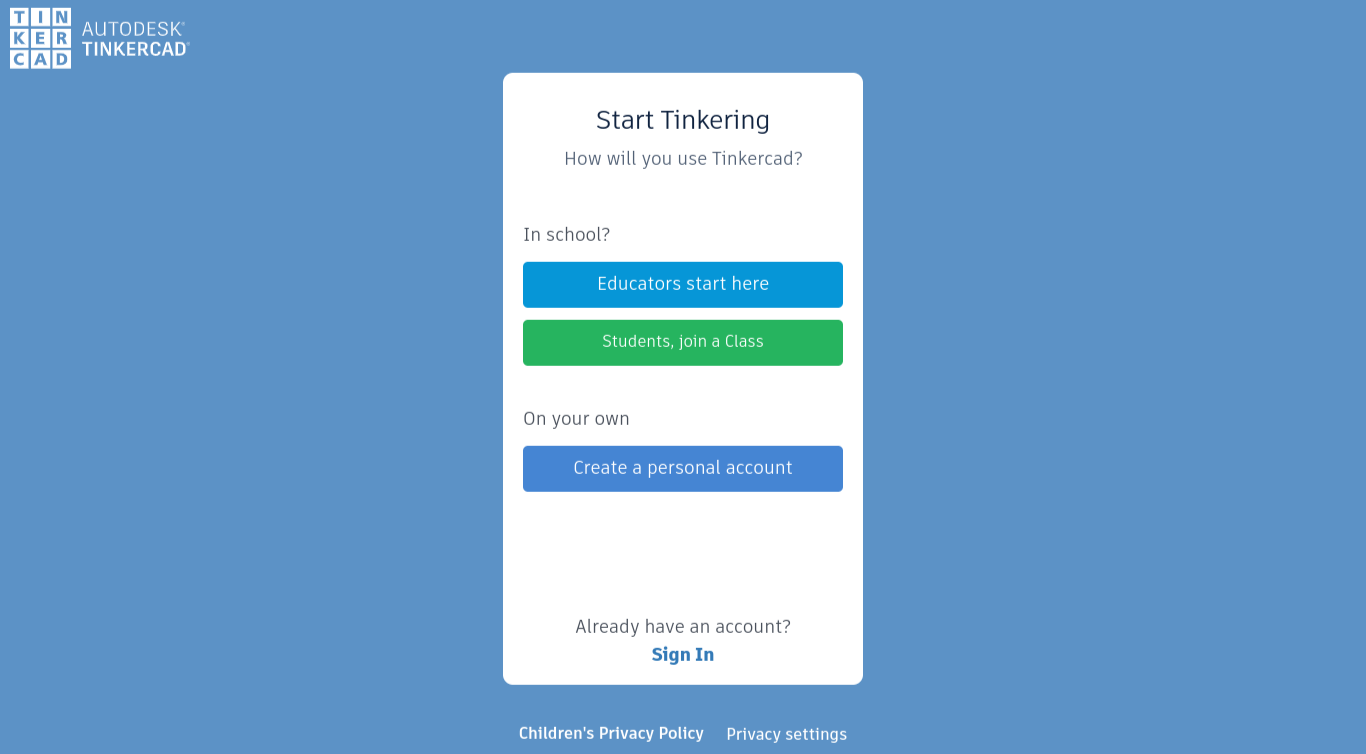
To join go to Tinkercad’s website: Tinkercad.com
Create an Account
.png)
Click on “JOIN NOW” and create a Tinkercad account.
Create a New Design
.png)
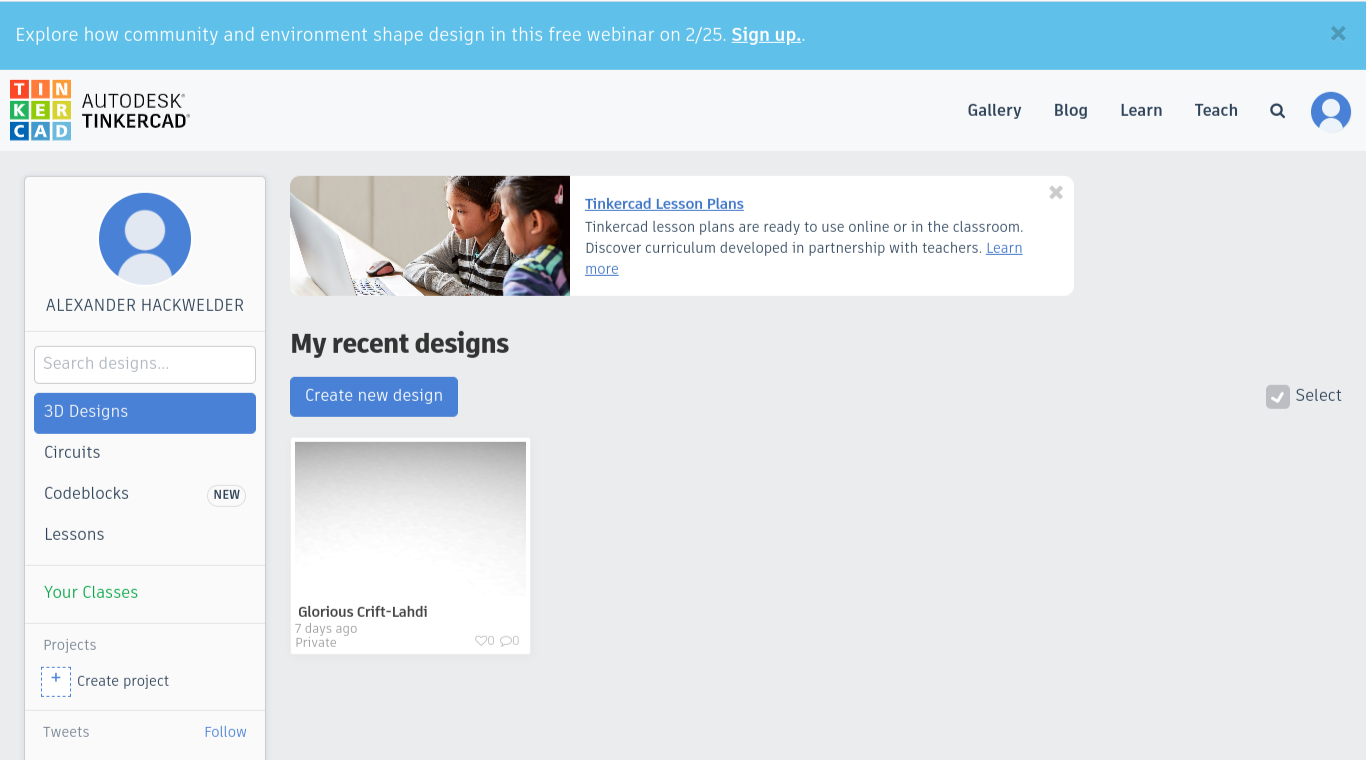
On your Tinkercad main page click “Create new design”
Emerald Centerpiece
.png)
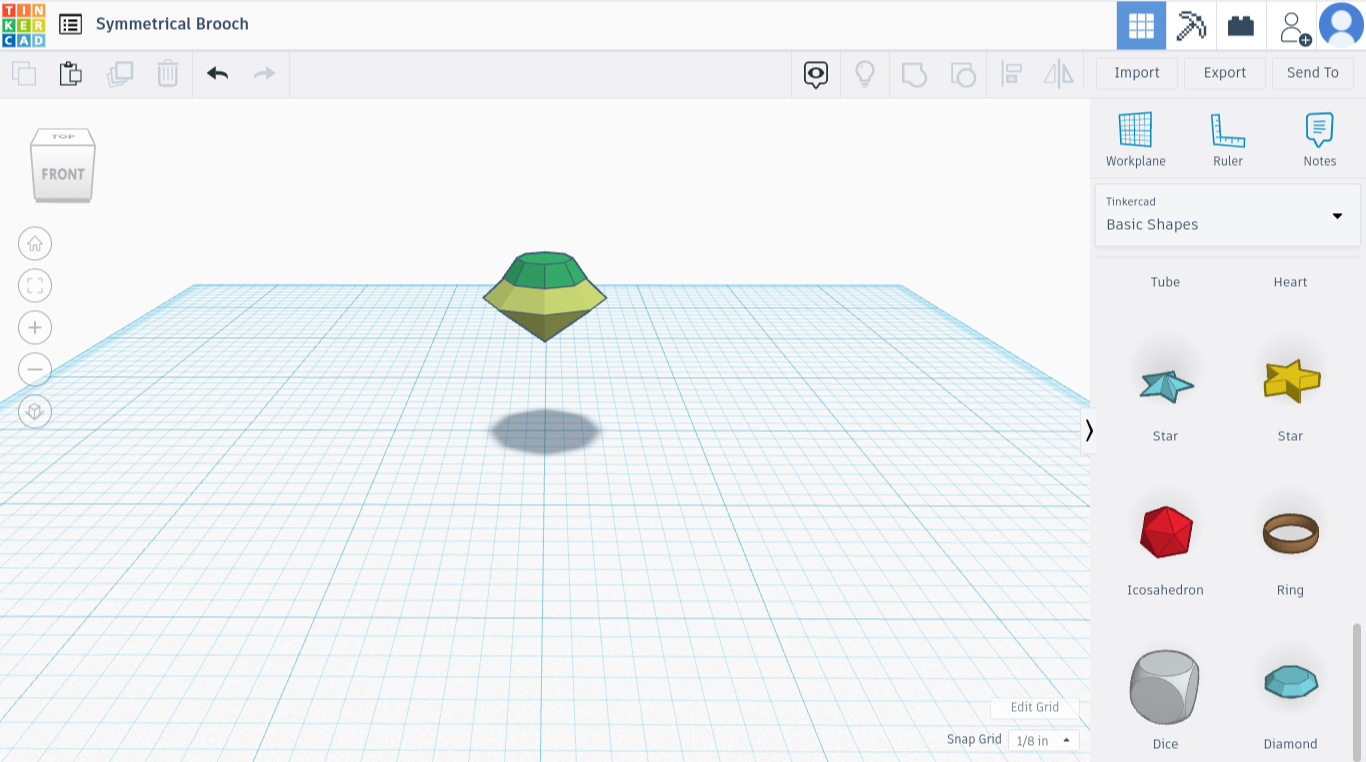
First drag out two diamonds. Align and size them to match this shape. Then, pick your colors and then group the two diamonds. Make sure the shape is ⅝ of an inch of the ground. This will be our centerpiece diamond.
Gold Plating
.png)
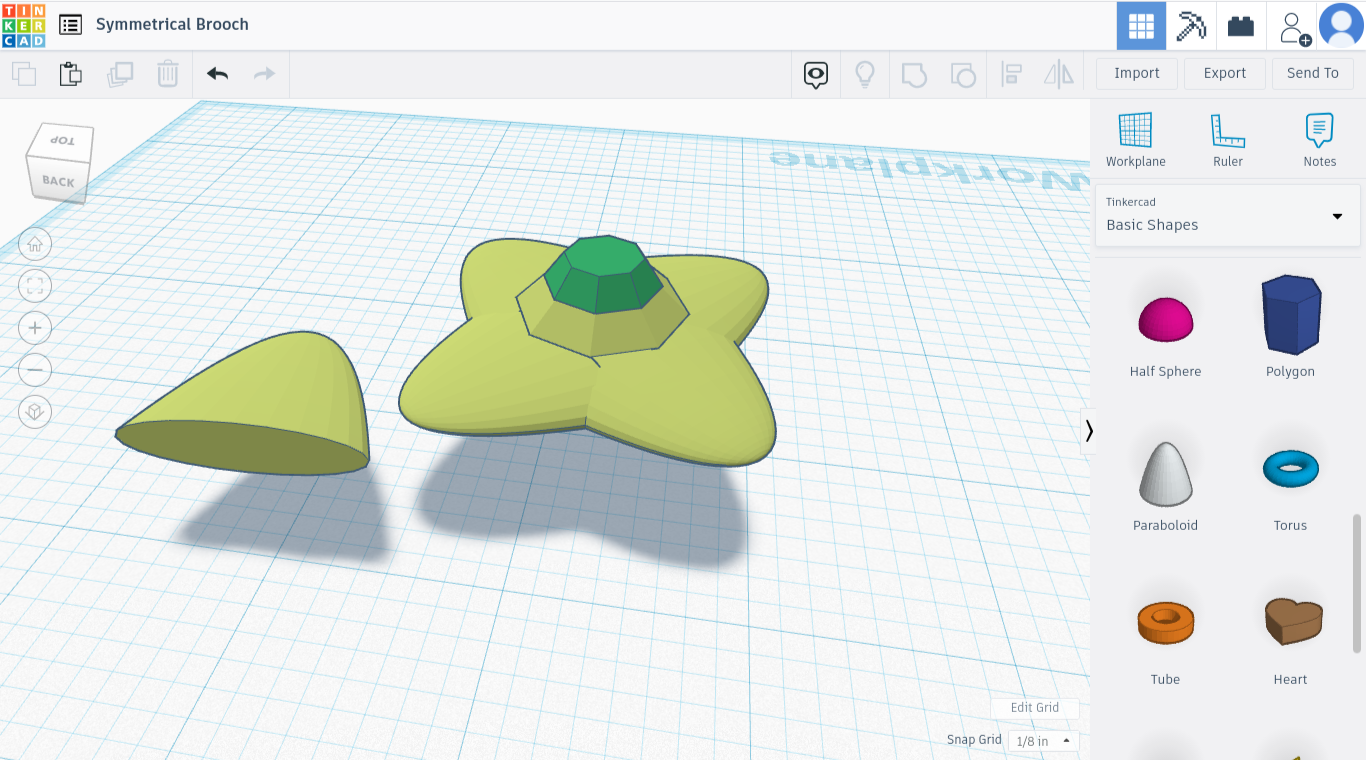
Next, take out a “Paraboloid” and color it. Size it to match the picture and then move it ½ an inch of the ground. Then rotate and align it to sit a little under the centerpiece. Duplicate it 3 times and repeat the process on each side. The 5th piece in the picture is only there to give you a more clear view of the paraboloid. Then group it with the first shape.
Gold Pedals
.png)
Now, drag out another paraboloid. Size it to match the paraboloid on the left in the picture. Now duplicate it 3 times. Align and rotate each paraboloid to match the picture. Make sure the paraboloids are ½ inch off the plane.
Secondary Emeralds
.png)
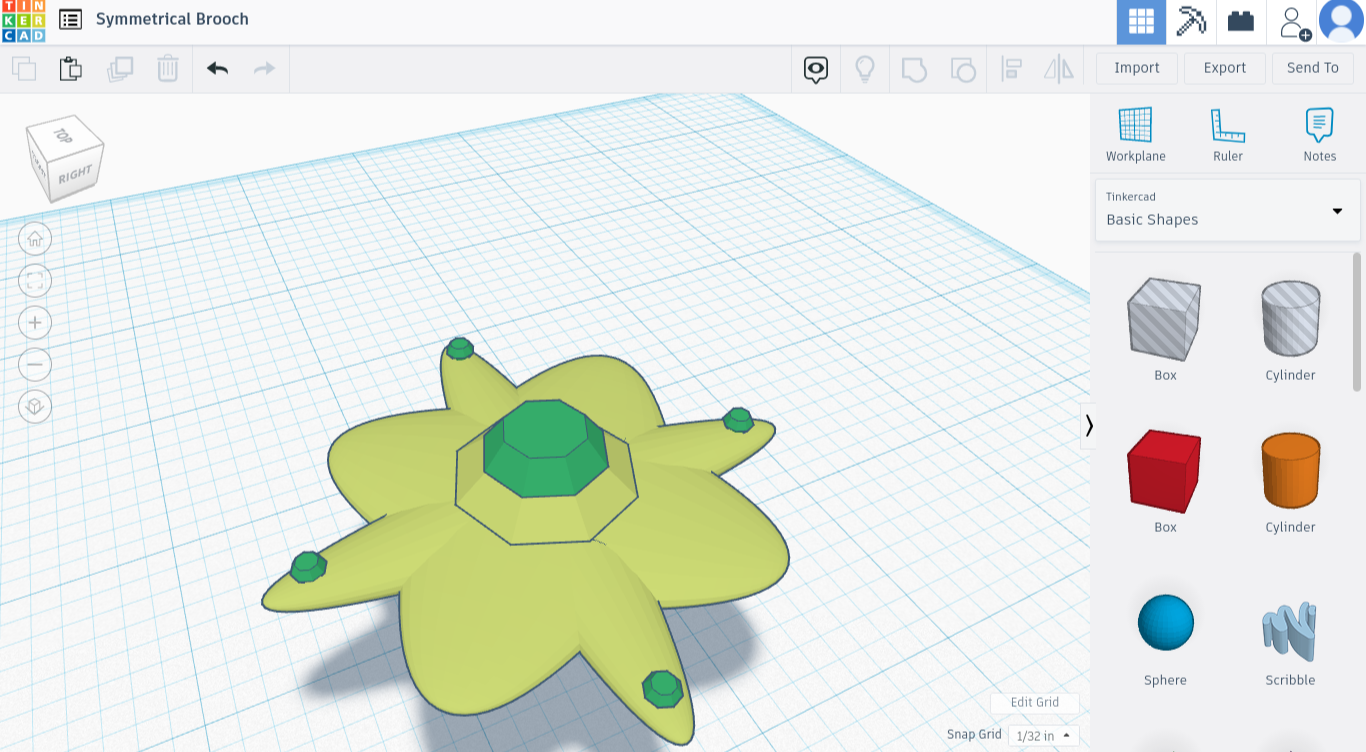
Now drag out a diamond and color it a color of your choice. Make it as small as possible without it being flat and so that it is still visible. Put one at the end of each paraboloid on our ring. You may have to change your grid in the bottom right to 1/32 to line everything up correctly. Make sure to group everything and check the multicolor box so that everything stays the original color.
Final Ring
.png)
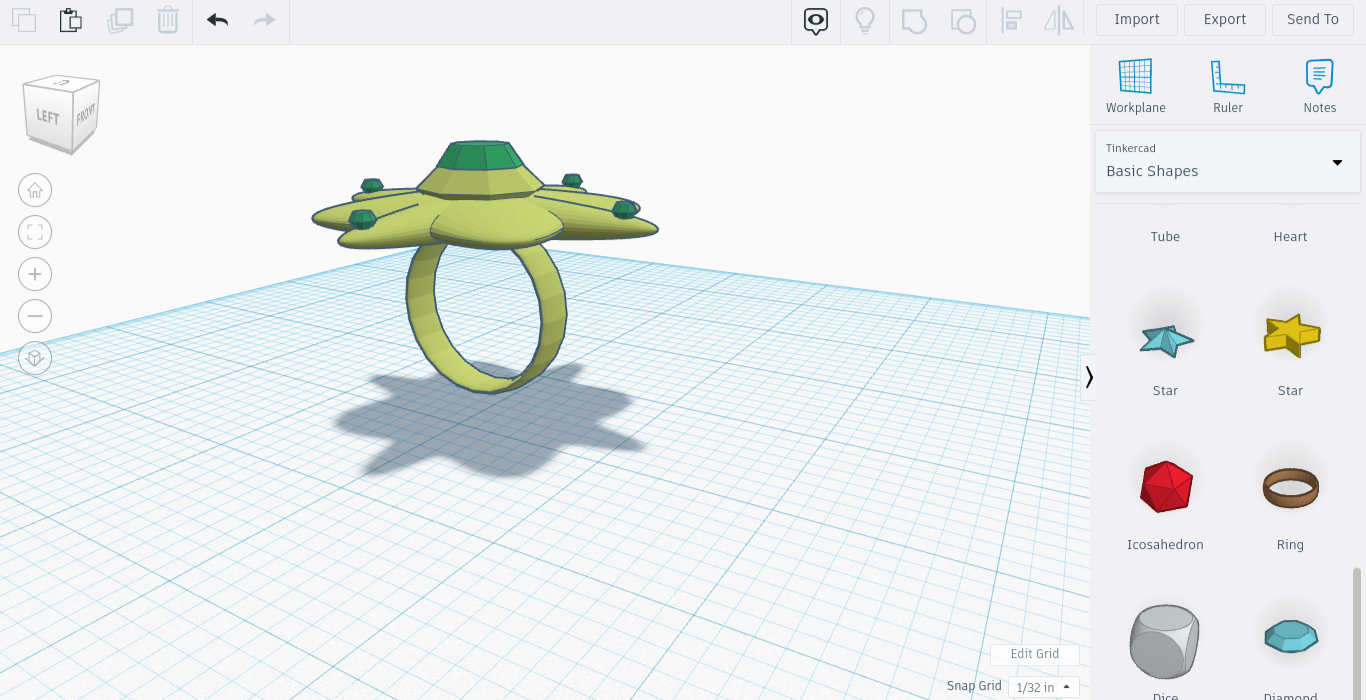
Finally, we need to add the ring. Grab a ring from the shape menu. Move the piece that we’ve been working on so that the ring will fit under it. Align everything, group everything and we are done! Good job on making an Emerald encrusted gold ring.