Embroidered Chip Bag Plastics! (An Upcycled Project)
713 Views, 11 Favorites, 0 Comments
Embroidered Chip Bag Plastics! (An Upcycled Project)


I recently discovered the "Scrunch test" when deciding whether or not an item is recyclable or not.
the theory is if you scrunch up the item in your hand and the item bounces back into its original shape, it cannot be recycled because it is a multi-layer item, made from both aluminum and plastics.
A classic item of this problem would be a mylar chip bag. (some call them crisp packets or potato chip bags)
Litter pickers and beach-cleanup activists in the UK (Beach Guardian on YouTube) have found mylar chip bags from the 1980s on beaches.
Mylar chip bags have been a nuisance for recycling centers for decades. But, up until the past two years, I didn't know what I could do about the problem.
I saw a video on Tiktok from fellow eco-warrior, artist, and fellow Michigander @popargia on February 28, 2020, This video (as of 09/24/2021) has 112.6K views and is one of her most popular videos.
I thought to myself, "I know how to embroider, let's give this a go!"
You will need to have some experience in embroidery/stitching with a sewing needle.
Supplies


- Doll needles (you can find them here)
- They have a big enough eye to thread your mylar string through, and they have sharp enough points to pierce through the fabric easily.
- Potato Chip/ Crisp bags (such as Doritos, Lays potato chips. etc)
- anything that has a reflective inside (often called Mylar bags)
- the bigger your bags, the more material you have to work with.
- Wooden Embroidery hoop (optional)
- (mine was purchased secondhand from a thrift store)
- Scissors or a paper trimmer.
- (Optional) a ruler with metric/US measurements (I will be using both units in this instructable)
- Woven fabric with a loose weave. or that is woven. (not jersey)
- (the fabric cannot have any stretch to it, or else the embroidery with look like utter crap)
- I used leftover fabric from an old hammock turned into a drawstring bag, but you can use a premade canvas drawstring bag to start with. or your own denim material.
Prepping the Materials
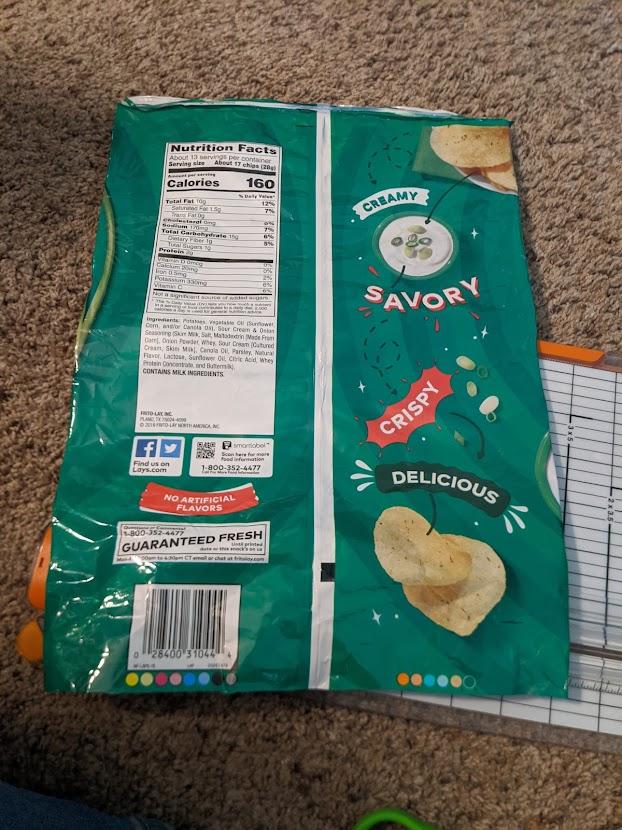
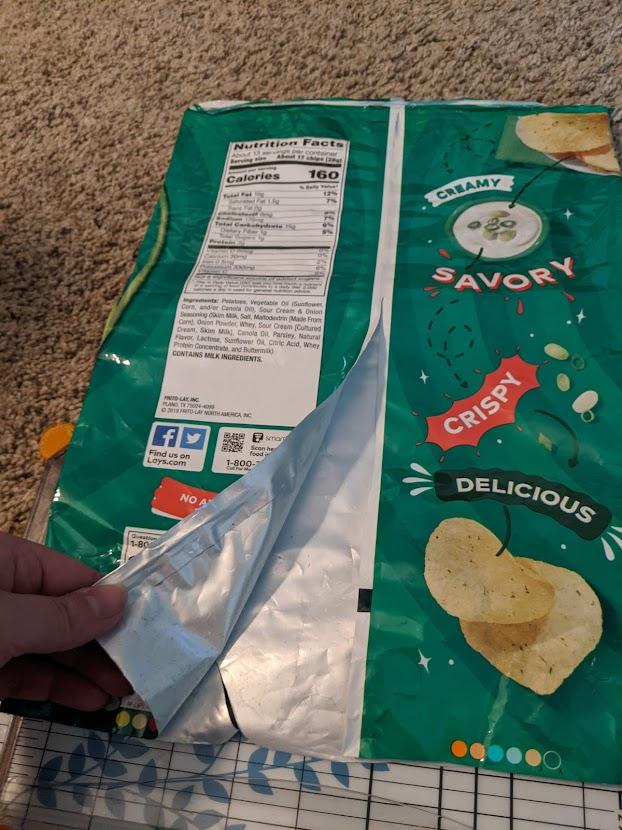


- Cut off the bottom and top seam of the Mylar bag (if you haven't done so already)
- Flip the mylar bag so that the back (vertical) seam is facing you
- aka the diagonal line that joins the rectangle into a cylinder
- cut the diagonal seam to form one big rectangle.
- Wash your mylar bag with soap and water and dry with a cloth/paper towel
- there should be no food-related oils on this item.
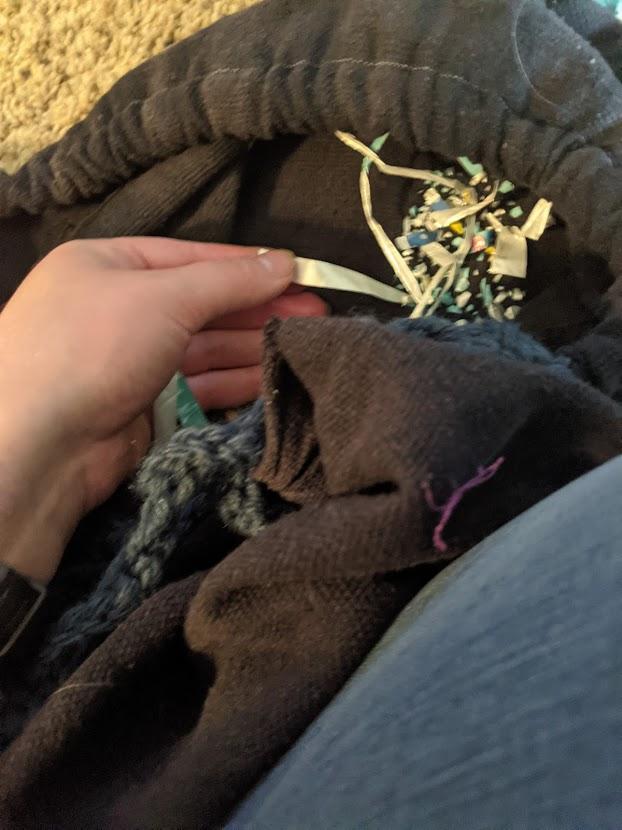
- Once dry, you can begin the cutting of the bag into thin, ribbon-like strips.
- I use a paper trimmer because I like to be exact.
- But if you're more comfortable with scissors, that is okay.
- Positioning the mylar material into the 'portrait orientation.' (long sides to the left and right of you)
- I fold the mylar rectangle 'hamburger style ('short ends' together) and cut through multiple layers of mylar material evenly.
- I recommend cutting the strips between 1/4 inches (0.635 cm) and 1/2 of an inch (1.25 cm) wide.
- Remember the mylar has to be thin enough to thread through the eye of the needle but large enough to not break while working with this material.
- keep cutting until you've cut the entire bag into these strips.
- and continue cutting different colored bags until you feel like you have enough.
Start Stitching!


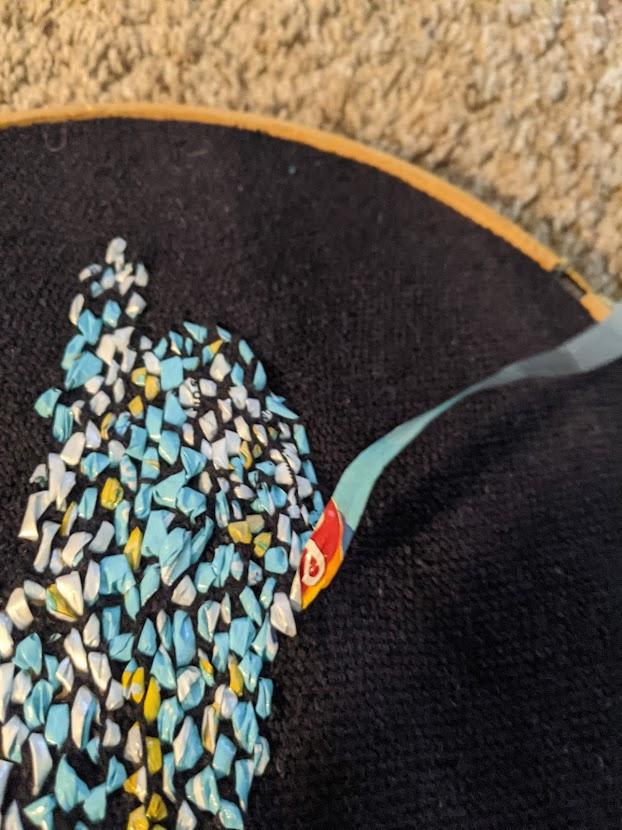
- Take your embroidery hoop and sandwich the fabric between the smaller, inner hoop and the larger, outer loop (the hoop with screw-contraption on the top).
- Pull and adjust your fabric until the fabric is taught, and screw the contraption on the top so that the fabric can stay in place.
- (it should be 'drum tight' e.g. when you strike your finger, you should hear a sound similar to an old-fashioned drum.)
- Once your fabric is taught. you are ready to begin stitching.
- thread you 'chip thread' through the eye of the doll needle. and start stitching.
- Do not pull your chip thread too hard while stitching. If you do, the chip thread will break and it will be more of a hassle than what you need.
- Do not worry about the back of your piece. its supposed to be messy.
- but if you find the short ends sticking out of the bag irritating, you could trim up the loose ends with your scissors.
- If you do slowly and are precise about your stitches, you won't mess up that many times.
- You can pretty much do any simple variation of the stem stitch, (not the split stitch).
- a different explanation of each of the stitches I mentioned can be shown in the linked video.
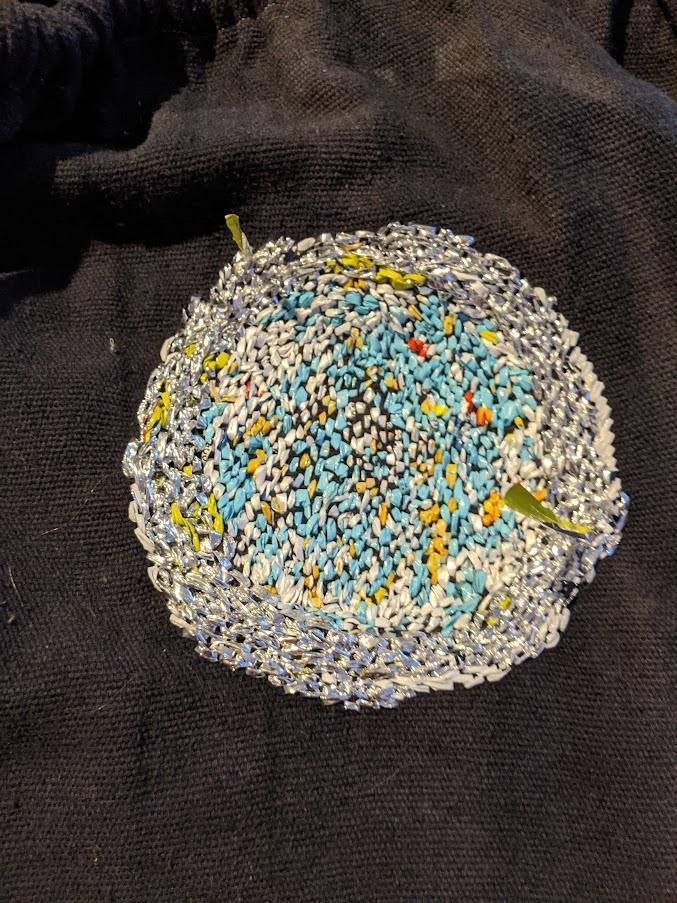
- I planned a simple bull-eye design with different colors. Starting with the light blue for the inner circle. and working with a gluten-free popcorn bag for the outside ring.
- You can incorporate the reflective surface in your pattern, it really is up to you.
- But the main purpose is to have fun while upcycling.
Final Thoughts

Here is what my version looks like as of September 24, 2021.
A HUGE thanks to @popargia on Tiktok for the out-of-the-box idea of upcycling something that normally wouldn't be upcycled.
Most importantly Have Fun,
Crafting is supposed to be fun.