Embroidered Leather Wallet
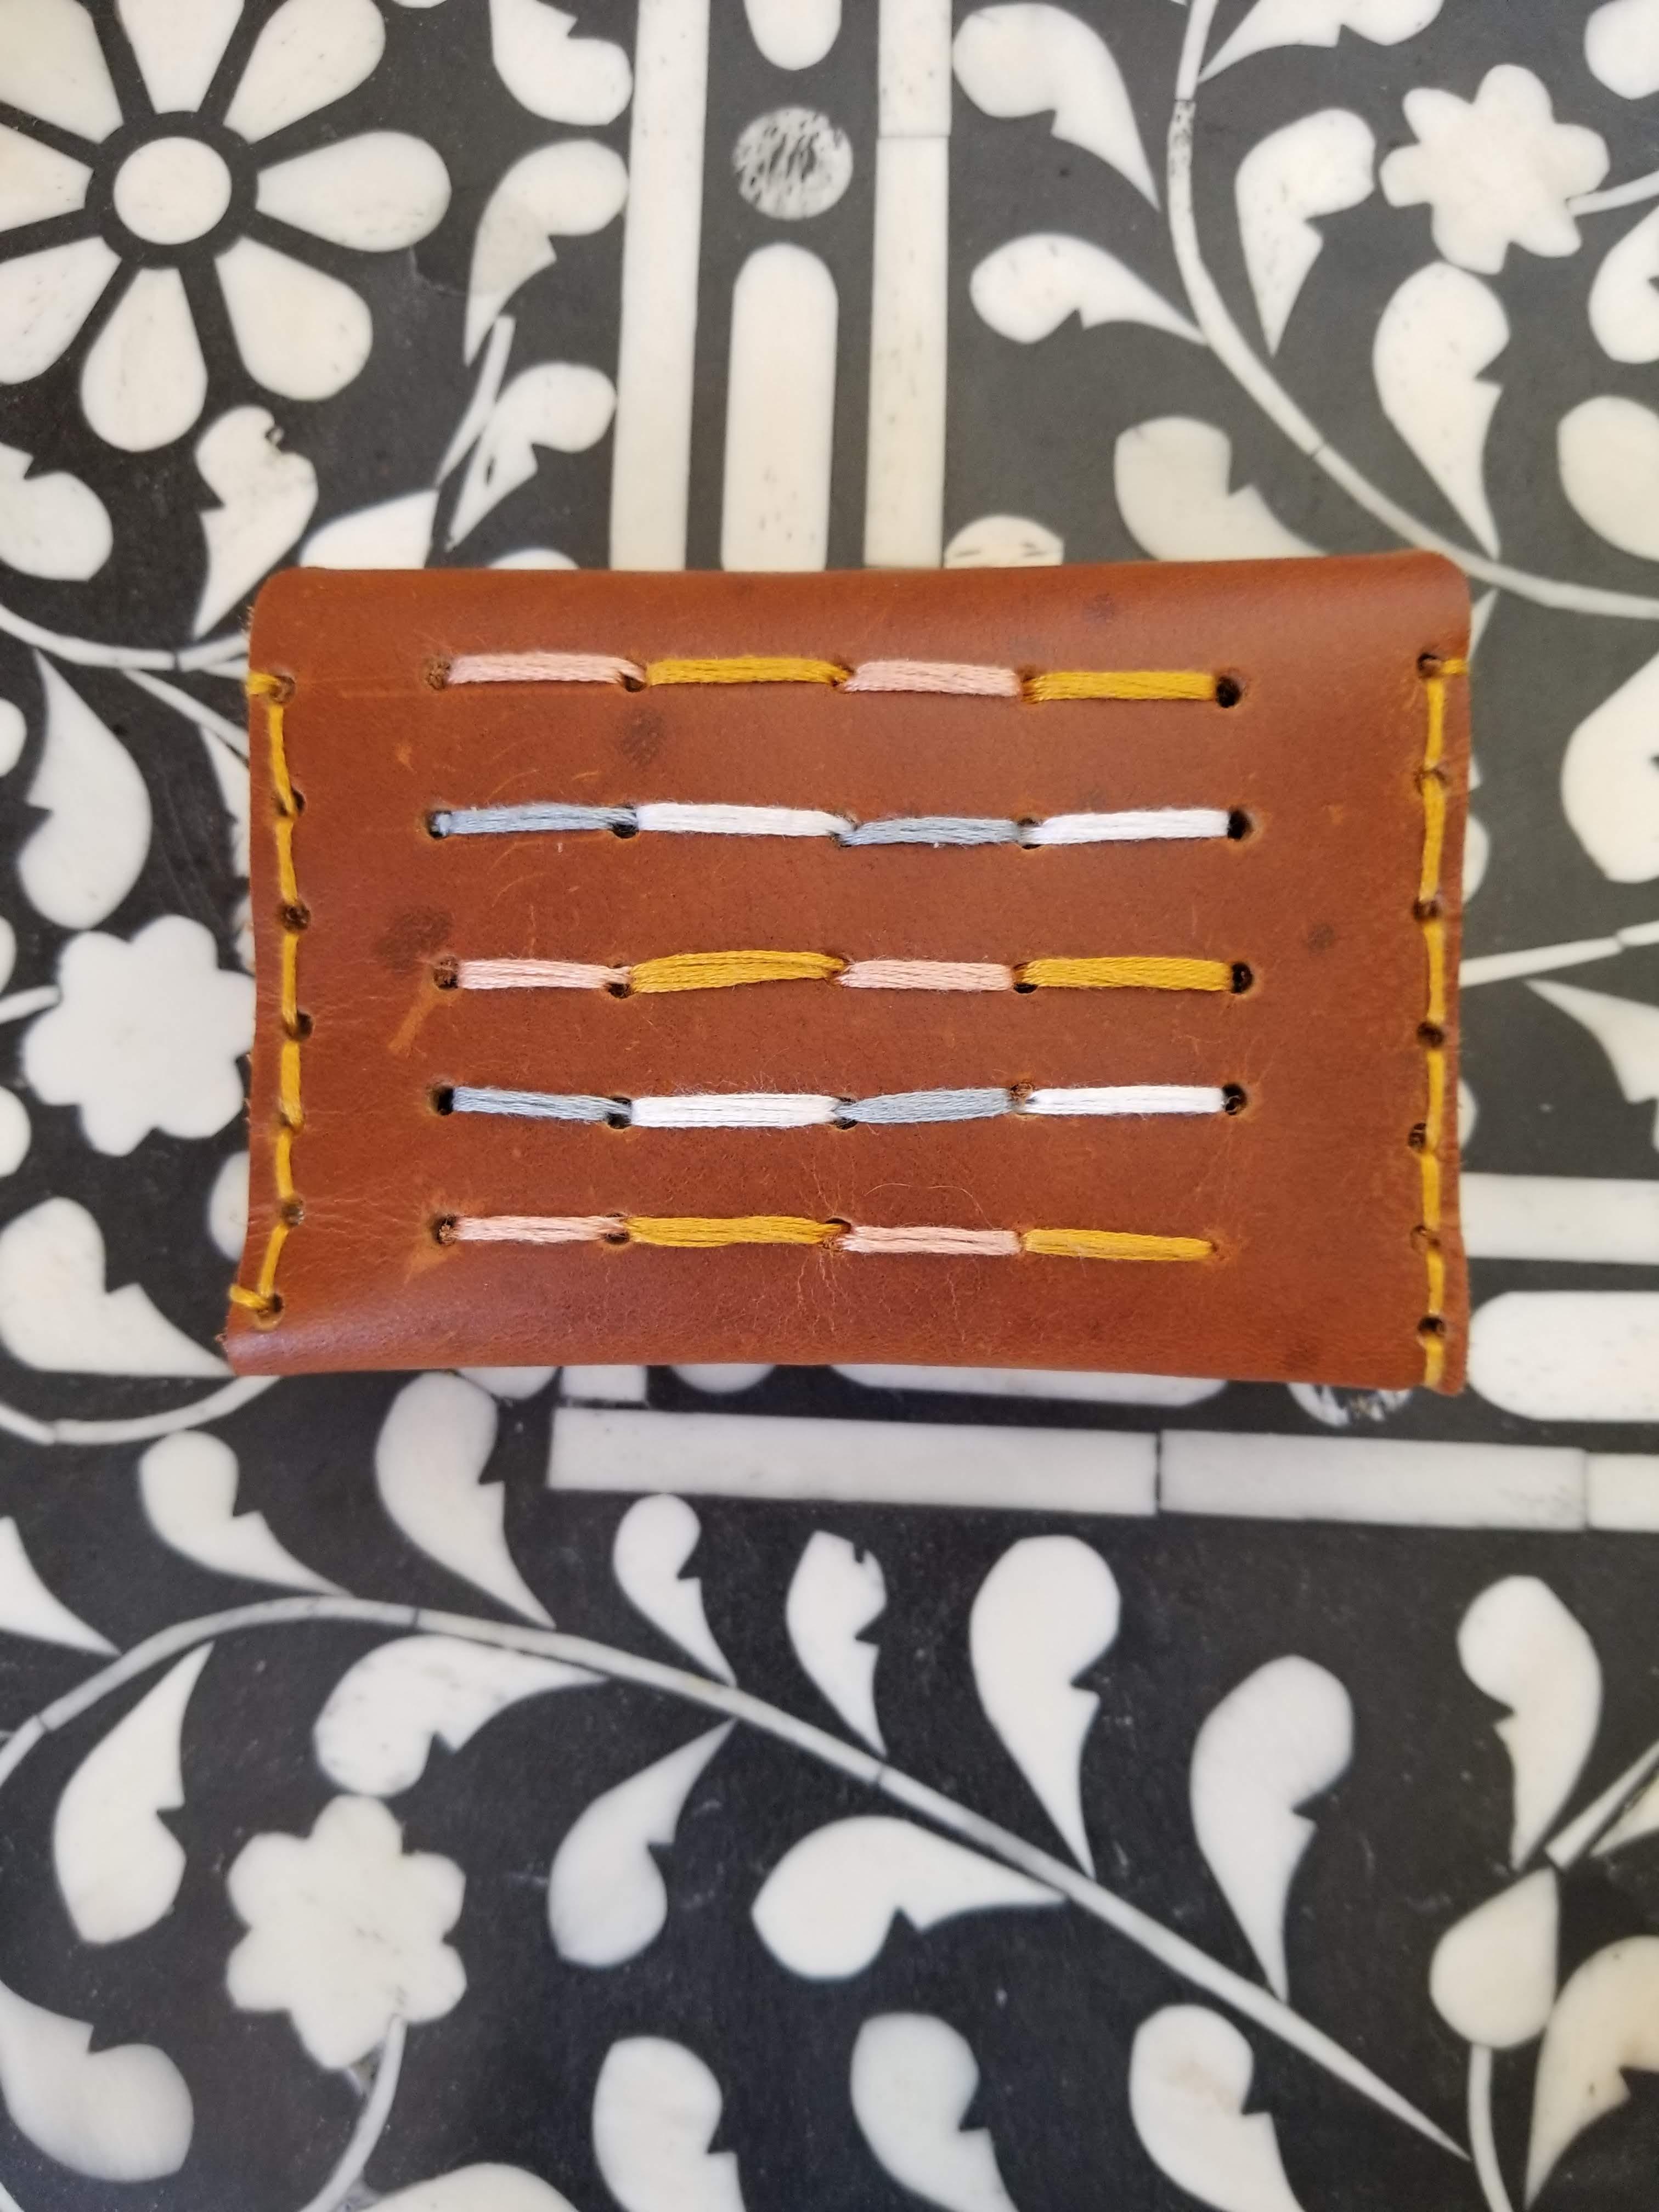
Make this extremely beautiful leather embroidered wallet with me! I guarantee you will enjoy making as well as using.
Supplies
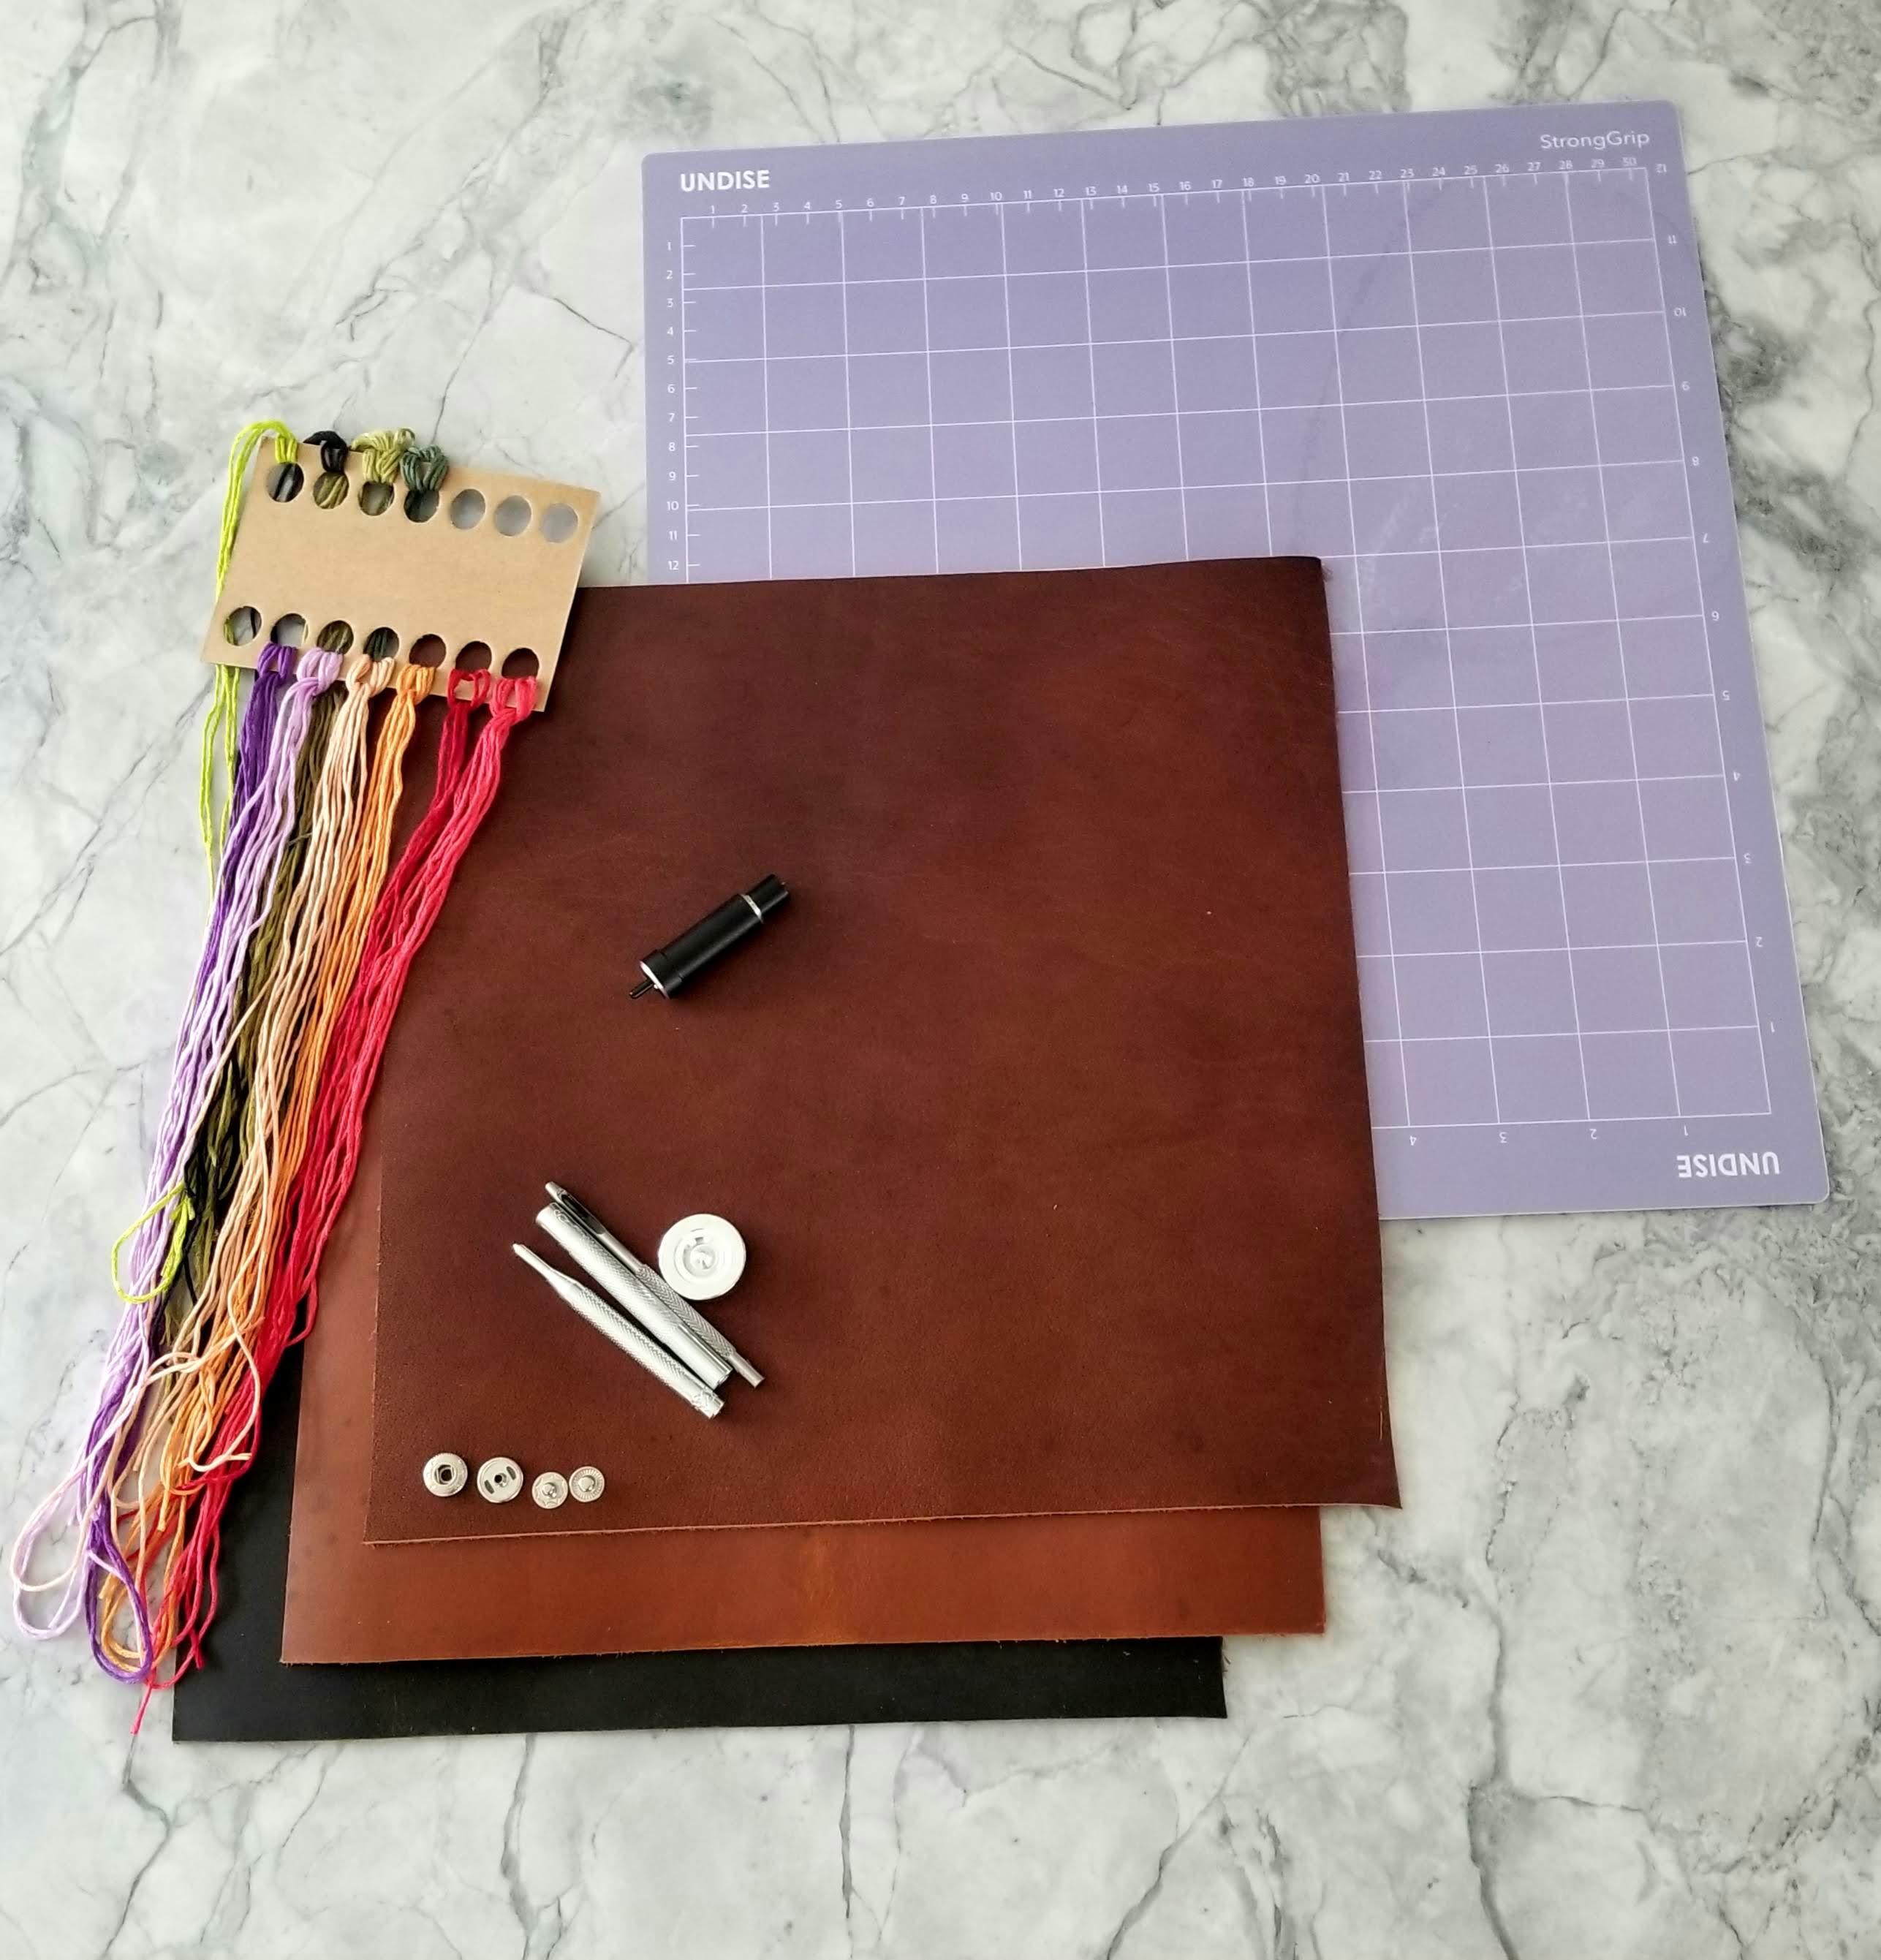
You will need the following supplies for this project. Click on the link to buy off of Amazon:
- Genuine Leather
- Leather/Embroidery Needle
- StrongGrip Cricut Mat
- Snaps and Snap Tools
- Deep-cut Blade
- Scissors
- Cricut
- Hammer
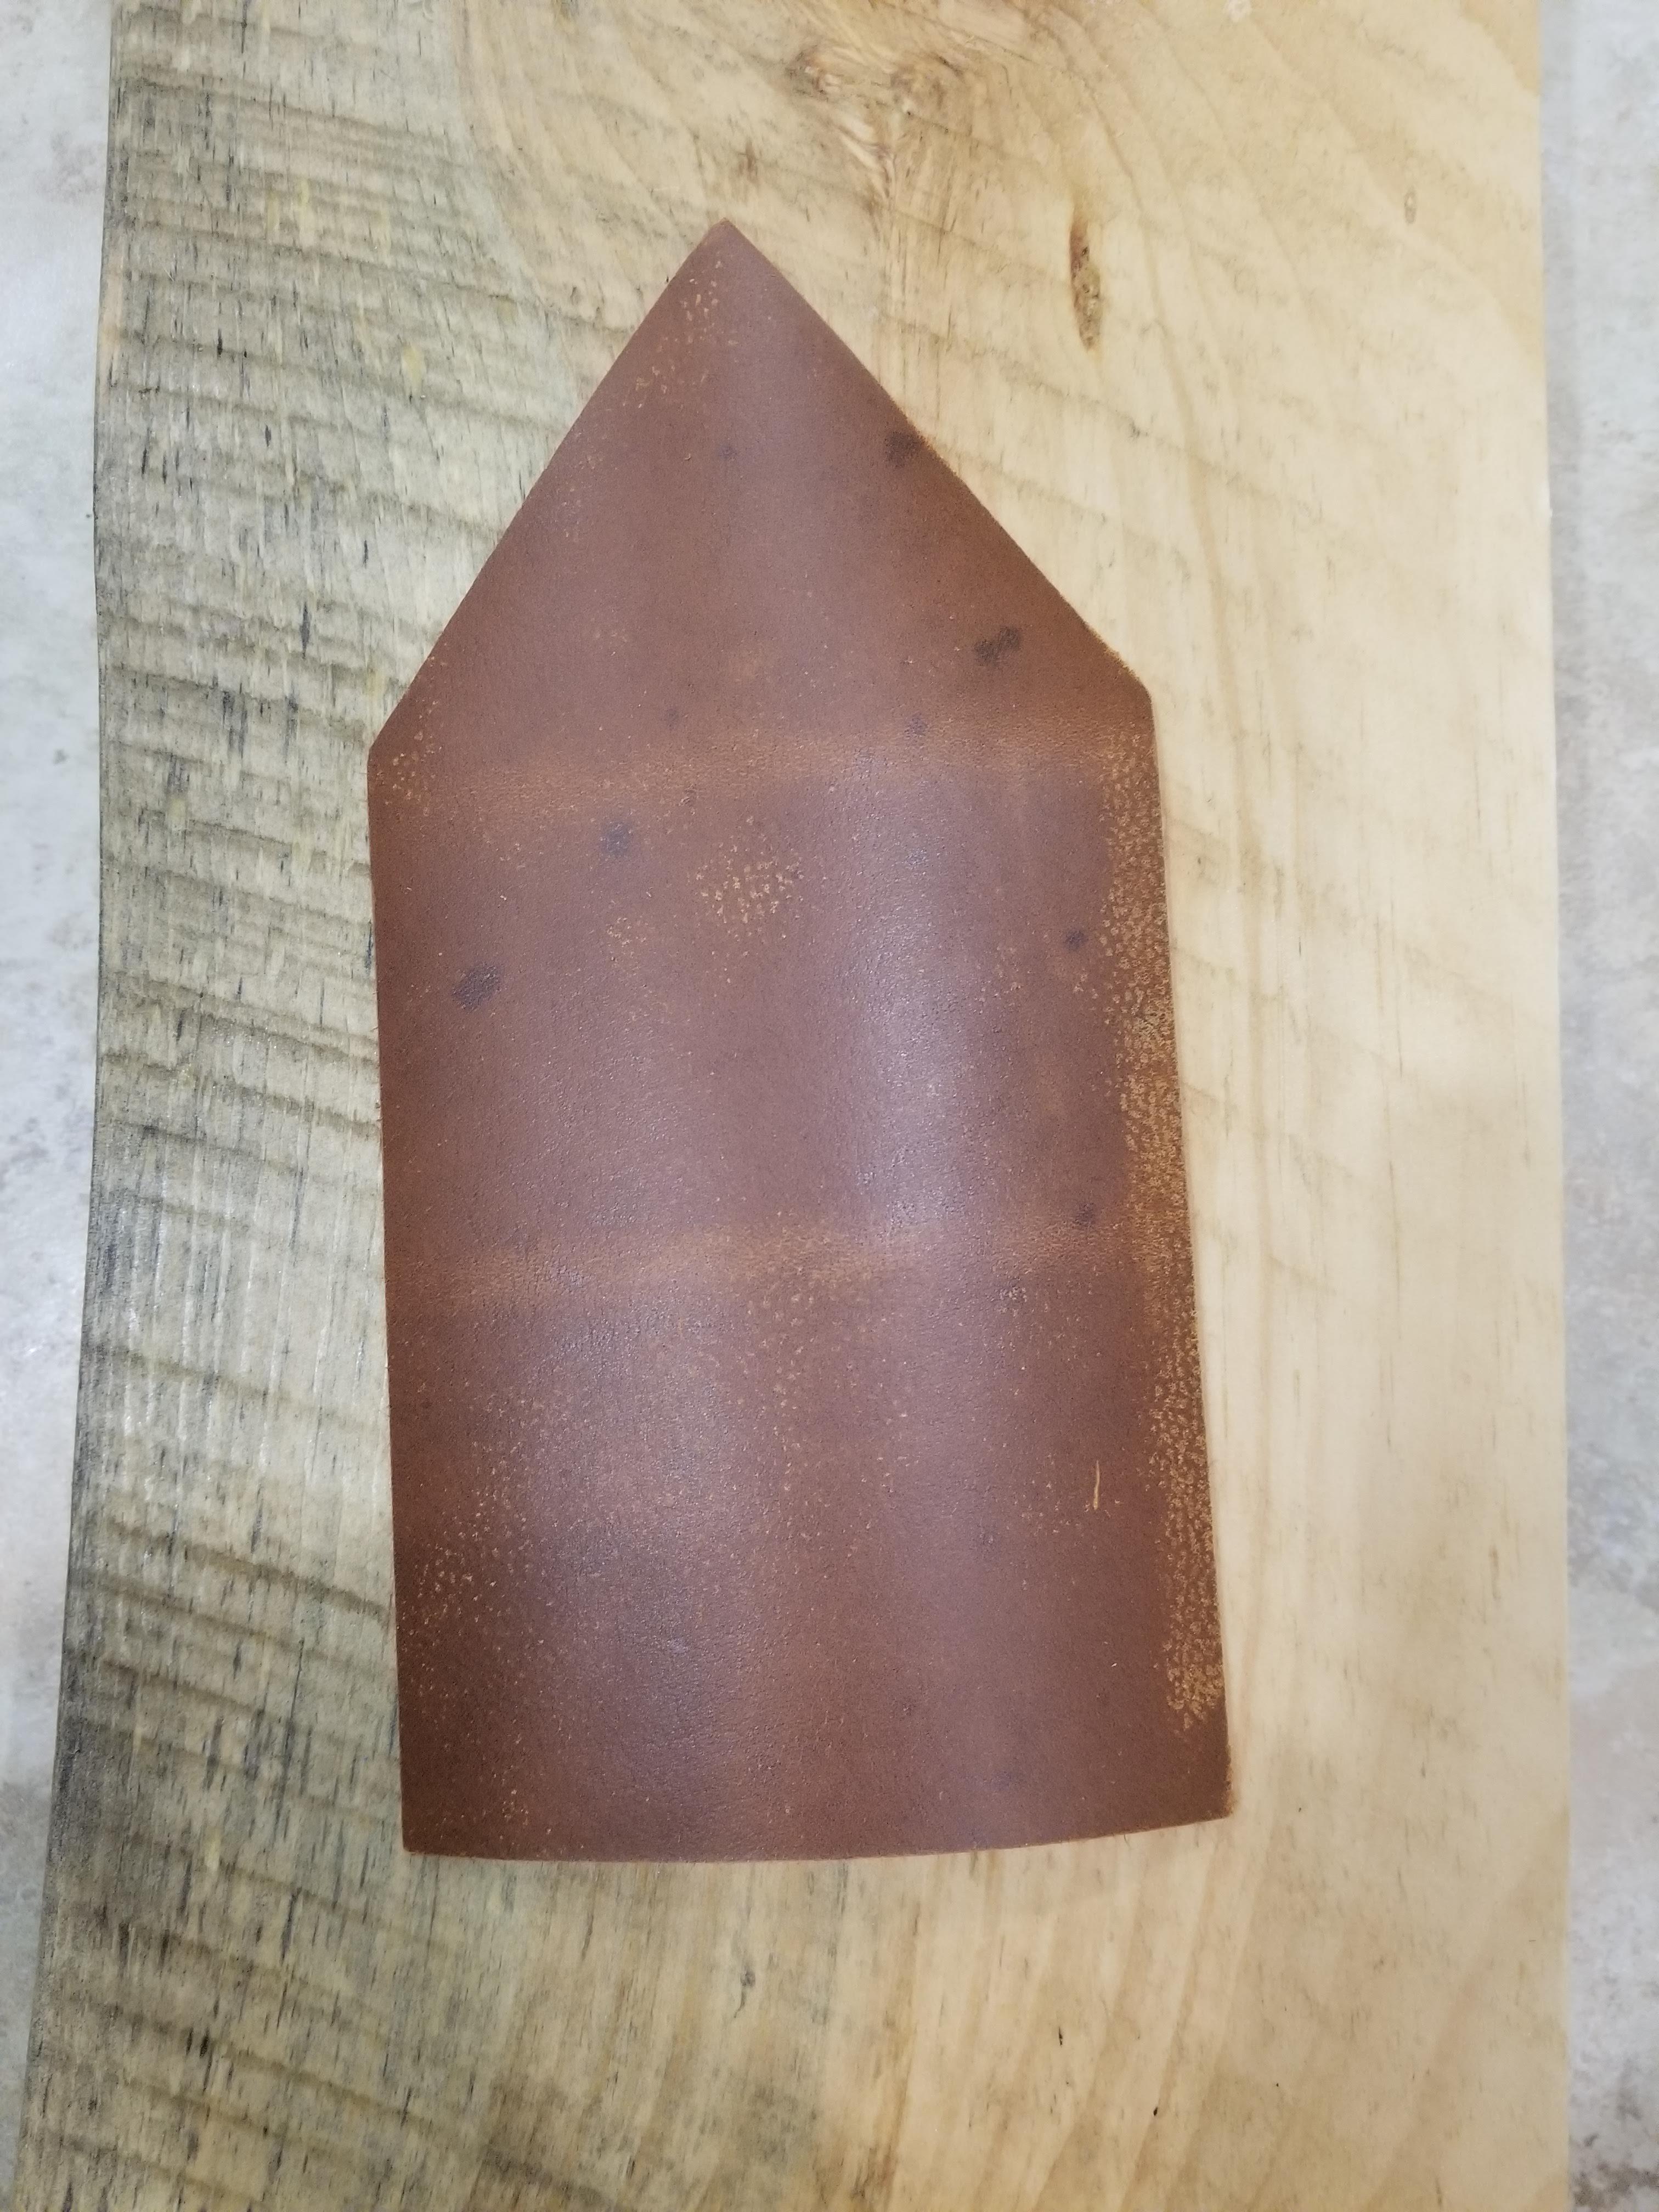
Design on Cricut's App
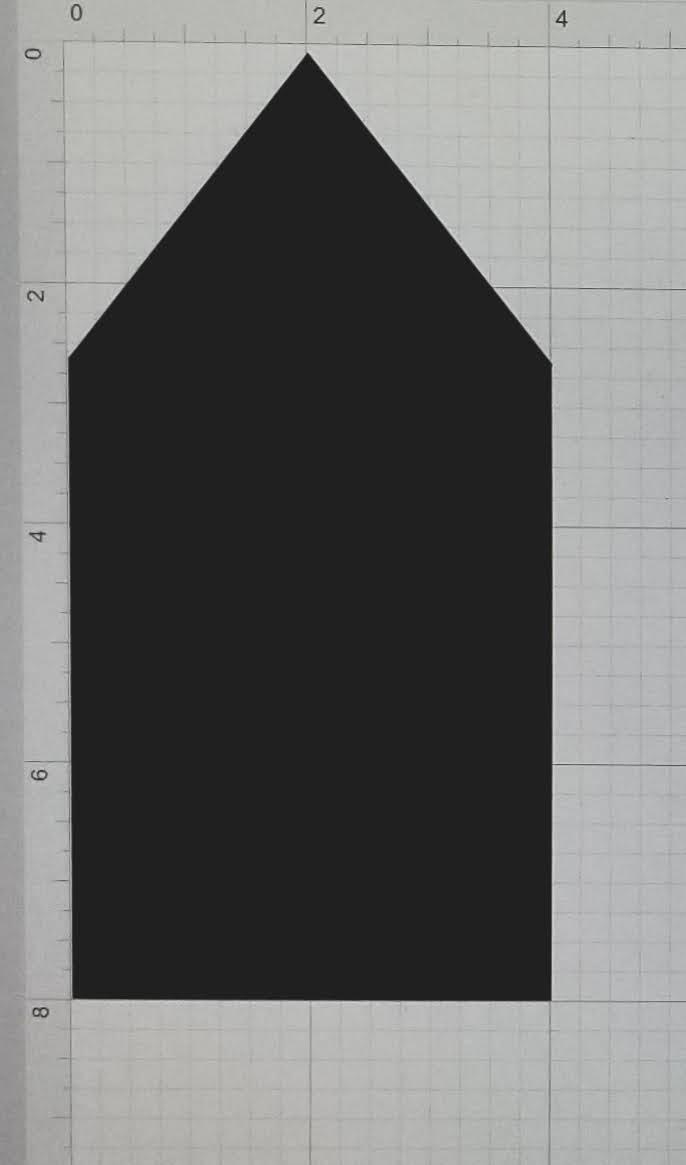
Open your Cricut app and start a new project. Get a square and a triangle, and make them look like the picture above. You have to weld it together. That is the key. Alright, so, I made the mistake an bought 2mm leather, so the Cricut couldn't cut the holes because the leather was too thick. If you have thick leather or you do not want to add holes to this and want to punch them out manually, just continue going along with the following steps. Also, make sure the size is no smaller than 4x8.
Cut
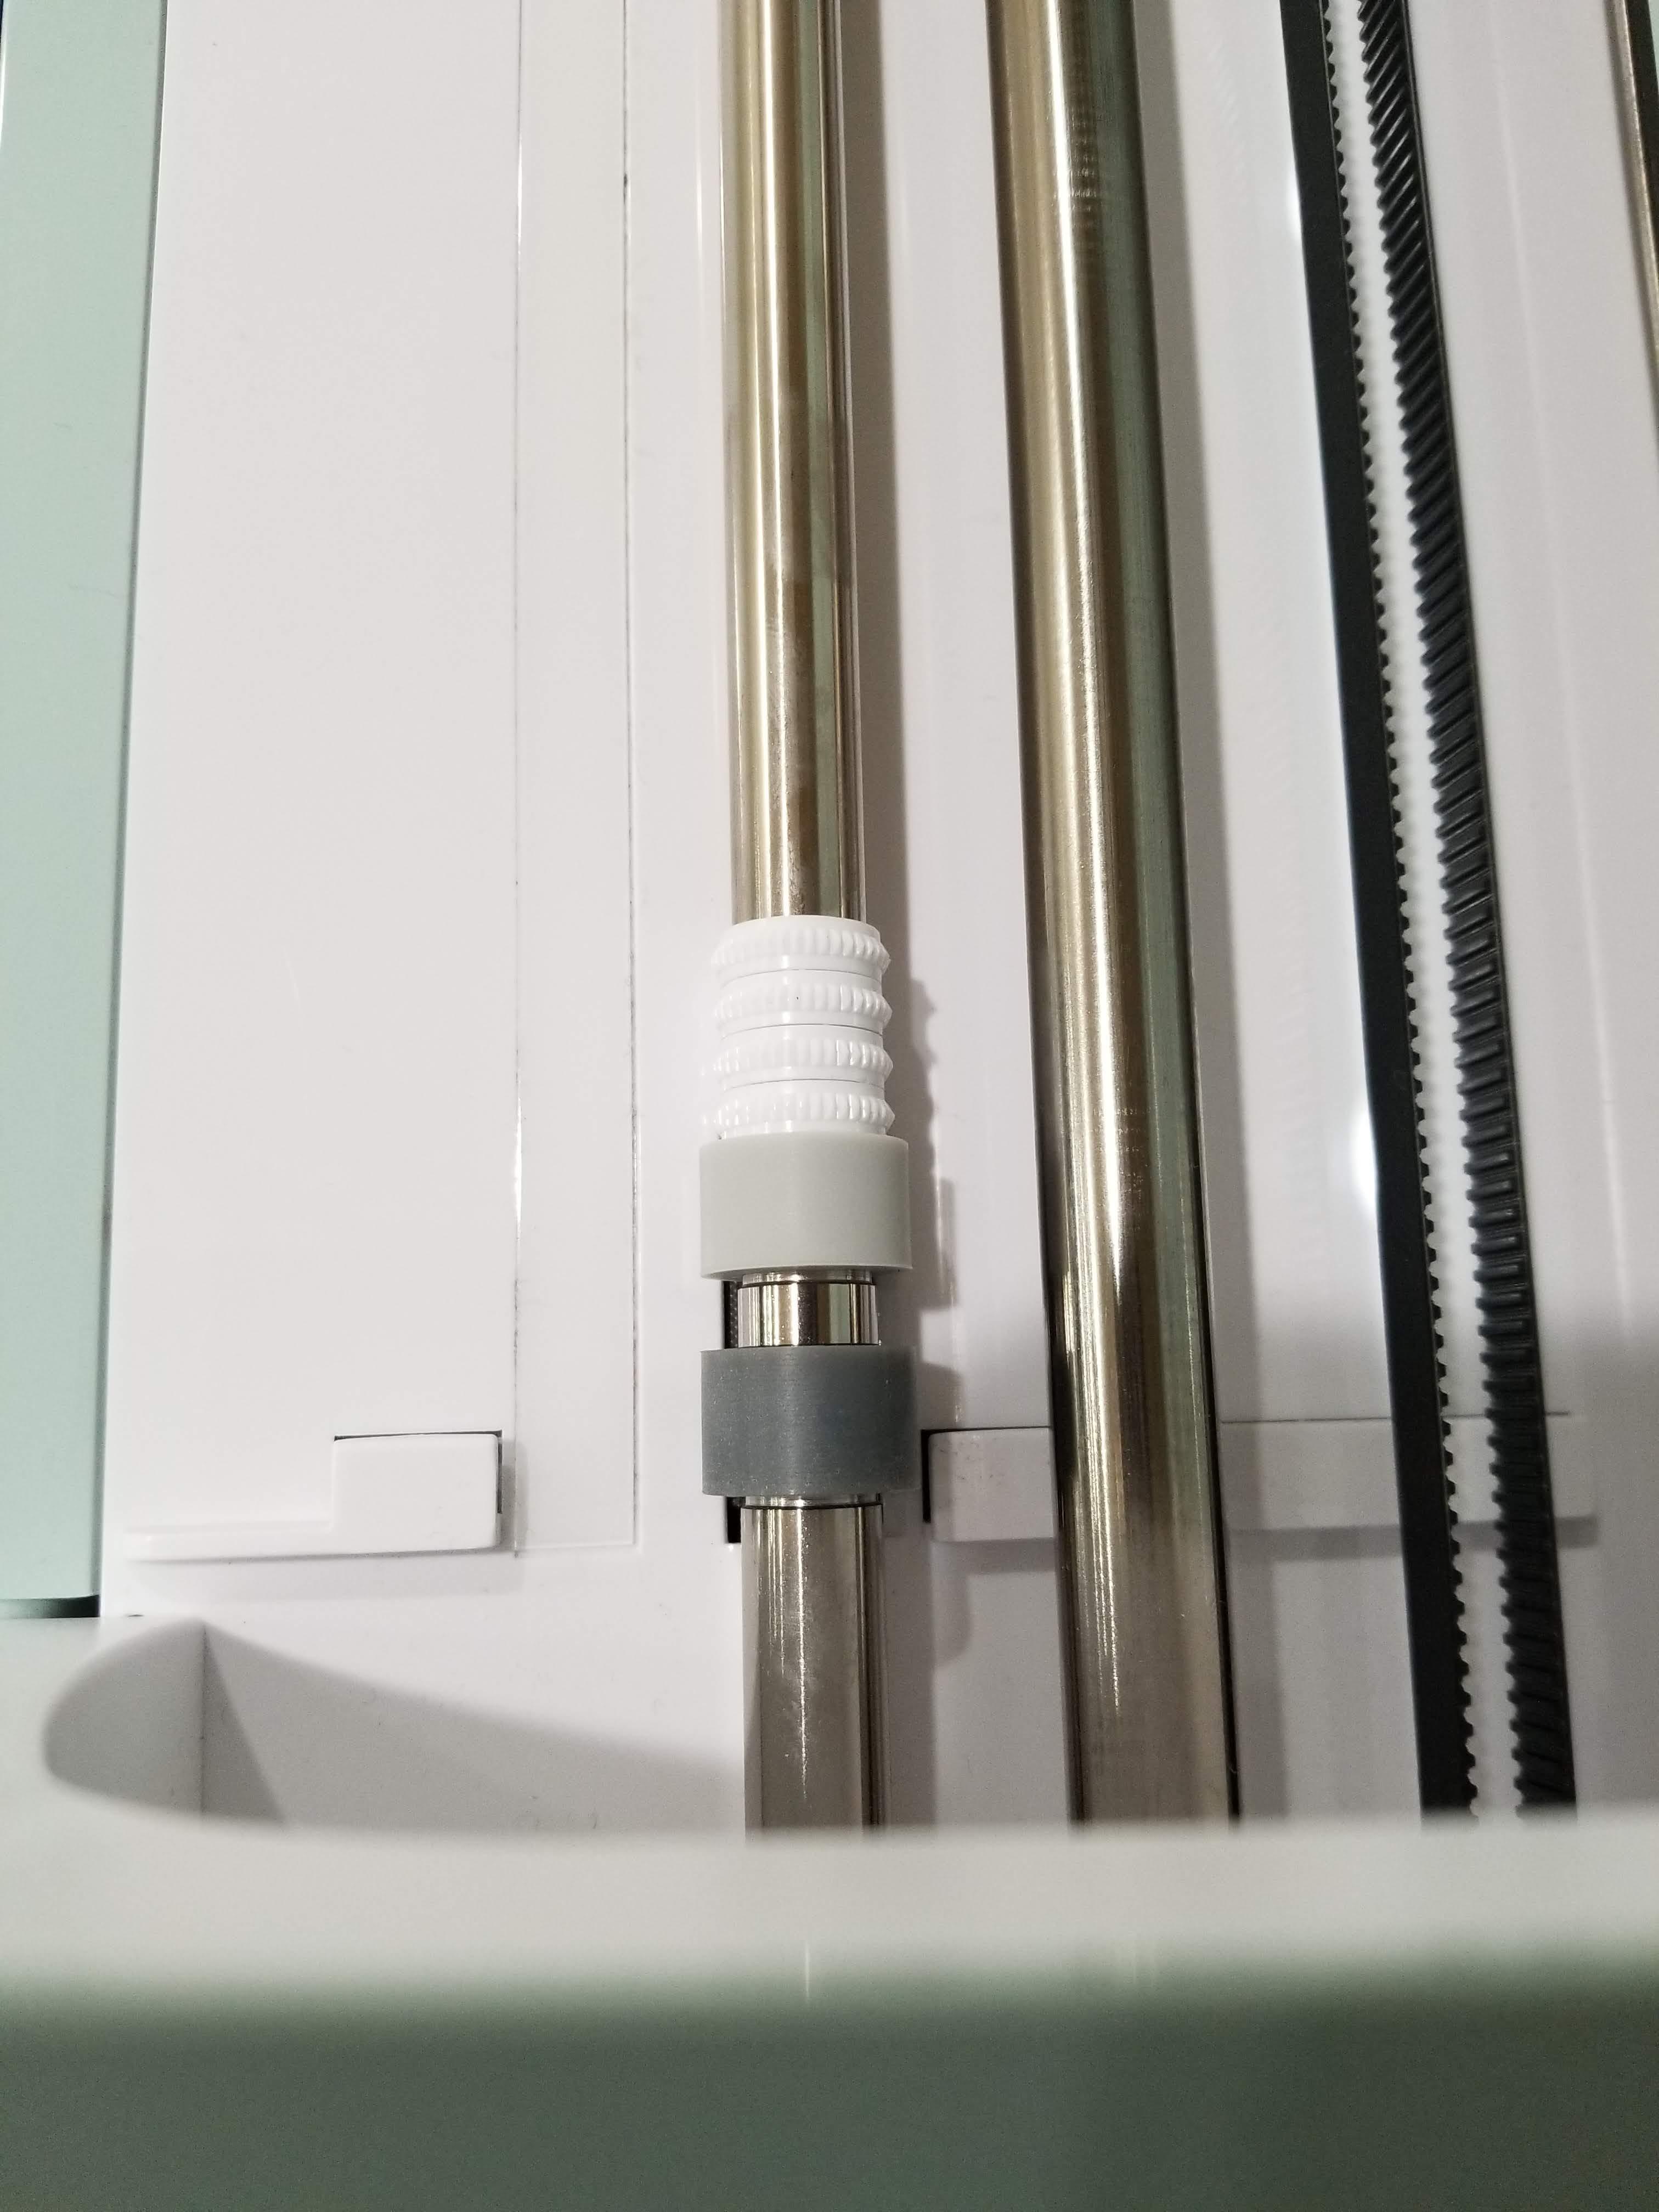
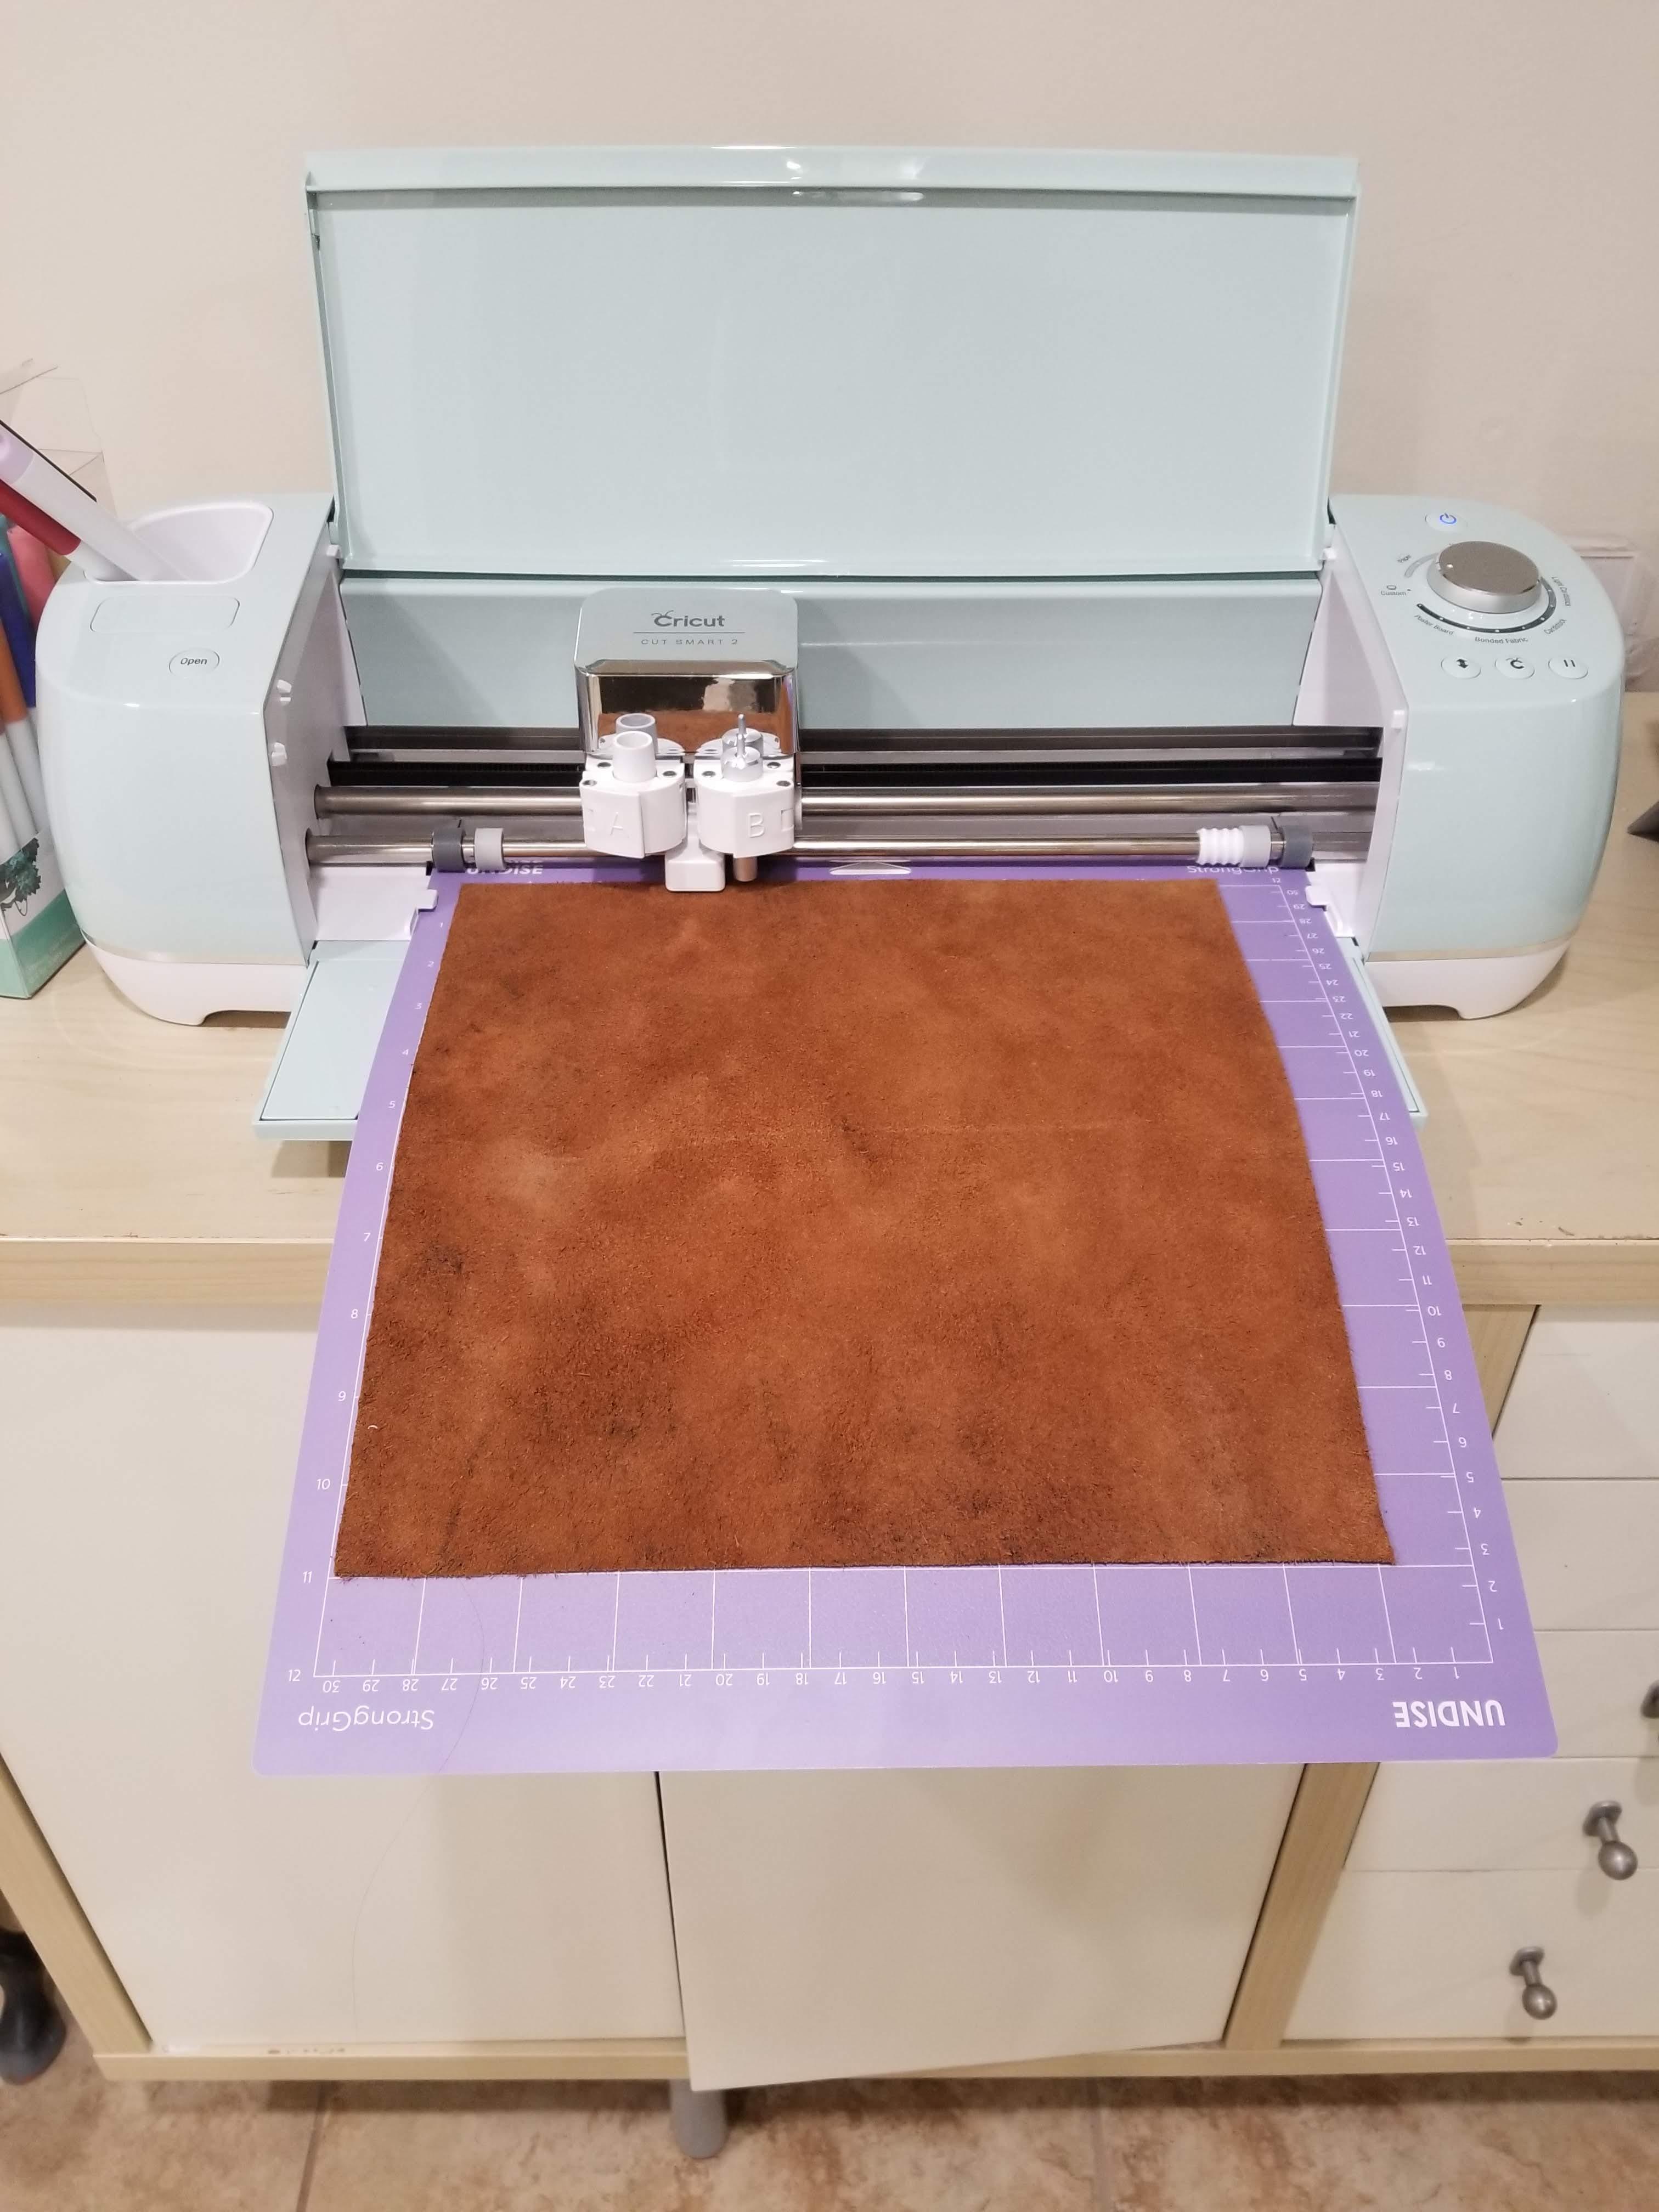
Now, press make now and set up your mat. Use the purple, strong grip mat and place your leather is placed face down on your mat. Before you load it, move your starwheels all the way to the right like the picture above. Load your Deep-Cut Blade into your Cricut. Finally, load your Cricut Mat into your Cricut and press the go button. You will have to do this more than once. After it has completed cutting, do not unload. Press the go button at least two more times.
Punch Holes
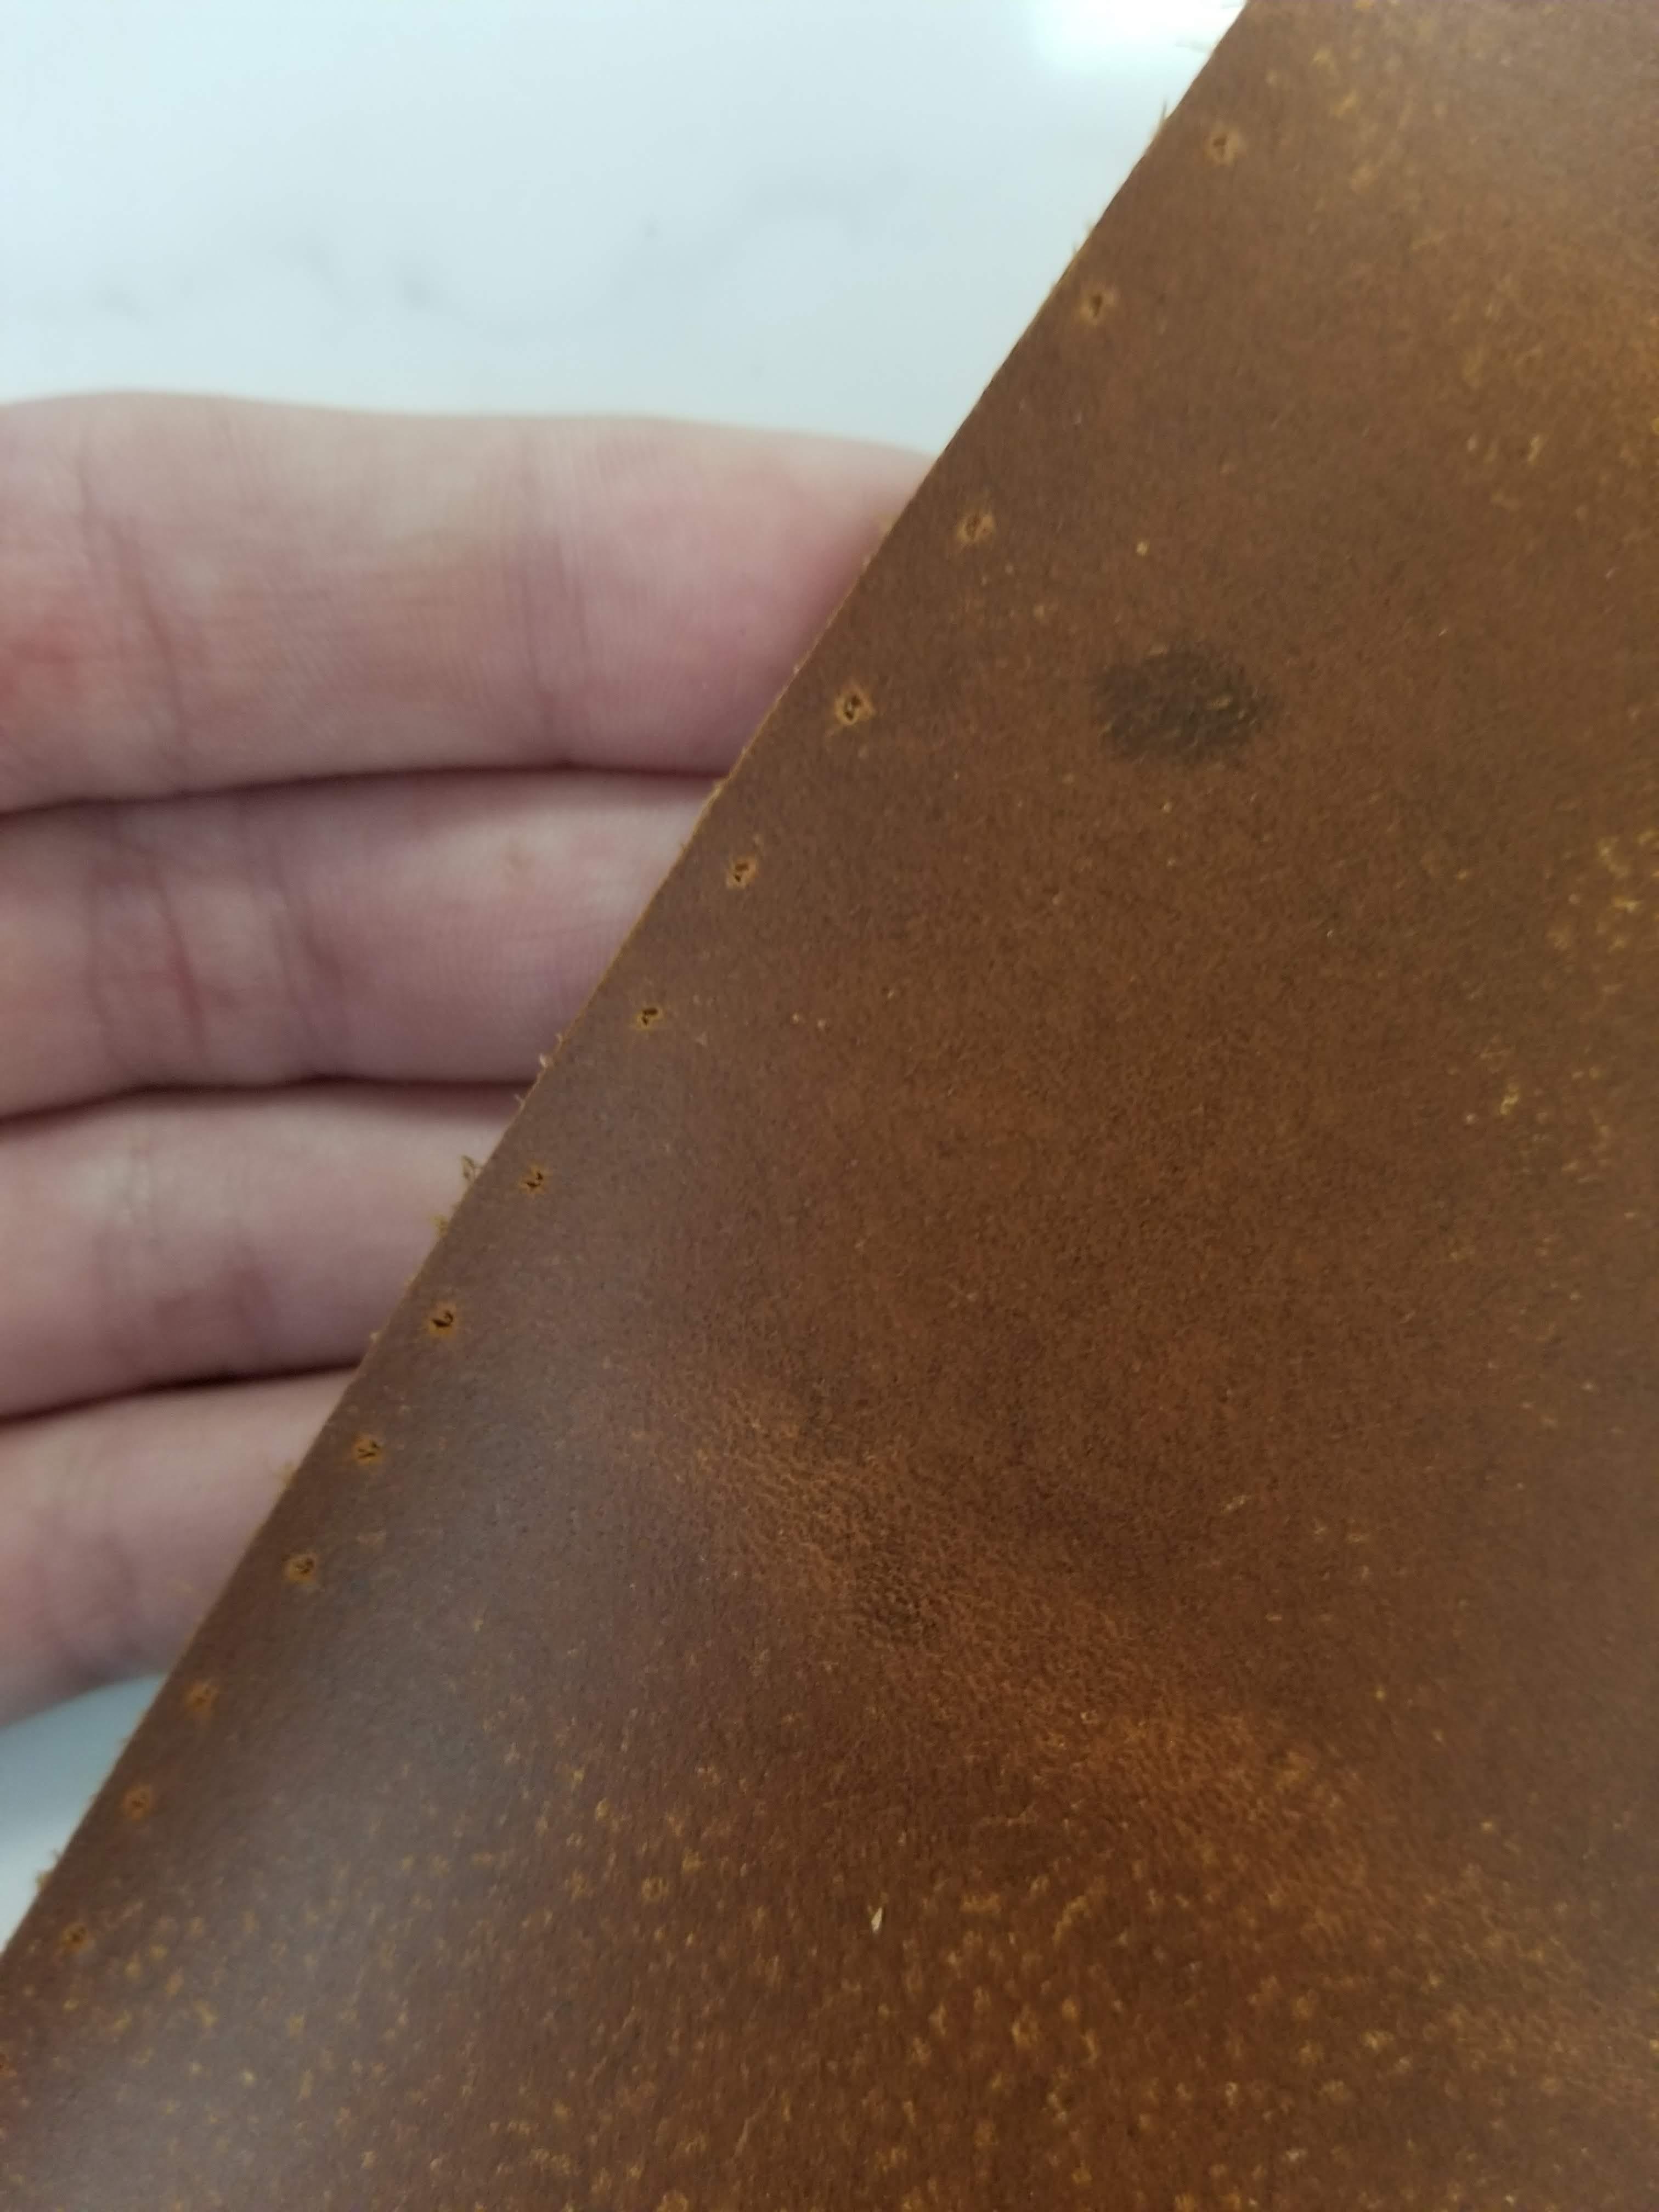
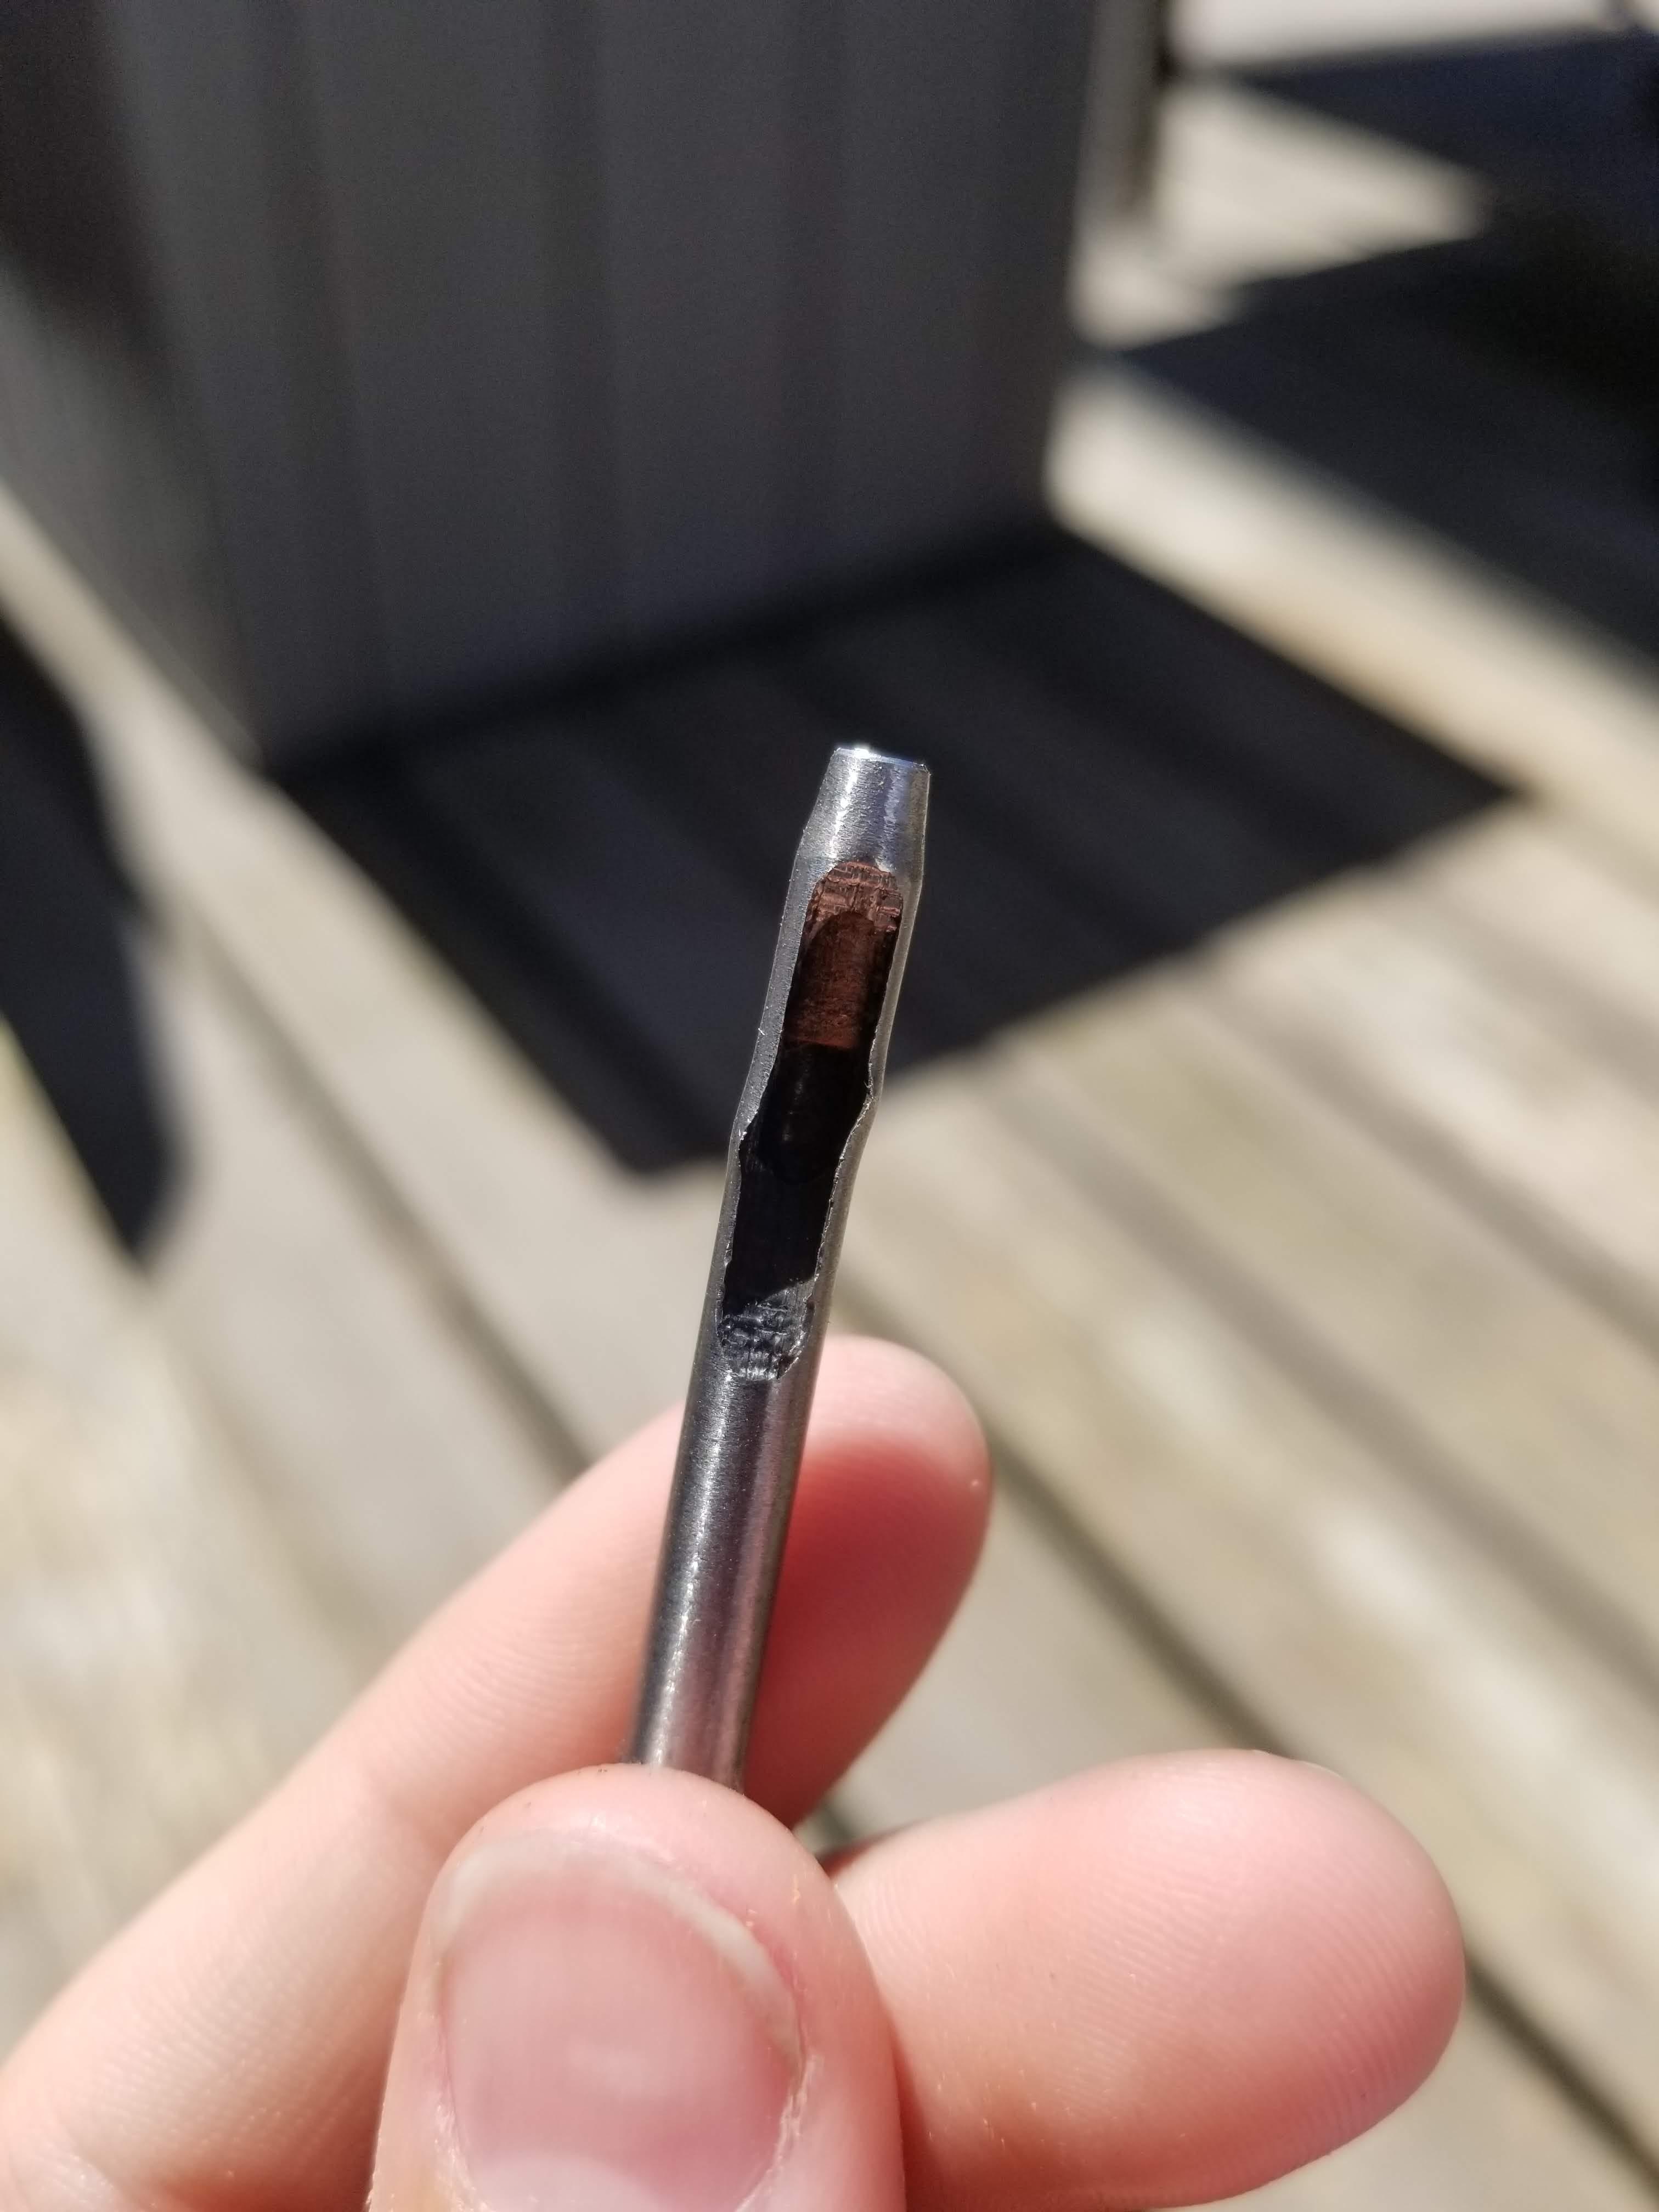
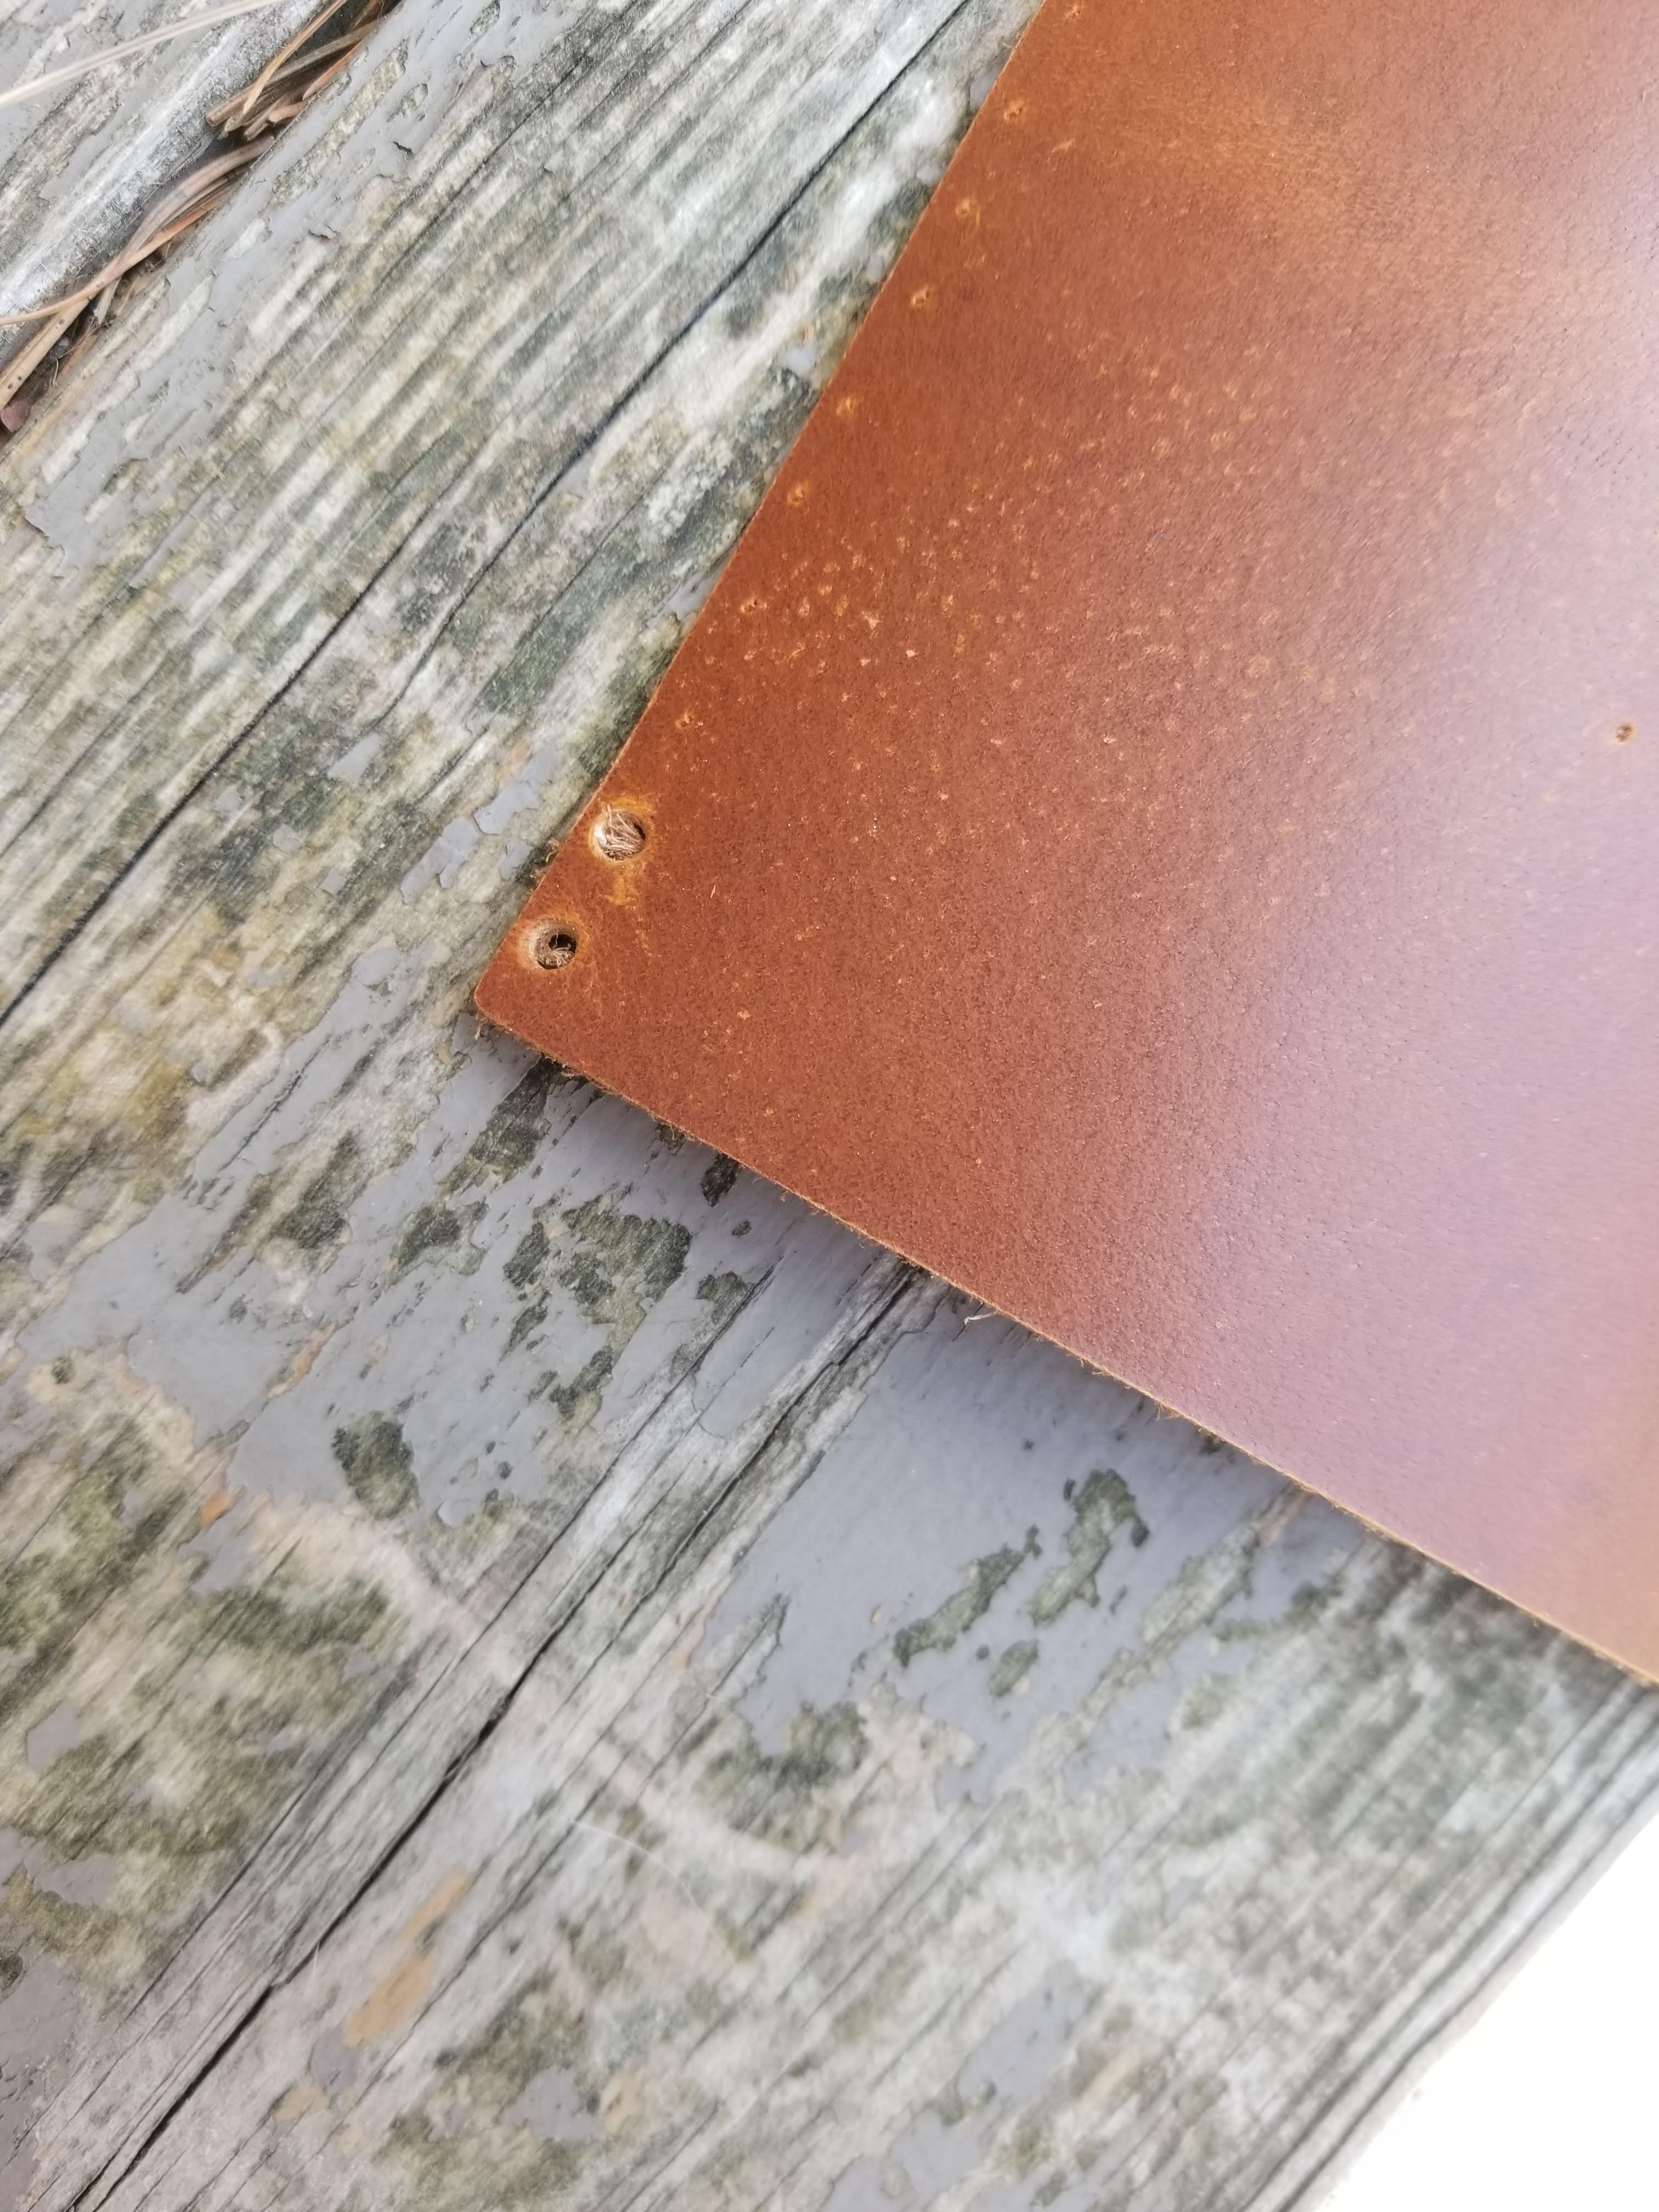
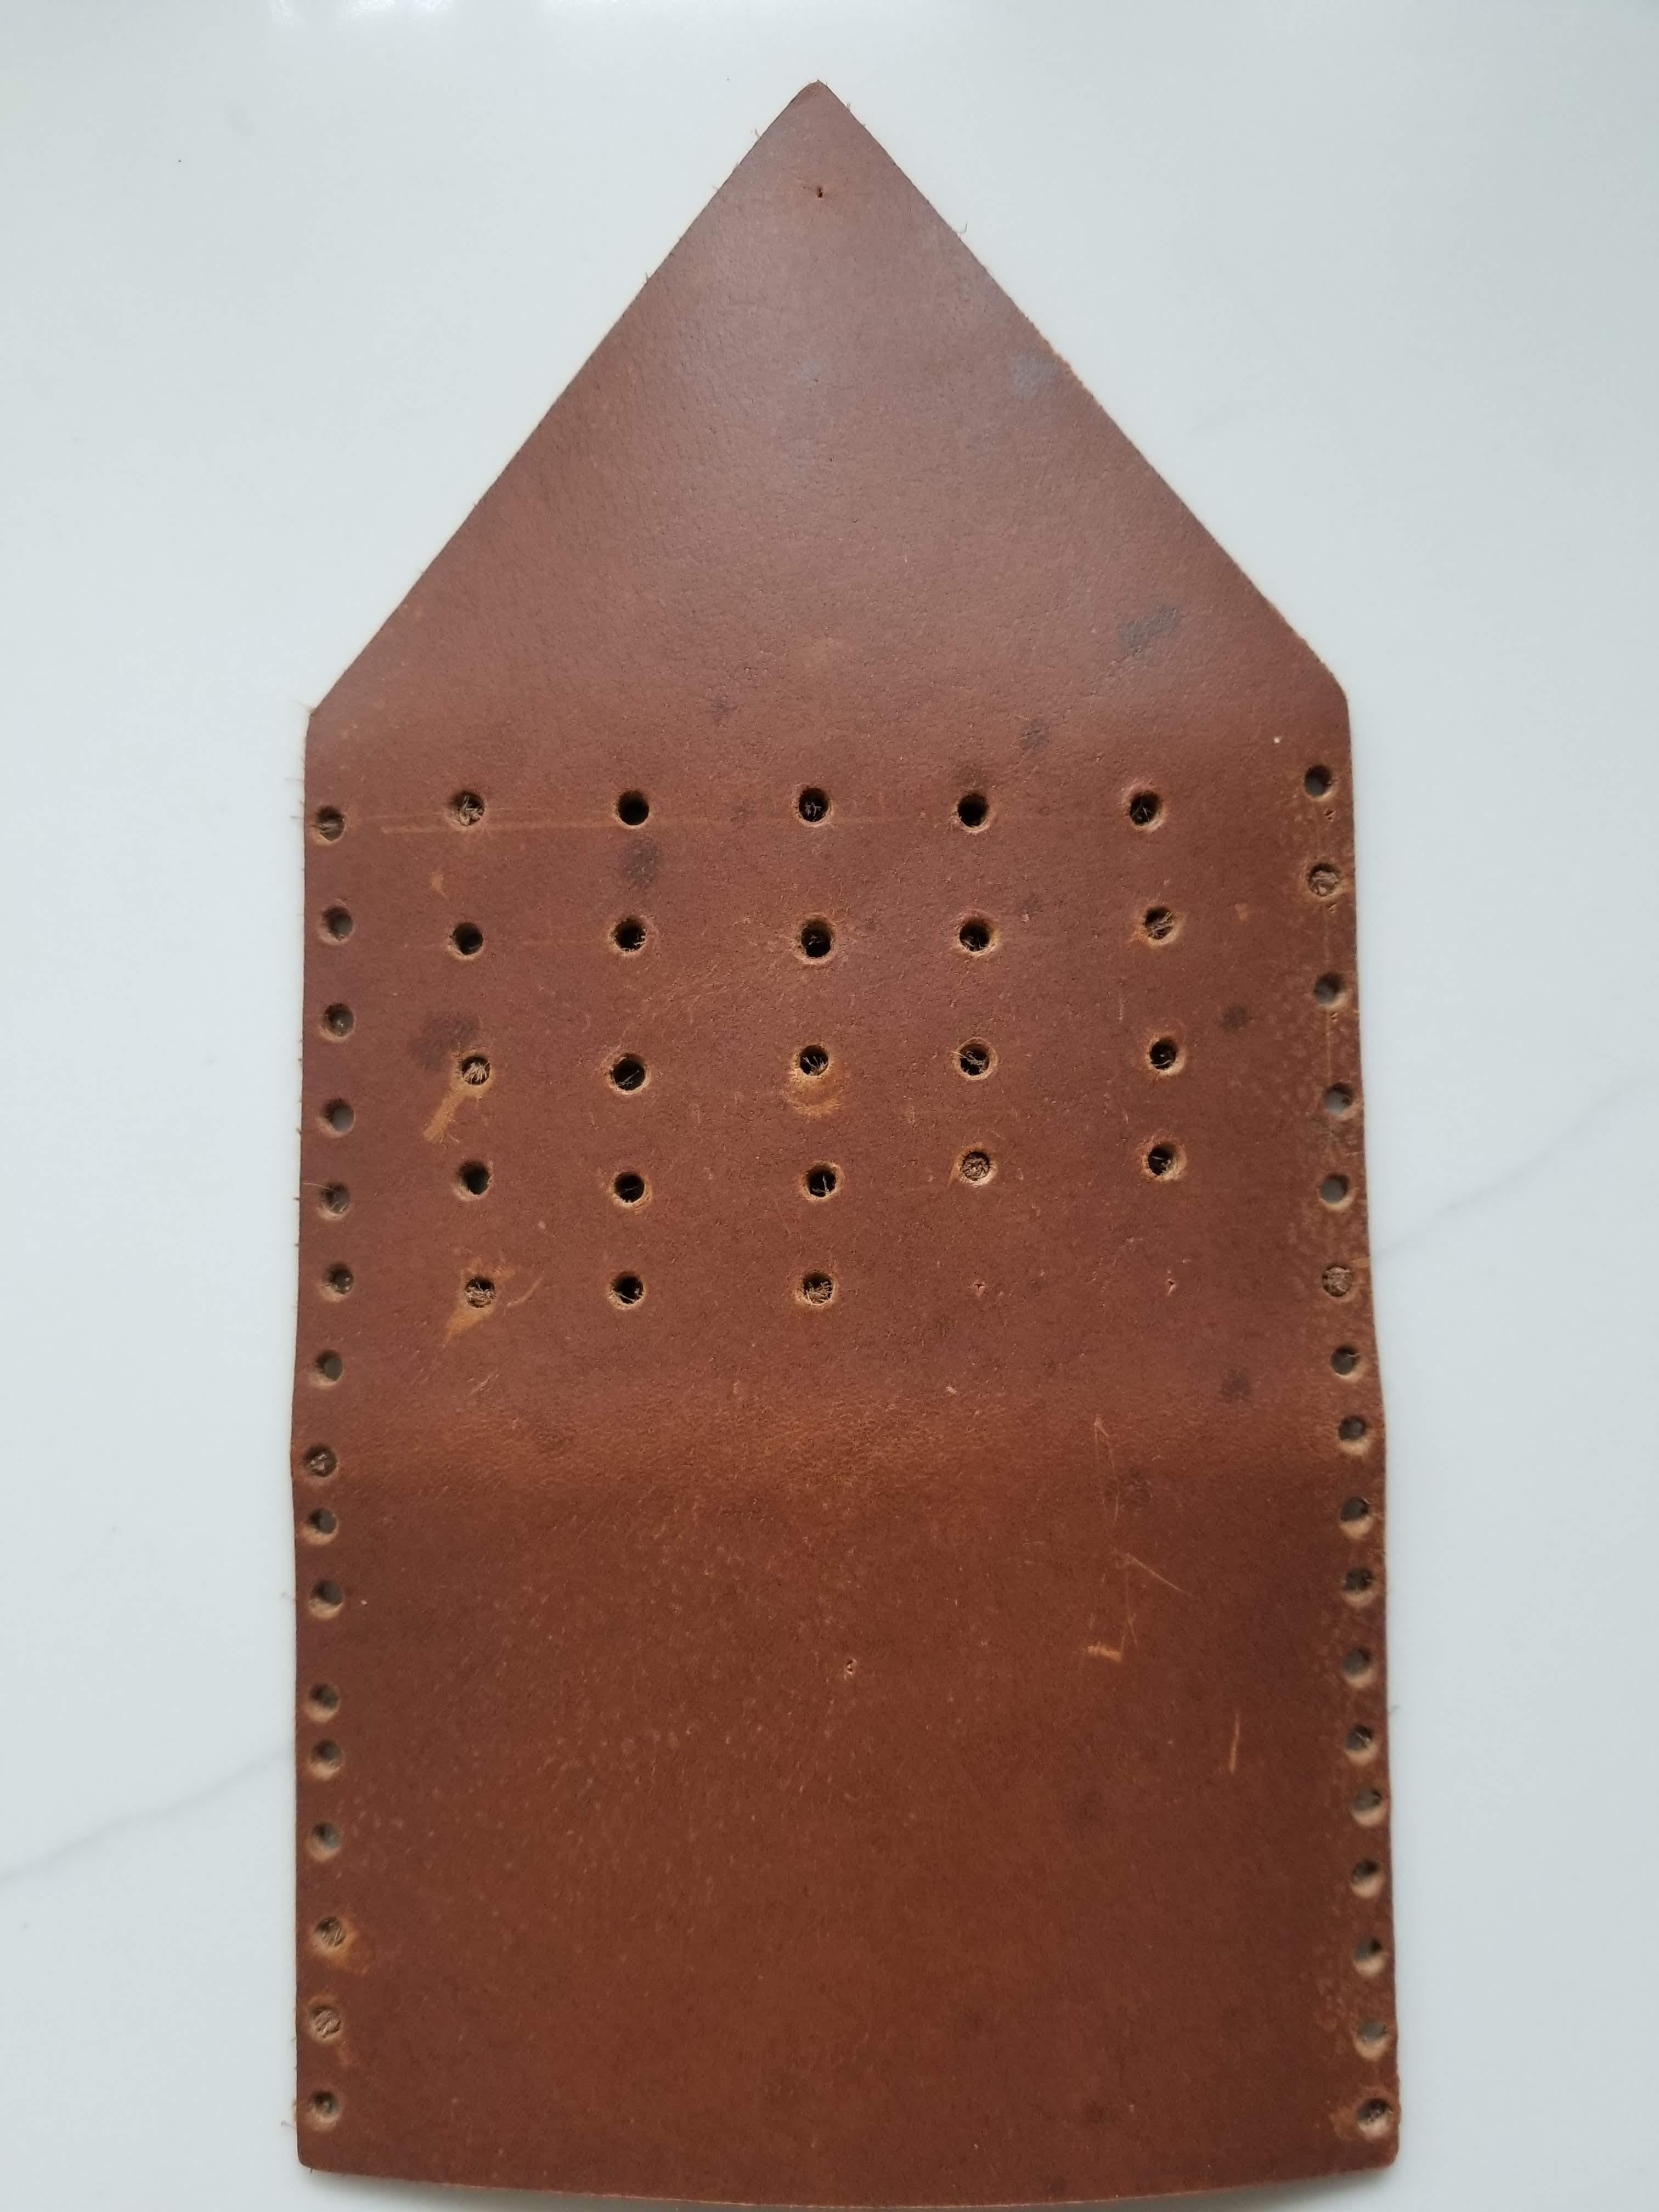
Alright. You've finished the last step and ready to move on. Fold your wallet up so it creates crease marks like the first picture above. Then, measure 1cm spaces and mark like the second picture. Do this along both left and right side of leather. Alright, so in the middle of the wallet, also measure and mark where you are going to cut your holes. Go outside for this next part. Grab a hammer and the mettle tool in the third picture. It should not look as busted as mine. I hit it with a hammer to hard and sorta broke it... XD Anyway, where you have marked your leather, punch out your holes. To do this, you have to take your puncher and put it over your mark. Then, take your hammer and hit the hole puncher a few times. It should create a hole like the fourth picture. Do this until all your marks are punched out like the last picture. My hole puncher broke on the last two holes I had to punch out so the picture looks a little off.
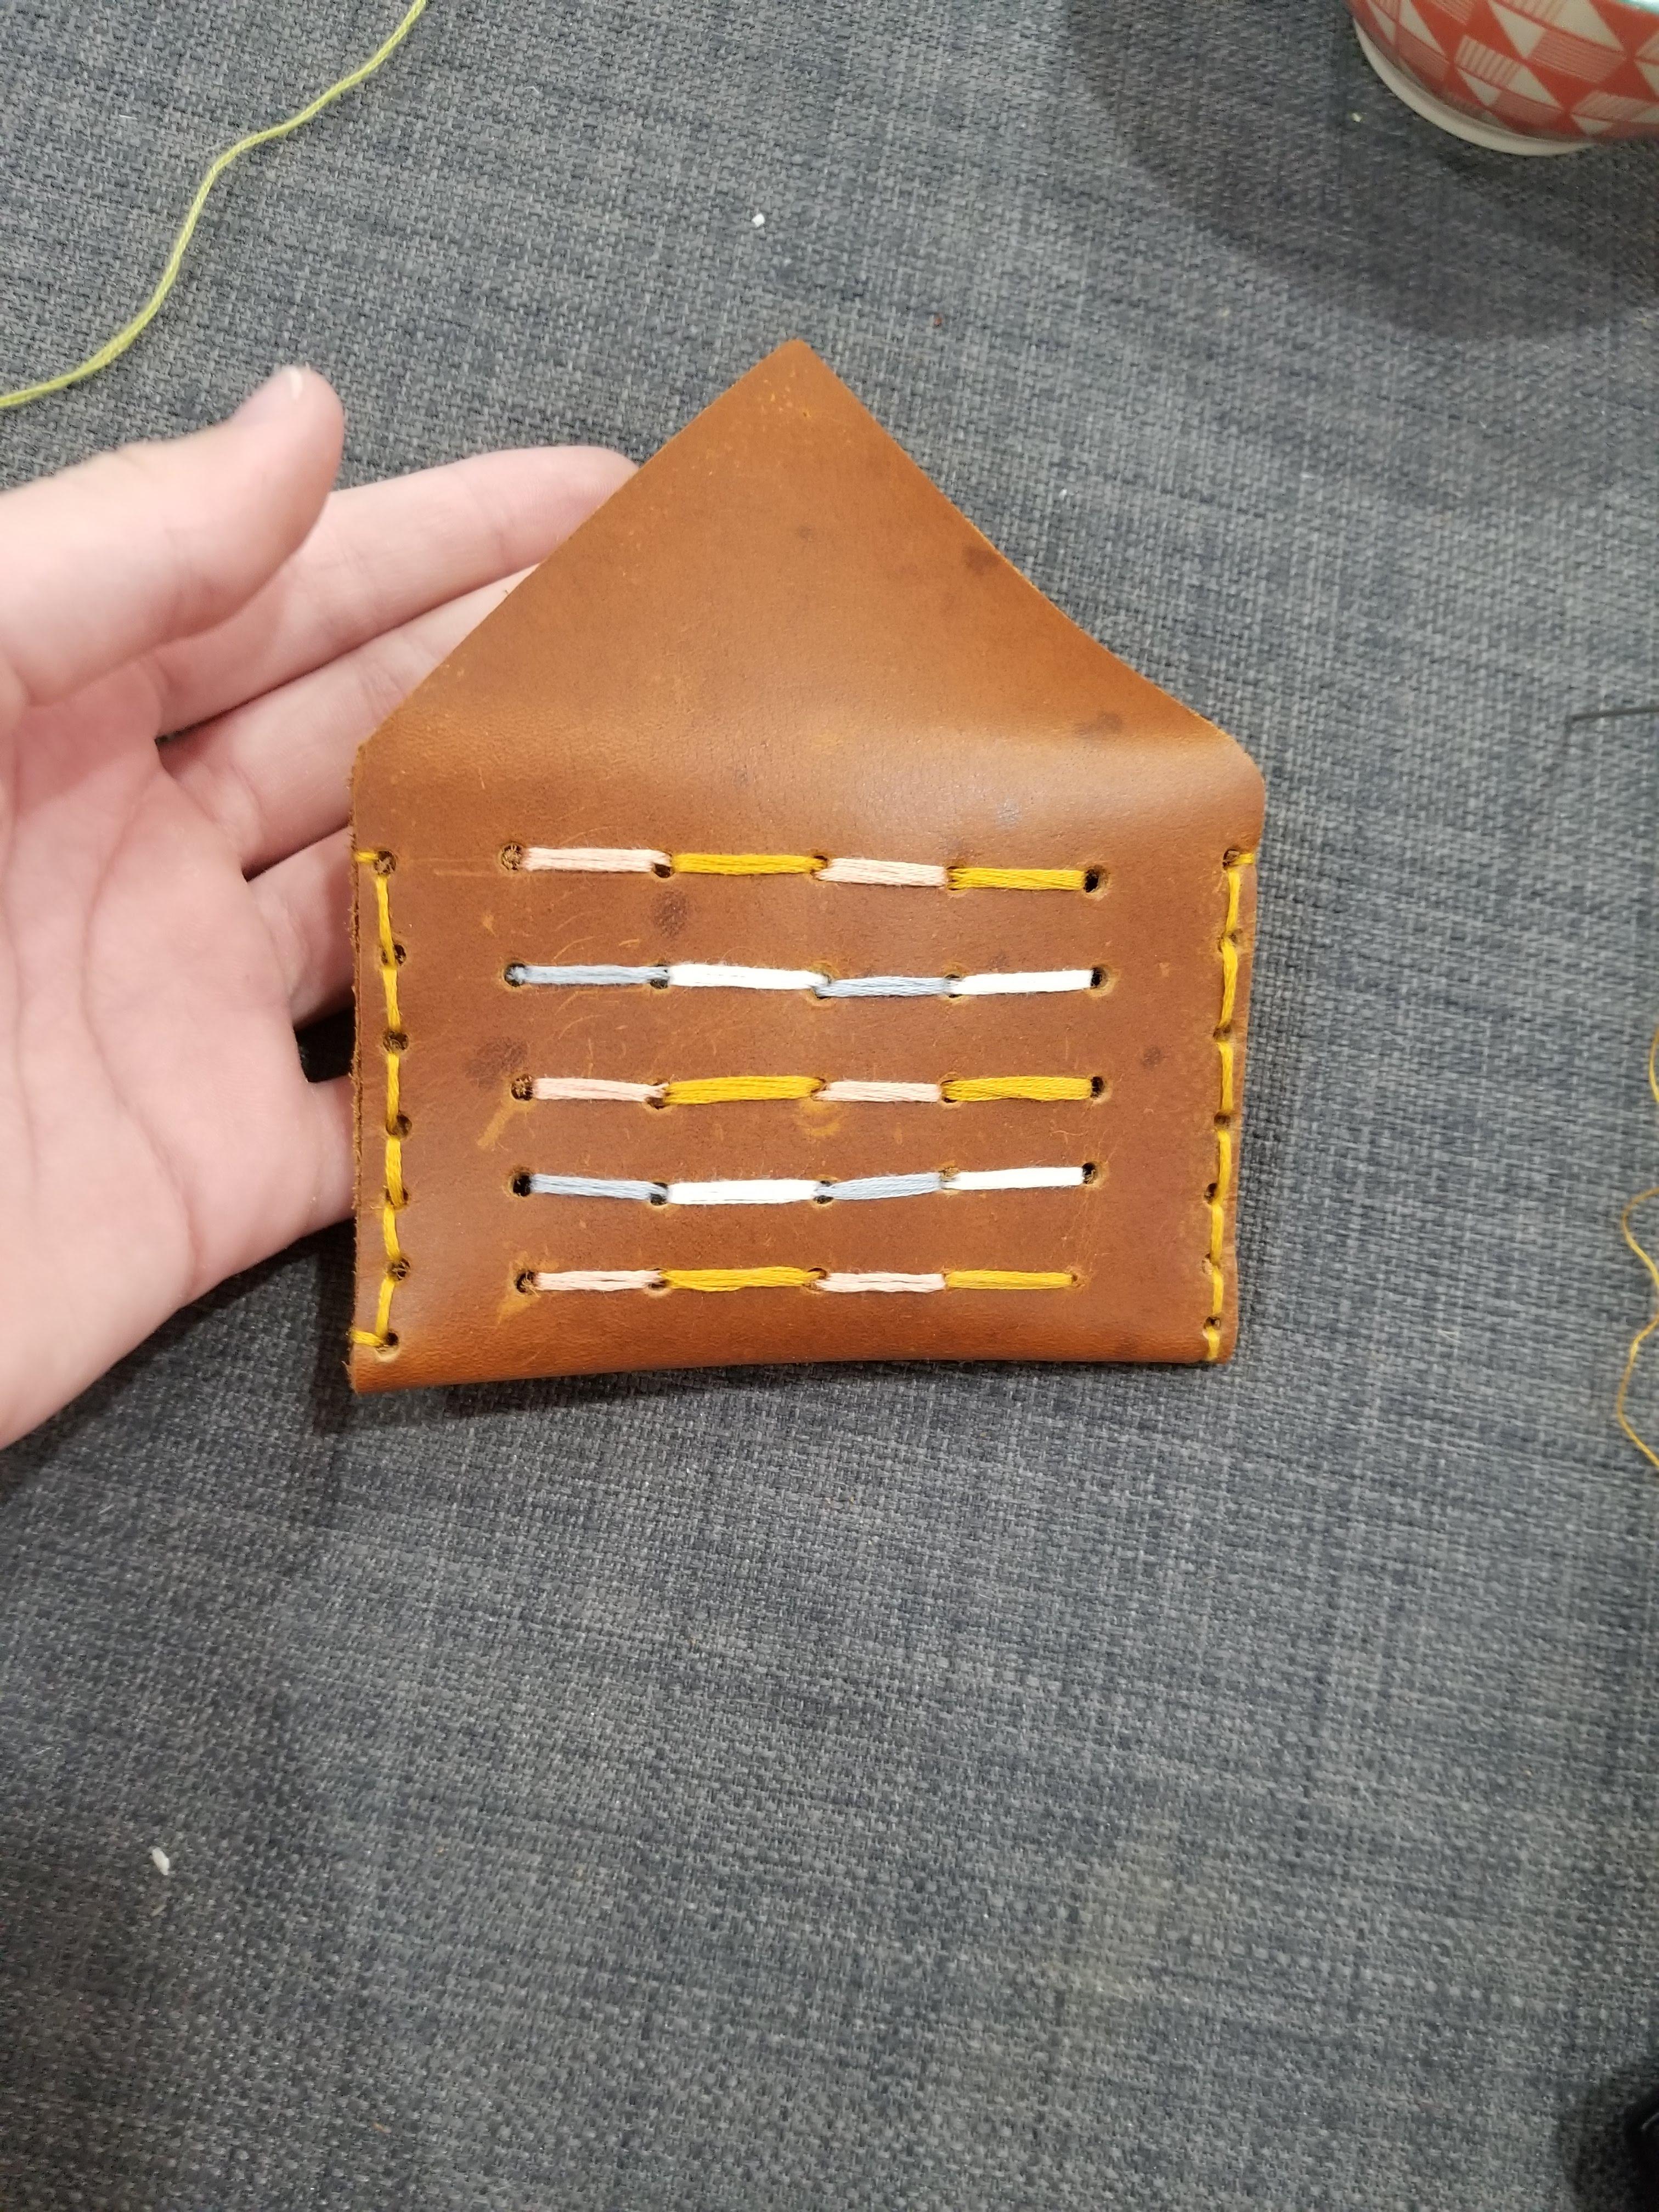
Embroider
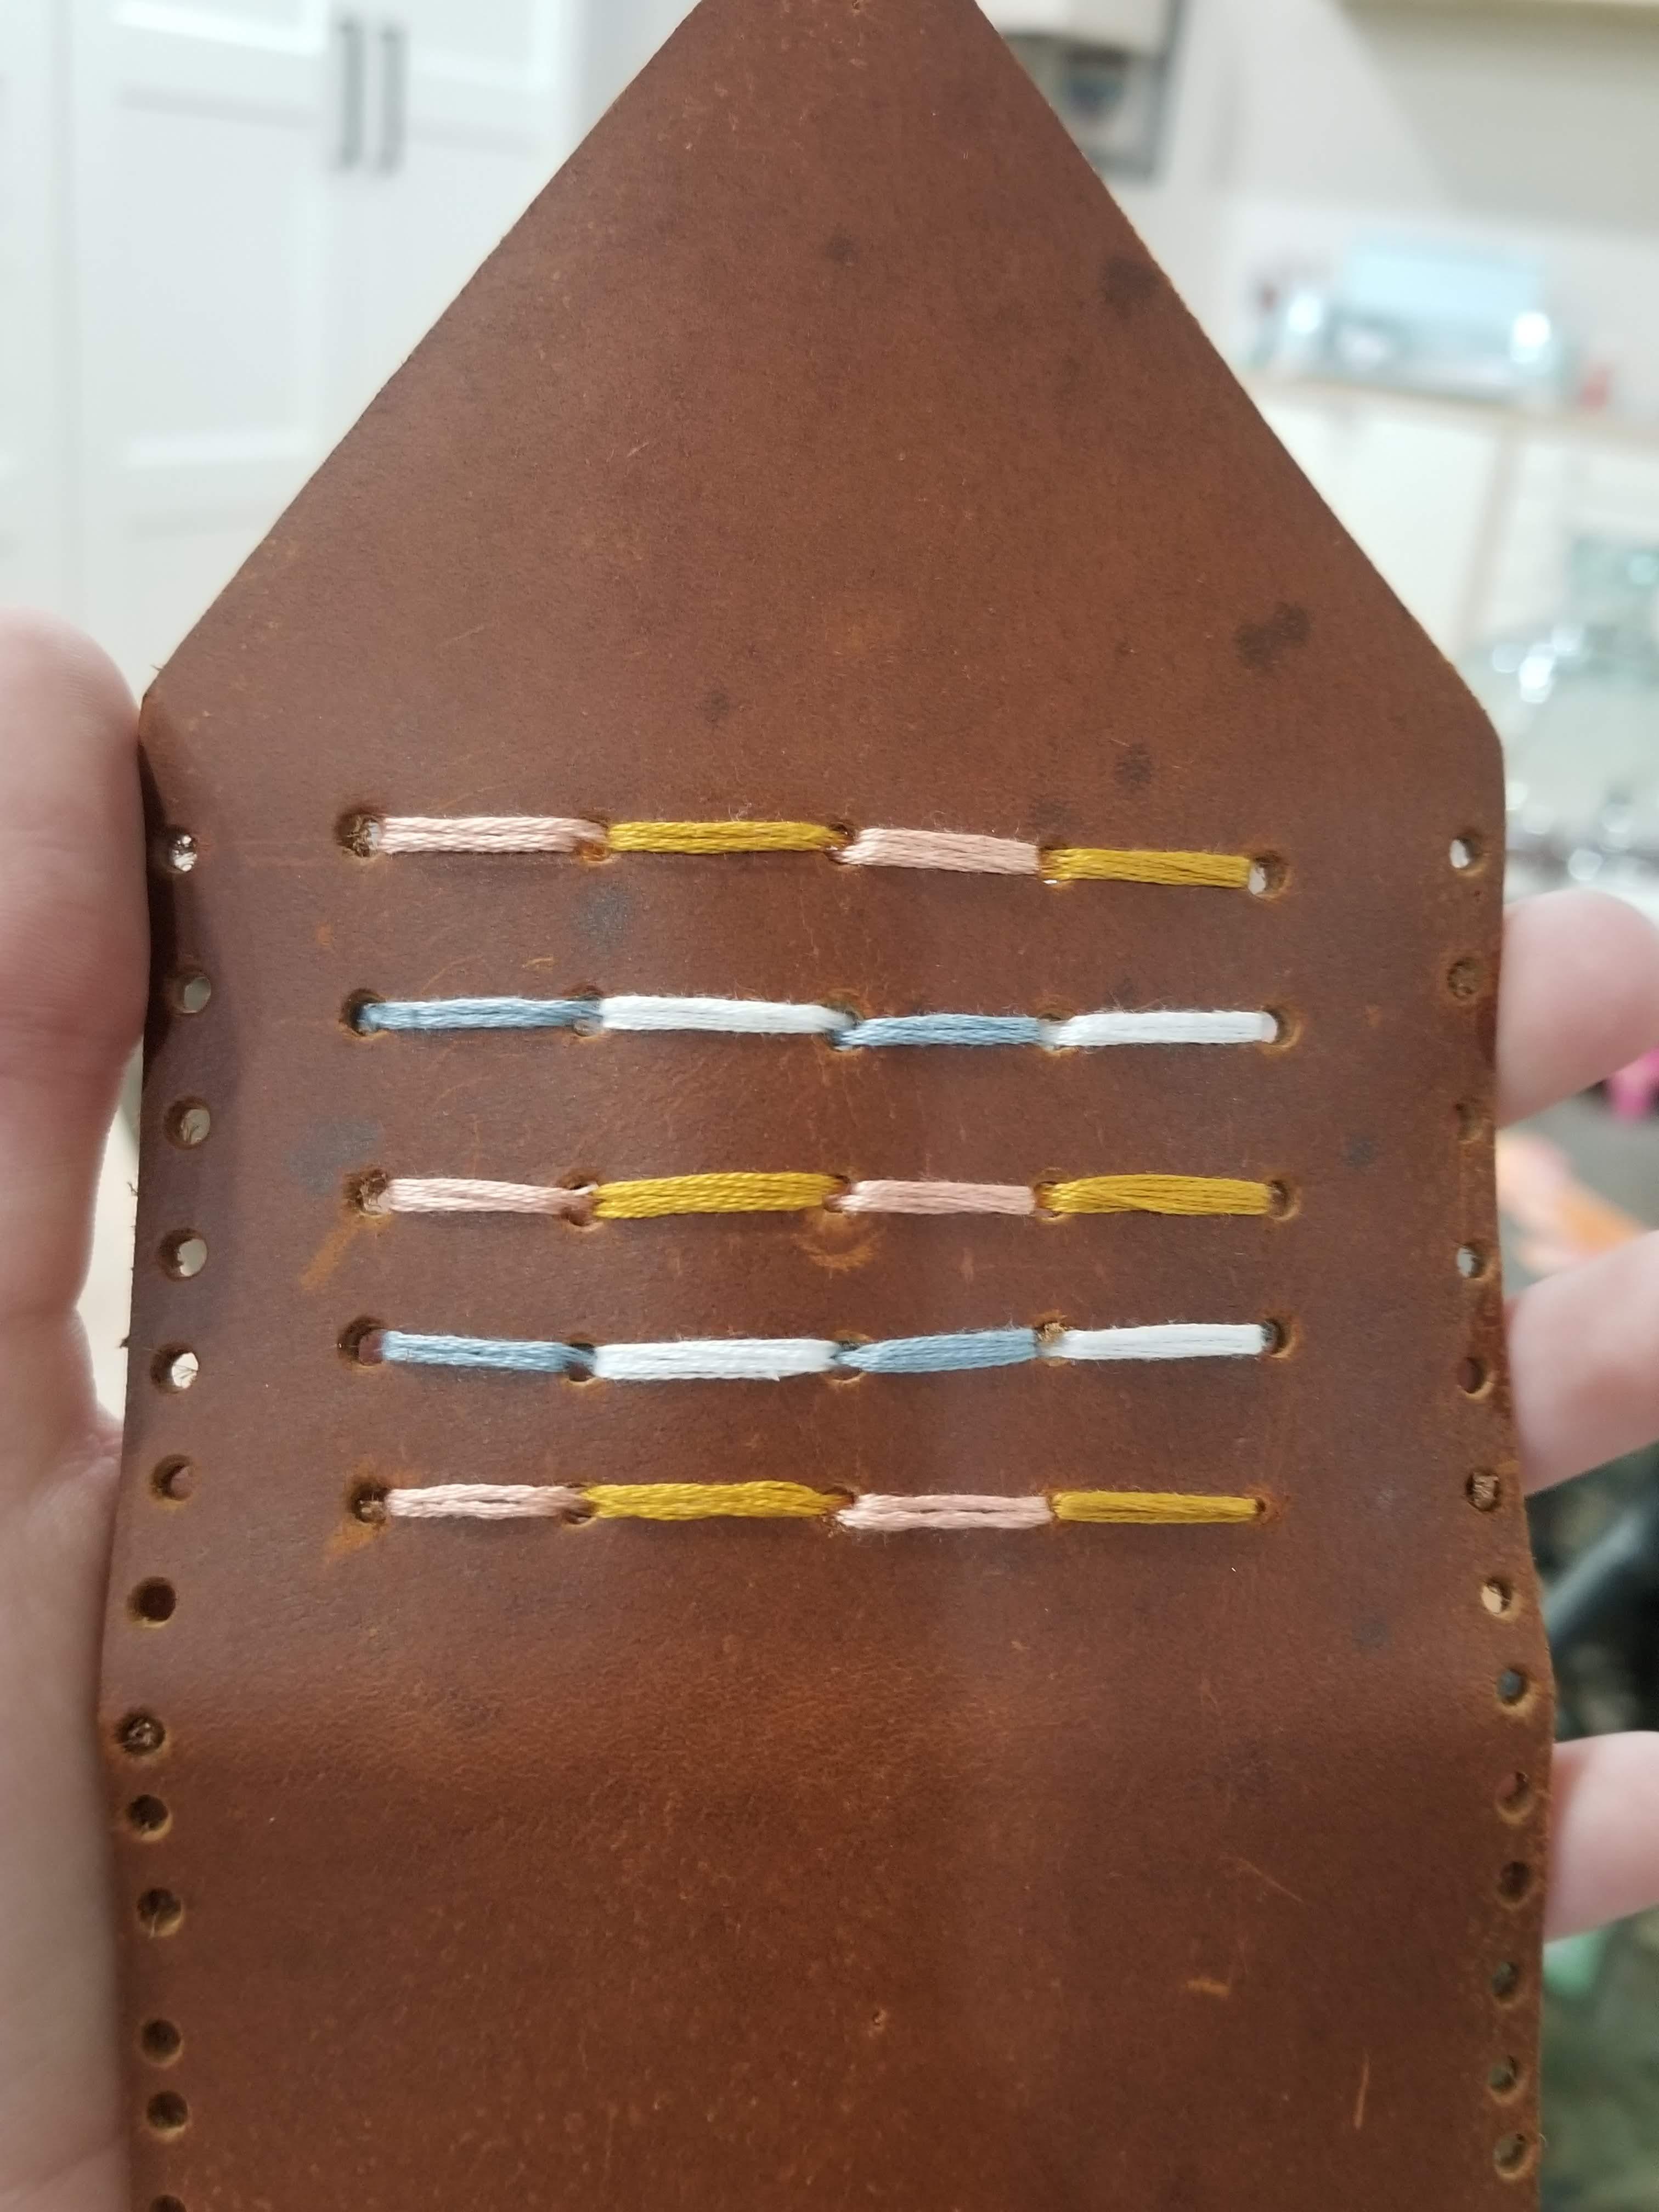
Ok, now get your embroidery floss and embroider to your leather as desired. Use all six strands for this step.
Sew Together
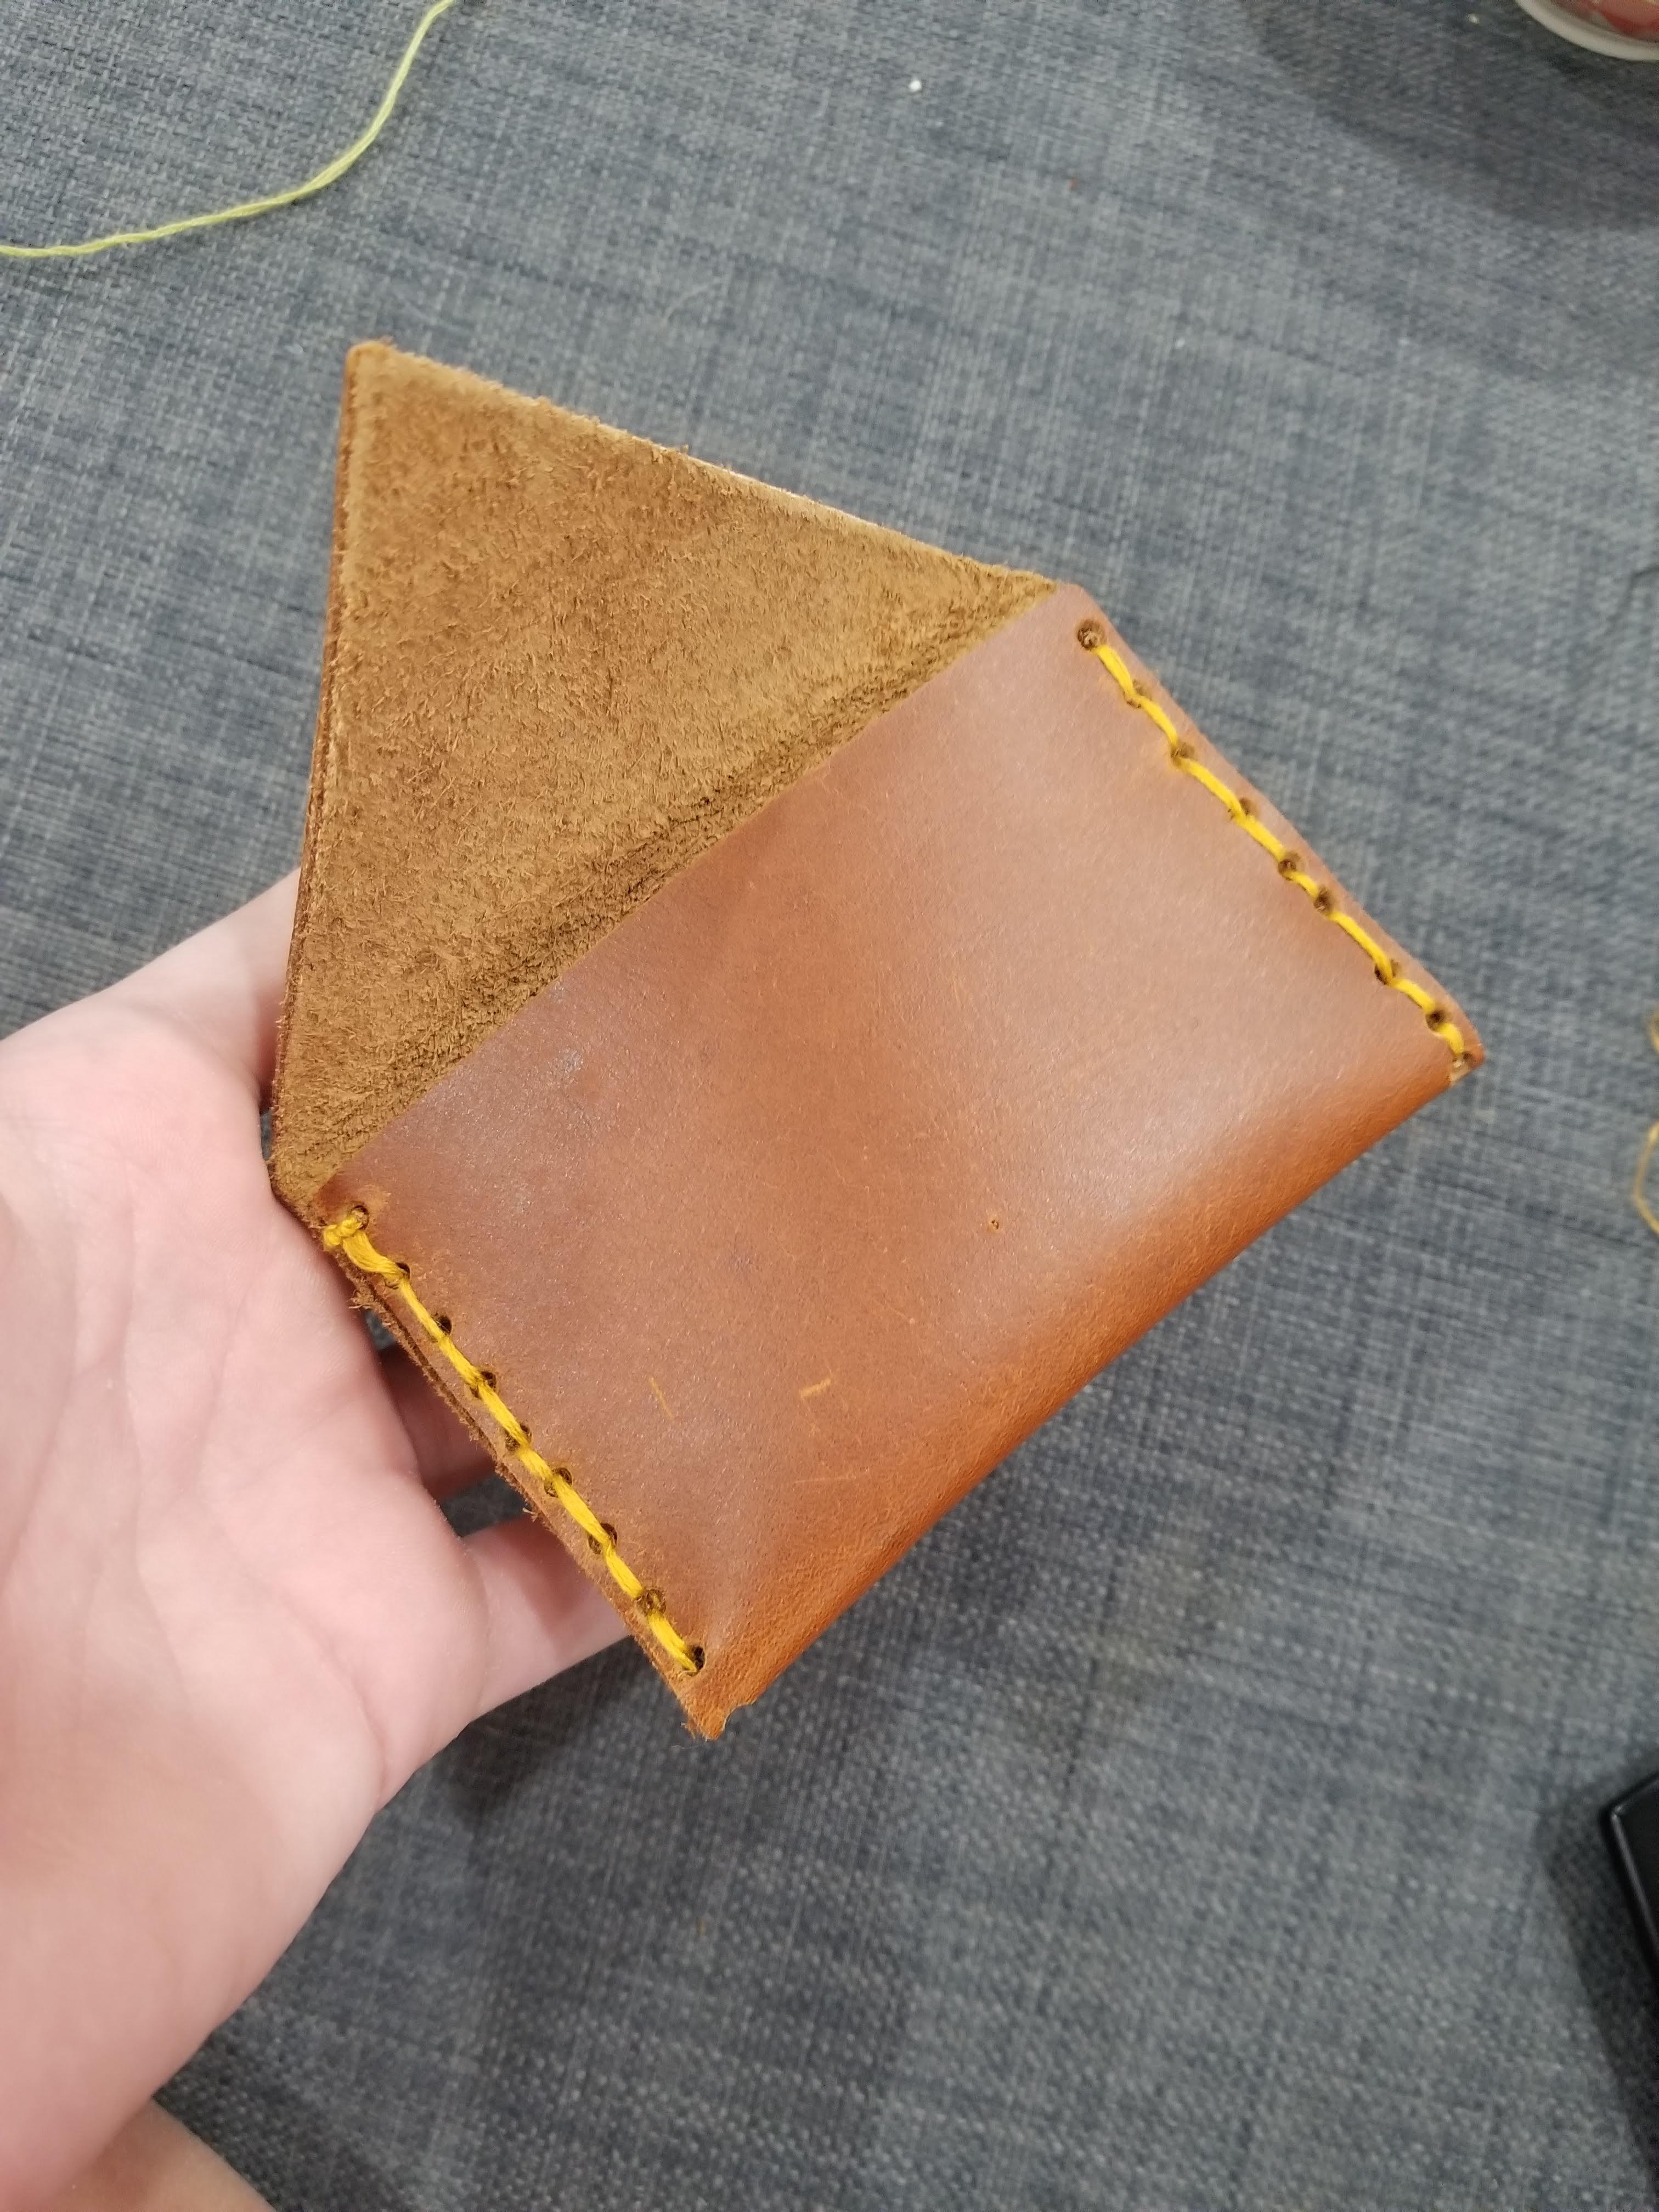
To do this step, you need heavy-duty thread or embroidery floss. Do the backstitch on the left side, tie, and do the same to the right. Make sure you tie on the inside, and make sure it is tight. If you don't, it will not look as good or professional. Great job, you are almost done!
Snaps
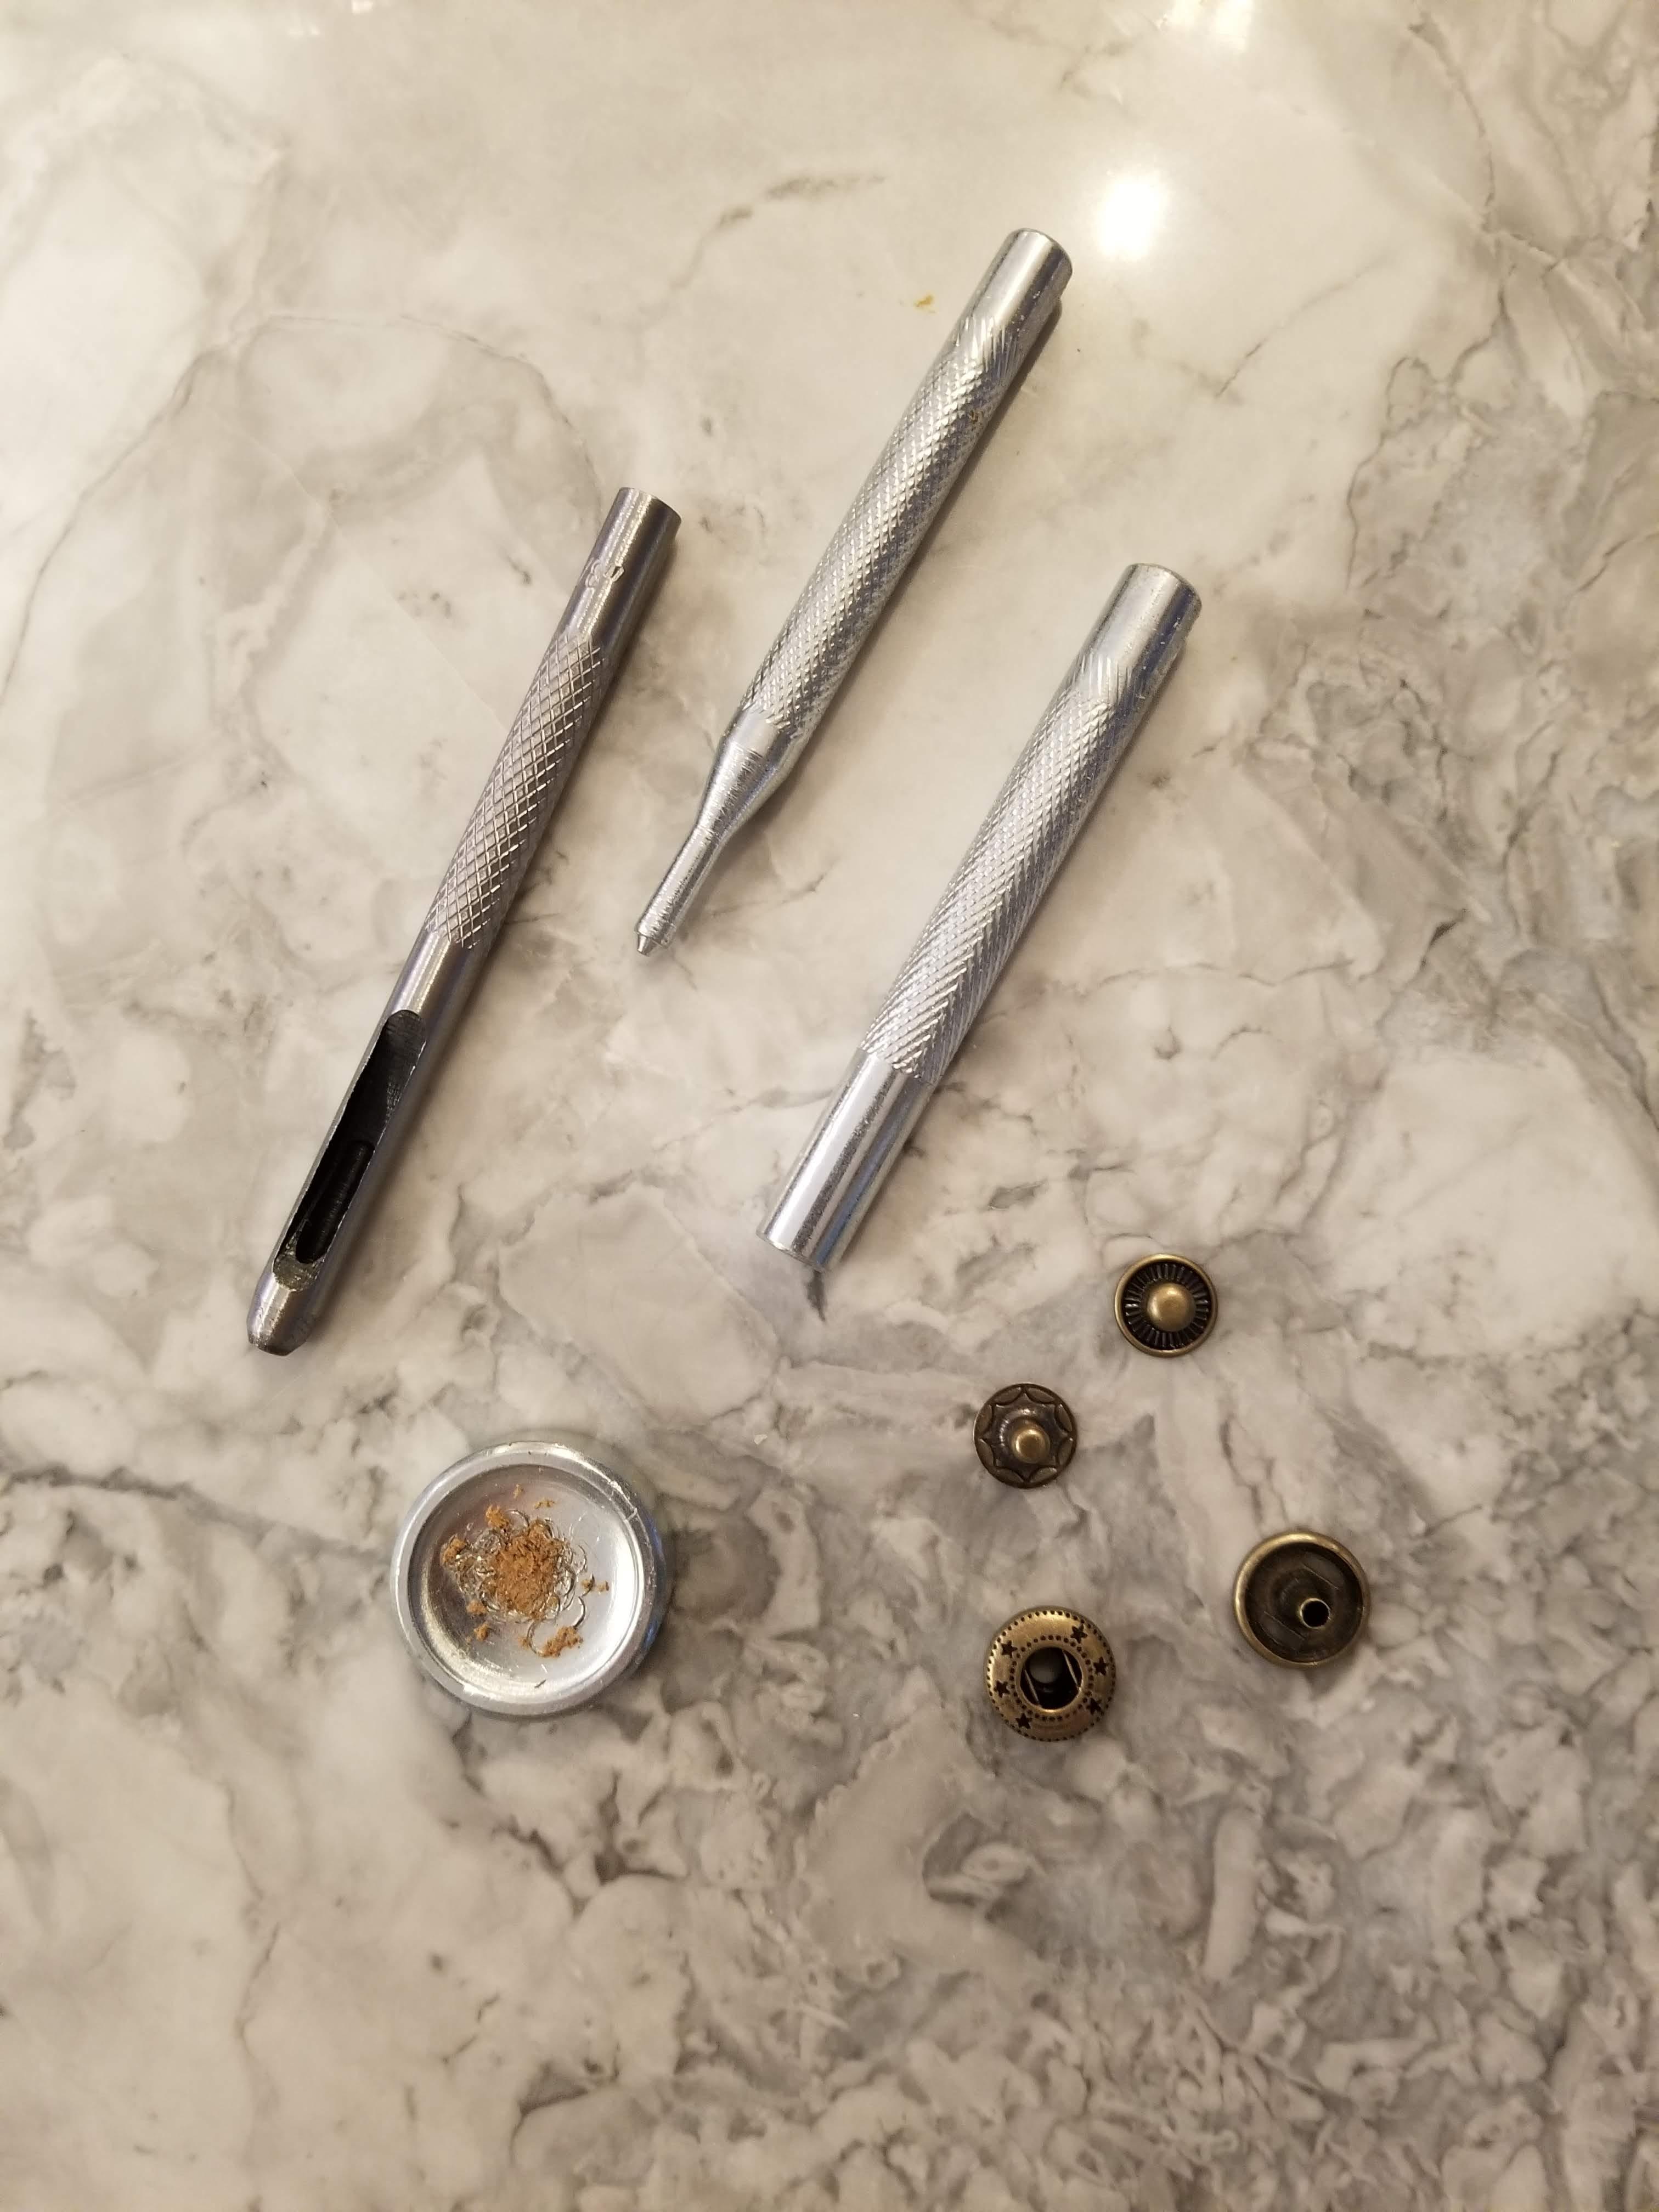
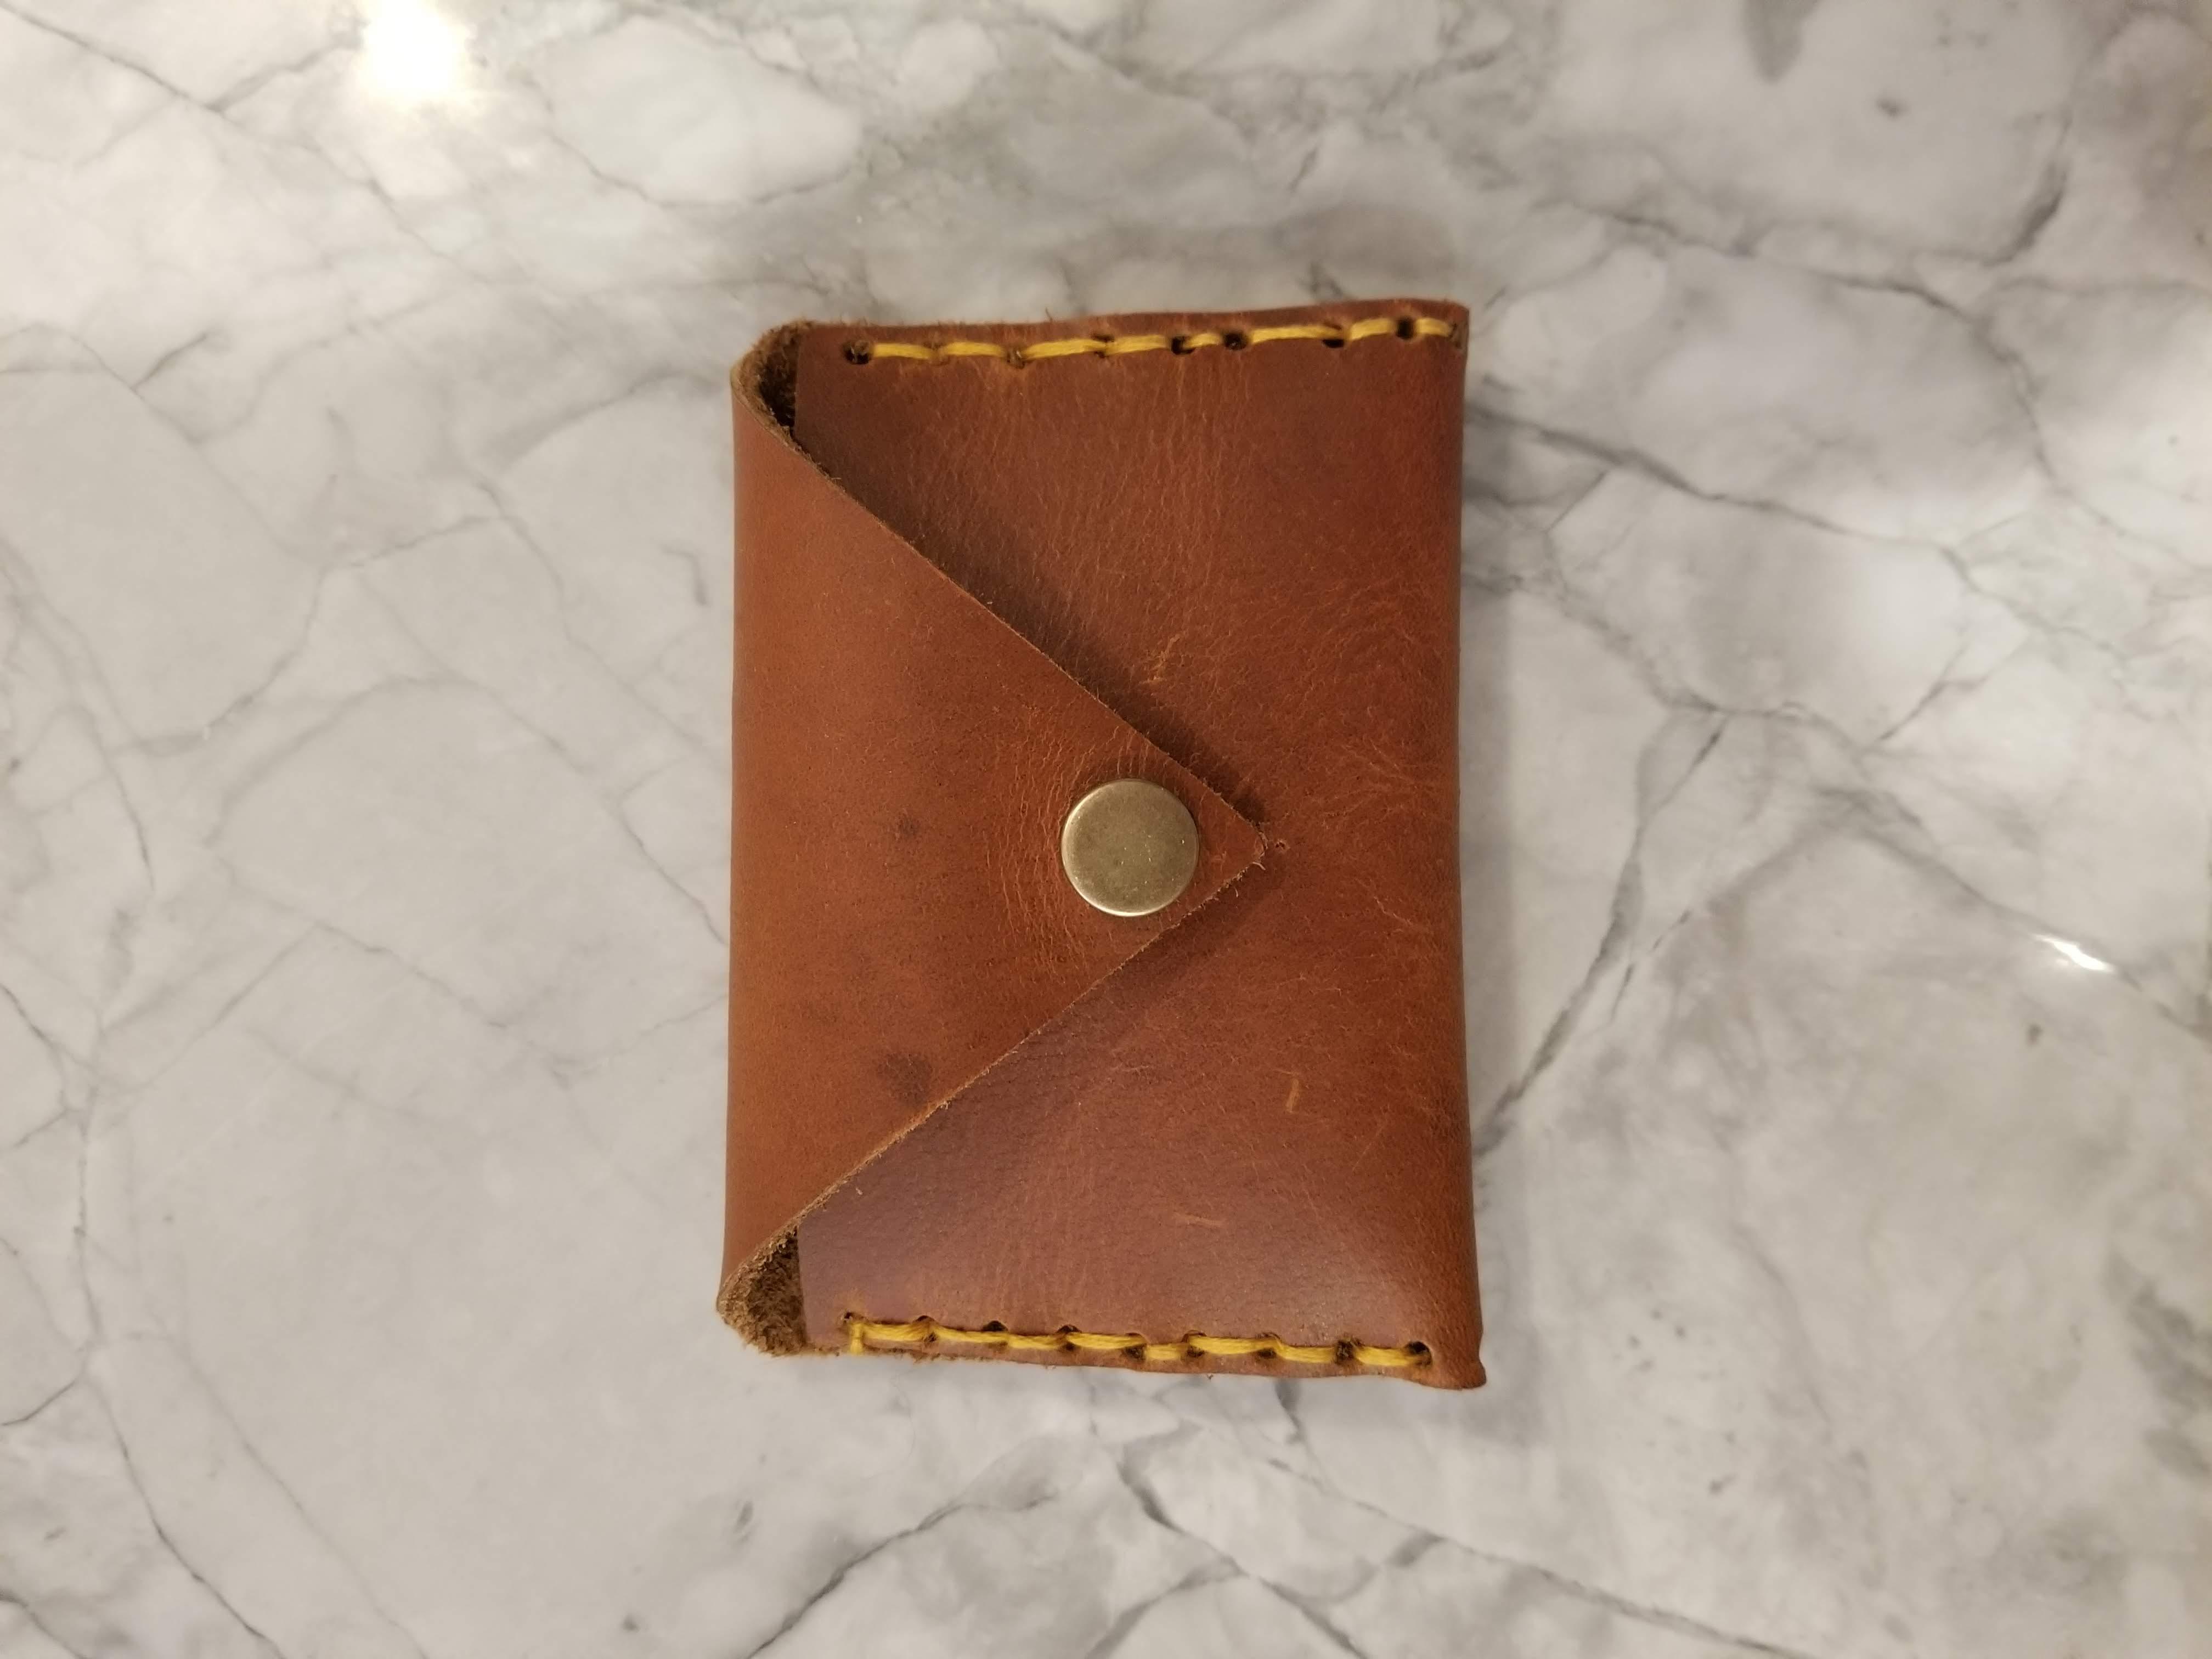
Yay! You have finally almost finished your new favorite wallet! You only have one step to go. First, get the supplies in the picture above. Mark the part of the wallet that folds down with scissors or marker. Now, fold down the flap and mark where they meet. Follow the manual instructions that came with the snaps. Your final product should look like the second picture.
Yay!!!

Congratulations!!! You have completed your beautiful leather wallet I know you will use to the fullest! Please tell me if you need any help with this in the comments. Don't forget to <3 and vote!