Elegoo Smart Car V3 Plus
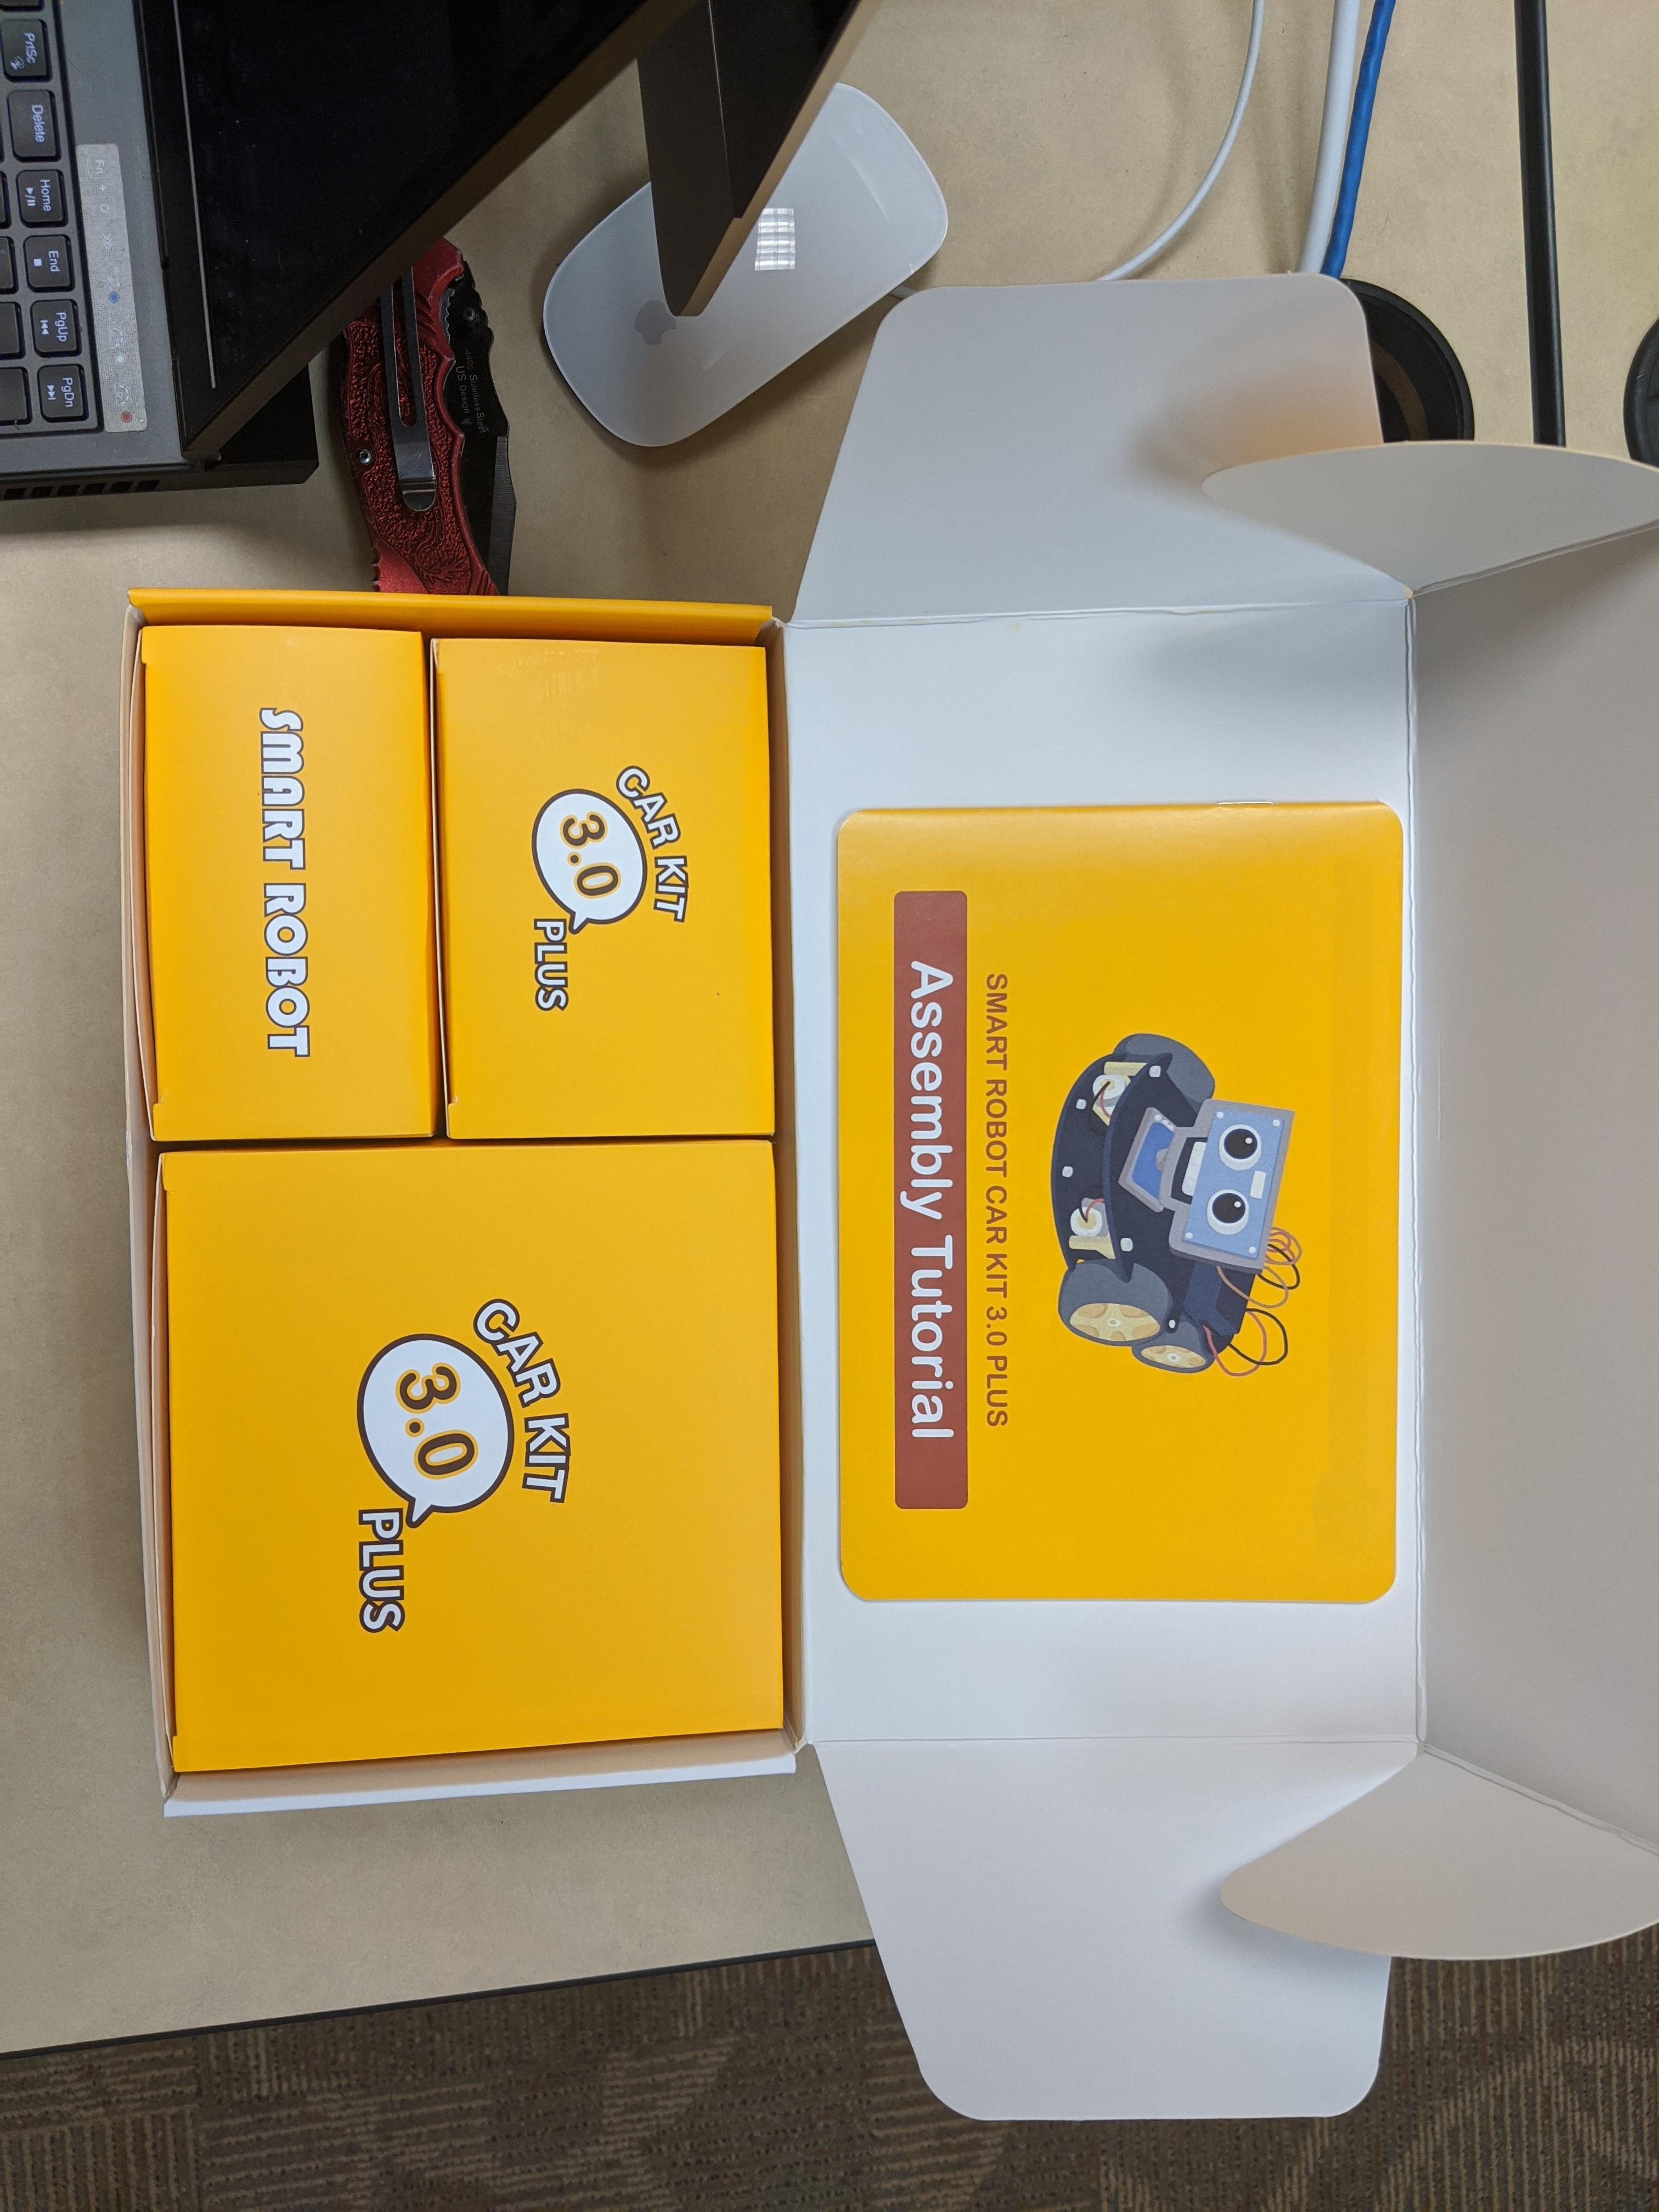

This is what the kit should look like. Make sure your parts are all there so you can begin the assembly.
Supplies
- Elegoo Smart Car V3 Plus Kit
-Computer with Arduino Installed
-Bluetooth Compatible Phone
Step One: Assemble Motor Parts
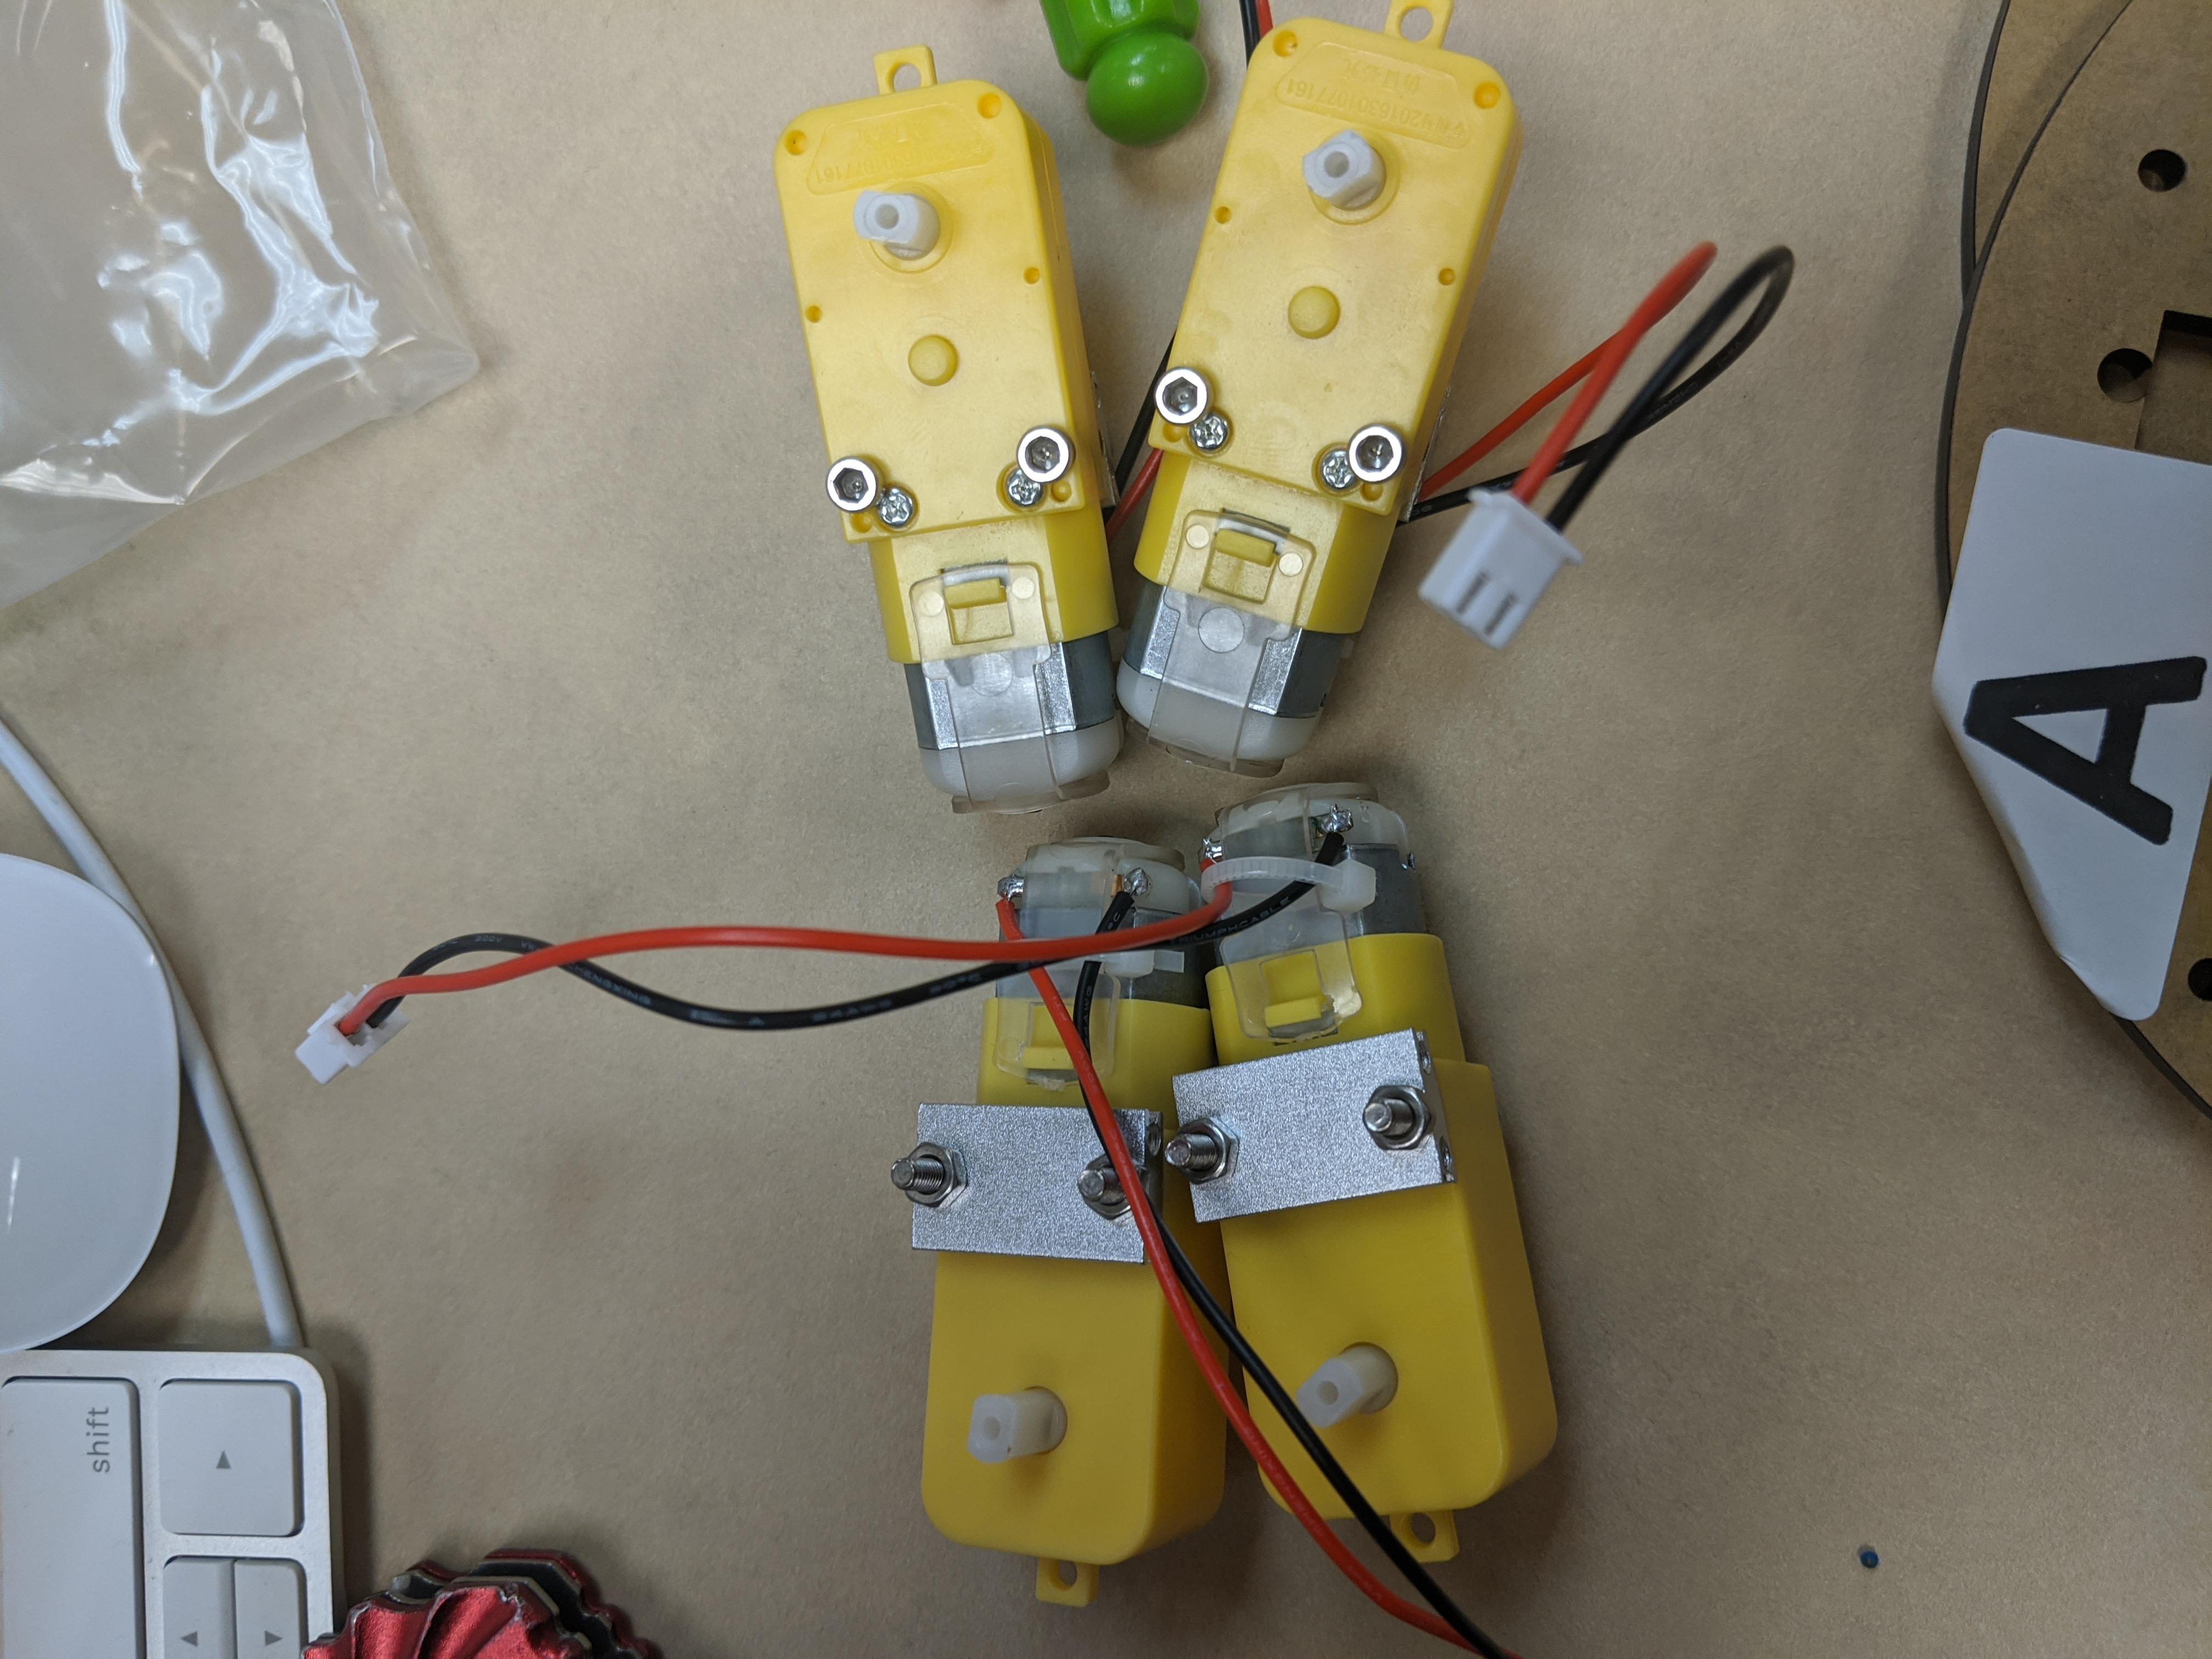
Your motors should have a small piece of metal screwed onto them which will allow you to mount the motors to the bottom acrylic.
Step Two: Mount Your Motors
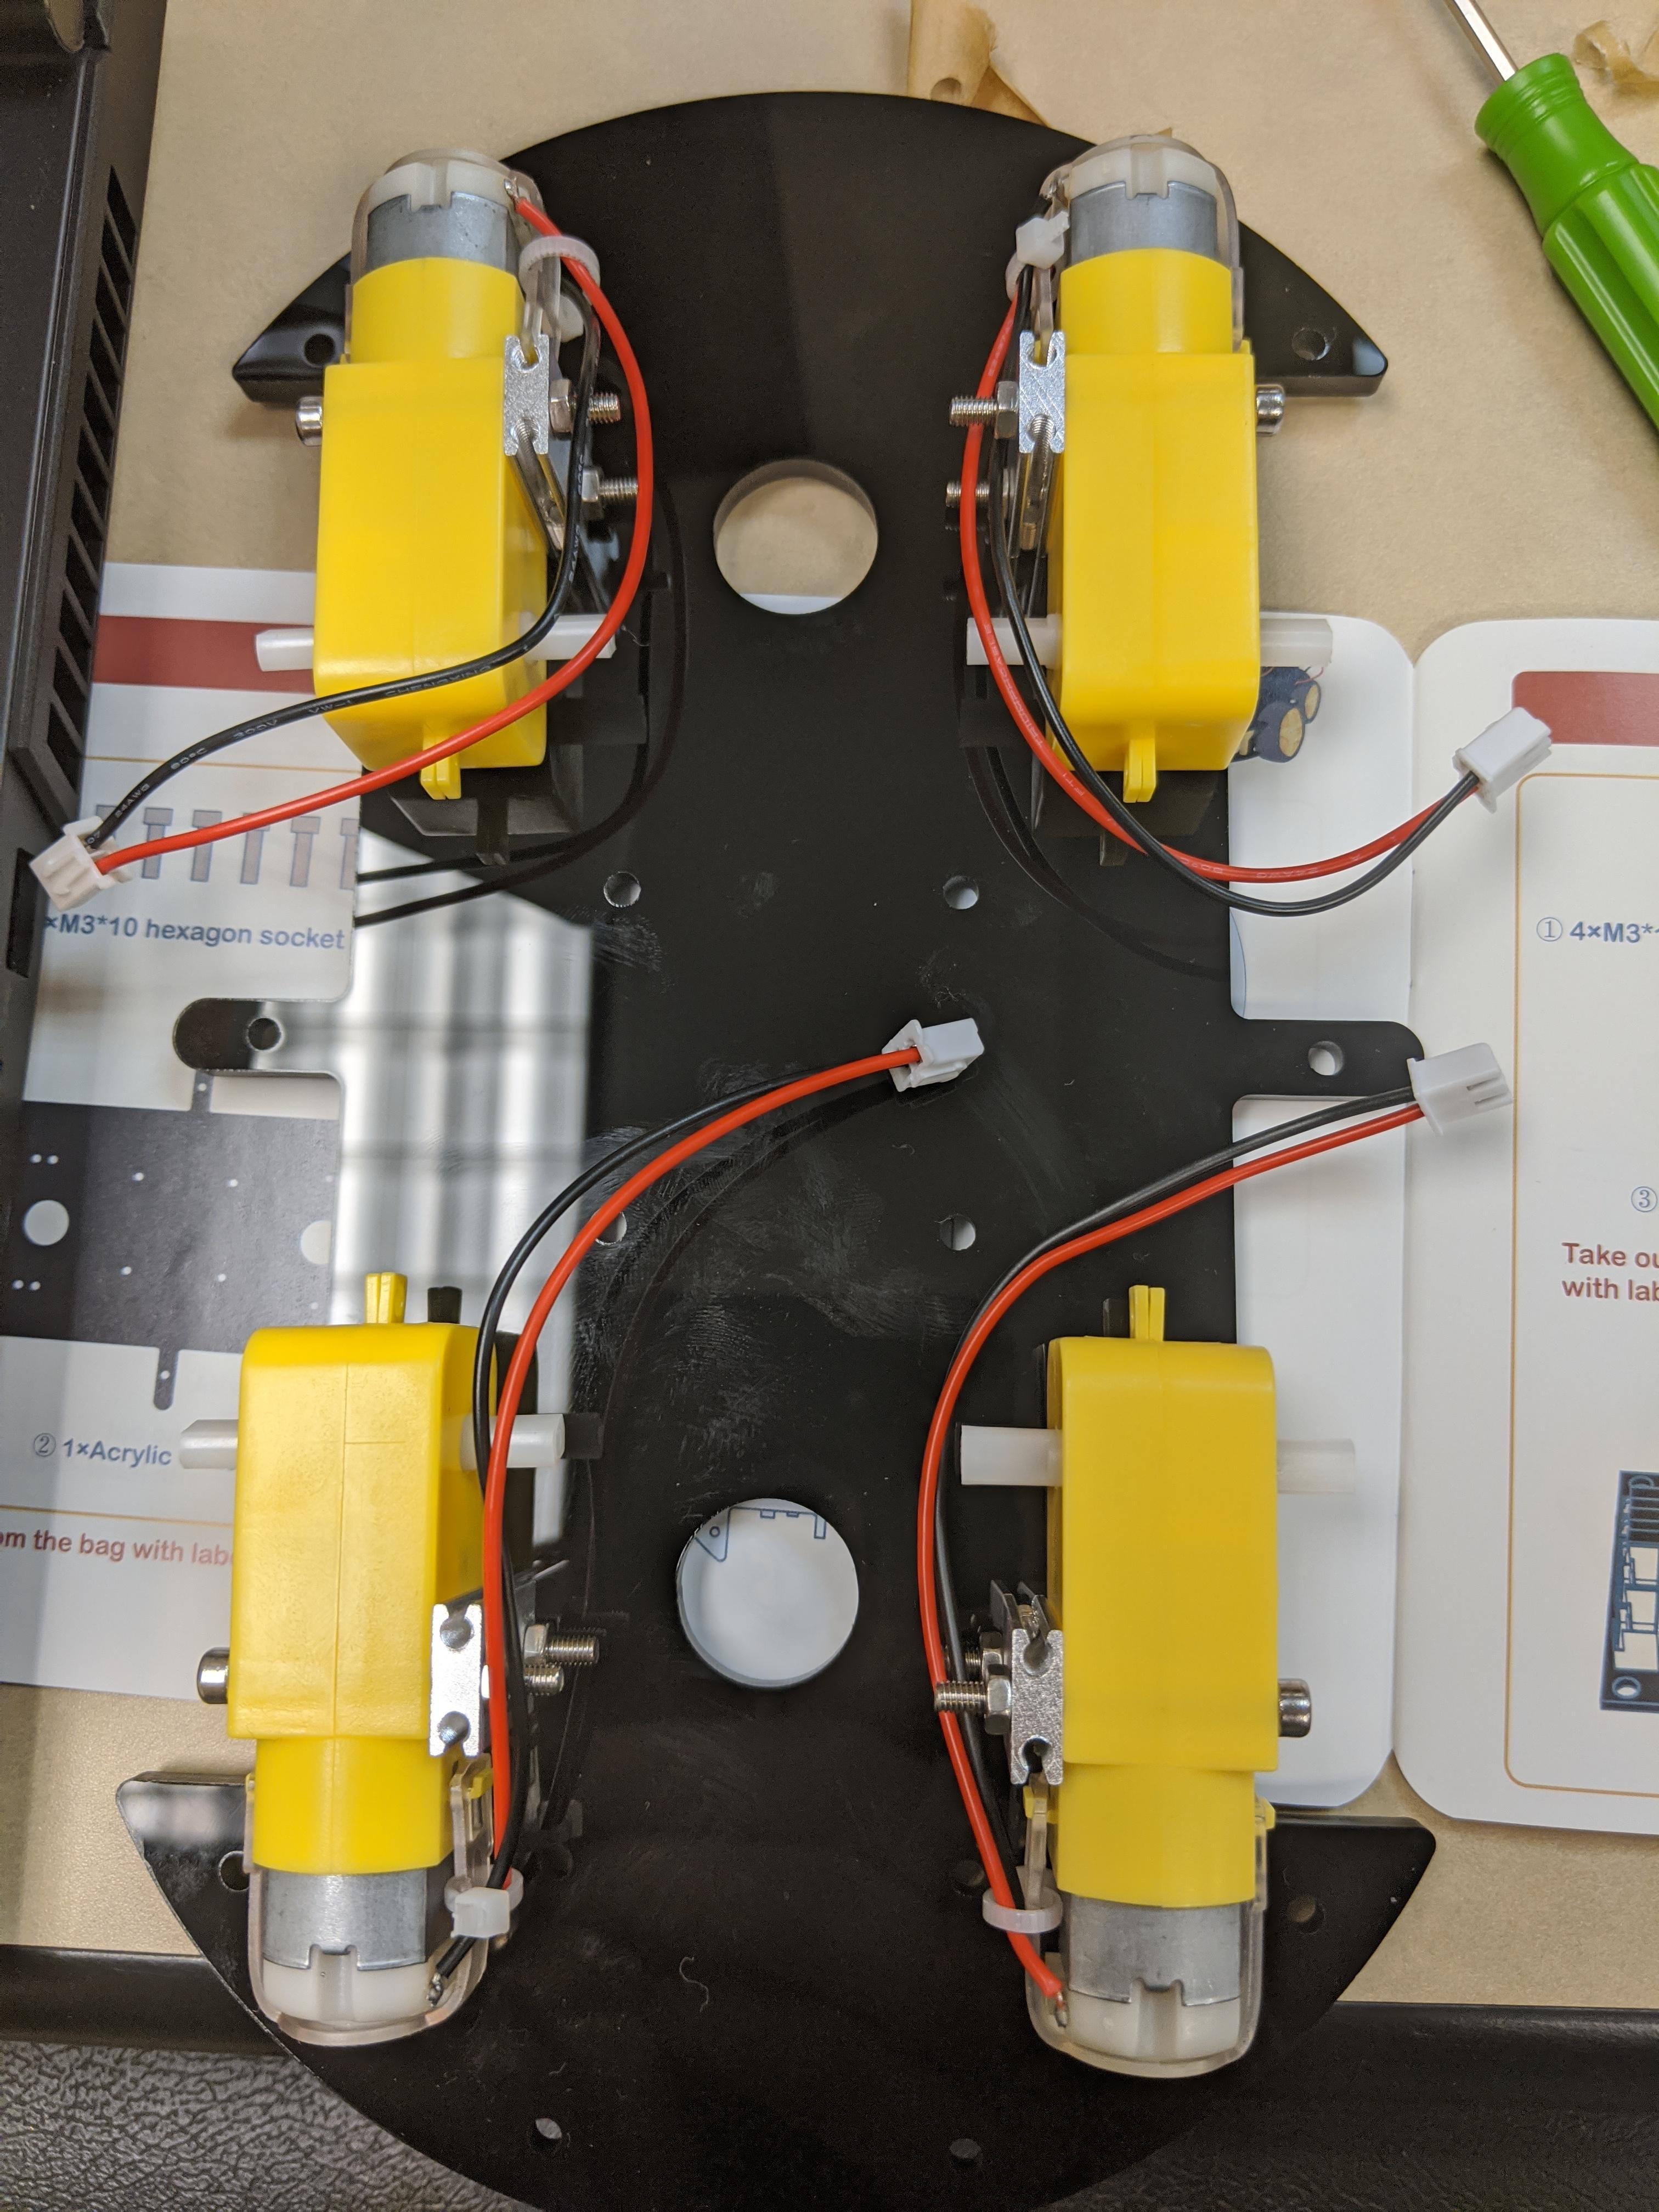
Mount the motors using 8 screws and the metal on the motors.
Step Three: Add Your Motor Controller and Attach Motors
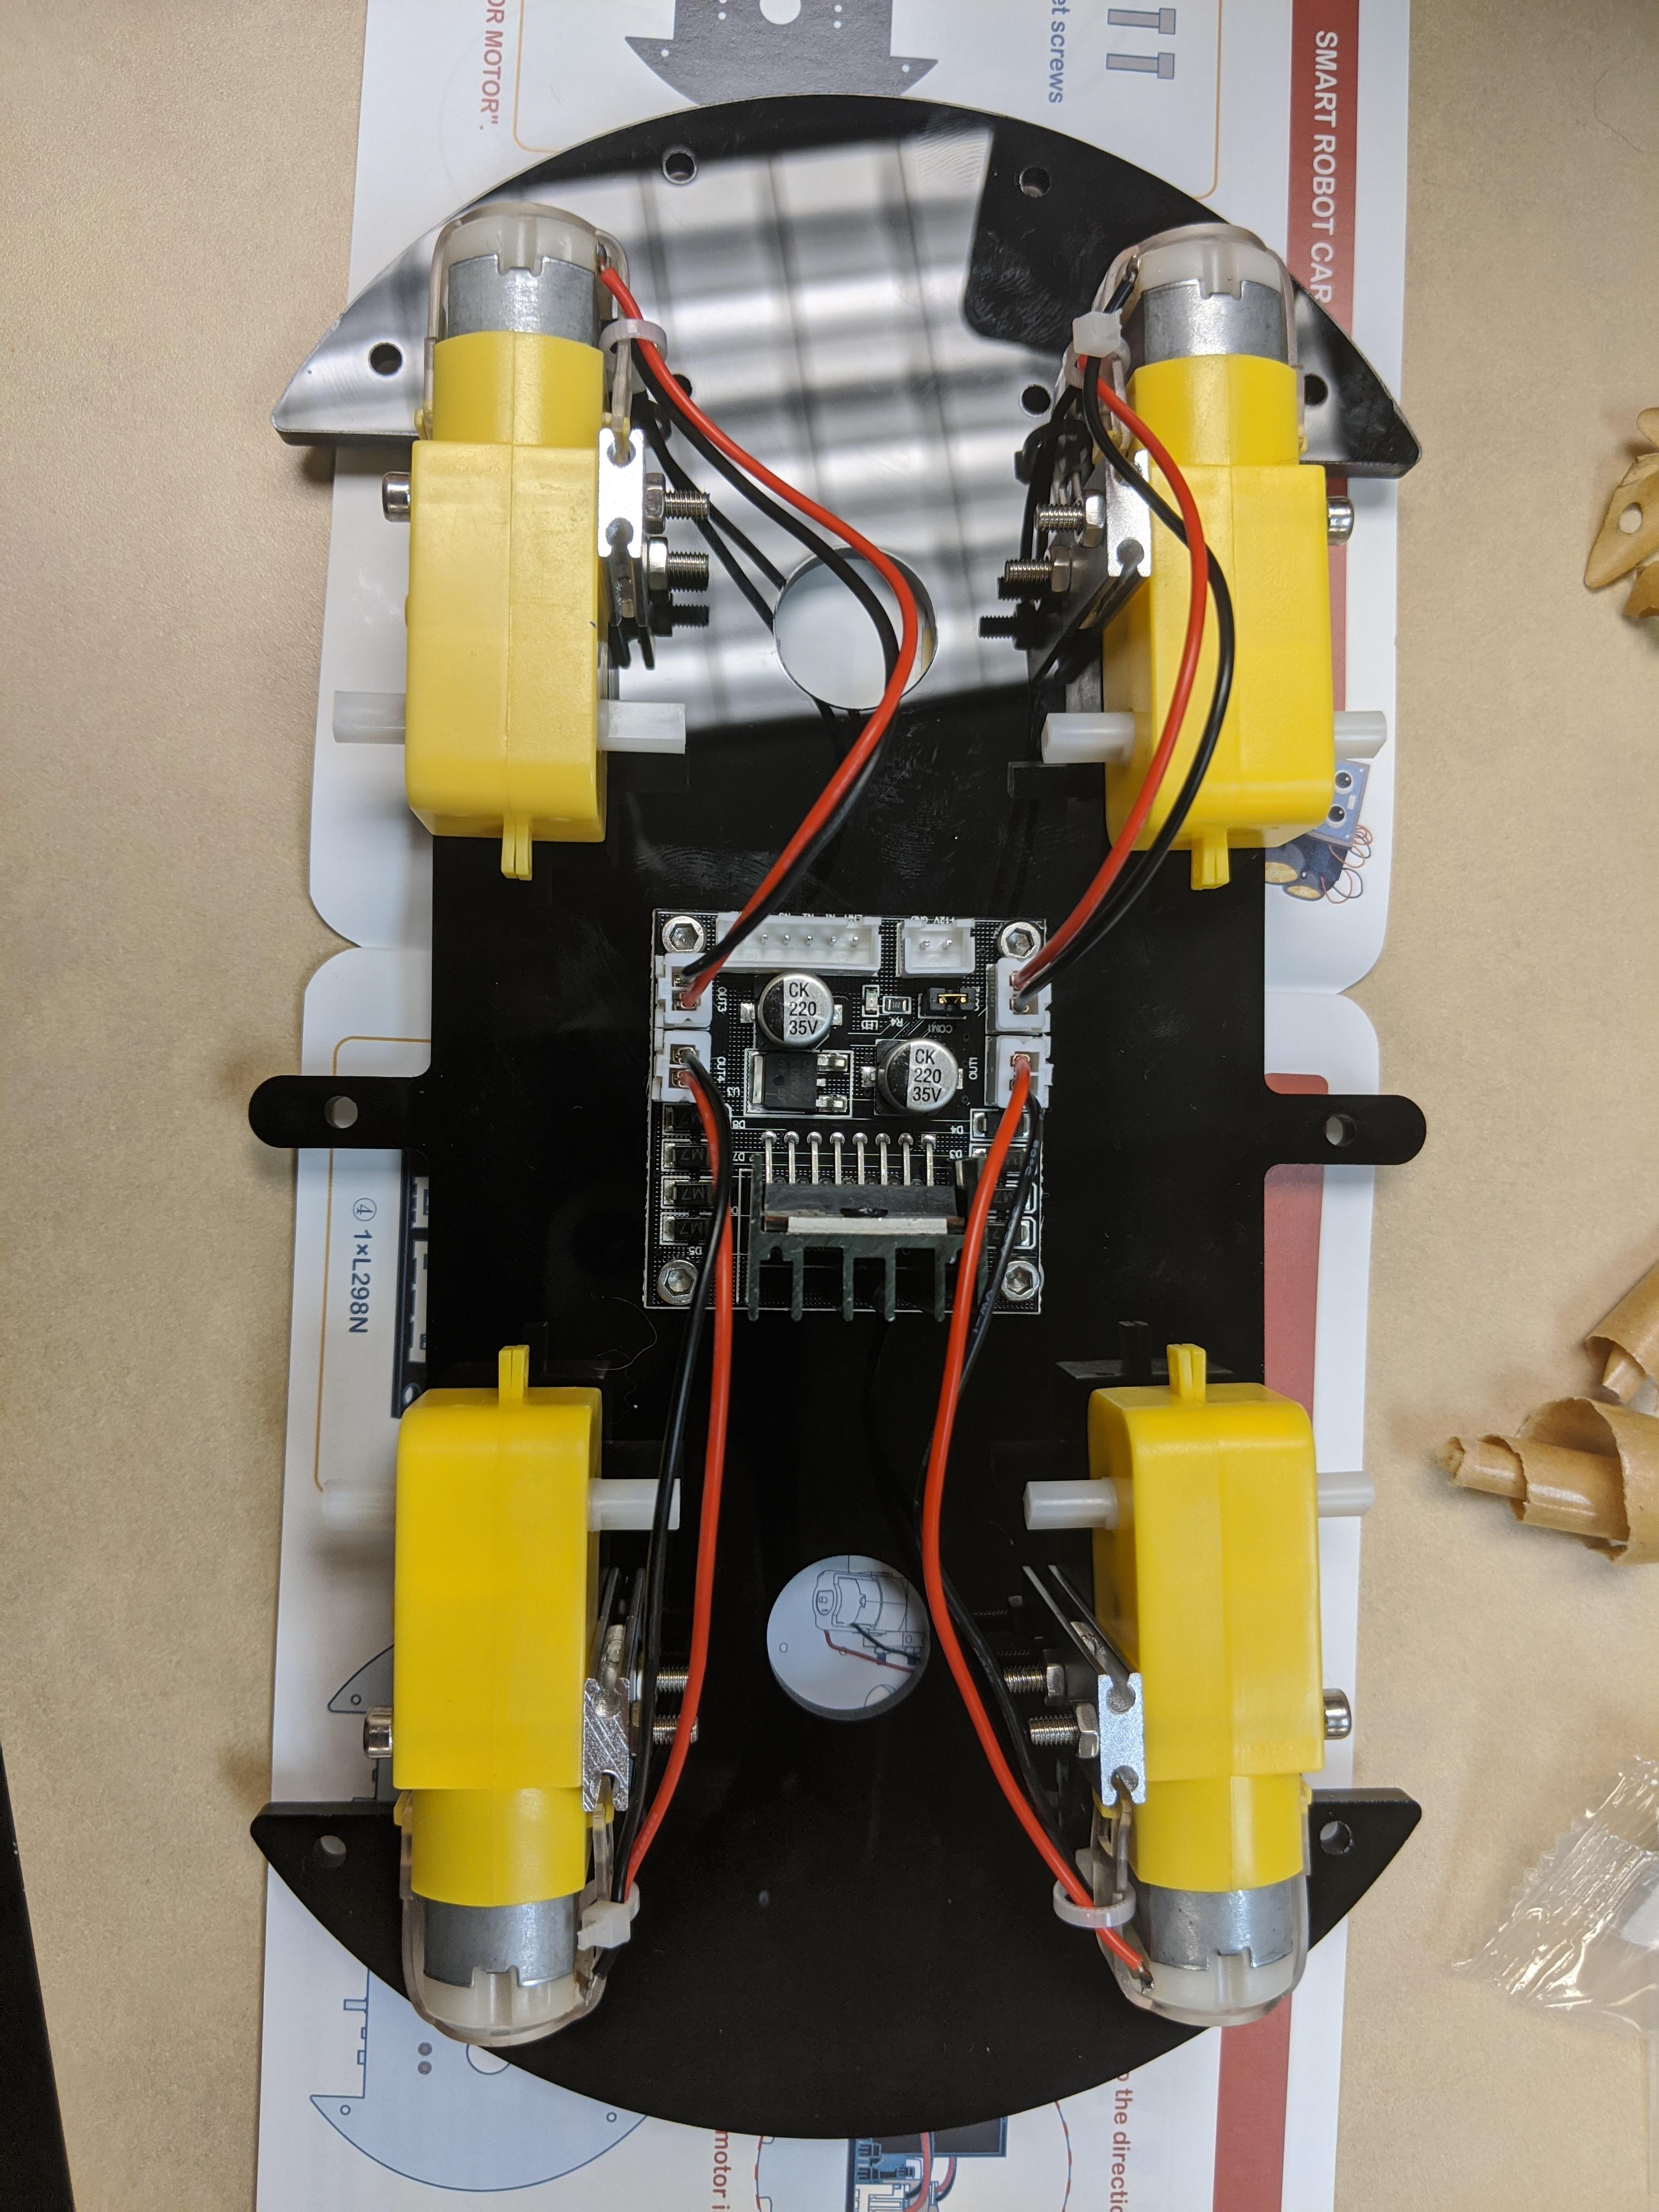
Add your motor controller to the bottom acrylic using bolts, screws, and spacers, then plug your motor wires into the corresponding ports.
Step Four: Mount Your Line Tracking Module
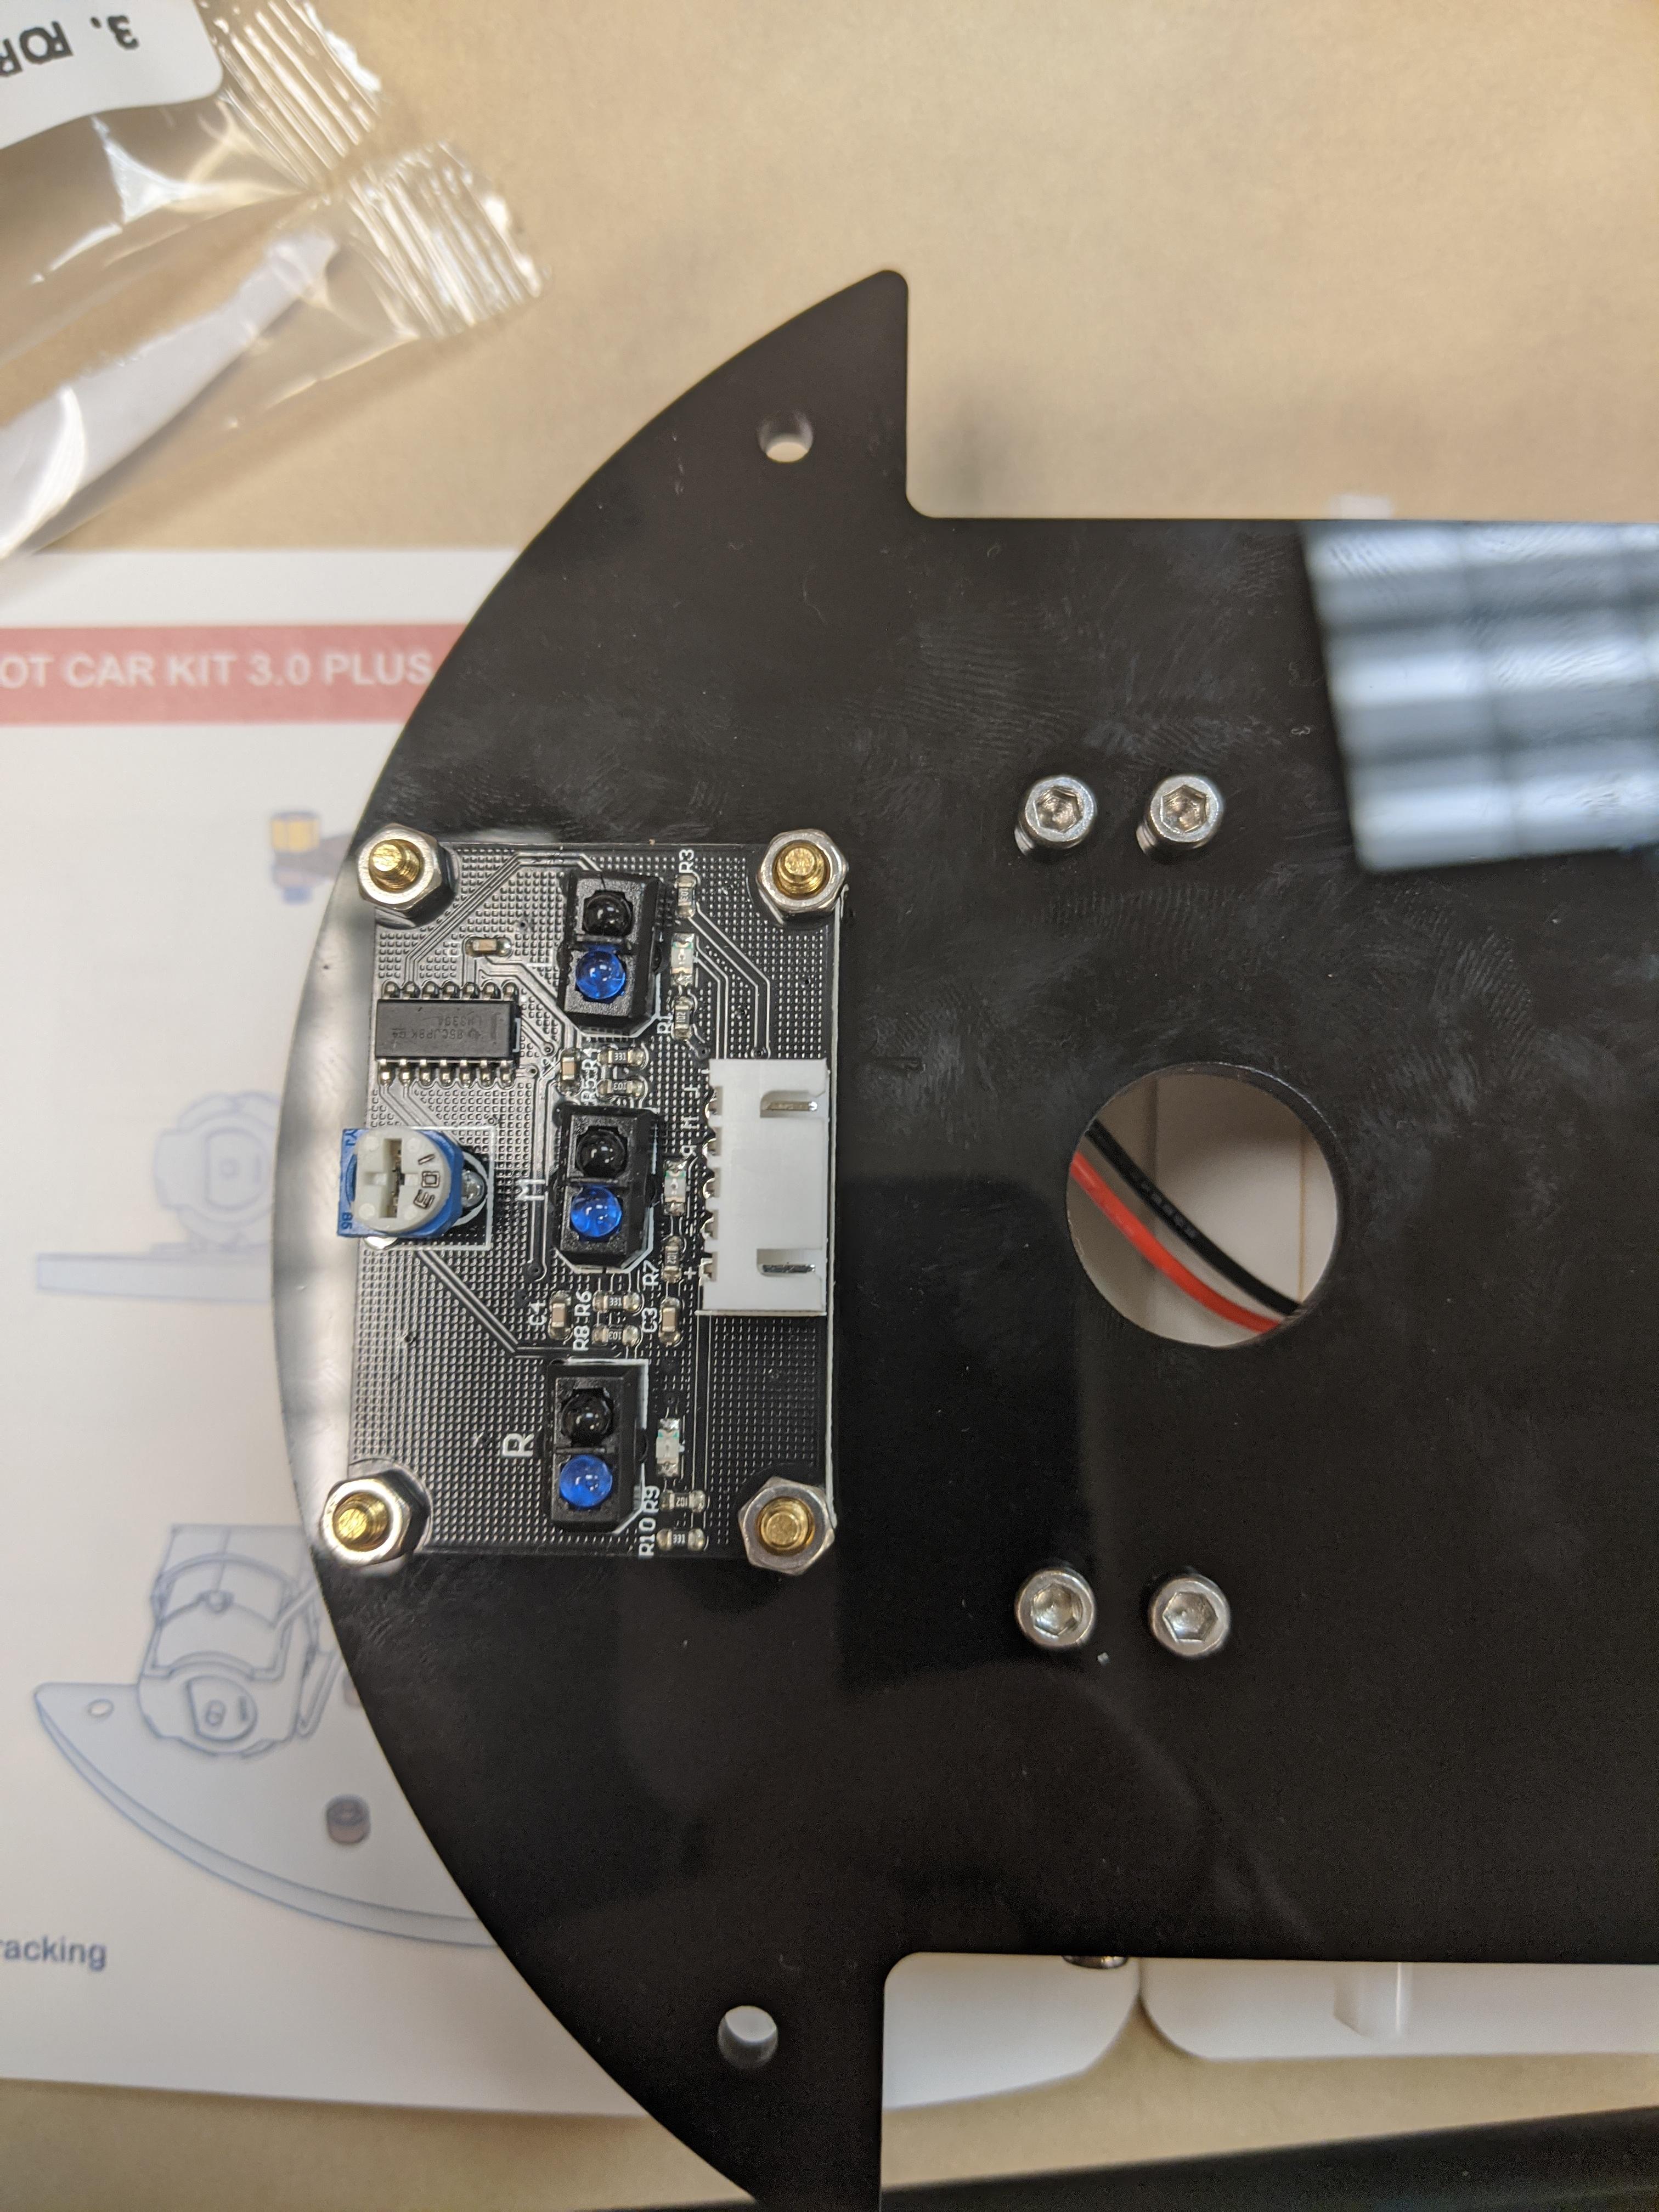
Mount the line tracking module on the front bottom of the acrylic slab.
Step Five: Assemble the Ultrasonic Sensor and Servo
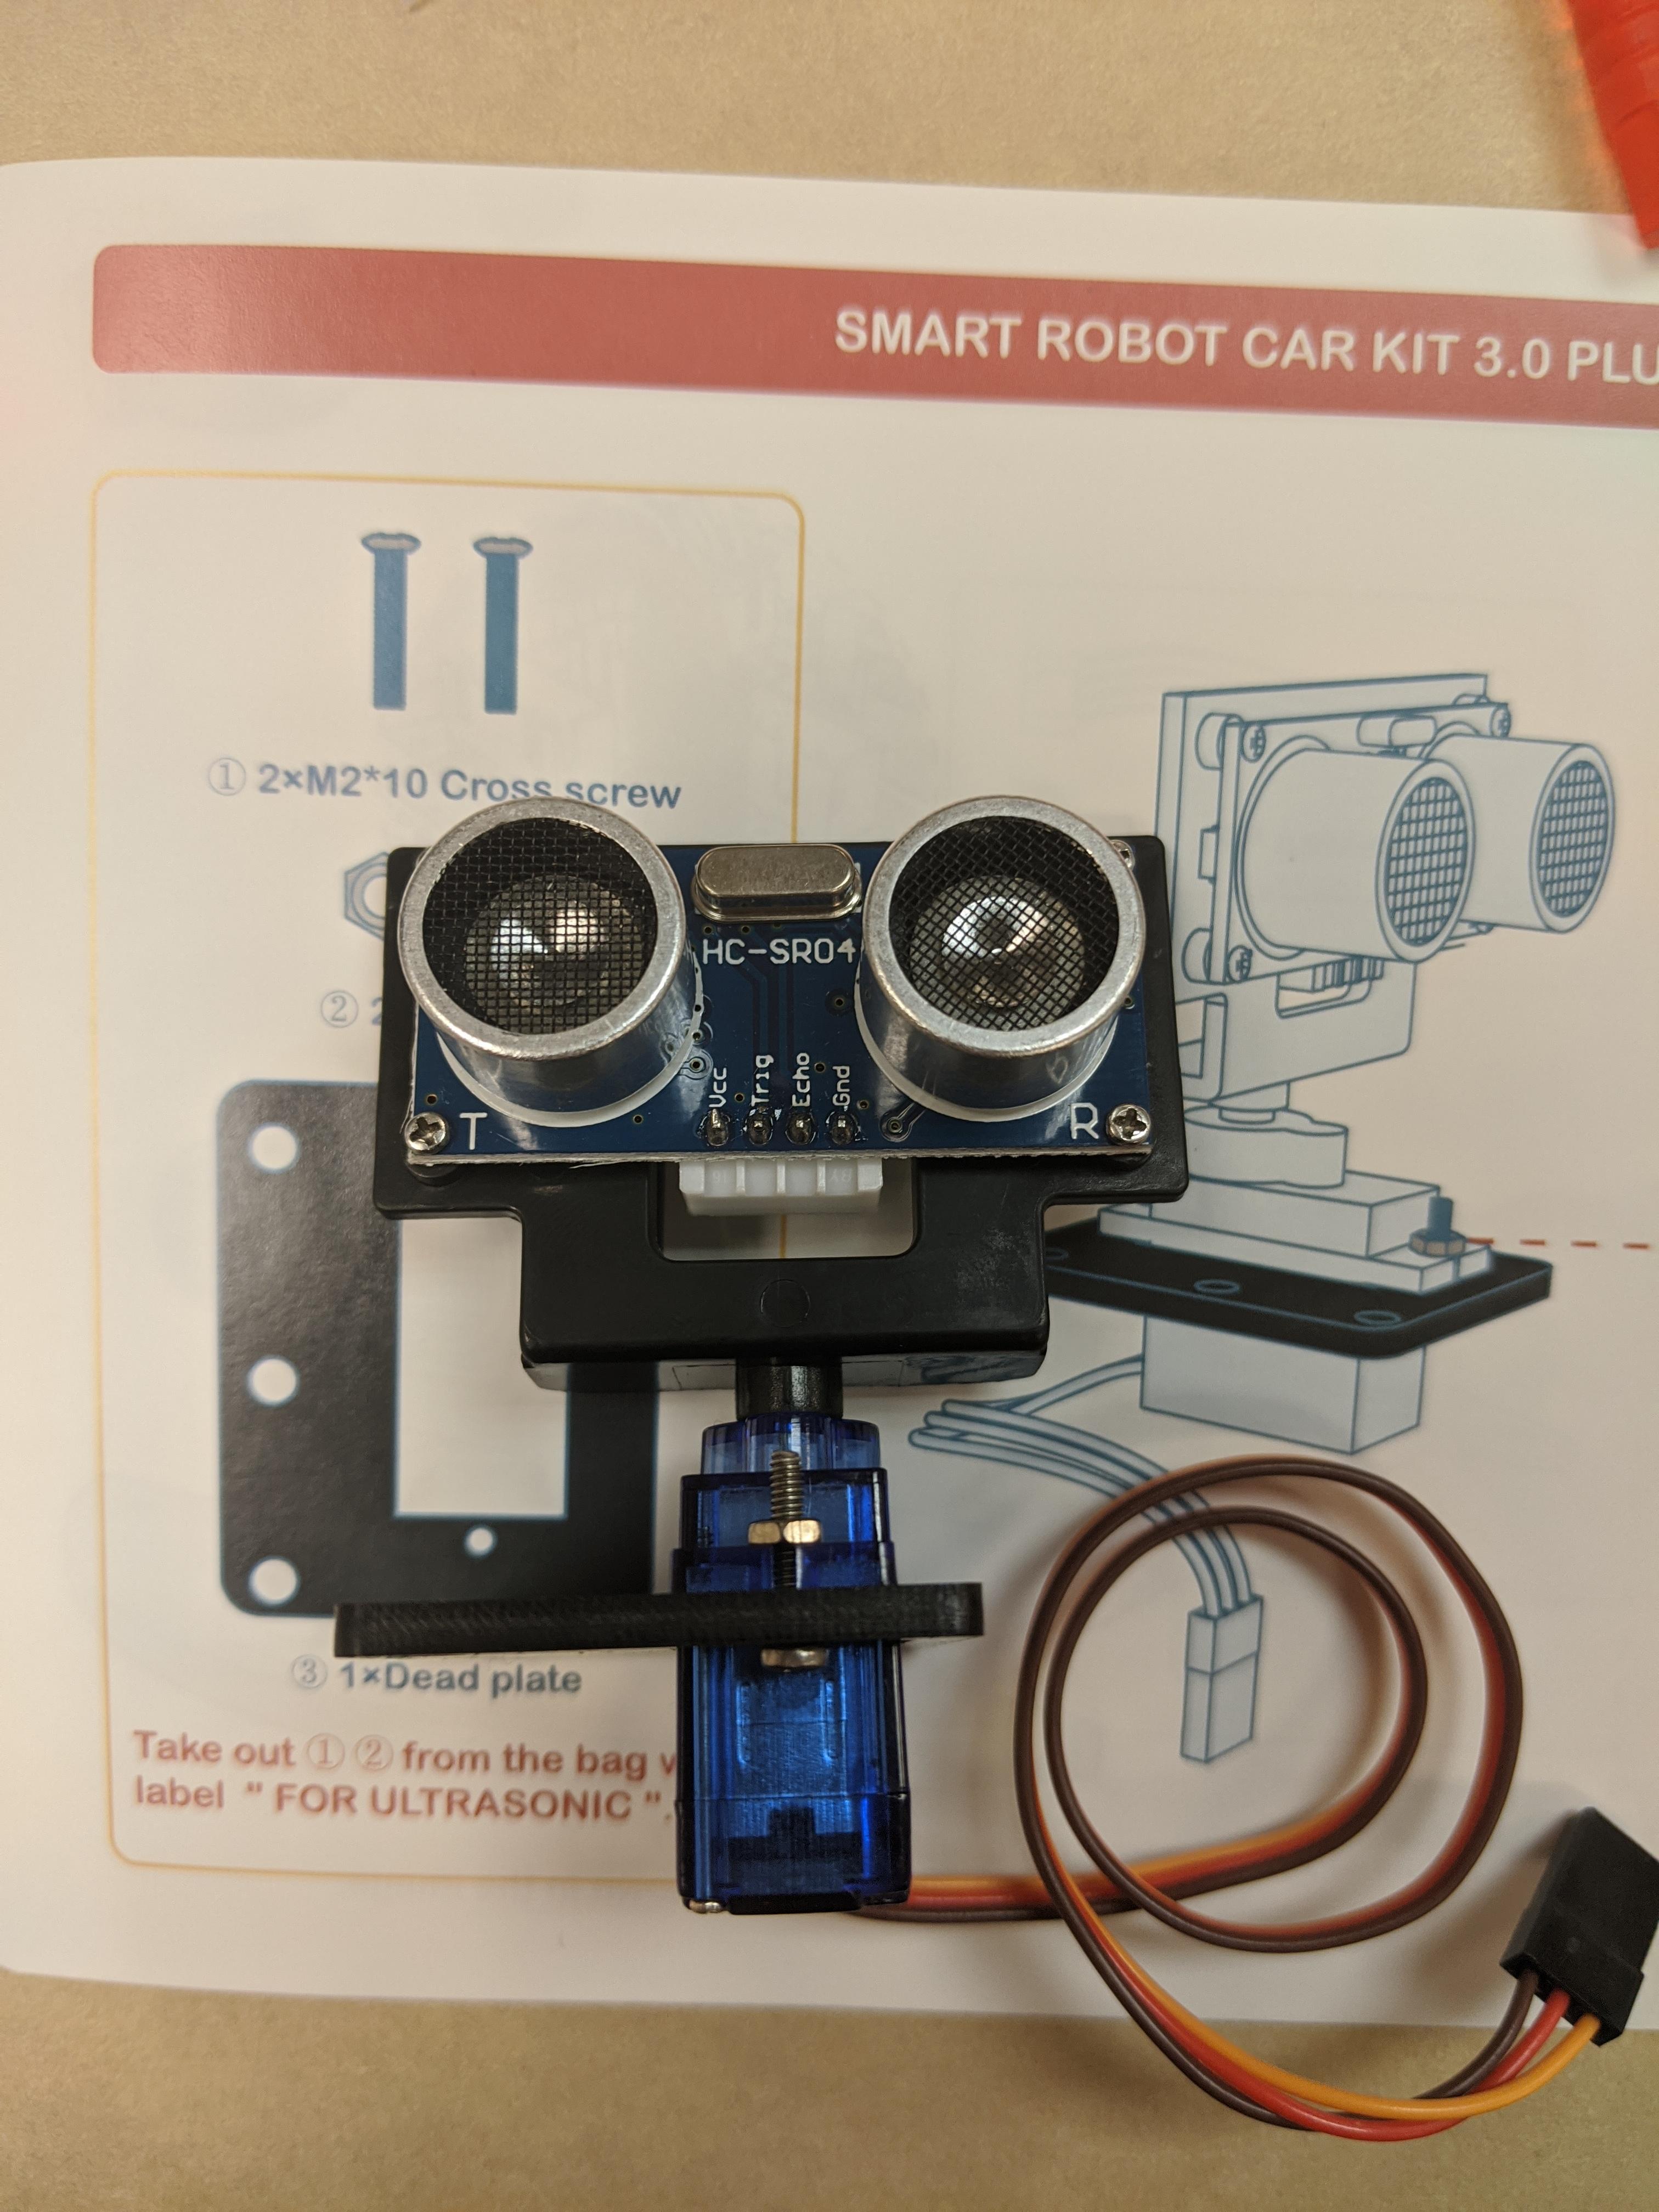
Attach the small acrylic to the servo and mount the ultrasonic sensor atop it.
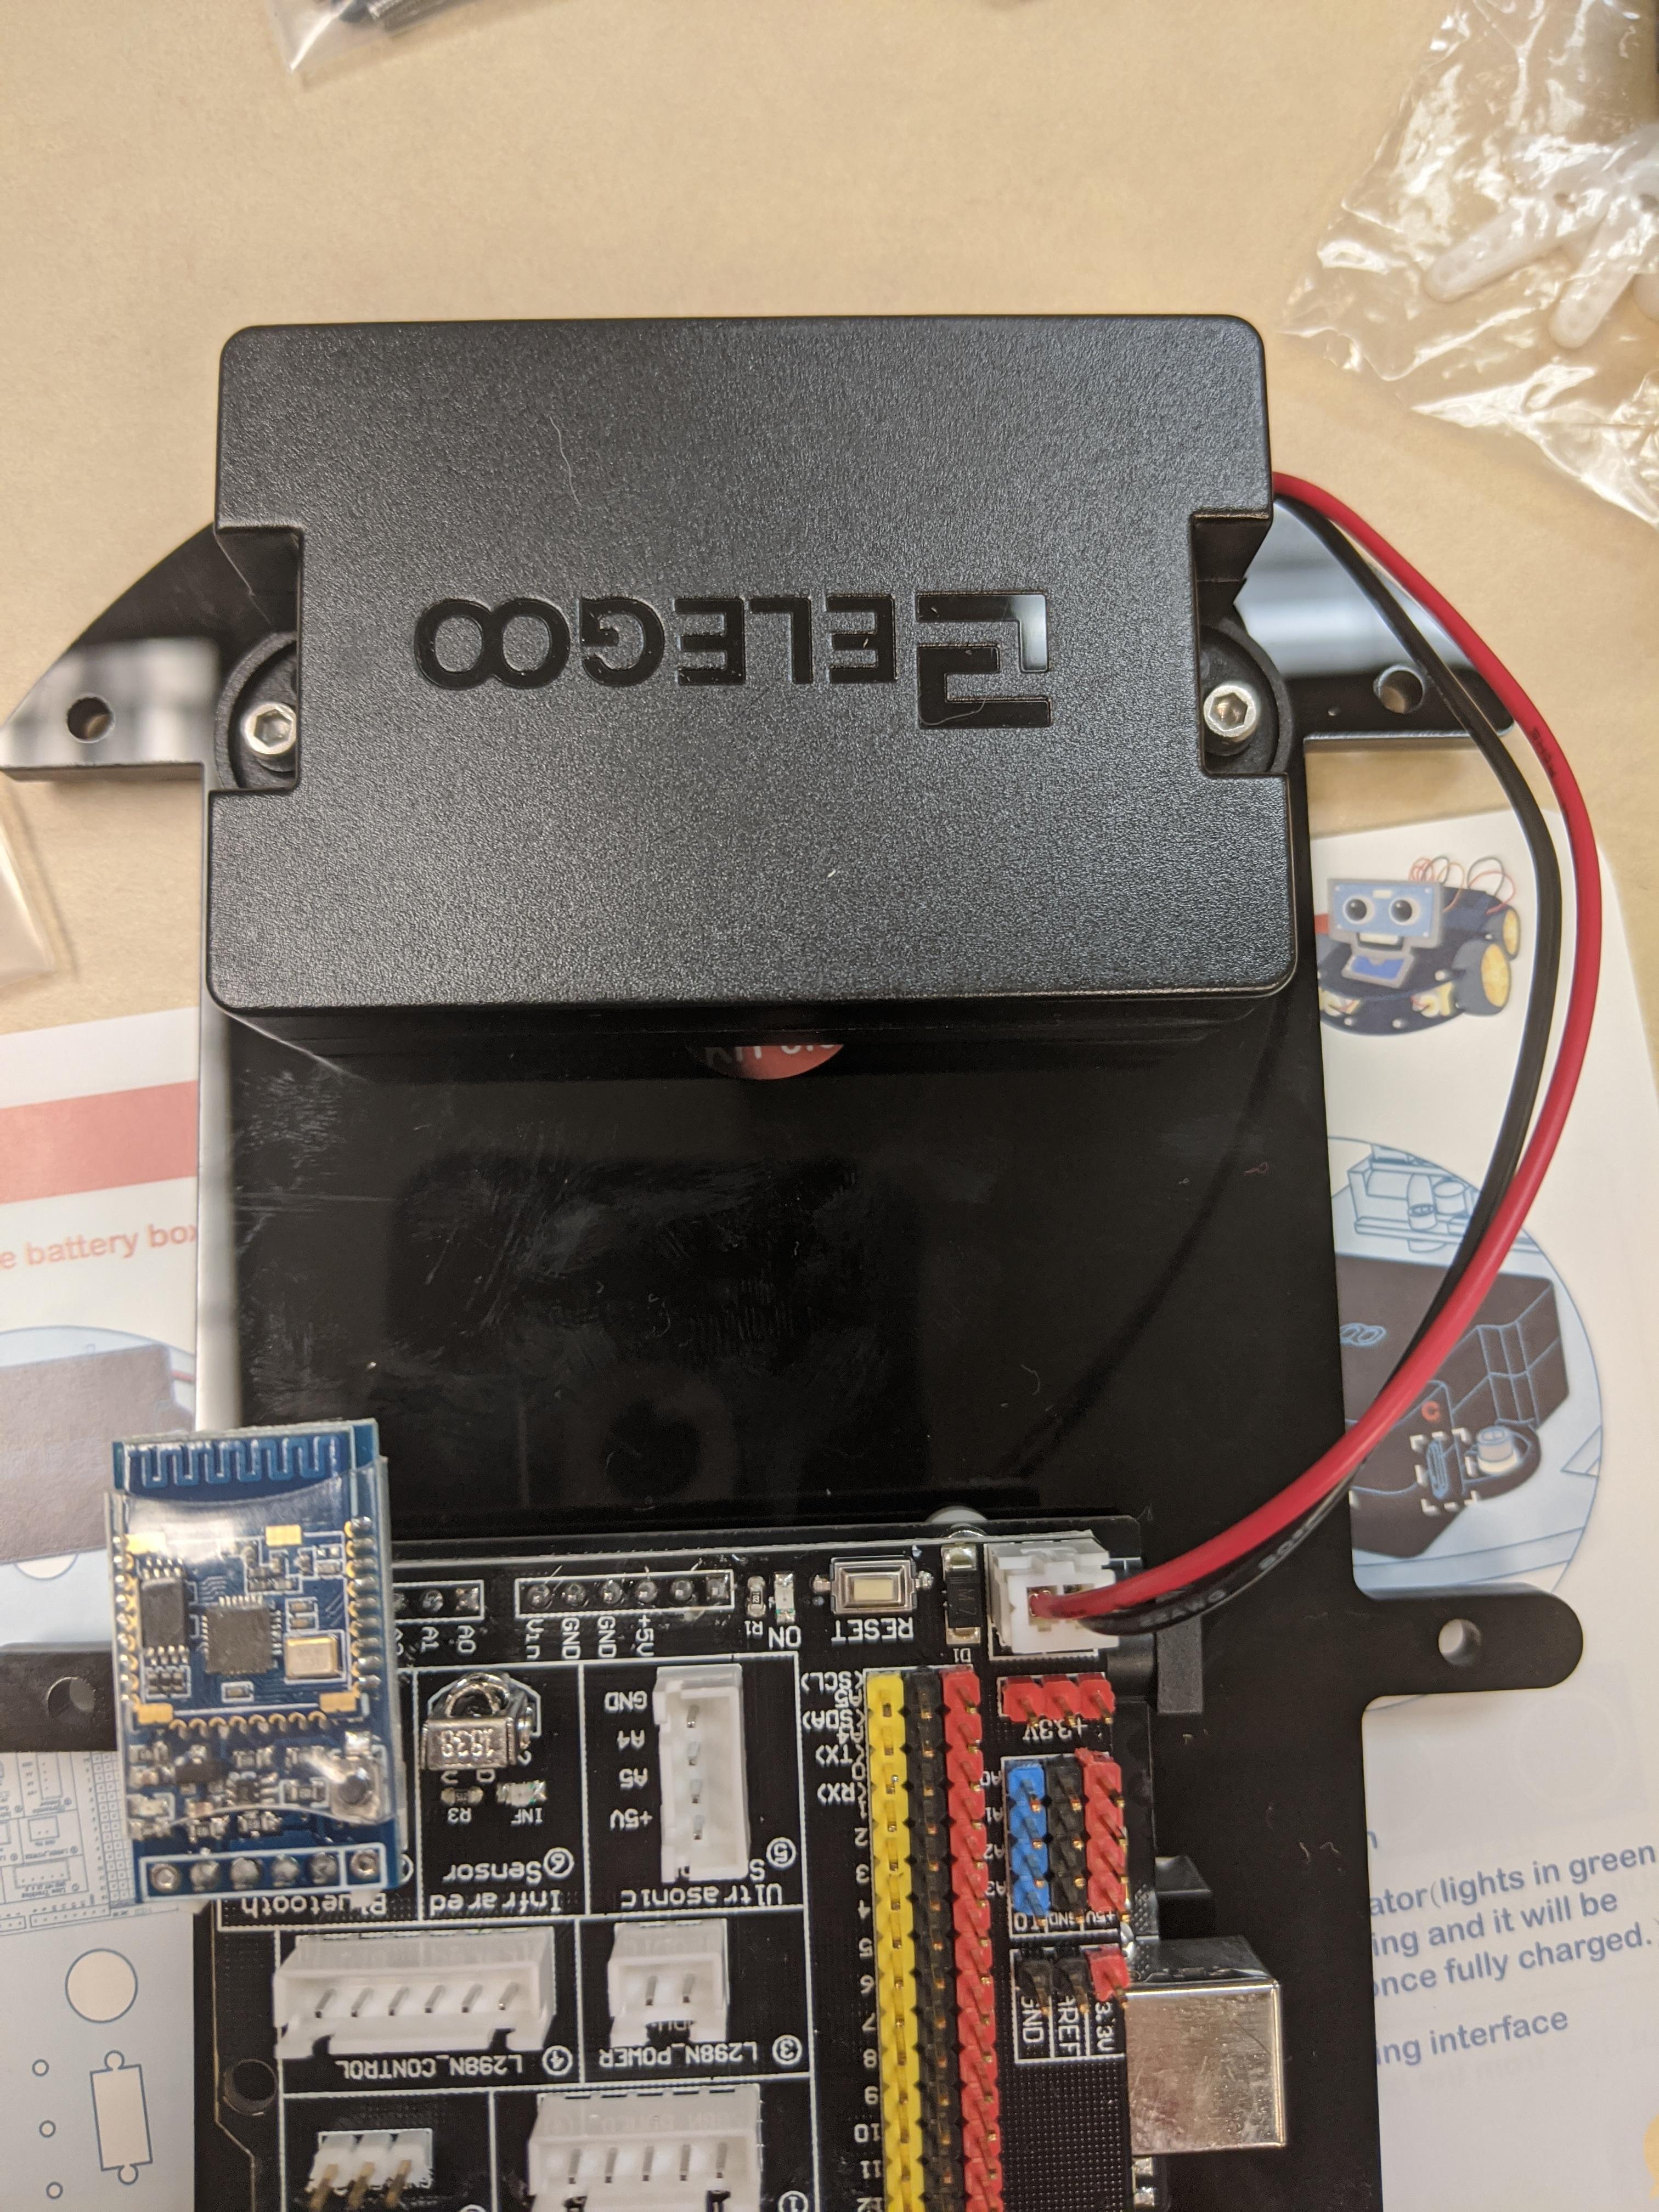
Step Six: Mount the Arduino
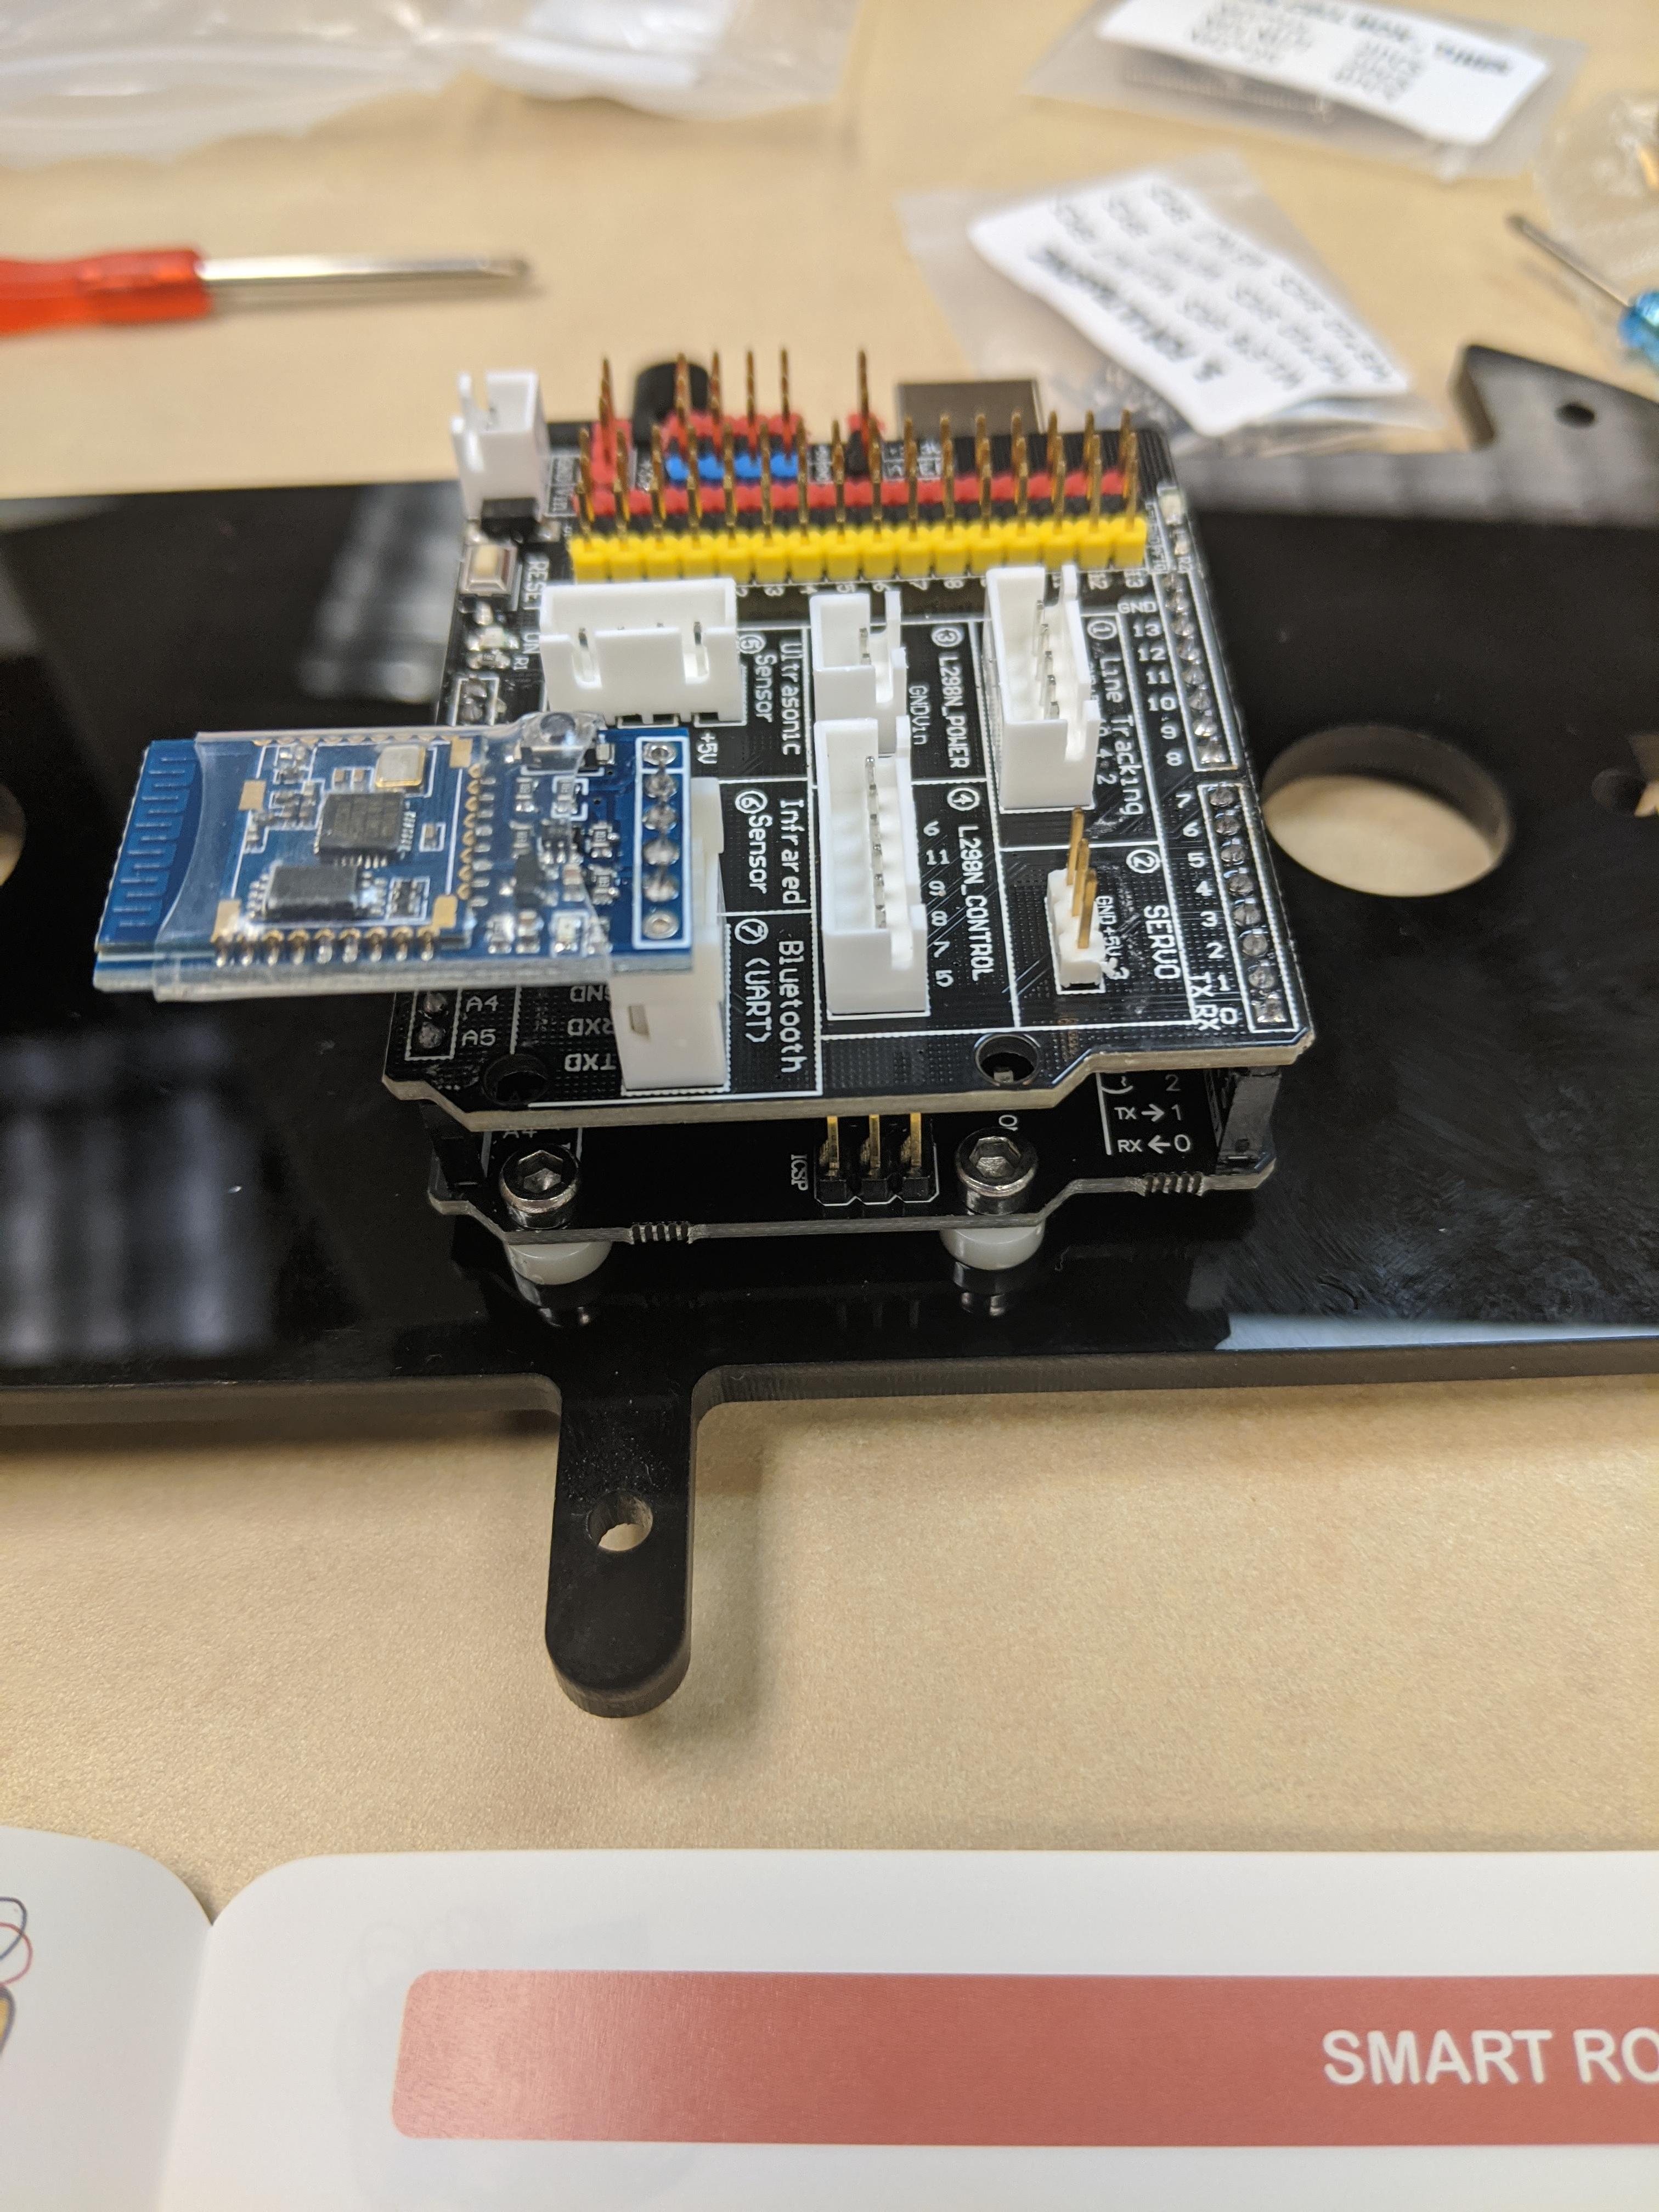
Plug the bluetooth module into the arduino and and attach the arduino to the top of the second large acrylic.
Step Seven: Plug Everything Into the Arduino
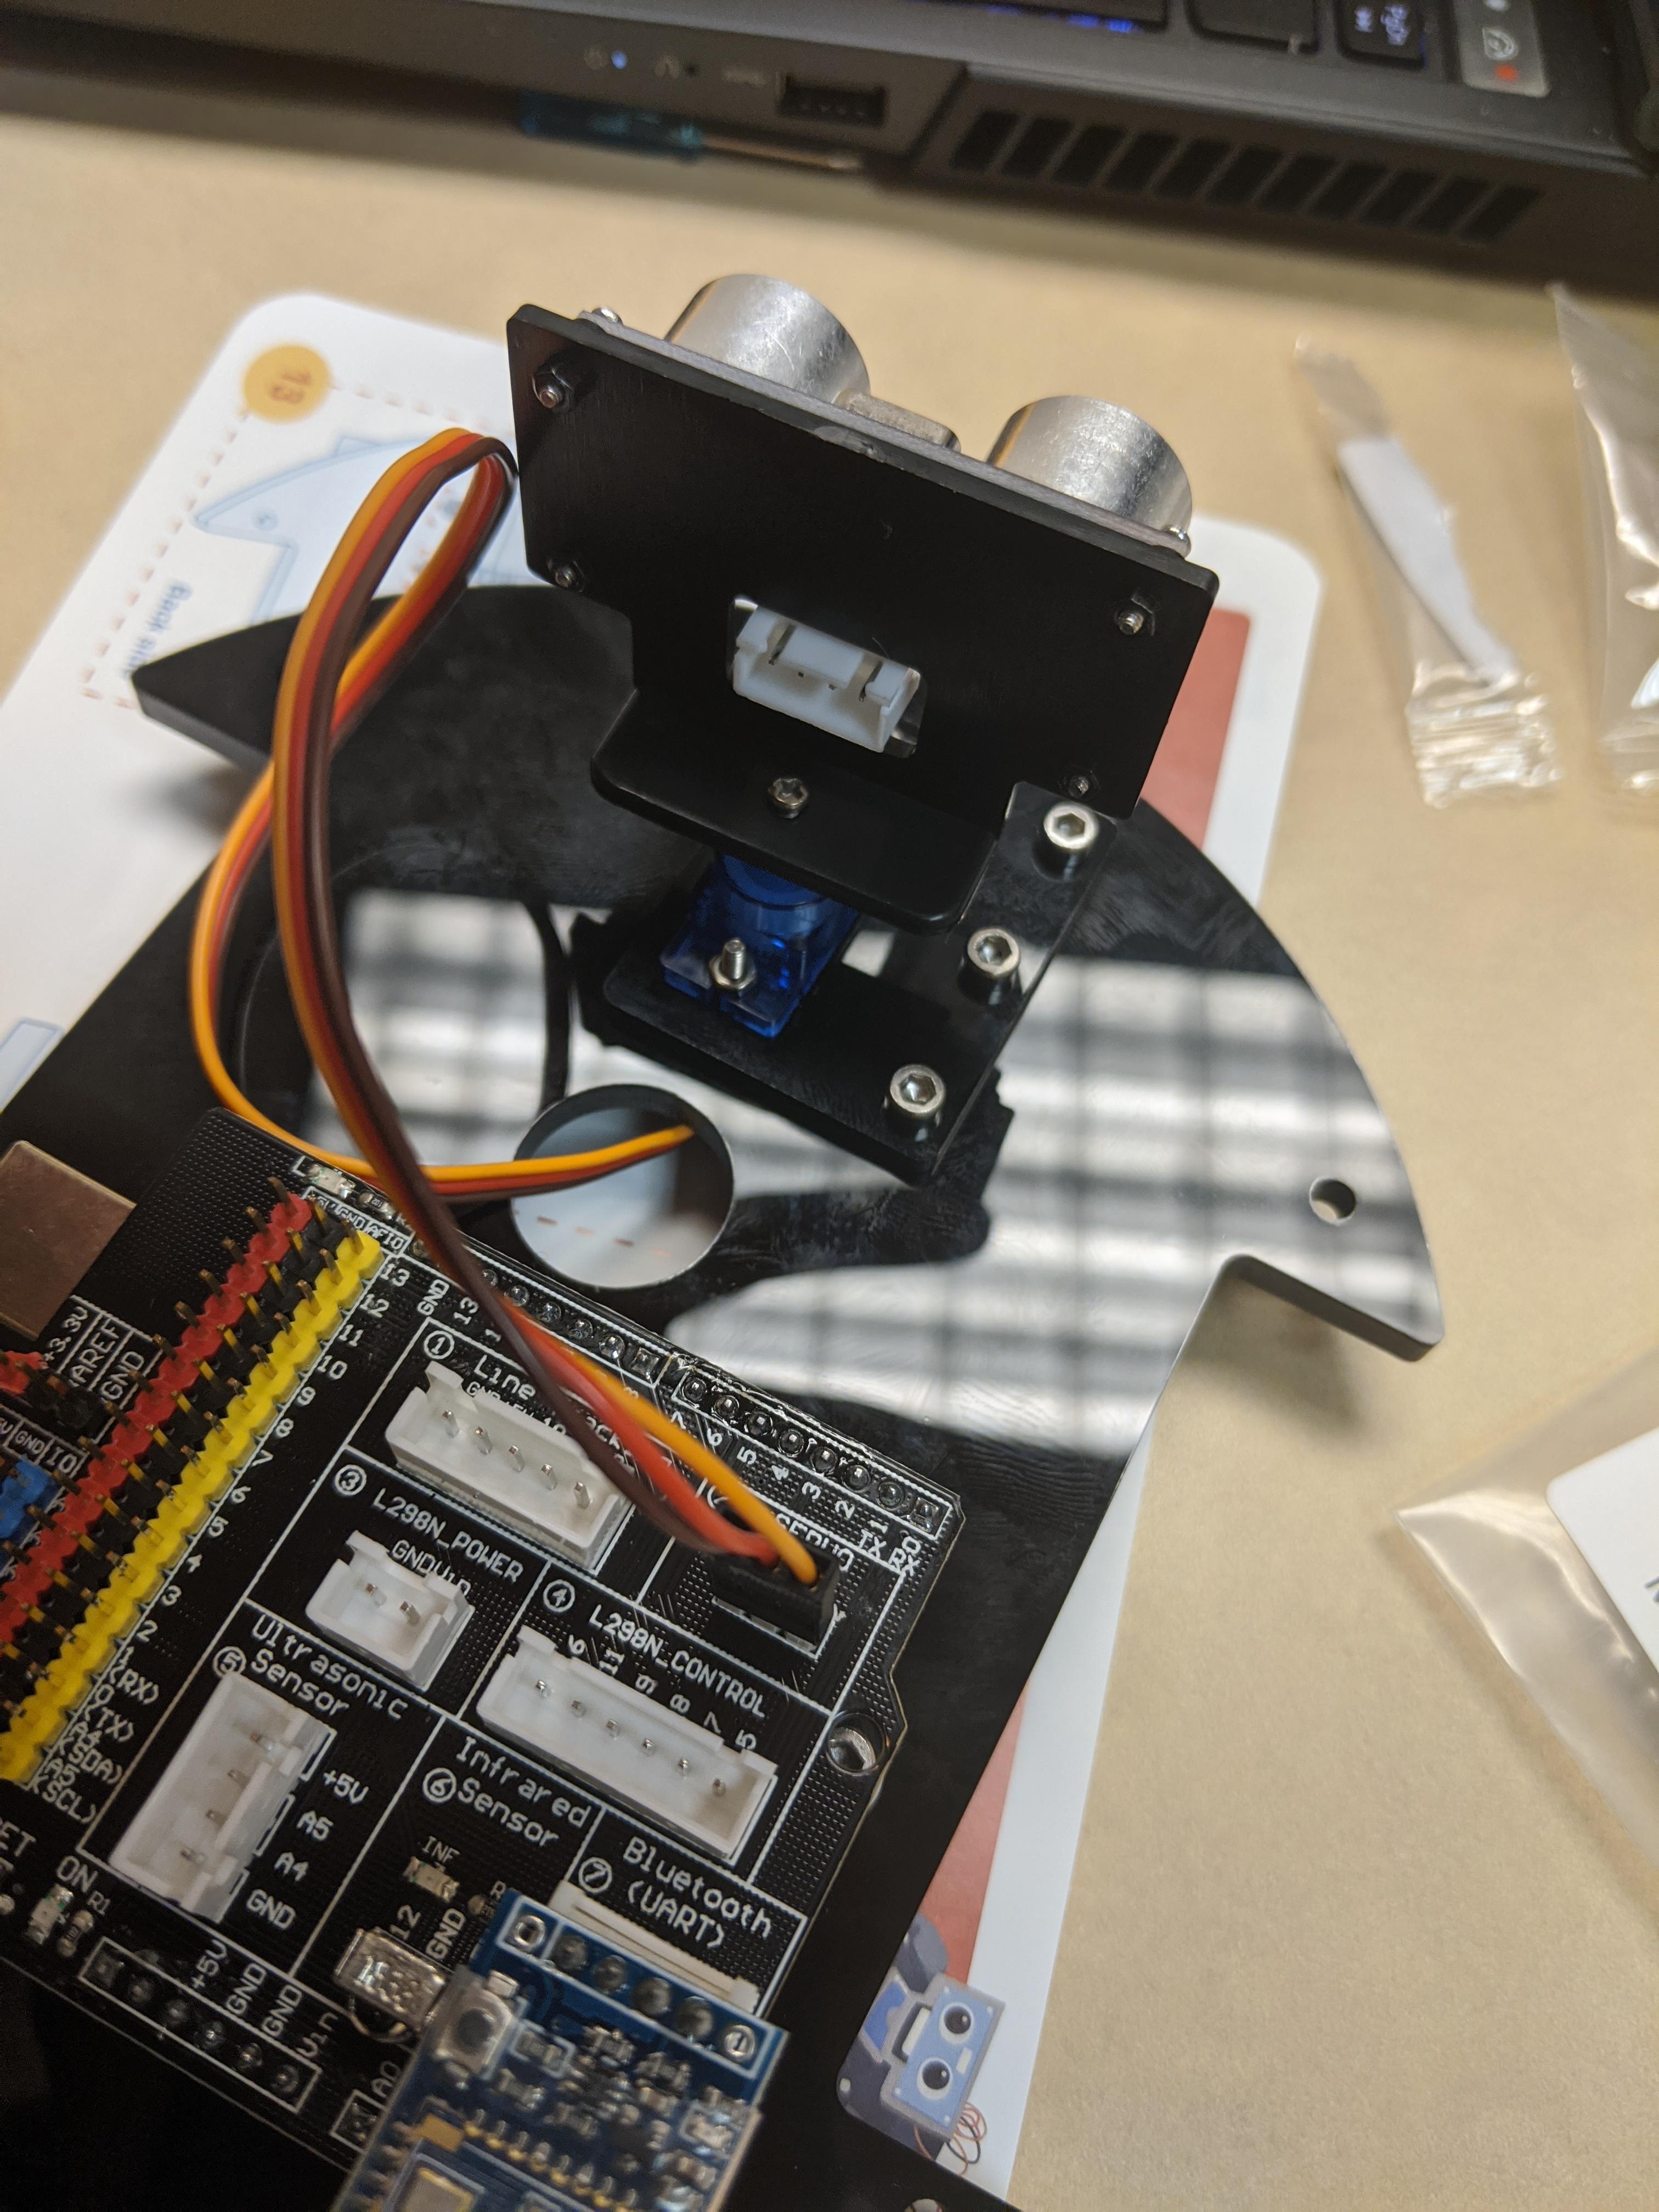
Just go ahead and plug everything into the arduino.
Step Eight: Mount the Battery Pack
Mount the battery pack to the back top of the acrylic and you will be ready to play with your new smart car.