Electronic Drum With AB-Shutter3
by アロー明和レーシング in Circuits > Remote Control
2937 Views, 8 Favorites, 0 Comments
Electronic Drum With AB-Shutter3
Electronic drum with AB-Shutter3
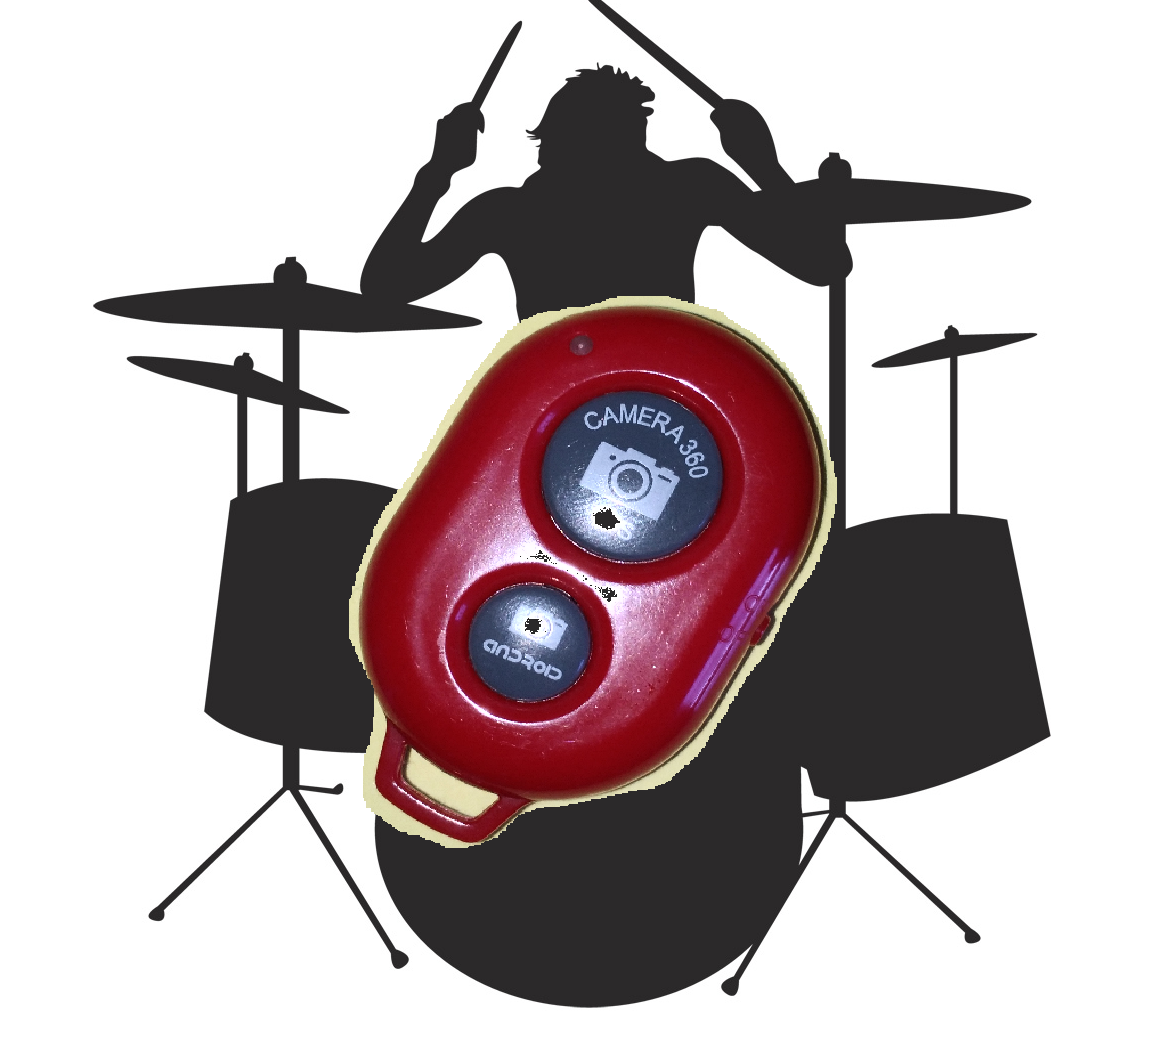
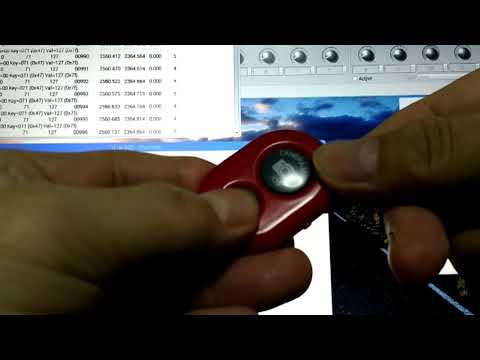
AB-Shutter3 is a camera shutter button for smartphones.
AB-Shutter3 connects to the equipment with bluetooth.
AB-Shutter3 is sold at Daiso in Japan (as of 2017).
I made an electronic drum with AB-Shutter3.
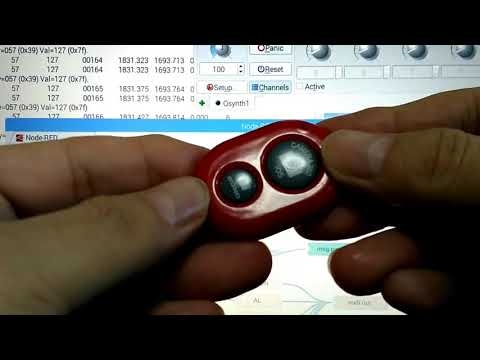
When you press the AB-Shutter3 button, you will hear a sound from the MIDI connected software synthesizer.
First of all, please see the video.
AB-Shutter3 is connected to Raspberry Pi as a Bluetooth keyboard.
Raspberry Pi uses Node-RED.
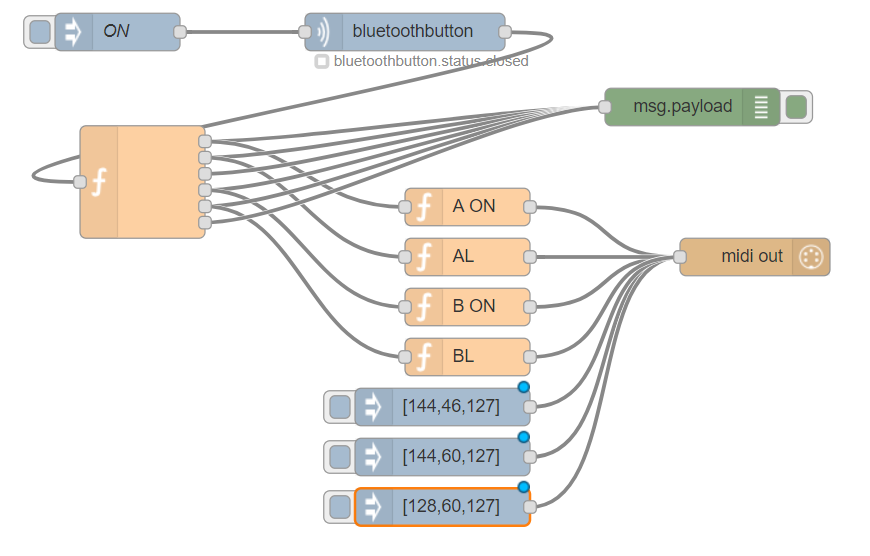
Node-RED converts button event of AB-Shutter3 to MIDI signal.
Send the MIDI signal to the software synthesizer. The software synthesizer gives a sound to the speaker.
Setting Up Raspberry Pi
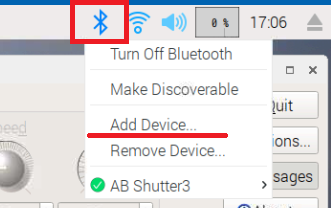
1. Pairing AB-Shutter3 and Raspberry Pi
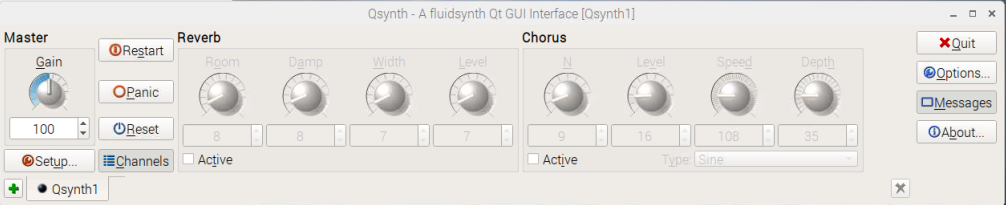
2. Install the software synthesizer on Raspberry Pi
Please use your favorite software synthesizer. I am using Qsynth in the video.
Setting Up Node-RED
1. Install the AB-Shutter3 button node on Node-RED on Raspberry Pi
For details, please see the following. https://github.com/arrowmeiwaracing/AB-Shutter3V2
2. Install the MIDI library
https://flows.nodered.org/node/node-red-contrib-midi
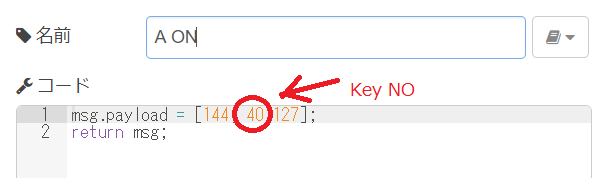
3. Write sample flow to Node-RED
- Open "dram_node_example.json" with an editor.
- Copy it to the clipboard.
- Copy the flow to Node-RED (Node-RED Menu => Read => Clipboard).
Downloads
Setting Up Synthesizer
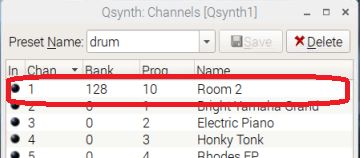

1. Set the drum sound of the GS sound source to Channel 1
2. Open the MIDI OUT node of Node-RED and specify the MIDI port of the synthesizer
Note: The name varies depending on the software.
Performance

Let's play now. Respond to the following operations.
- Large button click
- Large button long press
- Small button click
- Small button long press
To the End
Let's change it to your favorite sound.
Happy instructables.