Electronic Drum Kit
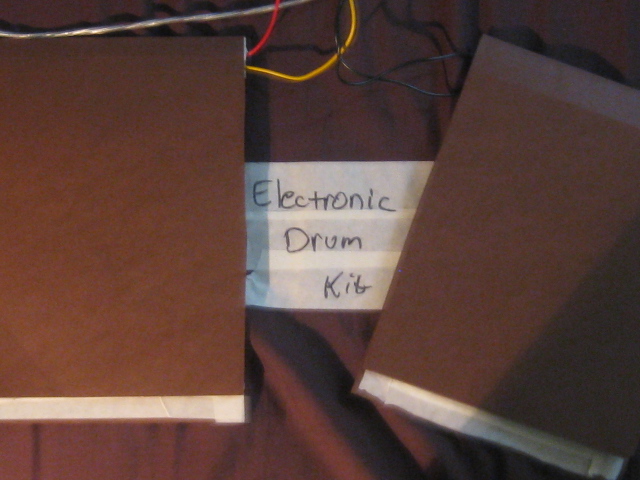
Drums are fun, let's face it. But they are too expensive and cumbersome. The solution? Build your own electronic drum kit!
The Theory
A keyboard is really a bunch of switches. So to make the drum kit, we build our own switches, and wire them up to a keyboard controller. This plugs into a PC, where a program listens for keypresses, and plays a corresponding .wav file
You Will Need
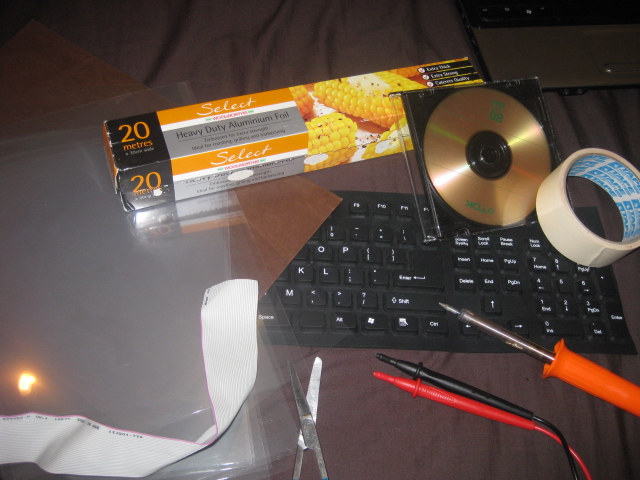
- Keyboard
- Aluminium Foil
- Plastic
- Cardboard
- Tape
- Scissors
- Computer
- Multimeter
.wav files
Dissasemble the Keyboard
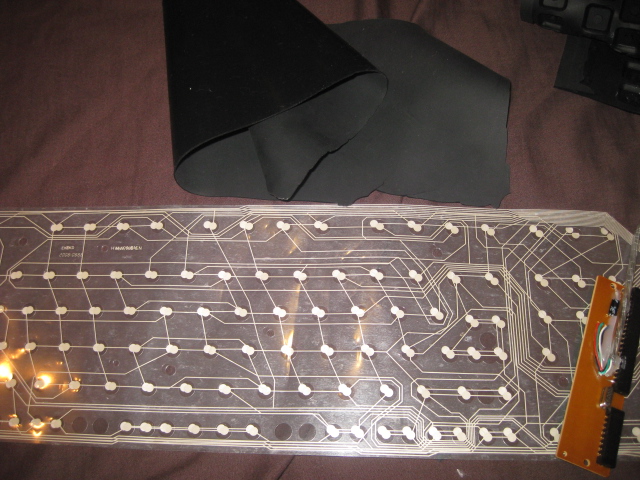
Pretty simple, attack it with something, just don't break it.
You should see 'sheets' of circuit. There are 2 with printing, and a divider
You should see 'sheets' of circuit. There are 2 with printing, and a divider
Pad It Up
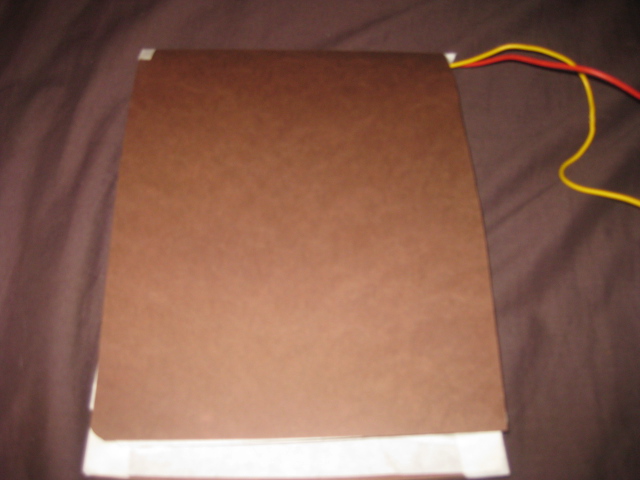
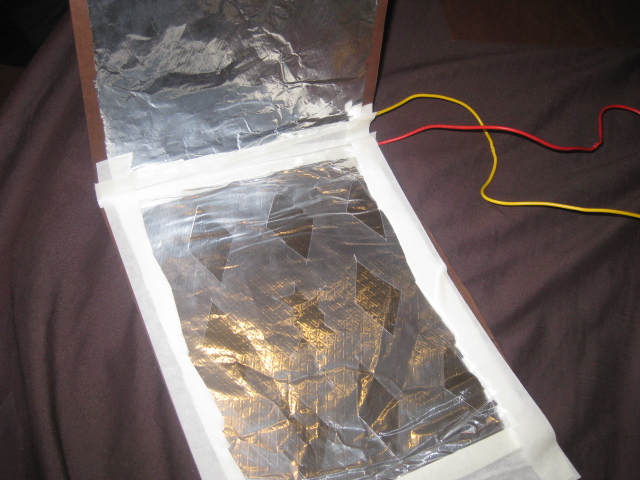
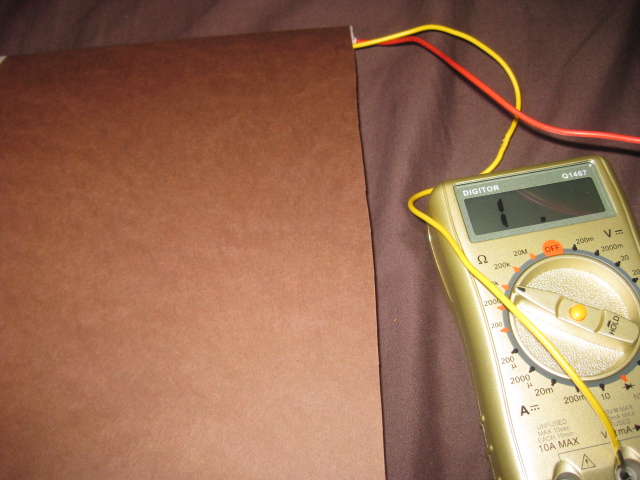
Put the keyboard aside. Now we need to make the pads.
Grab some cardboard (half Manilla folders work well) and some of the aluminium foil. Put one 'panel' of the foil onto each of the inside panels of the folder (they must not touch). Attach a wire to each of the al foil panels.
Next, cut some plastic to size (I'm using transparencies here), and cut some holes in it, tape it over one of the aluminium panels
Rinse and repeat. I created 2 for the purpose of this instructable.
It is probably a good idea to test with a multimeter
Wiring the Pads
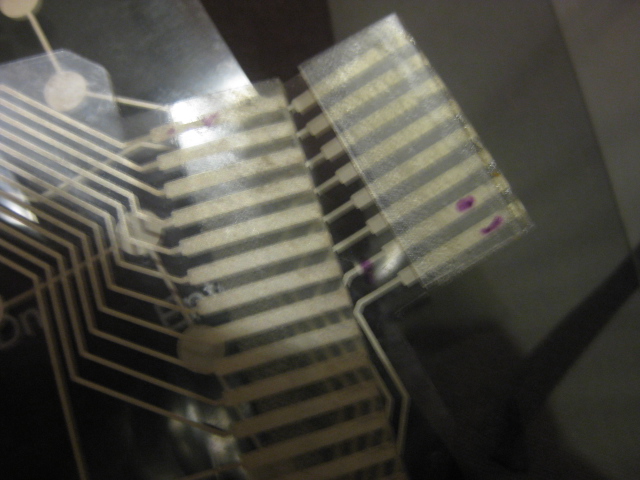
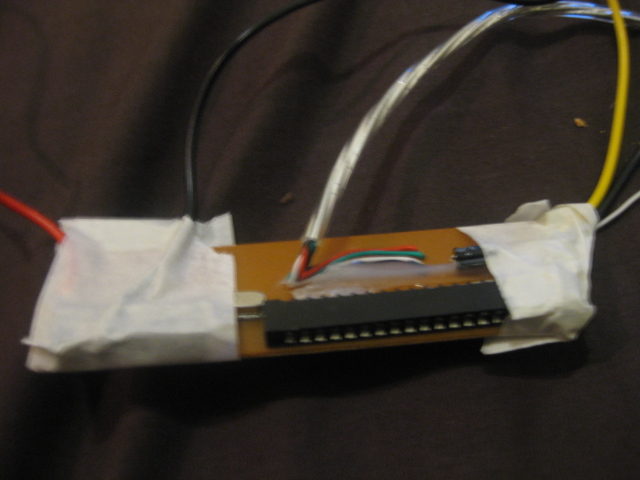
On the keyboard sheets there are a variety of circles and lines. These are all conductive, and work on the same principal as out pads (when the two circles touch through the plastic divider, a circuit is made) Look at the edge of the sheets, and each will have a ribbon cable on the end.
We need to select some keys that will correspond to the pads. I have chosen 1 and q because they were the first I saw, and they share a common lead, that means we will have an easier job getting things to the controller.
Once you have selected your keys, follow the line of those keys until you get to the end of the ribbon cable, On the controller there is a socket for the ribbon cable, either remove this and solder to the board, or just shove the cable into the socket so that the wires only touch one 'pad' inside the socket.
Repeat for each pad, and the other sheet.
Testing
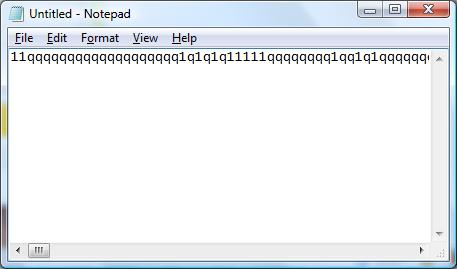
Plug the thing into your PC, open notepad and start drumming. Only one character should appear for each pad.
If none, or more than one character appears, check your wiring.
If none, or more than one character appears, check your wiring.
The Program
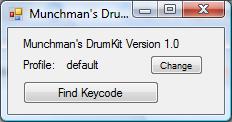
The program is simple, it listens for a keypress, and plays the corresponding file.
The program allows 'profiles' to set up a profile, create a new folder where the exe file is named profiles and put a new subdirectory there for each profile. In these folders you should put your .wav files.
Each .wav file should be named {keycode}.wav (so for example one of mine is 49.wav)
To find out the keycode for each of your pads, click the find keycode button in the program.
Downloads
Drum

That's it, plug in your drums and drum away!