Eggbot
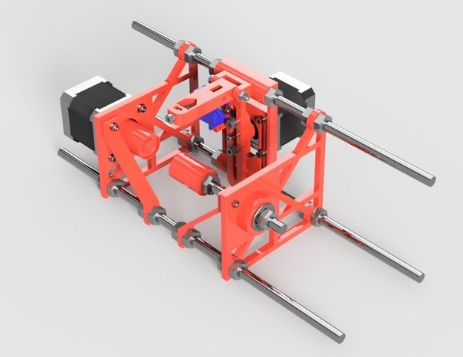
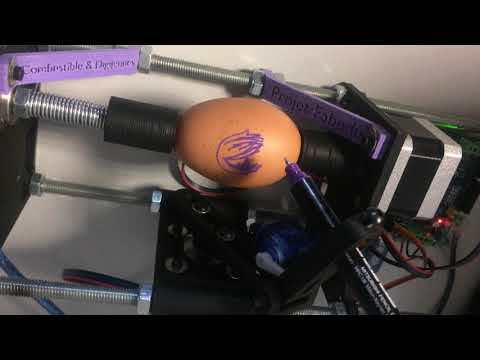
The eggbot is a mini cnc machine capable of drawing on spherical objects such as eggs, christmas decorations balls, etc. Users can produce their own digital drawings and the machine will transfer them on spherical objects.
Supplies
List of material
To create your own eggbot you will need:
- 3D printed parts for the eggbot, available here
- 3 M8x300 threaded rods
- 1 M8x100 threaded rod
- 2 608ZZ bearings
- 1 9g micro servo
- 1 spring, slightly larger than 8mm in diameter, about 4cm long
- 2 silicon o-rings
- 1 Arduino uno board
- 1 Adafruit motor shield V2
- 2 NEMA 17 stepper motors , step angle 1.8°, rated voltage 12V, rated current 1.7A1 Power supply 12v/2A
- 20 M8 nuts
- 1 M2x14 screw
- 5 M2x10 screws
- 3 m3x15 screws
- 3 M2x7 screws
- 2 M3 bolts
- 2 M3 washers
- 6 M2 washers
- 1 M2 nut
- 1 M3x35 screw
Position the Bearings
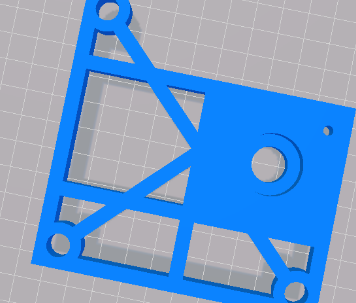
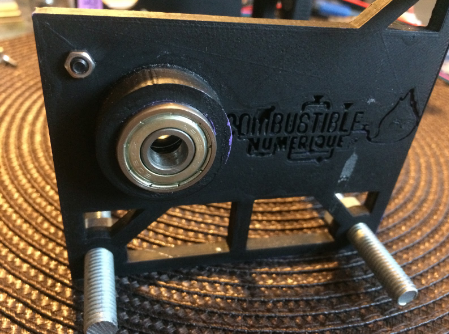
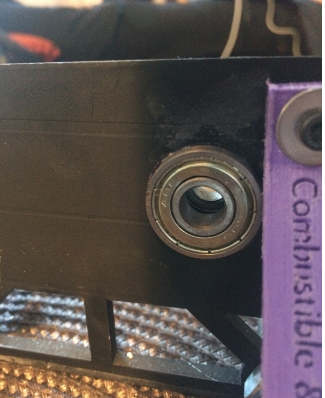
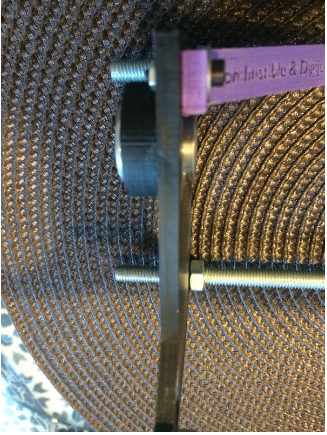
Position the bearings on each side of the eggbot part depicted below
Assemble the Two Sides
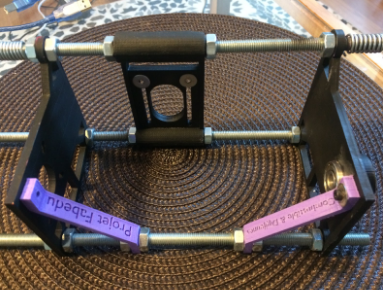
Assemble the two sides, the rear of the eggbot and the supports for the two sides (purple 3D printed parts in the picture below) together, using threaded rods and M8 bolts. You will need about 20 bolts, 1 M2x14 screw and 1 M2 nut to achieve this.
Mount the X-axis Motor to the Left Side of the Eggbot
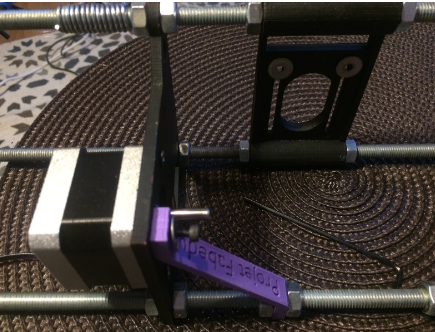
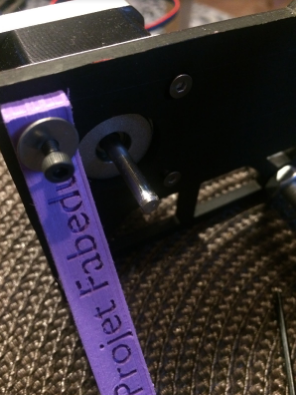
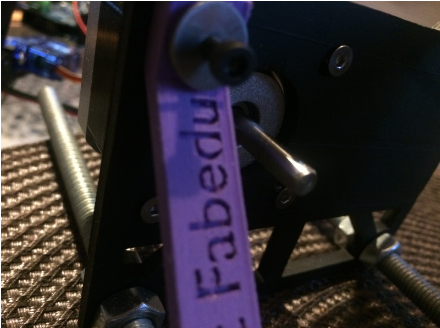
Use 3 M2x7 screws and 1 M2x14 screw + 1 M2 washer to mount the X-axis motor to the left side of the eggbot.
Mount the Y-axis Motor to the Back of the Eggbot
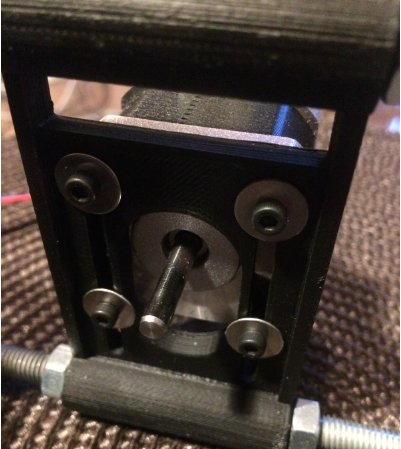
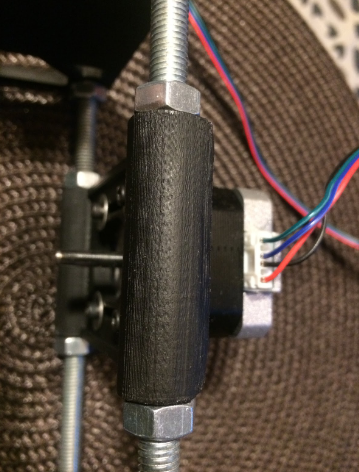
Use 4 M2x10 screws and 4 M3 washers to mount the Y-axis motor to the back of the eggbot.
Place 2 M2 Nuts Inside the 3D Printed Part Depicted Below. Then Mount the Latter to the Y-axis Engine
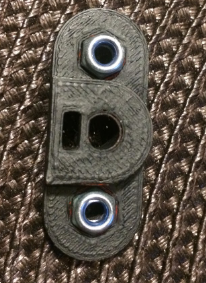
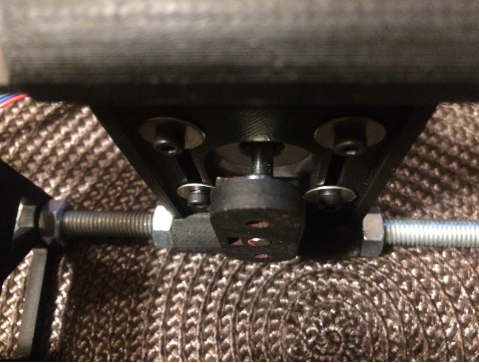
Place 2 M2 nuts inside the 3D printed part depicted below. Then mount the latter to the Y-axis engine (M2 nuts facing the rear of the eggbot).
Attach the Servo Arm
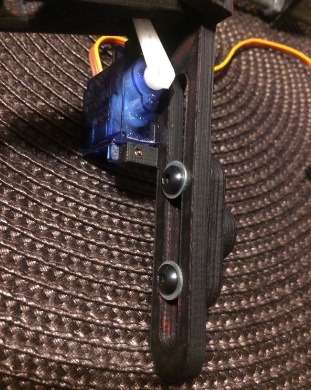
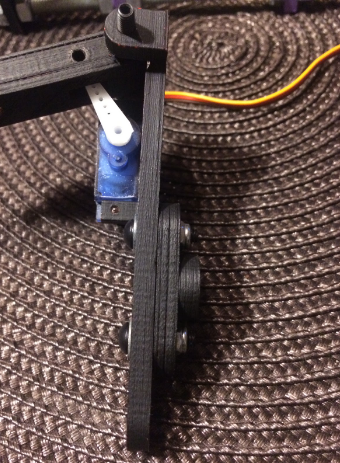
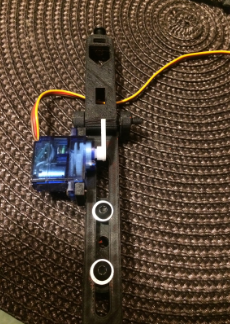
Use 2 M3x10 screws + 2 M3 washers to mount the part mentioned above to the servo arm.
Mount the Servo Arm to the Y-axis Motor
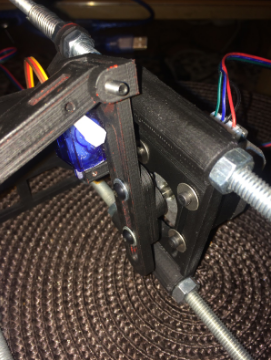
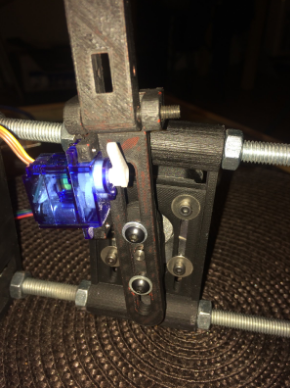
Mount the servo arm to the Y-axis motor.
Assemble the Support for the X-axis
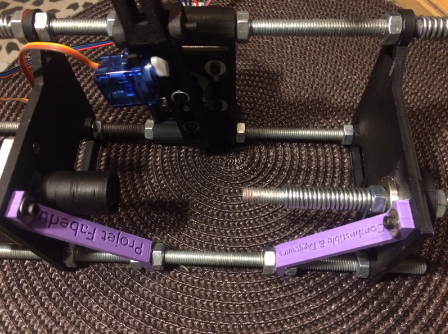
Assemble the support for the X-axis motor and the M8X10 threaded rod. You will be placing your spherical objects in between these two items.
Wiring
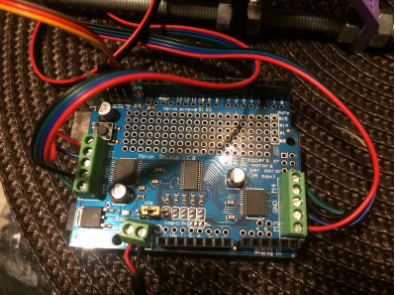
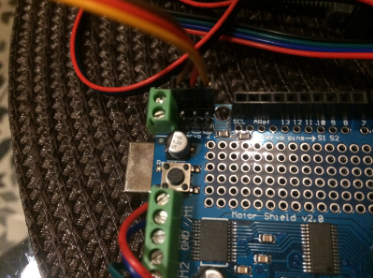
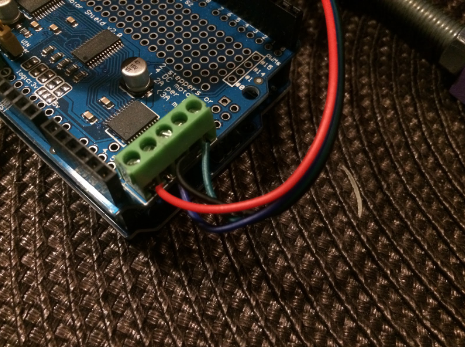
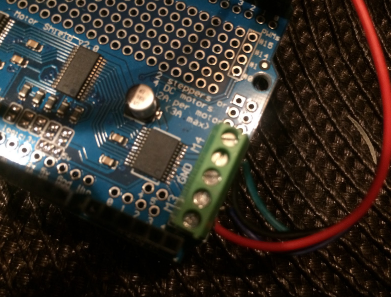
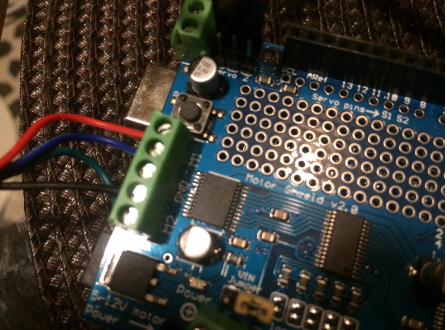
Connect the cables of each stepper motor to the motor shield. connect the X-axis motor to M1 and M2 (left side of the motor shield) and the Y-axis motor to M3 and M4 (right side of the shield). Connect the cables in the same order for each motor. For example red, blue, black and green from left to right, i.e. red and blue on M1 and M3, black and green on M2 & M4.
Connect the servo motor to “servo 1” on the shield, with the brown cable (ground) on the left and the yellow cable (signal) to the right. Finally, connect the power supply to the power pins of the shield.
Program Your Eggbot
You will need to program the arduino board in order to use the eggbot.
Use arduino IDE interface to upload this code into the arduino board.
Verify That It Is Working
Click the serial monitor button in the upper right of the IDE.
Make sure you have “Newline” and "115200 baud” selected in the lower right drop downs.
X MOTOR
Type “G0 X1600” into the top field. The egg motor should spin 180 degrees with the side facing you traveling down (counter clockwise looking at the face of the motor).
Type “G0 X0”, it should rotate back to the starting position.
Y MOTOR
Manually center the pen arm.
Type “G1 Y480”. The pen arm should travel counter clockwise (to your left) to its limit. Make sure it’s not hitting anything.
Type “G1 Y-480”, the pen arm should now swing all the way to the right. Again, make sure it isn’t hitting anything. If your motors are not moving in these directions, it is okay as long as they are BOTH moving in the “wrong” direction. Otherwise, everything will come out backwards. If they are moving as described above, UP is to the left, towards the motor. If only one axis is not moving as above, then you need to flip the wires for that axis.
PEN SERVO
Recenter the arm with “G1 Y0”, then enter “M300 S100”. That will lift the pen to the top of its default travel.
Enter “M300 S115”, that should gently lower the pen a little bit.
“M300 S100” should pop the pen back up quickly.
Mount an egg and pen, and lower it slowly using M300 commands until the pen is close to but not touching the egg. When the egg rotates, it can vary a little bit, so you don’t want to be too close, but you want to minimize the gap. This should be your default pen up position.
Then slowly lower the arm until it contacts the egg, and add a little extra to apply some pressure. That will be your pen down position.
Set your pen up position using M303 Pxxx, M500.
The pen is clamped to values from 100 to 130 by default. If you need to extend these, you can use “M301 Pxx” to decrease the pen up value and “M302 Pxxx” to increase the pen down value. M500 to save the results for the future.
Transfer Your Digital Designs Onto Spherical Objects Using the Eggbot
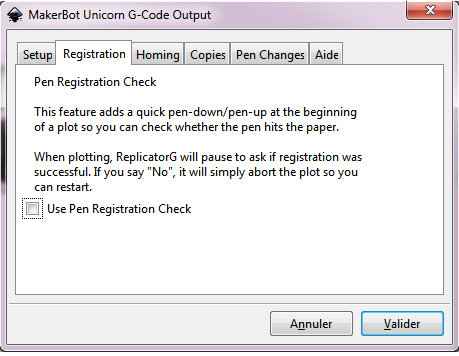
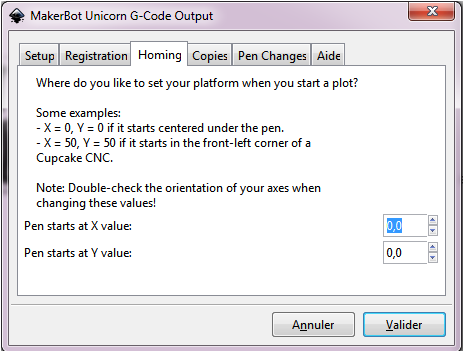
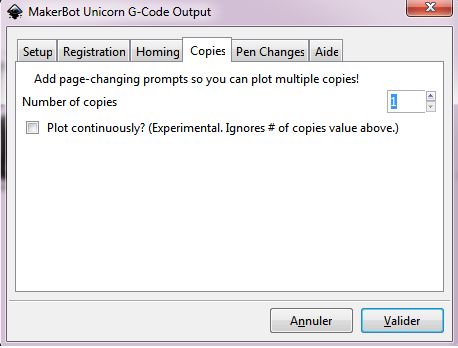
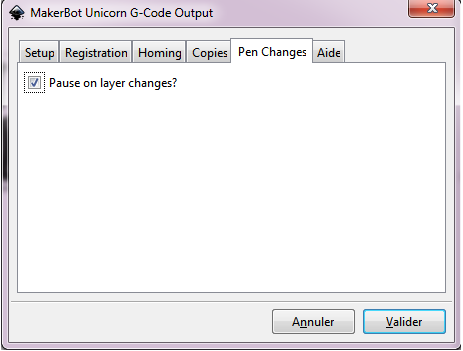
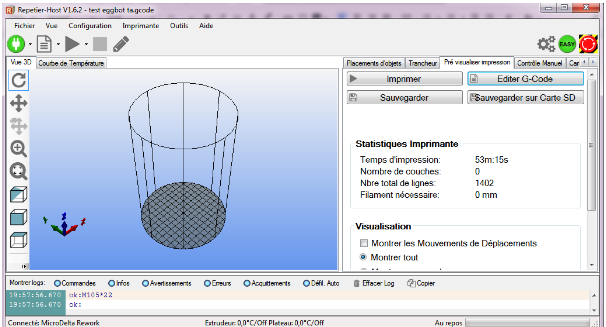
You will be using inkscape to create your digital designs, and RepetierHost to operate the eggbot.
Download inkscape and RepetierHost if you haven’t done so yet.
Download the Unicorn G-Code plugin for inkscape, and install it.
You can now create your own designs on inkscape.
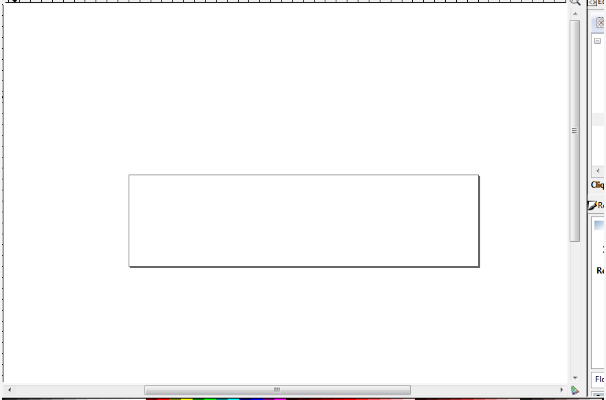
Under File, Document Properties, Page, set a custom size of 3200 width, 800 height in units px
Your document will look something like this
If you type any text, make sure to convert it to path before exporting the design for the eggbot. Path>Object to path.
Once you’ve finished working on the design, you will need to turn your drawing into g-code for the eggbot.
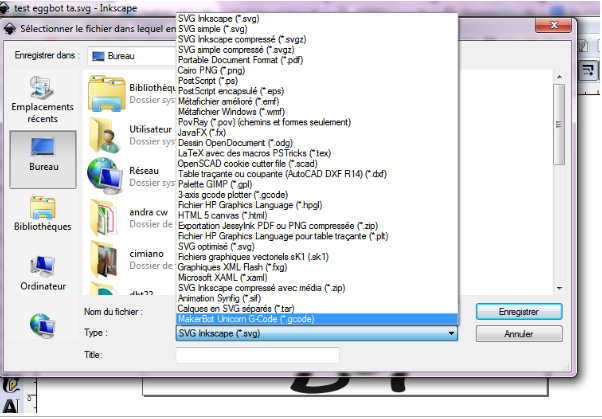
To do so, choose File>Save as. Under type, select Makerbot Unicorn G-Code
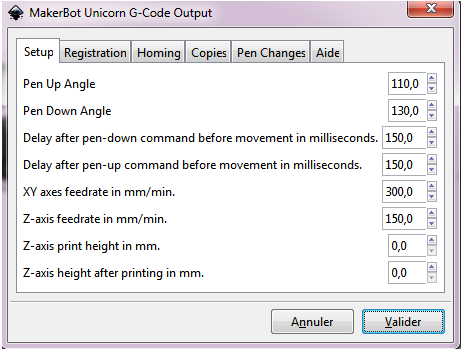
When prompted by the software, provide the following values:
In case you get this error message, it’s probably because you forgot to convert some text into path. Path>Object to path.
Once you’ve successfully turned your design into g-code, launch Repetier Host and open your g-code.
Connect the eggbot, and click on print.