Editing a Landscape With Picnik
by tassywashere in Circuits > Cameras
958 Views, 1 Favorites, 0 Comments
Editing a Landscape With Picnik
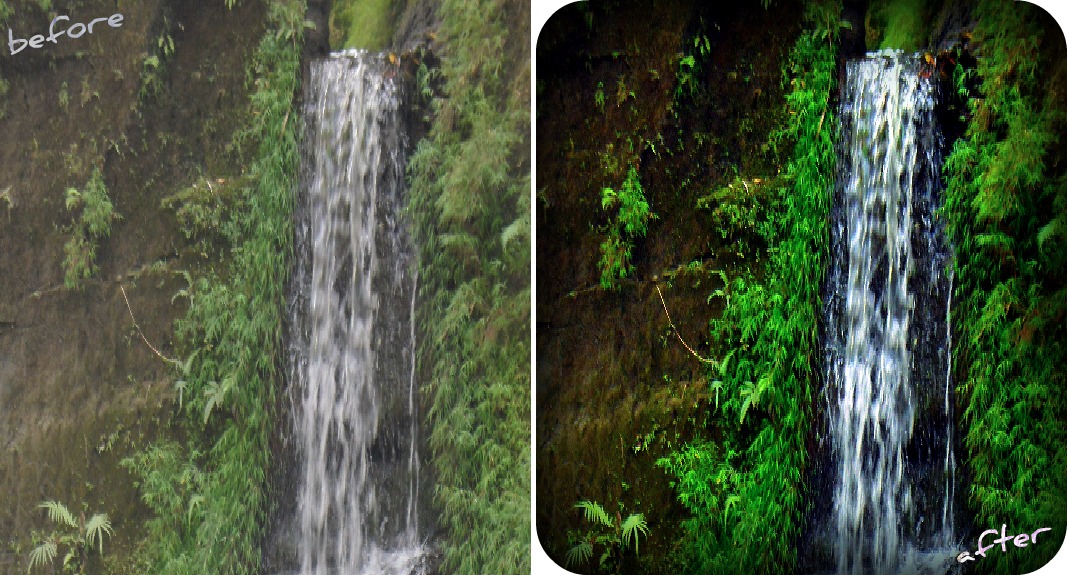
I love using Picnik.com to edit and create awesome pictures from portraits to landscape. So in this instructable I am gonna show you how to also make a picture. Today I will take a picture that I took at the Cox Bazaar Beach Himsori Hill, Bangladesh. Its of a small waterfall. Enjoy!
Picnik.com

http://picnik.com is the website I used. It is a website where you can edit your pictures. :)
Uploading!
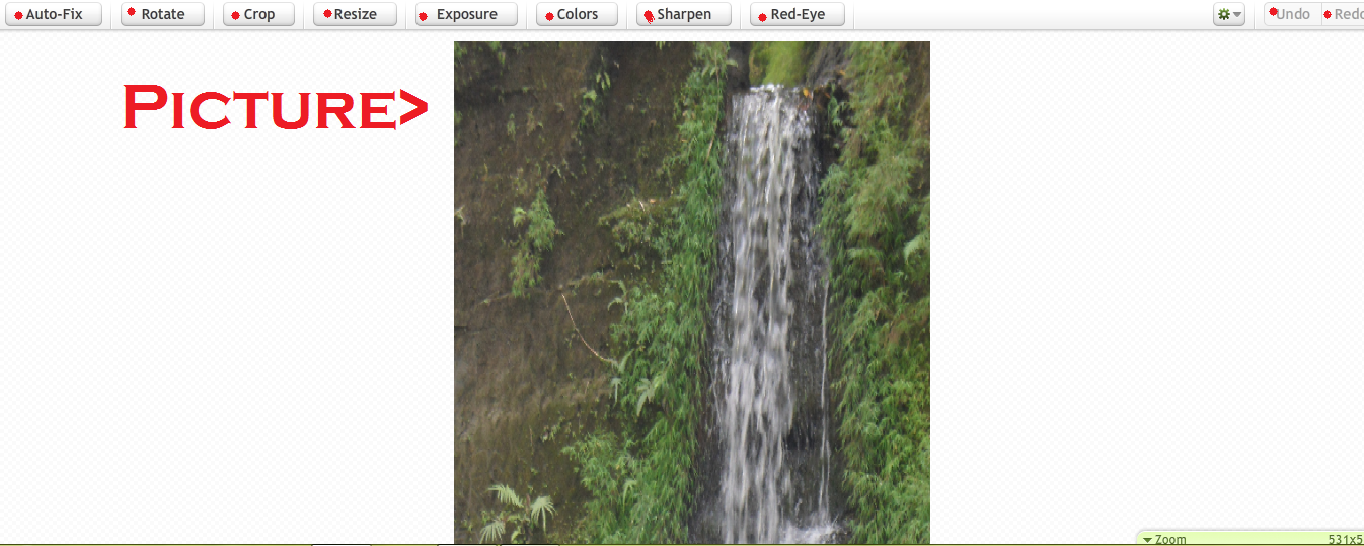

So after uploading your picture you can see your options. :}
Editing Tools.
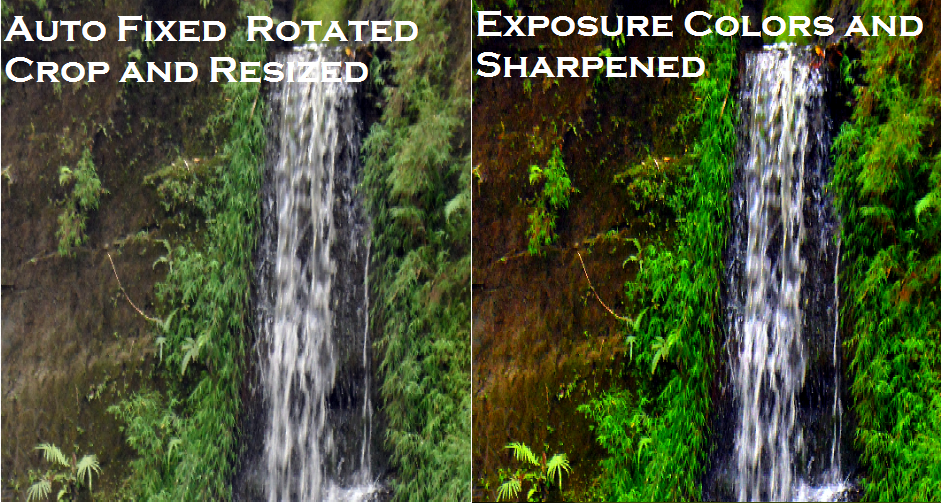
So I used Auto fix ( helps for showing the colors),Rotated ( flips pictures), Crop (helps you cut out unneeded parts from the picture),
Resize ( lol resizes duhhh), Exposure ( helps the color I think), Color (helps color), and Sharpness (helps sharpness duhhh). If you are editing a landscape there is no need for Red Eye fix.
Resize ( lol resizes duhhh), Exposure ( helps the color I think), Color (helps color), and Sharpness (helps sharpness duhhh). If you are editing a landscape there is no need for Red Eye fix.
Creating

Next I used Effects,Touch ups, and a frame to make the picture look better. :]
Everything I Used
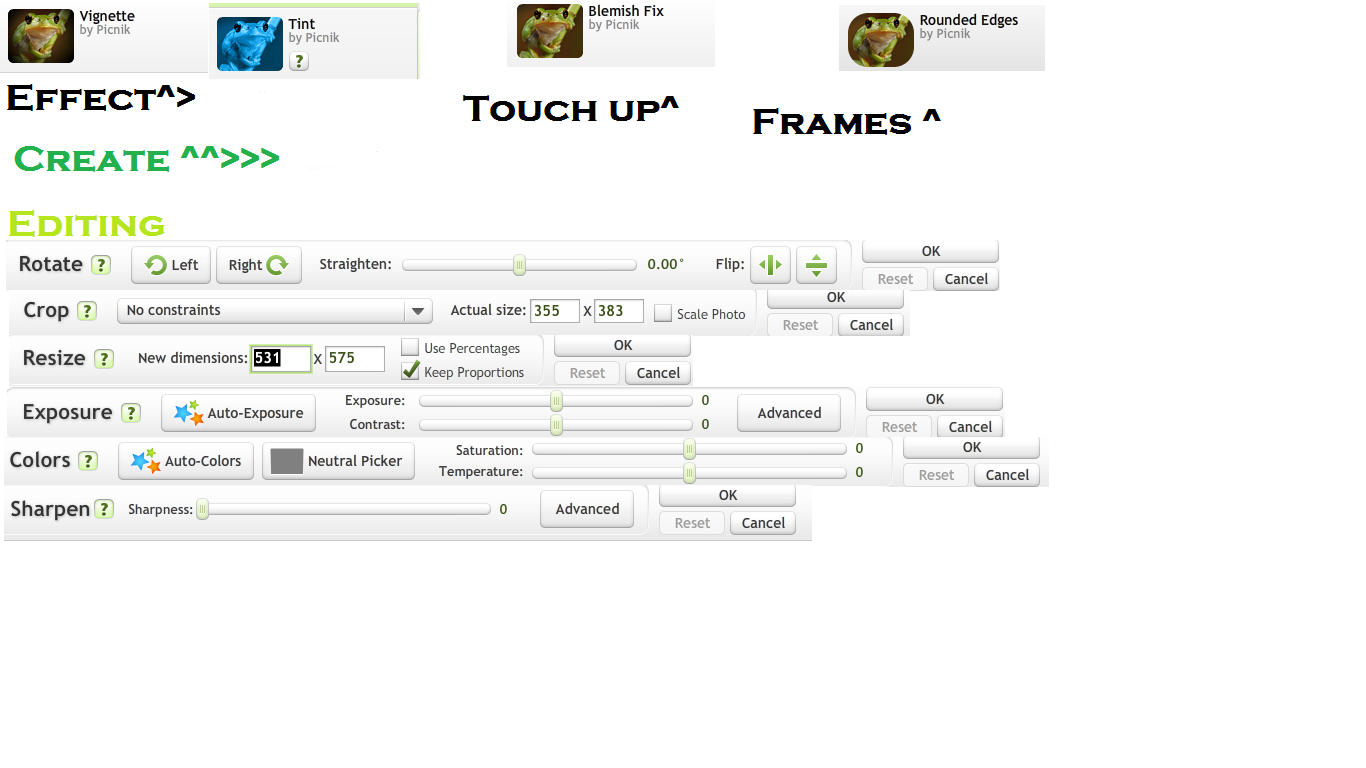
Done!
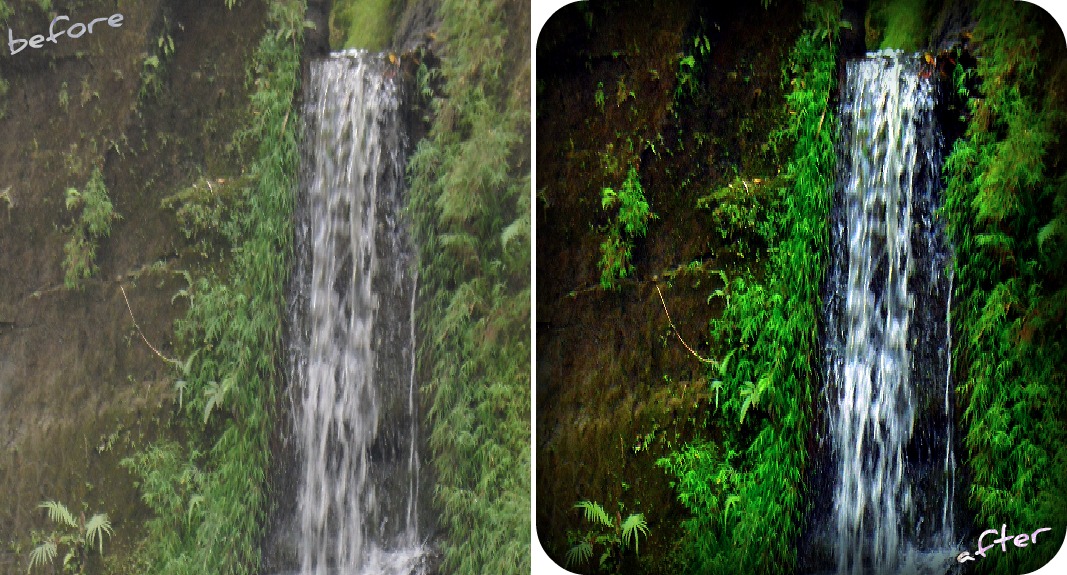

So i guess thats it. I didnt use much else. But ENJOY:)! Also I did another picture. Its of the Verrazano Bridge. I took a picture of it ill in the car :)