Edge Lit Name Tags
![Blue.jpg](/proxy/?url=https://content.instructables.com/F3Z/XHWG/I2UUTJMS/F3ZXHWGI2UUTJMS.jpg&filename=Blue.jpg)
![Keyring blue 2.jpg](/proxy/?url=https://content.instructables.com/F4B/JE84/I2UUTJTB/F4BJE84I2UUTJTB.jpg&filename=Keyring blue 2.jpg)
![Green.jpg](/proxy/?url=https://content.instructables.com/FJP/1T0T/I2UUTJNE/FJP1T0TI2UUTJNE.jpg&filename=Green.jpg)
![Red.jpg](/proxy/?url=https://content.instructables.com/FO9/3S54/I2UUTJTD/FO93S54I2UUTJTD.jpg&filename=Red.jpg)
![White.jpg](/proxy/?url=https://content.instructables.com/FRK/D8NZ/I2UUTJSQ/FRKD8NZI2UUTJSQ.jpg&filename=White.jpg)
![Purple.jpg](/proxy/?url=https://content.instructables.com/F6Y/4DOL/I2UUTJNG/F6Y4DOLI2UUTJNG.jpg&filename=Purple.jpg)
![Red.jpg](/proxy/?url=https://content.instructables.com/F84/IU2N/I2UUTJR5/F84IU2NI2UUTJR5.jpg&filename=Red.jpg)
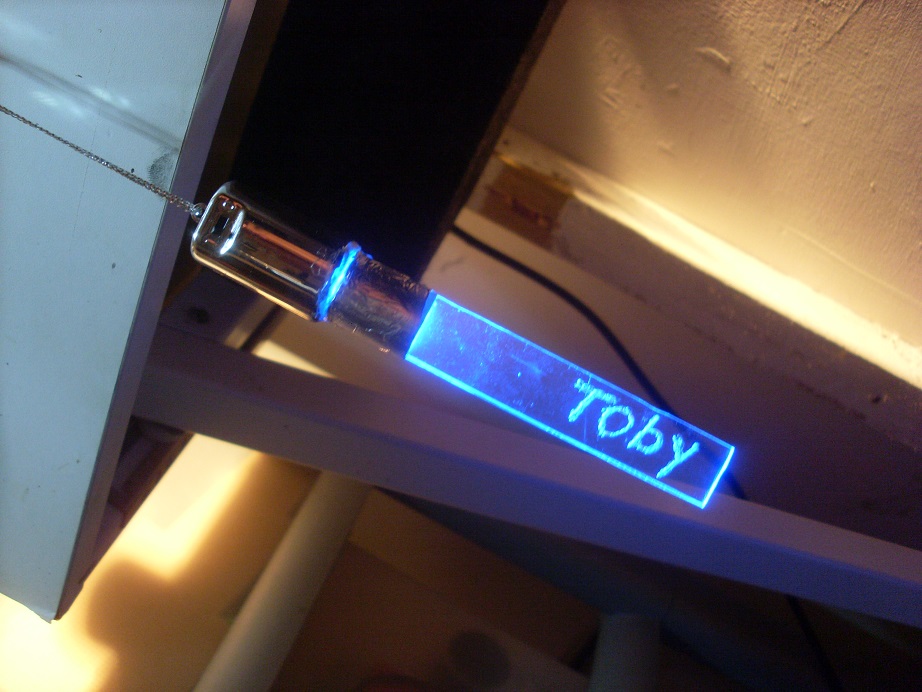
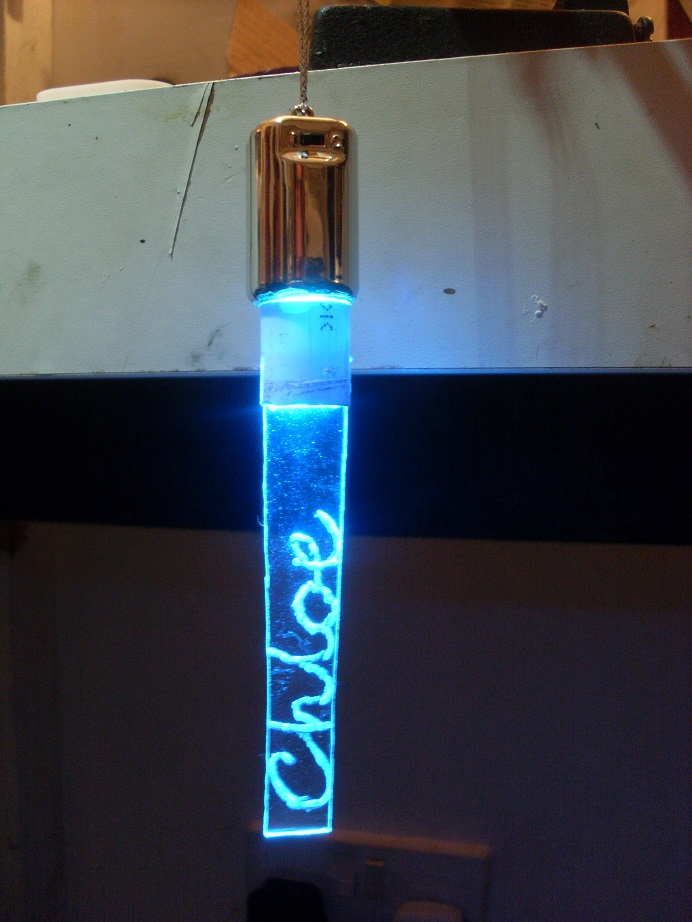
Not a step-by-step instructable, but the pictures give you an idea of what can be acheived with small scale LED edge lighting. This example Edge lit by a single multicolour changing LED and powered by 3x 1.5v watch batteries. The Chloe tag was engraved using a dremel and the Toby tag was engraved using a fine soldering iron tip, both achieve very similar results as I found that often the dremel would melt rather than cut its way through the acrylic.