Ectable PCB With Eagle
This instructable guides how to make a printed circuit board positive film from a schematic in three simple step. Have CadSoft's EAGLE and Adobe Reader DC installed on your computer and you are ready.
If this instructable benefit, a thumb. :)
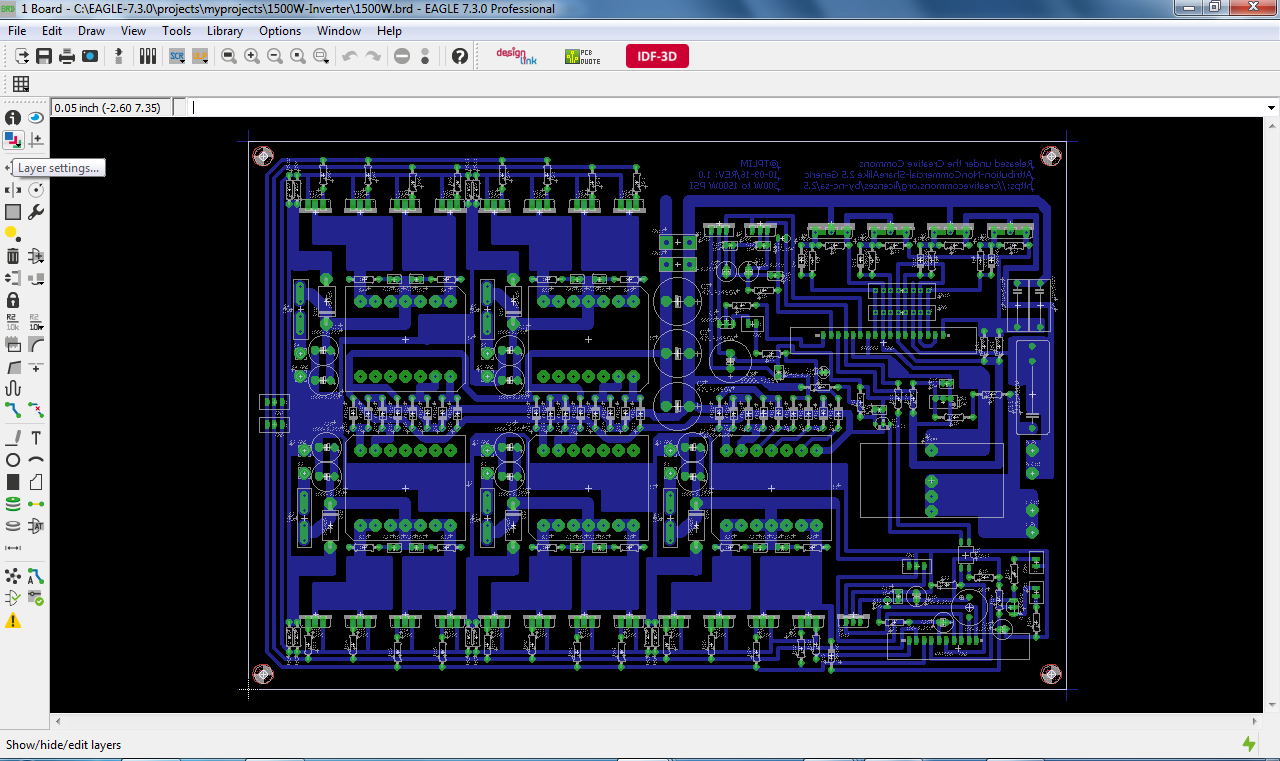
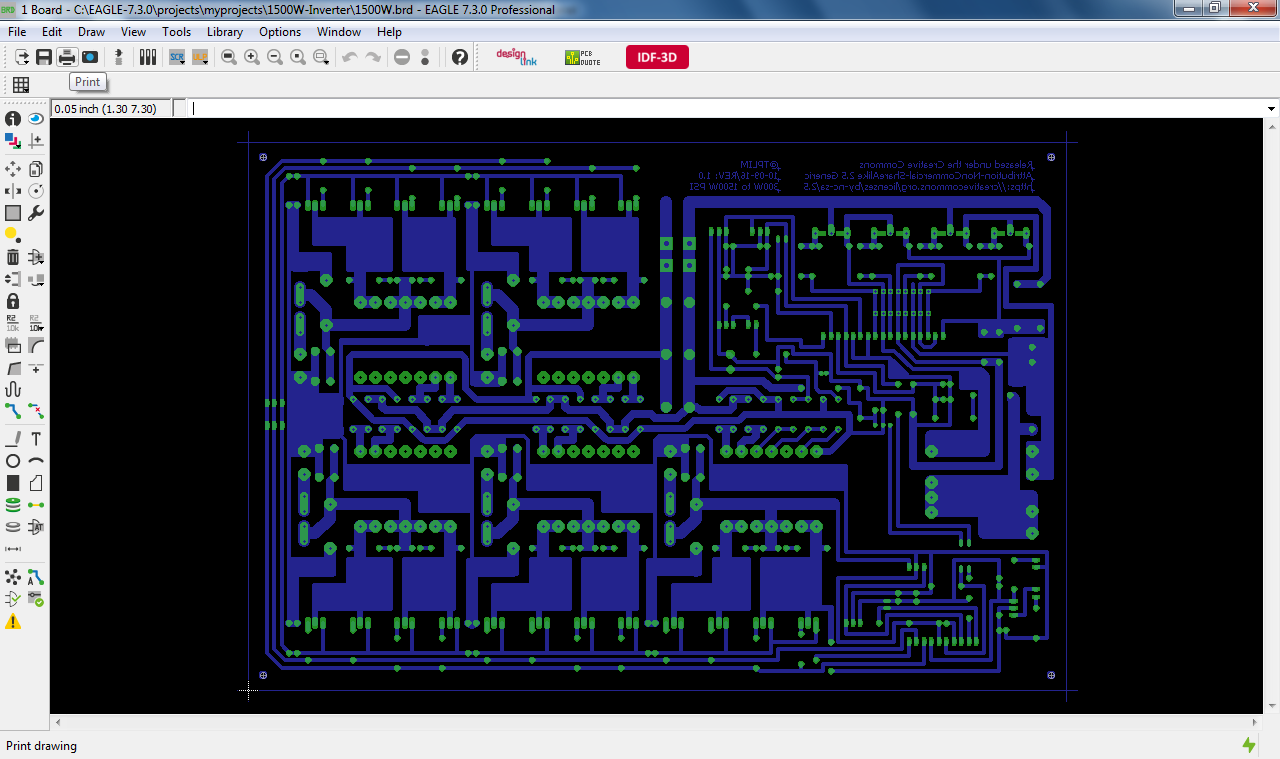
Switch to Board

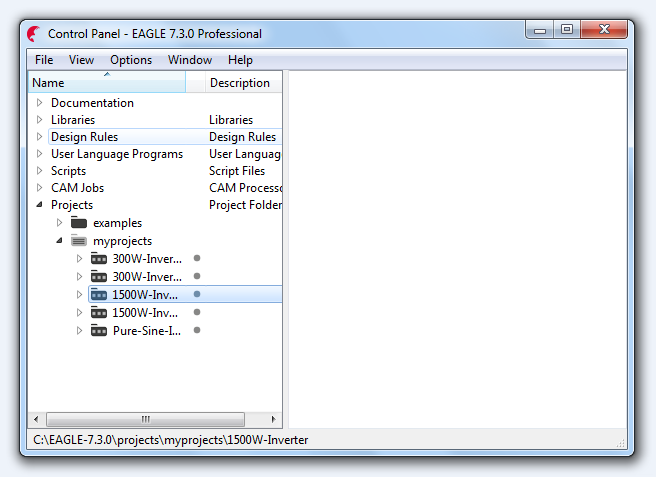
1. Open Eagle and run as administrator (preferably).
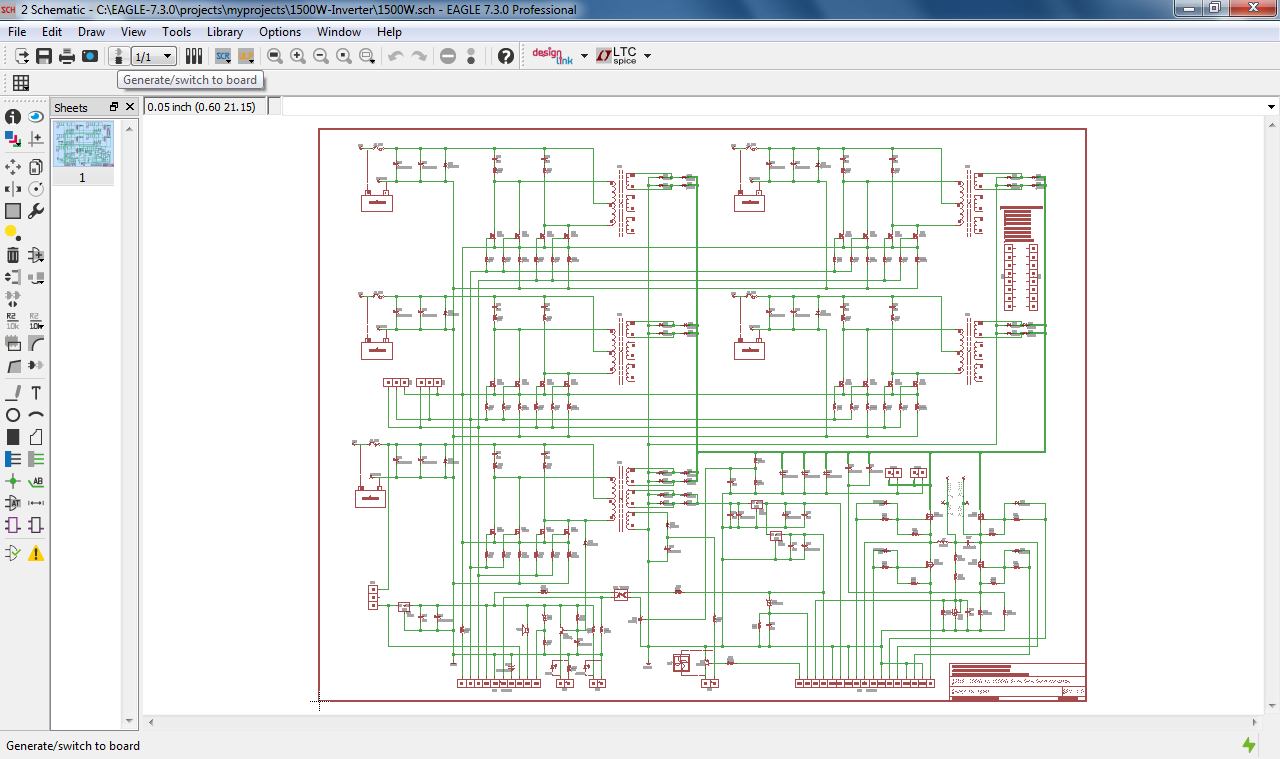
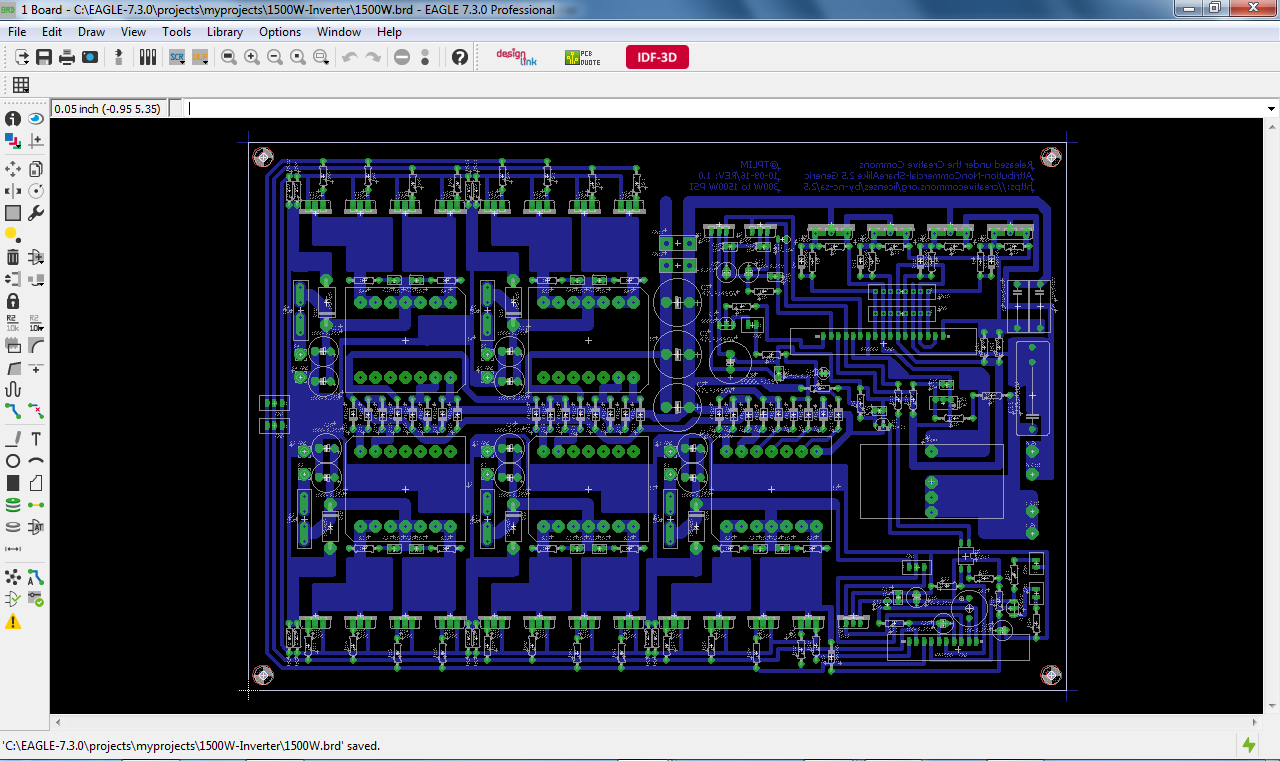
2. Open project. Once schematic load, switch to board.
Layer Settings
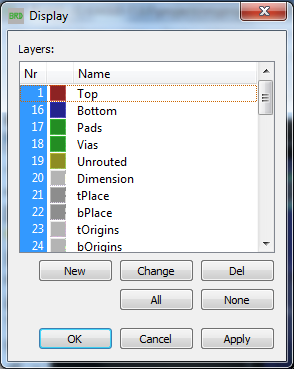
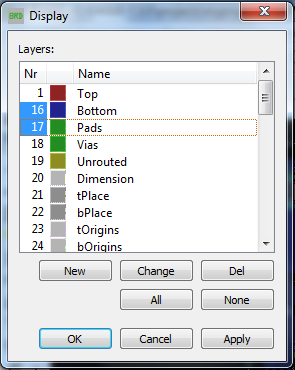
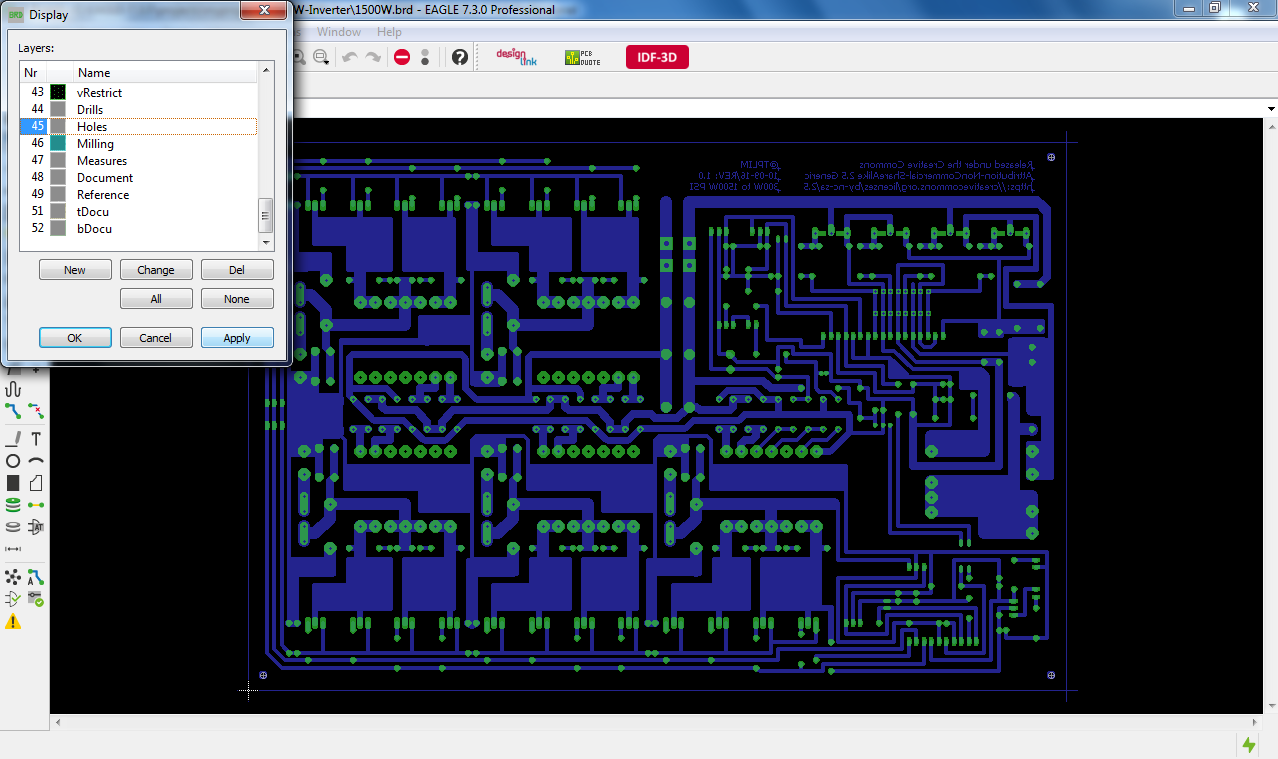
1. Open Layer Settings. Select 16, 17 and 45.
2. Click apply follow by OK.
Convert to PDF
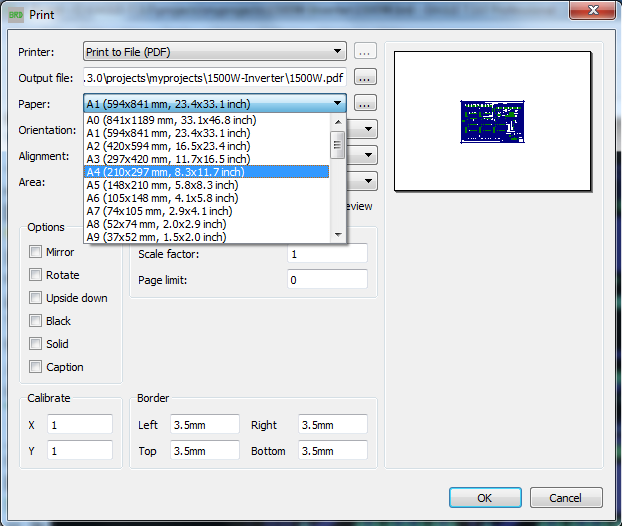
1. Save your project.
2. Click the Print icon.
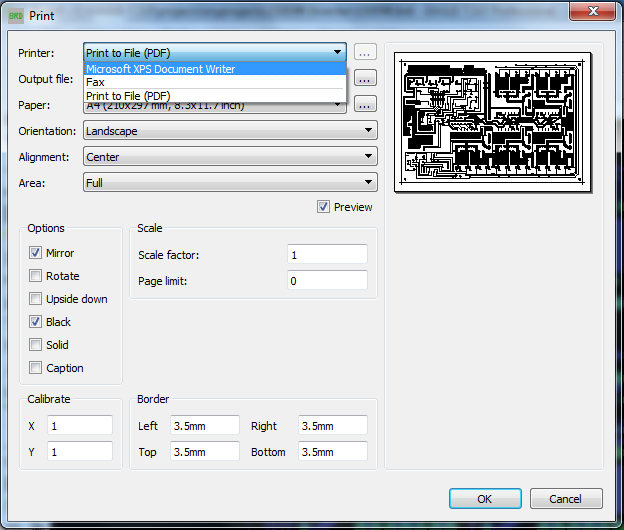
3. Select paper size.
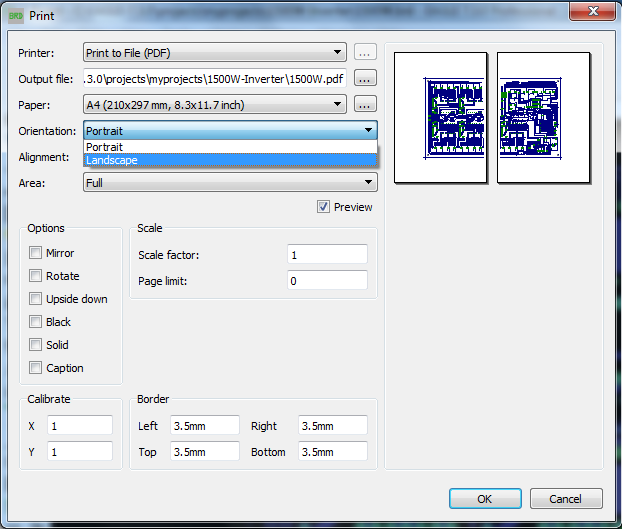
4. Select Portrait or Landscape and ensure everything is inside the paper chosen.
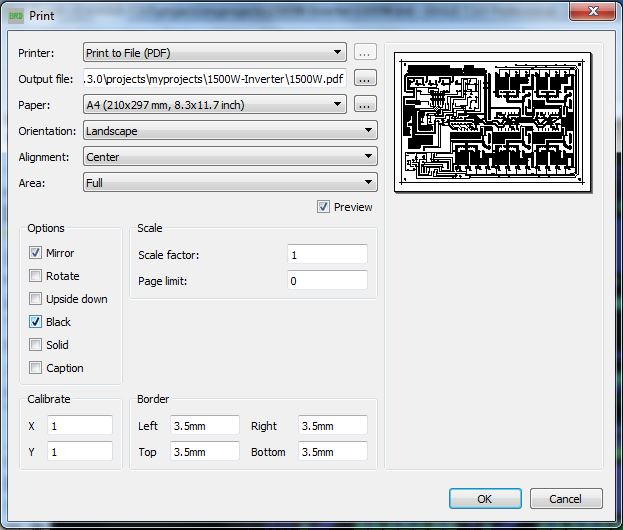
5. Checks Options box > Mirror and Black.
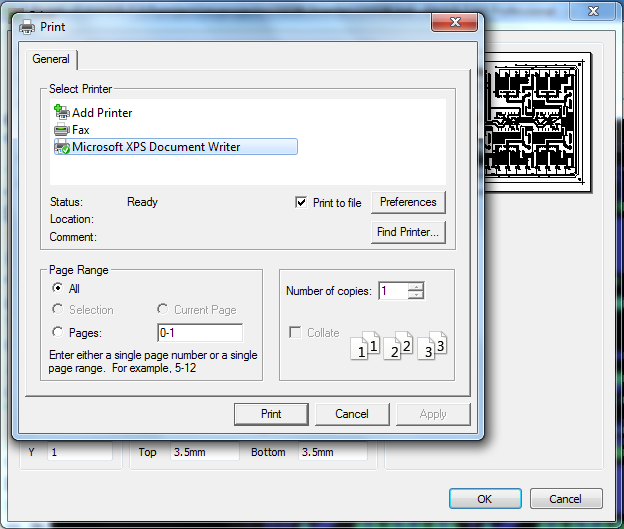
6. Select Printer > Microsoft XPS Document Writer and click the icon beside it.
7. Another window pop-up. Check Print to file and click Apply than Print.
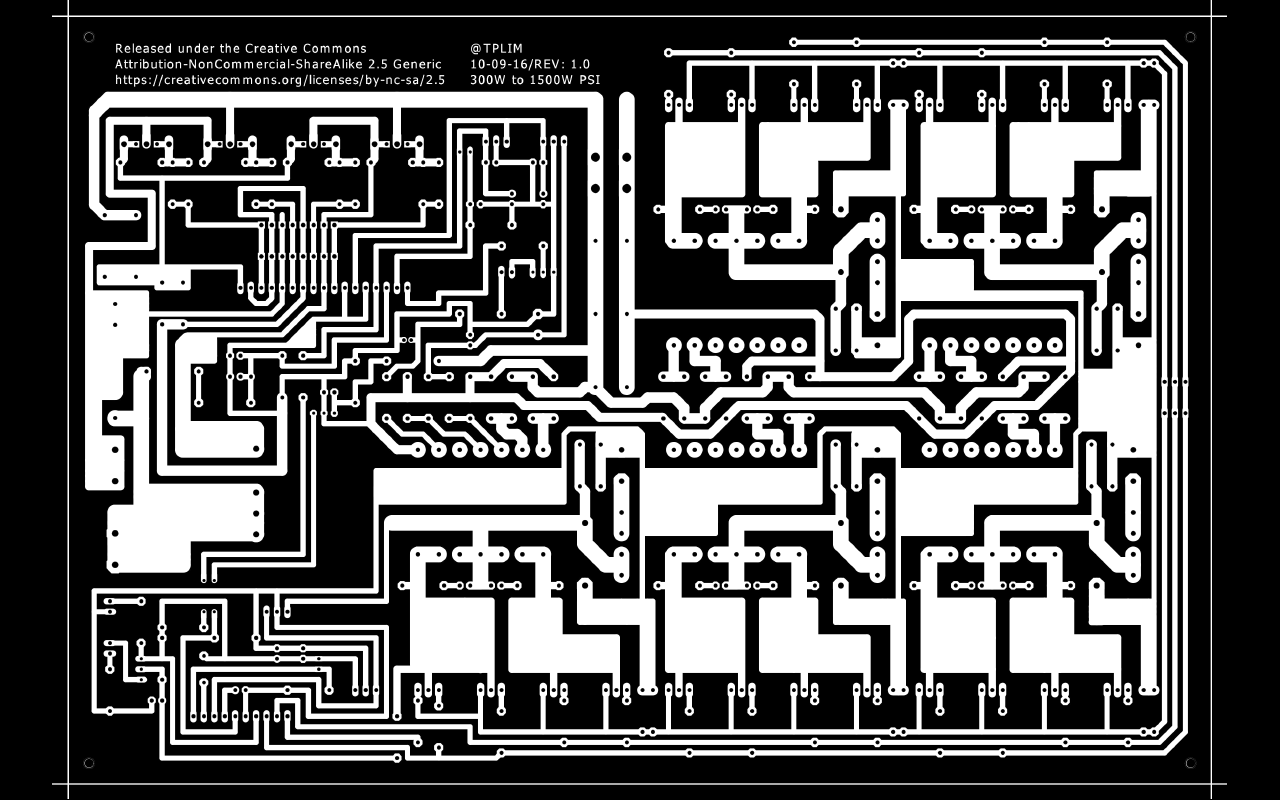
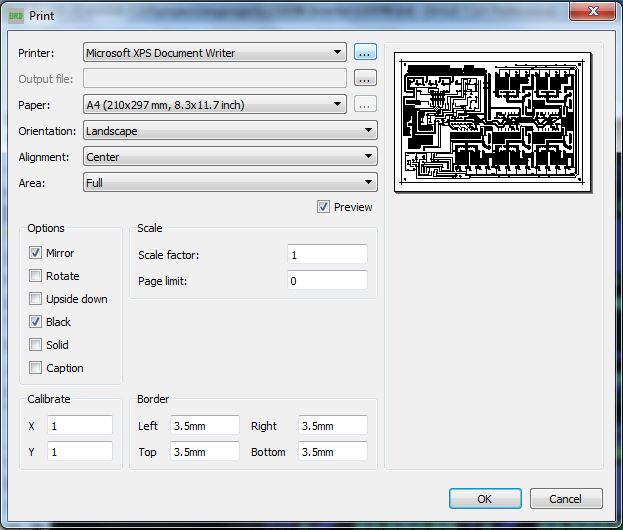
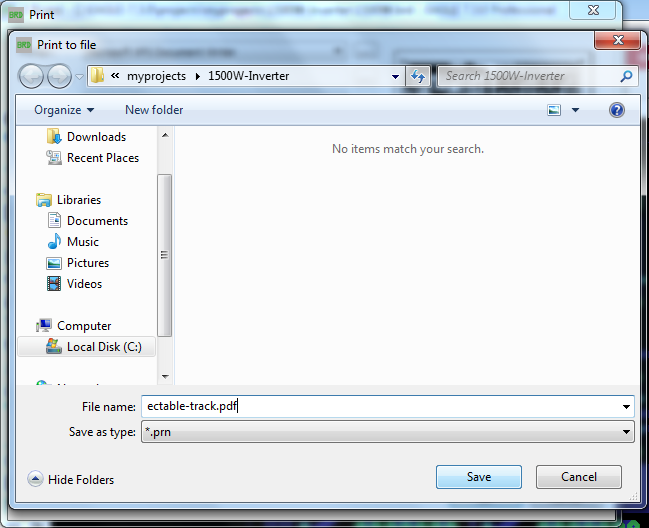
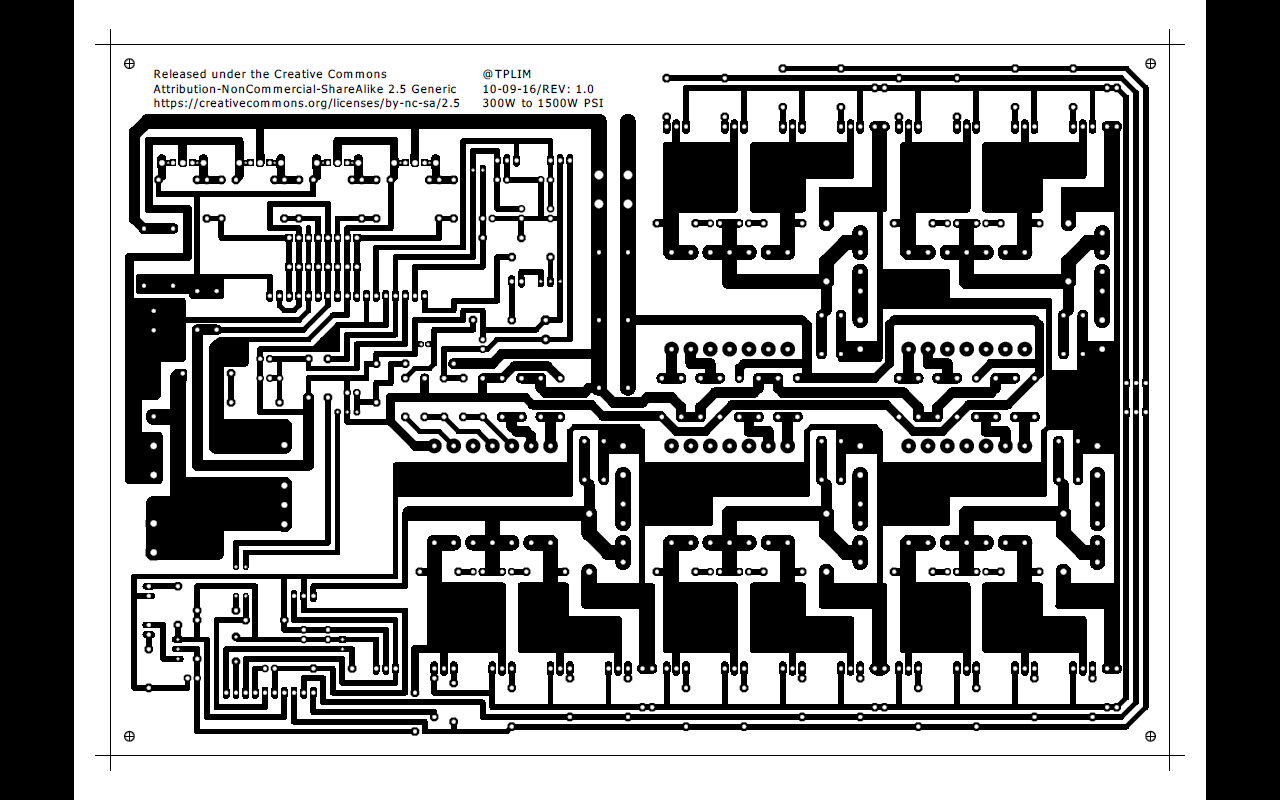
8. Click OK to save. Save file name with extension '.pdf'. Now printed circuit board positive is ready.
Check the PDF
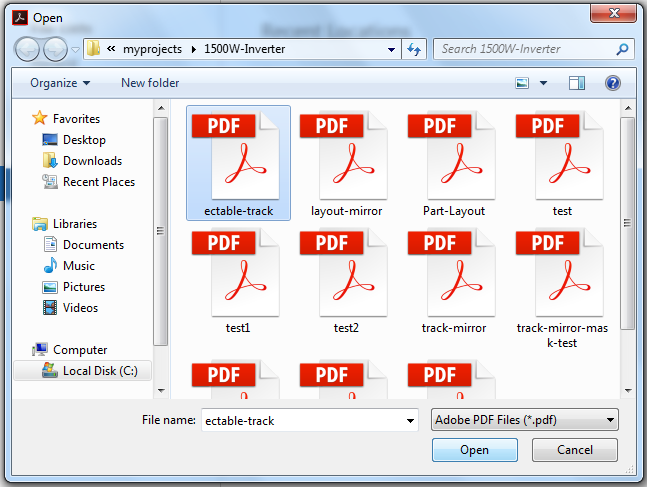


1. Go to location where the pdf file was saved.
2. Click open with Adobe Reader DC to verify your work..