EasyIoT Simplified
EasyIoT Simplified
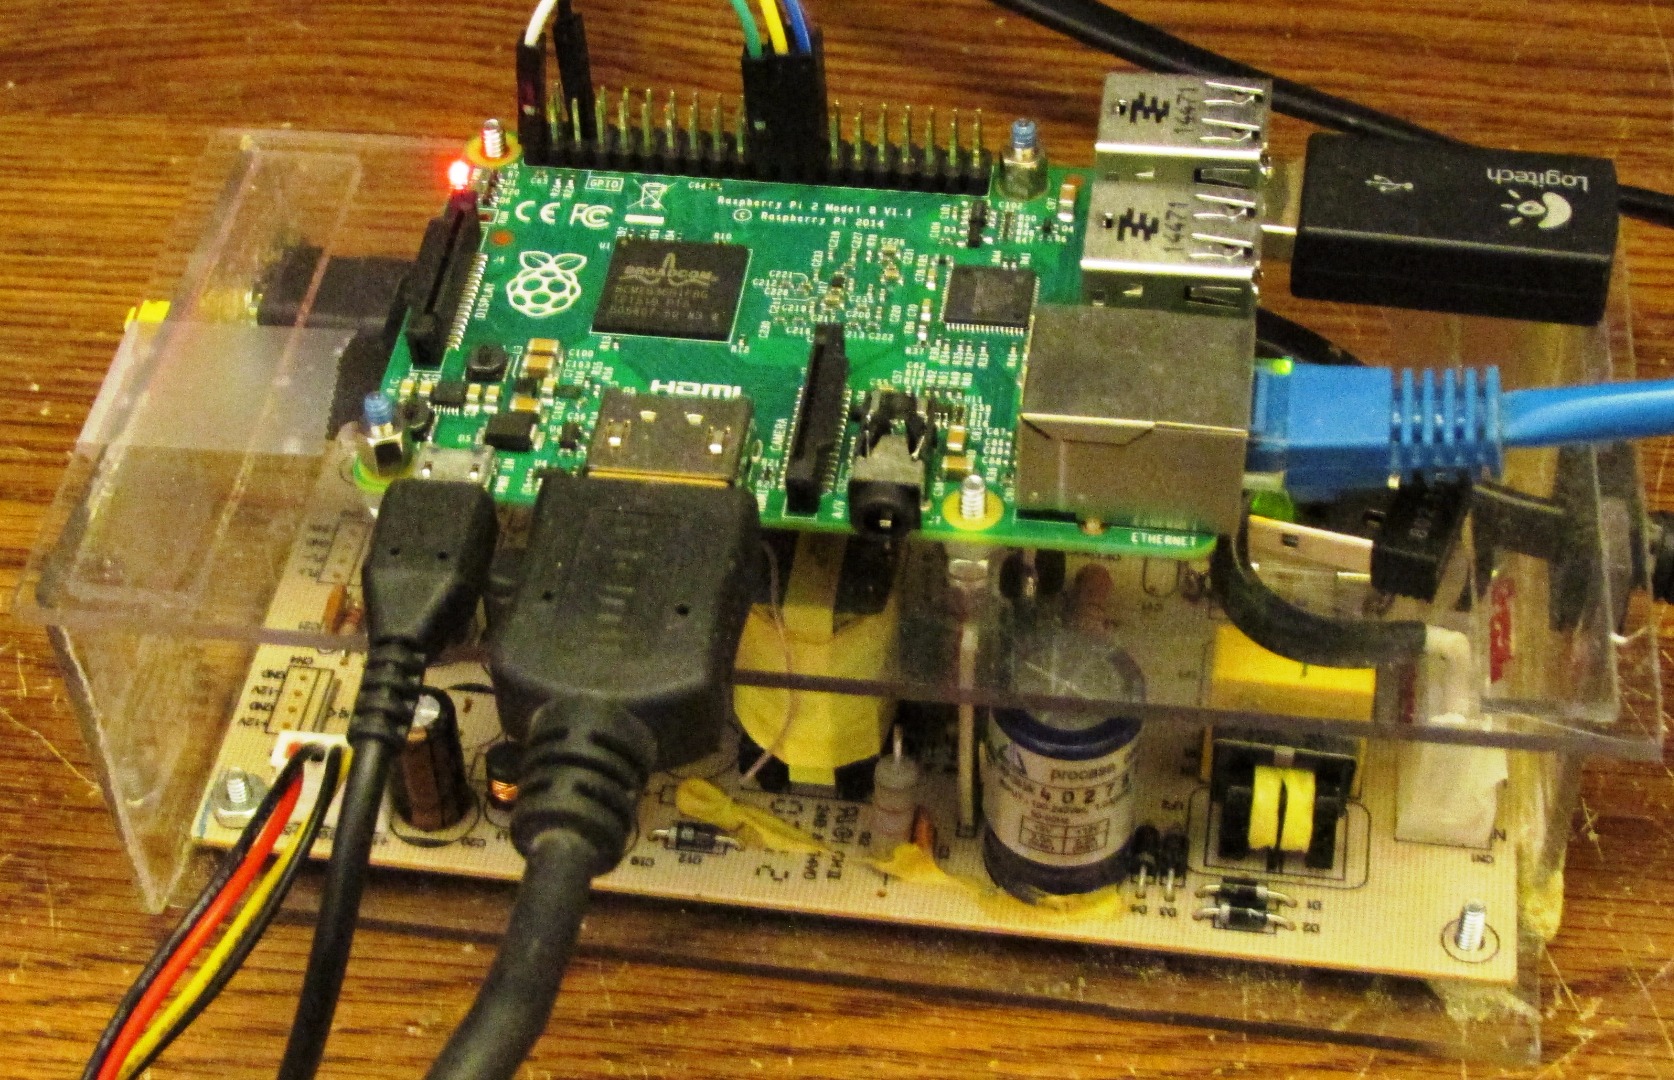
So this Lazy Old Geek (L.O.G.) wanted to make a webserver to display various sensors. After some research I decided to try out EasyIoT since I already had a Raspberry PI, ESP8266s and some nrfl24L01s.
My thanks to the creator of EasyIoT. He did an excellent job. It is well documented here:
and here’s some instructions on how to install the software to a Raspberry PI.
http://iot-playground.com/2-uncategorised/3-easyiot-server-installation
PROBLEM: Well, I tried to do what it says but I couldn’t figure it out when it got to step 4 Install EasyIoT server.
FYI: While I’m pretty familiar with Windows and Arduinos, I don’t know much about Linux, Raspberry PI and web servers.
SOLUTION: With some research and lots of trial and error, here’s what I did:
Requirements:
Personal computer
Home network with wireless access point
Raspberry PI or PI 2
ESP-01(ESP8266) for my first sensor
Personal computer:
Go to the download page:
http://iot-playground.com/download
Go to the bottom of the page and click on the latest
Mine was EasyIoT server v0.8
Click on it and download it to your PC
Unzip it. (An image file will be created (*.img)) (Remember where you put it)
So how do you get this on to an SD card that the Raspberry PI can use?
Next go to:
http://sourceforge.net/projects/win32diskimager/
Download Win32DiskImager
Put an SD card into your PC. 16gB is better (some 8gB cards weren’t big enough). Note the drive#. Mine was G:
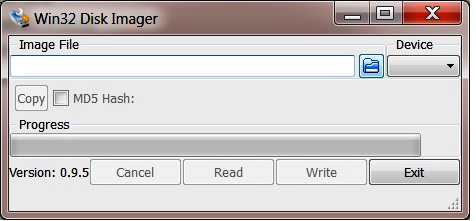
Open Win32DiskImager (see picture)
Click on the little blue icon (file?) and browse to and select Image file
Under “Device”, select correct drive for SD card
IMPORTANT: Make sure it’s the correct drive. It will be overwritten
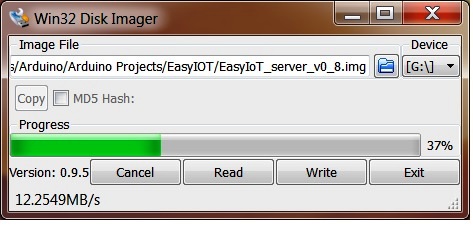
Click on “Write”
The next picture shows it in progress.
Wait and wait
Finally it will finish
Raspberry PI:
Connect an Ethernet cable to your home network and to the Raspberry PI
Connect USB keyboard/mouse adapter
Connect monitor to HDMI connector
Put SD card in
Power up
Watch it load
NOTE: I had a 32gB SD card that would not load. What I did was reformat it to ‘FAT’ (not exfat), then reloaded image. It worked.
Wait a long time until you get a prompt
Near the bottom, the screen should show:
My IP address is ???.???.???.???
Write it down, this is the address of your EasyIoT server
When asked for login: pi
Password: raspberry
More
Now from:
http://iot-playground.com/2-uncategorised/3-easyiot-server-installation
Raspberry PI:
1. Enable SPI. (Only needed if you have nrfl24l01 connected to Raspberry)
Type: sudo raspi-config
NOTE: Mouse is not enabled, use the cursor keys (Arrows) and ENTER key
Select 1EXPAND FILESYSTEM
Then go to 8 - Advanced options
A6 SPI, Yes
SPI interface enabled: Yes
SPI kernel to be loaded: Yes
The scroll down and select Finish
NOTE: you may want to set timezone while you are here:
Select 4 Internationalisation Options
Choose your timezone.
Reboot: Yes
2. Get updates/upgrades
sudo apt_get update
sudo apt_get upgrade
Do you want to continue (Y/n) Y
I did not install SSL Certification. I guess this provides secure access to the EasyIOT server from web browsers
Apparently, the EasyIoT server should now be running in the background.
Personal computer:
Open a Web browser (I use Chrome)
Put your cursor to the top of window where it probably says http:… or https:…:
Delete whatever is there and enter your webserver address, something like this:
192.168.0.105
It should ask you for Username:
Username: admin
Password: test
Select Login
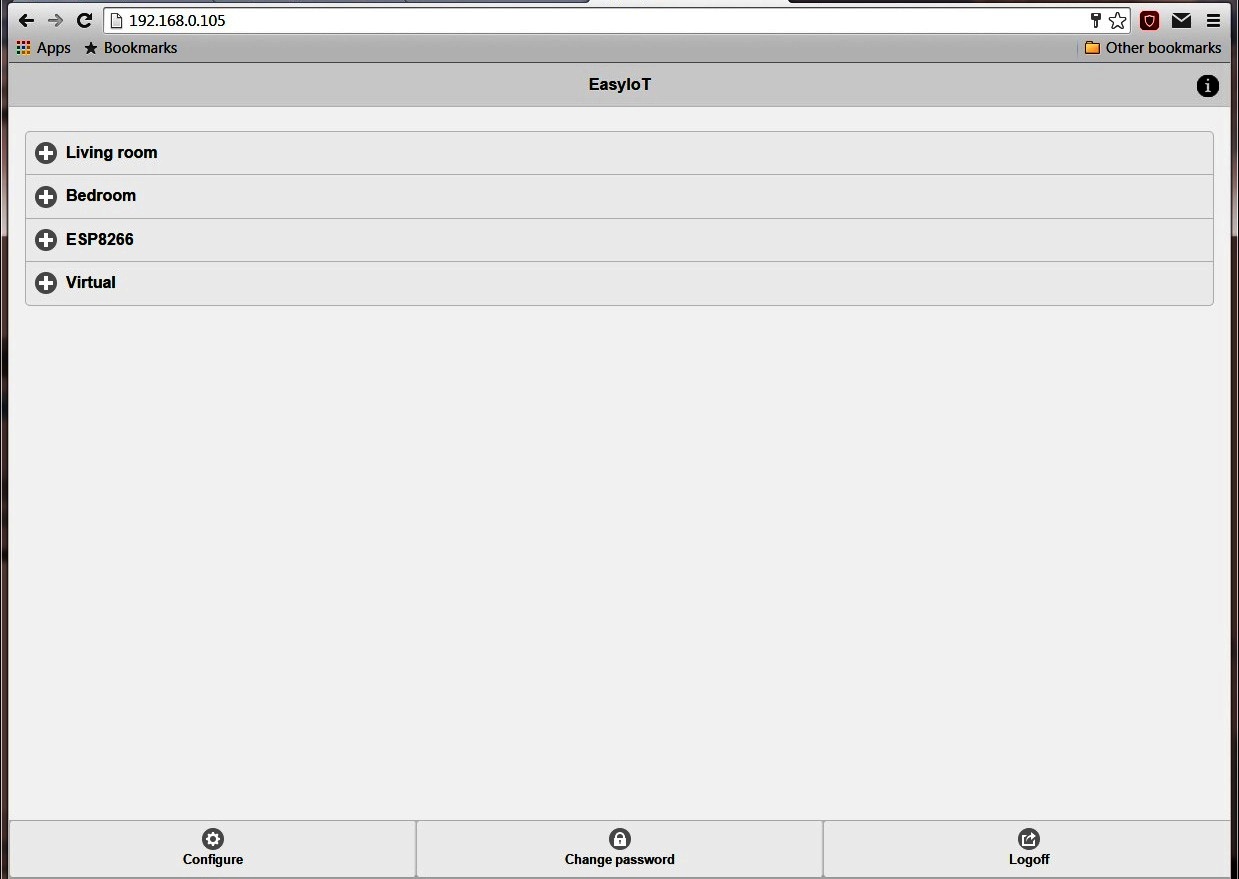
Hopefully, you will get a window like the picture. Yeah, your webserver is up.
Temperature Sensor

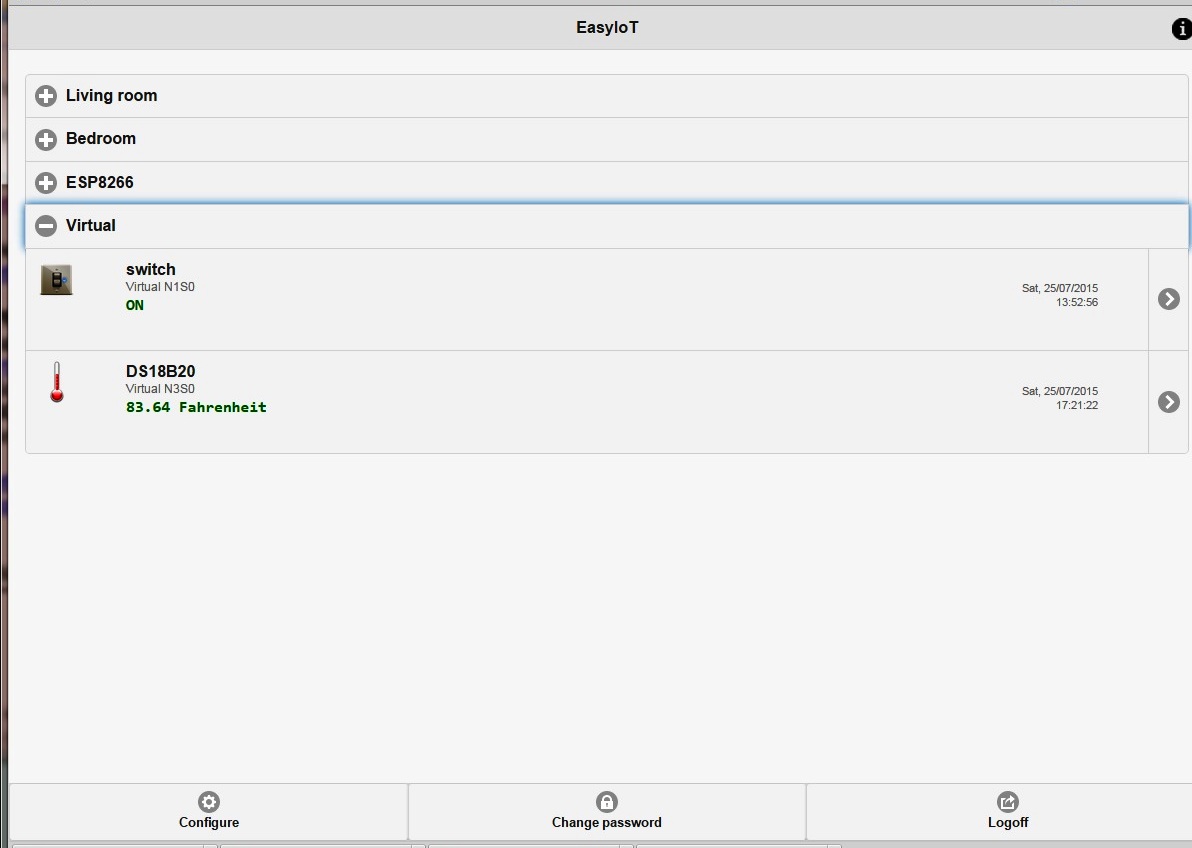
So apparently my EasyIoT is running/working but I don’t really know unless I get it to do something. Well, the following looked pretty easy:
https://www.instructables.com/id/ESP8266-WiFi-DB18B...
http://iot-playground.com/2-uncategorised/41-esp82...
So this EasyIoT creator is an expert on so many things. But I’m OLD and can’t always understand lots of details. I pretty much followed his Instructions but here are some tips.
NOTE: When I refer to the sketch, I’m talking about the program loaded into the Arduino Environment but loaded to the ESP-01 module.
Step 2: Add node to EasyIoT server
Personal computer:
Open a Web browser to your EasyIoT server
The “Configure” button is at the left bottom of the screen, see picture.
Drivers
Virtual Driver
NOTE: I thought this would be under ESP8266 but it’s under Virtual Driver. Maybe because of the way the sketch is written.
Add Node
Write down the node address. It’s needed in the Sketch.
Step 4: Program
So programming the ESP-01(ESP8266) with Arduino environment is pretty tricky. I wrote my own Instructable on how I did it:
https://www.instructables.com/id/ESP8266-as-Arduino...
You also need the following EasyIoT library:
This is the Arduino-master library that has ESP8266 stuff and nrf24L01 stuff
https://github.com/iot-playground/Arduino
Here is the sketch for the ESP8266:
https://www.instructables.com/id/ESP8266-as-Arduino...
NOTE: The AP_SSID and AP_PASSWORD refer to your home network wireless access point. It’s the information you use to connect to your home network.Put these into the sketch.
PROBLEM: So I tried to compile this sketch but got an error with the base64_encode() command. Well, the sketch comments said to use this external library:
https://github.com/adamvr/arduino-base64
So I added it but it still wouldn’t compile.
SOLUTION: Well, EasyIoT has a website: http://iot-playground.com/
And I found this in the community forum and used this library base64.zip library. See attached.
http://iot-playground.com/forum/esp8266-arduino-id...
TIP: Remove the Arduino-base64-master library
Well, it finally works. See picture
Downloads
Customization
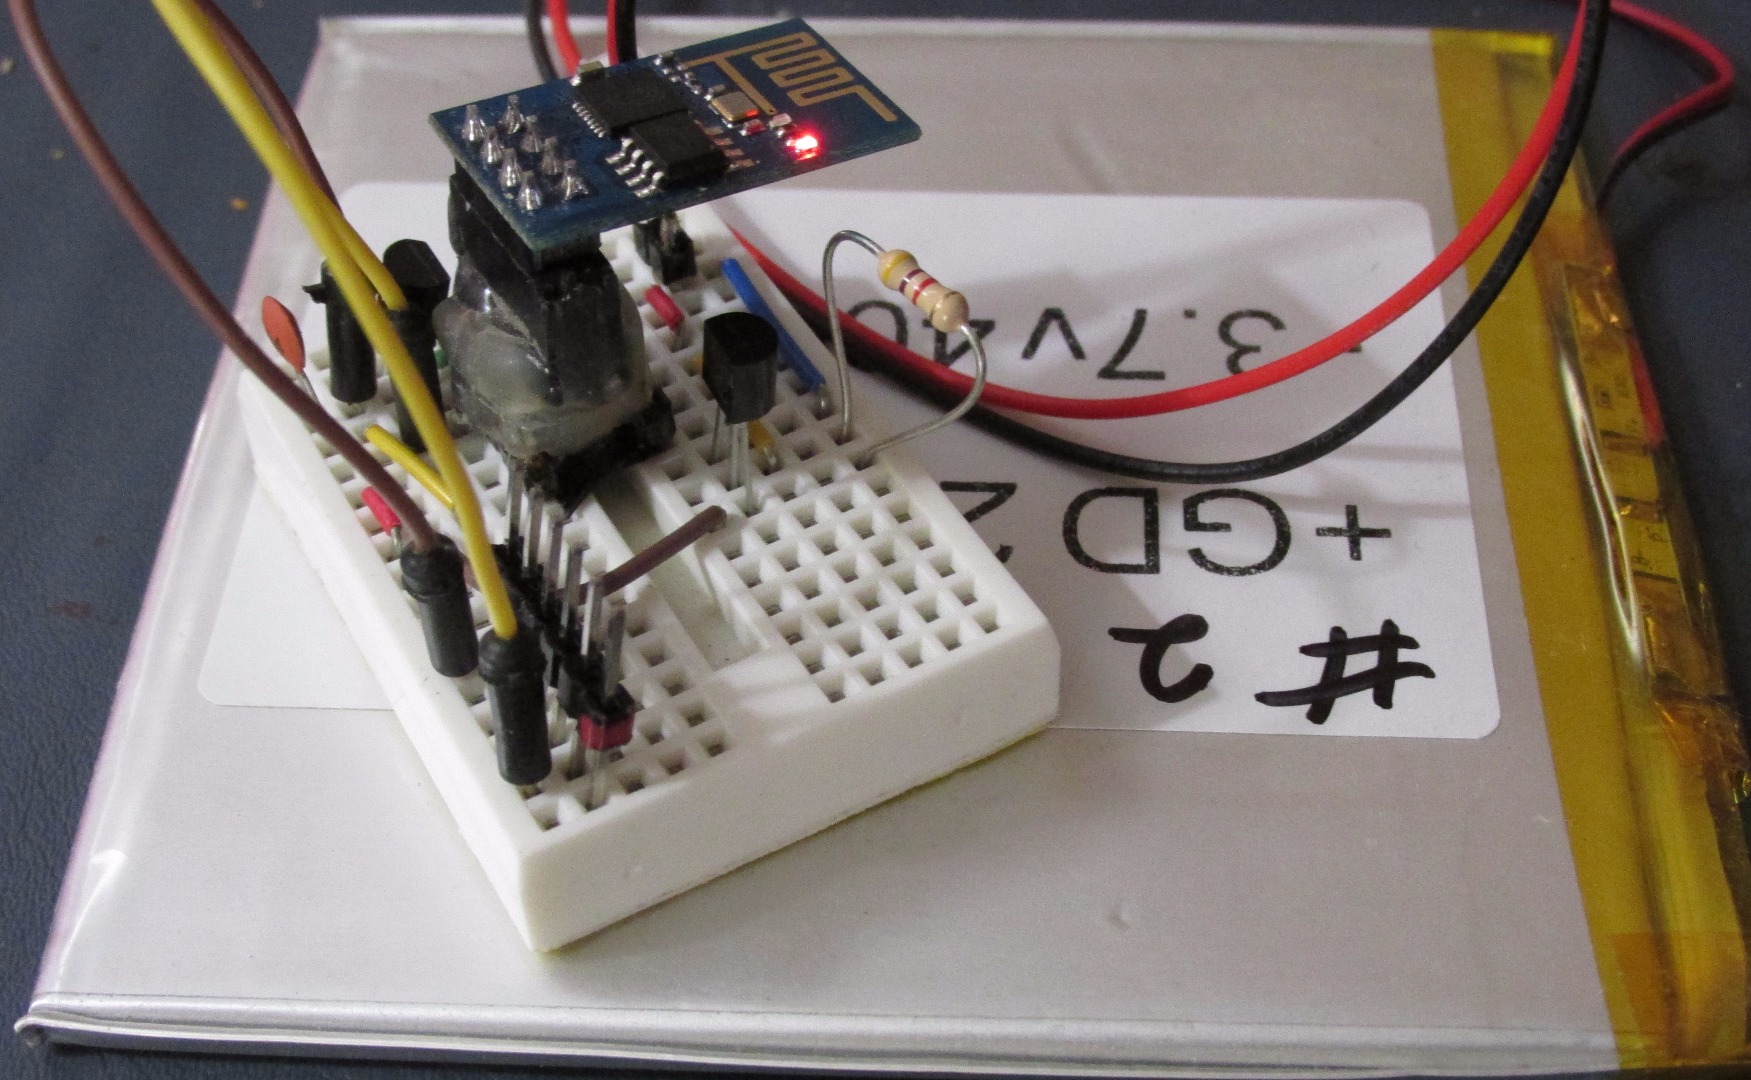
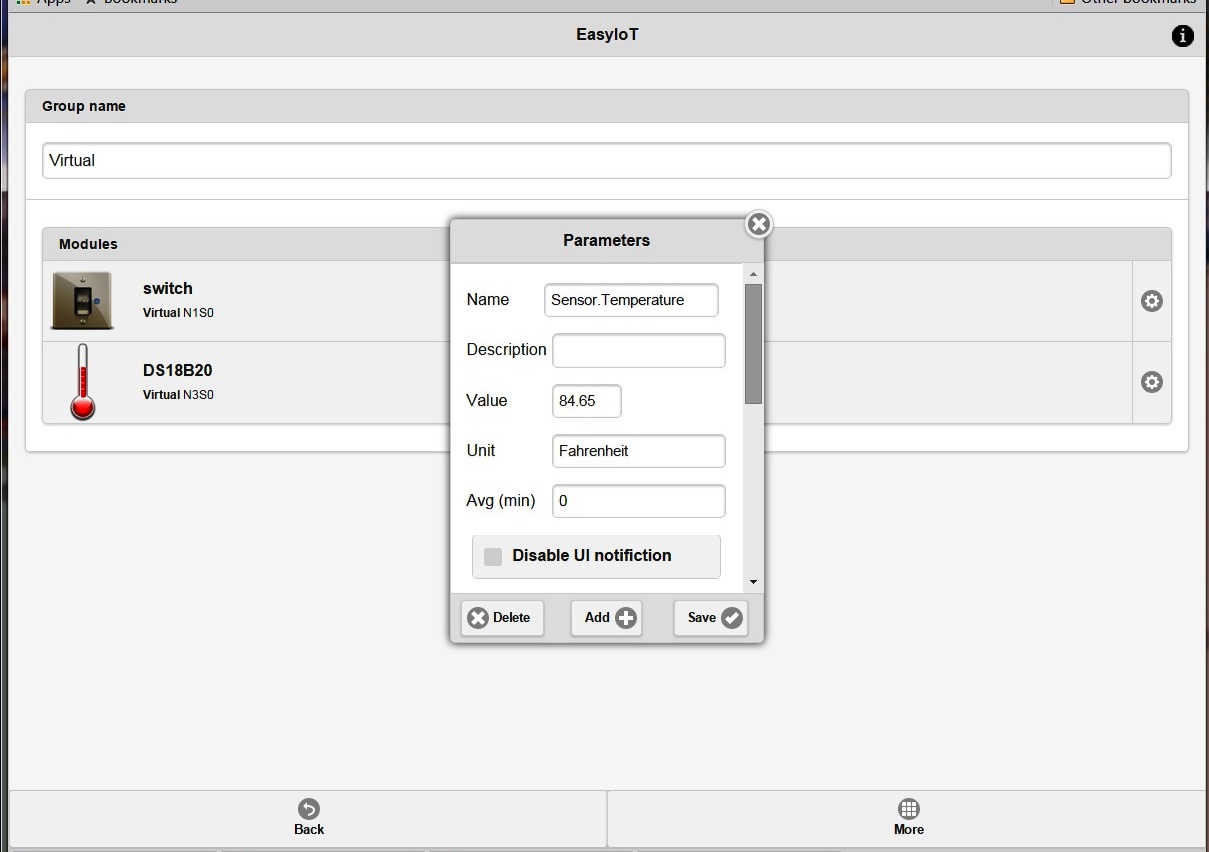
Here’s a picture of my sensor hardware. Instead of using 2 AA batteries, I used a Lithium Ion battery (the huge square underneath the protoboard. So I used an L4931 voltage regulator to bring it down to 3.3Vdc.
I wanted Fahrenheit instead of Centigrade so I changed this line in the sketch:
temp = DS18B20.getTempCByIndex(0);
to this:
temp = DS18B20.getTempFByIndex(0);
So I also wanted to see the data log, like in the Instructable:
So I opened up the EasyIoT web server, Went into “Configure”, Groups, Virtual.
To the far right of my sensor ‘DS18B20’ there is a configure icon, click on it. See picture. I added unit as Fahrenheit.
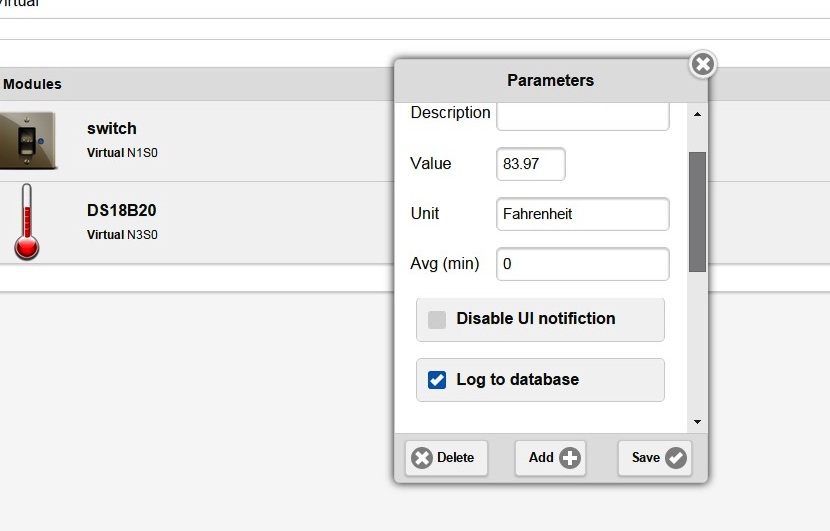
The window has a scroll bar on the right so scroll down. See Picture.
Check Log to Database
Click on ‘Save’
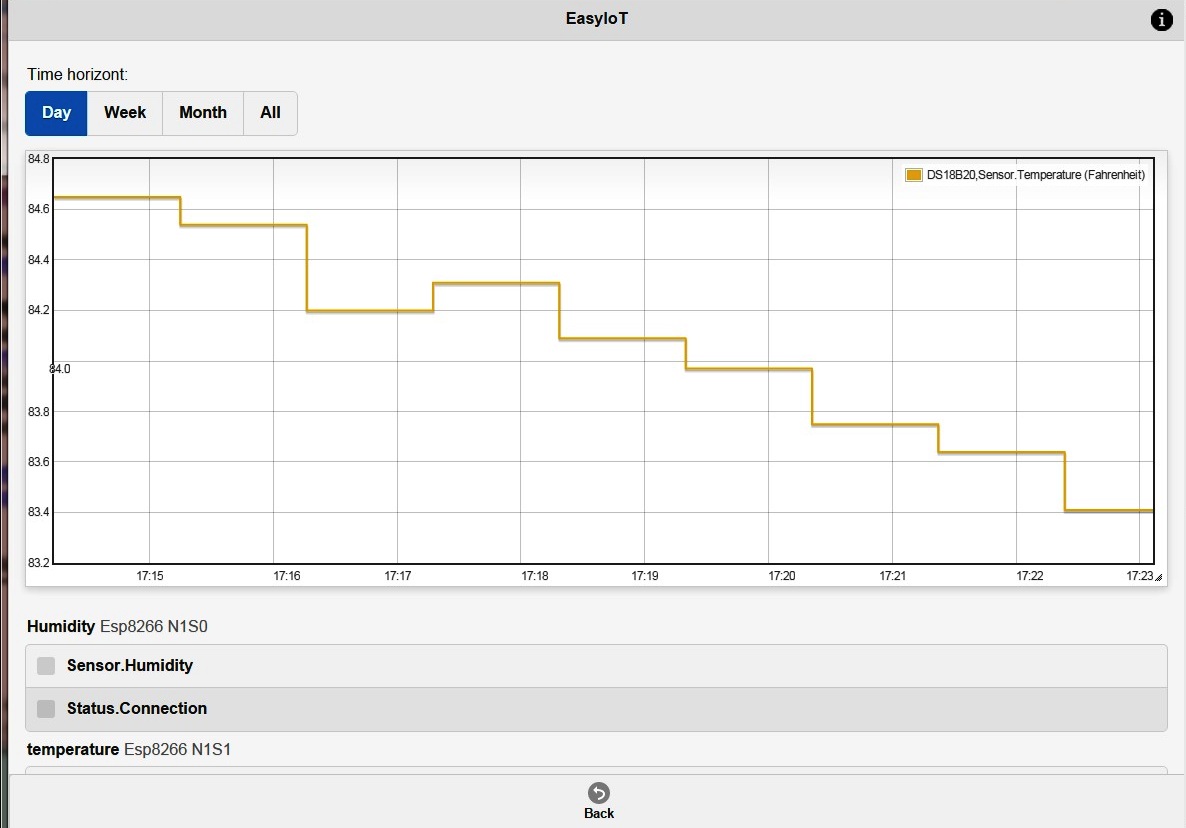
Go back to the main page, under Virtual, to the far right of my sensor (DS18B20) there is an arrow labeled Chart. Click on it and get the chart. See picture.
Note: The reason why they look like stairsteps is because the sample interval is 60 seconds (in the sketch).
Yeah! The server works!
Well, it’s a start.