Easy to Make Thrust Meter
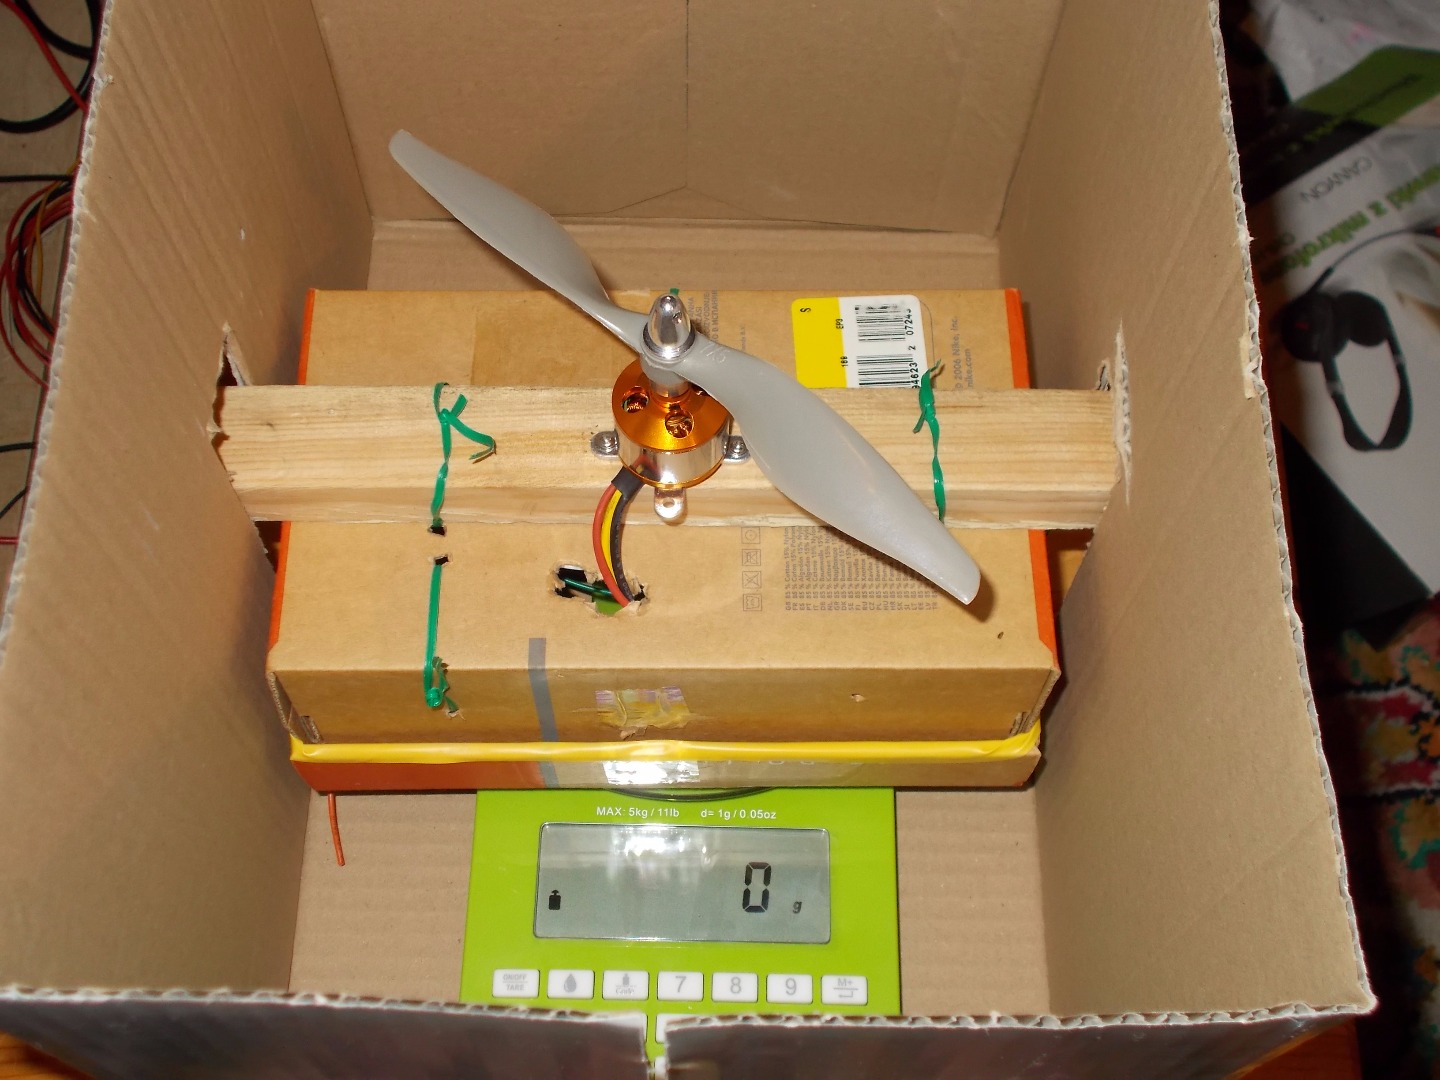
Hi there. In previous instructable I showed you how to control brushless motor(link). In this video I will show you how to make a primitive helicopter and a thrust meter. Actually, we'll make only one thing. A helicopter which is also a thrust meter(2 in 1 :).
How it will work?
It's pretty easy: we will connect all stuffs which are needed to run motor together in small box, motor will be on top of this box. To avoid flying away or turning of our helicopter we'll put it in other big box. Inside big box, under small box there will be electronic weight(with precision at least to 1 g). If it will start flying up the weight will decrease. If it flew away add some stuffs do weight on our helicopter and repeat the process.
OK, let's get to work!
Parts List
Transmitter and Receiver
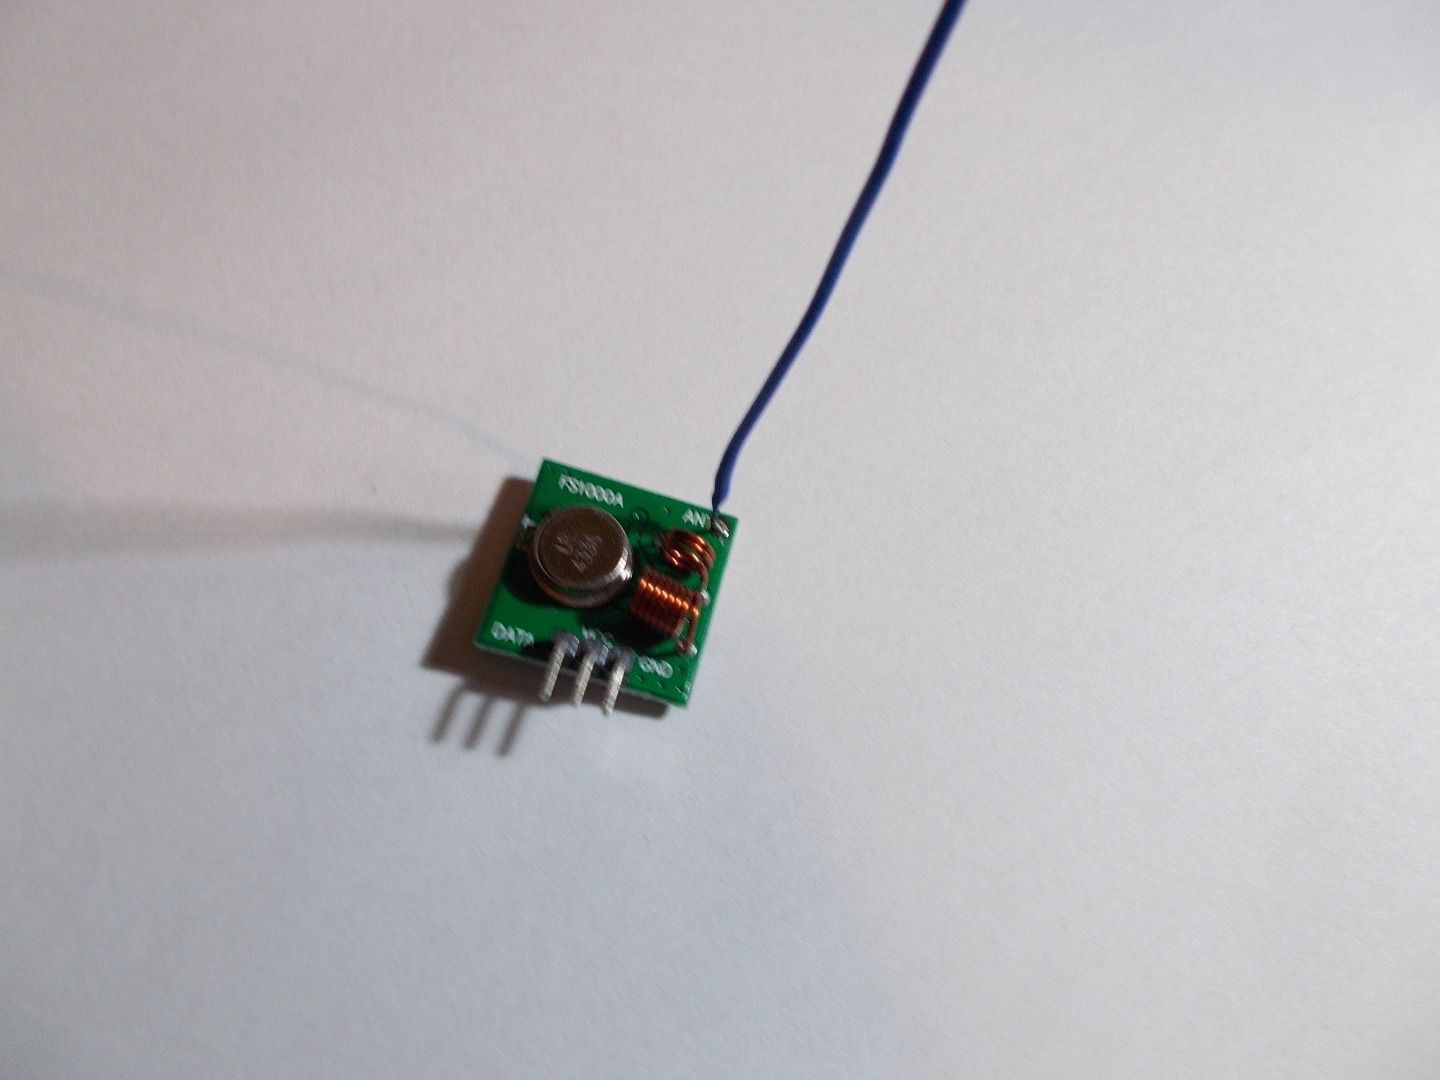
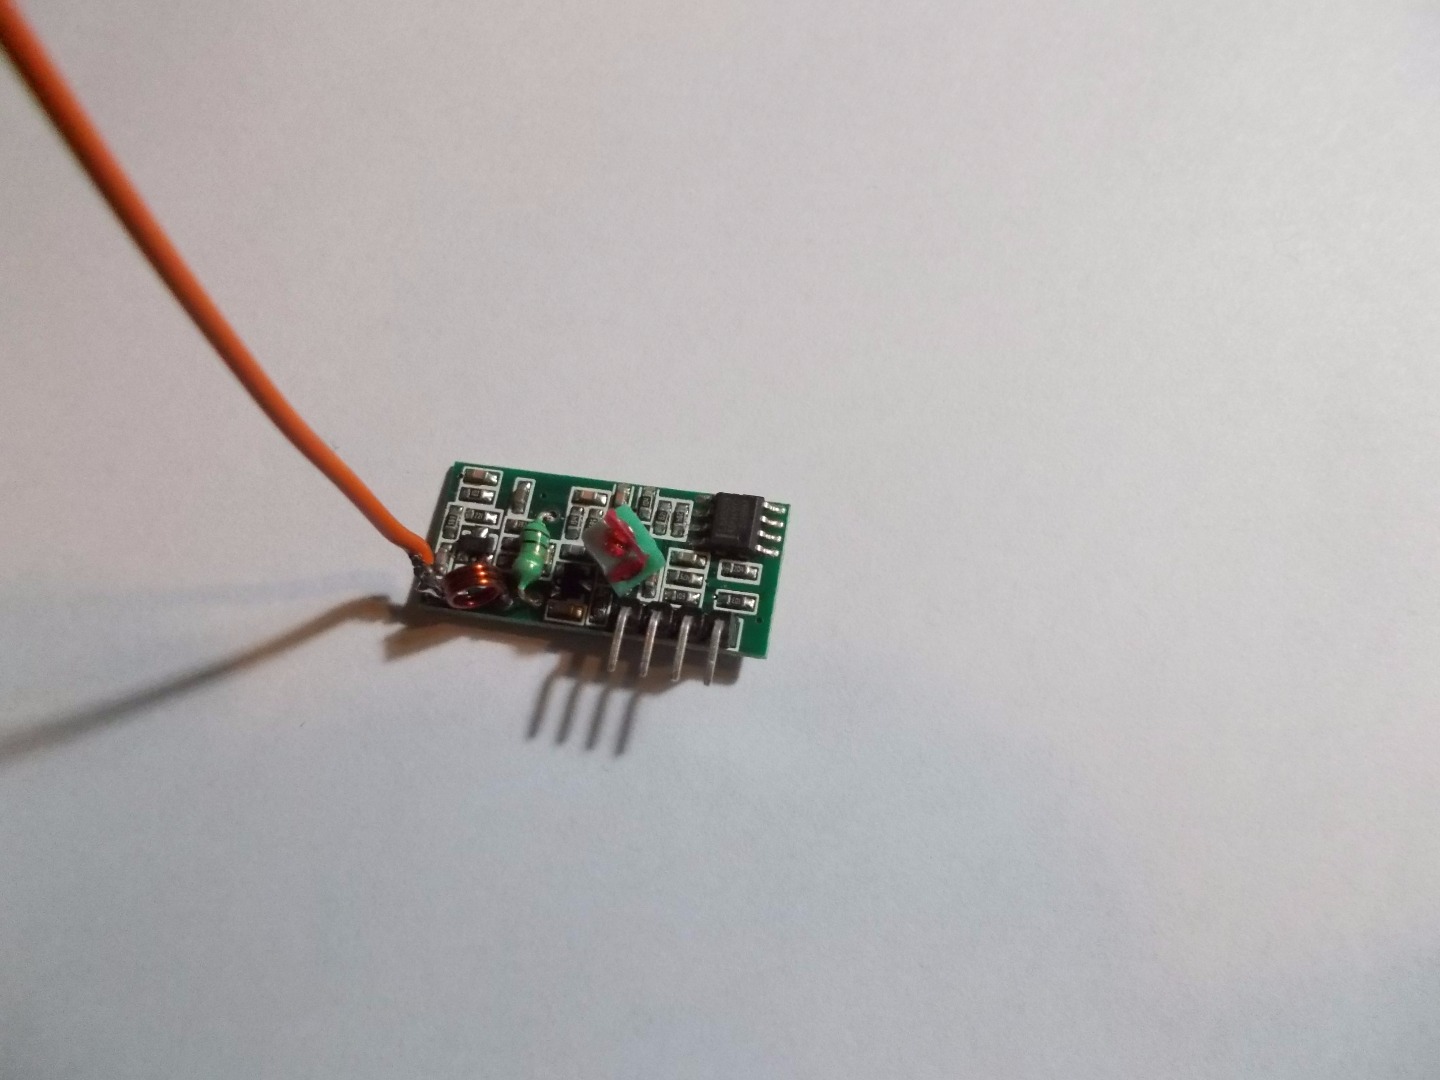
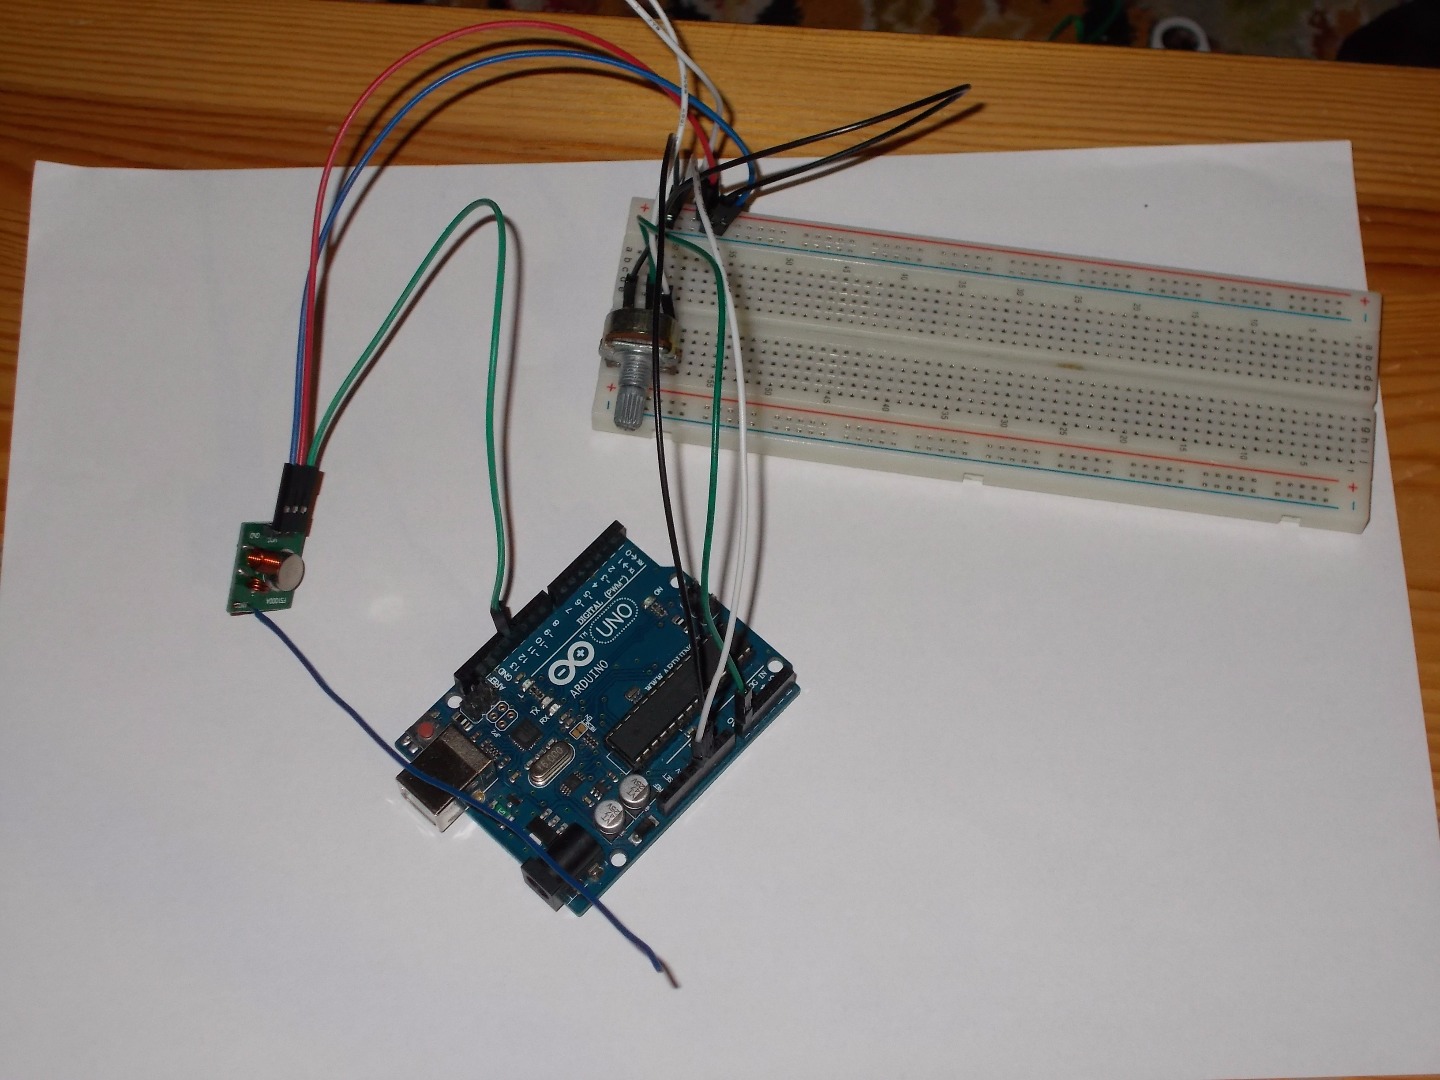
We'll control motor wirelessly so we need transmitter and receiver. There is great instructable about how to control transmitter and receiver here(if you've got different modules than me you have to find how to use it yourself). Now connect transmitter and receiver as in step 2. To control it you need library named VirtualWire created by Mike McCauley. Now download and send transmitter code to your transmitter and receiver code to your receiver. If you've done that leds on transmitter and receiver should slowly blink. If don't, you probably need an antenna. Cut about 18 cm of wire and solder it to transmitter(to hole named ANT) and do the same to receiver(there is no hole named ANT, connect it to hole near coil). It should increase range. You can also connect transmitter to up to 12 V, it will also increase range. If led blinks on both devices let's make helicopter.
Receiver and Transmitter
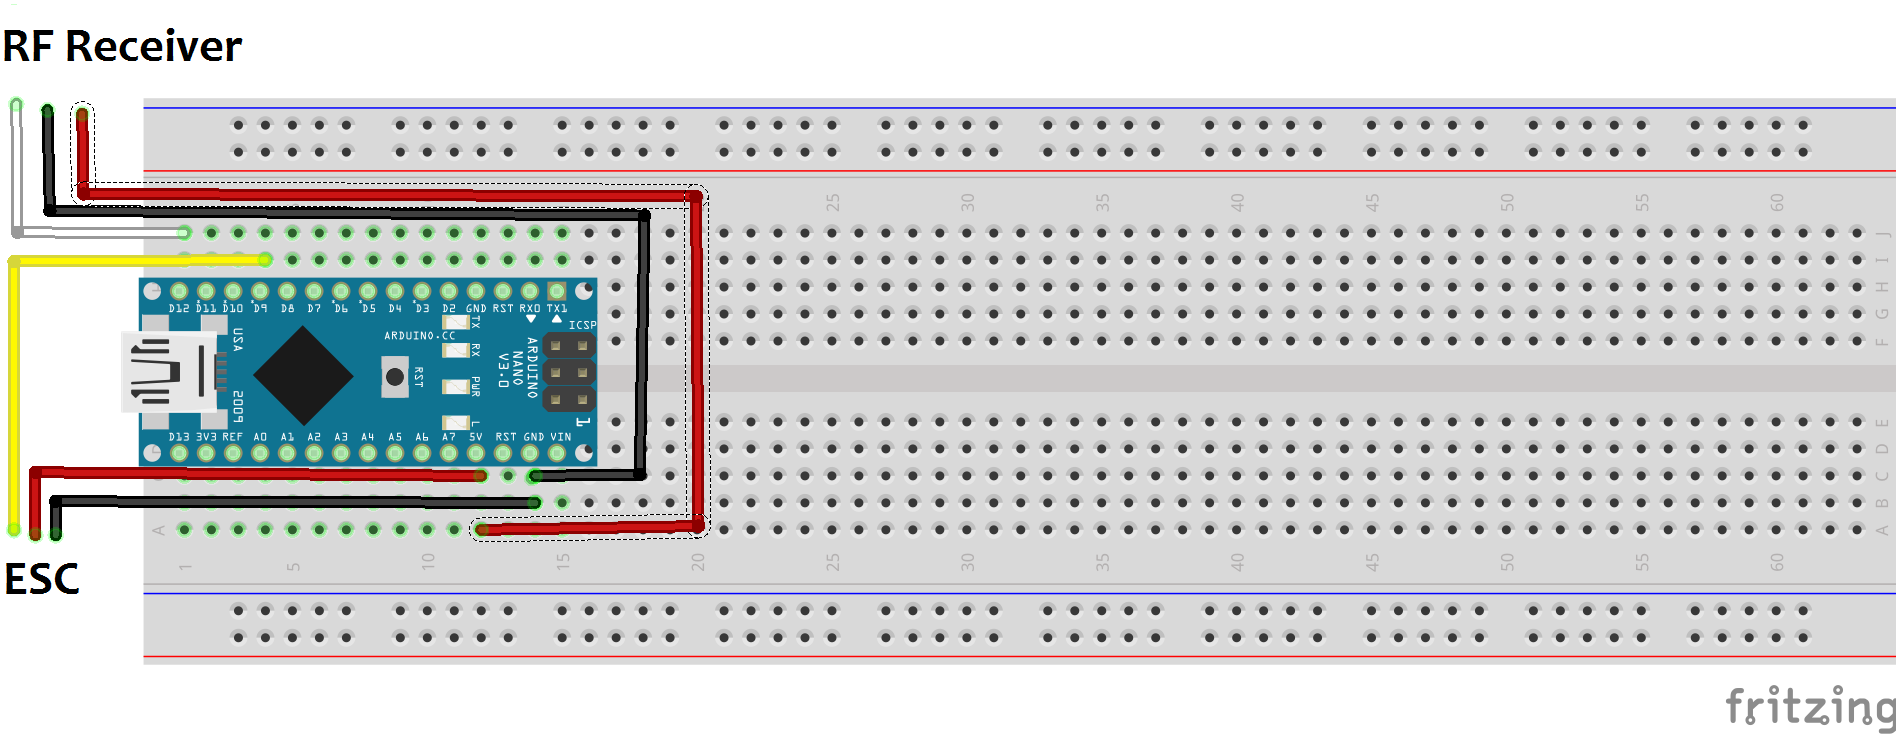

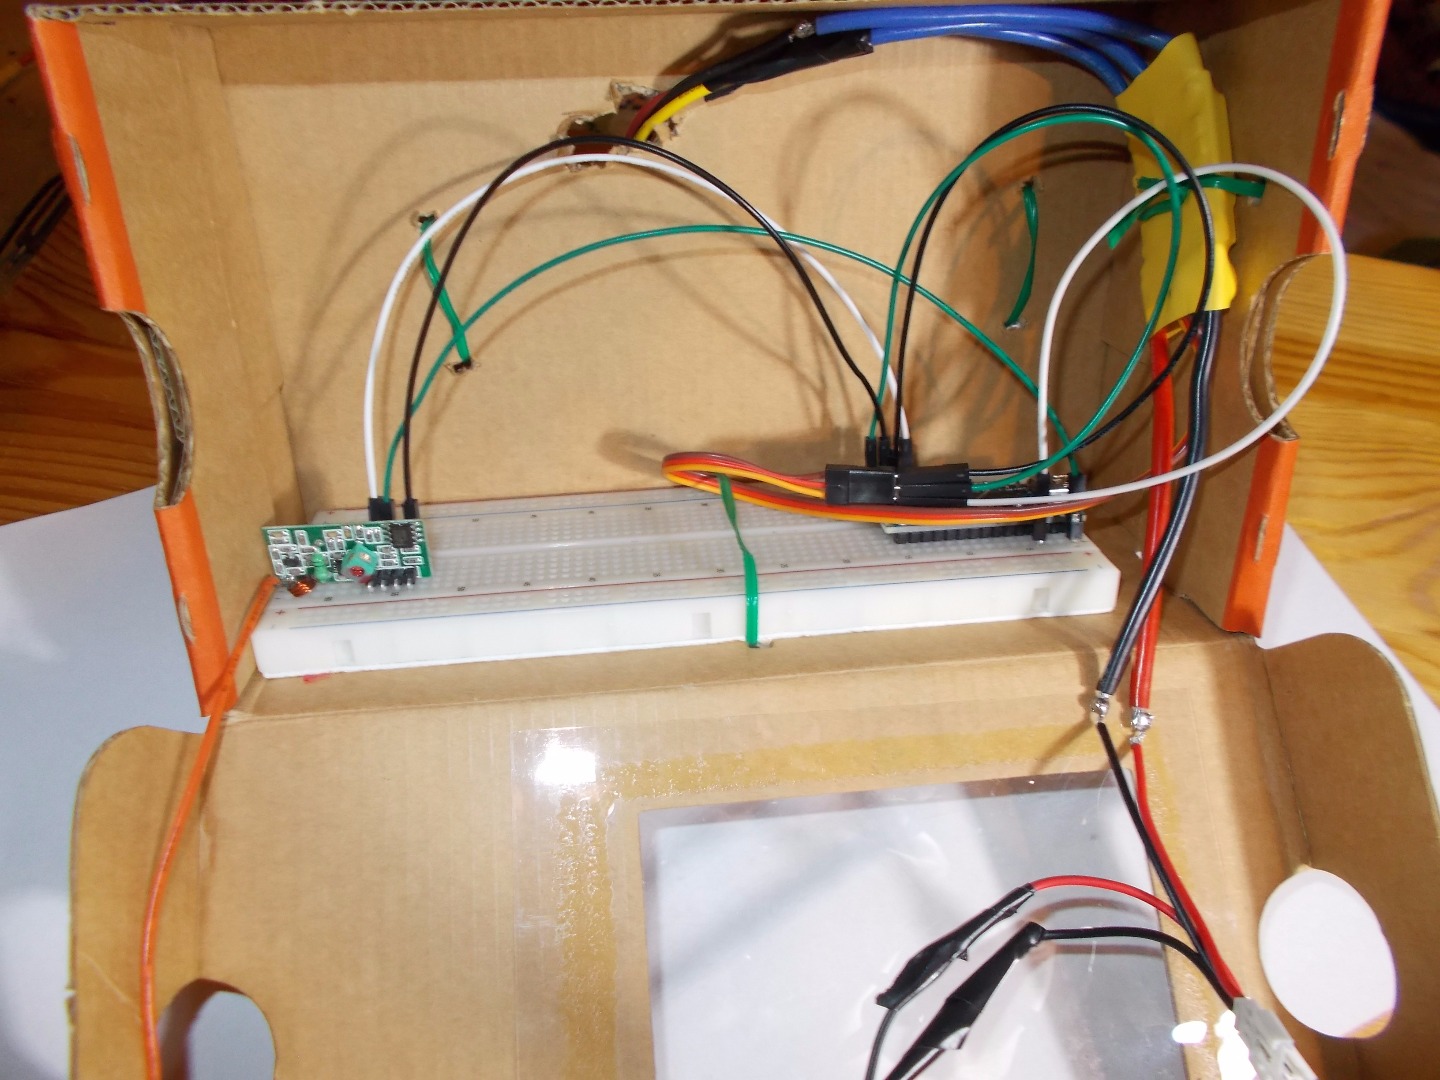
If you didn't connected your ESC to motor check this instructable and do everything as wrote. If you've done that let's make over receiver circuit. So battery, ESC and motor connection stays the same as in instructable to which I've gave you link. Arduino circuit is a little bit different. There is no potentiometer, but there is the RF Receiver(as on first image). REMBER: if Arduino is connected via usb DO NOT CONNECT VIN pin on Arduino to red pin from ESC.
Now we have to program it. And there is a problem. Because to control receiver we use VirtualWire library and to control ESC we use Servo library, and both of these libraries use the same timer so if you'll try to compile code using these two libraries Arduino will return error. But hopefully there is a solution for this problem. There is a replacement of the standard Servo library and it's called ServoTimer2 library. It doesn't return error. In this library function write is the same as in Servo library writeMicroseconds. This is the only change. So download ServoTimer2 library and motor_receiver and send motor_receiver code to Arduino. Set the LOWEST and HIGHEST to your treshold values and send the code to the Arduino.
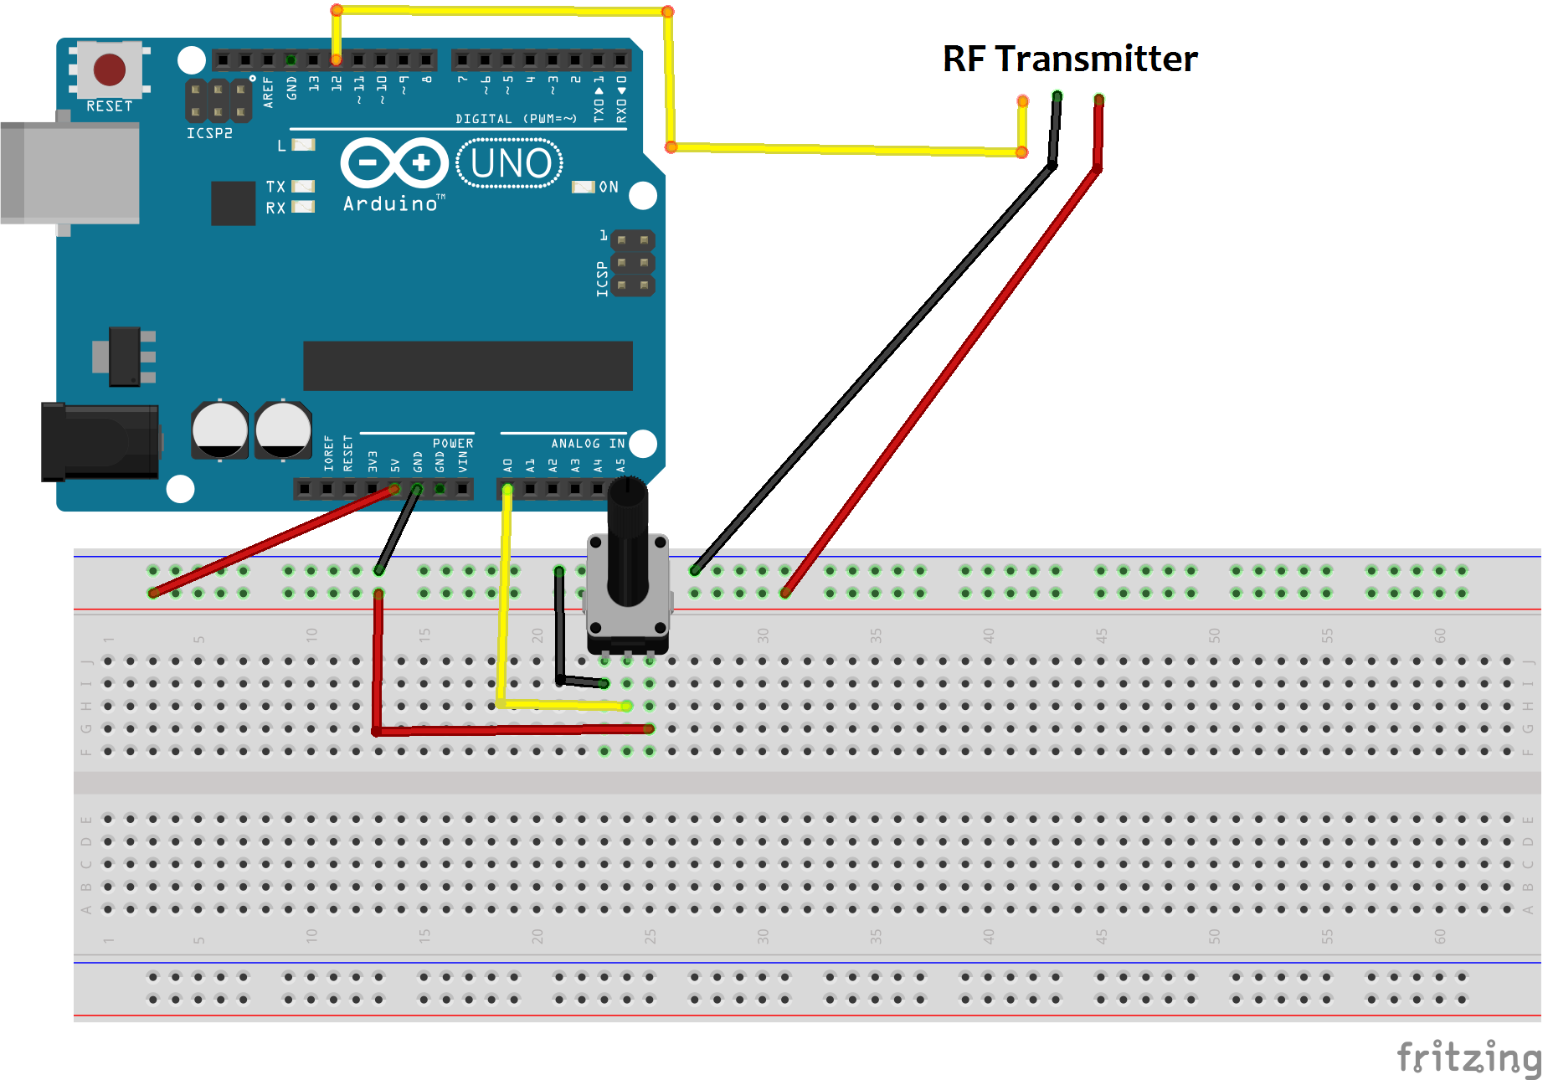
Let's connect transmitter. To Arduino connect RF Transmitter and potentiometer(image 2 and 3). Download motor_transmitter, set LOWEST and HIGHEST as on receiver and send code to the Arduino. Turn on Serial Monitor for receiver and see what data you receive. Rotate potentiometer and check if data change properly. If it does, comment out the lines with Serial and uncomment line with myESC.write(I wrote in code). Now disconnect your receiver from computer and connect red wire from ESC to VIN.
Building Cover for Receiver
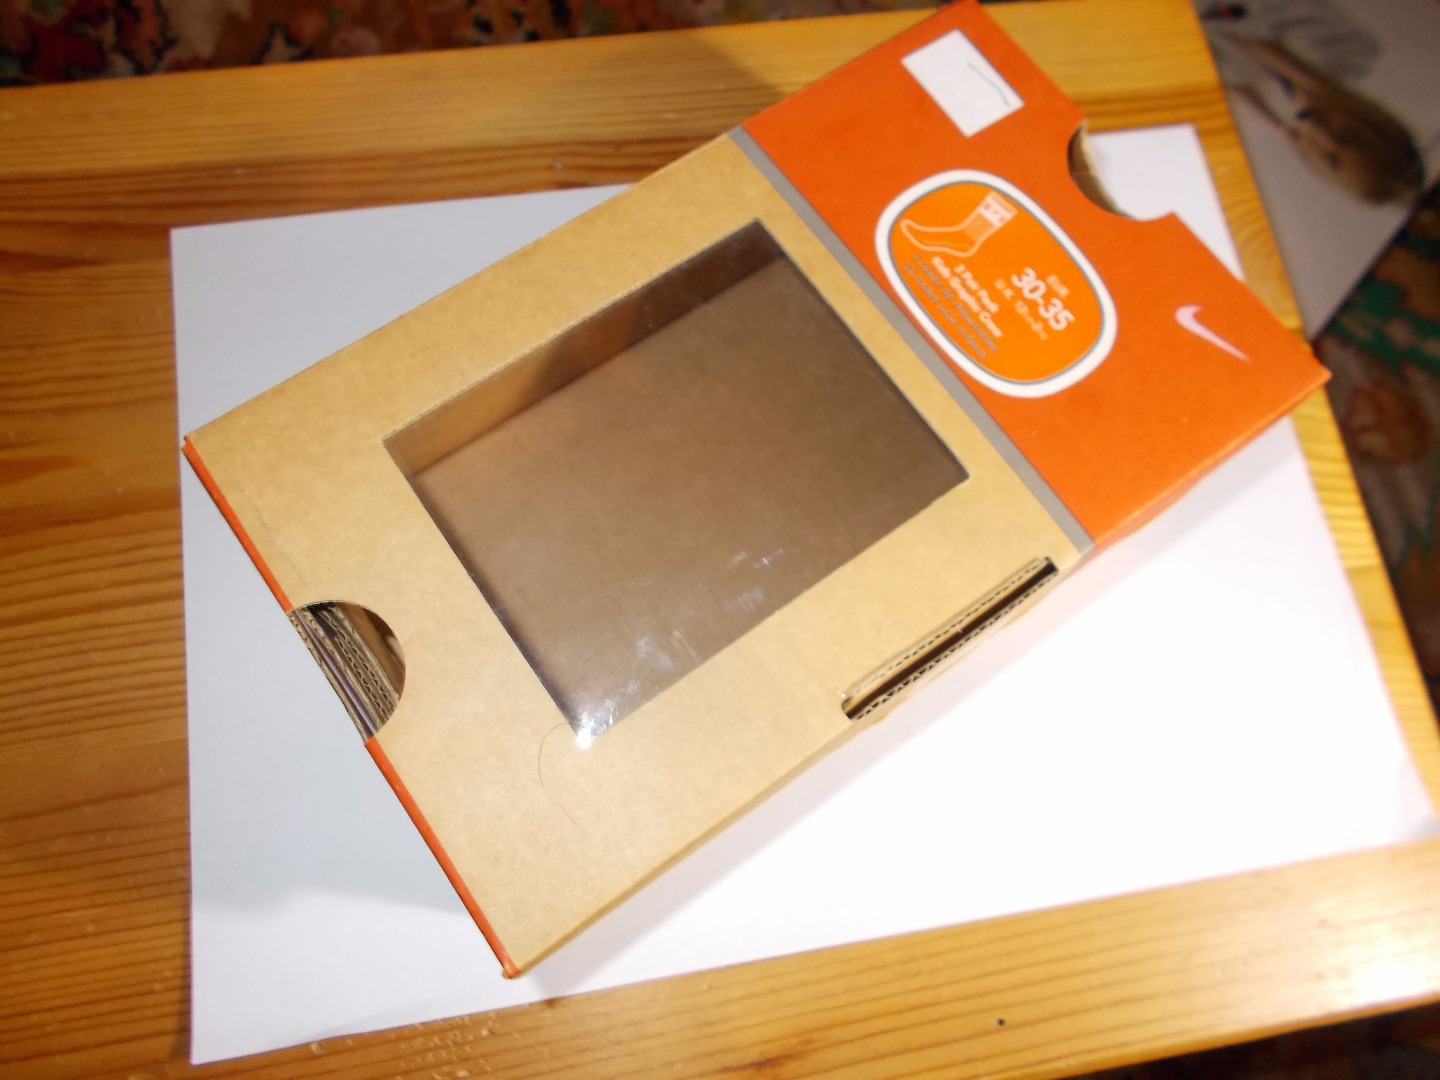
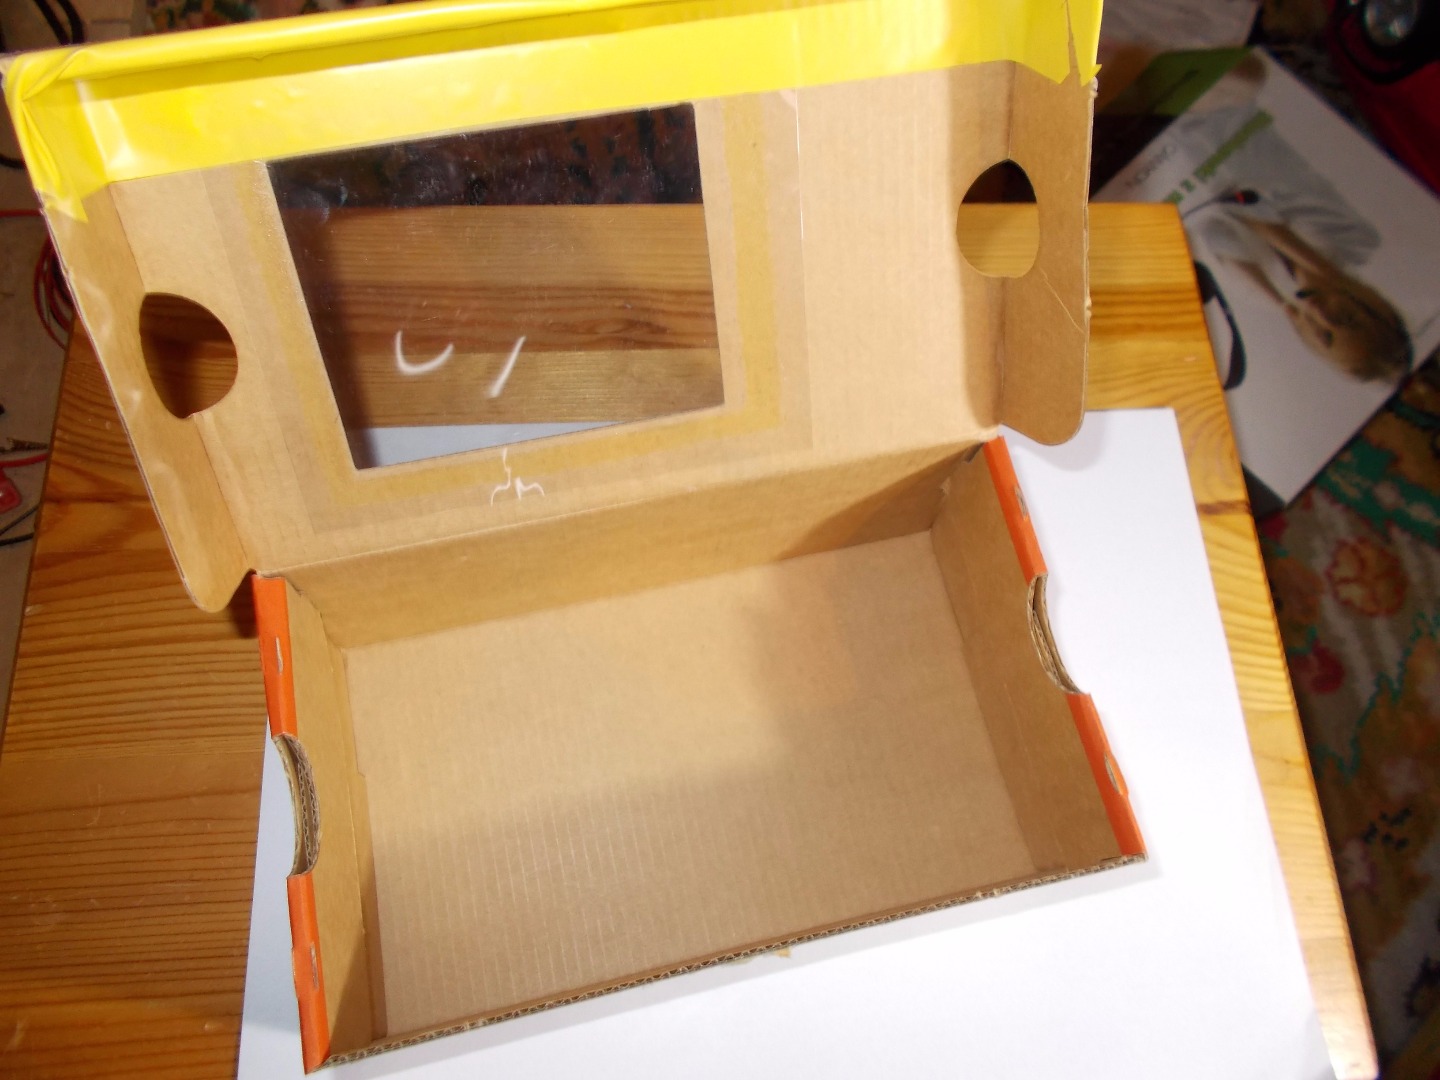

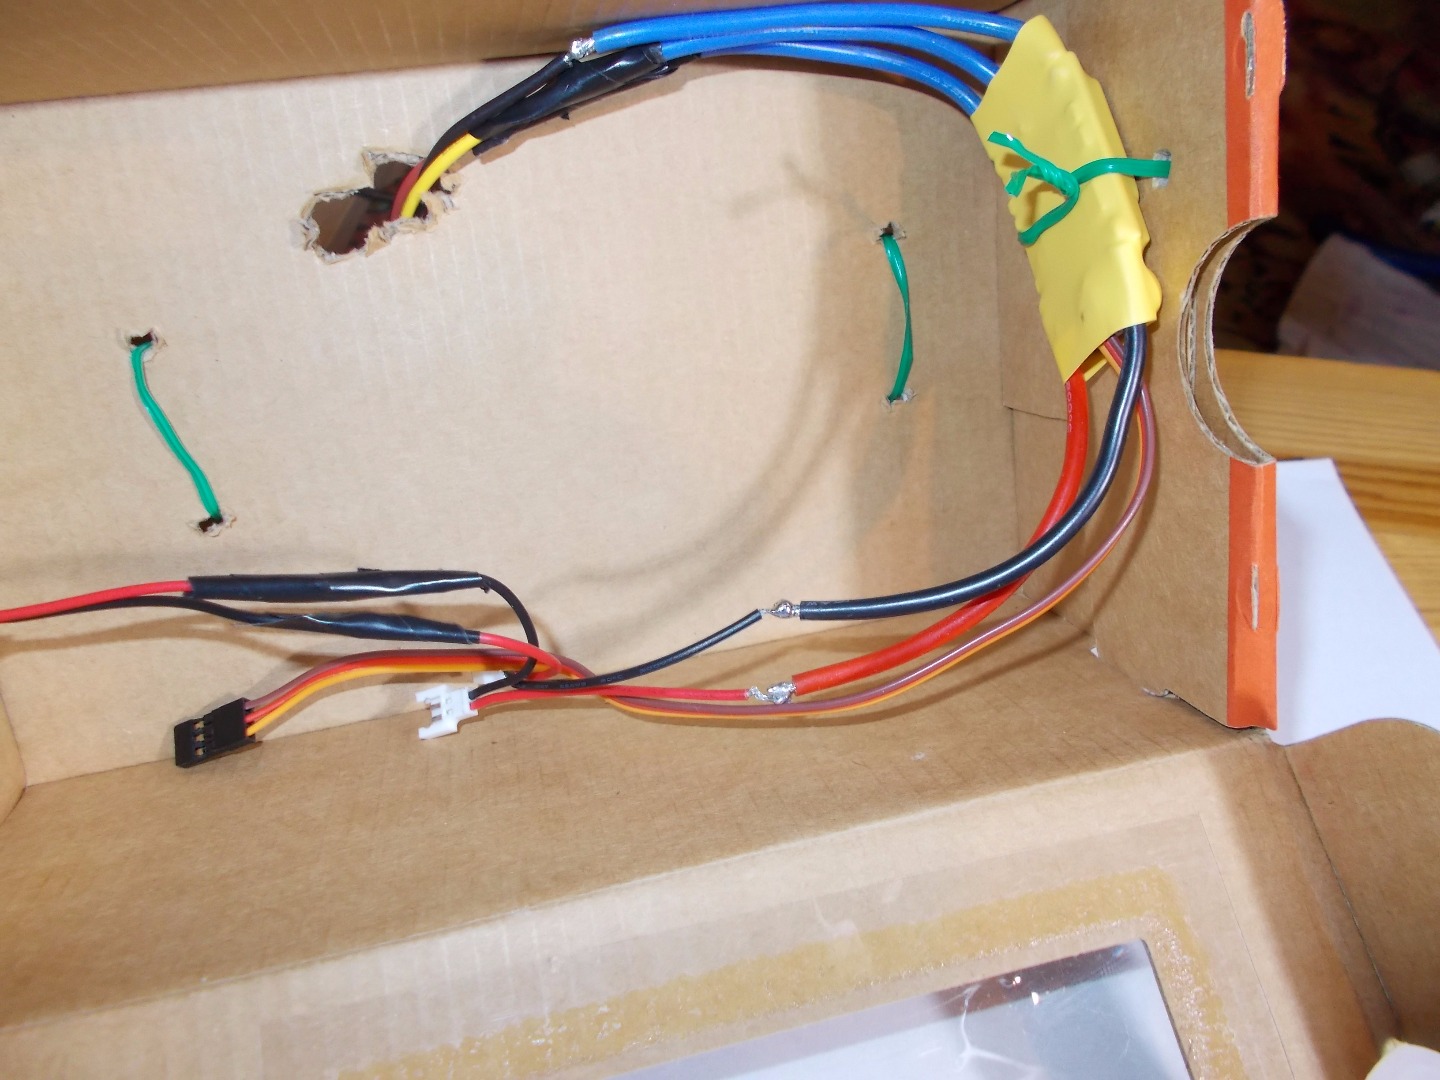

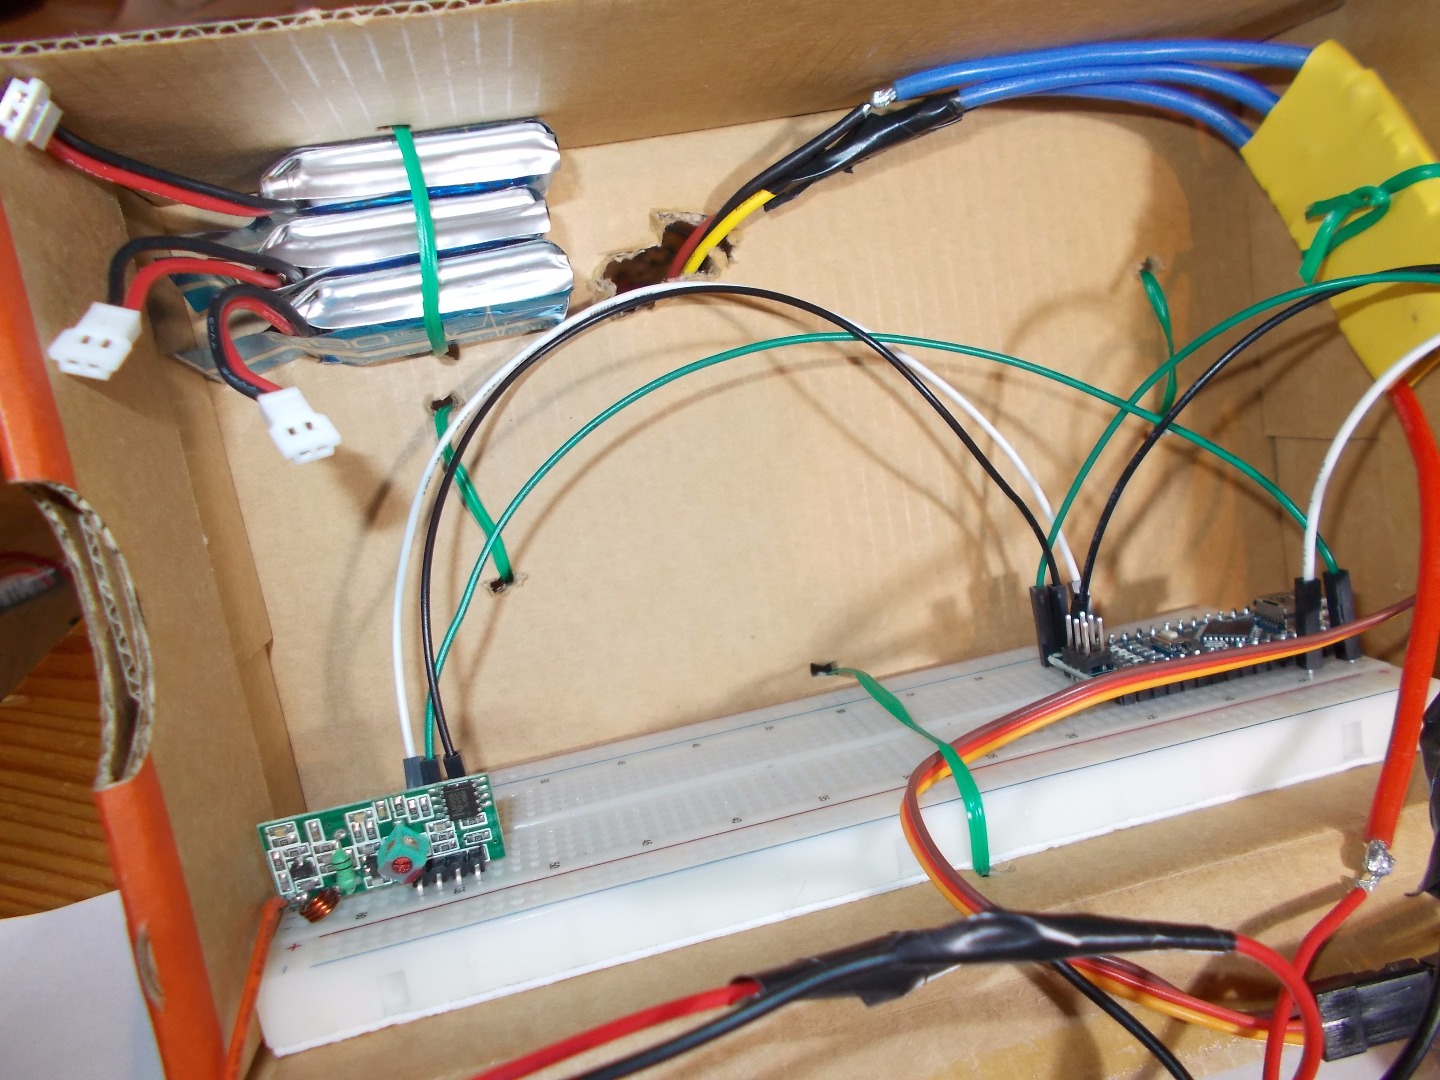
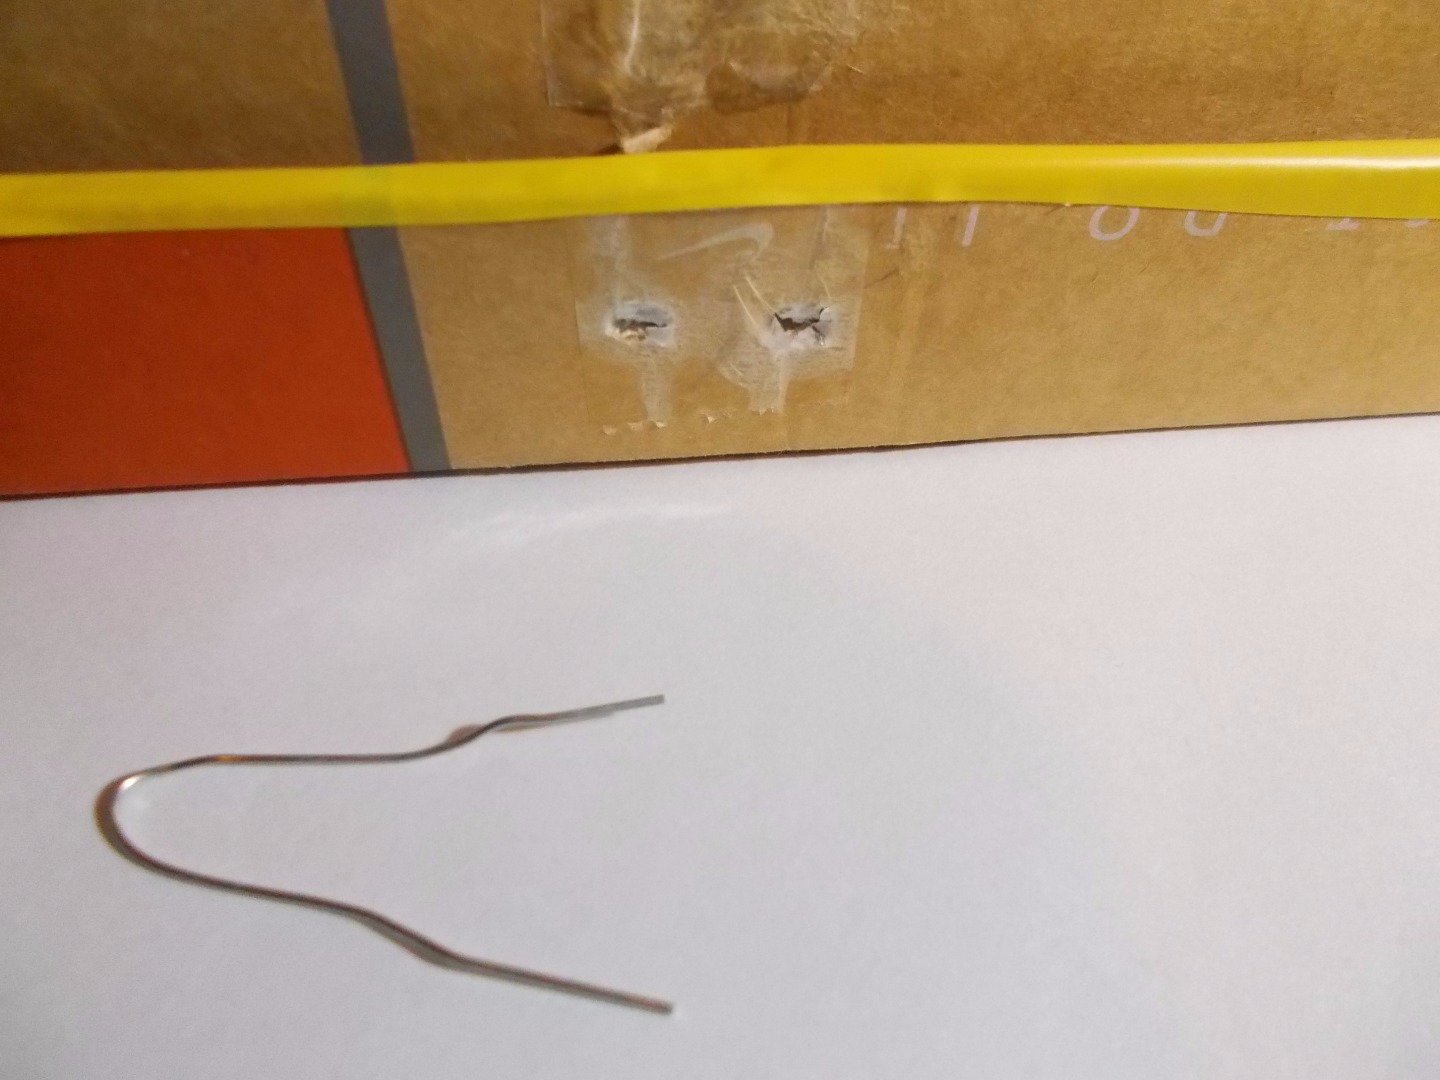
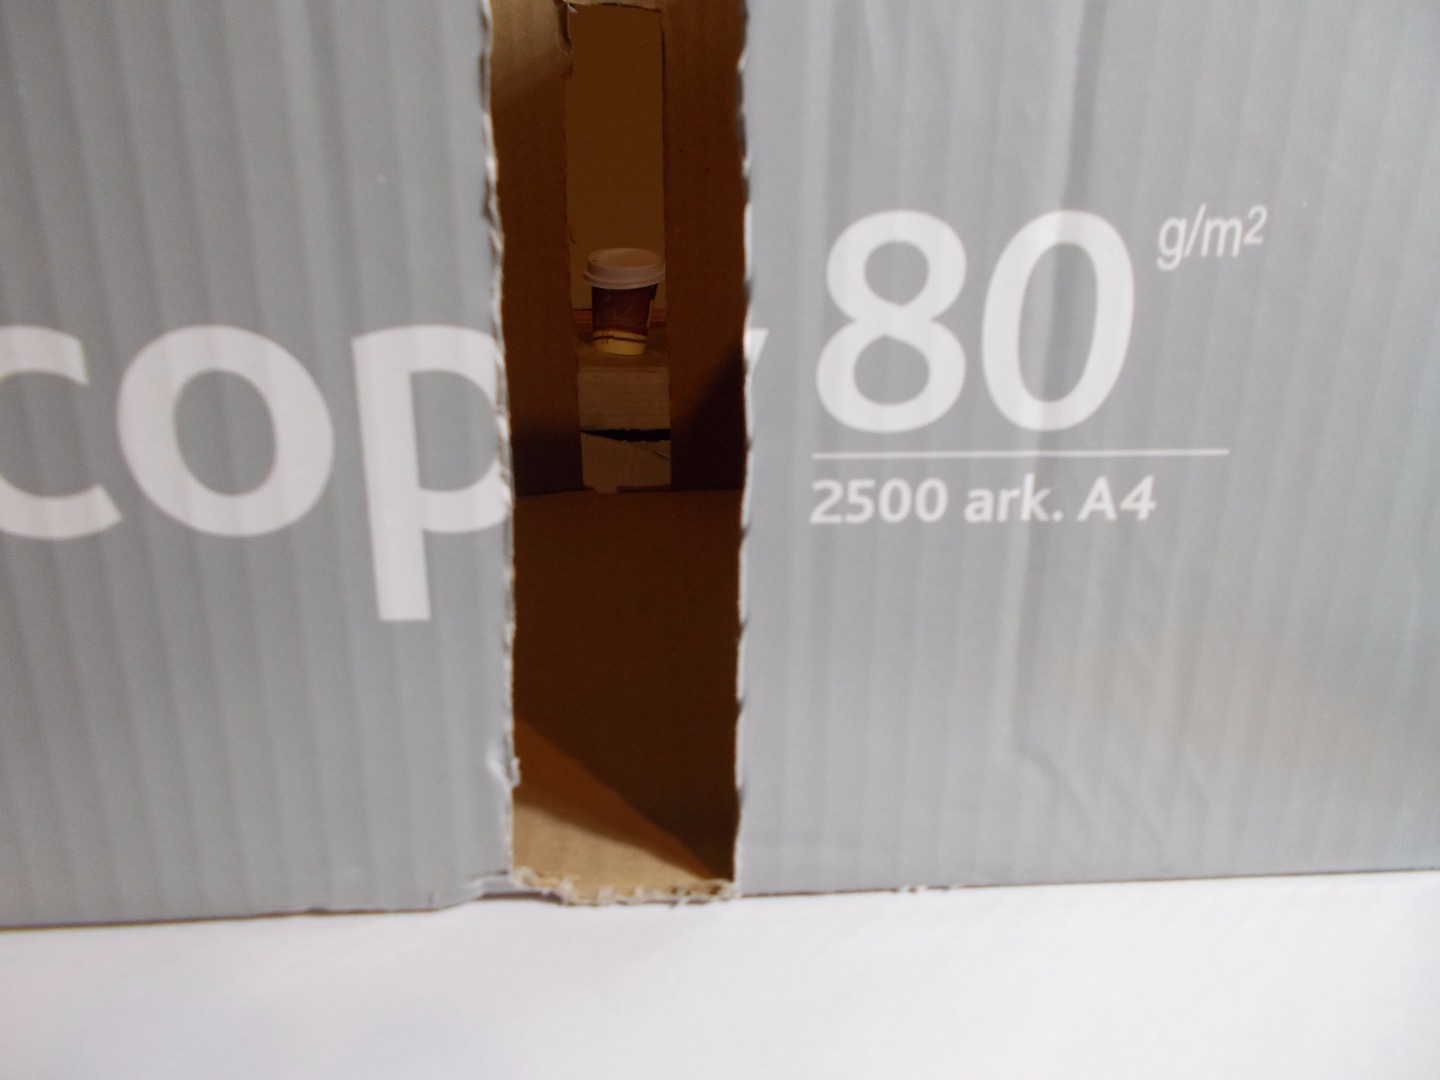
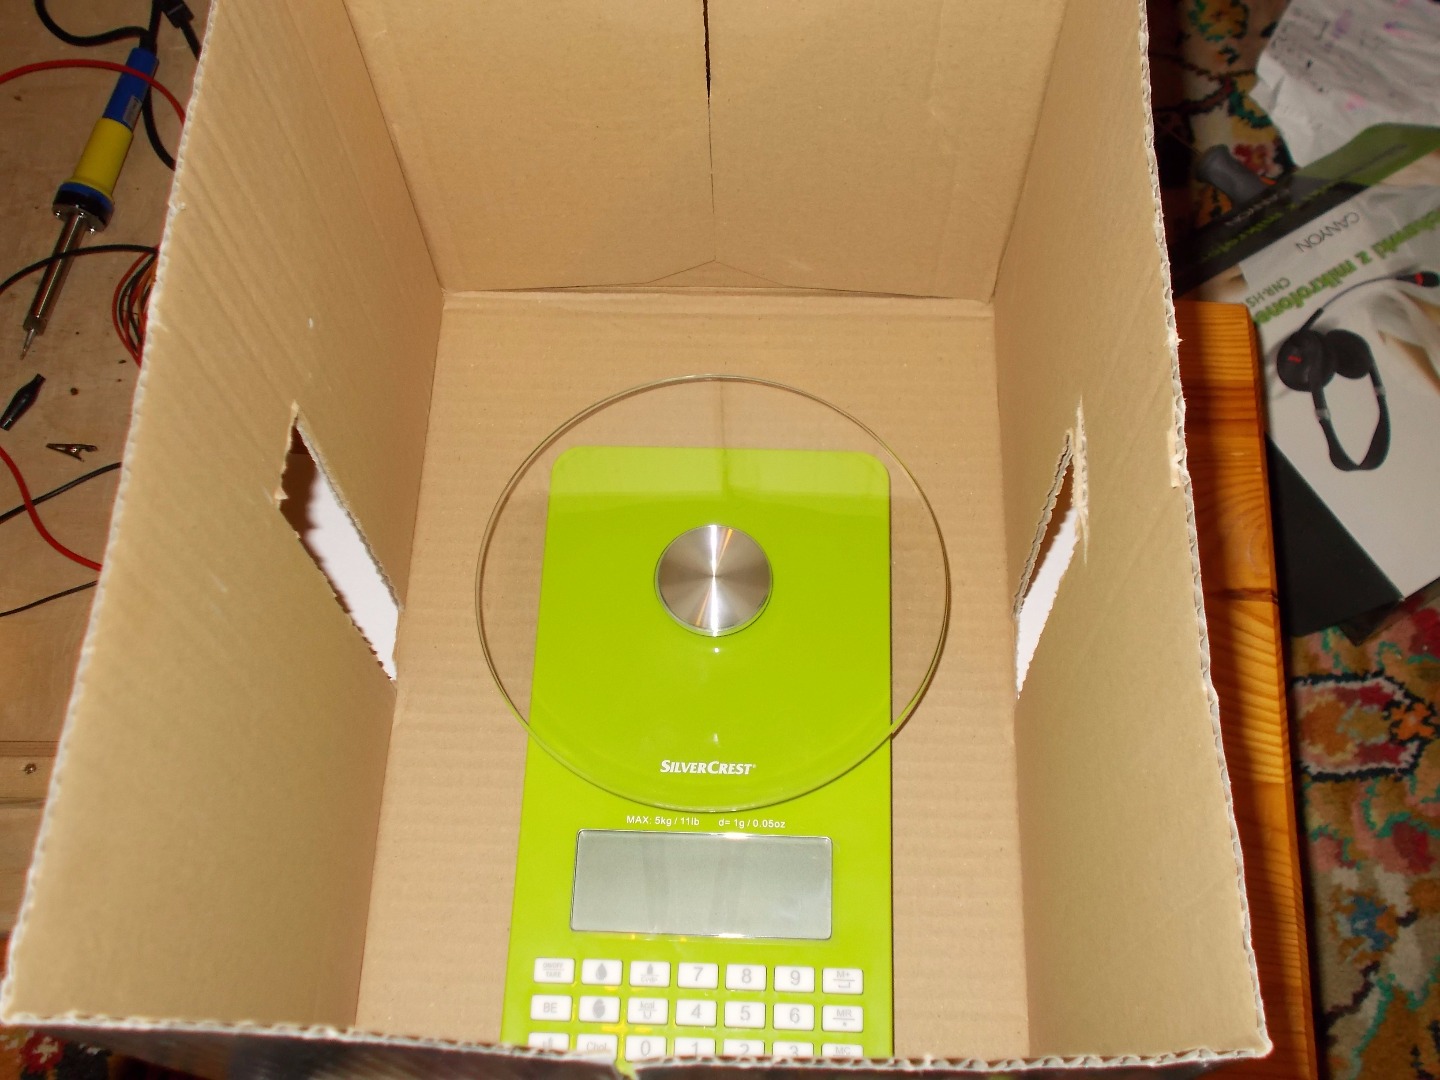

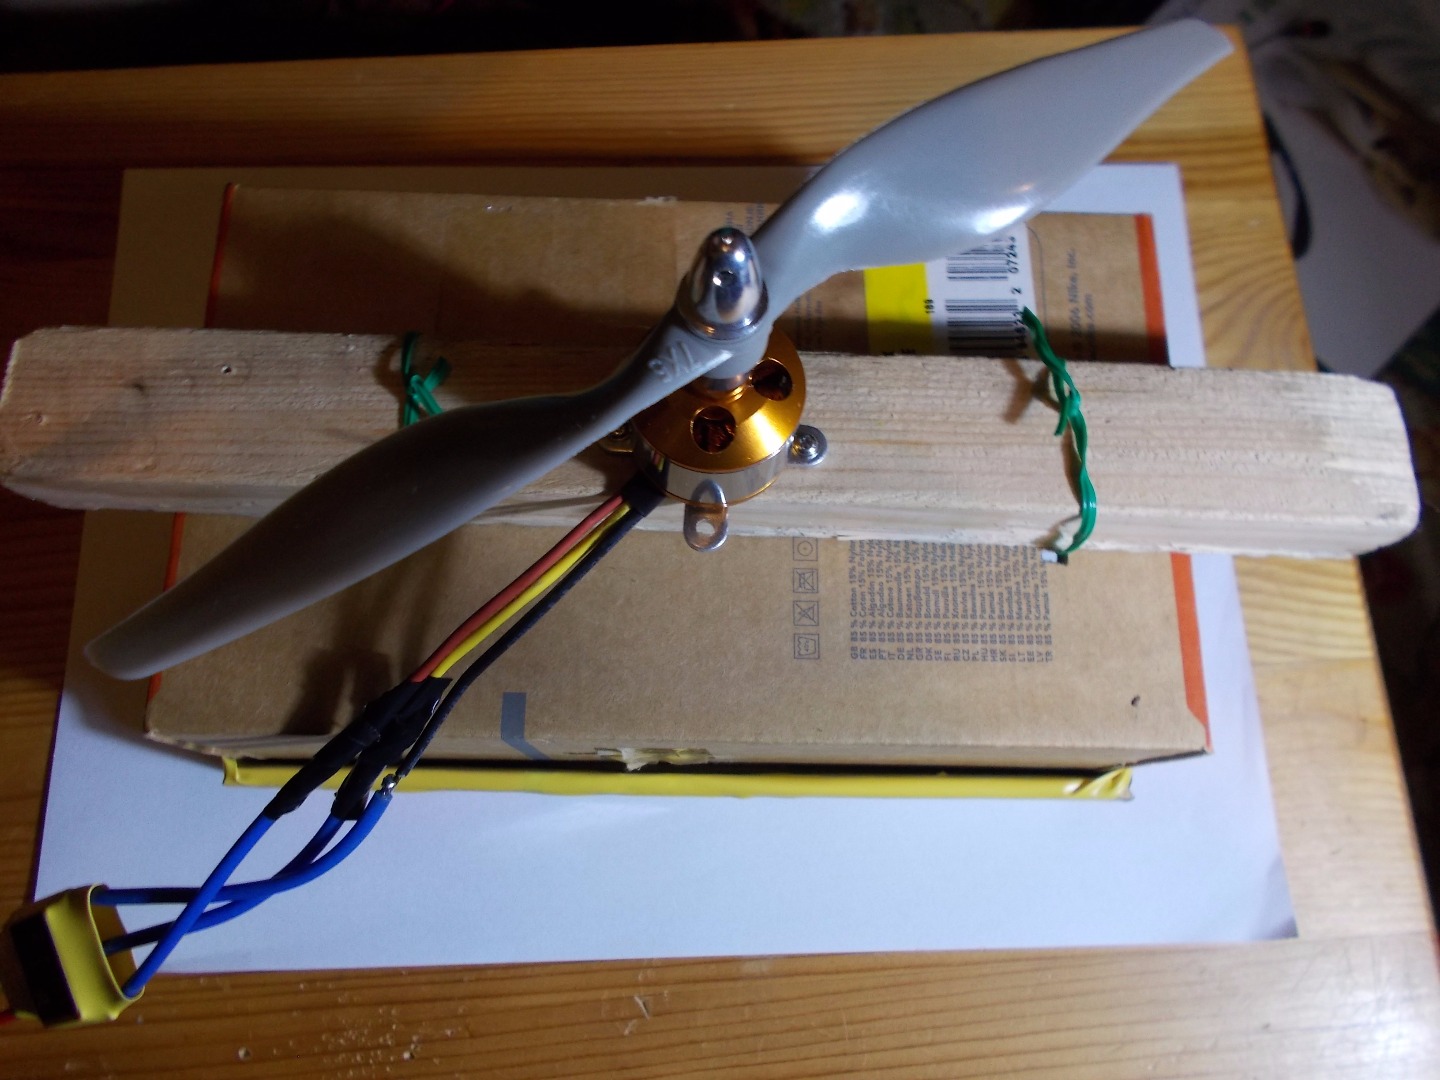
Now get small box(image 1 and 2. Attach motor to wood plank(as in my previous instructable; wood plank should be longer than small box and than propeller), and wood plank to back of the box by zip ties or wires(image 3). Check if wood plank doesn't move to much, if it does, tie it tighter.
Actually ESC and all wires are outside of box, we want to get ESC and all stuffs(except motor) to be inside the box. So make hole that ESC could get in and tie it wherever(I tied in on the wall) you want in the box.
Next step is to attach breadboard(I don't have any small breadboard, but you can use it if you've got). You can tie it at only one place, it's enough.
OK, now batteries. You can attach it together or separately(unless you have pack then you don't have option). I've attached it together.
Optional thing is lock. It's not necessarily but it's safer. To do this make two holes in front not very far away from each other. Take paperclip(or something like this), straighten it and bend in half. If you want to lock just insert this paperclip into these holes in front and box won't open.
Now let's prepare big box. It's to avoid unexpected situations and to stabilize motor. I longer sides(somewhere in the middle) make two long holes(one for each side). The width of the hole should be a little bit widther(but not too width) than width of the plank and hole should be a little bit higher than height of weight and of small box and wood plank. On the bottom of the big box put the weight and on that weight put your small box and motor on wood plank(as on last image).
Finish
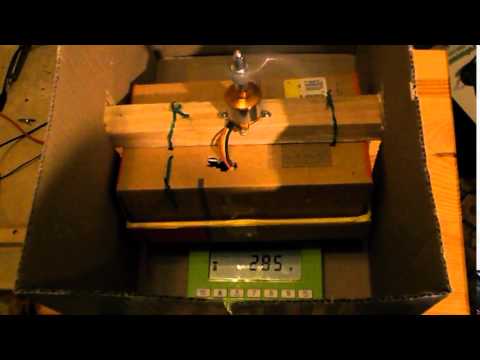
Open your small box. Connect batteries and wait until motor will "tell" you that everything is OK. Close and lock box, and put it on weigth. Turn on weight(it should indicate 0, if not click tare button and then it should indicate 0, if you don't have tare button just write somewhere what is the weight of your receiver). Turn on transmitter and rotate potentiometer. Motor should start to rotate and weight should indicate lower value. Go to the 100% power and check what's the max thrust. Maybe this thrust meter doesn't have big accuracy but it's very good to estimate how heavy could be your helicopter(or how much thrust your motor can generate).
That's it! Hope you enjoyed it and see you soon :)
Simonexc