Easy Glass Engraving With the Cricut
by gtoal in Living > Decorating
145526 Views, 171 Favorites, 0 Comments
Easy Glass Engraving With the Cricut
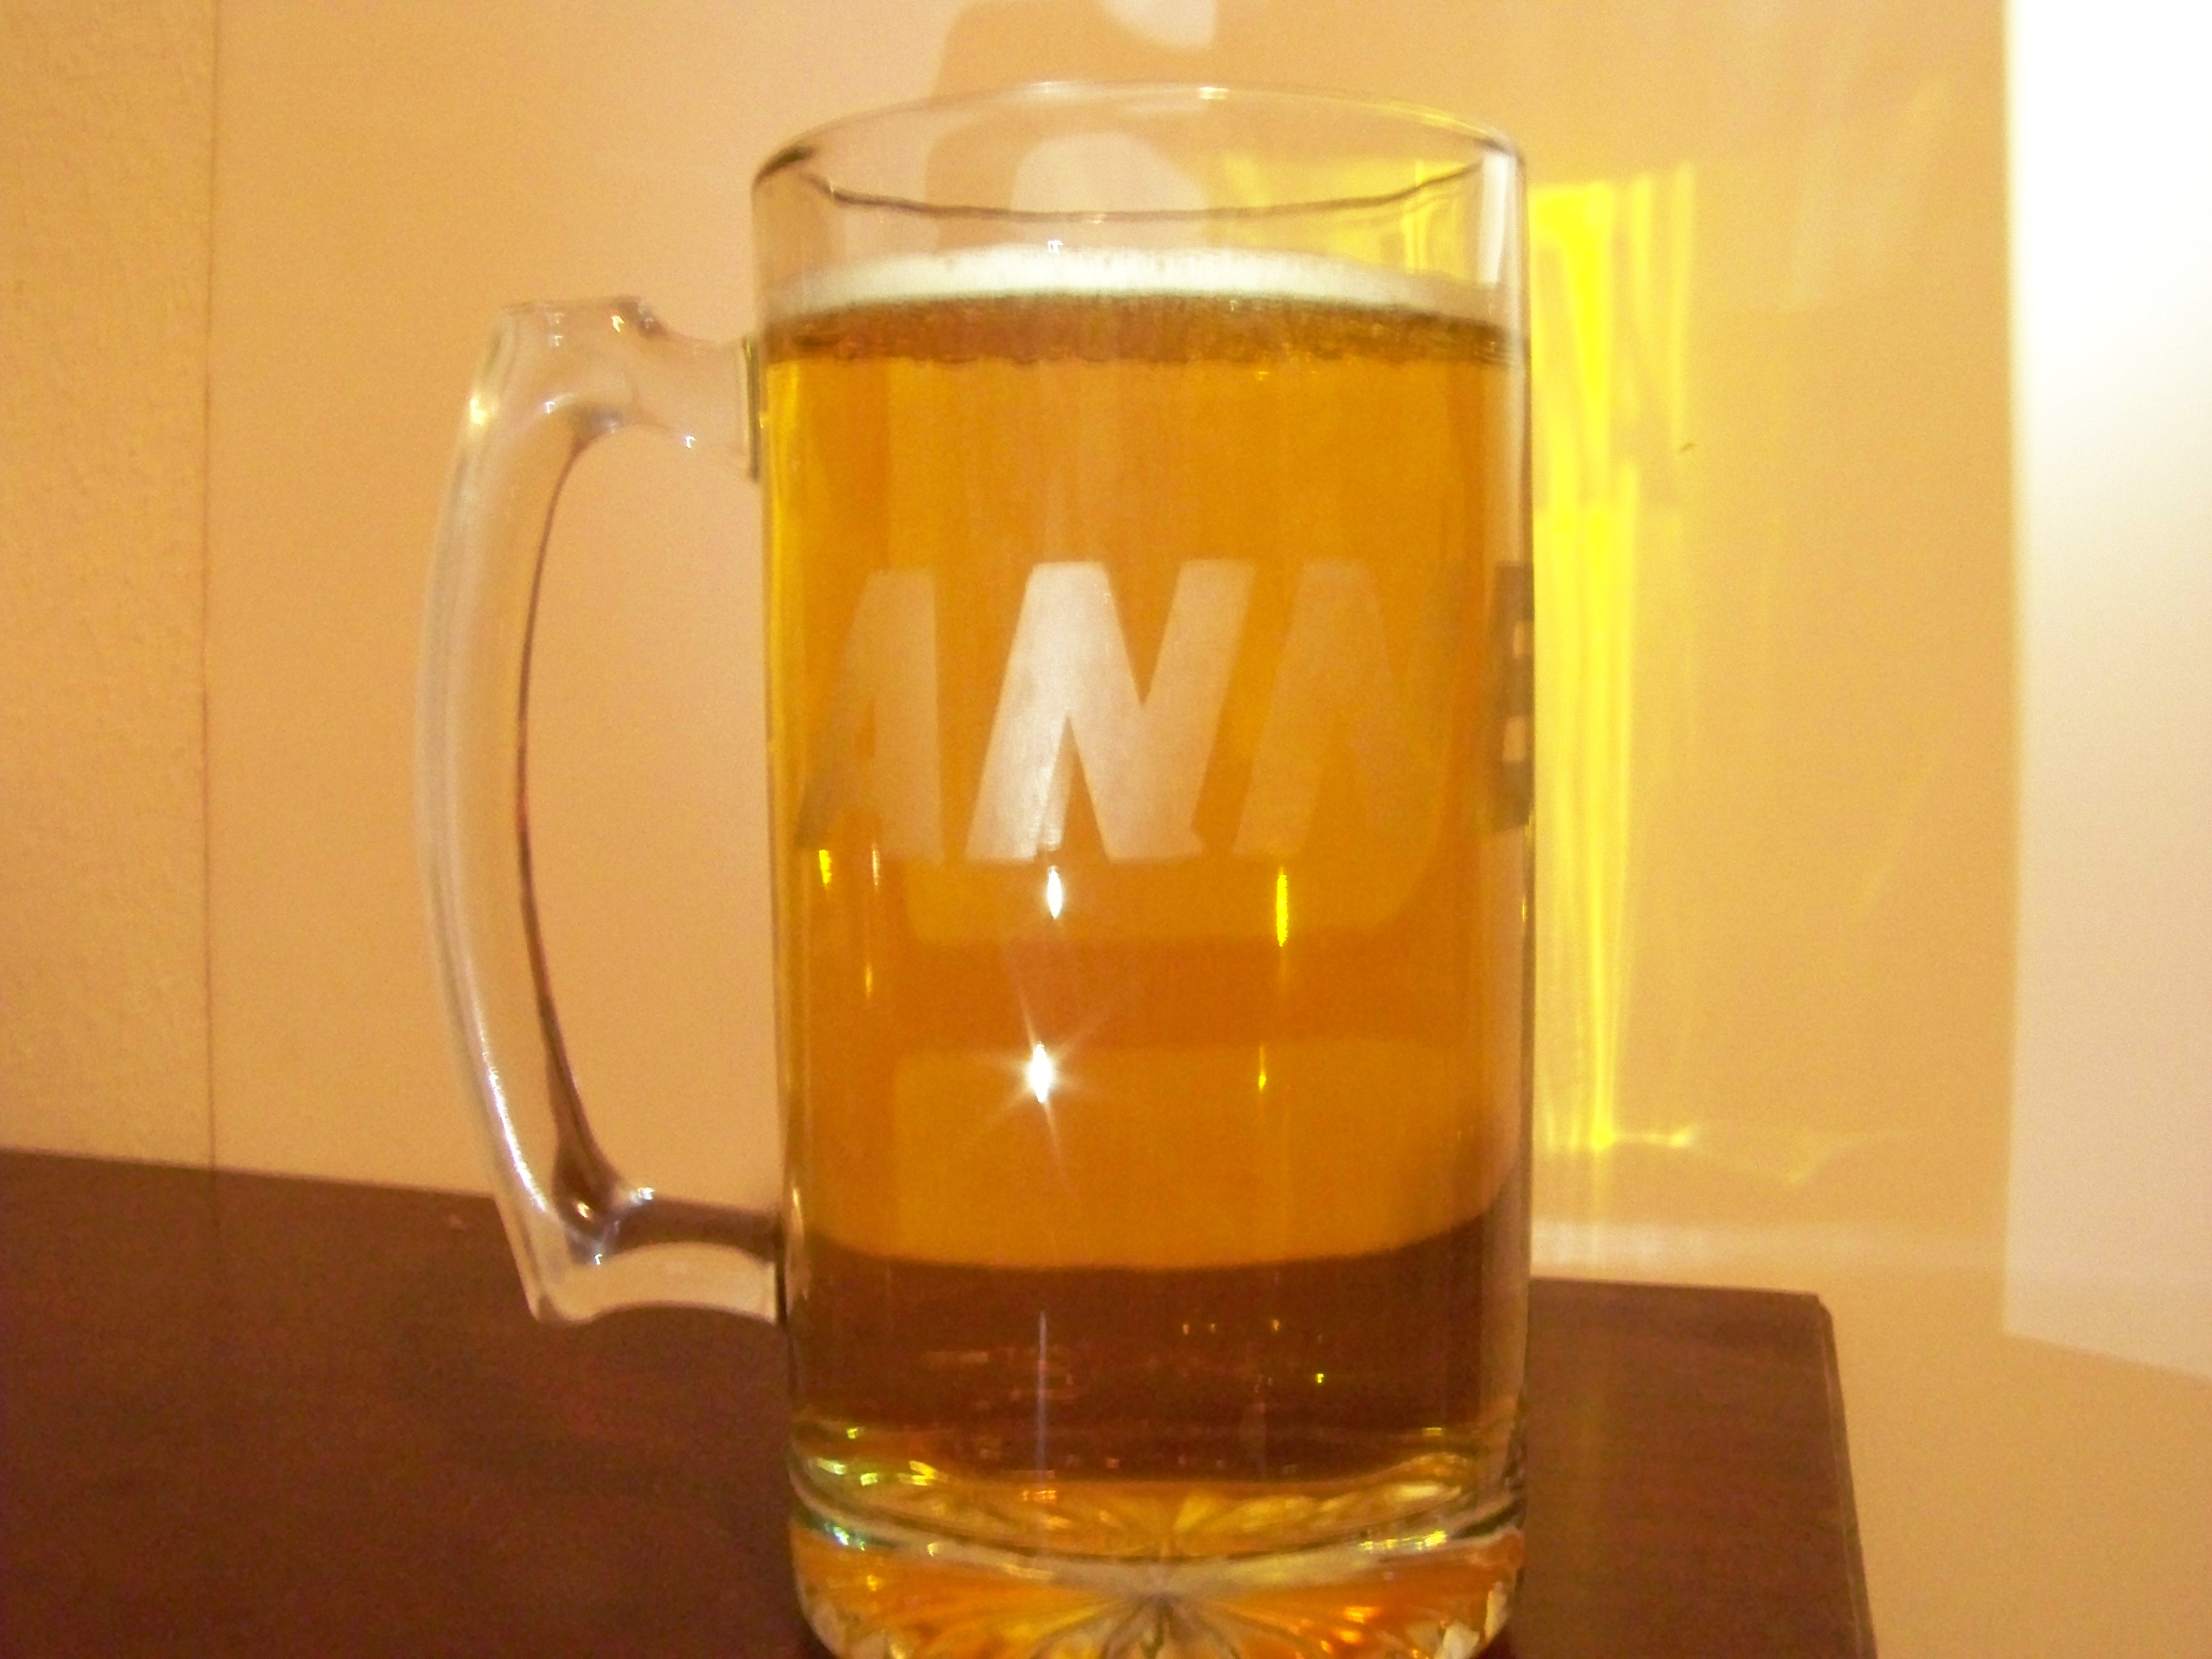
Create your own engraved beer mug! (or give a great personalized present)
We'll be taking a dollar store beer mug and turning it into something much nicer - just in time to celebrate the New Year!
Although I'll be using a Cricut vinyl cutter to make a stencil for your name, you can do this without a Cricut by various other tracing methods, and cutting the vinyl with an exacto knife. (So the choice is - use the right equipment, and it's an easy project; or do it the cheap way and it'll exercise your artistic talents a lot more!) If you don't have a Cricut, either this Instructable or this one will show you how to skip that step. And of course a lucky few with a laser engraver could use that instead.
Now let's get started...
Here's What You'll Need
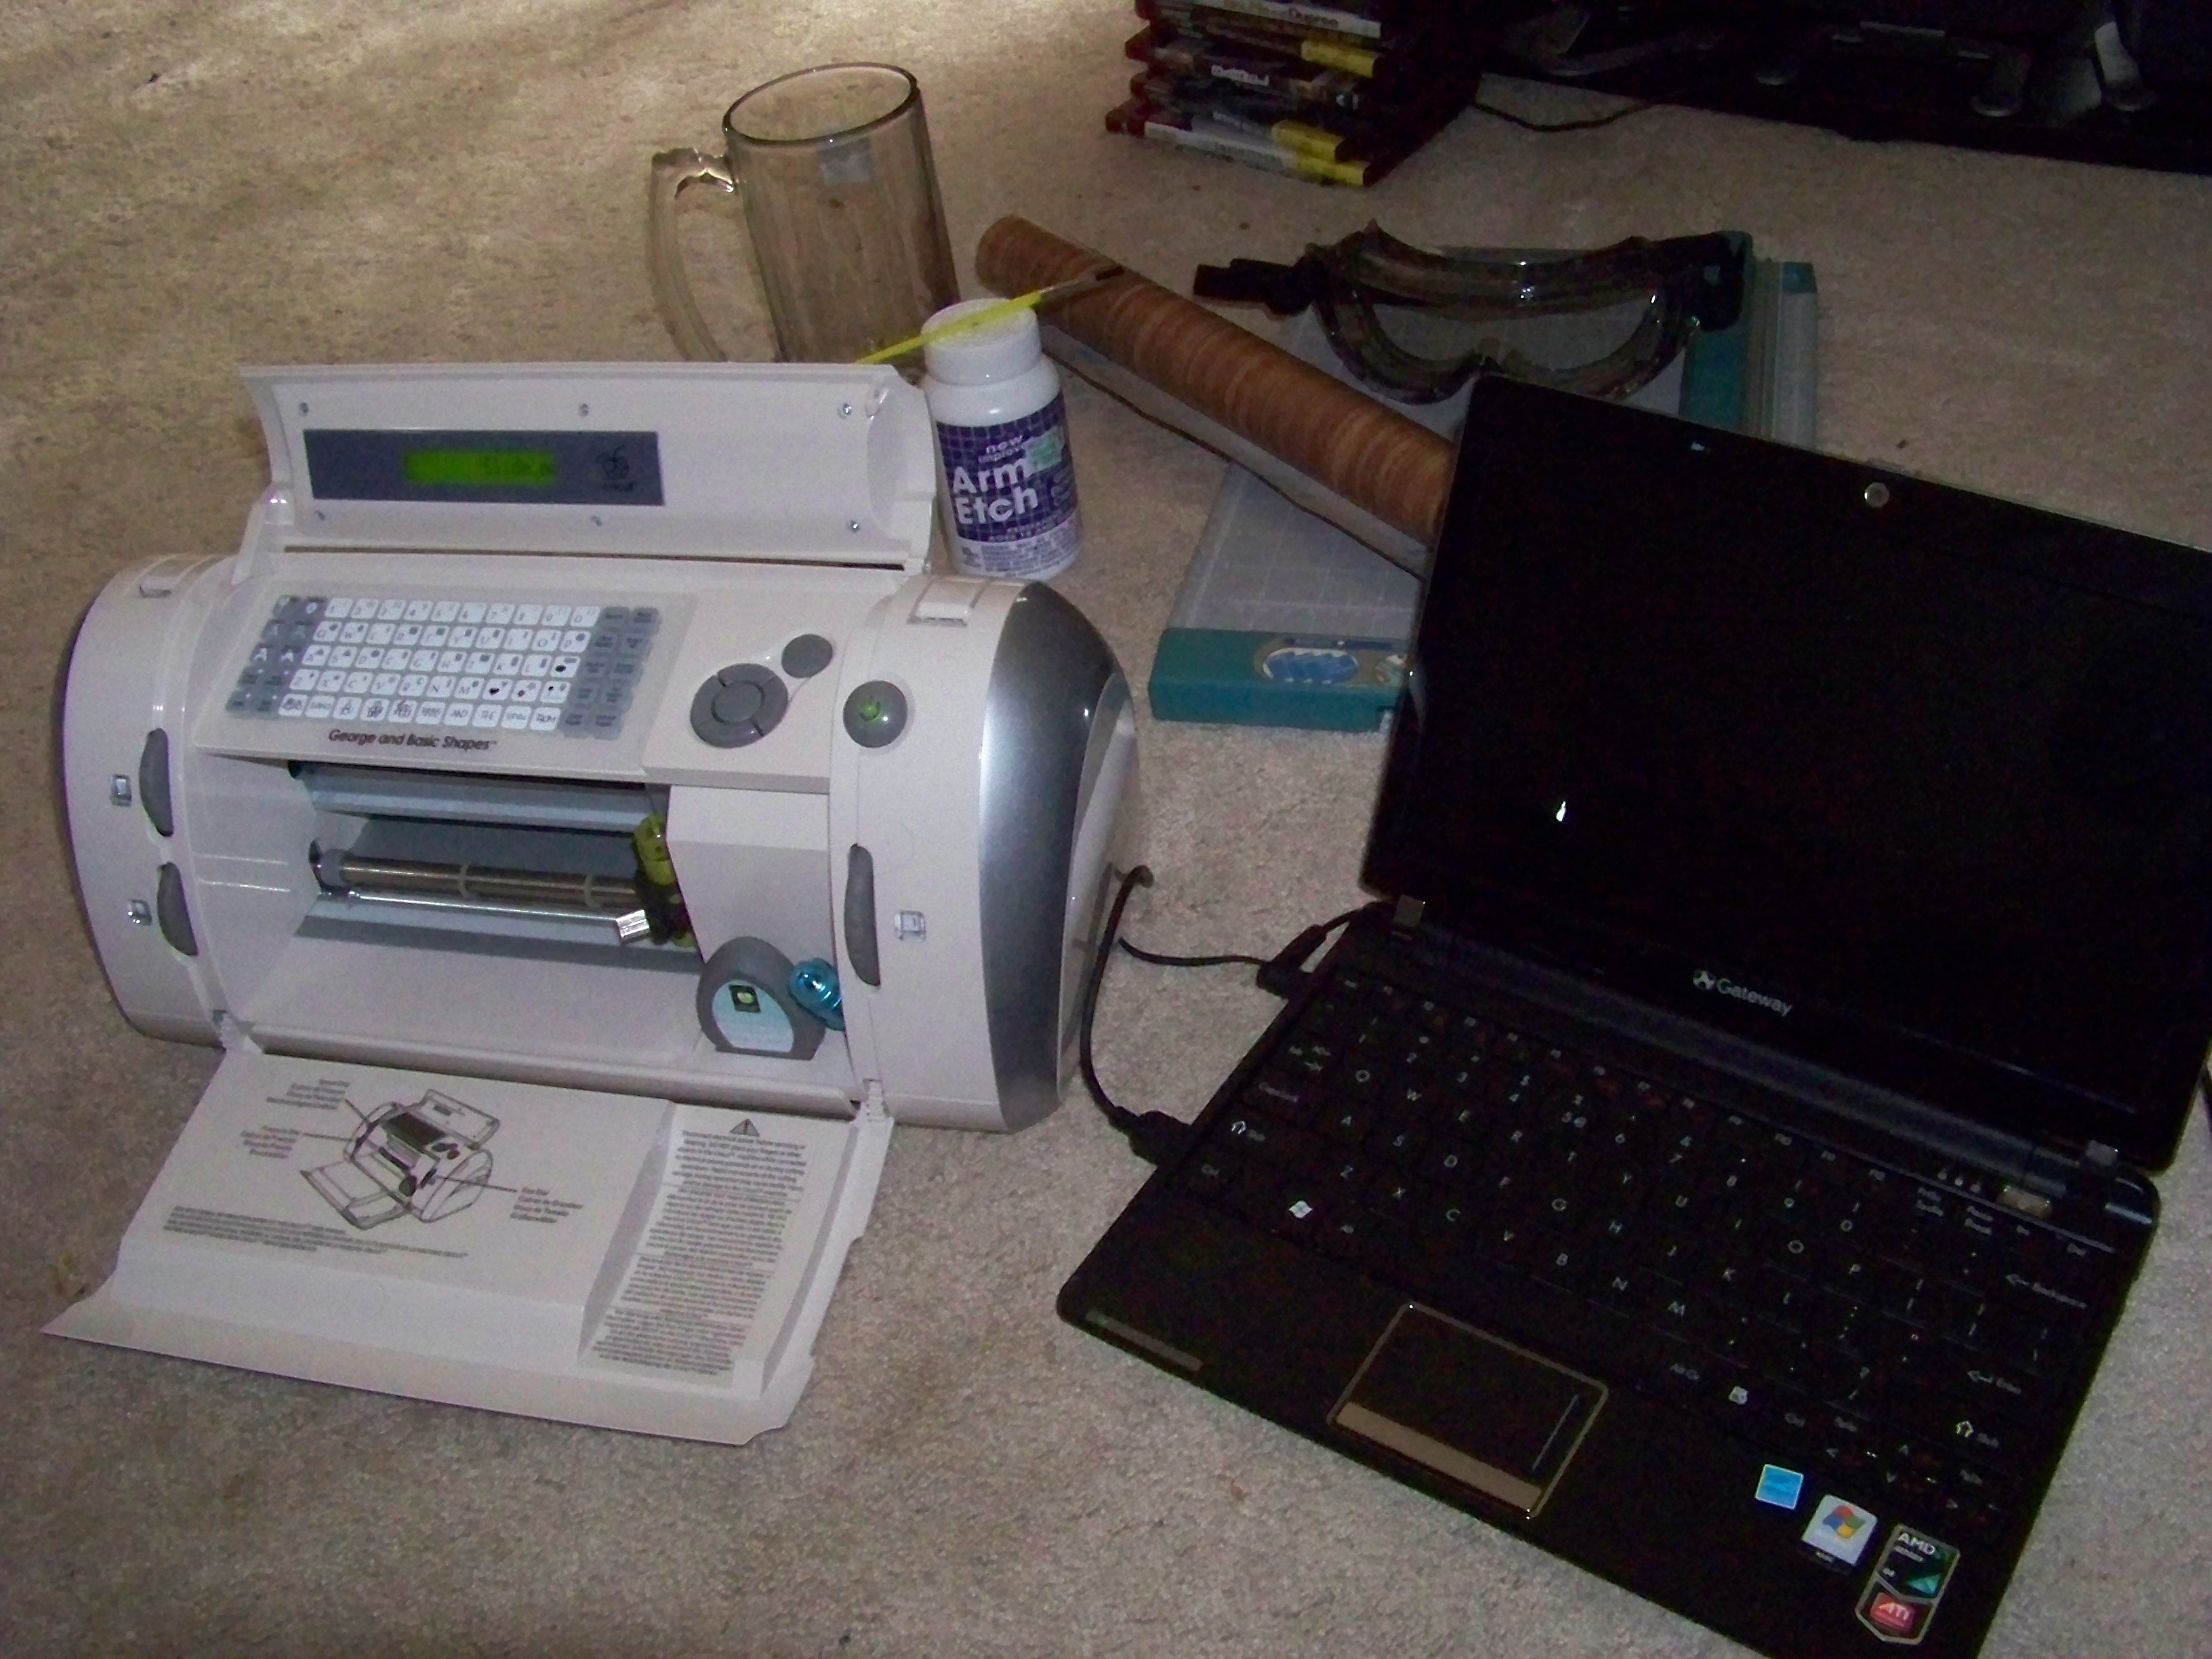
Vinyl (eg Contact Paper(tm))
Scissors and/or paper trimmer
Armour Etch(tm) glass etching cream, and small paintbrush
Beer mug (smooth sided)
SAFETY GOGGLES and nitrile gloves
Outdoor work area and garden hose
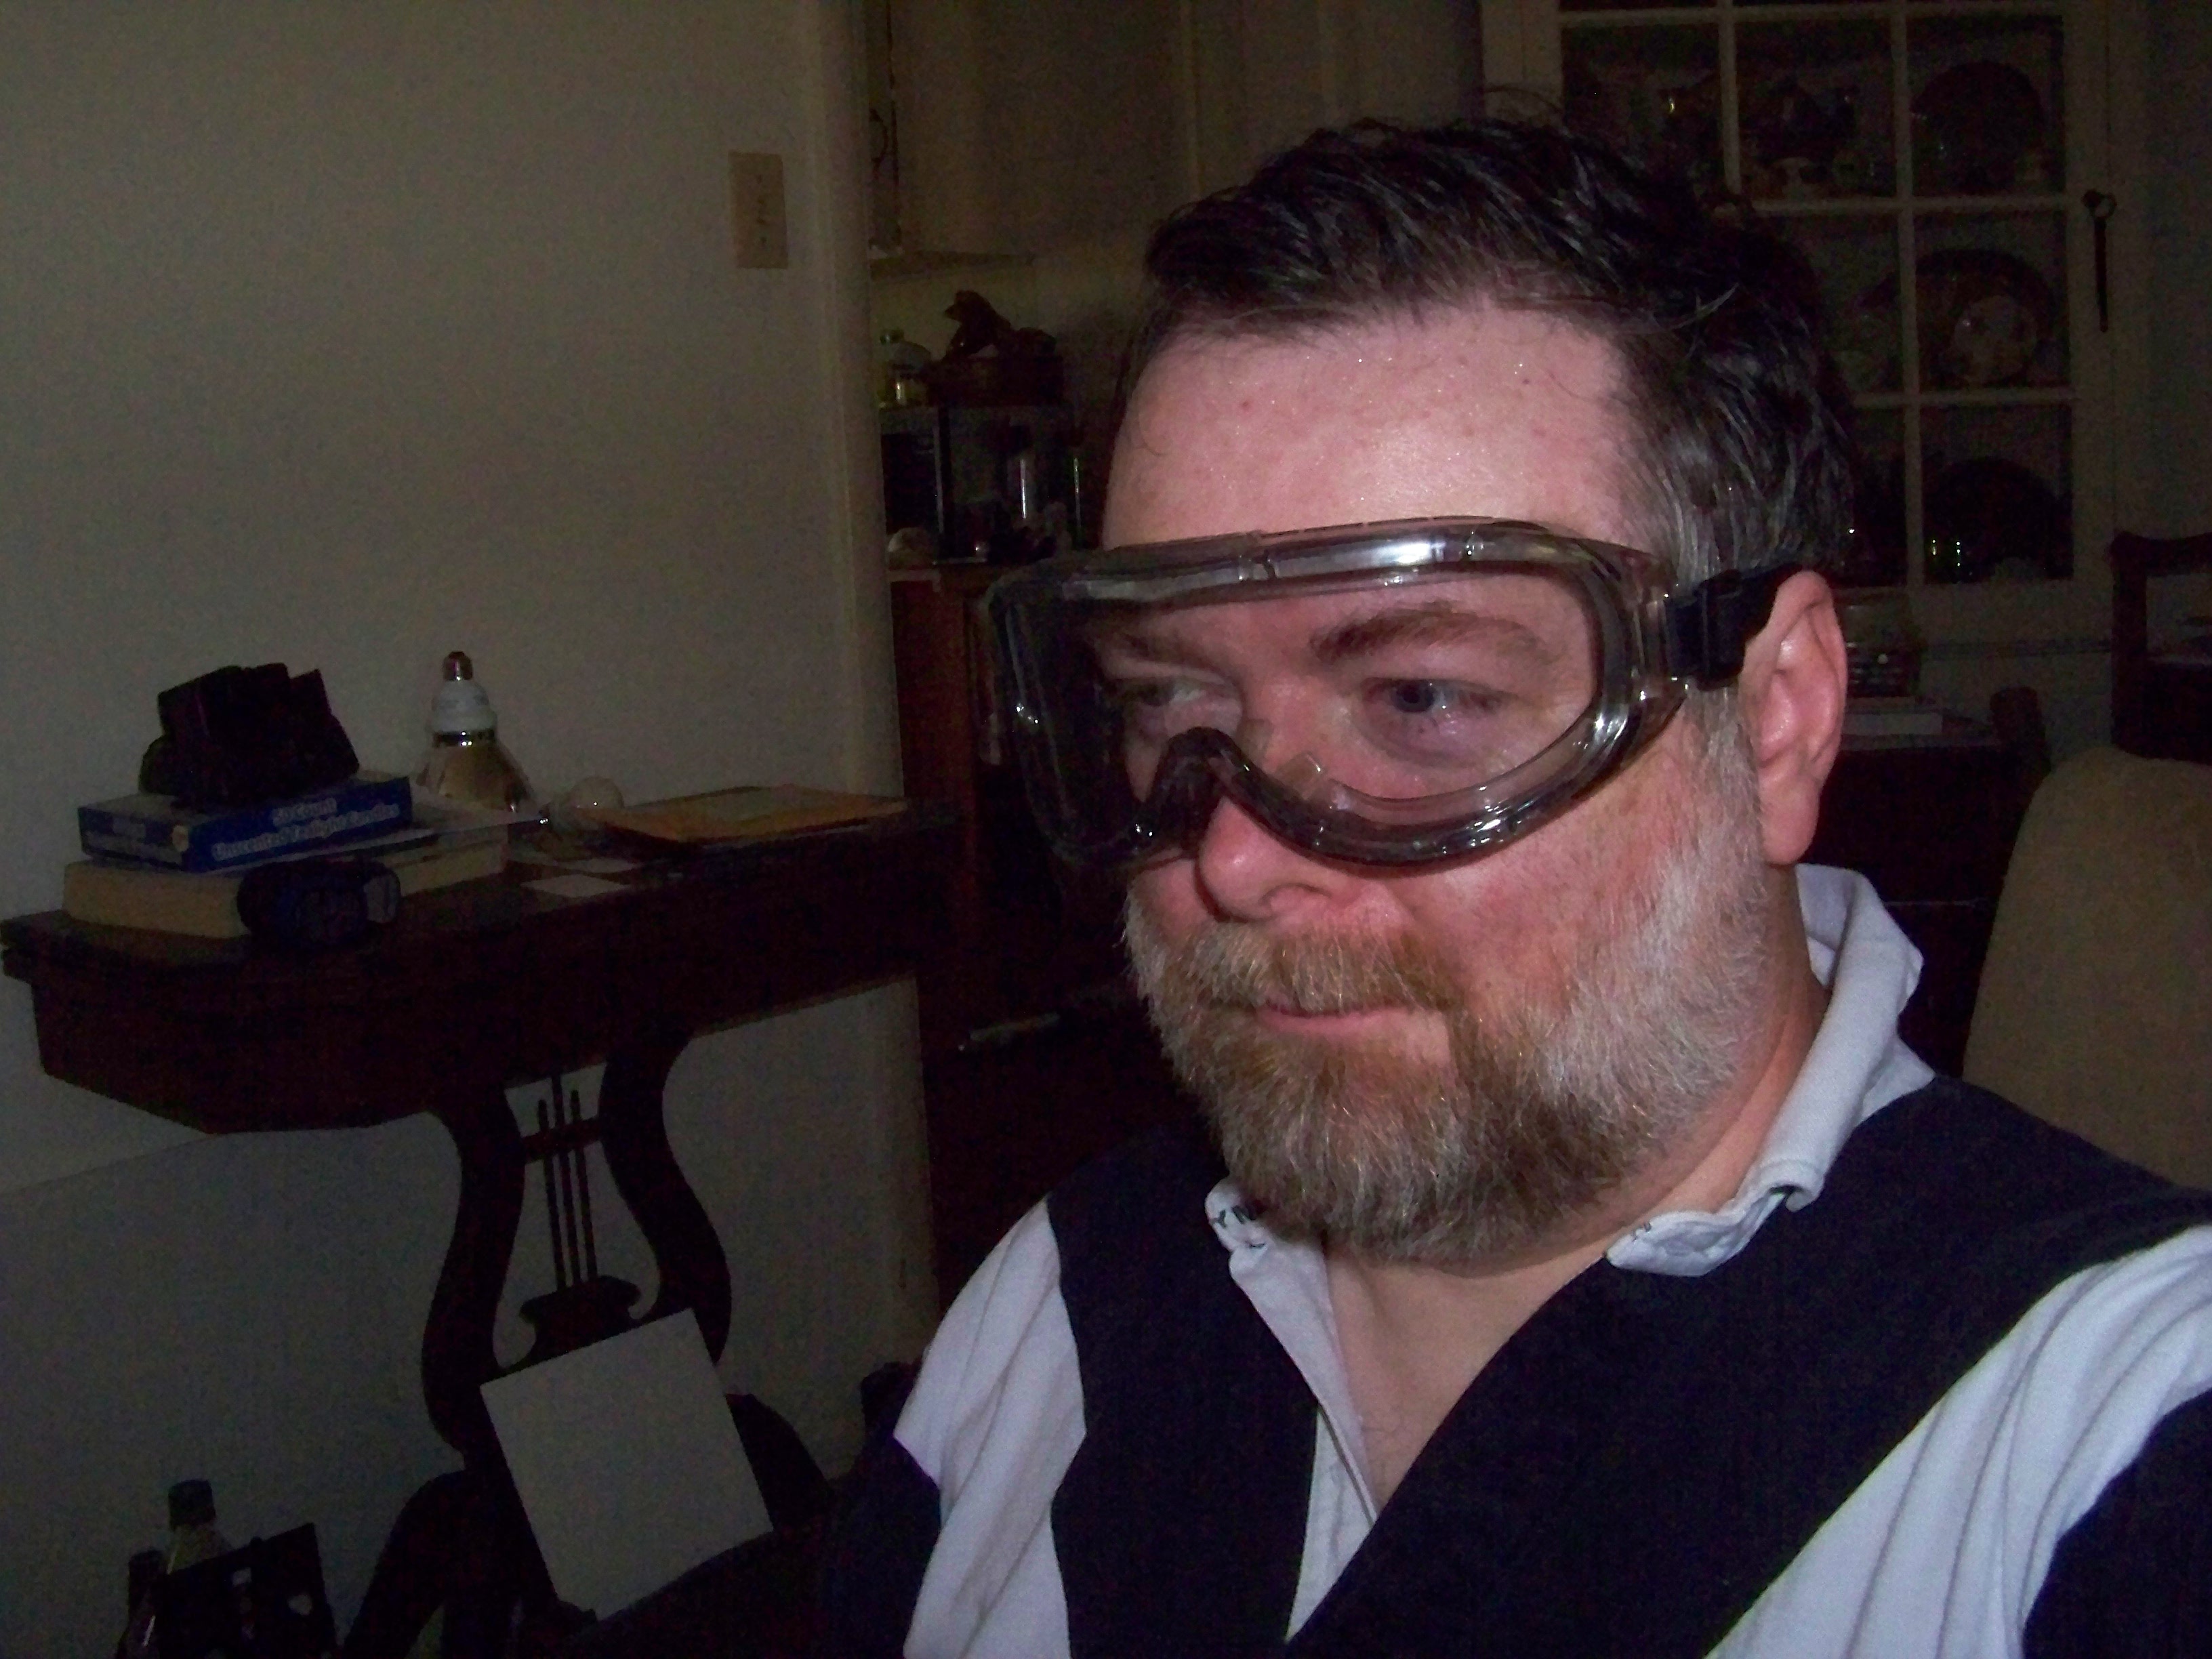
The safety googles are essential. The etchant we'll be using is based on hydroflouric acid and will seriously mess you up if you get it in your eyes. You might also consider nitrile gloves. This is NOT A PROJECT FOR CHILDREN. Keep the etchant well out of reach.
Pick a beer mug with smooth sides. We'll be sticking your name on the side in vinyl so you can imagine how difficult that would be with a dimpled mug. My local dollar store does great mugs - which you can afford to trash if you mess them up. (Although I'm pleased to say my first attempt came out just great)
Remember that stores like Michaels and Hobby Lobby often do a "one item at 40% off" coupon, so use it to buy the Armour Etch!
Finally, for what we're doing, run-of-the-mill contact paper is just as good as the expensive custom-sized flat sheets sold by Cricut.
Create a Stencil
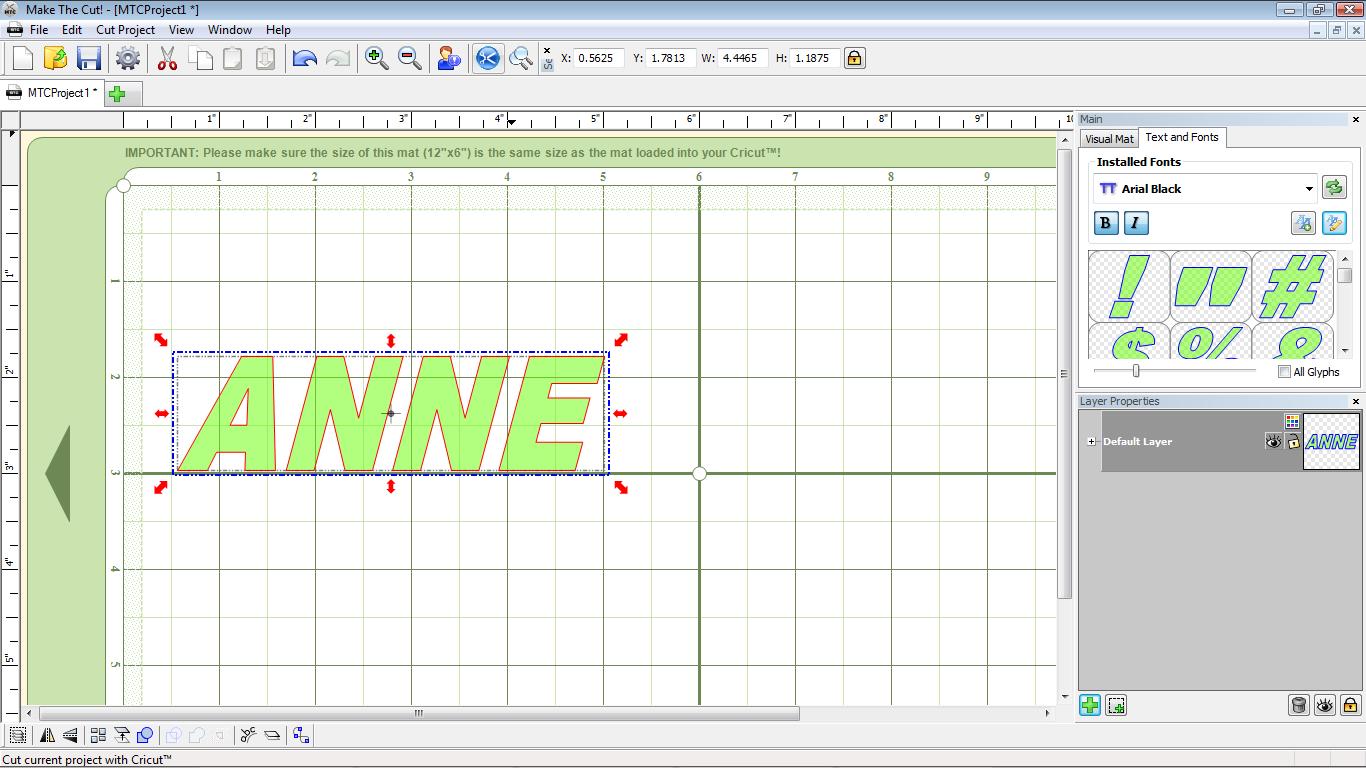
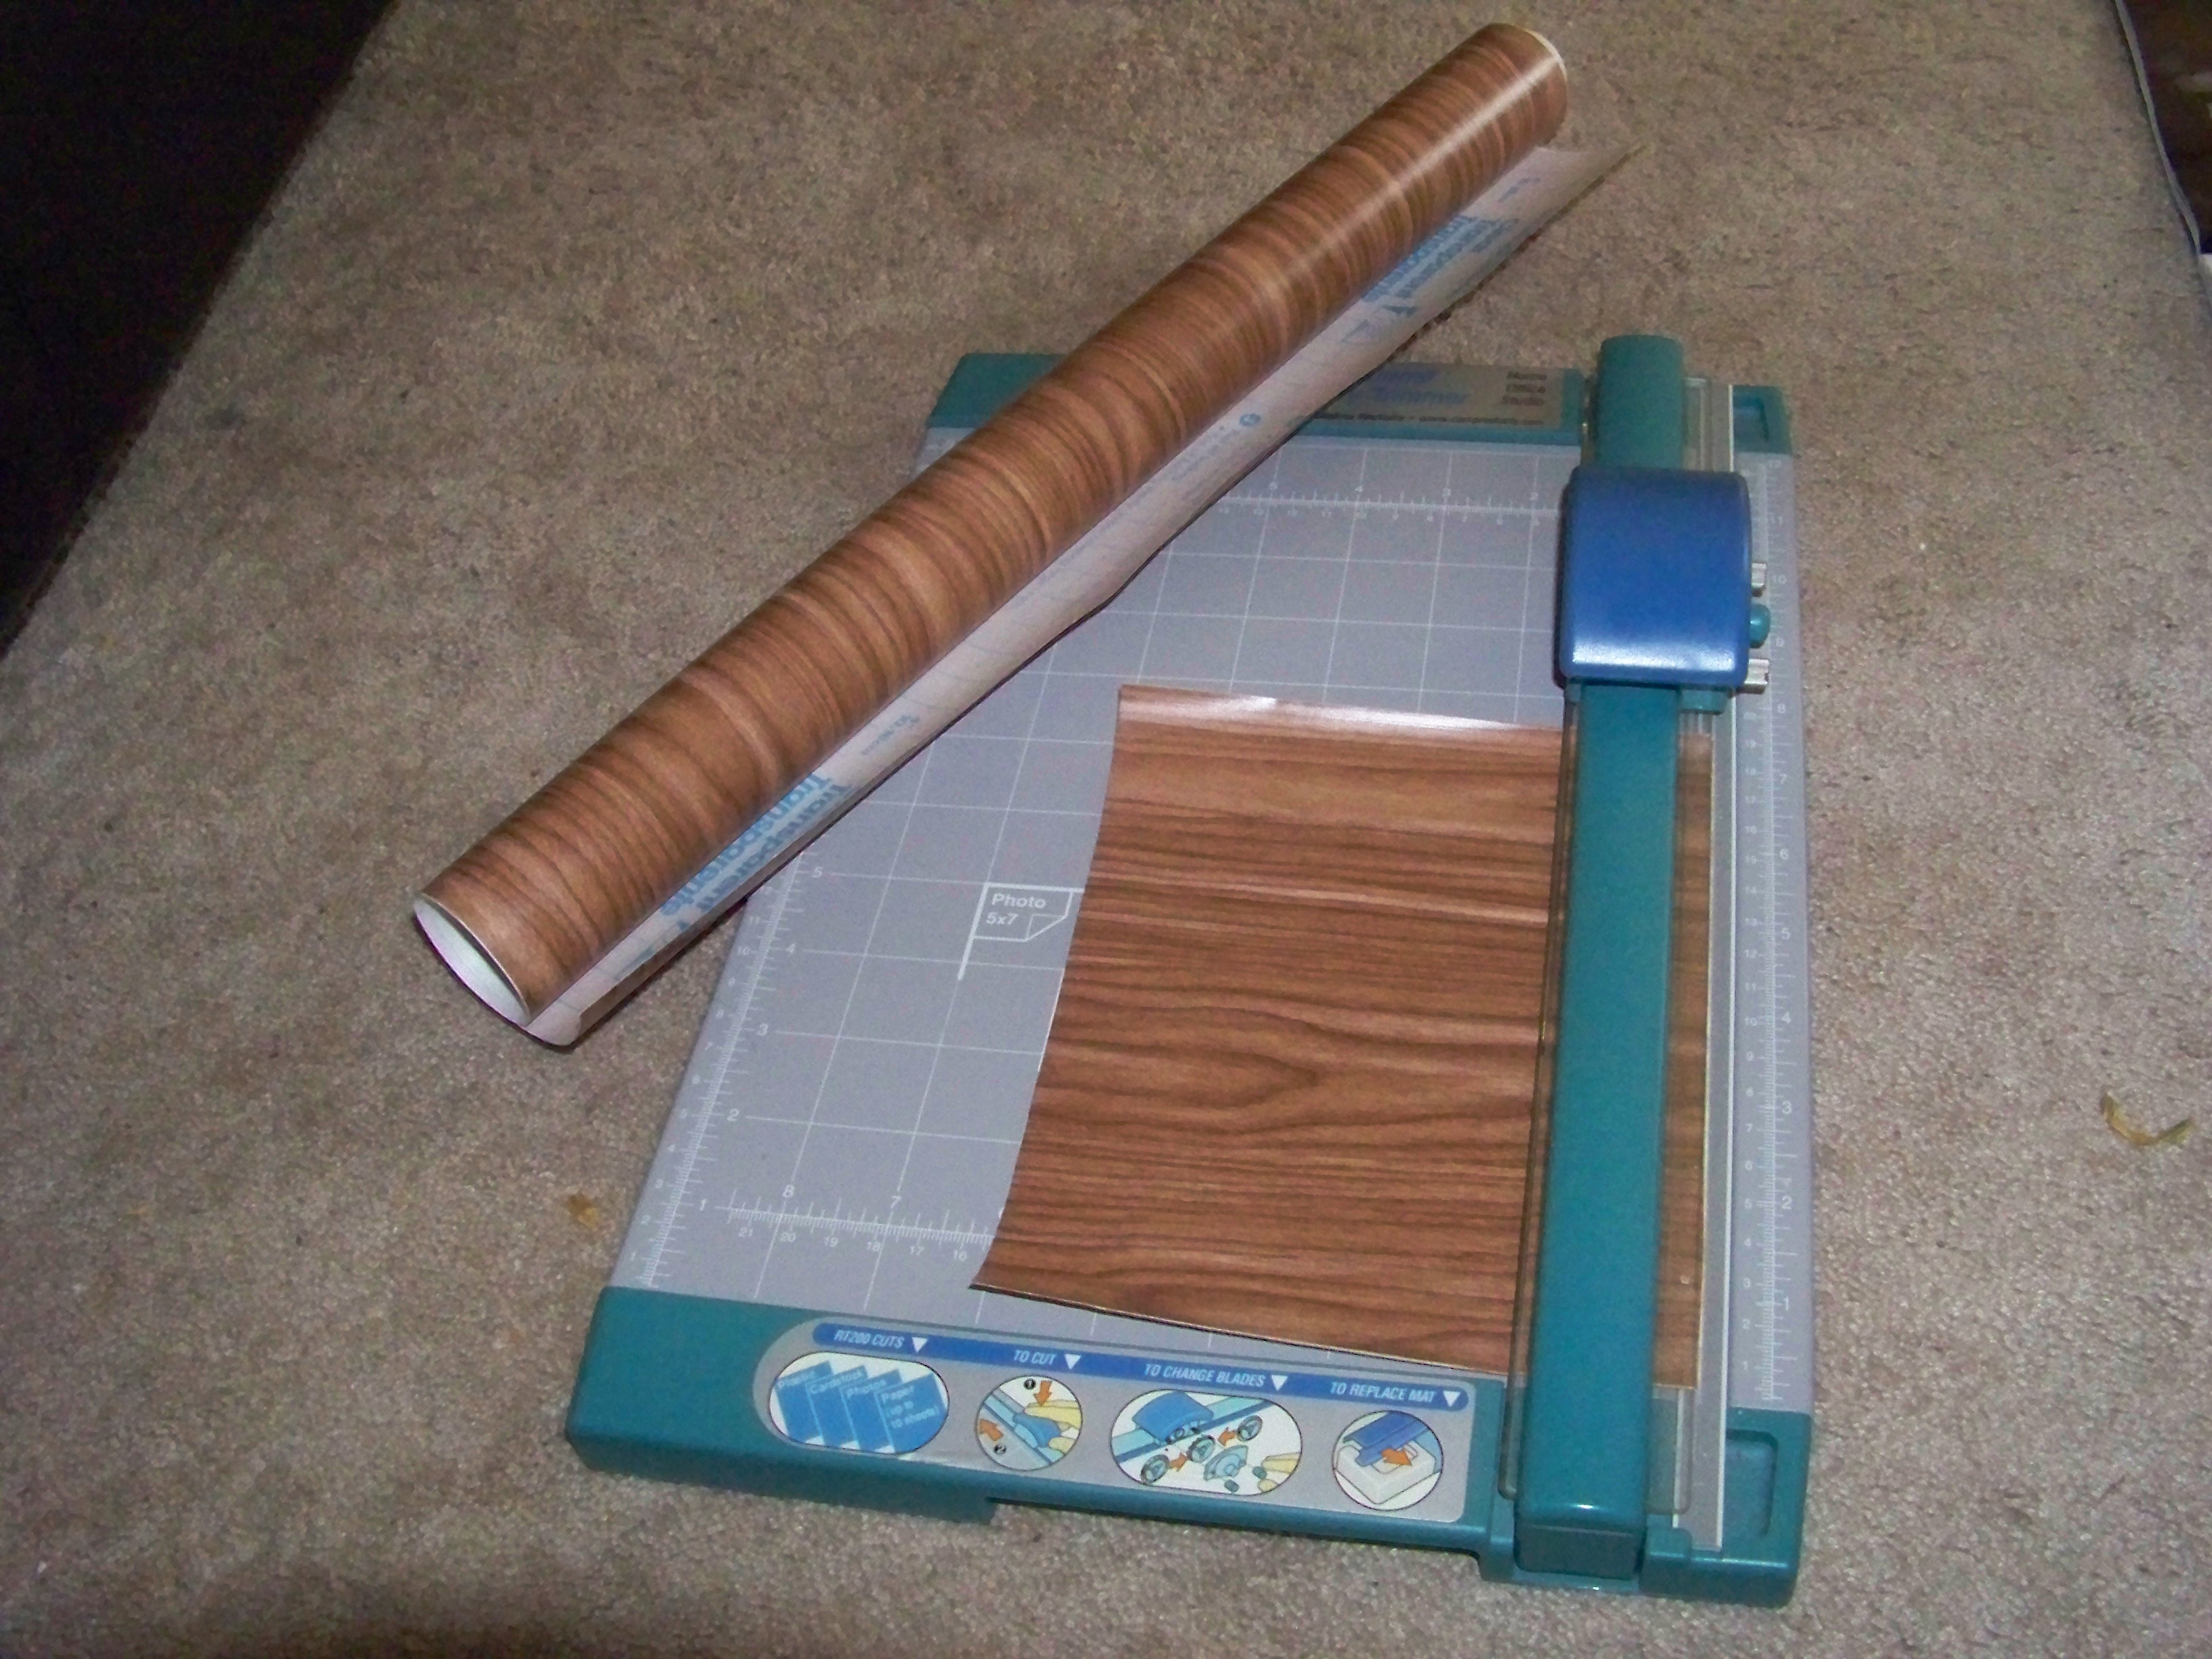
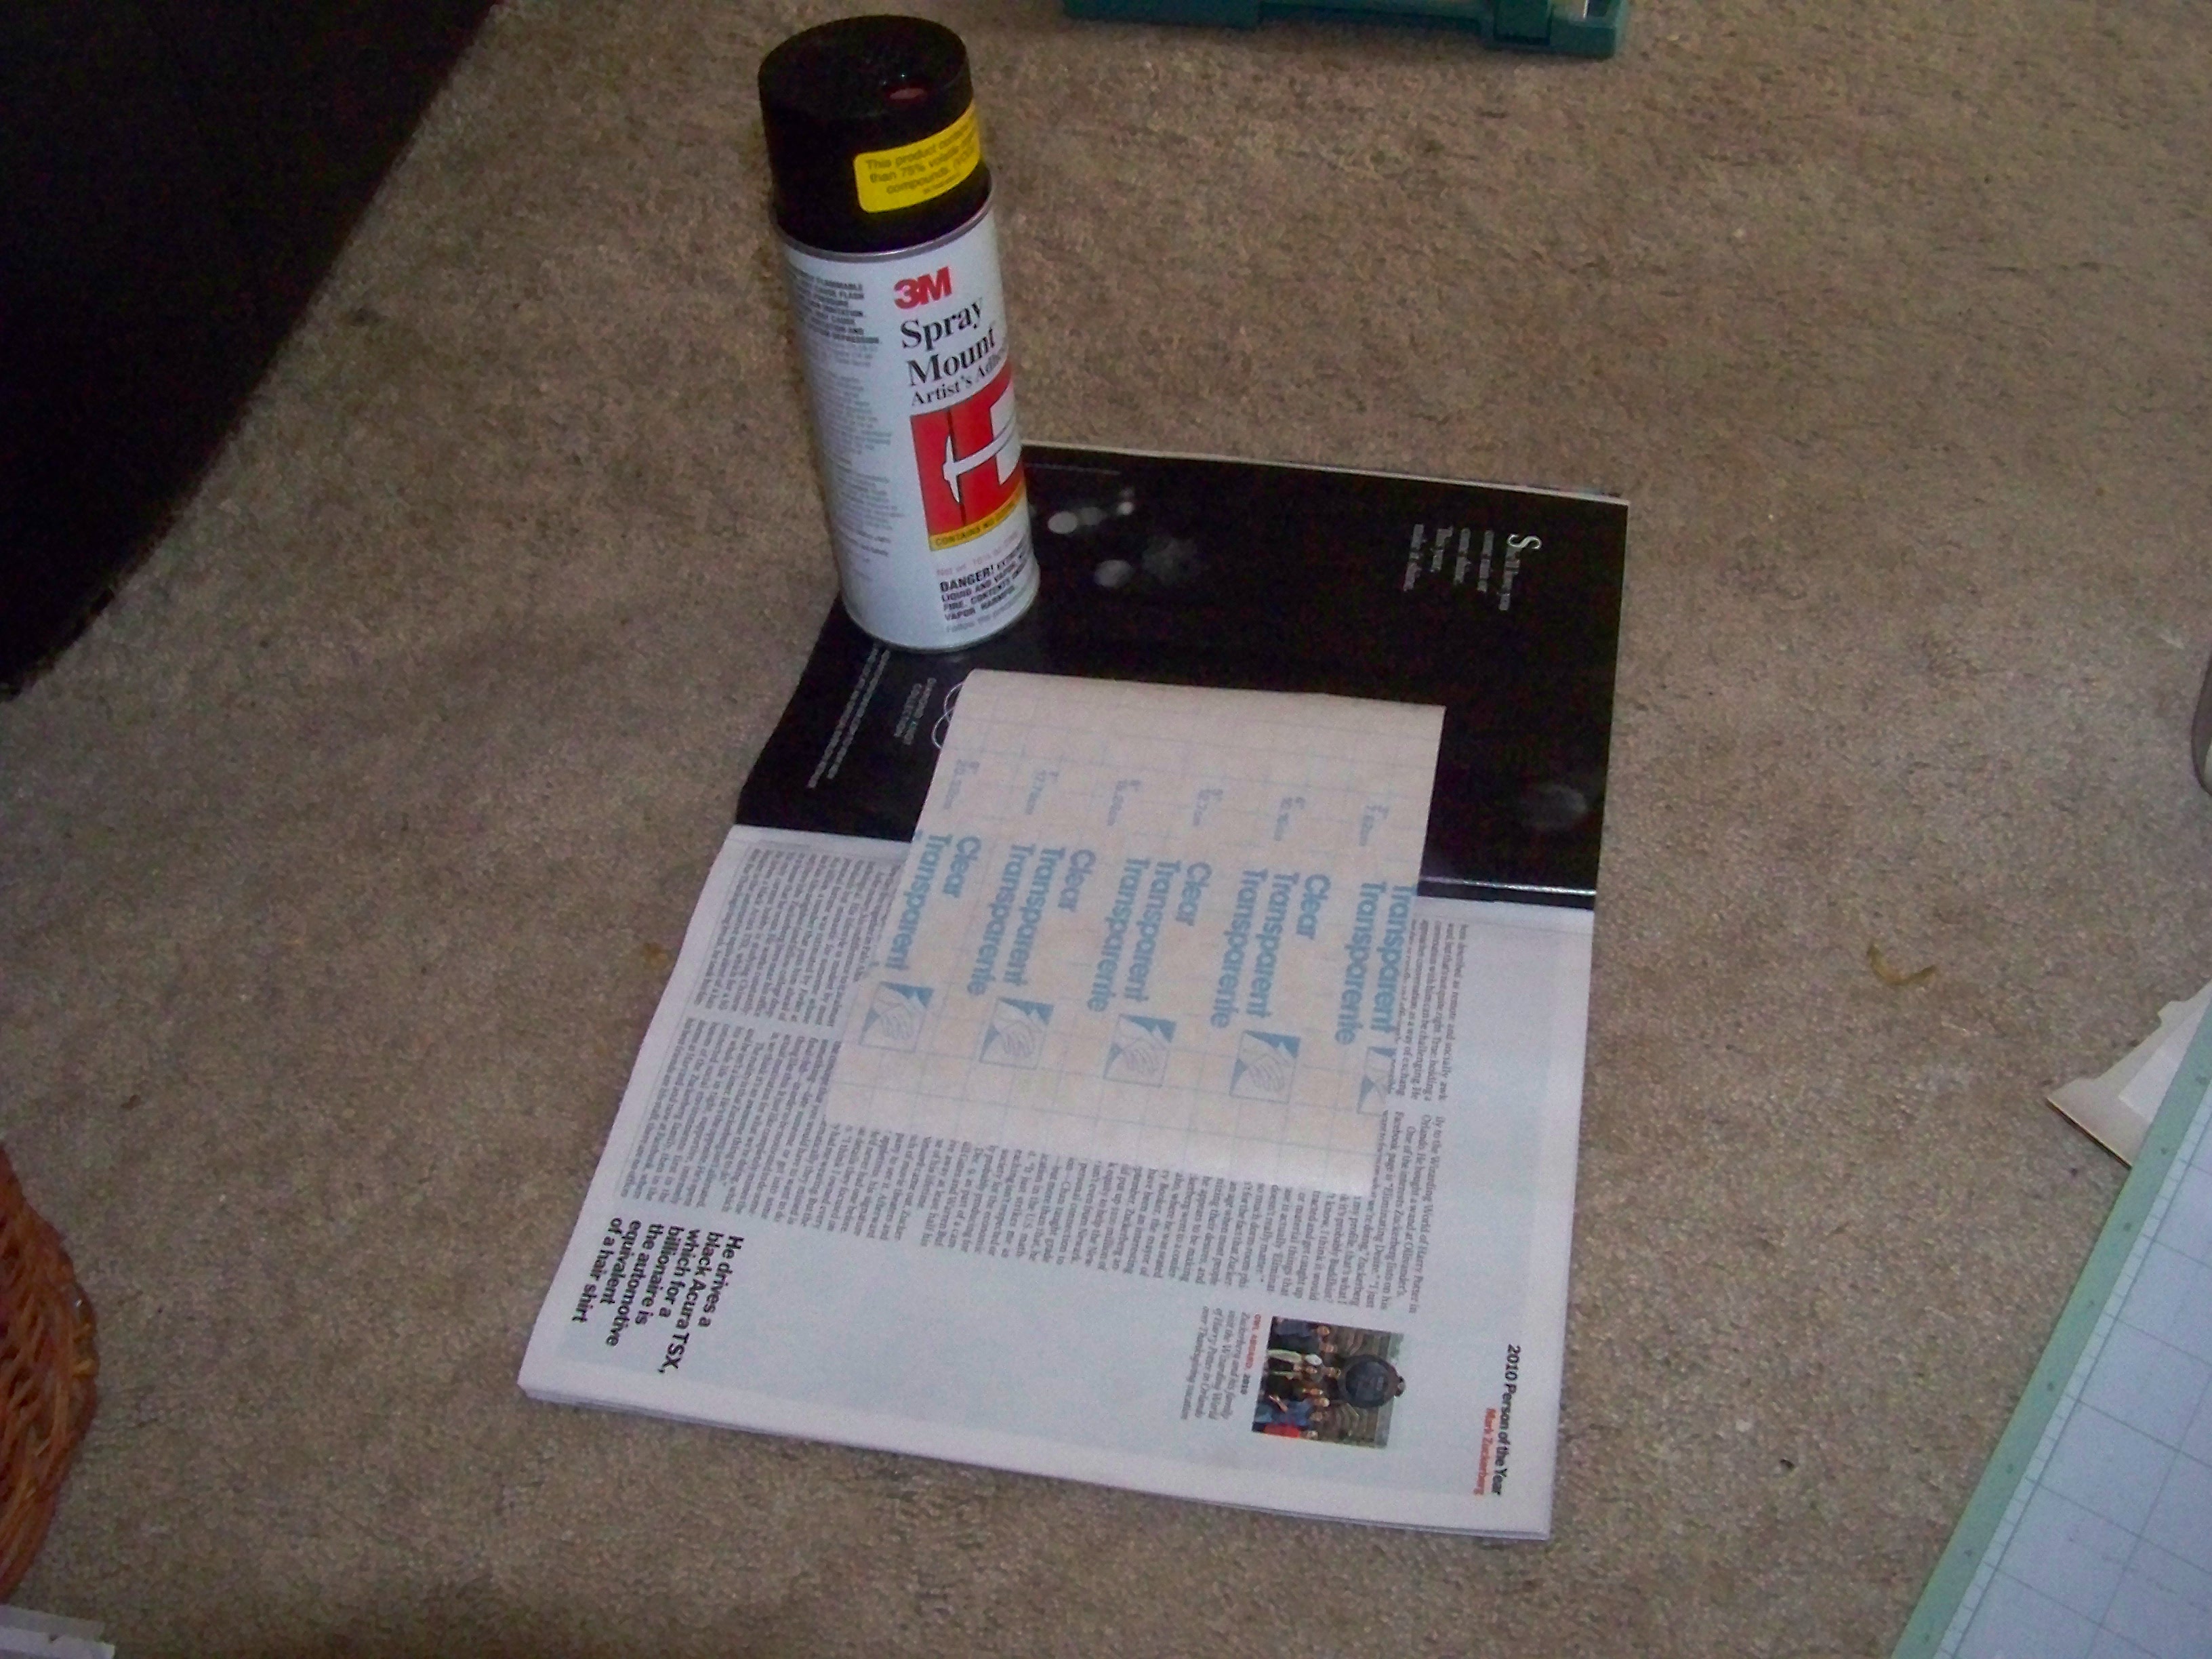
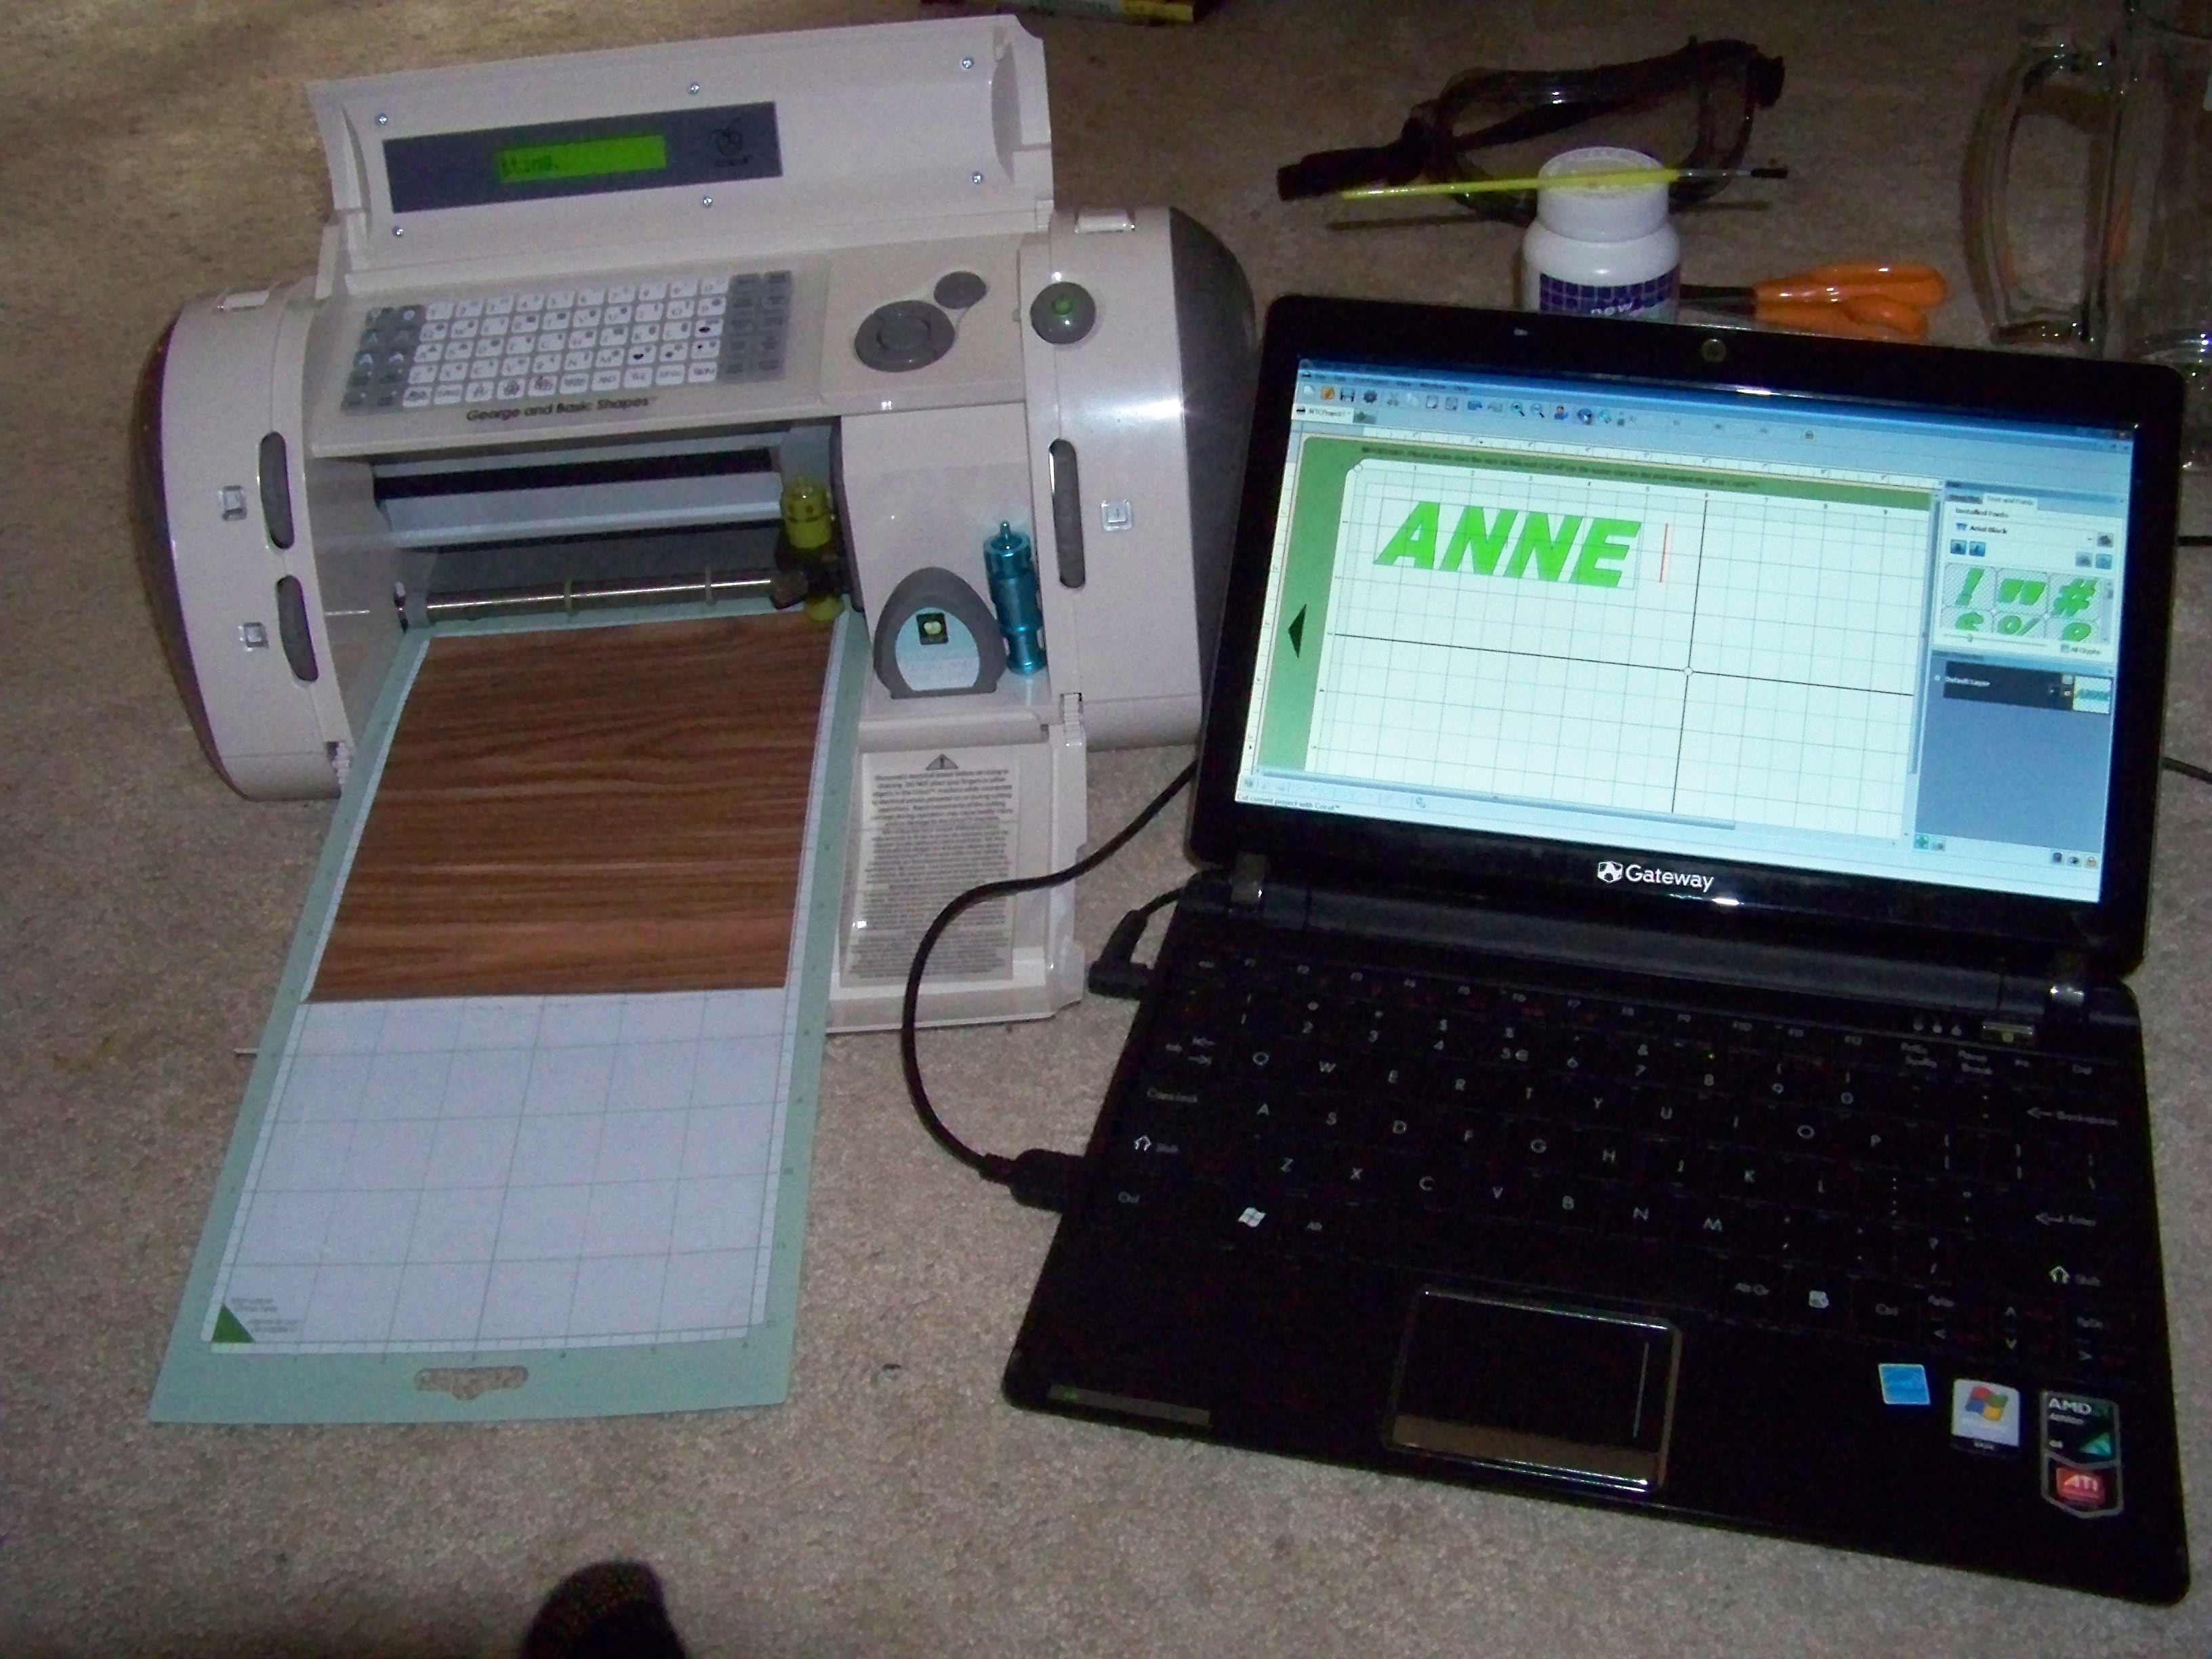
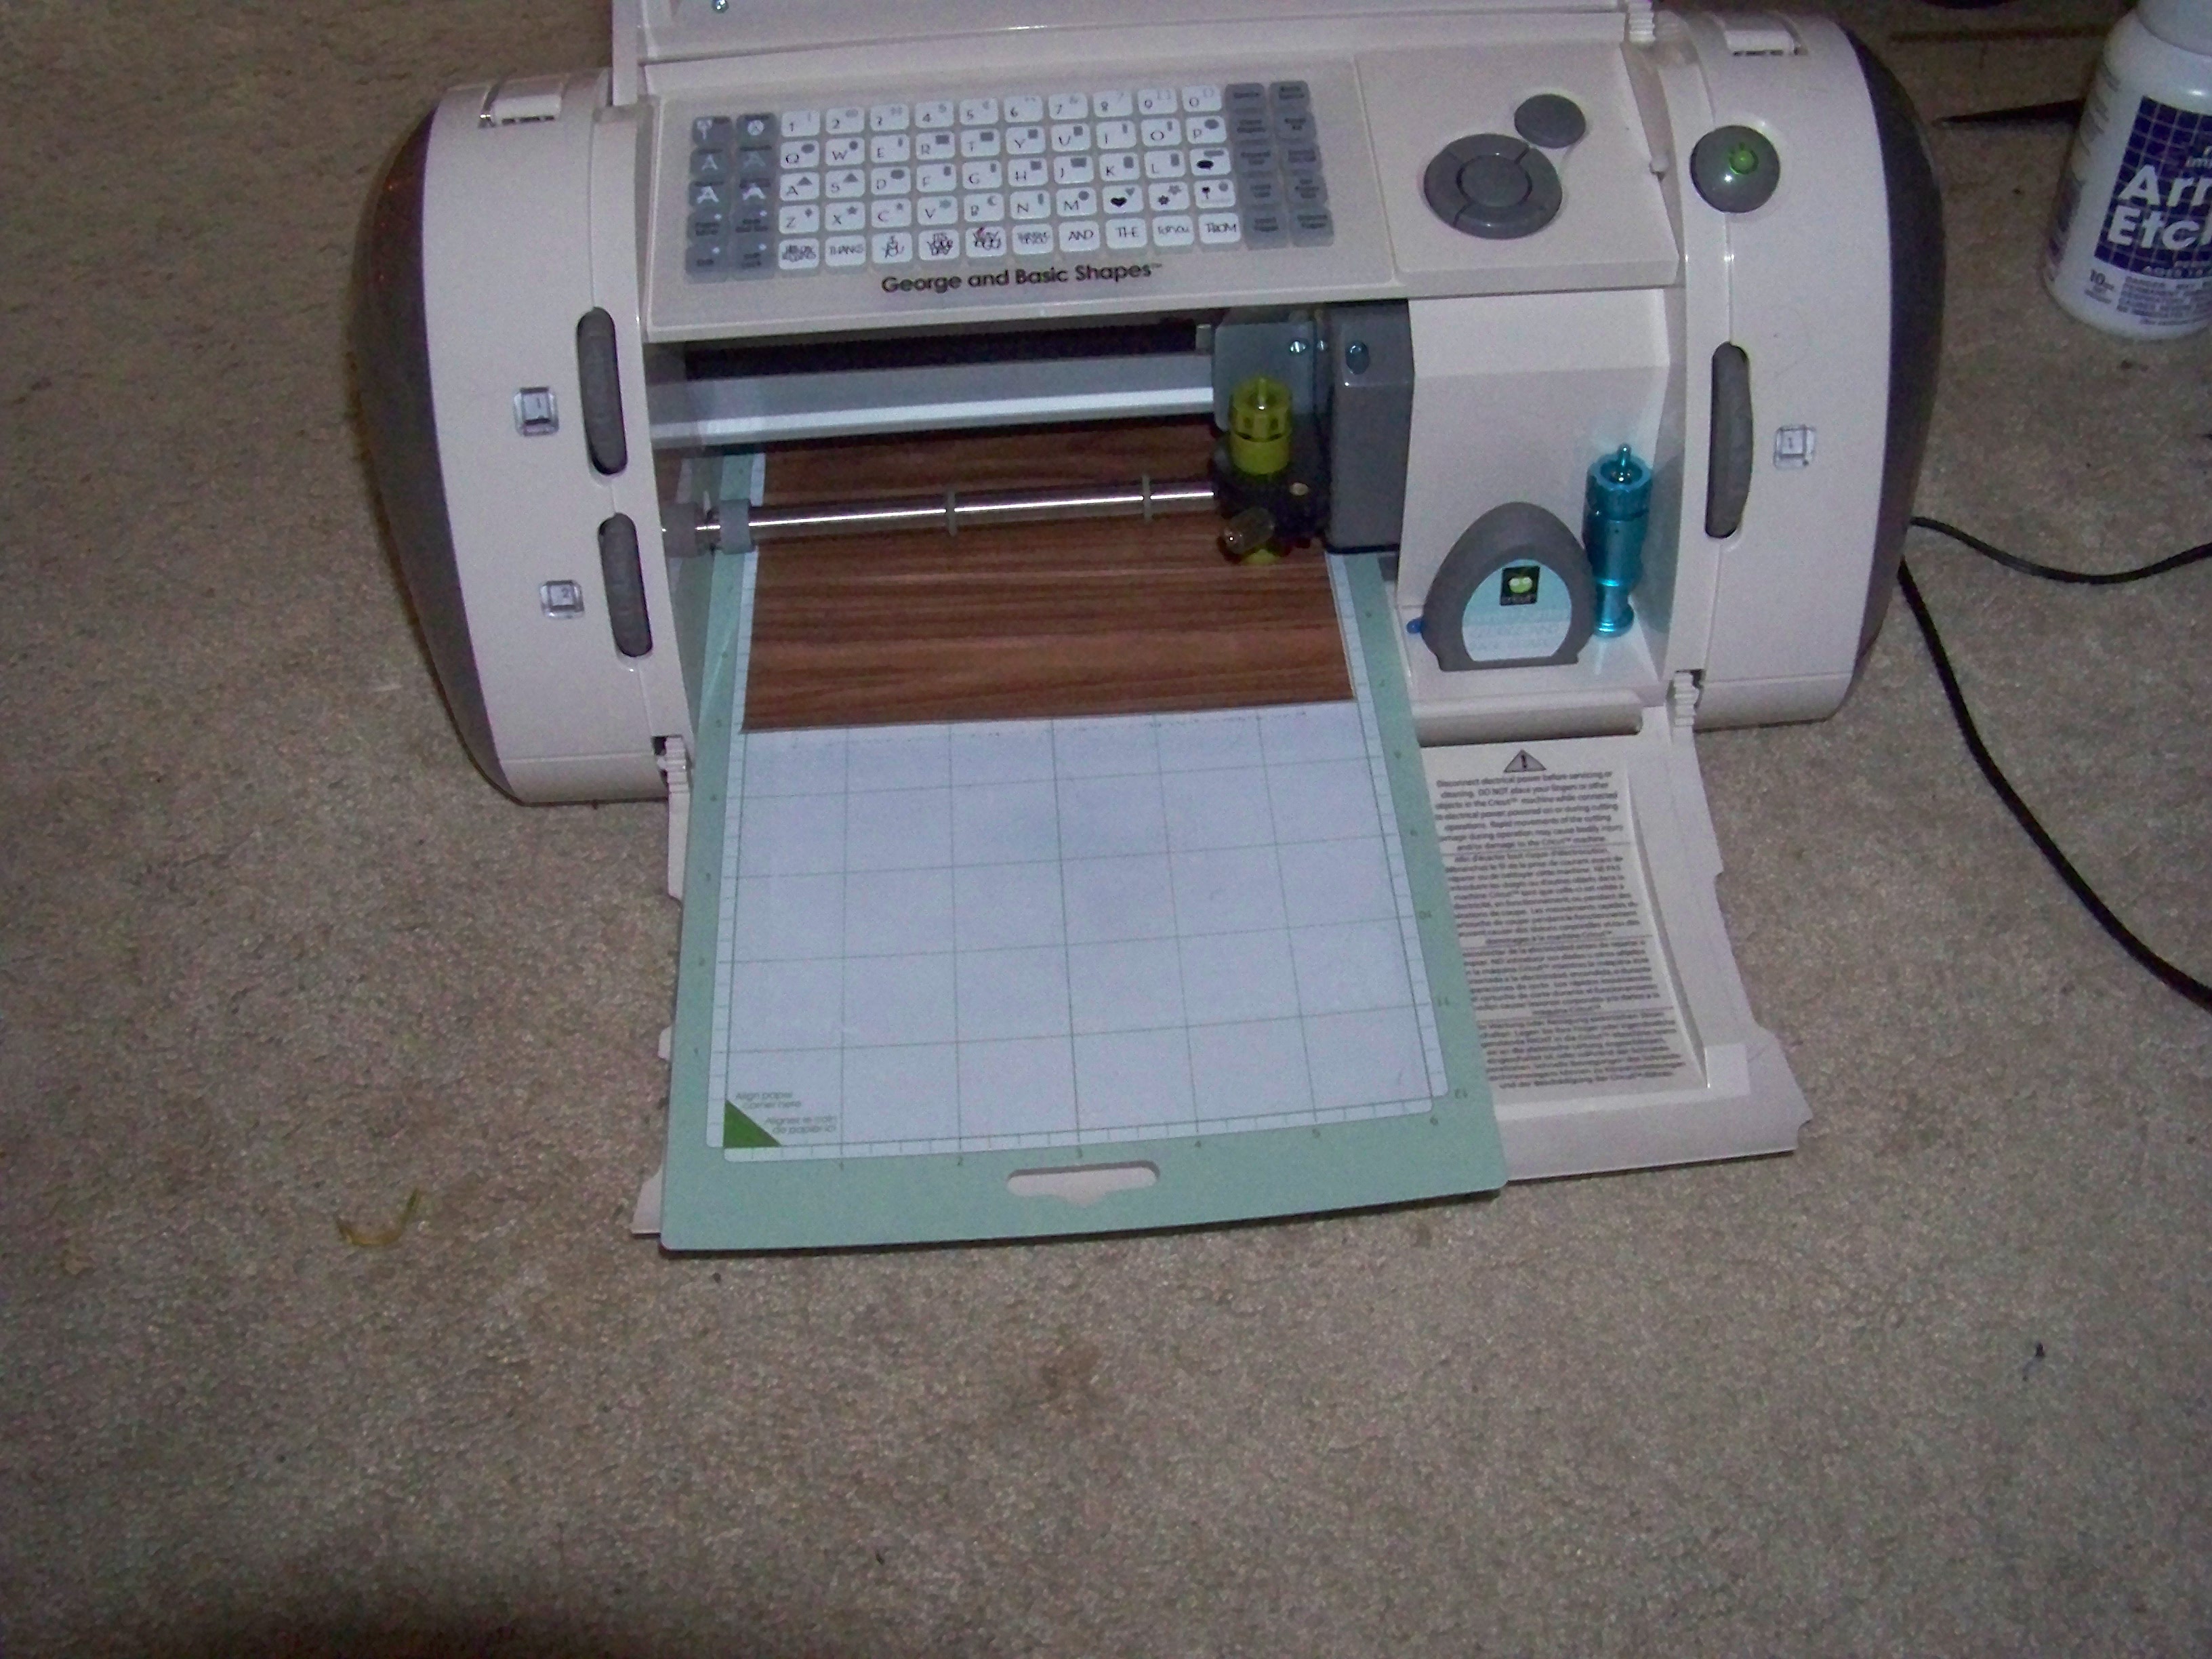
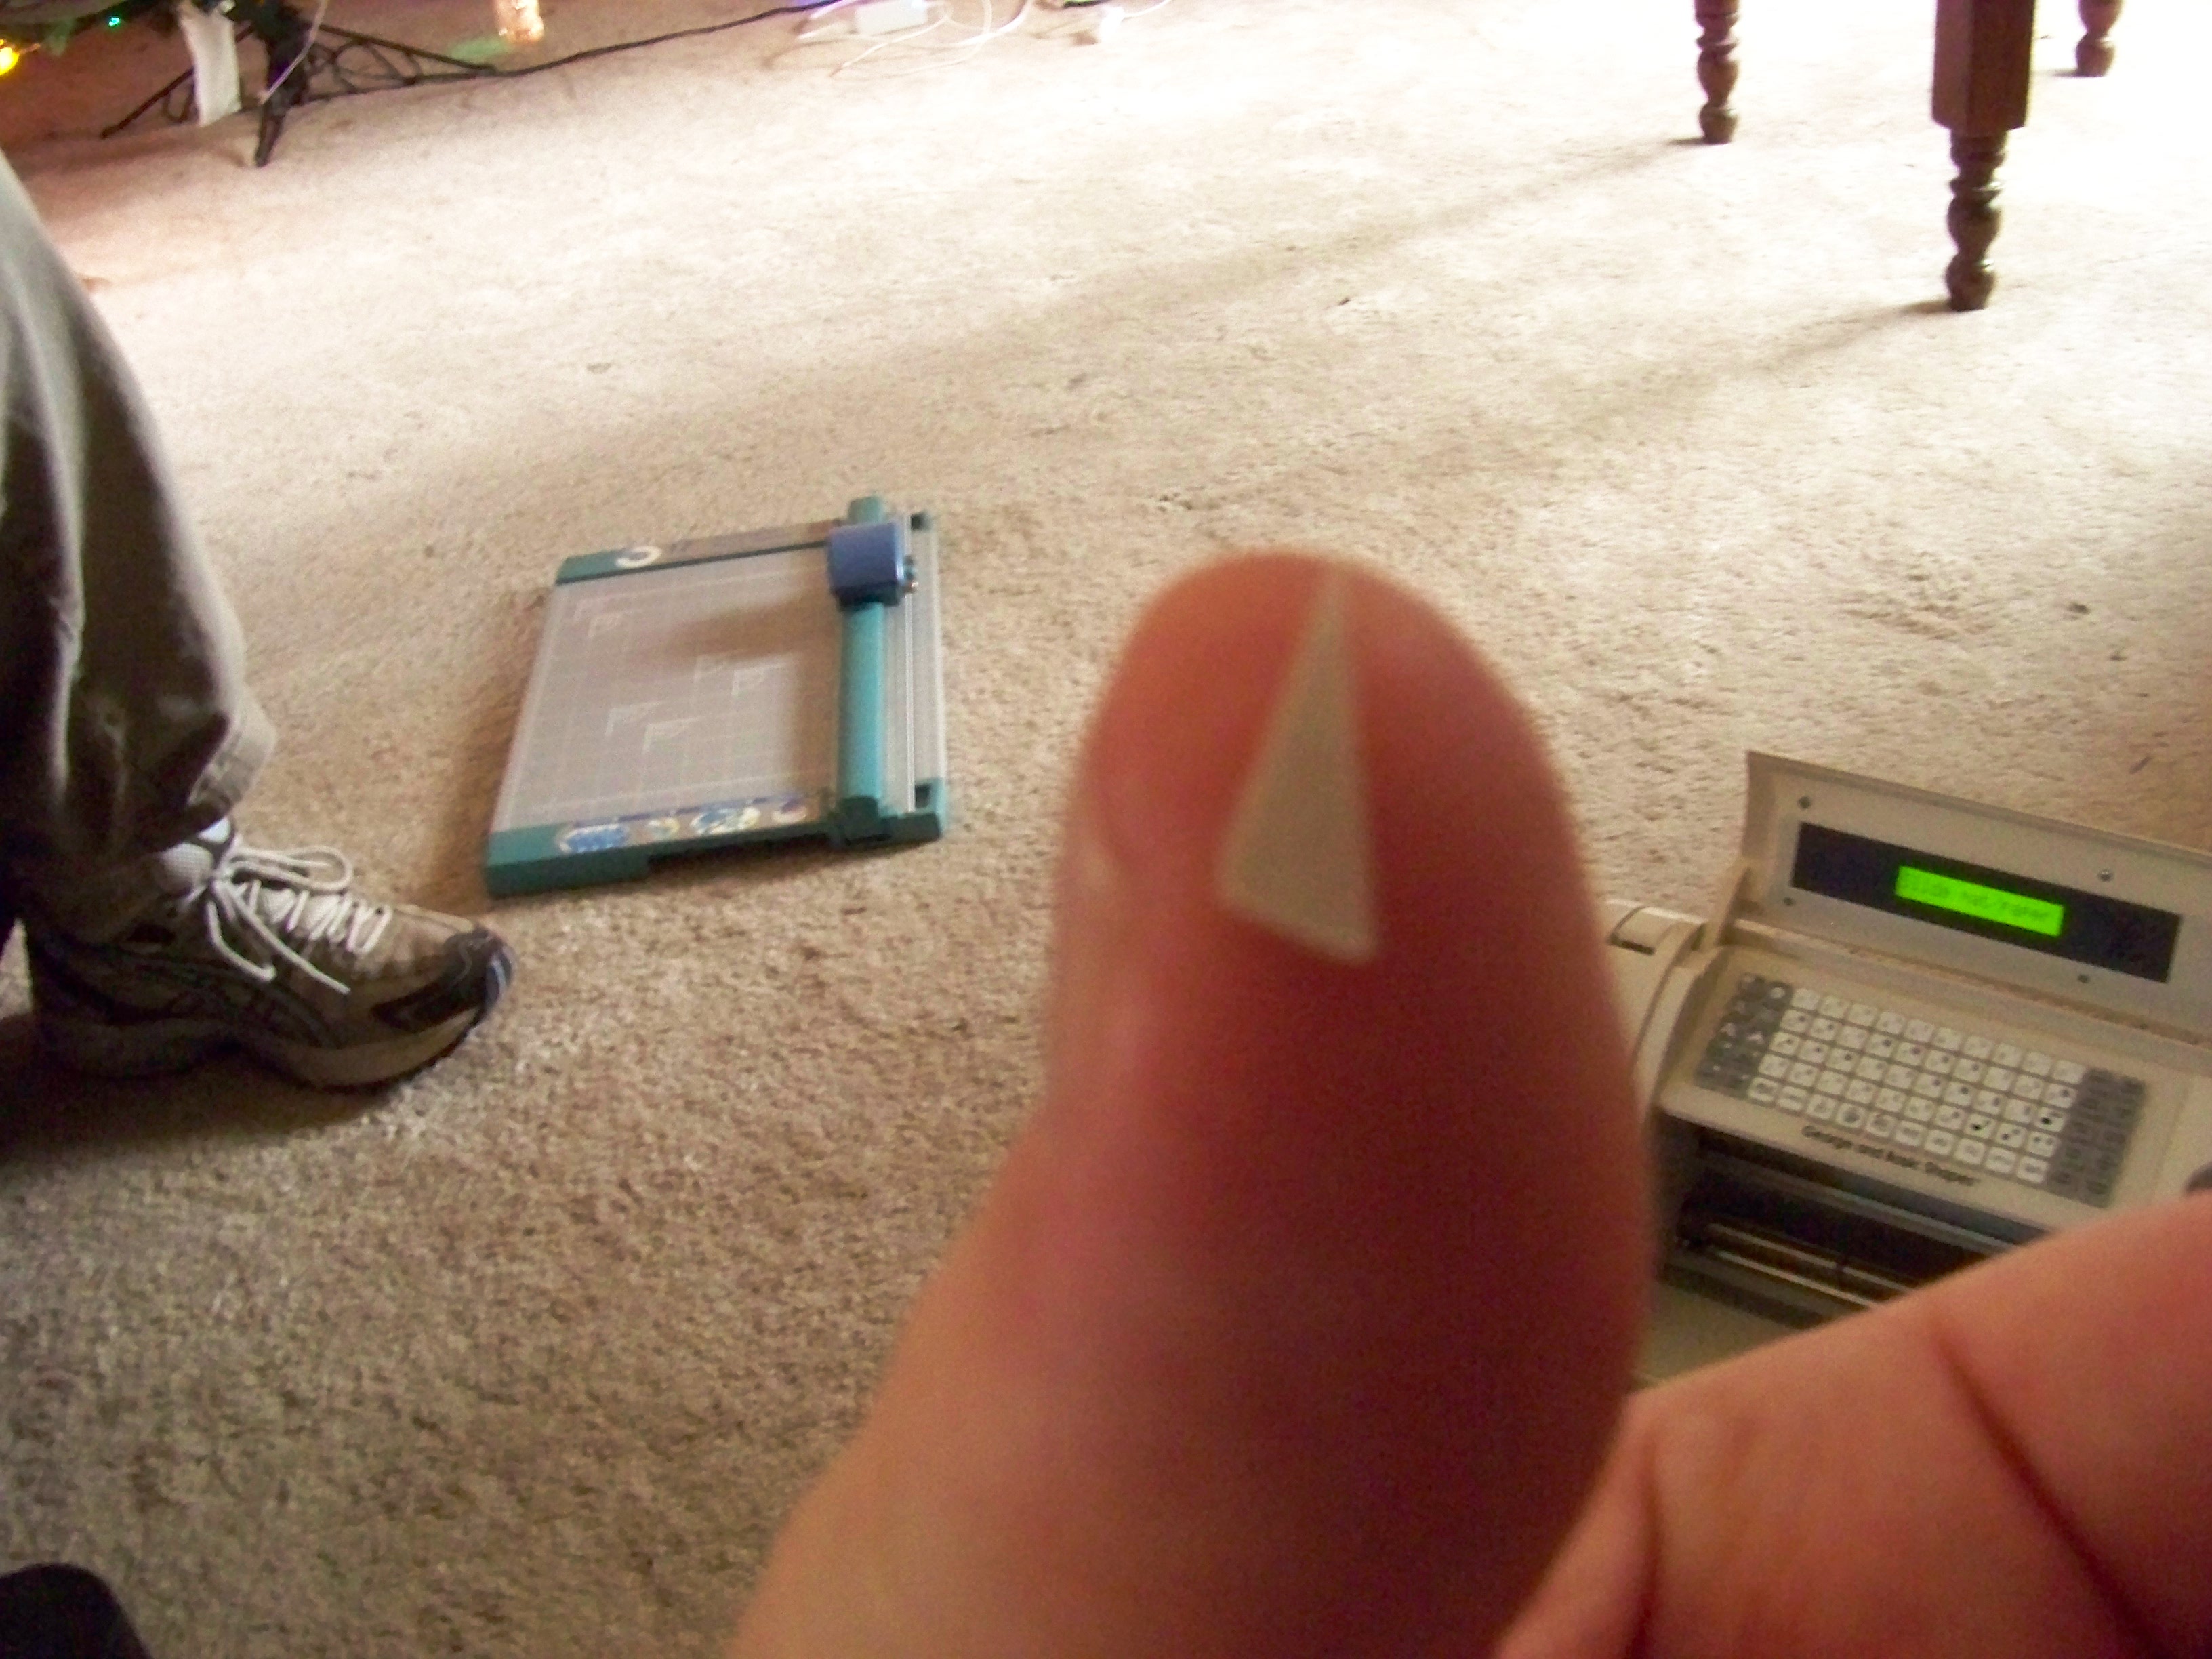
Cut a piece of vinyl (with the backing still in place) that will fit on your mat. Position the text roughly in the middle of your paper. (I.e. not too close to the edge) My mat had lost its stickiness so I sprayed the back of the vinyl with 3M Artists' Mount instead.
(By the way, this is actually the second etched mug I've done - the first was hacked out in about 30 minutes as a last-minute Christmas present for a friend at work; this one took more like an hour due to taking lots of photographs as I went along! When my wife saw the first one she asked me to make her one too - they're that great!)
Apply the Stencil
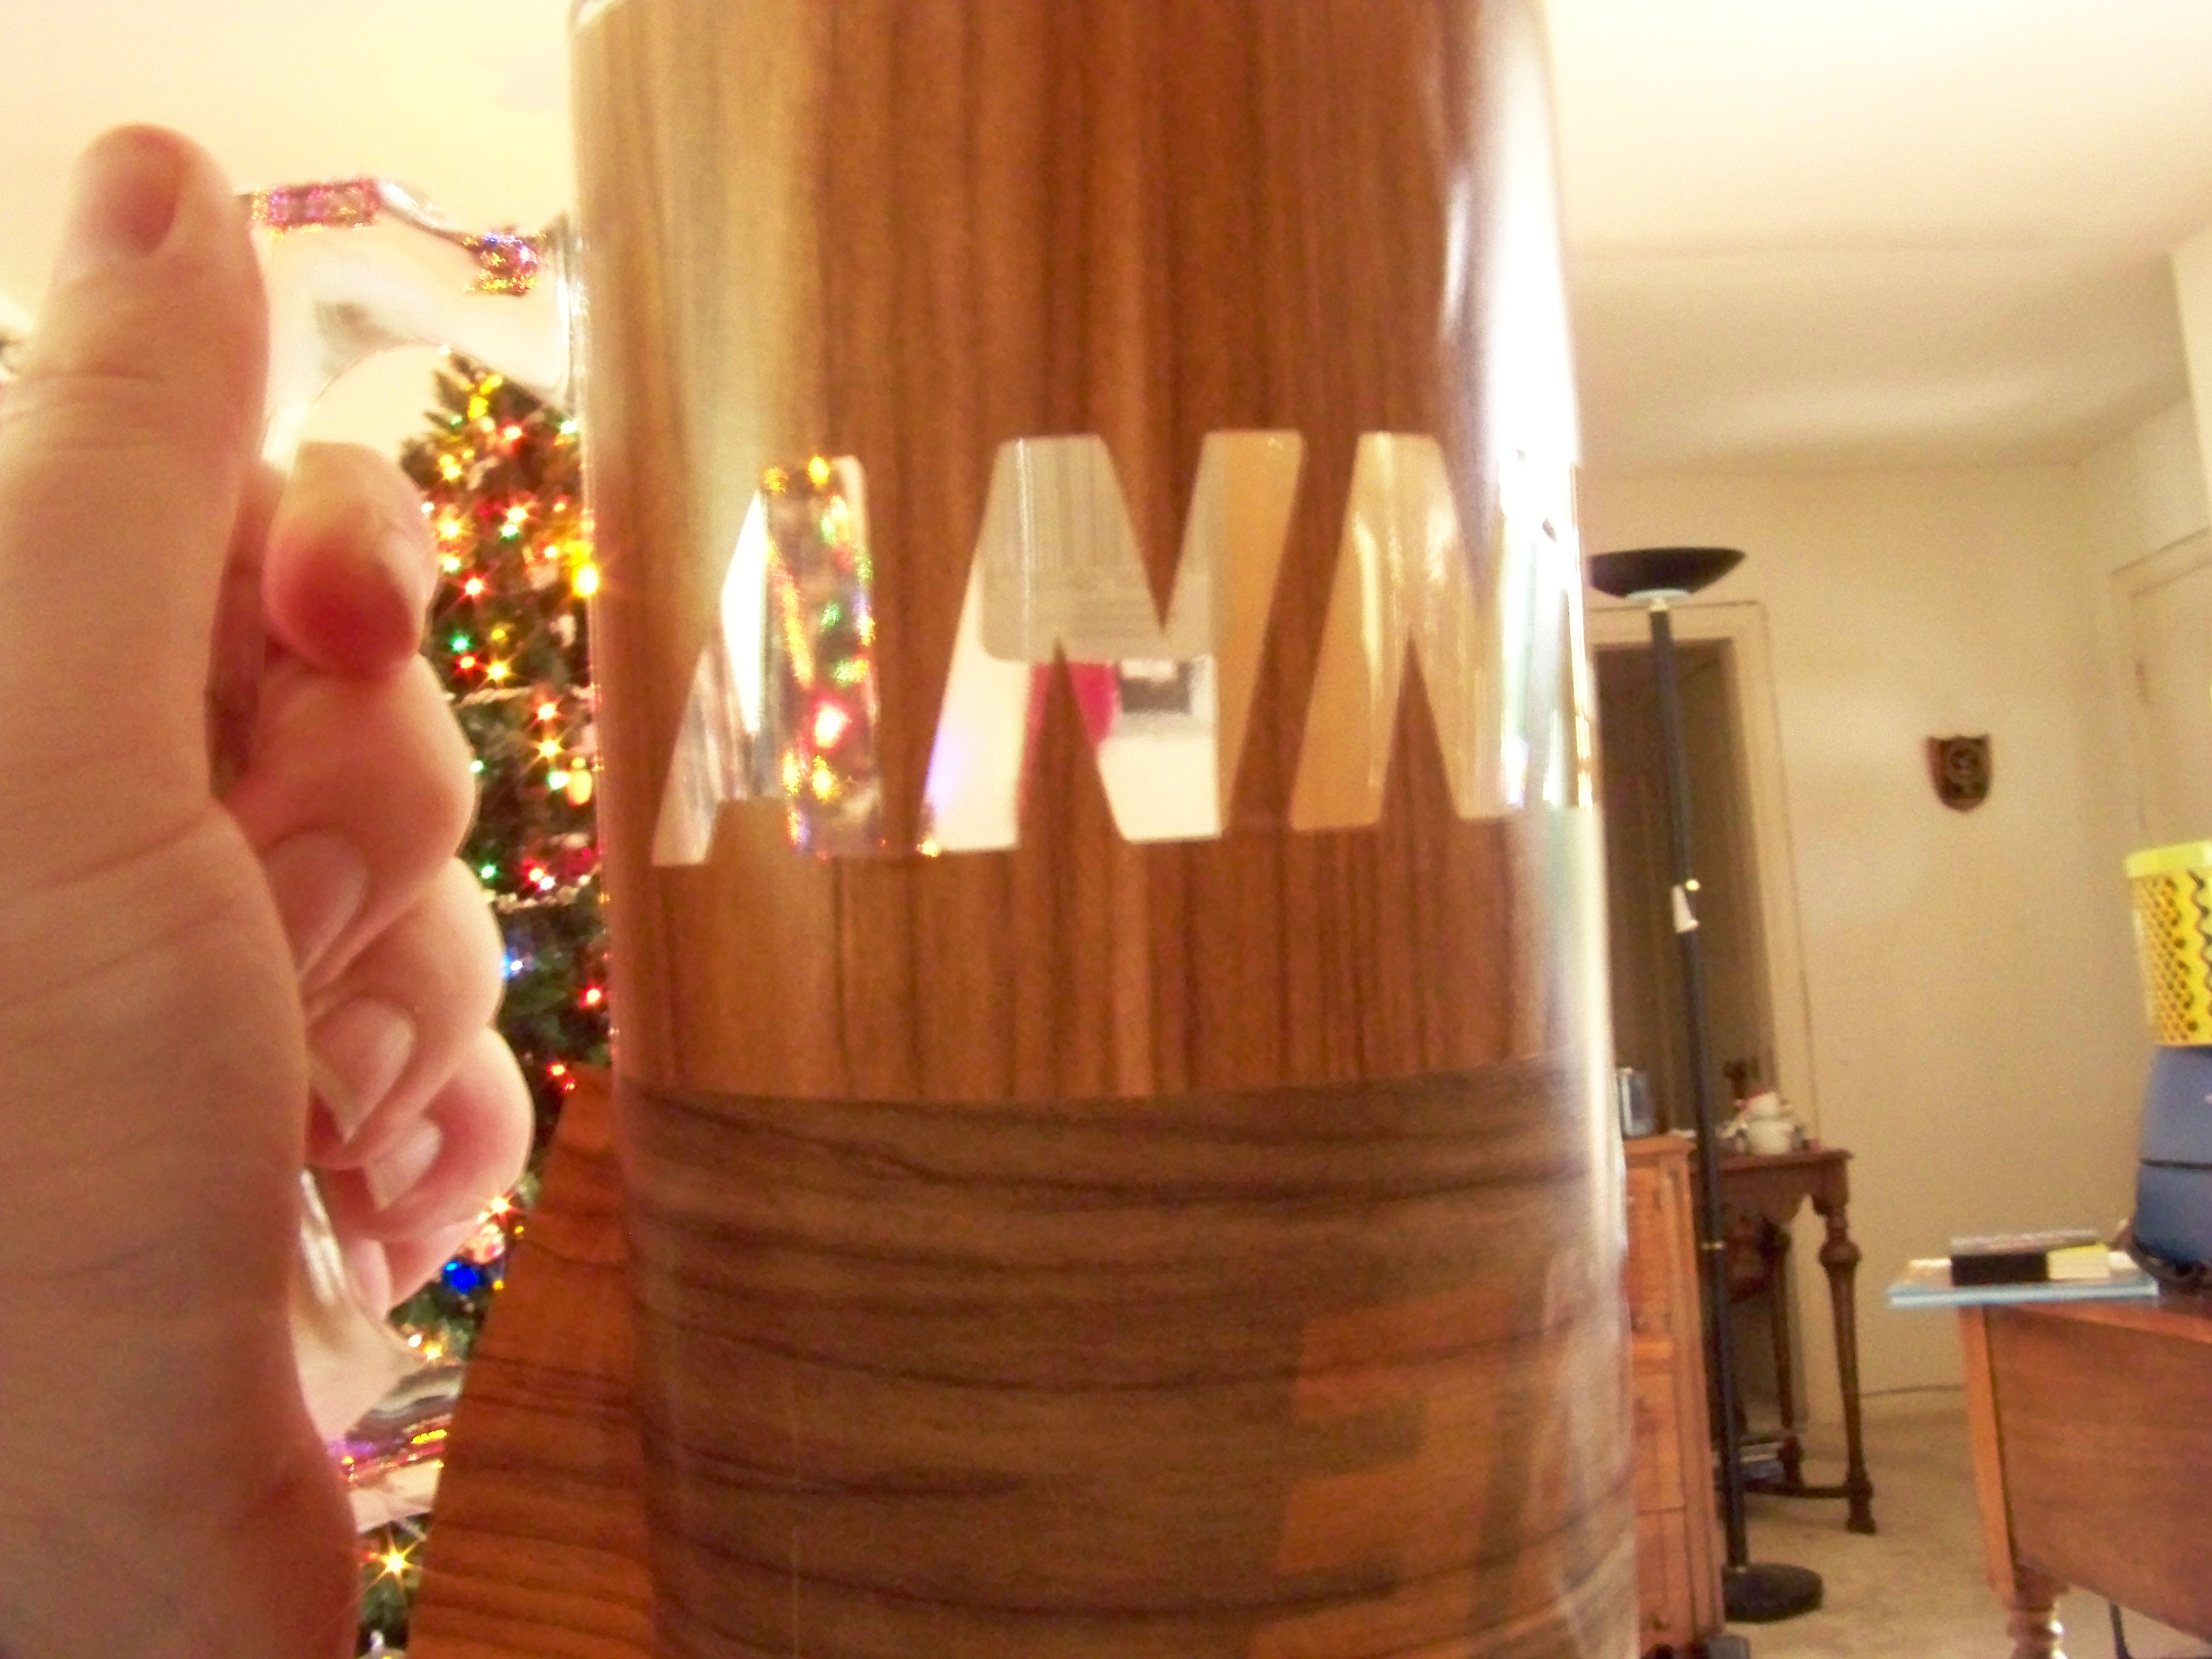
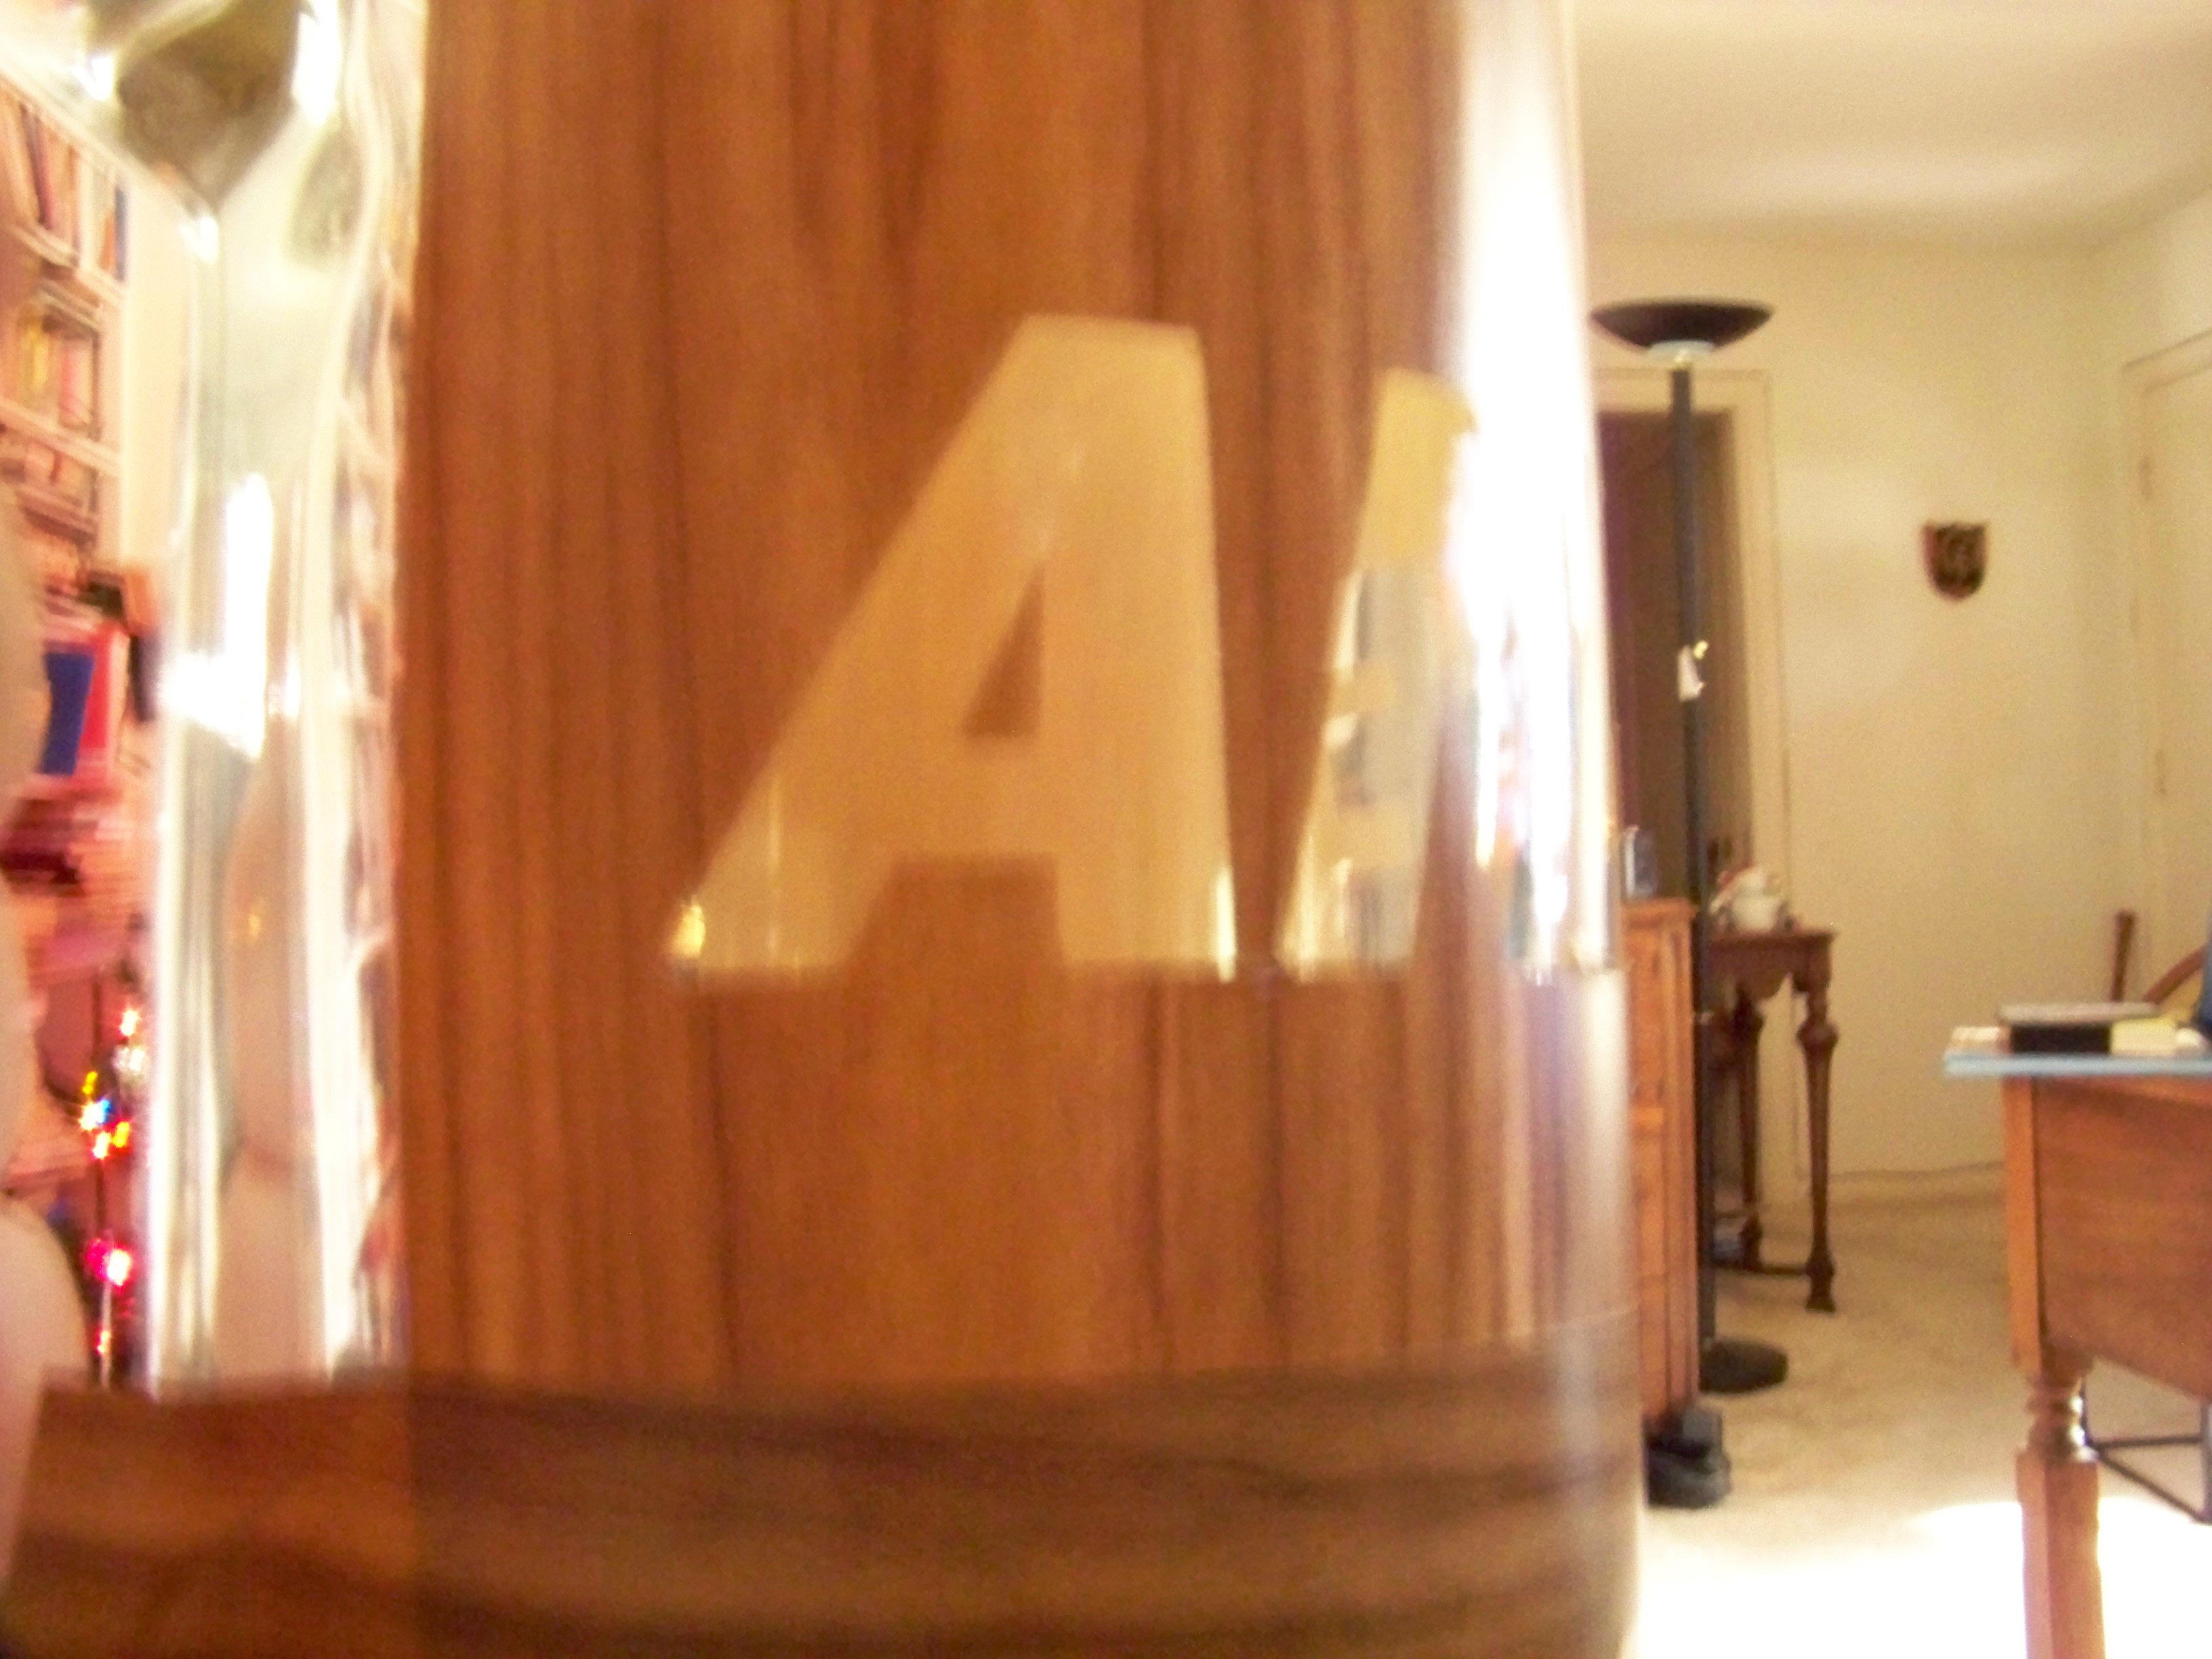
Once you've applied the stencil, put spare cuts of vinyl all around the edges so that the mug is well protected - just in case some etchant drips on to the mug or elsewhere.
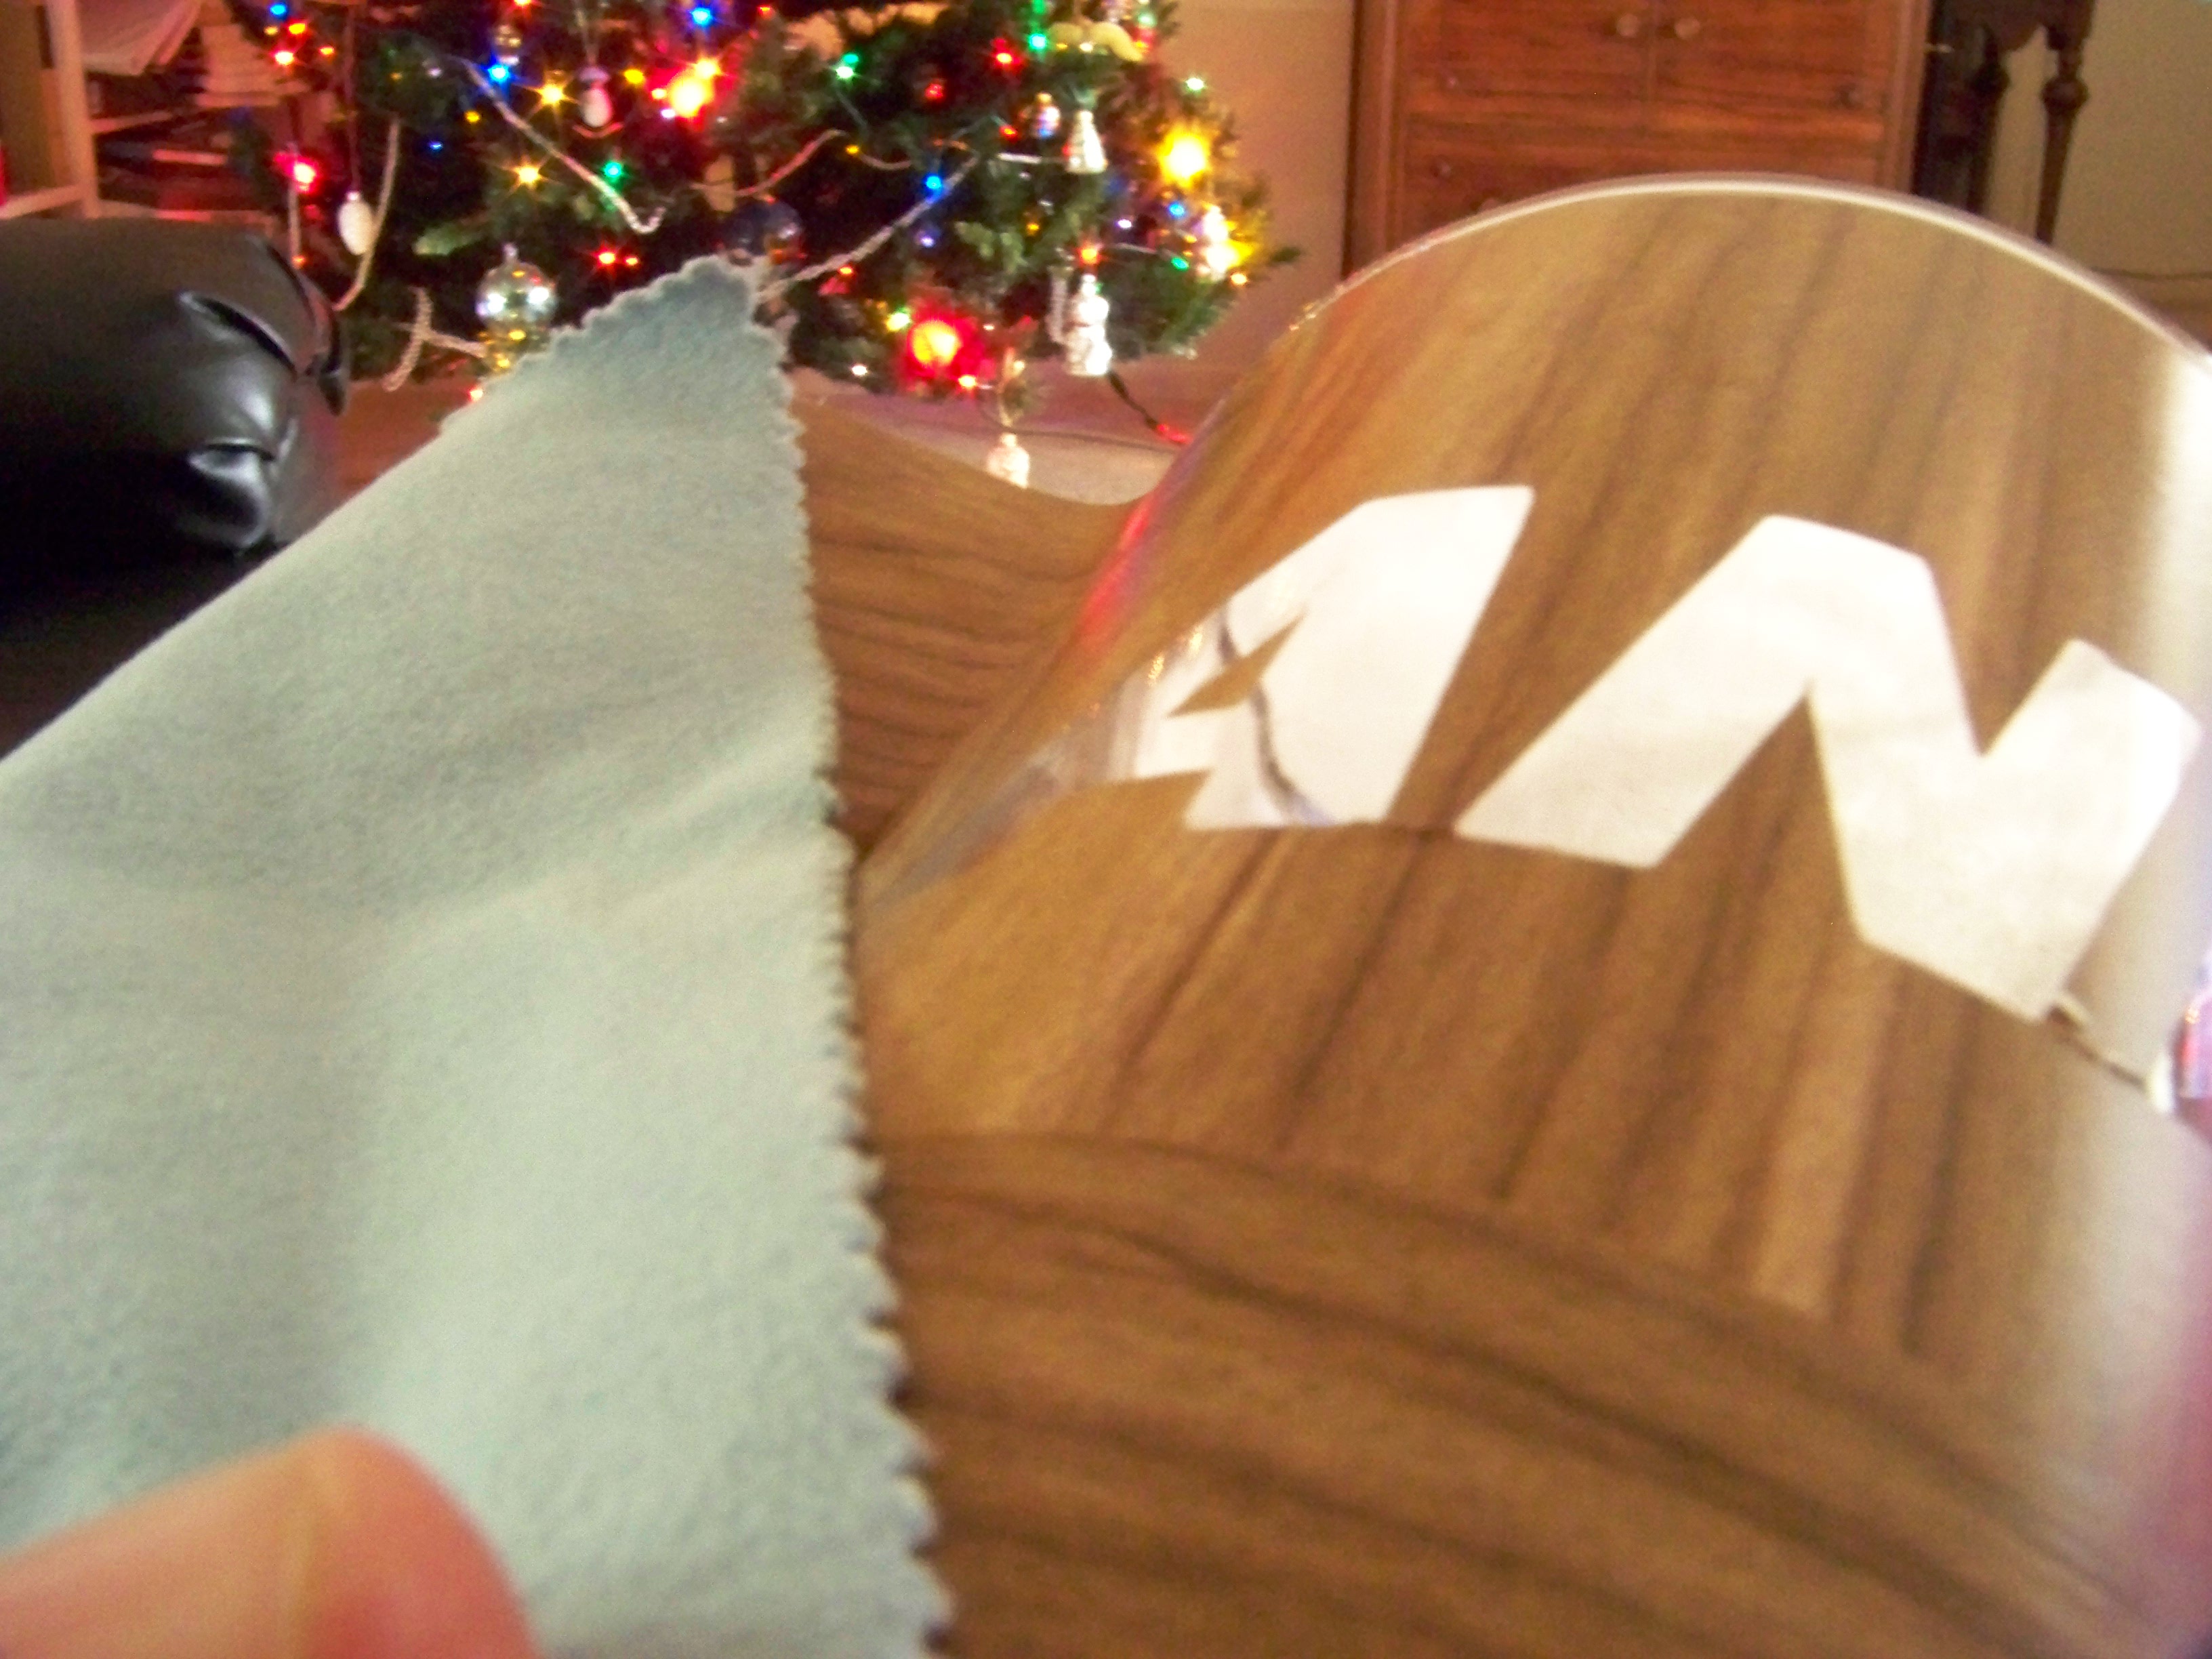
The only tricky part here is when you have a letter that has a hole in it, such as 'O' or 'A': you'll need to carefully position the small vinyl cutout that represents the hole, into the gap in the vinyl where it belongs.
It might be worth cleaning the glass where the letters are with a clean lens cloth before we go on to etch it.
Etch!
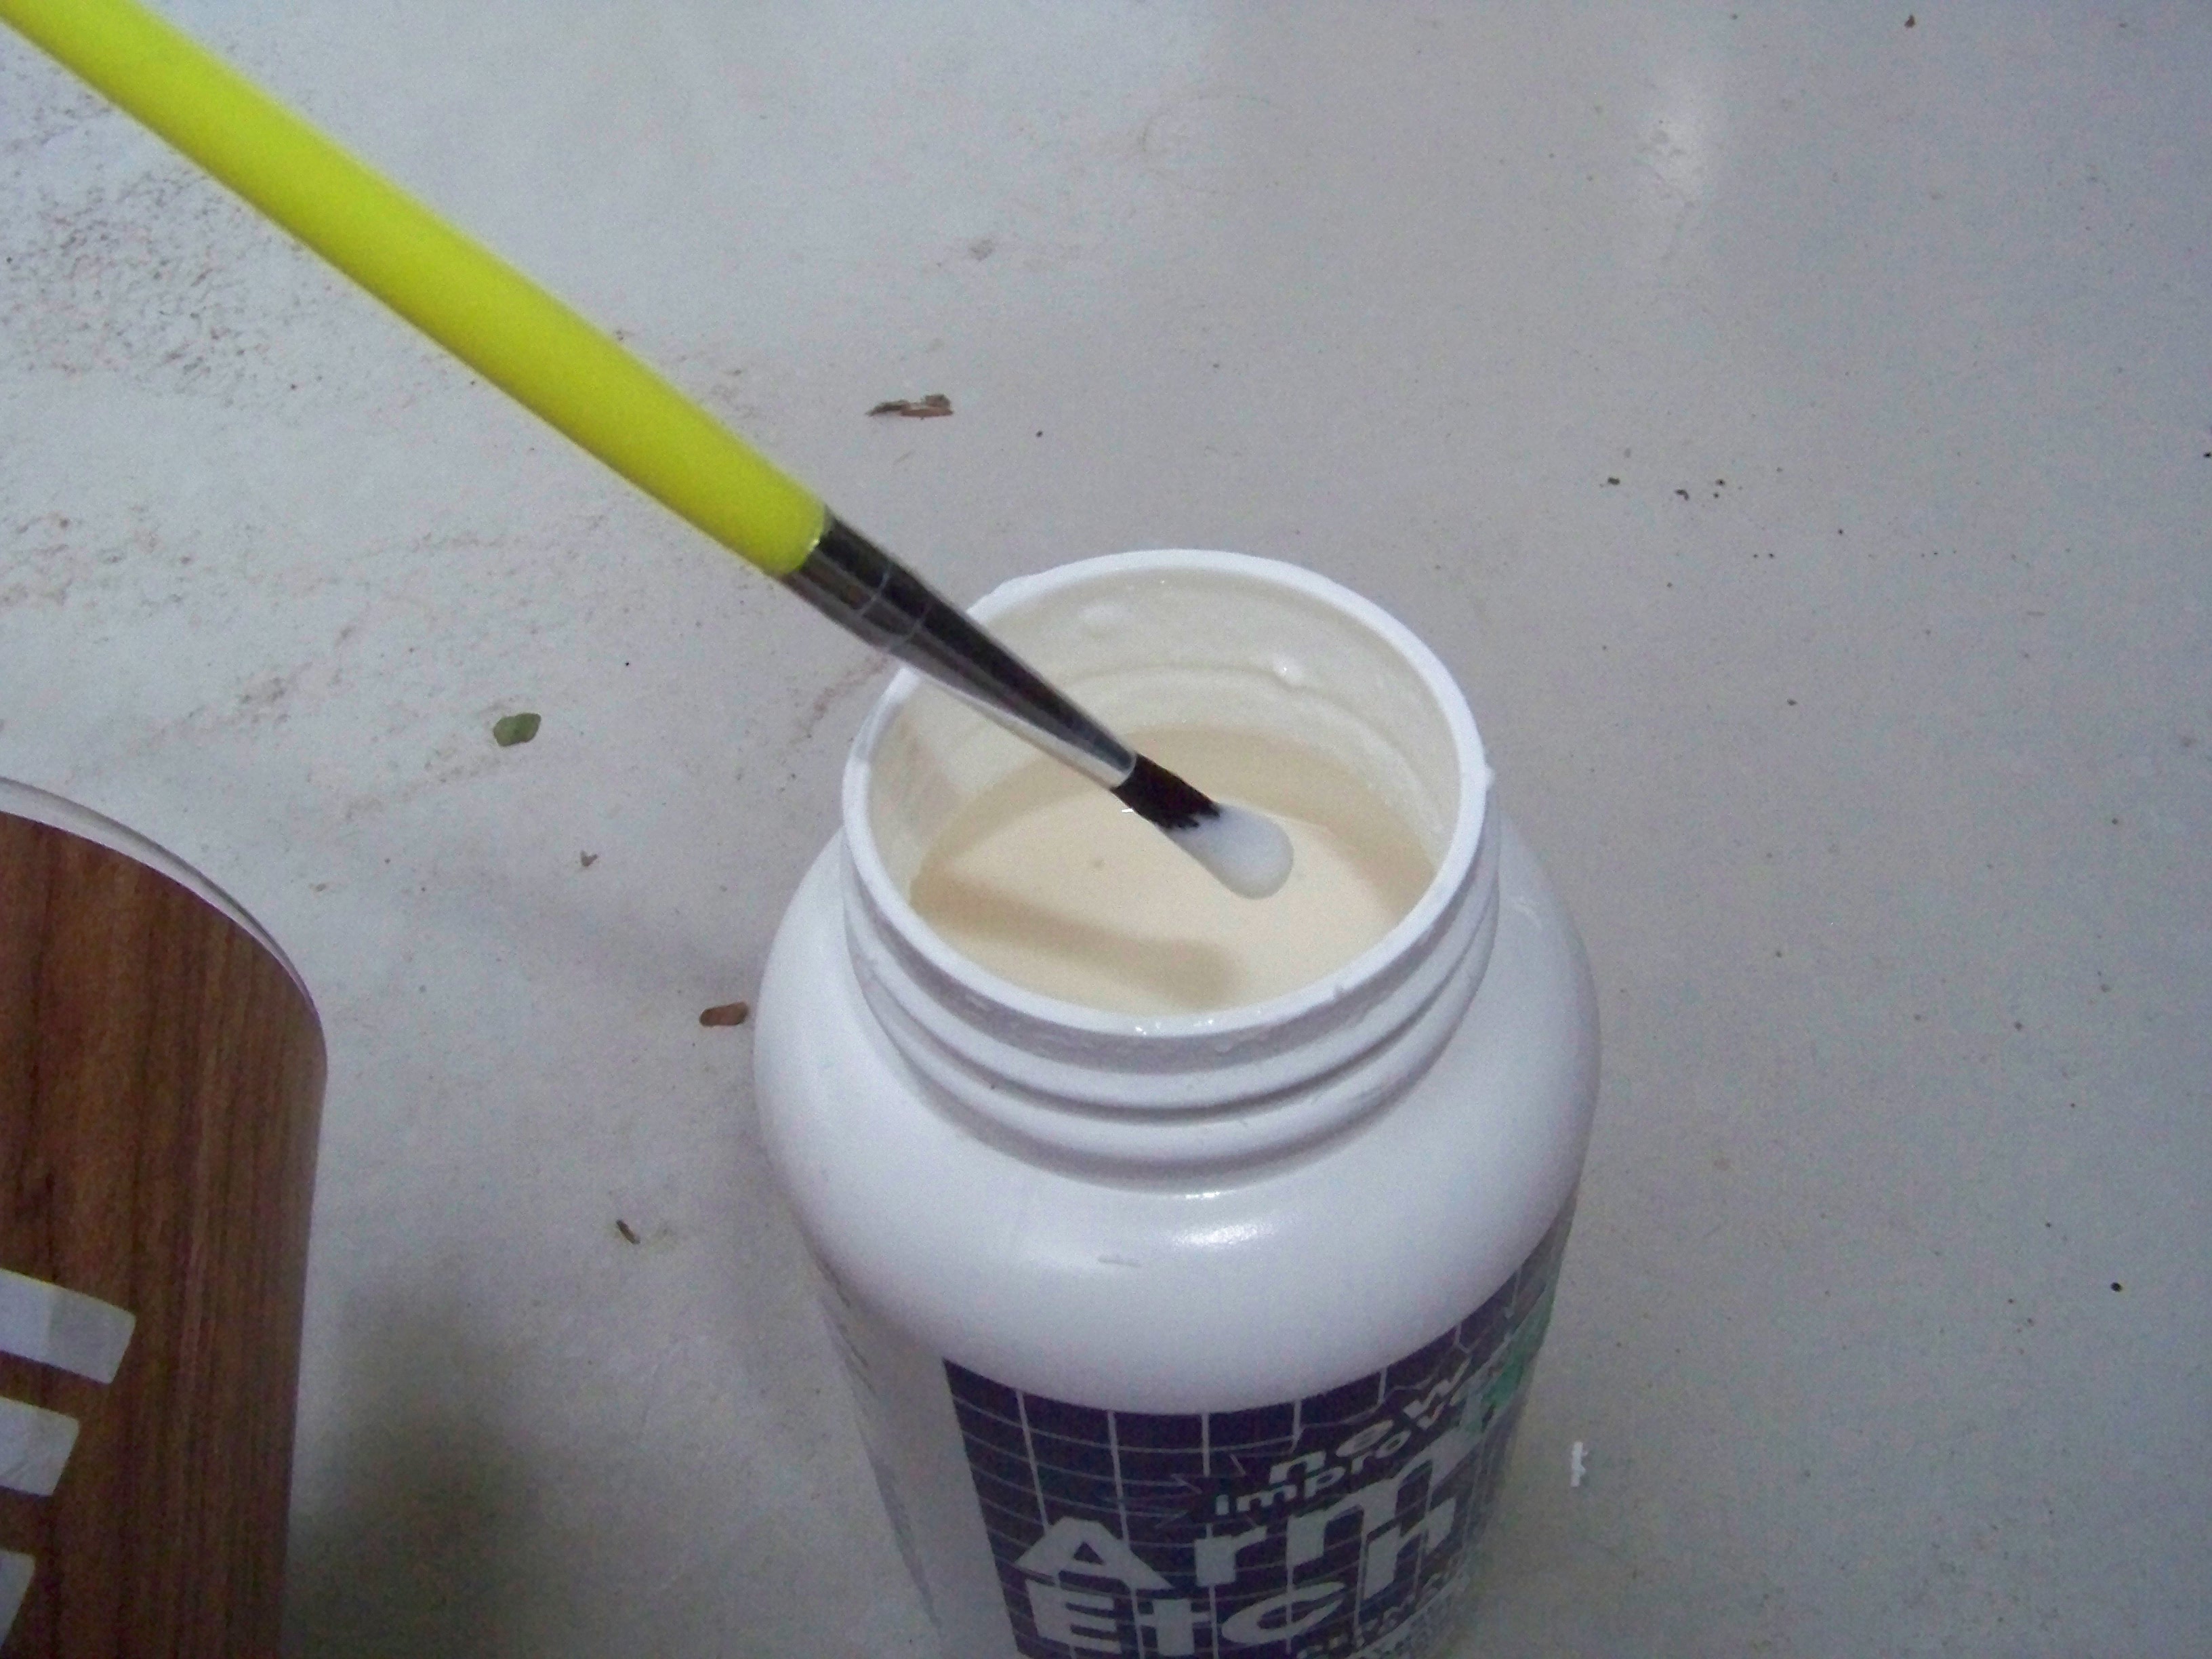
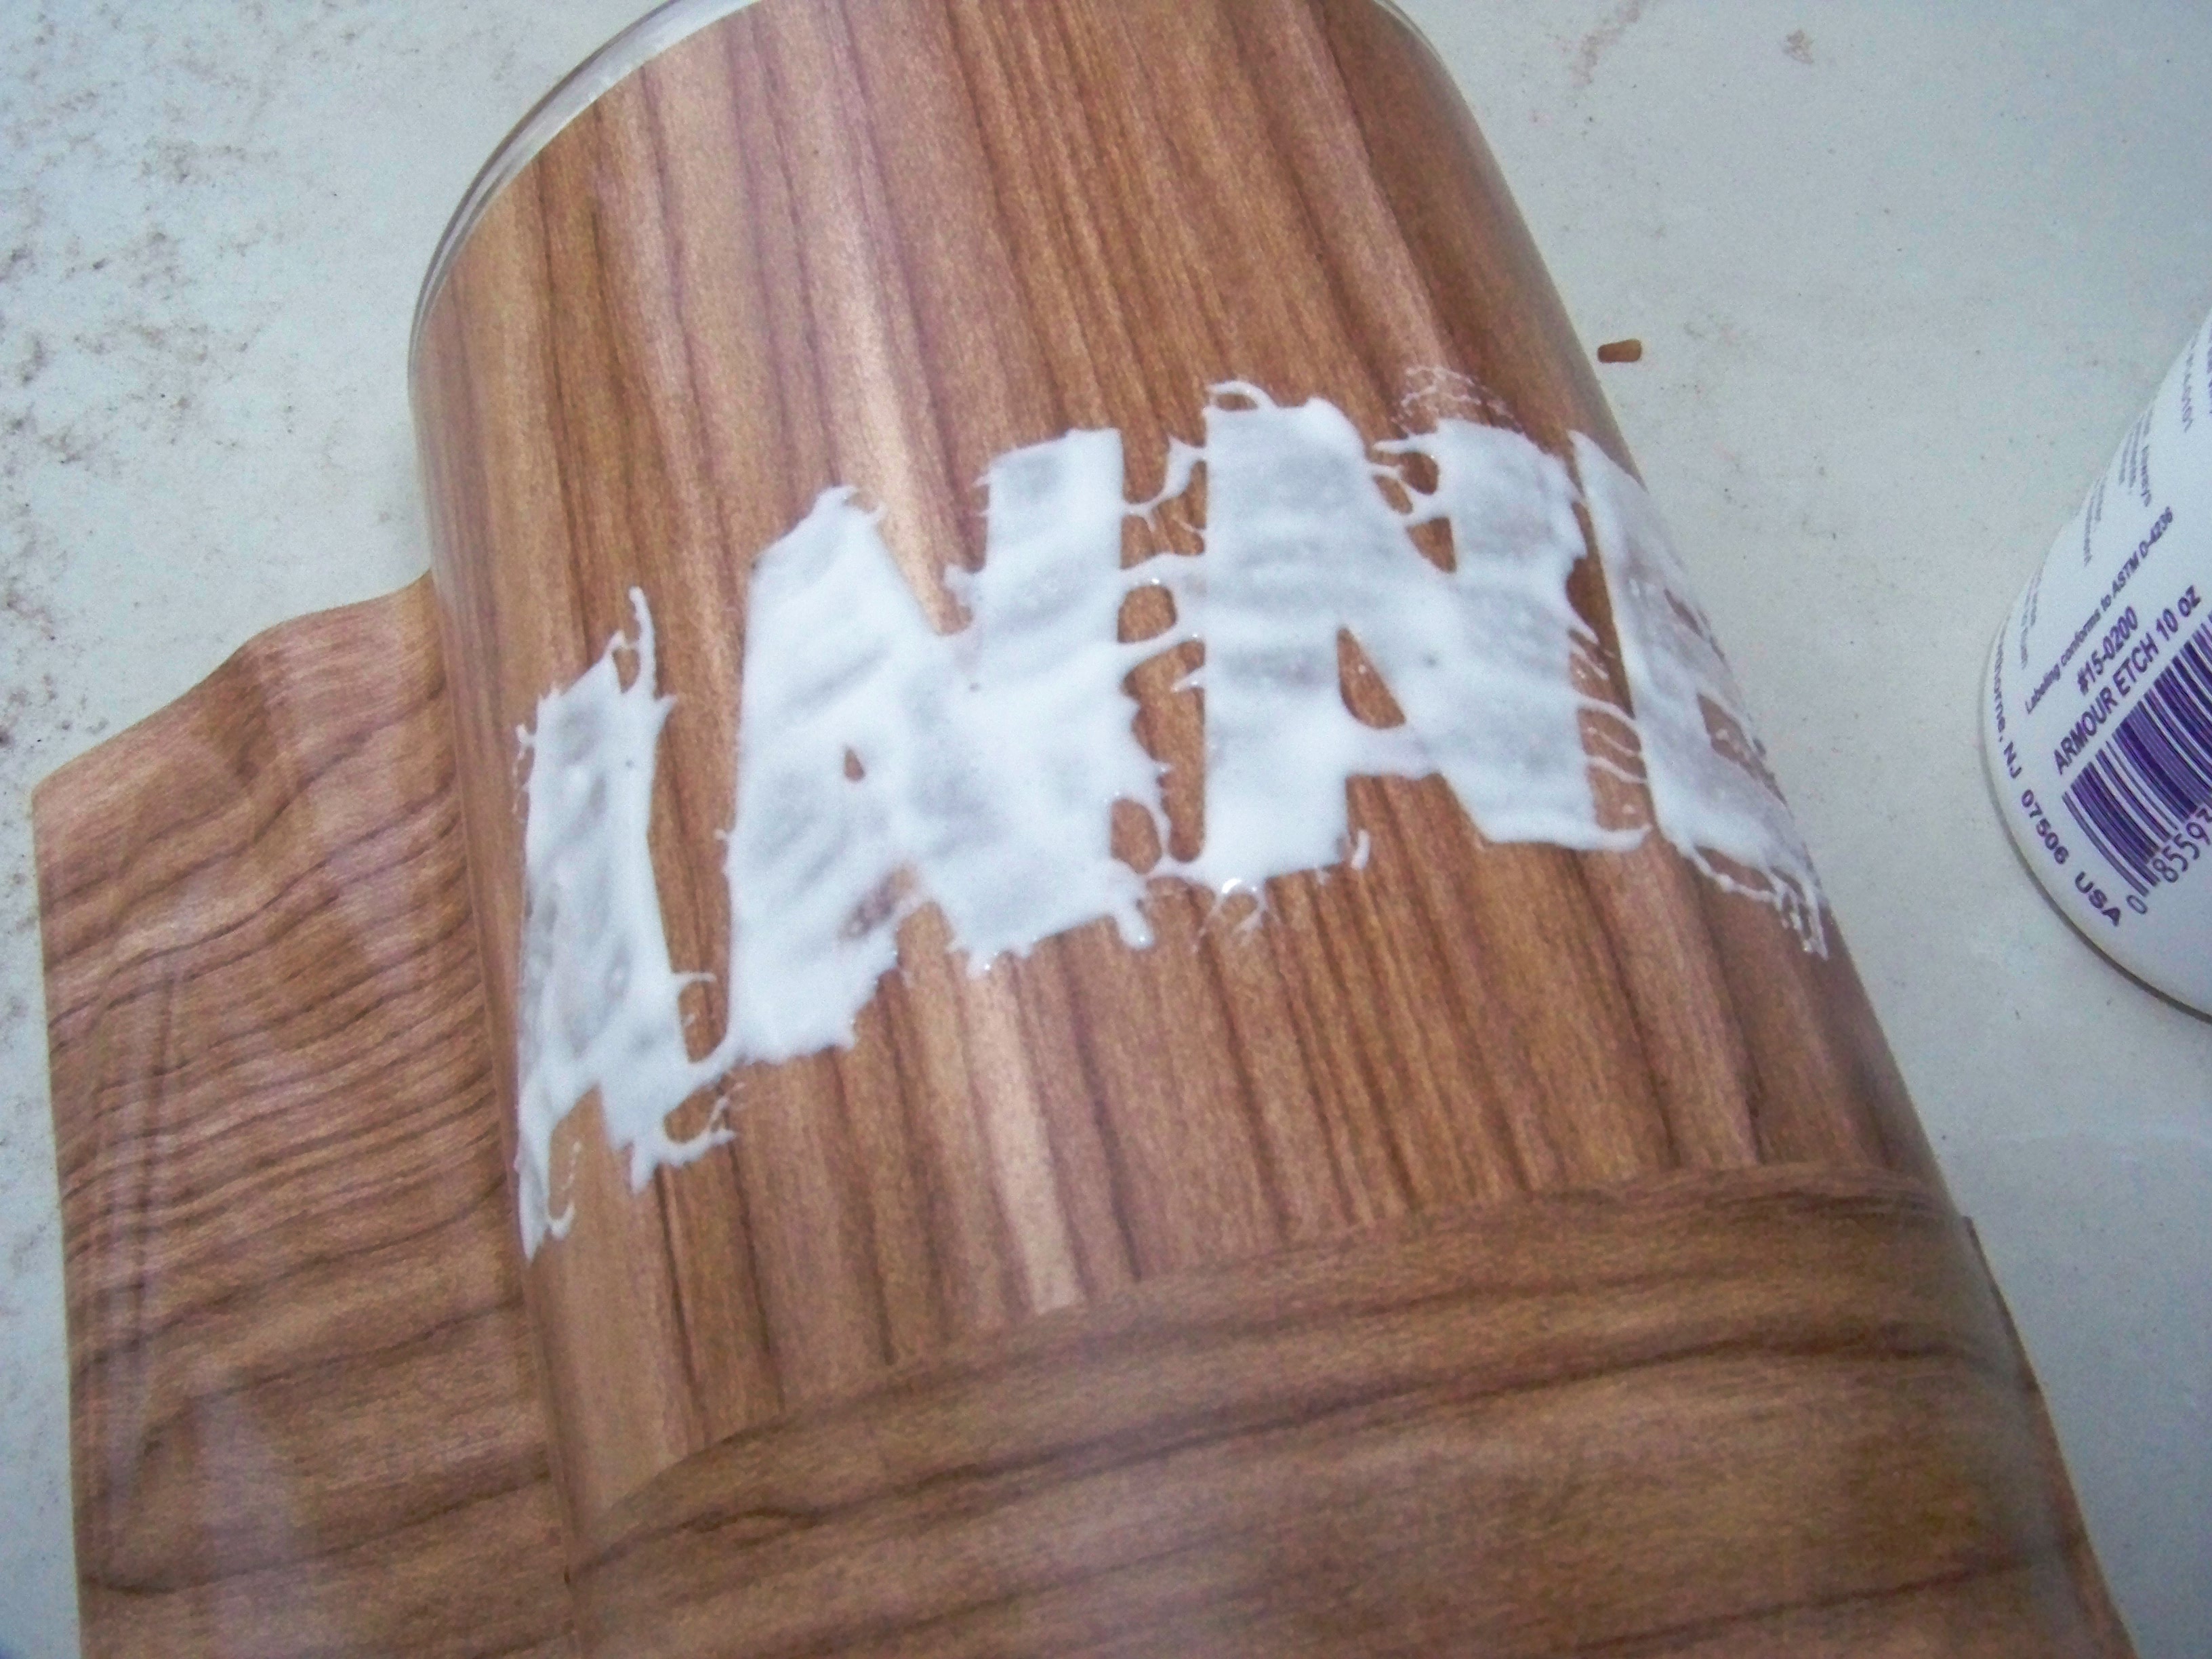
Paint the Armor Etch on fairly thick and even, especially round the edges of the letters. The bottle says to wait for 5 minutes but I found that 7 minutes or so gave a better etch.
Put the cap back on the etchant as soon as you're done with it, and hose the paintbrush down as soon as you've finished painting the stencil. (You're doing this outdoors, right?)
Hose Off All the Etchant
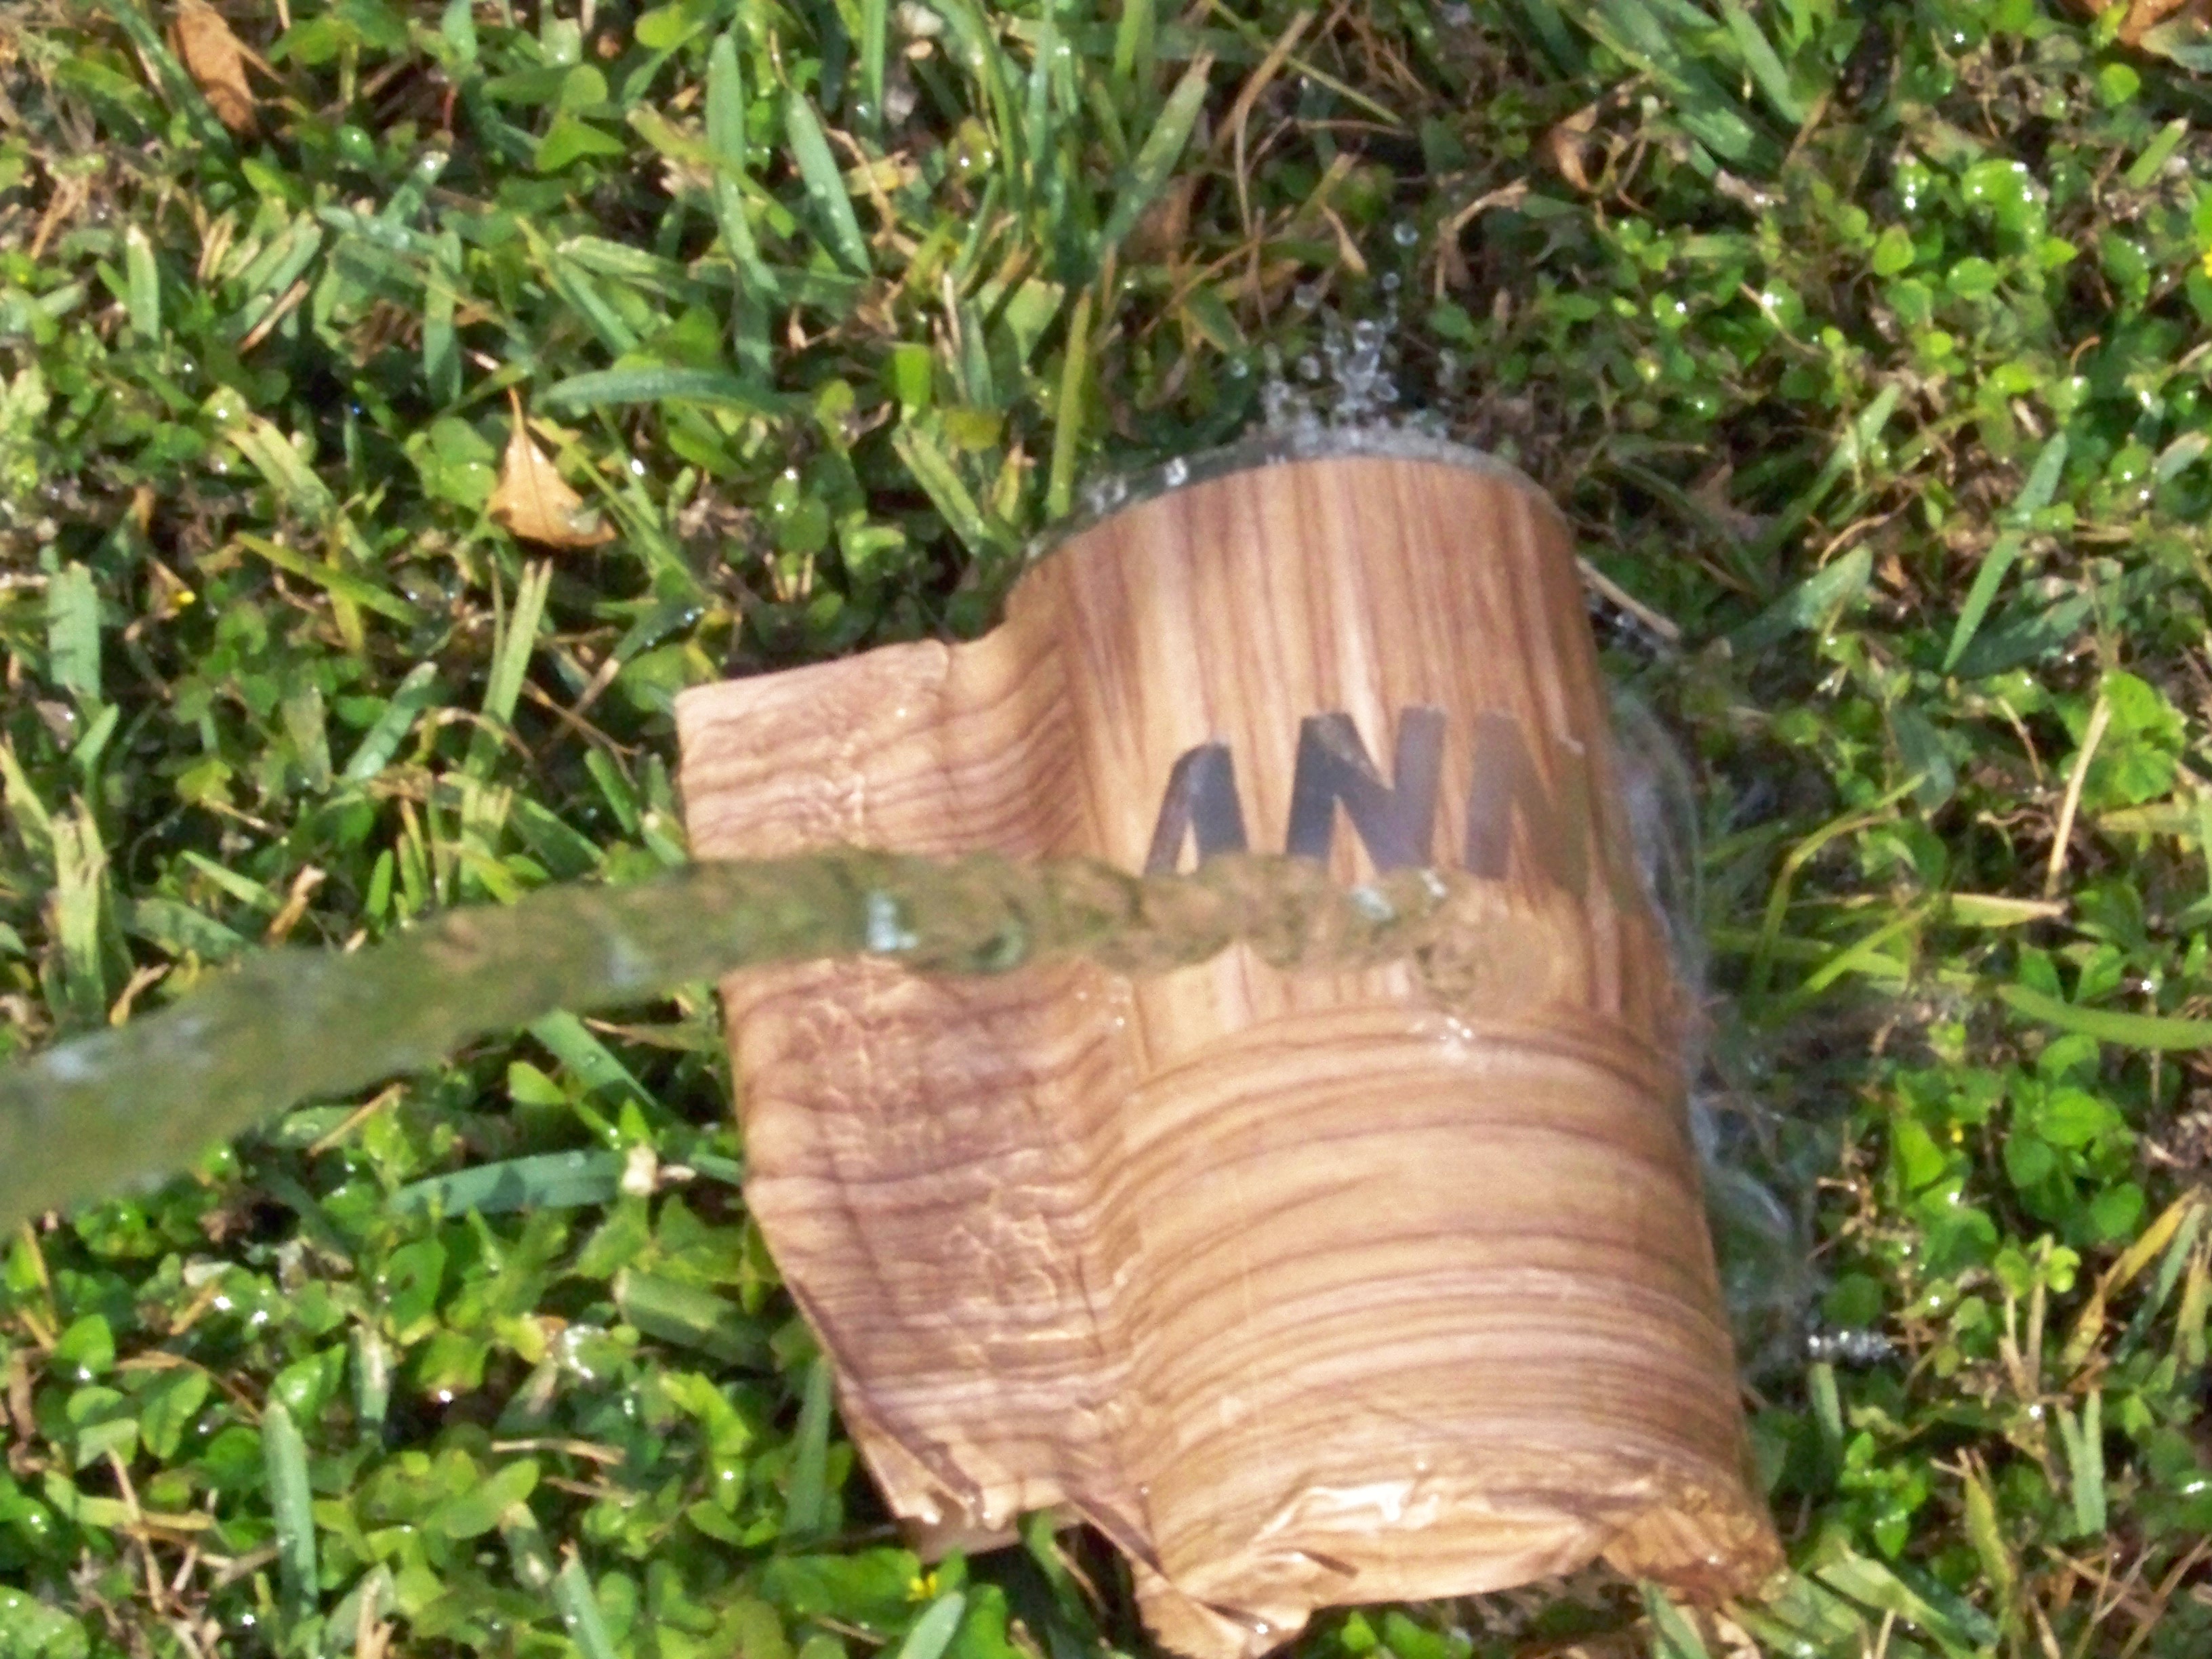
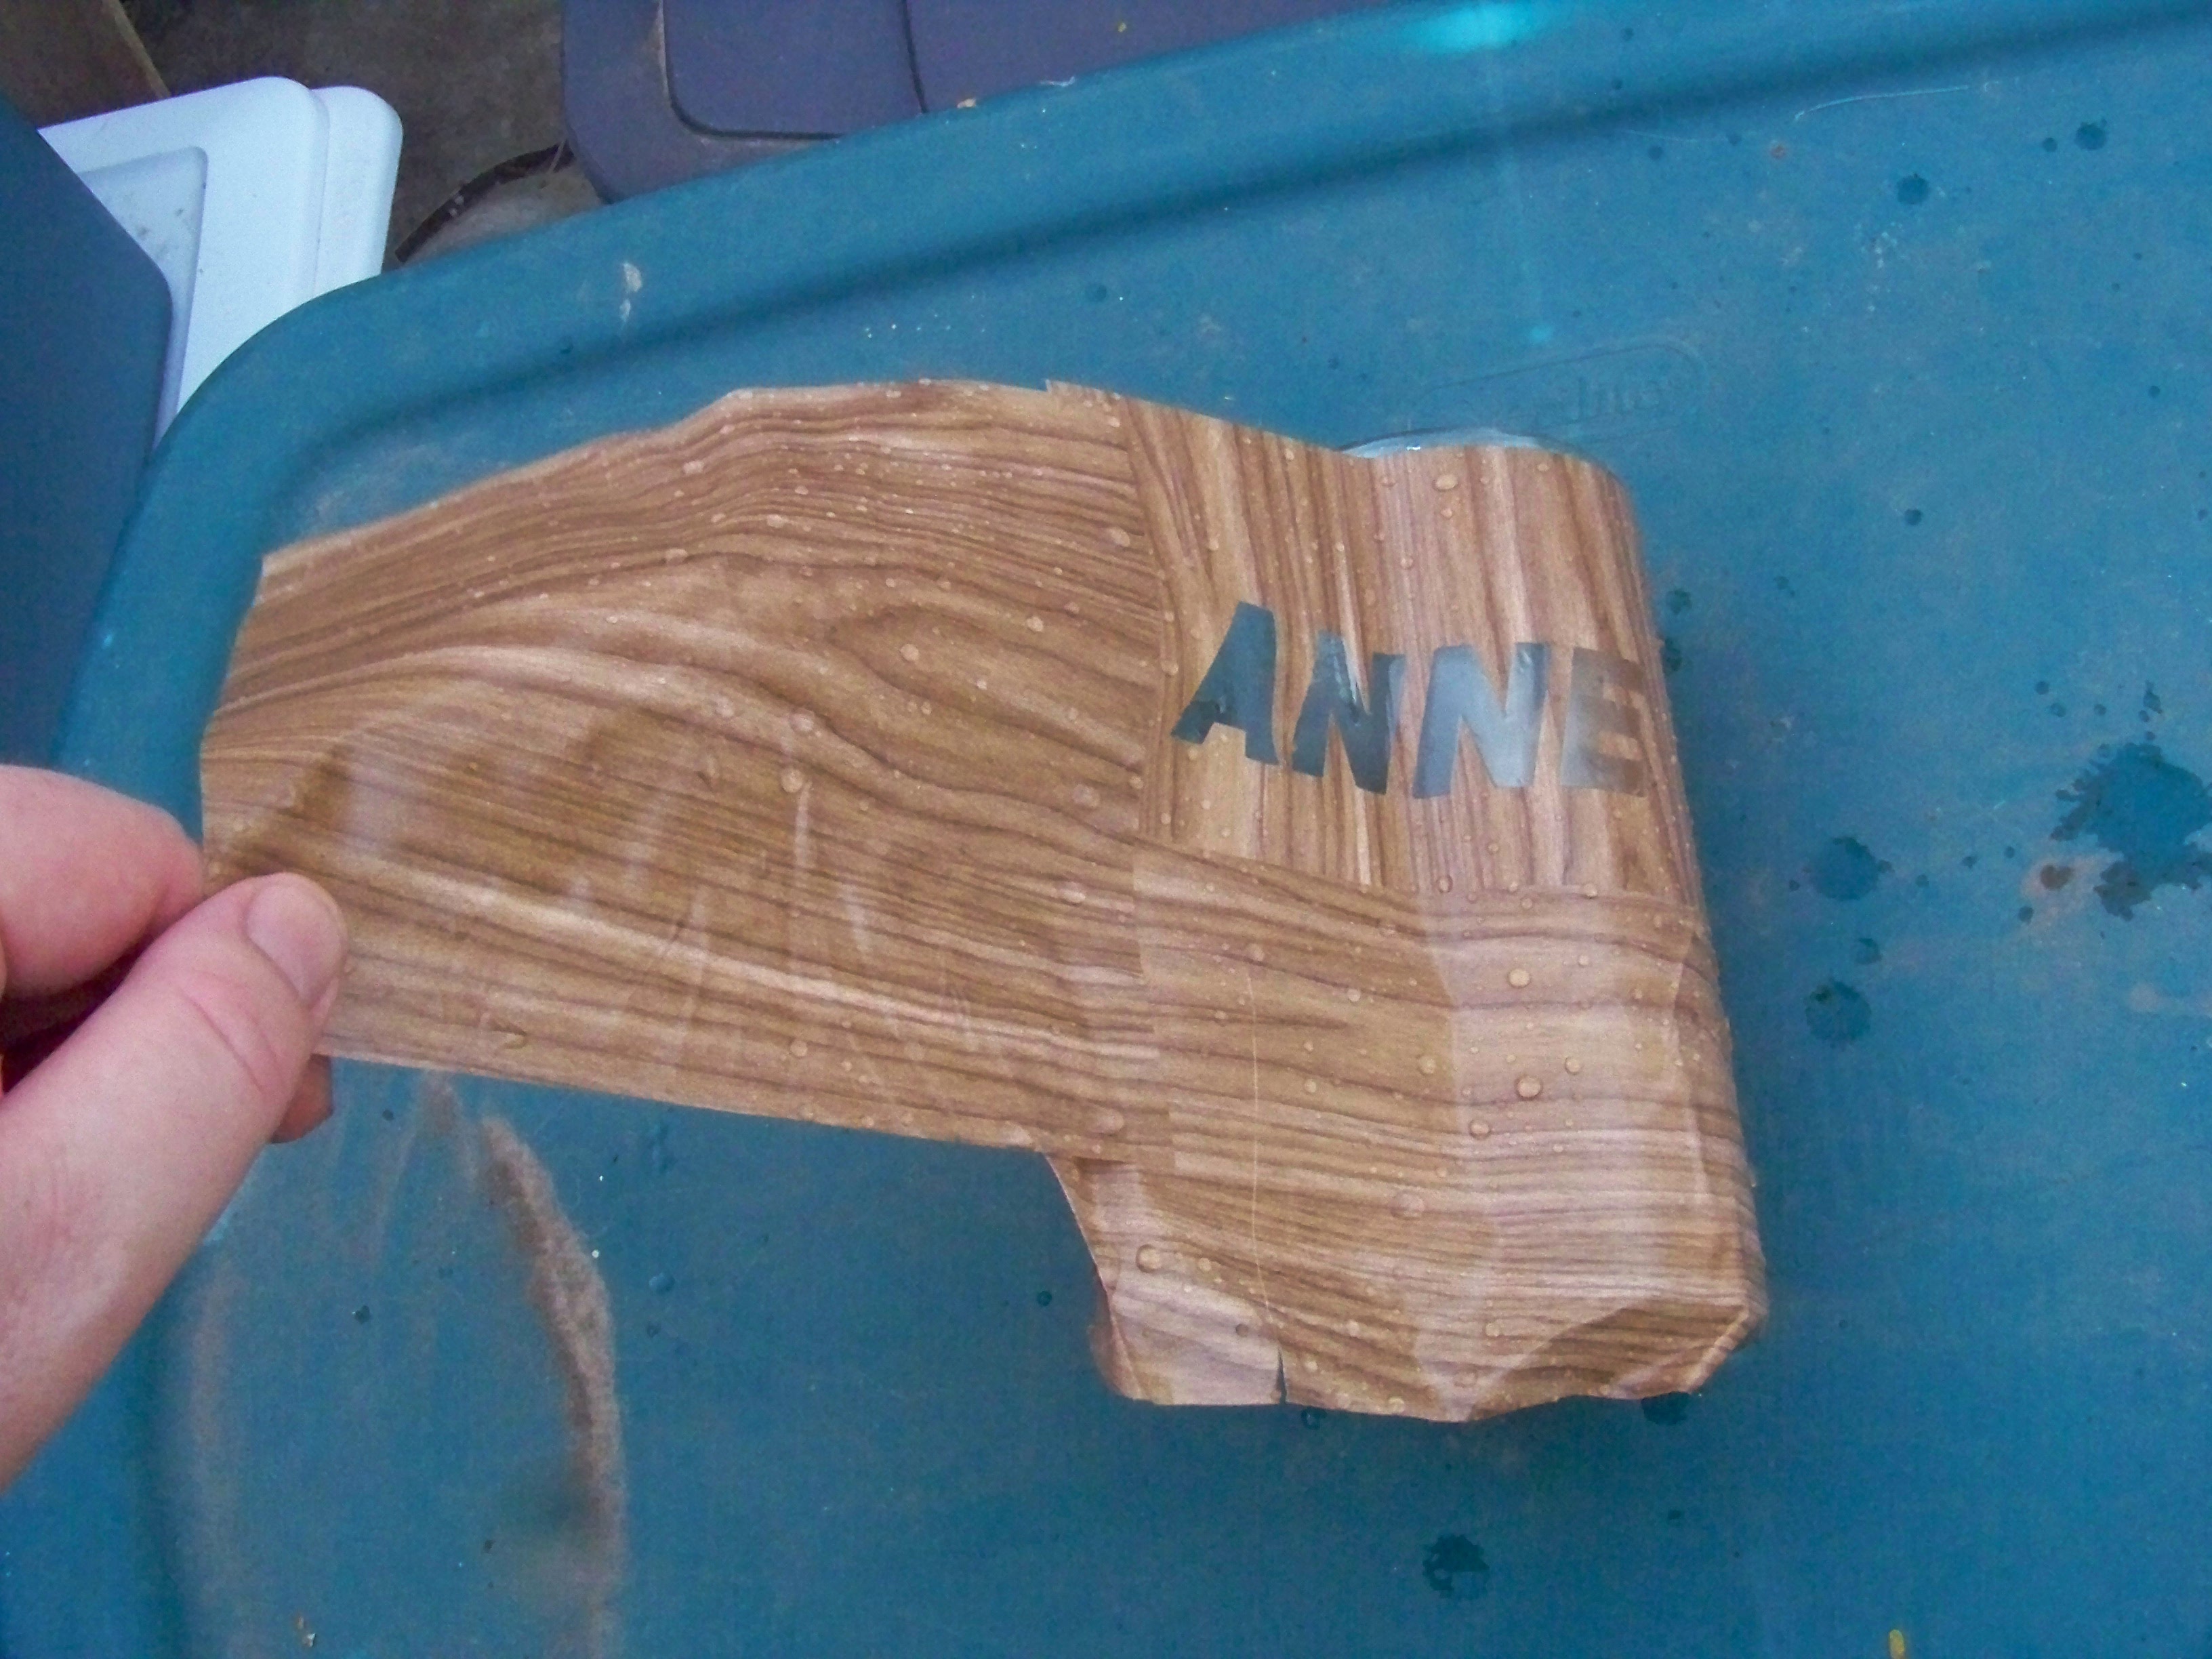
Remove the vinyl and immediately dispose of it safely. Hose down the mug again.
(Leave picking off the letter holes till last, once the mug is well washed down)
Personally I also give the finished mug a spin in the dishwasher after I've finished hosing it down.
Done!
