Easy and Attractive Motorcycle Gear Rack
by caitlyn.tittle in Workshop > Motorcycles
5849 Views, 53 Favorites, 0 Comments
Easy and Attractive Motorcycle Gear Rack
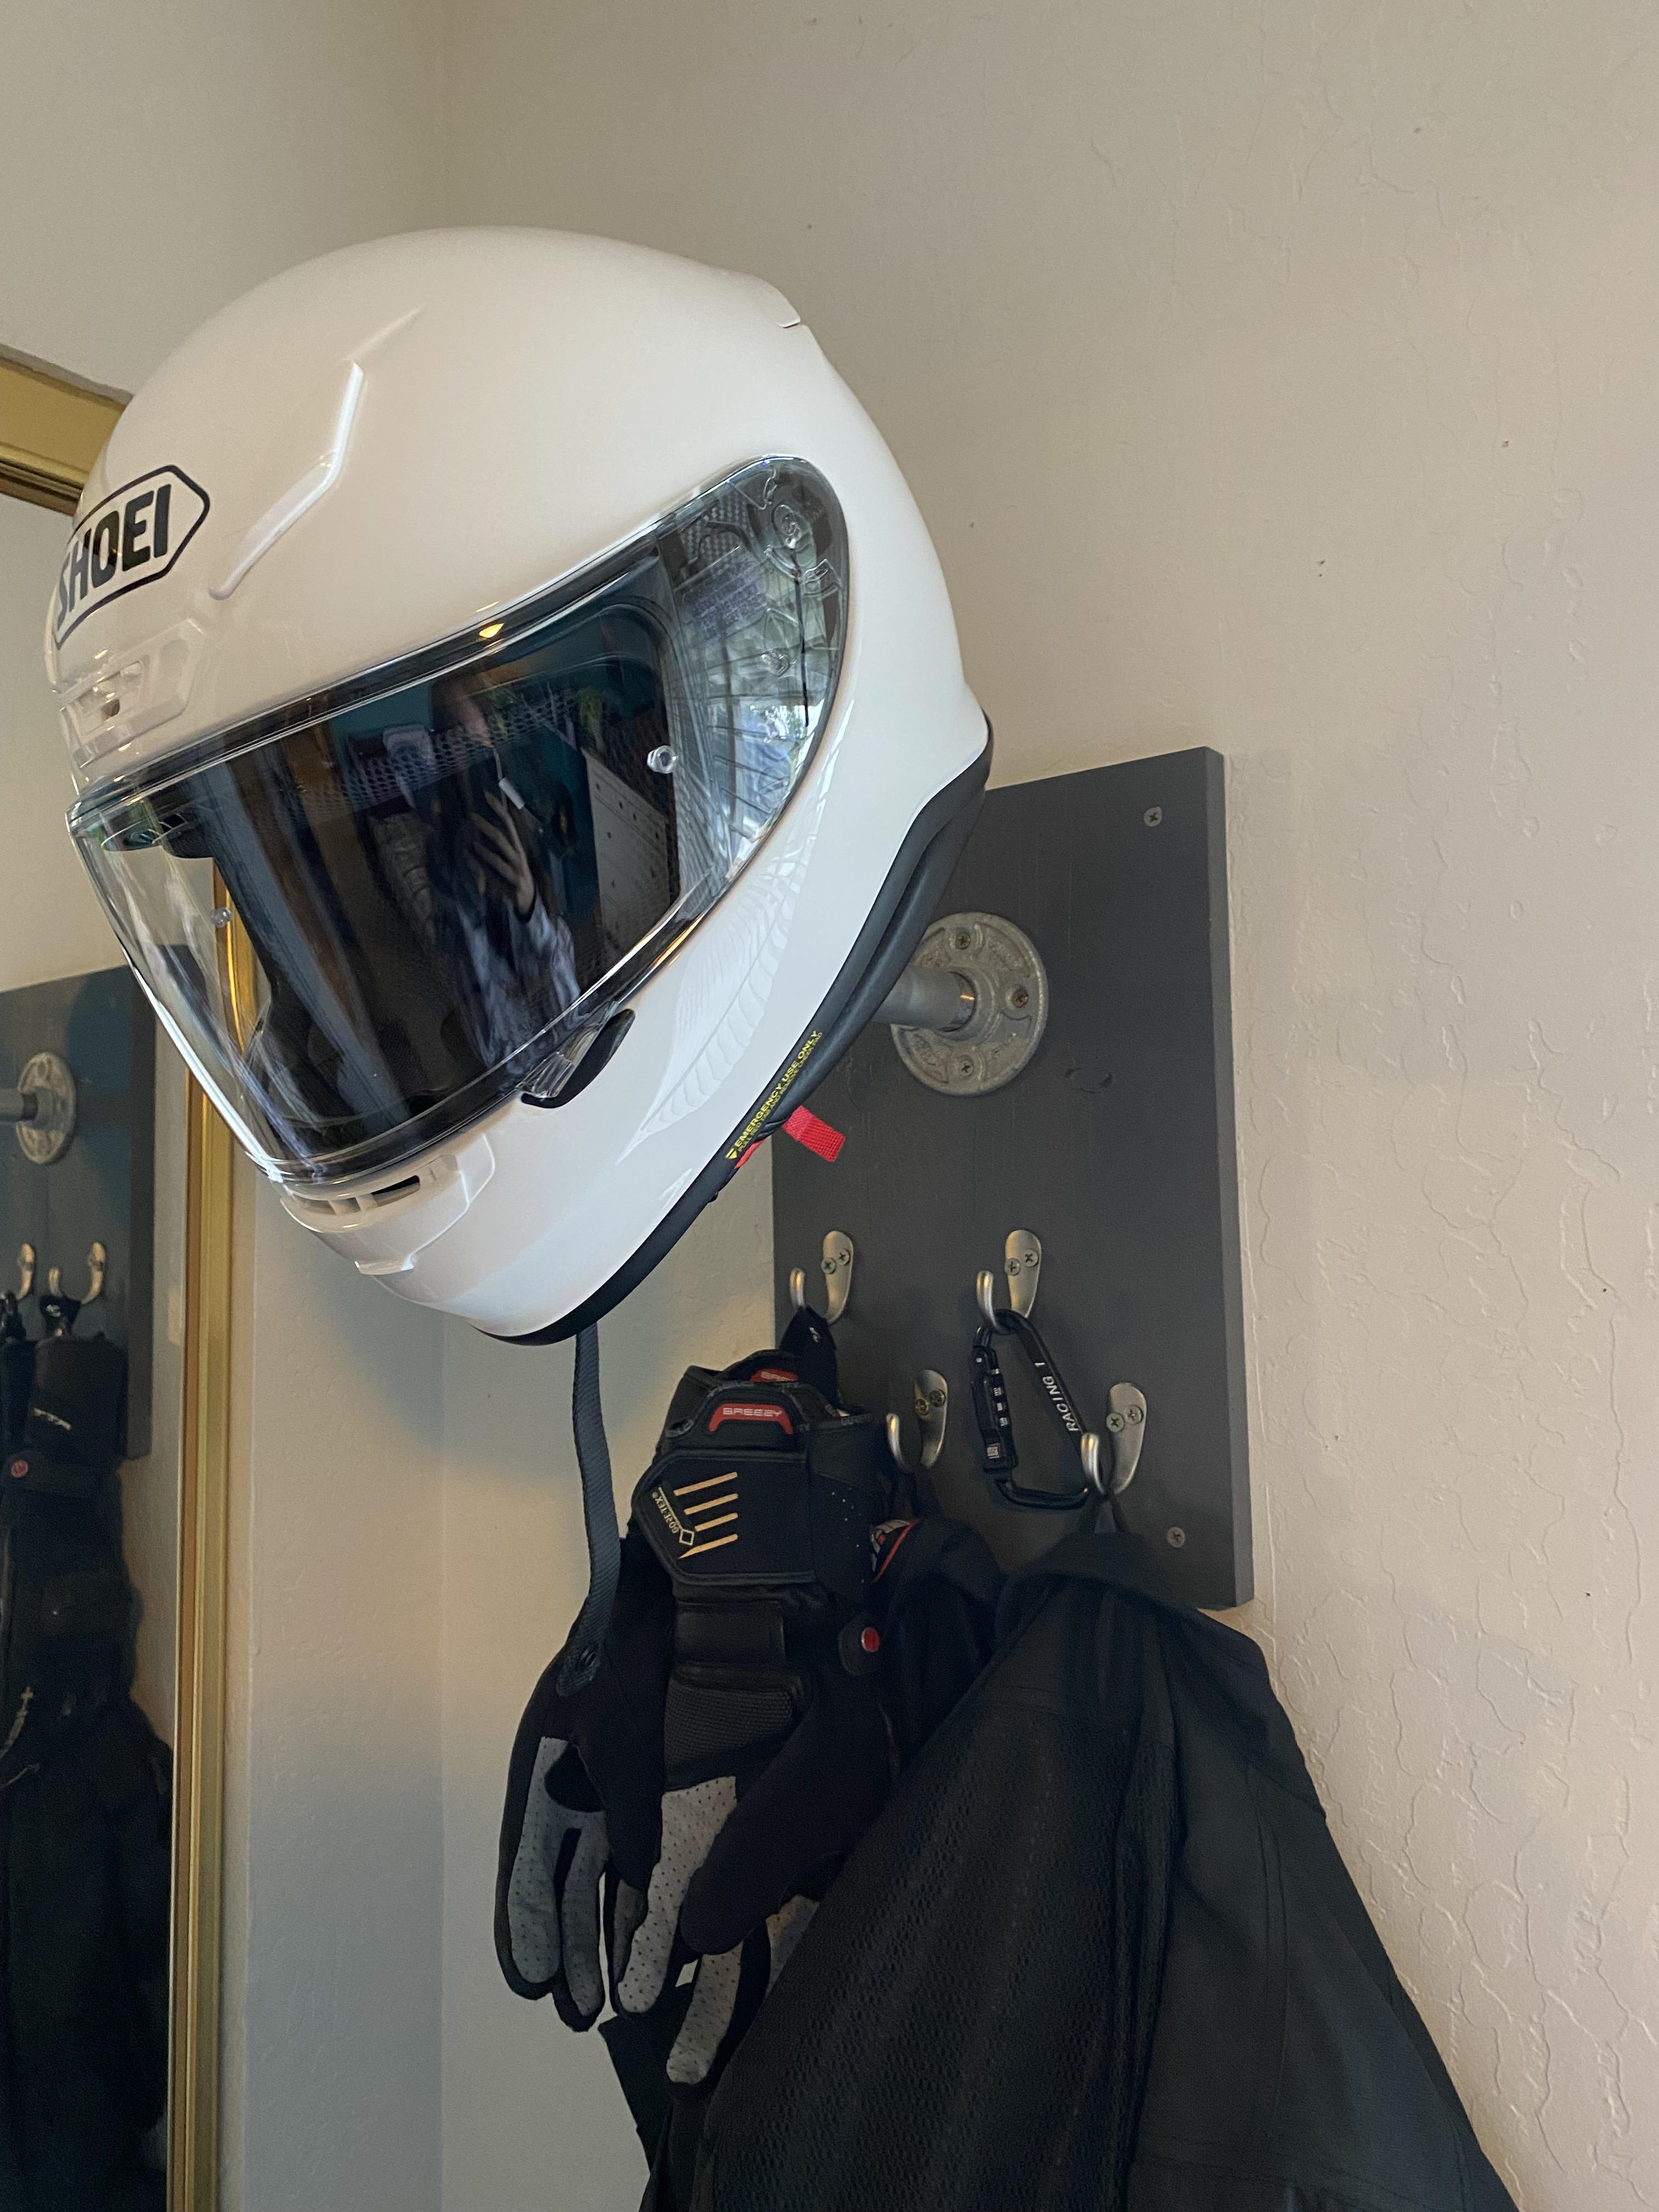


After looking at my hundreds of dollars worth of motorcycle gear in a pile on my floor for a while I finally stopped procrastinating and did something about it. The helmet racks I found online were expensive and unpadded (a real problem for helmets) and the DIYs I found were a little cheap looking and still unpadded. Unsatisfied I started planning my own with a cushion to protect the padding in my helmet and enough hooks for my gloves, helmet lock, jacket, and pants. I still took inspiration from those I found online but made some nice improvements, that being said if I was going to do it again I would change some things. But overall found this project to be pretty easy and incredibly satisfying to finally see my gear displayed nicely and much more practical for when I'm getting ready to go for a ride.
Planning
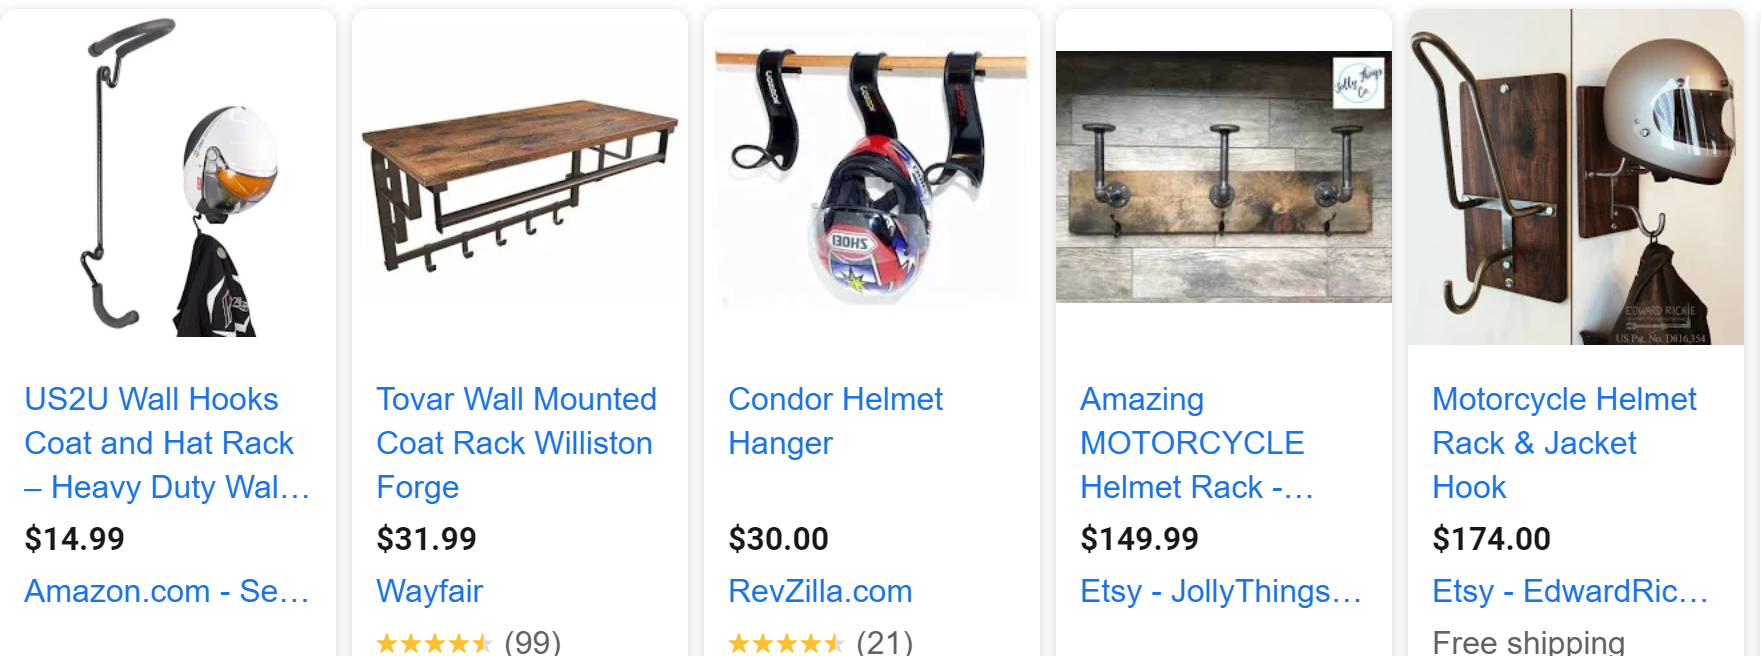
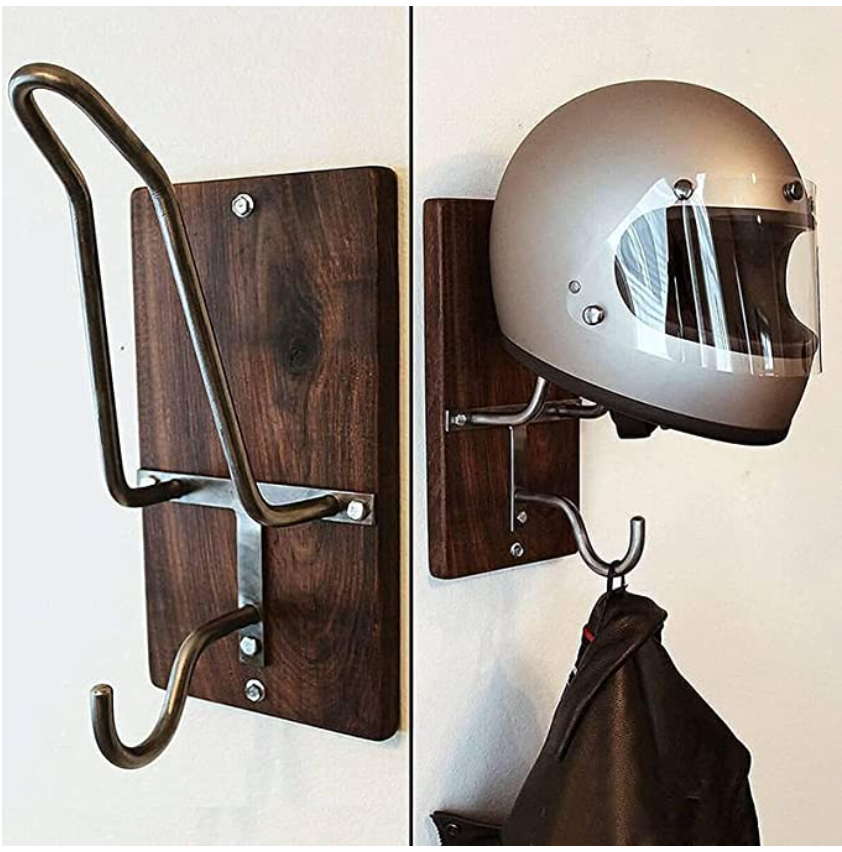

When I looked up "Motorcycle Helmet Rack" I found something like the first picture. The first one is a pretty good budget option with a little foam on the metal, but the majority you'll notice have a bare metal hanger for your helmet, using this kind of hook will damage the inner padding of the helmet over time, compressing it. Not to mention some of them are $150-$200.
I used the second 2 to base my design off of, using a similar base to the first one and using the same kind of metal pipe and fittings as the last one.
Budget, Materials, and Tools


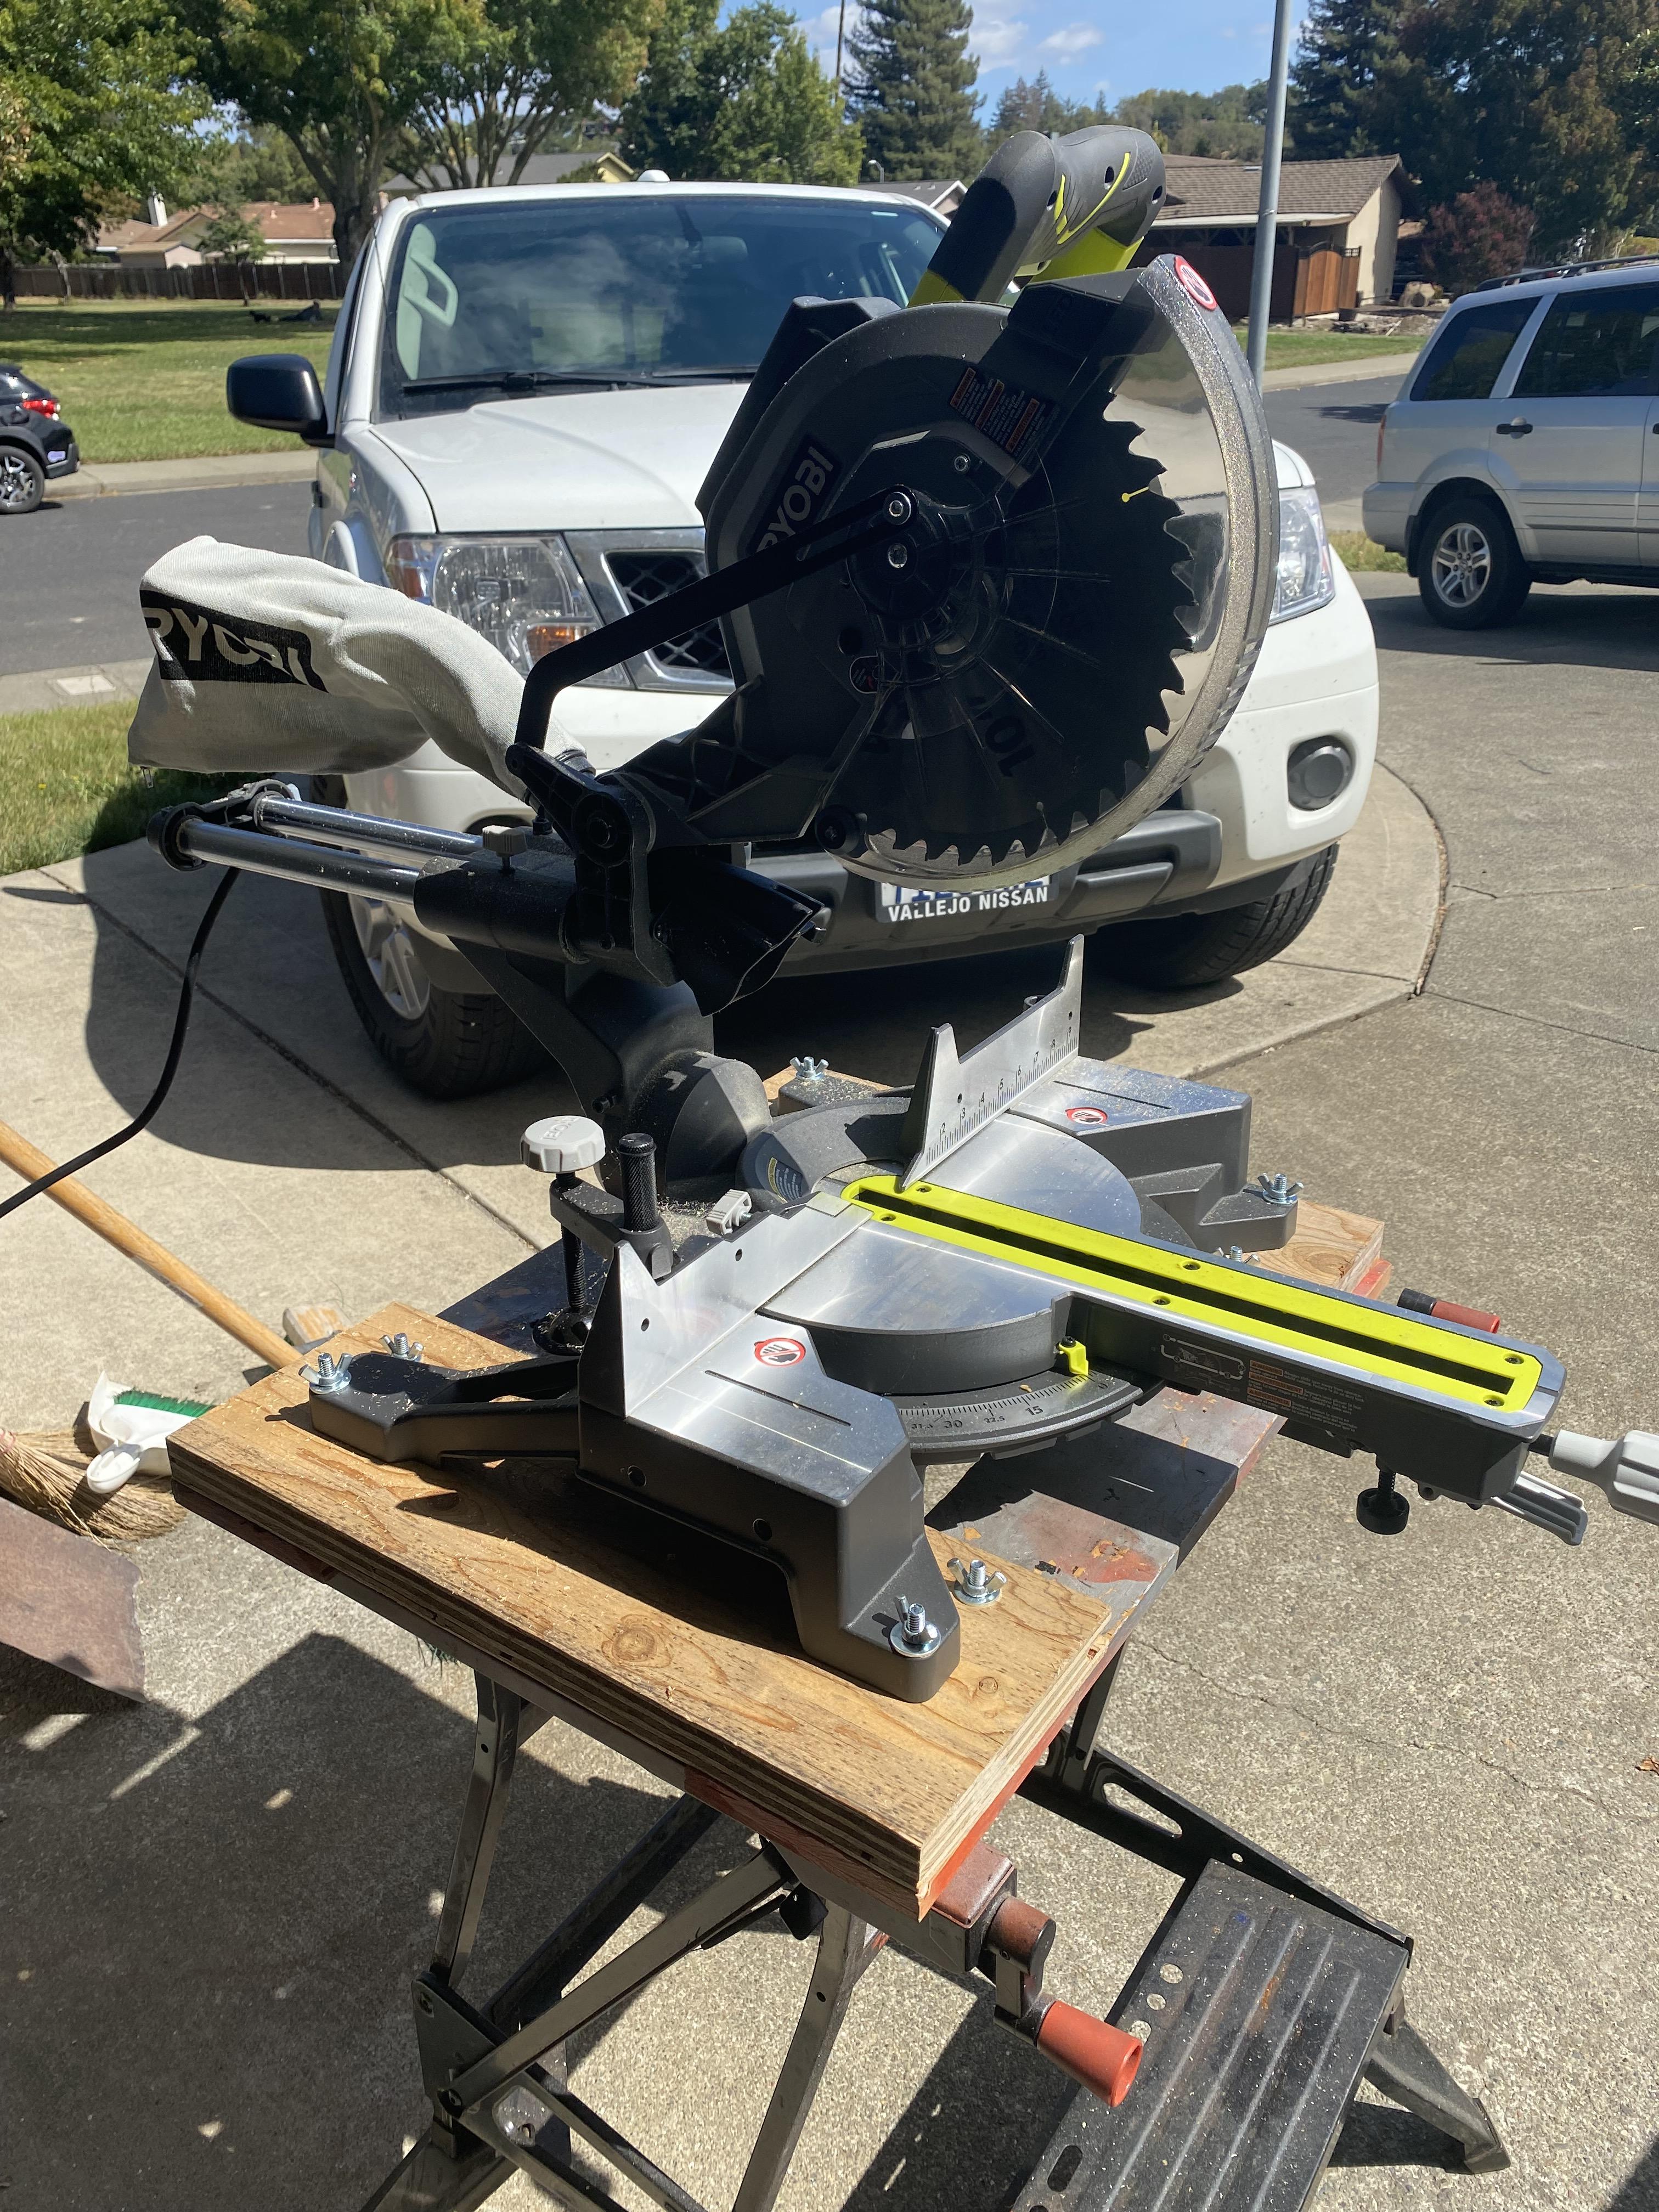

Materials
- 1 piece of scrap wood
- 4 small hooks
- 12 small screws*
- 4 bigger screws*
- 4 drywall anchors
- 1 3/4" galvanized pipe floor flange
- 1 4" 3/4" galvanized pipe threaded on both sides
- 1 8" 3/4" galvanized pipe threaded on both sides
- 1 3/4" galvanized 45 degree elbow
- 1 3/4" galvanized pipe cap
- pipe insulation or some kind of foam/cushion
- zip ties or glue
- paint
- lacquer (optional)
- masking tape
- marker
Tools
- tape measure
- saw
- drill
- drill bits
- sander (optional)
*The screw sizes are dependent on the thickness of your wood, the smaller ones to attach the hooks to the wood shouldn't go through the wood, while the 4 larger ones need to go through your wood and into the drywall anchors
All of my pipe and fittings were silver galvanized like the link for the flange shows but it didn't come up for all of the parts which is why some of the links are for the black or iron ones. Just up to your preference which one to go with.
Approximate Cost: $65 depending on what you already have
Cut, Sand, and Paint Your Piece of Wood


I had to sand mine but it depends on how long it was sitting in a shed or garage before you pulled it out. If I was going to do this again I would make the size of my board easily divisible by how many hooks you're planning on attaching, 4 in my case, just to make the math easier.
I used primer for one coat, then a couple of coats of my grey, and finally a few coats of lacquer. I think that was pretty overkill but I was happy with the end result. This was the longest part of building this, mostly just waiting for the paint to dry.
Plan Your Layout and Fasten Hooks and Flange to Board


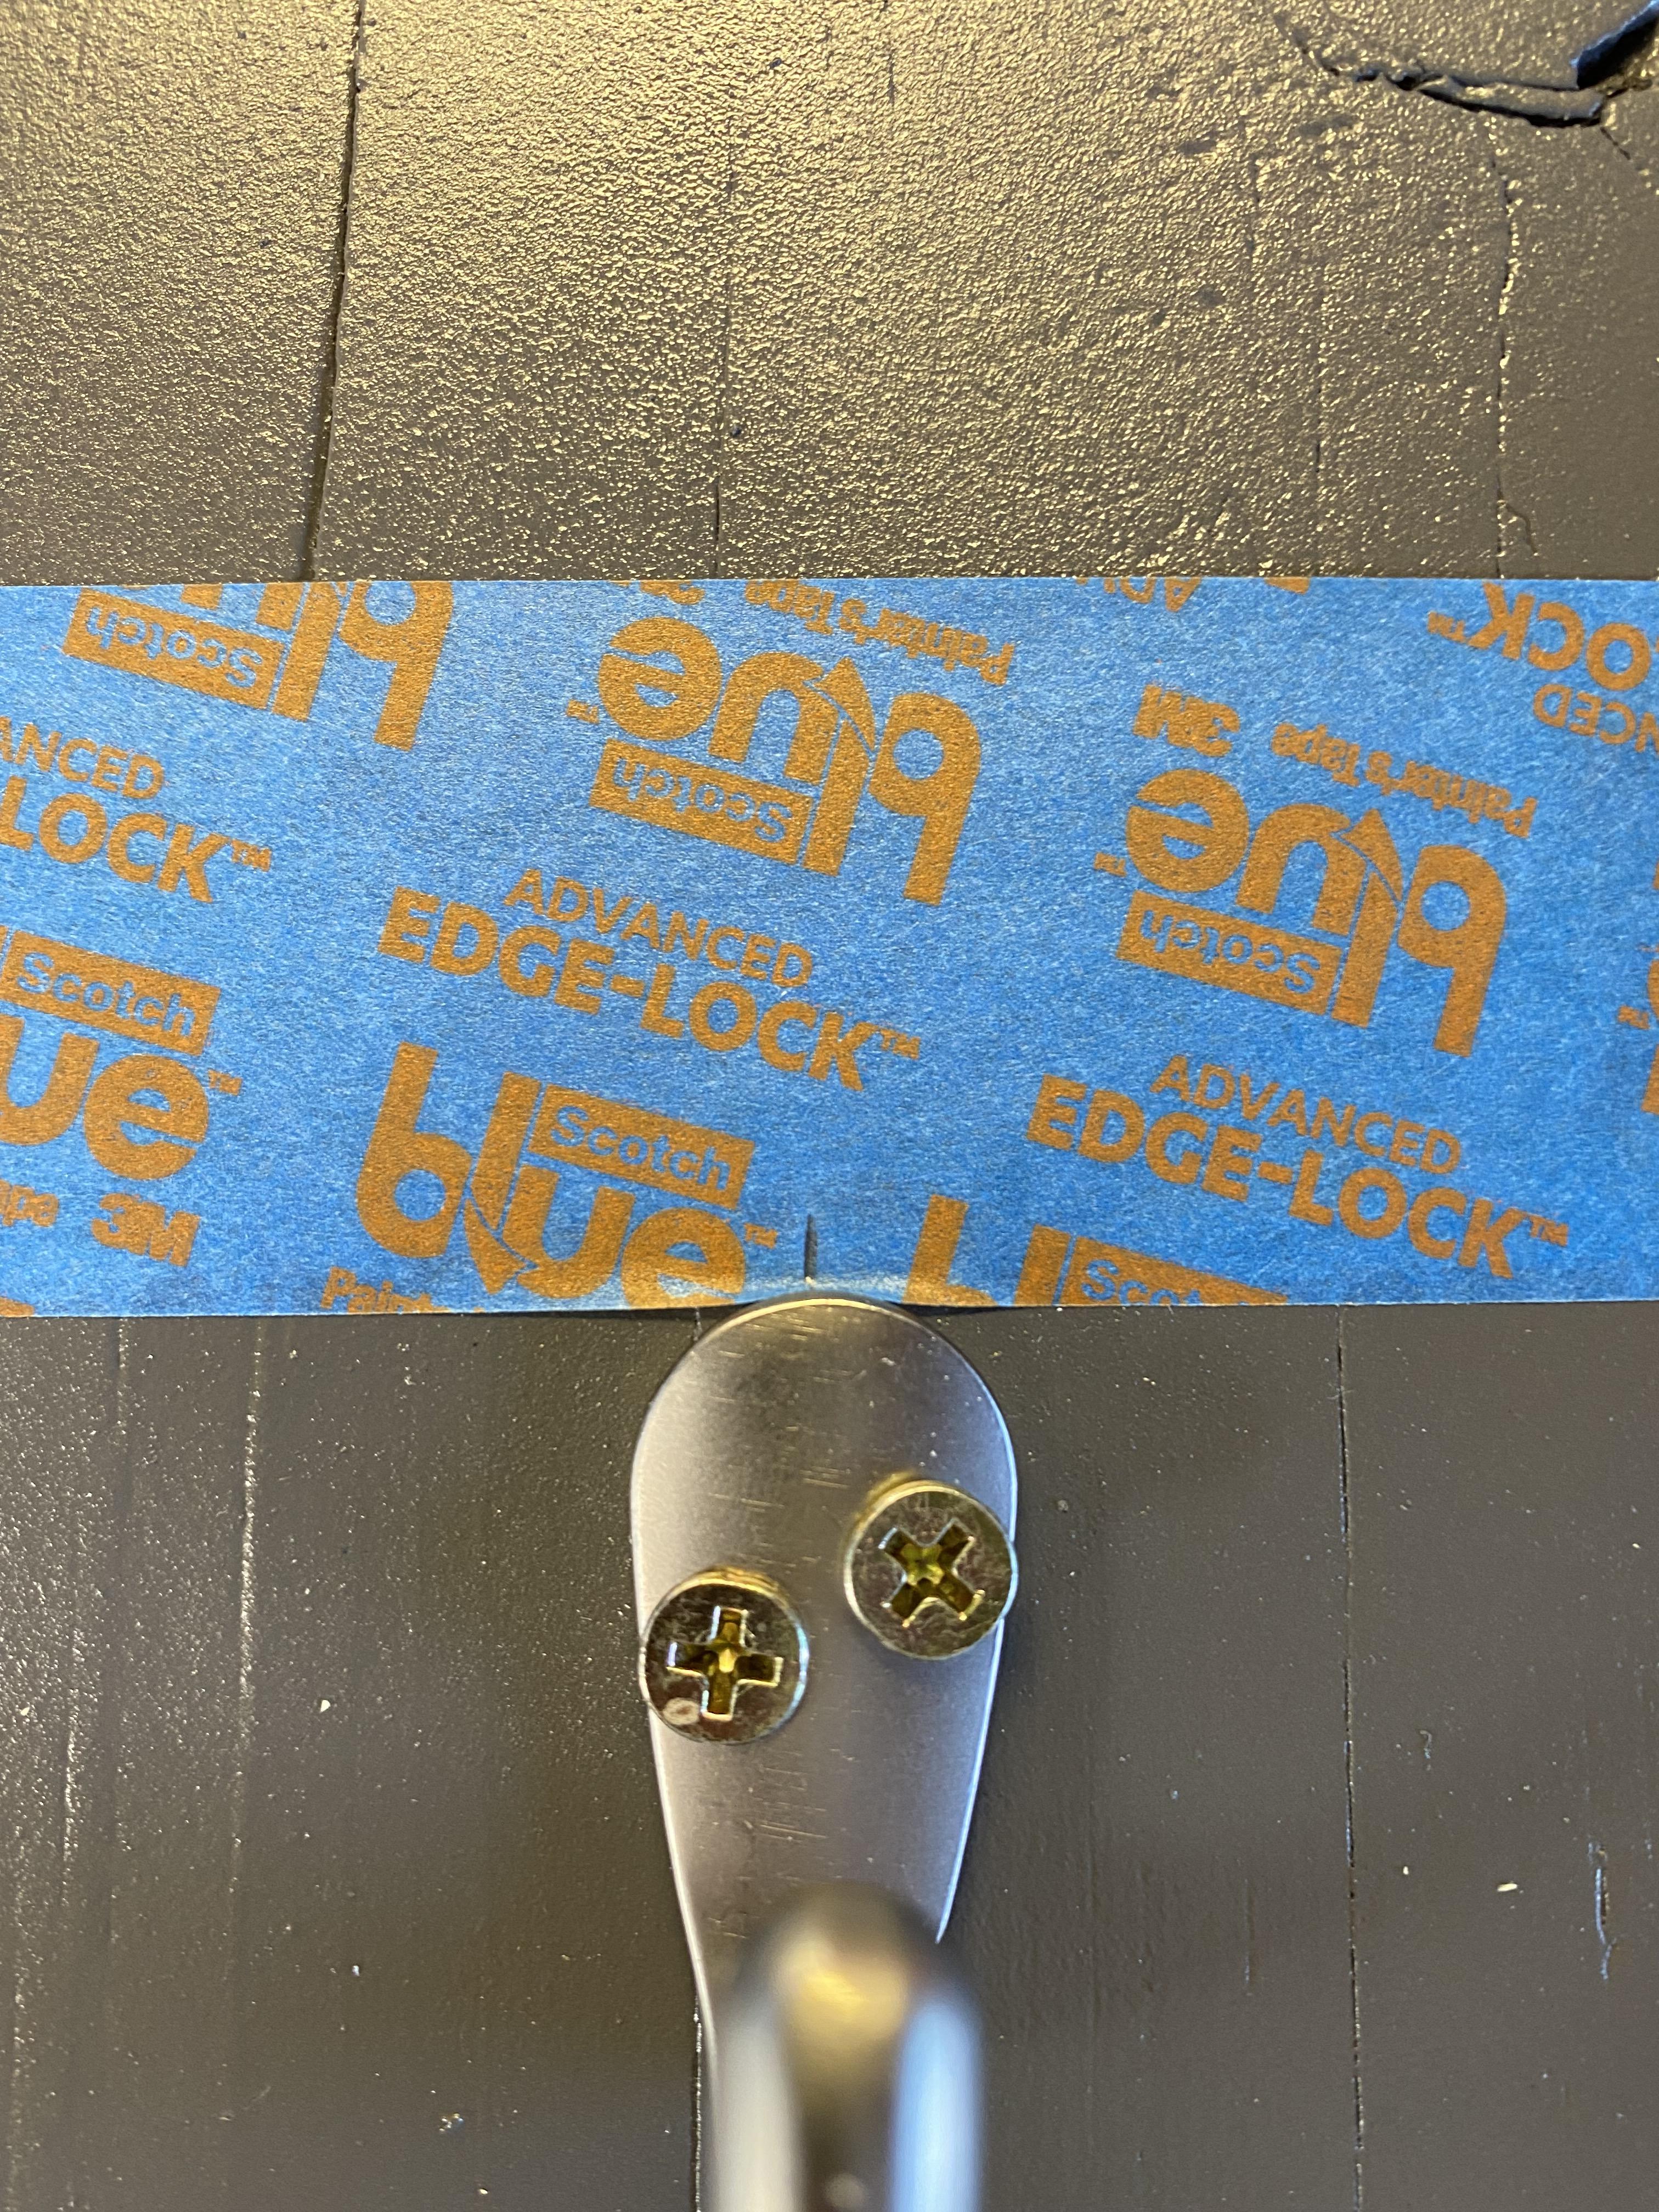

Once I had the math and liked the way it all looked just set on the board I put a level piece of masking tape with marks where the hook was supposed to go for each row of hooks so they would be level and evenly spaced as I screwed them down. Another adjustment I would make is to make sure your screw heads fit nicely into your hooks, mine weren't flush because I couldn't use the screws that came with the hooks and didn't want to go back to the hardware store.
For the Flange, I just centered it at the top of the board, but you will want to check when everything is screwed in tight your "arm" for the helmet points up if it doesn't rotate the flange until it does.
Assembling Helmet Rest and Attaching to the Board


Put your 4" piece and your 8" piece together with the 45 angled piece in the middle, with the cap at the end of the 8" piece. the cap is where you'll attach your foam/padding, I just bent the 90 degree elbow insulation around it and zip-tied it. I have a feeling I'll have to replace it after a while so if you have any ideas that might work please leave a comment!
Now screw it into your flange and make sure it points up, I left mine with no glue because I loved the idea of being able to switch it out if I came up with something better without having to take the whole thing apart or off the wall.
Attaching Your New Gear Rack to the Wall

Unfortunately, I didn't get the photos I wanted of this part because all of my hands were full.
This step is much easier if you unscrew the arm back off the board.
I drilled pilot holes in all 4 corners of the board where I wanted to hang it from, where it will line up with the drywall anchors. I then used the same masking tape trick from the hooks to make a level line on the wall and marked where each side of the board would be. I held the board up to the tape and lined it all up with the marks and stuck a pencil through the pilot holes in the corners to mark my spots for the drywall anchors. After installing them I just held it back up to them and put the final large screws in through the board into the anchors.
After removing the tape and screwing in the arm again you should be able to stand back and admire your work!
Hang Up Your Gear and Maybe Go for a Celebration Ride!

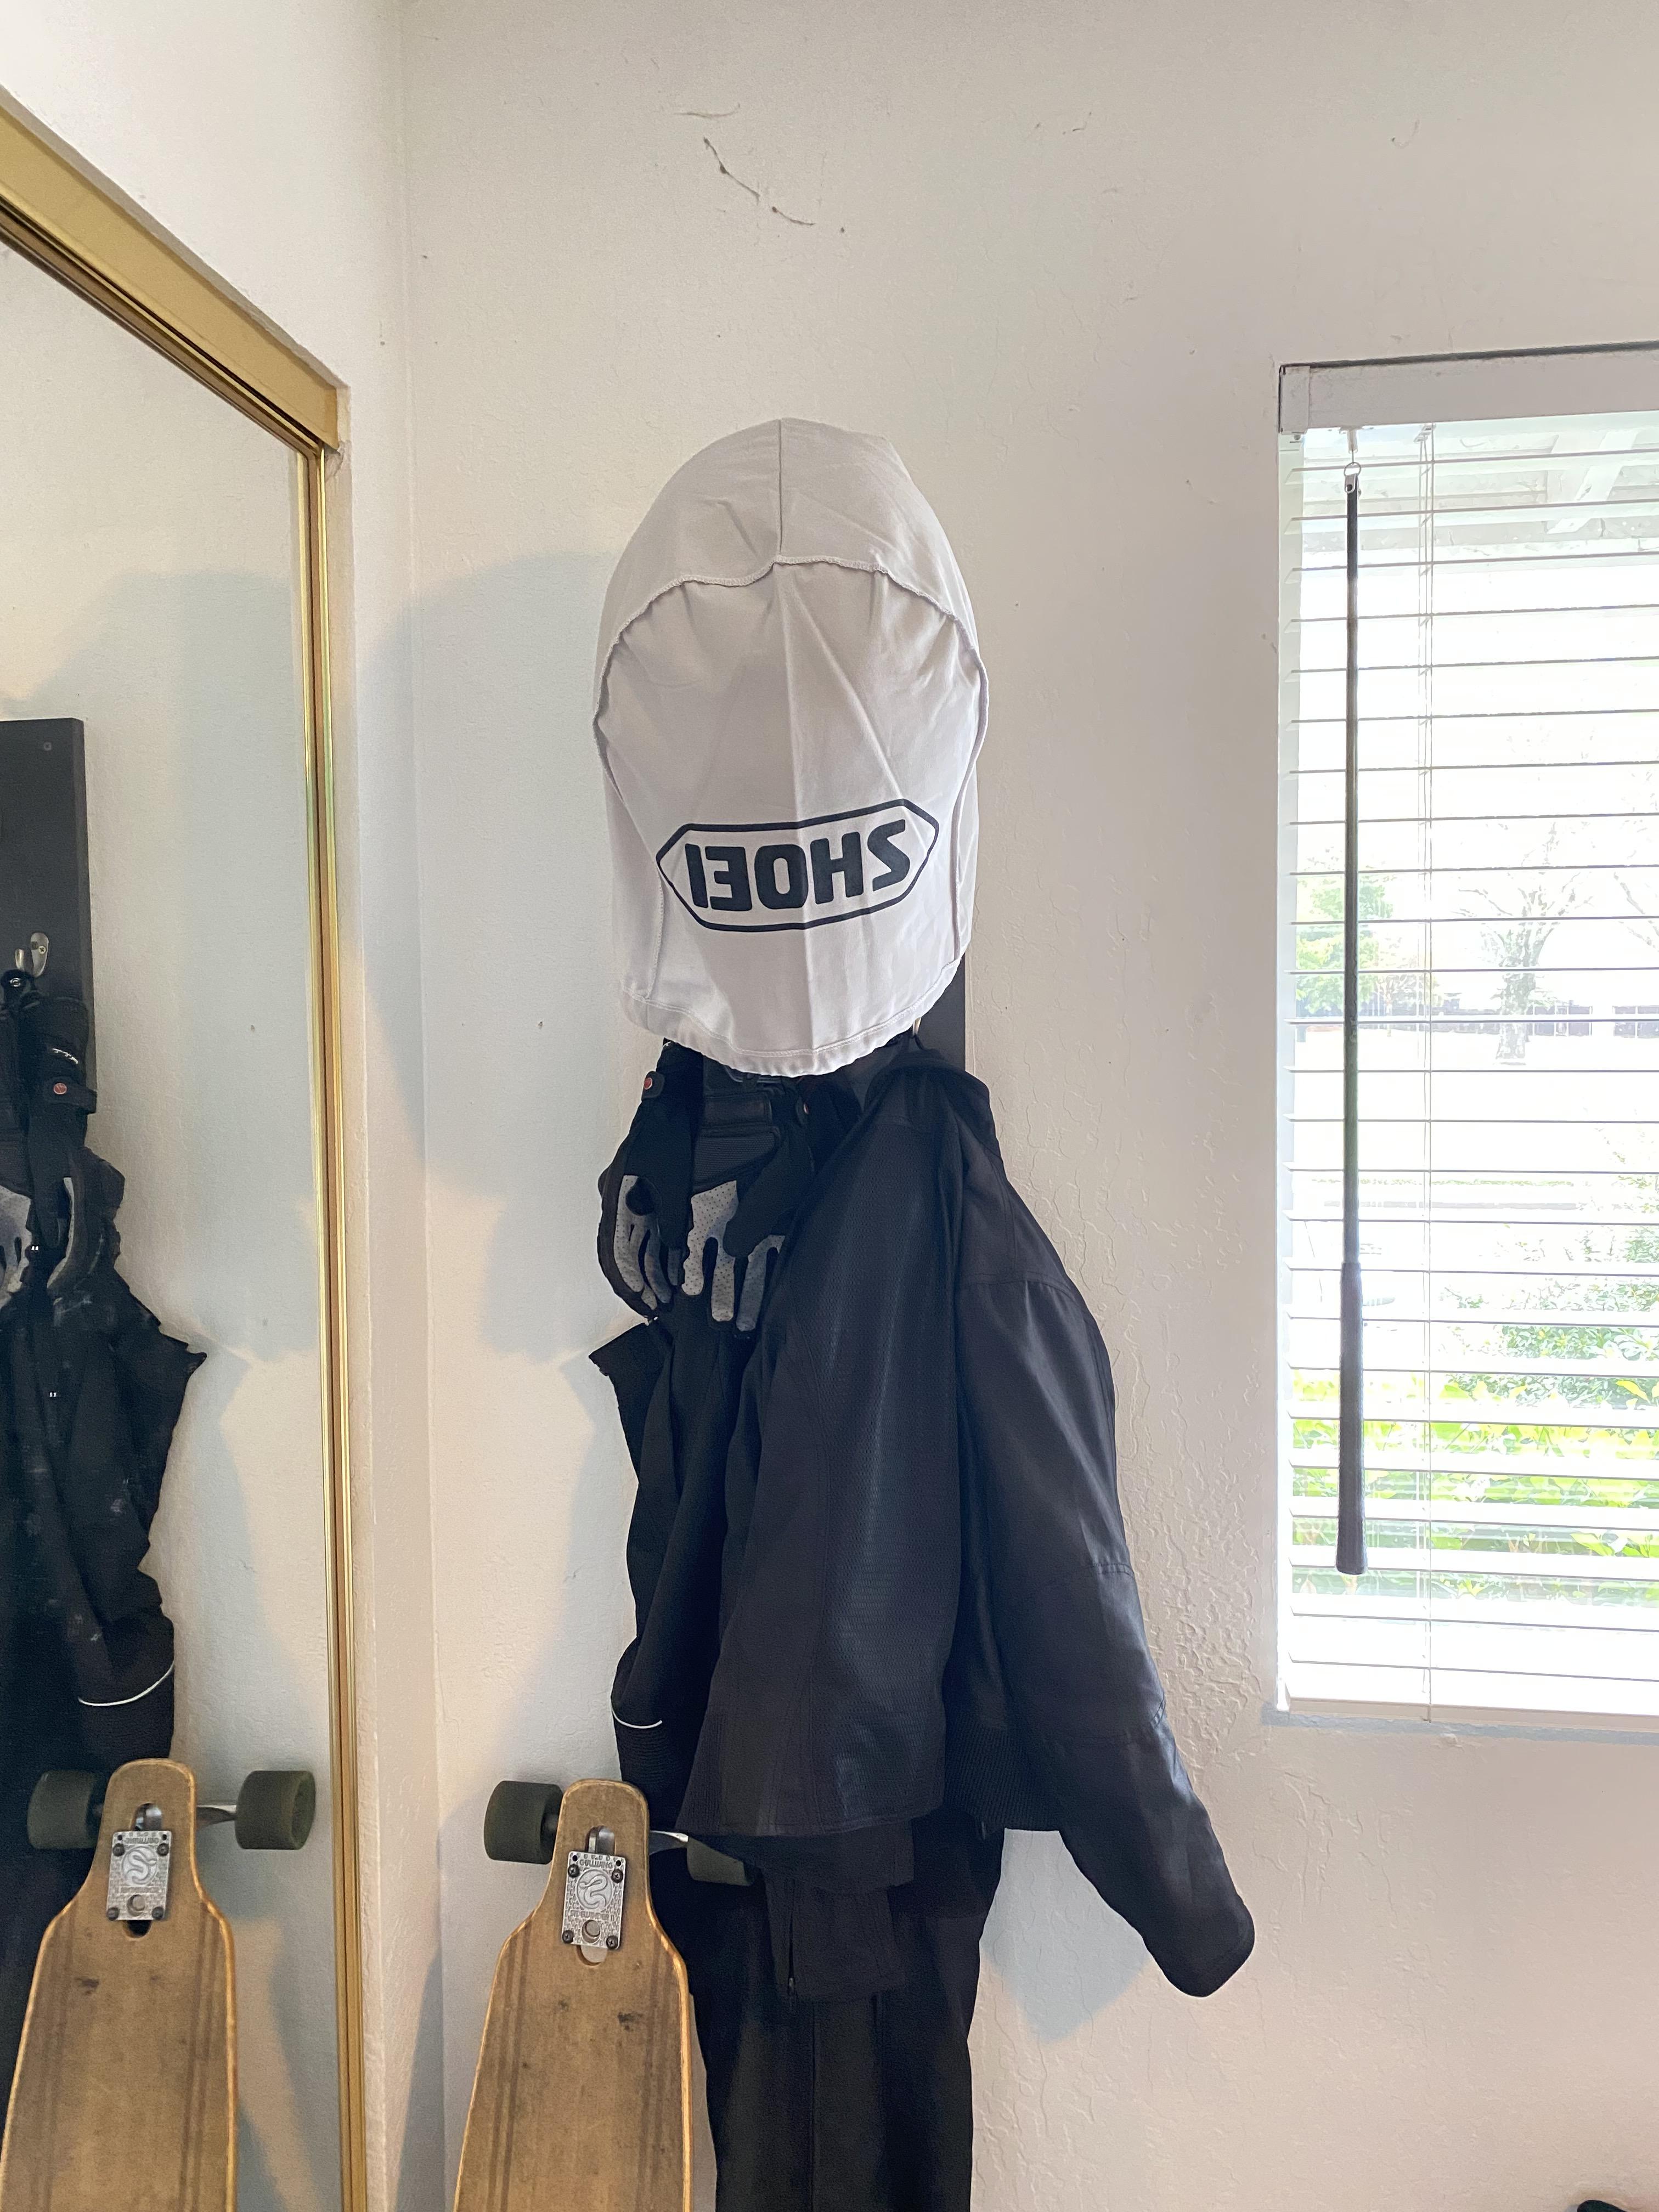


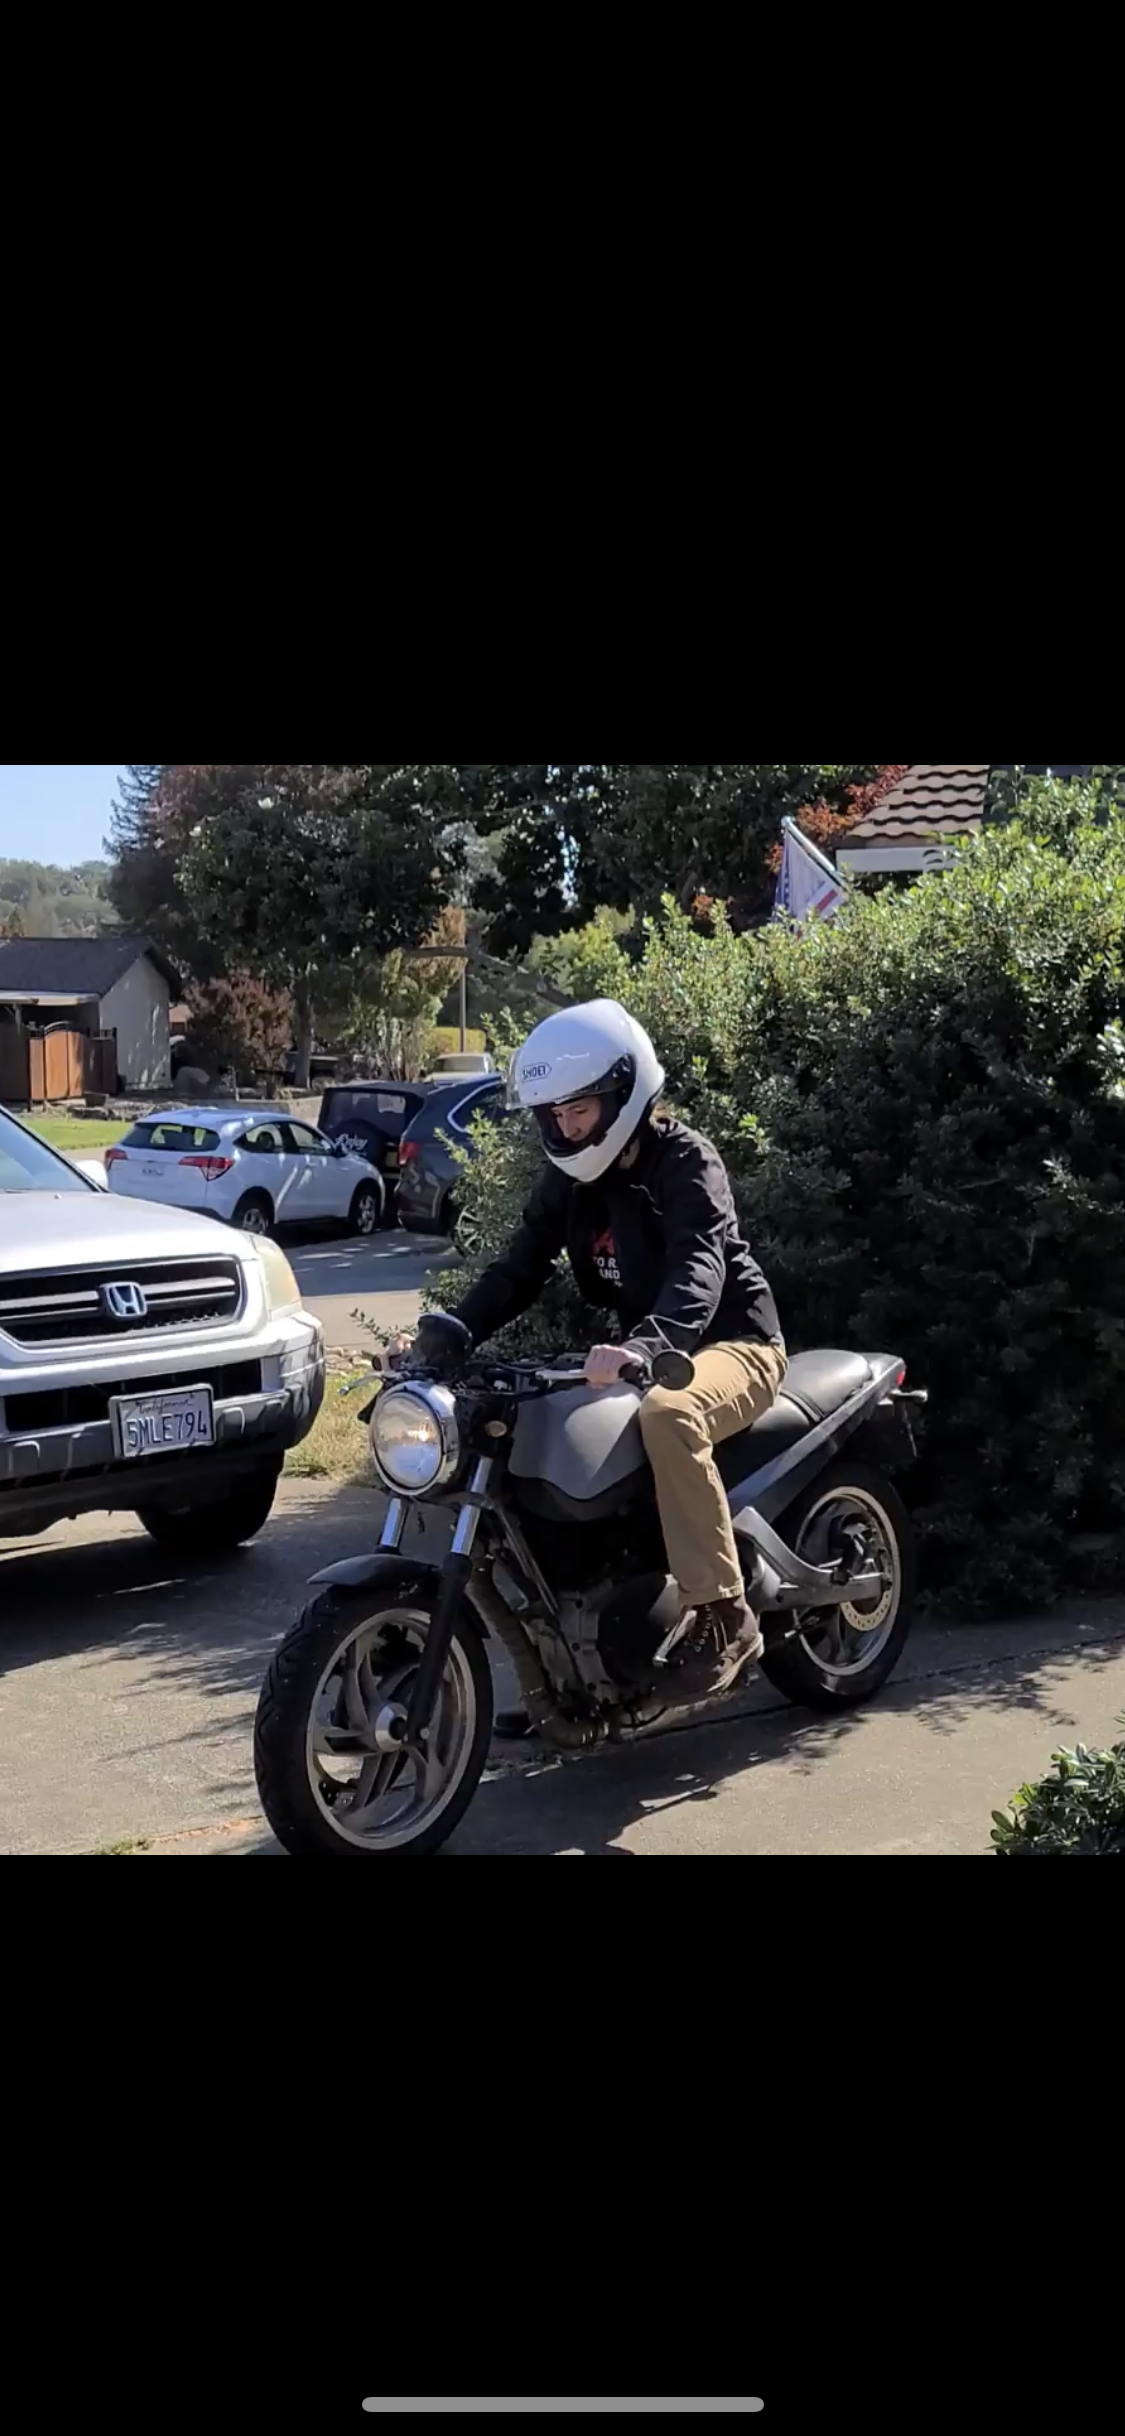
When I got to move my expensive gear from the ground onto my DIY wonderfully practical and good-looking gear rack I felt incredibly satisfied, I definitely put off this project for too long but now I can enter it into the Organization Contest. I absolutely love how it looks and still feel great about it every time I pass by it or grab my stuff to go for a ride.
Thanks for taking the time to look this project over! I hope it helps you with your "gear pile" like mine was or whatever you're working on!