Easy Tinkercad Cherry Pie
by M-N-X-R-L-T-4-U in Design > Software
801 Views, 1 Favorites, 0 Comments
Easy Tinkercad Cherry Pie
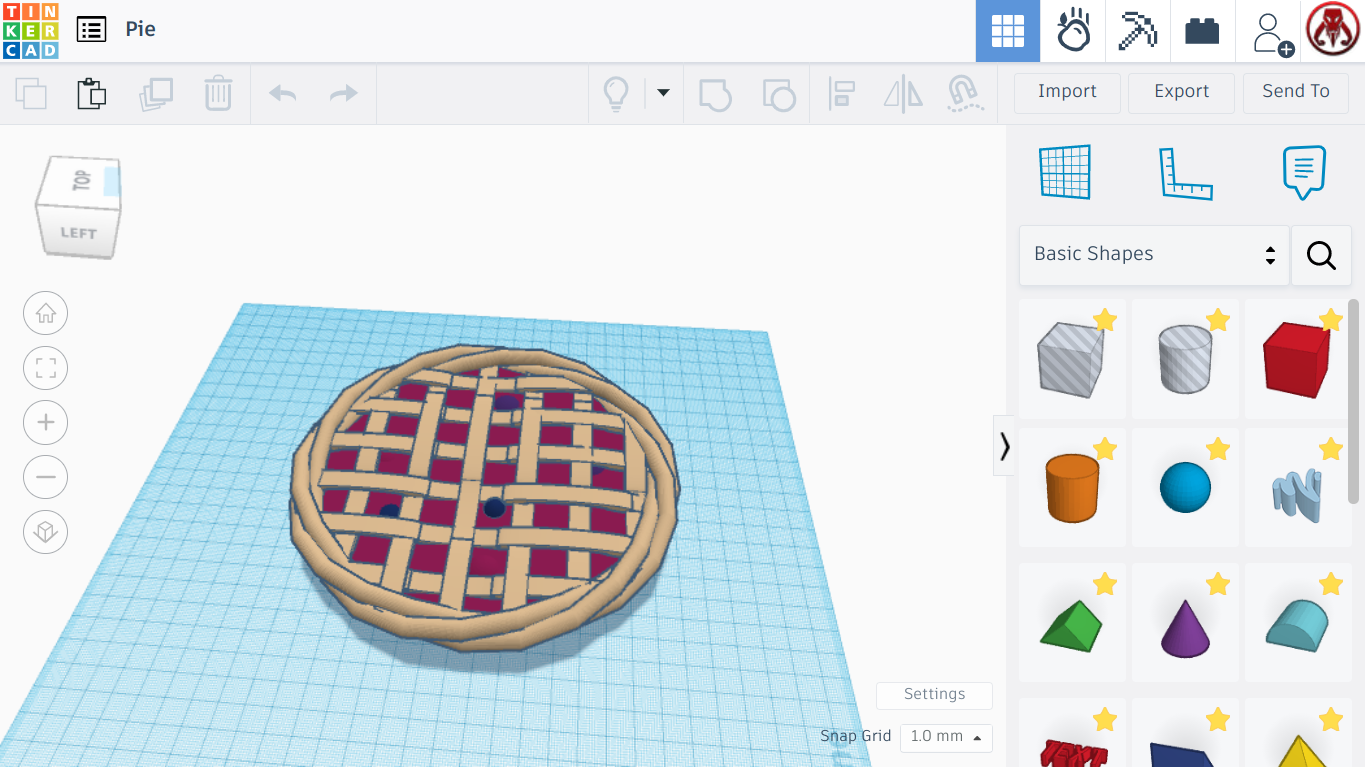
Pie, yum. The very name starts getting that fragrant scent of Thanksgiving or Christmas wafting up our nose. So I decided to make this Instructables to teach you how to make a Cherry Pie in Tinkercad. This requires limited Tinkercad skills, other than knowing how to maneuver around and stuff like that.
Supplies
Tinkercad
Computer
Mouse
Pie Crust
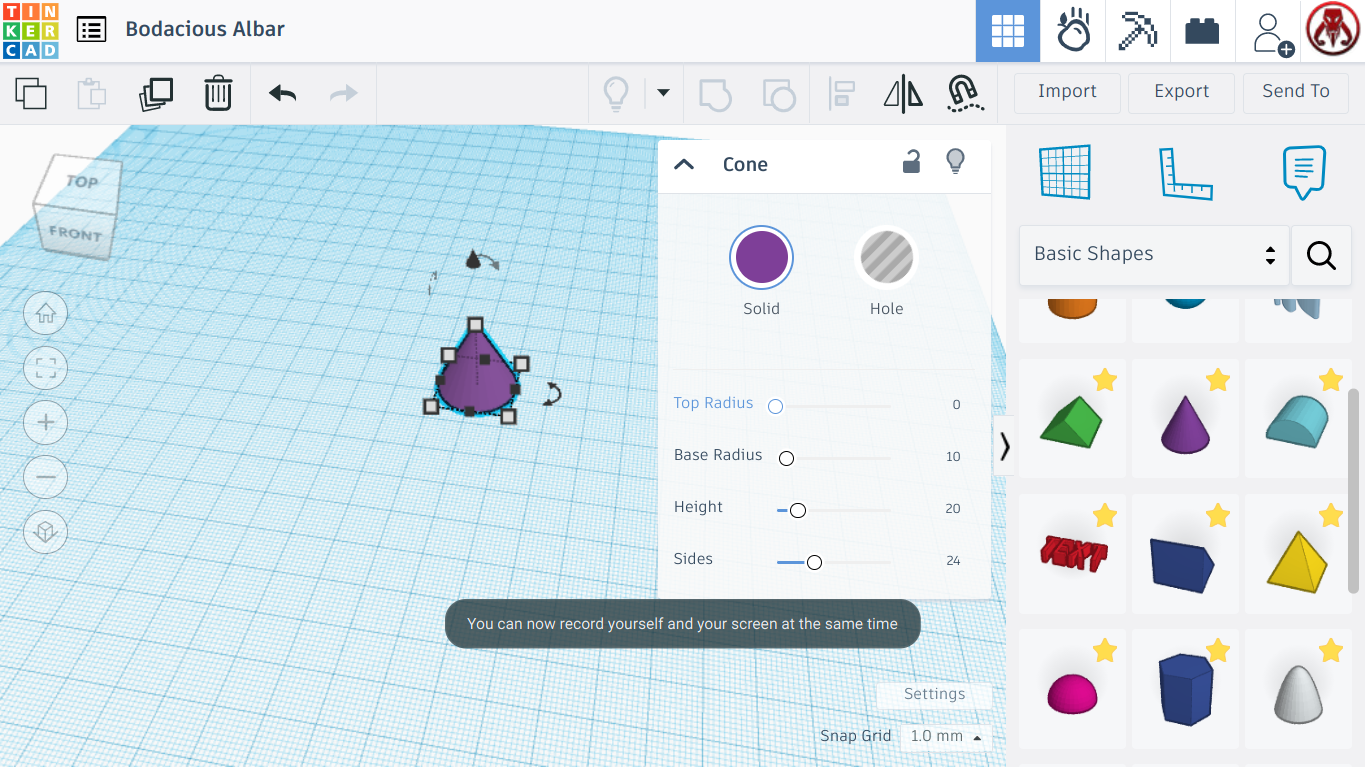
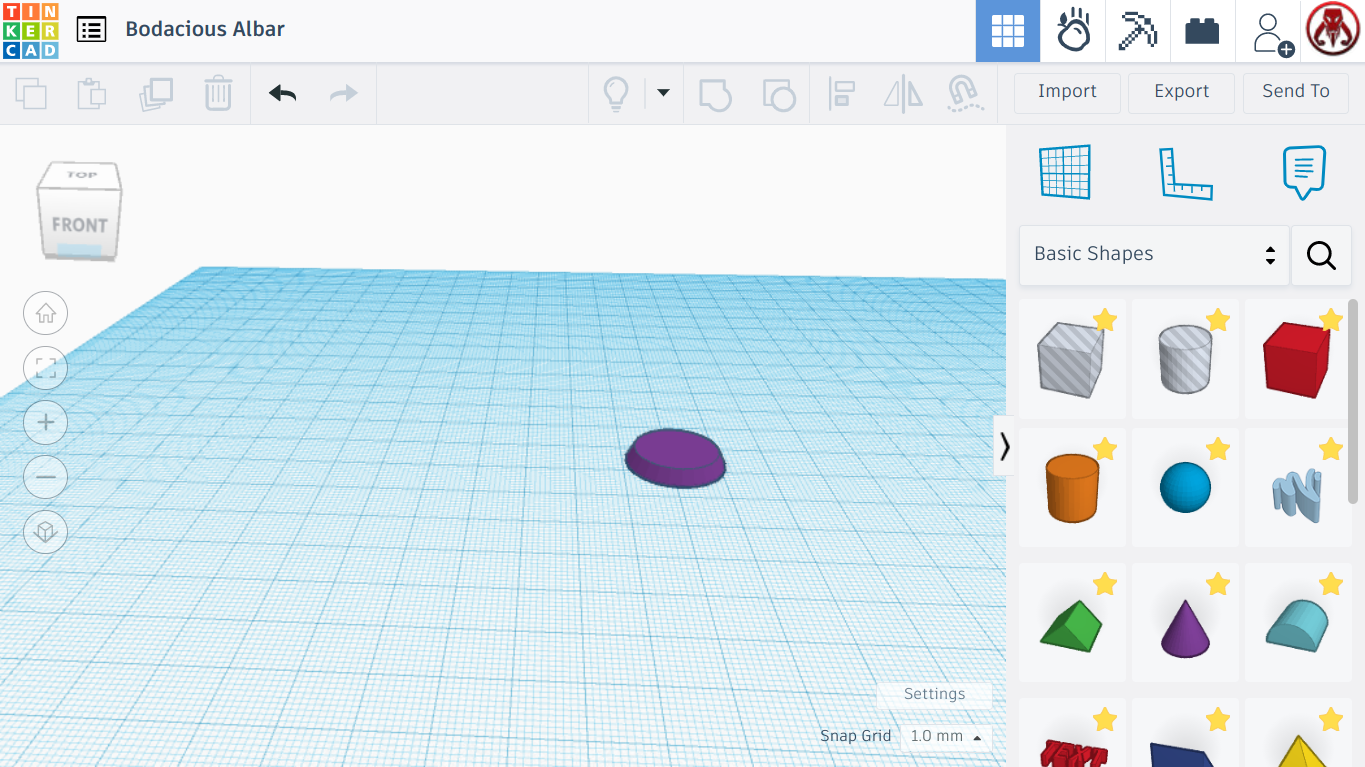
The first thing you are going to do is add a Cone from the shape panel on the side. This cone will become our crust for the pie.
Getting the Crust to Shape
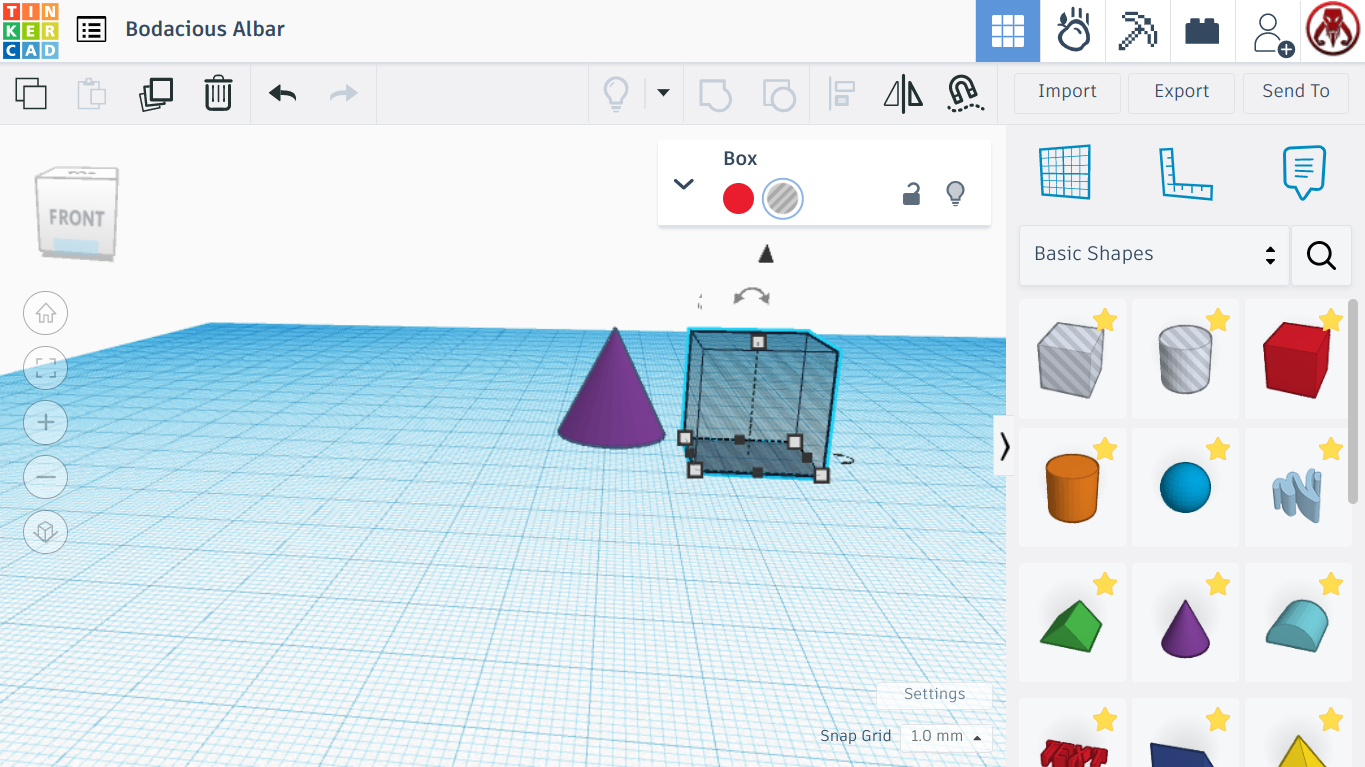
Next you will add a box from the shape panel, and select Hole, which makes it turn transparent. We will use this box to cut the cone, making the pie crust a better shape.
Lifting the Cube
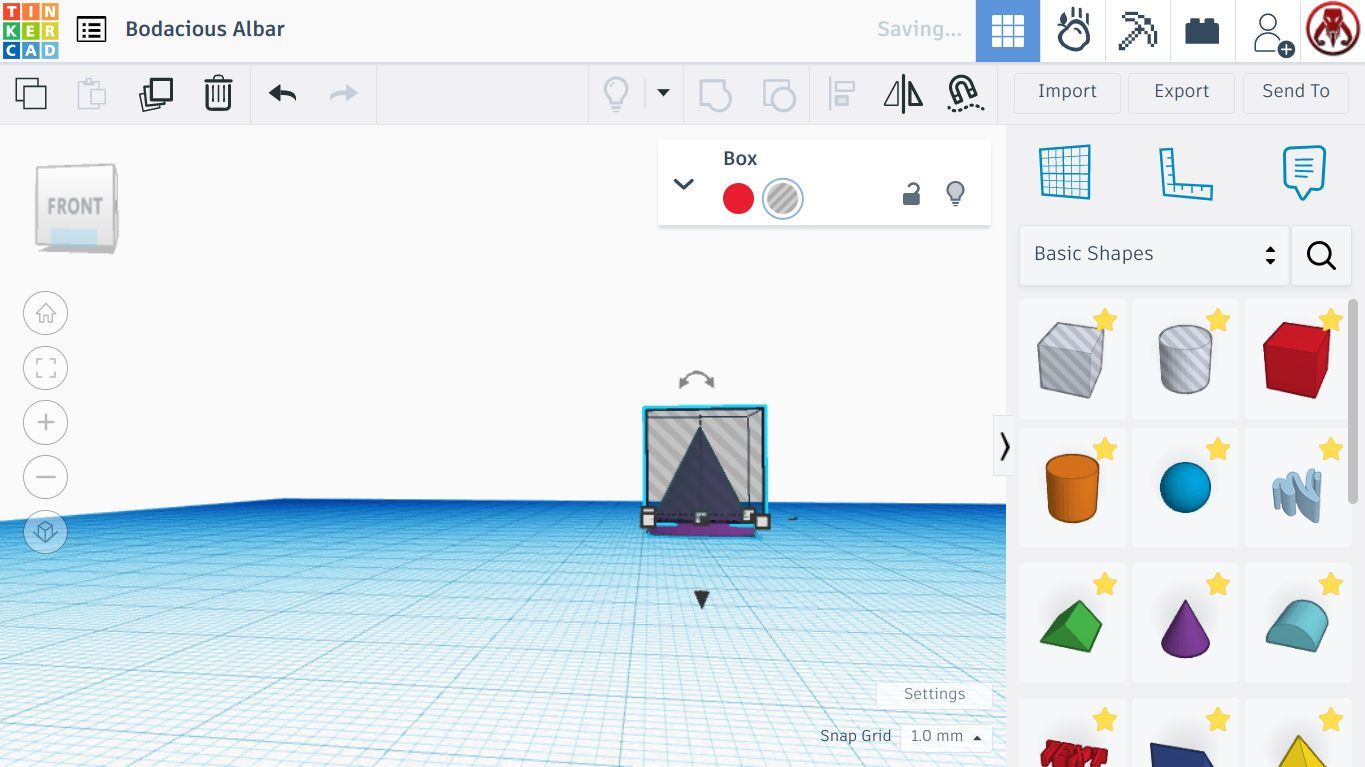
Now using the little up arrow above the cube, lift it until it is at a height of 3.00 over the work-plane. You can move it over top of the cone, making sure it covers all of it, except for the 3.00 on the bottom.
Cutting the Crust
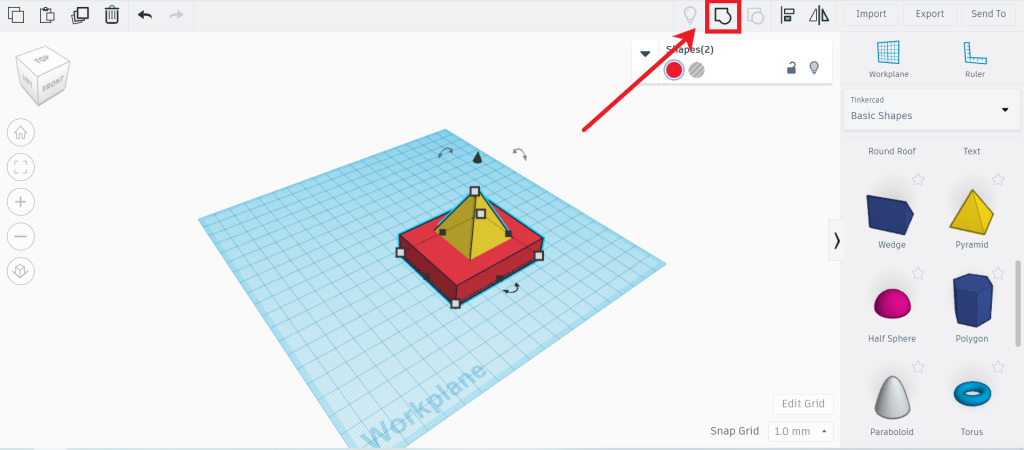
Once you are sure that the transparent box covers everything you need to cut, hit the group button, which is shown in the picture above, and your cone now should resemble an upside down pie crust.
Flipping the Crust
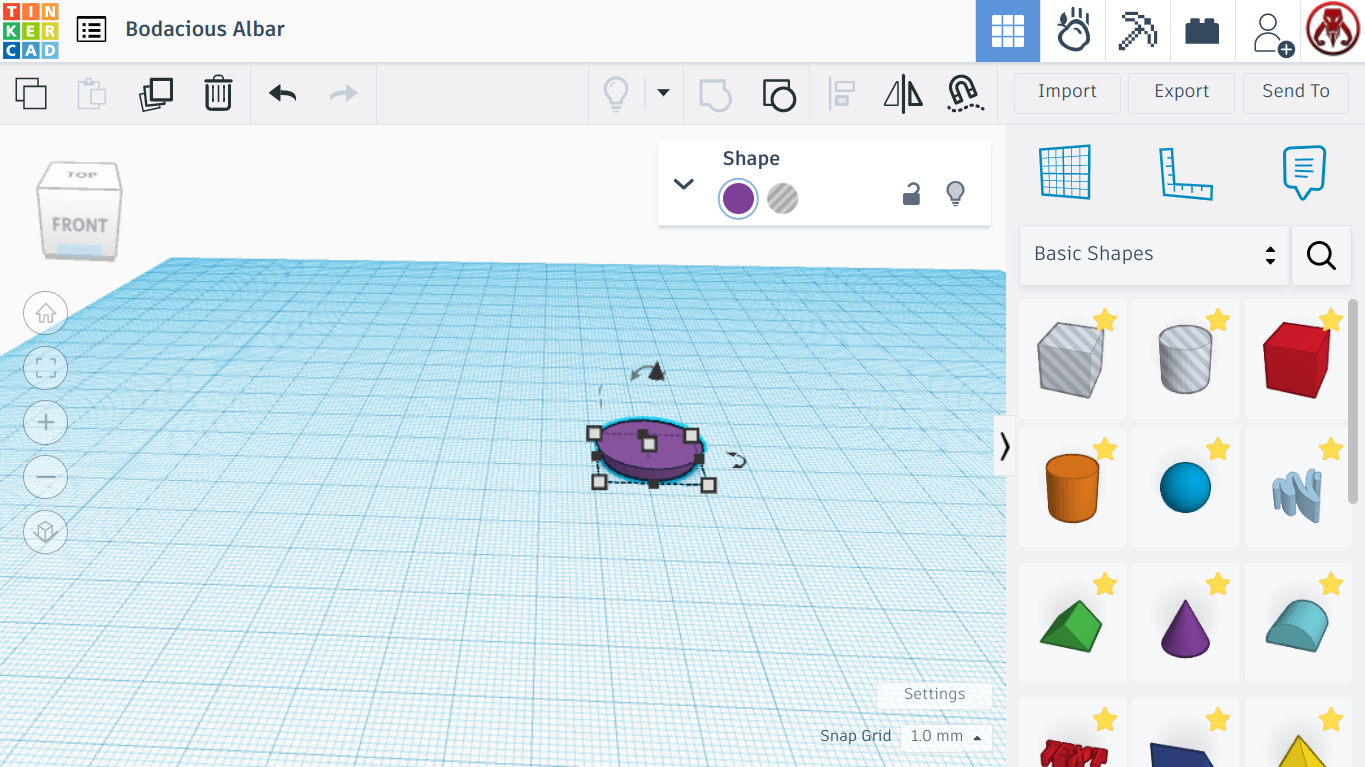
Now, using the small curved arrow above the cone, flip it to 180 degrees, so it looks the right way up.
Making the Crust Bigger
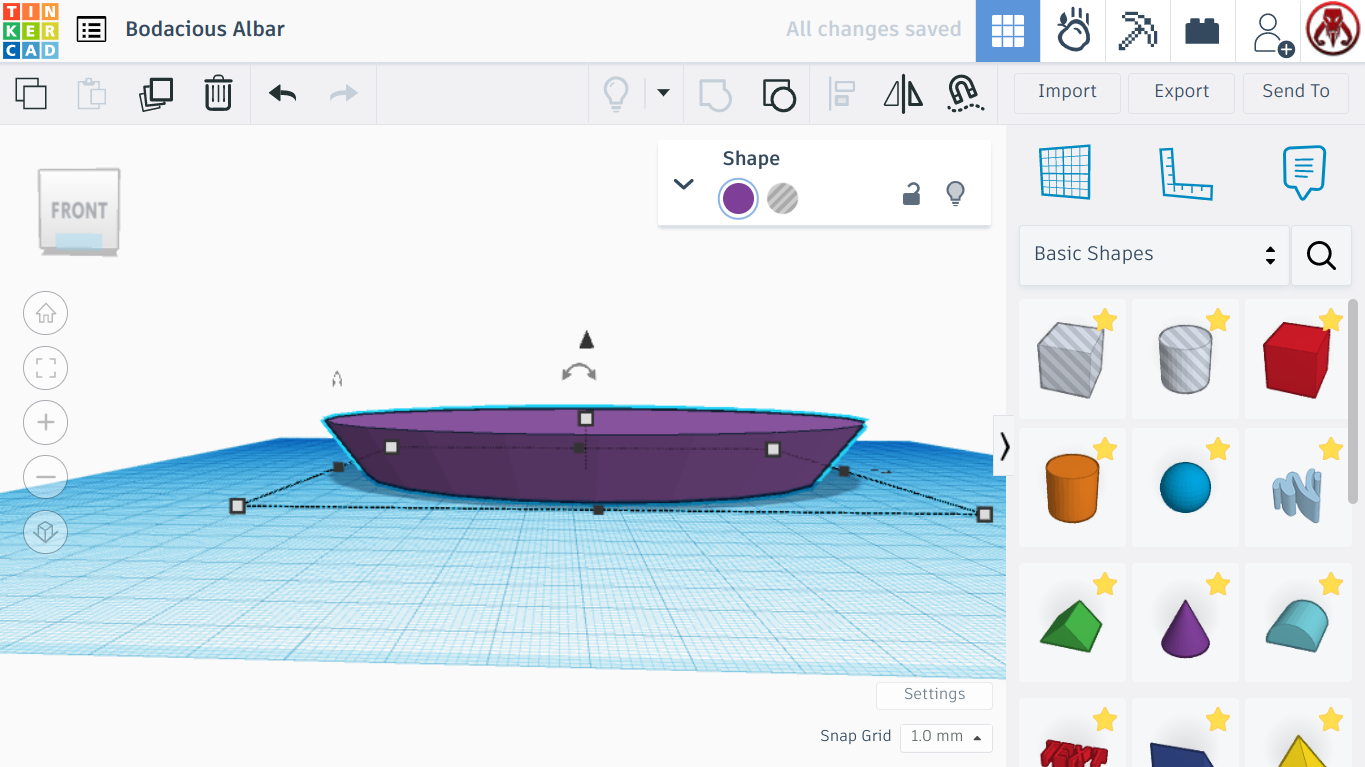
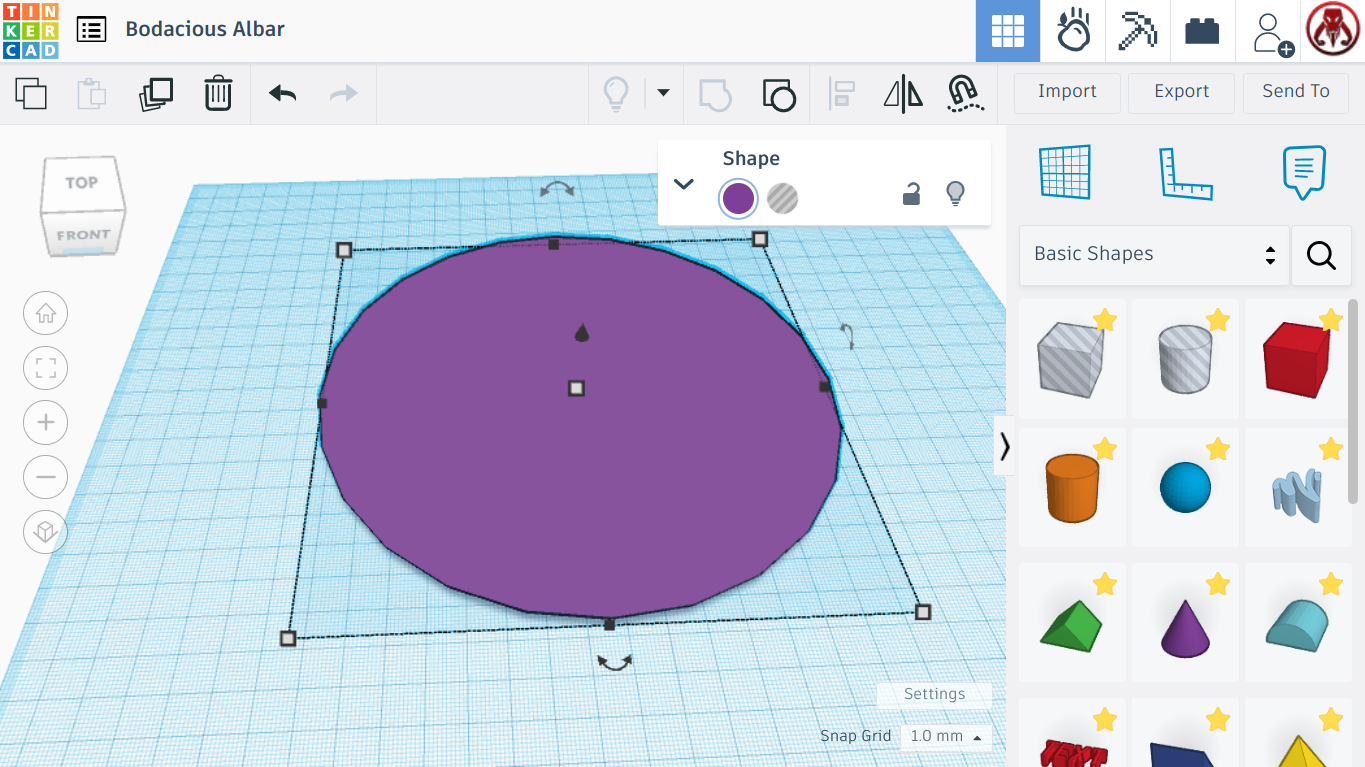
Next we will use the dots on the corners of the cone to scale it up to 159.00 by 159.00. This is so that it is easier to maneuver around. Now use the dot in the middle of the cone to scale it to a height of 16.00. Now we have the right shape for our pie crust.
More Aesthetics
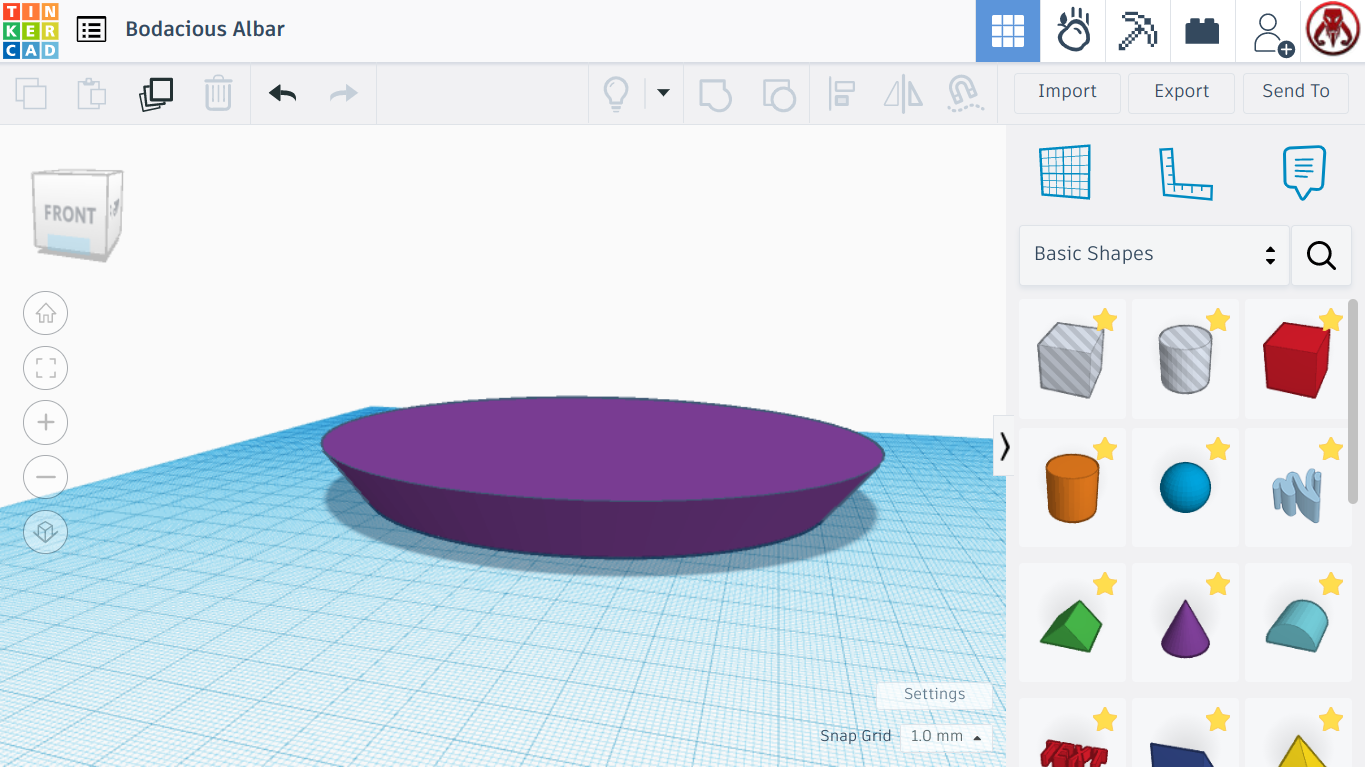
Now if you click on the cone, the shape information panel or whatever it's actually called, should drop down, and you will see all the information about your shape. The information button that says "Sides", take it and drag it all the way up to full, this will increase the number of steps in the shape, making it smoother and less "sharp."
Starting the Filling
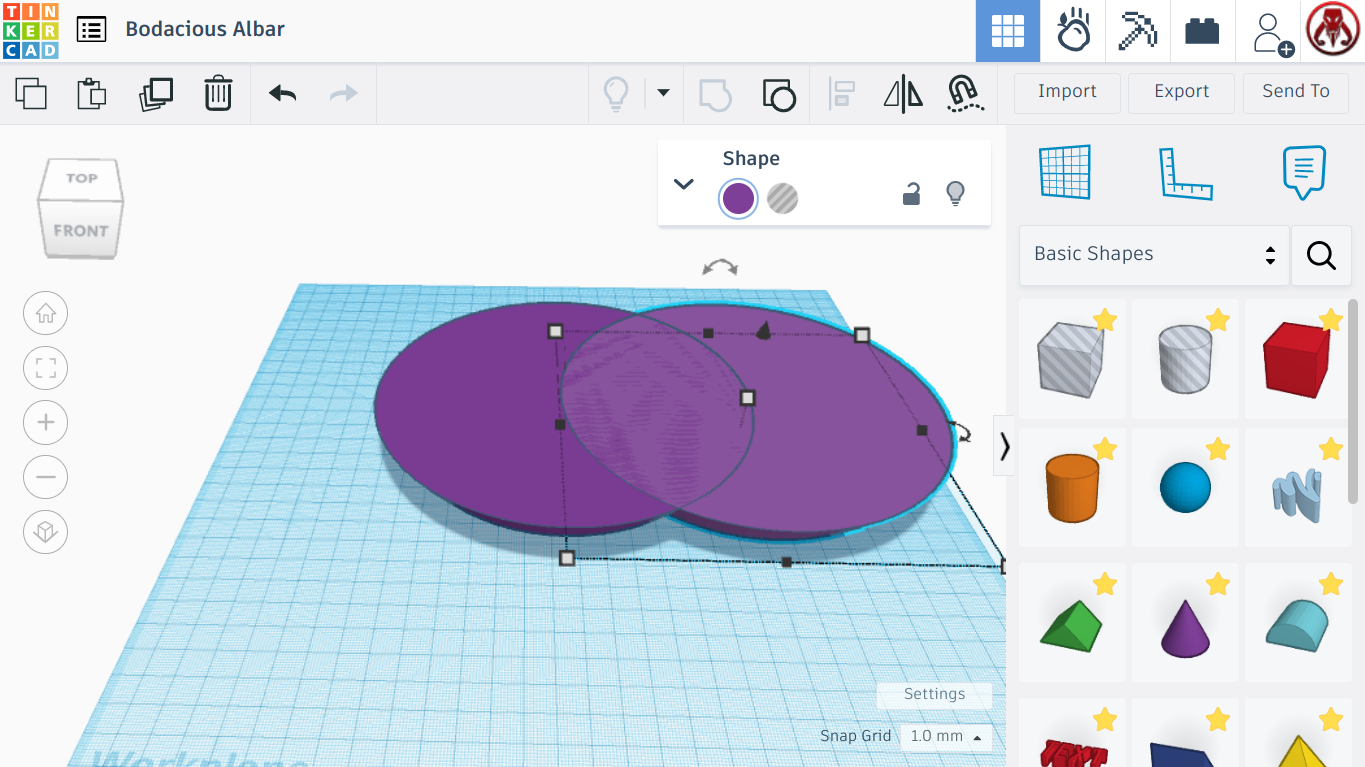
Now we will start making the "Cherry" filling for the pie. If you click on your shape, and select the copy and paste buttons, it will create a duplicate that we will turn into the filling for the pie.
Scaling the Filling
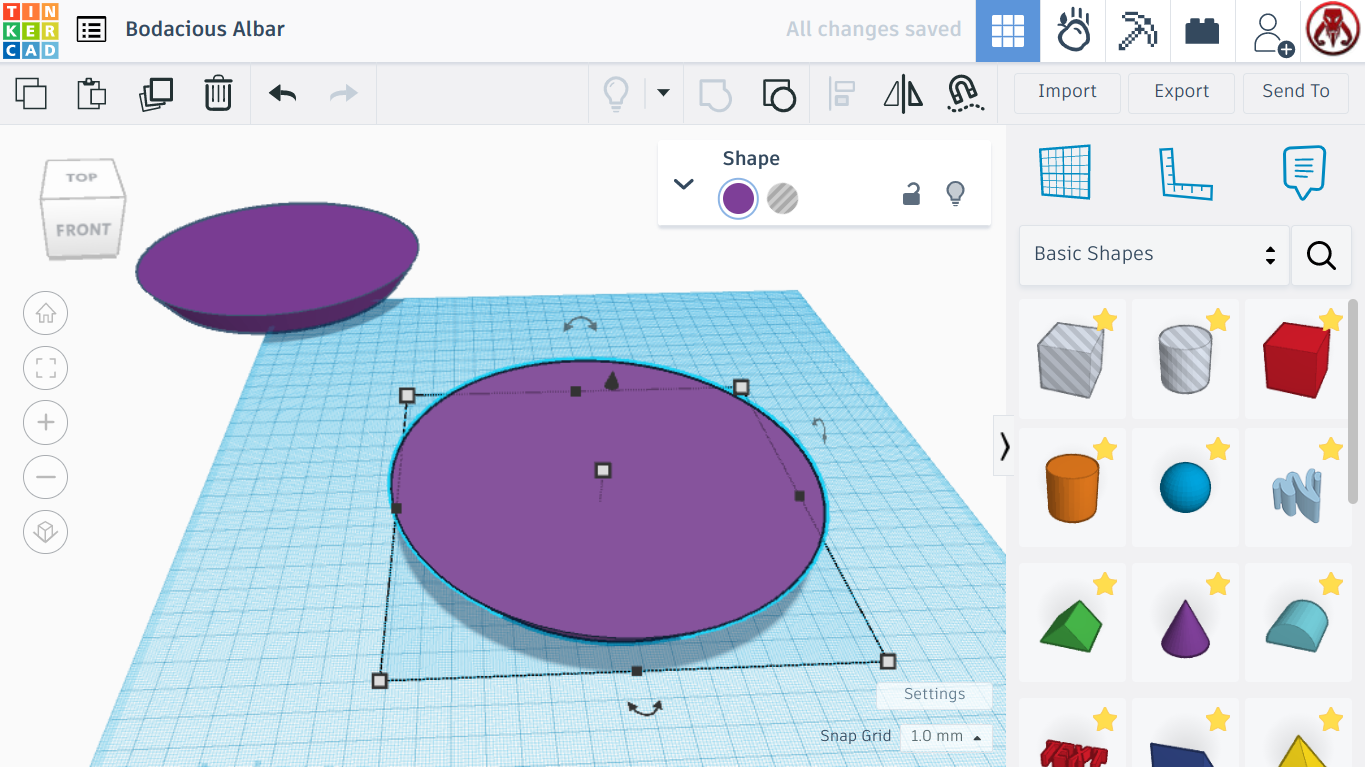
You can now move the original shape off to the side, as we will not use it for a few more steps, we will focus on the filling instead. You can take the filling and scale it down to 155.00 by 155.00, so that it is a tad bit smaller than the pie crust. You can also raise it so it is to a height of 3.00 off the work-plane.
Making the Crust More "Crusty"
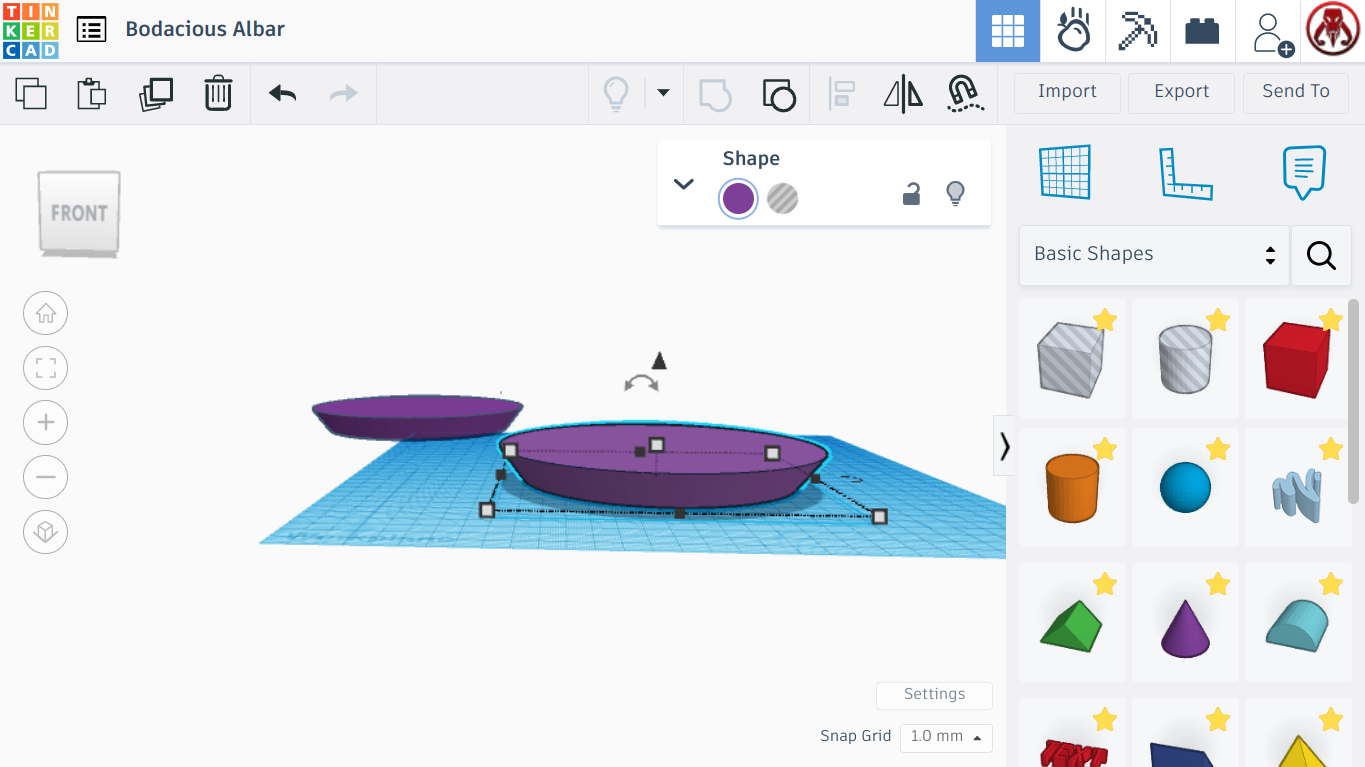
Now you can take the filling and scale it to a height of 16.01, and take the crust and scale it to a height of 22.01.
Making the Crust More "Crusty" #2
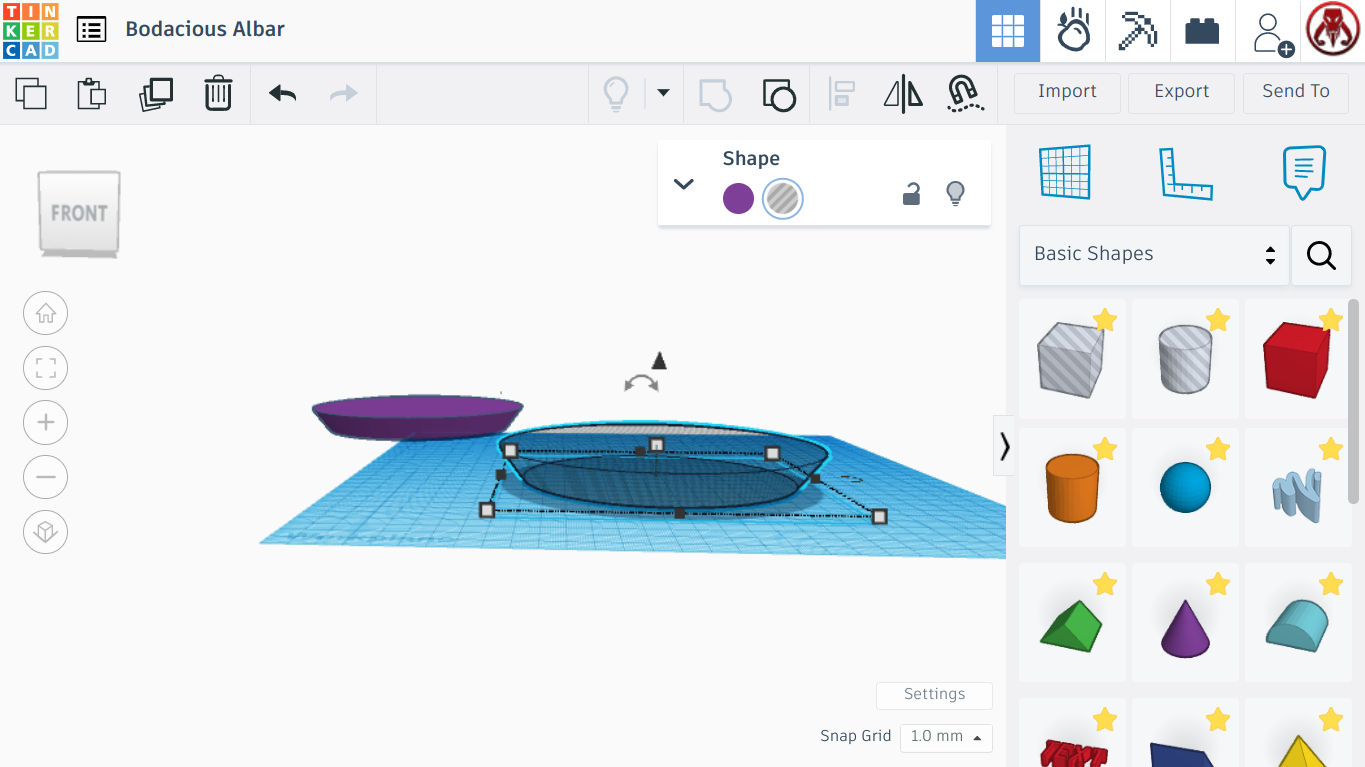
Now duplicate the crust and select "Hole," so it turns transparent. Now raise that transparent one to a height of 3.00 off the work-plane.
Making the Crust More "Crusty" #3
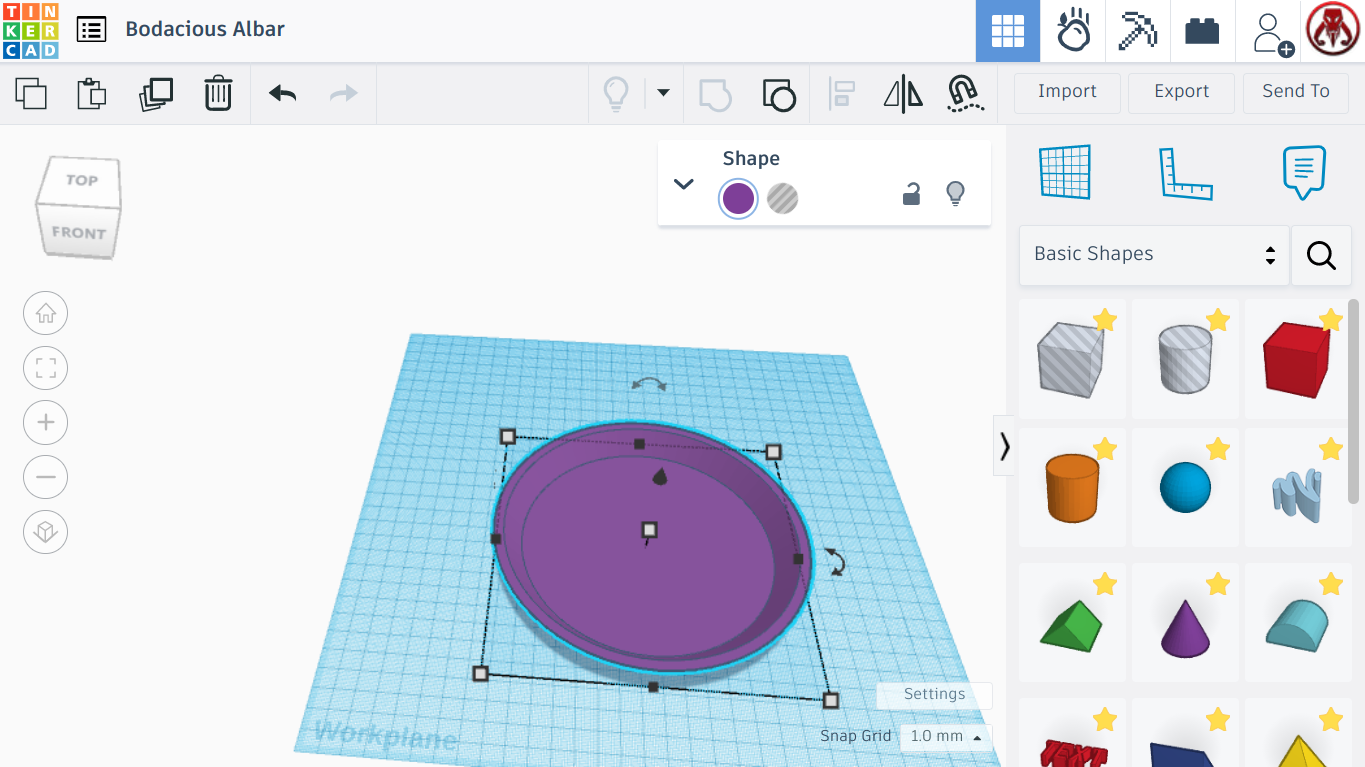
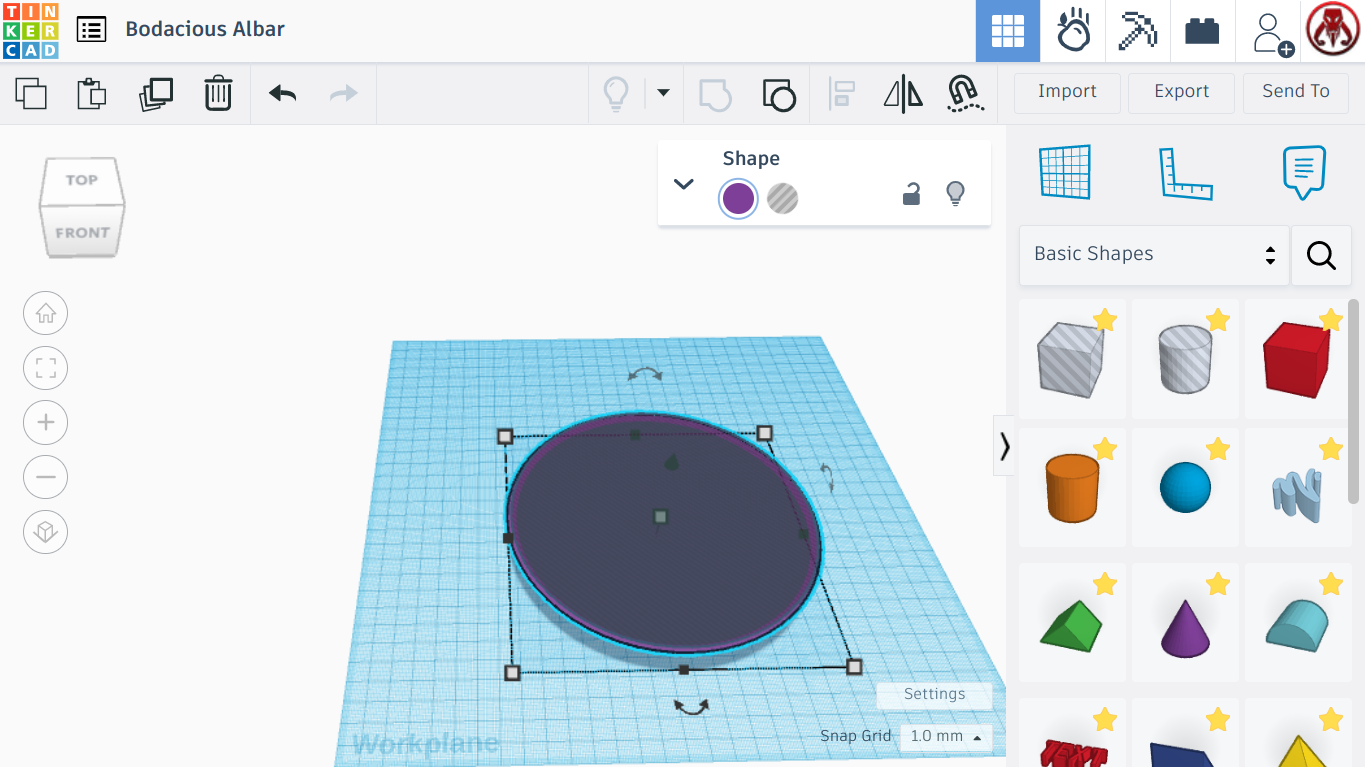
Now select the transparent one and the crust and use the align tool to make them perfectly together, like in the picture above, and then group them, so you now have a definite crust.
Coloring
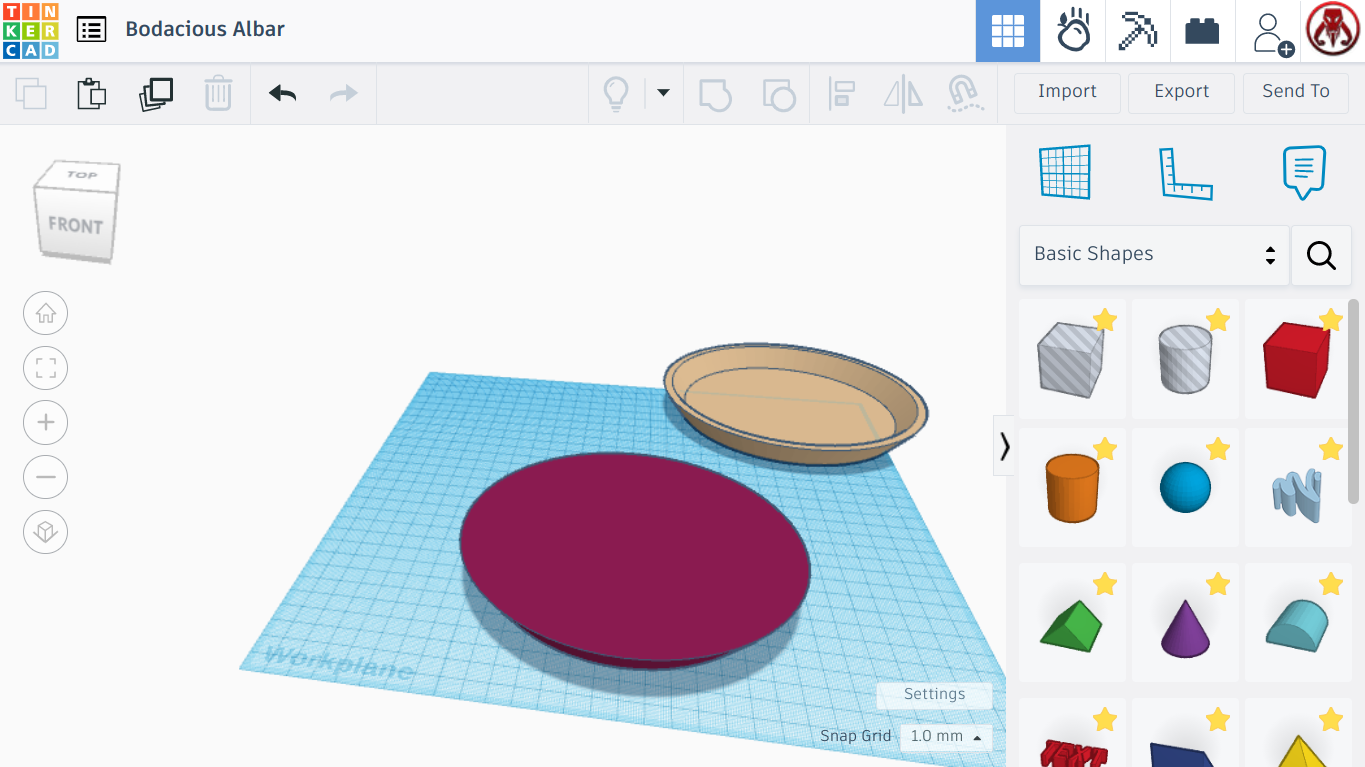
You can now select the crust and make it a tan color, so it looks more like dough, and take the filling and make it a purple color, for the cherries.
Cherries
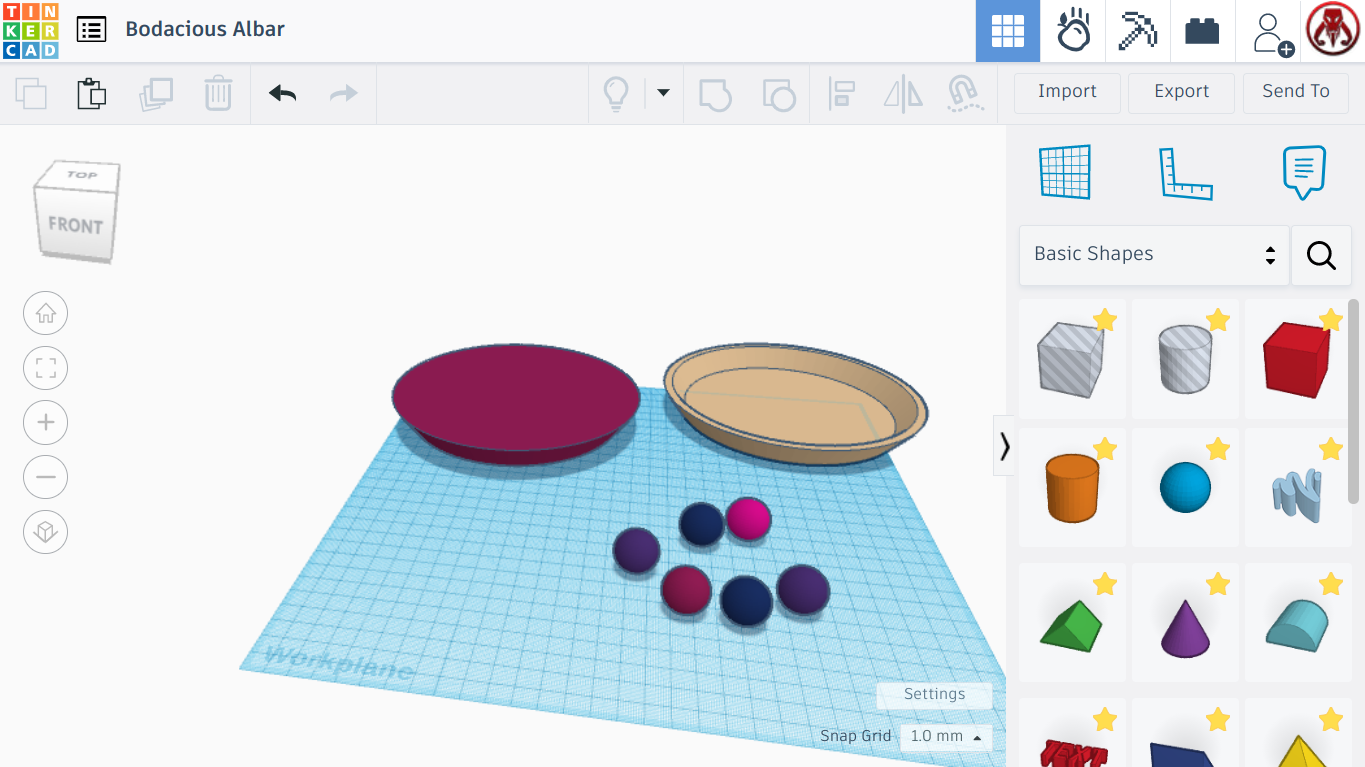
You can now go to the shape panel and select a sphere. Go to the shape information panel and put the steps for the sphere all the way up, to make it smooth. This whole step can be skipped if you do not like the look of it. Now duplicate the sphere a couple times and change their colors and or size a little bit.
Putting the Crust and Filling Together
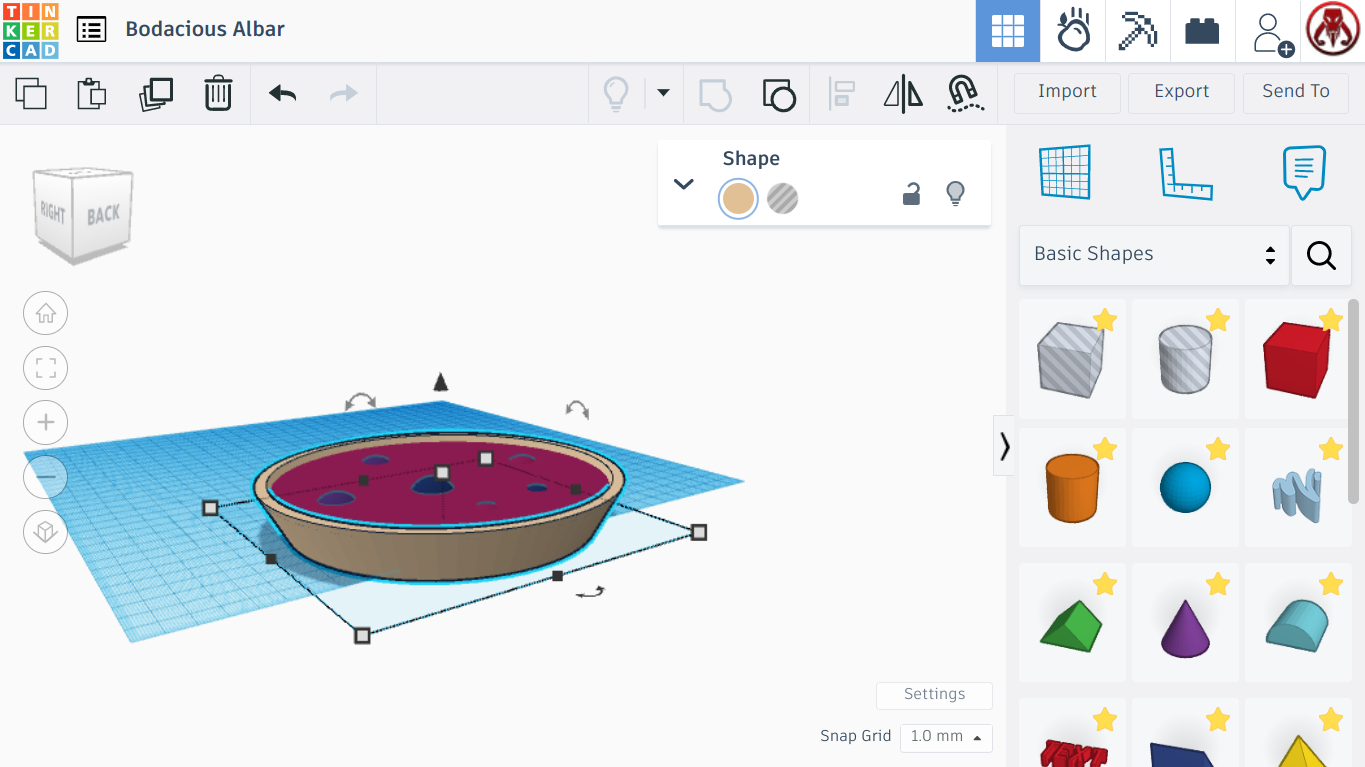
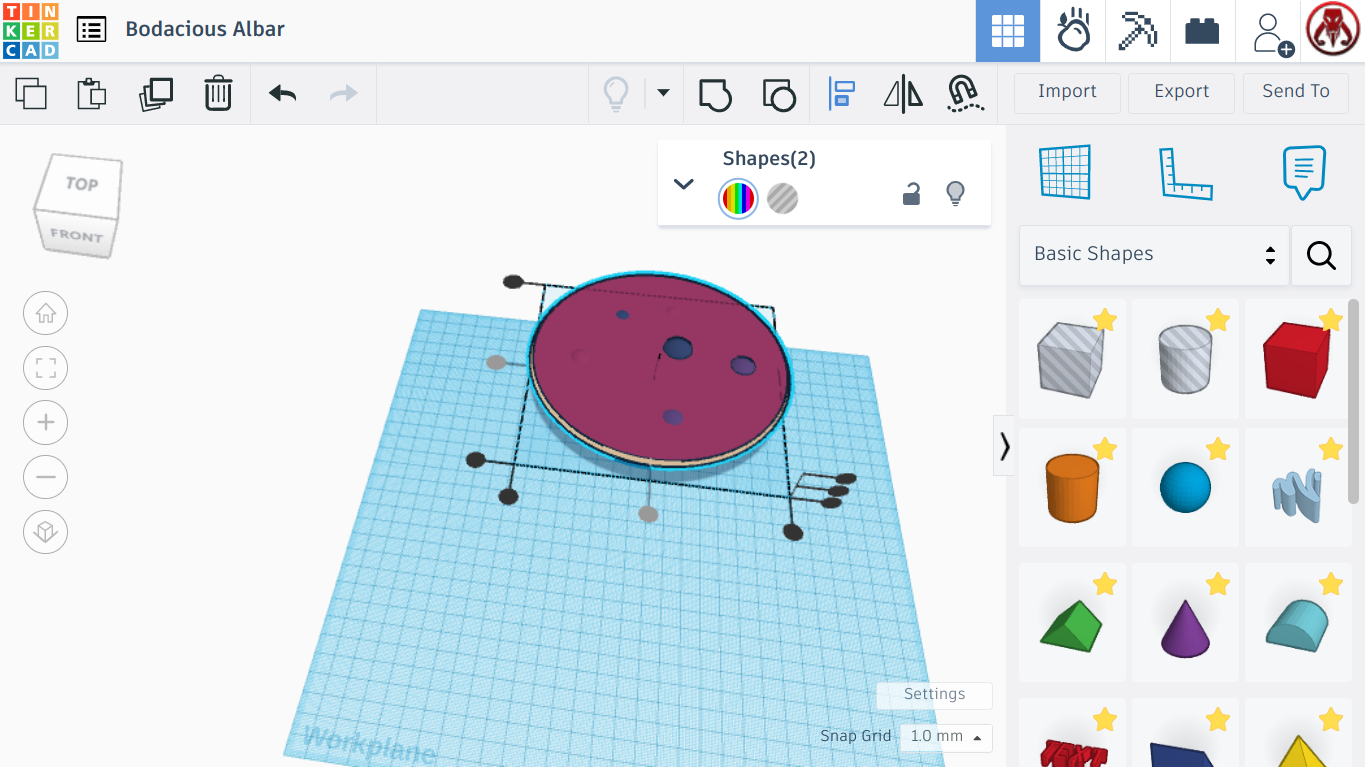
Raise the filling to a height of 3.00 off the work-plane. Now select the crust and filling, and use the align tool to get them lined up right. You can take the spheres and place them around and at various heights. When you have the spheres where you want them, group them and the filling together,and select "Multicolor," so they stay the colors you had them at. Then select the filling and the crust and group them, so they stay together. If you just wanted a simpler pie, you could call it quits and leave it like this, but if you want the completed one, carry on my friend!
The Thingy on Top
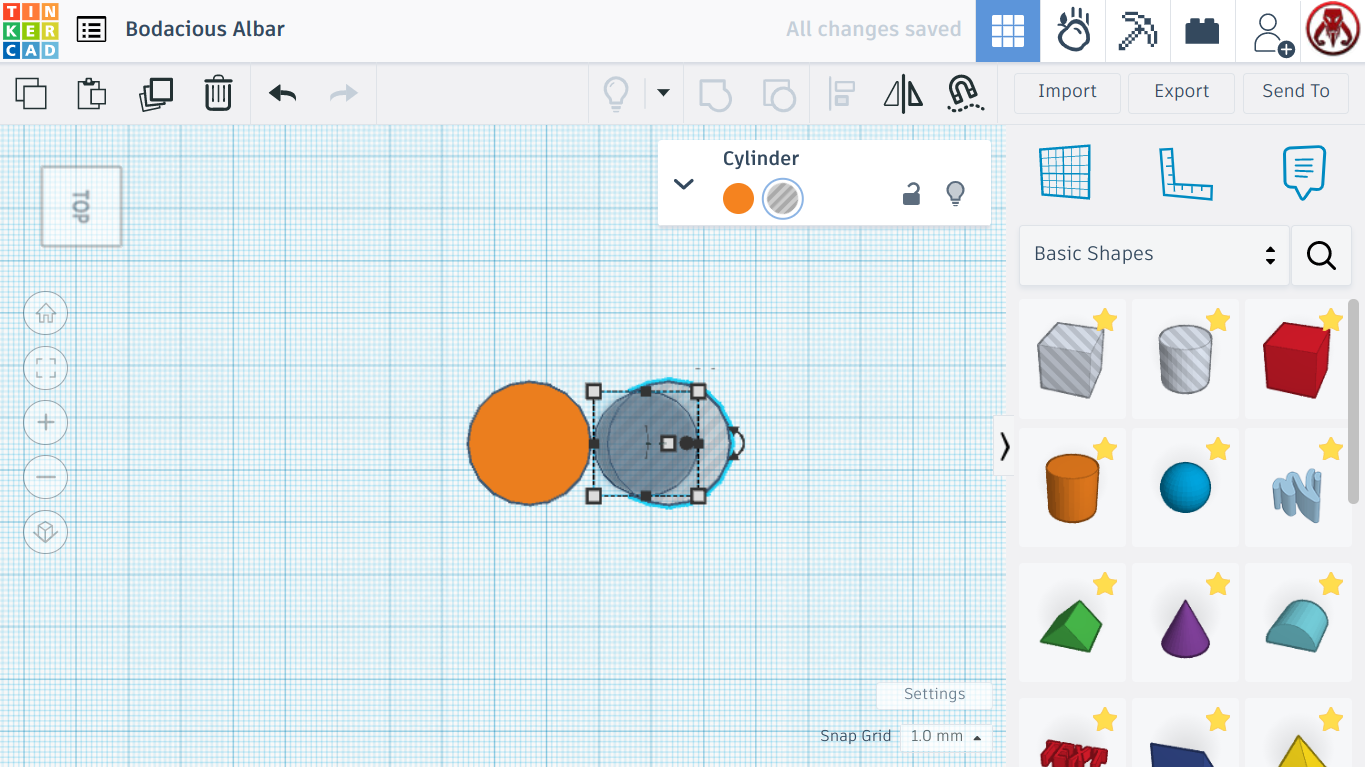
We will now start on the cross work thing on top, which Wikipedia tells me is called Lattice Pastry. We will move everything off to the side and add a cylinder, and a transparent cylinder. Make the sides smooth by putting "Sides," all the way up.
Making a Hole
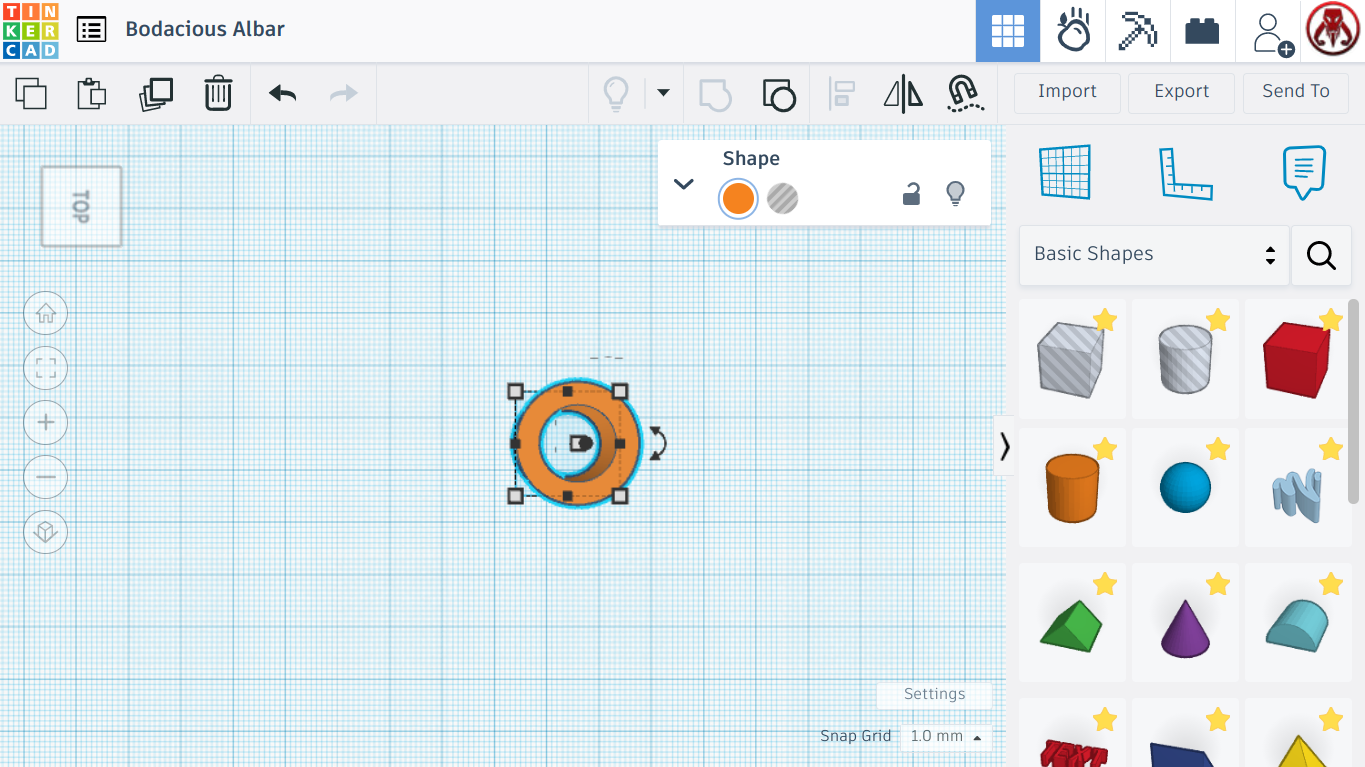
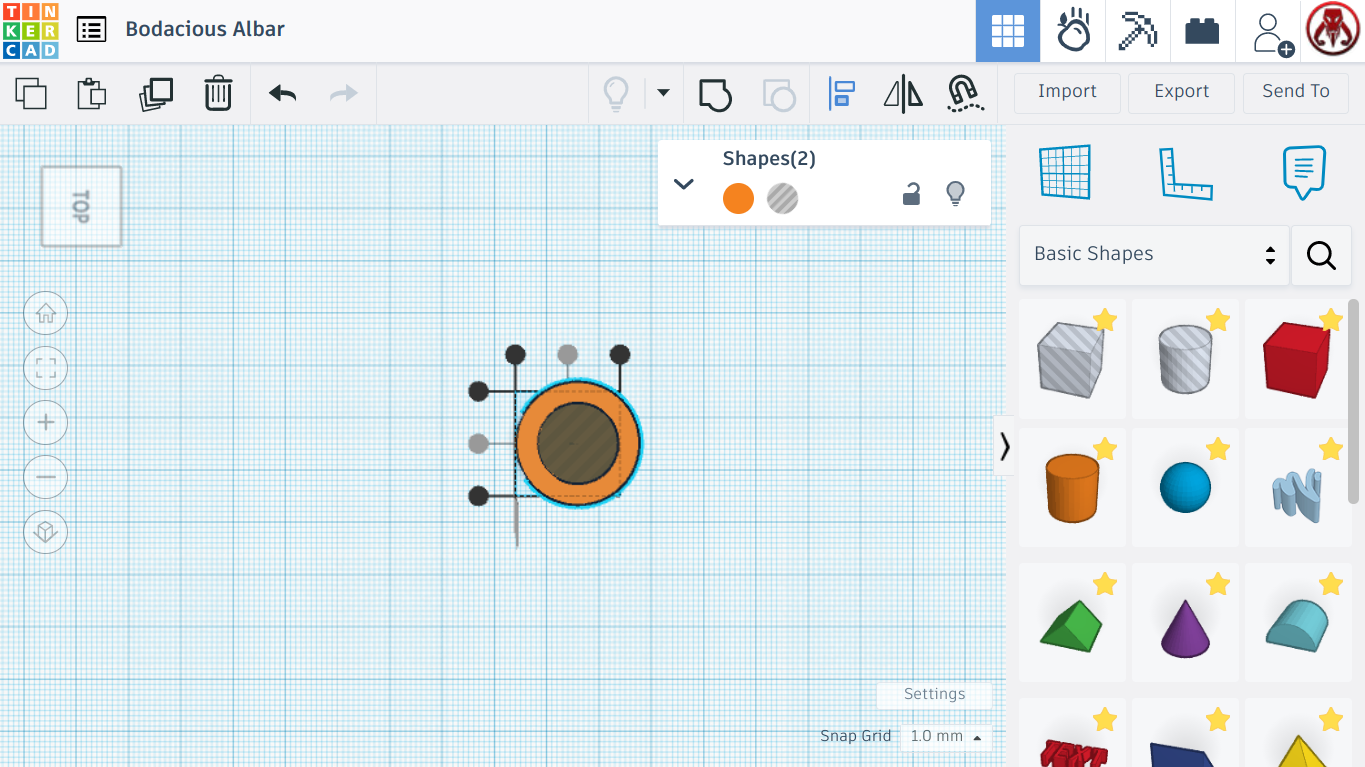
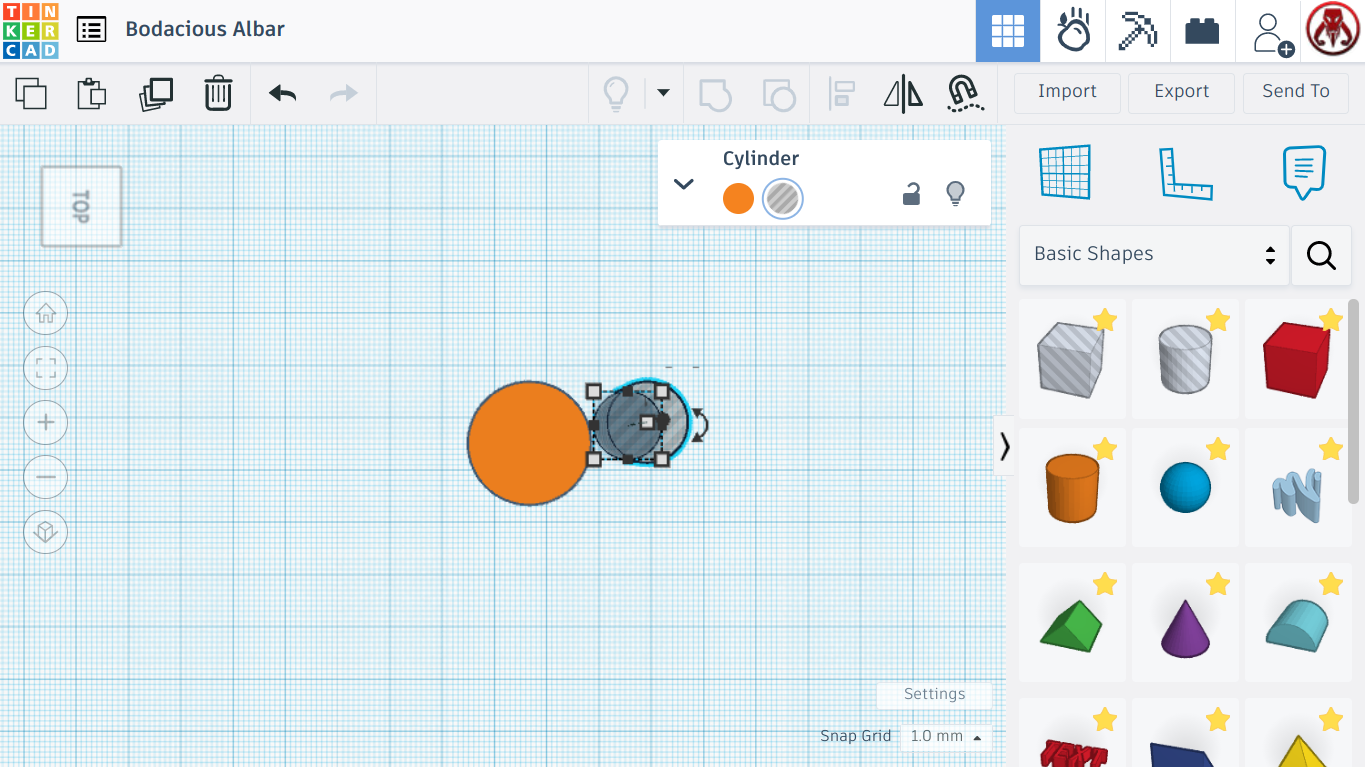
Next we will take the transparent cylinder and scale it down to 13.00 by 13.00. Then you can select both cylinders and use the align tool to get them perfectly lined up, next, group the two together, making a hole in the middle of the bigger cylinder.
Making the Arch
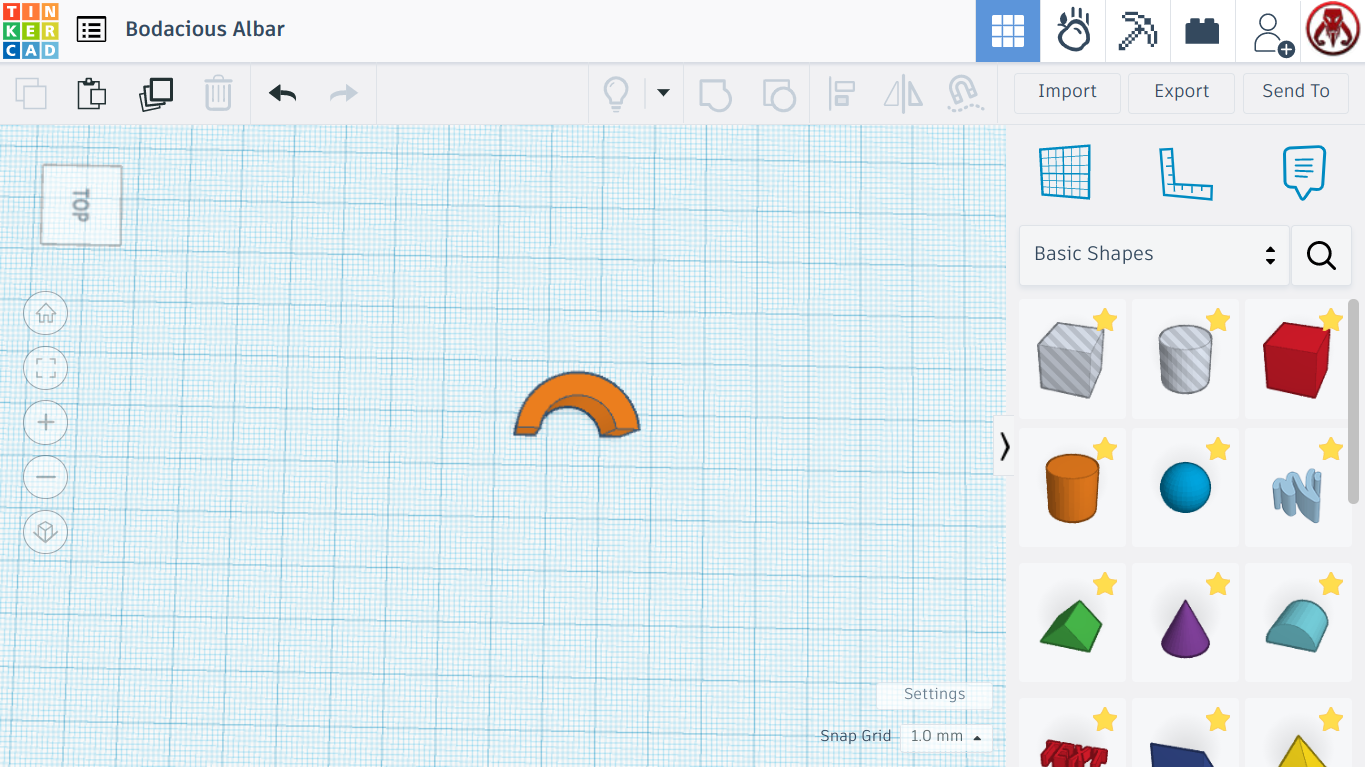
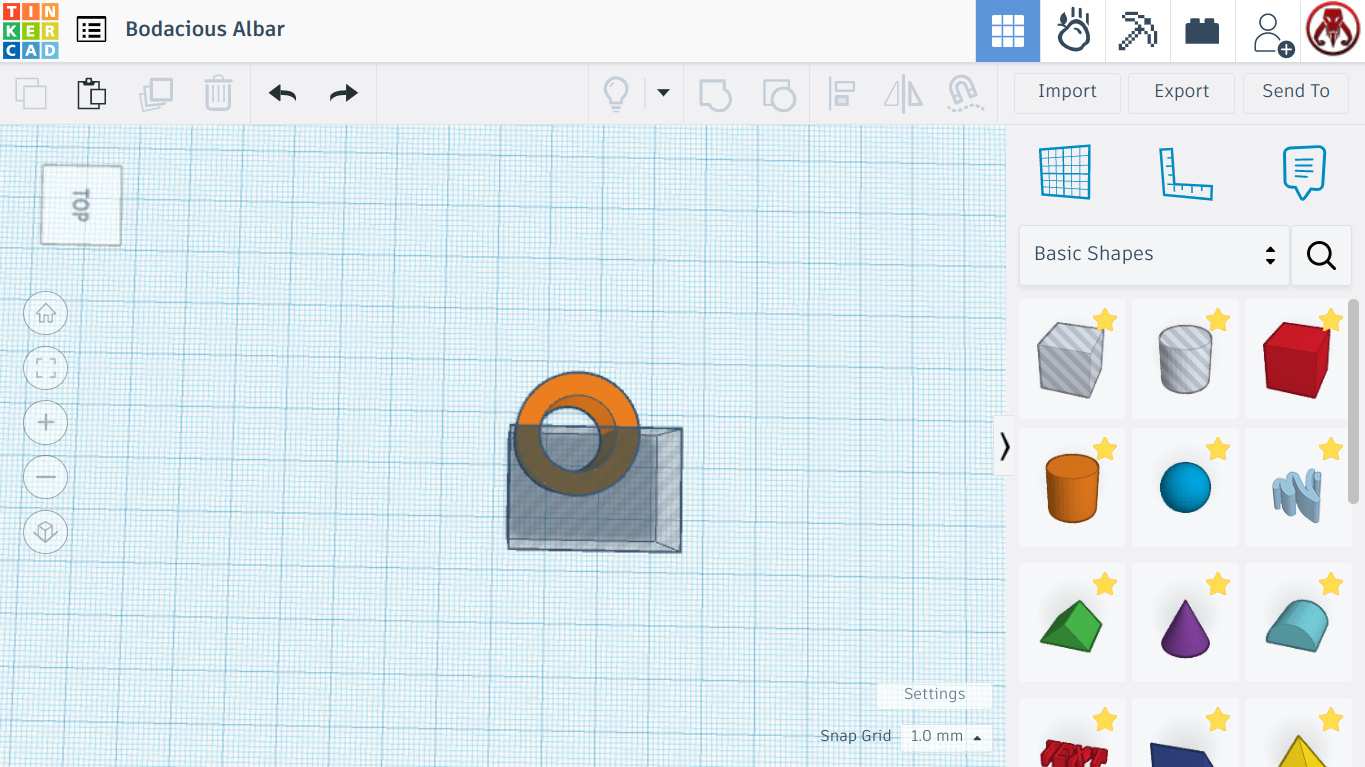
Now select a cube from the shape panel, and select "Hole" to make it transparent. Put it covering half of the donut shape, as seen in the picture above, and group them together, making a small arch.
Making More
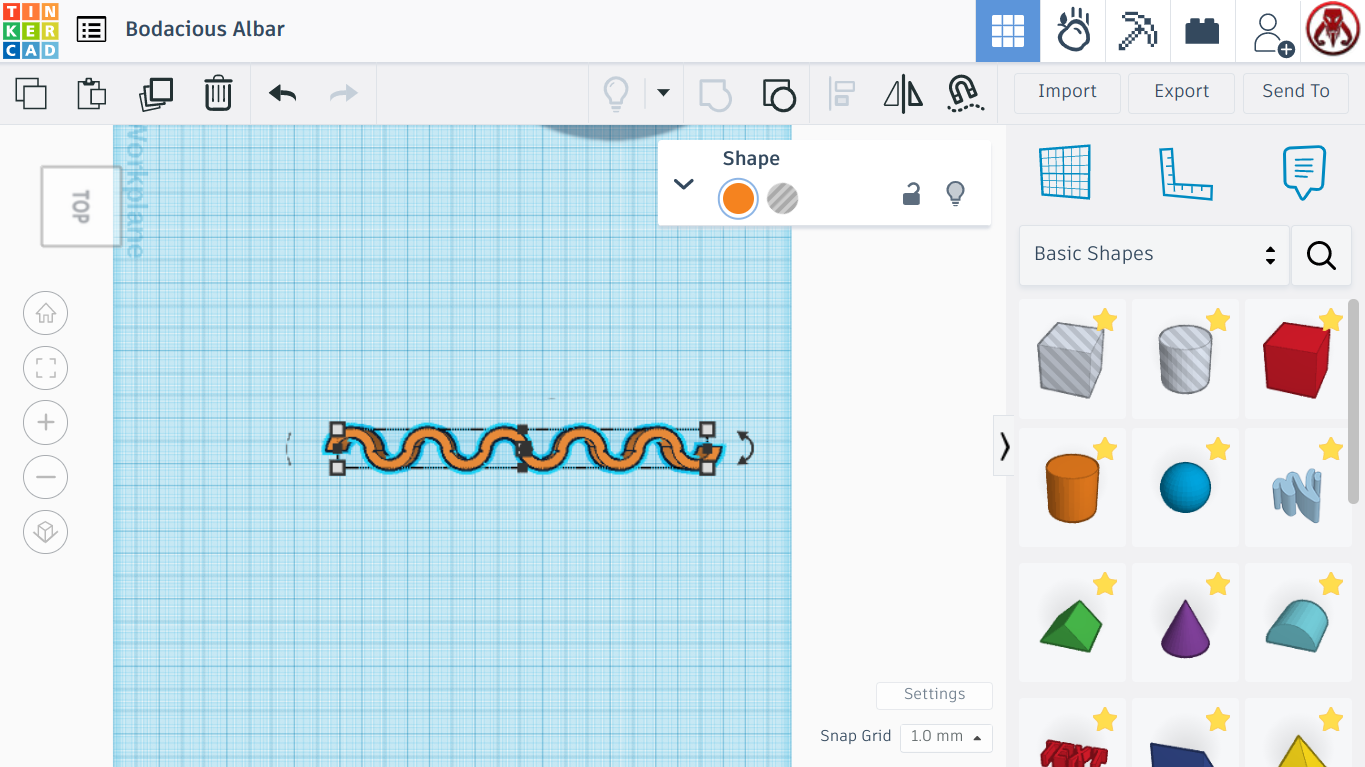
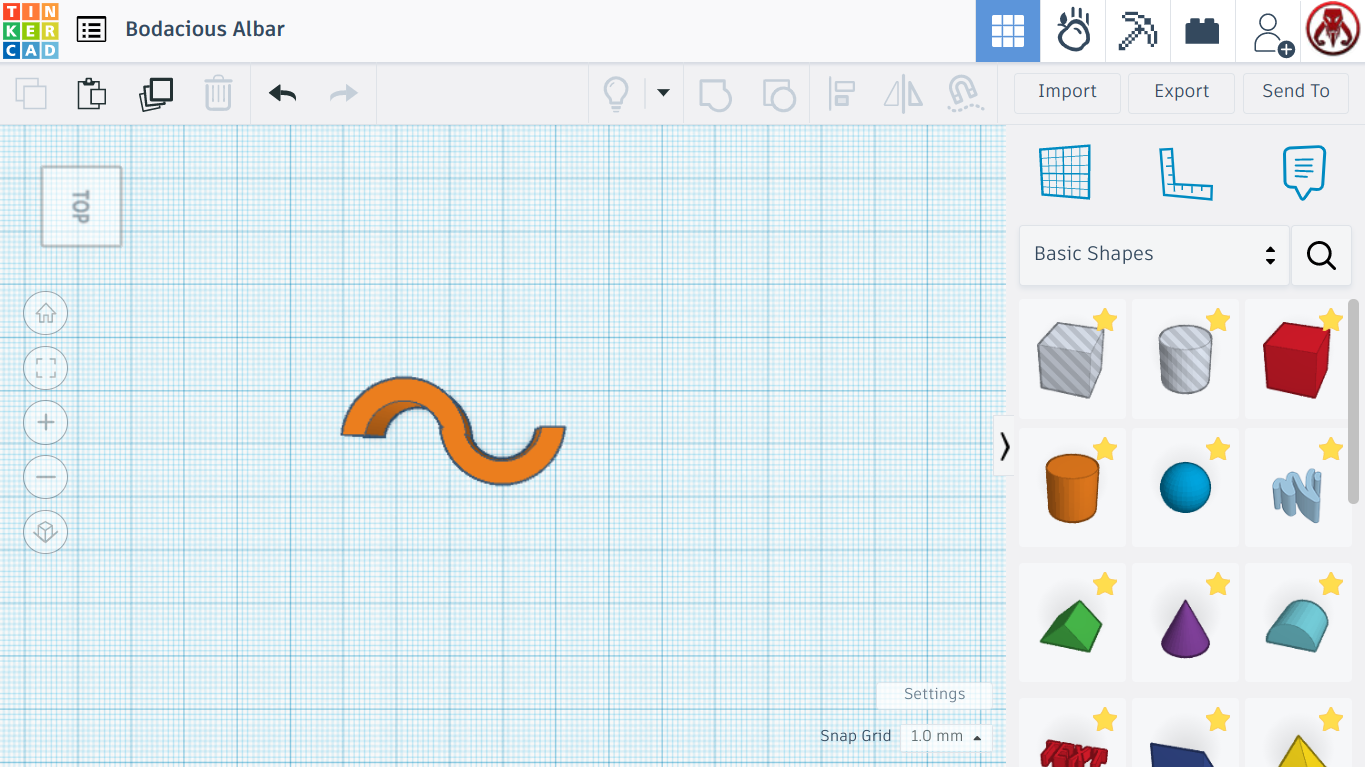
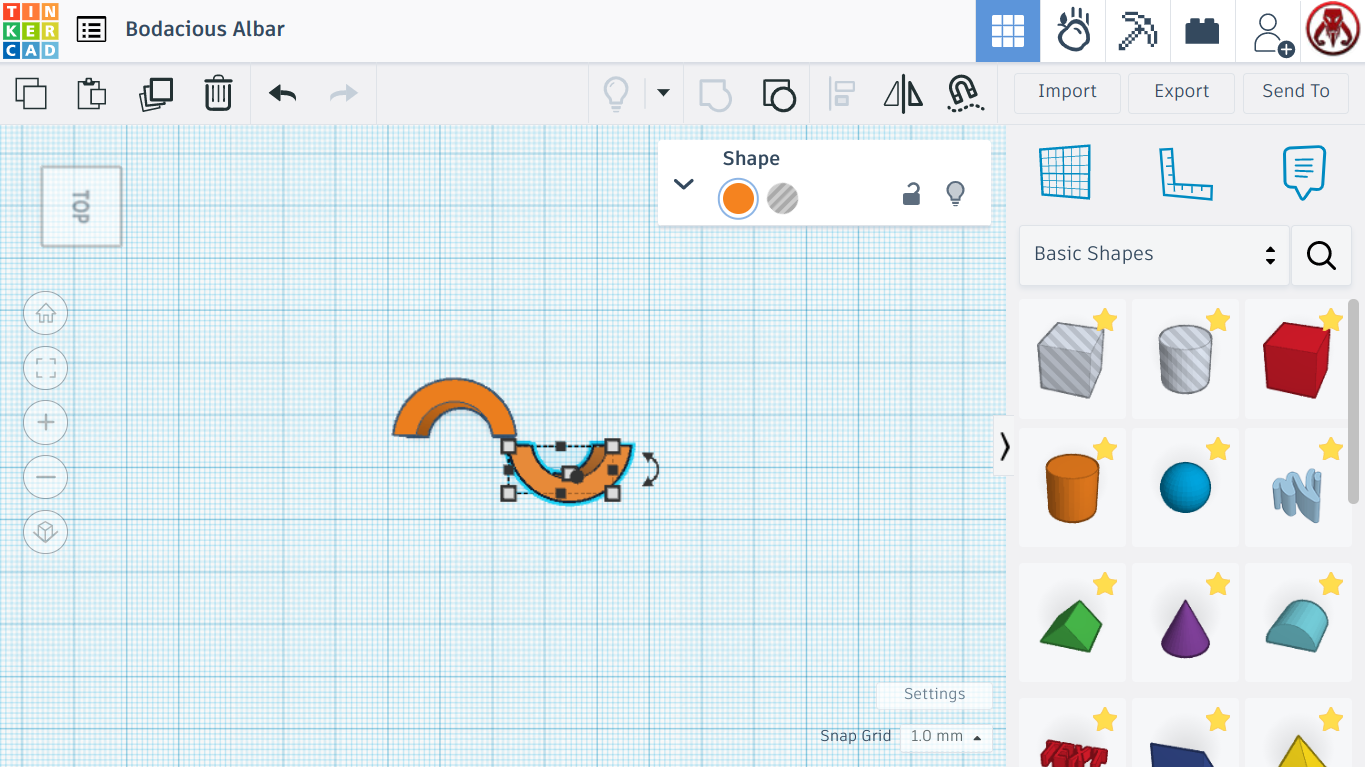
Now select the arch, and using the duplicate and repeat button, duplicate the arch, flip it 180 degrees, and get it lined up with the original one, so it looks like the one in the picture above. Then, if you click the duplicate and repeat button again, it should keep the chain going until you have a long line, like the picture above.
Making It Longer and Thinner
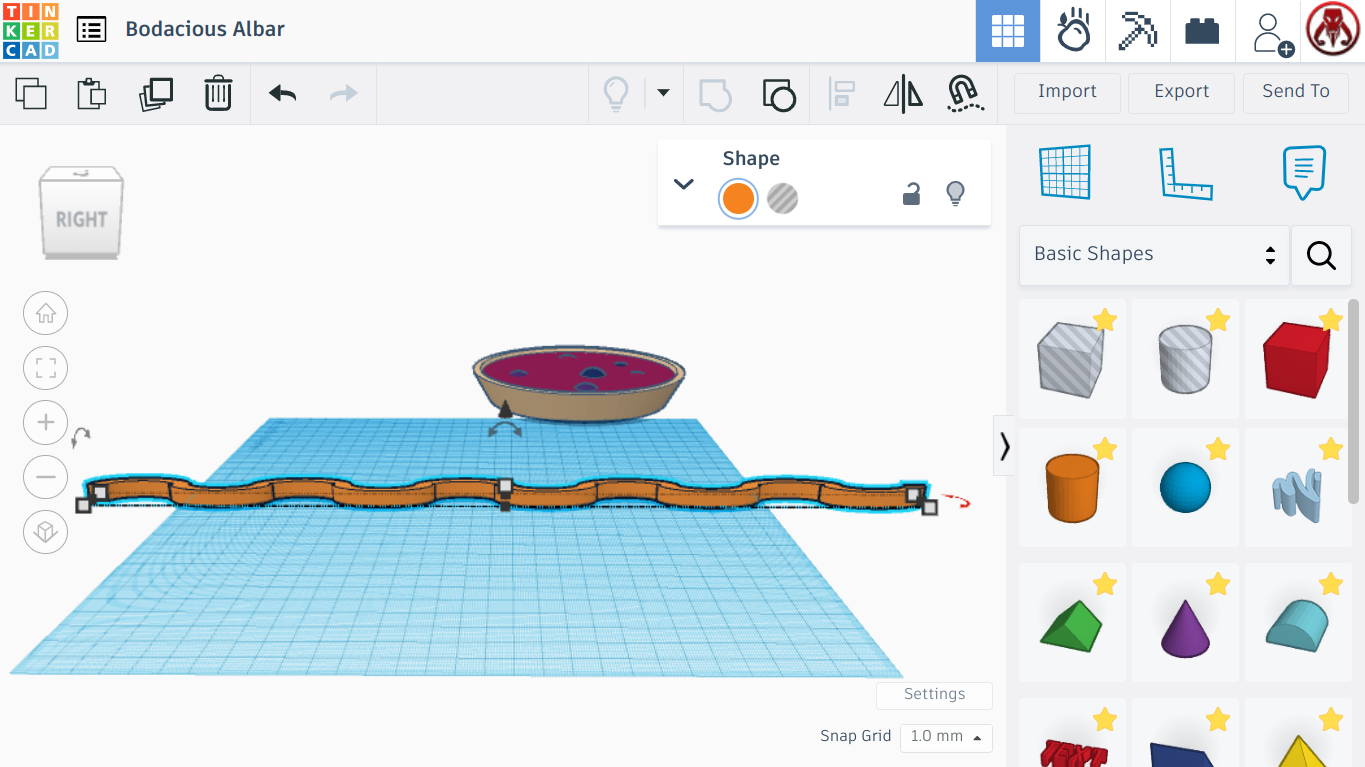
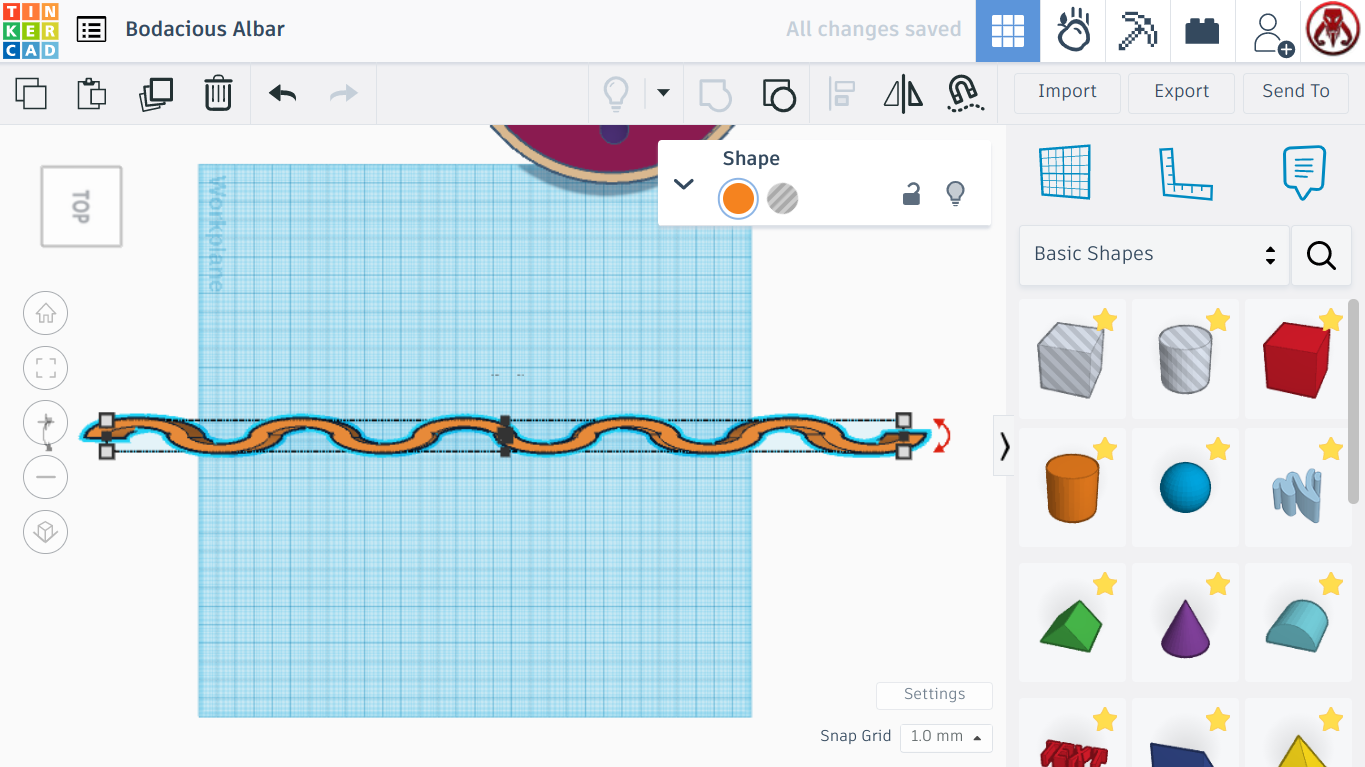
Now you can select the chain of arches and group them together, then stretch it out, like in the picture above. Then go down to side view, and scale it down to a height of 8.00. Then flip it so the arches are facing up.
Duplicating
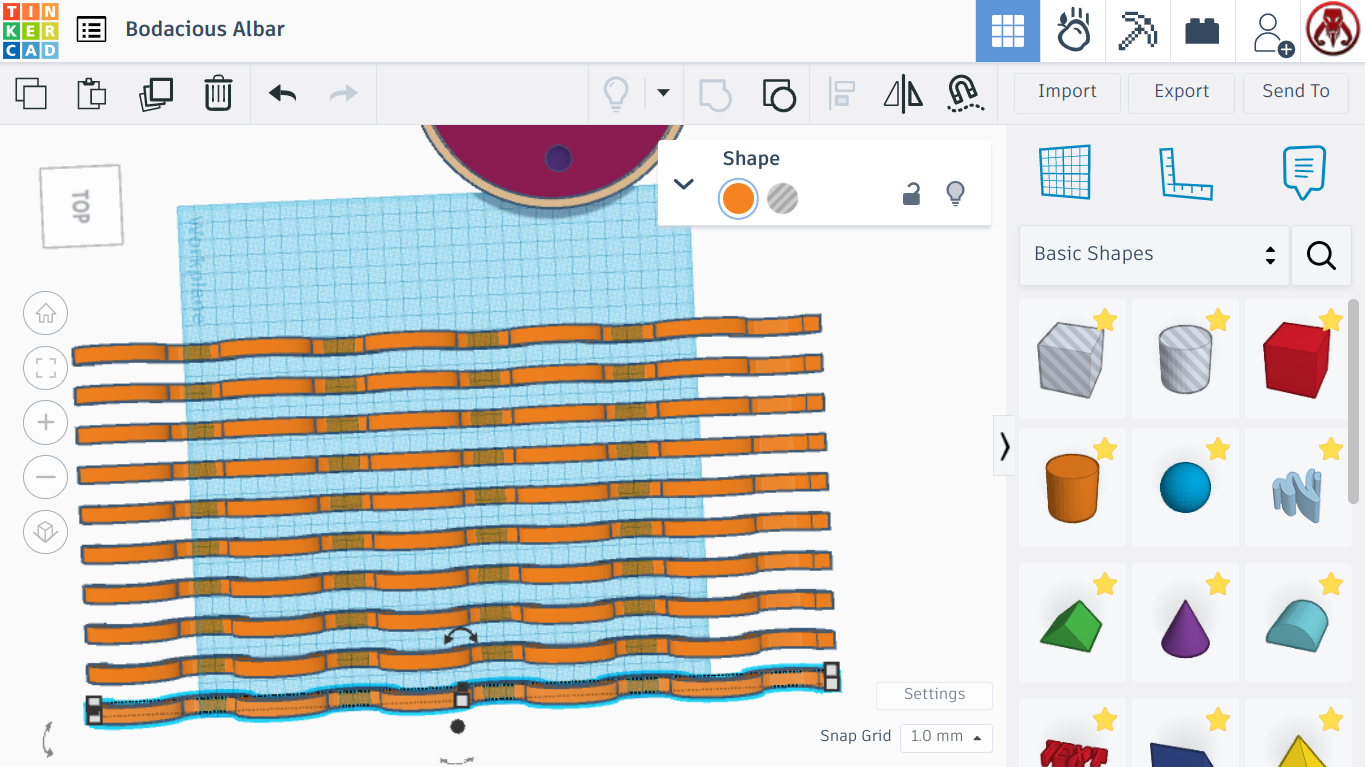
Now select the arches and duplicate them with the duplicate and repeat tool, leaving small spaces in between. You don't need very many.
Duplicating [again]
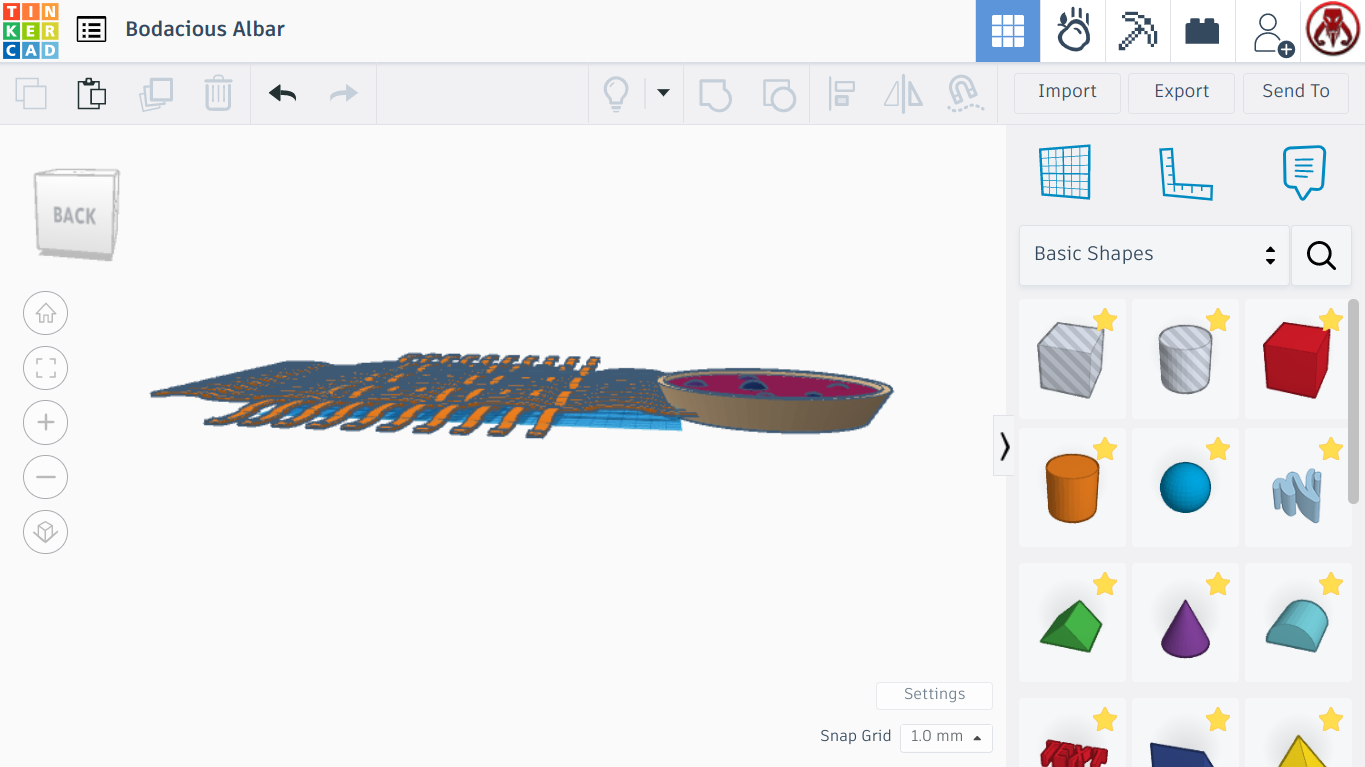
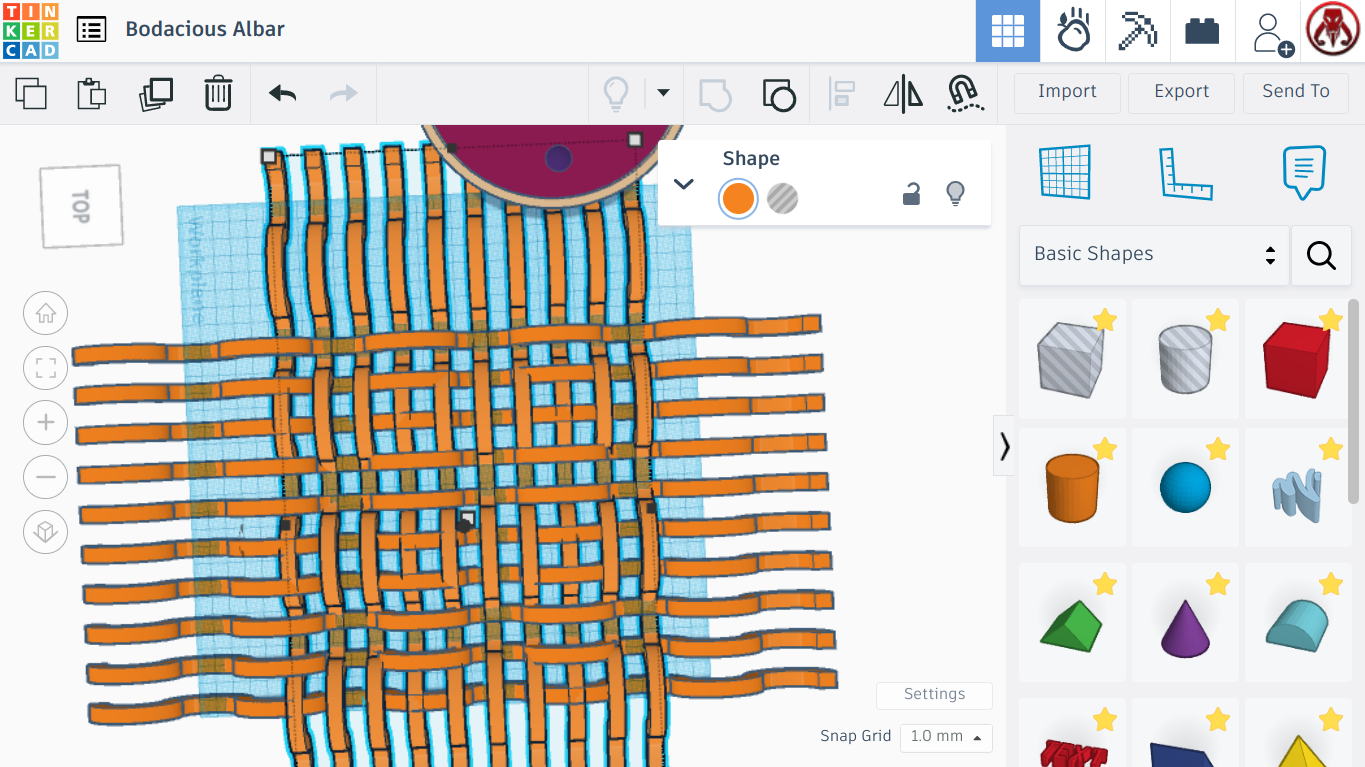
Now group all your arches together, then duplicate them and rotate the duplicated ones, making the lattice look. You can group those two together, and then scale the height up or down, depending on what you think looks best. I scaled it down to 4.50.
Making a Hole
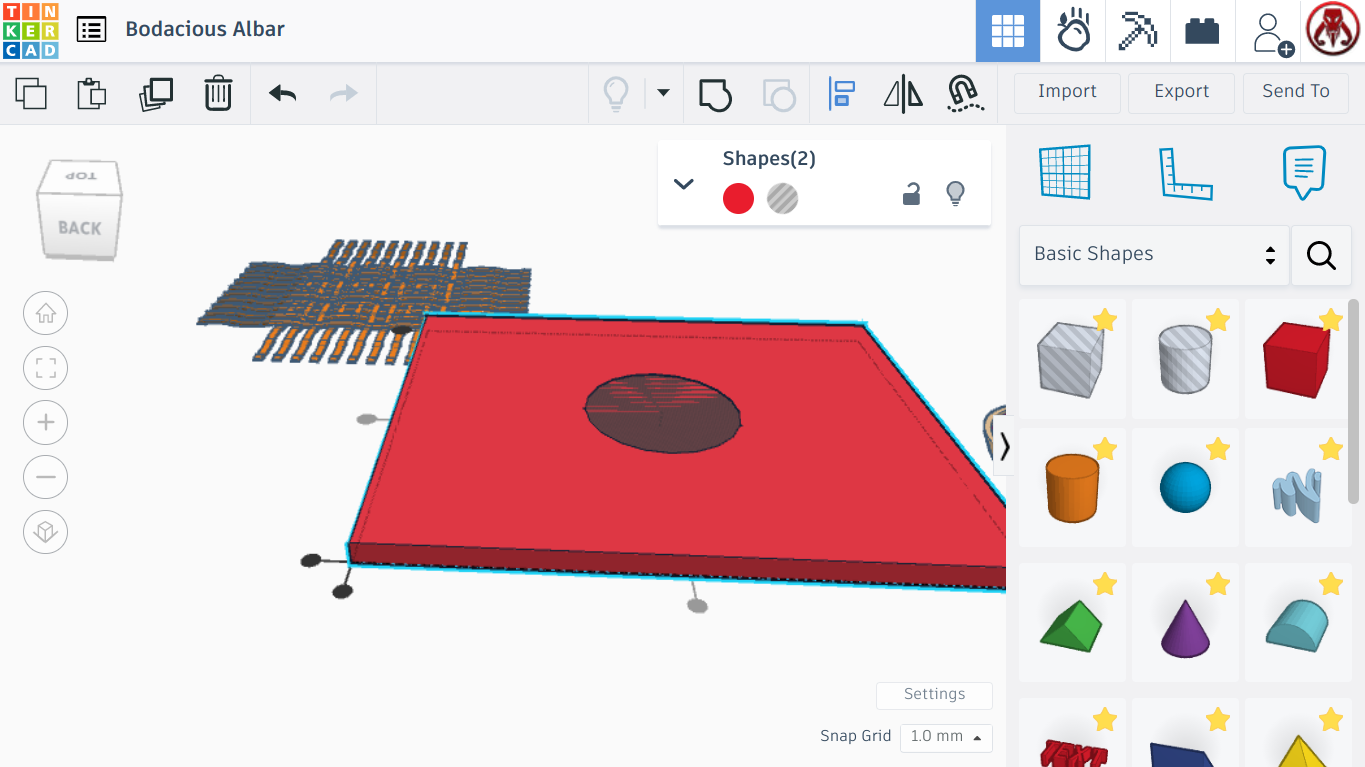
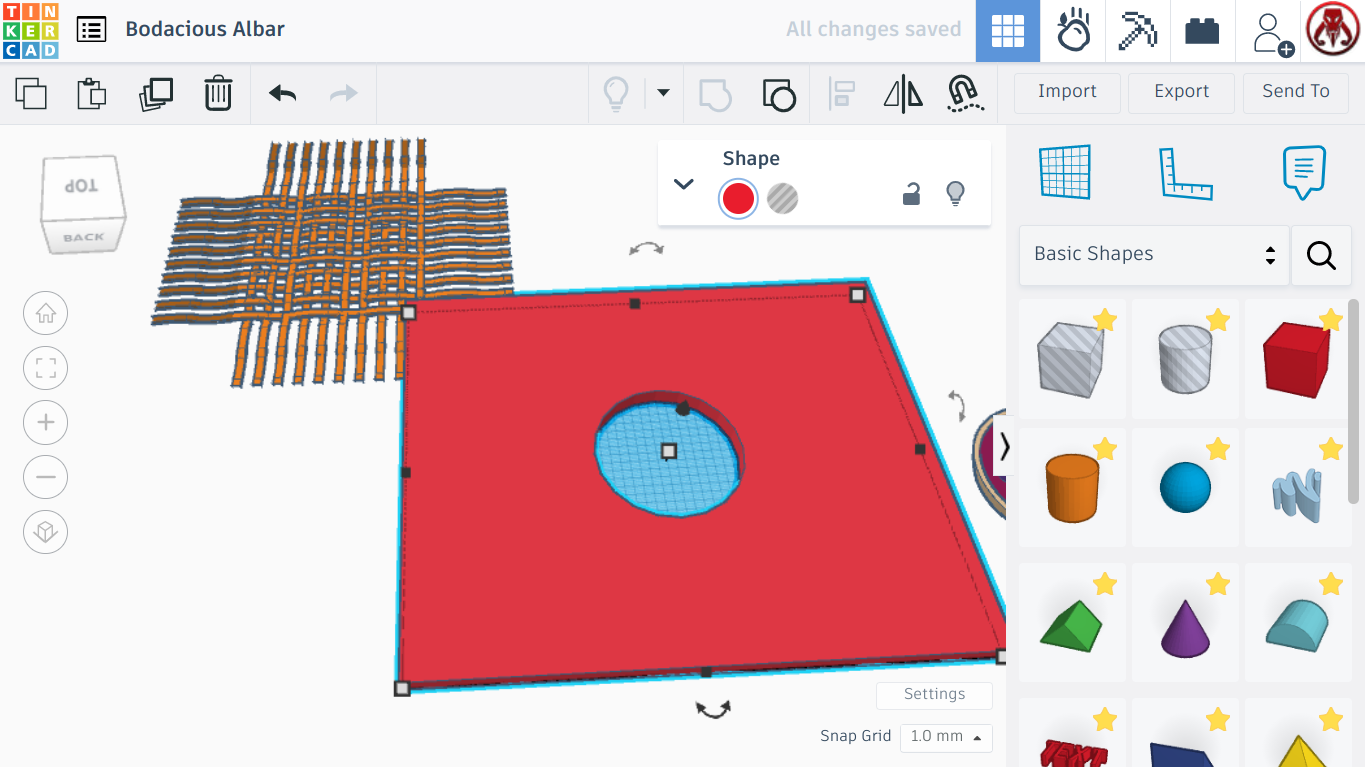
Next add a box from the shape panel, and scale it very wide, so it is bigger than the lattice pastry. Then add a cylinder and select "Hole." Then scale it up to 159.00 by 159.00 and use the align tool to put it in the middle of the box, then group them together, making a hole in the middle of the box. Also put "Sides" all the way up, to make the cylinder smooth.
Making the Lattice Circular
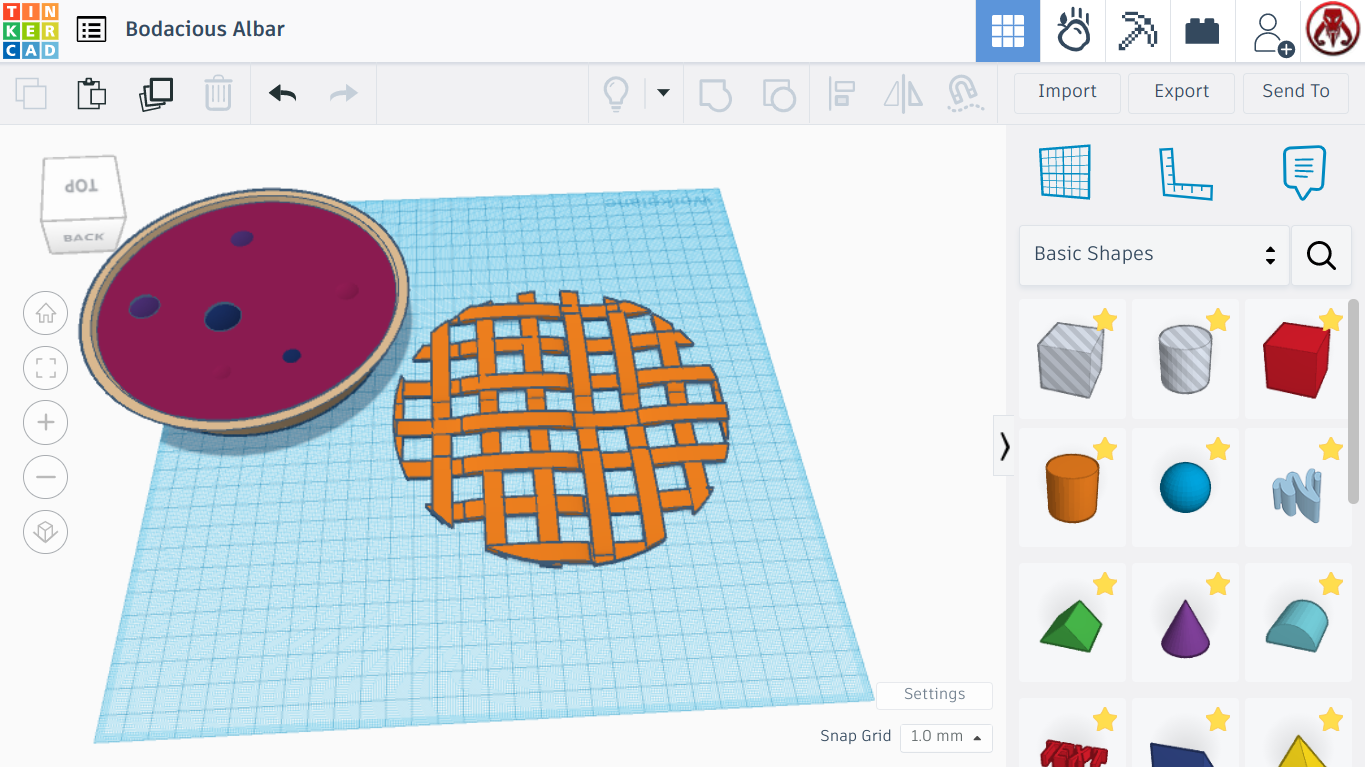
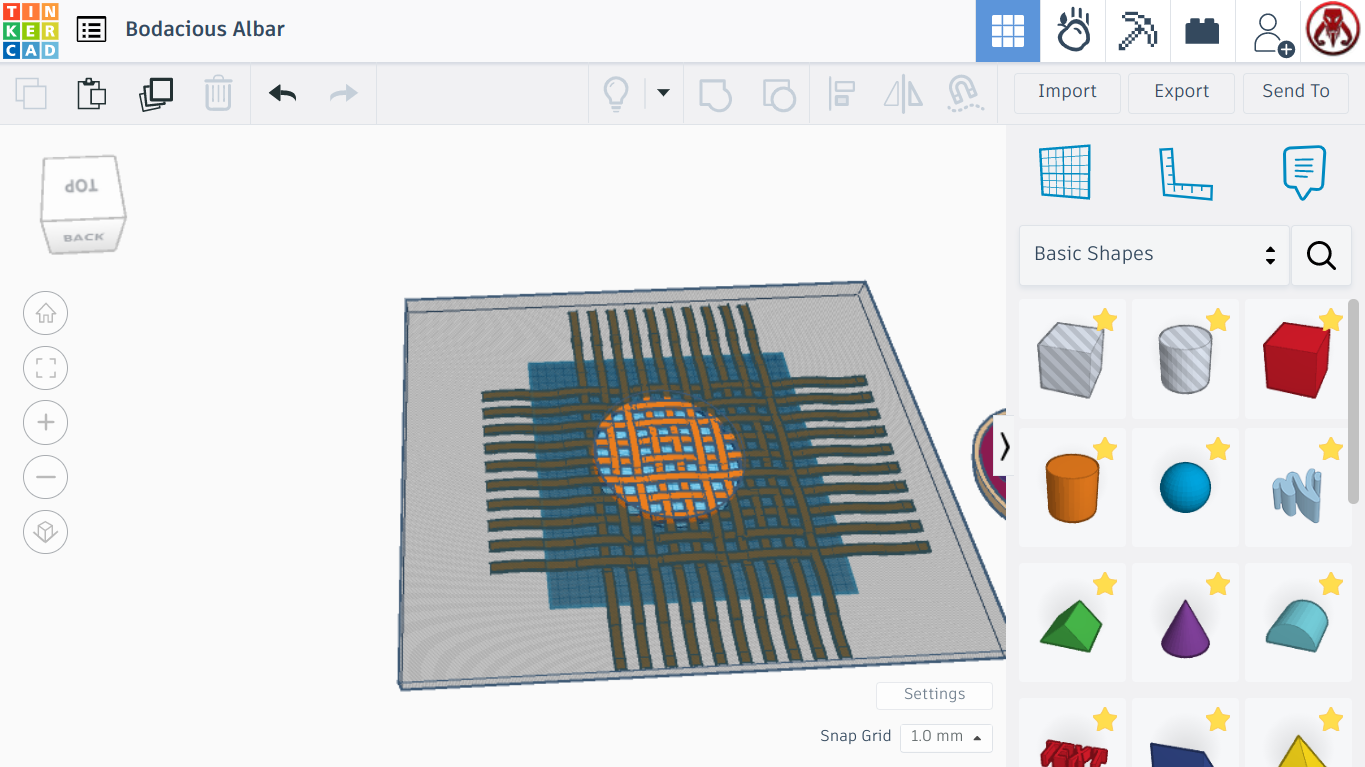
Now take your big box and put it over the lattice, then select "Hole." there will be a open circle in the box, this will make our lattice circular. Then group them together, and you will have a circular lattice, the same size as the top of our pie.
Putting Together the Pie.
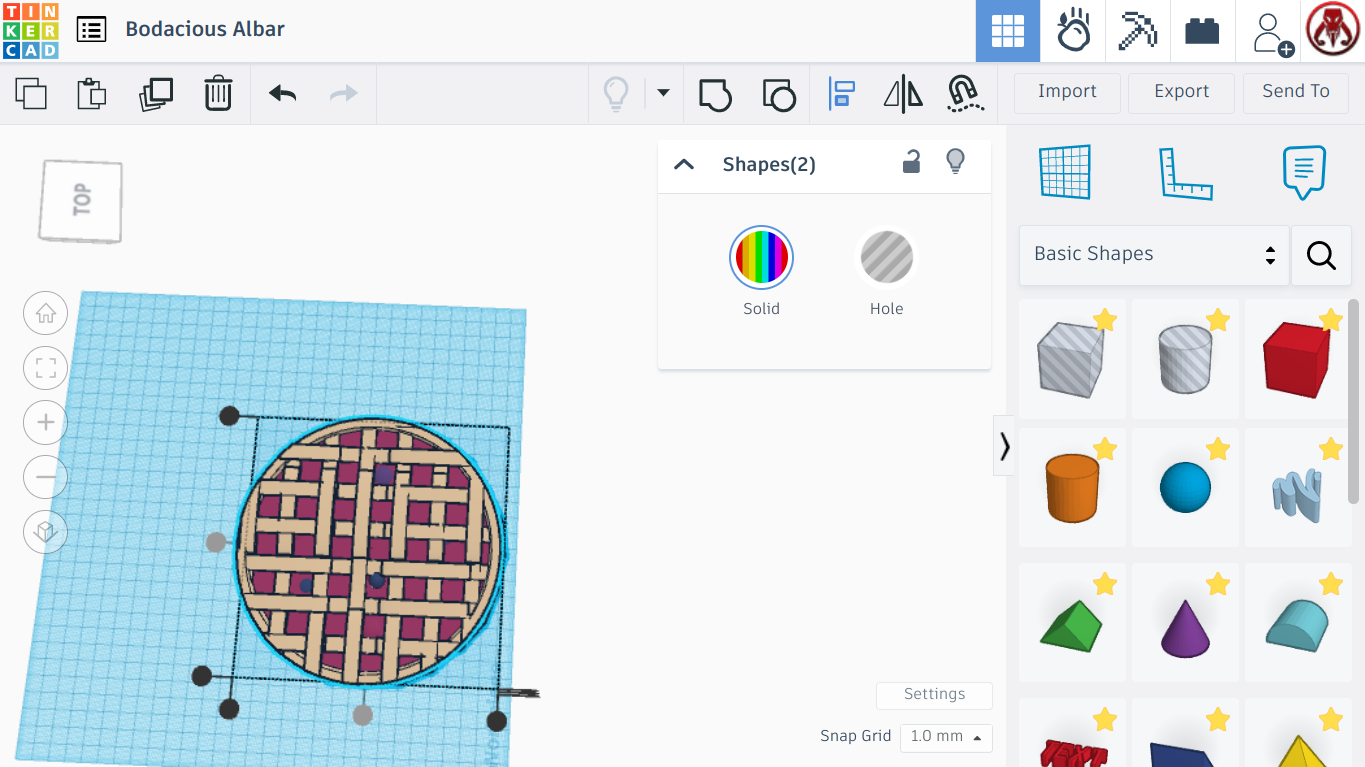
Now take the lattice, which is an orange color, and change it to the same tan as the pie crust, Then raise it so it sits on top of the pie filling, and use the align tool to put it in the middle perfectly. Some of the berries may overlap the lattice, so just move them around until it looks right.
Design on Side.
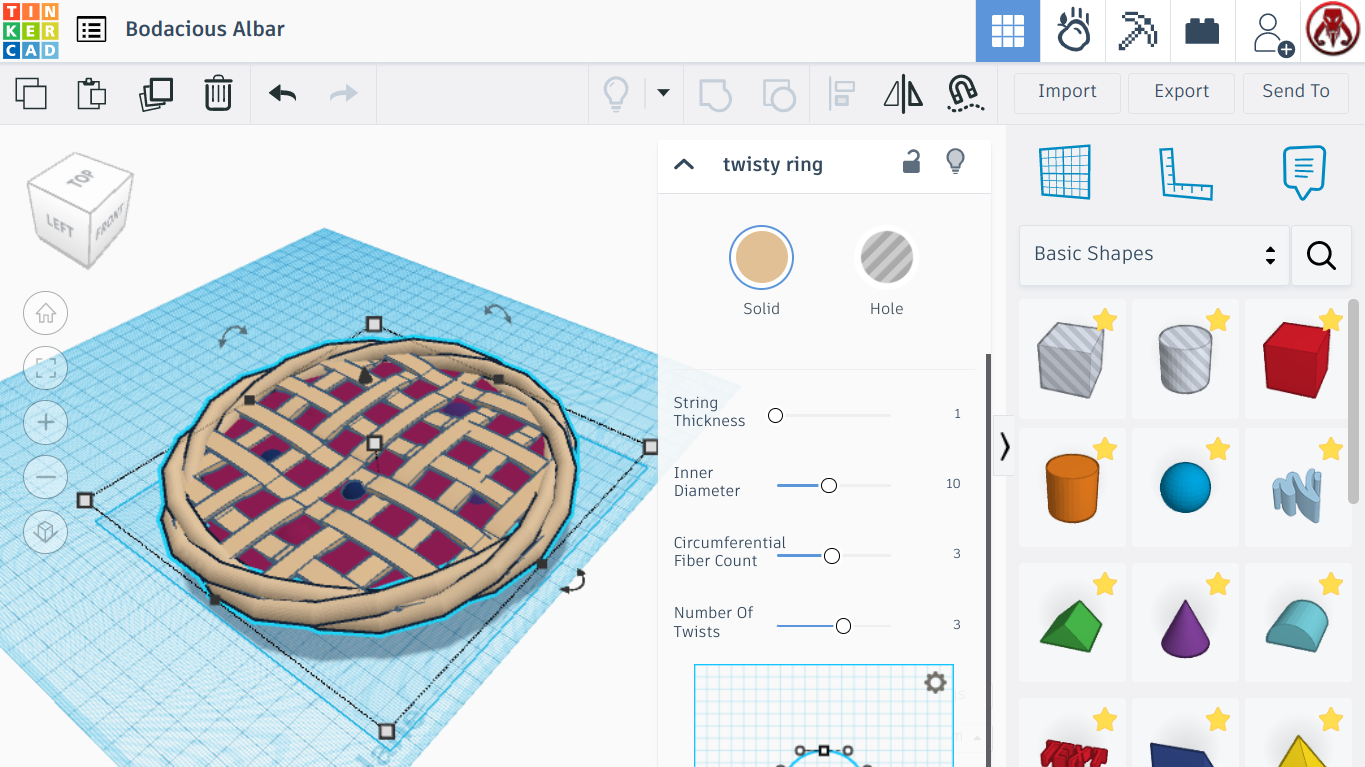
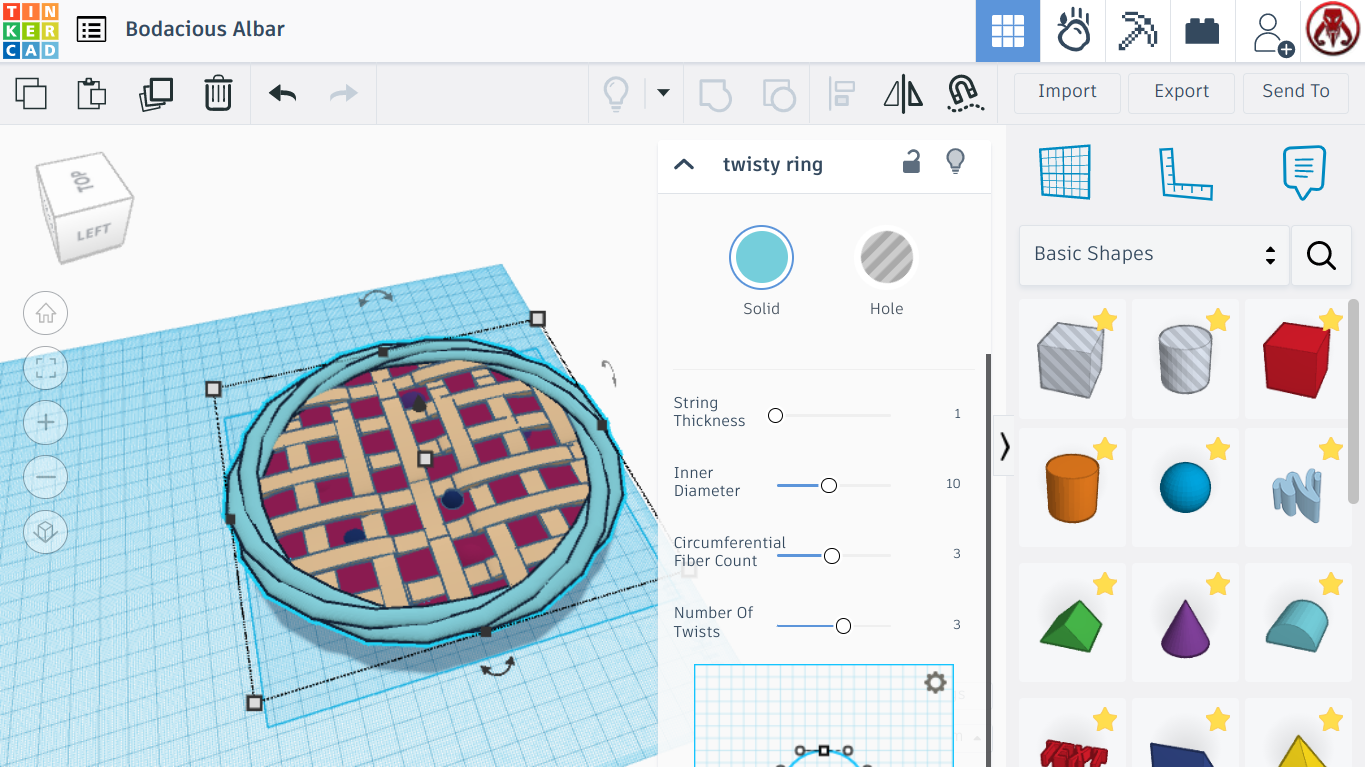
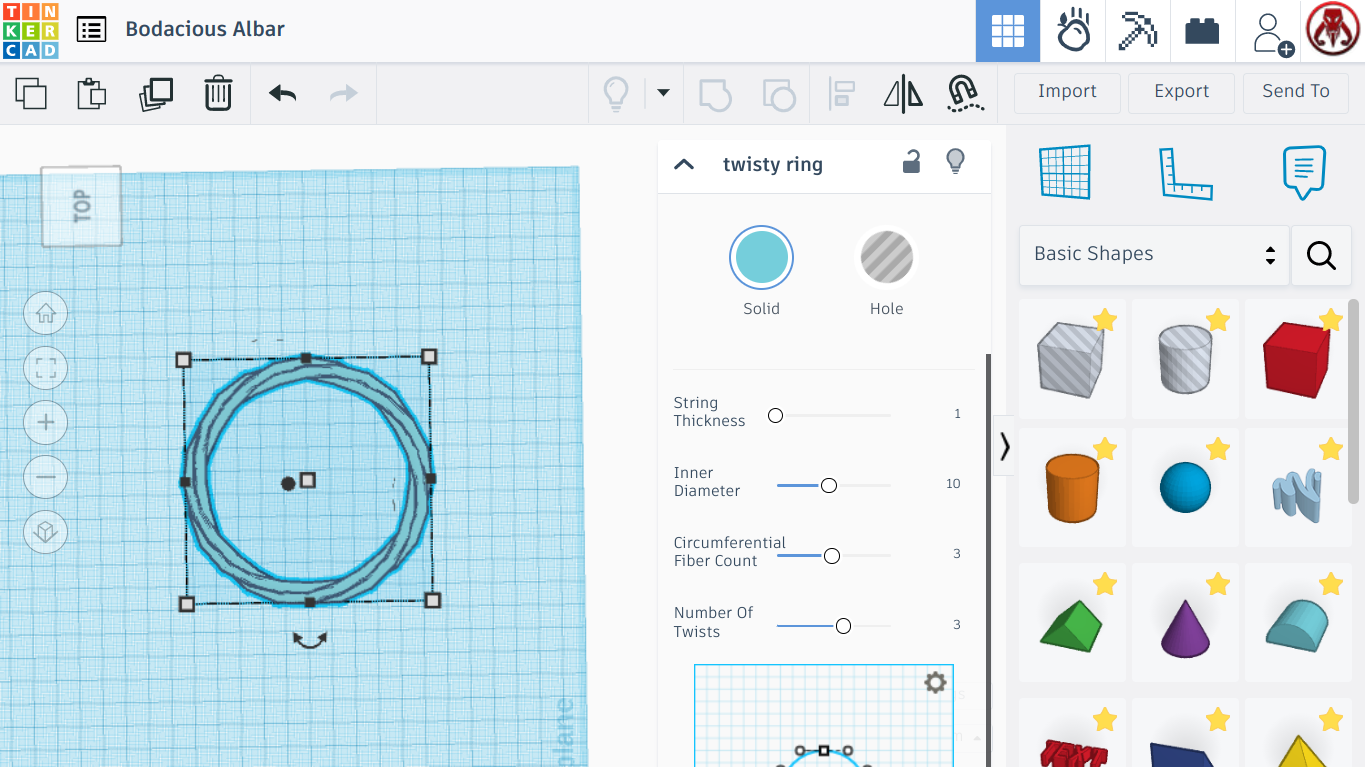
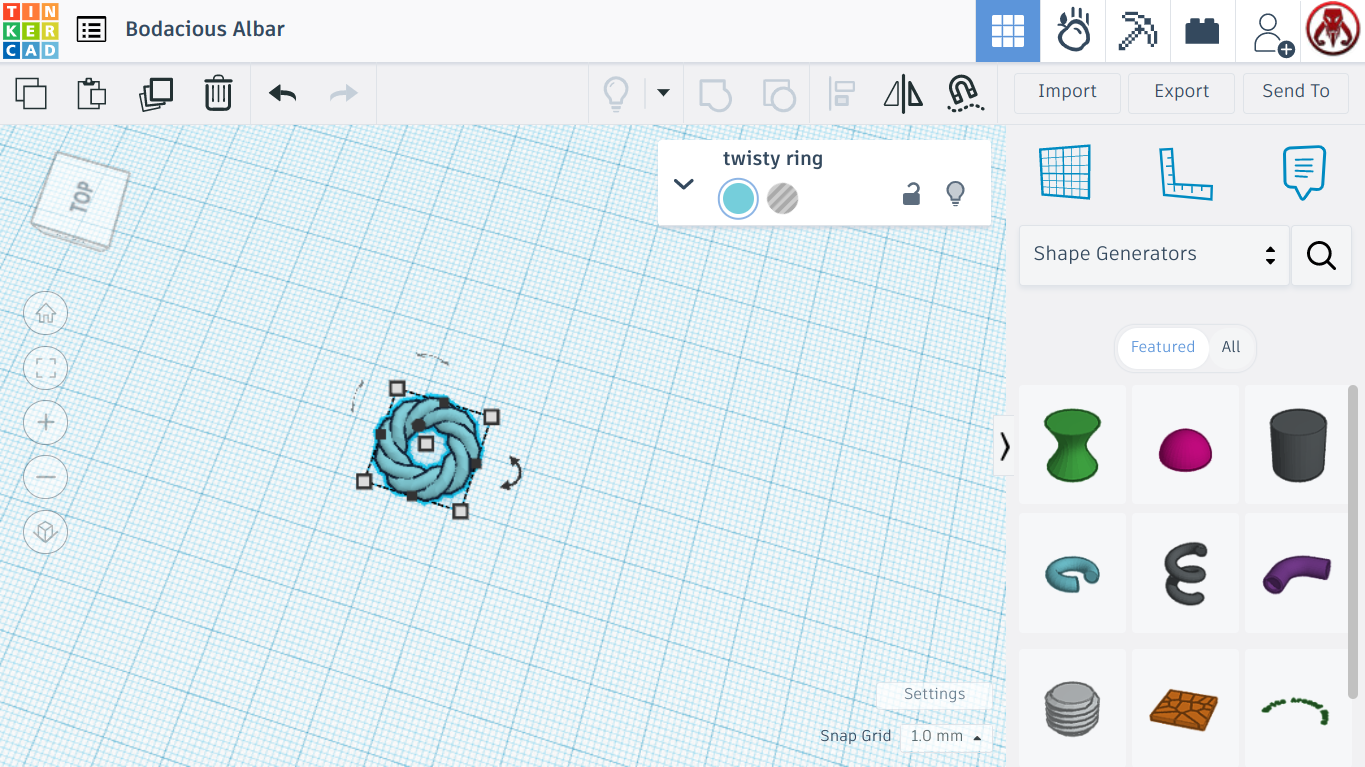
Now, you may have noticed that some of the lattice sticks out the side, so we will cover that up with a sort of dough design. Search for "Twisty Ring" in the shape panel, and add it to the work-plane. It will be very small, so size it up to 165.00 by 165.00, and now it will be very thin, but we can fix that later. Align it with the pie, then raise it to the top, and change the string thickness, until it has the desired look you want. Then change it to tan, and group everything. Now put in oven and bake for 10 minutes on high, and then you're finished. I hope you enjoyed this Instructables, it was my first one, and you can find me on Tinkercad as the Tinkerlorian.