Easy-Off Custom Canning Labels
by amtrudell in Cooking > Canning & Preserving
2696 Views, 37 Favorites, 0 Comments
Easy-Off Custom Canning Labels
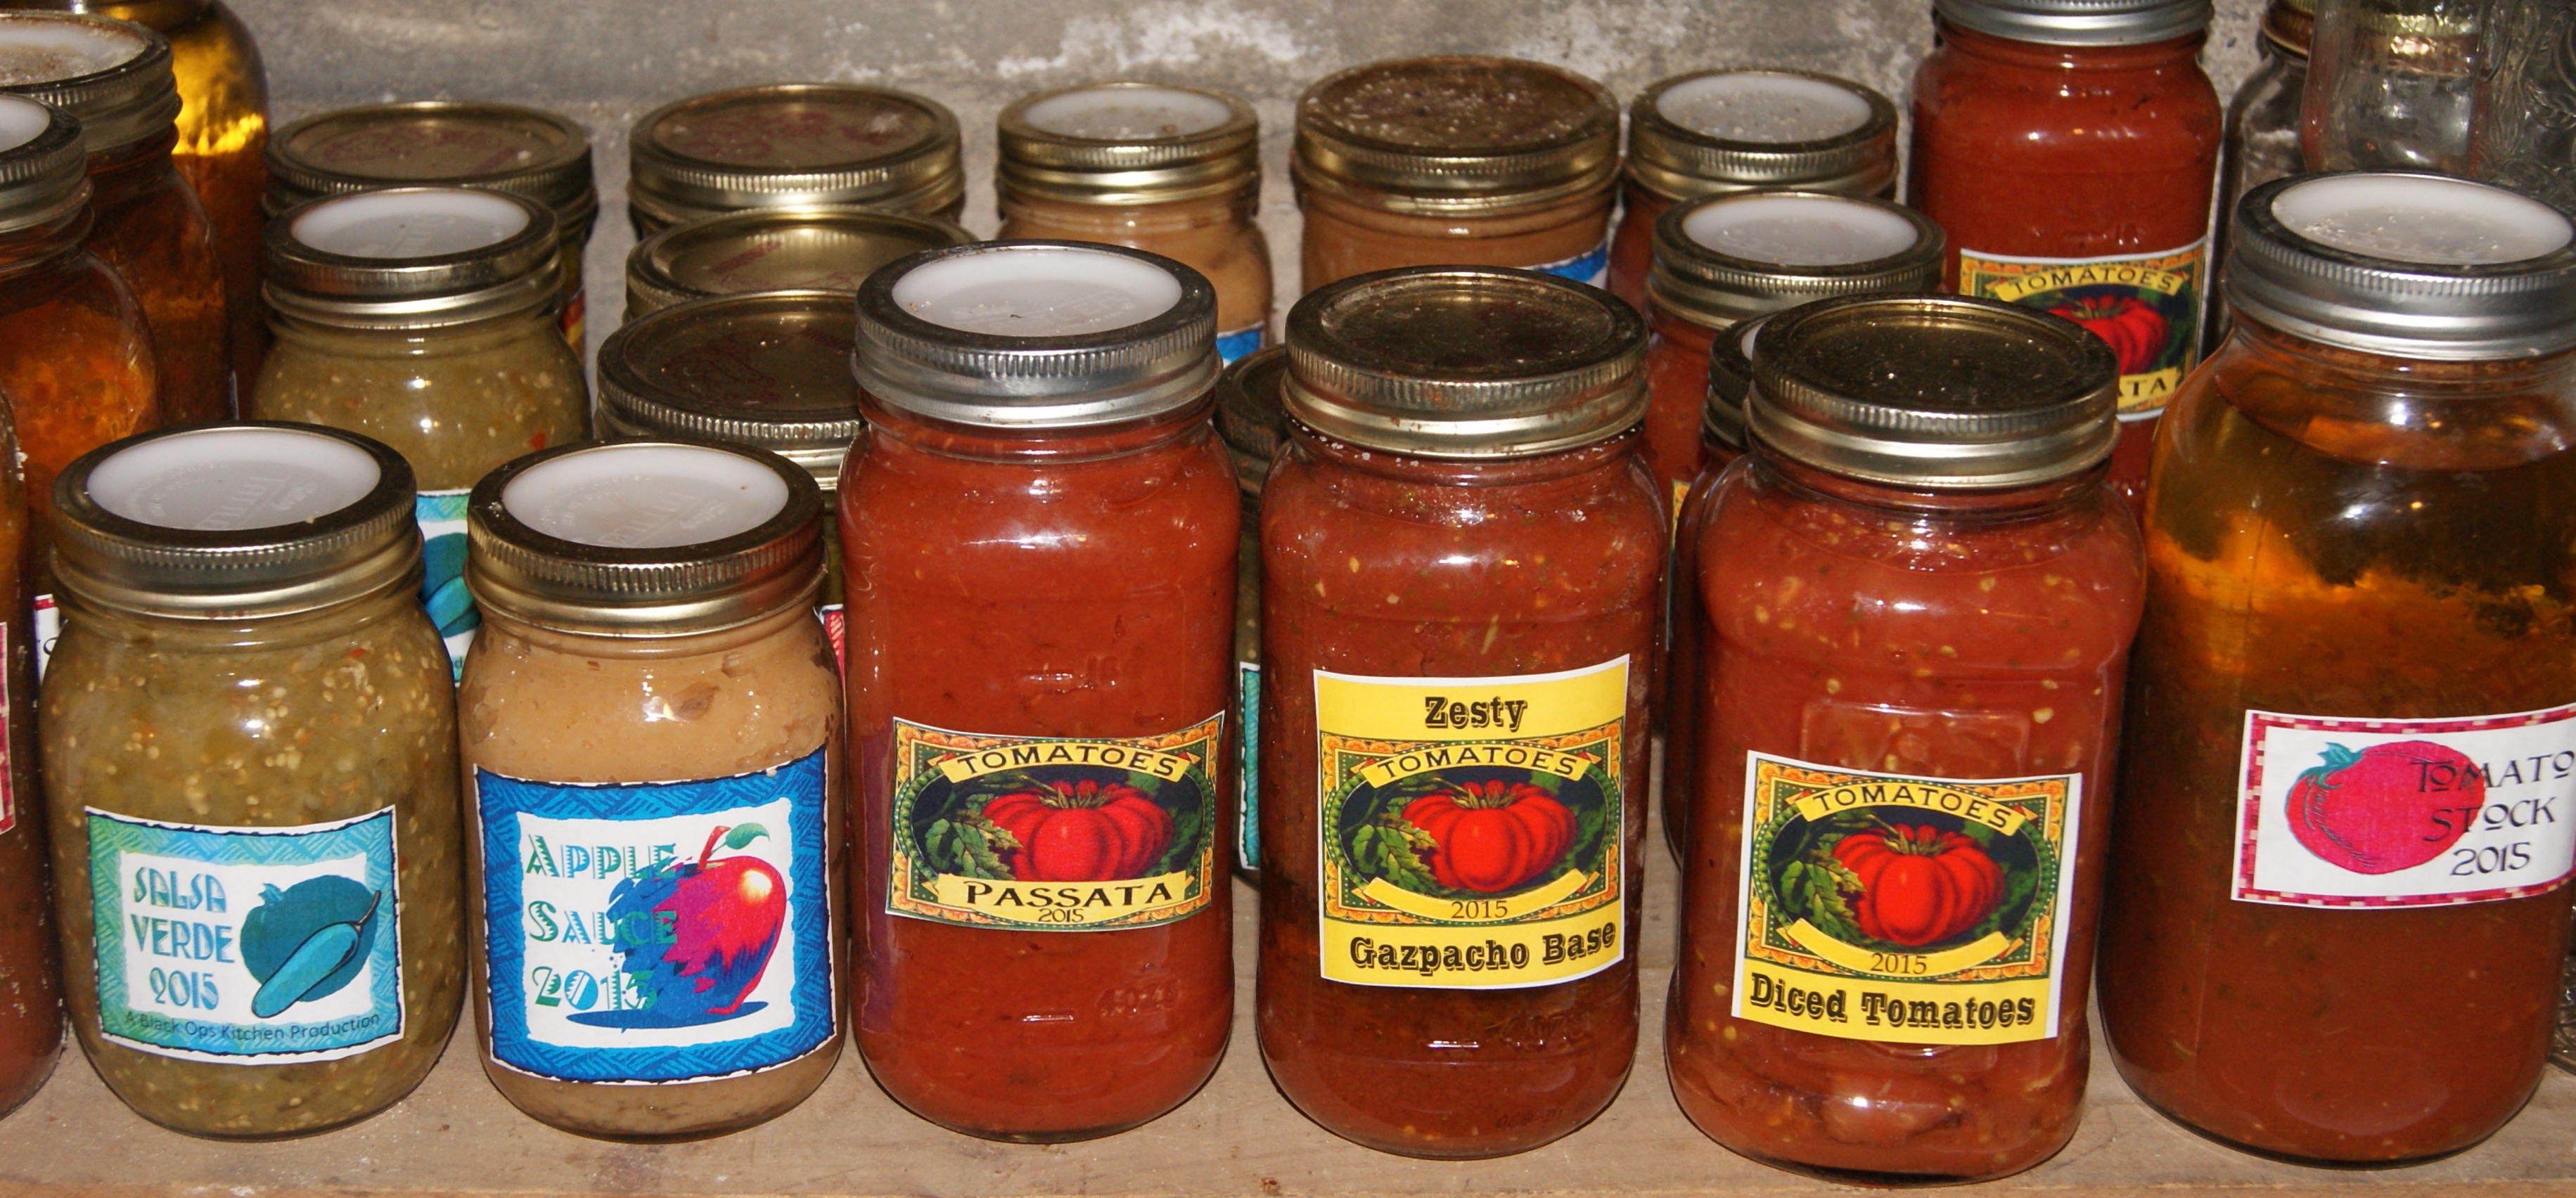
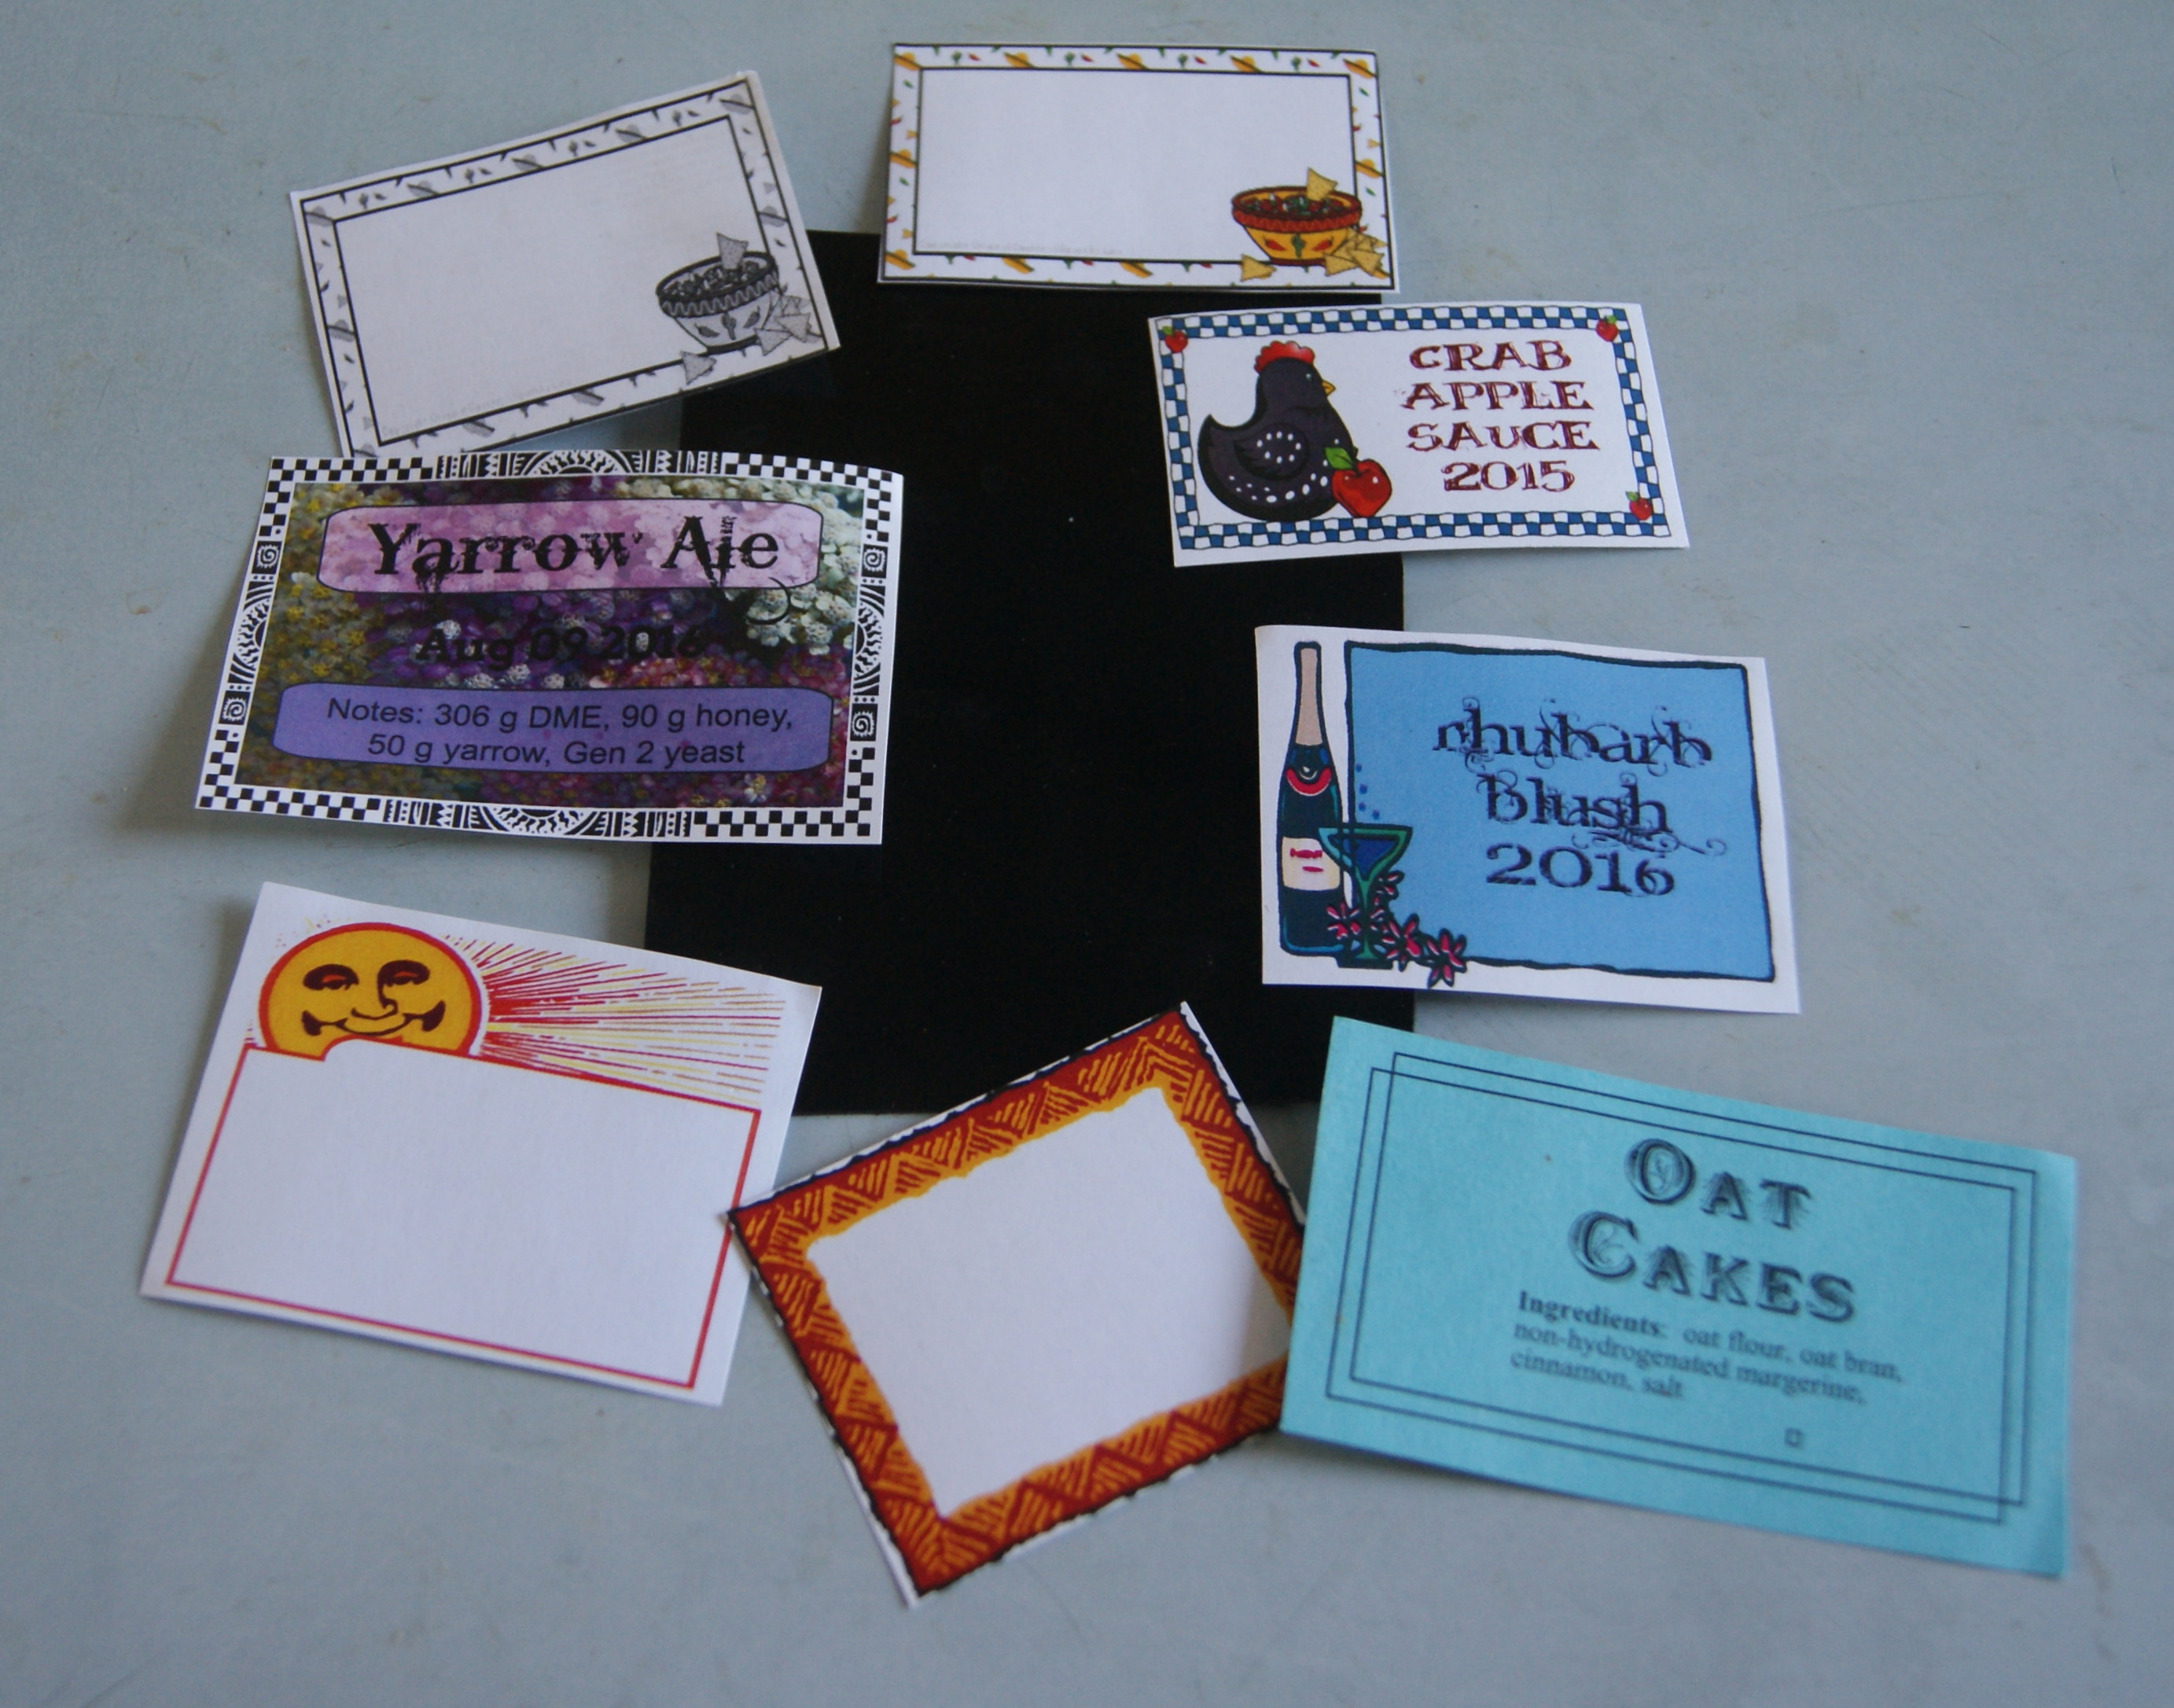
You can buy standard canning labels from Bernardin and they actually make them now to come off with water soaking. They're small (fitting in the oval of the jam jars they also sell), you have to fill them in, -- and they all look the same on a shelf.
There are a lot of free templates on web: a compendium of twenty sites. A lot of them, however, are for jar toppers -- nice for gifts, perhaps, or a table-top sell display, but in a pantry? I like labels at least the size of business card on the jar side so I can see what I'm getting when I shop my pantry: is that luscious red sauce for my pancakes Very Berry, Cherry Berry, or Mango Melba?
There are templates using Avery label sheets (hoping you will buy a package of them). The problem I have with Avery labels is getting them off the jar when it's empty and you want to reuse the jar!
I have no probem, however, with using Avery's Design & Print program and printing the design on plain paper. I then cut them out and secure them to jars with a washable glue. This Instructable tells you how to use the program, gives you some design basics regarding labels, and how to set up a labelling kit.
What You Will Need
To make your own custom canning jar labels you will need:
- Avery Design & Print program
- graphic resources (optional -- Avery has lots available to you. But there is ample free clip art and fonts out there, plus Dover publishes compendiums of royalty free graphics in various forms that you can purchase.)
- bond paper
- printer: colour or black and white; a laser printer is cheaper to operate
- scissors or paper cutter
- glue stick with washable glue: often promoted as good for school. Don't use a glue stick marked as being permanent if you plan to recycle jars frequently. I used to use school white glue (which is washable), but it is messy to apply and take off jars.
- scrap plastic with a smooth surface you can set a single label on to apply the glue stick (then wash up between uses)
- roller or gel pen to write on remainder labels where you've left off the content name
Download and Install Avery Design & Print

Avery offers Design & Print as an on-line utility or a program you can download for PCs/Macs or tablets (if they have print capability). With the PC/Mac version you can save your projects to your hard drive as well as to an on-line account. I do like the flexibility of being able to create labels without being on-line.
The PC download is 448 MB. It is an executable that does the install. You will need that access on your machine. All of the templates and graphic elements that are accessible in the on-line version are also accessible in the PC version. You can also access fonts, graphic files (.jpg, .jpeg, .svg, .png, .bmp), and photos (20 MB limit) from your system.
Label Design Essentials
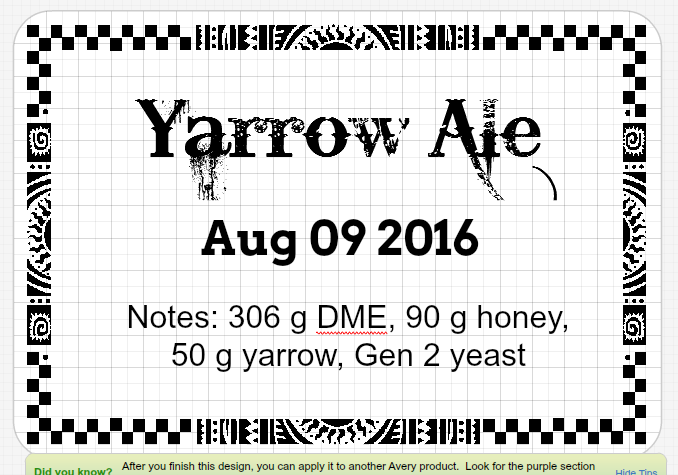
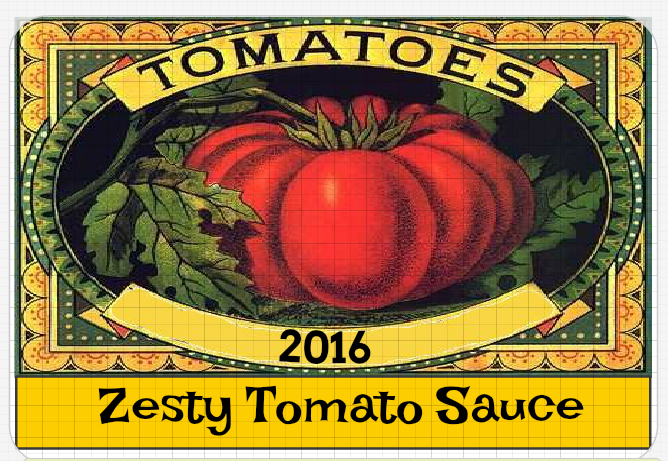
The most basic design elements for a label are:
- bounding outline (you'll be cutting to this)
- jar contents name
- preservation date
You can also add:
- further information such as ingredients
- a coloured background for text
- an image graphic
The label templates do not provide you with a cutting line. They are set up to print exactly onto pre-cut label sheets. You can use a frame graphic or rectangular outline to set one up for yourself on the plain paper you are using for your labels.
In the black and white label I used a frame graphic to provide my label edge, a content name with a display font, a preservation date with a conventional font, and notes text in a smaller conventional font.
In the coloured label, I defined my label edge with a vintage can label graphic and a coloured background rectangle for the content name. The preservation date is curved slightly to fit the arc in the graphic.
Starting Up Avery Design & Print

These instructions use screen shots from the PC version of the product.
The Home screen gives you five active buttons:
- Start a New Project
- Open a Saved Project -- either one you've saved to your hard drive or on-line
- Check For Updates -- program updates, including new templates
- Sign Up -- if you want to save on-line projects
- Sign In -- if you want to access saved on-line projects
Starting a New Project or Using a Saved One
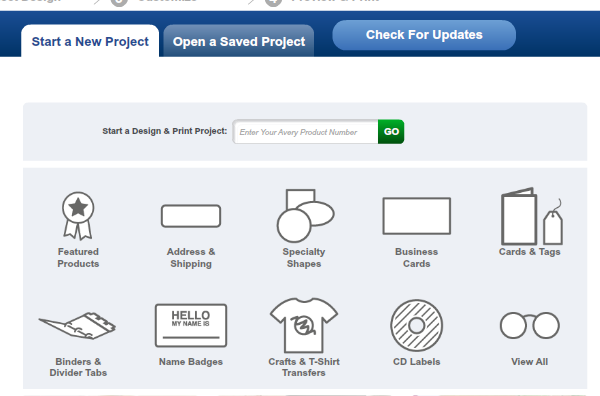
When you select "Start A New Project", four tabs become active across the initial screen:
- Select Product
- Select Design
- Customize
- Preview and Print
The label templates I use most often are those for business cards (10 per page) or name tags (8 per page). You can start with some background art already set up or with a blank.
After you select a product (a particular business card layout, for example), the design templates for it plus a blank template are displayed.
Once you select a design, the Customize screen becomes active.
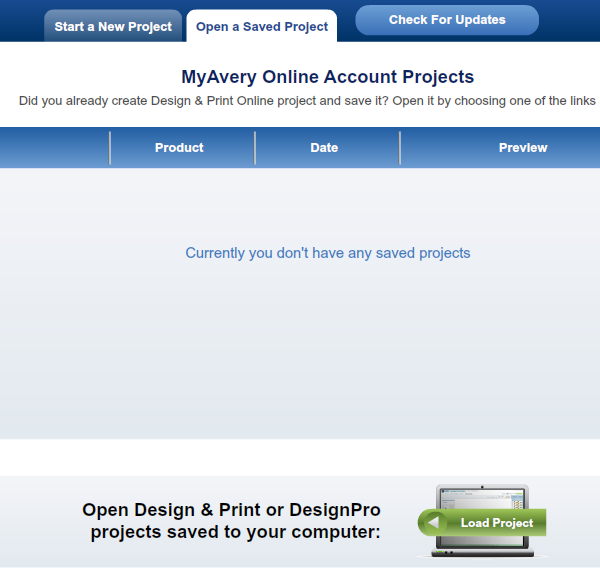
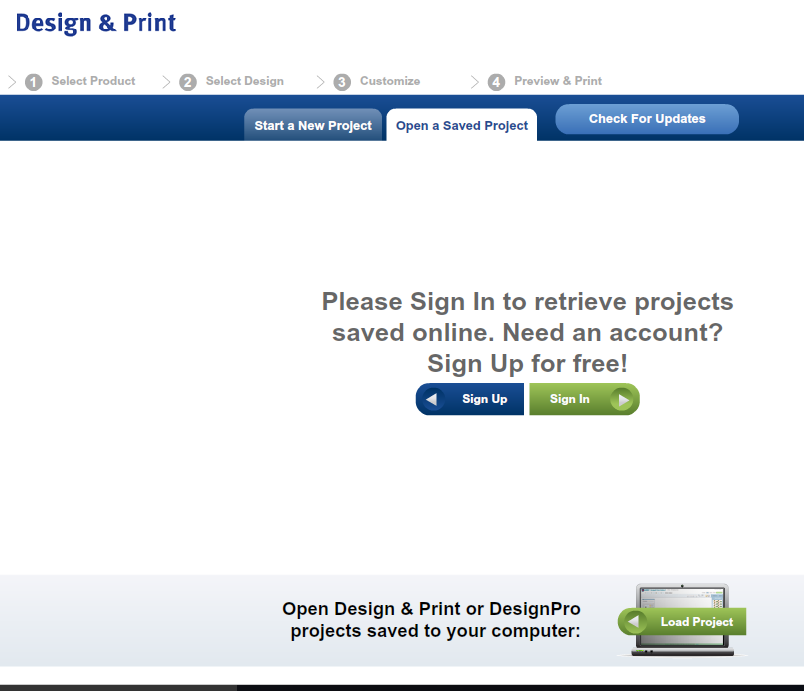
When you select "Open a Saved Project", you will have the option to start a new account you can save projects to, open an existing account to view saved projects, or load a saved project from your computer.
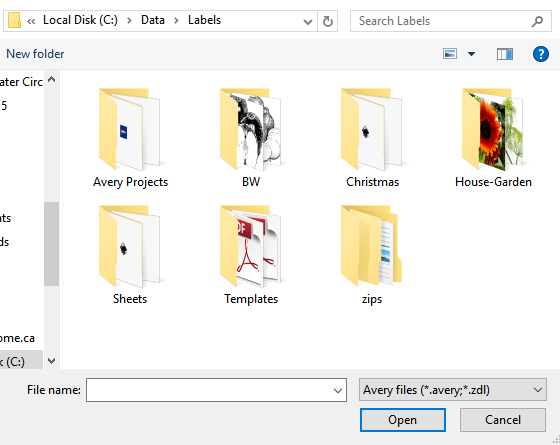
If you elect to load from your computer, a file browsing window comes up with the last directory you accessed from with Avery Design & Print. I'm showing my Labels subdirectory in which I store Avery projects, label sheets I've designed in Inkscape, PDF templates, black and white clip art, Christmas clip art, Garden photography, and zip files of free vector clipart.
Once you select a project, the Customize screen becomes active with the project loaded into it. This means you can save label designs from year to year and reuse them after editing the preservation date. You can also have a project master that you can change the jar content name (using different colours and/or fonts if you like). I have tomato, spicy condiment, and jam masters that I use.
Customizing Your Design
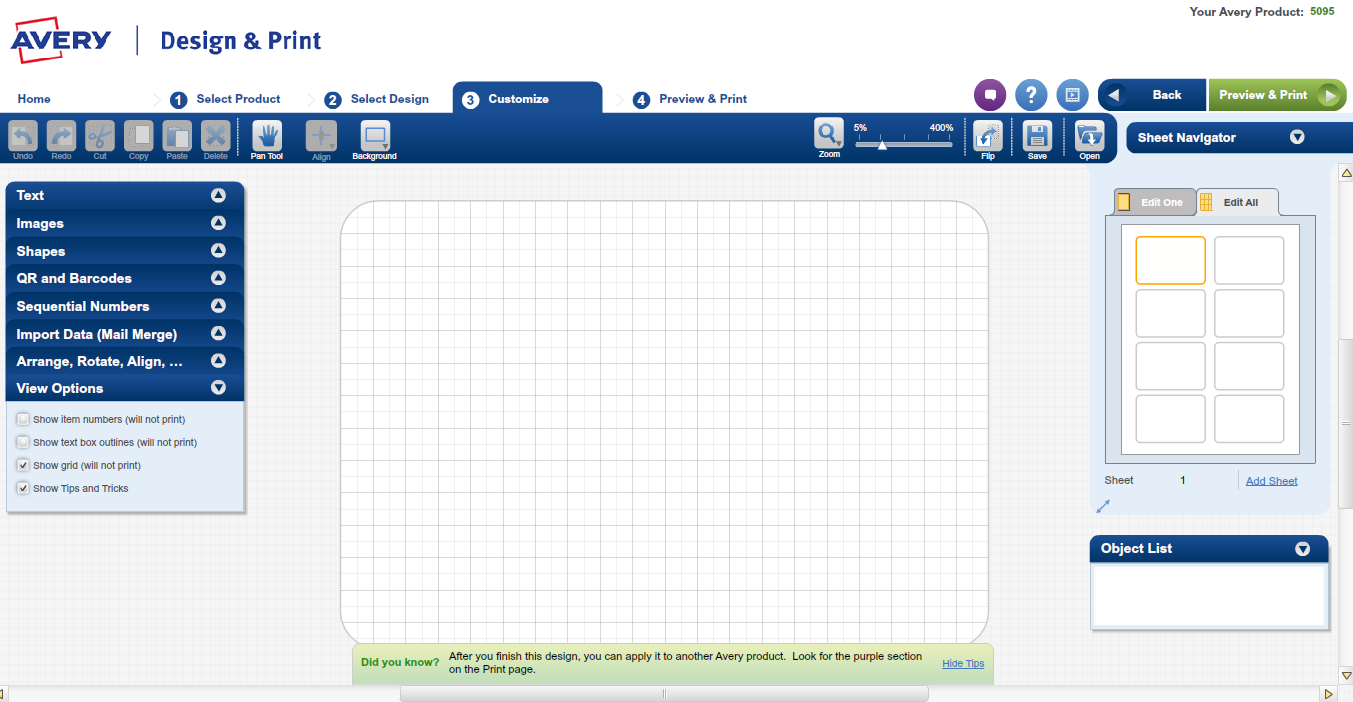
The first picture is of the Customize screen for a new project with a blank label. I made notes on it. The interface has functions on that will be familiar to you if you used a graphics editor such as Picassa or Inkscape.
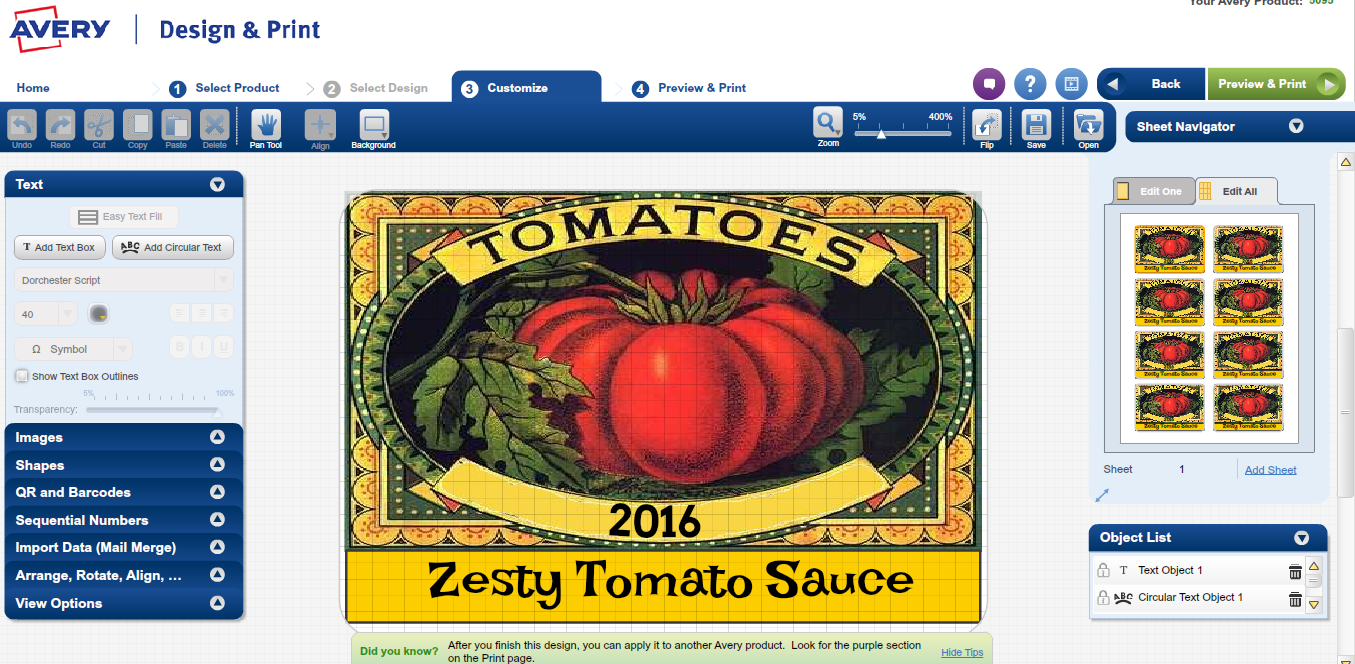
The second picture is of a saved project loaded into the Customize screen. You can make changes to it as you like or simply proceed to previewing and printing. The changes you make can be for this print session only (don't save changes), or to the original project (save changes), or to another project (simply change the project name in the Save screen), leaving the original as is.
The left hand menu has your major editing dropdowns. The three I use most frequently are Text, Images, and Shapes. If I am doing a large label with a lot of small elements, I might use the Arrange, Rotate, and Align dropdown.
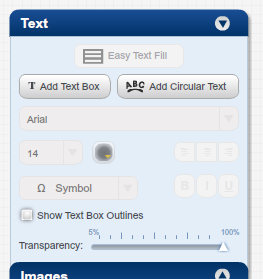
You can select the Text dropdown, but its functions won't be active until you either add a text box or select one. Avery has a nice font set -- and the list ends with a button you can use to access the fonts on your computer system. When a font is selected, the Bold, Italic, and Underline buttons may activate if those qualities are available in the font. Font sizes go from 4 to 720. Font colors are standard RGB hexadecimals with a honeycomb color picker as well. Text can be aligned left, center, or right. You can set a transparency level for your text object. Adding circular (curved) text is easy. The Undo button is on the extreme left of the upper tool bar -- go ahead and play!
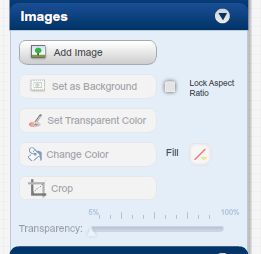
The Image dropdown requires an image already on the label to be selected or an image to be added for its functions to be active. Images may be added from your computer, the Avery Gallery, Facebook, or Instagram. Supported formats are .jpeg, .jpg, .bmp (raster files), .png (raster/vector hybrid), or .svg (vector, in which rasters can be embedded). Image files are limited to 20 MB each. When an imageon a label is selected, it can be replaced by another image. Once an image is loaded, it can be set as the label's background, cropped, have a colour set to be transparent, or have a colour changed to another.
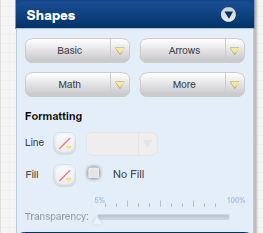
The Shape dropdown has four palettes of shapes you can select from: Basic, Arrows, Math, and More. Once selected, the shape can be placed where desired on the label and resized, There are formating functions to define the outline width and colour, the colour of its fill (if any), and its degree of transparency. A rectangular shape with a thin dark outline and no fill is the simplest frame you can use for your label on bond paper.
Creating a Label With Image, Text, and Shape
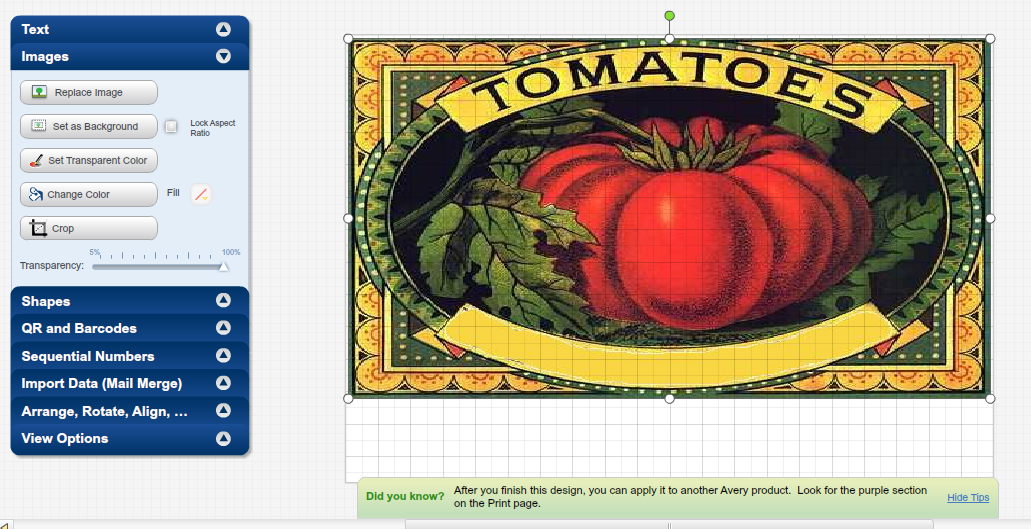
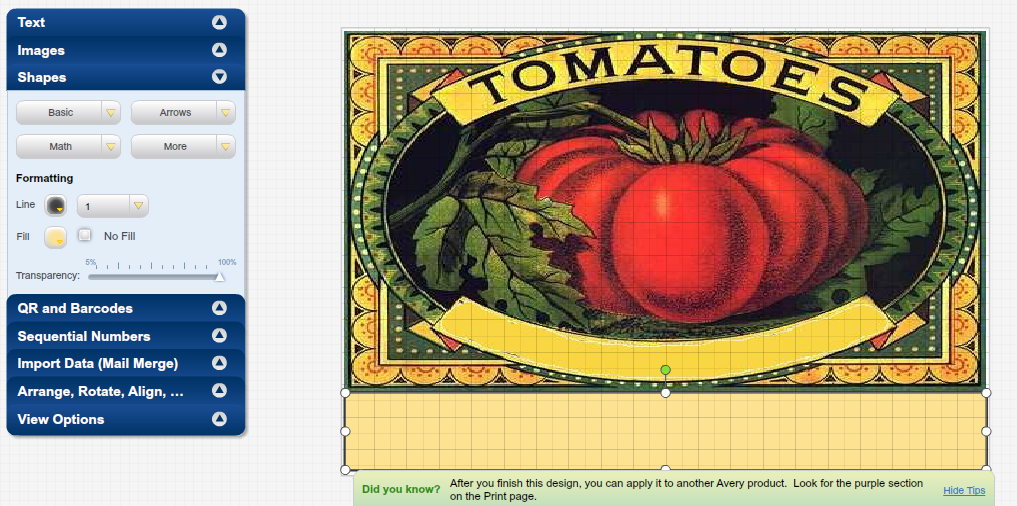
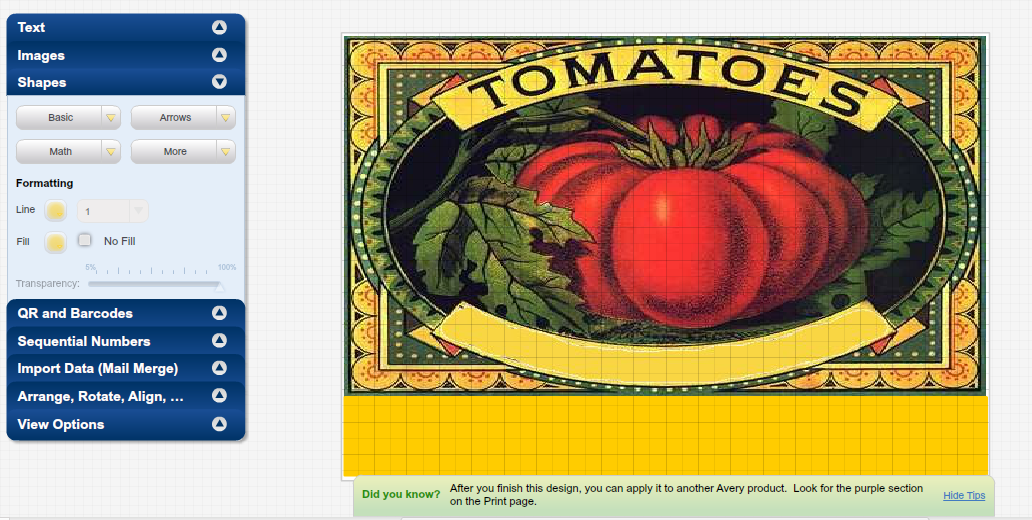
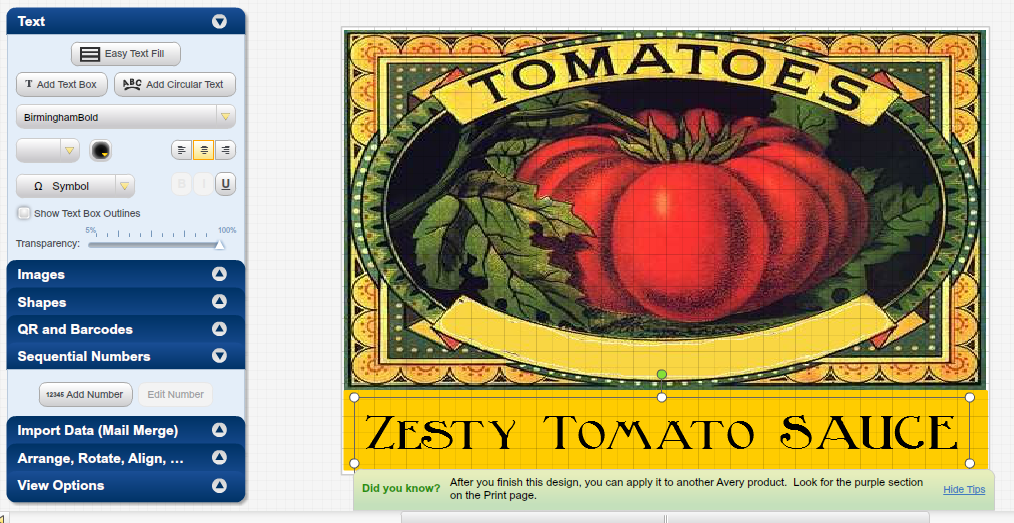
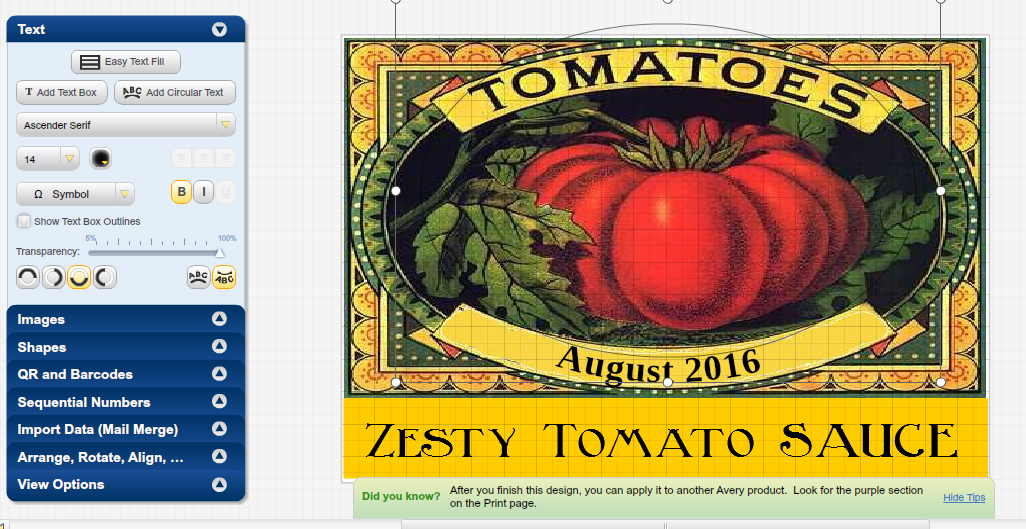
For my tomato jar label I selected a name tag product and a blank design. Here's how I put the label together:
- Using the Images dropdown, I added a vintage image that I had on hand. I resized it to fill most of the label, leaving a space at the bottom for the name of the jar contents.
- Using the Shapes dropdown, I added a rectangle from the Basic palette. The shape shows up in the middle of the label on top of the image. I move it to the bottom of the label and resize it to fill the space.
- Using the Formatting functions in the Shape dropdown, I fill the rectangle with yellow and use the same yellow for the shape's outline. I leave the shape opaque.
- Using the Text dropdown, I add a text box and move it to the yellow rectangle. I decide to use a font on my system: Birmingham Bold (the last font in Avery's list is a button calling up the system font list). Setting the font size to 15 fills the block nicely. I decide to leave it the default black.
- I click the "Add Circular Text" button to create curved text for the preserving date. I click the south quadrant button and the text-under-the-curve button to set up the curve. I decide to use Avery's Ascender Serif in Bold. I enter the text and move it to the curved banner under the tomato.
Altering a Subset of a Project
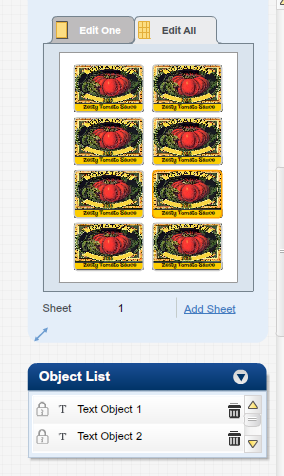
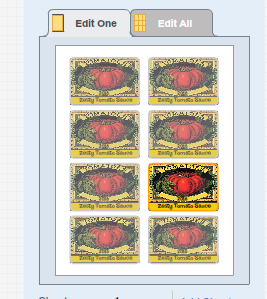
The default edit setting for the project is to edit all labels at once. You create one label on the design screen and 8 identical labels show up on the right side screen.
So you create 8 labels for Zesty Tomato Sauce and you only make 5 jars, what do you do? You can save the extra labels for the next batch you make. Or you can switch to Edit One mode and either blank out the text on the three extra labels, one label at a time, or enter new text, say for Organic Passata that you're making tonight or tomorrow.
When you are in Edit One, the label that is highlighted is the one you are editing. If you are changing more than one label, you can do a Ctrl-C (copy) on the first text change, highlight the next label, select its original text and Ctrl-V (paste) the new text over it.
Printing and Saving Your Design
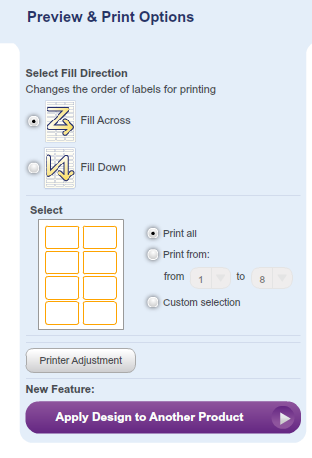
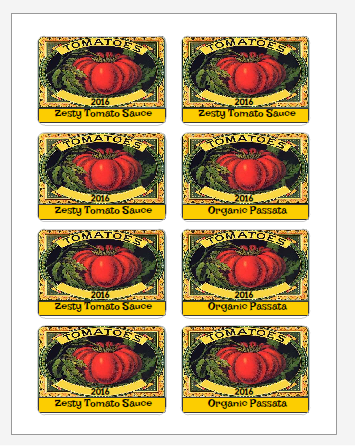
The Print & Preview screen defaults to printing all the labels on the sheet, going across (by row):
1 2
3 4
5 6
7 8
as opposed to going down (by column):
1 5
2 6
3 7
4 8
The selected order is important only if you will be selecting a range of labels to print: 1-4 with fill by row will print the top half of the sheet, while 1-4 by column will print the left half of the sheet. You can also turn labels on or off by clicking on them. The sheet preview will show what will be printed based on selections made.
The Printer Adjustment button is for correcting print placement on Avery sheets, but unless your printer is seriously misaligned so that portions of your labels go into its no print zone, you will not need to use this when printing on bond paper.
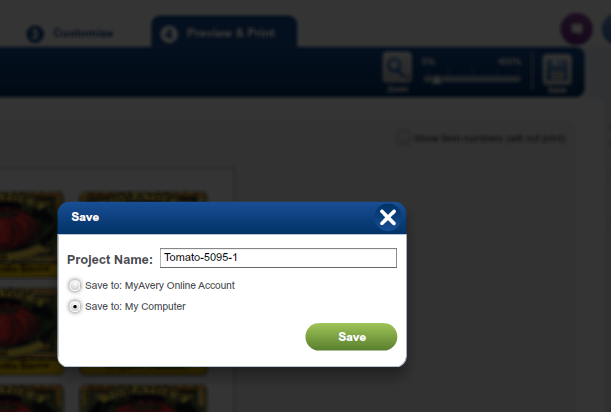
The Save button is on the extreme right of the bar above the sheet preview. It brings up a the Save screen with options to save either on line or to your computer. The default file name is "Avery-product number". You can change it to anything you like following the usual file naming rules. Hitting the Save button will link to your system's file saving dialog so you can navigate to the directory you want to save the project to.
Your Label Gluing Kit
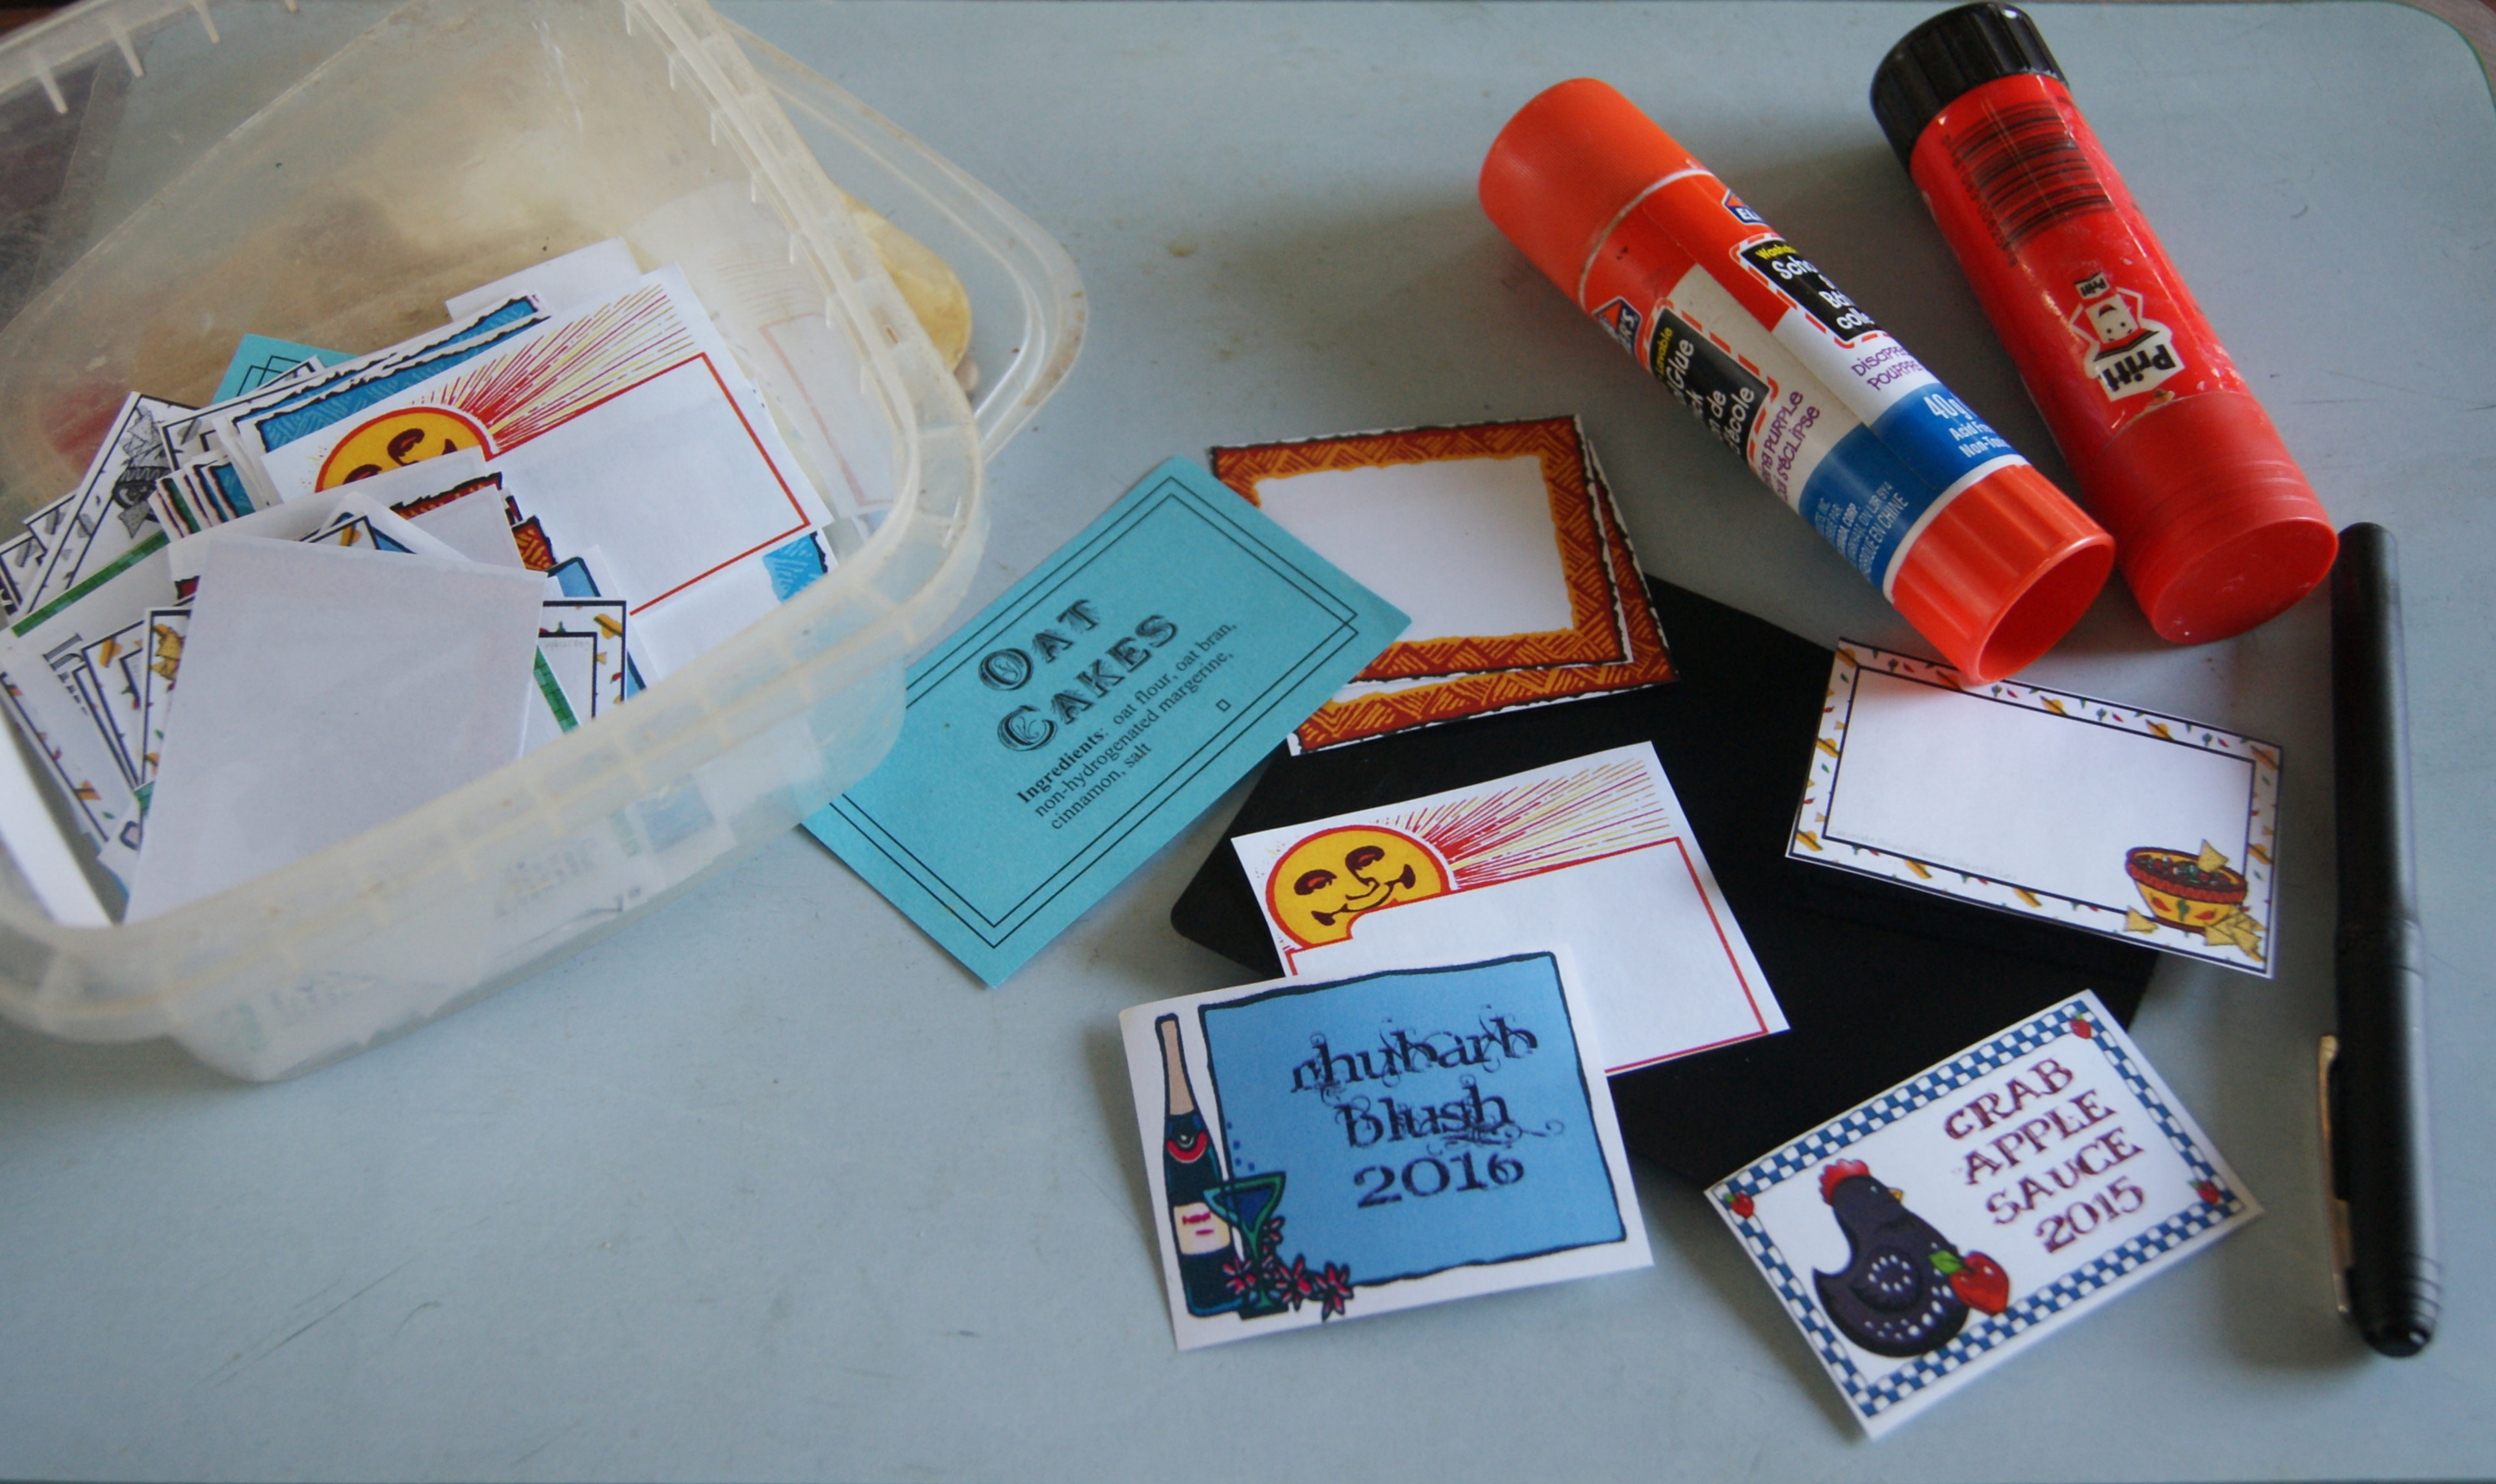
I can and dry over 200 jars of food a year. I also make wine and beer. My labelling kit sits in my pantry ready to use from May through October.
Here's what I keep in it:
- washable glue stick ("school" glue)
- non-toxic glue stick - a little more permanent than the washable stick, but still dissolves when soaked. I use this for longer term storage, such as herbs and wines.
- labels with frame and graphics but no text for "one offs" such as a dried herbs
- labels with frames, graphics, and text for upcoming canning and bottling runs
- roller pen (black) for entering text on the "one-offs".
- a small sheet of smooth plastic to set labels on while applying glue. I always run glue to the label edges, and it can get on what lies underneath. The plastic is washable.
Removing Labels
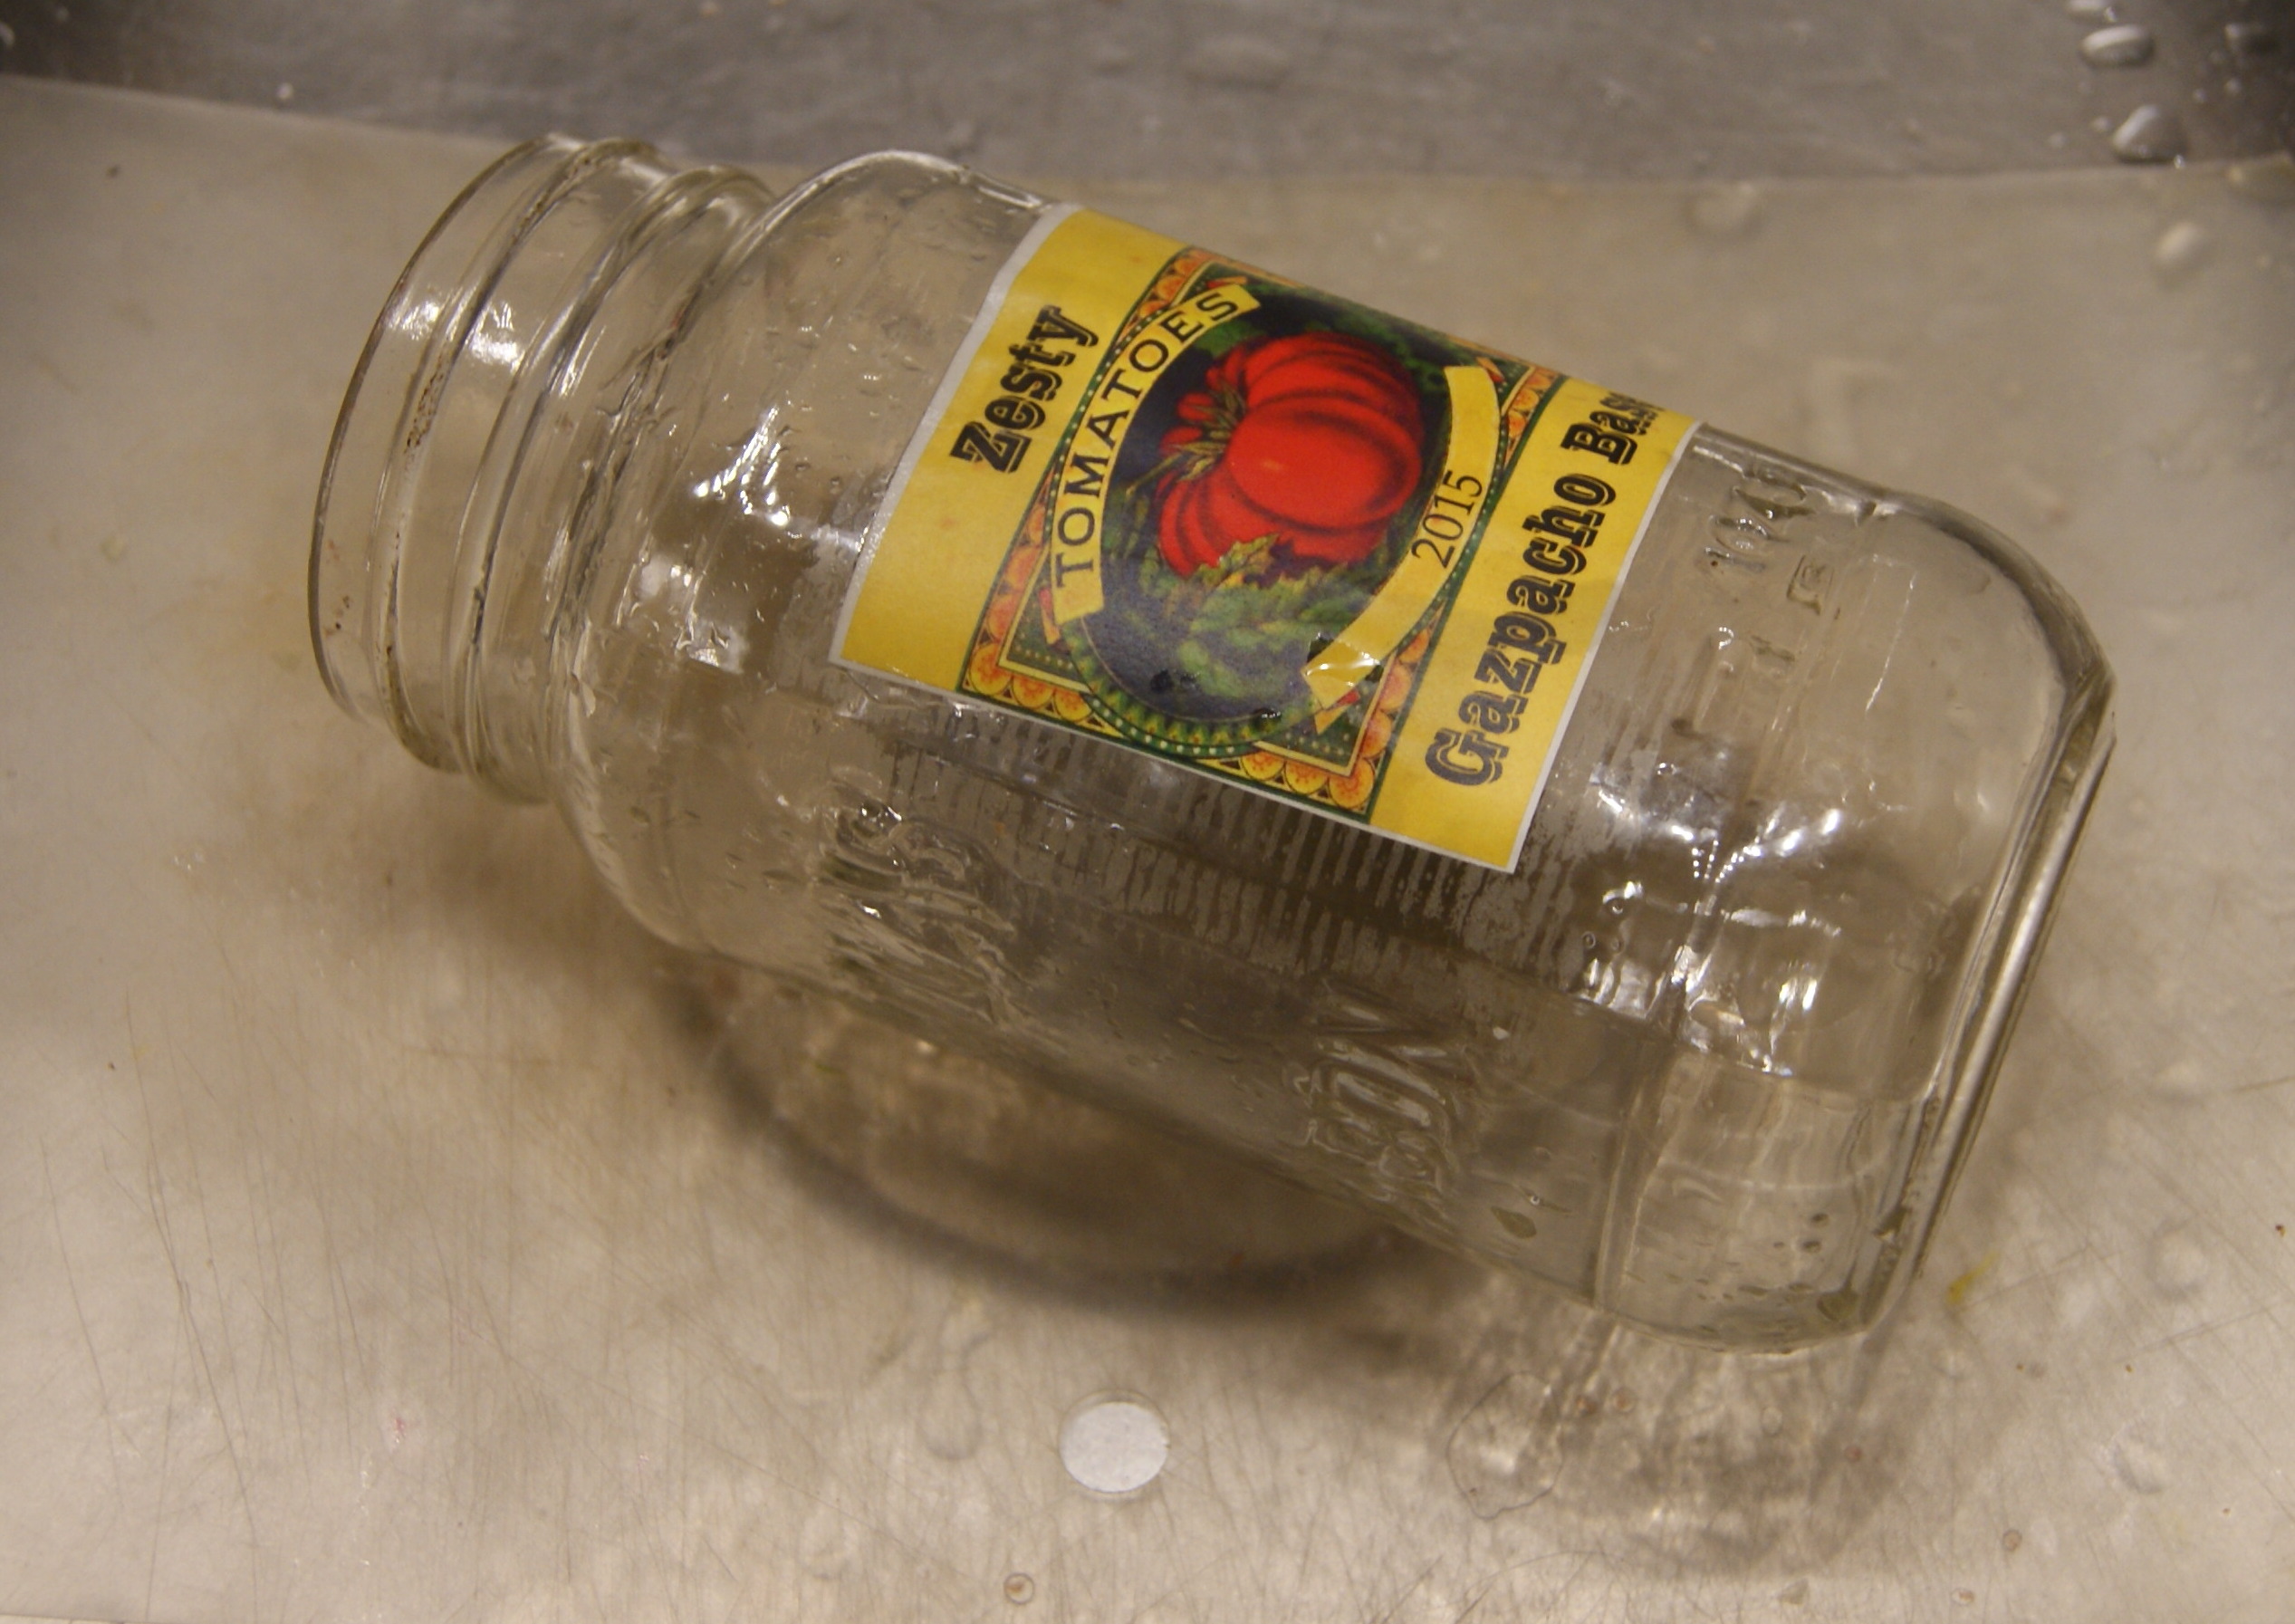
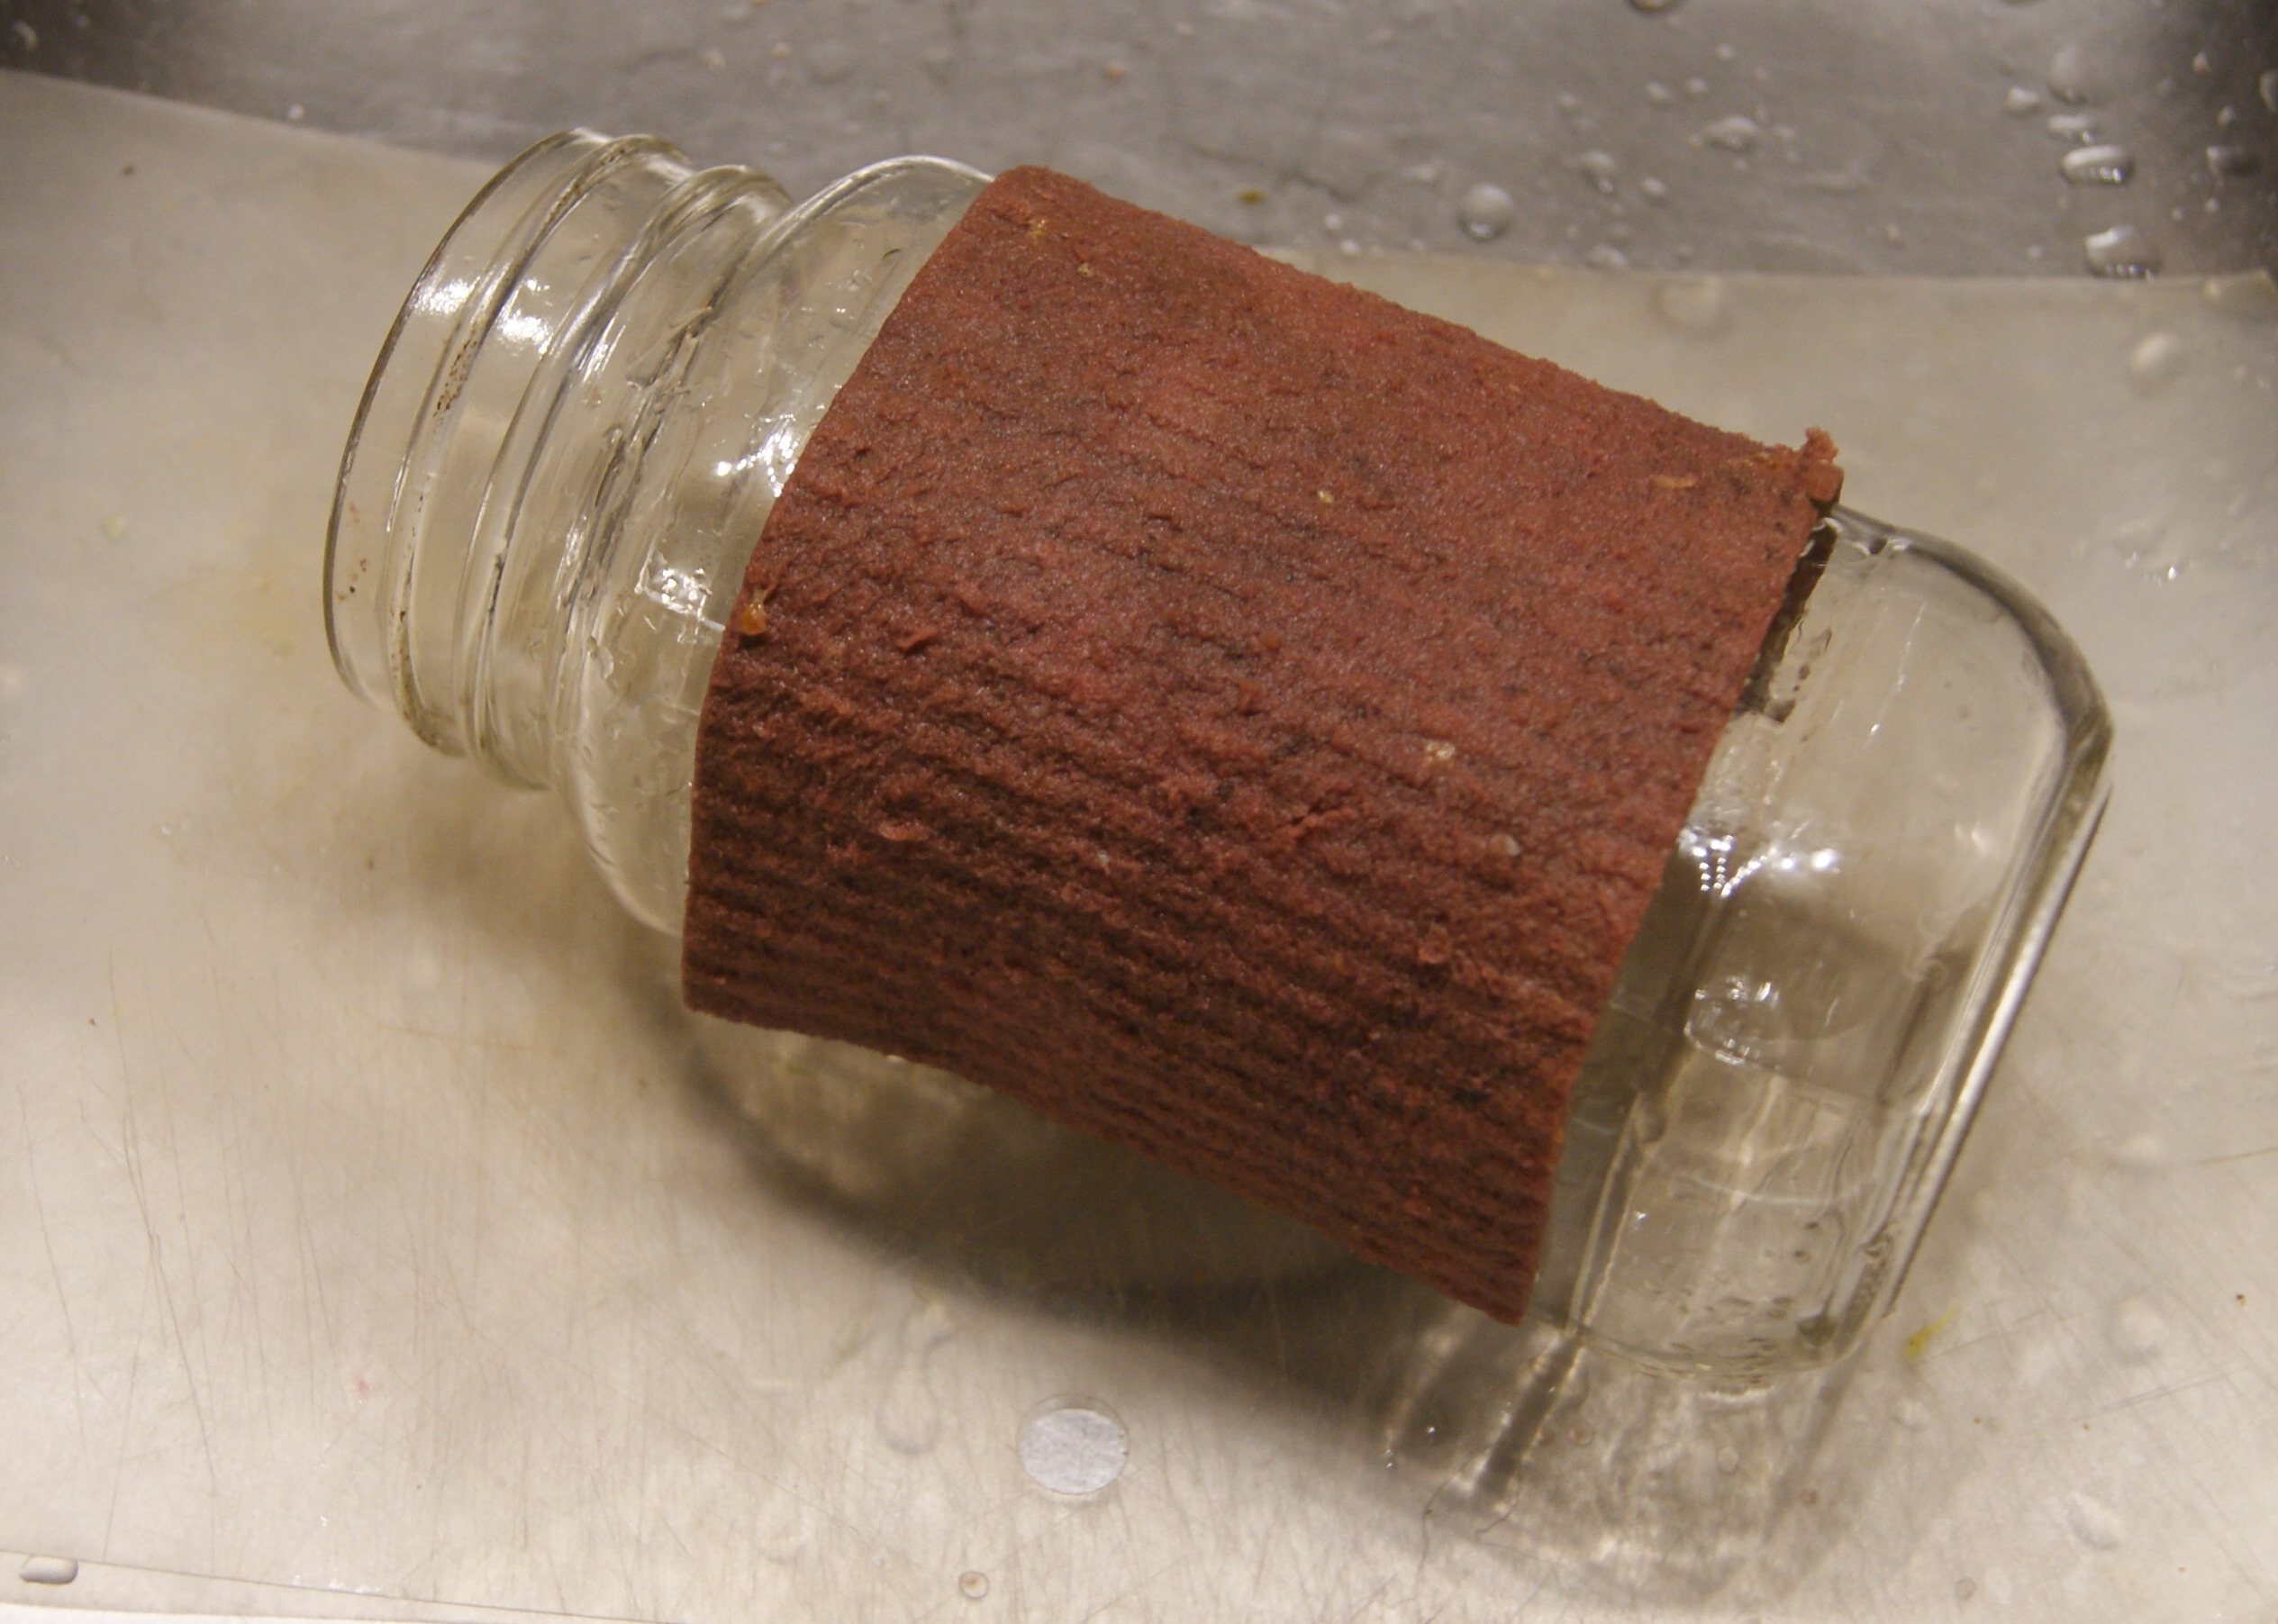
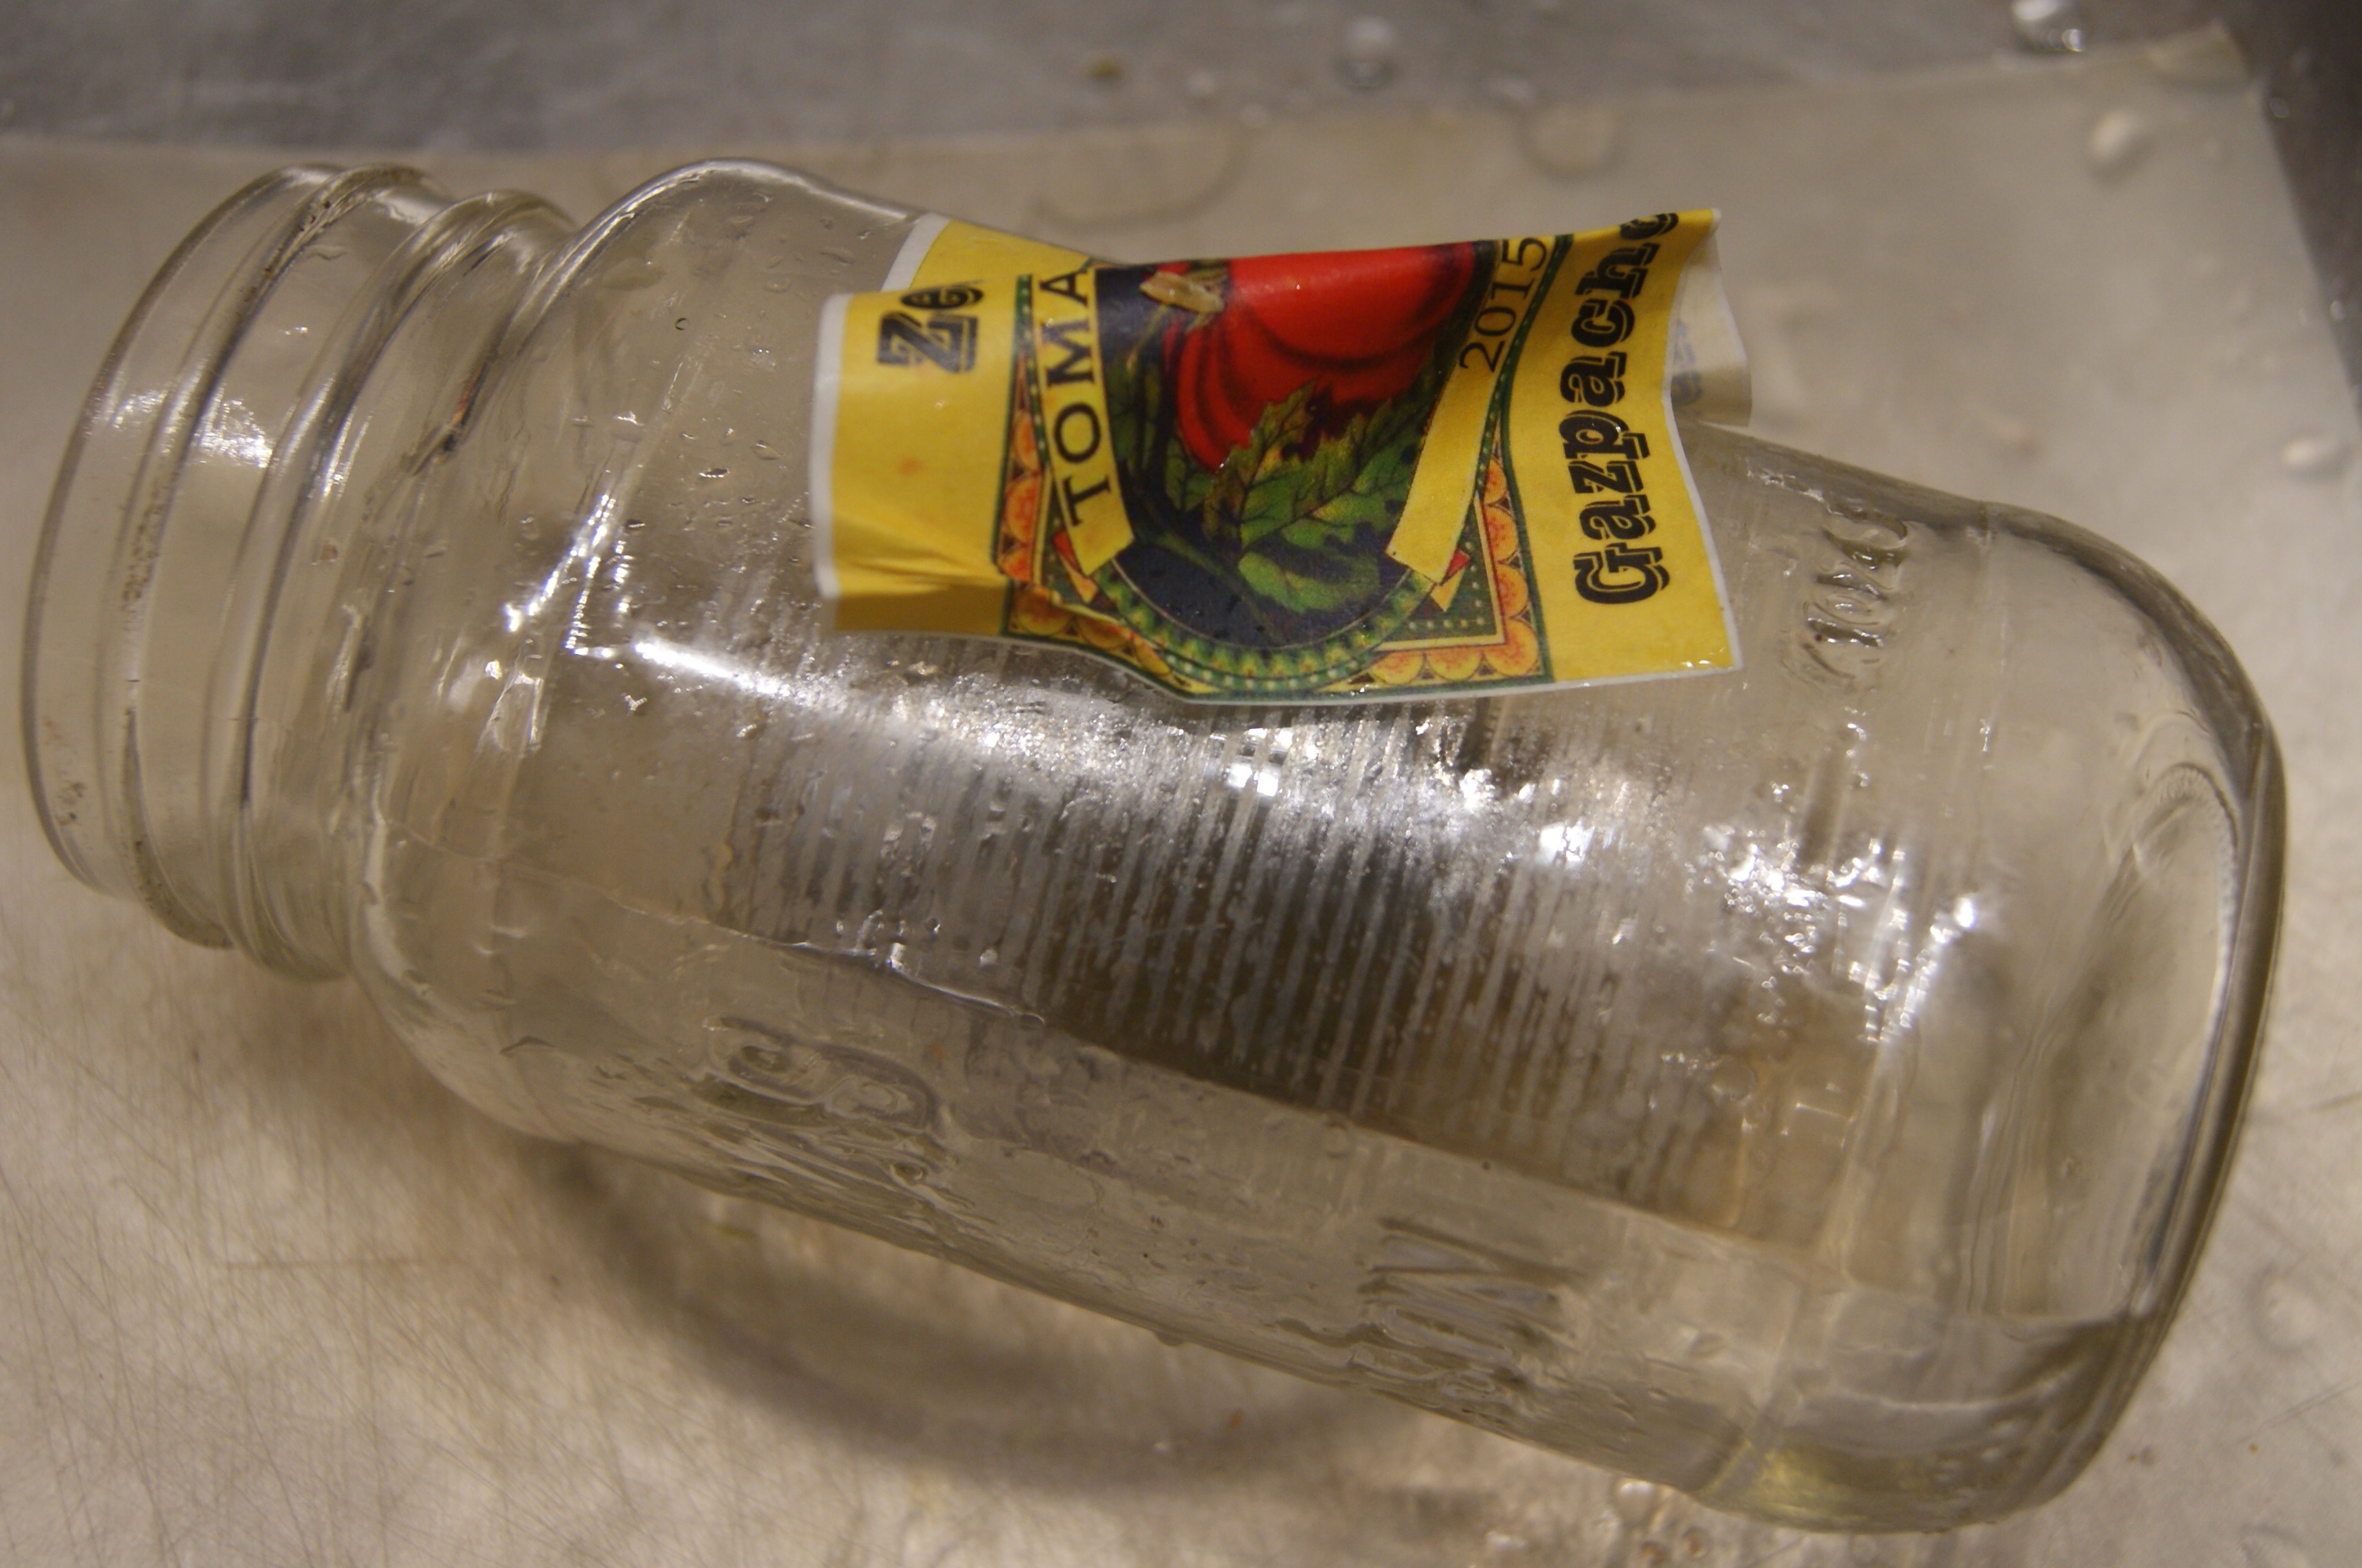
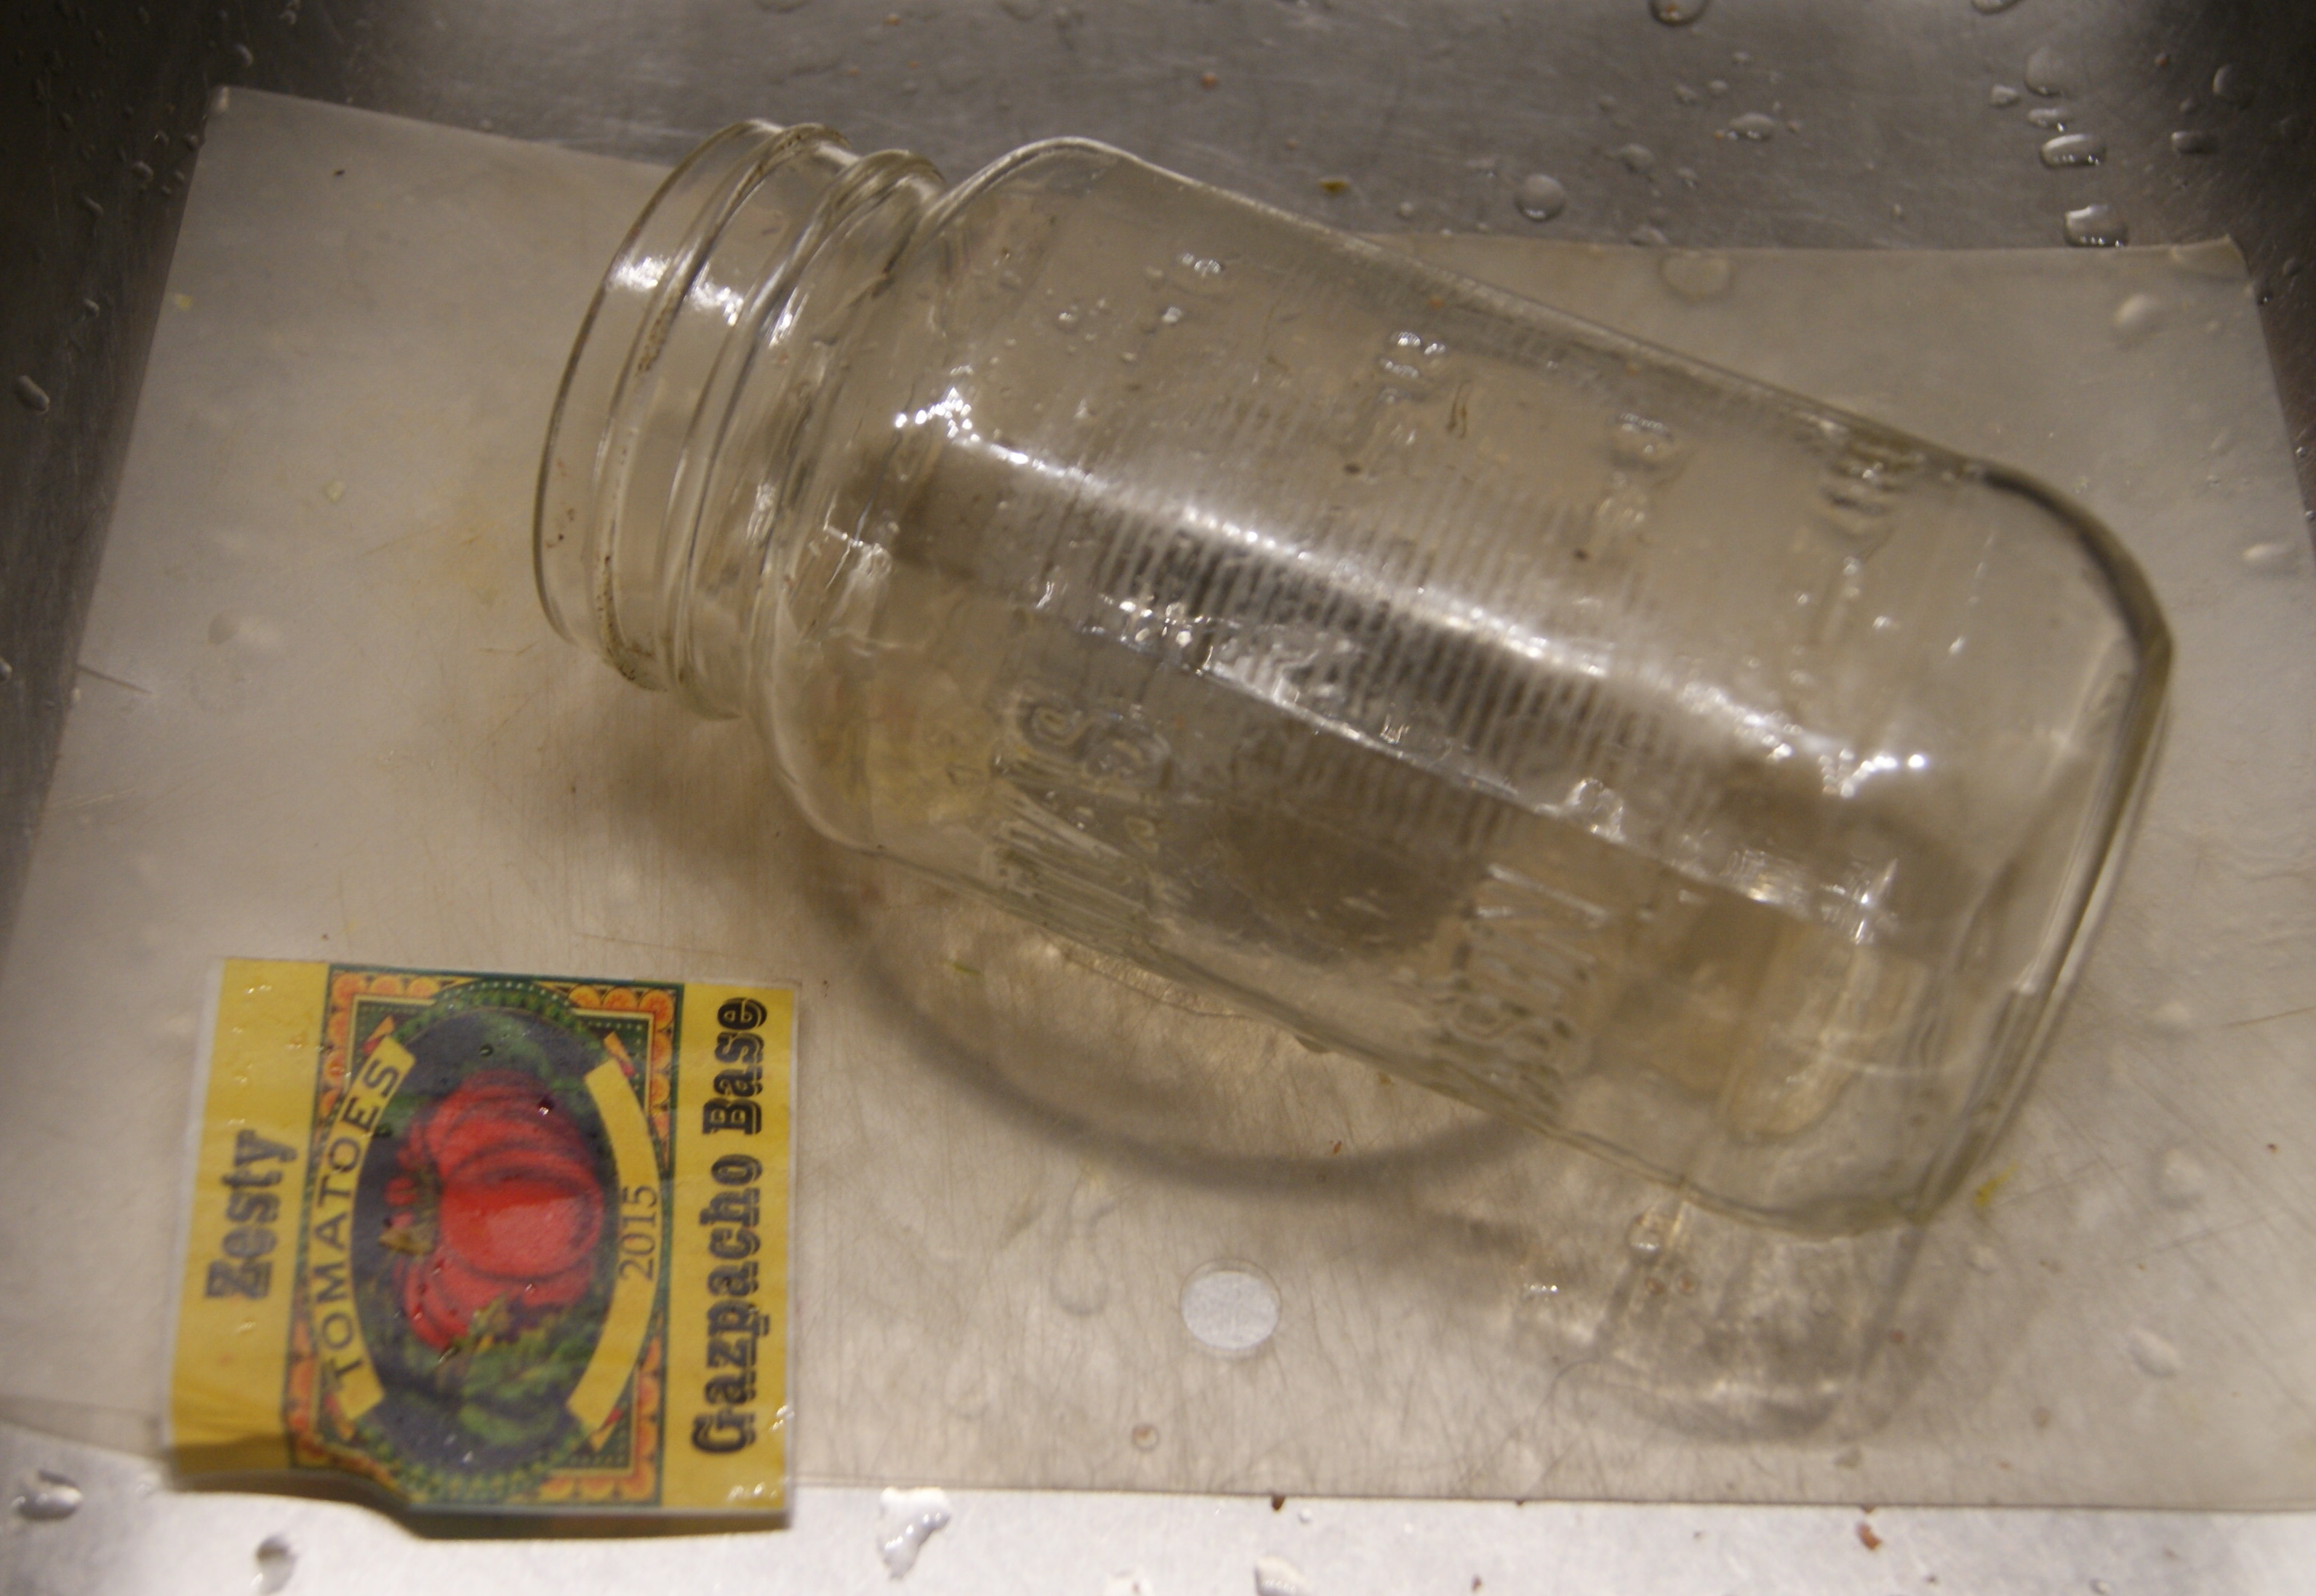
If I have a number of labelled jars that I've emptied, I simply soak them in warm water in a sink. Do not put labelled jars in a dishwasher; if labels come off, they can clog the machine's outlet.
If I have only one emptied jar, I'll lay it on its side and "soak" the label with a wet cloth or cloth-sponge. After a couple of minutes, the label will slide off the jar. With the washable glue stick, there will be very little residue on the jar-- and you could reuse the label if you dried it flat!