Easy NeoPixel Programming With Espert Library
by espert in Circuits > Microcontrollers
3003 Views, 32 Favorites, 0 Comments
Easy NeoPixel Programming With Espert Library
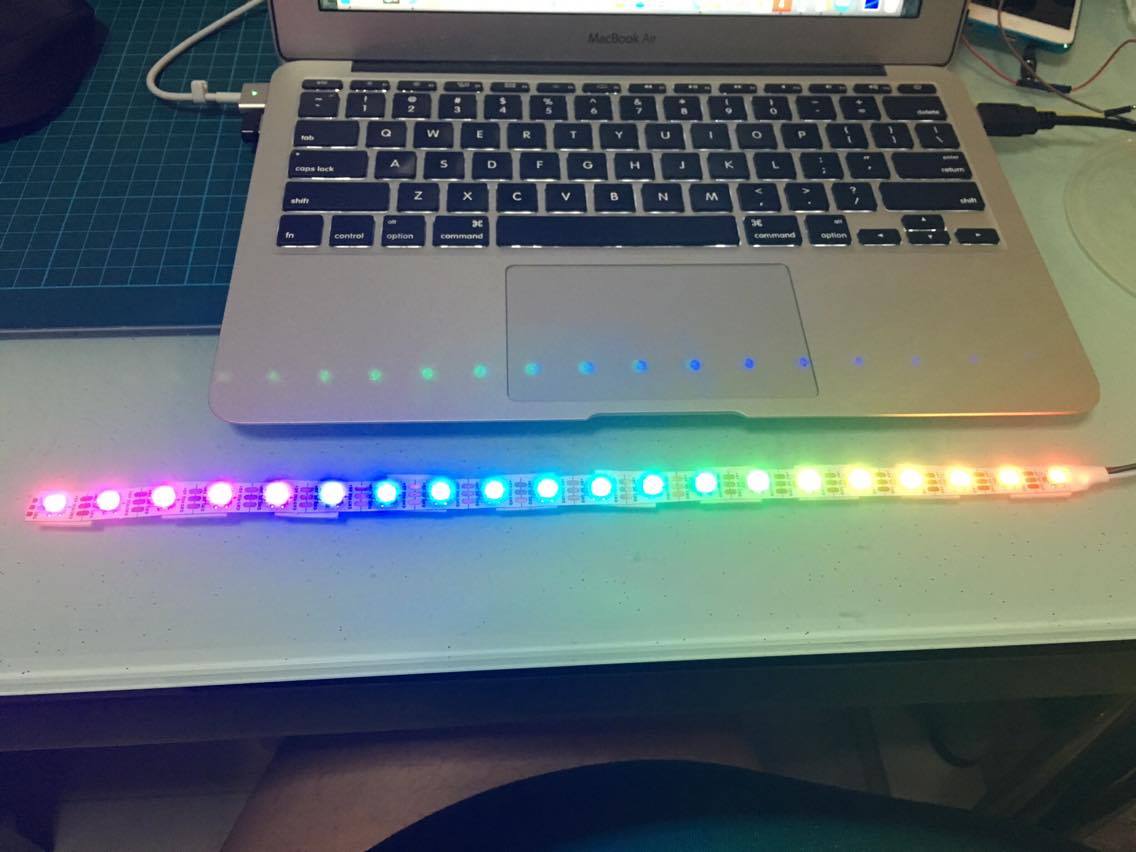
NeoPixel RGB LEDs are fascinating hardware that can keep most DIY hobbyists and makers busy for weeks end. However to the novice learners who just got started with Arduino may find it rather intimidating having to deal with the existing unfamiliar library of codes. Now with the Espert library, anyone can include the library and use the simplified functions to change the colour of either the entire strip or to program the individual pixels along the LED strip.
For this work, you'll just need to get your own:
1. 1 x NeoPixel RGB LED strips
2. 1 x Espresso Lite V2 Wi-Fi microcontroller (recommended)
3. 1 x FTDI cable
4. 1 x power source (either PC/laptop or powerbank)
5. Jumper wires as needed.
Set Up the Hardware
As the designer of the Espresso Lite V2 board, we are happy to introduce some user-friendly features that takes the headache out of novice learners. In this instance, we make it easy for anyone who are relatively new to working with the individually-addressable RGB NeoPixel (WS2812) RGB LED strips (or rings).
There are only three connections that require our attention: 5V, GND & input PIN. For this example, we will assign pin 12 of the Espresso Lite V2 as the input pin to the LED strip.
Setting Up the Arduino IDE (and Dependencies Libraries)
For those who are new to using the Espresso Lite V2, you can refer to procedures of installing the Arduino IDE as well as the rest of the libraries and depencies that is required to make this work.
http://www.espressolite.com/arduino-ide
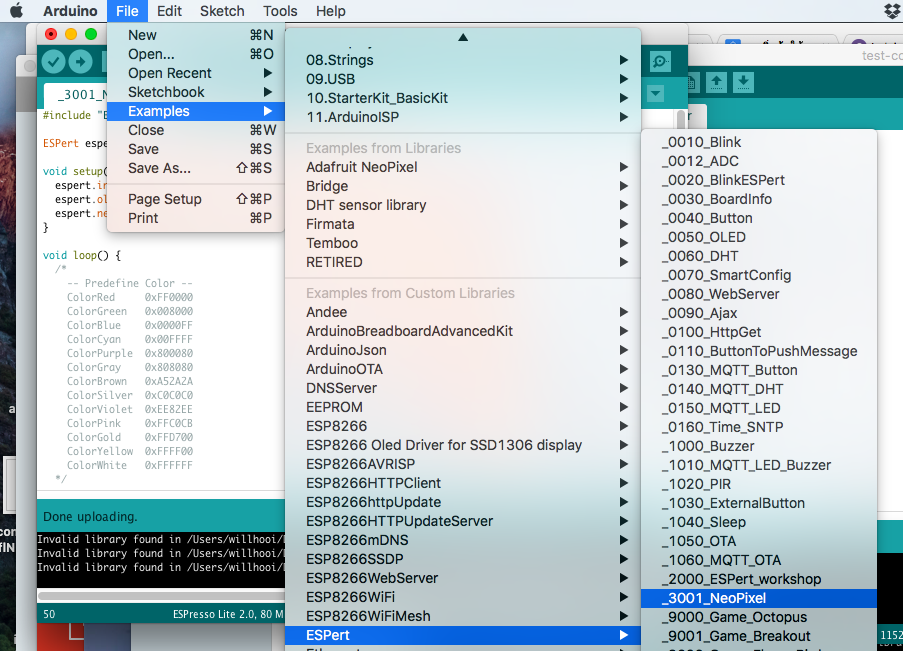
Once everything is set up properly, you can bring up the NeoPixel example by going to File > Examples > ESPert > _30001_NeoPixel
Alternately you can check out the source code over at https://github.com/JimmySoftware/ESPert
Customise the Arduino Sketch Accordingly
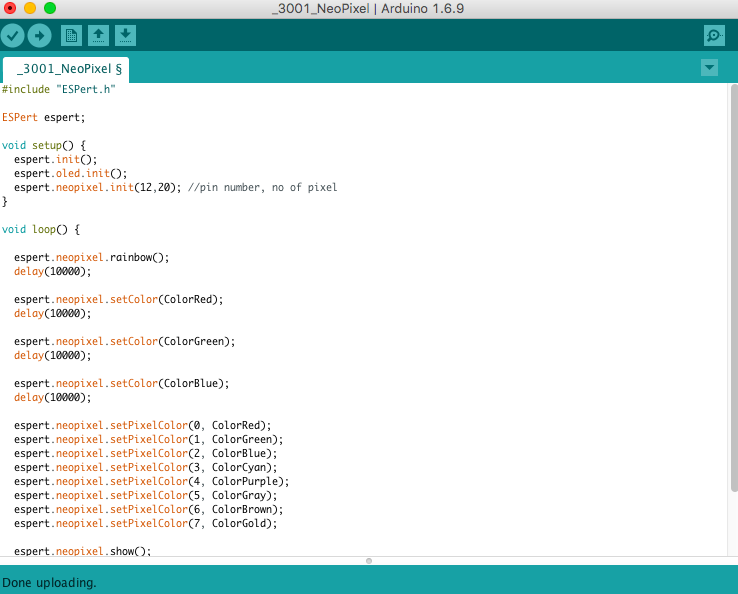
In the Arduino IDE, ensure that the sketch is set up properly.
For example in the fvoid setup (), remember to insert two parameter values in the function espert.neopixel.init( ):
void setup() {
  espert.init();
  espert.oled.init();
  espert.neopixel.init(12,20); //pin number, no of pixel
}
In this case, the value 12 refers to the pin number and 20 refers to the number of pixels available in the strip.
Upload the Sketch and See the Effect
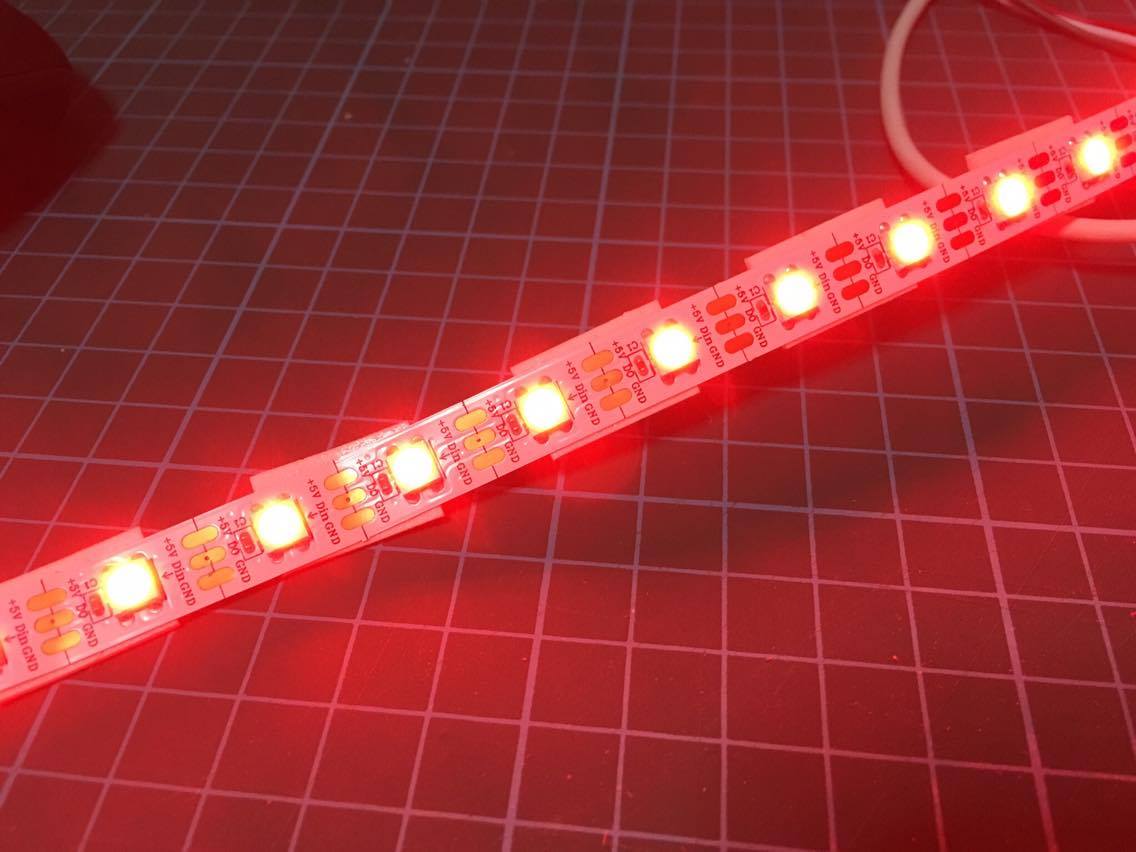
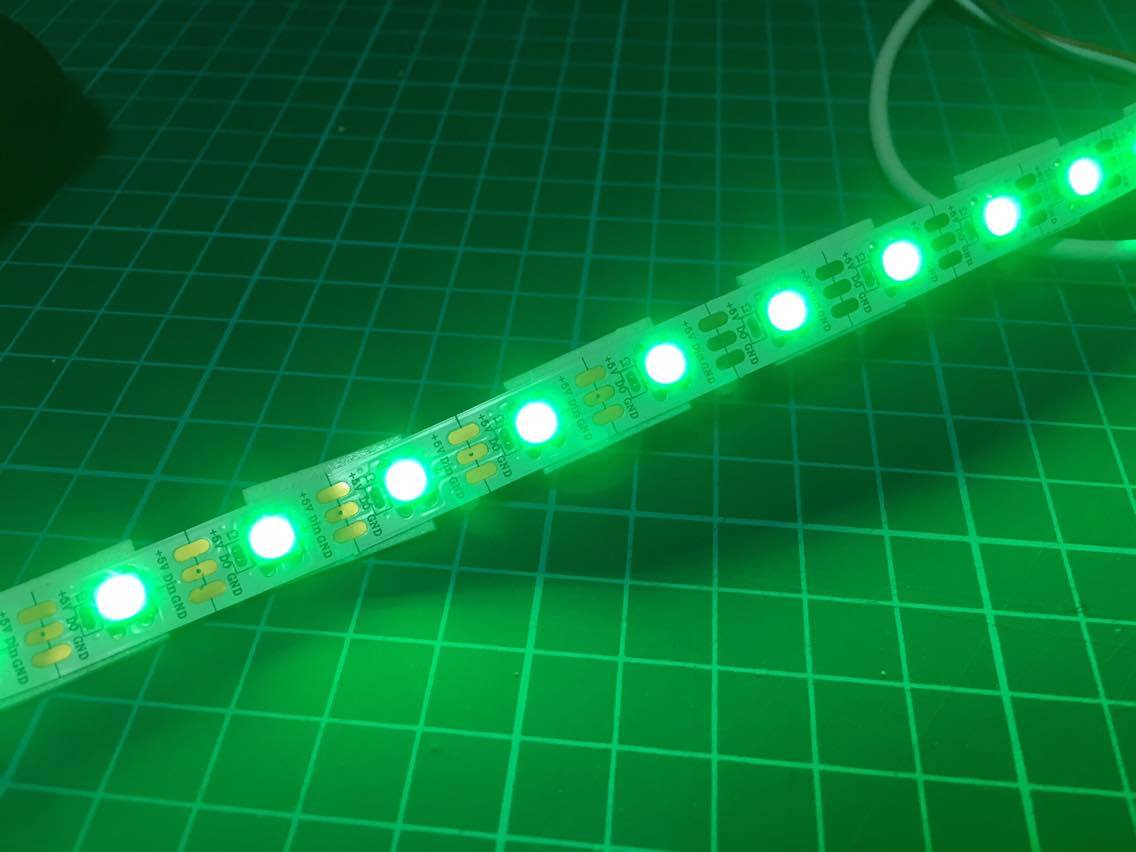
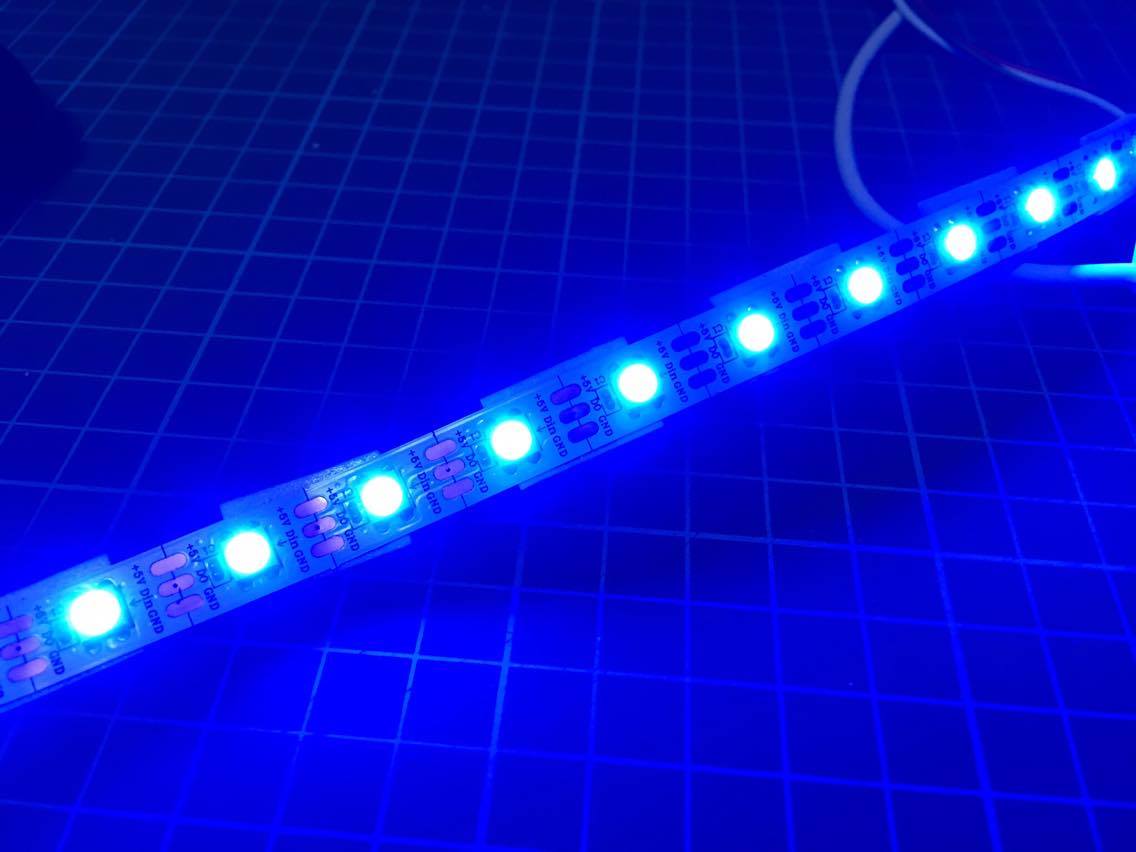
From the sketch, you can infer that the NeoPixel LED strip will cycle through different colour states starting from rainbow, to red, green, blue and to individually-coloured pixels.
The code for the sketch below, for example will assign the colour for each of the LED pixel addressed, starting from 0 onwards.
  espert.neopixel.setPixelColor(0, ColorRed);
  espert.neopixel.setPixelColor(1, ColorGreen);
  espert.neopixel.setPixelColor(2, ColorBlue);
  espert.neopixel.setPixelColor(3, ColorCyan);
  espert.neopixel.setPixelColor(4, ColorPurple);
  espert.neopixel.setPixelColor(5, ColorGray);
  espert.neopixel.setPixelColor(6, ColorBrown);
  espert.neopixel.setPixelColor(7, ColorGold);
The following code, for instance, will set the entire LED strip to turn red;
  espert.neopixel.setColor(ColorRed);
  delay(10000);
likewise this code will cause the strip to go green.
  espert.neopixel.setColor(ColorGreen);
  delay(10000);
Now that you have seen what it can do, go ahead and try to tinker with the codes to produce the kind of effect necessary for your project. Let us know how it works for you.
Thank you!