Easy Miniature Building (3D-Printing)
by HMoss in Workshop > 3D Printing
1949 Views, 10 Favorites, 0 Comments
Easy Miniature Building (3D-Printing)
Architecture has never been a priority for me. I've never thought about how buildings need to be both functional and interesting to look at. As a high school senior, I've finally had the opportunity to take classes that genuinely interested me, as opposed to being required for graduation. Civil Engineering and Architecture was offered at my school, so I decided to take it. I'm glad I did, because it opened my eyes to how architects must focus on every detail but not lose sight of the big picture.
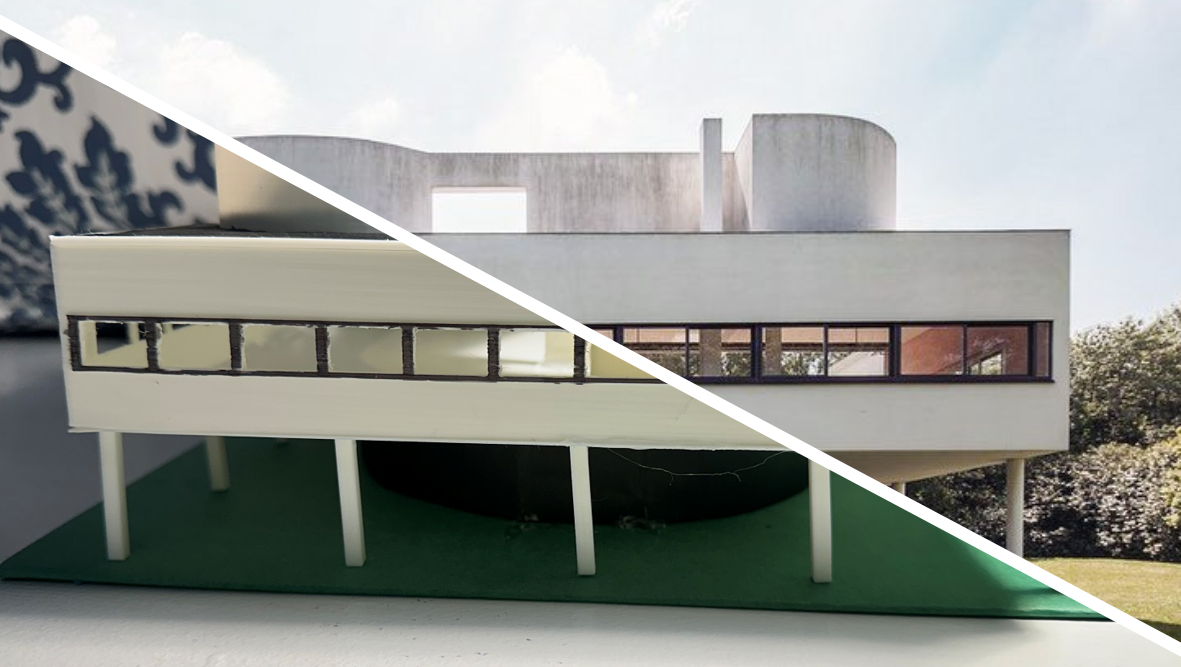
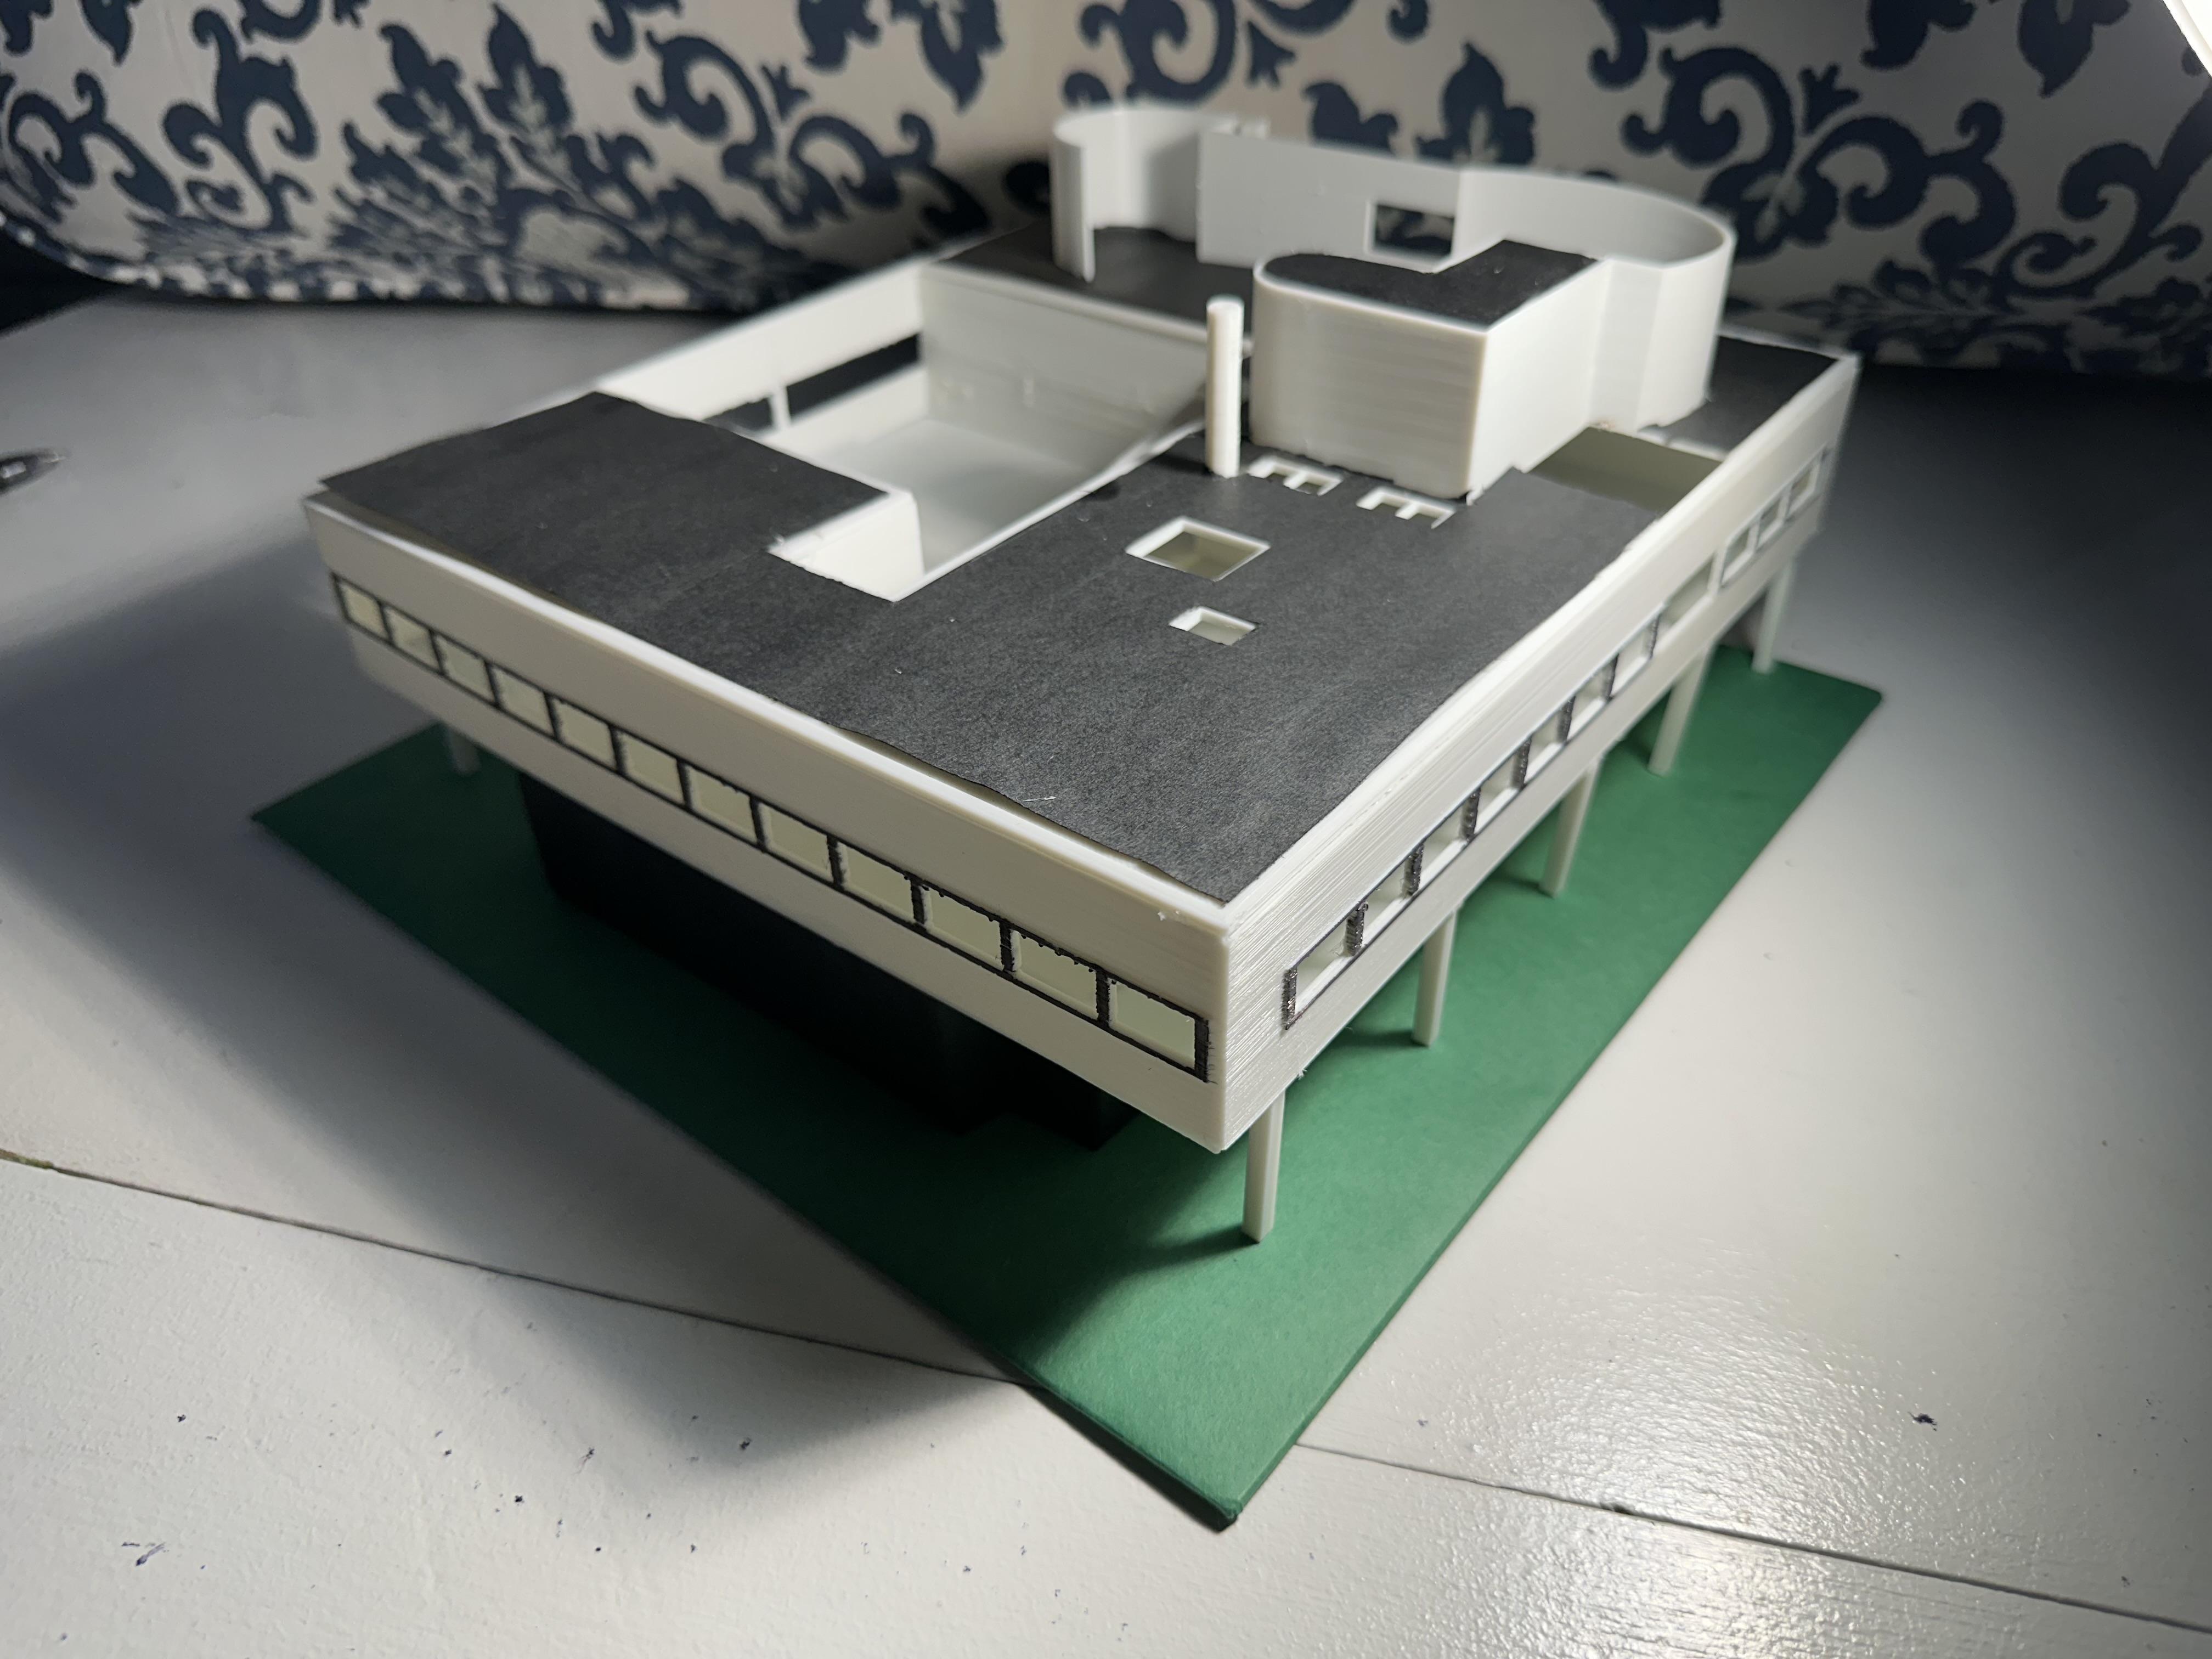
For an assignment, we were each given an architectural style and tasked with creating a model for any building of that style. I received "modern," and after some research, I decided to recreate the Villa Savoye in Poissy, France. Built in 1931 and designed my Le Corbusier, the Villa Savoye is considered one of the first modern homes constructed and is considered historic. I chose this building because of its interesting yet simple design.
In this Instructable, you will learn how to make your own model building using a 3D-printer and common household supplies.
Supplies
- 3D-printer
- Paper (I used green and black, but will depend on your building)
- 12" by 12" hard material for base (wood, cardboard, etc... I used chipboard)
- Tape
- Glue
- Paint (optional)
Tools-
- X-Acto knife
- Scissors
- Hot glue gun
- Sharpie
Find Your 3D Model
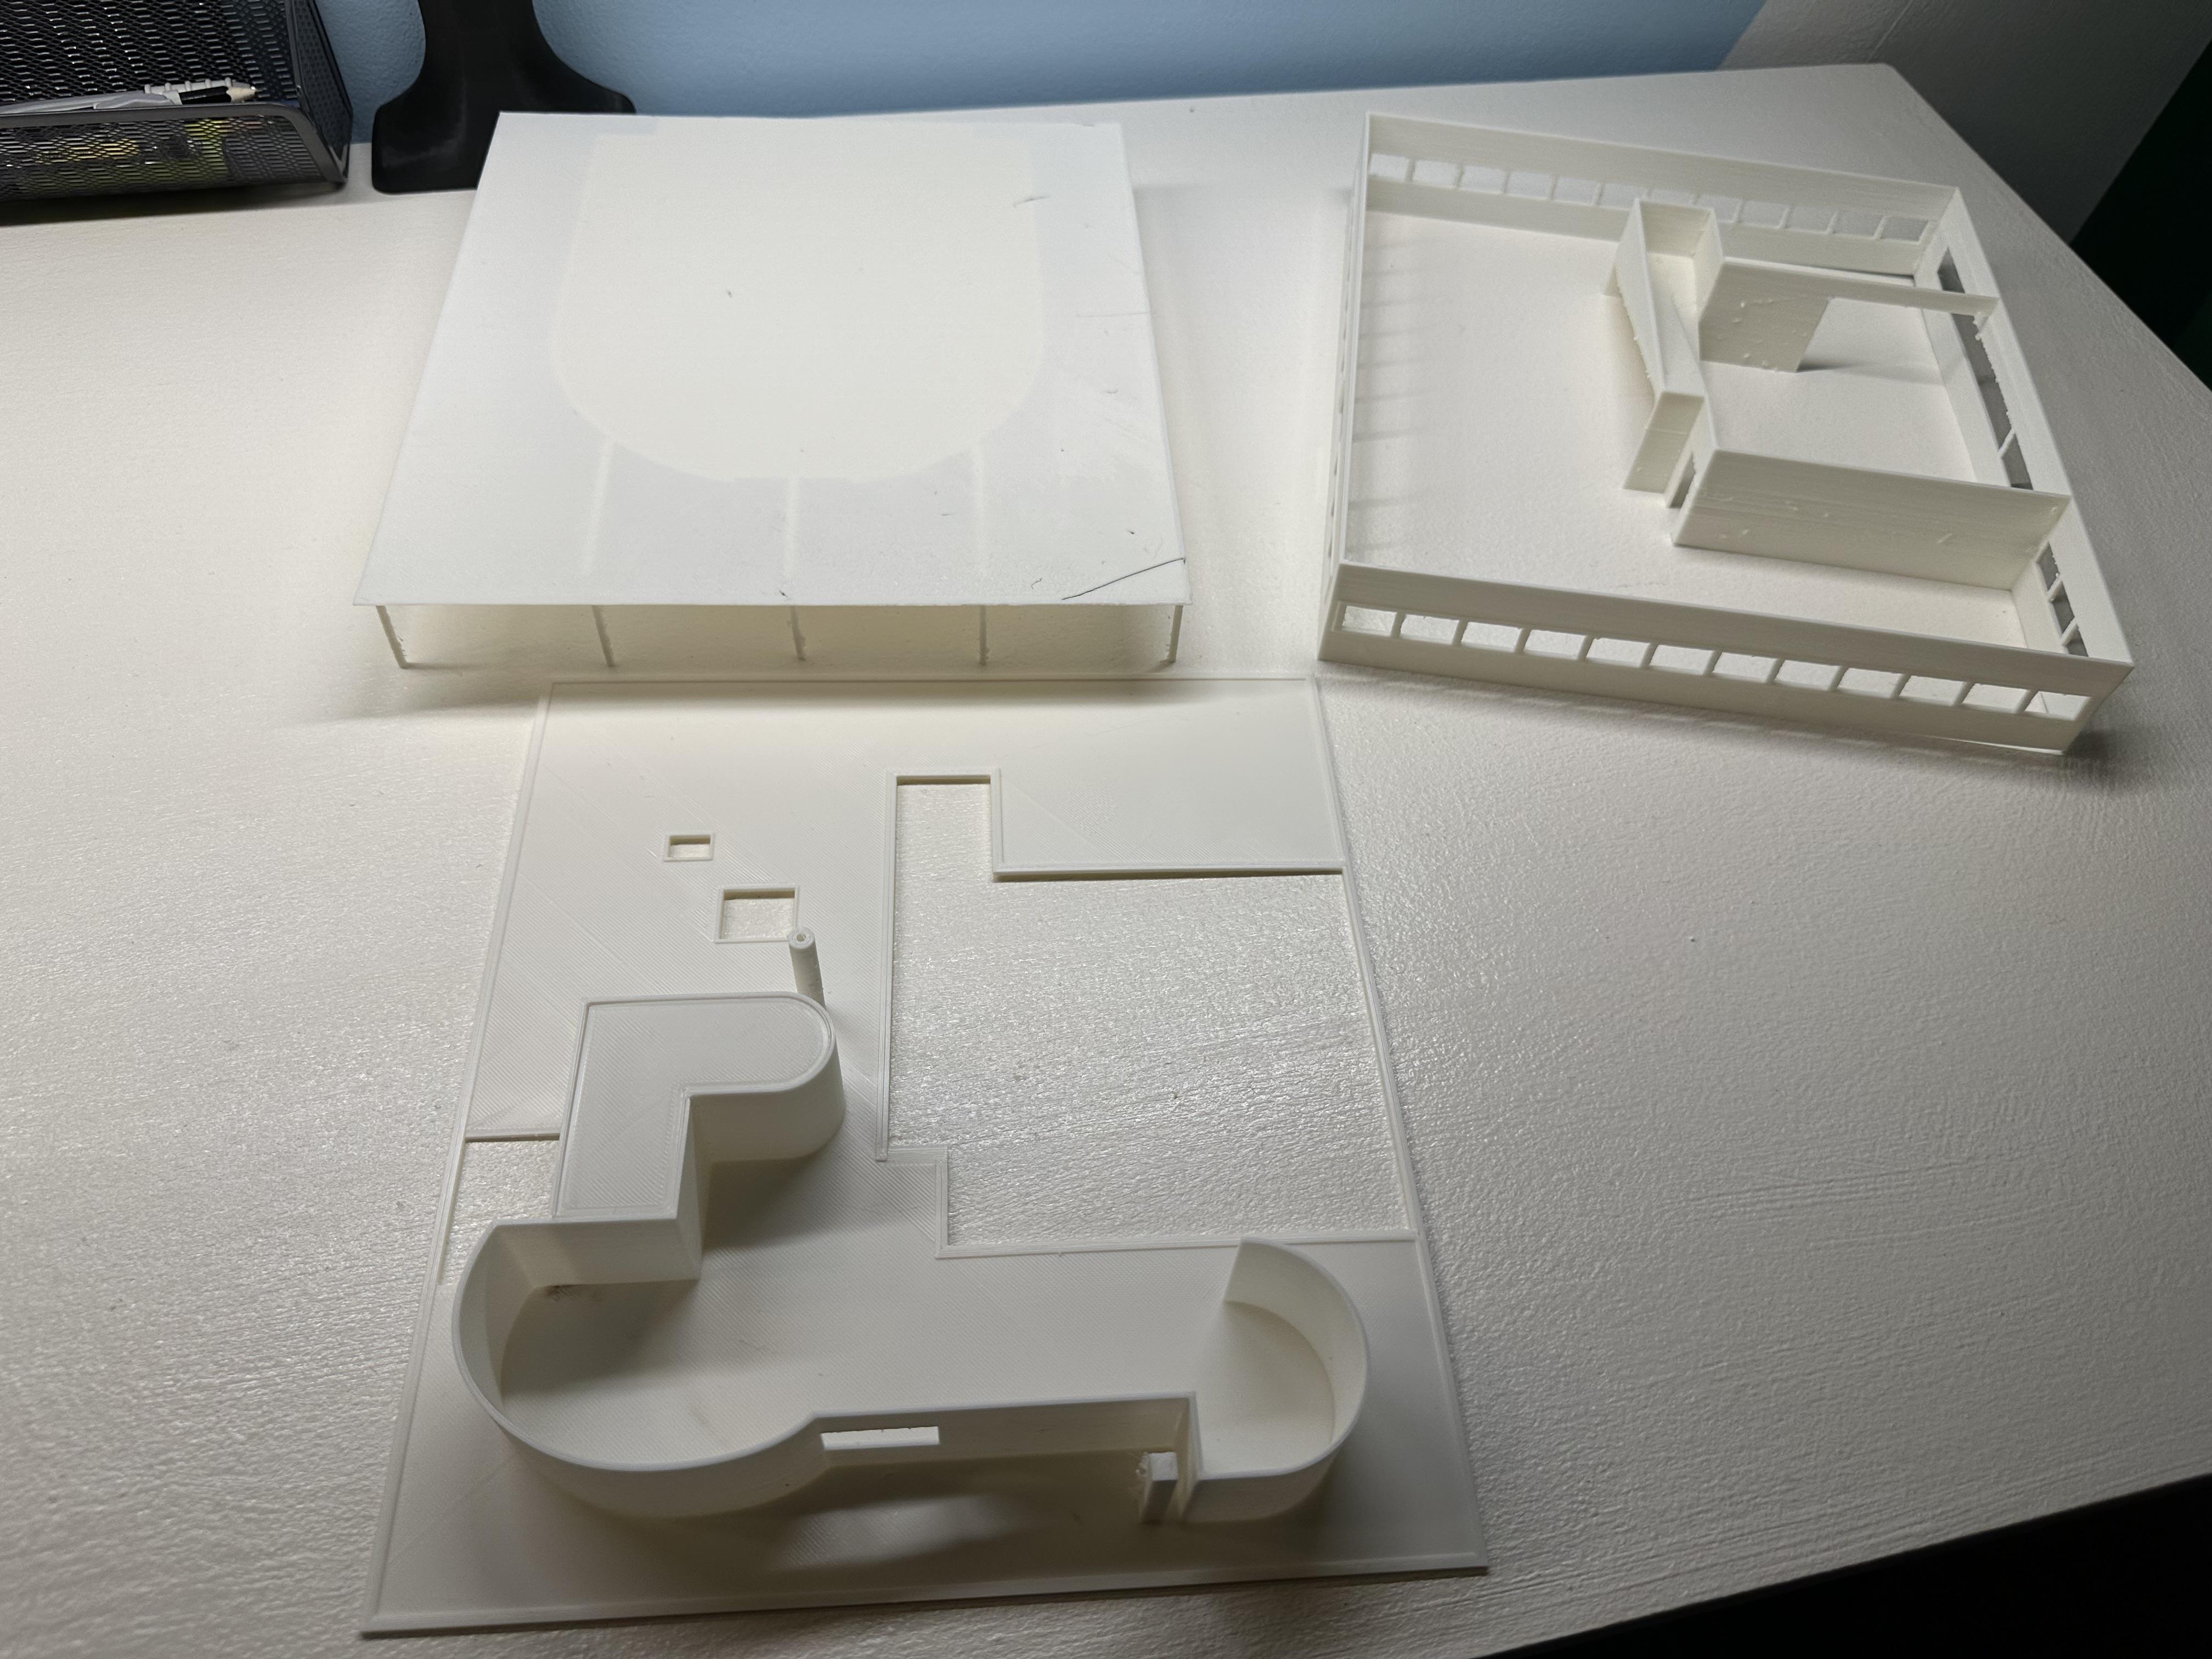
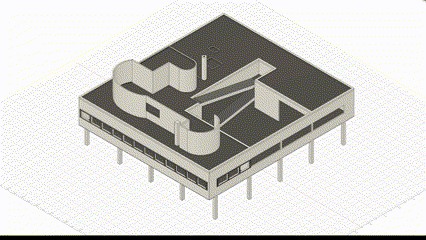
To 3D-Print your building, you need a model of it. Any famous building already has a bunch of models that people already made, so you can download one for free (or for a small fee) from Sketchfab, 3D Warehouse, Free Polygon, etc. I found a model on Free Polygon, but the Villa Savoye has a lot of overhangs, so it's not very 3D-printer friendly. My building for my assignment had to be sized about ten inches by ten inches (thankfully my printer has a large print bed), so that would take forever and waste a bunch of filament with all the supports. Plus, I only had to make the outside, so 3D-printing the interior would be a waste of time as well. For those reasons, I decided to make my own 3D model in Fusion 360 (as opposed to using the mesh from Free Polygon) so I could split it into layers and only print what was necessary.
If you make your own model, remember to minimize overhangs (or if the overhang is quite large/important, just split your model into layers like what I did). Also make sure you split your model into halves or quarters if your print bed isn't big enough.
I easily recreated the Villa Savoye by importing the file I found on Free Polygon into Fusion 360 and just sketching over top it. I wasn't too concerned with making everything super detailed. I've attached my Fusion 360 file to this step in case you want to make the Villa Savoye as well.
Downloads
3D-Print Your Model
.gif)
This step will be different for everyone, but if you have a 3D-printer, you probably know how to actually print files with it. Here are the steps I took:
- Export the three floors as an .stl file from Fusion 360.
- Import those file into Cura, slice the files (I did 10% infill with tree supports), and save them to my SD card.
- Press print.
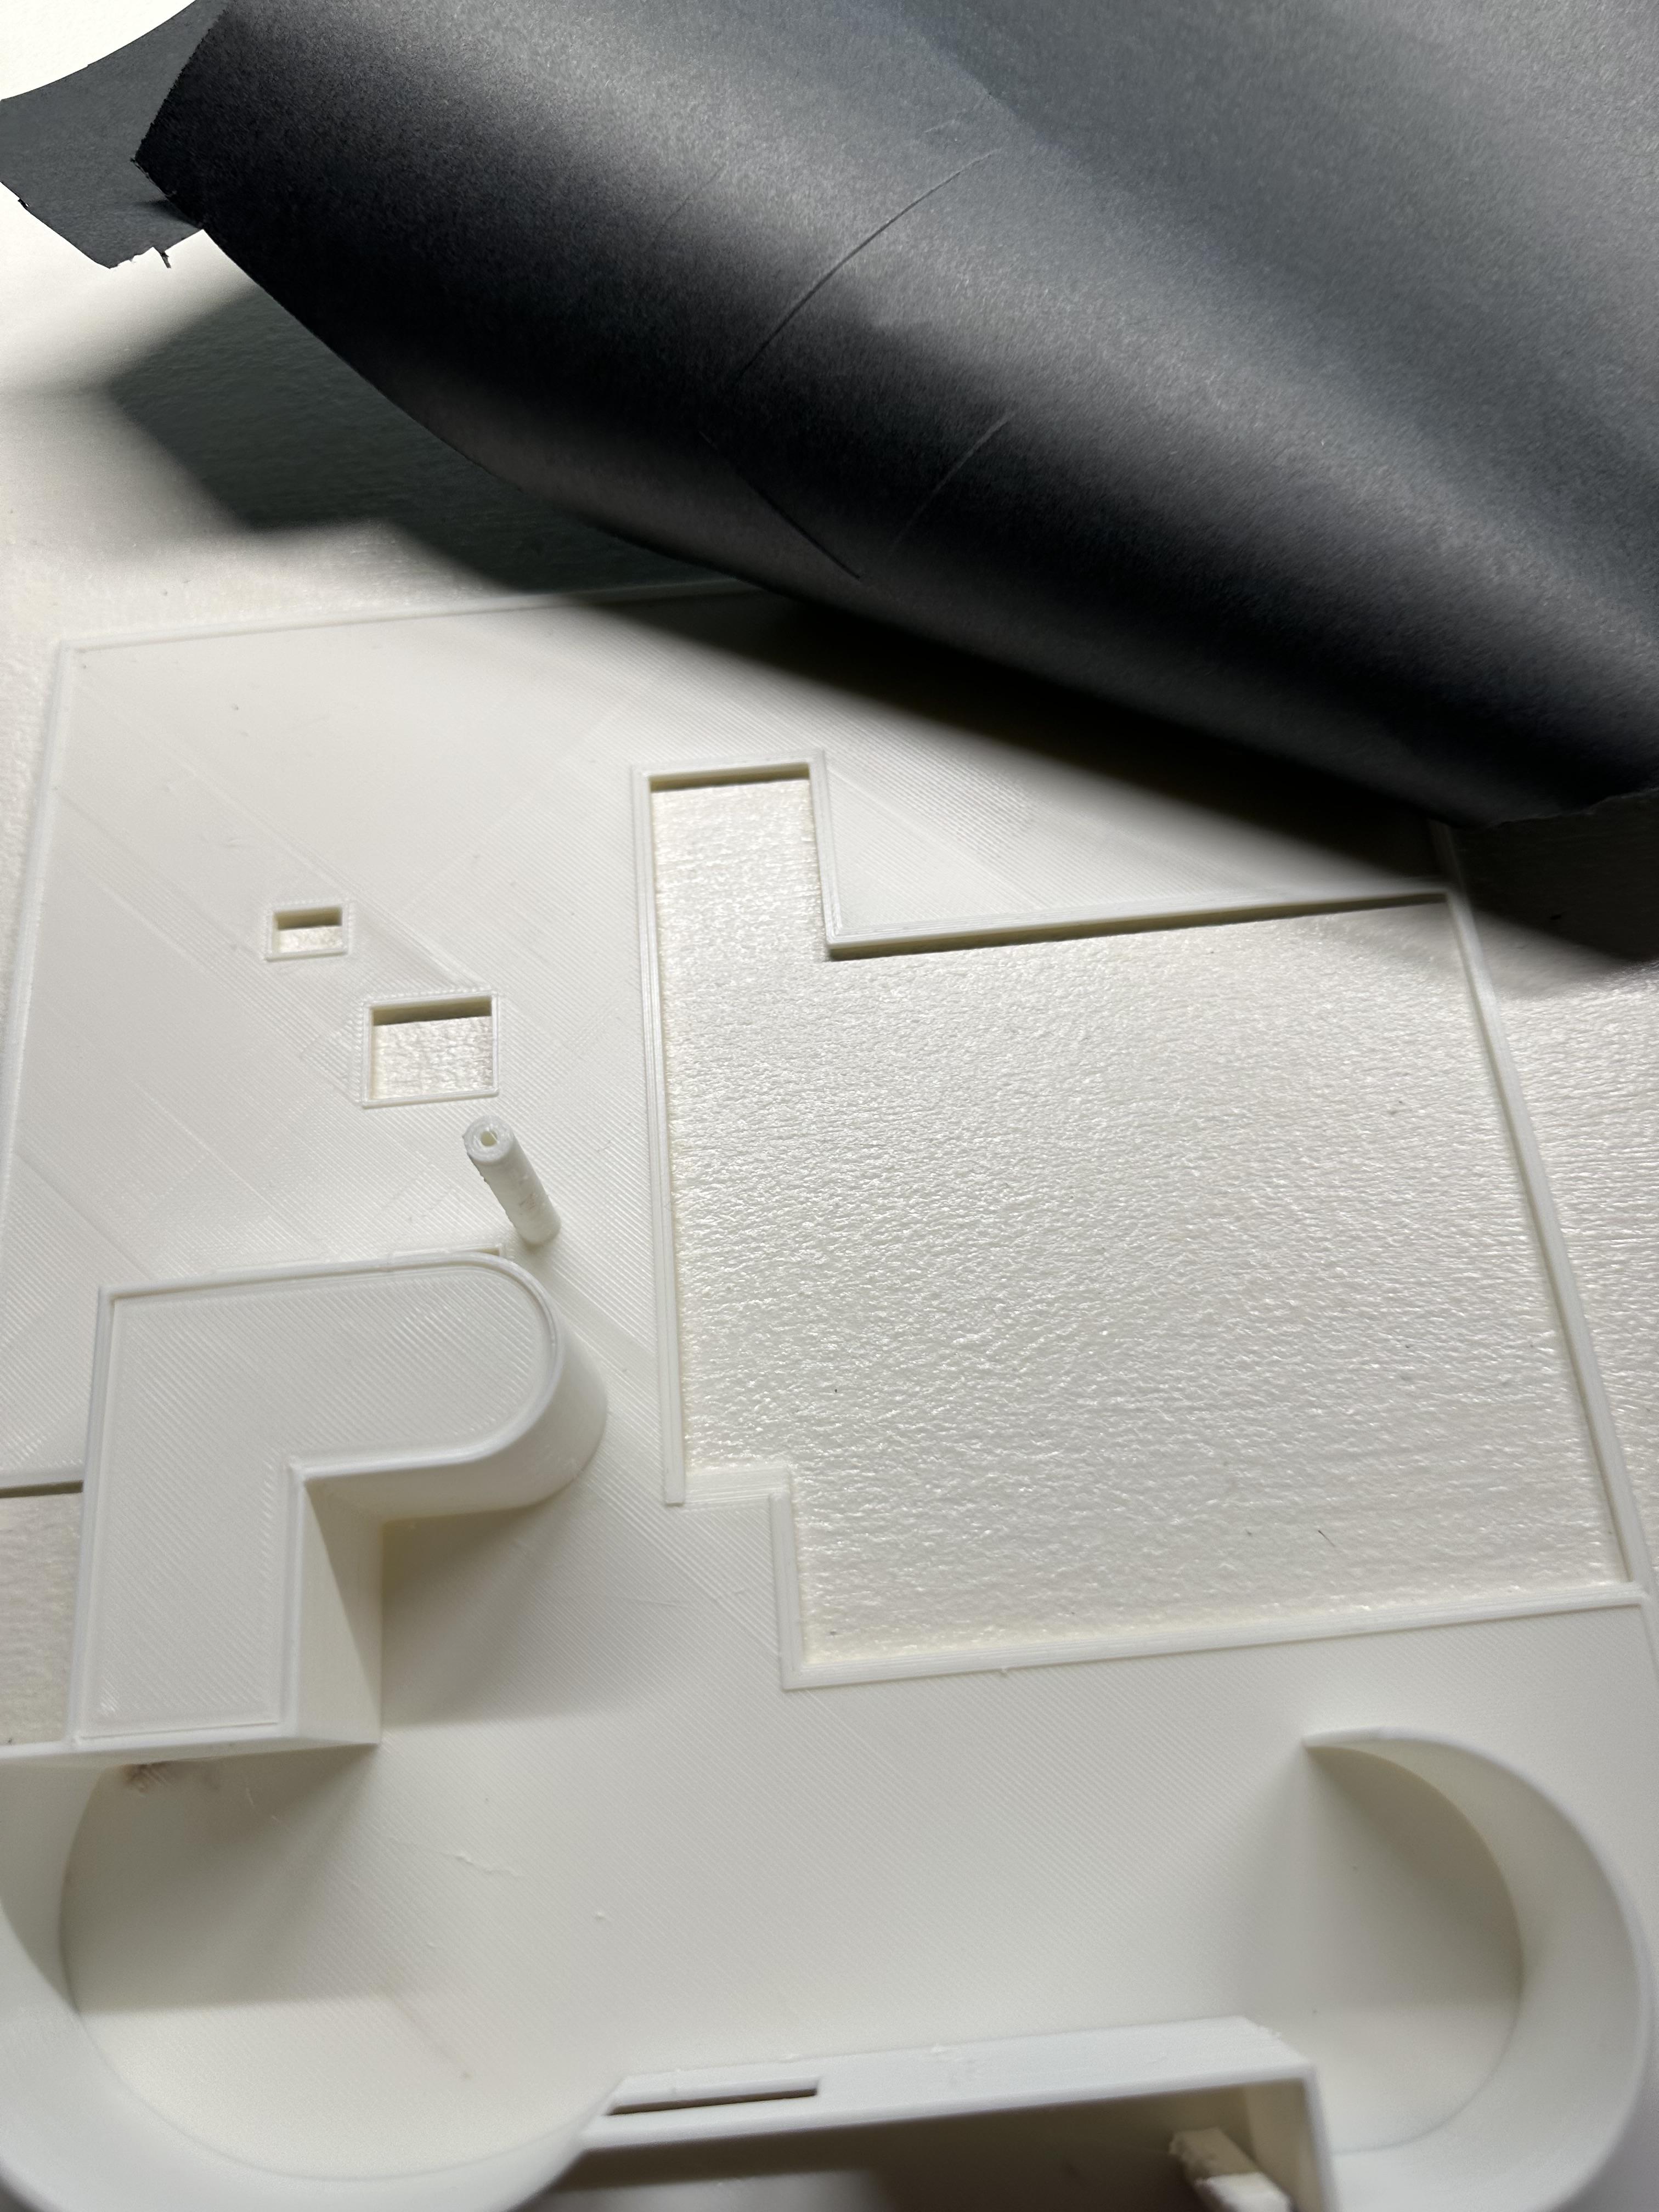
After about two and a half days of printing later, I had each of those floors you see in the picture.
Make Your Base
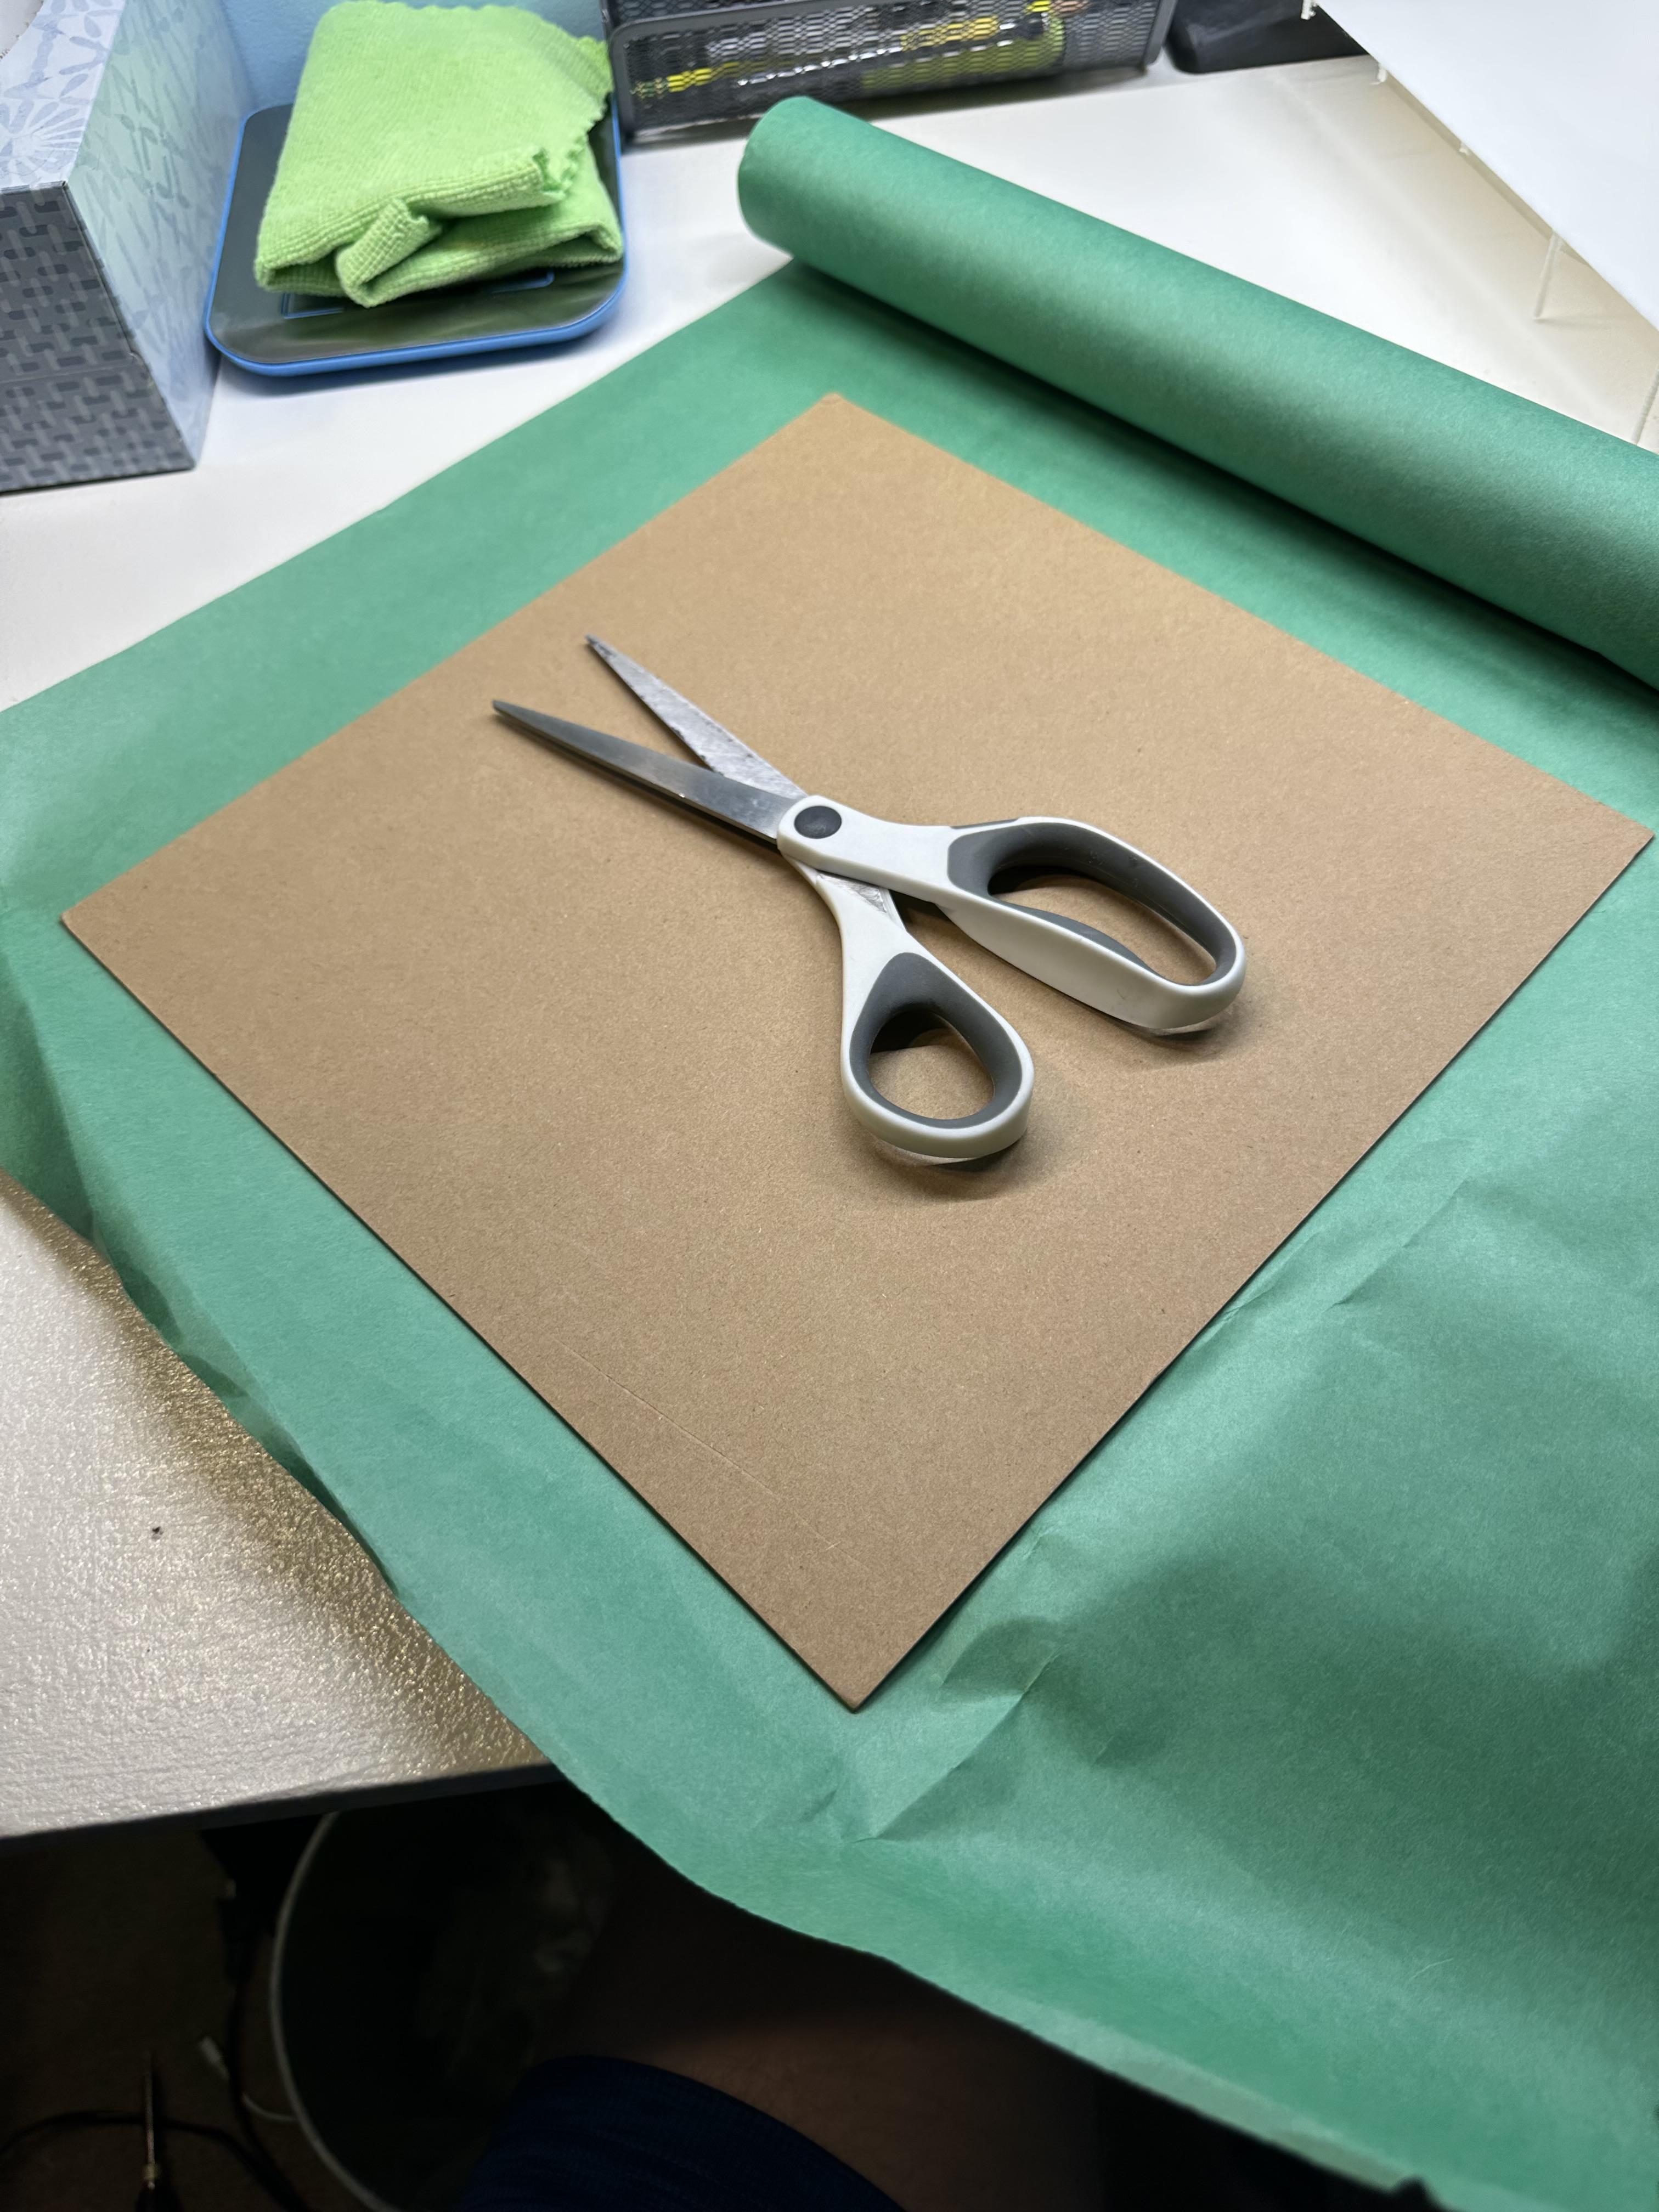
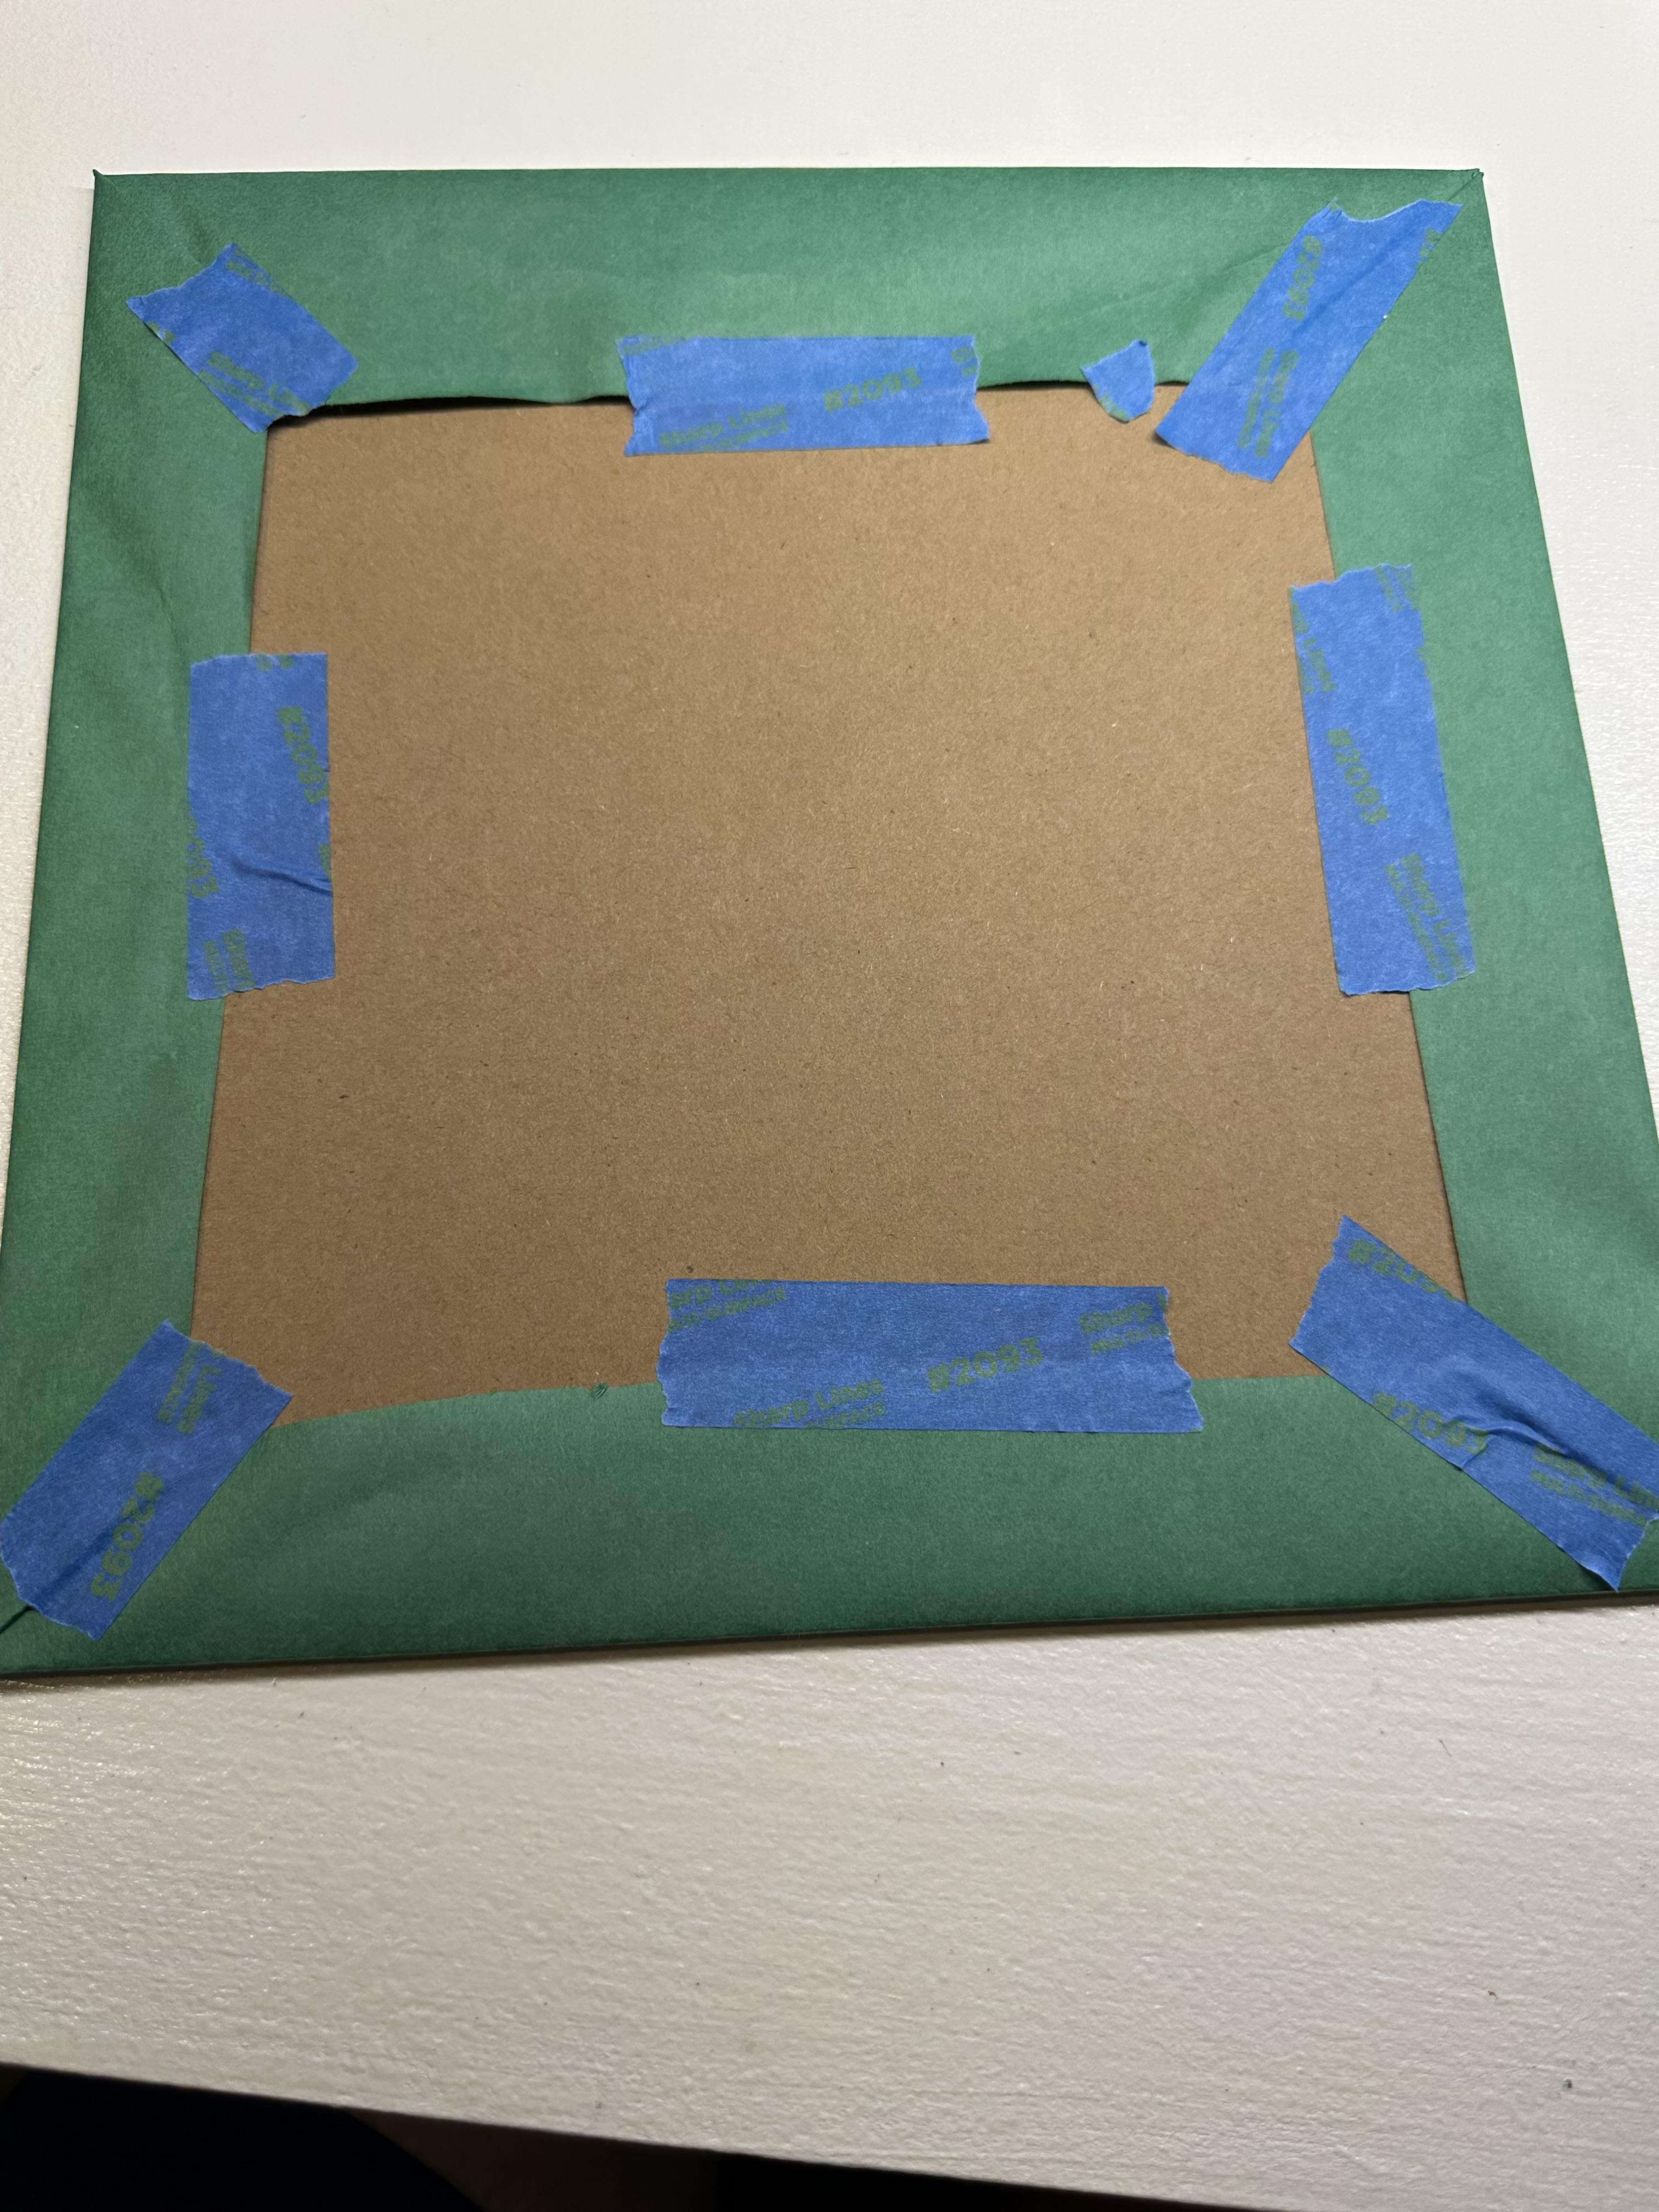
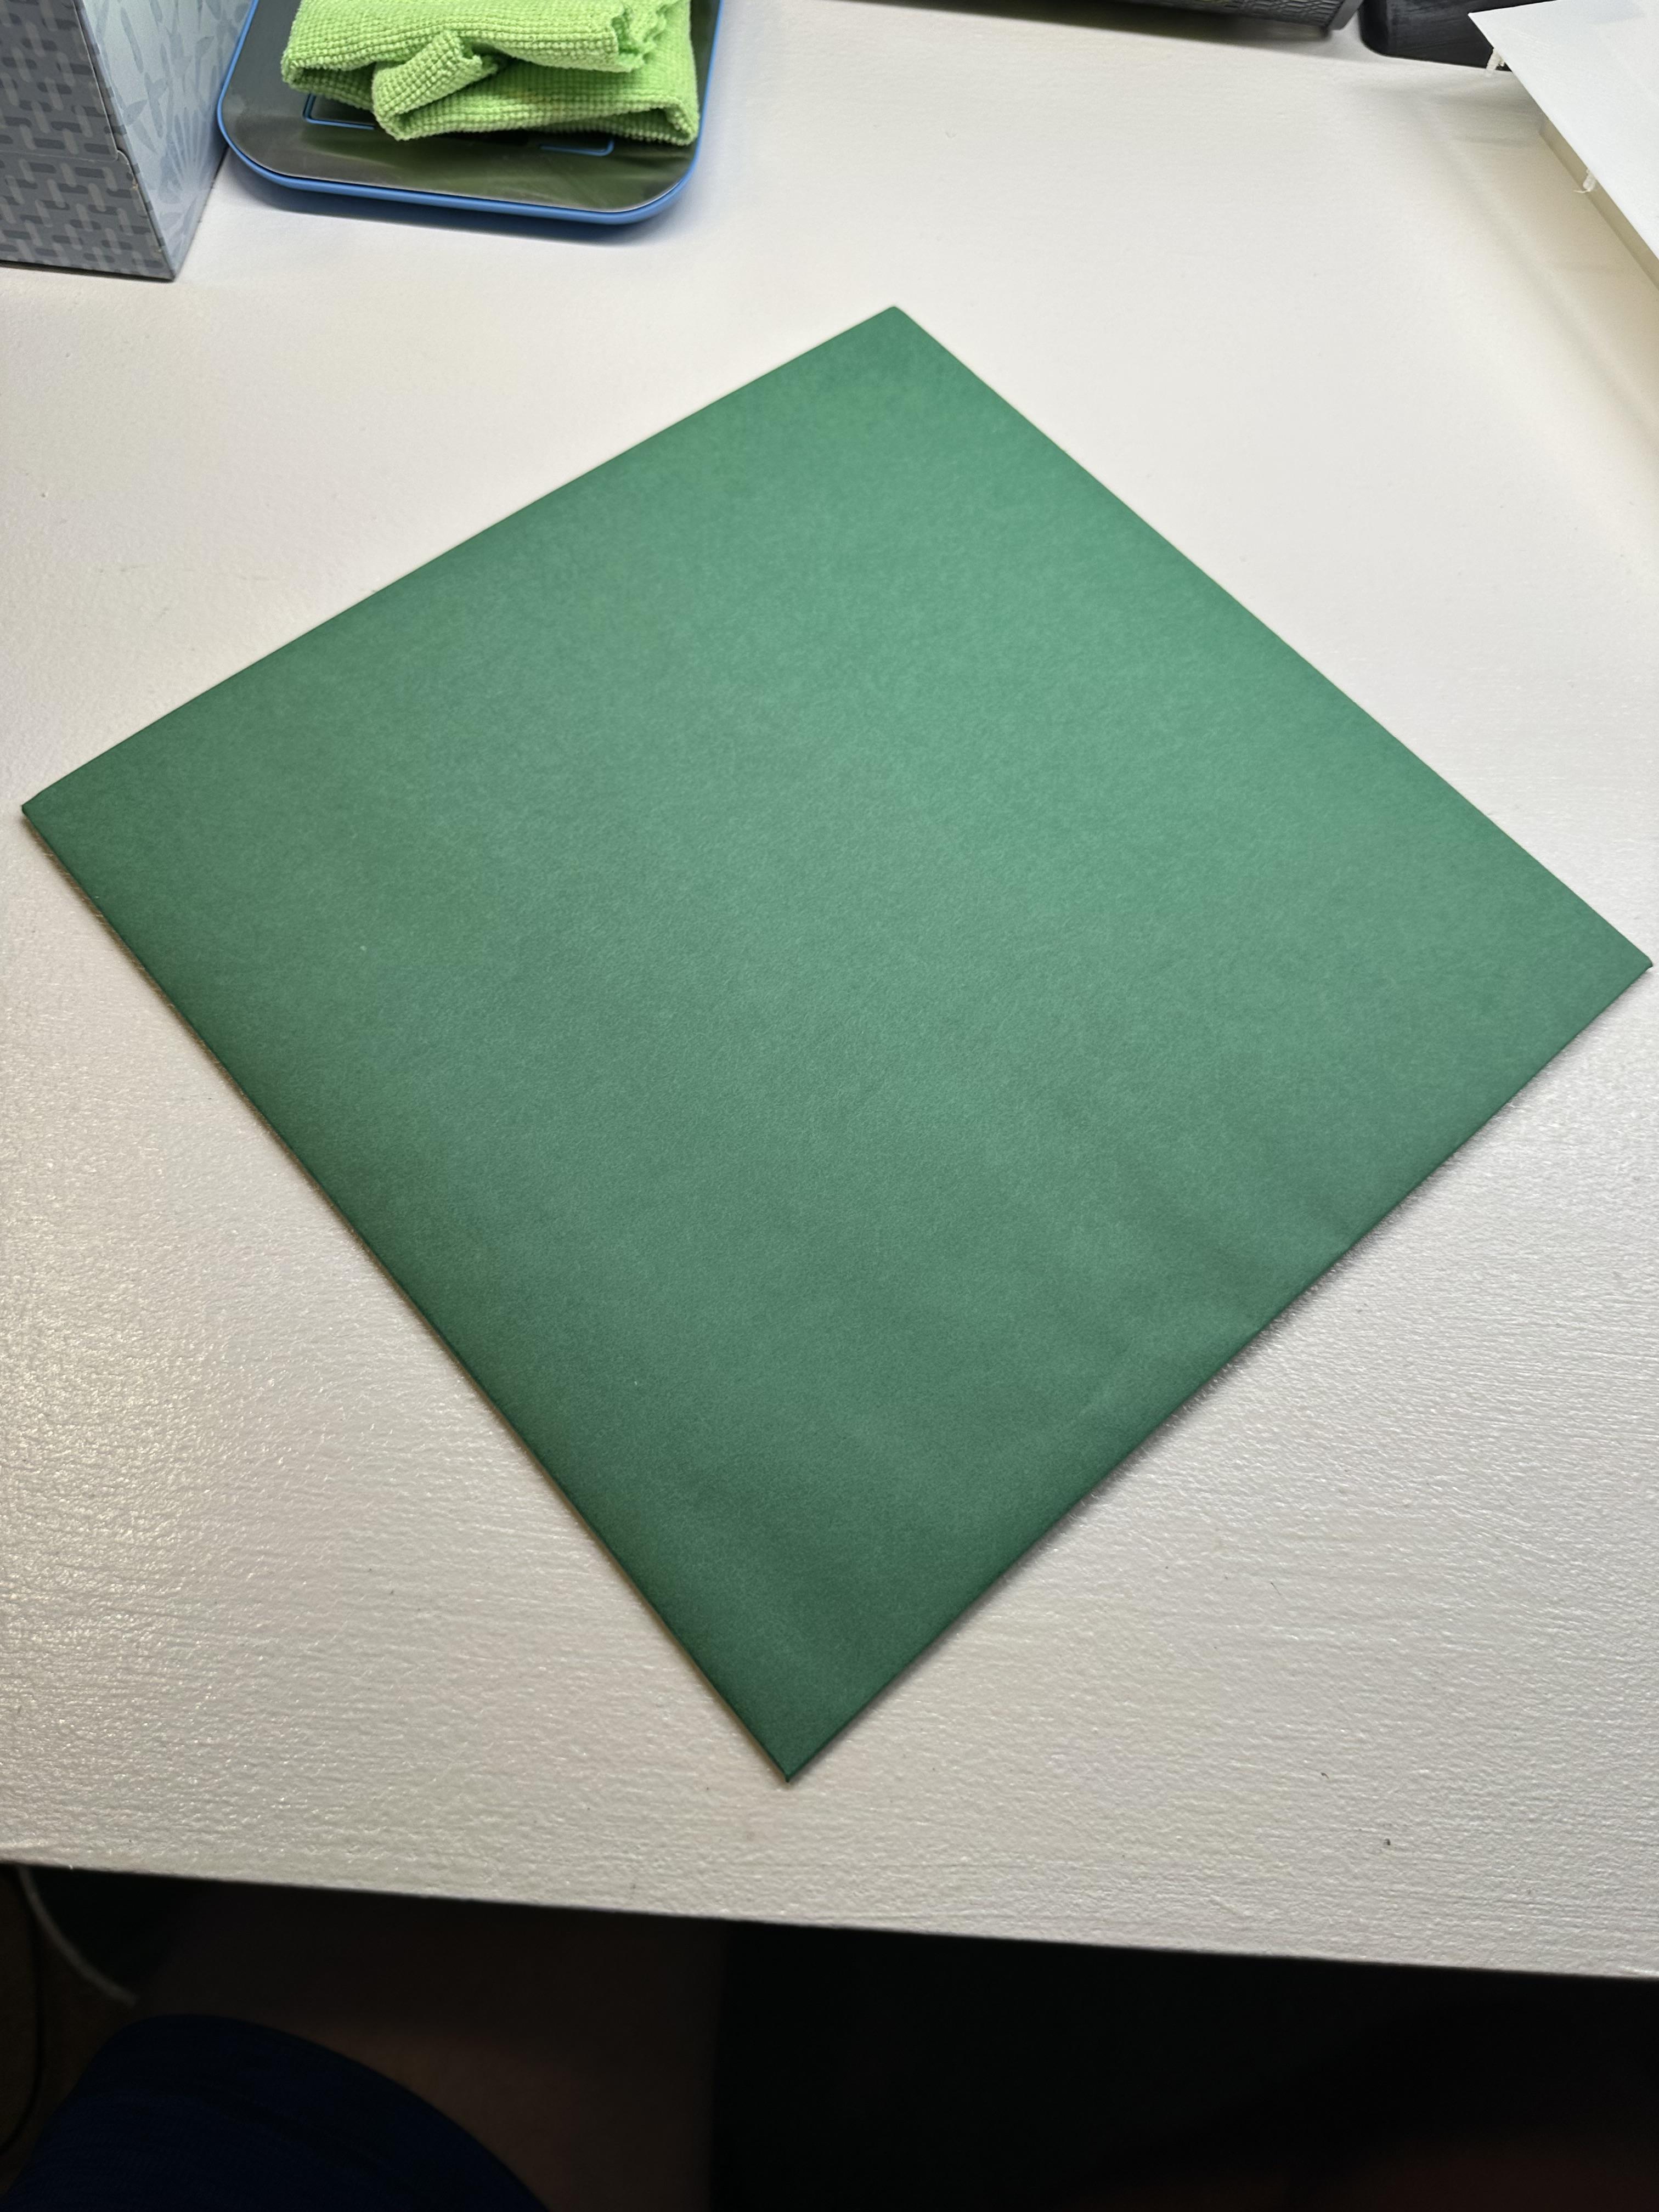
Using green paper, scissors, and tape, I completely covered one side of the chipboard to be my building's base/lawn.
Cover Your Pieces With Paper
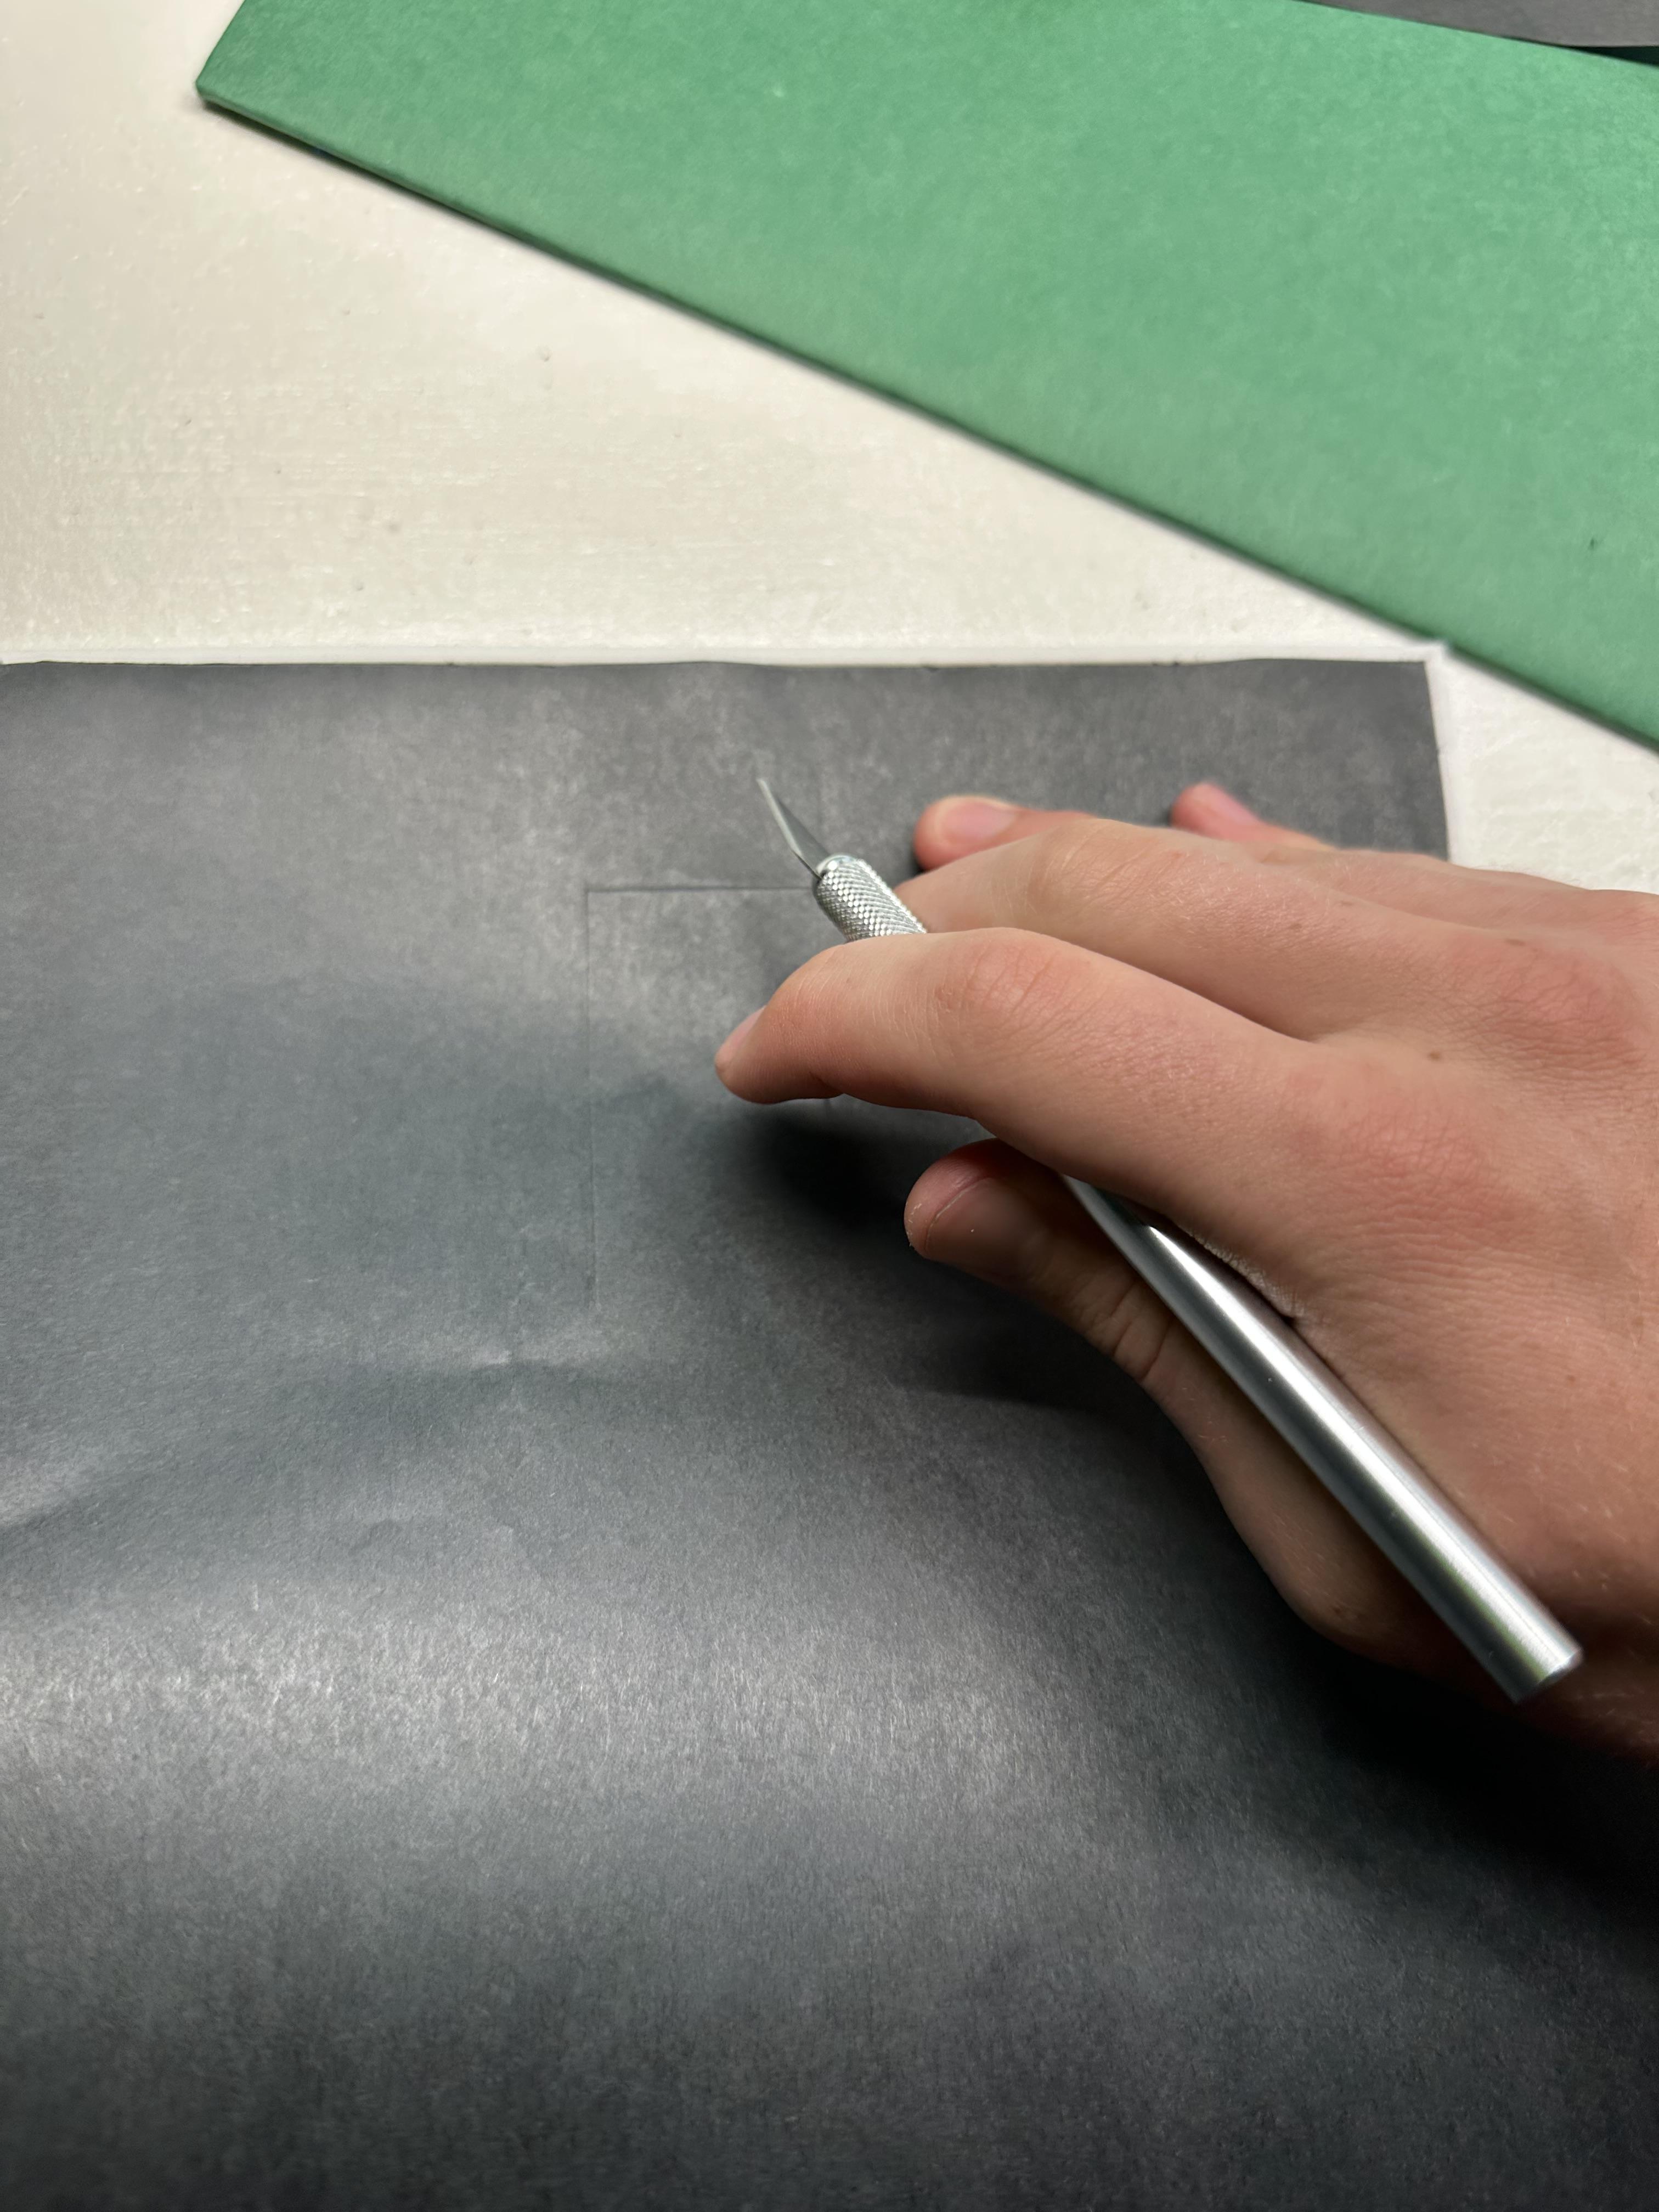
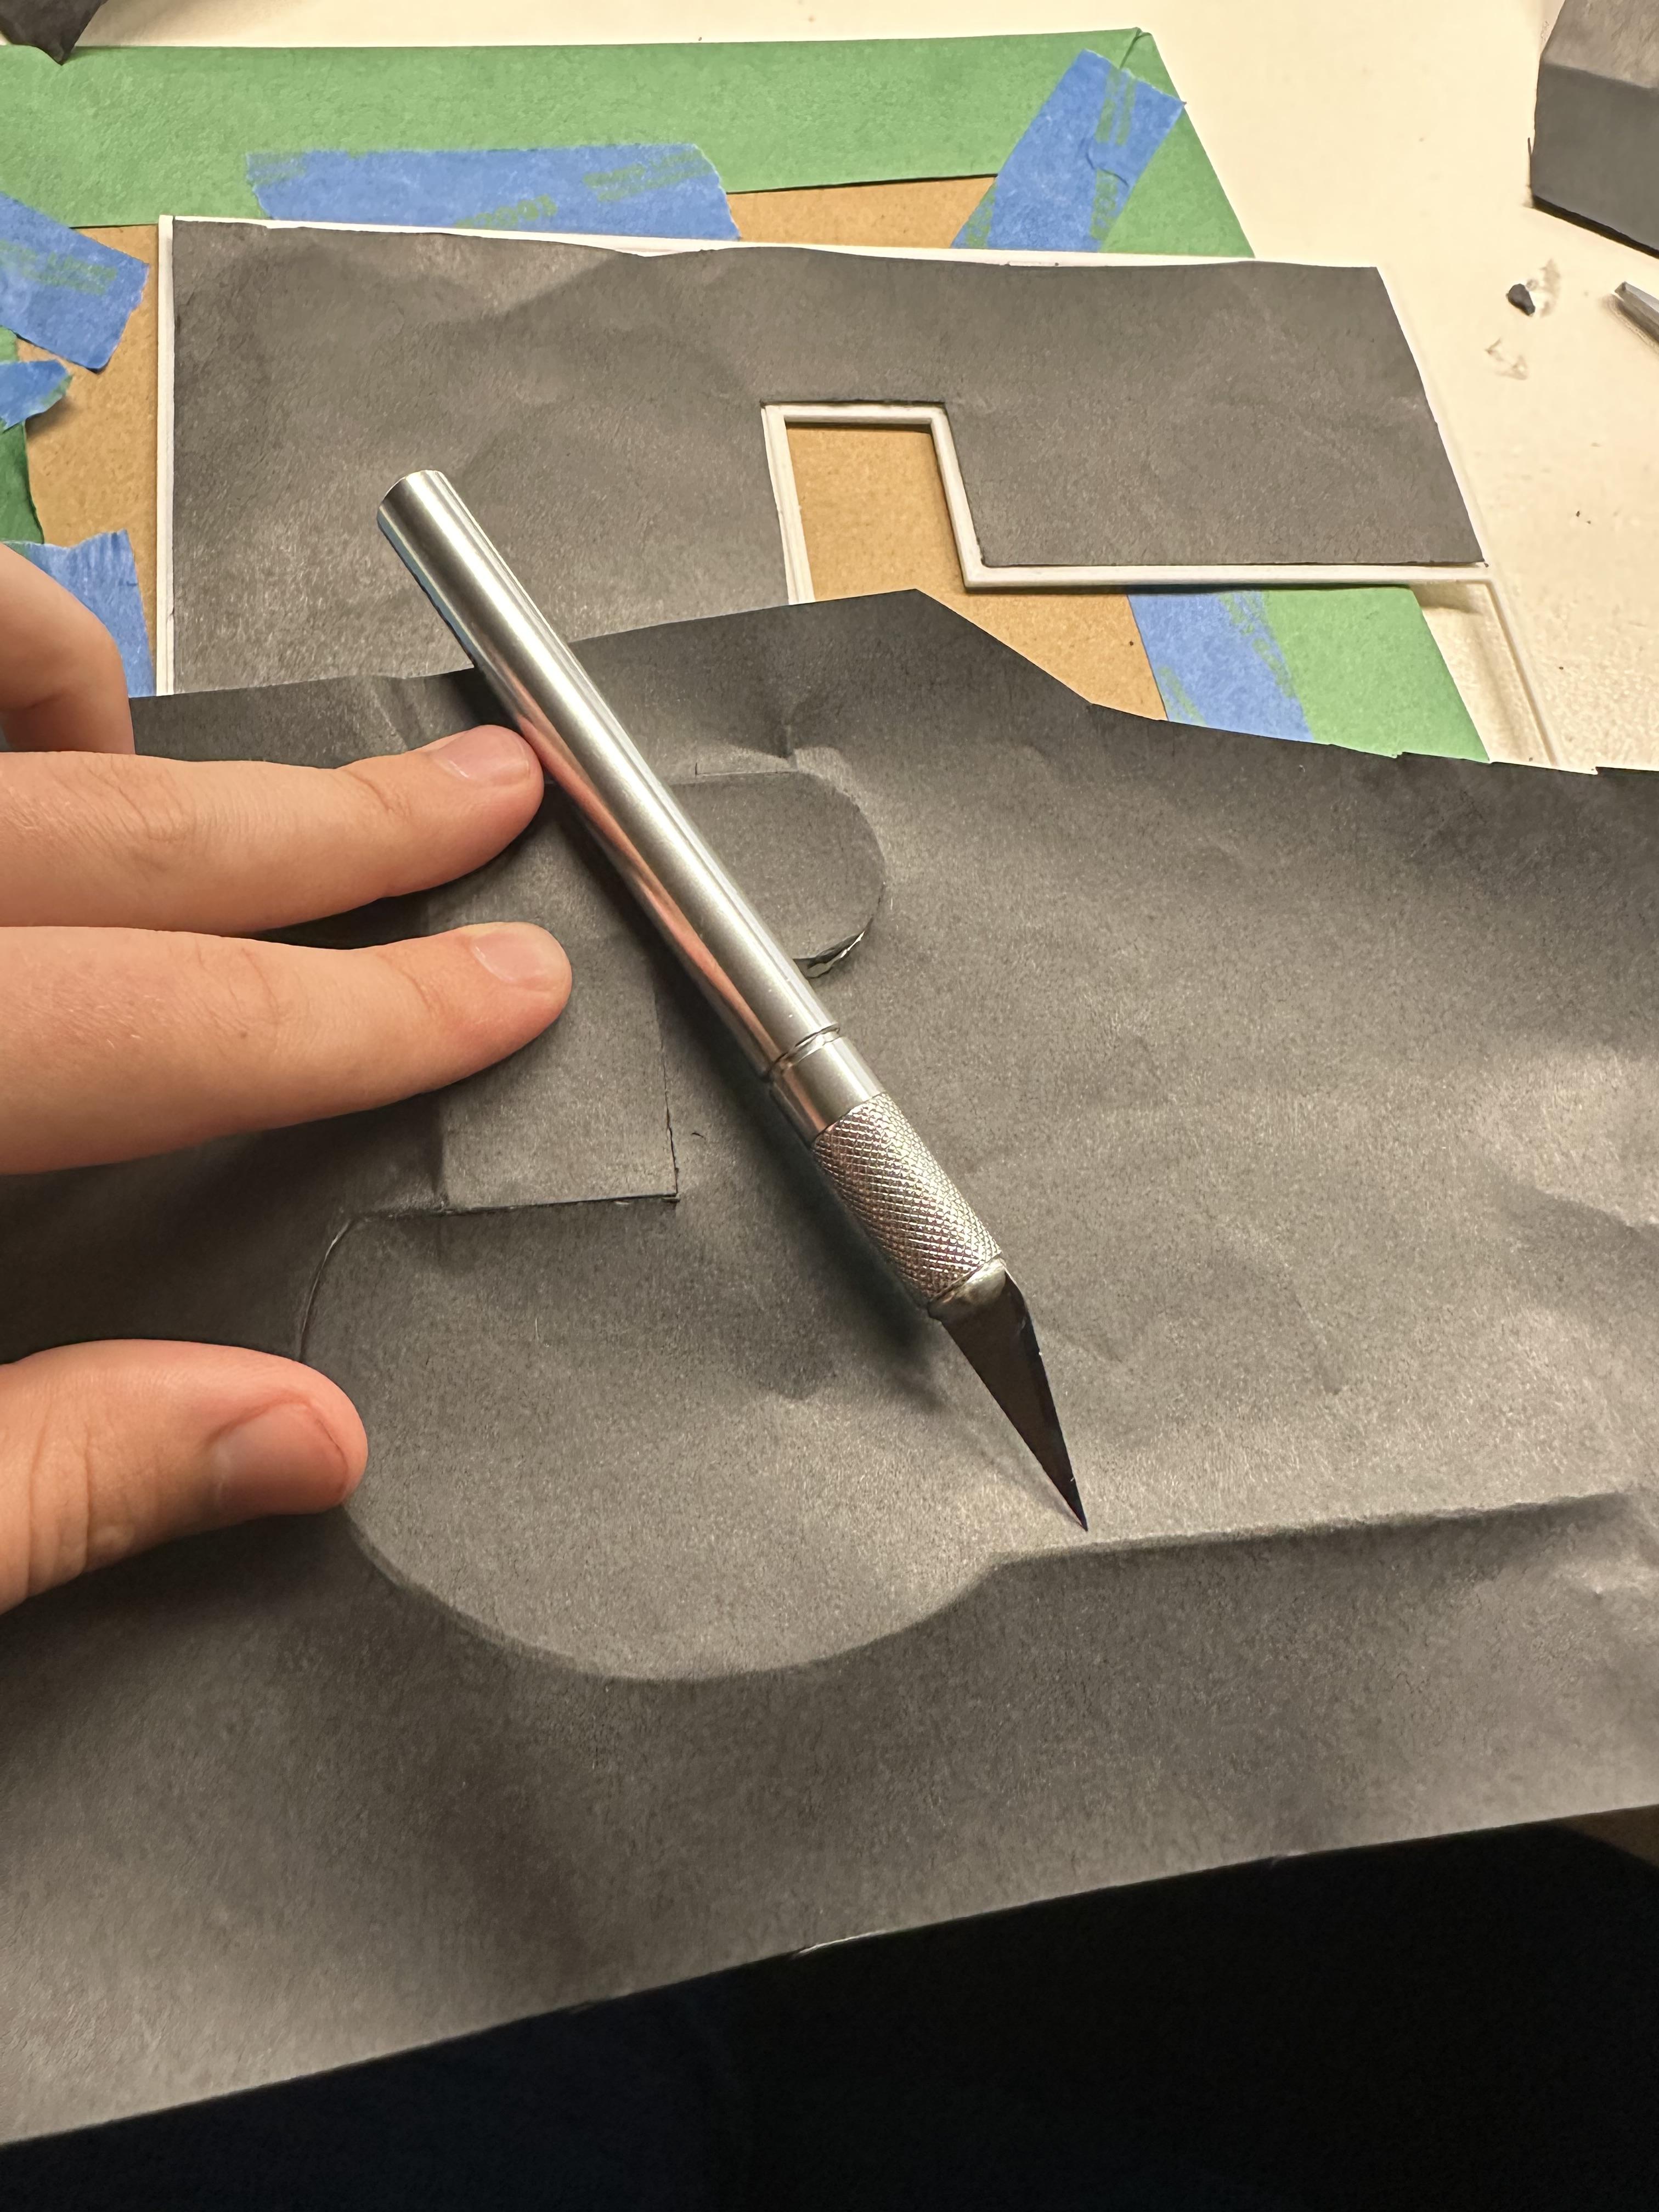
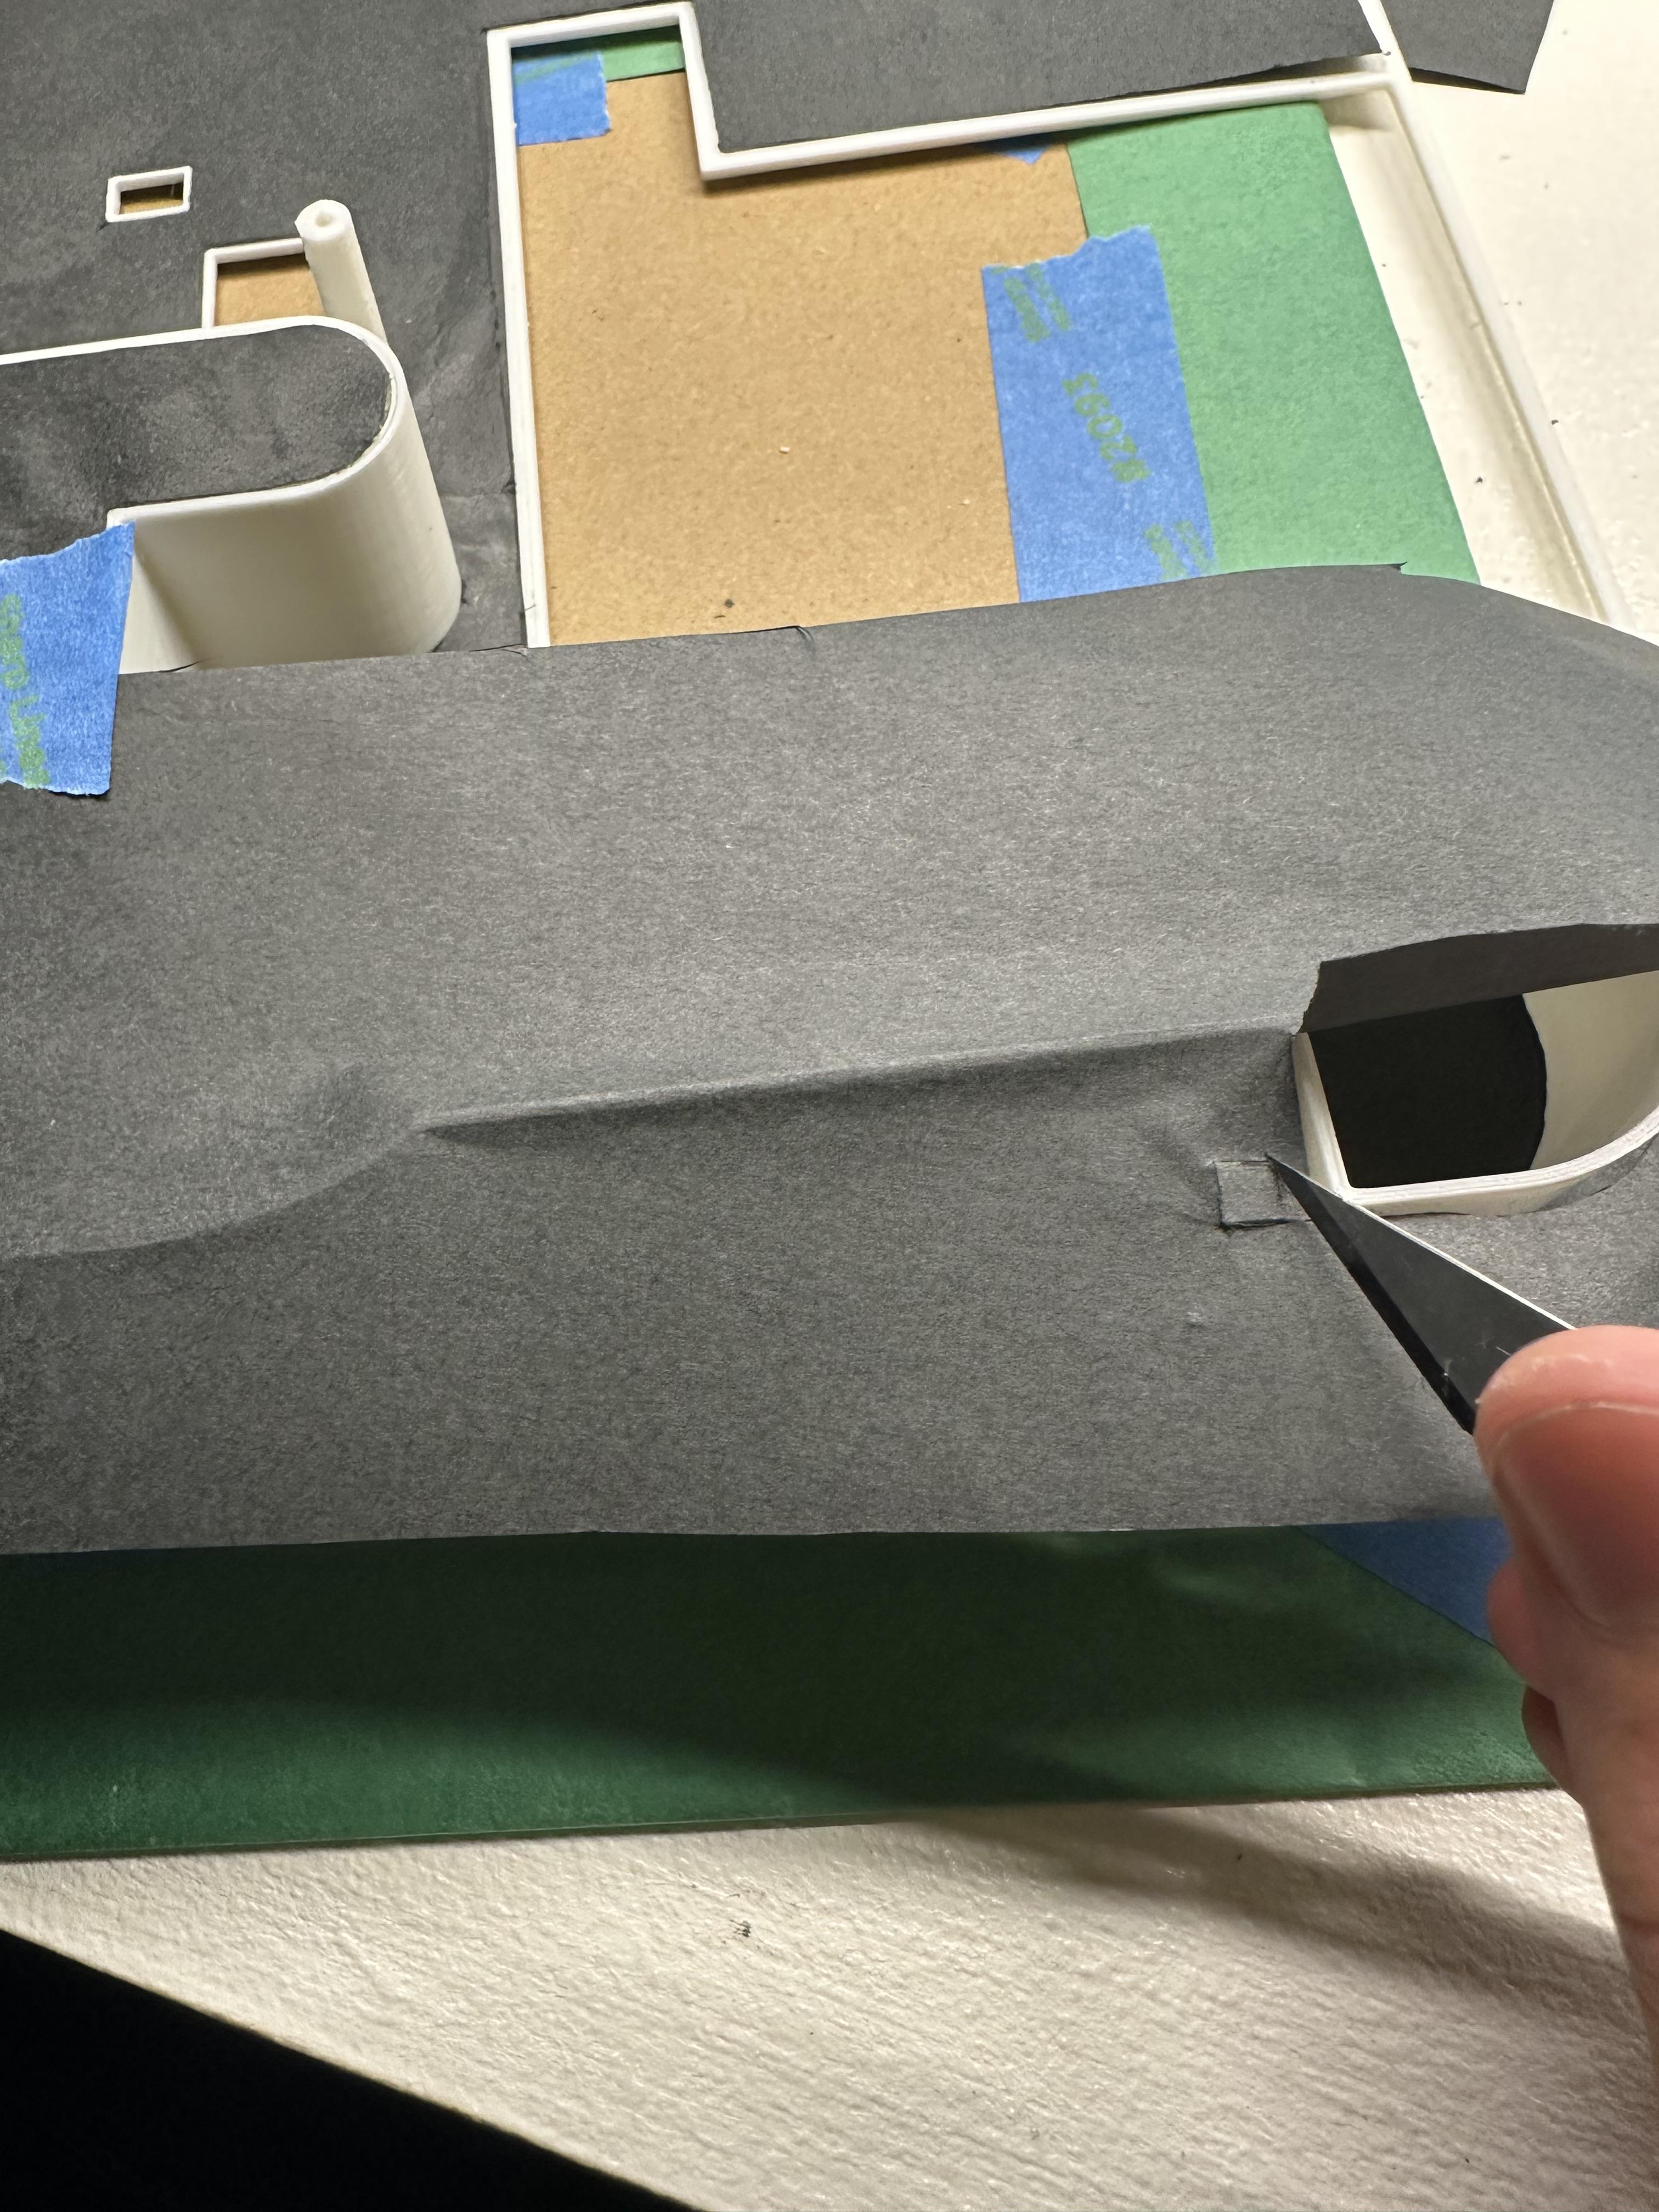
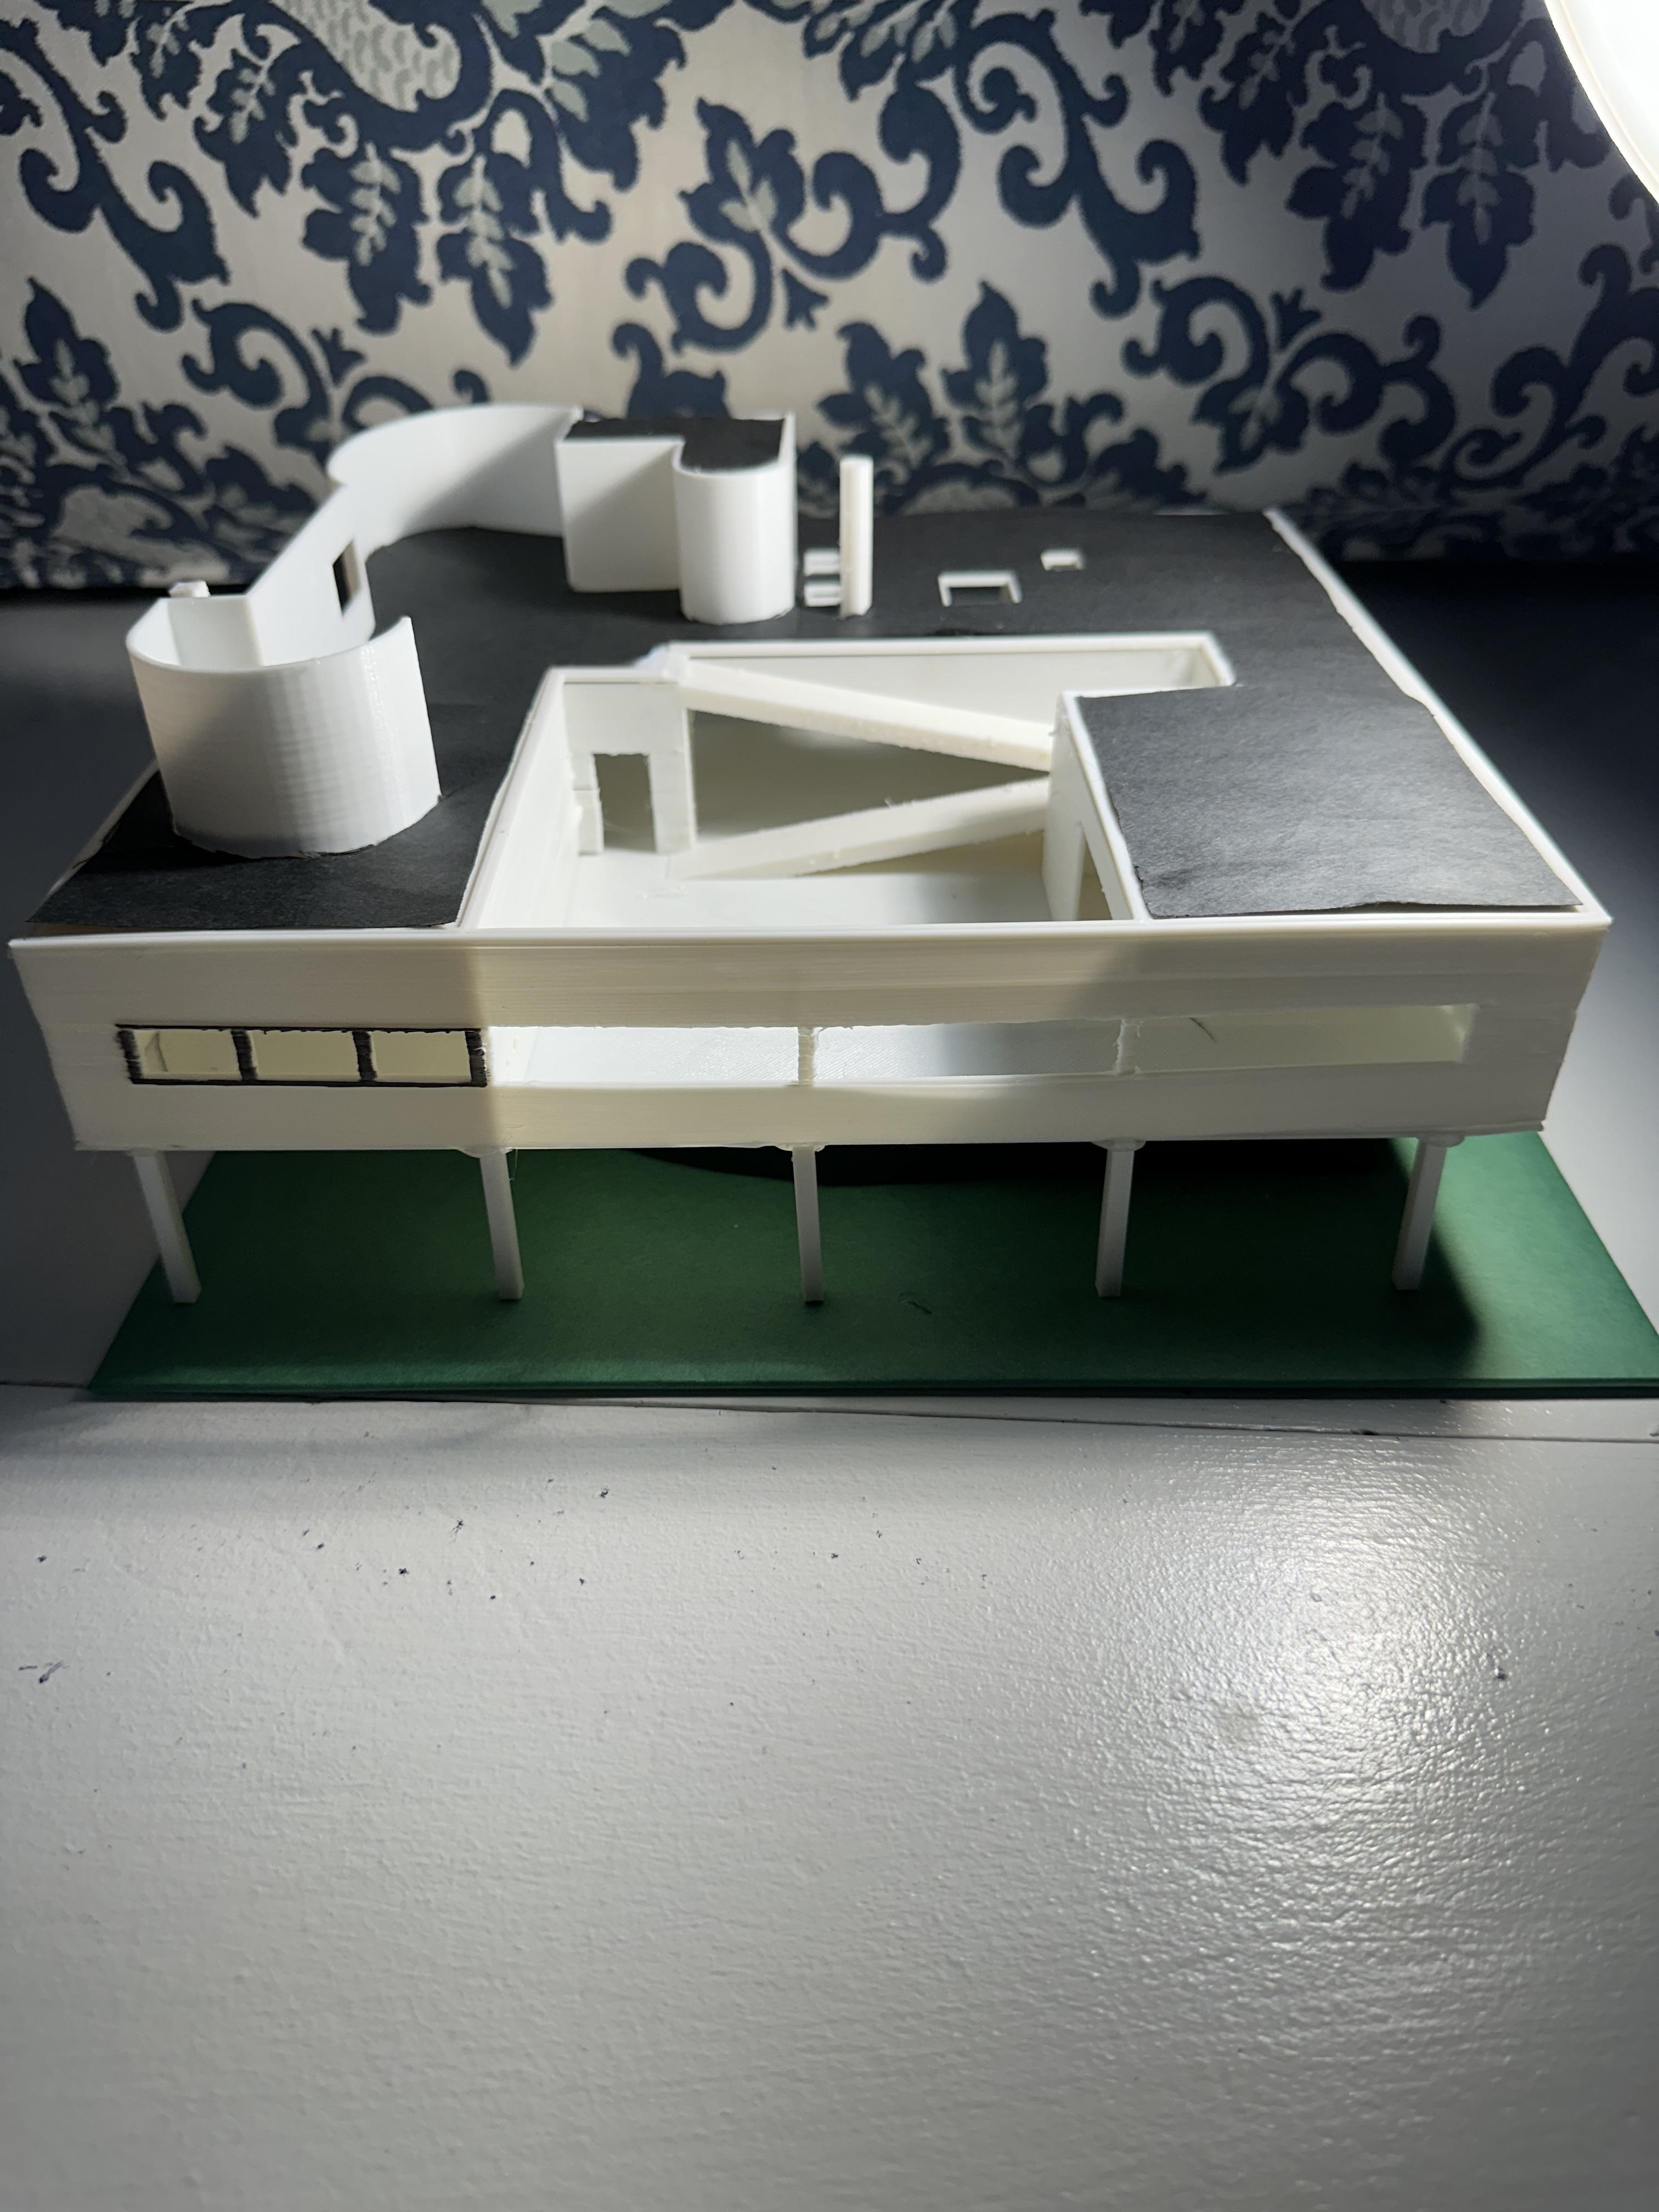
The top of the Villa Savoye is black, so I covered it in black paper. It is quite an intricate design, so I taped the paper down, pressed it into the edges, cut it with the X-Acto knife, and taped/glued it down. This step took a long time, but my patience got rewarded with a super clean looking roof.
After, I covered the base floor with black paper as well, taping it into place. However, some buildings have such fine details that paper isn't a good option. In that case, use the following step!
Color in Fine Details
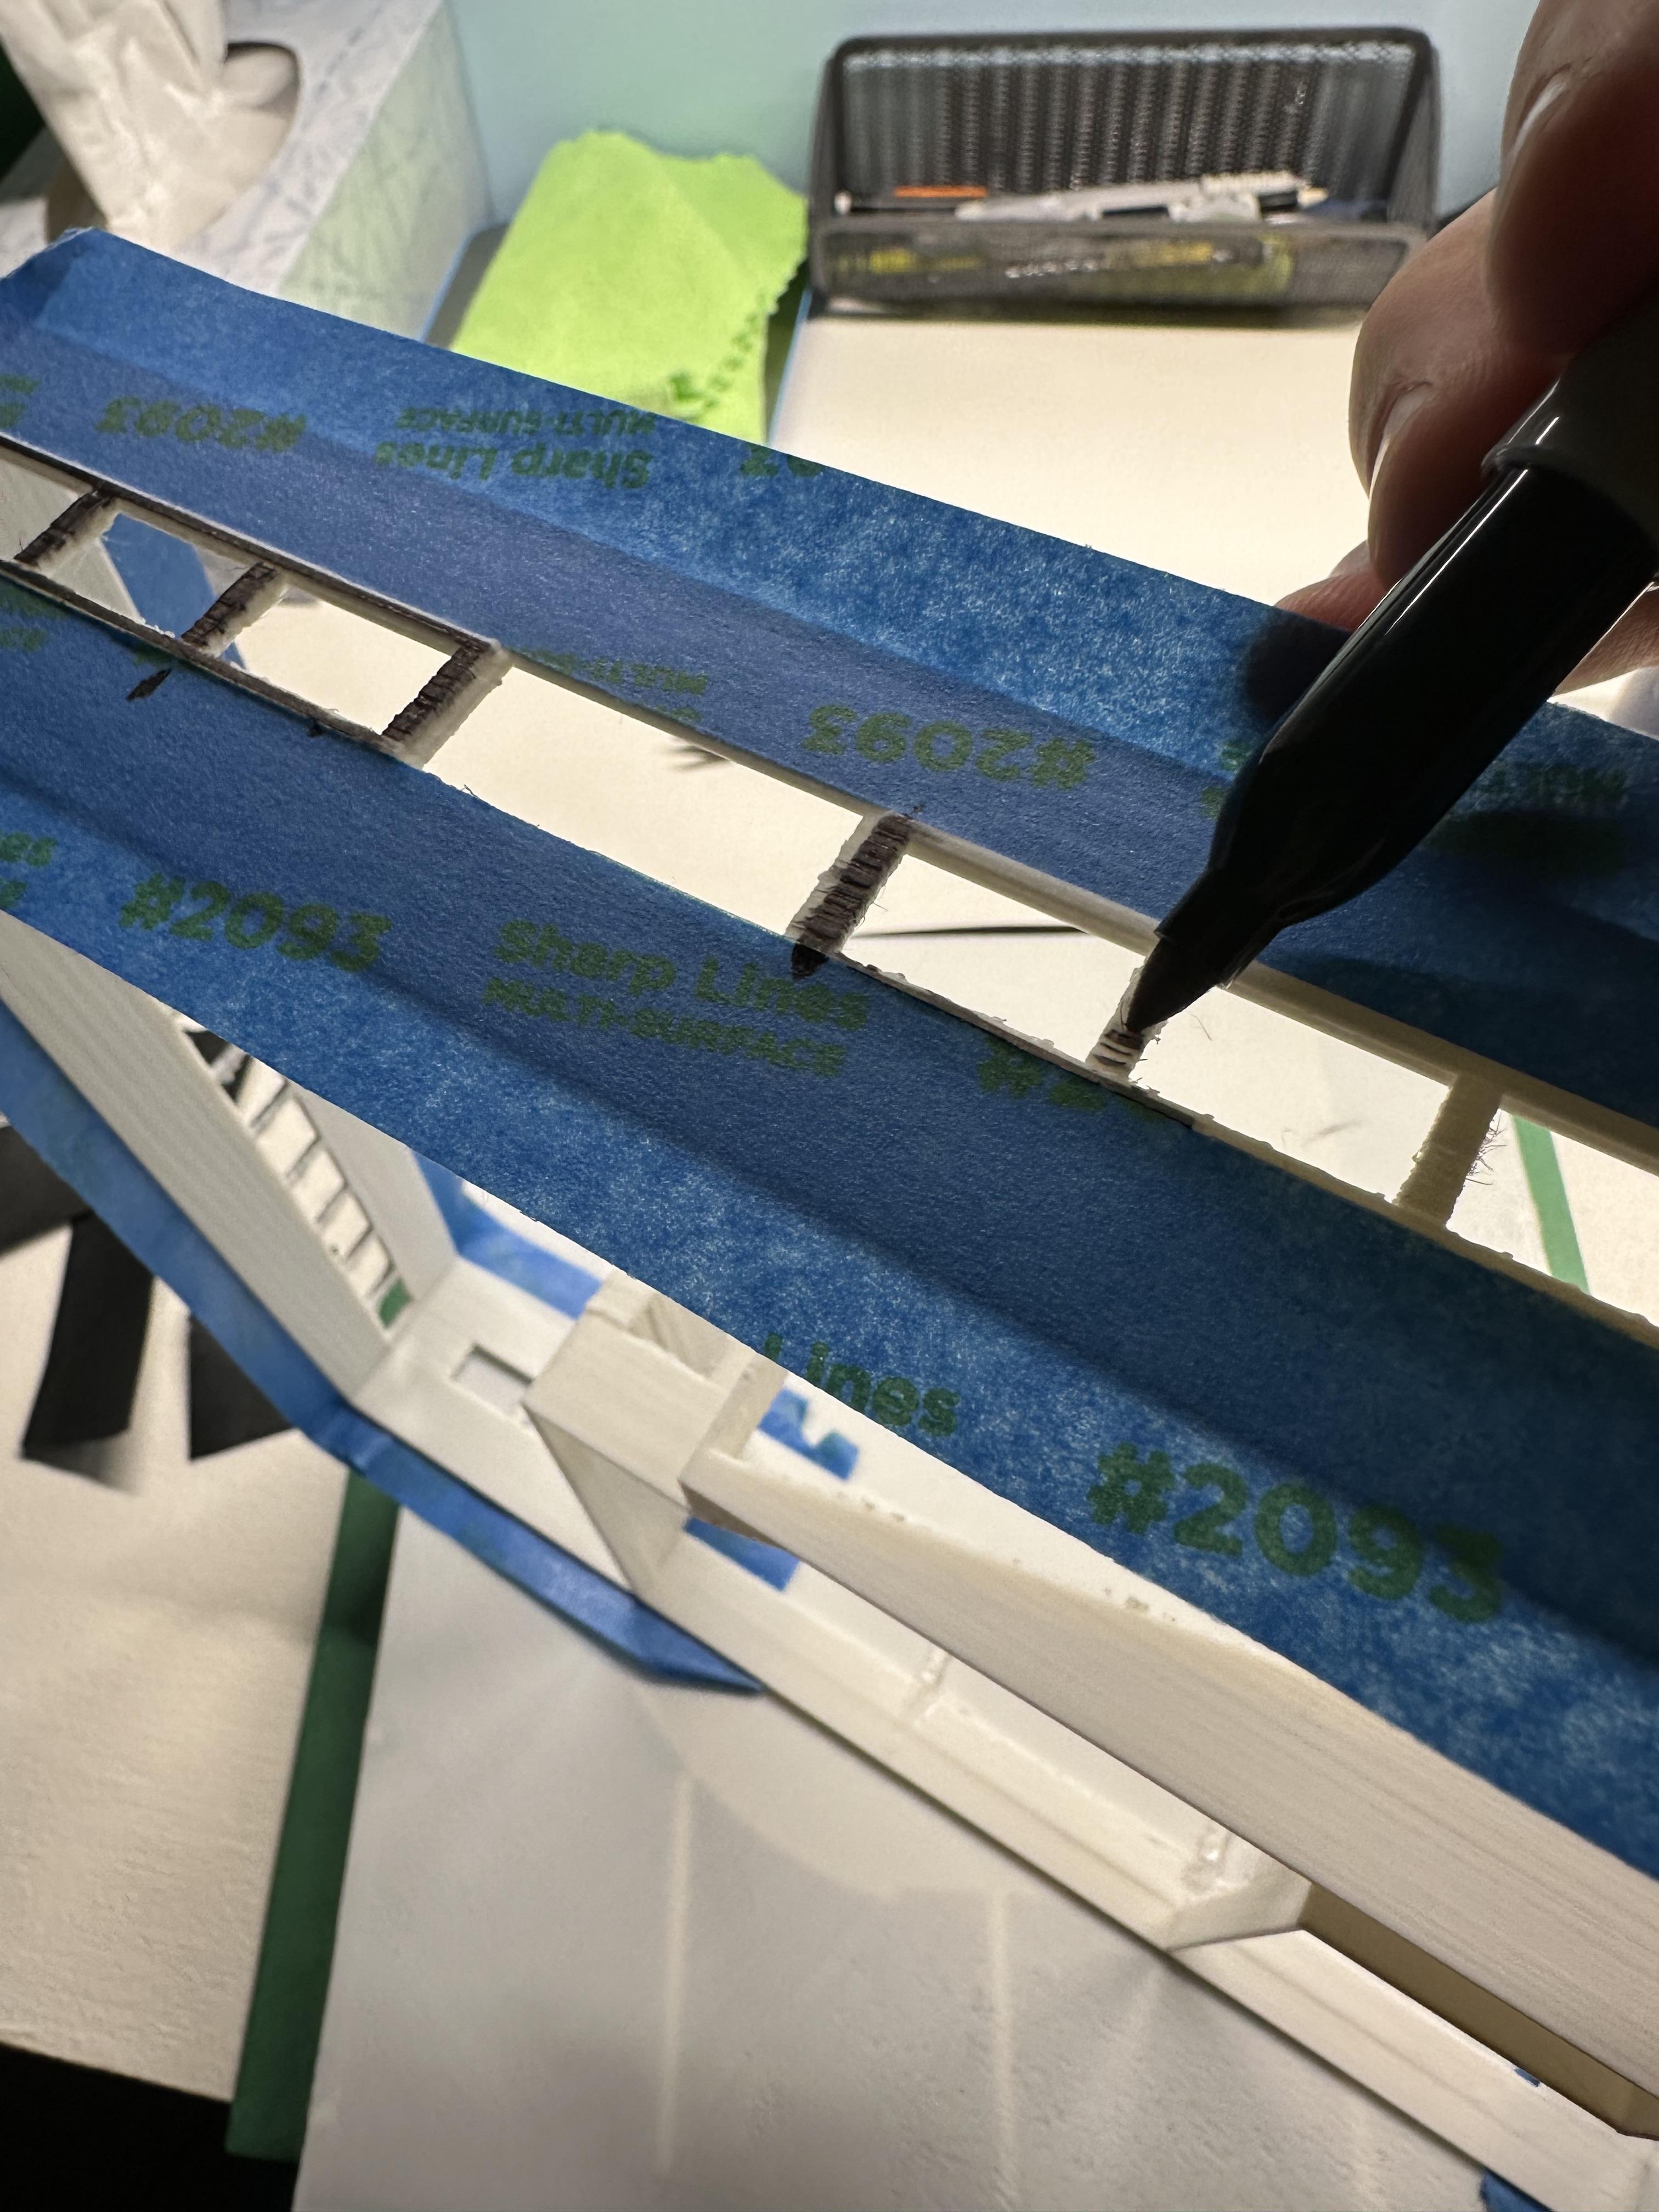
Using a sharpie or paint, color in fine details on your building. I colored in the window frames that wrap around the whole building. Putting tape down beforehand is a good strategy to prevent accidents.
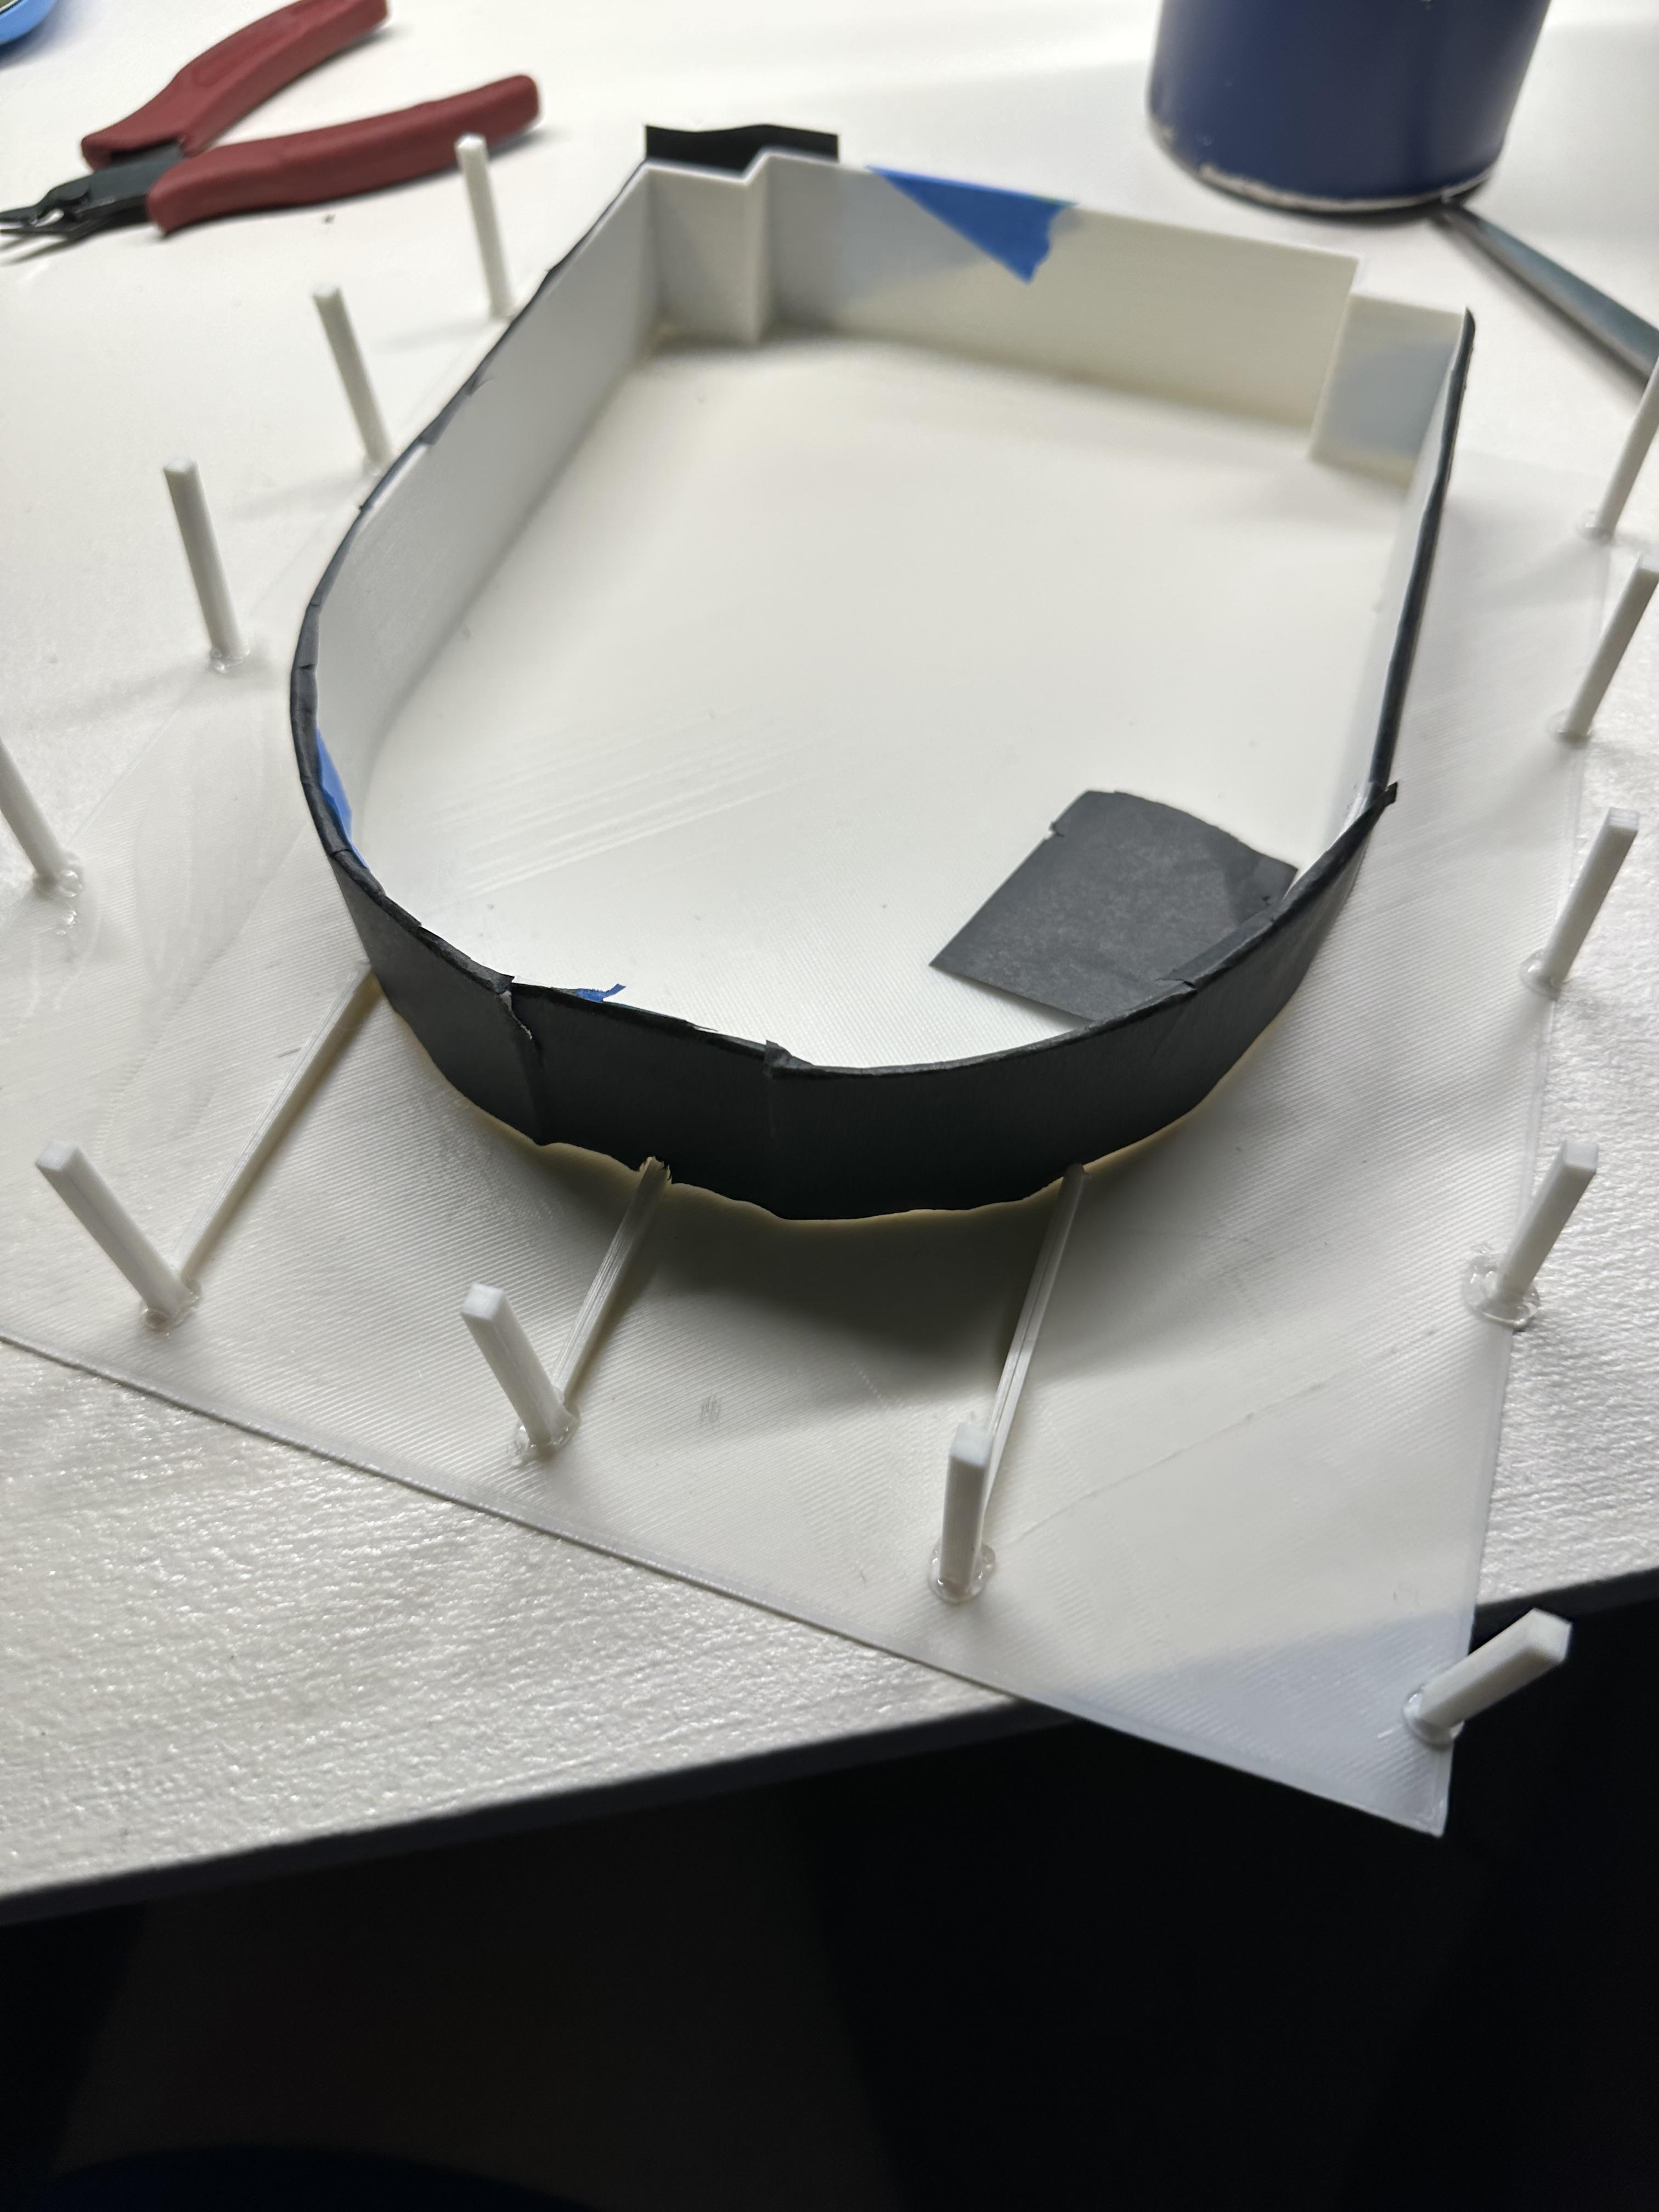
Assemble Your Pieces
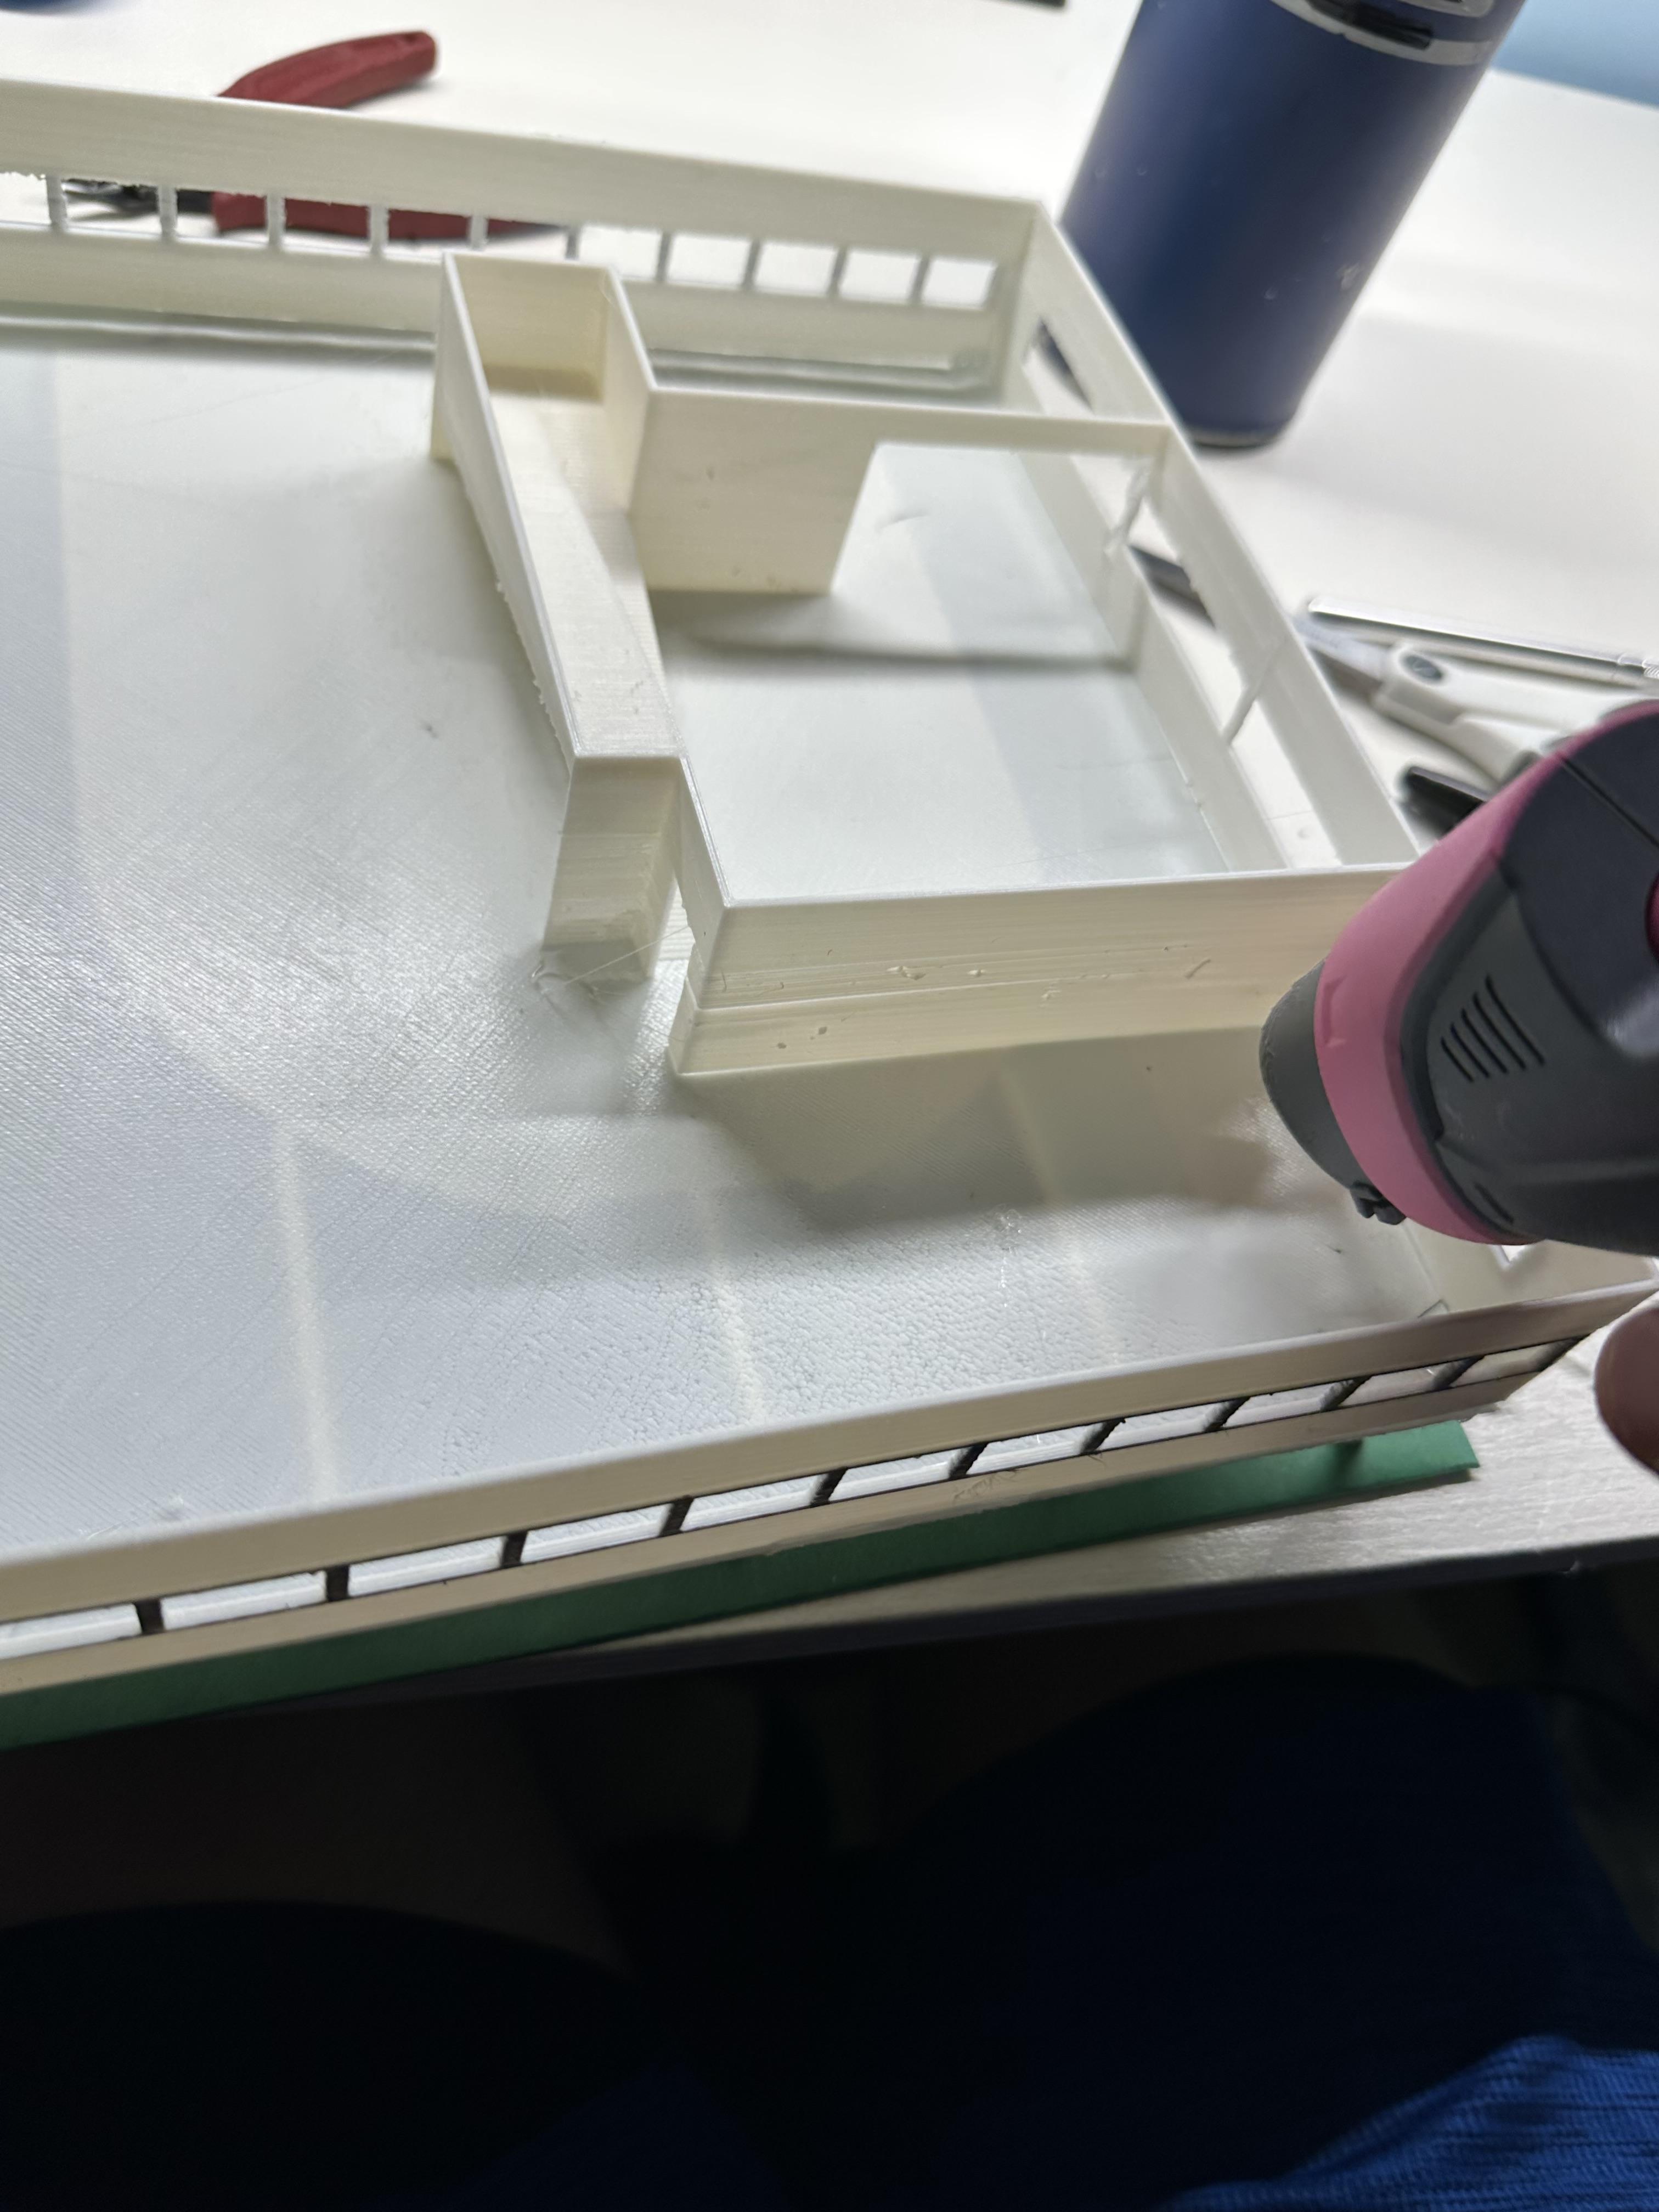
Using the 3D-printed pieces, assemble your model using glue. I used hot glue for it's ease of use and non-permanence in case I messed up or extra glue showed. I always glued the inside corners so the glue blobs weren't visable from the outside.
Glue the Model to Your Base

This step can be a bit tricky without hot glue blobs showing. I just glued the base once in the front and once in the back for the sake of appearence, but if you feel like you want your building to be more structurally sound, you can certainly add more glue.
Just like that, you have your own model building! Perfect for admiring on shelves or school projects!
Happy crafting!